
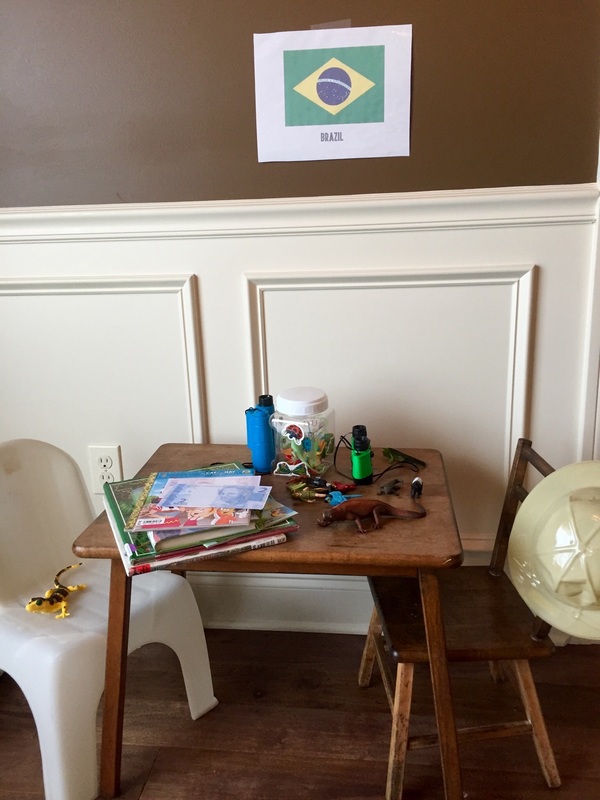
In my last MC post I detailed all of the fun we had on our first day "visiting" Brazil. In this post, I'll let you know about all of the other fun activities, crafts and craziness that we completed including our very own Carnaval celebration, more yummy treat tasting and learning about the rainforest!
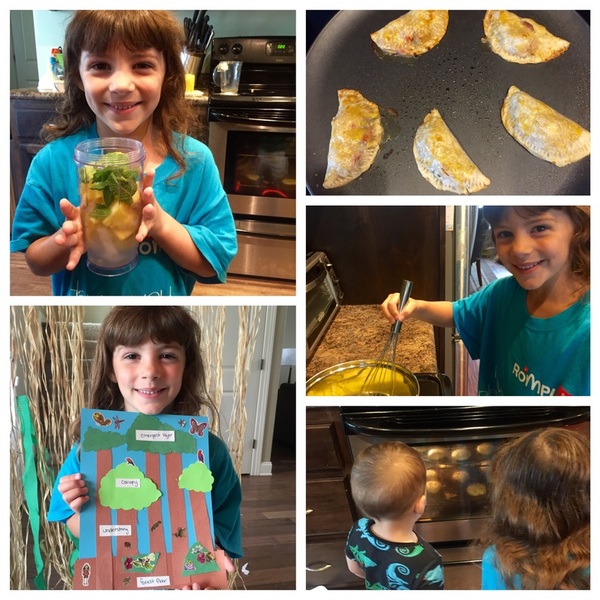 | 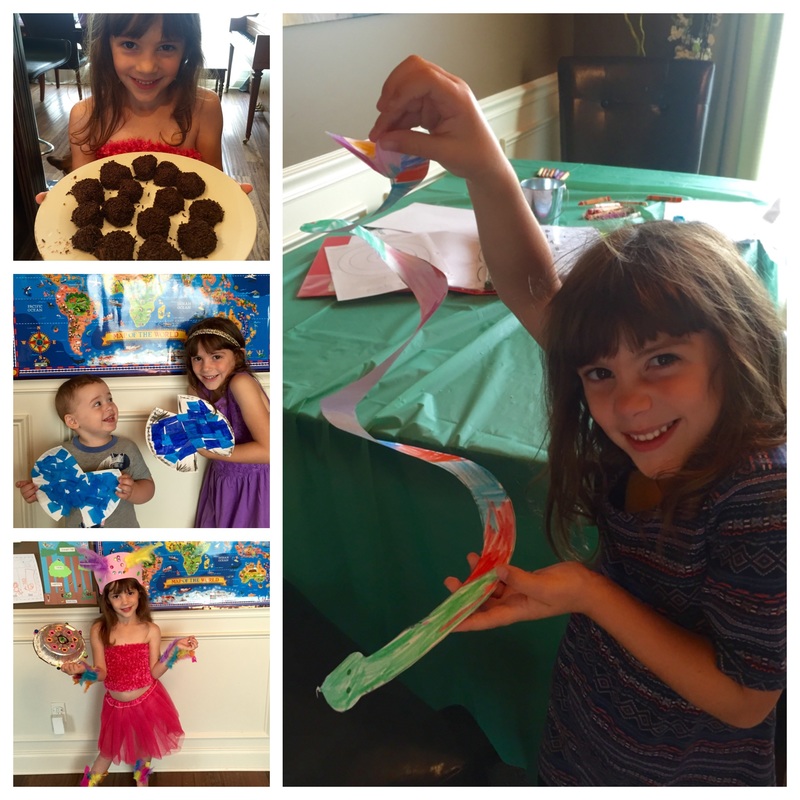 |
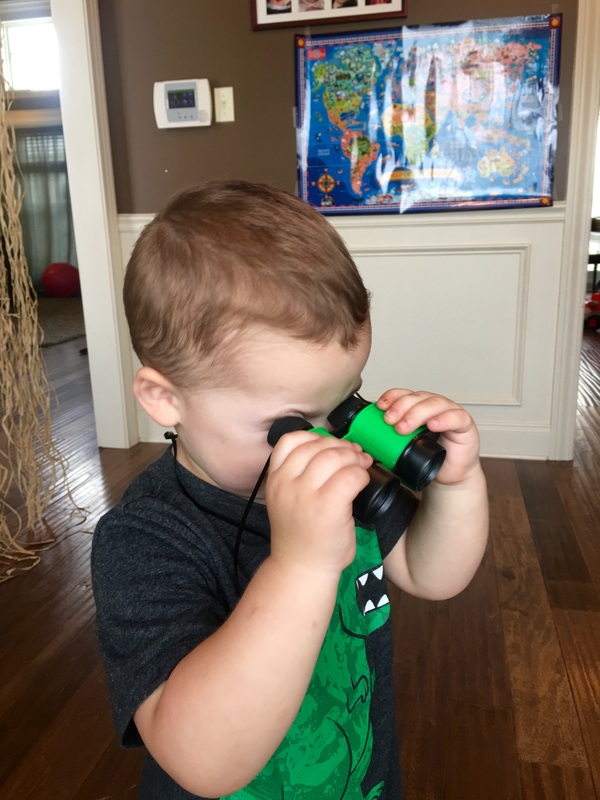
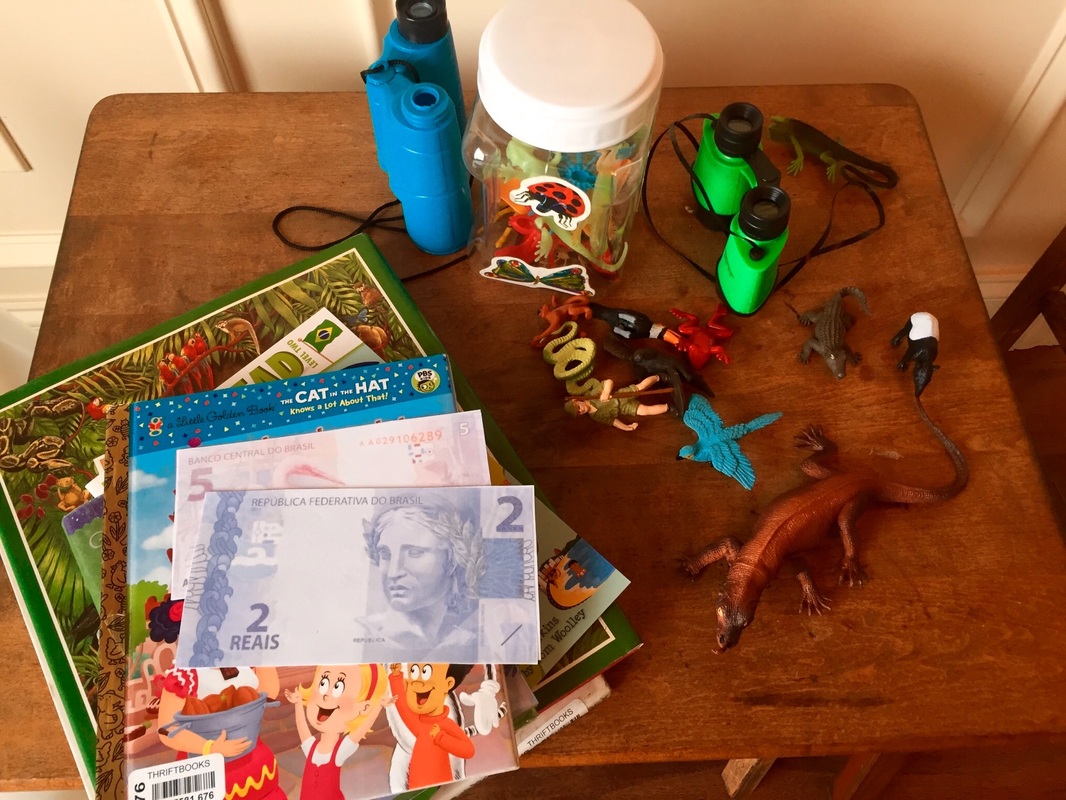
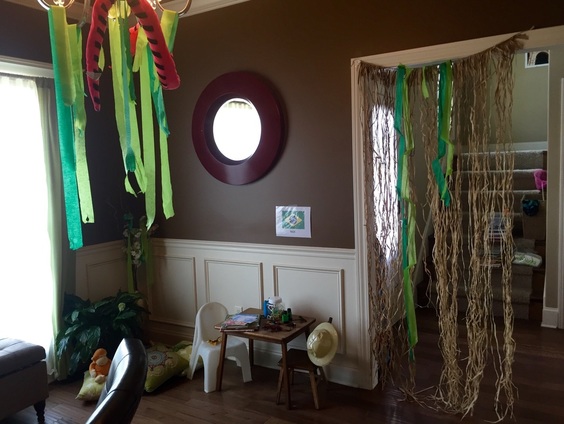
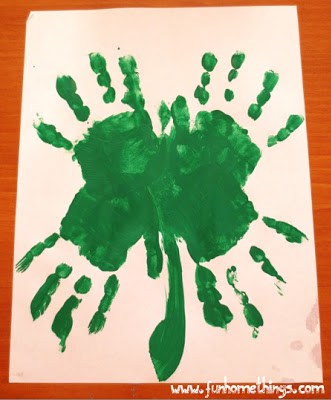
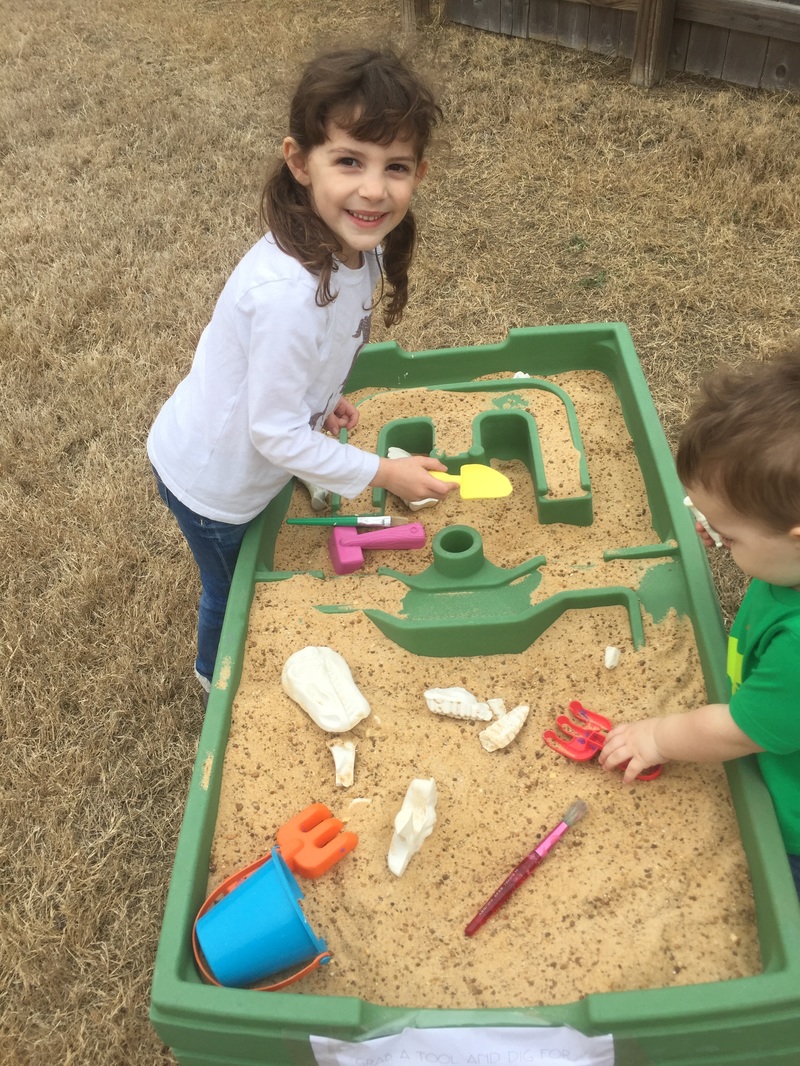
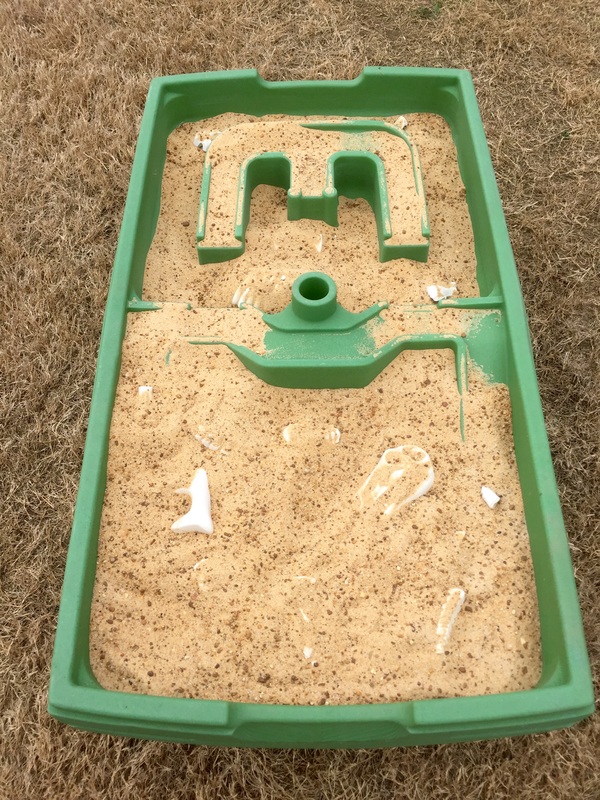
We started off by learning about the rainforest and discussing it's four layers. We watched this video about the layers and then we made a diagram demonstrating them. We also learned about some of the animals found in the rainforest like the morpho butterfly which is found in both Central and South America, the toucan and snakes and watched this video. After that we made some pretty adorable paper plate butterfly collages with tissue paper, learned how to draw a toucan and made a spiral snake craft that was both easy and cool! We also learned about how chocolate is made and where it comes from by watching this video before making a chocolaty snack called brigadieros (chocolate fudge balls). Then we read a few books including "The Umbrella" and "The Great Kapok Tree". After reading "The Great Kapok Tree" we did a little learning comprehension using a free worksheet and game. We rounded it all out with a fun jungle dance video!
 Lillian's layers of the rainforest. |  Learning how to draw a toucan. | 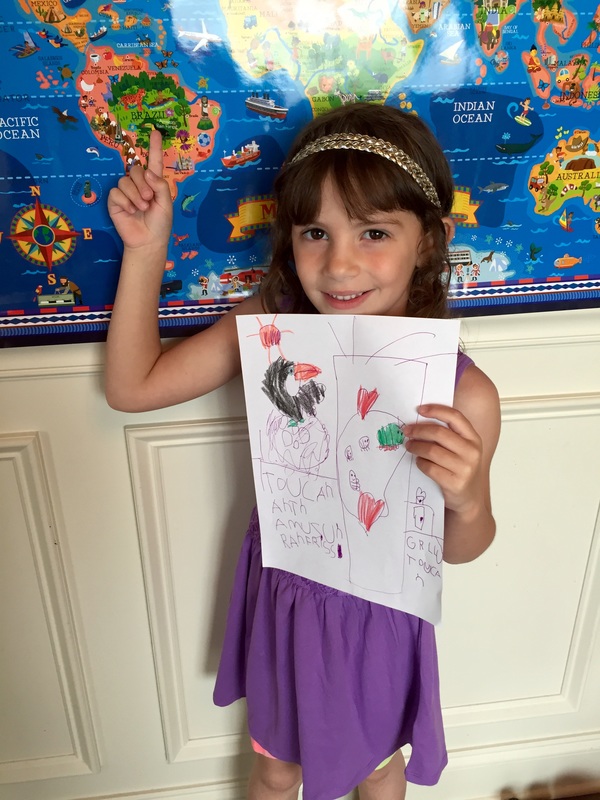 Lillian's toucan. | 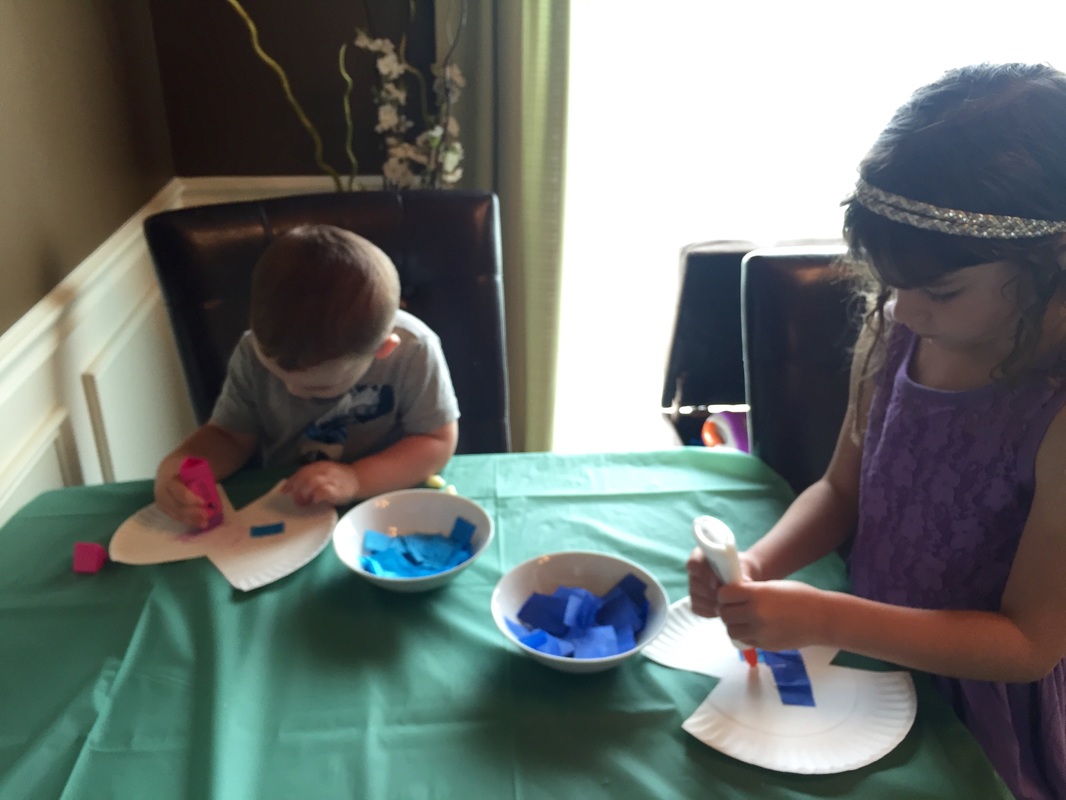 Making the morpho butterflies.  Arthur with his morpho butterfly craft. |
 The jungle dance! | 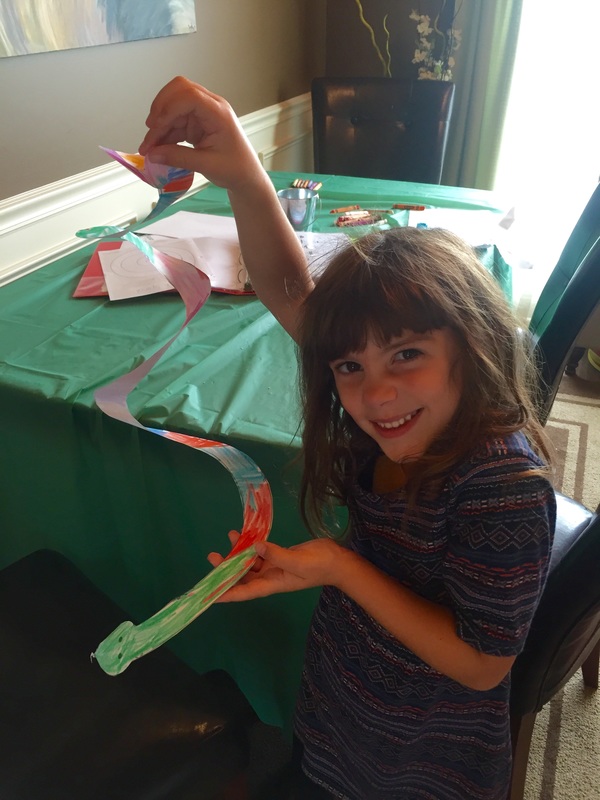 Lillian with her spiral snake. | 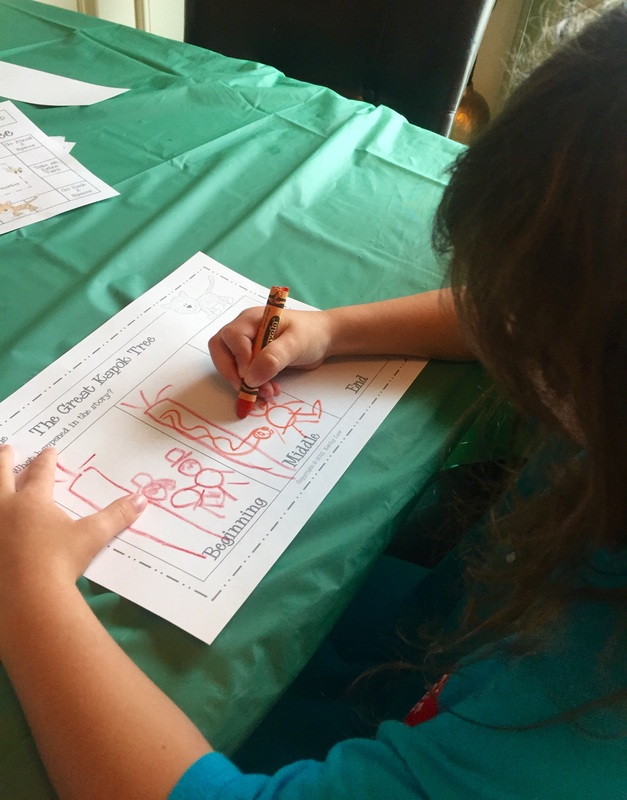 The Kapok Tree worksheet. | 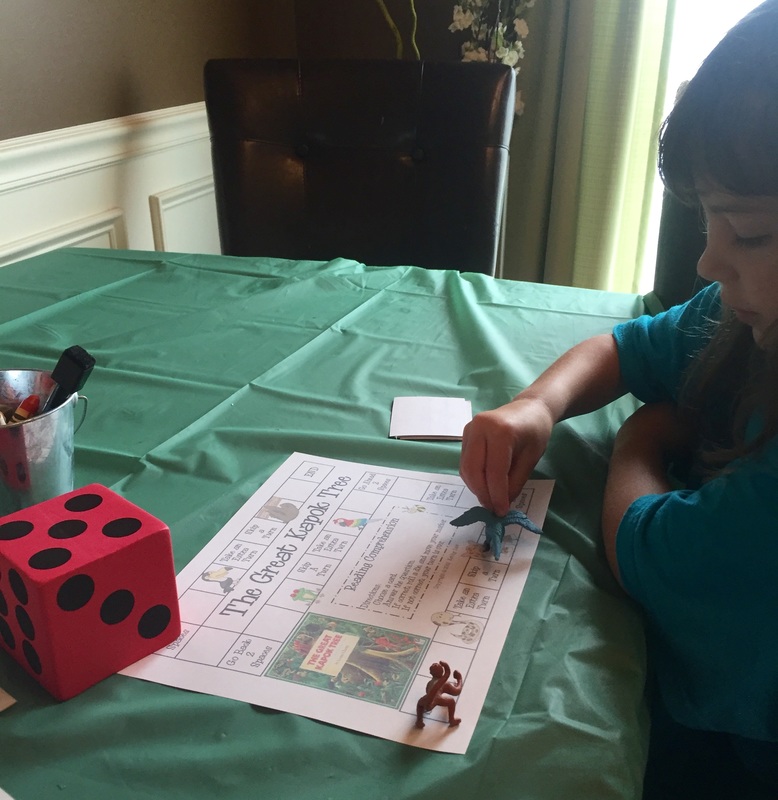 The Kapok tree game. |
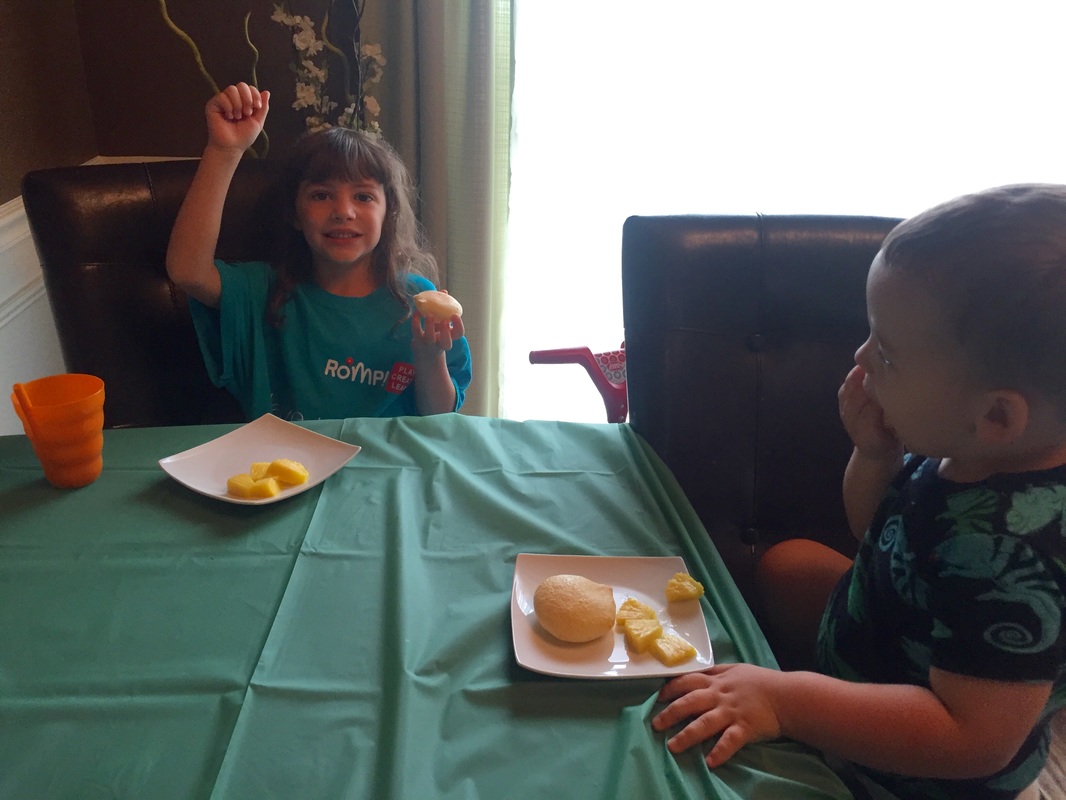
Let's talk about the fun we had with food! We made all sorts of Brazilian deliciousness including Brazilian lemonade, empanadas, Abacaxi com Hortela (pineapple mint juice), Macarronda com Requeijao (macaroni and cheese), brigadiers (chocolate fudge balls), Páo de Queijo (cheesy bread) and brazilian ham and cheese rolls. All of the recipes can be found in my first post about this summer's mommy camp here.
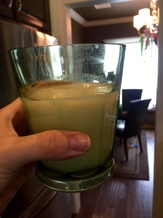 Brazilian Lemonade | 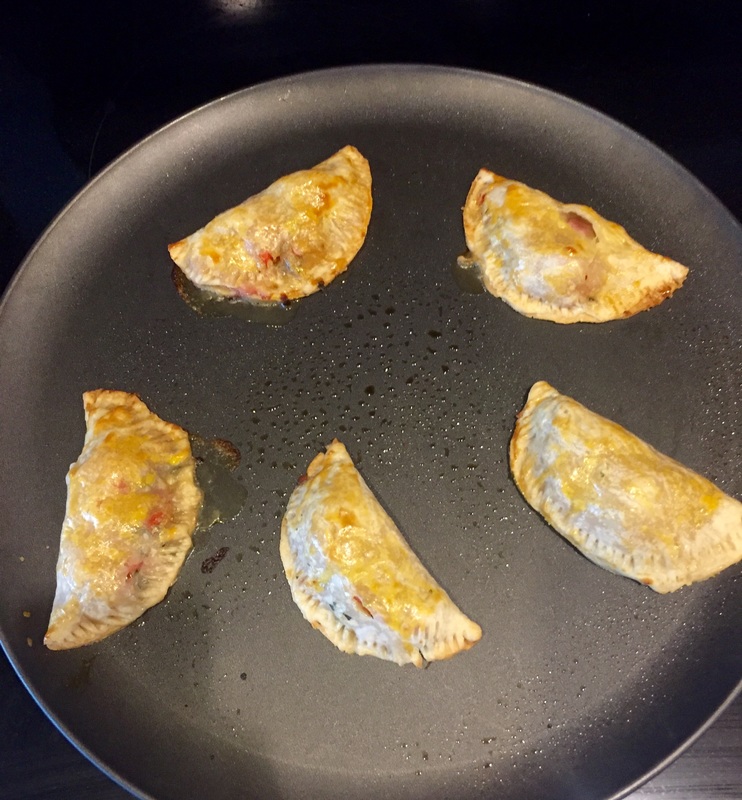 Ham and Cheese Empanadas | 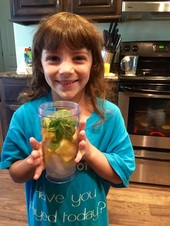 Pineapple and Mint Juice/Smoothie | 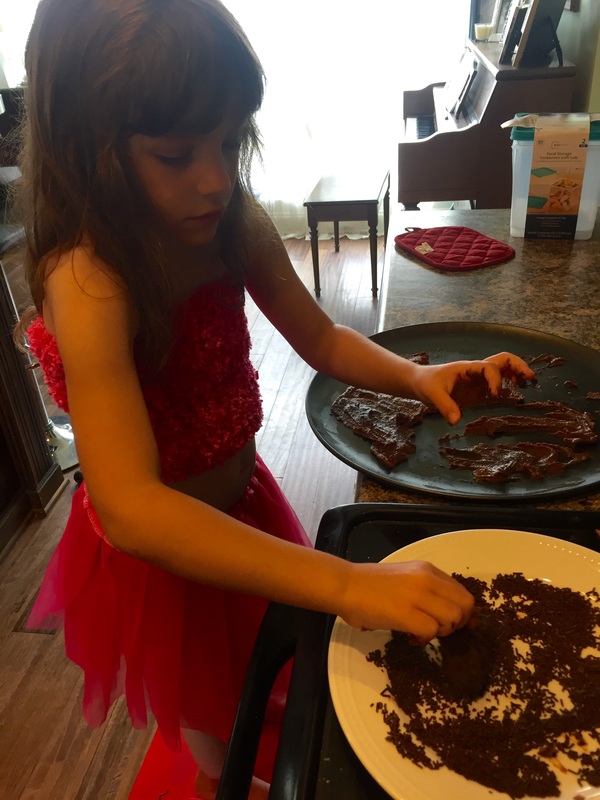 Making Brigadeiros/Fudge Balls |
 The Cheesy Bread was a BIG hit! | 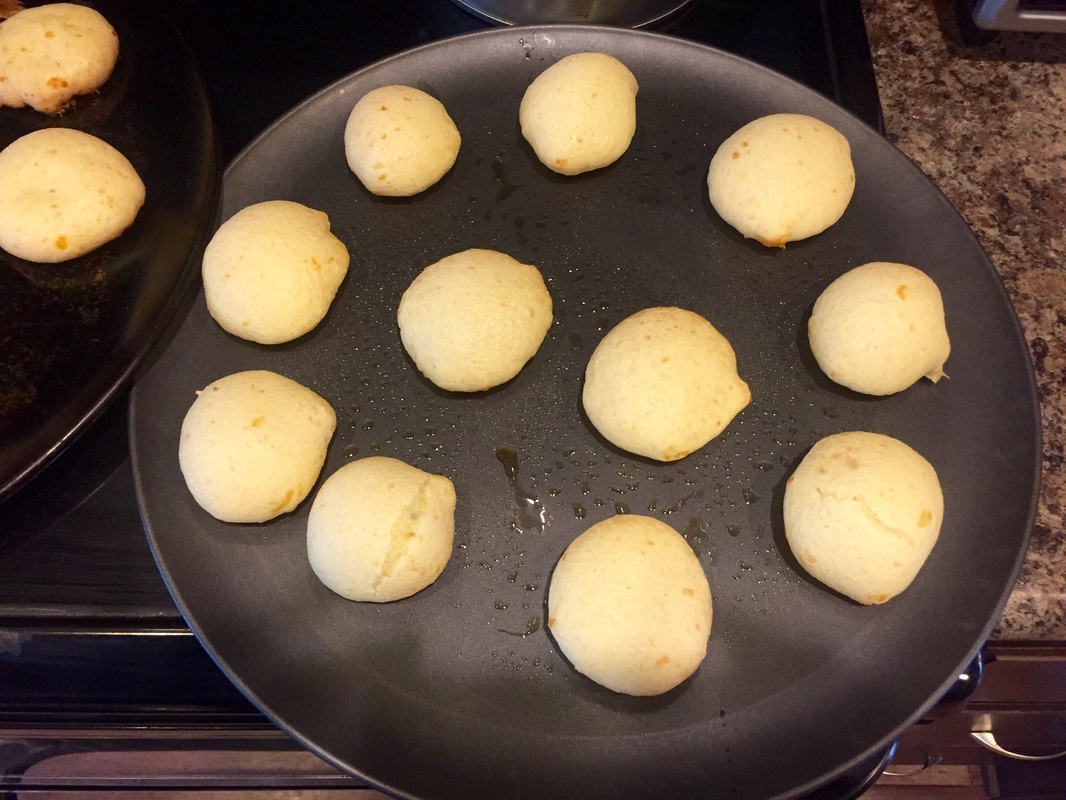 Brazilian Cheesy Breads | 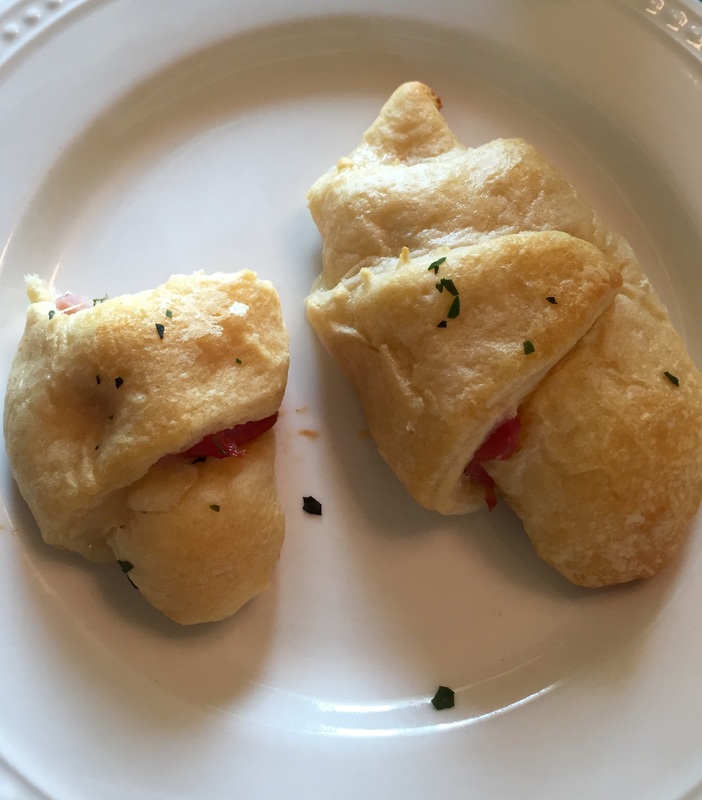 Ham and Cheese Rolls | 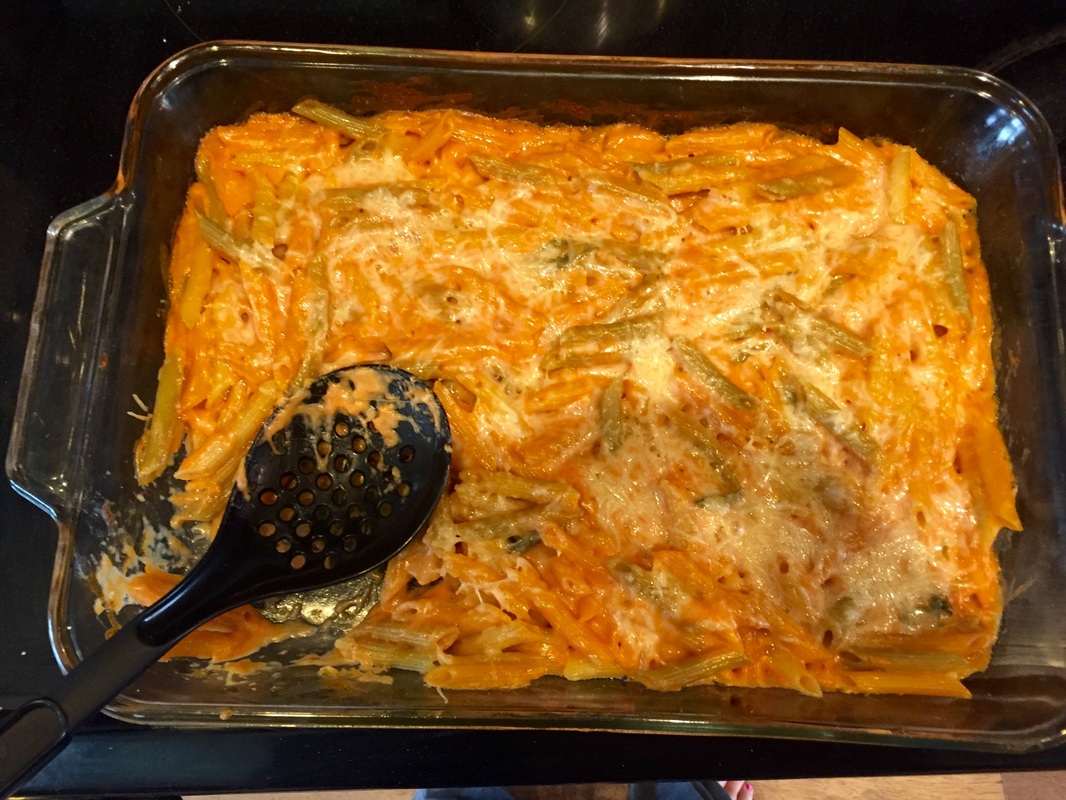 Brazilian Mac n' Cheese |
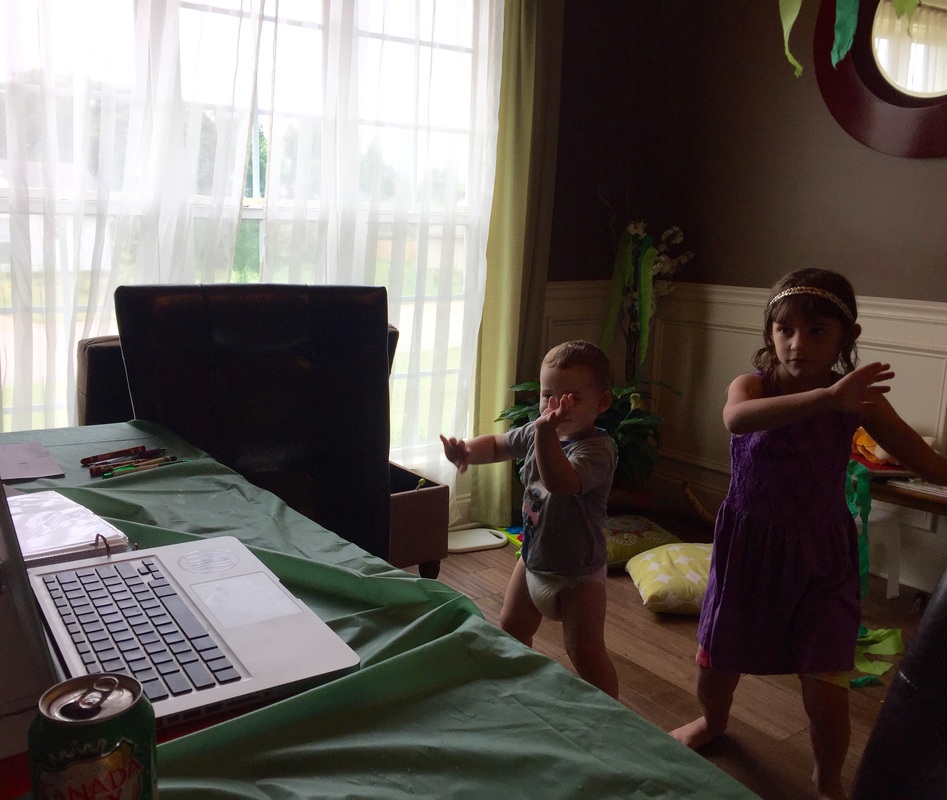
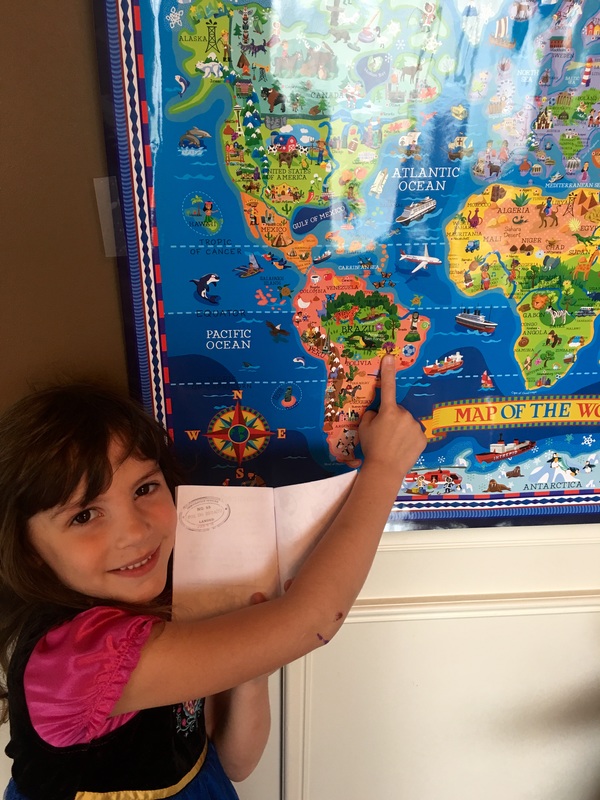
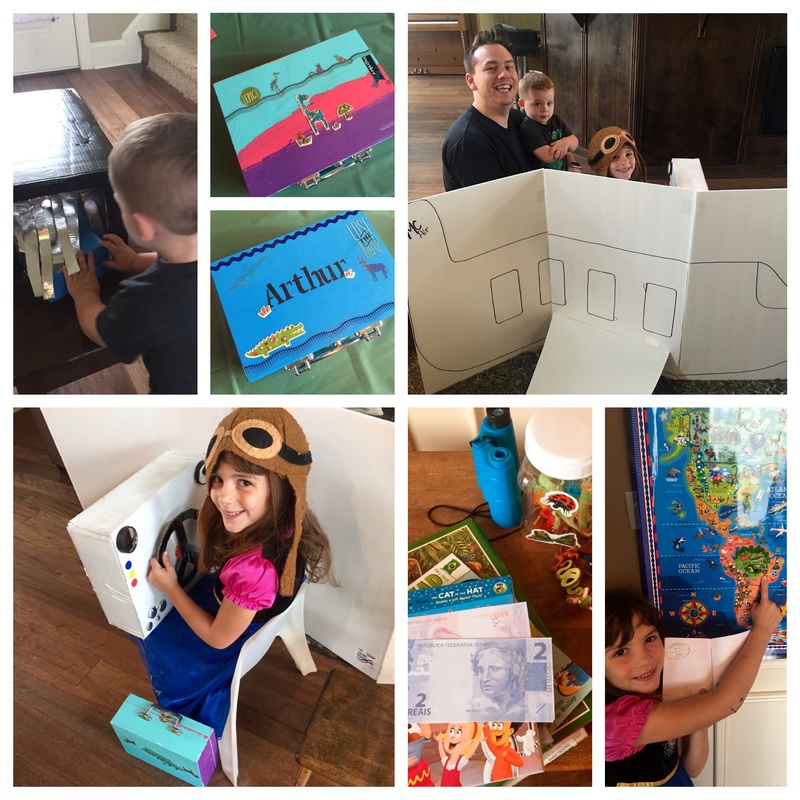
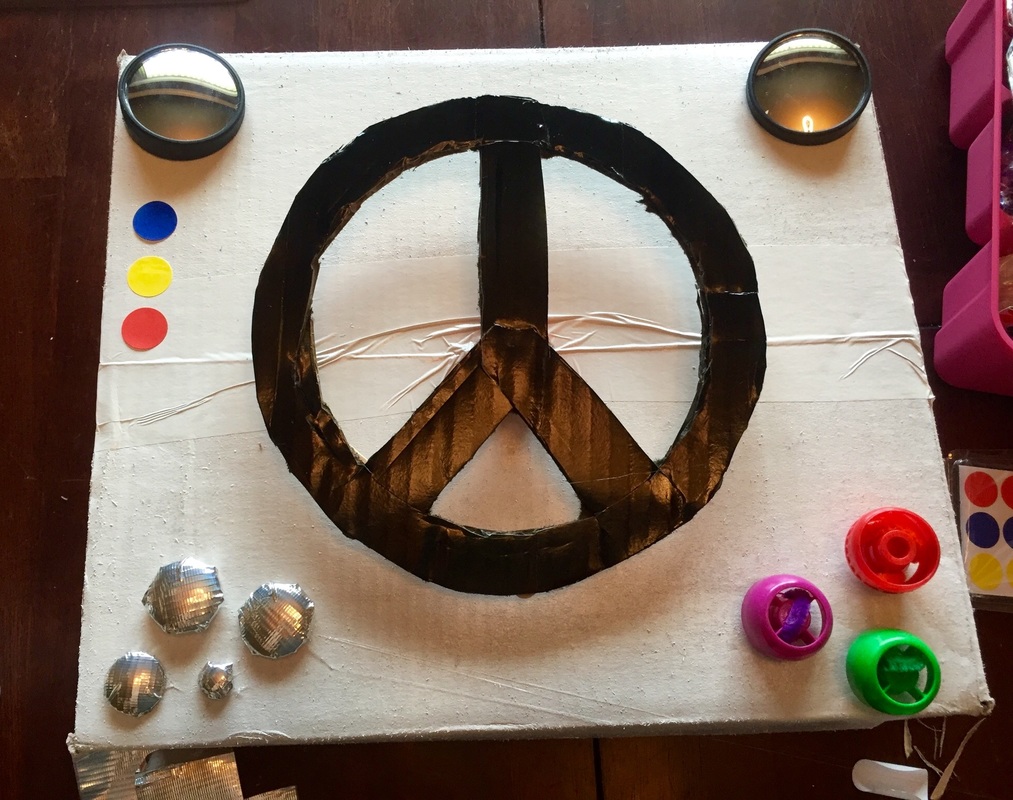
After learning about the rainforest, we learned about the city of Rio de Janeiro. We watched a video about the city and then talked about where it was located. After that we learned about Carnaval! We watched this video of carnaval dancers, tried to learn the Samba with this video and then made our own Carnaval themed headdresses, arm/leg bands and tambourines! Finally, we held our own Carnaval parade. They both had a ton of fun
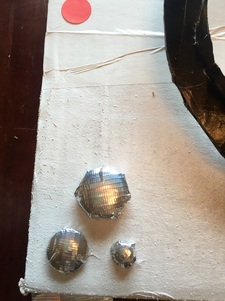
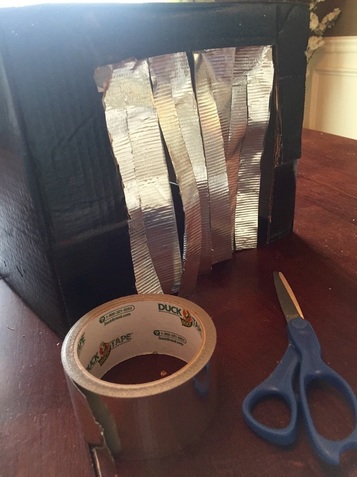
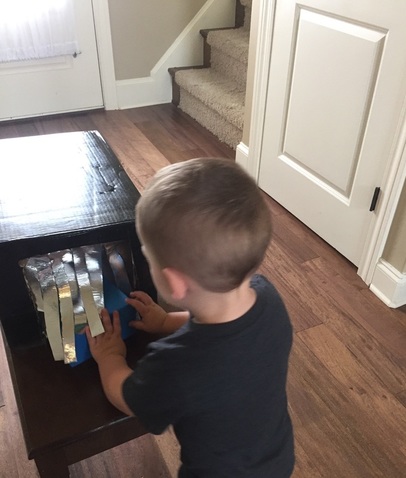
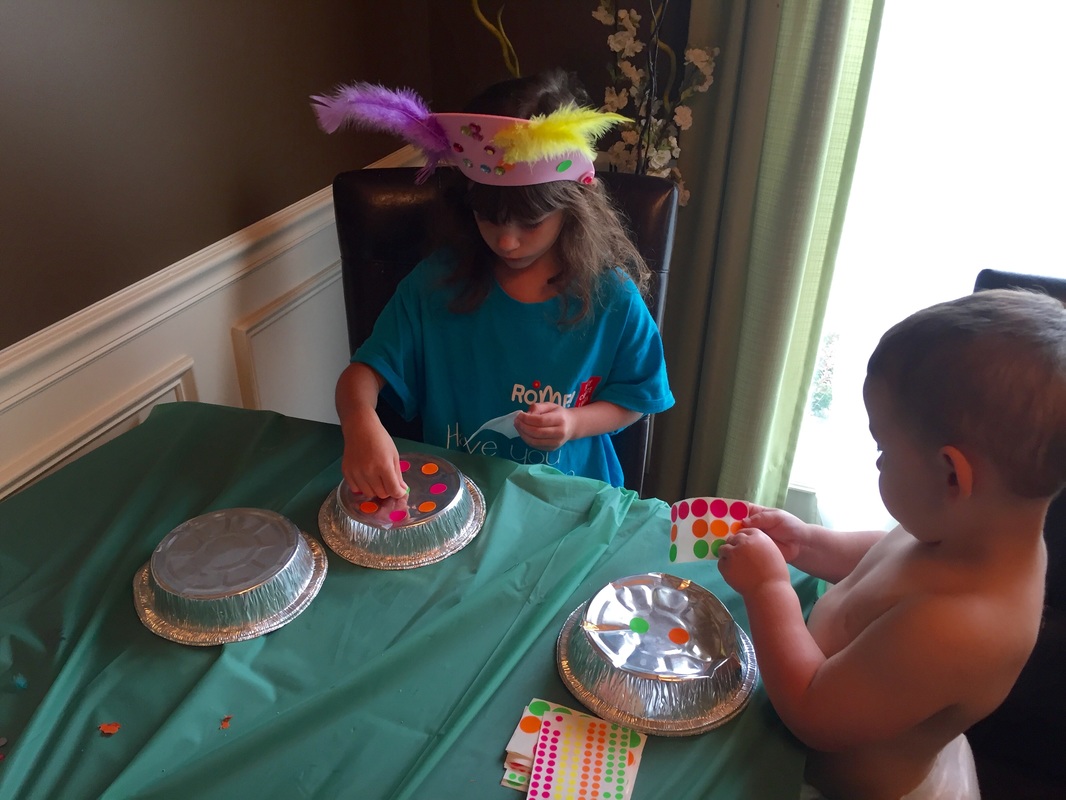 Making tambourines! All you need is two aluminum pie pans, stickers/markers, a hole puncher, pipe cleaners and small jingle bells. Super easy and very fun! | 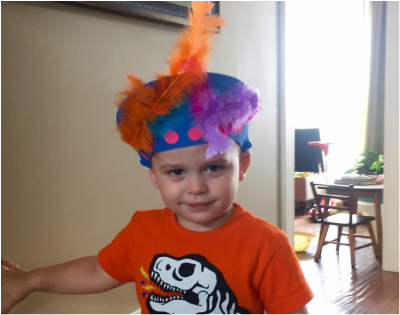 Arthur with his DIY Carnaval headdress! You need a foam visor (flipped wrong ways) feathers, stickers and glue! Bam! A fun project and costume! |
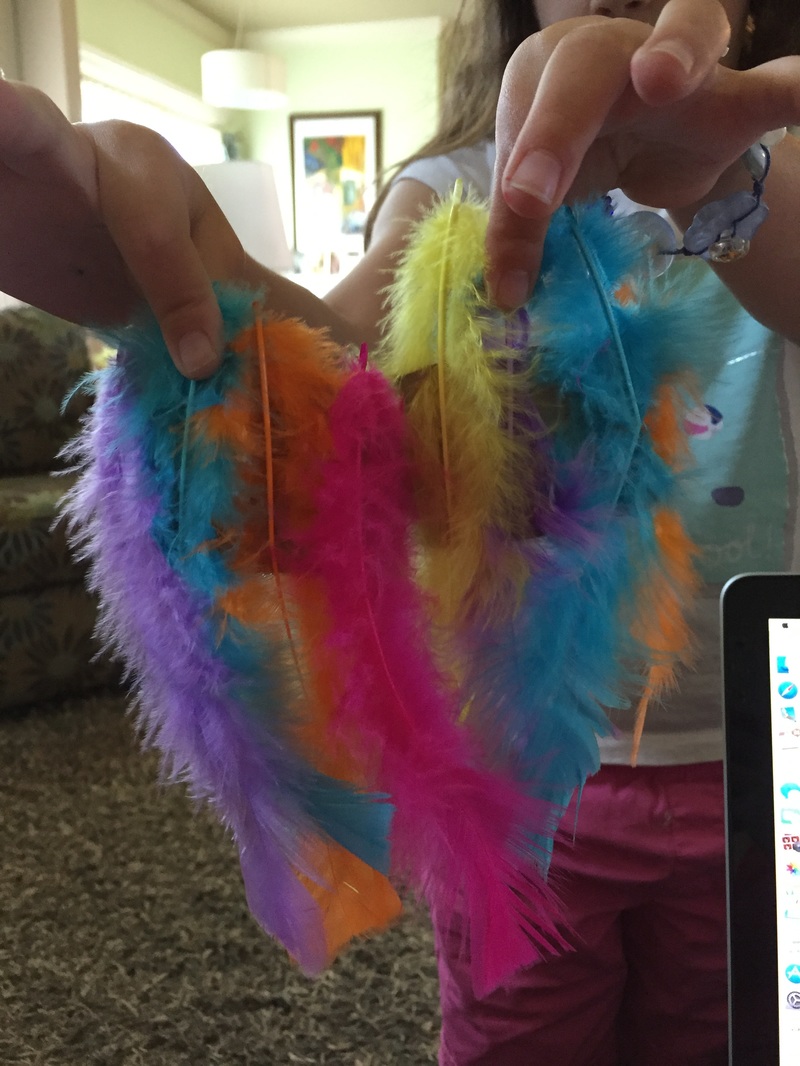 Feathered armbands for Carnaval. You simply glue colorful feathers onto a toilet paper roll that is cut in half length wise and width wise. | 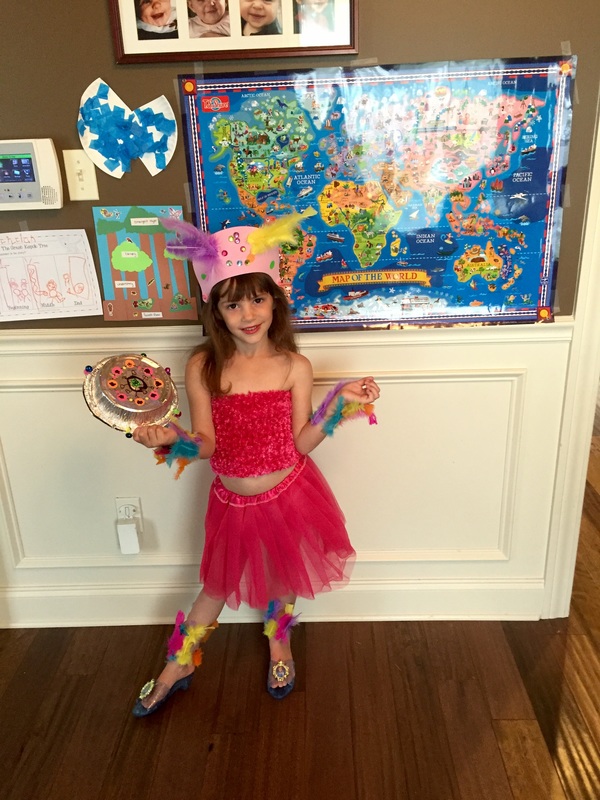 Lilly decided to go all out and raided her dress-up stuff to make it extra fun! |  Lilly's finished headdress. | 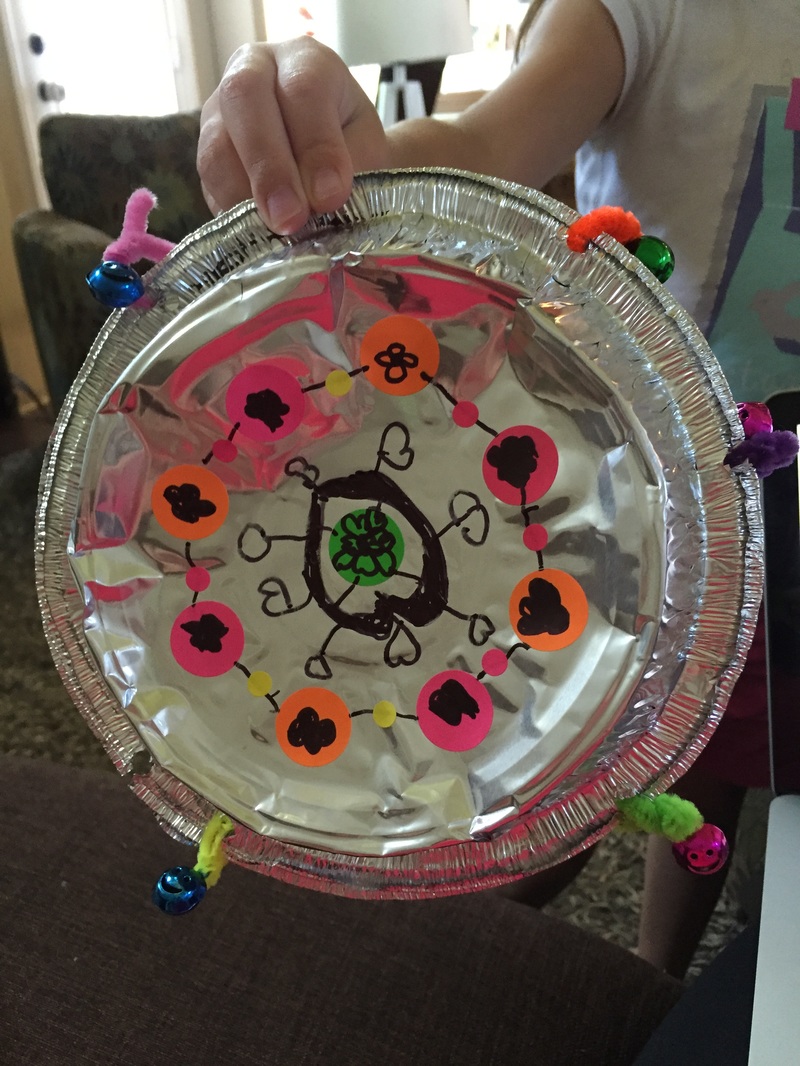 Lilly's finished tambourine. |
We ended by discussing a the popular artist, Romero Britto, from Brazil. We watched a video about his work and then looked at some of his art using google images. Then, Lilly created her own Britto inspired art with a sharpie and markers.
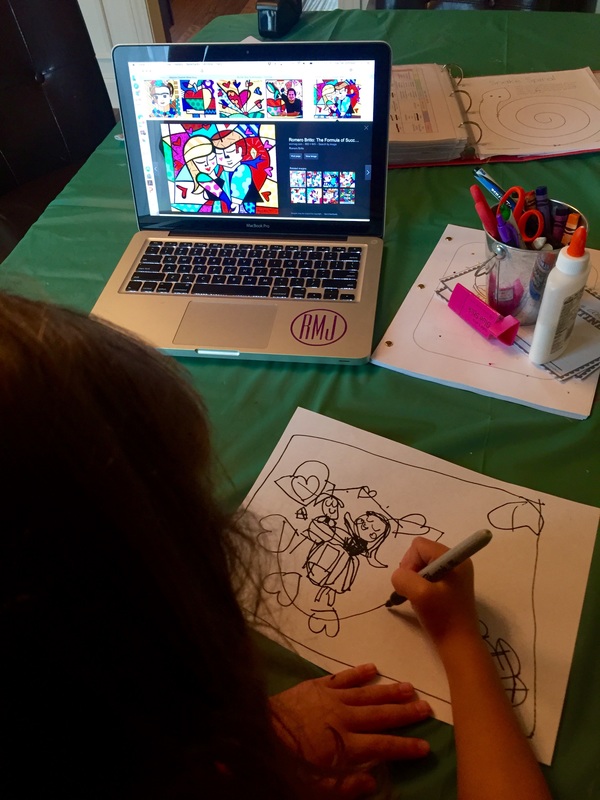 Getting inspired by Britto's work using Google images. | 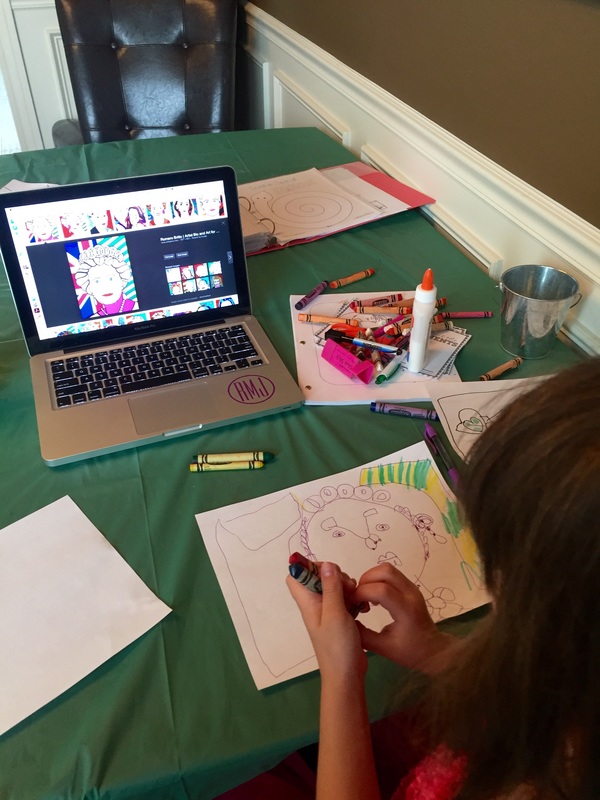 | 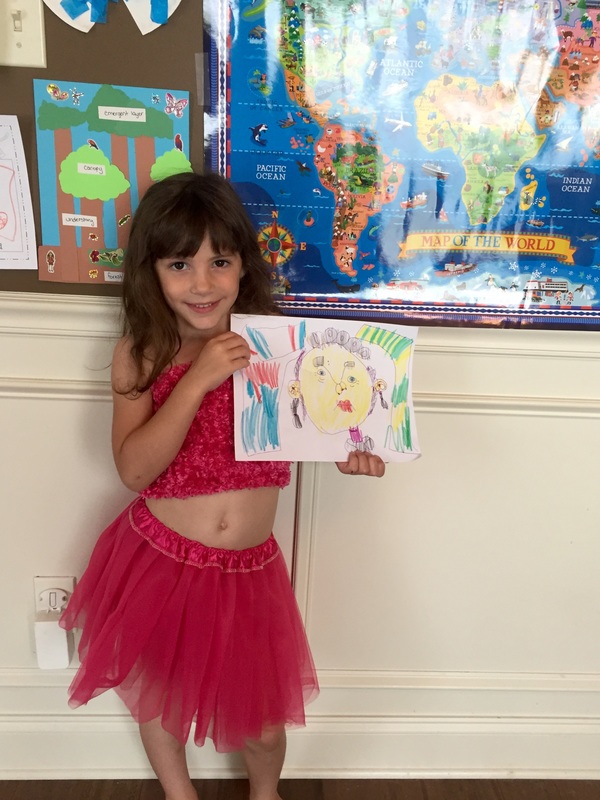 Lilly with her second Britto inspired piece. |
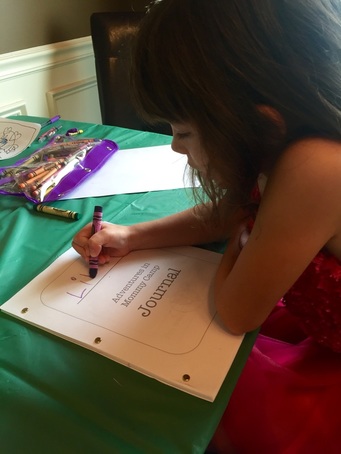
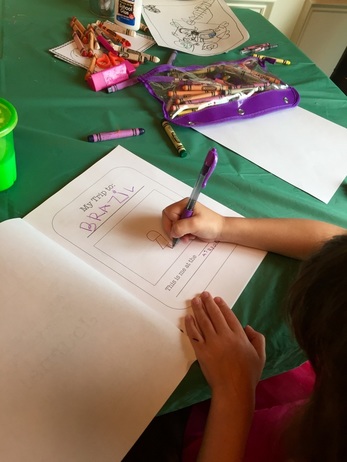
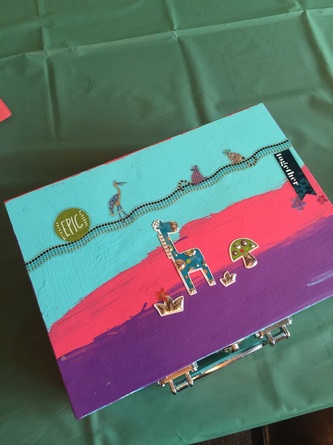
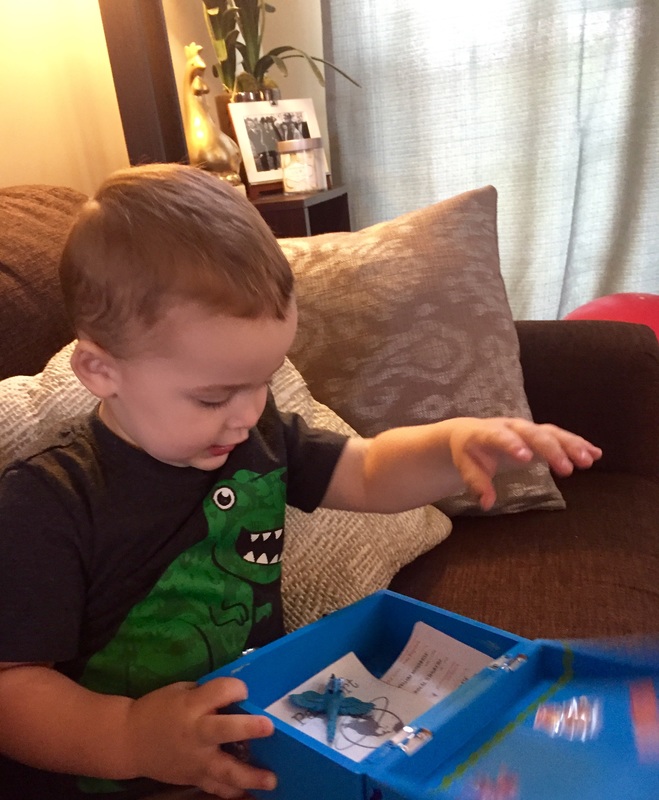
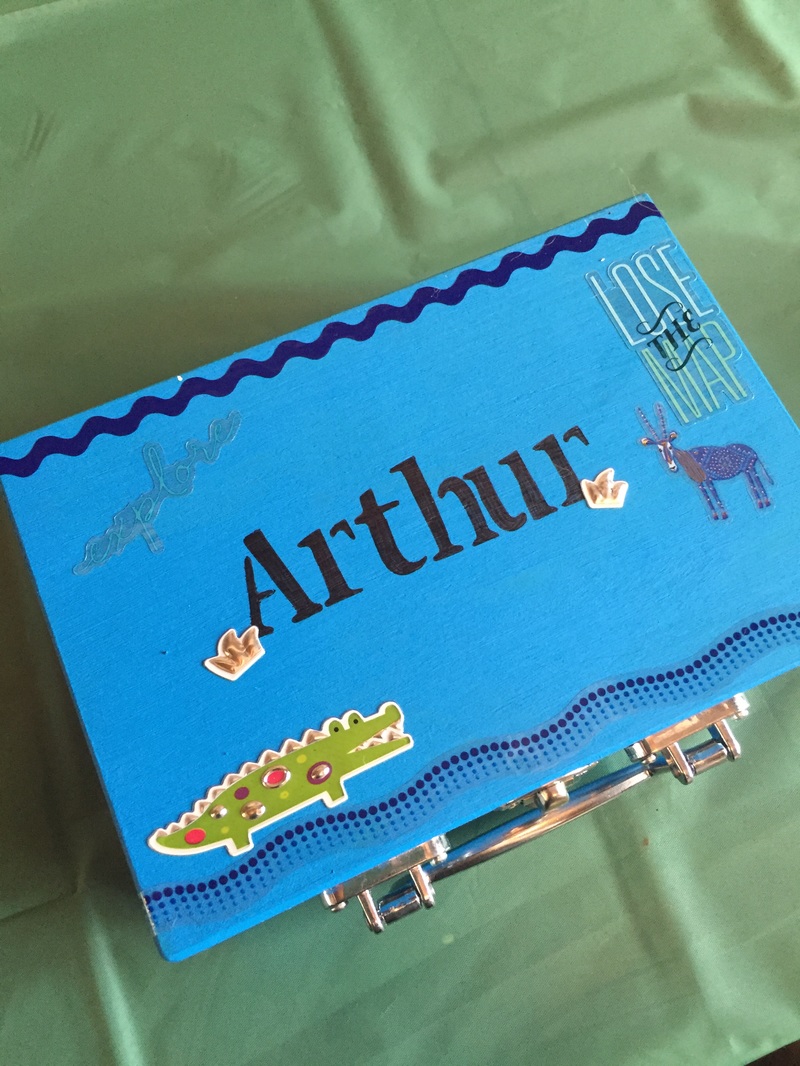
As a close to our first week of MC, we filled out our travel journal. I created the journal and you can download it here. It was a great way to reflect on what we learned as well as get in a little reading and writing practice.
 |  |
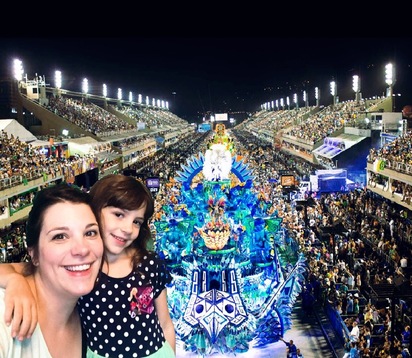
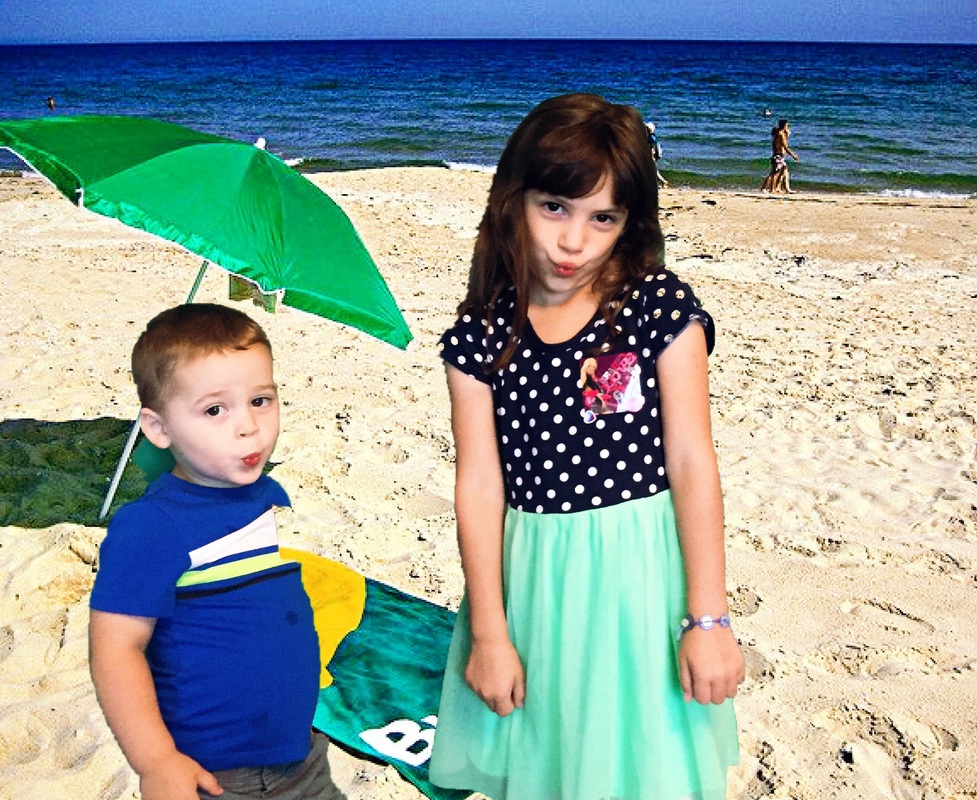
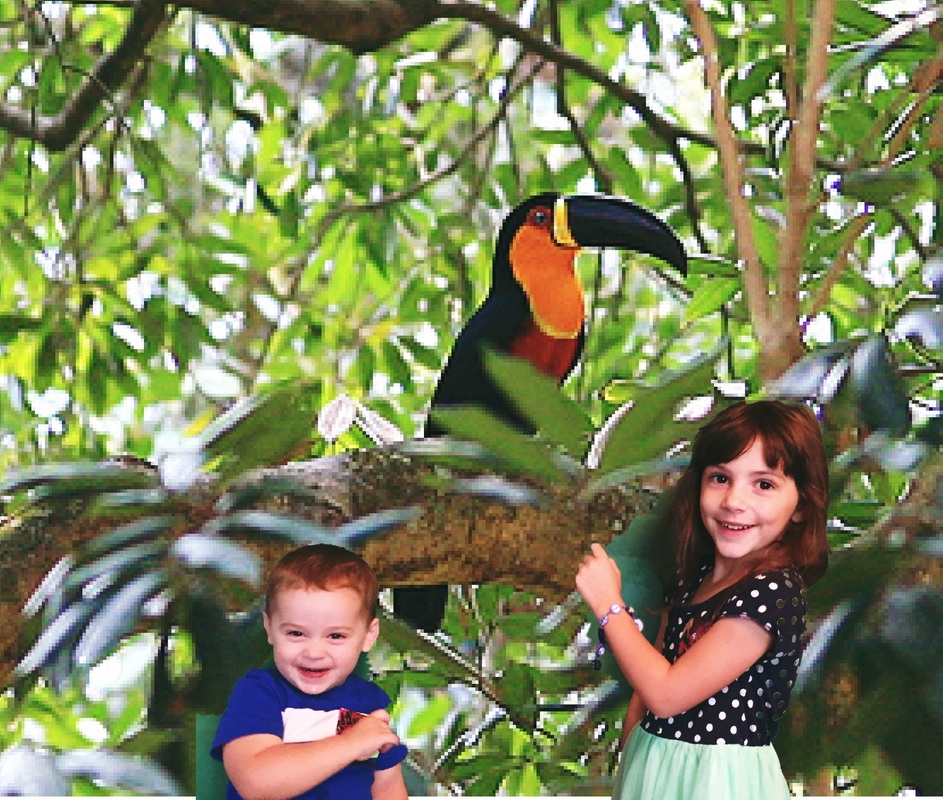
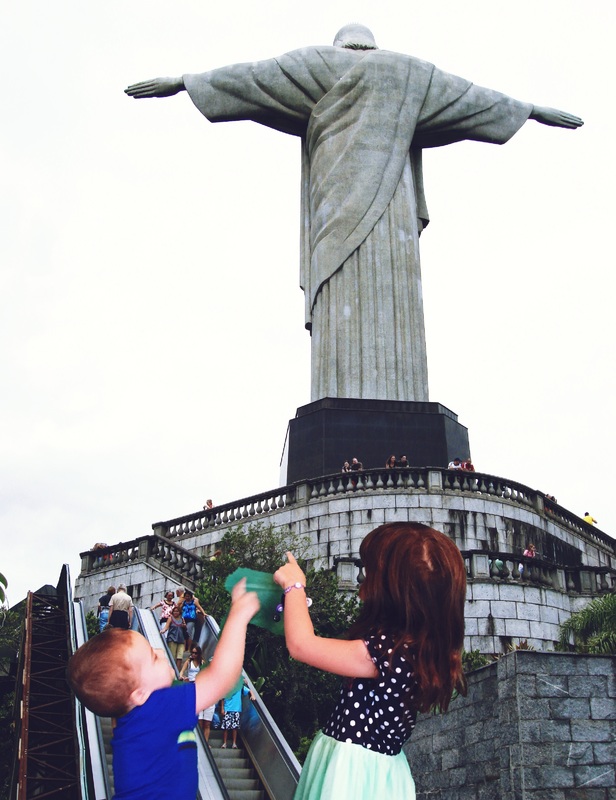
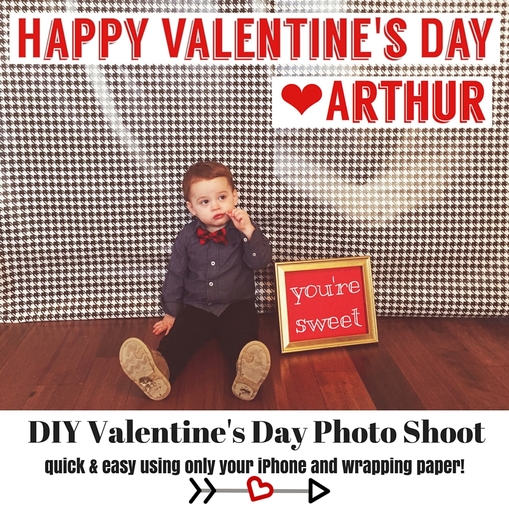
Just for fun, I did some really quick and not super impressive but very fun photoshopping to make us look like we actually visited Brazil. Goofy, I know. I did it all on my phone using the free adobe photoshop app.
 |  |
 |  |
It was a great start to our Mommy Camp for the summer and I can't wait until our next week when we travel to Spain!


 RSS Feed
