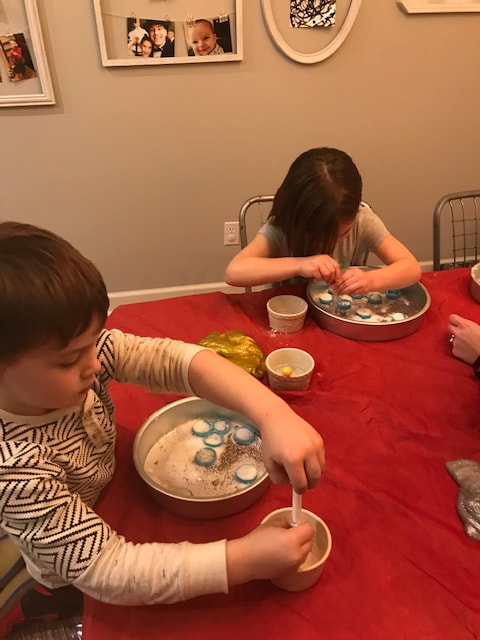
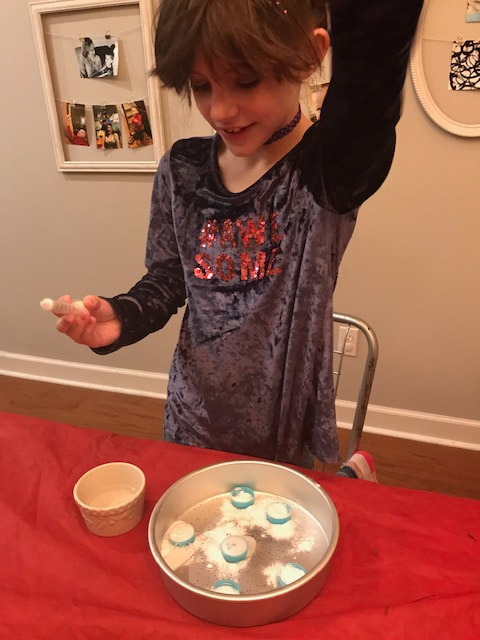
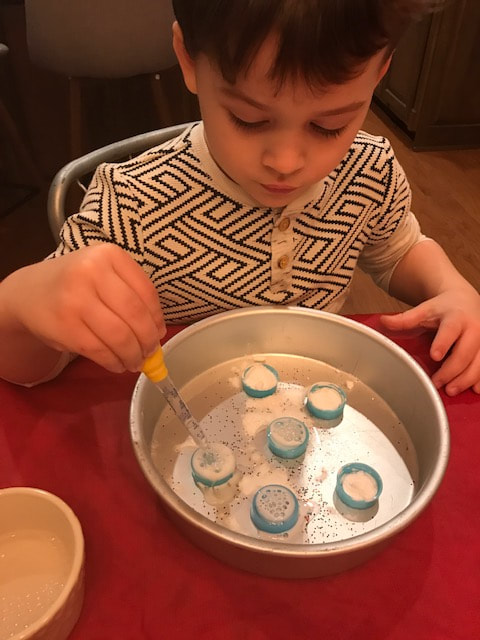
After we played with slime we broke out the fizzy science (always a favorite). I used clean milk storage container lids that I have been holding onto for ages to house the fizz mixture. I first poured glitter into the lids and then covered it with baking powder so you didn't know that it would be sparkly until you added the vinegar. Then, I gave the kids a pipette and bowl of vinegar and let them watch the reaction.
|
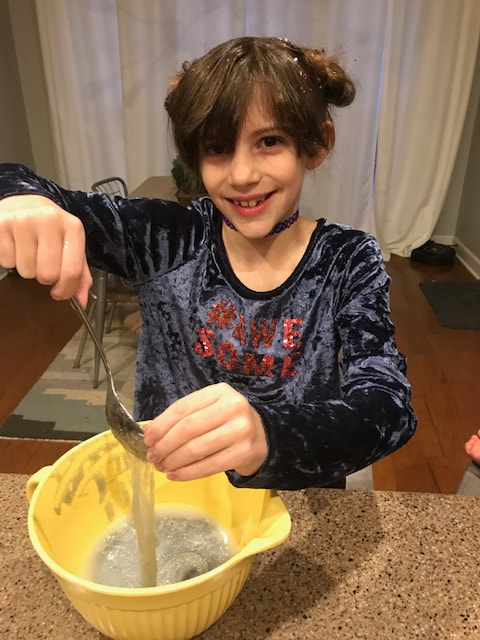
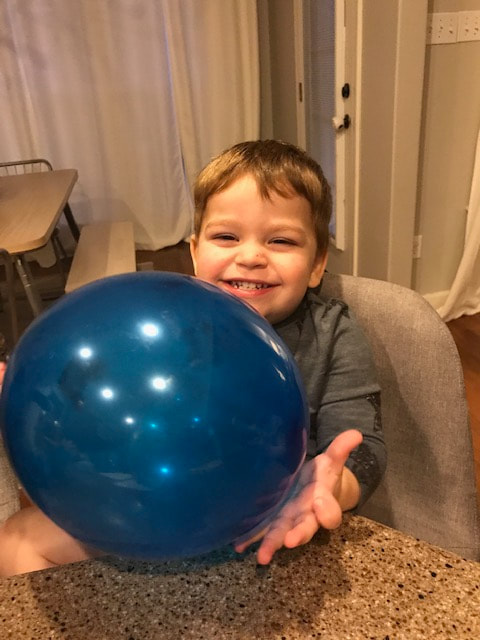
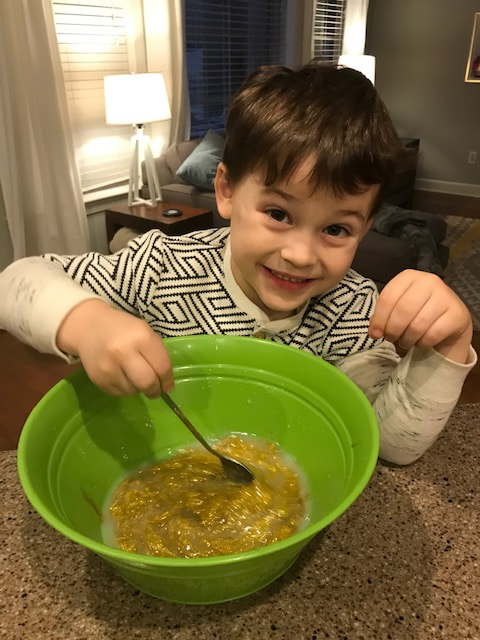
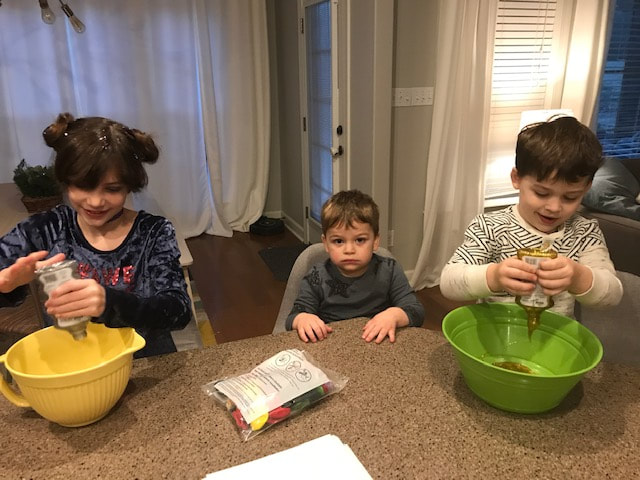
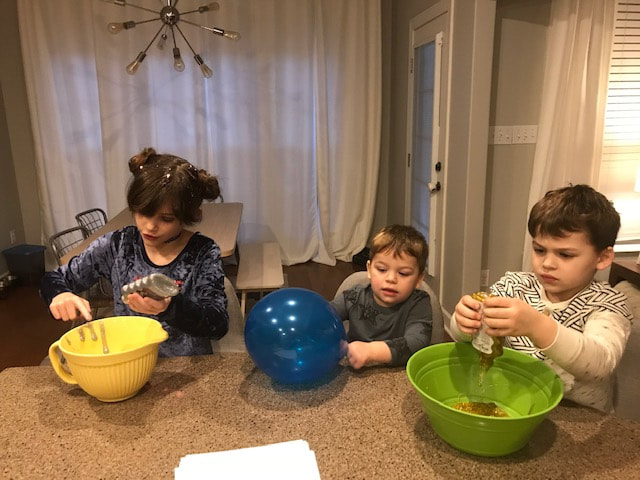
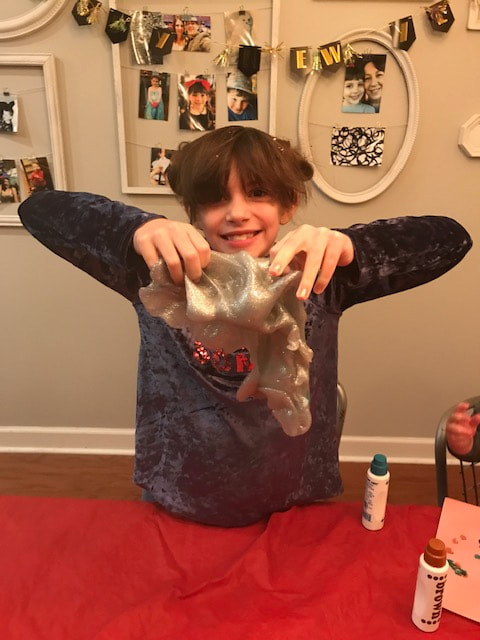
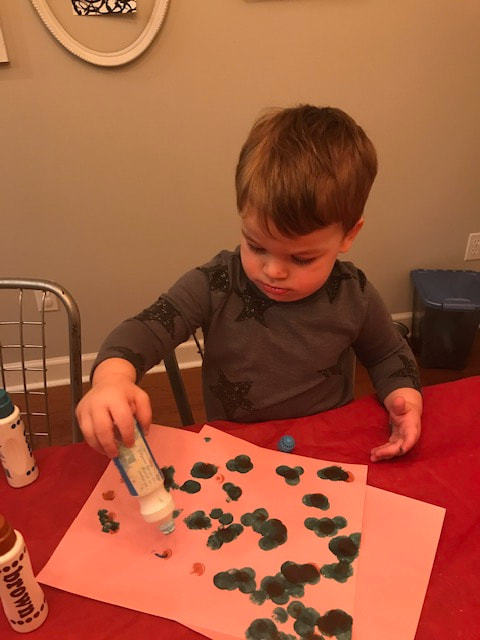
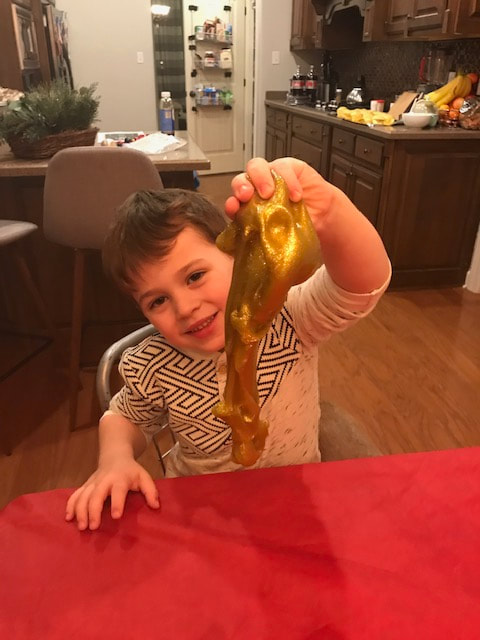
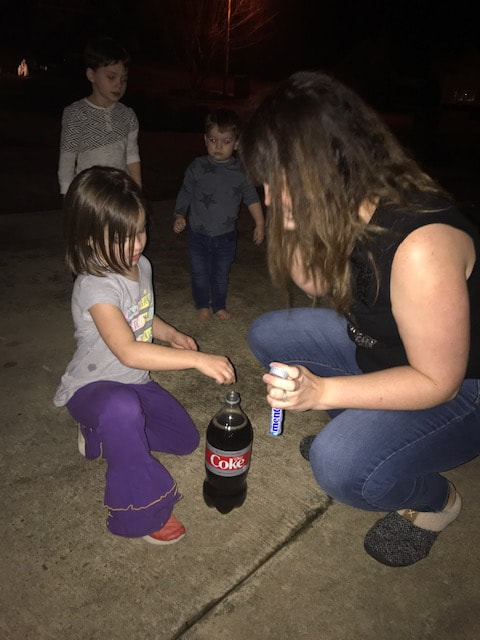
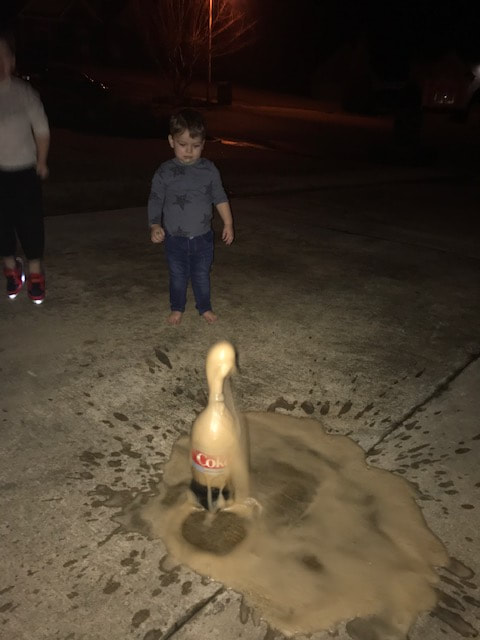
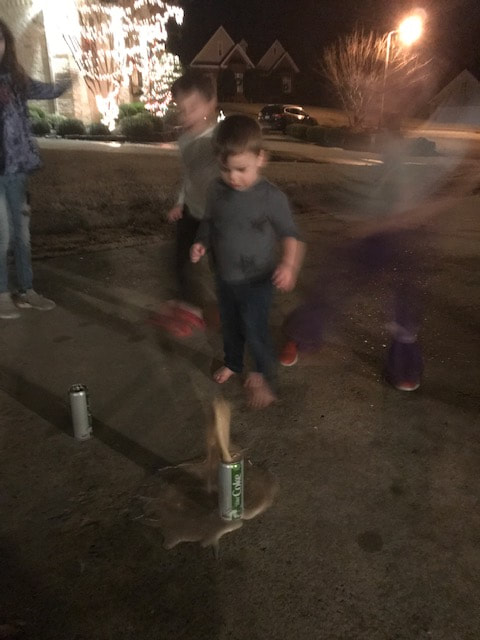
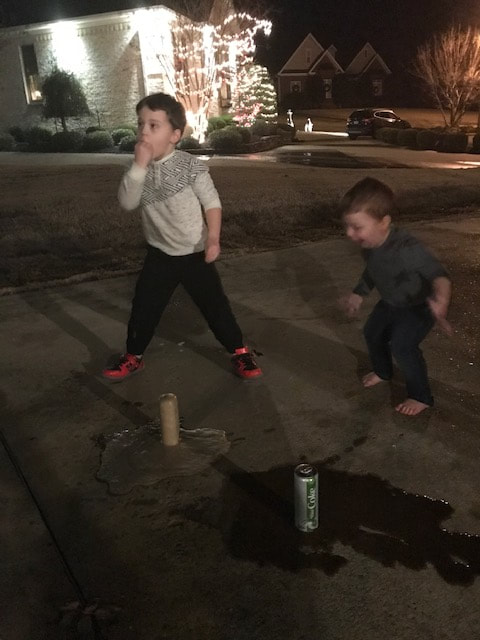
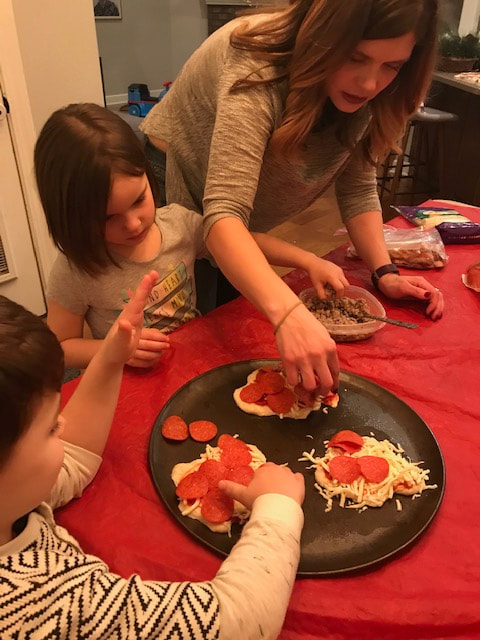
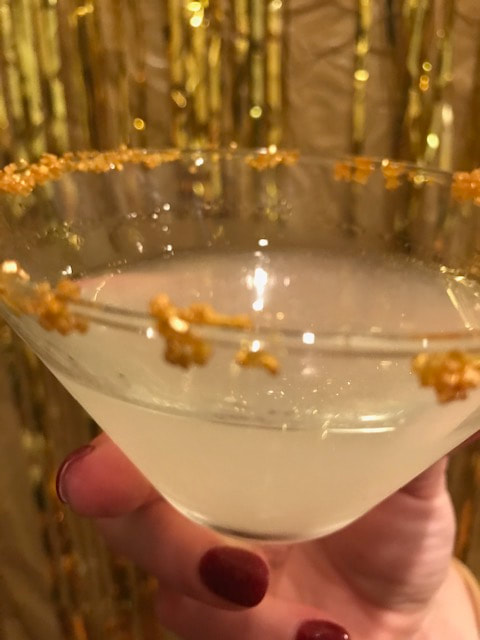
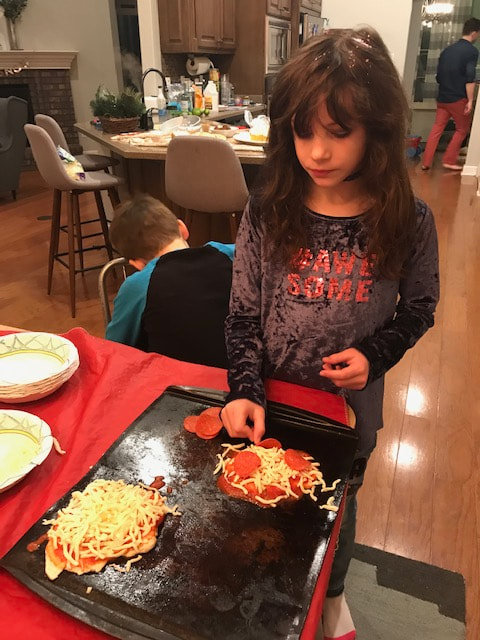
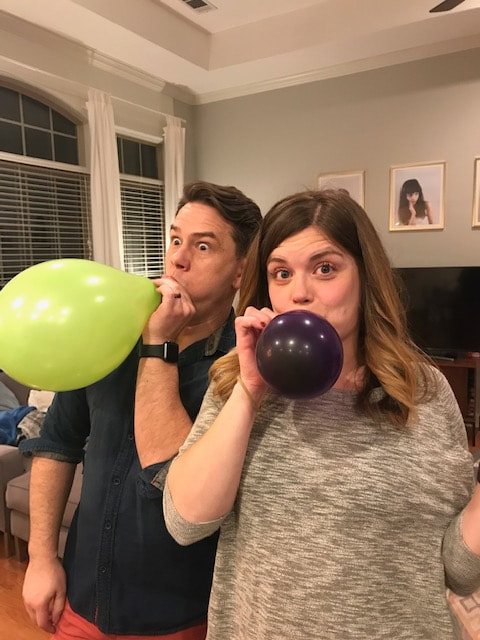
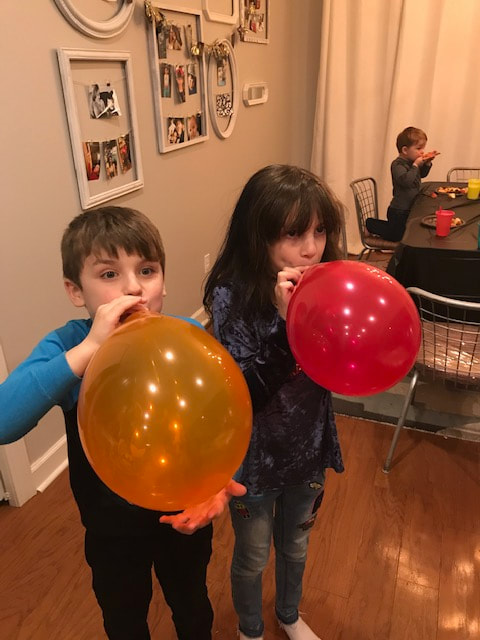
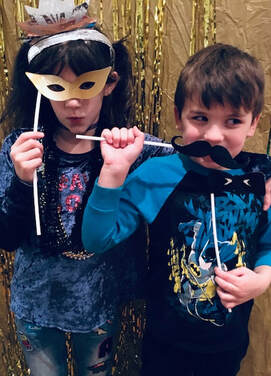
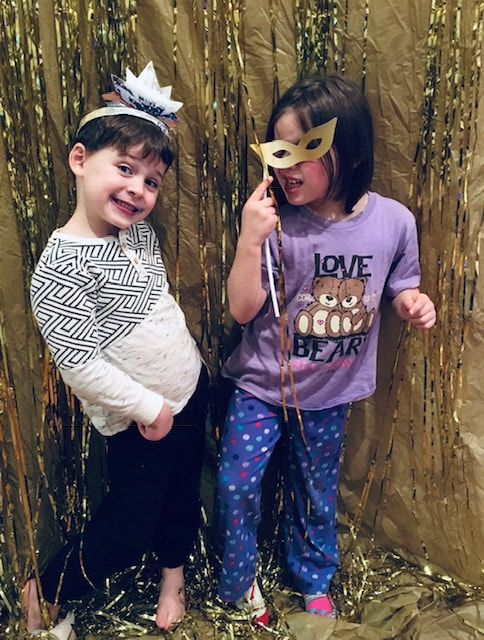
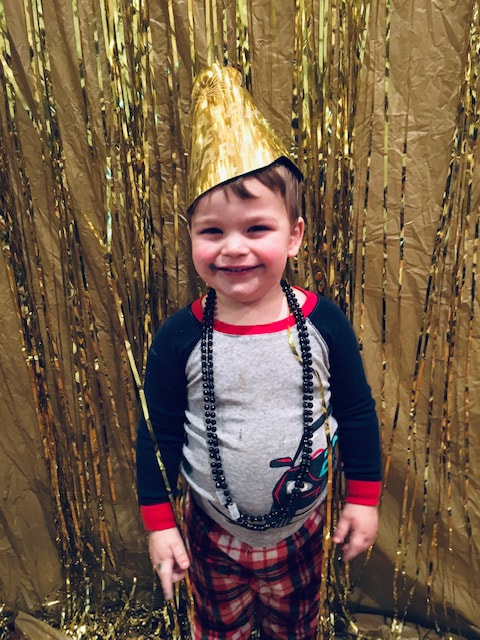
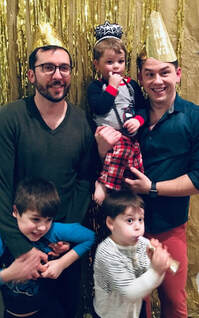
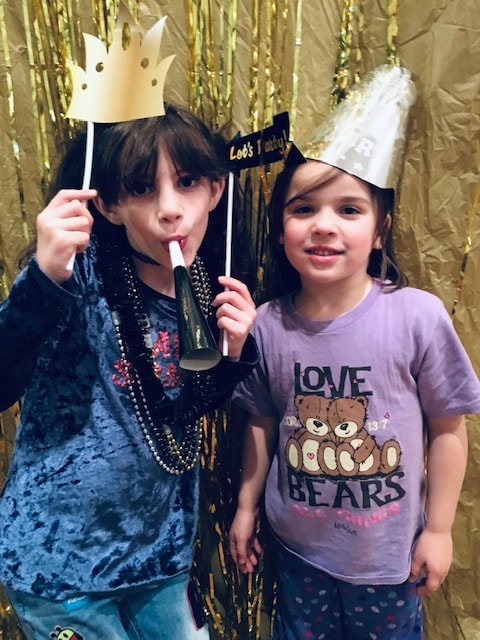
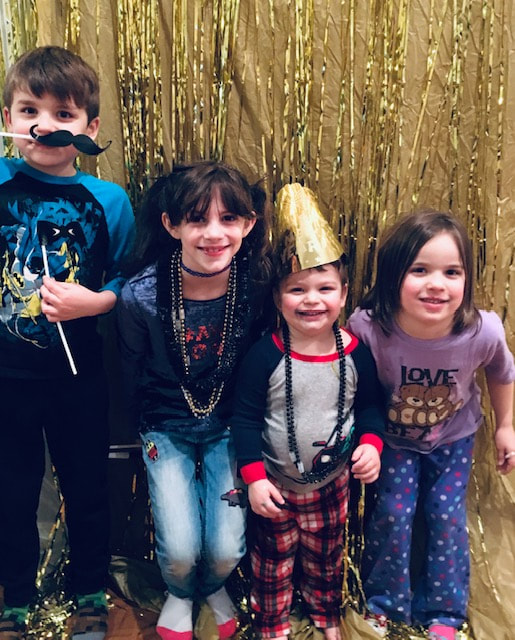
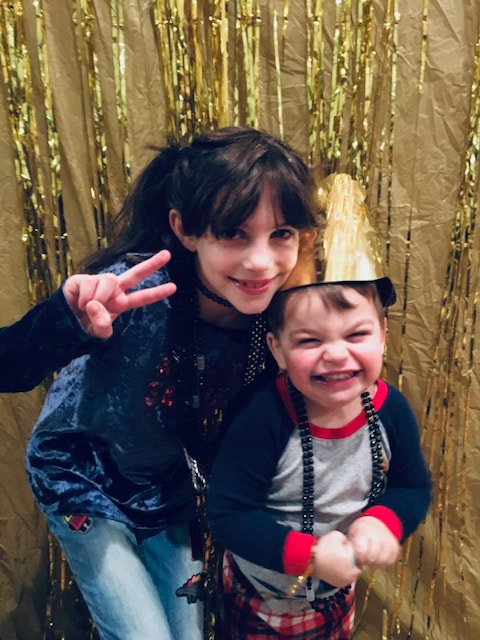
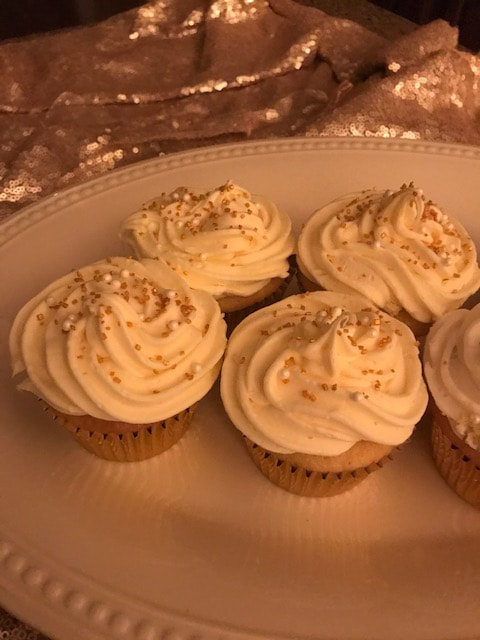
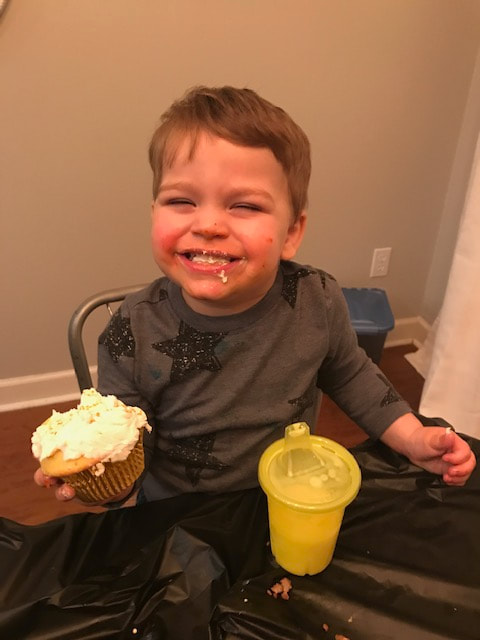
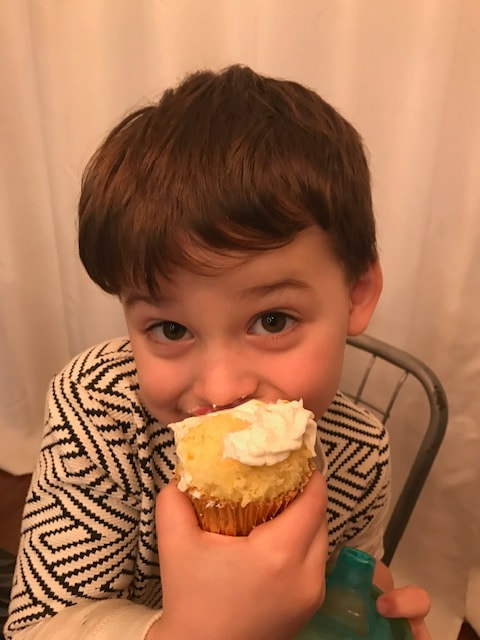
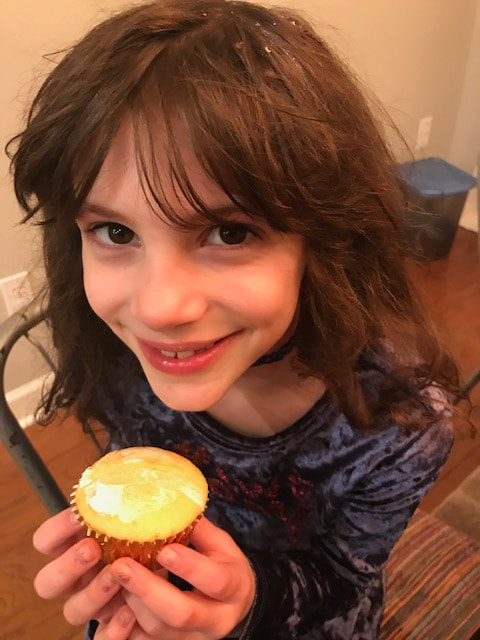
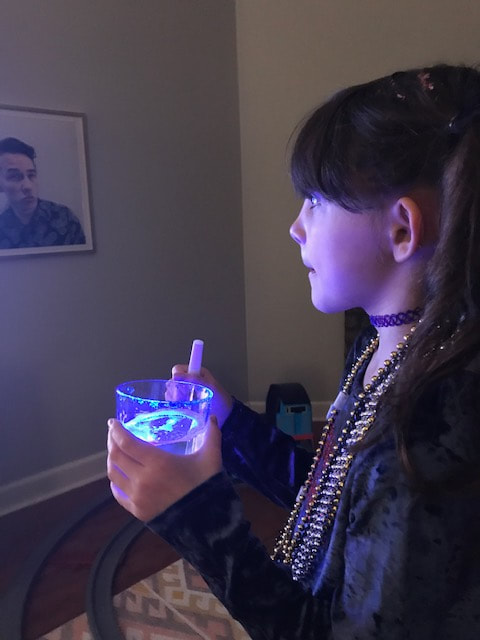
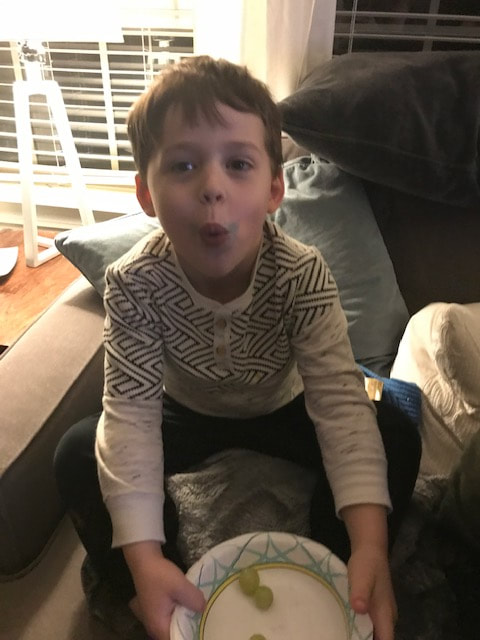
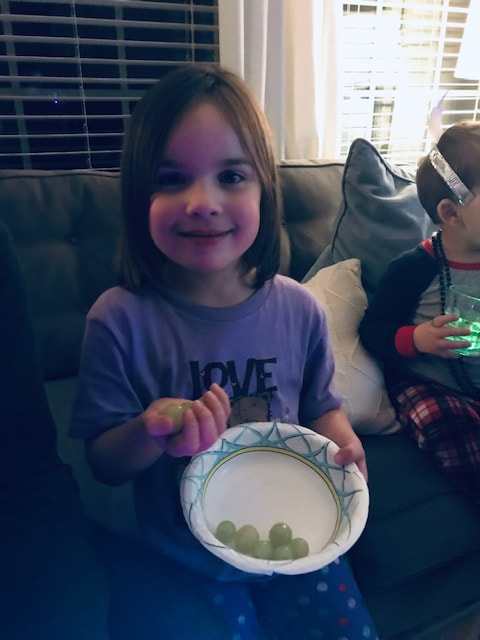
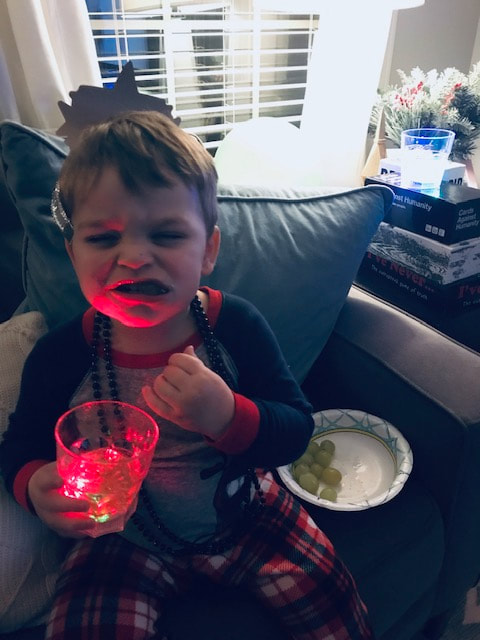
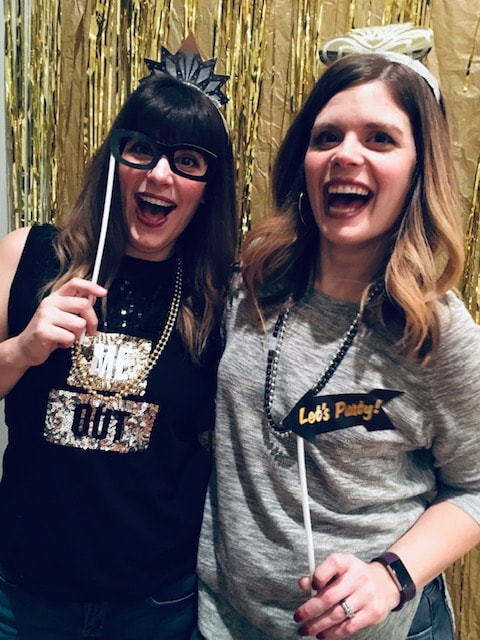
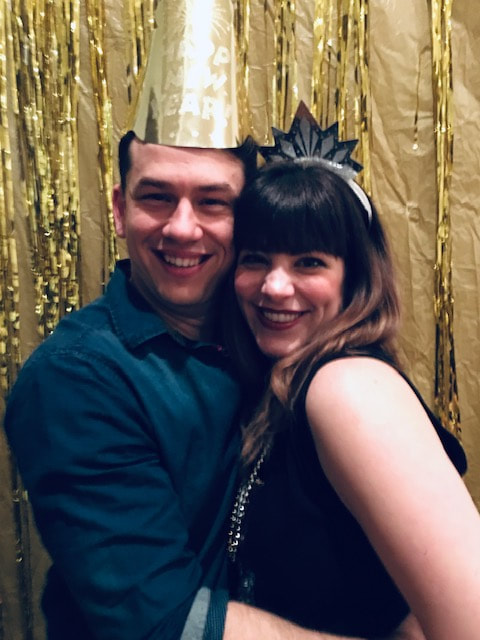
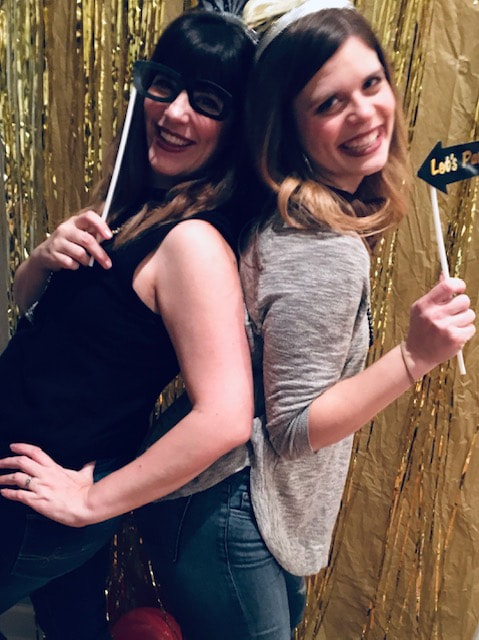
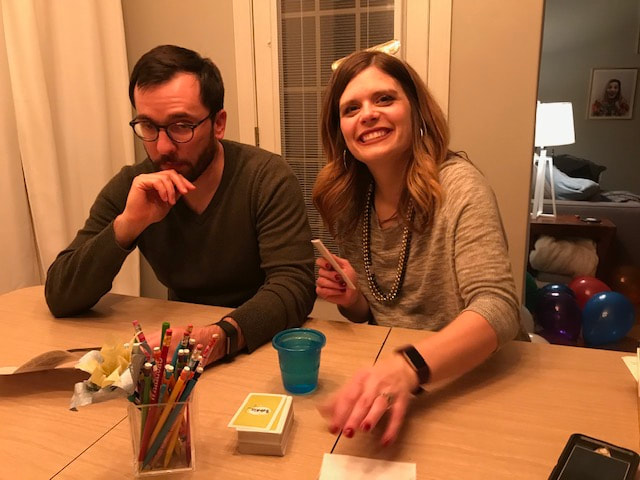
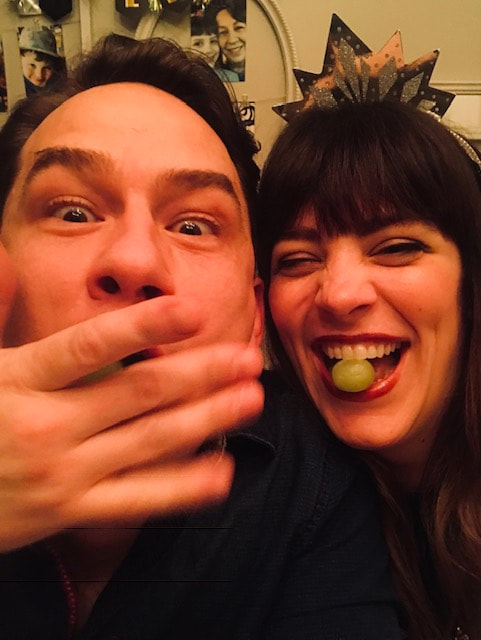
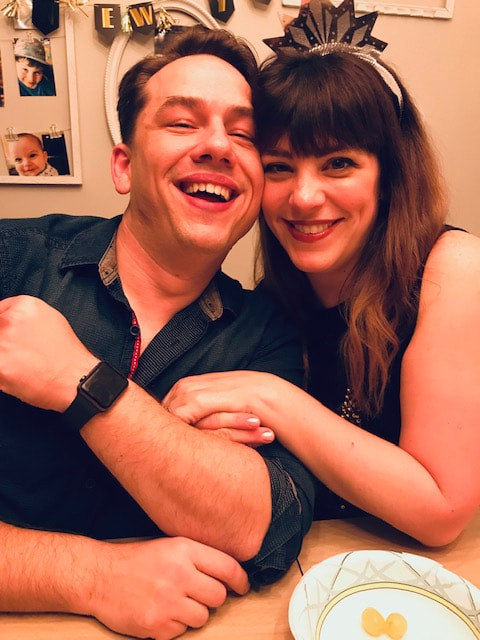
We tried something a bit different this year and celebrated New Year's Eve at our house with our kids and a few friends. We did some fun, kid activities in the early evening and then celebrated "midnight" using a Netflix kid countdown. Once the kids were all in bed, we enjoyed adult time and celebrated the true midnight countdown while the children were all snoozing. So, I created a day of activities for kids and thought I'd share it with you! It includes food and snack ideas, games, crafts, science and art projects. I hope you enjoy! You can read about our fun and see all of the pics below! We kicked off the evening with making glitter slime, conducting fizzy, sparkly science experiments with baking soda, vinegar and glitter and making exploding soda with diet coke and mentos! Alan didn't get in on the slime making but he did enjoy a balloon while his brother and sister mixed! Once it was made, Alan had no interest in playing with the slime so he had fun with some dot markers instead. After we played with slime we broke out the fizzy science (always a favorite). I used clean milk storage container lids that I have been holding onto for ages to house the fizz mixture. I first poured glitter into the lids and then covered it with baking powder so you didn't know that it would be sparkly until you added the vinegar. Then, I gave the kids a pipette and bowl of vinegar and let them watch the reaction. After fizzy science we headed outside for our soda "fireworks". Kids dropped a mento into a bottle of diet coke to see the fizzy explosion. It was a huge hit! Everyone was ready to eat after all of the fun so we headed back inside to make pizzas! Originally, we were going to make them say "2019" but, by this point we (the parents) were maxed out on kids and such so we just let them make mini pizzas and made ourselves a big, adult pizza and a few fancy cocktails to recover. We used gold sprinkles to rim our martinis and the recipe was one of our favorites that we discovered on Halloween this year that you can find here (We didn't make them black this time but we did add the luster dust to make them extra fancy.) While the pizzas cooked and after we had a recover martini or two, we set up the balloon drop. Details can be found in the MC document but, basically, tape a few plastic table cloths together and hang it like a basket from the ceiling. Then fill it with balloons and pull it down when you're ready. After dinner we had a bit of fun with the photo wall and conducted year in review interviews with all of the kids. This was a super fun activity that we intend to repeat every year. I created the photo wall with tape, a plastic, gold tablecloth and a gold fringe backdrop. I saved the props from last year (tossing anything that said 2018) which I purchased at Aldi. After the photo fun and interviews we enjoyed some festive cupcakes courtesy of Betty Crocker and a fancy icing tip. I'm all about easy but fabulous. Then we realized that is was almost 9:30 and it was time to wrap up the kid portion of the evening. So, we found a Netflix countdown video, gave all of the kids light up cups (purchased at Aldi) with sparkly juice and handed out party crackers. We also participated in a Spanish tradition (since I'm a Spanish teacher and I think it's super fun.) where you try to fit as many green grapes in your mouth as the clock chimes to gain good fortune in the new year. So, all of the kids got a bowl of grapes too. I only got a video of the ball drop and am having an issue getting uploaded so, just know, they loved. It was great and worth the time to make. I also have very fun videos of them with party crackers. They were messy but very fun. After we put the kids to bed (They got to have a sleepover so that made the evening even more awesome for them.) We took a few photos and then played card games until midnight. When we participated in eating grapes and, of course, enjoyed some champagne. I hope you had a great New Year!
0 Comments
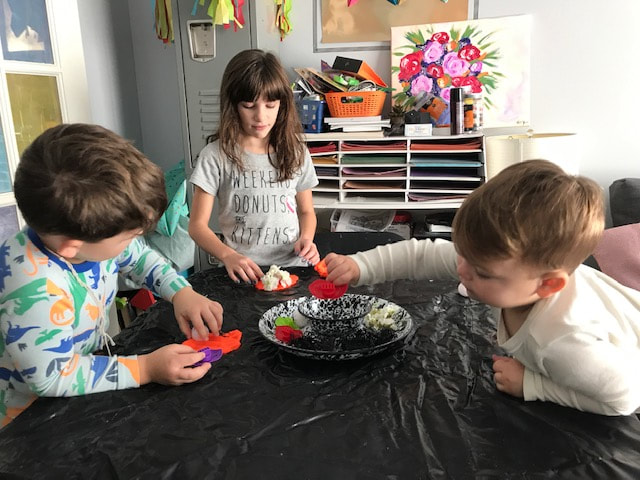
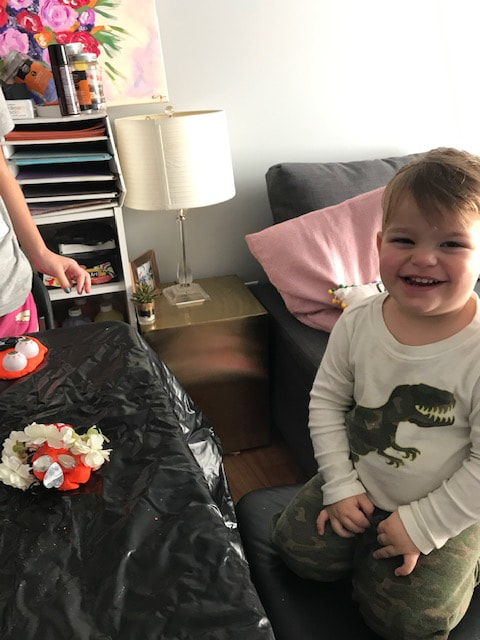
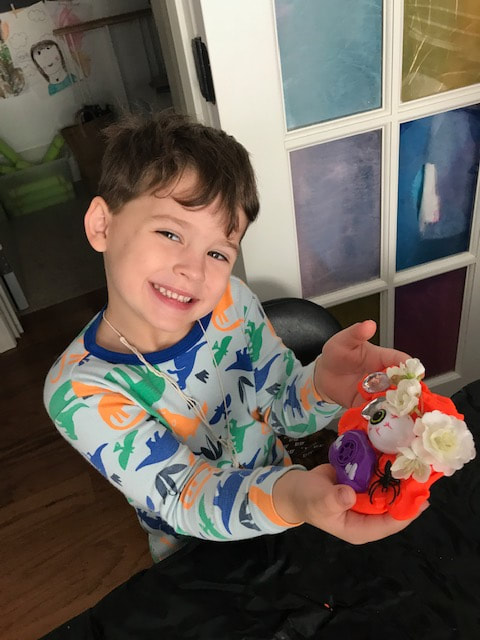
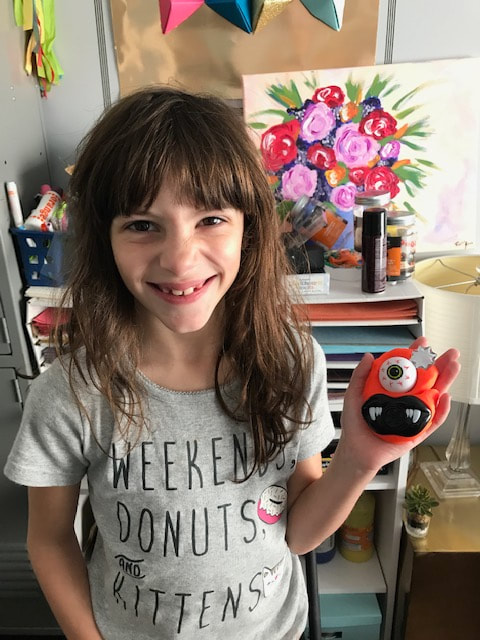
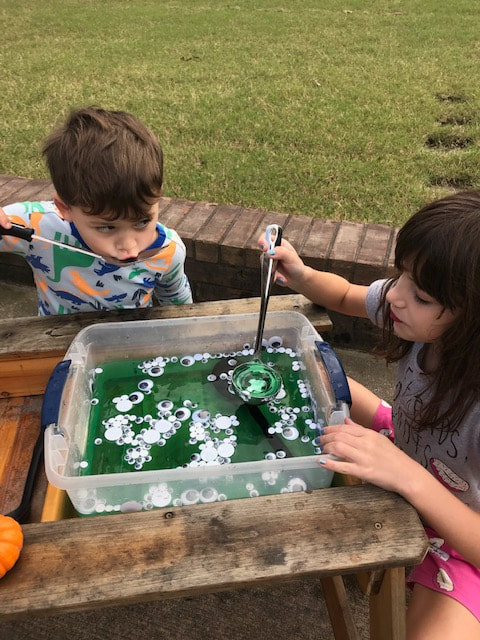
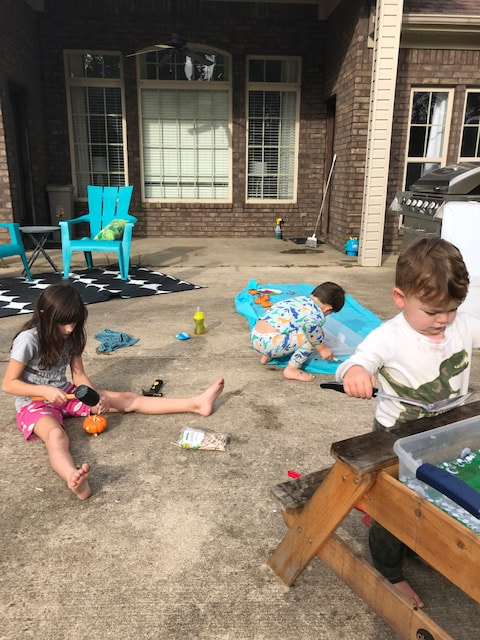
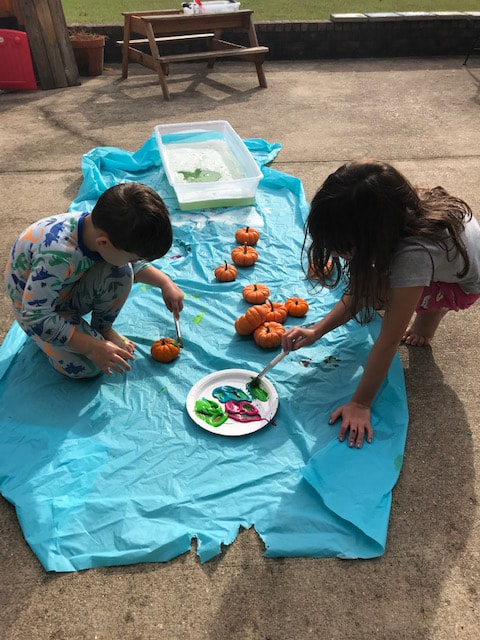
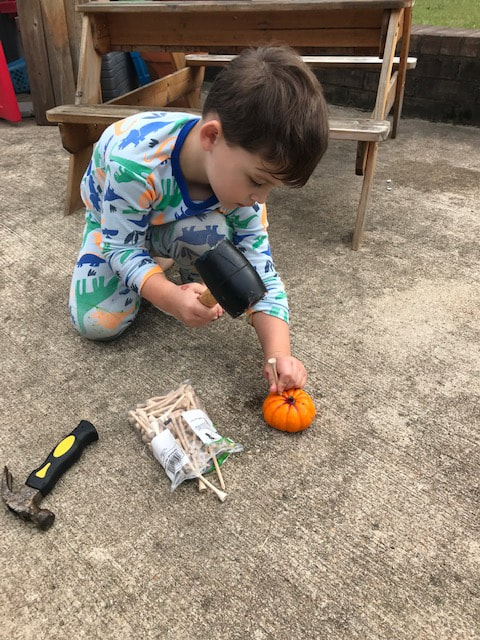
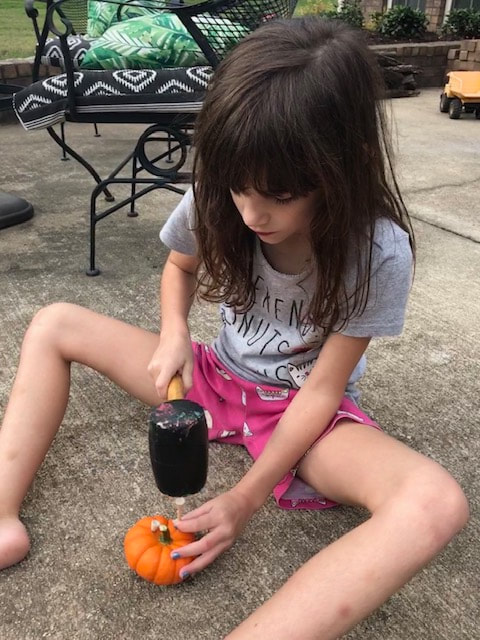
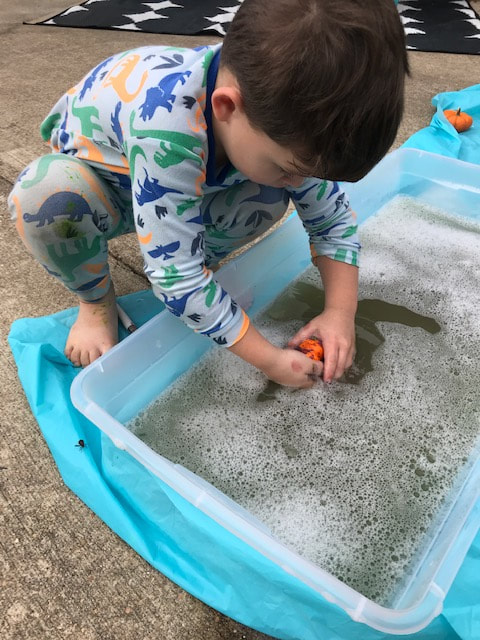
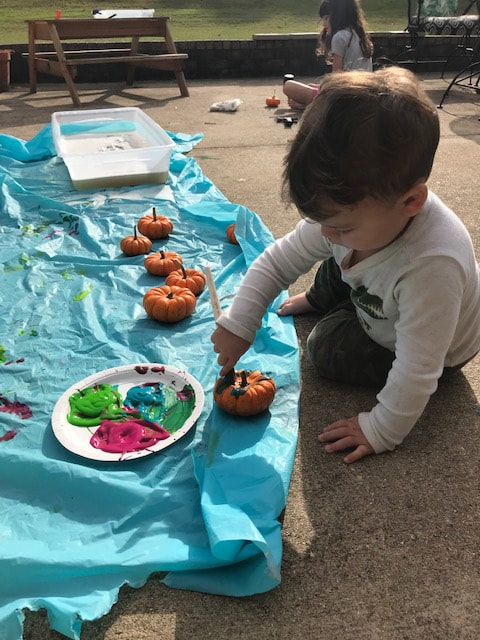
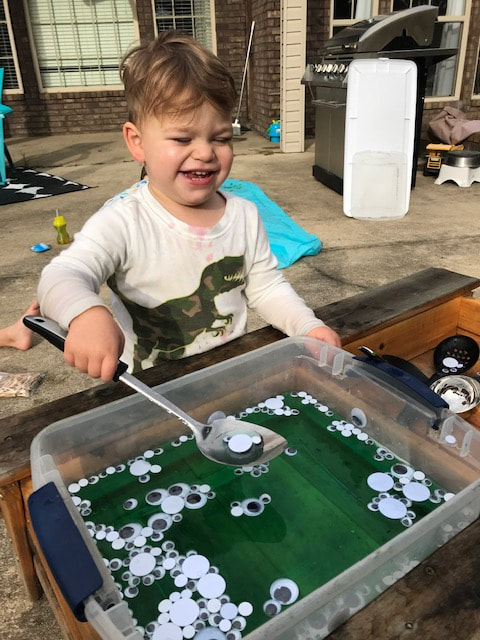
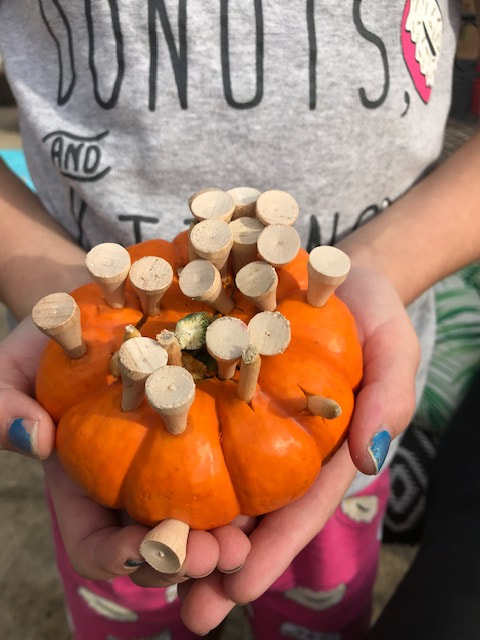
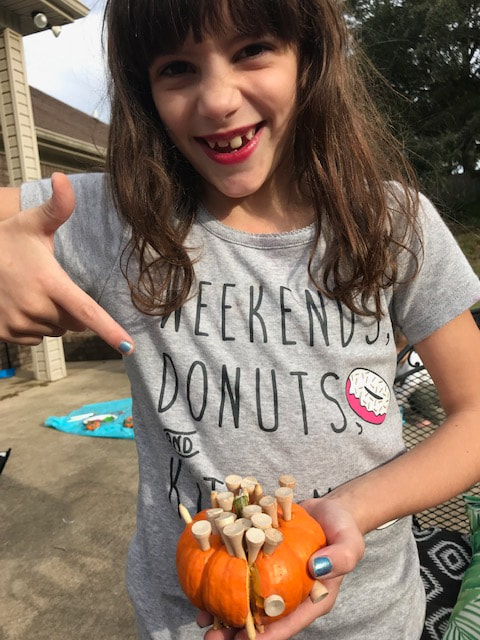
As you might already know, I am a high school teacher. This week we had parent-teacher conferences on Tuesday and then had Wednesday off so, while sitting in my classroom between parent meetings I worked on a little plan for entertaining my kids and keeping my sanity during our day off together. As always, we didn't finish everything but, we did have a lot of fun that was pretty low effort on my part and extremely inexpensive too! You can print out my plan at the end of this post! We started the morning with some indoor fun because it was a bit chilly outside. So, I set up an invitation to play with play dough by giving them some spider rings, plastic eyeballs, gems, silk flowers and orange play dough and asked them to make me a monster. You can give them any doo dads you think they might like. I hit up the halloween aisle at Wal-Mart to have a few spooky things like the rings and eyeballs. After the play dough fun, we headed outside for a little bit of messier play. I set up a container with colored water and googly eyes and placed a few large spoons next to it for them to create an eyeball stew. I also had a pumpkin painting station, pumpkin washing station and a pumpkin hammering station. For the washing station I just filled a container with soapy water and for the hammering station I provided a few small hammers and golf tees. They all enjoyed various areas more than others and they were all entertained for almost two hours! We also made some boo hand print art and were going to make a monster wreath but, Arthur wasn't interested and wanted to play with play dough more and Lillian didn't want to make a monster wreath. Instead, she made a "pretty" wreath using ribbon and glue. They were happy so I was happy. If we end up with some free time before Halloween I will try to do the activities we didn't have time for and I'll post about it if I do. There are several fun science ones that I couldn't do because I didn't have any vinegar! So be sure to check out the document for those! We ended the day with a trip to chikfila and I have to say, it was a pretty great day!
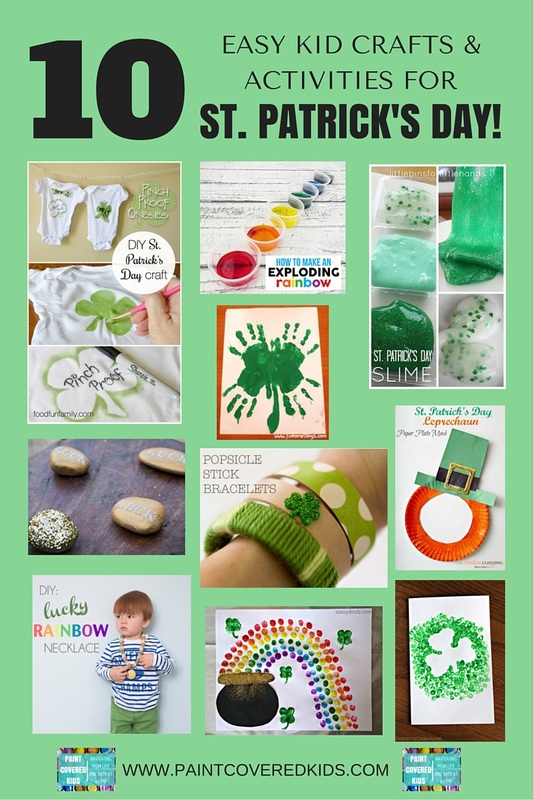
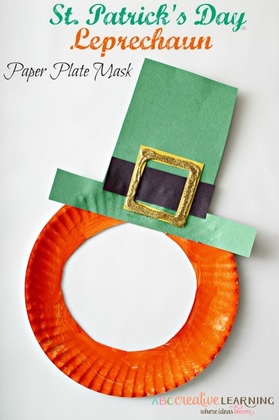
Download my very basic but serviceable plan below and enjoy! Here are some of my favorite ideas for getting crafty on St. Patty's Day! All of them take very little prep and will definitely be fun for any age! 1. Leprechaun Paper plate mask
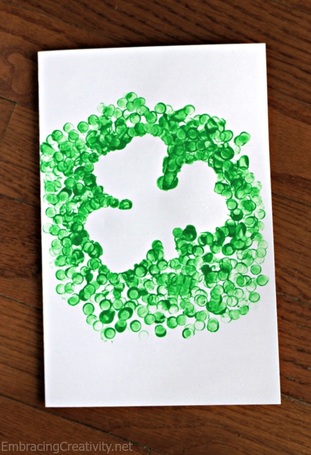
2. painted shamrock
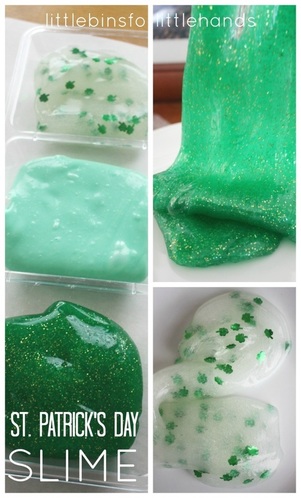
3. St. Patrick's Day Slime
4. St. Patrick's Day Scavenger Hunt
5. erupting Rainbow
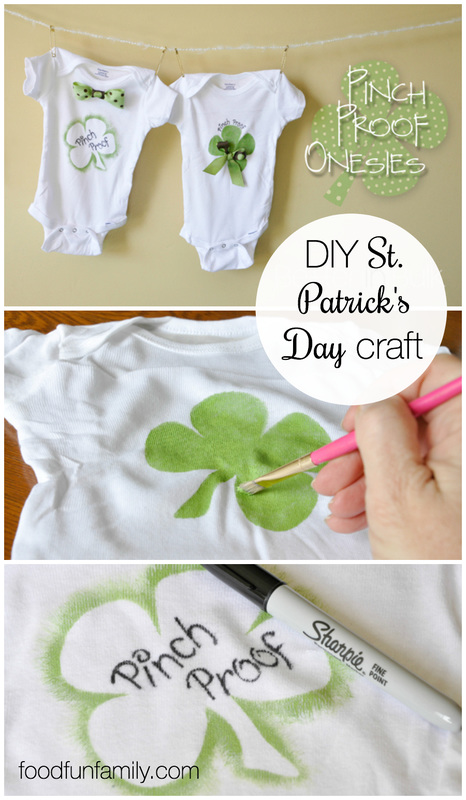
6. Pinch Proof Onesie
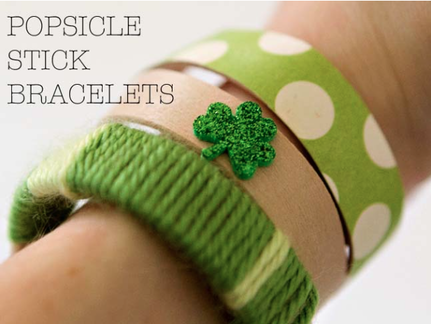
7. Popsicle Stick Bracelets
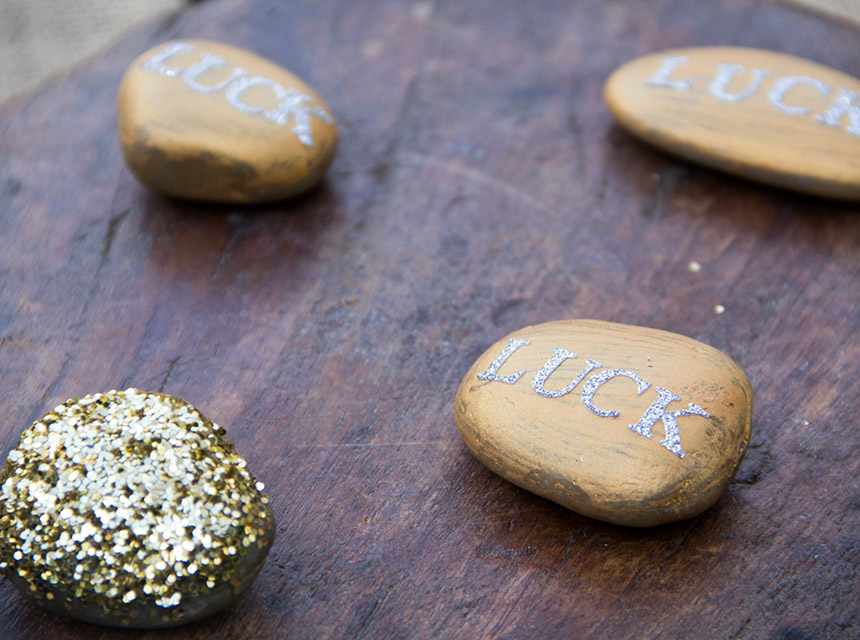
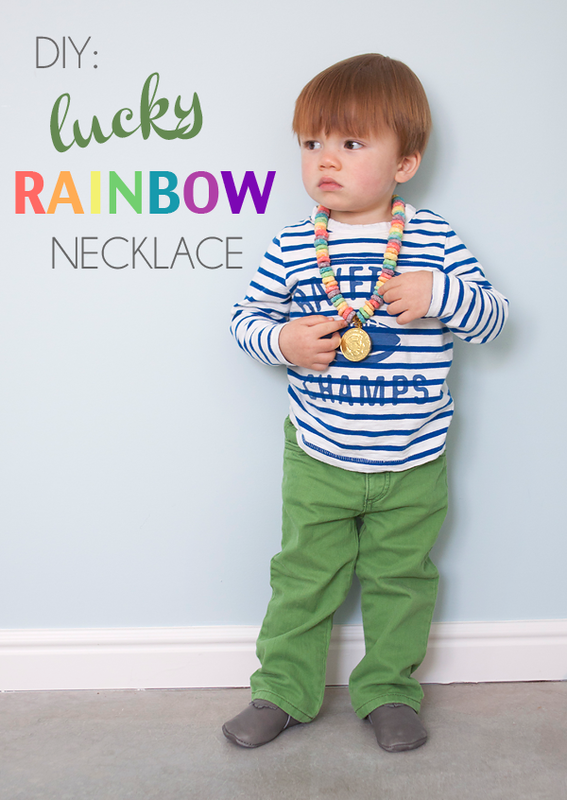
8. Lucky Rainbow necklace
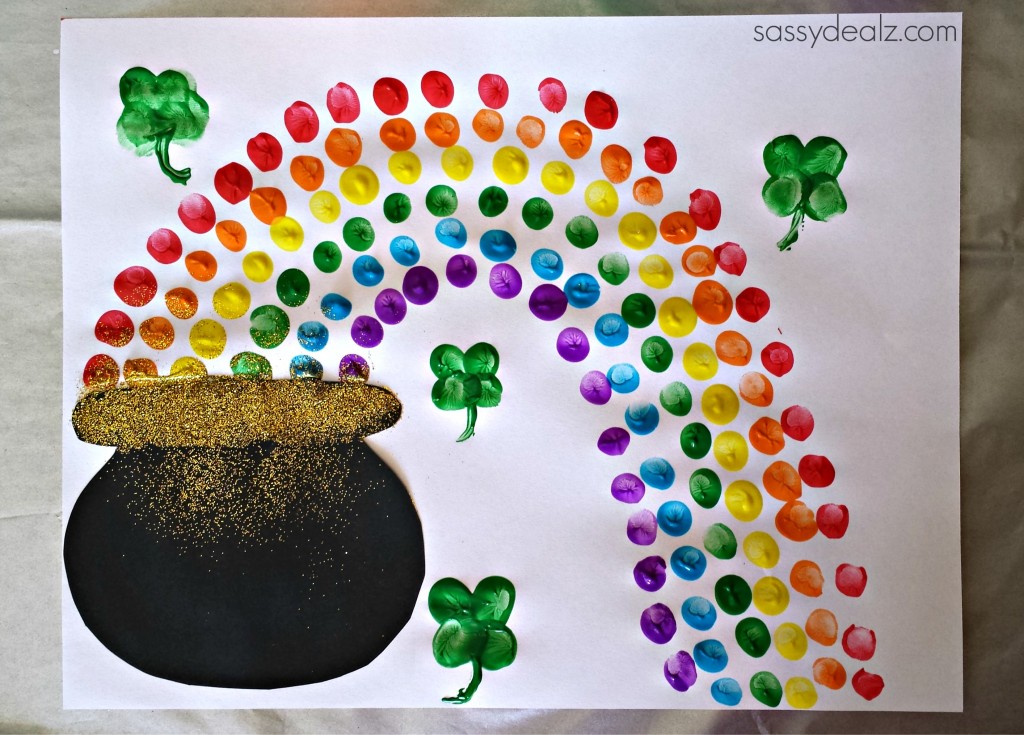
9.Fingerprint rainbow pot of Gold
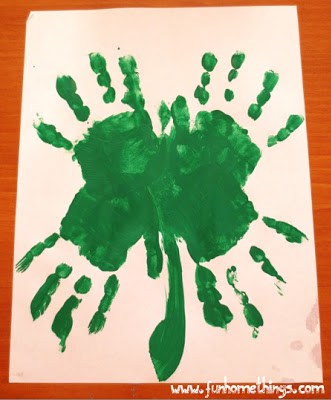
10. Handprint Clover
I hope you have as much fun with these crafts as my kiddos and I did! Enjoy!
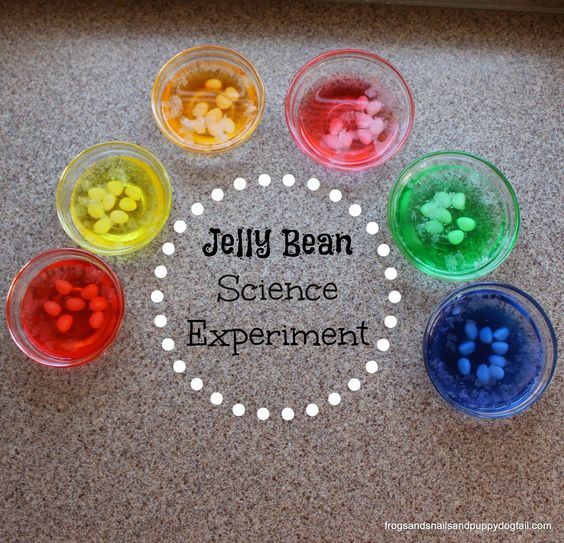
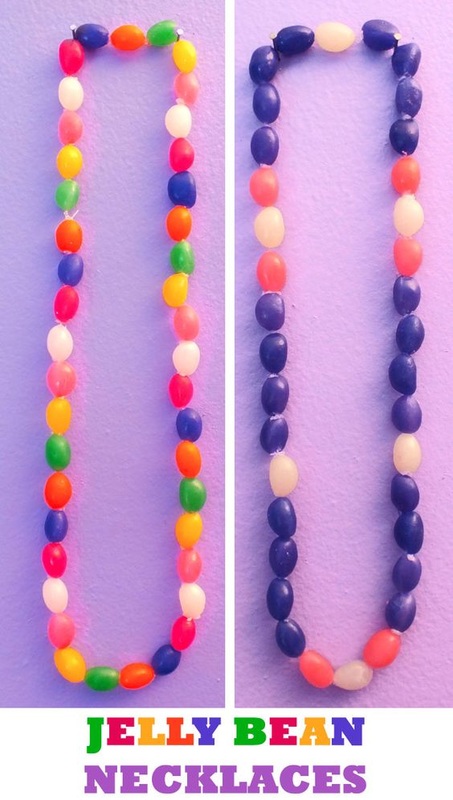
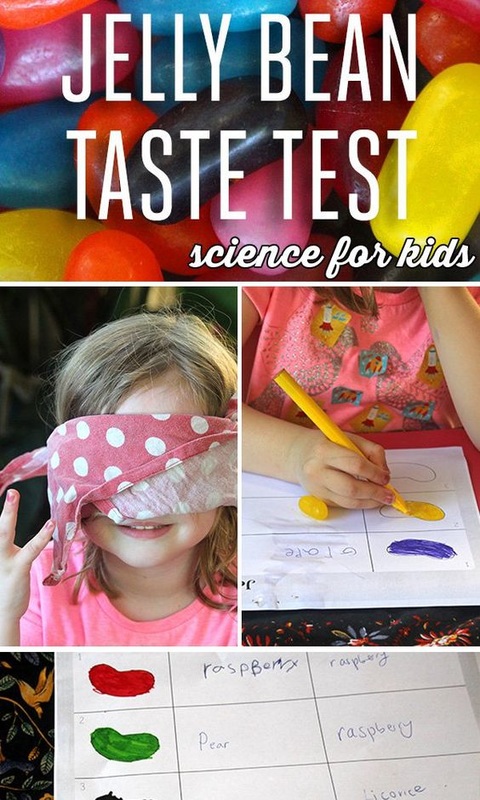
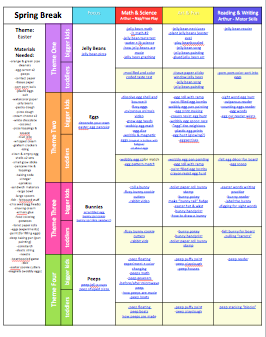
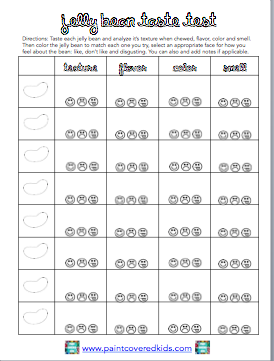
Spring break is only a few weeks away! That means it's time for another Mommy Camp! Since the break this year falls right before Easter I've made it Easter themed! You can read about a few of the specific activities we'll be doing and download some printables I created, including the lesson plan below. Theme One: Jelly Beans The first focus is on jelly beans. We'll be conducting experiments, participating in a taste test, learning how they are made, making necklaces and more! (A list and links to all of the activities can be found in the lesson plan download.)
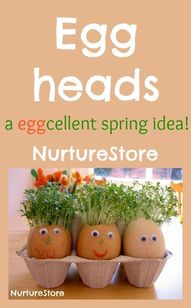
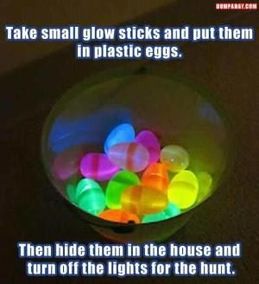
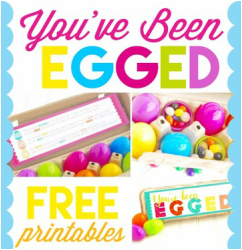
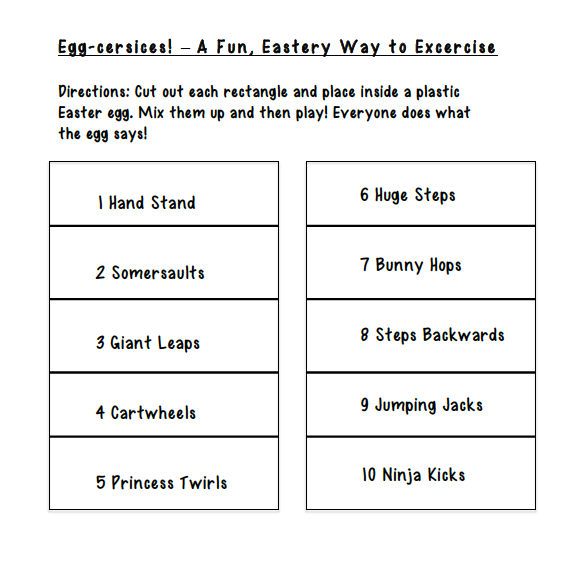
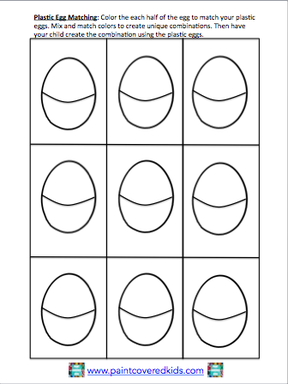
Theme Two: Eggs This is a very fun-filled theme that includes egg science, growing "egg heads", paint-filled egg bomb painting, a glowing egg hunt and "egg-ing" the neighbors. Plus a ton of other fantastic activities focusing on math, reading and sensory experiences. (A list and links to all of the activities can be found in the lesson plan download.)
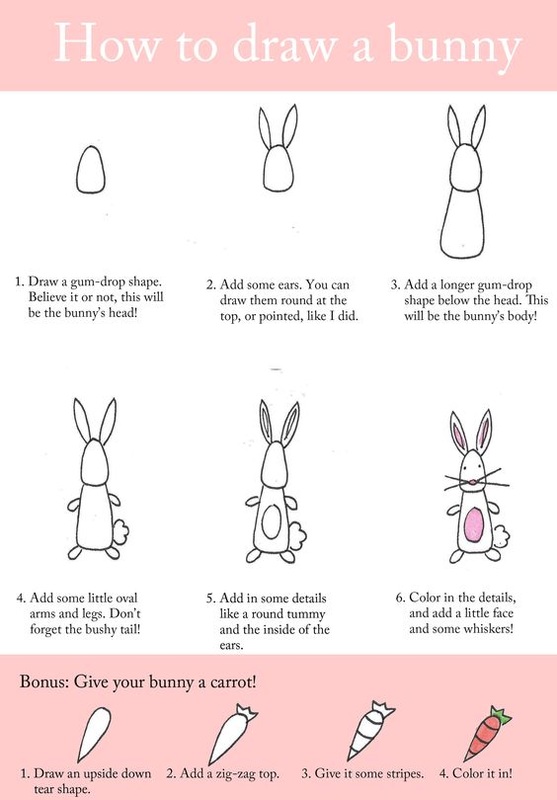
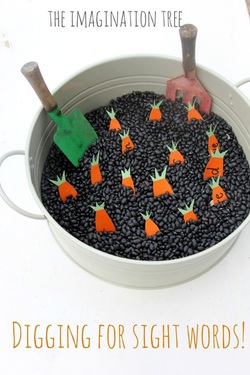
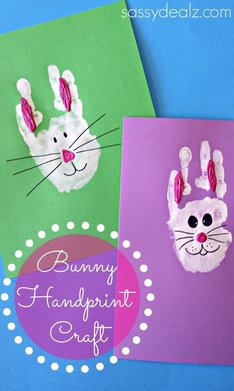
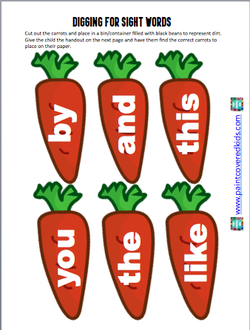
Theme Three: Bunnies In the bunnies focus we will learn about rabbits, do the bunny pokey, learn how to draw a bunny, dig for sight word carrots and make bunny handprint art along with some fun math, reading and cooking. (A list and links to all of the activities can be found in the lesson plan download.)
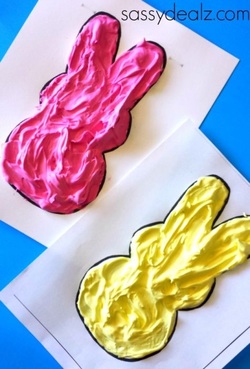
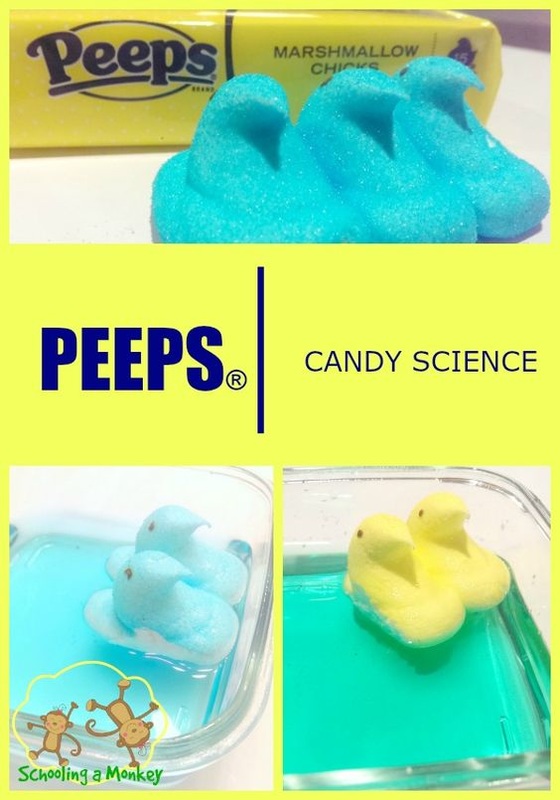
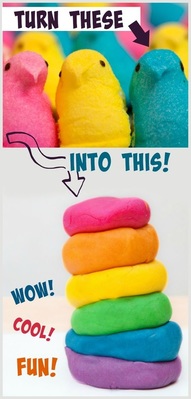
Theme Four: Peeps Everyone loves peeps! Delicious, sugary marshmallows! In this section we will conduct some peep experiments, learn how they are made, create puffy paint peeps and make peep play dough along with doing some reading and math. (A list and links to all of the activities can be found in the lesson plan download.)
Click the link below each image to download the printables that I've created as well as the lesson plan. Enjoy!
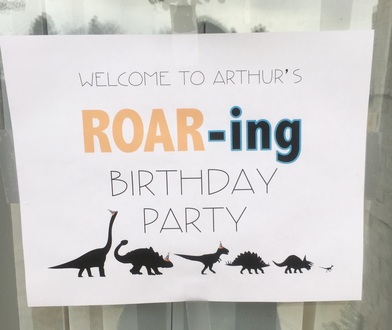
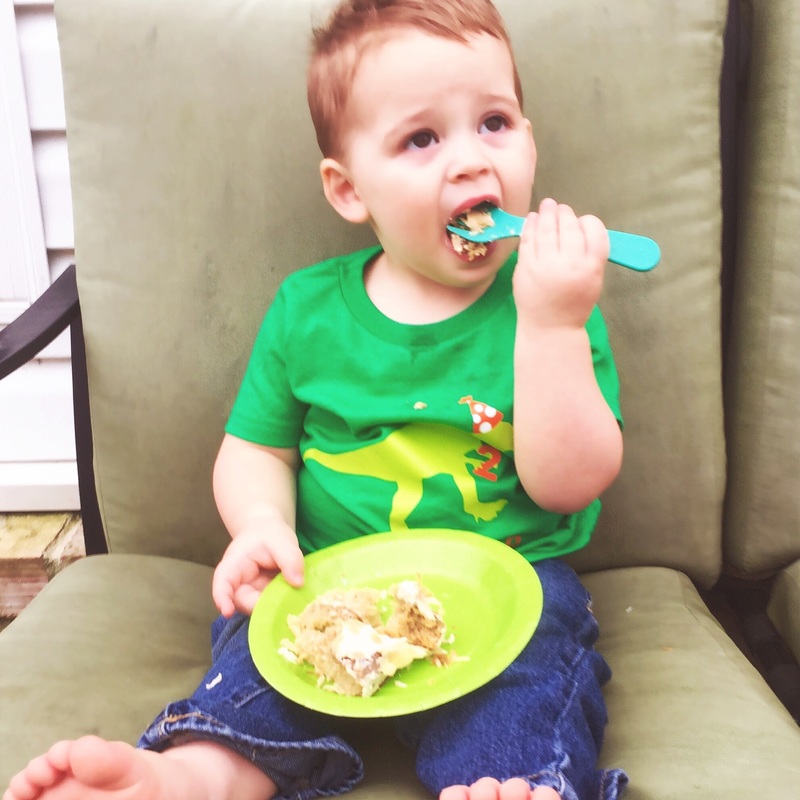
My son just turned two and while he doesn't say much, one thing he loves to say is "ROAR"! So, it was only fitting that he have a dinosaur themed birthday party this year. I had a lot of fun preparing for this party and I hope you find some inspiration!
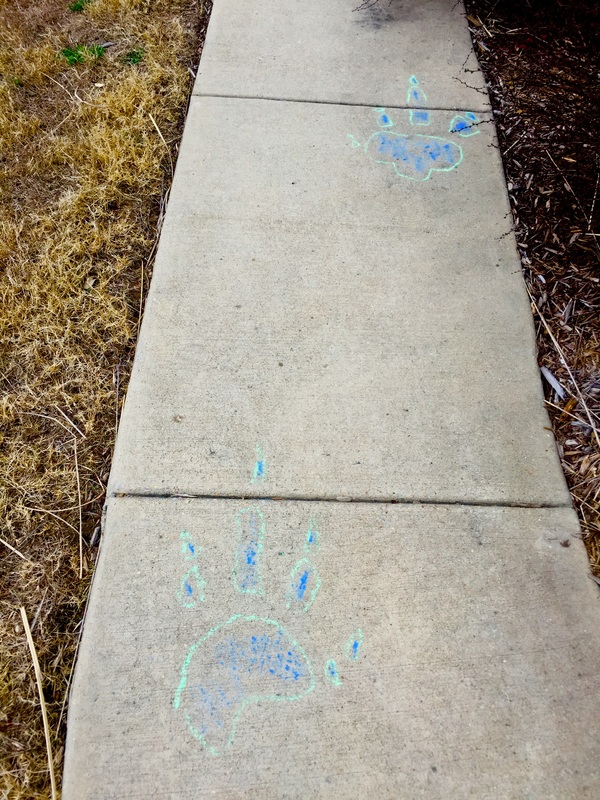
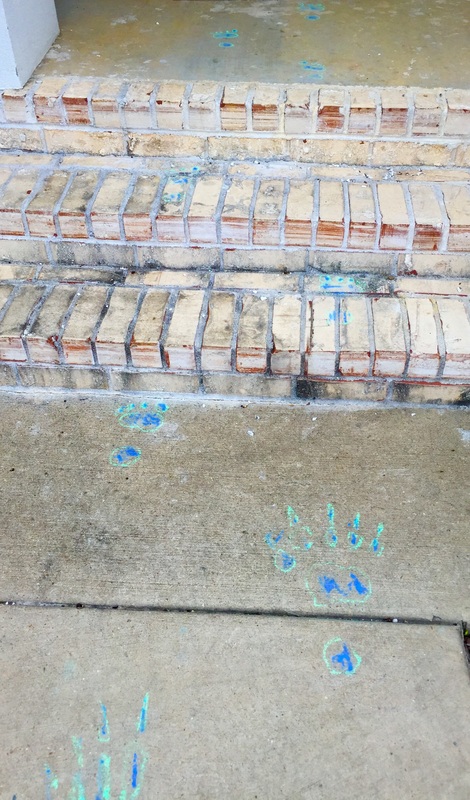
When guests arrived they saw gigantic dino footprints down our front sidewalk to our door. I had my brother draw them because he's a graphic designer and I figured he'd have fun with it. He did. He decided that he wanted to morph the dinosaur prints into tiny Arthur prints as they got closer to the door. It was stinking adorable.
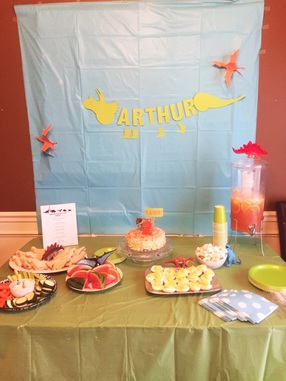
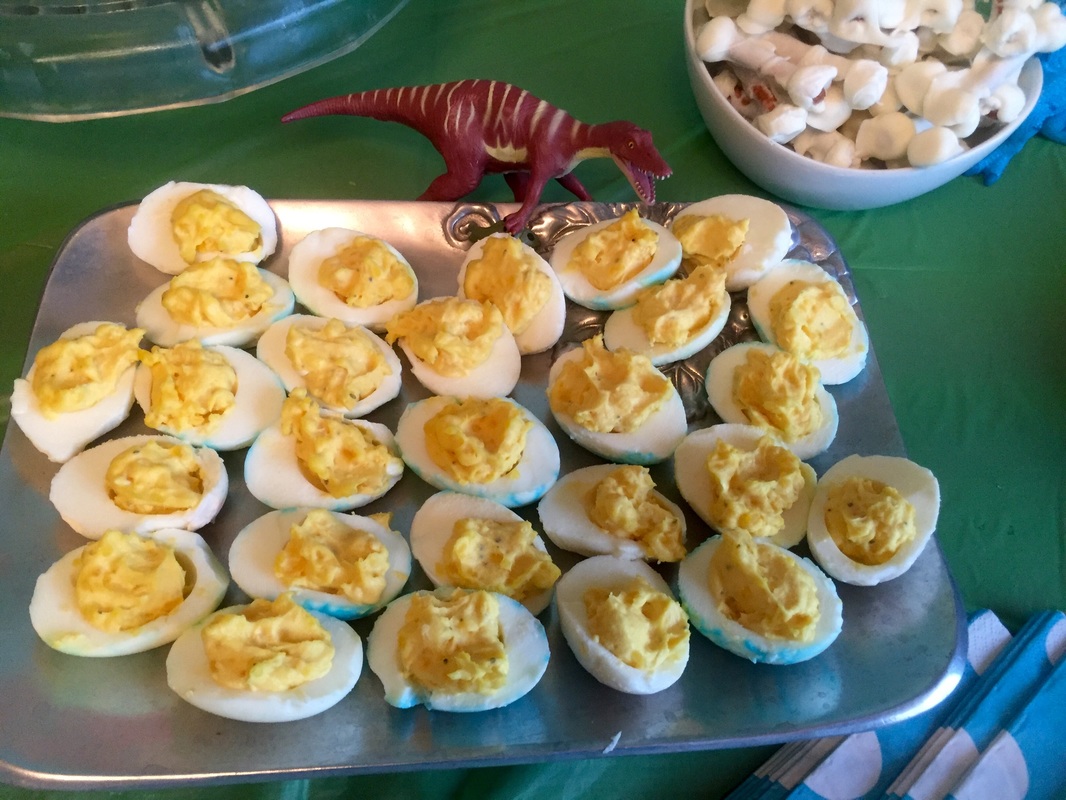
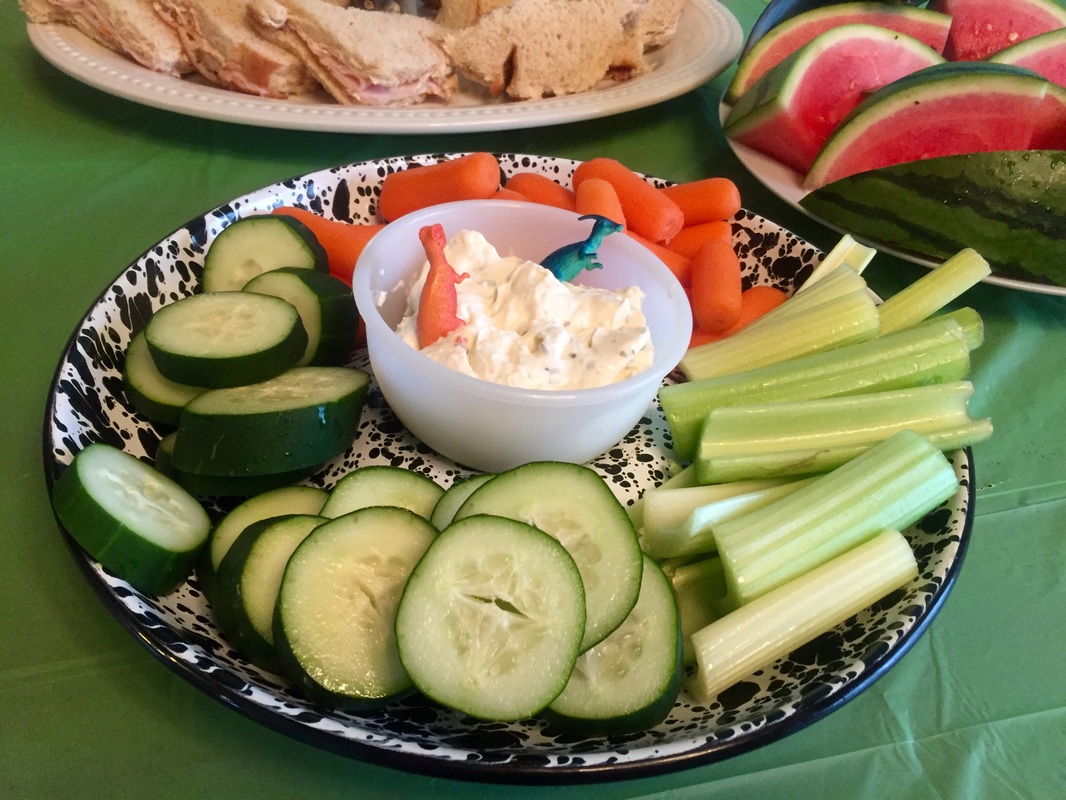
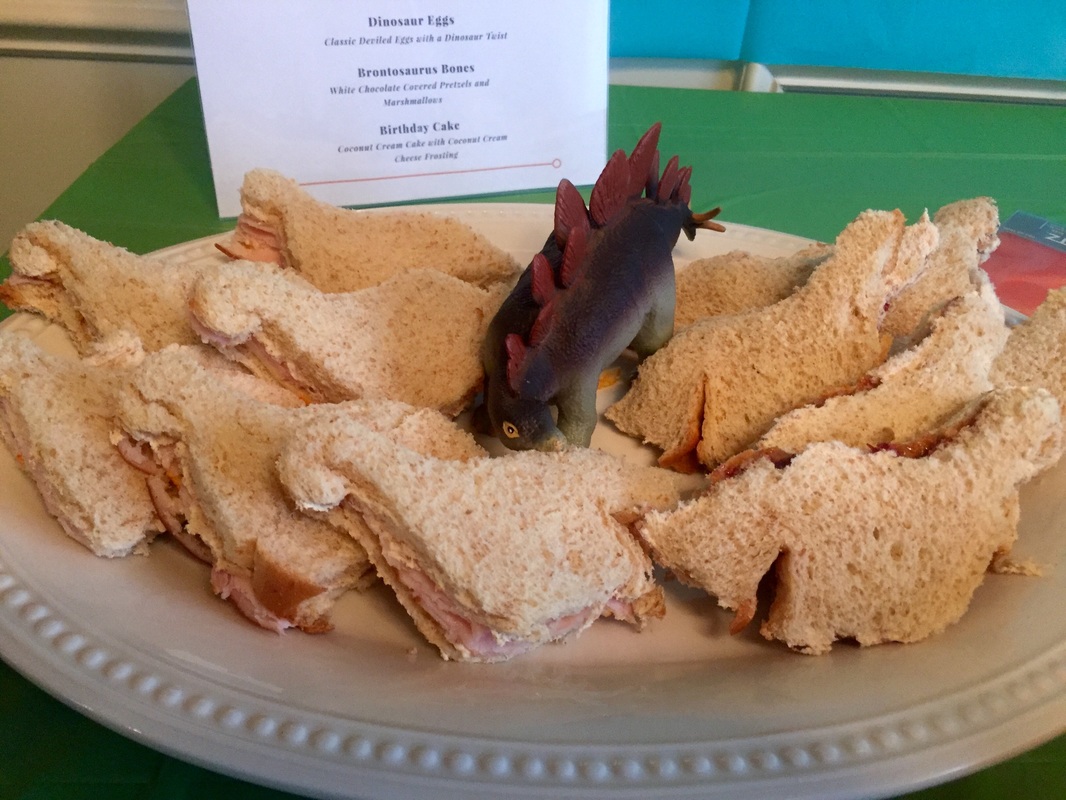
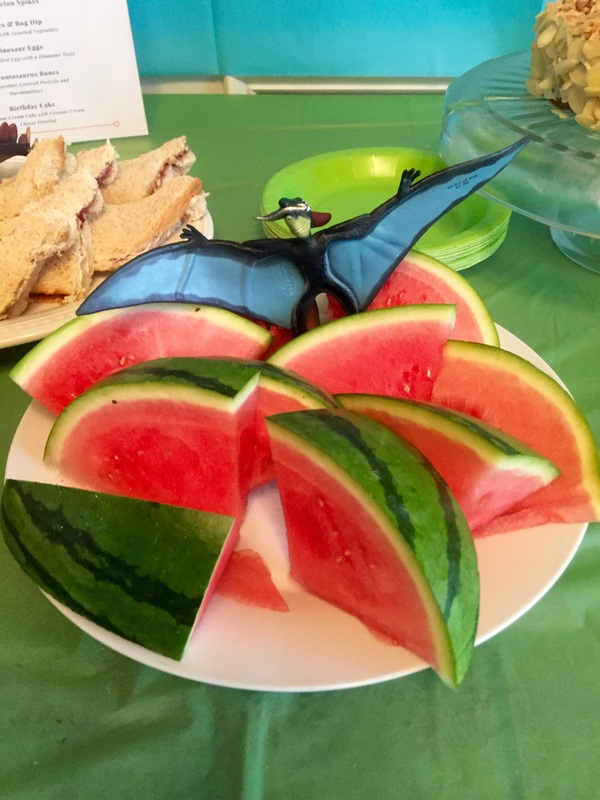
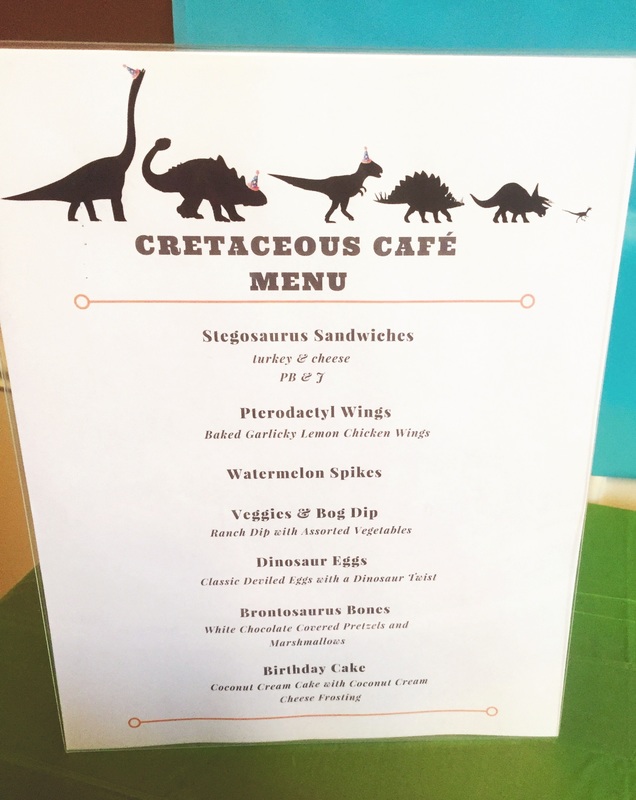
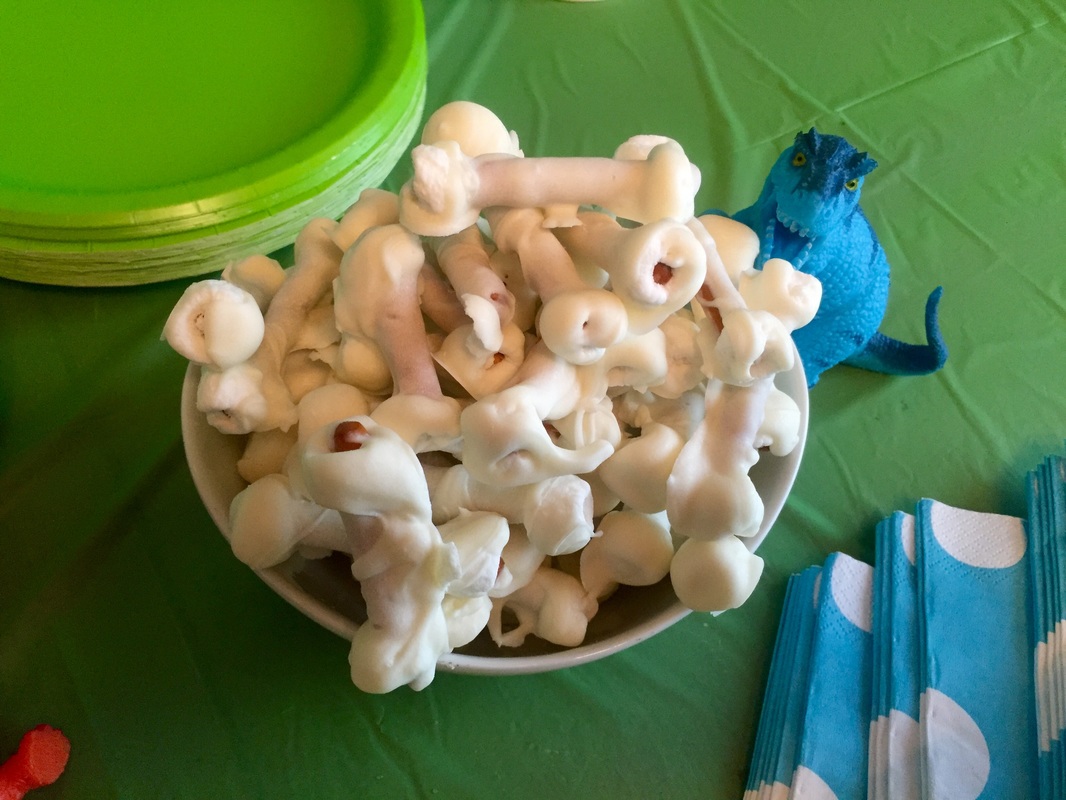
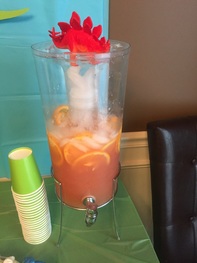
I used my silhouette to create the Arthur banner (it slipped and went a little crooked in this photo. Oops) as well as the 3D pterodactyls. I used plastic dinosaurs to make the food items fun and created a cute menu using canva.com. The "dinosaur eggs" were supposed to look super cute and have colored outsides but, the peeling process was a disaster and many looked slightly ragged. They tasted good though.
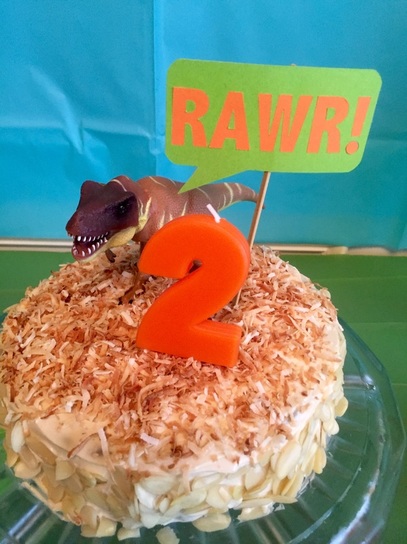
I made the cake using this paleo coconut cake recipe. It was soooooo good! Everyone enjoyed it! i added toasted coconut to the top and slivered almonds around the sides to make it a little prettier. Then I added a dinosaur and a speech bubble that said "RAWR" for the dino. I think it turned out pretty great!
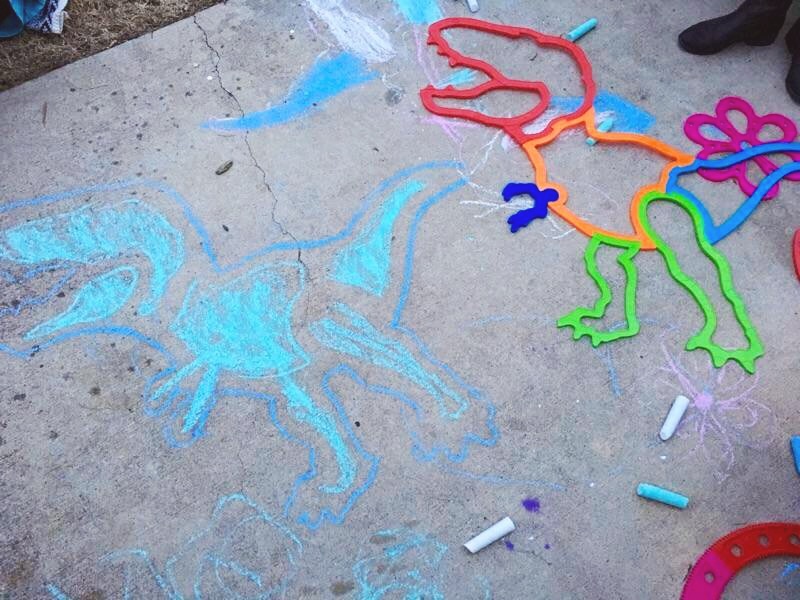
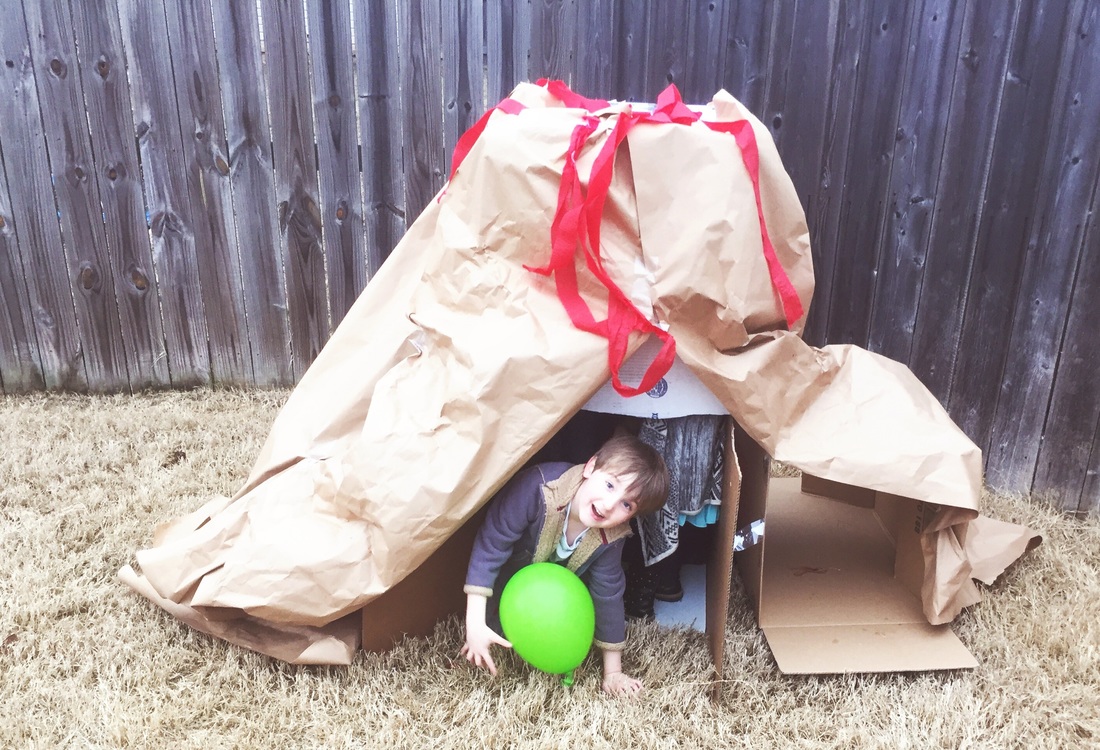
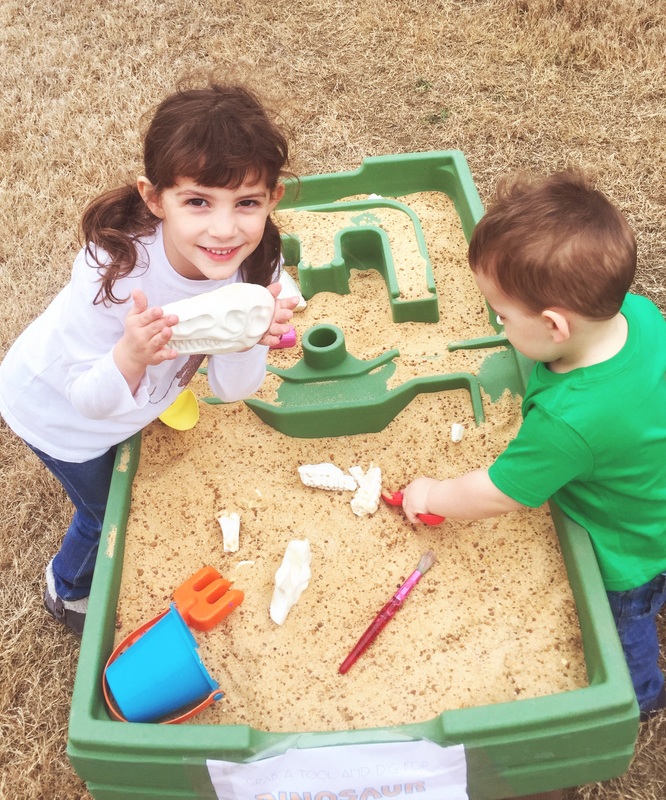
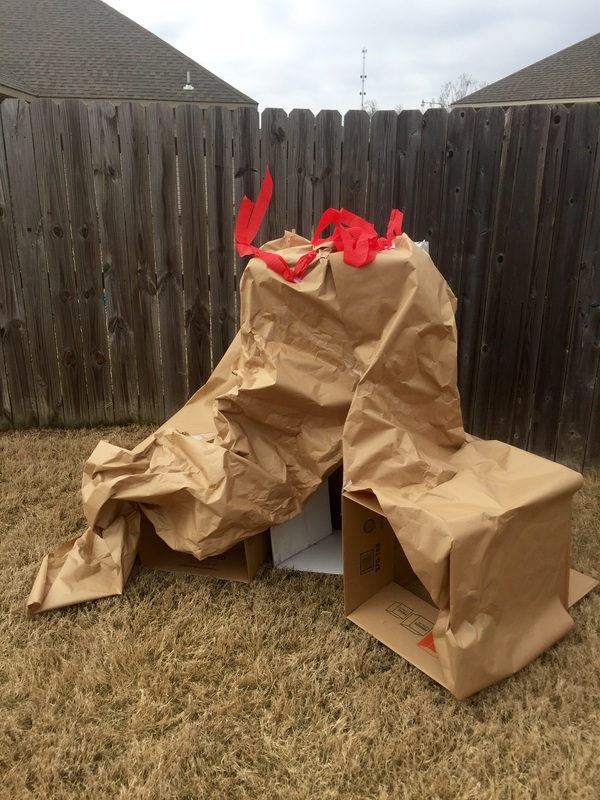
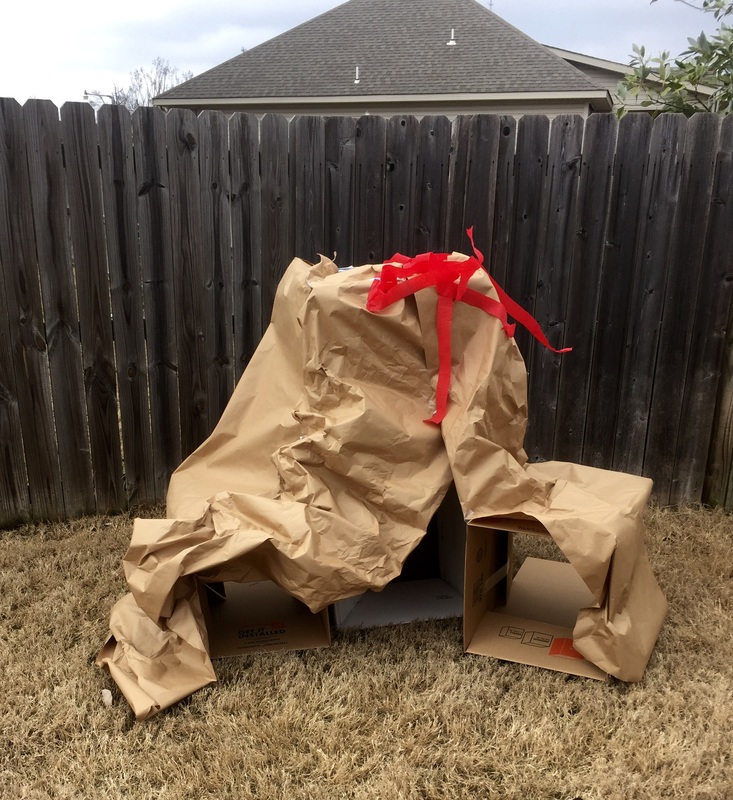
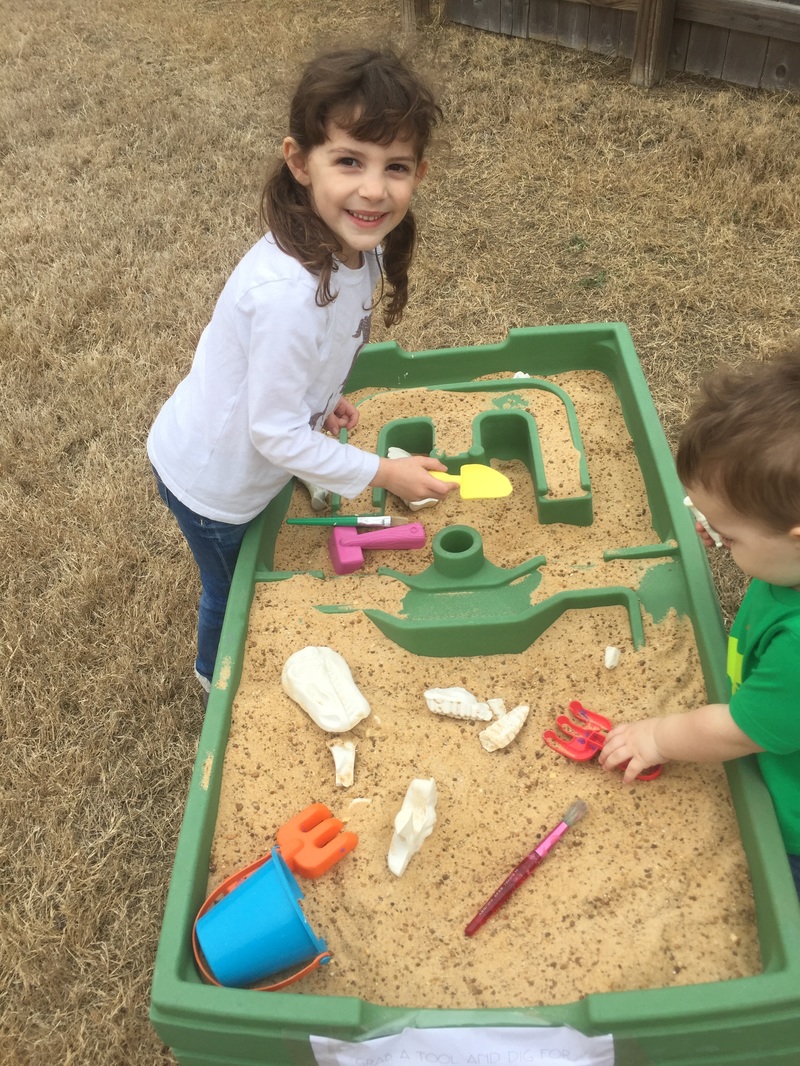
For fun, the kids had a dino fossil dig area and a cardboard "volcano" for pretend play. We were really lucky to have 60 degree weather in February so we had all of the fun in the backyard. The kids also had the opportunity to jump on the trampoline, swing and play in the playhouse. Once gifts were opened, they also had fun with some really cool chalk stencil sets that were gifted (My mother-in-law said she got them at Wal-Mart.).
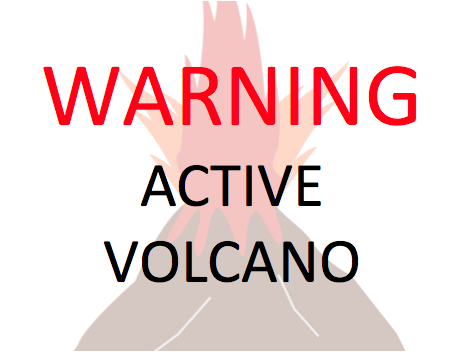
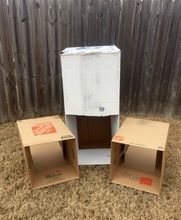
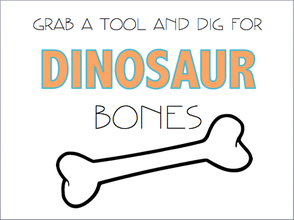
I made the volcano with three cardboard boxes, brown craft paper, red streamers, a knife and some tape. I cut a big opening at the bottom of the biggest, center box and then folded the sides in on the smaller boxes but left them open on both ends to create tunnels. Then I taped all three boxes together and covered them with crinkled paper and streamers at the top. I taped the sign to the swing set which was in front of the volcano. The kids actually played quite a bit with it and it only cost about three dollars!
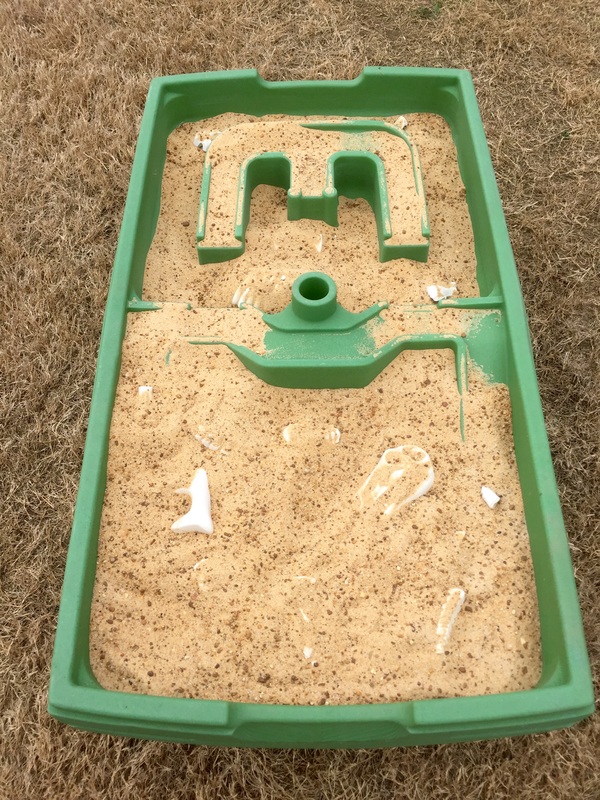
The dig site was a water table we already had filled with play sand and plaster of paris dino bones. I bought the molds from amazon and made the bones the night before. They popped out pretty easily and looked really great! Then I threw in a few sand tools like a shovel and a bucket and a few chunky paint brushes for dusting the fossils and taped a sign to the side. This was a big hit with everyone!
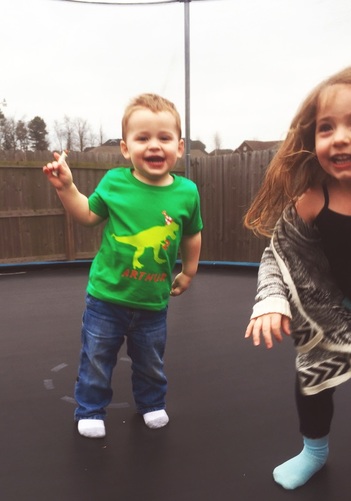
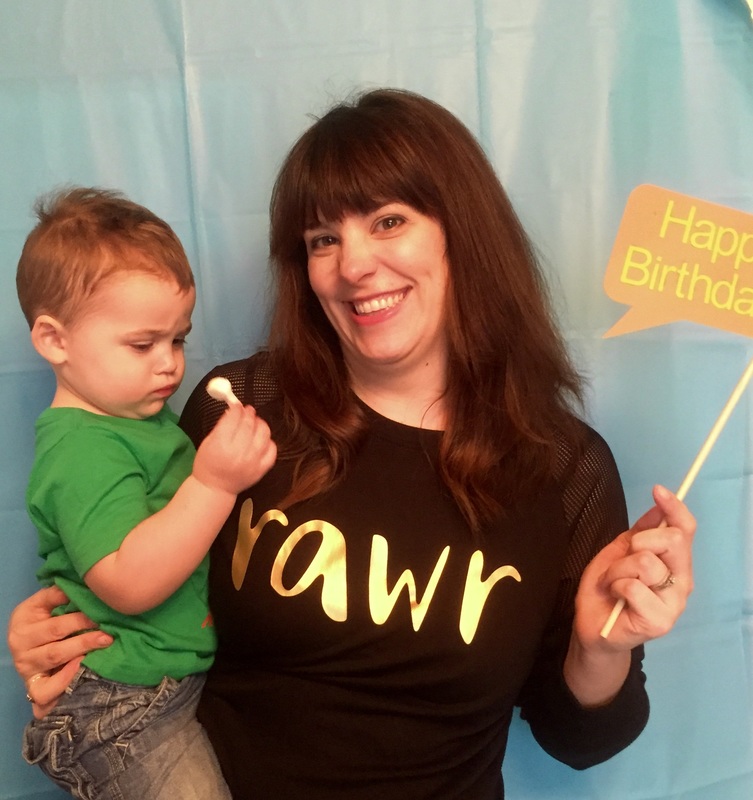
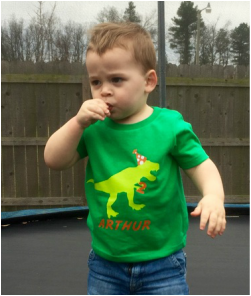
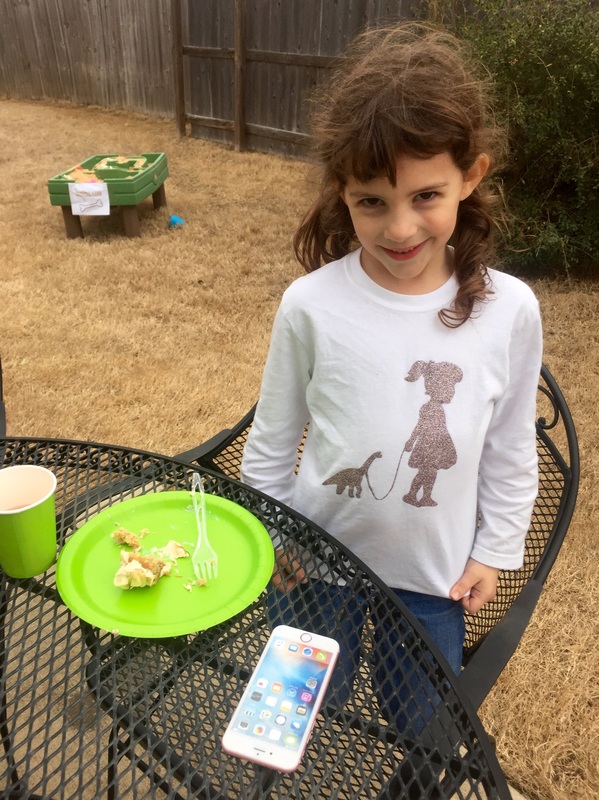
I made all four of us adorable dino themed shirts too. Lilly had a girl walking a pet dinosaur in glitter, Arthur had a t-rex holding the number two and wearing a party hat, I had a shirt that said "RAWR" and Derek had a dinosir, a t-rex with a top hat, bow tie and monocle. I didn't manage to snap a pic of Derek with his shirt and Arthur was NOT into photos so these are the best I could do. I created all of them using my silhouette and iron-on vinyl.
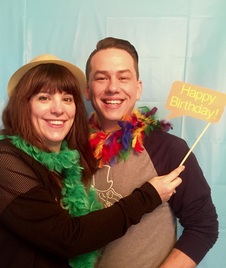
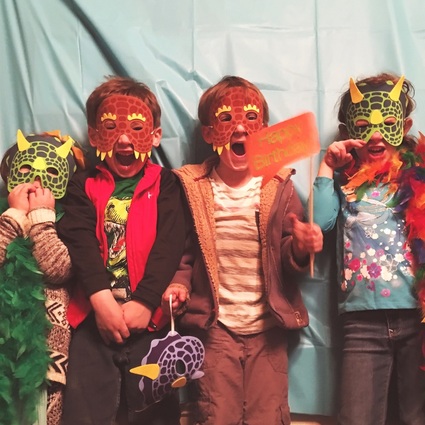
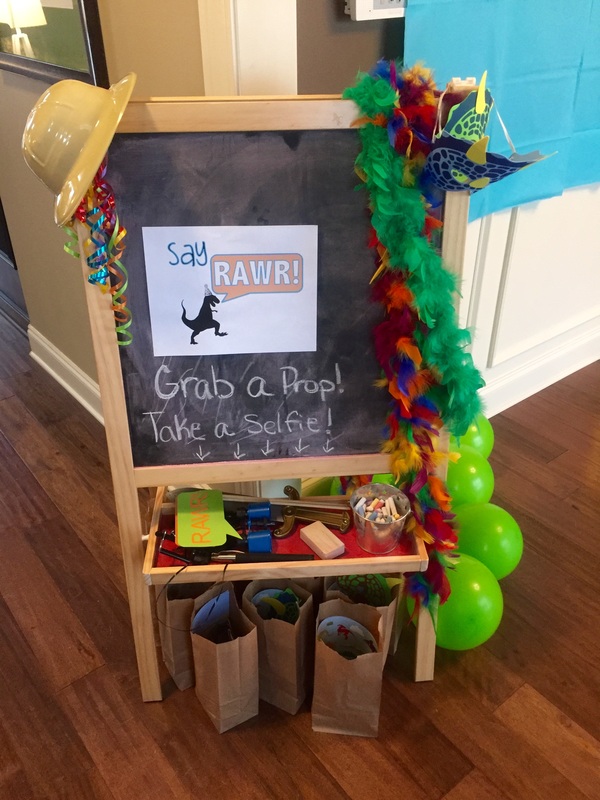
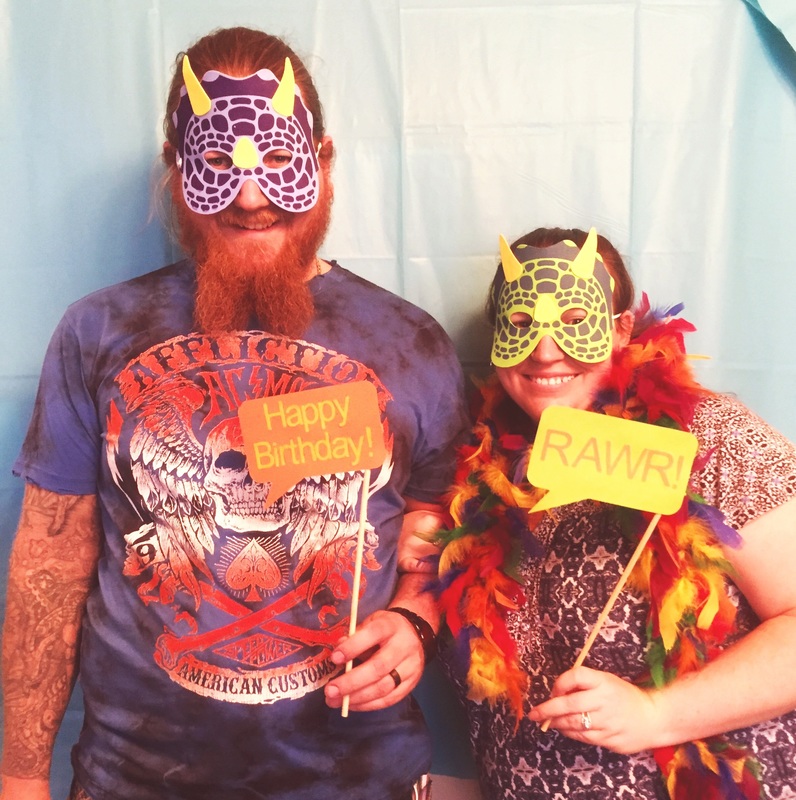
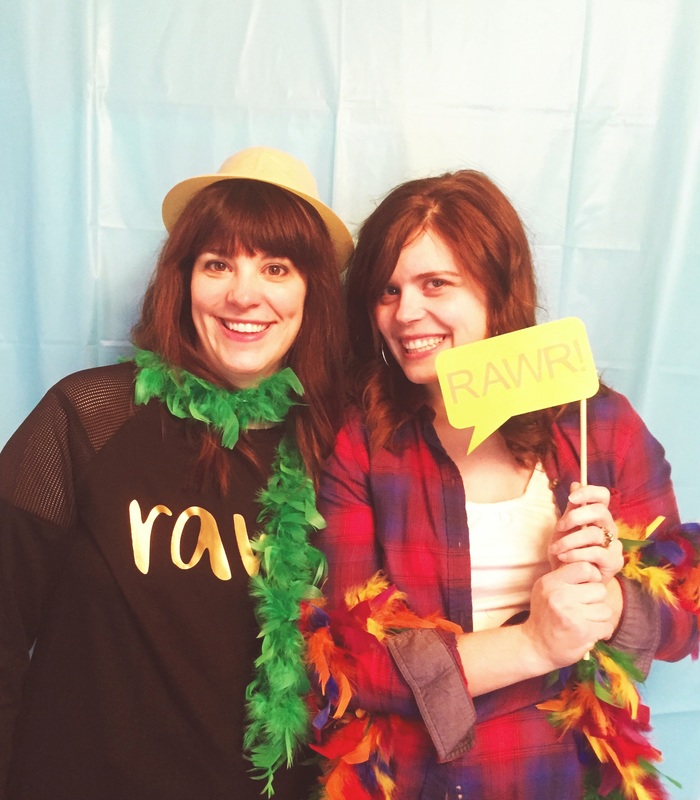
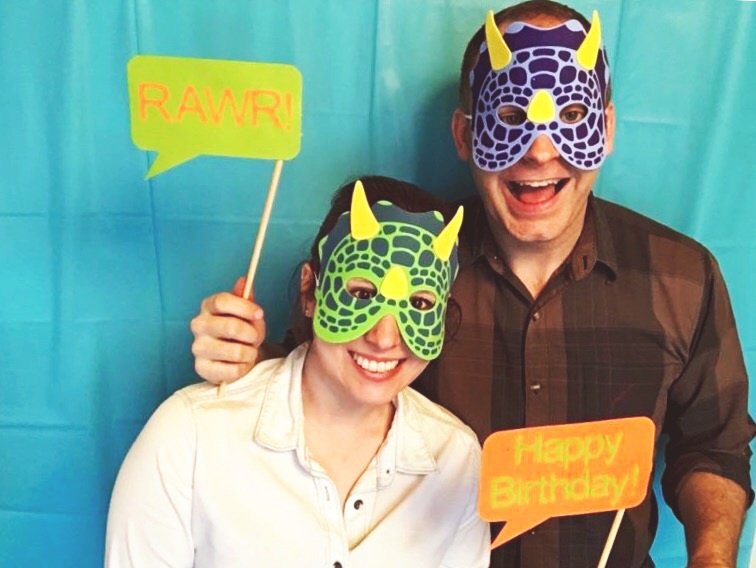
We also had a photo booth area set up. I hung a plastic table cloth on the wall and provided a few props and a selfie-stick to encourage guests to take a pic. We got some pretty cute ones. I made the signs with my silhouette and craft. Threw in some feather boas, dino masks and a safari hat for good measure. The kids all got to take home goodie bags with mini dinosaurs, masks and a craft activity from amazon that was dinosaur themed.
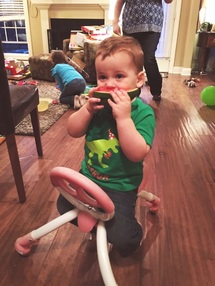
Arthur had a good time and really enjoyed the watermelon and cake. The adults were able to visit because the kids were having so much fun and no one got hurt or threw up. I call it a success!
Oh, and when Arthur went to blow out the candle, he started as soon as it was lit...across the room. It was adorable to watch him blowing at the candle for the entirety of the Happy Birthday Song.
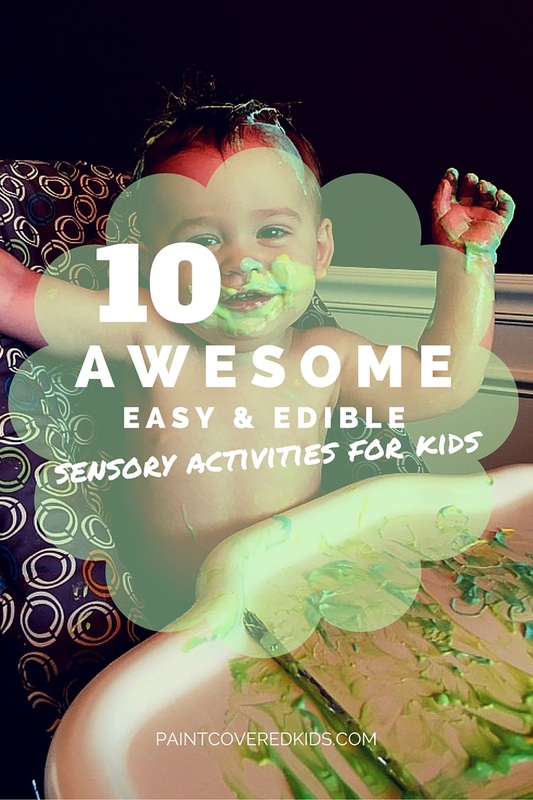
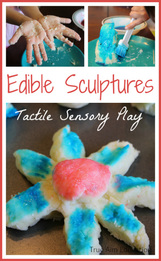
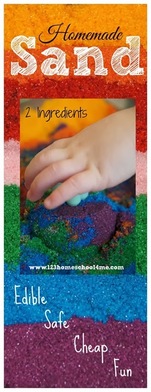
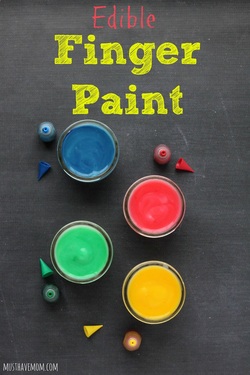
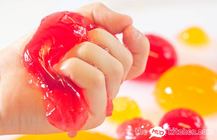
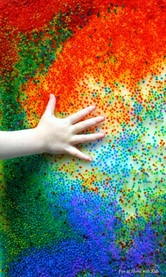
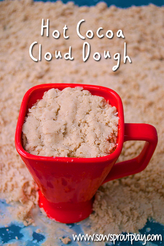
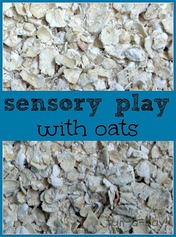
I don't know about you but, my two year old loves to put everything in his mouth. When I want to give him something fun to do that my 5 year old will also enjoy I love whipping up a batch of edible sensory material. It's even better when the recipe only calls for a few common ingredients and takes less than 15 minutes to create! Check out my list of 10 fantastically simple and edible sensory recipes that will leave you with a few minutes to go to the bathroom alone without the fear of your toddler chomping on something undesirable.
I hope you have fun with these recipes! I know my kids will! Thanks for visiting!
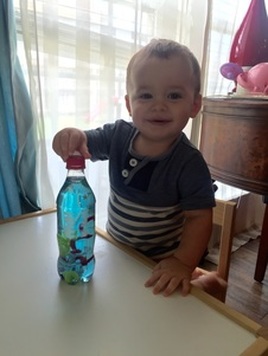
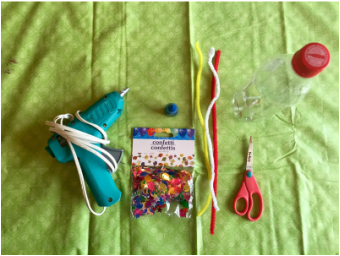
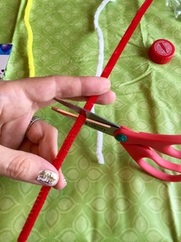
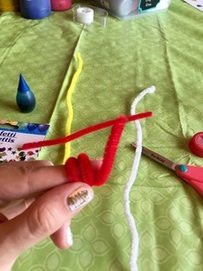
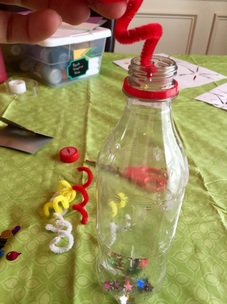
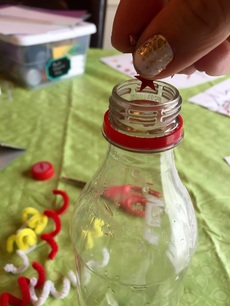
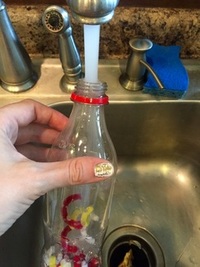
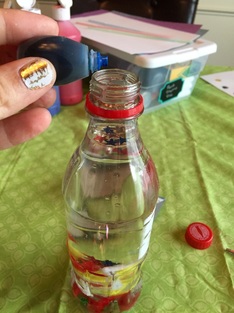
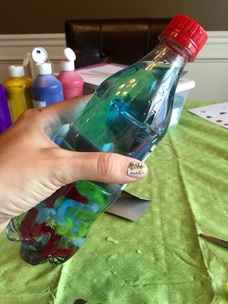
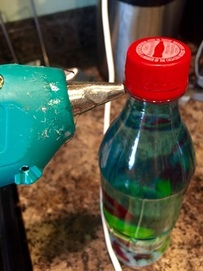
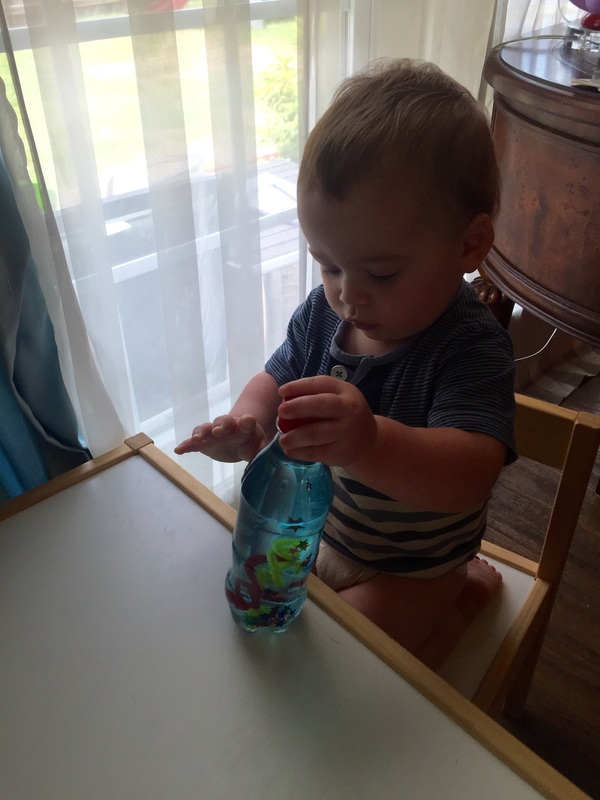
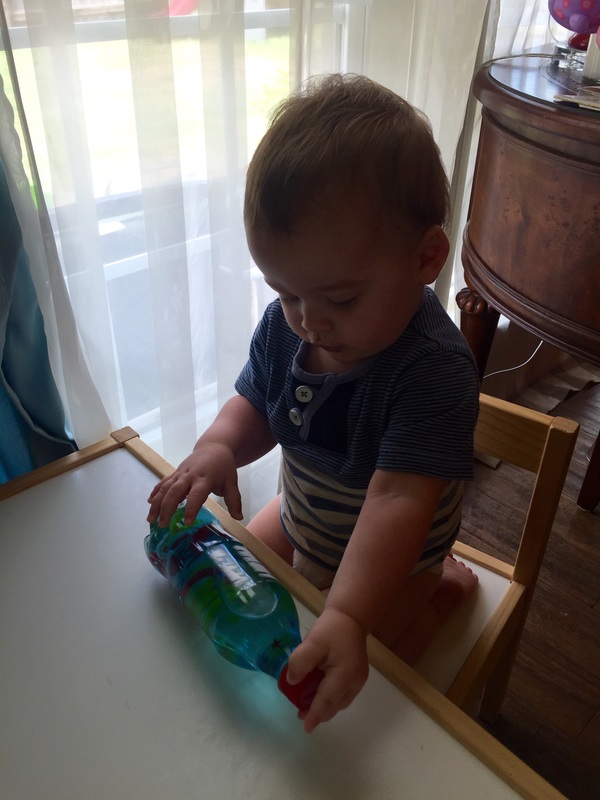
Here is a fun craft you can make with your child that is also a toy! With only a few materials you can easily create a sensory bottle. Today, we're creating a 4th of July themed bottle. You can have your children help put the items into the bottle to make it a group activity and you can make all sorts of different types of sensory bottles. A great place to look for items is the dollar store. It just needs to be small enough to fit into the mouth of your bottle and it will work! We hope you enjoy this cheap and easy craft!
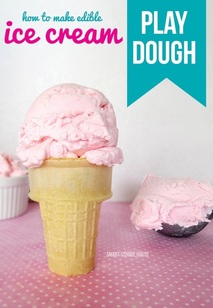
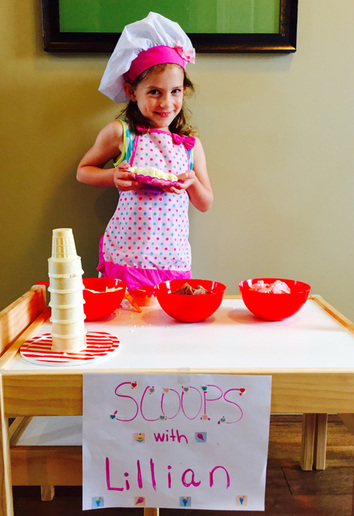
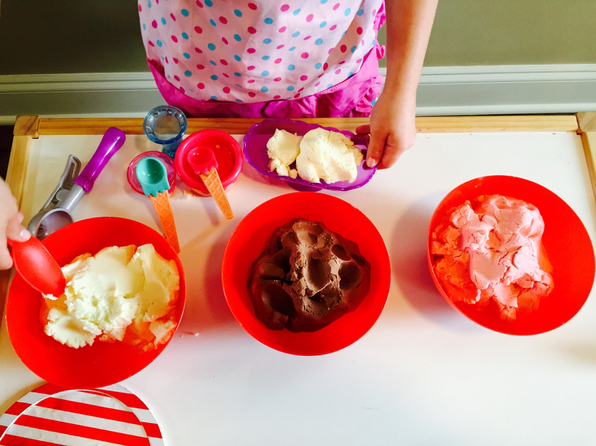
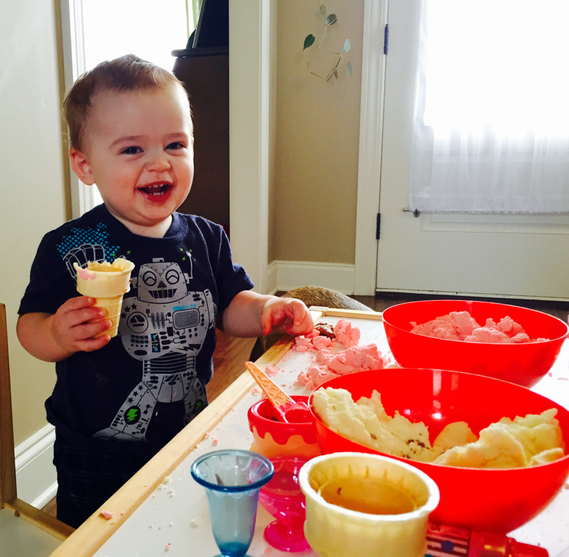
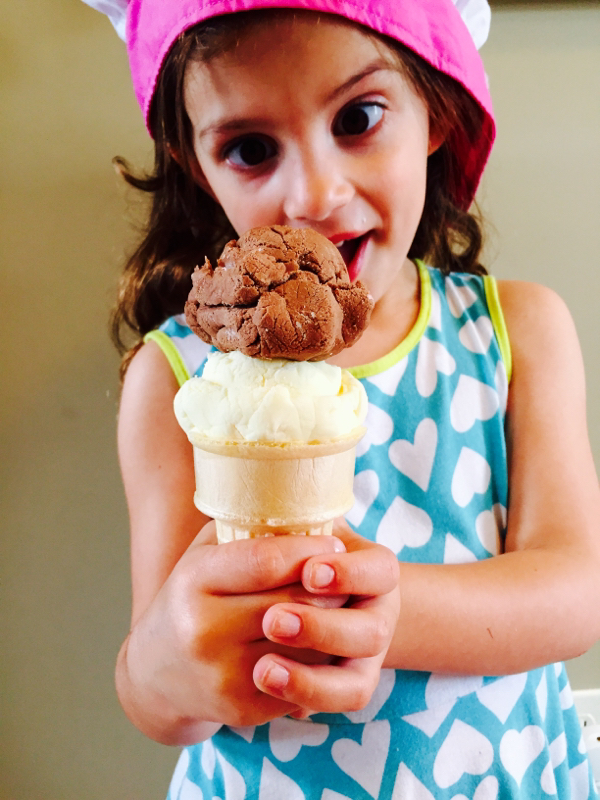
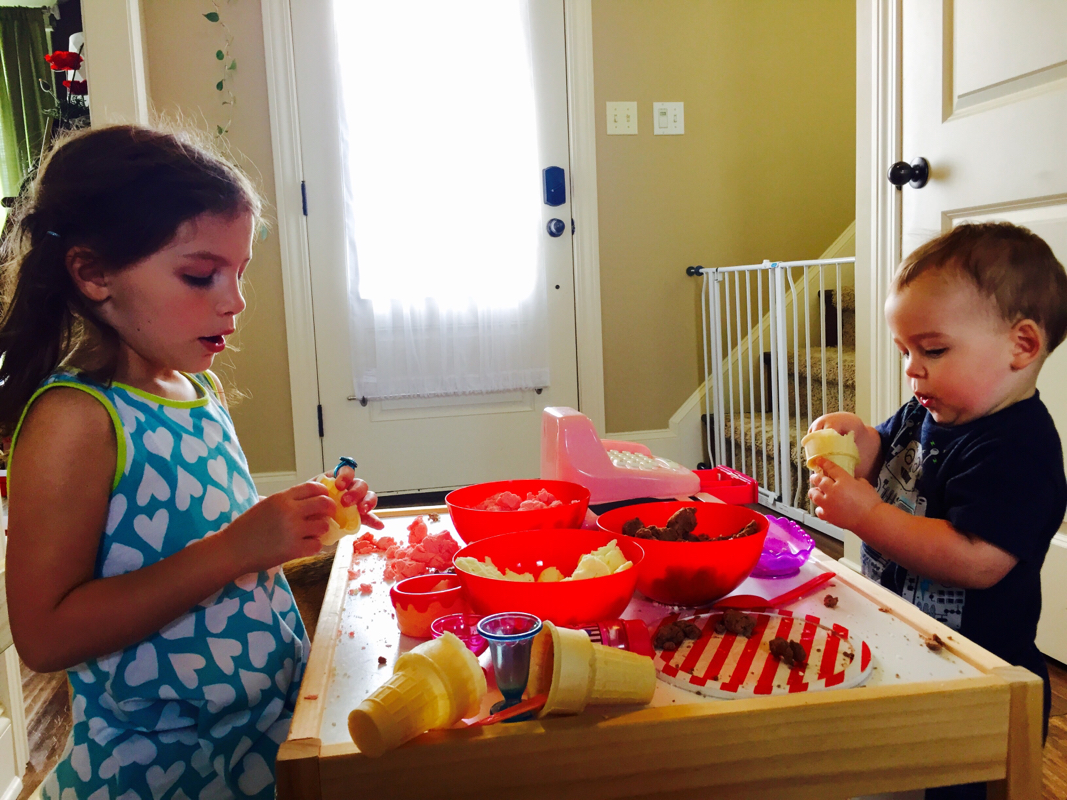
Today we had a lot of dramatic play fun with edible ice cream playdough! It was easy, cheap to make, and entertained us for quite a while! Let us know what you think! Materials Needed: - Cake icing (any flavor will work. We used Betty Crocker icings in raspberry lemonade, chocolate and lemon) - Powdered sugar - Fun tools like an ice cream scoop, bowls, and spoons (we also used some of our pretend ice cream things like sprinkles and syrup and I grabbed actual ice cream cones at Target for 1.39. Lilly thought they were a great addition!) - Olive oil - Large bowl and spoon Directions: 1. Mix one cup icing and 2.5 cups powdered sugar in a large bowl. I had to use my hands to mash it together for the proper consistency. 2. Once it is mostly mixed, you might find it to be a bit crumbly. Add a little olive oil to make it stick together. 3. That's it! You're done! The little one had a good time too! When you're done creating fantastic concoctions, you can put the playdough in a sealed container and use it again later. If it's crumbly, just add more olive oil to smooth it out.
We hope you enjoy this fun activity! 😃 |
meet rachelRachel is a mother of three, elementary Spanish teacher and part-time blogger who loves crafting, creating fun and engaging activities for her children and students and hanging with her friends and family. She blogs about what she's doing and her interests at any given time which vary. She's a little OCD and always looking for her next project. Her husband calls it, "focusing her crazy", but she just calls it fun. Archives
December 2022
Categories
All
|
||||||||||||||||||||||||||||||||||||||||||||||||||||||||||||||||||||||||||||||||||||||


 RSS Feed


