|
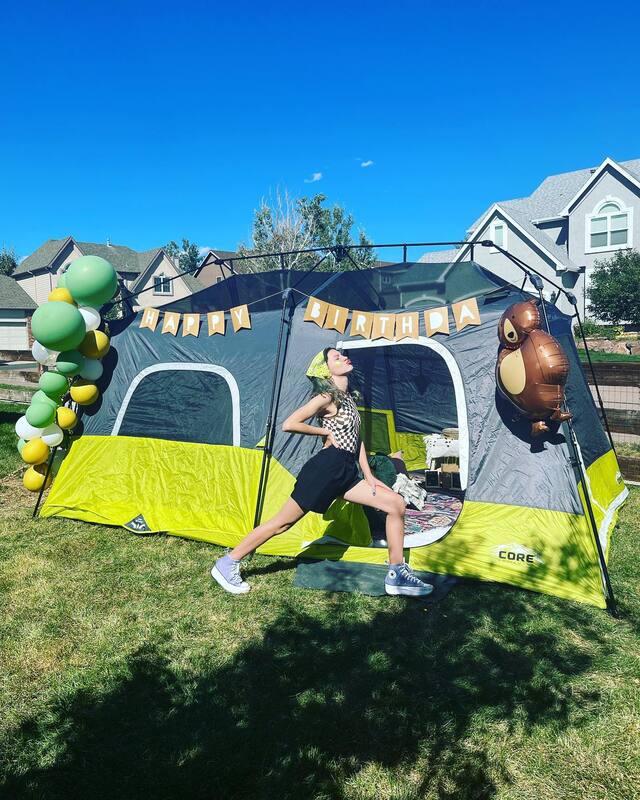
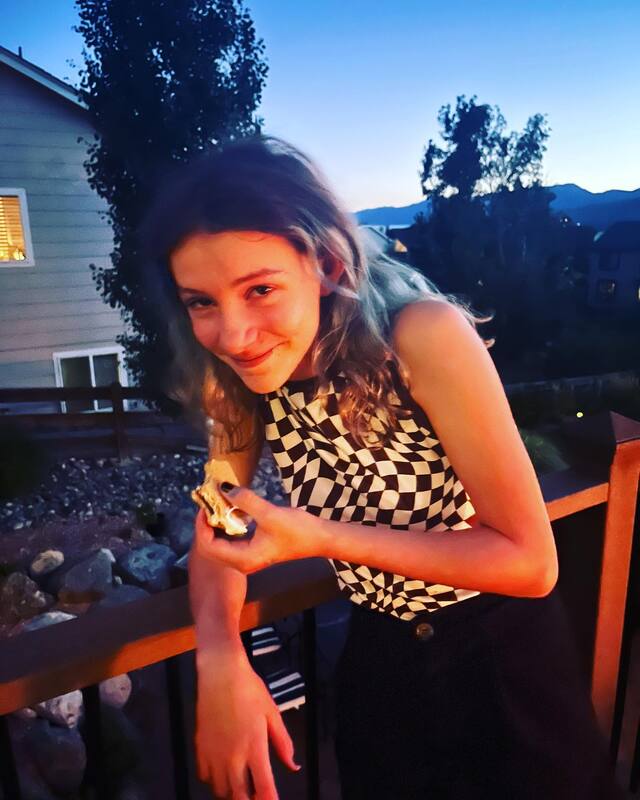
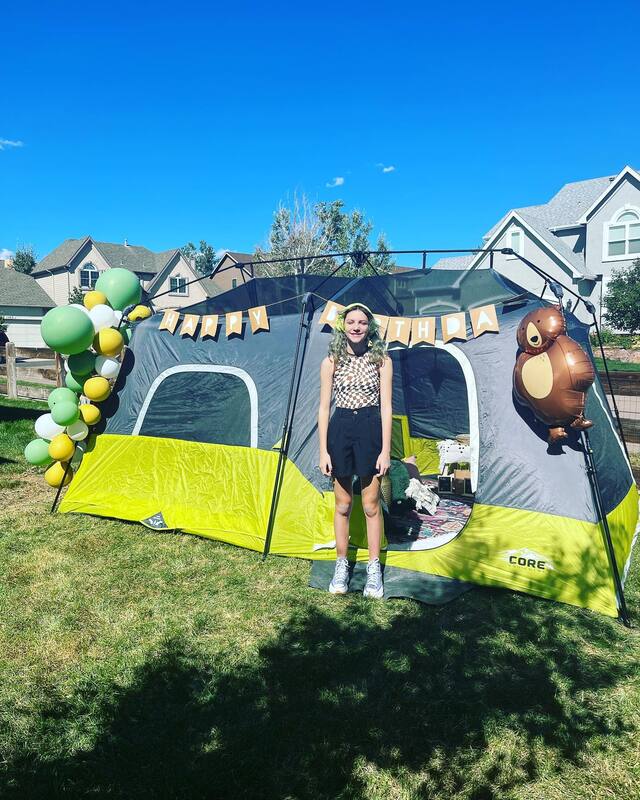
My daughter is finally at the age where she just wants to have a few friends over to celebrate her birthday. This year she went with a glamping party in the backyard. We set up our tent and decked the inside out with rugs, an air mattress, tons of pillows, blankets and snacks as well as a projector and screen. Guests recieved a goodie bag with a compass, lantern and glow stick jewlery. We had s'mores and grilled out and then she wanted to watch her first scary movie. She went with the new IT film and I am happy to say, no one got too scared or had to come inside. It was a fun evening and I wouldn't be surprised if this is the new norm for her birthday parties.
0 Comments
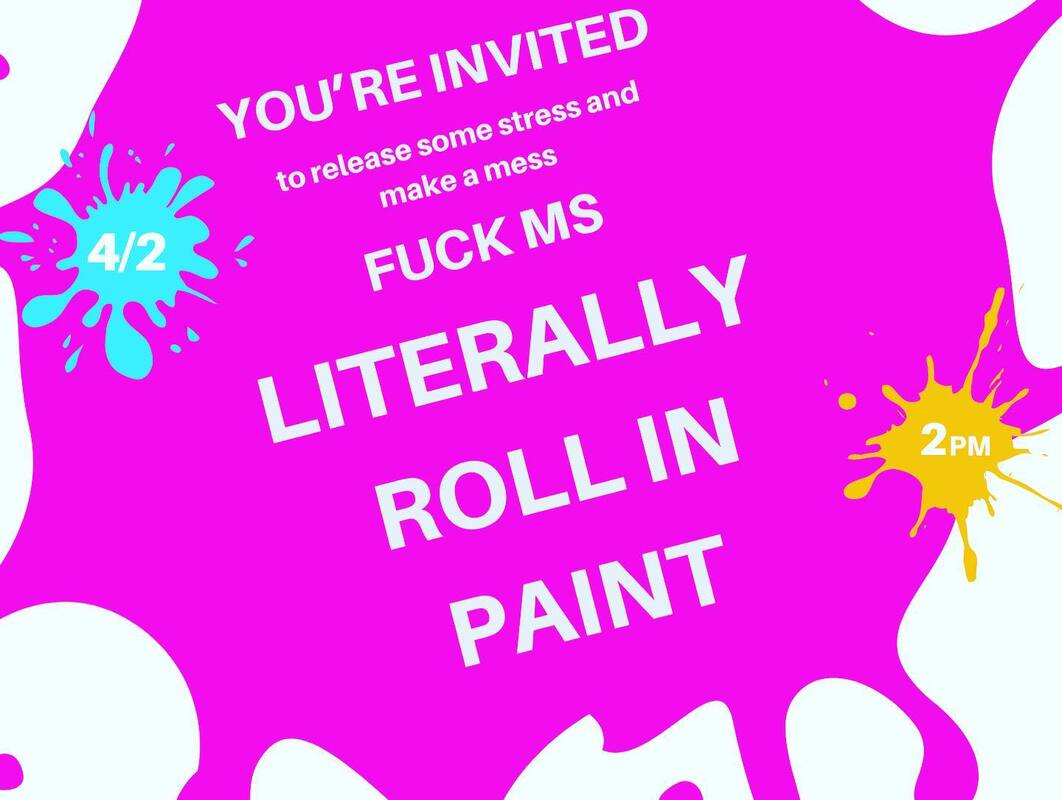
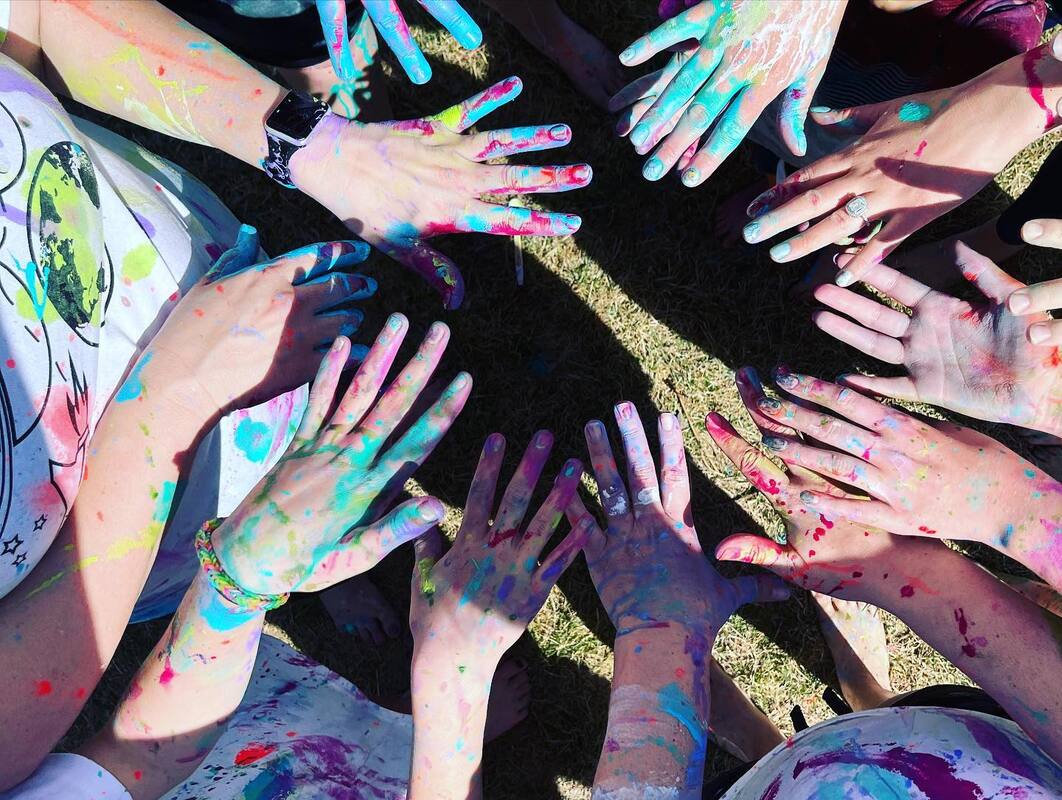
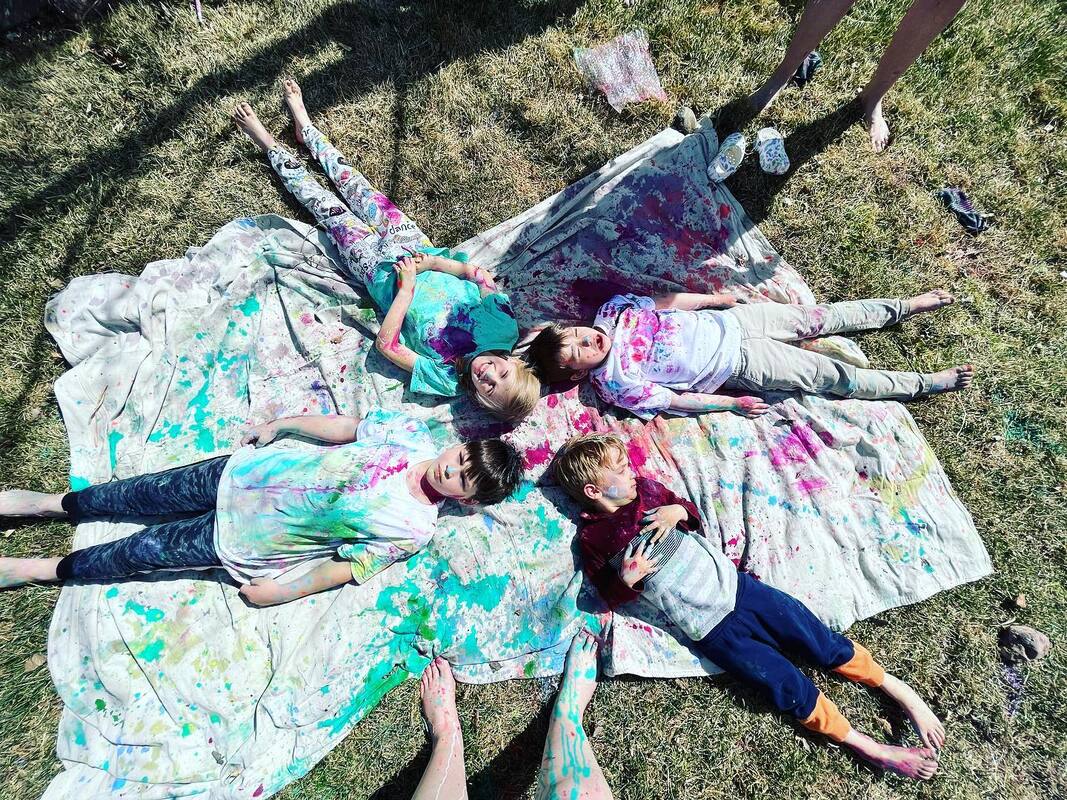
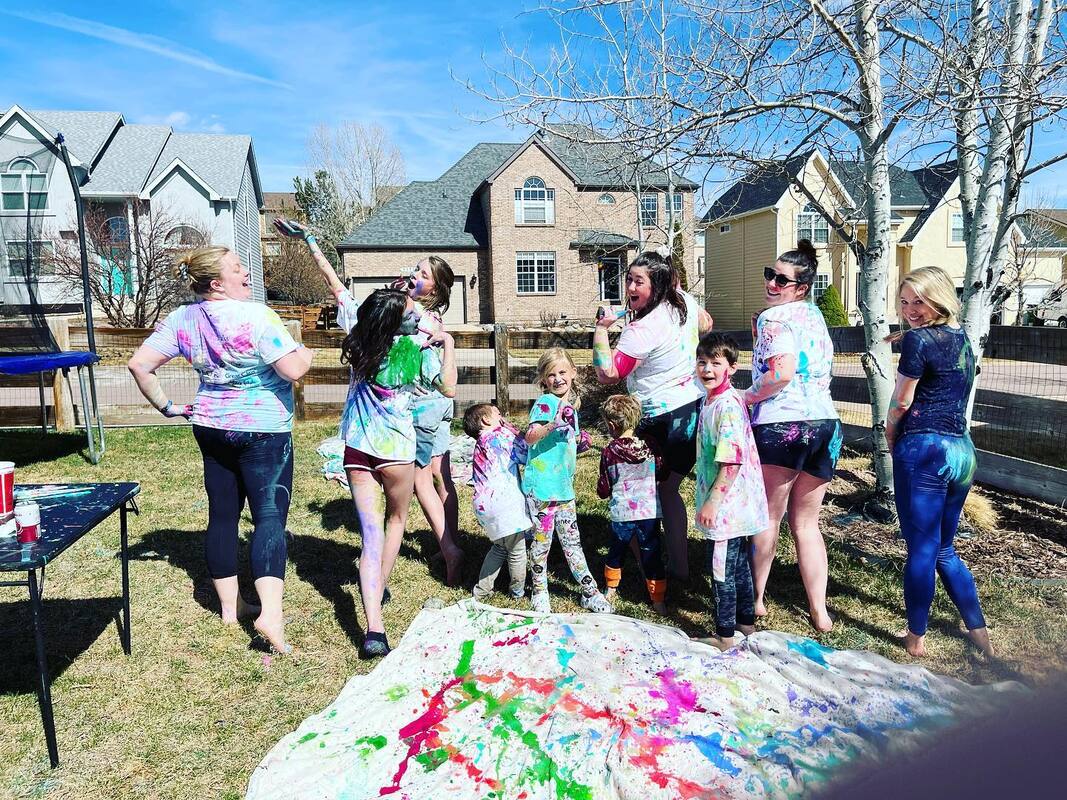
In true Paint Covered Kids fashion I needed to release some stress and anger after my MS diagnoses (see previous post) and decided I needed to do something a little destructive and a lot messy. So, I had a paint throwing party and invited all of my friends and their kids. I grabbed a bunch of fun acrylic paint colors, some canvas tarps and set up in the backyard. Friends were encouraged to wear a white shirt to keep as a memento and bottoms they didn't care about. Then, I laid the tarps on the ground, added some water to the paint to not only extend its use but also to make it easier to throw at each other! Everyone had a lot of fun and we definitely let out some frustration after a pretty rough couple of months. I am so grateful for friends willing to entertain my crazy ideas and join in on a messy but fun day. I encourage everyone to have a day like this. It was fun, stress relieving and rendered some awesome canvases that I plan on eventually framing and putting up in my home.
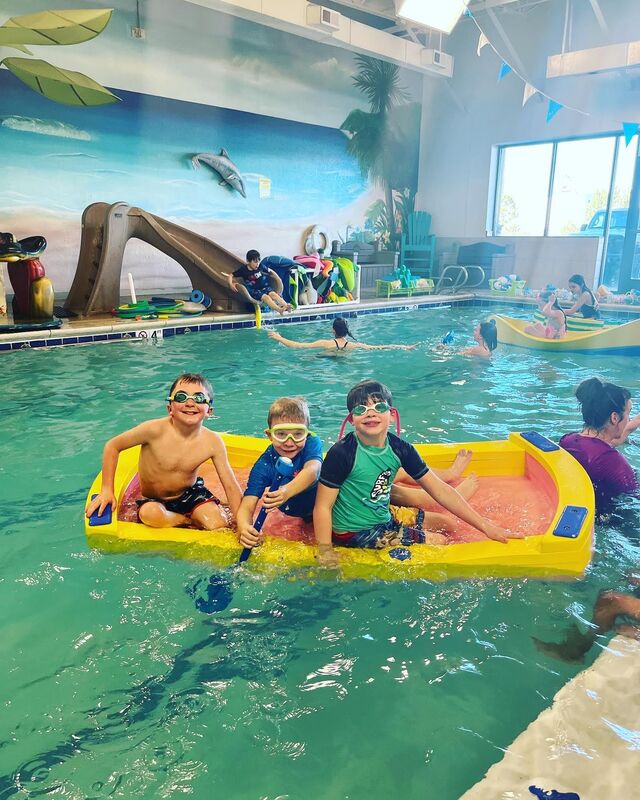
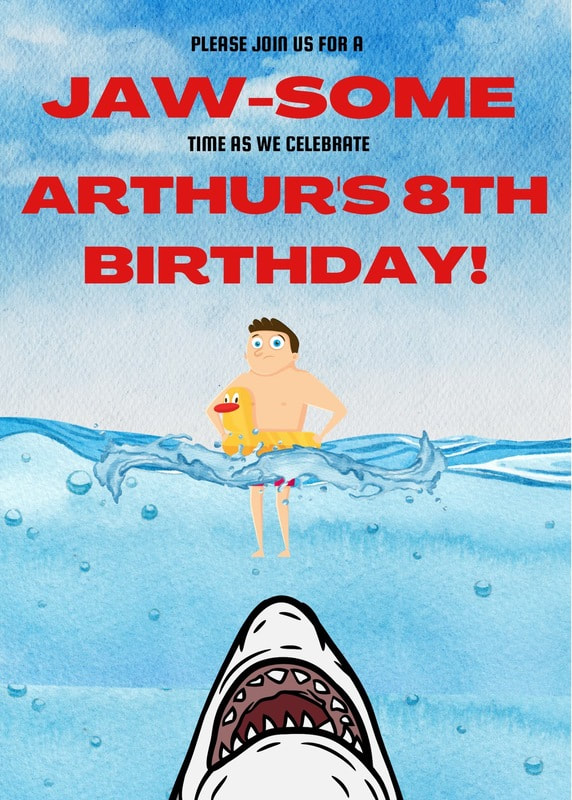
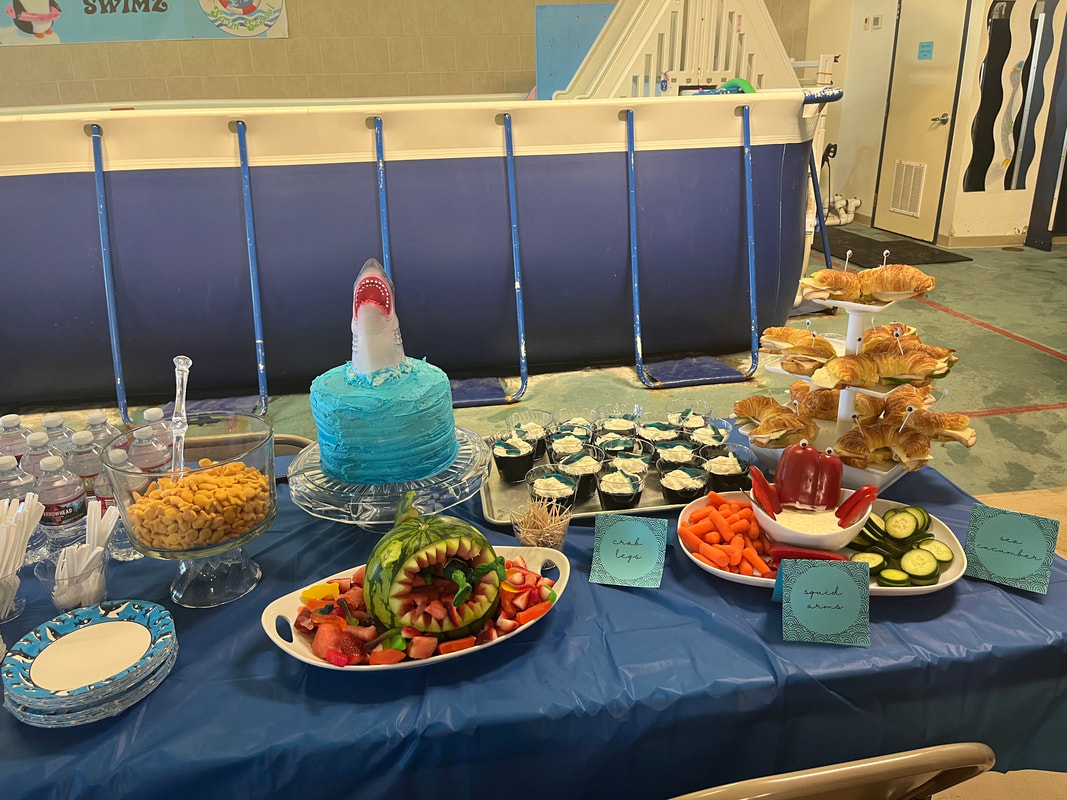
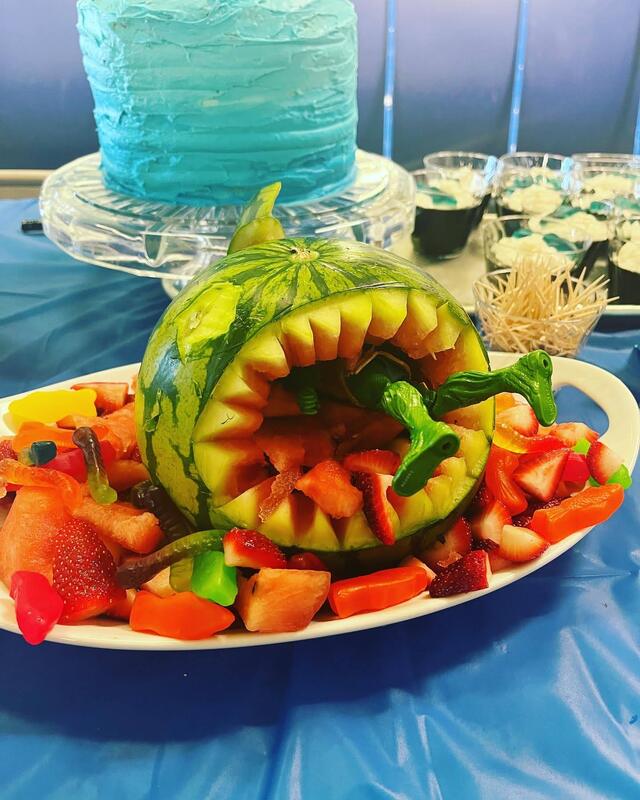
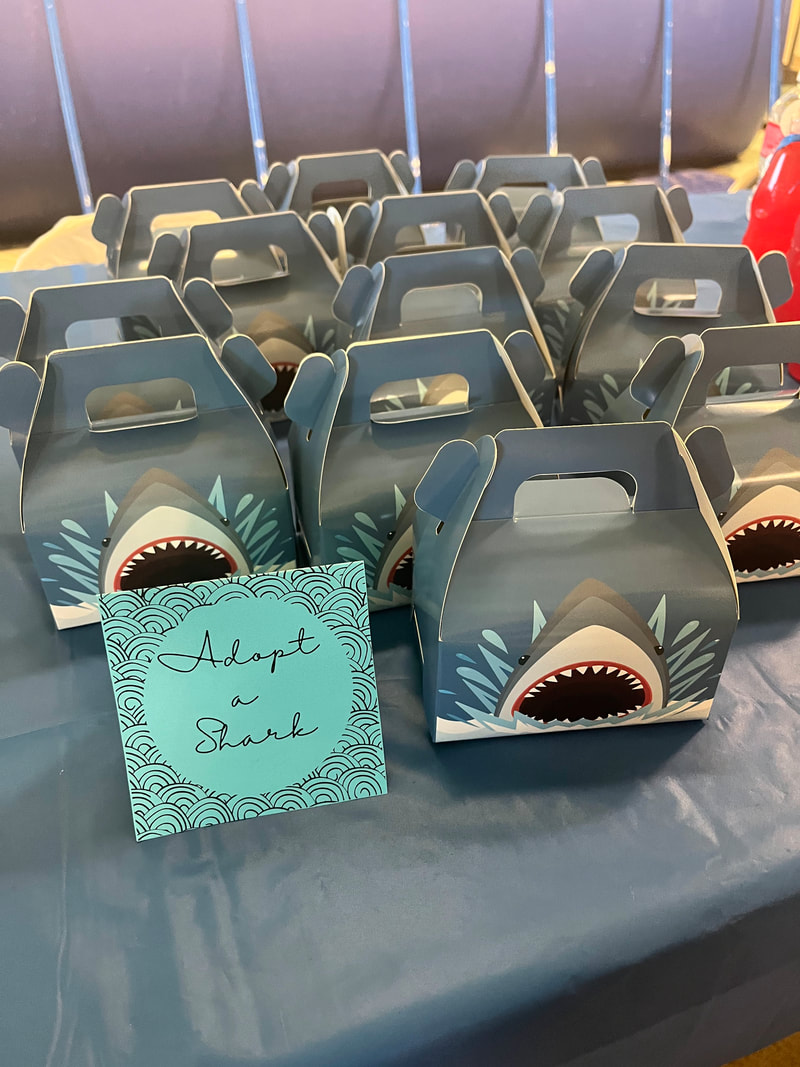
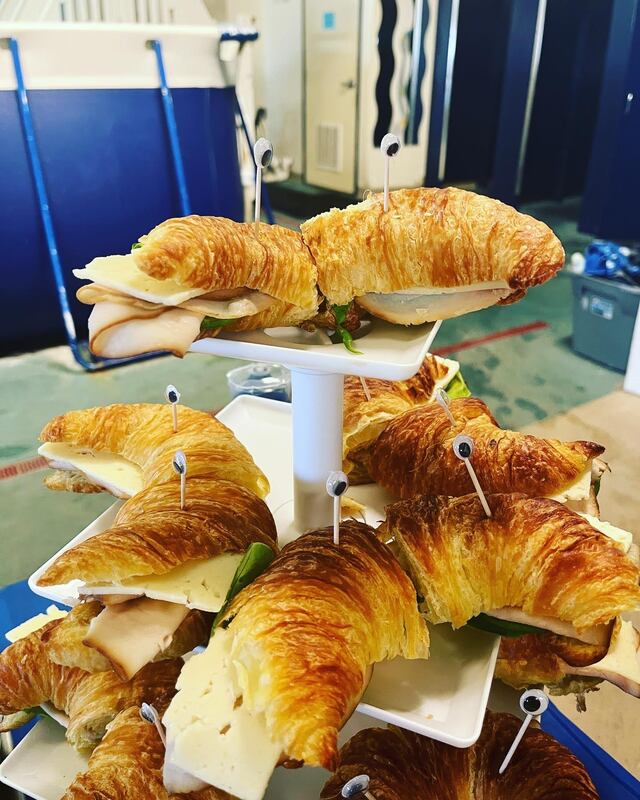
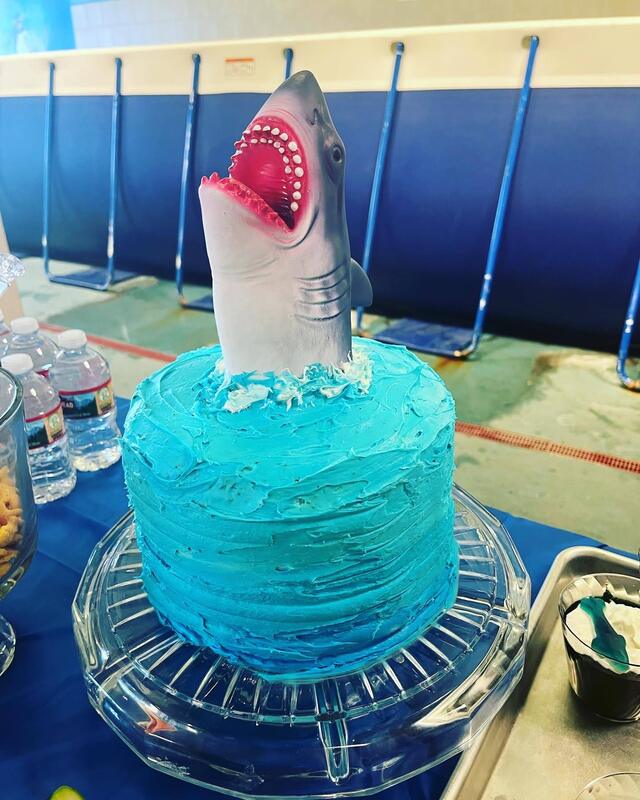
With my whole family vaccinated AND post catching COVID despite that fact, we decided to go all in on my son's 8th birthday this year. The last big birthday we celebrated was his 6th mere weeks before the pandemic began. He requested a shark themed party so I did my best to make it happen in the dead of winter in Colorado. Starting with the location, it took a bit of sleuthing but I finally managed to find an indoor pool that allowed birthday parties. The location was a swimming school and turned out to be a fabulous venue. They had fun murals all over the walls and TONS of water toys. They also provided tables for food and gifts and two life guards for the pool who played with and monitored all of the guests for us. For the invites I headed to Canva and got to creating. I wanted to impart the vibe in a fun way and I think they turned out great. After designing them I sent them for same day pickup to Walgreens. (there was a backside with all the deets too) Once the overall plan was made I set to work on the details by heading to Pinterest of course! I went all in on fun themed food and ordered trinkets for goody boxes. Unlike other parties held at my home in the past, this party didn't require games and activities for the guests so once I figured out the food and party favors I was done! I made the shark cake with two boxes of cake mix, store bought white icing that I dyed various shades of blue and a shark hand puppet stuffed with paper towels. I followed a tutorial for the shark watermelon, hot glued googly eyes to toothpicks for the crab croissant sandwiches and attempted to make ocean jell-o with gummy sharks but it was an epic fail. I ran out of jell-o and had to scavenge for more in my pantry but it was the wrong color. So, I added blue food coloring but it turned out purple because it was red and yellow jell-o mixed together. There was supposed to be a graham cracker sand bottom but when I added the jell-o it floated and because the space was warm the whipped cream went flat. But, it was tasty and I created a new flavor of jell-o: lemon, strawberry, blue-raspberry.
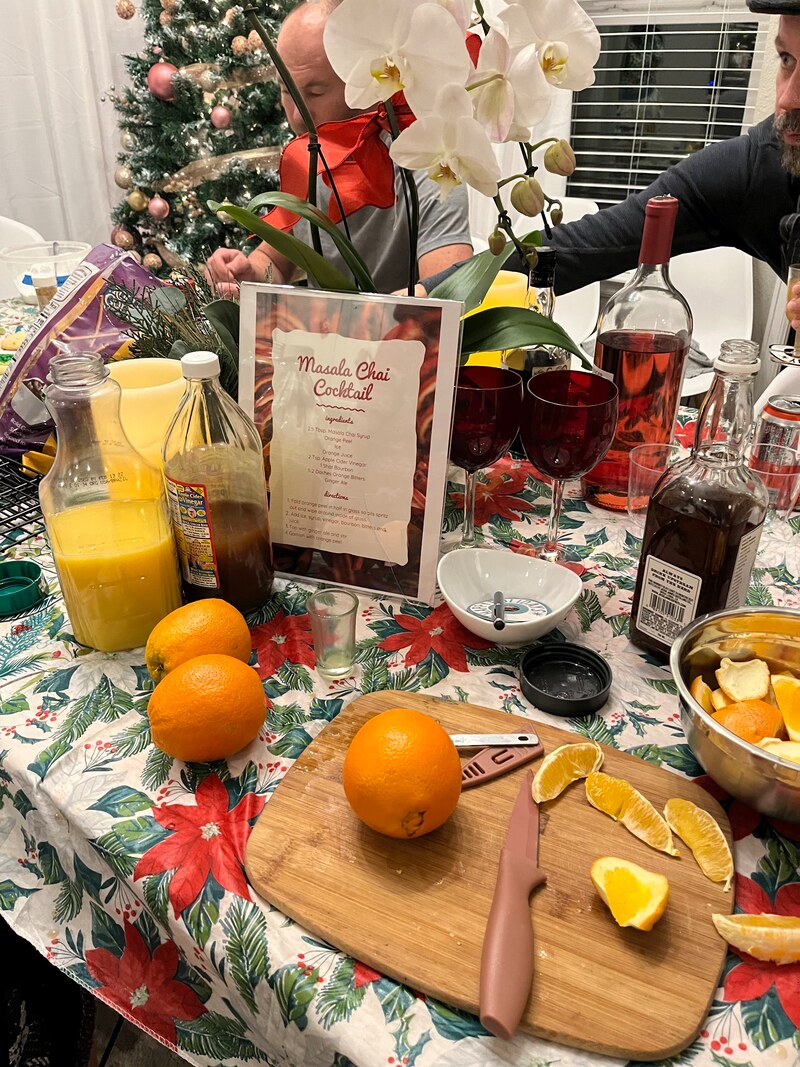
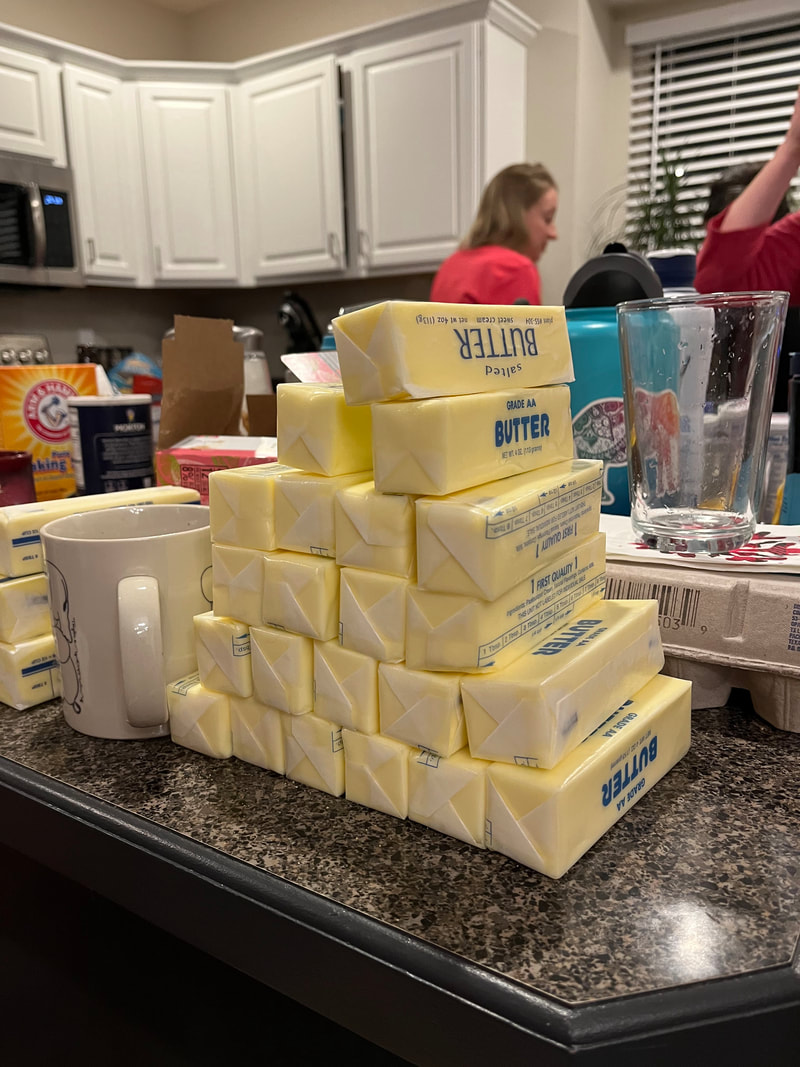
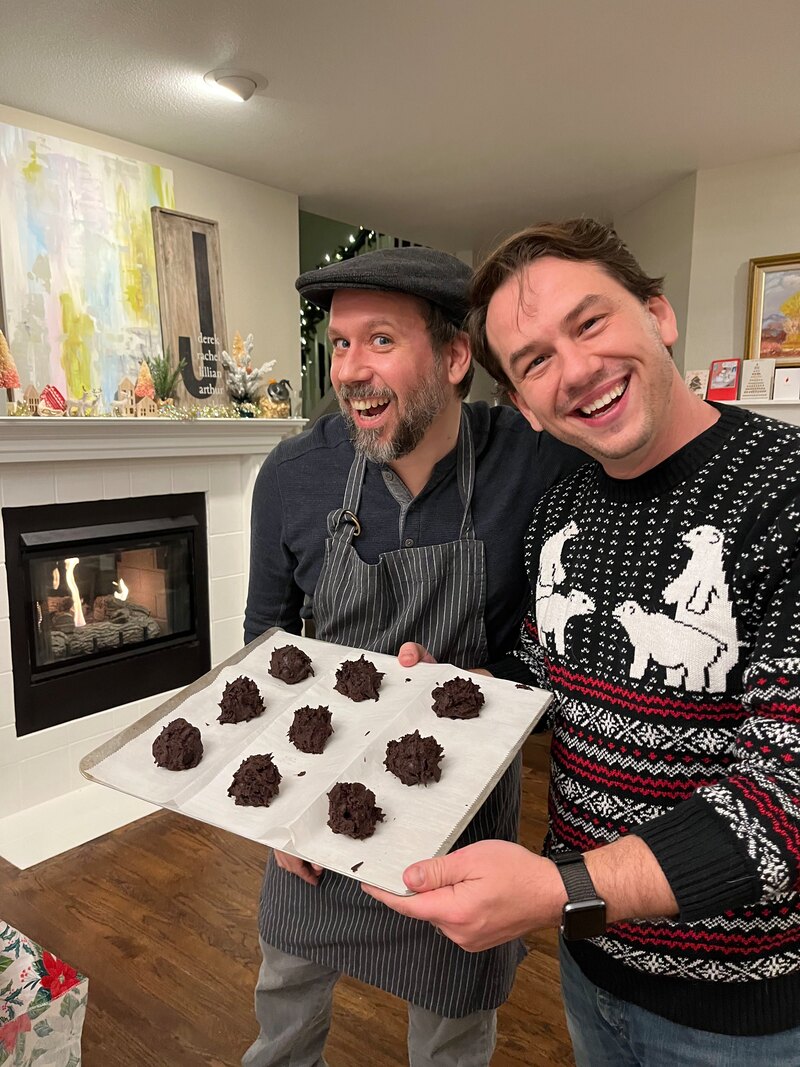
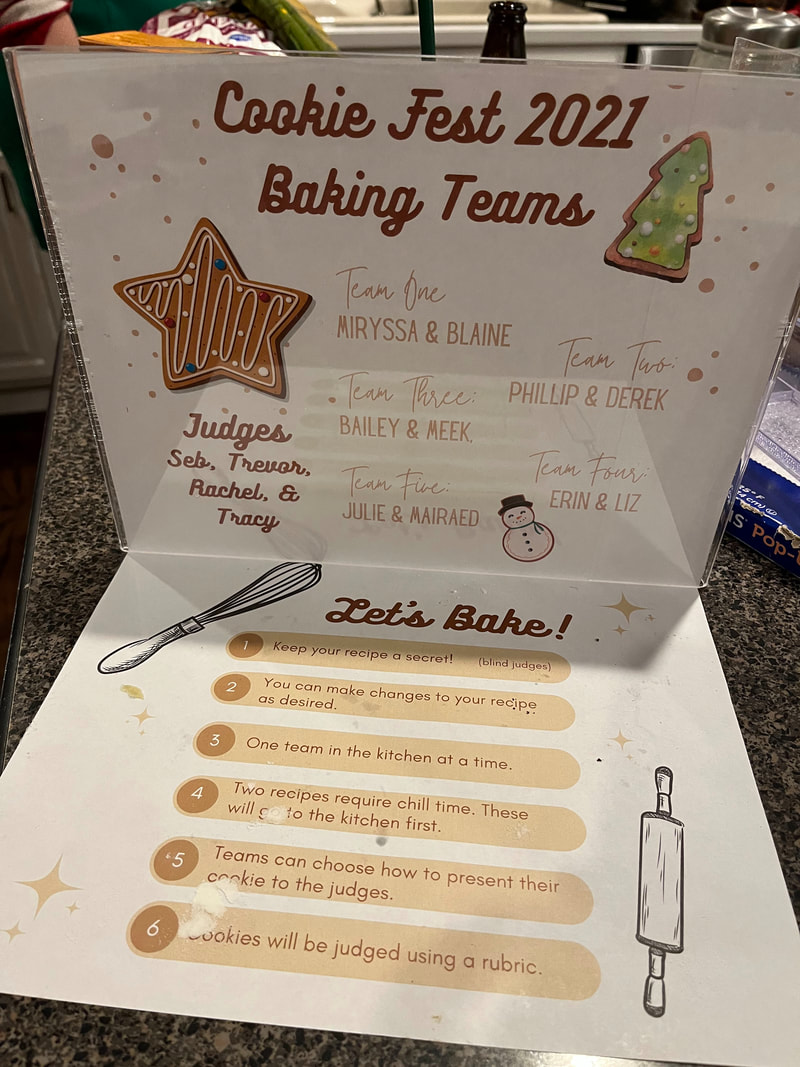
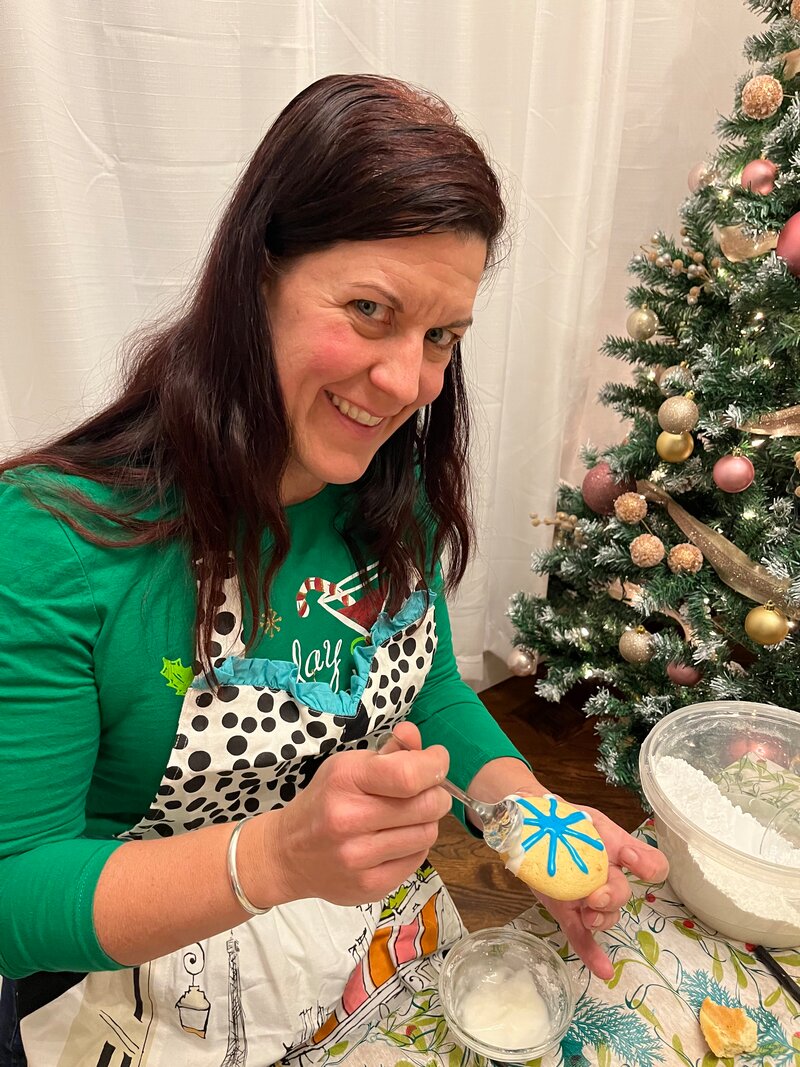
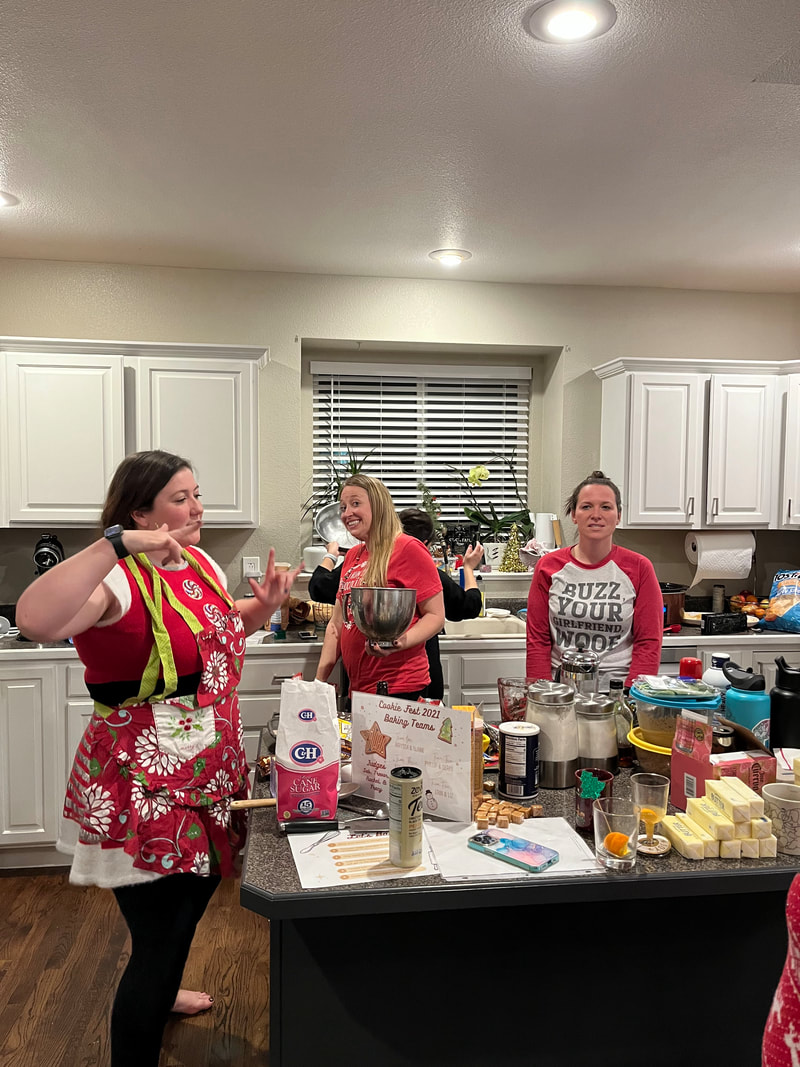
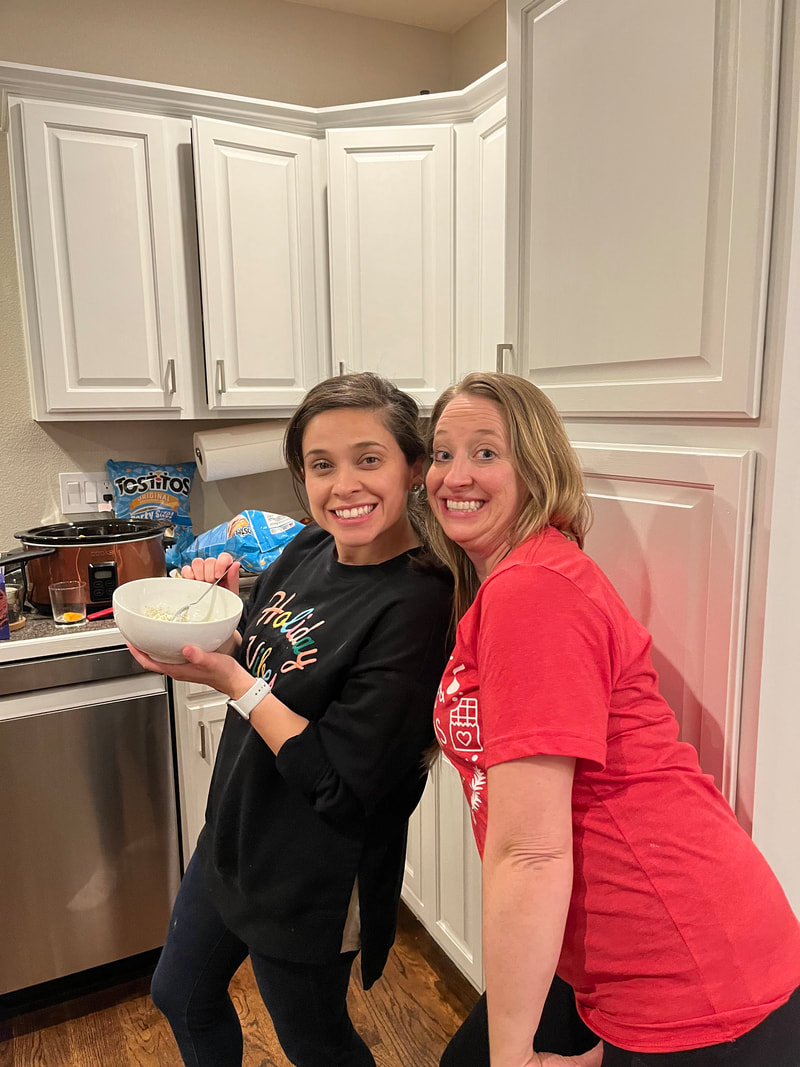
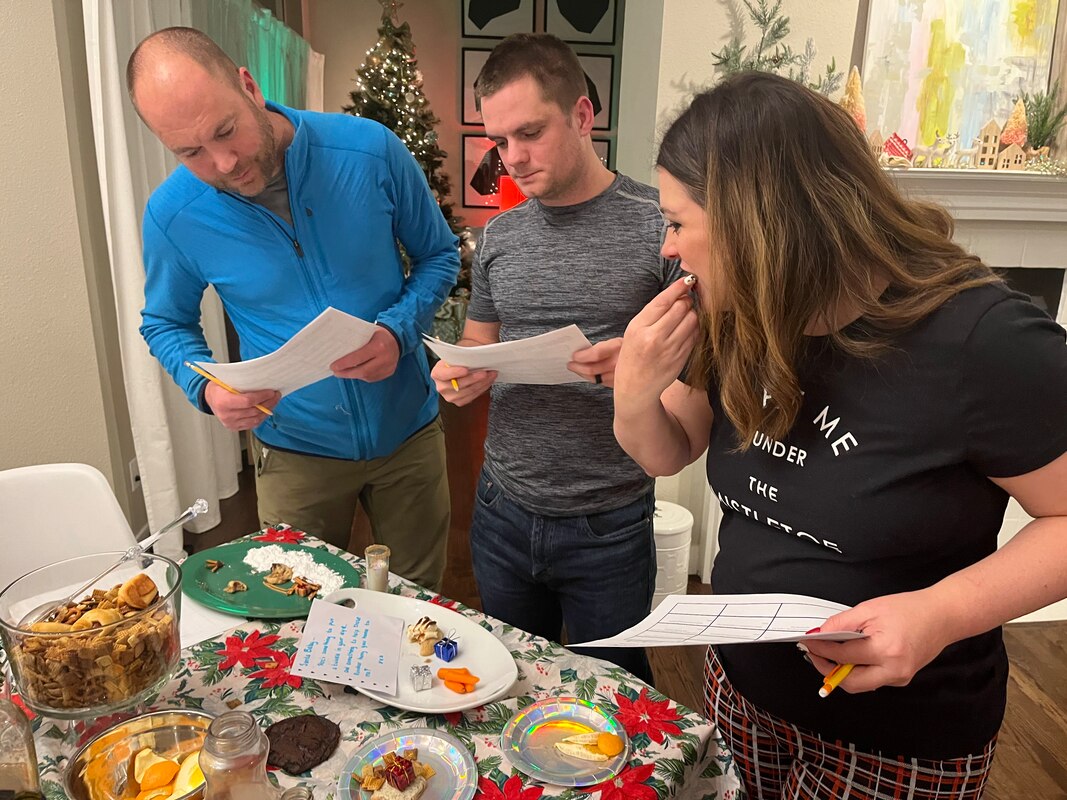
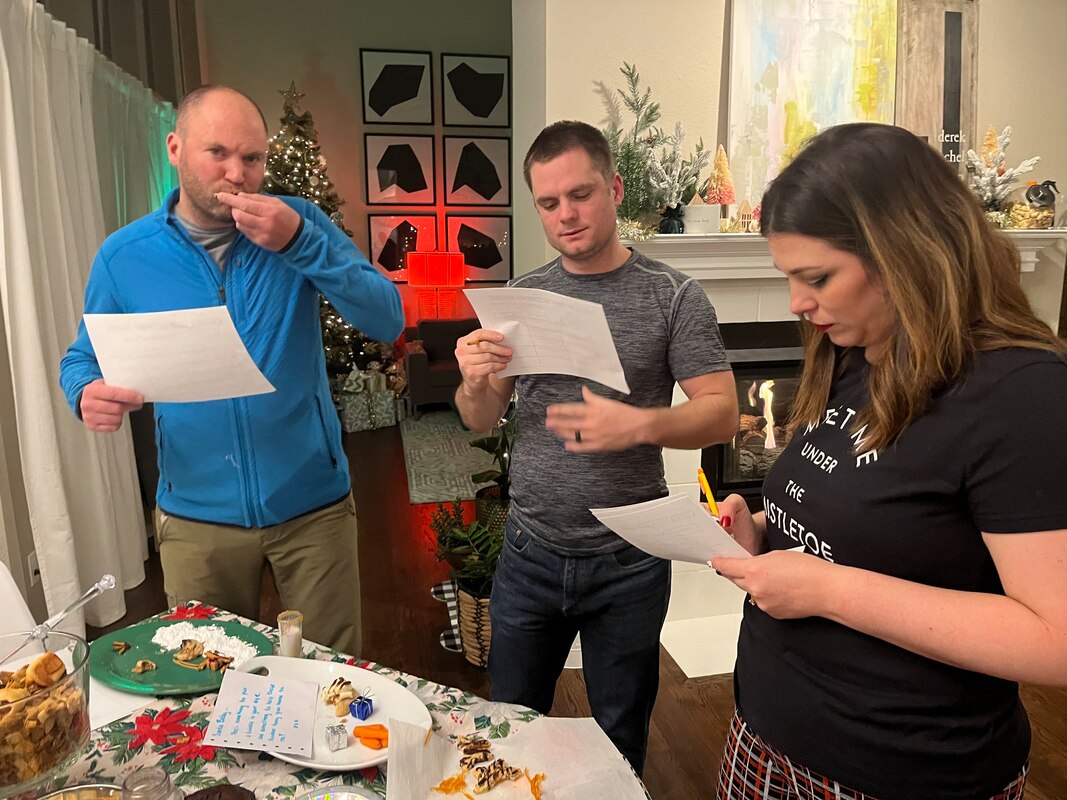
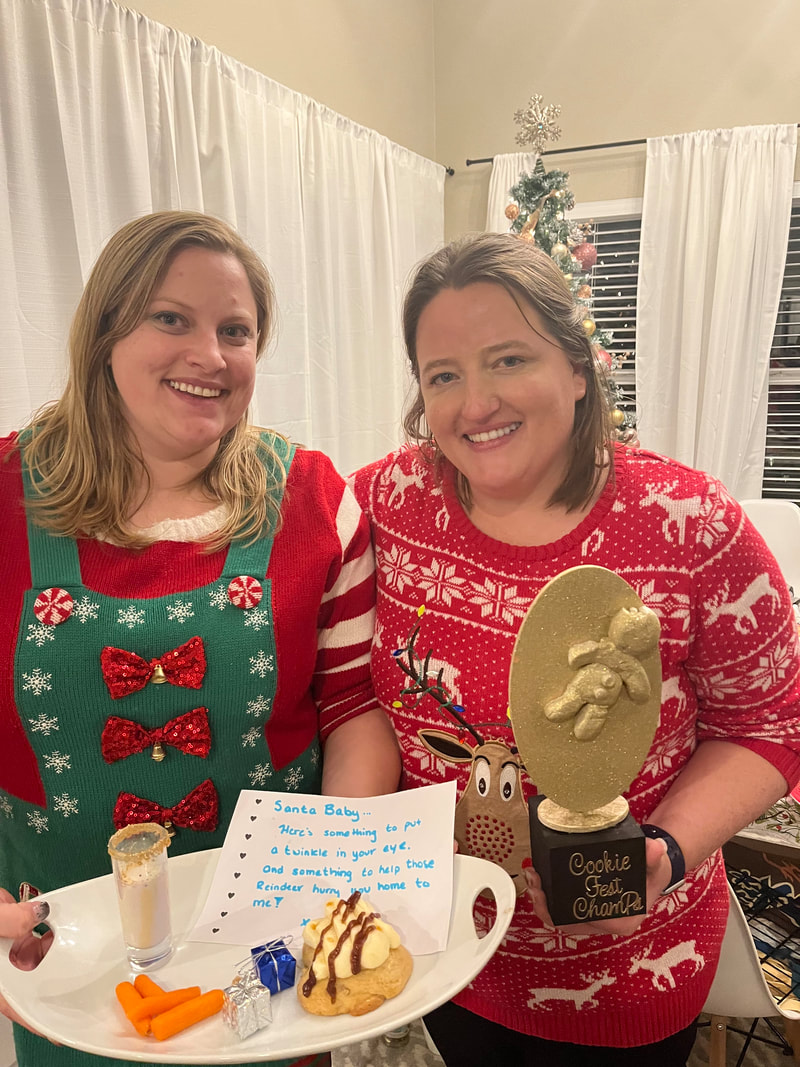
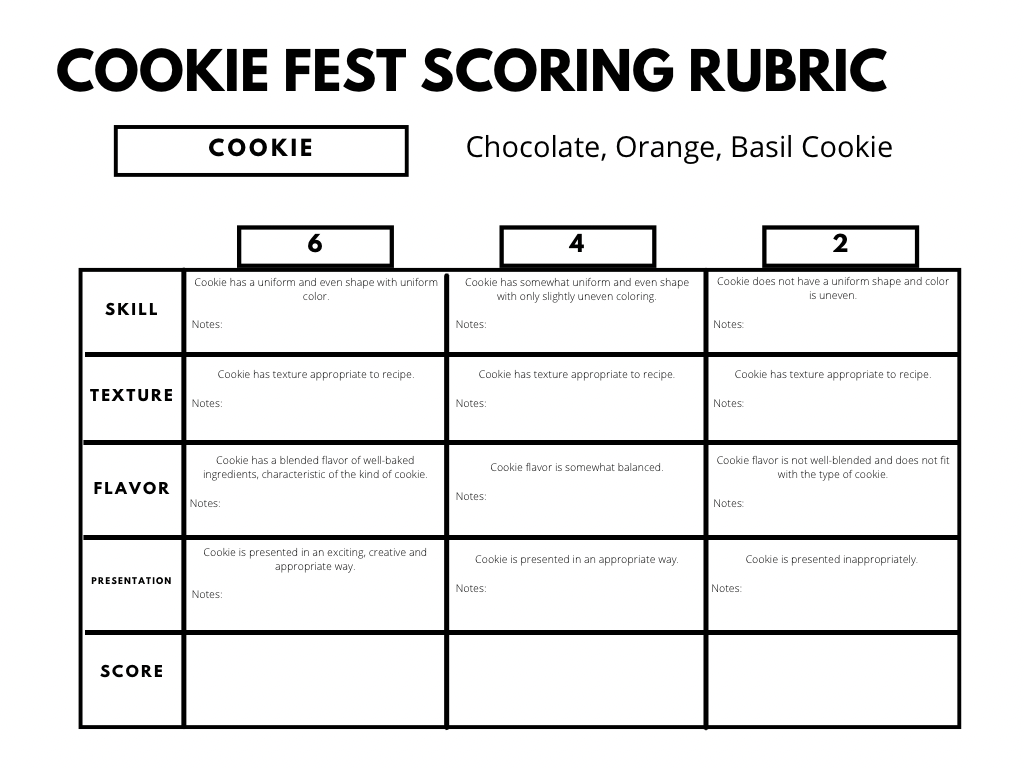
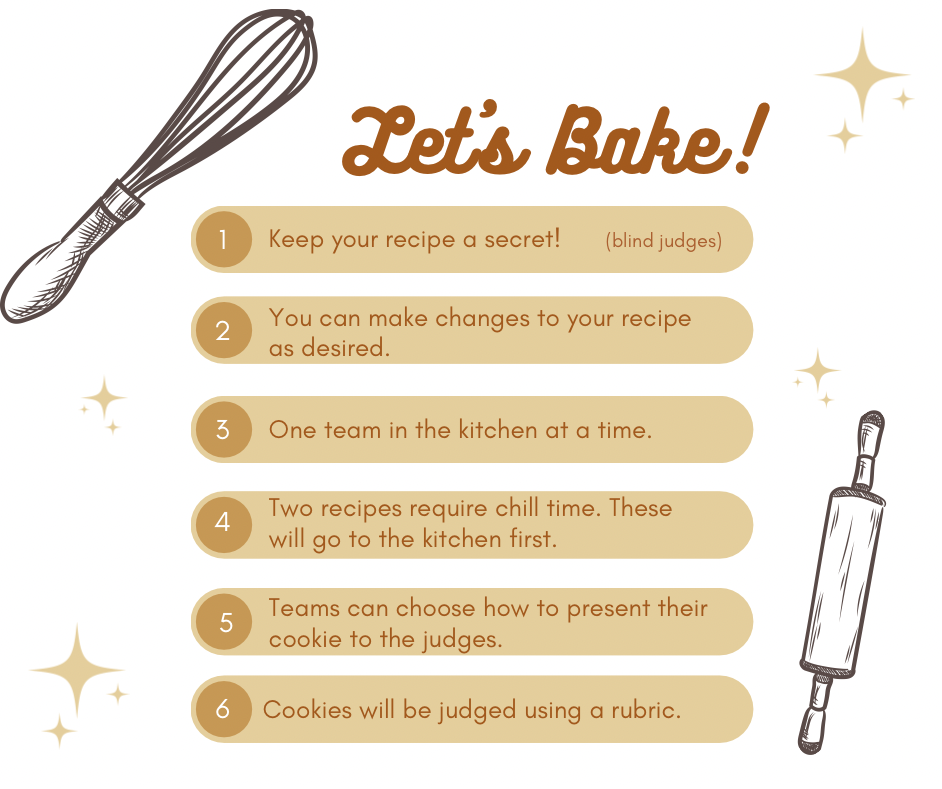
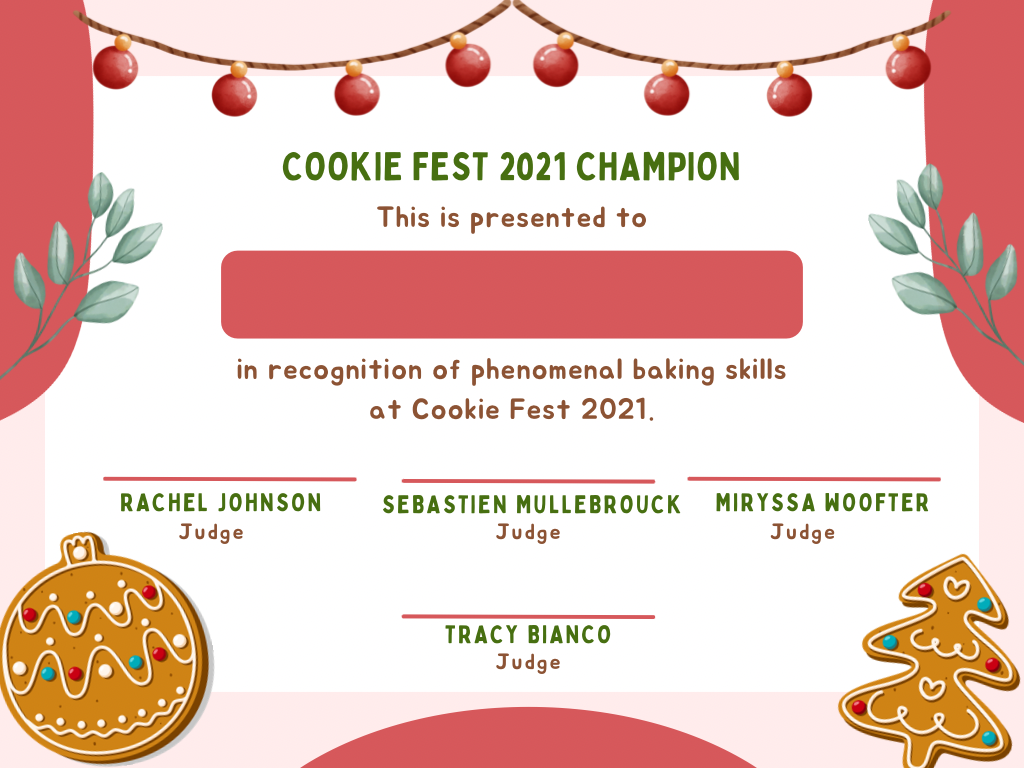
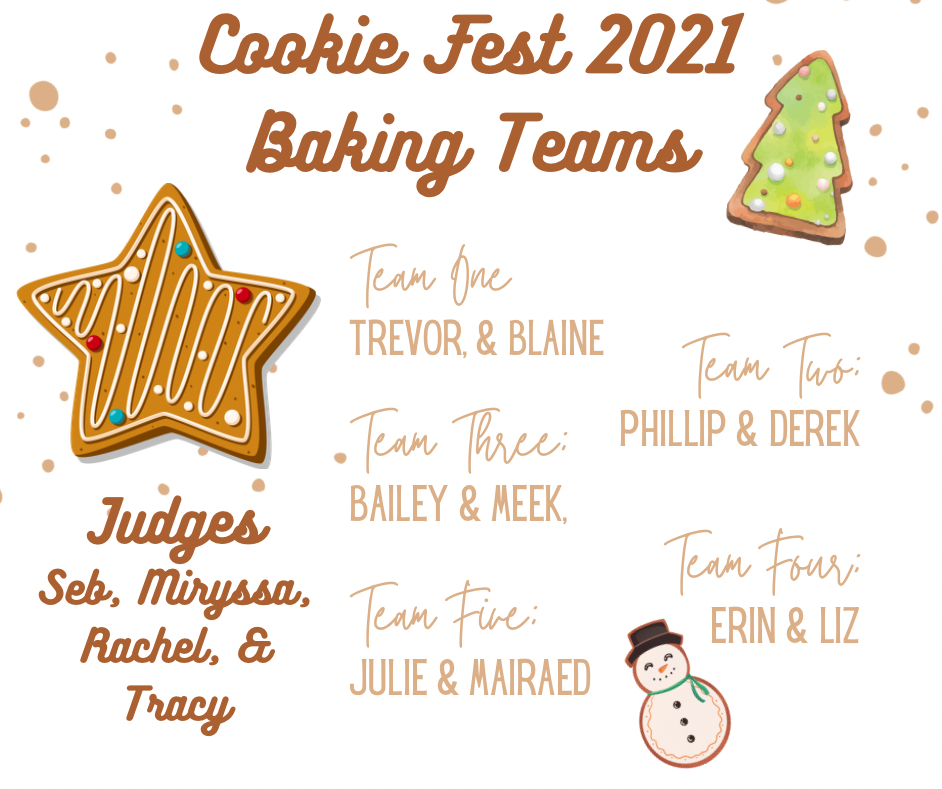
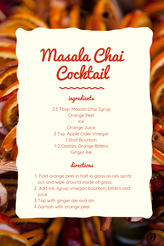
It was a very fun party that took way less effort than most other parties I have planned which was good because I've been experiencing vertigo and functioning has been interesting. I hope you enjoyed looking at my pictures! Thanks for visiting! We've been hosting Cookie Fest every year since we were college babies and this year it got a bit of a make-over. My new friend group is much more into all of the craftiness that I love and are definitely competitive se we went all in on Cookie Fest in regards to the competition element this year. I made rubrics, a trophy, certificates for the winners and we had rules. It was a ton of fun and we ended up with some delicious cookies. I love offering a custom cocktail and this year it was a masala chai digestive aid cocktail and let me tell you...it was BOMB! I printed out directions so everyone could make their own and I wouldn't be a drink mixer slave all evening. You can get the printable recipe below. We use a TON of butter every year at cookie fest and this year was no exception. Look at that mountain of butter! Above you can see the judges deliberating and scoring and the winning team with their trophy and prize cookie. (You got points for presentation and theirs included a shot to go with their cookie!) You can click the images below to download all of the documents I used to make this cookie fest the most epic of them all. After the baking ended and the winners were declared by the judges, all guests took home cookies in containers I purchased at the dollar tree and a custom oven mitt that I created using the template linked below. You can edit and make it your own by clicking the image.
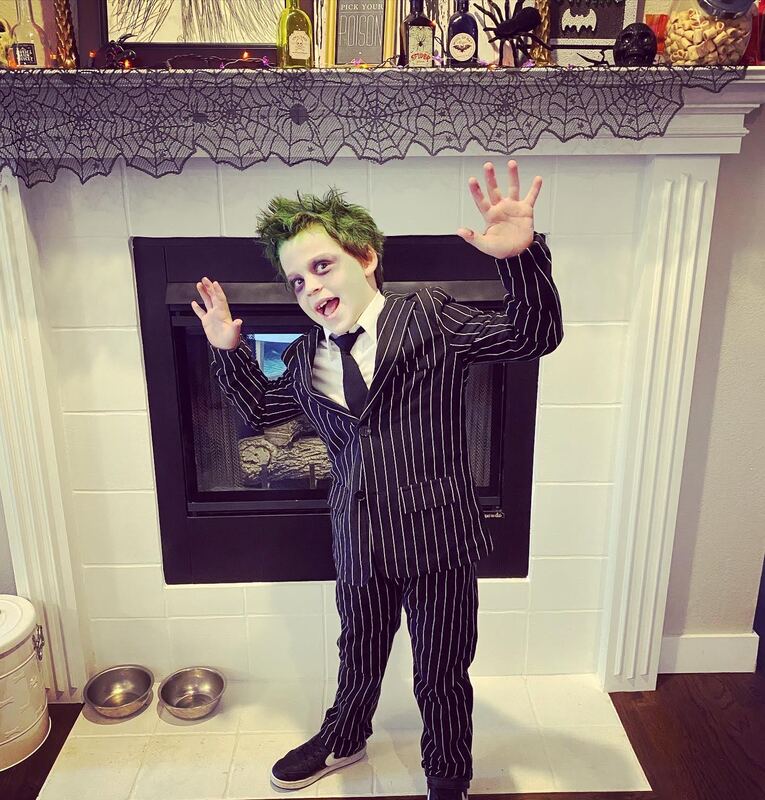
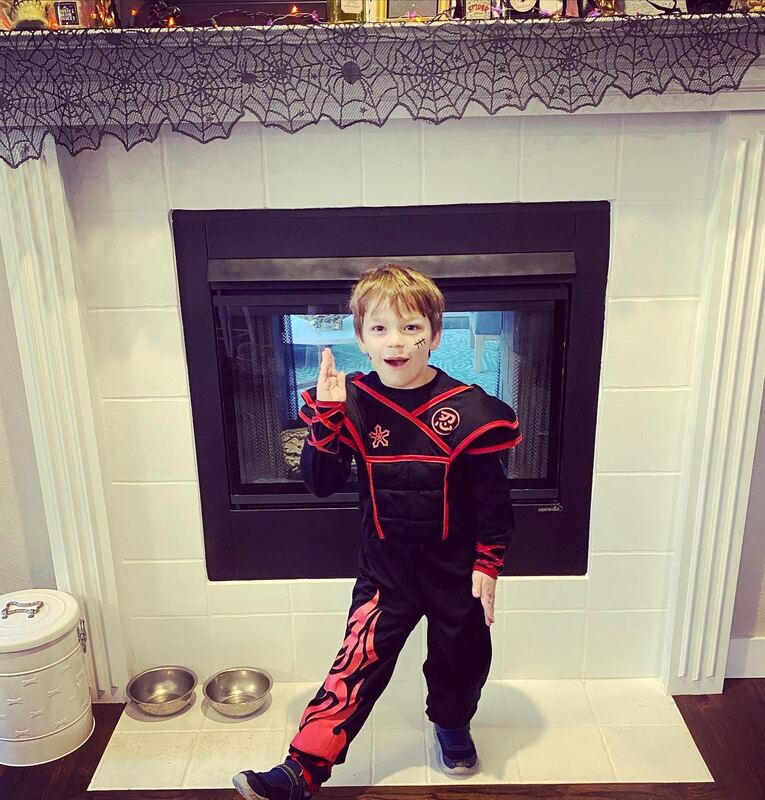
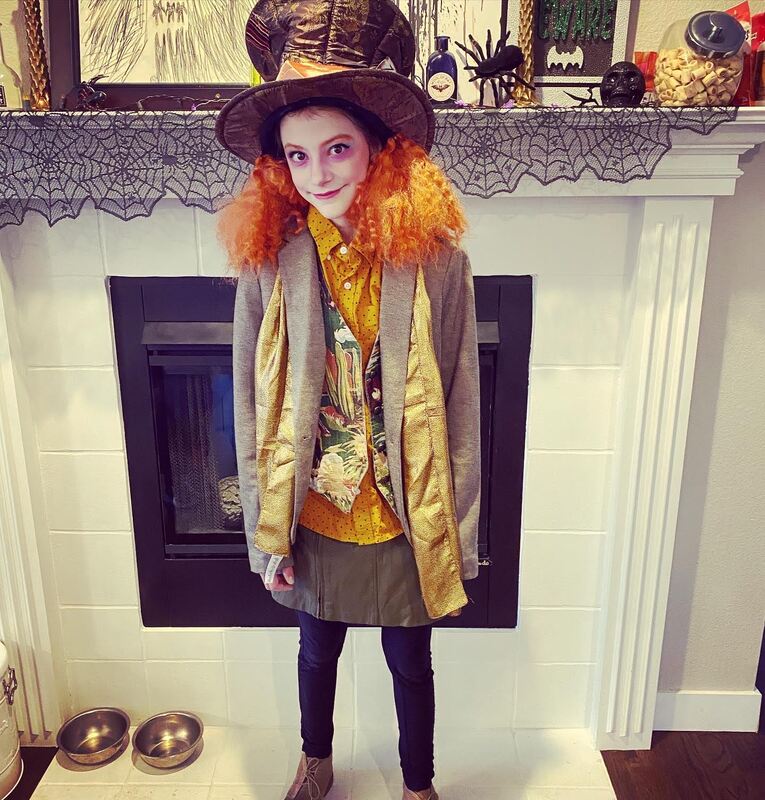
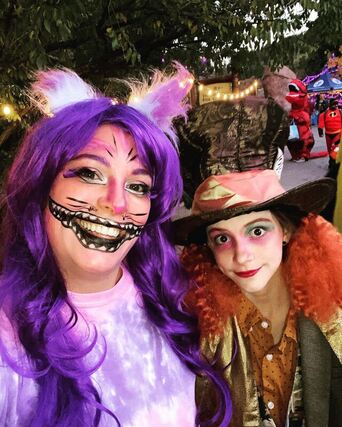
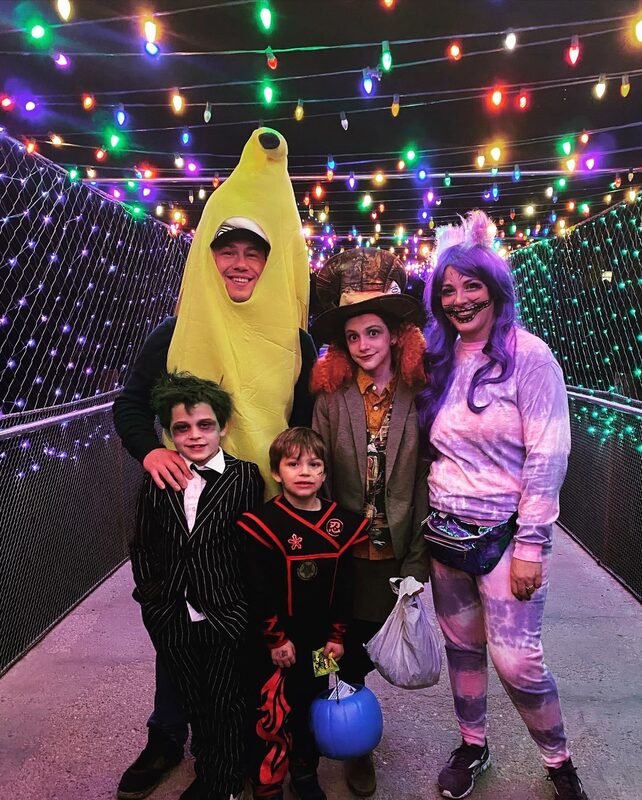
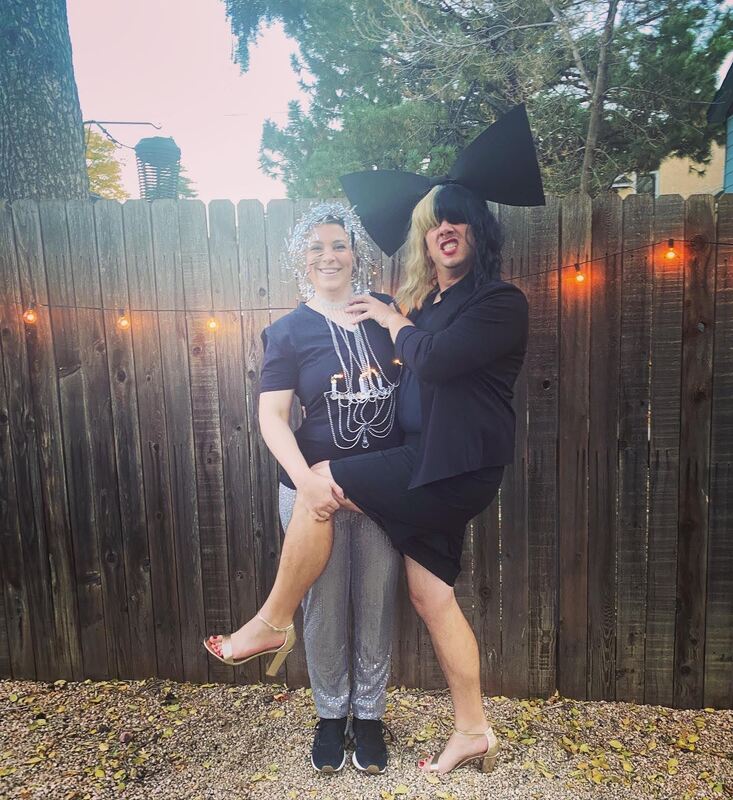
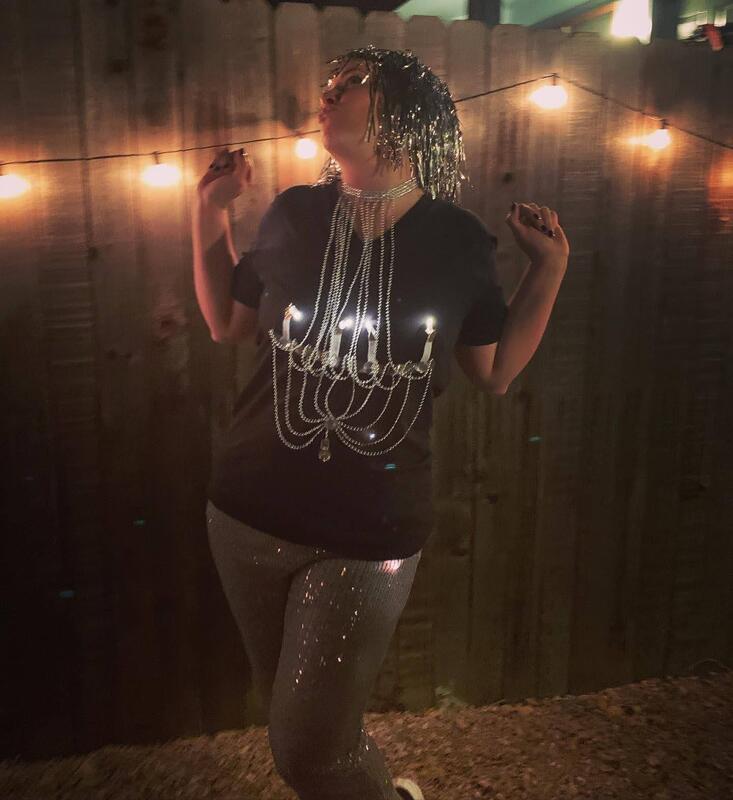
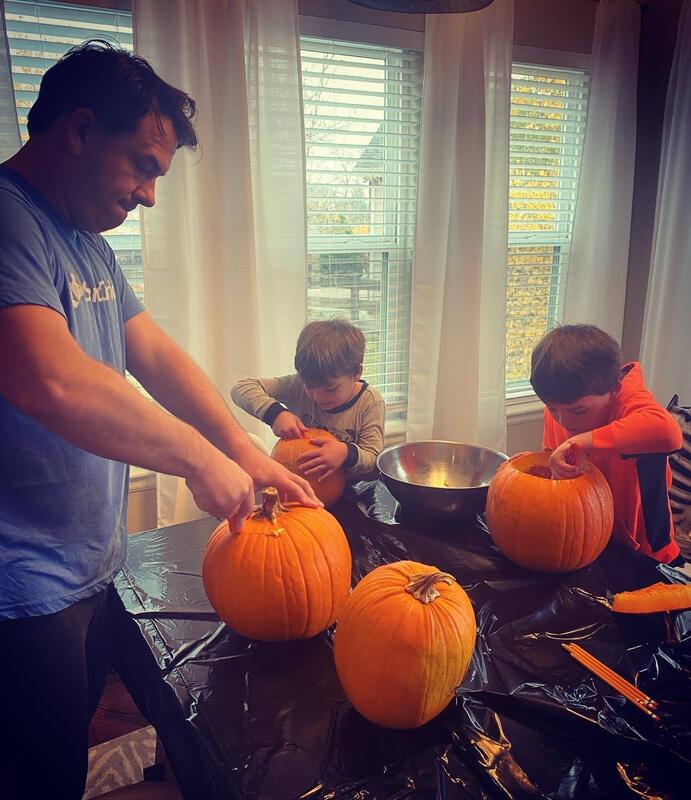
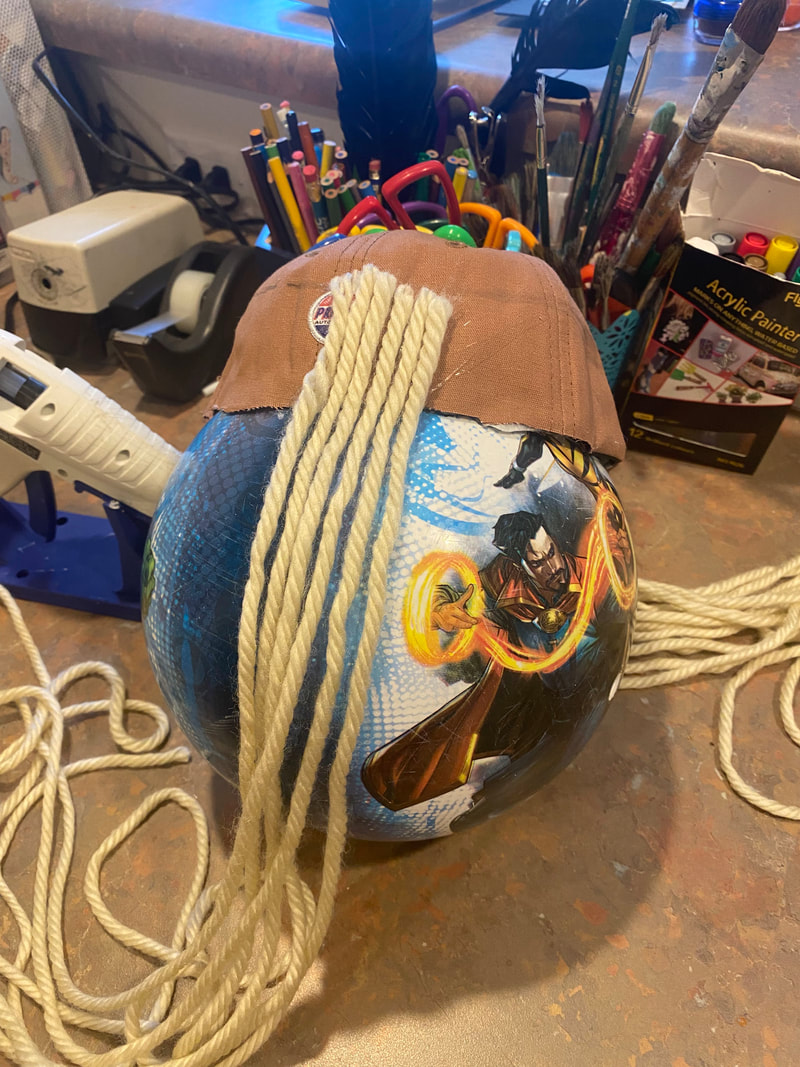
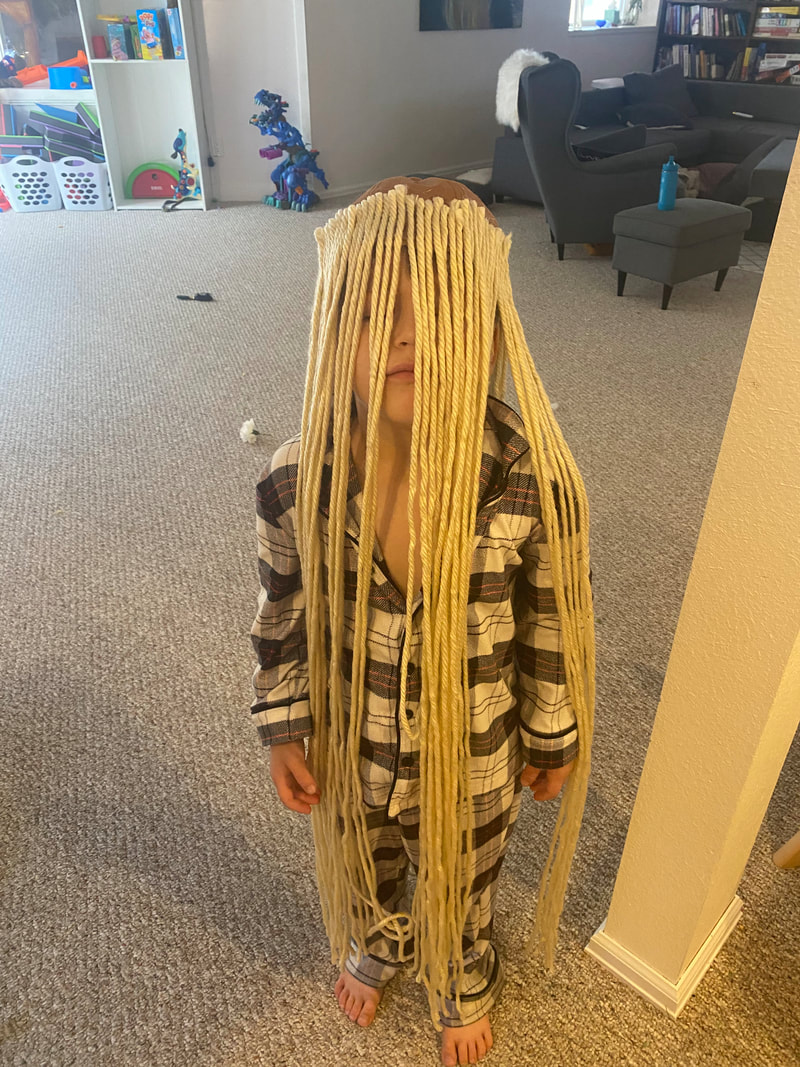
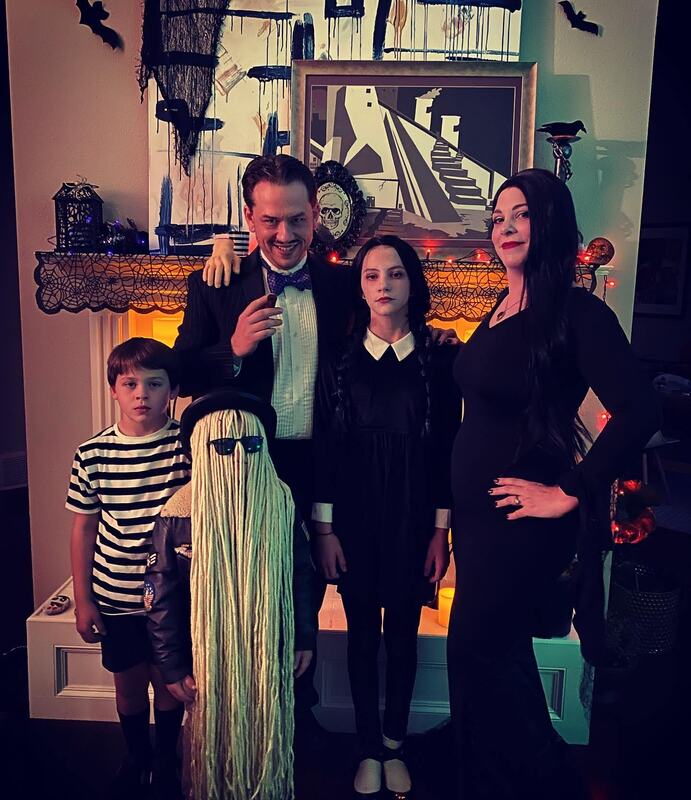
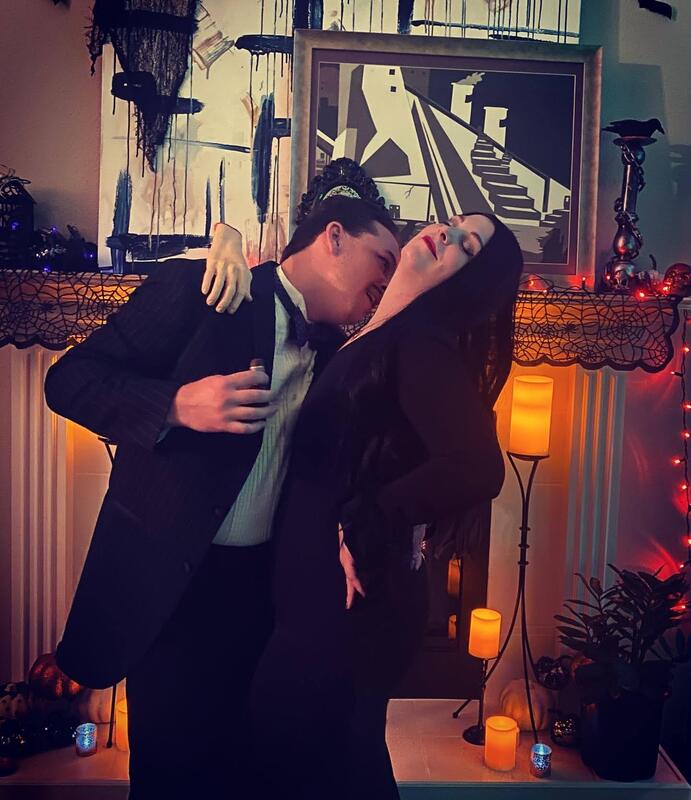
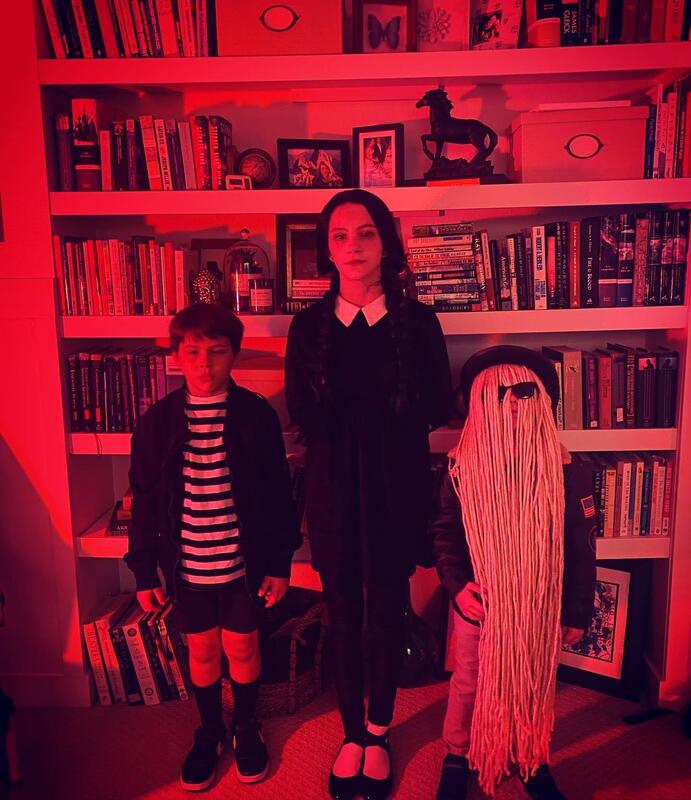
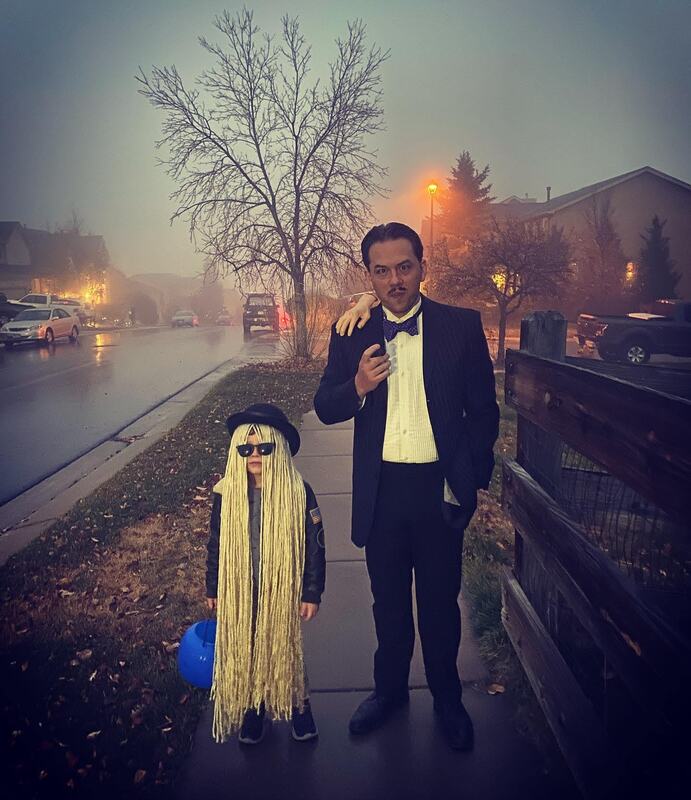
Halloween was definitely eventful this year. Derek and I had a total of three different costumes for Halloween including a recycled costume from several years ago and two new ones. The kids all had two costumes each and we all had a serious blast. We started the festivities on Friday with school parties. I went as the Cheshire Cat and reused an older costume from several years ago when we were Alice in Wonderland themed. Lilly also chose an Alice in Wonderland character but went for The Mad Hatter instead of Alice and we had to build her costume using random awesomeness from Goodwill. Arthur went as Beetlejuice which was comprised of a suit from Amazon, green hair paint and makeup. Alan went as a ninja and took very little extra work which I appreciated. That evening we went to Boo at the Zoo and kept our costumes from school with the addition of Derek as a banana. Saturday I spent the day cleaning up the house and finishing up costumes for Sunday. That evening we went to a Halloween party with friends and the kids had a sitter. I was super proud of our costumes and put considerable effort into them. Derek was the singer Sia and I was a chandelier. He went all the way wearing a skirt and heels. It was phenomenal. For my chandelier costume I roamed through Hobby Lobby looking for anything silver that I thought would work. I purchased a black tshirt, silver leather, some felt, silver gems and silver beading and ribbon from the ribbon section. I referred to a sketch of a chandelier and started hot-gluing. I ended up making a choker out of the jeweled ribbon and hot-glued the beading to it and the shirt. I even cut slits and inserted some battery pack lights to electrify it. I found a silver wig and silver sequin pants on amazon and the outfit was complete. For Sia, I made the bow out of a headband blank, black craft foam and hot glue. Purchased the wig from amazon and then dressed him in m clothes. Yes...unfortunately we wear the same size. For the actual day we spent quite a bit of time recovering from Saturday's party which involved us arriving home at 3:30am. But, once I was rehydrated with two Body Armor Drinks and filled with a breakfast burrito I was ready for the day. We carved pumpkins and watched The Addams Family to get ourselves into character. Then we donned our family costumes and totally killed it! I made it easy on myself this year and most of our costumes were just purchased items put together. I did go hunting for Derek's jacket at Goodwill because I didn't like the costume options online and I had to make Alan's Cousin It costume from scratch but, it was actually pretty quick. To make it I took a tan baseball cap and cut off the brim. Then I measured yarn for the correct length for Alan (didn't want it dragging the ground). Then I hot-glued two layers of said yarn around the rim of the cap and then a piece of tan felt on top of the layers to keep it more sturdy. I put a bowler hat and sunglasses on top and he was ready to go! He was definitely the star of our little show.
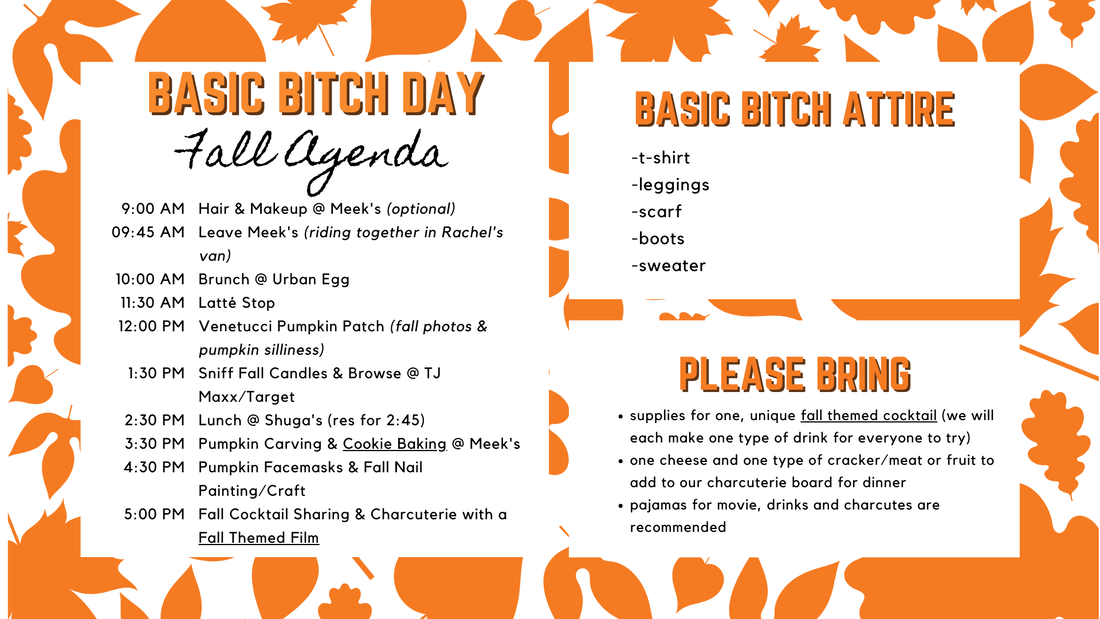
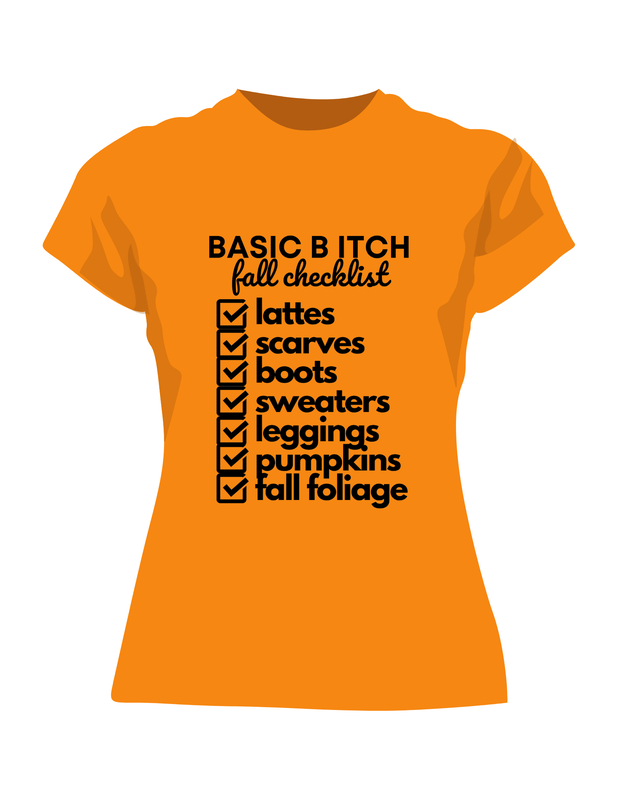
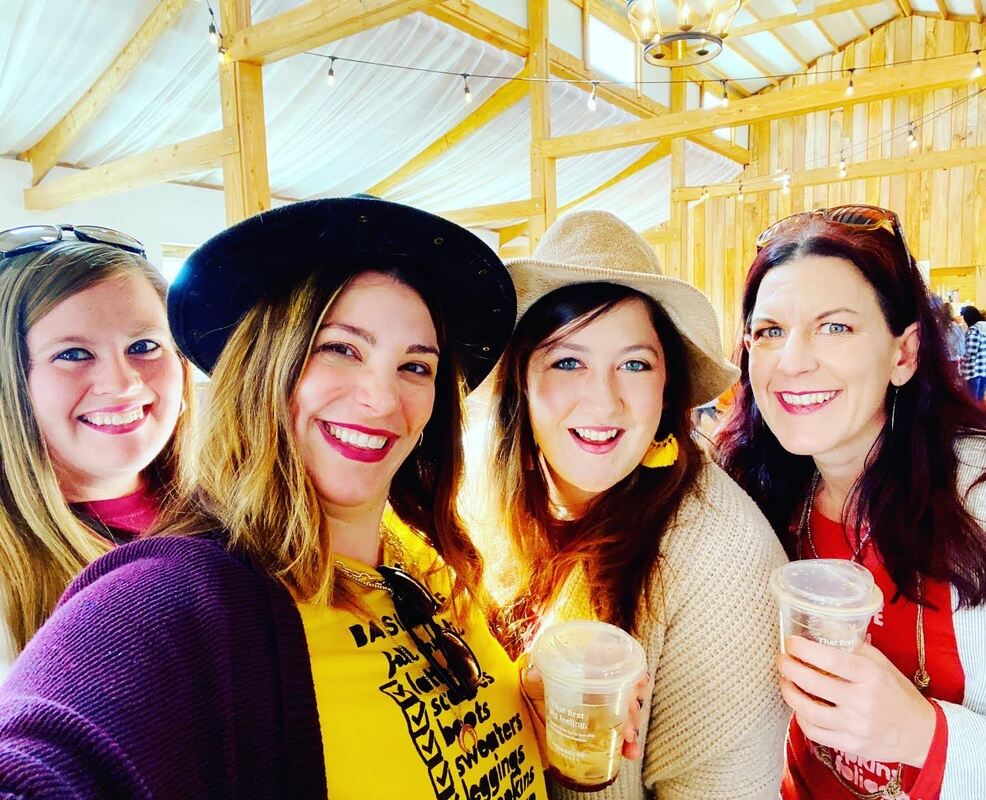
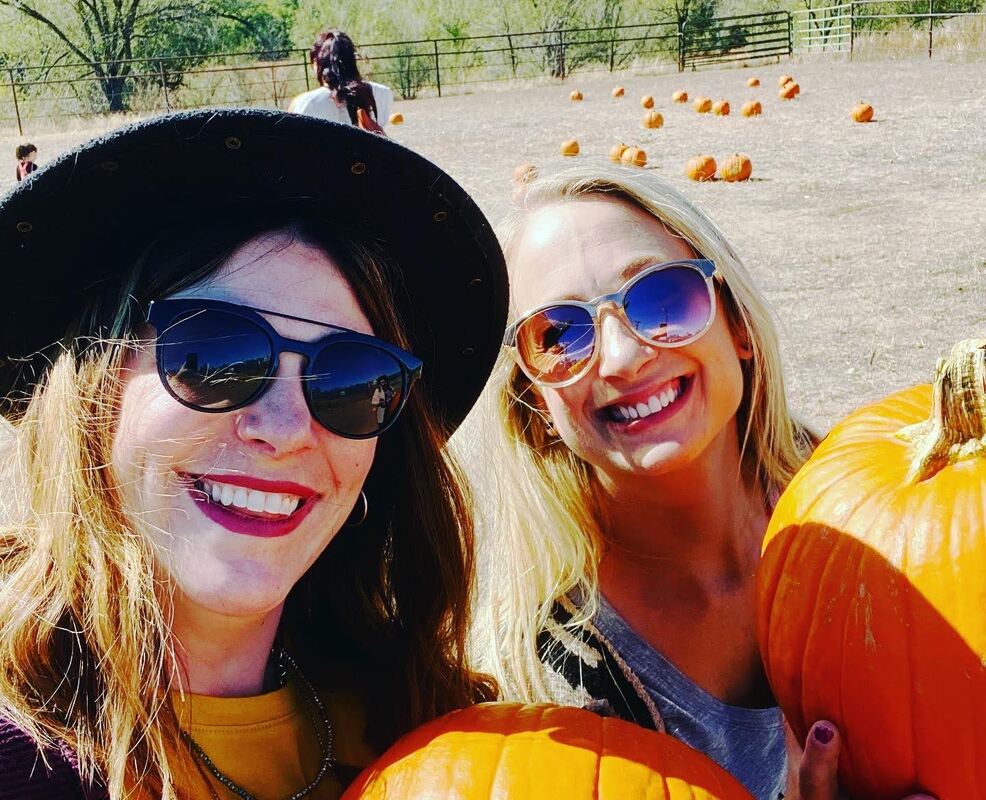
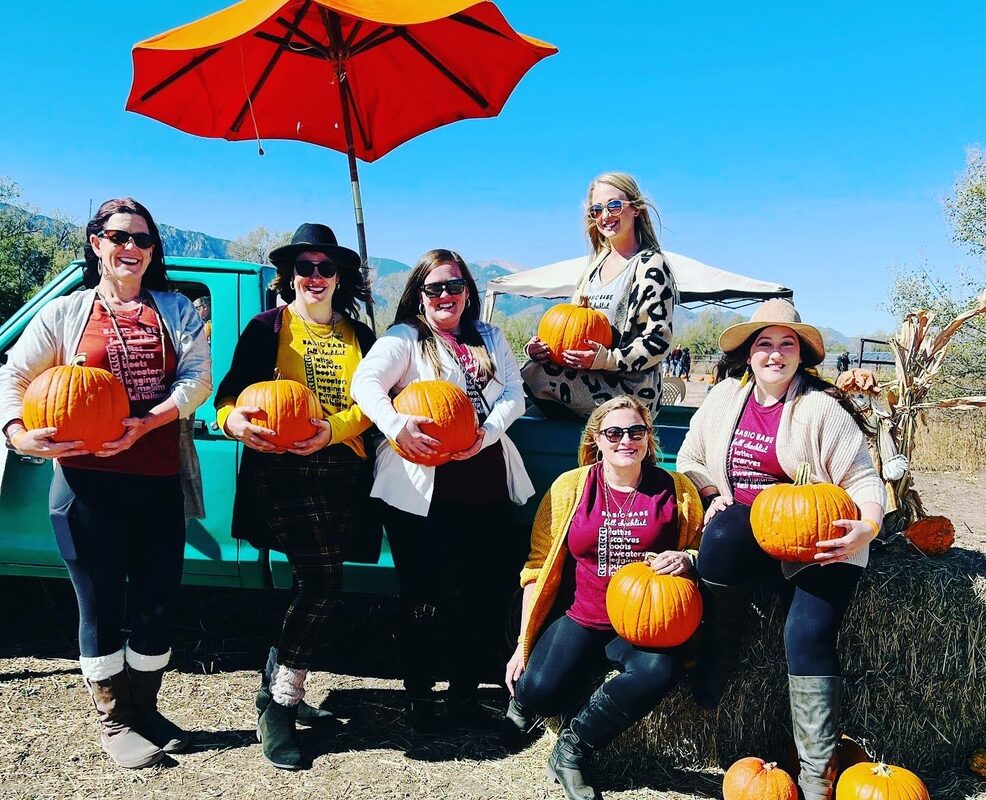
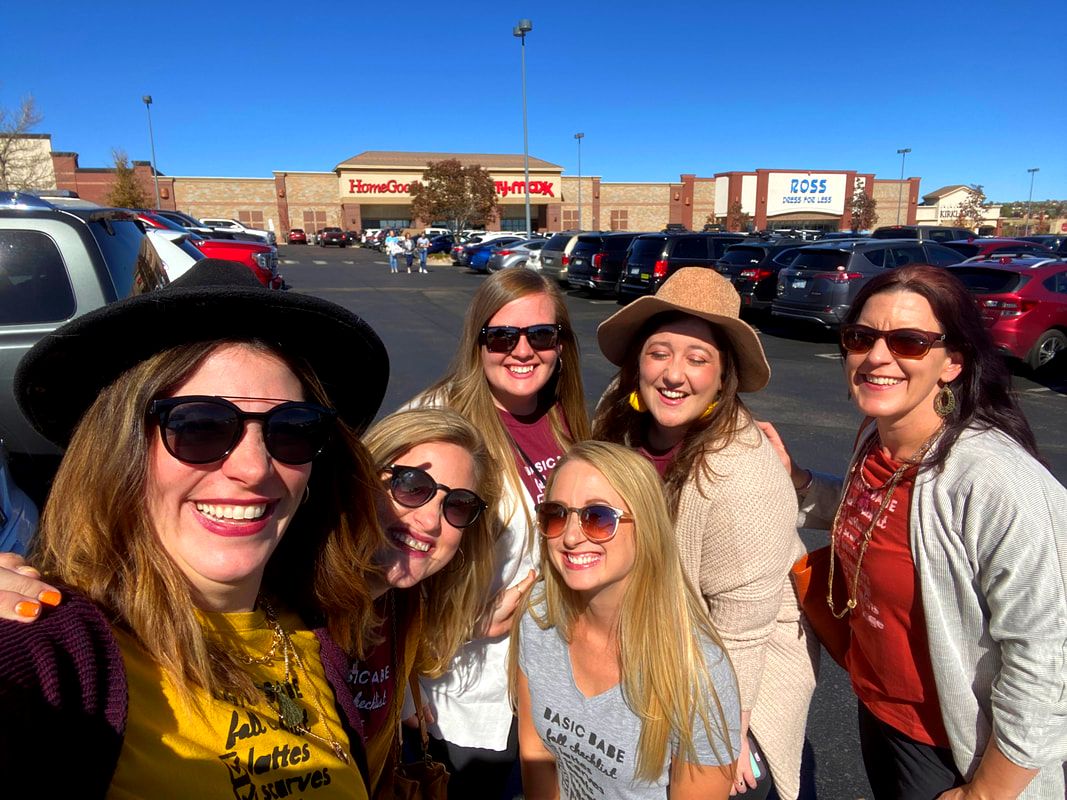
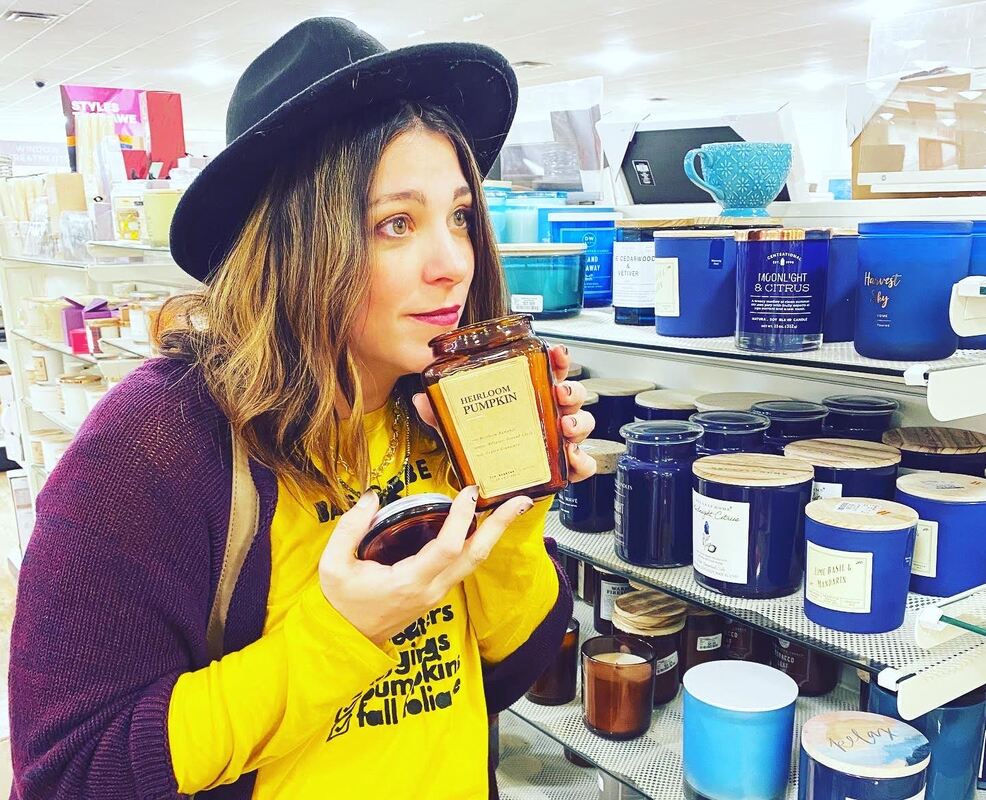
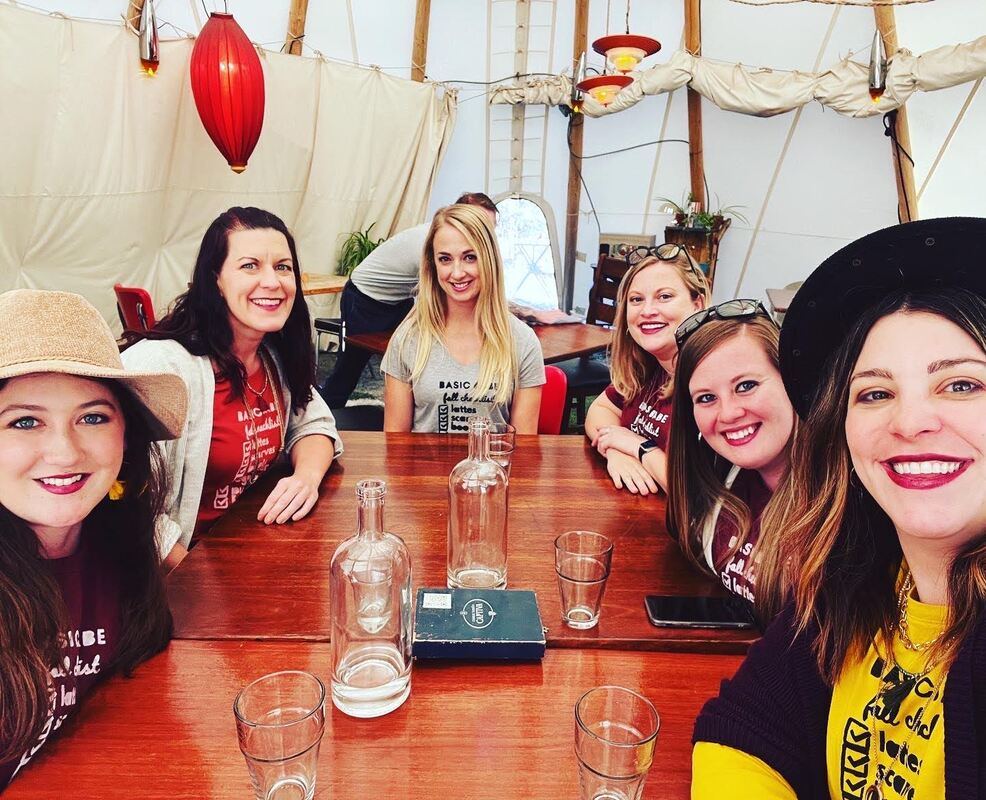
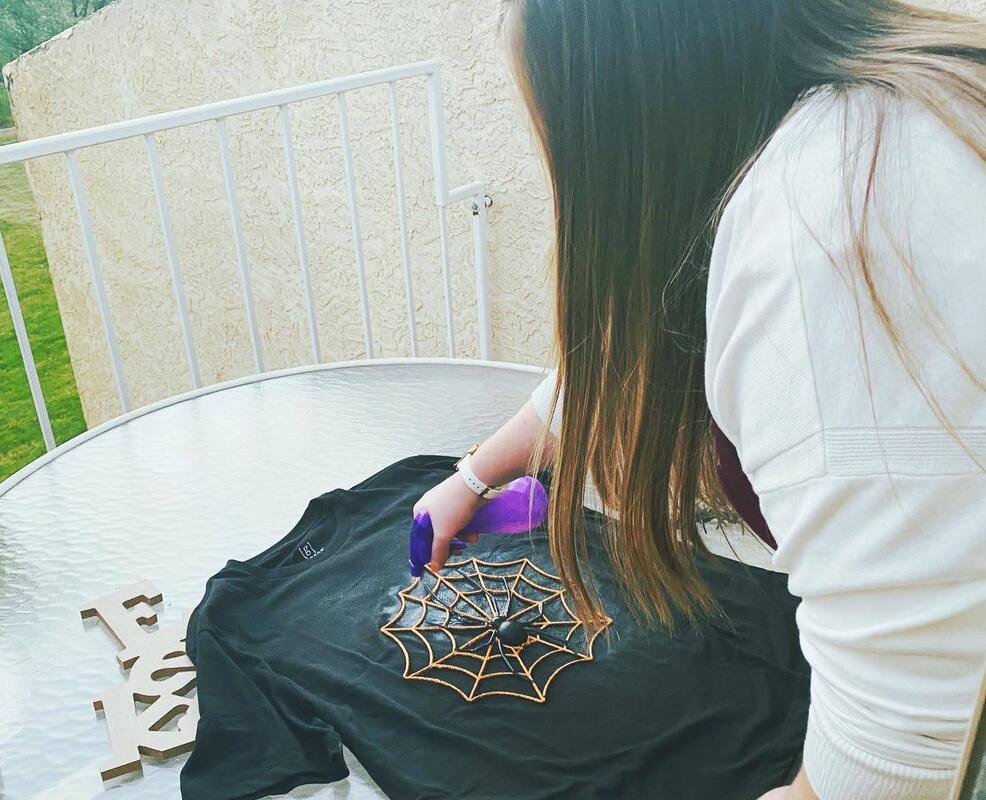
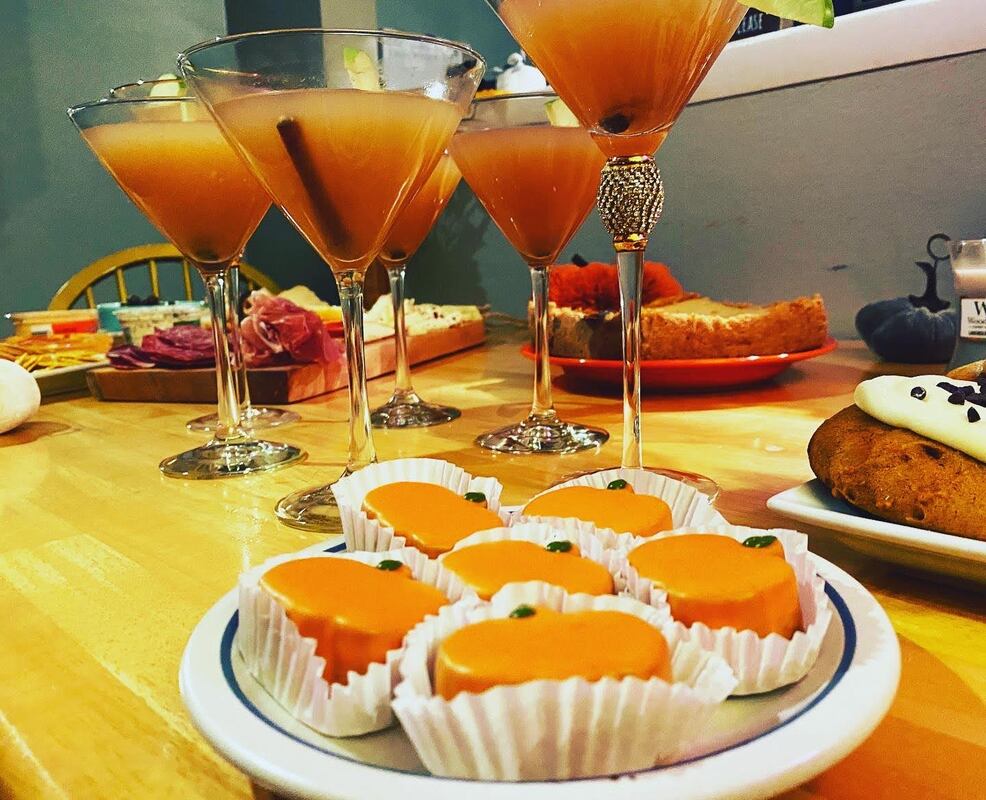
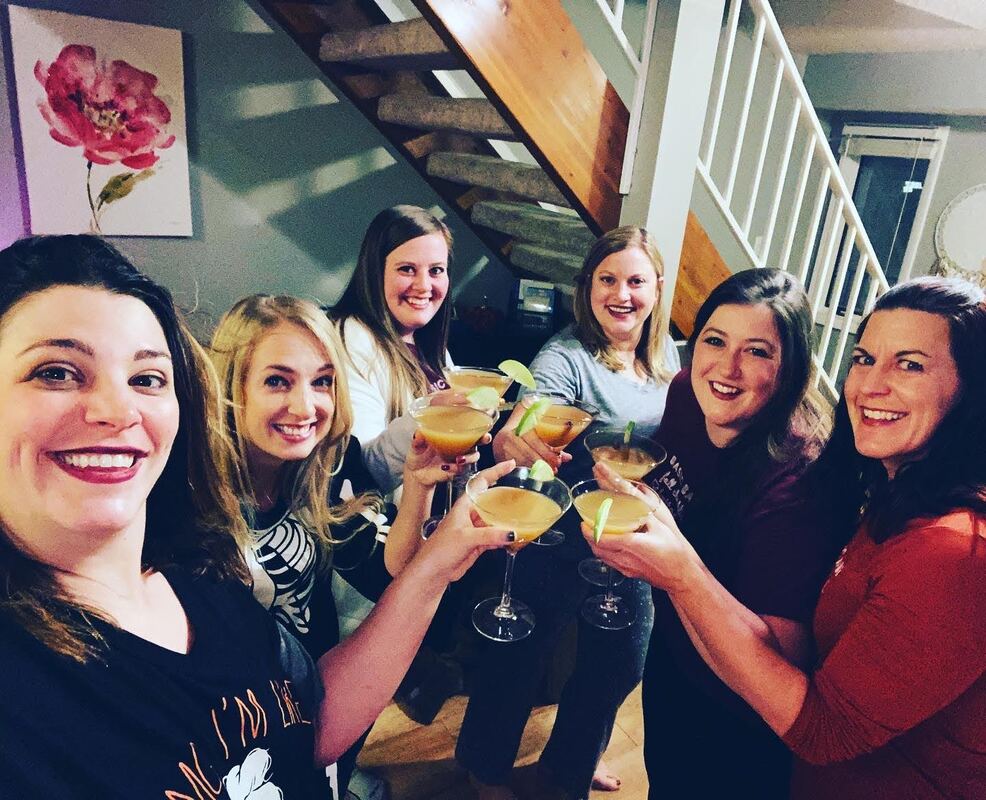
I know...being basic is not generally one's goal. However, my friends and I made it just that when we began planning a day of fall fun for ourselves. We decided to cram as many fall activities and alcohol into one day as possible and I think we succeeded. Did I mention that my friends are the bomb?! First, we must have an agenda. I, of course, took care of that. Everyone needs to know how this day is going down right? After it was planned we also made basic babe tshirts (we teach elementary school and everyone wanted to be able to wear them to work), booked sitters and hit the store for food and drink. Take a look at all of our fun and know that we 100% recommend all girlfriends do this. It was so fun! Brunch, Lattés and a Pumpkin Patch Shopping & Candle Smelling Dinner & Drinks in a Teepee Crafting - We did a bleach t-shirt craft for Halloween. It was easy, cheap and had the smallest margin of error for completing while drinking. Charcuterie, Sweets and Fall Cocktails Finished up with PJ's and a movie. We chose "The Craft".
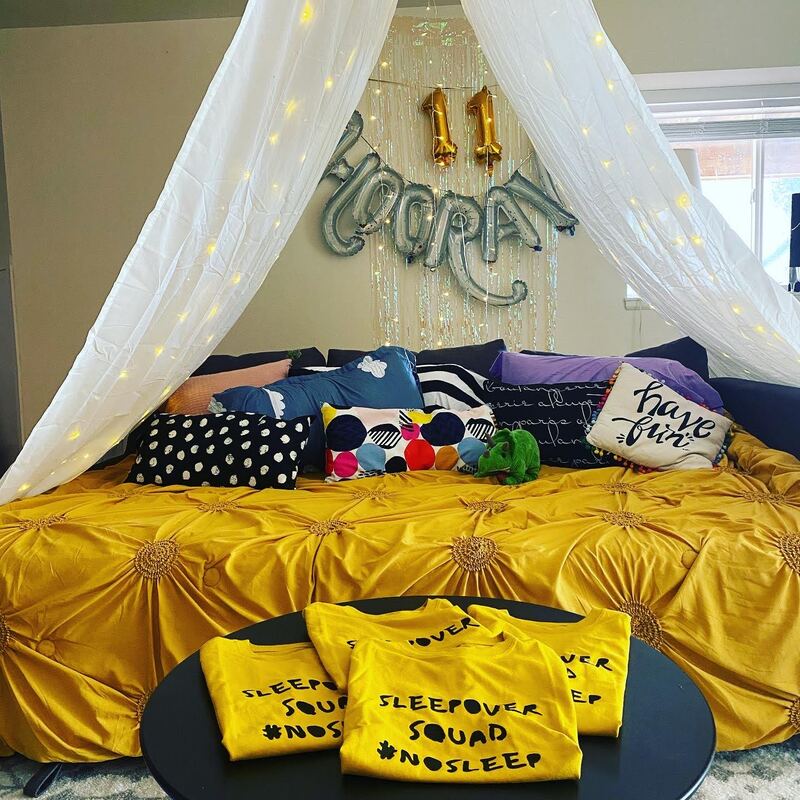
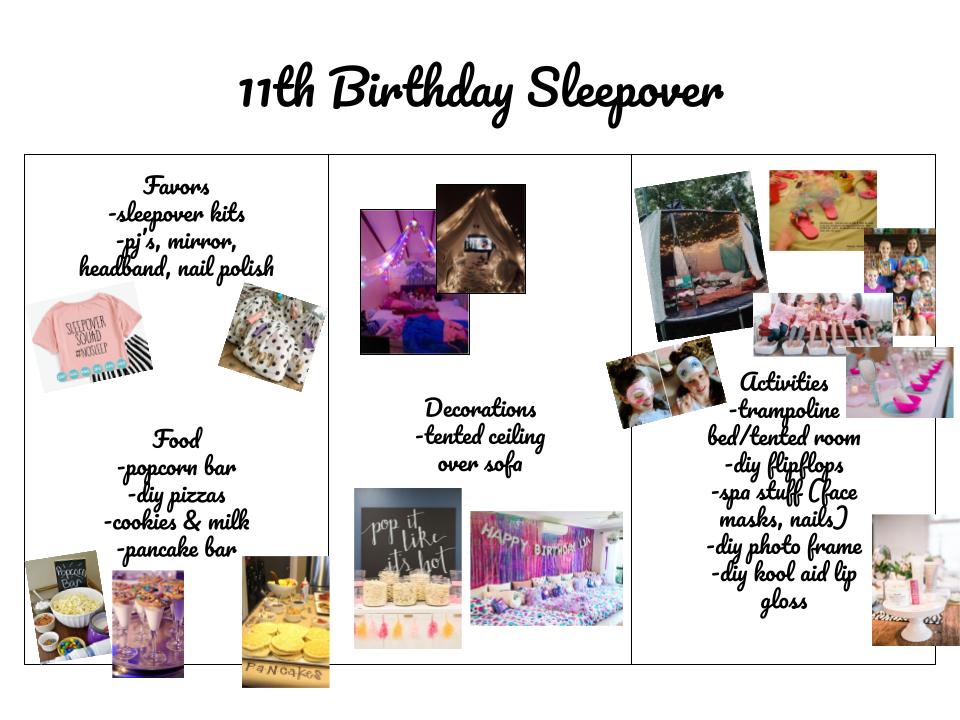
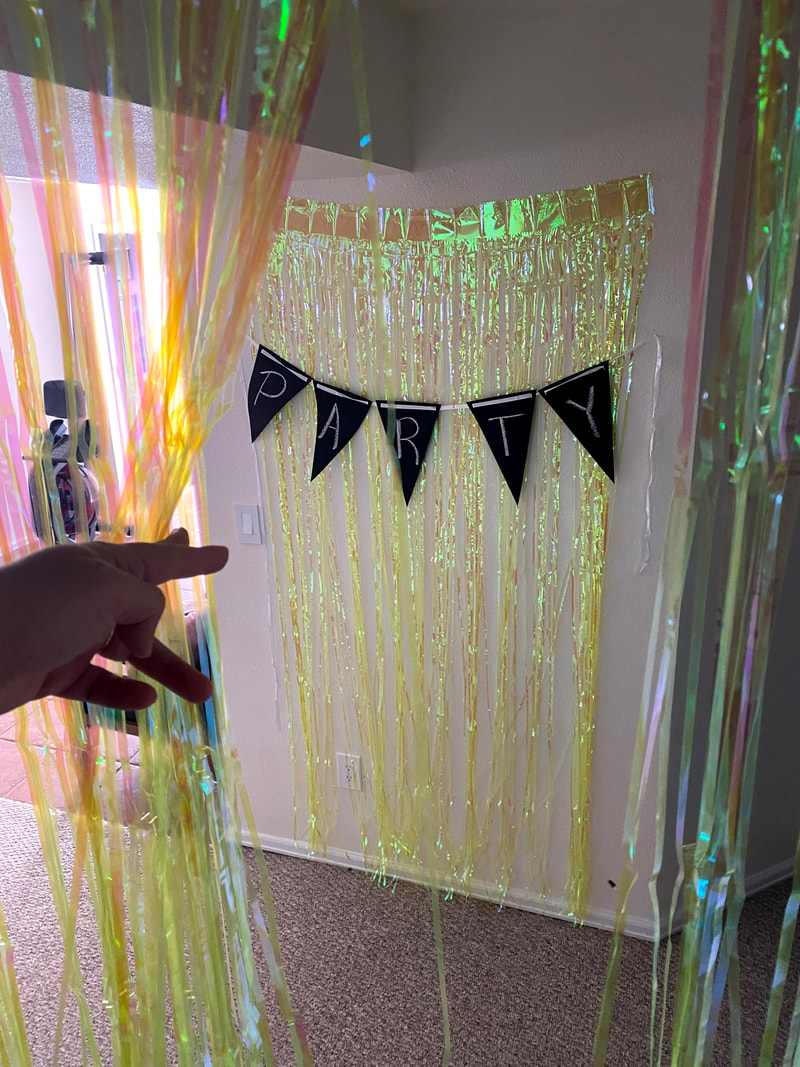
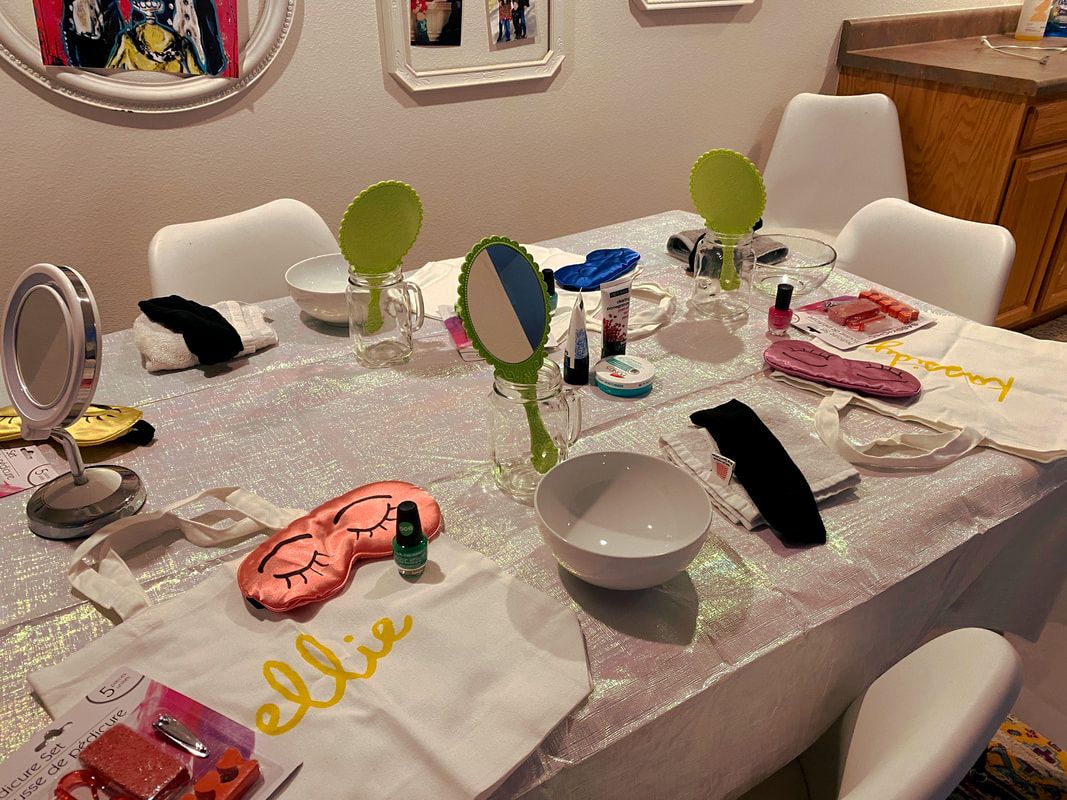
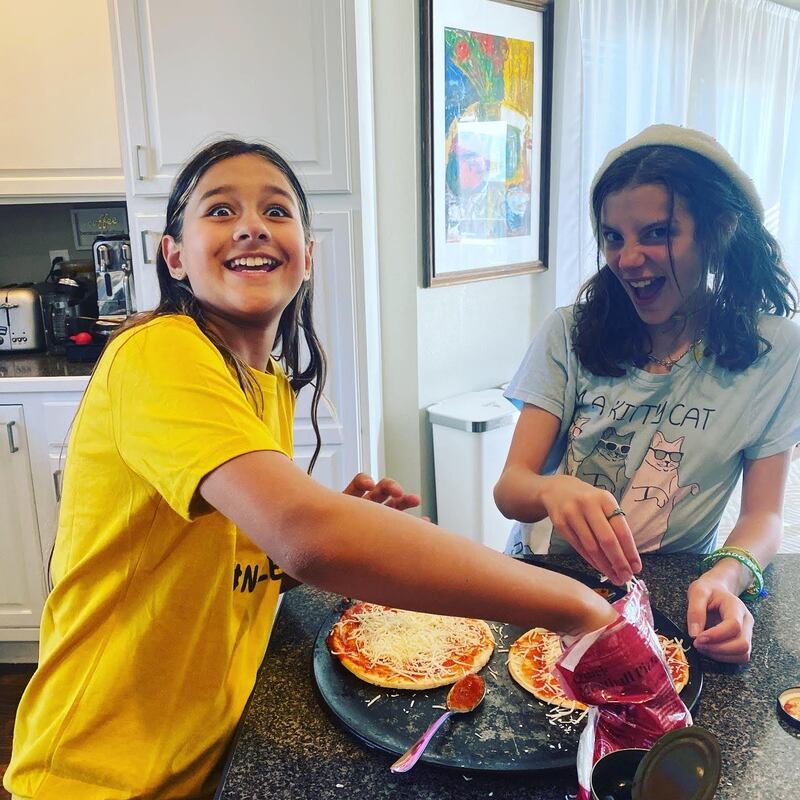
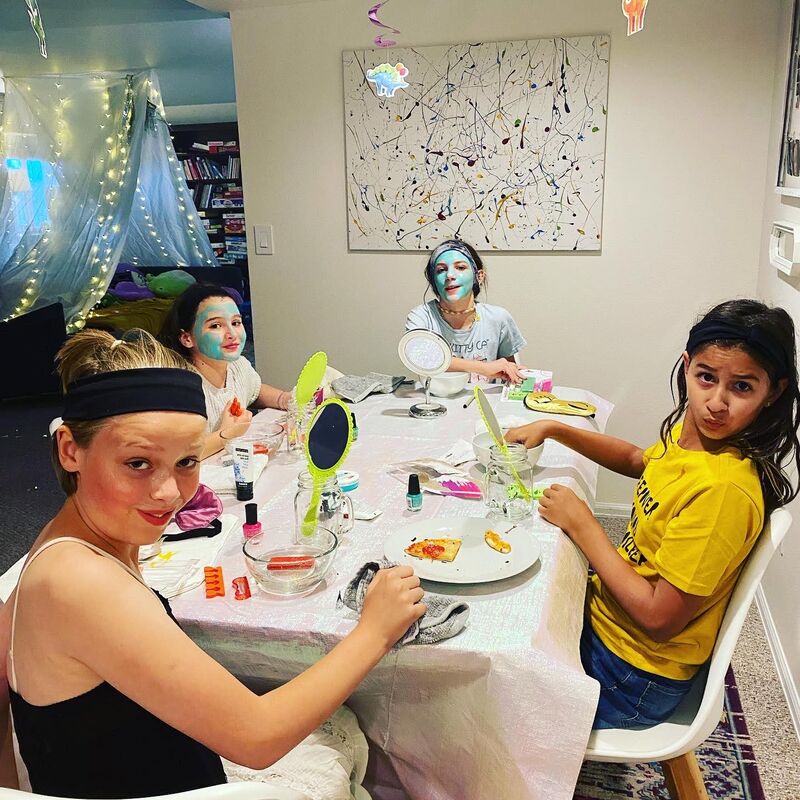
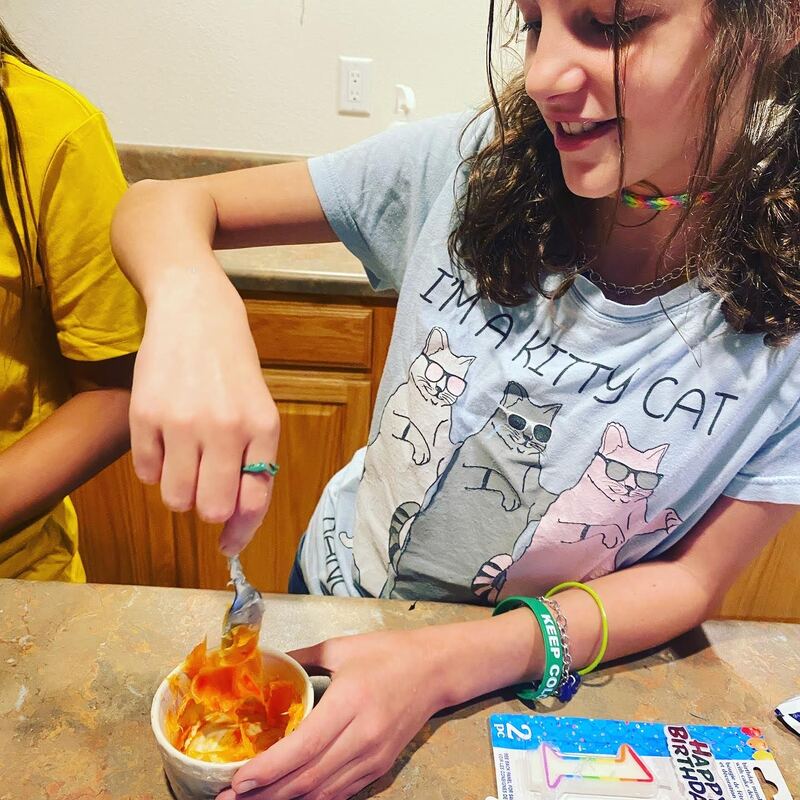
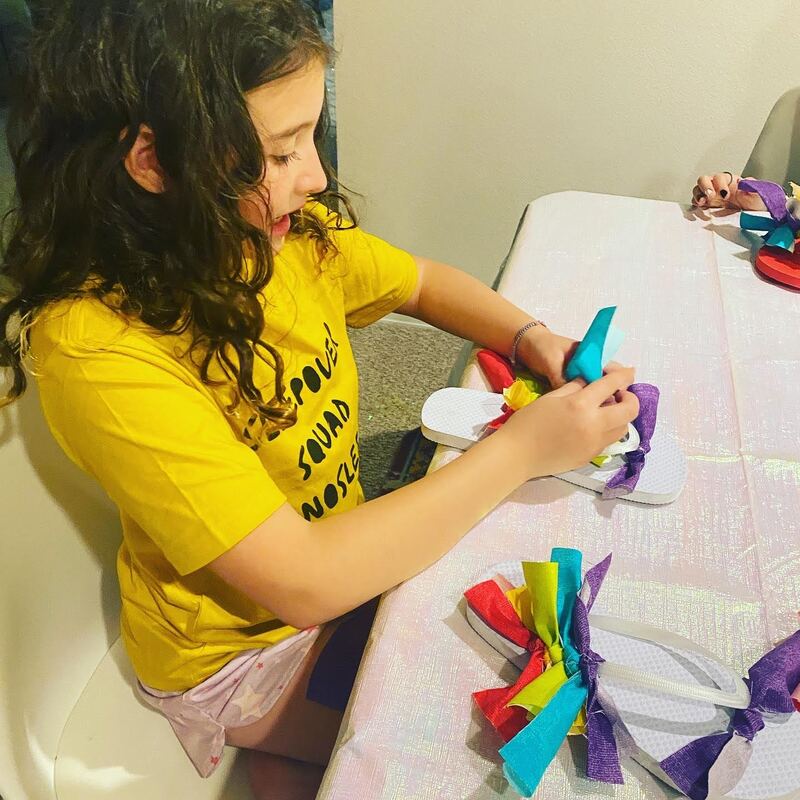
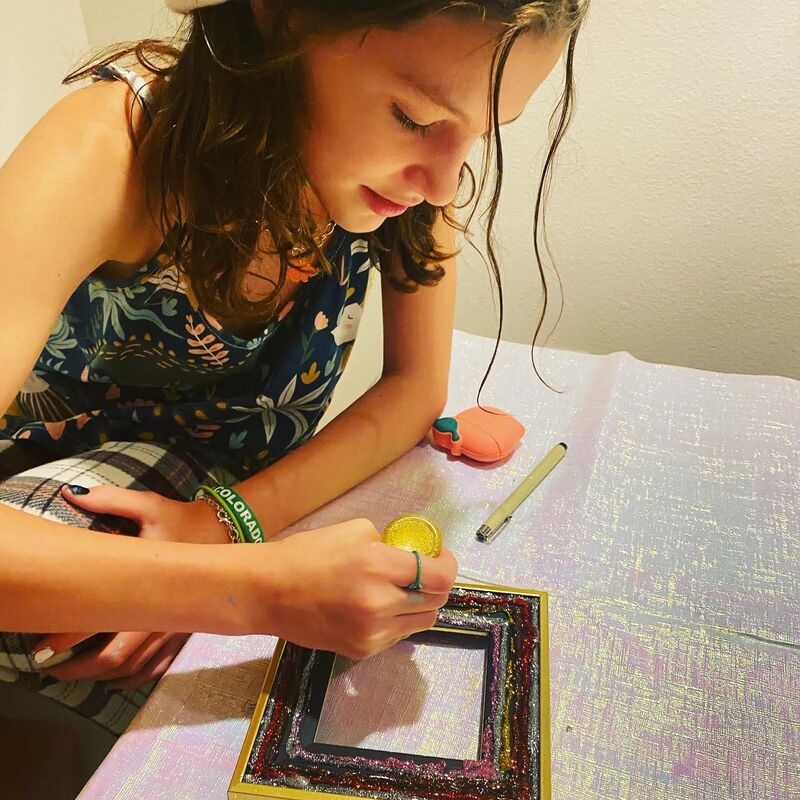
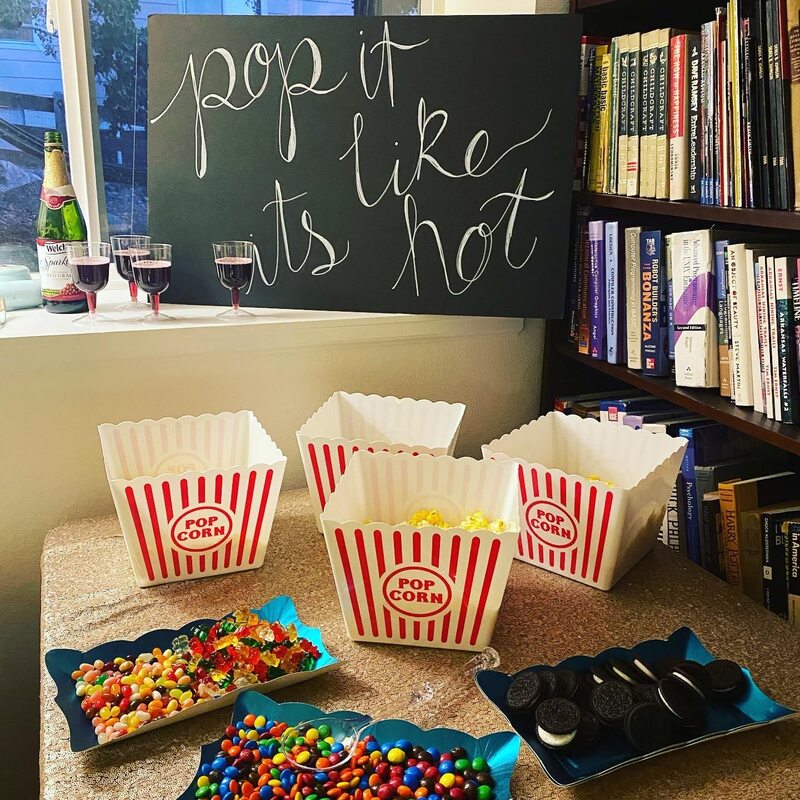
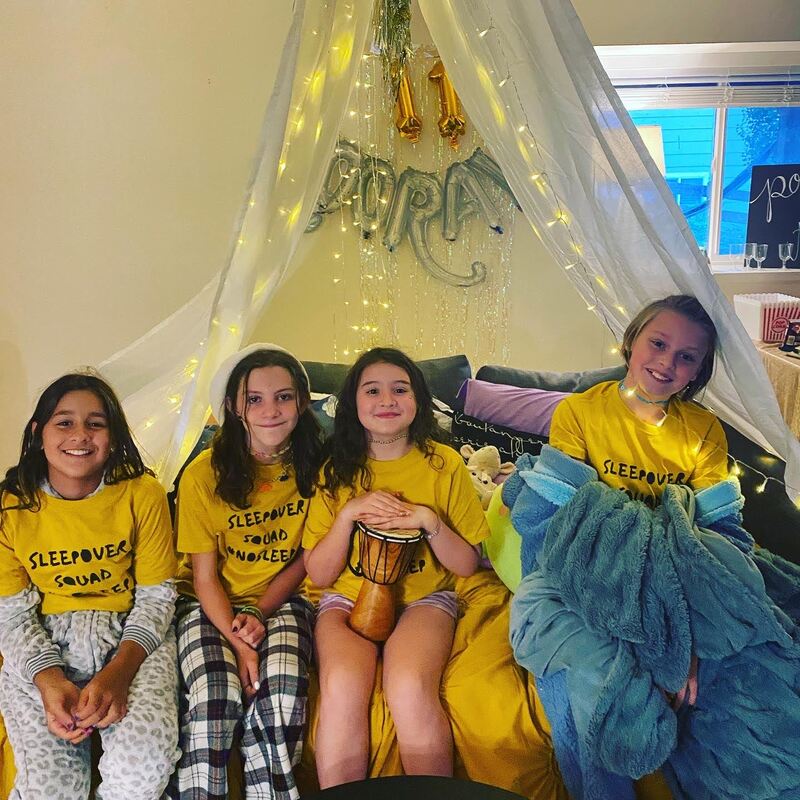
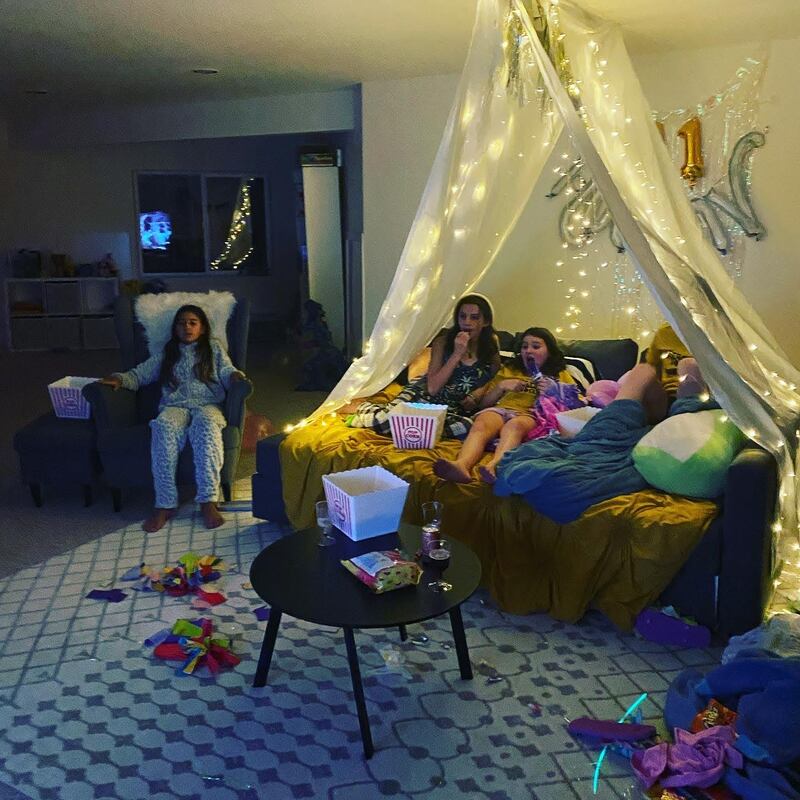
Again, I cannot stress how much fun this was. Also, I got a huge number of compliments on my outfit which made me think I should go for the basic girl aesthetic more often. I literally worked so hard putting the outfit together. I bought some very interesting plaid leggings from Walmart and borrowed a hat from my daughter but I guess it worked! We've decided that next year we'll make an extra shirt and award it to the person we see out that we deem an honorary member of our basic crew if their vibe is what we were striving for. Now that I'm typing it it sounds mean-hearted but honestly, I'm too lazy to make this look work for me everyday. I spent forever putting the outfit together and, that hat may have looked good but it drove me crazy all day long. I don't know how other people do it. This year my daughter decided a sleepover with just a few friends was her idea of a good time for her birthday so I got to work planning the best sleepover I could imagine. Note, she is very anti girlie things like pink and sparkles so that ups the difficulty level here. I started with a vision board as always (click the image below to get the plan and shopping list). She originally mentioned sleeping on the trampoline and making it a big tent but I successfully talked her out of that so we decided to set up a huge tent thing over the basement sofa pull-out. No party of mine would be complete without ample craft activities so we really embodied a classic sleepover and did face masks, nail painting and made our own lipgloss. We also decorated picture frames for an instant photo we took for each girl and made our own flip flop slippers that they named "trash flops". For food we started by making our own mini pizzas. Then we had a popcorn bar stocked with all the sweets for movie time. We also had fizzy juice in fancy cups. For party favors, each girl got a custom sleepover tshirt, sleepover bag and a bunch of beauty goodies like a nail kit, mirror, nail polish, the homemade lip balm, sleep mask, the diy flip flops and the picture frames with photos that we decorated. Making lip balm is super easy. All you need is vaseline and kool aid. You mix them together an put them in cute little containers from the travel section at Walmart. For the flip flops I purchased dollar store flip flops and pre-cut fabric from the quilting section at Walmart. Then you just knot the strips onto the flip flop. Done! We got the frames from the dollar store too and used glitter glue and a ton of decorative items to make them our own. We used my daughters polaroid instamax to take photos of the girls for each of them to put in the frames. To set up the tent I just used white curtains I had in storage (we didn't need them in our new house when we moved) and used push pins to pin them to the ceiling over the sofa. I also added some curtain string lights that I purchased on amazon to light it. Between all of the crafts I planned, a basement full of sweets and a trampoline in the backyard, the girls had a fabulous sleepover. Now I just need to plan one of these for myself and my girlfriends! The pictures of the tent really don't do it justice. It was magical!
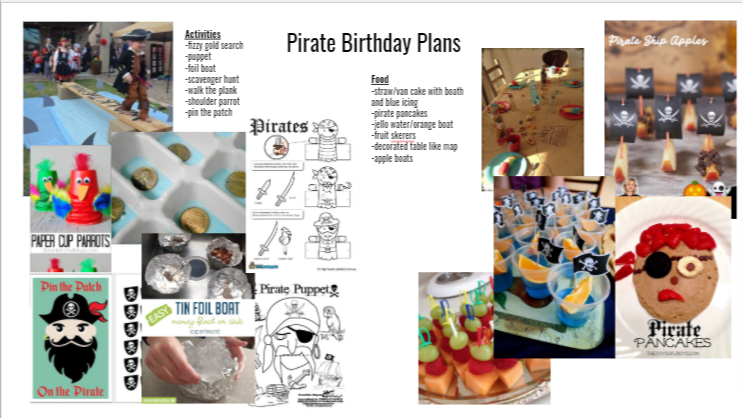
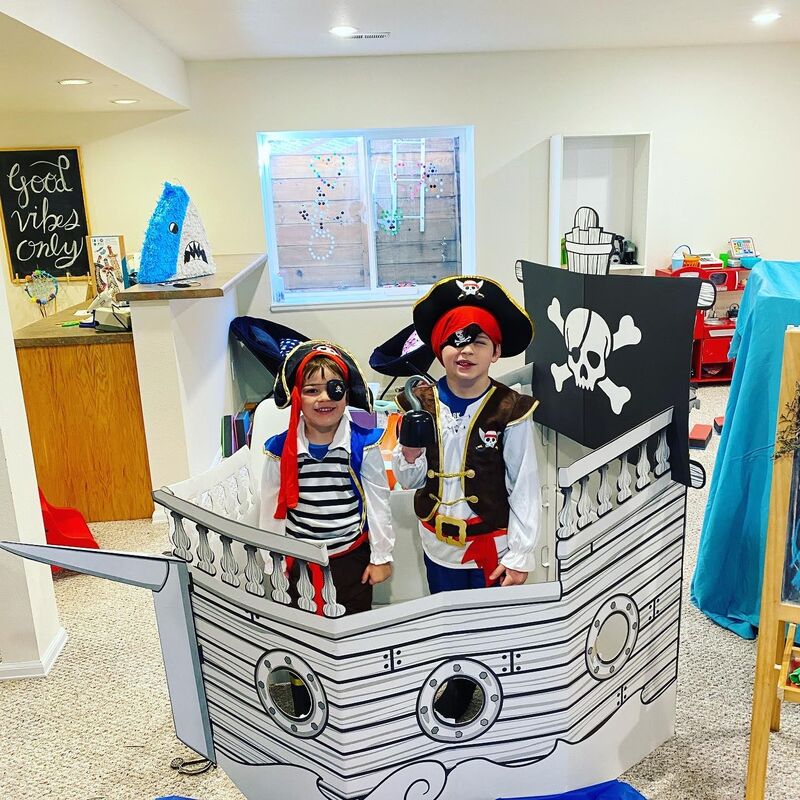
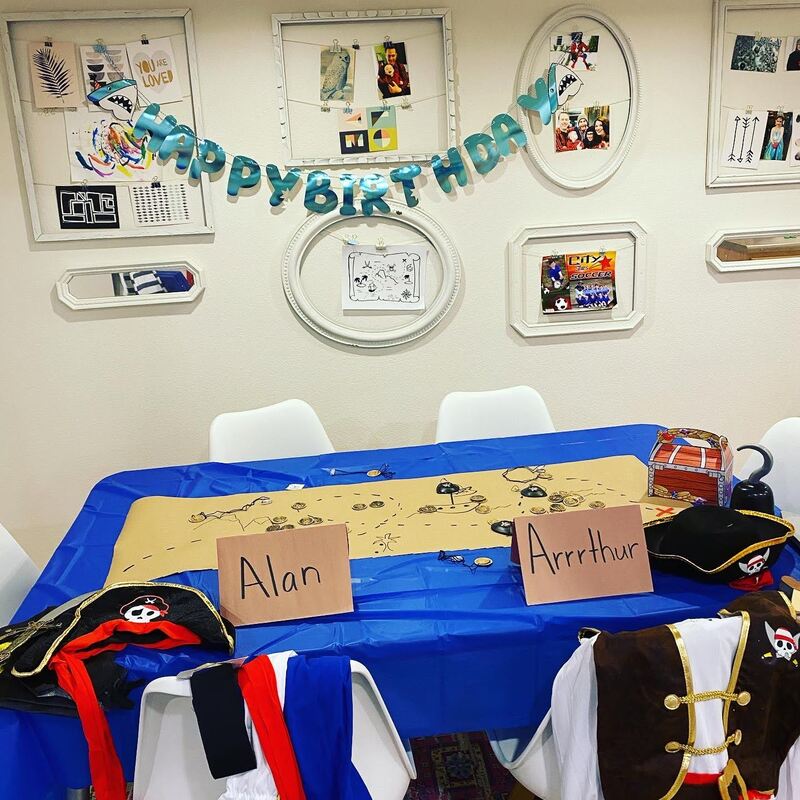
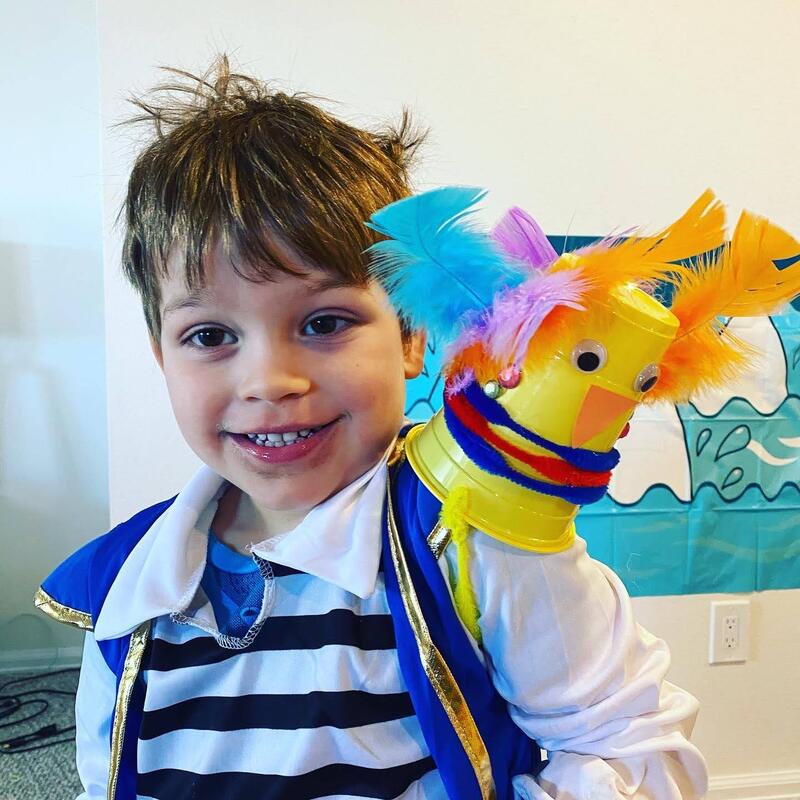
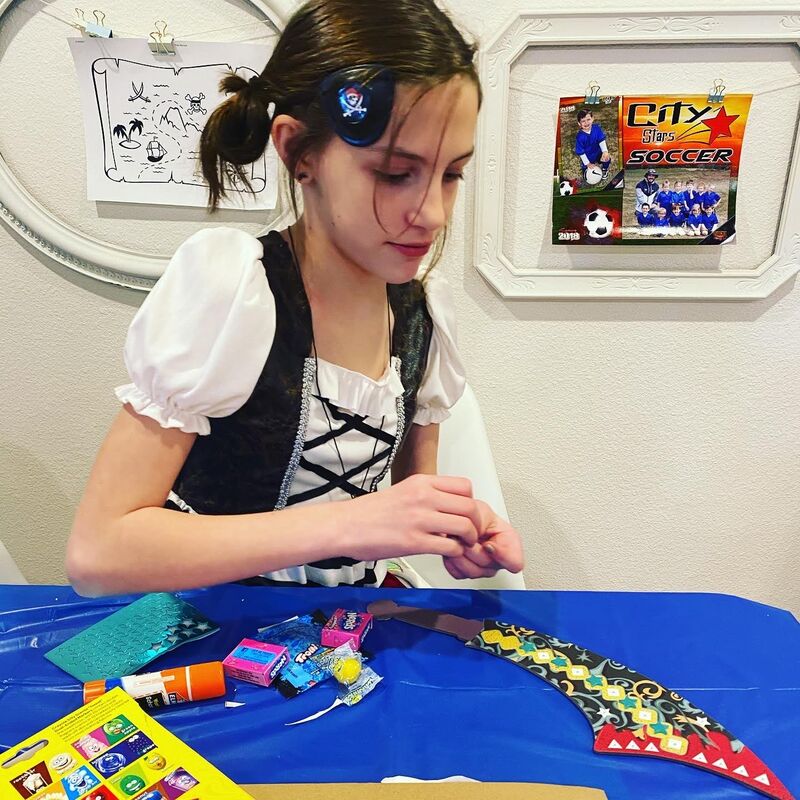
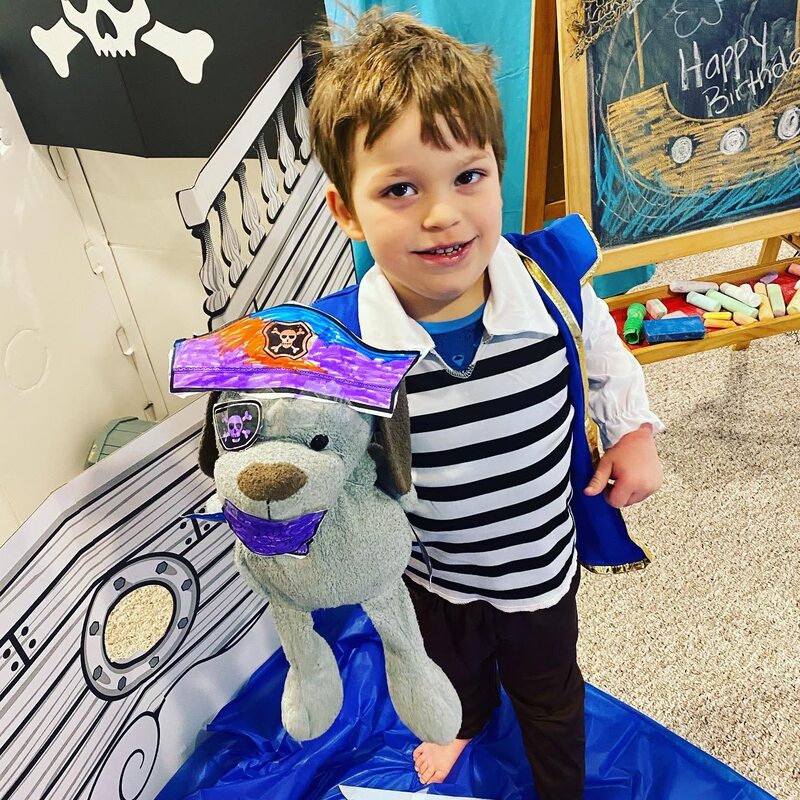
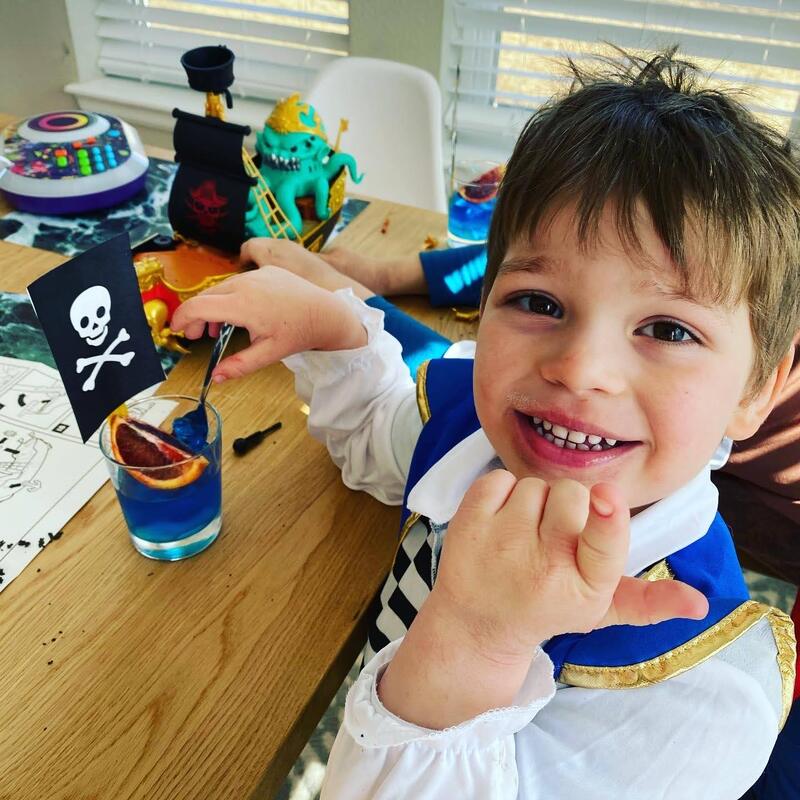
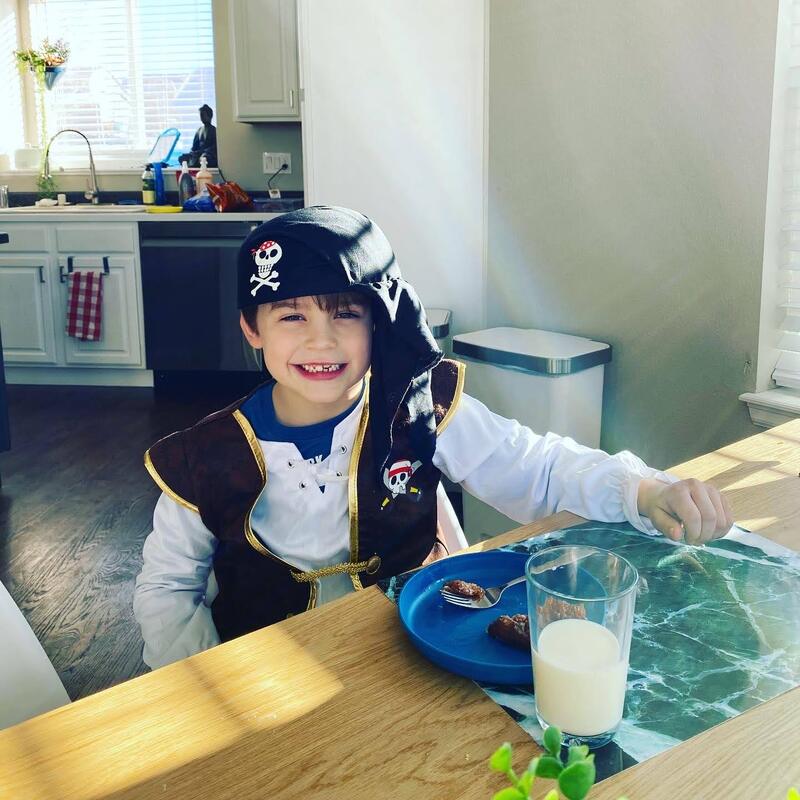
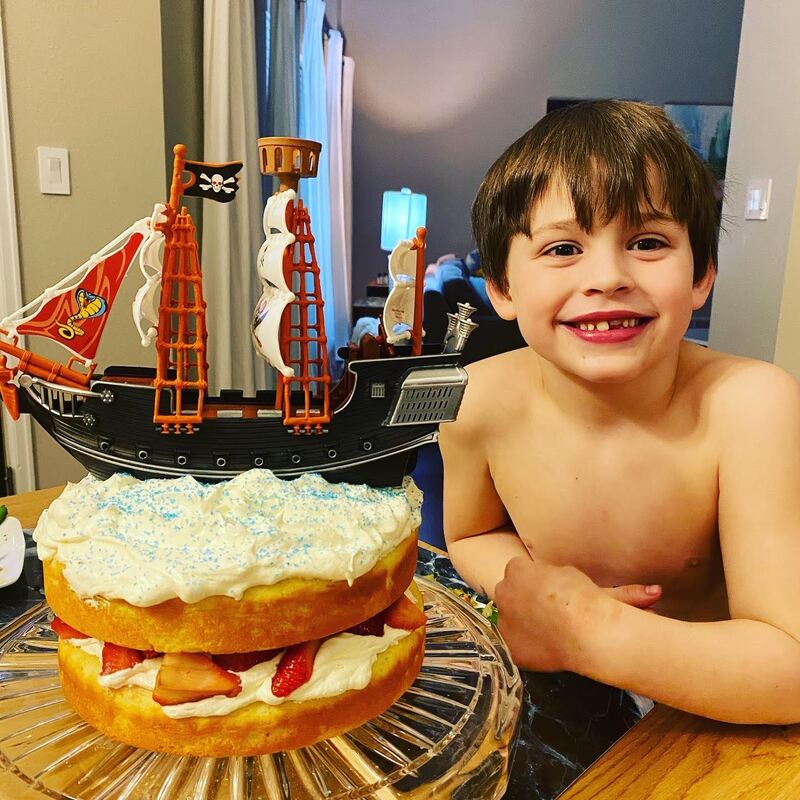
PWith covid still a very real thing we did not have a big party for Arthur's 7th birthday. However, just because we can't have people over doesn't mean we can't have a party! With three kids we basically have a party anyway. So, I planned a day full of activities revolving around pirates, his chosen theme. We had a great day doing all the things and, the best part for my son was that he never had to change out of his pajamas. He's a real home body and if allowed, he would choose to almost never leave the house. I made a party planning sheet and Pinterest board to make sure I didn't forget anything, hit Hobby Lobby hard for supplies and headed home to get it all prepped! He woke up to find a pirate themed basement with a cardboard ship, pirate costumes, treasure, a shark infested "ocean", pin the teeth on the shark and a piñata. After a riddle filled treasure hunt we did a lot of crafts including making a shoulder parrot, coloring pirate accessories for our stuffed animals so they could join in on the fun, decorating swords and making maps. Mixed into all of the fun we had jell-o ocean cups with orange ships, his fav breakfast (apple fritters), gold oreos and birthday cake in his chosen flavor, strawberries and cream. I even made the cake twice because the first time the altitude killed it and I had to start over. But, I made chocolate covered cake balls out of the failed attempt that turned out delicious. We all had a great day of togetherness and celebration and I don't think he missed having a huge group of people over in the least.
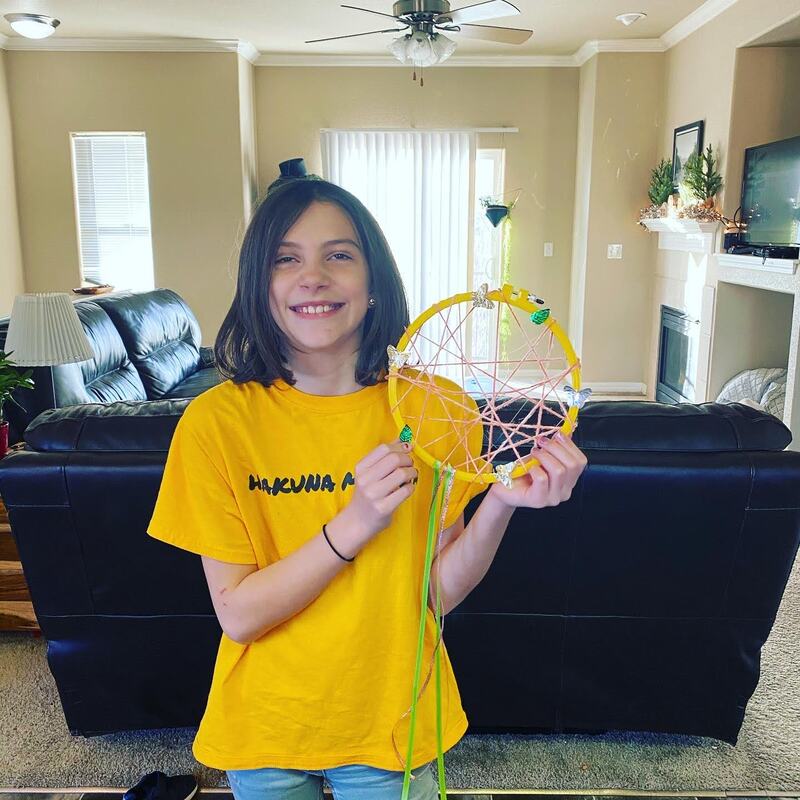
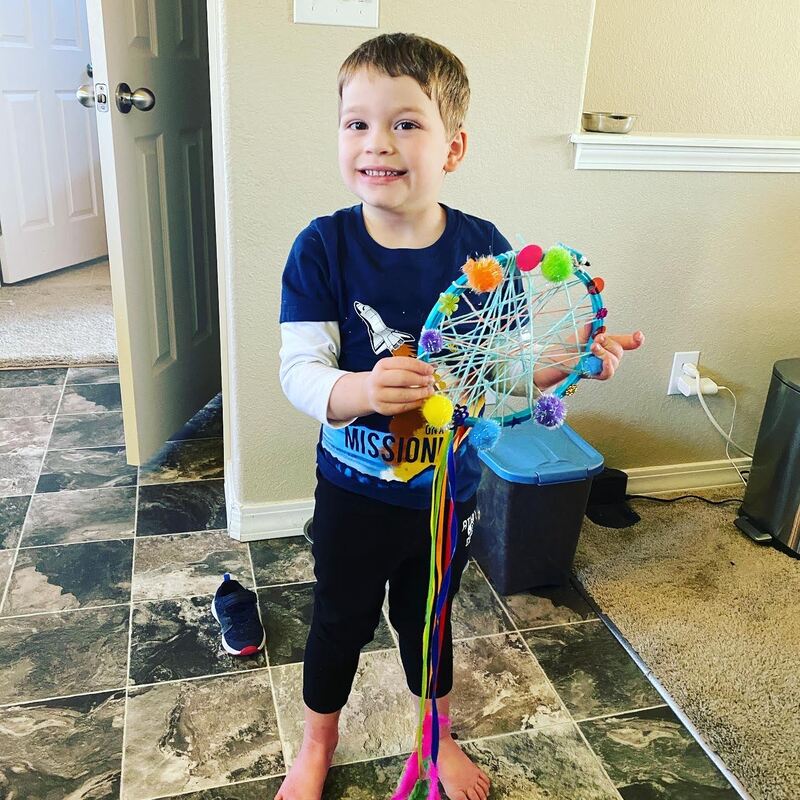
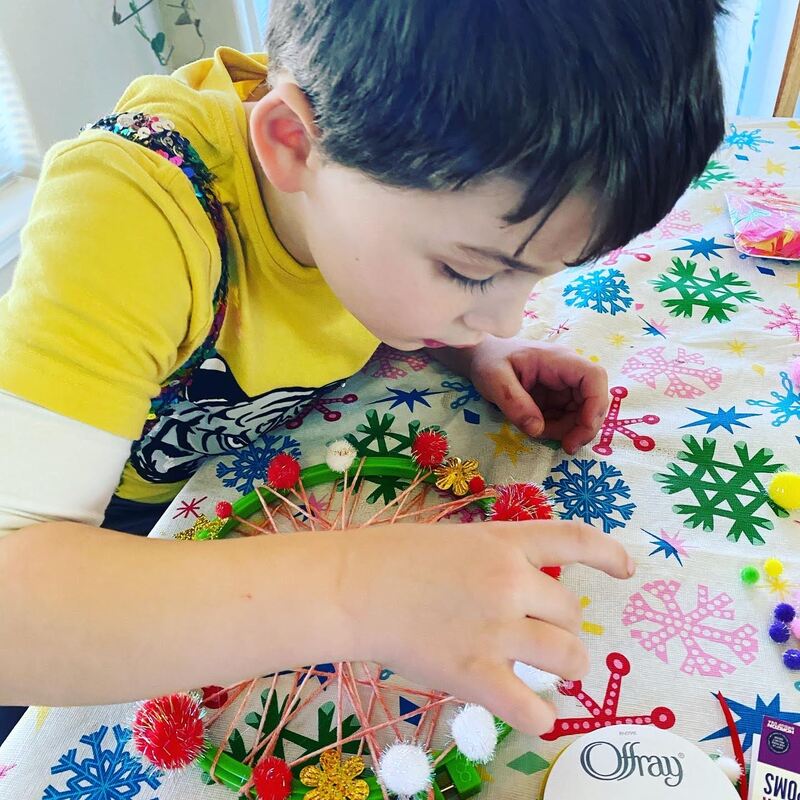
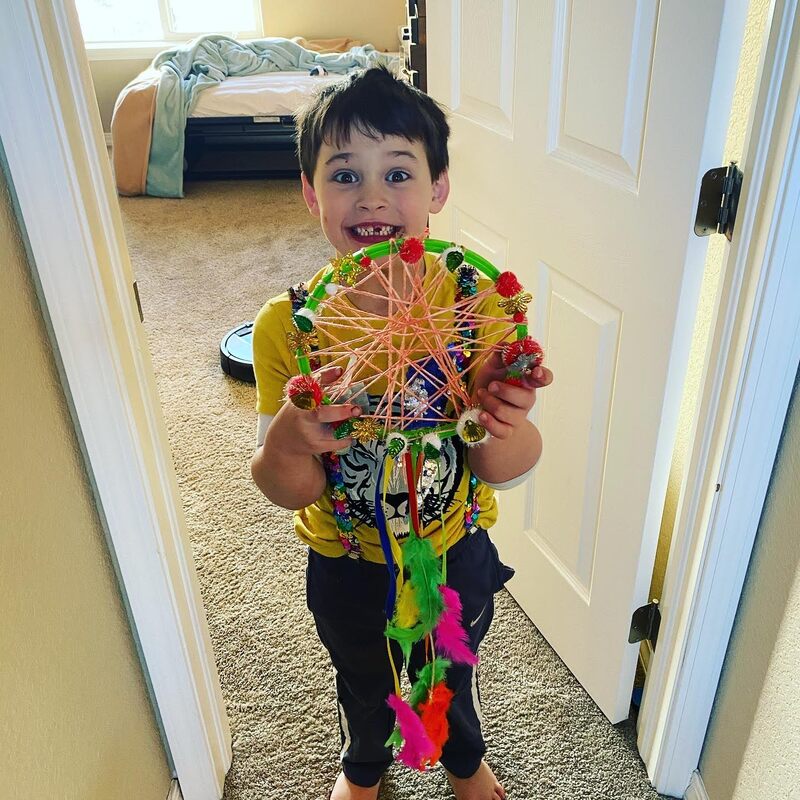
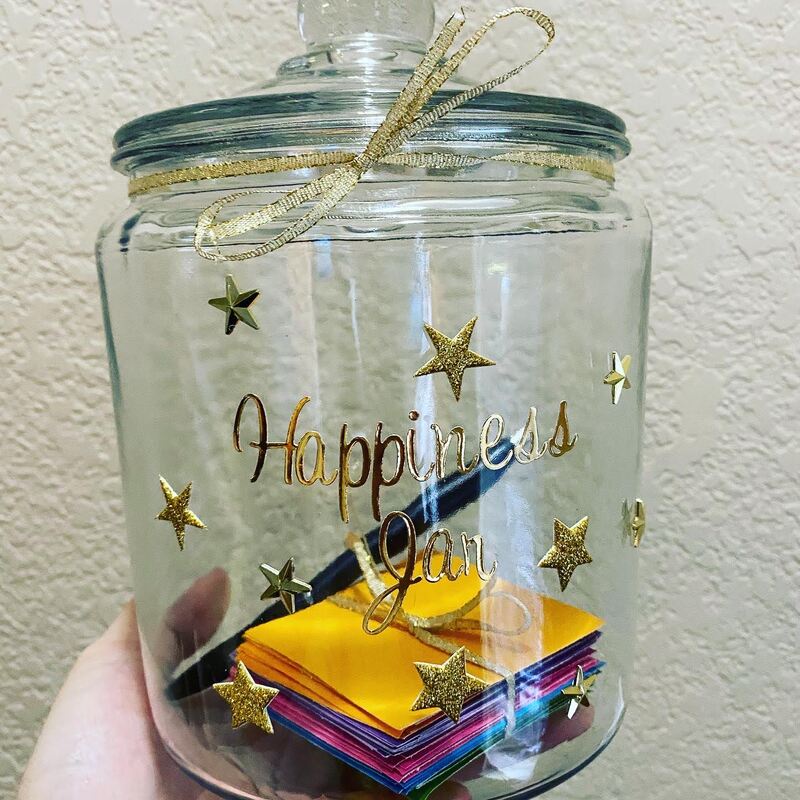
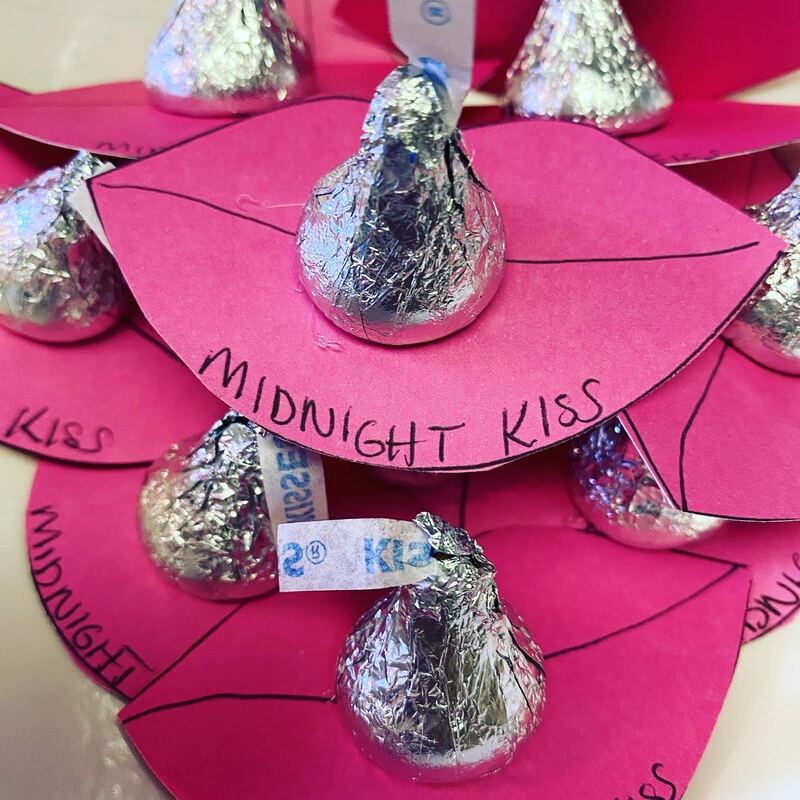
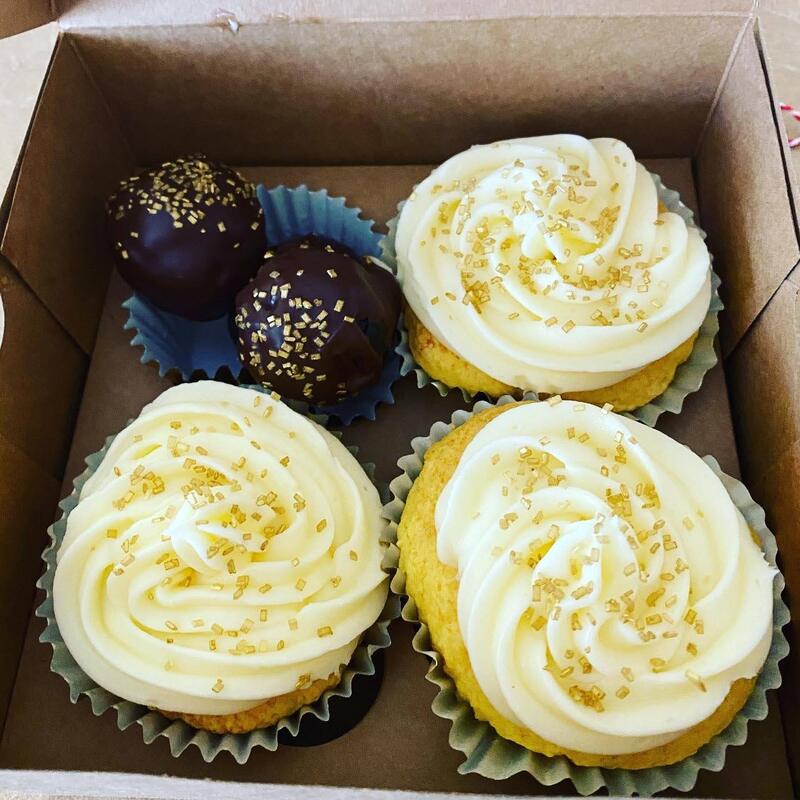
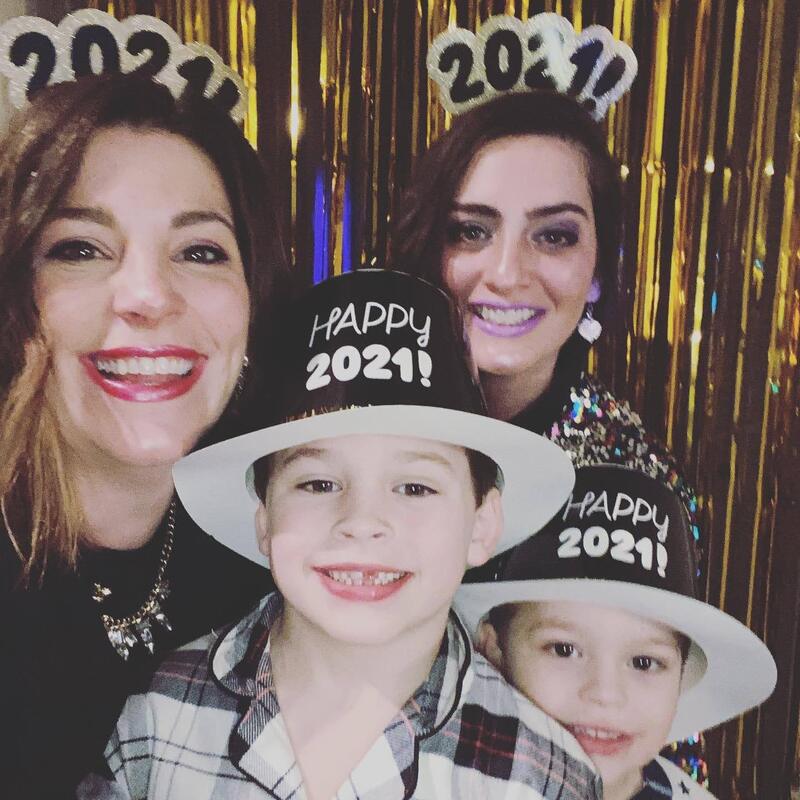
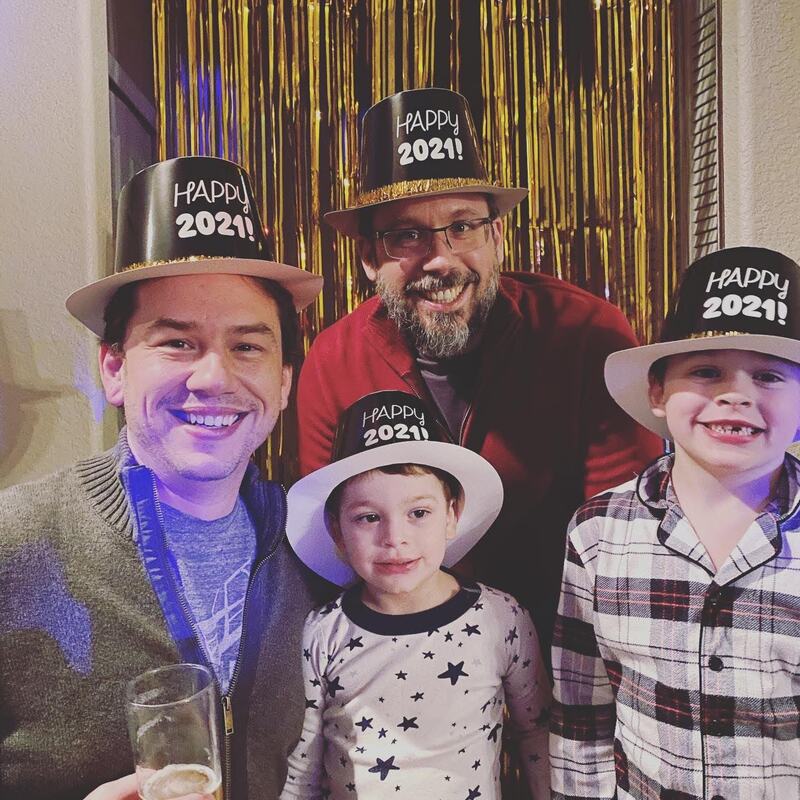
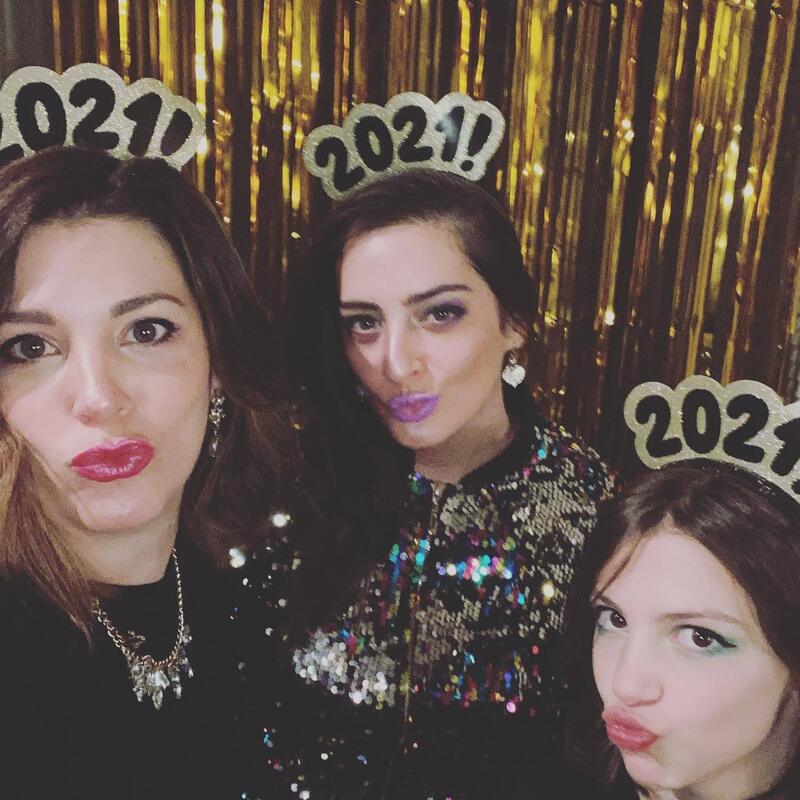
You can find links to all of my inspiration ideas on my pinterest board here. Thanks for visiting! Our new year's eve plans vary each year. Sometimes we go out with friends, other years we stay in. This year going out was clearly off the table so I planned some fun kid activities for the day. We started the day off by making dream catchers. I used embroidery hoops for the base and a mix of yarn, ribbon, feathers and sequins to decorate. Then we made some champagne cupcakes, chocolate truffles and midnight kisses. We also made a happiness jar so we can keep track of all of the good things that happen during the upcoming year. We ended our evening by getting glammed up, taking some photos, watching fireworks from Pike's Peak, having a dance party and playing minute to win it games. You can check out my pinterest board with all of the inspiration I used for the activities here.
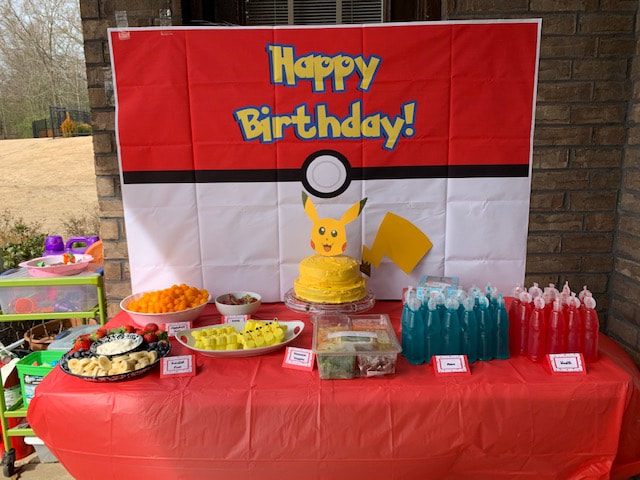
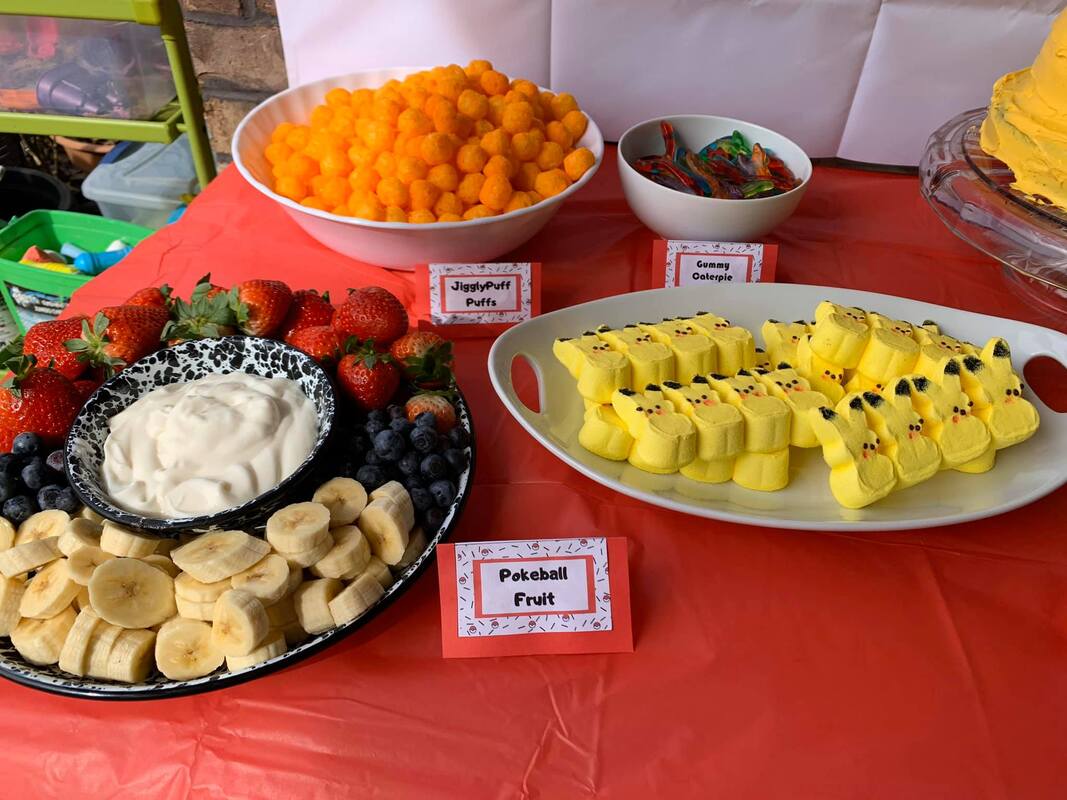
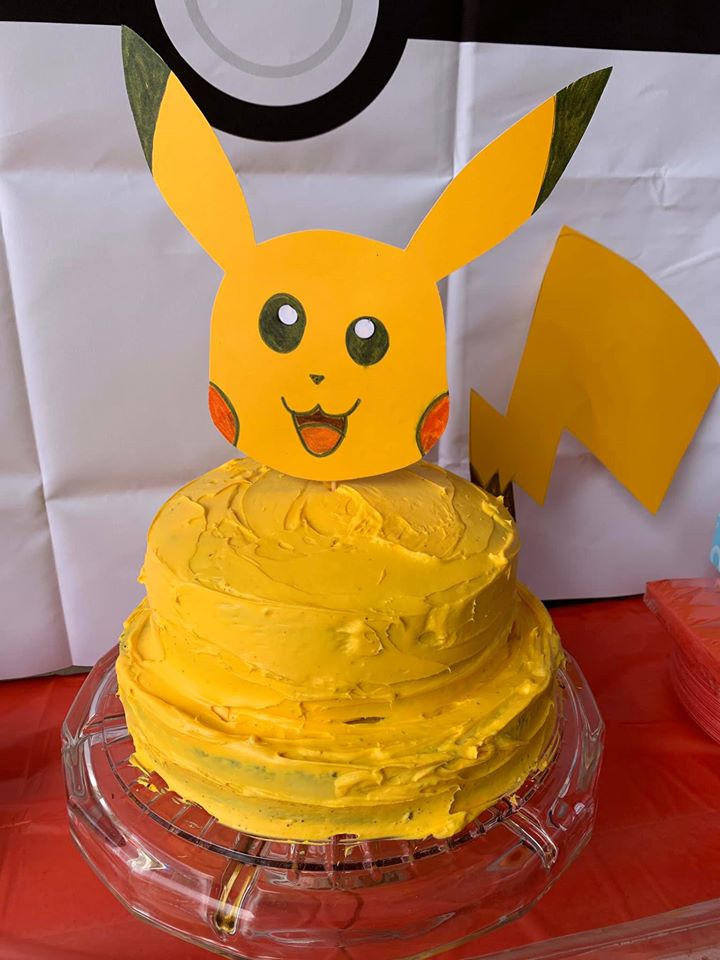
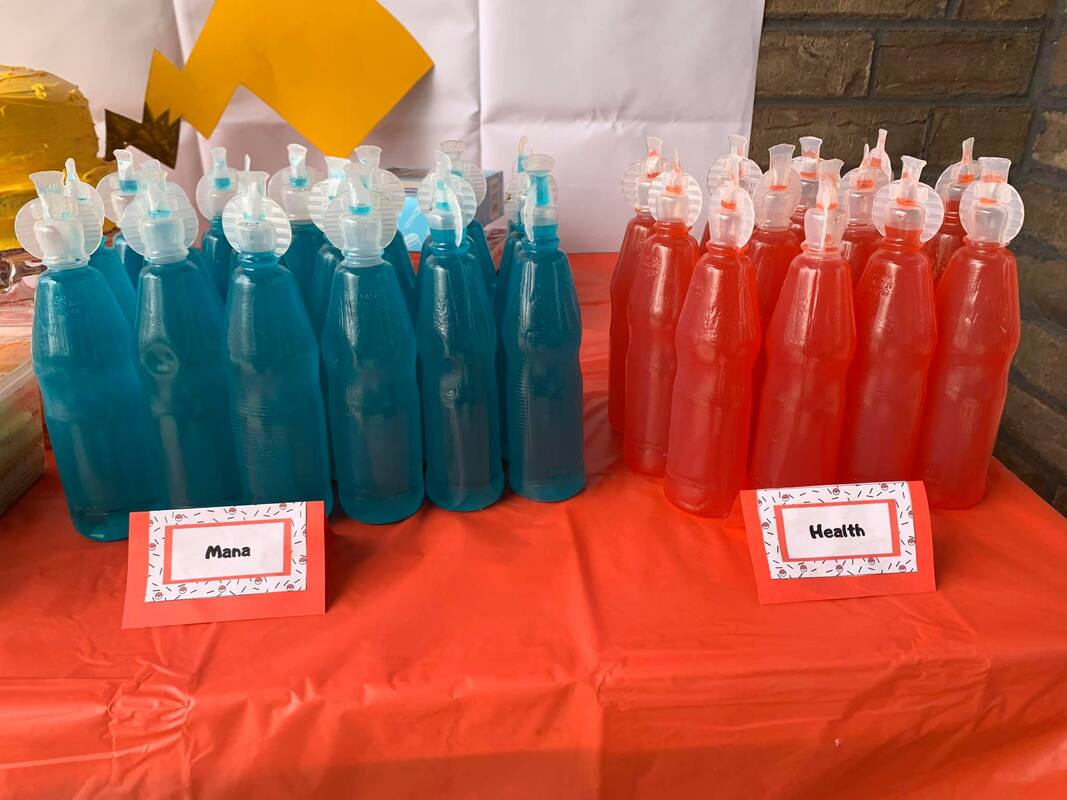
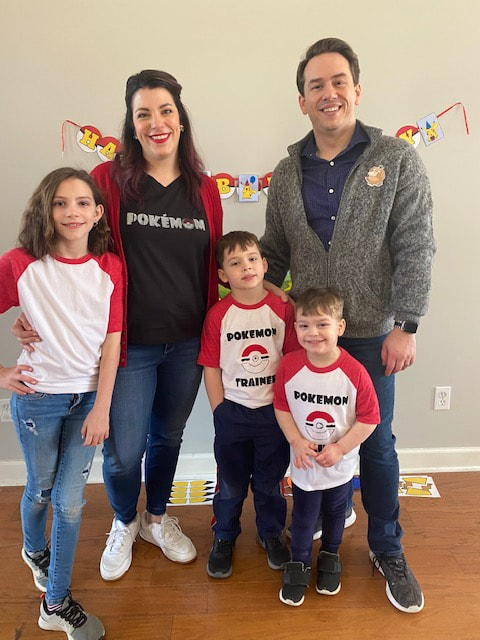
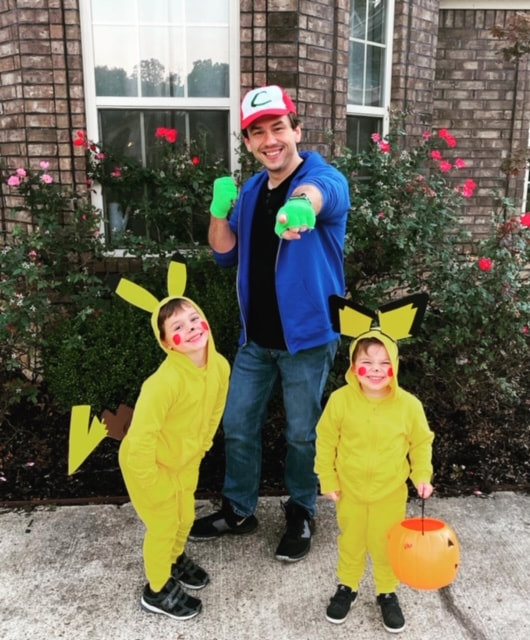
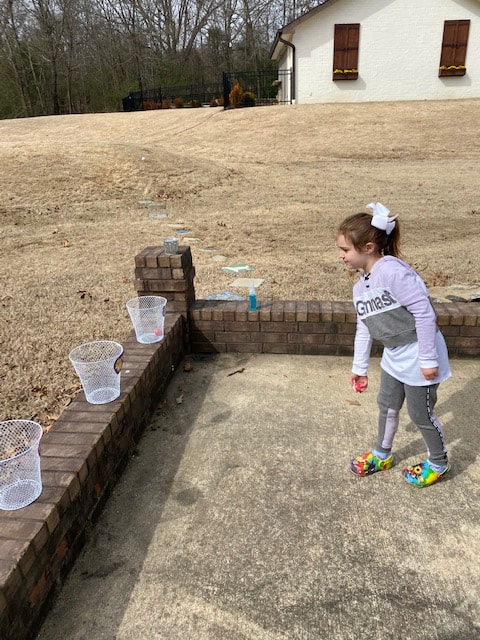
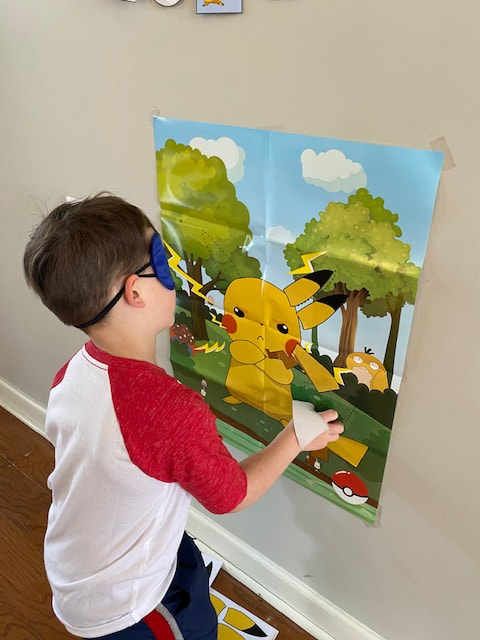
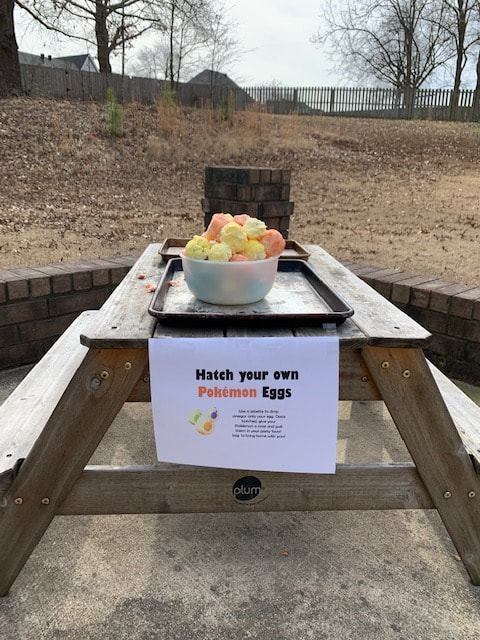
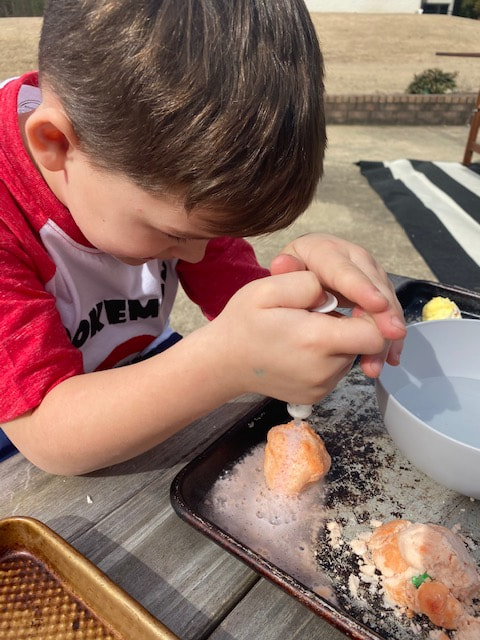
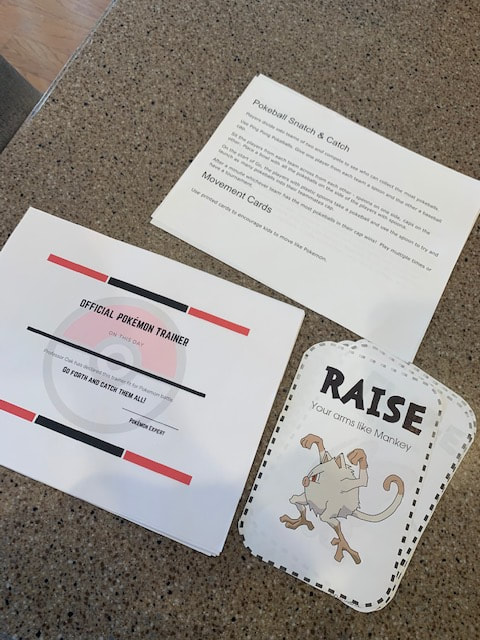
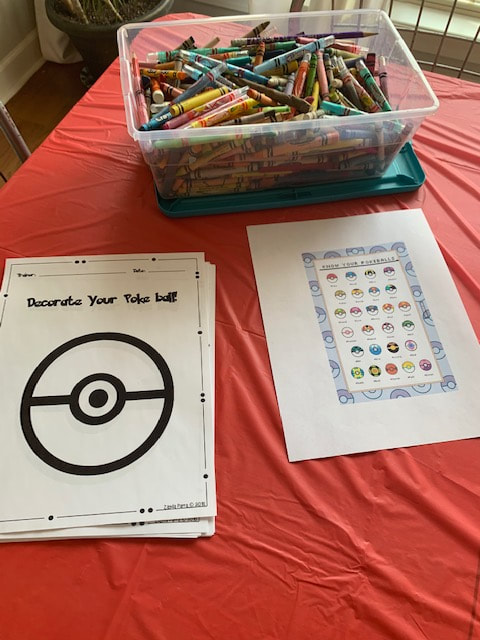
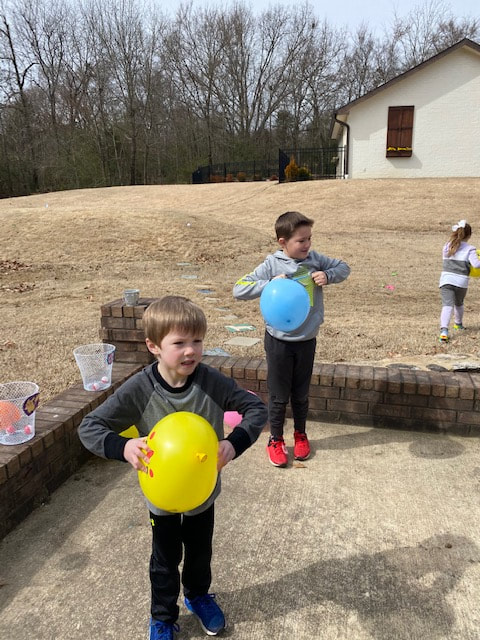
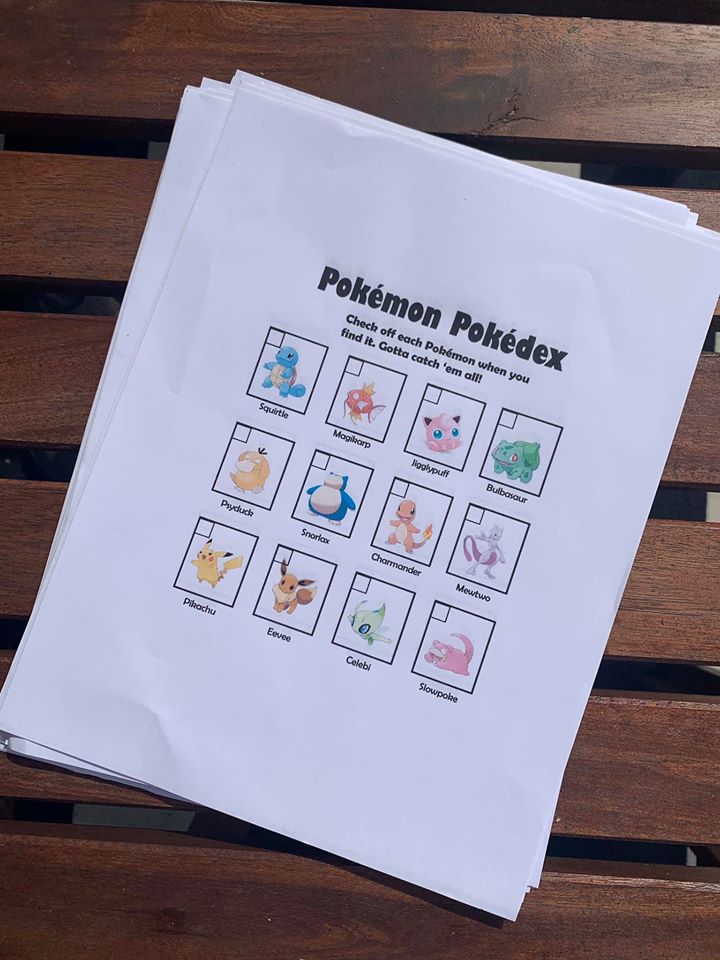
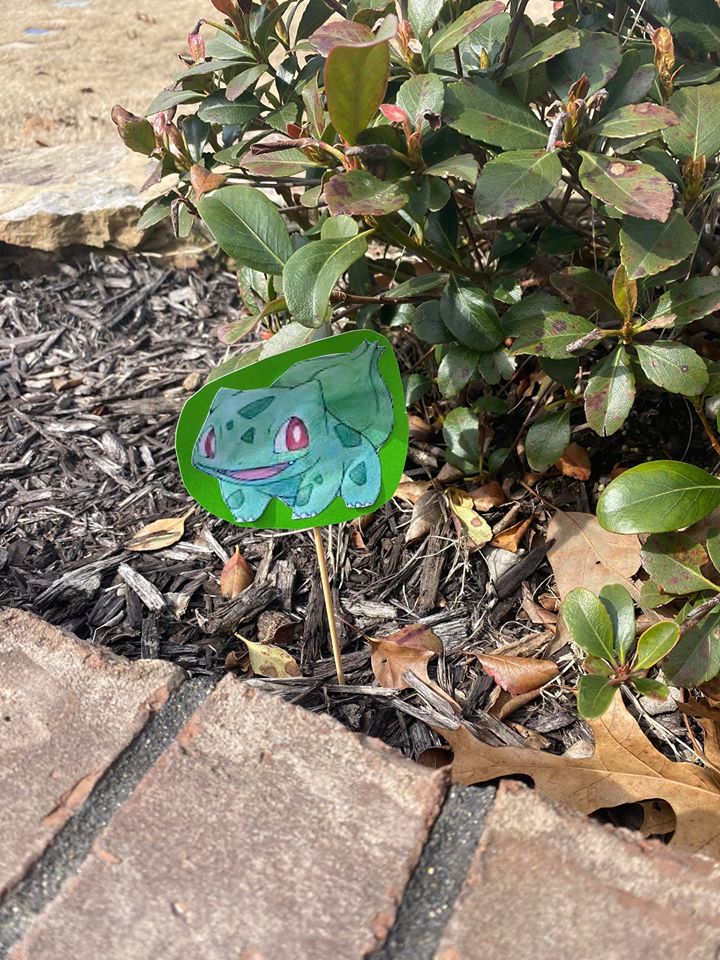
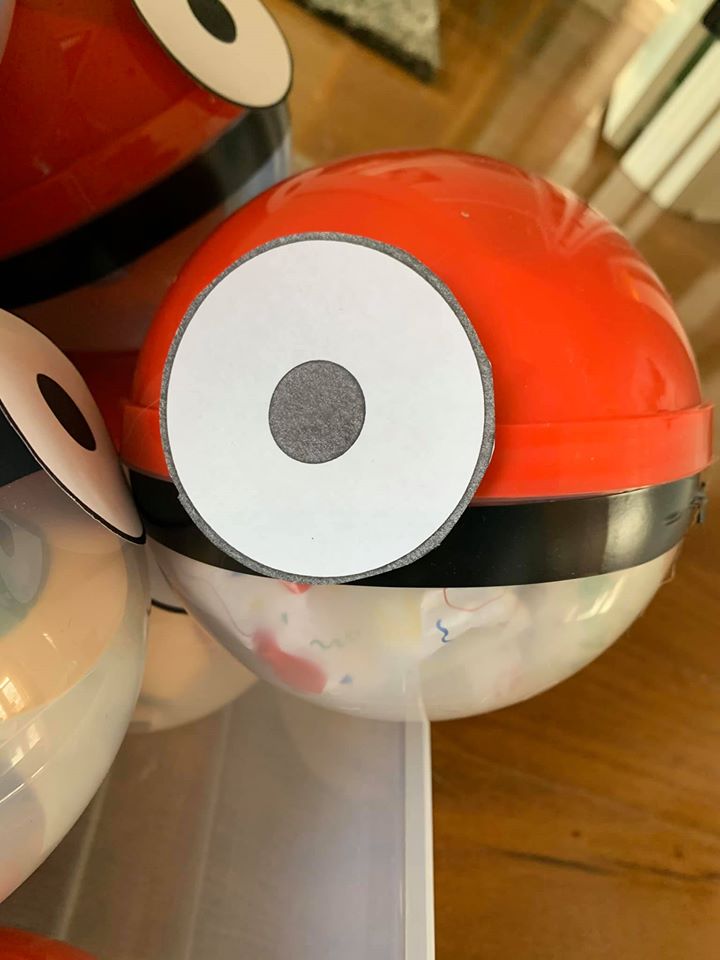
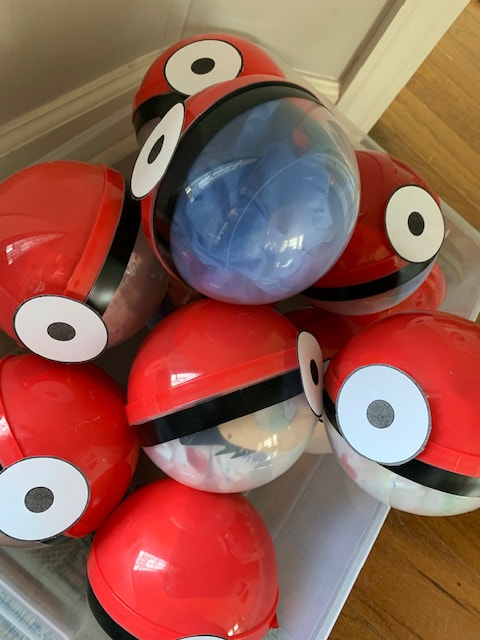
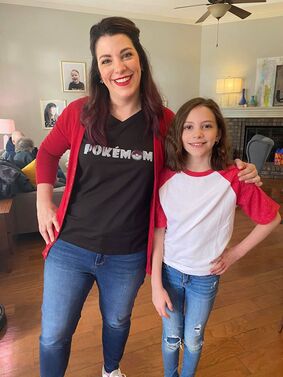
My middle child just turned 6 and we celebrated with his current obsession, Pokemon! Check out the activities and party decor below! The weather cooperated and was warm enough to have activities outside. So, I set up the food table on our back porch. I purchased the backdrop on Amazon and used a cheap plastic table cloth for the table. I made the cake with a gluten free box mix and died vanilla icing yellow. I also made the pikachu cake head and tail with yellow scrapbooking paper and markers. For food, I made labels using Canva and served pokeball fruit, jigglypuff puffs, pikachu peeps, caterpie gummies, and pikachu pizza (not pictured) which was just homemade pizza, nothing fancy. For drinks we had mana and health kool-aids. I made the boys matching Pokemon trainer shirts. Lillian didn't want that so she just had the blank shirt. I made myself a Pokemom shirt and used my silhouette to do all of them by making a stencil and painting with acrylic paint. My husband could have dressed up in his costume from Halloween but wasn't feeling it so he donned a Psyduck sticker instead. But, I've shared what he could have worn if he was cooler above along with a link to our Halloween costume post here. I planned TONS of activities to keep the kids entertained since it was at our home and not a jumpy place like most parties nowadays. We had a pokeball toss game, pin the tail on Pikachu, hatch a pokemon, pokemon trainer certificates, create a pokeball, catch all the pokemon stickers balloon pop and a pokemon scavenger hunt! You can download all the things I made for the party by clicking the button below! We also made fizzing pokemon eggs using baking soda and water paste with food coloring. We made little eggs with a tiny pokemon inside and provided eyedroppers and vinegar for kids to "hatch" their pokemon. It was BY FAR the most popular activity. For party favors I found huge red and clear plastic ball containers at Walmart and filled them with some colorful tissue paper, a pokemon card, some tiny pokemon figures, a bouncy ball, a pokemon character mask, and some pokemon gummies. To make them look like pokeballs I used black electrical tape and a center circle that I simply printed out and cut. They looked really cool and the kids thought they were awesome! I hope you enjoyed taking a look at our party! We had fun and it went pretty smoothly. I was even able to be fully dressed and make-up and hair done BEFORE guests arrived which almost never happens. So, I call that a win!
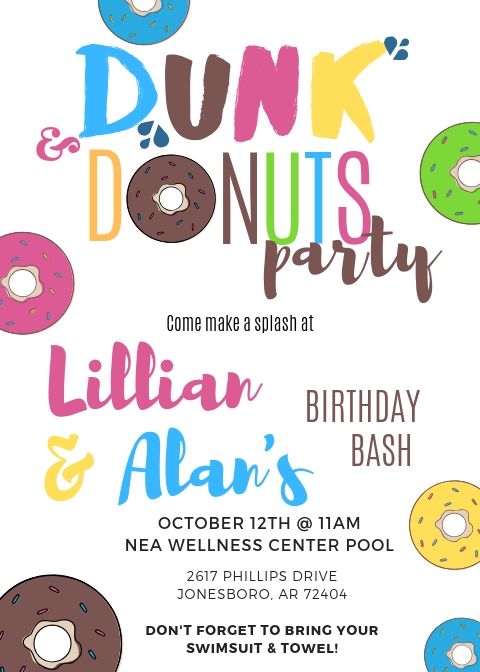
Thanks for visiting! My son Alan and daughter, Lillian, have birthdays one month apart from each other. This causes me great strife when trying to plan a party. Last year I threw one for Lilly turning 8 and my husband and I took the day off to take Alan, turning 2, to the zoo with just us. But, I feel like it's a bit unfair for him not to get a party too. So, this year, I am combining them into one! I chose a donut theme because they both love them and it is somewhat gender neutral. I've decided to have it at a local fitness center pool but will still have several fun touches like a donut hole bar, pool games and diy donut slime for party favors. I can't wait to show you the cuteness after the party this weekend but, until then, check out my party plan and adorable invites I created with canva.com below!
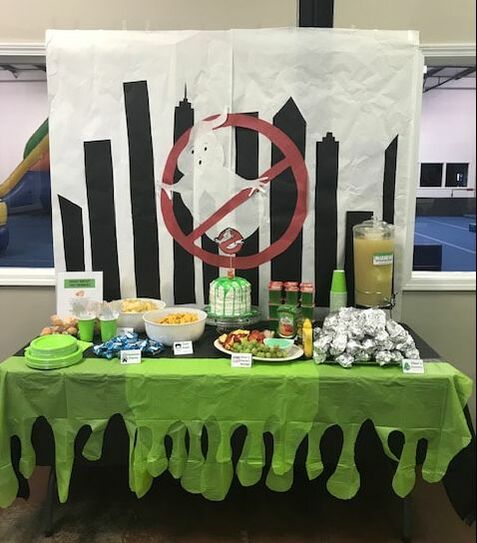
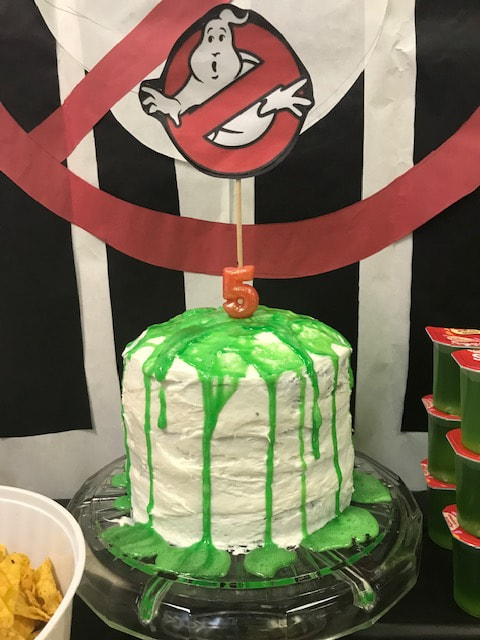
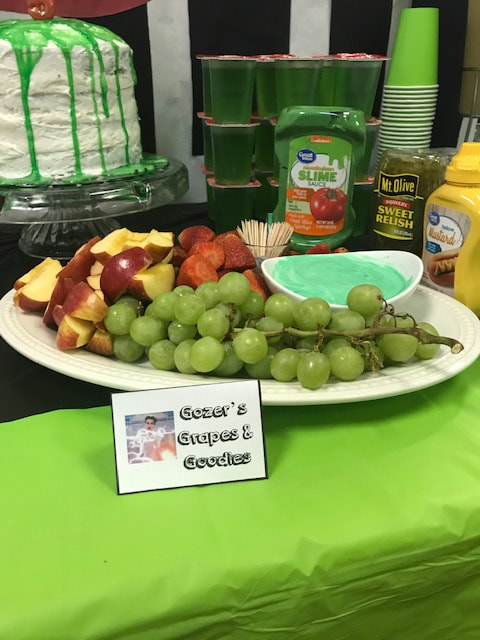
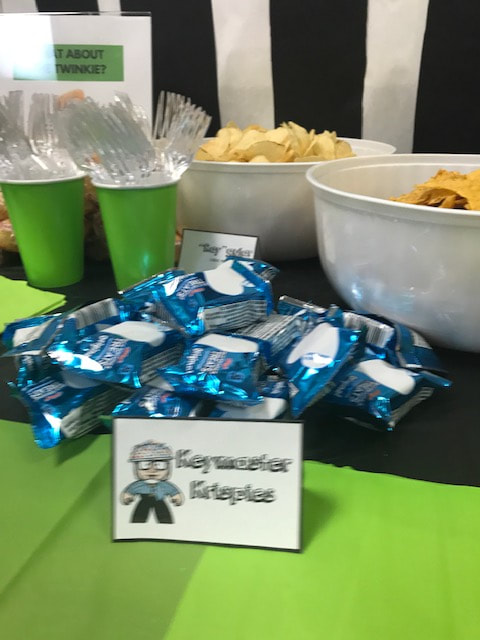
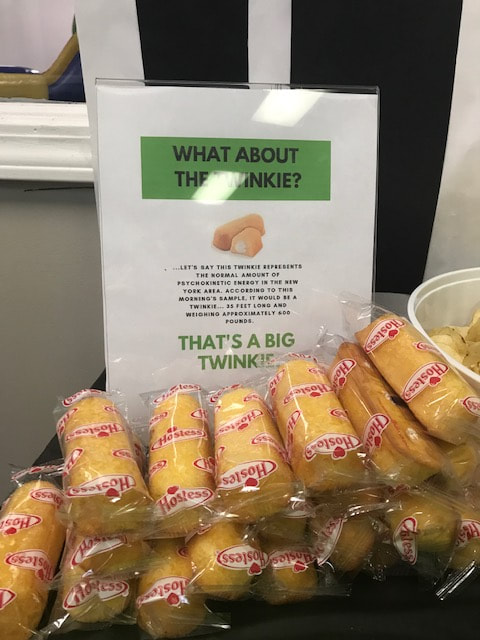
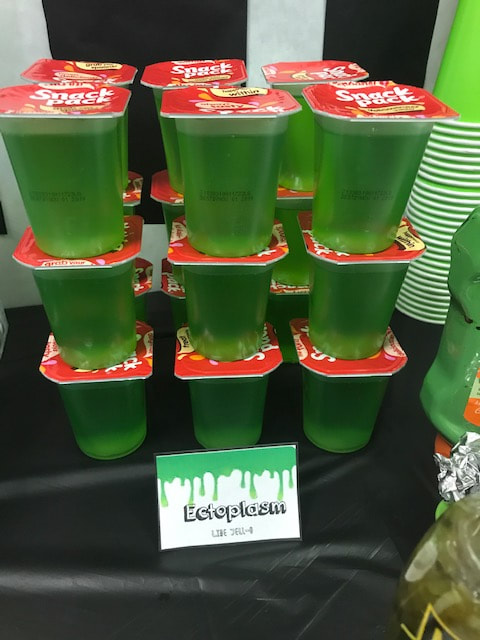
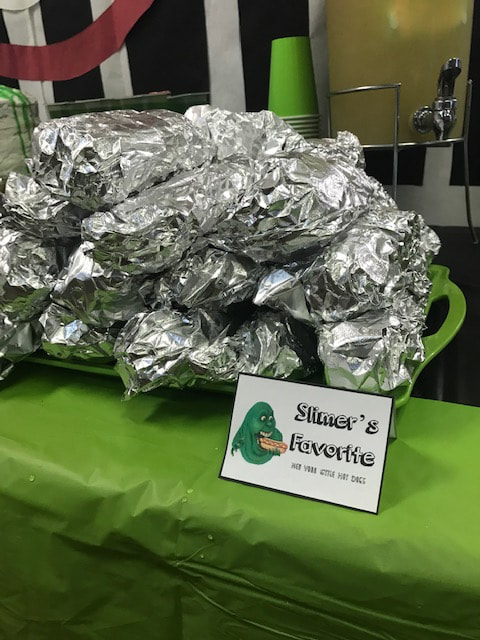
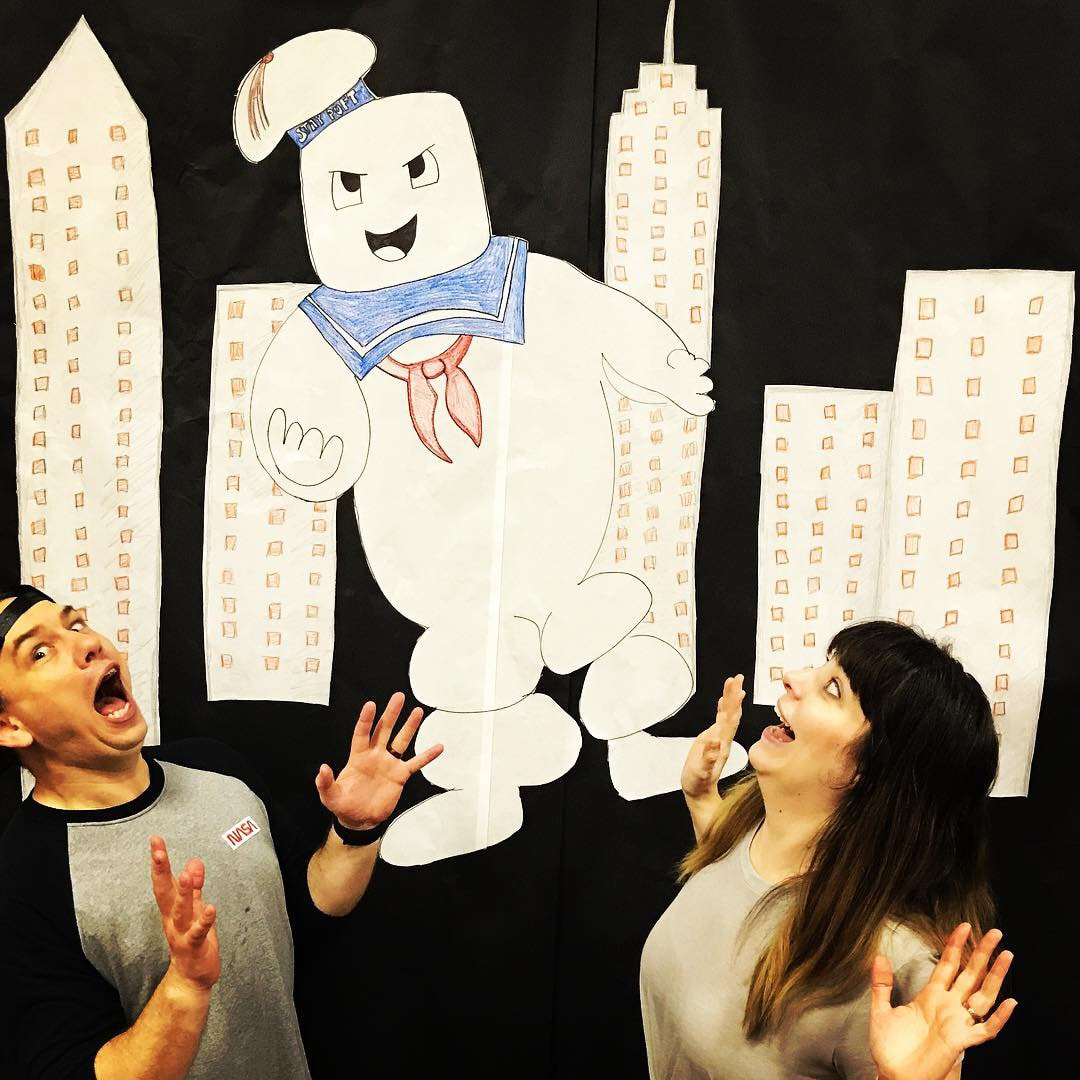
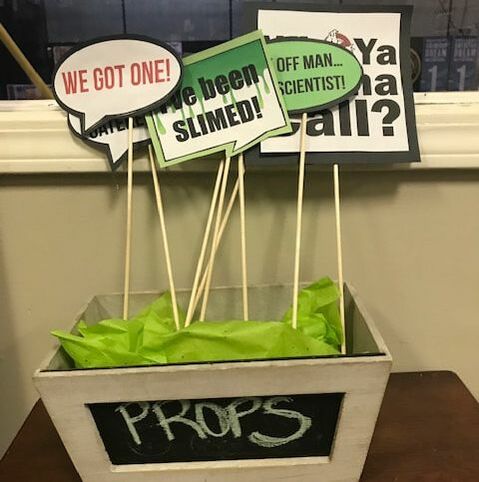
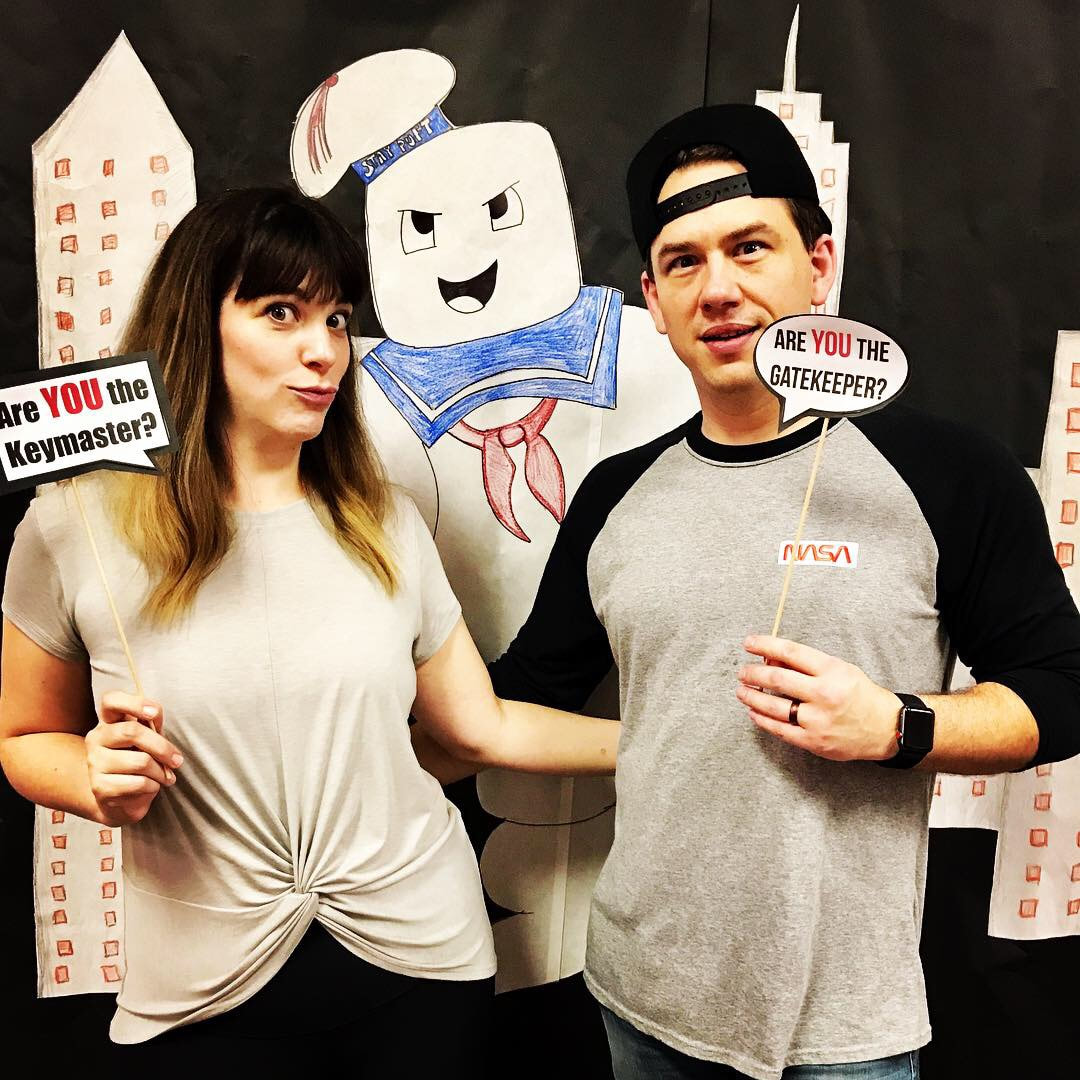
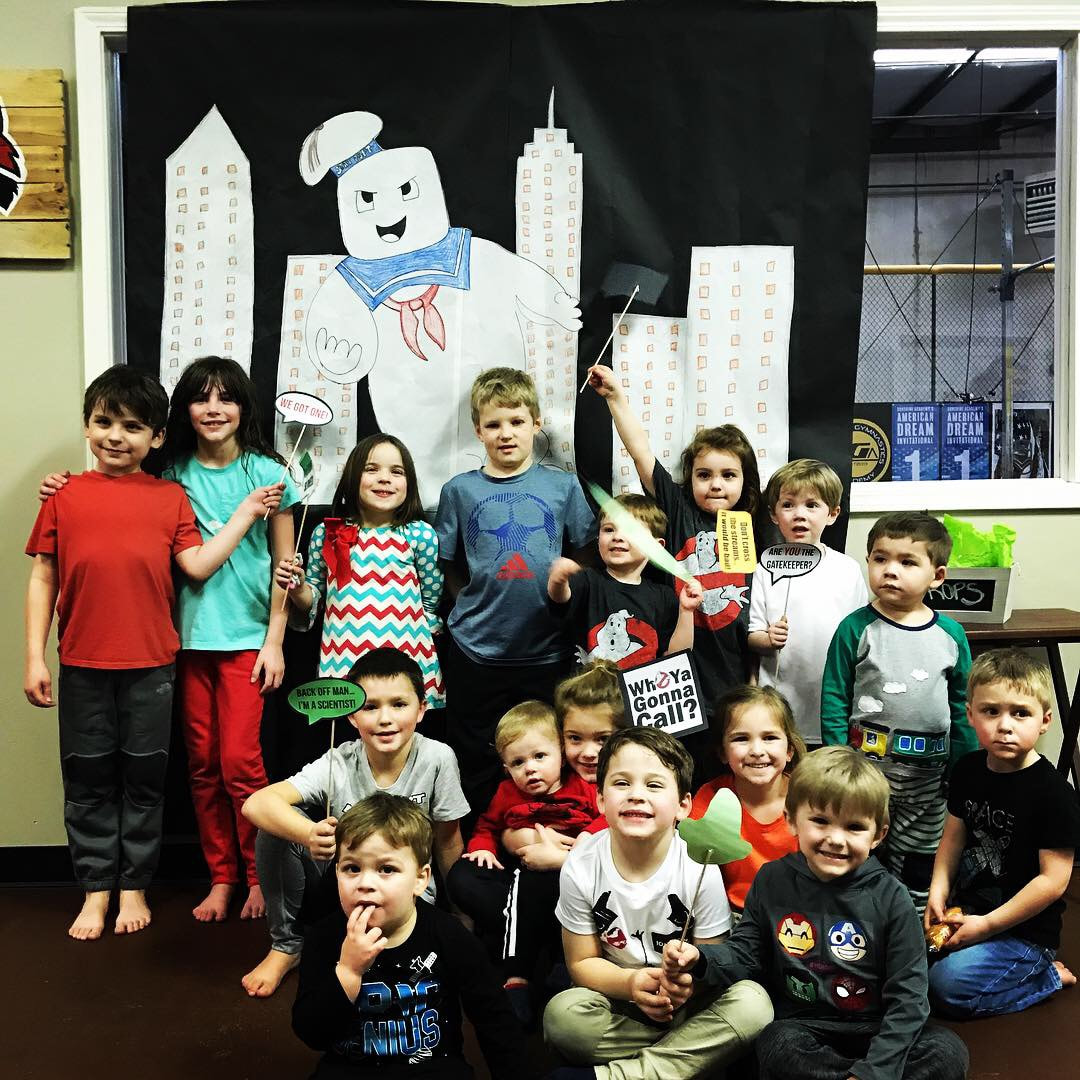
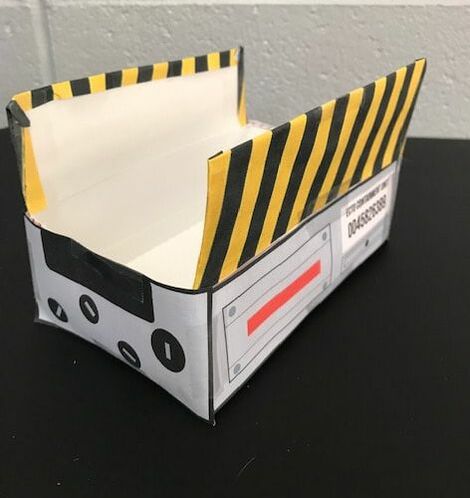
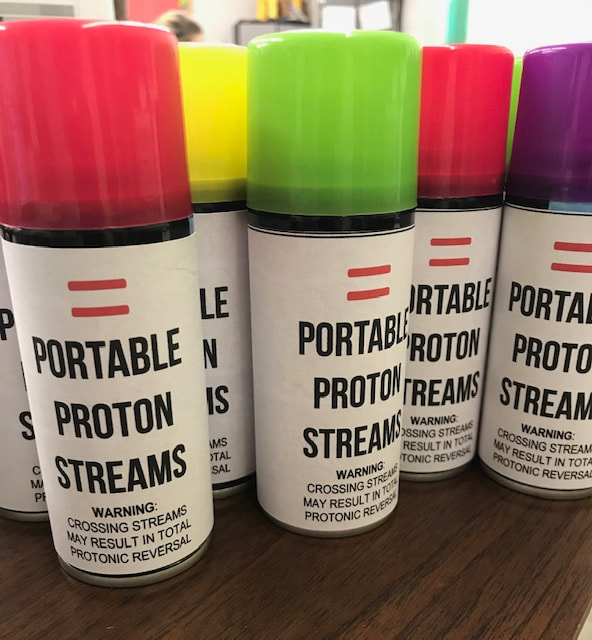
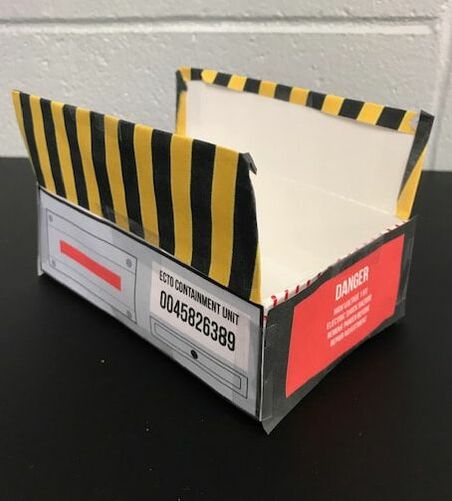
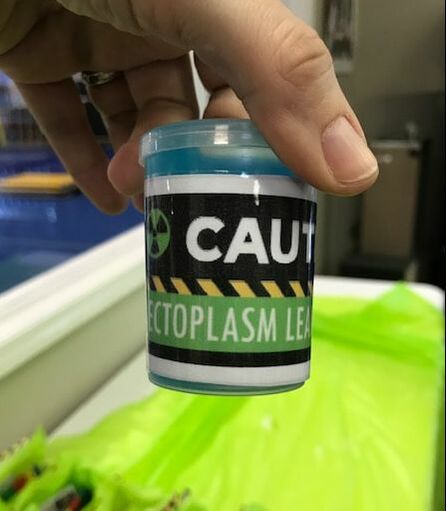
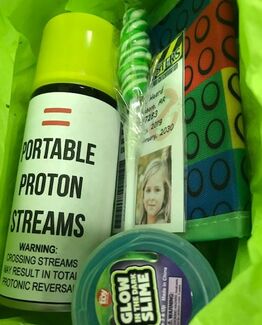
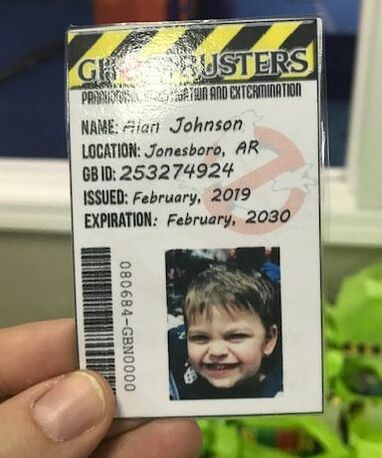
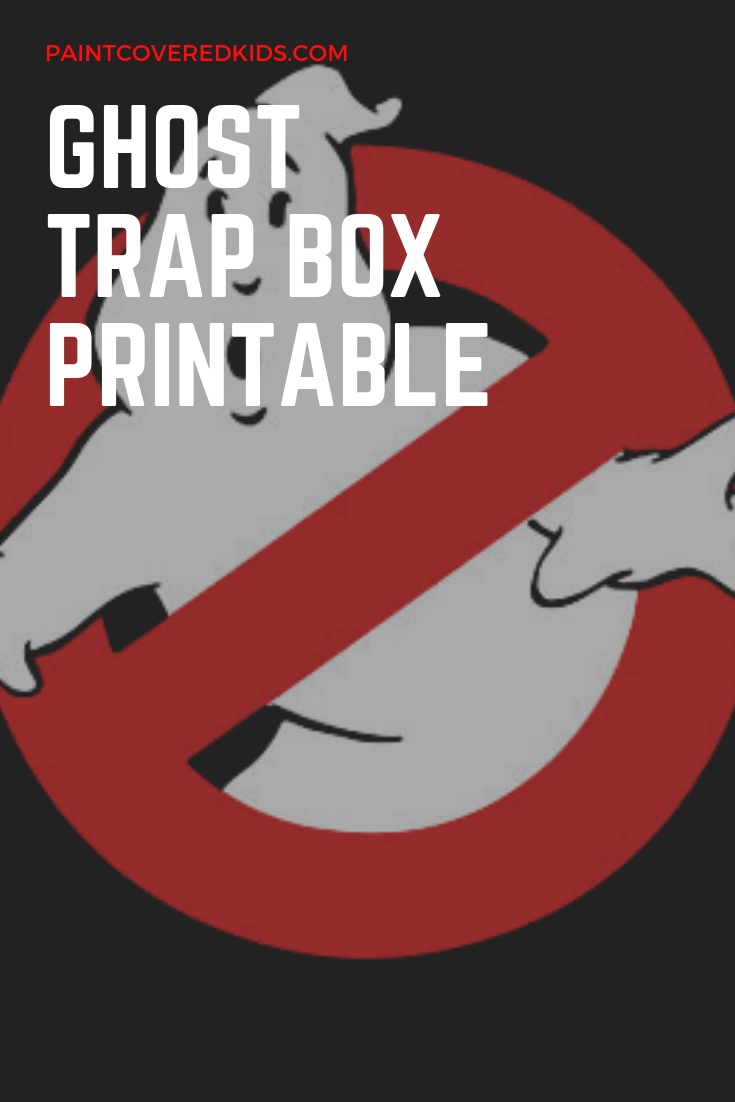
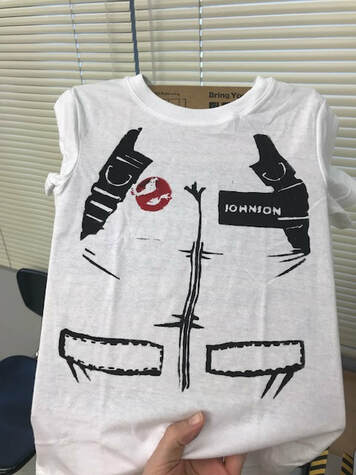
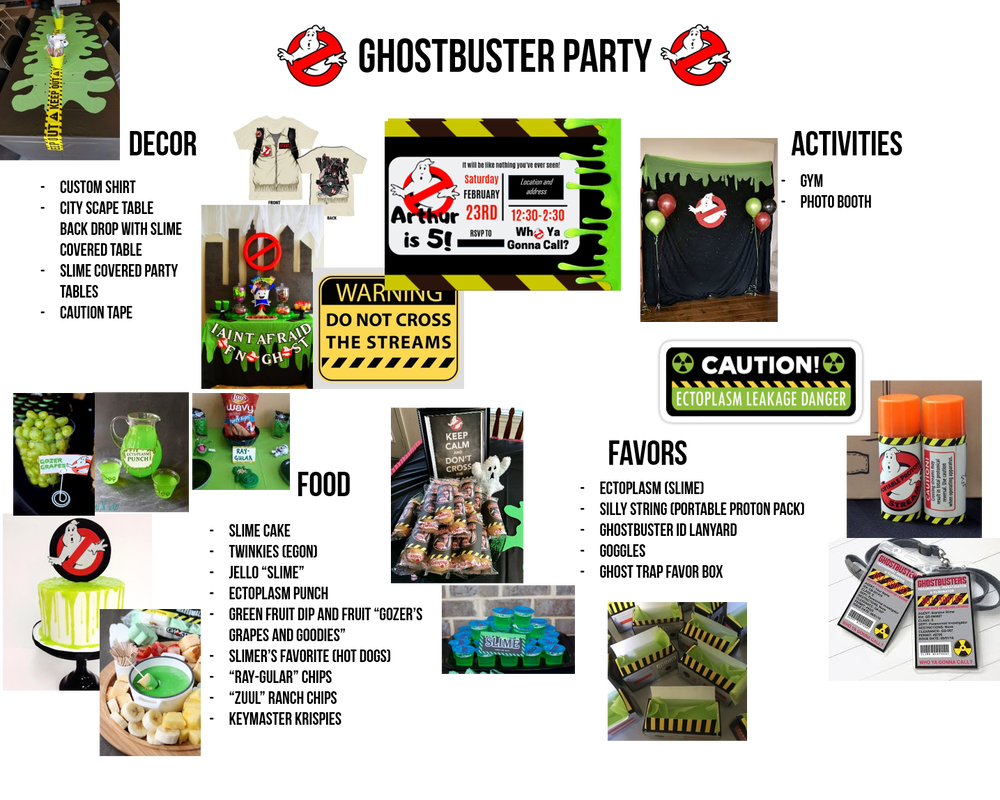
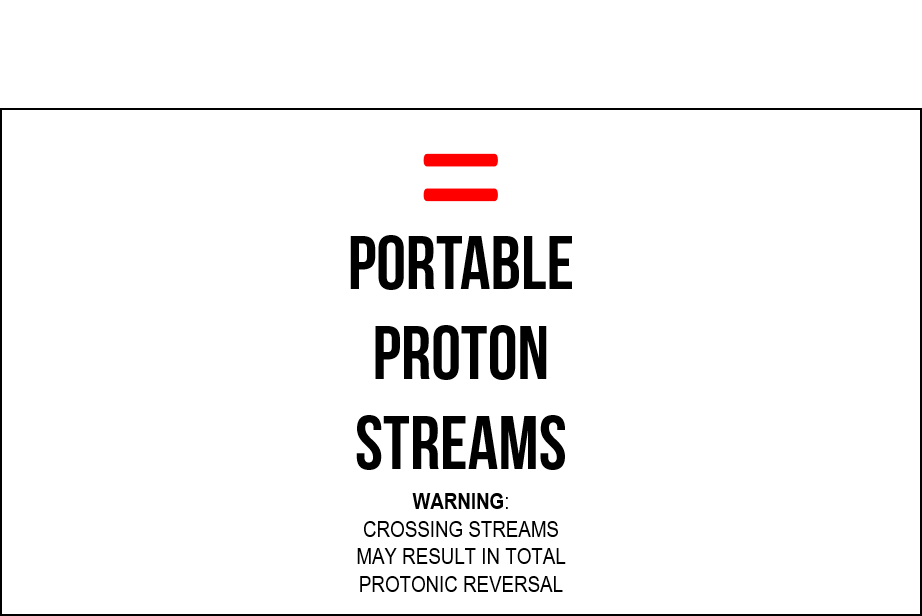
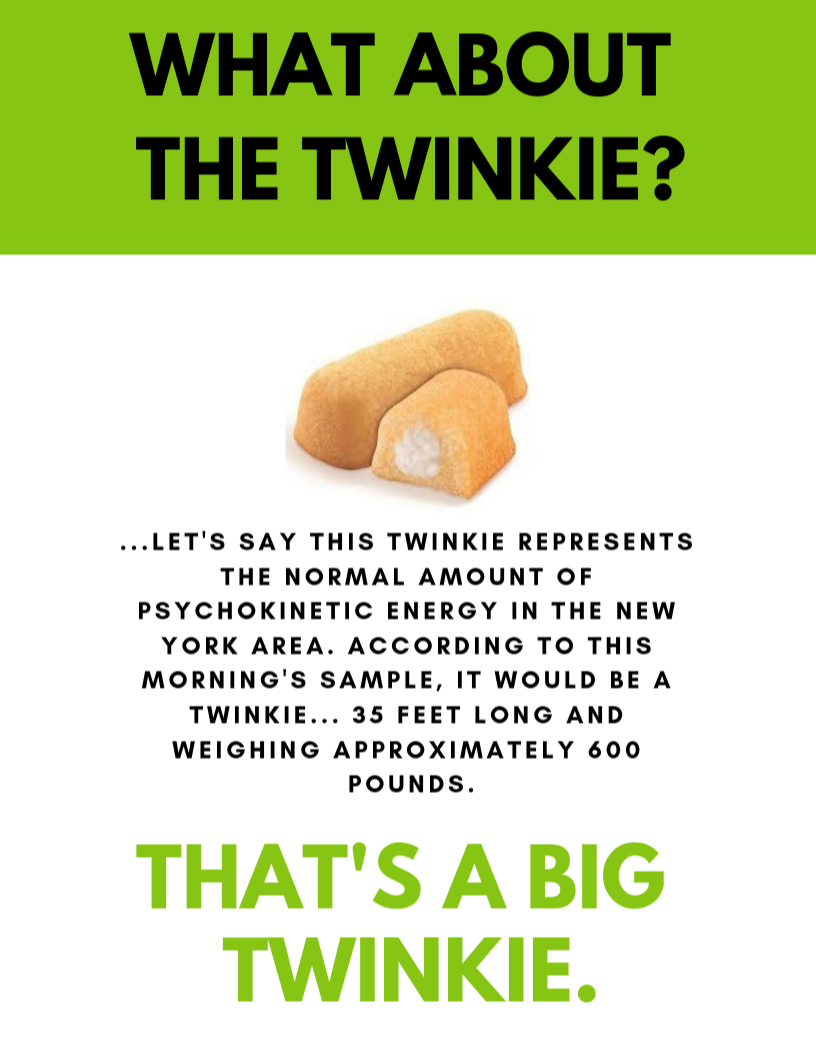
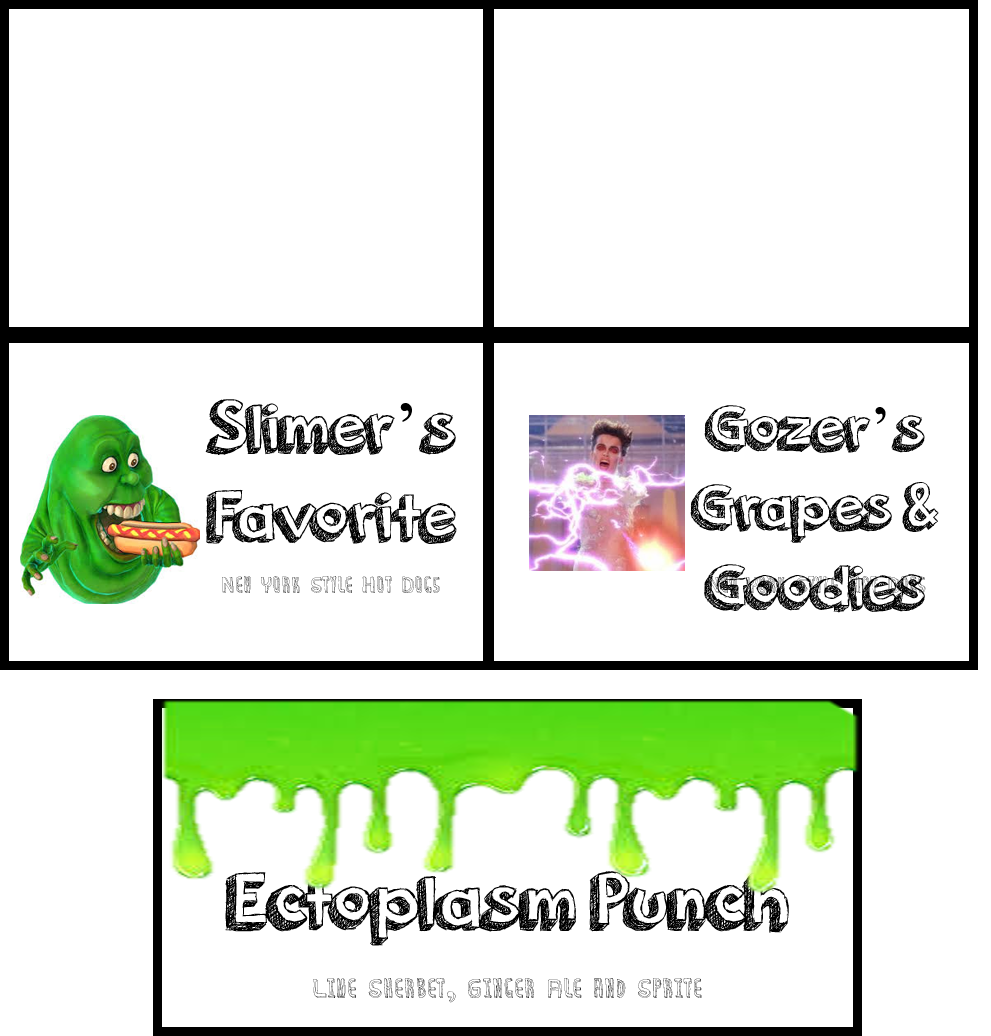
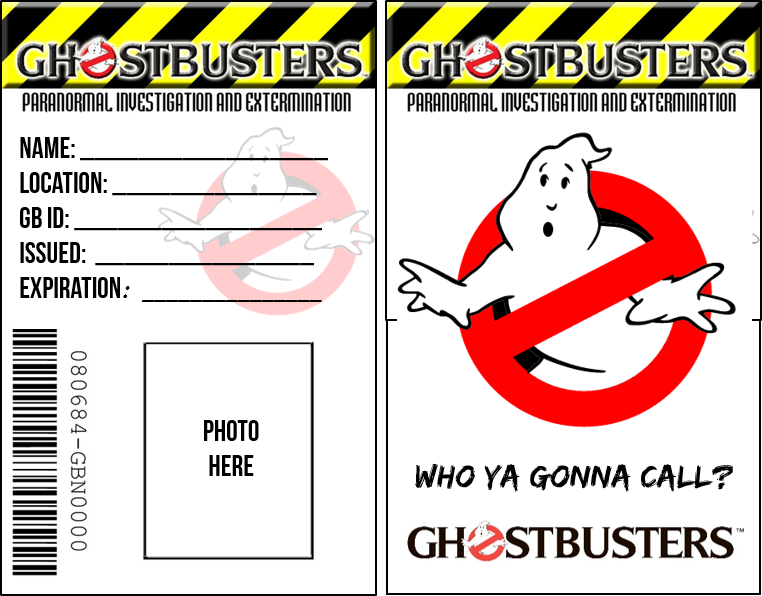
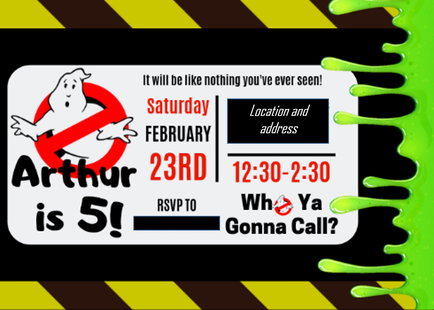
We held Arthur's 5th birthday party this weekend so I finally got to put all of my hard work on decor and planning into action. You can check out the party plan I created in this post. I was really happy with how everything turned out and it seemed like everyone had a great time! For the food I did pretty easy and quick stuff like chips and pre-packaged sweets but, I made puny labels to make everything seem way more impressive which you can print out at the original planning post. We made hotdogs and wrapped them in aluminum foil for quick grabbing and I made the cake using good ole' Duncan Hines box mix and icing but, it was super yummy with double fudge cake and marshmallow icing. To fancy it up a bit I made green slime to pour over the cake. It was easy to make using lime jell-o and tonic water (it would have glowed under a black light). For the backdrop I cut out building shapes from black paper and glued them to a white paper. Then I free-handed a ghost and red "no" symbol and glued it all down. It was quick, easy and cheap but made a nice statement. For the table I put down a black plastic tablecloth and then cut slime shapes out of a green plastic table cloth and draped it across the front. I also set up a photo booth area with fun props I made and you can print out on my original planning post. I free handed a giant marshmallow man and city scene on white butcher paper and colored it. Then I cut it out and pasted it onto black paper to make it pop. I was most proud of the goody boxes. I purchased popcorn boxes and cut and taped them to create a shape like the ghost trap. Then, I MADE a ghost trap printable (I was going to use a free printable I found but I realized it was for a much smaller box and it didn't work.) Once the printable was made, I printed, cut and taped 25 to the already cut and taped ghost trap popcorn boxes. It took quite a bit of time but aren't they fabulous?! To complete the magic, I put green tissue paper inside each one and topped them off with the treats which are equally fab. For the treats inside, I purchased silly string and created a portable proton stream label which can be found in the original planning post. I purchased mini, glow-in-the-dark slimes on amazon and taped ectoplasm labels to them. Additionally, kids got a green twisty sucker and a velcro wallet. Why a wallet you ask? Well, I made custom ghostbuster ID badges for all of the kids! I even laminated them. They are legit! You can find the editable ID badge document and the printable ghost trap box below by clicking on the images. I also made Arthur a custom Ghostbuster shirt that turned out pretty cute. I created a cut file for my Silhouette machine. I used stencil material for cutting and then used acrylic paint to fill in the stencil on a shirt. I feel like the party was a great success and everyone had fun! I hope you found some inspiration for your next party!
I'm planning another bday party! This time I'm taking a bit of a break by having it at a local gymnastics place. I won't be able to use the outside since it's February and I don't think I can handle a bunch of 4-5 year olds running around my house even if I plan the heck out of the thing. So, as you can see above, I've still done quite a bit of planning as is my way. I also created a bunch of printables including id badges, food signs, goody bag labels and photo props. You can check out my Pinterest inspirations here and download the printables by clicking the party planning image above! My plan involves no activities for kids which is a first for me! I figure they will be much more interested in the giant foam pit, trampoline and other gymnastics stuff than crafts and games. I do have plans for fun goody bags, food and custom shirts for the family. I used my favorite digital everything maker site, Canva, to make the invite. The coolest thing is that now they print your creations AND the prices are great! So, for about $30 I ordered 50 invites with envelopes and they look perfect!
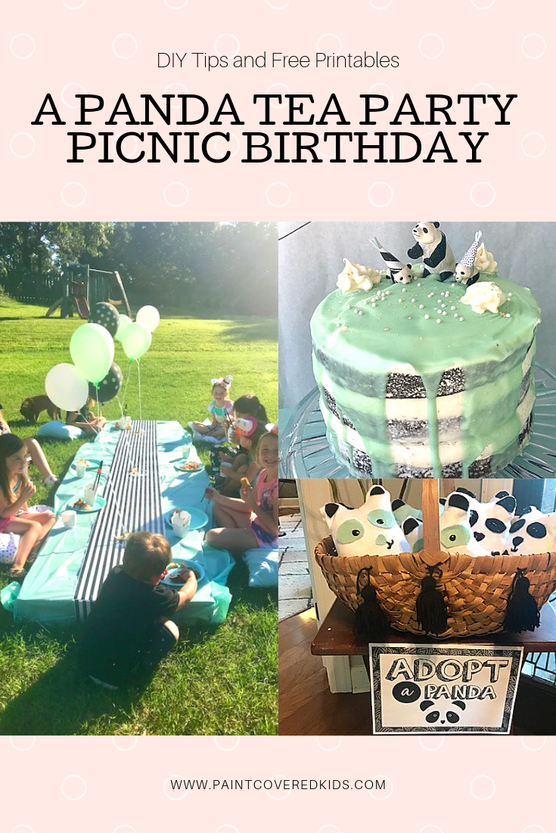
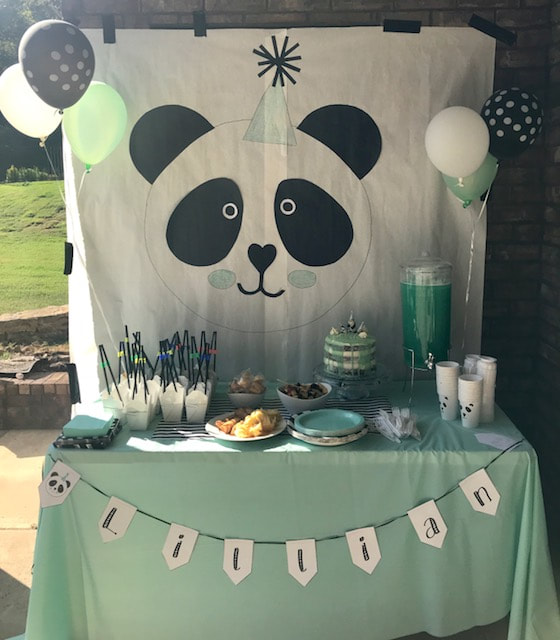
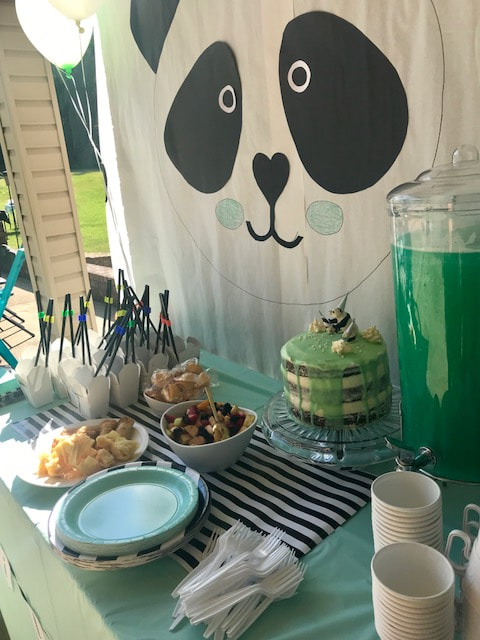
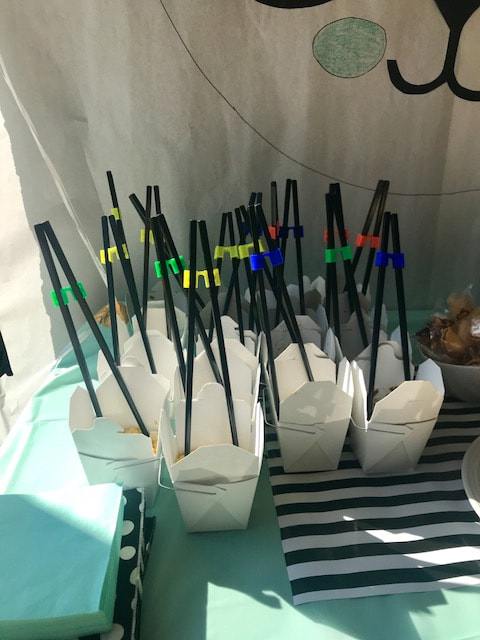
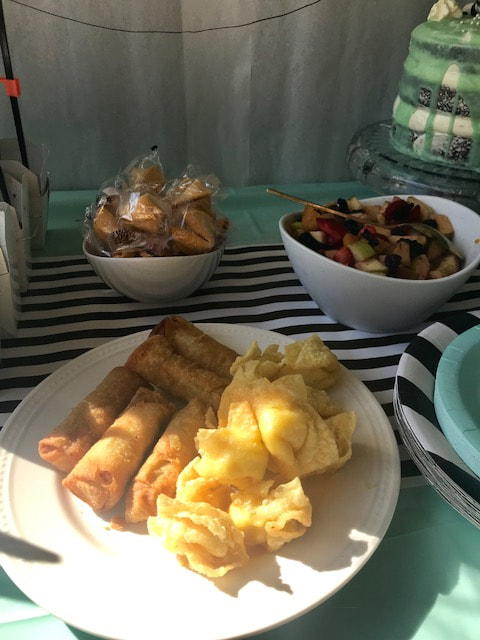
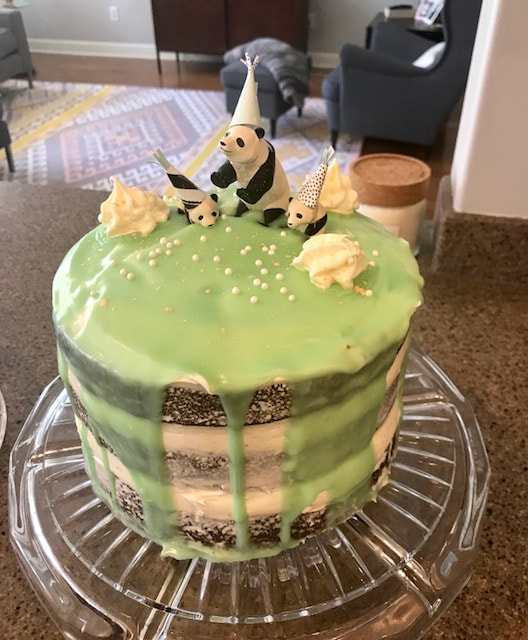
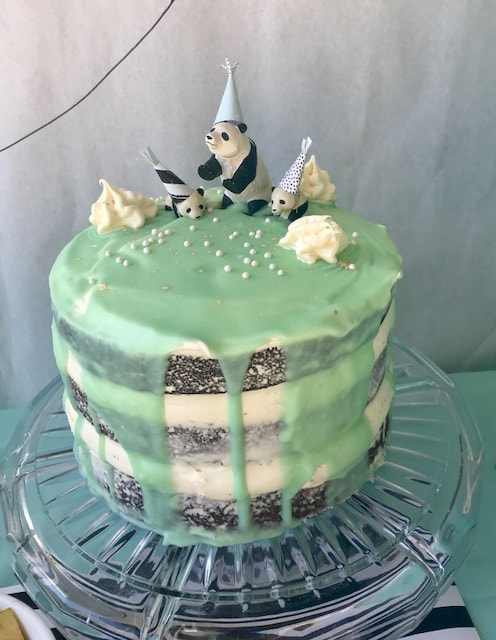
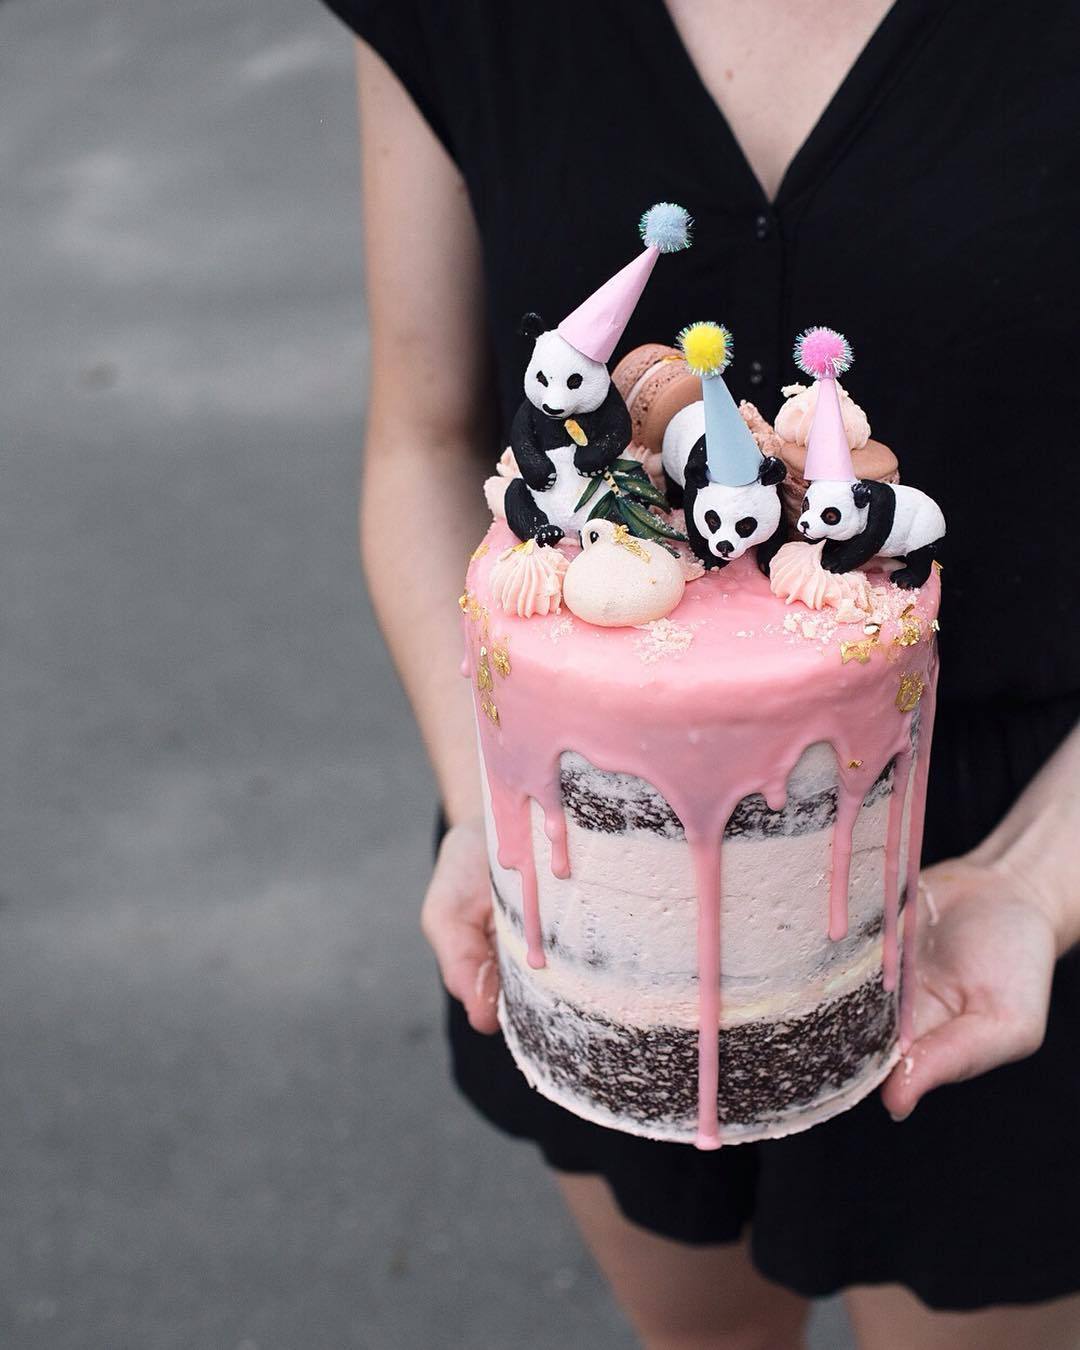
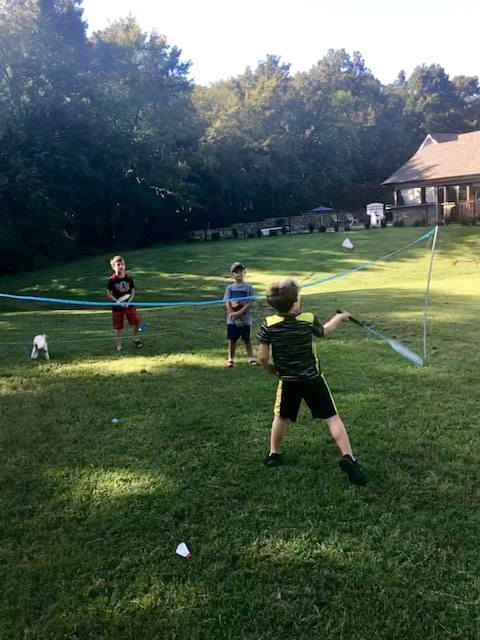
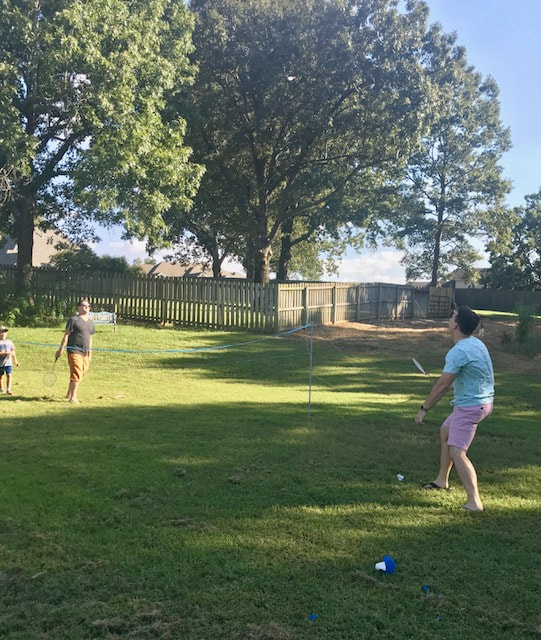
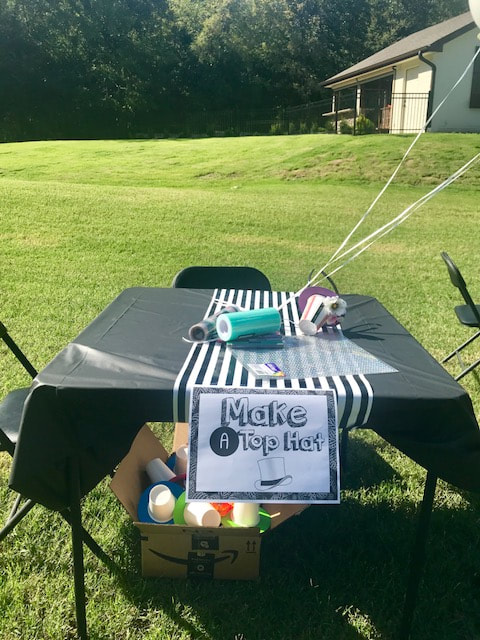
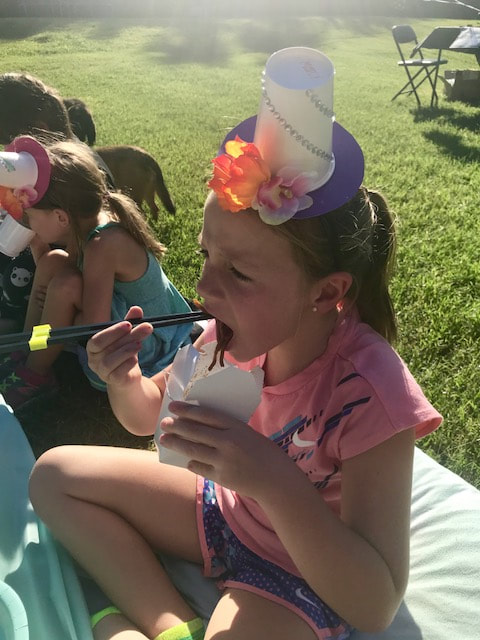
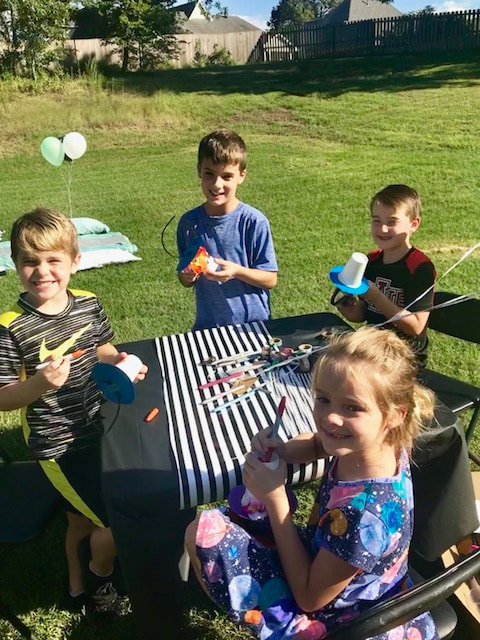
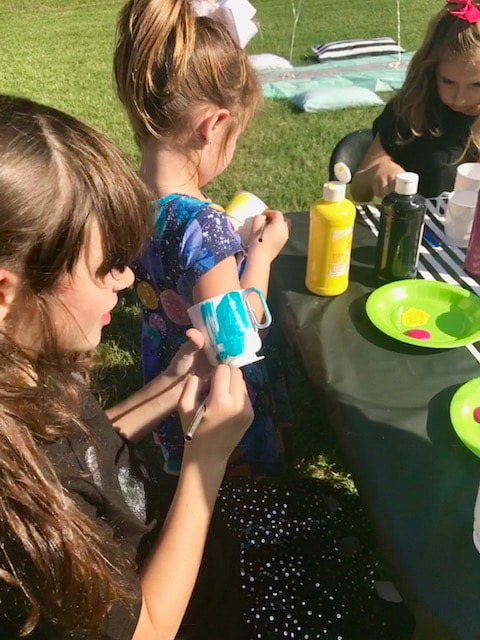
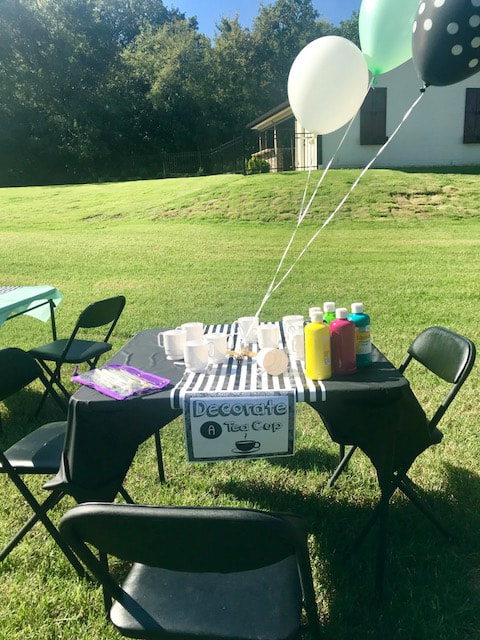
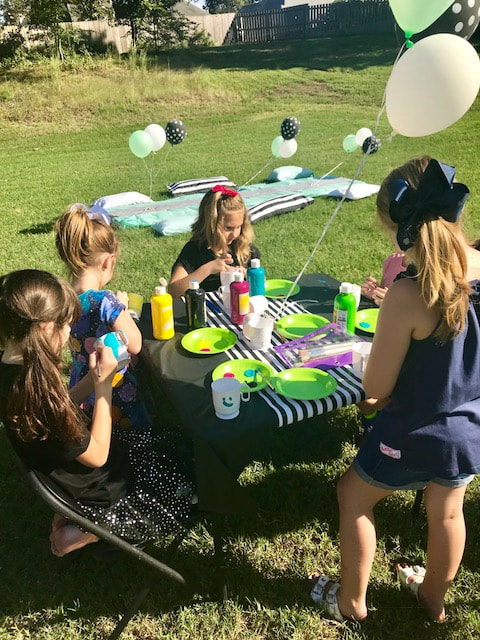
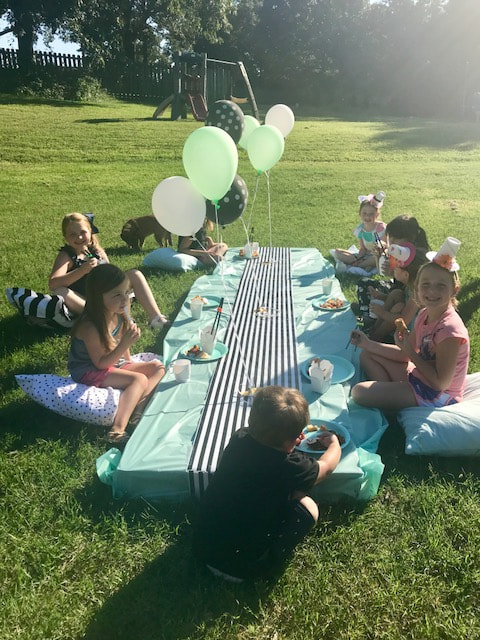
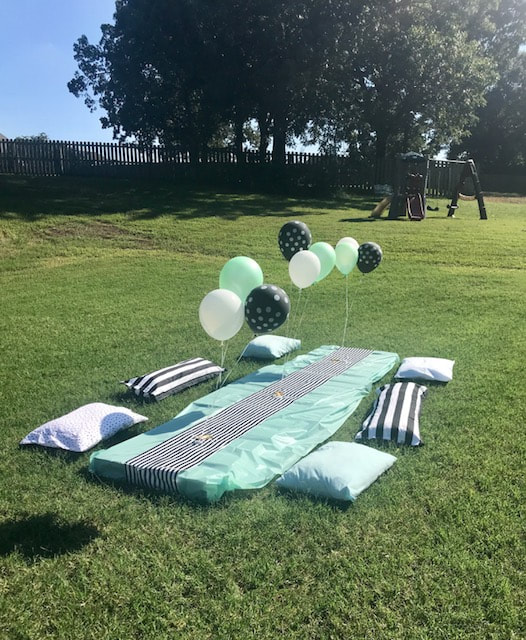
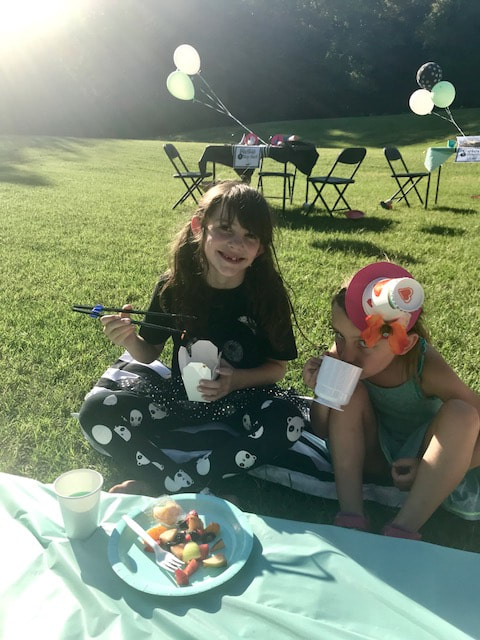
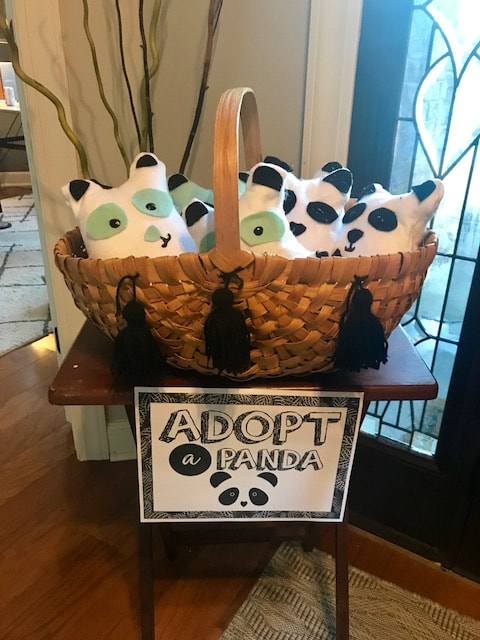
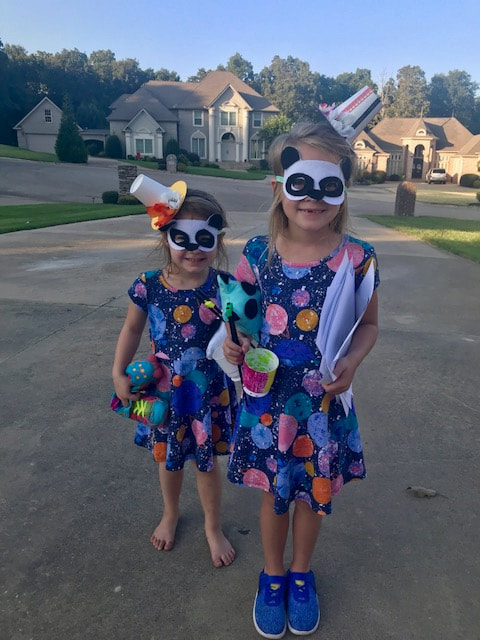
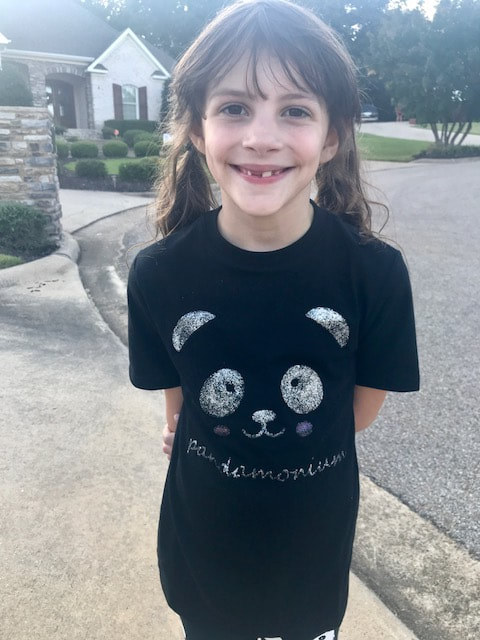
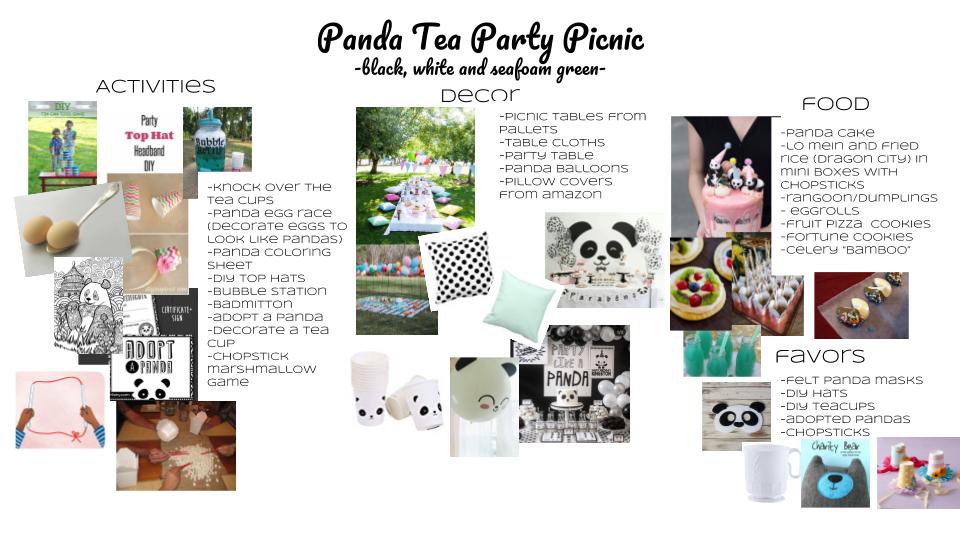
I'm excited about this party and can't wait to get it all put together! Be sure to check back to see the party photos! This weekend we celebrated my daughter's 8th birthday with a very fun, panda-themed party! I wrote about my plan in a previous post which you can find here. When my daughter stated that she wanted a panda themed party I thought, "No problem!" but when I started trying to plan activities for a bunch of 7 and 8 year olds to do, I struggled. So, I built off of the teddy bear picnic idea and added in a tea party element for the craft focus. I think everyone had a great time despite the fact that it was a bit hotter outside than I would have liked. For the food, I went pretty easy and basically cheated by ordering chinese food from our favorite place. We had chicken and veggie fried rice, chicken and veggie lo mein, eggrolls, crab rangoon and, of course, fortune cookies. I also made a fruit salad and a pineapple, sprite, hawaiian punch. To make it a bit more fun looking I dolled it up a bit by transferring the food to small, cute chinese food containers that I purchased on Amazon. I also stuck a pair of plastic chopsticks and chopstick helper for anyone who was not skilled in the art of chopsticks (also purchased on Amazon) inside each container. As a bonus, the kids got to take home their chopsticks and chopstick helper. The thing I am most proud of is this cake. I MADE this! I found an image of a cake on Pinterest that I really liked and for a brief moment, the stars aligned and everything went perfectly in the baking of this cake. It is EXACTLY like I wanted it and looks super similar to the original photo here from bloglovin. I cheated and used a box cake mix and pre-made icing for the layers. But, I did make the ganache using white chocolate chips, mint green food coloring and heavy cream. It was super easy to get the drip effect and I will definitely be using this cake style again in the future. I followed directions here for making the ganache. The kids not only had the option of playing outside on the trampoline and swing set but, they also had the opportunity to play badminton and participate in several craft activities. They were given the opportunity to paint a tea cup, color a panda bear coloring sheet and make a tea party hat. No one was very interested in the coloring table but everyone seemed pretty pleased with their craft opportunities. I made the tea party hats by taking a white paper cup and hot gluing it to a piece of cardstock that I cut into a circle. Then, I hot glued it to a black, plastic headband blank that I purchased on Amazon. Additionally, I hot glued a few fake flowers to some of the hats. For decorating, they had pre-sticky gems, washi tape and markers. At the tea cup table, kids were provided tempera paint and white, plastic tea cups that I purchased on Amazon. Unfortunately, the tempera began peeling off (I thought it might happen but figured I would take the chance instead of giving kids permanent paint) but, the cup was still usable so, they can paint them again and again or not! When it was time to chow down, they sat at a custom picnic area that I set up using pallets wrapped in plastic table cloths with a table runner made of black and white striped wrapping paper and balloon centerpieces. They sat on color coordinated pillows. I ended up buying the bigger pillow covers for only $10 total to add the pop of black and white and just stuffed them with plastic grocery bags (of which I always have a million). The other pillows were actual pillows inside of pillow cases I already had. Aside from the tea cups, party hats and chopsticks, guests also got to take home a custom panda bear and panda bear mask handmade by ME! I spent a good chunk of labor day weekend making the panda bears. I based my pattern off of this one but modified it quite a bit to get a shape I was happy with. I also did not sew it. I do not like to sew, even though I can, and instead created the pattern from felt and then hot glued it and flipped it inside out just like you would if it was sewn. Then, I stuffed it and sealed the stuffing hole shut. I cut out felt of a different color for the eyes, paw pads, legs, nose and ears to mimic a panda's markings and hot glued them down as well. I finished it off with black fabric paint for the eyeballs and mouth. I think they turned out amazing and my almost 2 year old quickly decided that "Bobo" was his new favorite lovey. For the masks, I used one of my sons PJ Masks as a base for the panda face and then created my template by hand. I thought I had captured a few photos but upon looking through my camera, I realize I didn't. Oooops. Anyway, I used my template for the white base and then cut out the black eye, nose and ear areas all from felt. Then I hot glued again and attached ribbon to tie them on with. I made them over the course of two afternoons after work and probably only spent about 2 hours total. Not bad. Plus, I find this kind of crafting kind of zen like. After creating the pattern, it's just a repetitive cutting and gluing process and it is kind of like a form of meditation. Oh! I also made the birthday girls shirt at the absolute last minute at 1am the night before. I created a panda face design in Silhouette and cut out a stencil. Then I used silver and pink glitter fabric paint to fill it in. It took no time at all and I think it looks adorable. She also had a black and silver tutu and panda leggings. It was a fun party with all sorts of personal touches that I am very proud of accomplishing. I know that we are nearing the time when she will no longer want a big party with activities and I plan on cherishing the last few moments where she is my little girl and wants me to go all out so, until she decides it isn't cool anymore, I'll keep up the hard work for the big payoff that is her smiling face at the end of the day and hope that when she has a little girl of her own she remembers and is able to do the same for her.
Lillian is in love with pandas so her party had to focus on them this year. But, I struggled with planning activities and ended up combining the idea of a picnic and tea party into the panda theme. I made my plan above and have started getting to work!
Unfortunately, I couldn't find any stuffed pandas that were a good price and quality in bulk and decided to make my own. So, I spent a good chunk of the labor day weekend in my own personal sweat shop for stuffed pandas. However, they have turned out to be super adorable and my 1 year old won't put his, newly named Bobo, down. So, hopefully the 2nd graders will love them just as much. I'll make another post detailing all of the projects and results after the party! Until then! |
meet rachelRachel is a mother of three, elementary Spanish teacher and part-time blogger who loves crafting, creating fun and engaging activities for her children and students and hanging with her friends and family. She blogs about what she's doing and her interests at any given time which vary. She's a little OCD and always looking for her next project. Her husband calls it, "focusing her crazy", but she just calls it fun. Archives
June 2023
Categories
All
|





 RSS Feed


