|
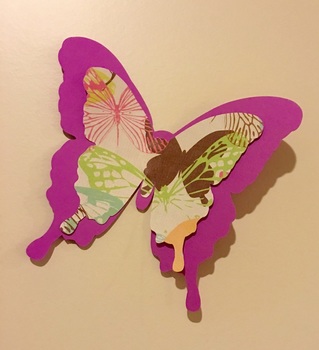
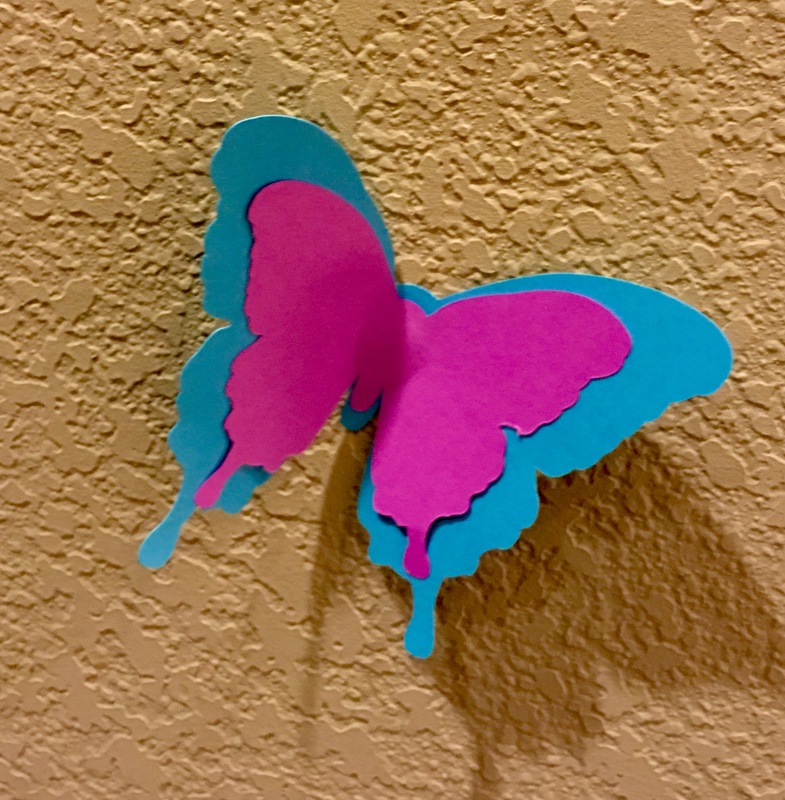
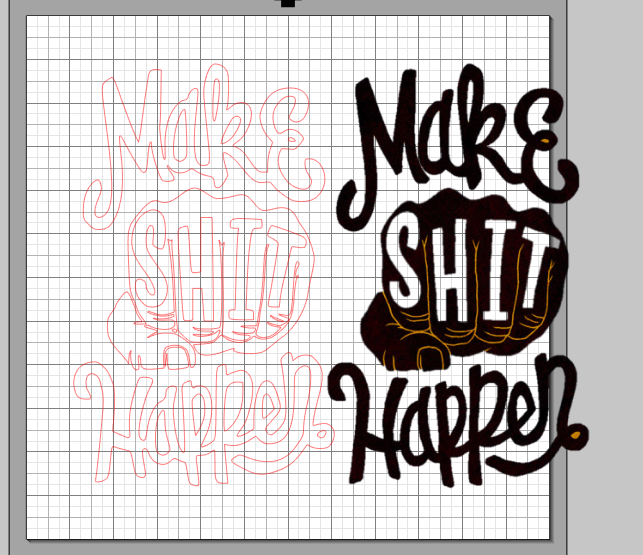
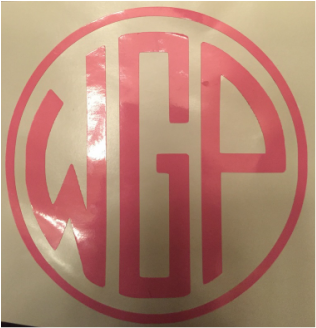
My awesome husband got me a Silhouette Cameo 2 for Christmas this year! It was a major surprise and I am super excited. I've used it a few times to practice and make sure I have some idea as to how to use it and I would like to share the first few projects I have accomplished. For my first attempt I decided to make my daughter some paper butterflies to stick on her walls. The cut file was free and I had scrap paper so it didn't matter if I messed up. I used the free butterfly cut file and made two different sizes of butterflies on my silhouette studio page. Then I placed paper on my cutting mat and loaded it into the cameo. After checking to make sure the settings were correct, I sent it to the machine. They turned out great! I repeated the process using a different paper and then layered the smaller butterflies on top of the larger butterflies and used stick tac to adhere them to the walls. It was super easy and my daughter thinks they are great! Success! For my second project I chose to make a gift for a good friend who was about to have a birthday. He runs his own marketing business and is very energetic and positive with a good sense of humor. I found a really great art print and decided to make my own version using gold poster board and black craft paper. I saved the image and then used it to create a cut file within silhouette studio by importing the image. Once I had my cut lines correct I loaded the poster board and sent the cut to the machine. After it was cut I glued it in the center of a piece of black card stock and framed it! It went very quickly and he loved it! Success again! I think I'm getting the hang of this. (I will say that I thought the paper setting should have been on card stock for the poster board. However, I was very wrong which resulted in the machine freaking out and cutting the edge of my mat! For future reference, you should set it at glitter card stock if you want to cut poster board.) I was in such a hurry to get it made before the party that I completely forgot to snap a picture! It looked really awesome though. :( For my final projects I ventured into he land of vinyl. (I had to wait until my order arrived.) I purchased my vinyl from amazon and I think I got a pretty good deal. I started my making a monogram for my friend. She plans on putting it on a tumbler. I used this site to generate a free monogram. Then I placed the monogram into powerpoint, added a thick dark circle around the edge and saved both parts as one image. Then I dropped into silhouette studio and added my cut lines. It was very quick and she loves the result. My other vinyl project is still in the works but, I plan on making some organization labels for my children's rooms. I'll let you know how that goes in my next post!
3 Comments
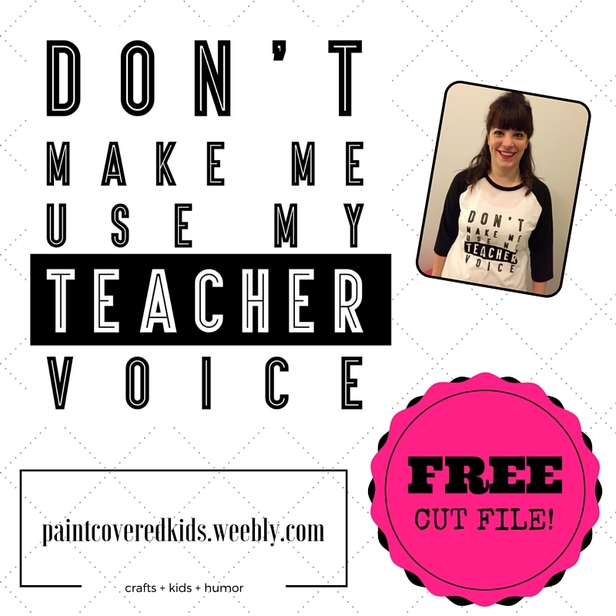
I got crafty with the silhouette machine again! This time I cut this adorable graphic for a t-shirt. I think it's pretty great and you can make your very own! I grabbed my t-shirt at Wal-Mart for about 6 bucks and used black transfer vinyl. You can download the free file below. Enjoy!
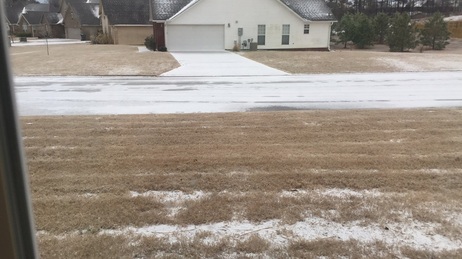
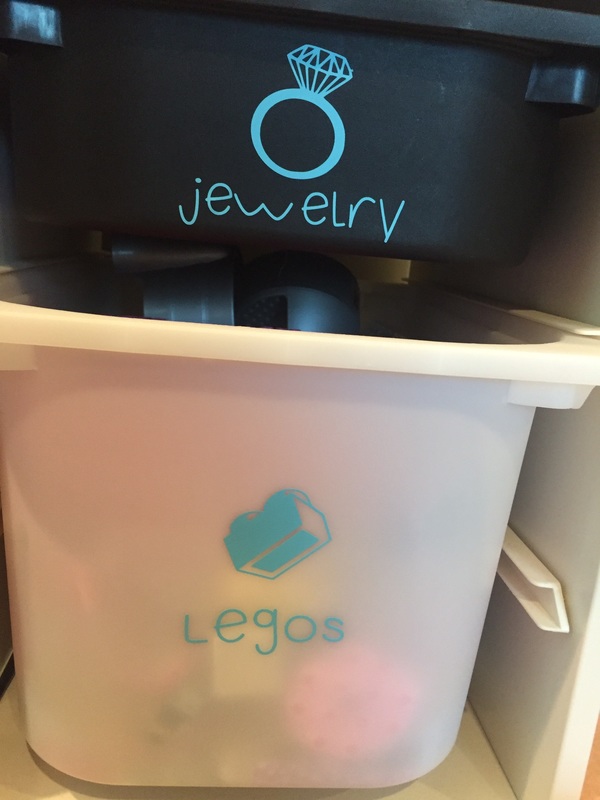
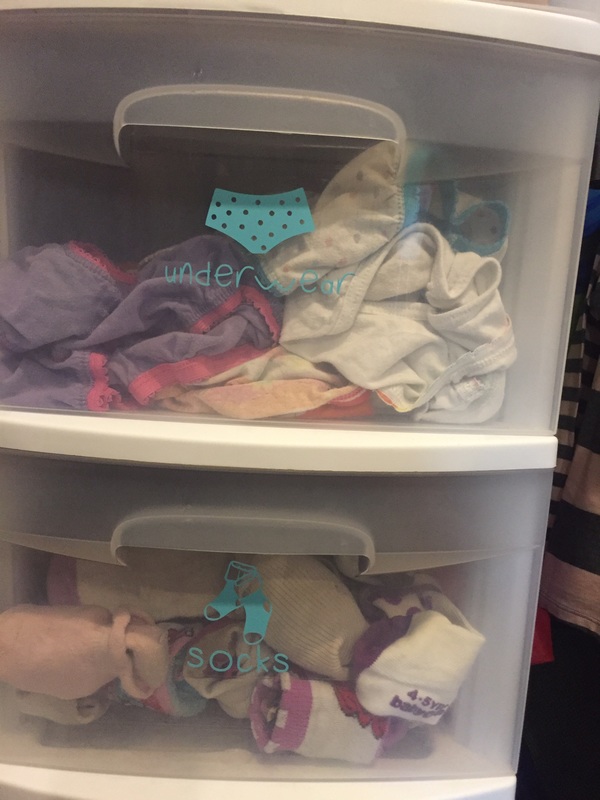
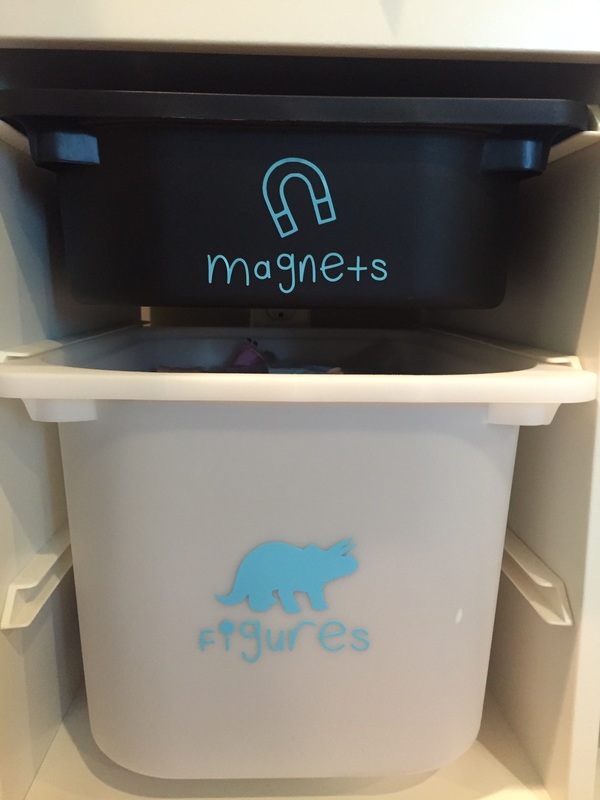
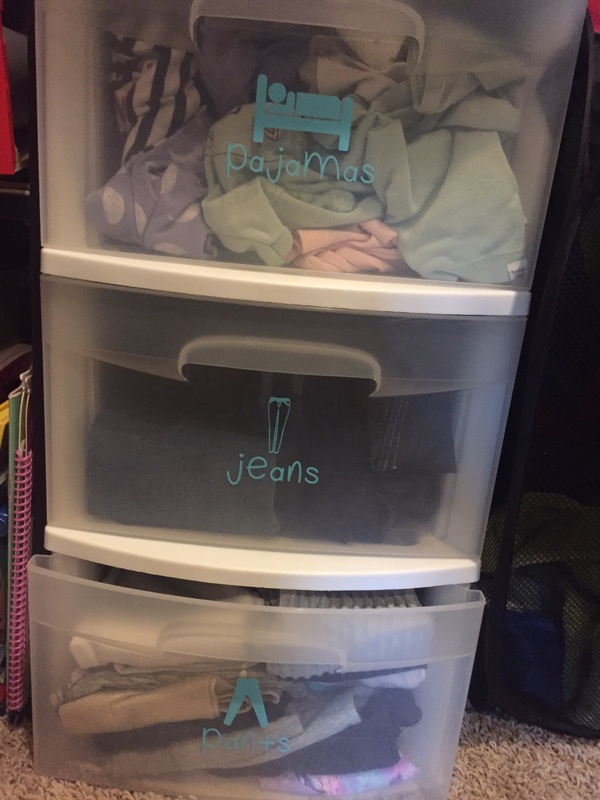
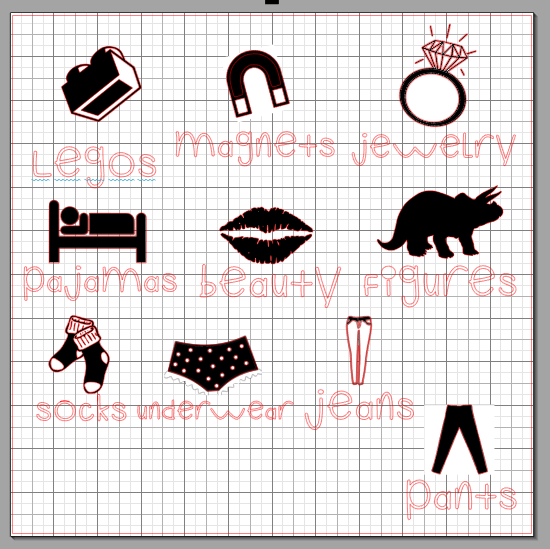
This week we were out of school for THREE WHOLE DAYS in a row because of "snow"! Not much as you can see above, we ended up with mostly ice and lost our power a few times. So, I not only organized a few cabinets but, I also made labels for Lilly's room! They turned out really cute and are exactly what I wanted. I used my silhouette machine, royalty free images and a free font download to create them along with turquoise vinyl I ordered online. The project only took about 30 minutes and the results are great! I've included my cut file so you can create your own! YAY! You can download the file below and see what you'll be getting above. Good luck and Happy Crafting!
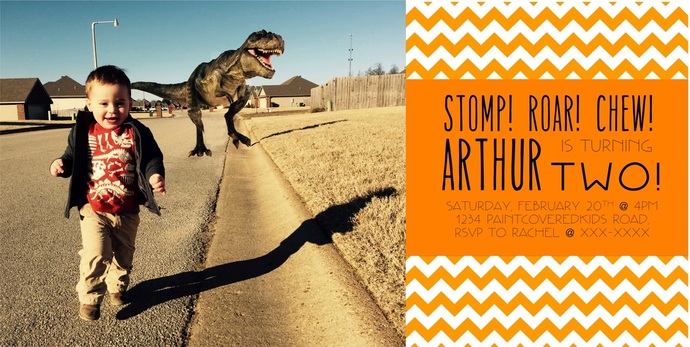
My son will be turning 2 in February so it's time to start planning for his party! We decided on a dinosaur theme because he loves dinosaurs and it's freakin' adorable when you ask him, "What does a dinosaur say?", because he roars at you. He also started saying "Dinosaur" which is equally cute.
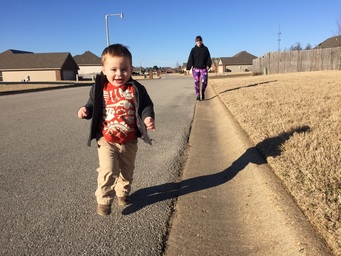
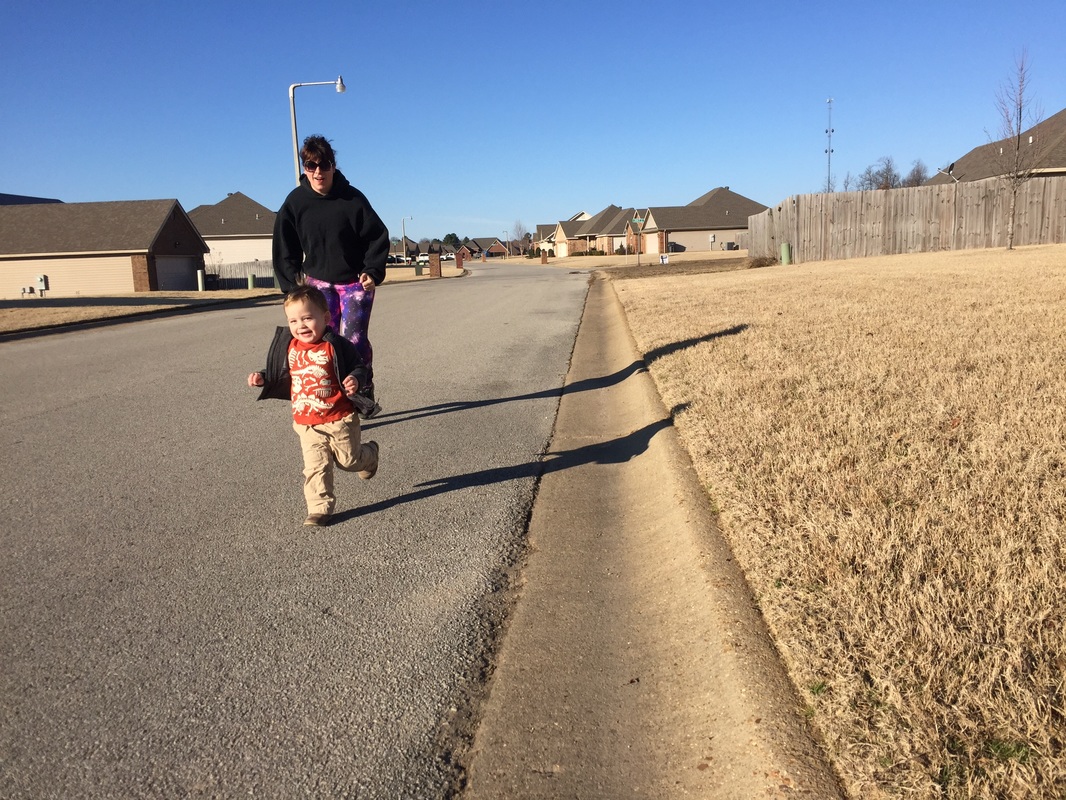
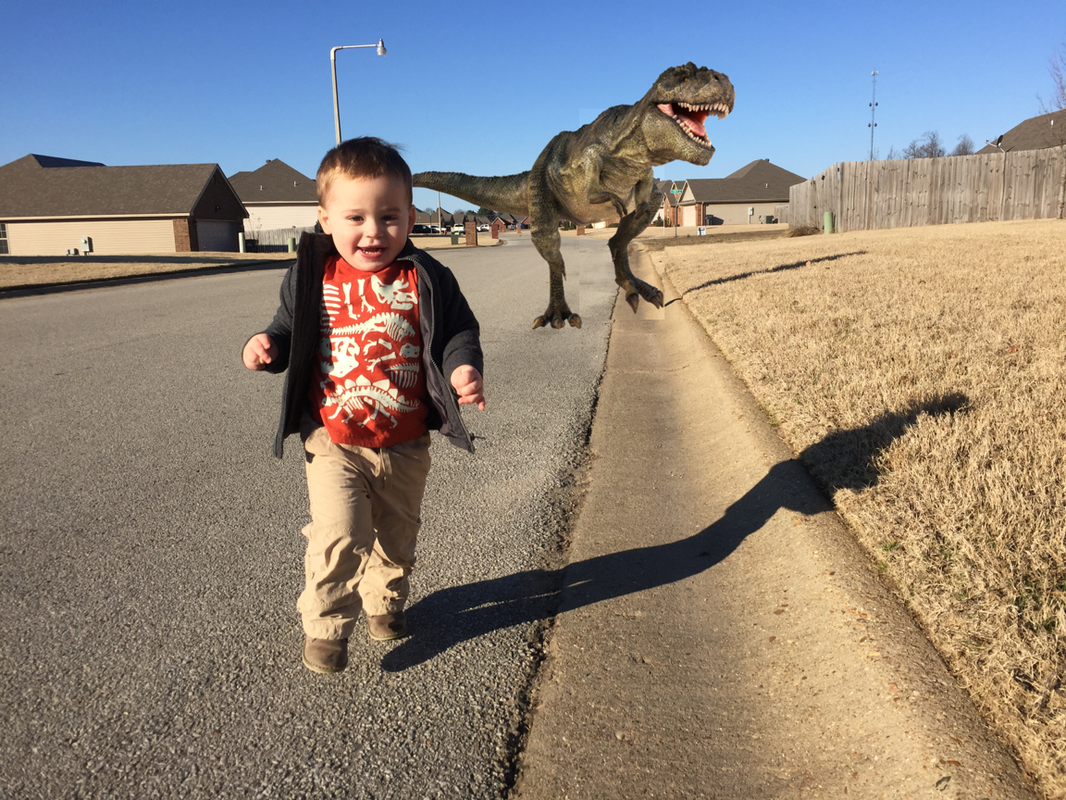
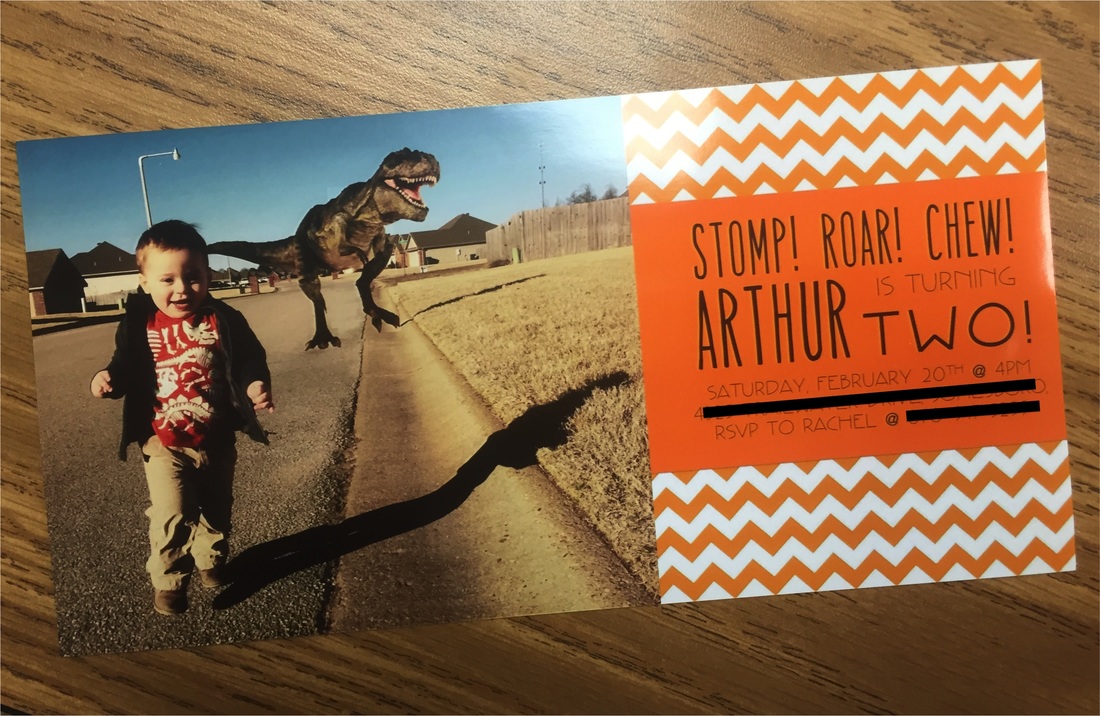
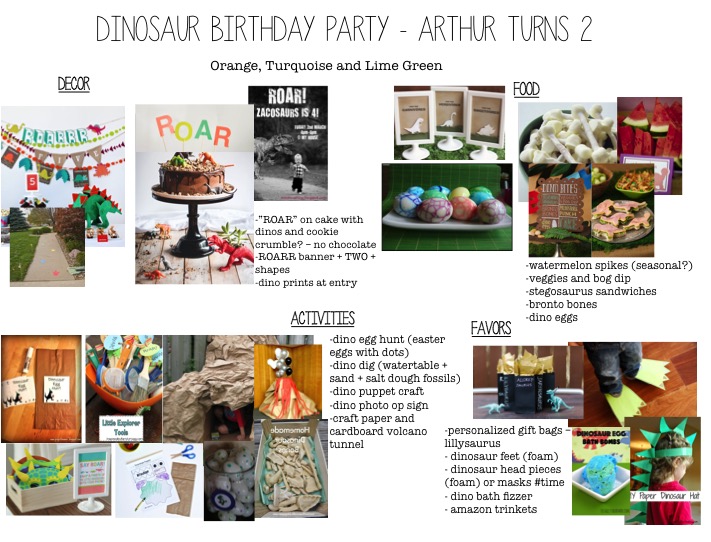
The first thing we did was head outside to snap our starting pic. As you can see below, in the original photo I'm the "dinosaur" growling and chasing him towards my husband who was snapping the picture. Please ignore my hideousness, those galaxy exercise pants may have been a mistake. We used an iPhone 6 Plus to take the picture so, you don't have to have a big, fancy camera to get great results! Just be sure to stay far enough behind your child in the shot so you can be photo shopped out. Unlike the photo to the right. However, make sure you get a photo of the same location and same time of day that hasn't got anyone in the back ground so you can use the clean background when editing yourself out. Once we captured the perfect photo we uploaded it to our computer and used pixelmator for mac to cut my picture out. If you don't have a mac you can use paint.net to do something similar. We did this by replacing that portion of the picture with a piece cut from a different picture of the same background that did not contain my person. Once we had a clean background, we found an image of a dinosaur that looked real, sized it into the shot and created a shadow for it using my shadow as a reference. (In the shot with me, my shadow was almost a strait line so it was pretty easy to create the shadow for the dino by using my shadow. In the edited photo with the dinosaur you can see that the dino doesn't quite fit with the lighting so we decided to add a filter to make everything blend a little better. Once we finished with the photo I opened up a powerpoint slide (I'm sure you could use many different programs to do this but, I am good with powerpoint and I get great results. My husband makes fun of me for using powerpoint but, if it ain't broke, don't fix it.) In my slide, I make the size huge! This can be done by editing the page layout settings. If you don't do this you may end up with an image that is too small and grainy to use. Once you've enlarged your powerpoint slide presentation, add your photo to the slide. Then I found some free paper downloads at teacherspayteachers and used a chevron printed paper as the background for my party info. I then created an orange rectangle on the top of the chevron. After that it was simply a matter of manipulating text boxes to fit my content. After you've created something you're happy with, select all of your elements at once and group them. Then save that grouping as a picture. Now you can order cards! I ordered mine from Walgreens and just got the blank photo card. I also had a 40% off coupon so, for 40 invitations with envelopes, I paid about $25! Cheap, custom and cute! I like to make a plan for every party so that I can visualize what I need to do as well as weed out the pinterest "yes's" from the pinterest "no's" on the party board. Because, let's face it, you can get a little pin happy and end up pinning about 15 versions of a cake or decor and you are not going to manage to get everything done. So, I created my plan and put it below for you're viewing pleasure. I'll be making more posts about party planning between now and the day unless I forget and in that case you'll see one big post afterwards. Either way you'll get to see what I create. Yay!
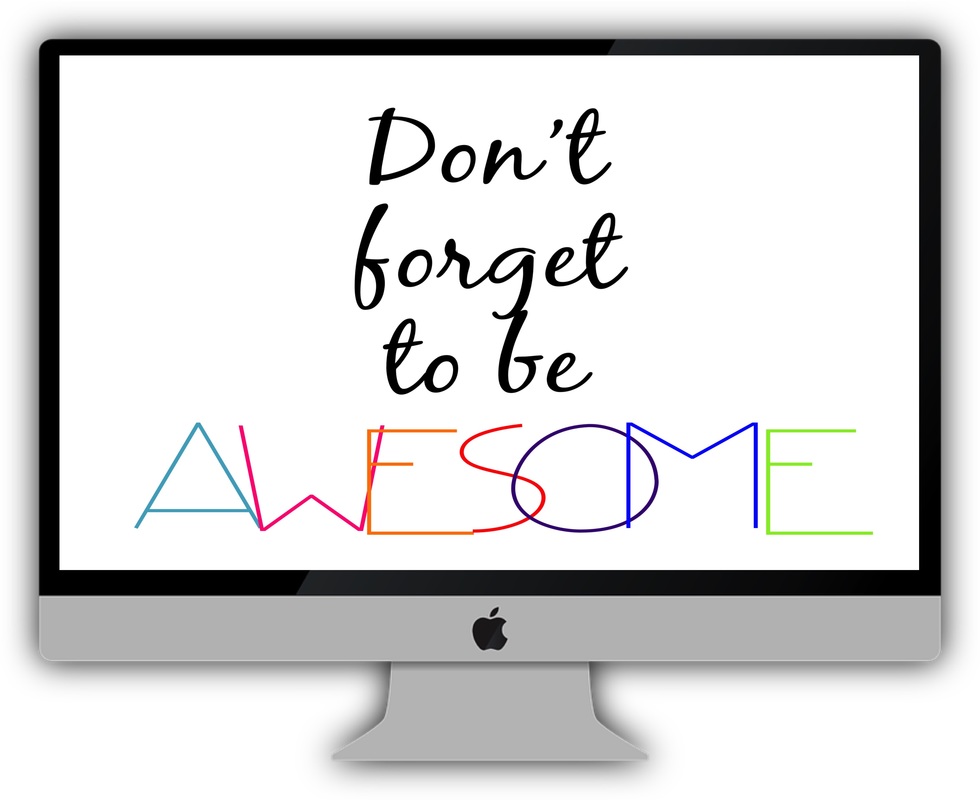
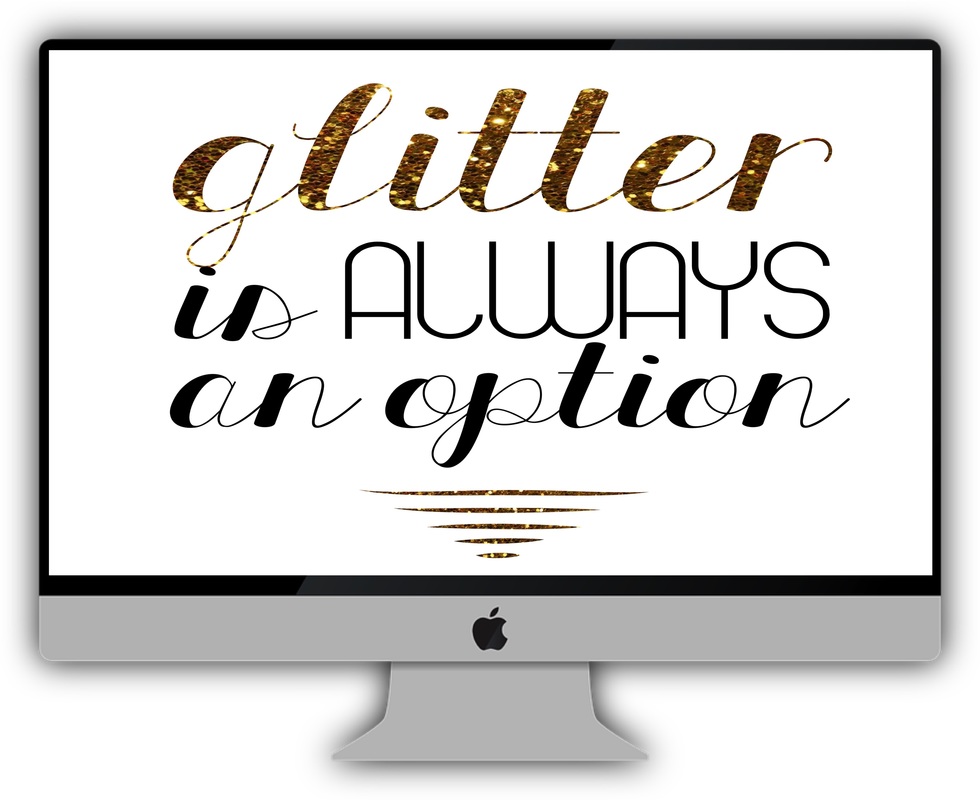
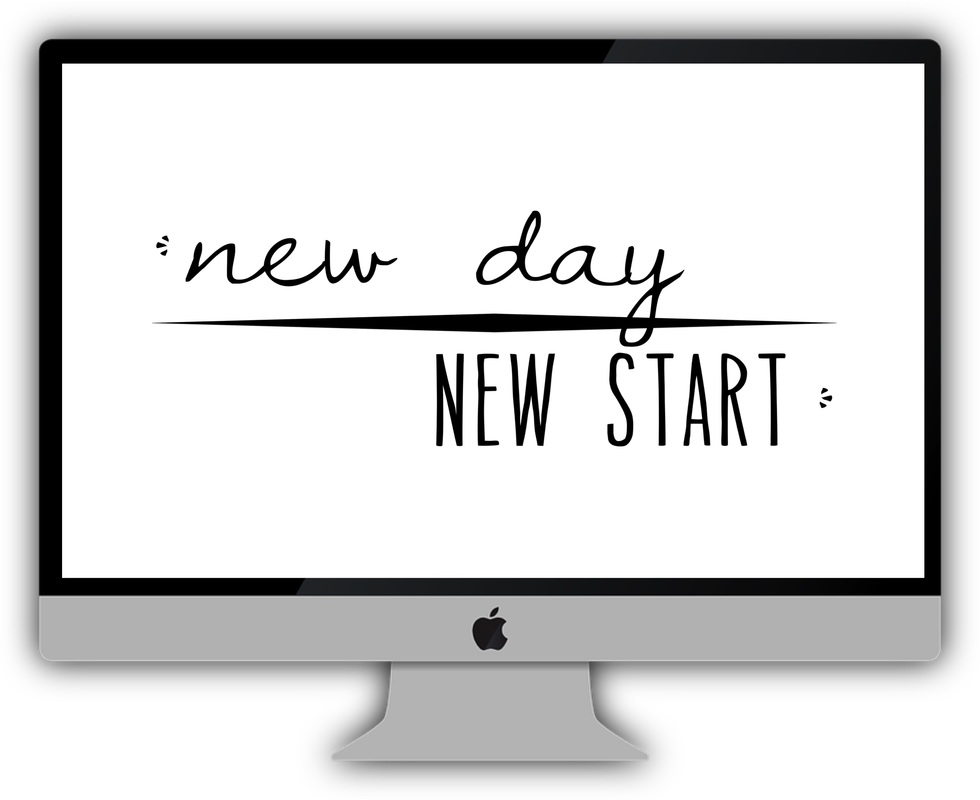
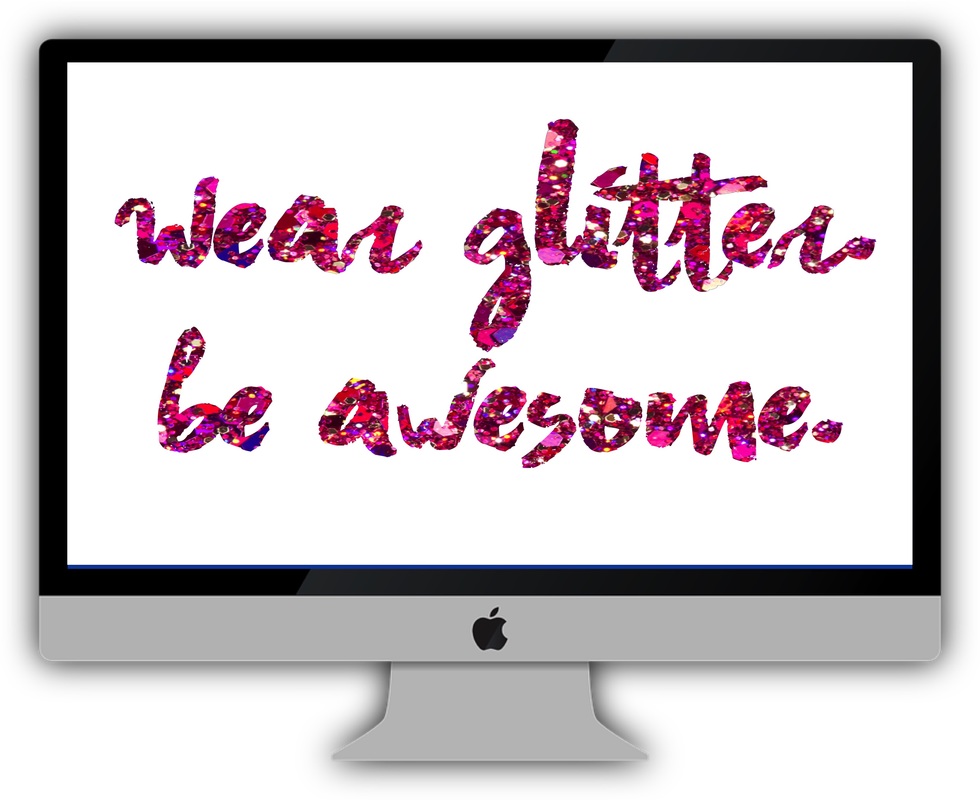
I got bored and was playing around with fonts and fun phrases today so I decided to create a few wallpapers for your desktop! I think they're pretty fun and you can have them for free! Just click the file link beneath each image!
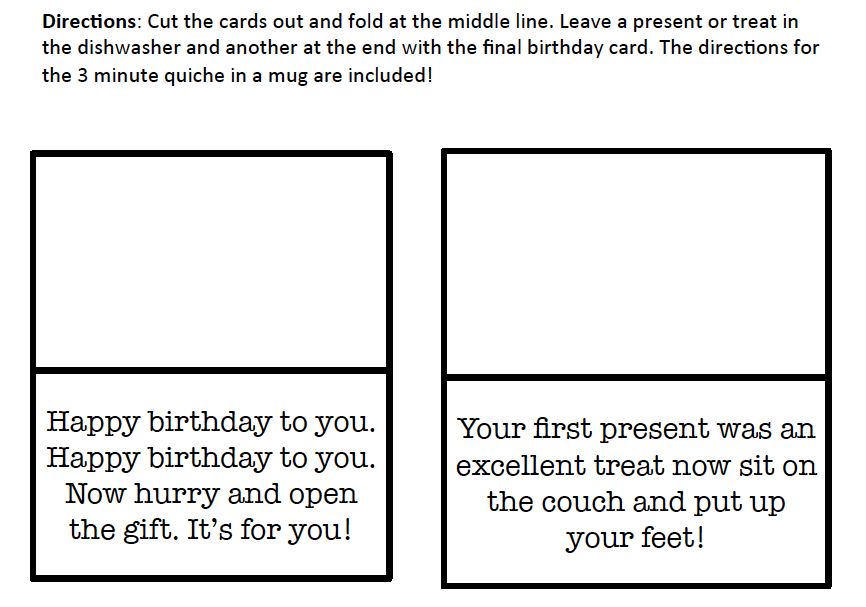
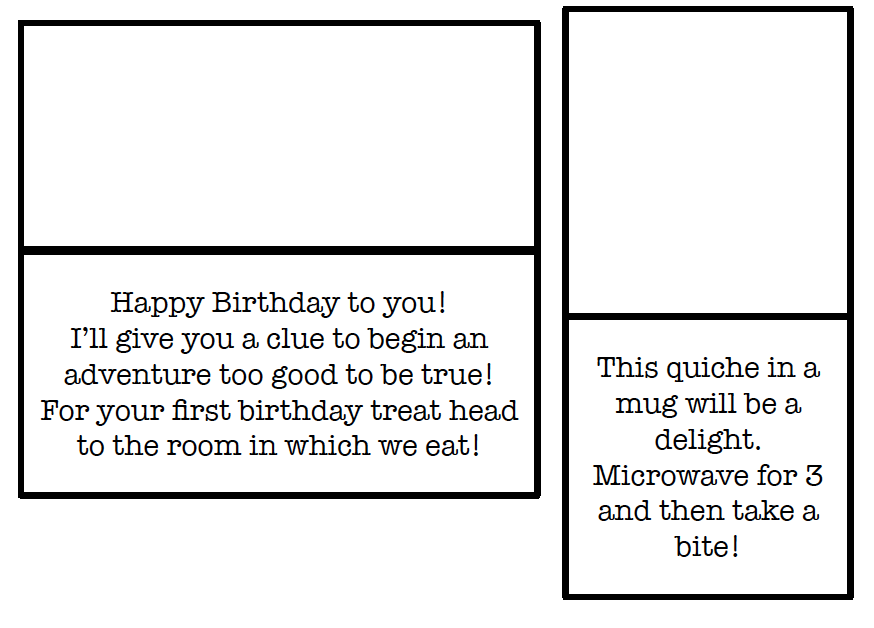
In November my husband and I will have been married 10 years! After so many years together it can sometimes be a challenge to think of new ways to make birthdays special. It is also pretty difficult to make plans with two munchkins. This year, his birthday fell on a weekday. He took the day off but I went to work. Even though I wasn't able to spend the day with him, I wanted him to know I cared so, I left him a mini scavenger hunt at the house. It was quick and easy and didn't involve him having to leave. He really enjoyed it! You can download the file below and use it for someone special too!
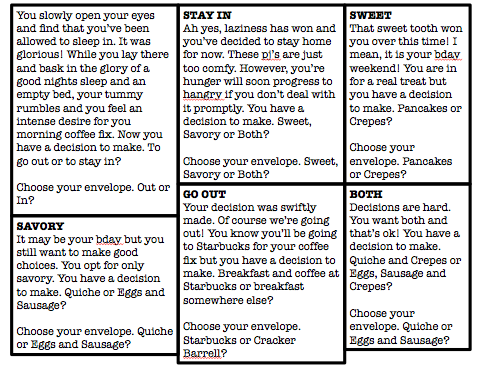
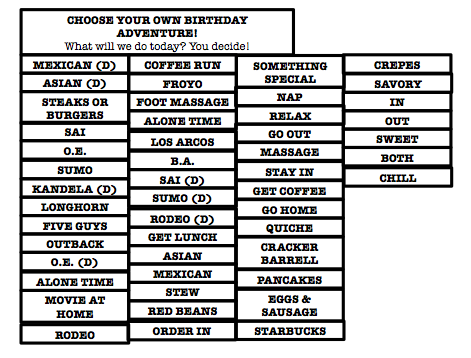
I did a little more work for Saturday and planned a choose your own adventure. I really just planned for a few small surprises like his favorite meals prepared by me and a massage but the excitement of opening the next envelope to see where his adventure would take him was the best part. You can download my editable version below so you can add your own specifics. I cut out the labels and glued them onto the front of each envelope and placed the option box text inside of each envelope. It was a pretty fun day!
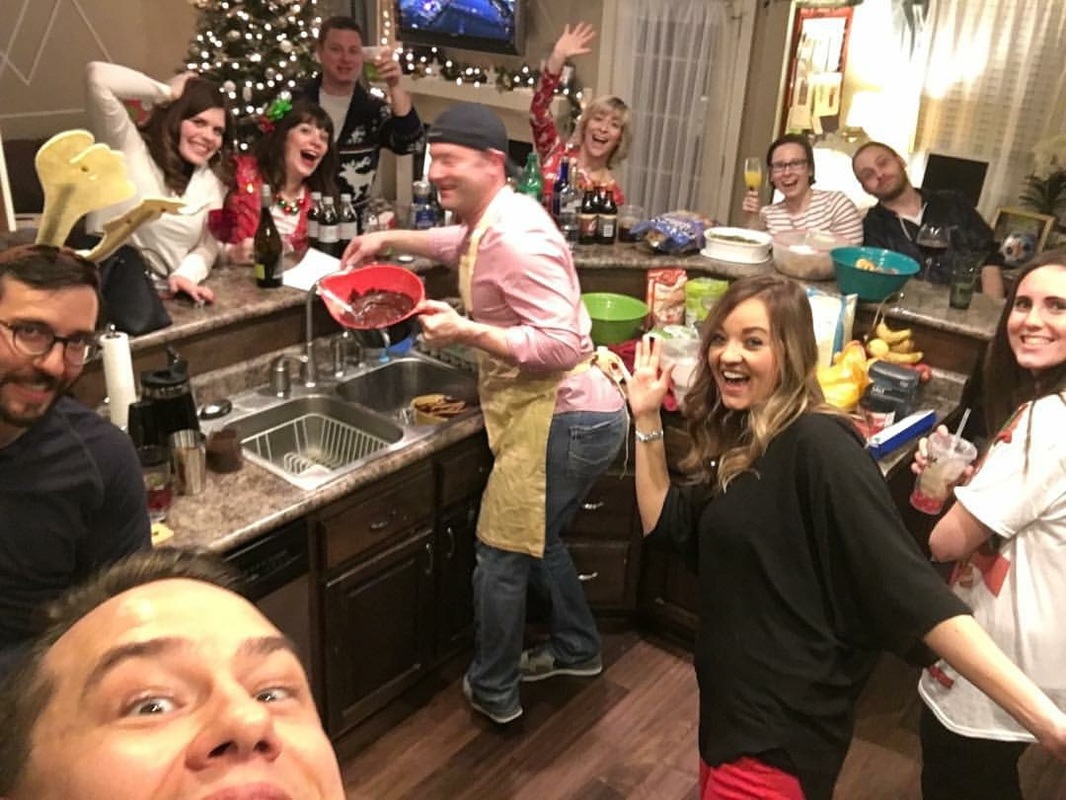
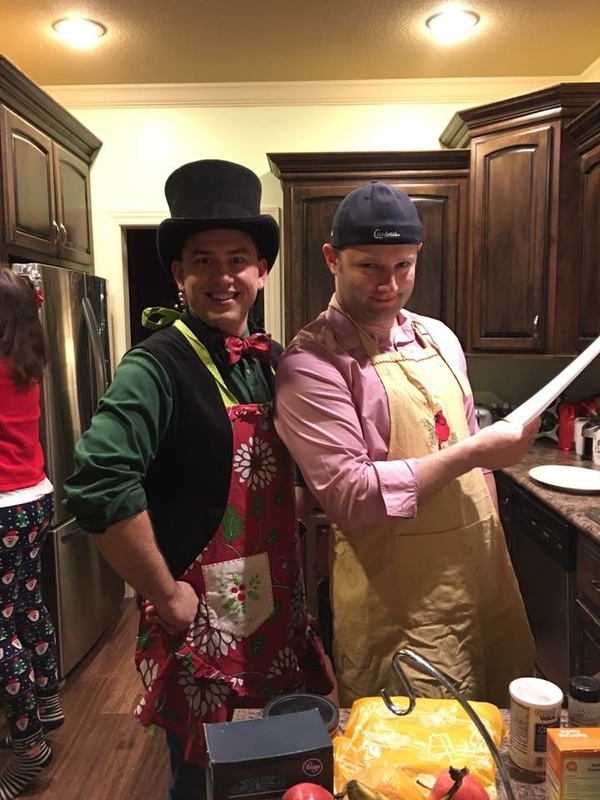
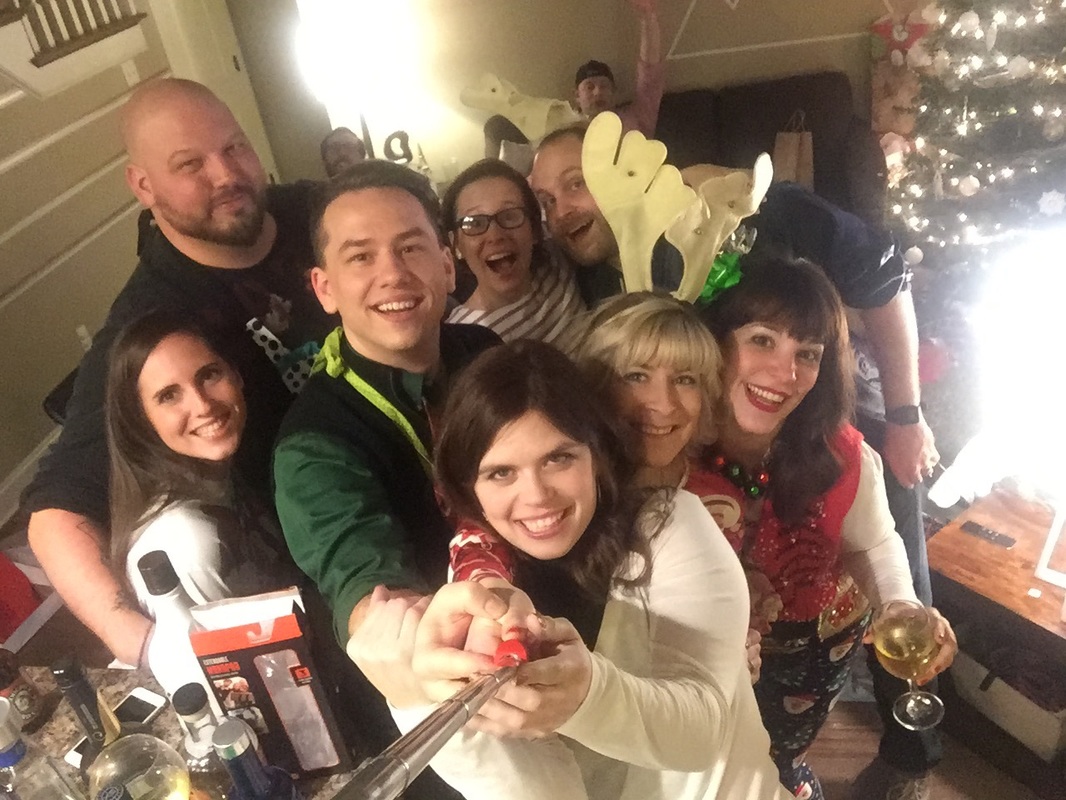
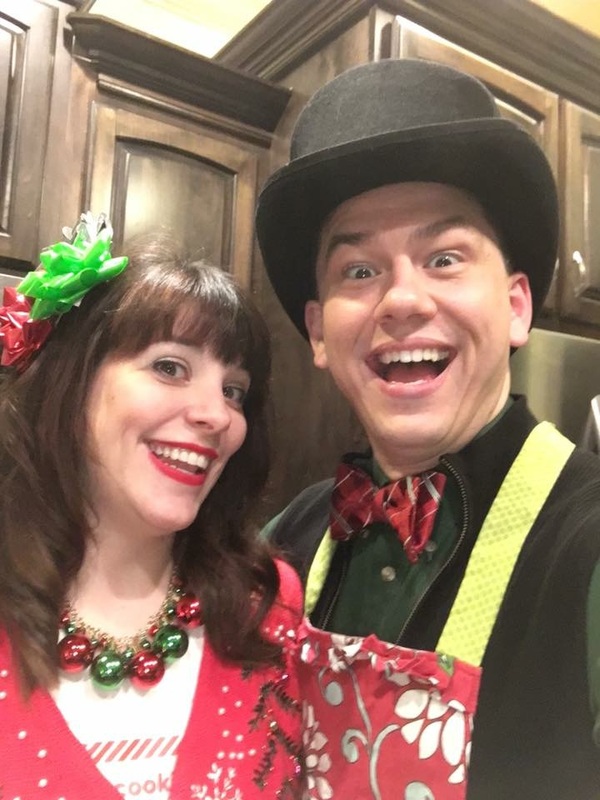
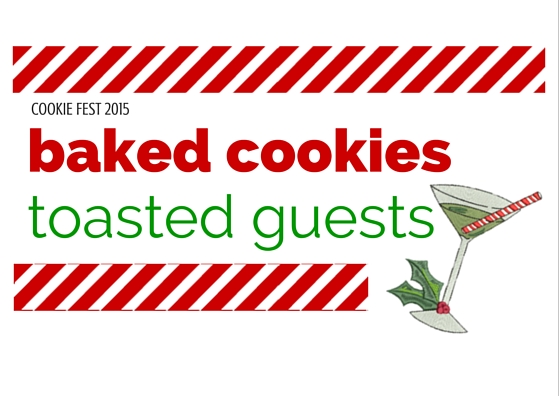
We hosted our 9th annual Cookie Fest this year and I have realized that most people don't do a cookie party the way we do. Our cookie party involves guests arriving, partaking of spirits and then doing a little baking AT the party. We don't do a cookie swap where people bring their cookies or even a cookie tasting. We bake at the party! It makes for a much more interesting time. Every year, we end up with that one batch that missed a step or ingredient but most of the time the party results in a bunch of delicious cookies and some pretty great photo opportunities. (This may also be due to the fact that we provide entertaining aprons and hats for guests to wear while baking.) I also provide cookie tins from the dollar store for guests to take some of the spoils home for later. This type of cookie party might not be everyone's cup of tea but everyone who has ever attended a Cookie Fest can tell you that it is a blast! I even made a logo for the party this year and then ironed it onto my tshirt. The iron material that I purchased was super frustrating and the shirt didn't turn out as great as I would have liked but, the logo was cute! Next year I plan on using my NEW silhouette machine to make some awesome t-shirts for everyone! If you're interested in the cookies we made this year you can check out the links to the recipes we used below. The truffle cookies were AMAZING and the others we really good too! Let me know if you decide to take host a cookie baking party!
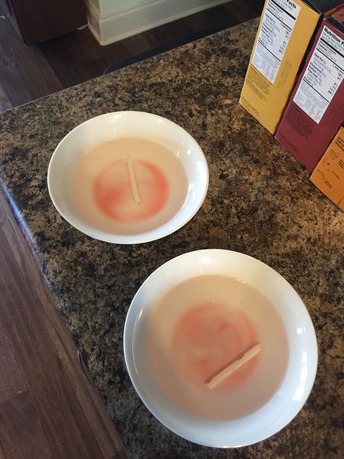
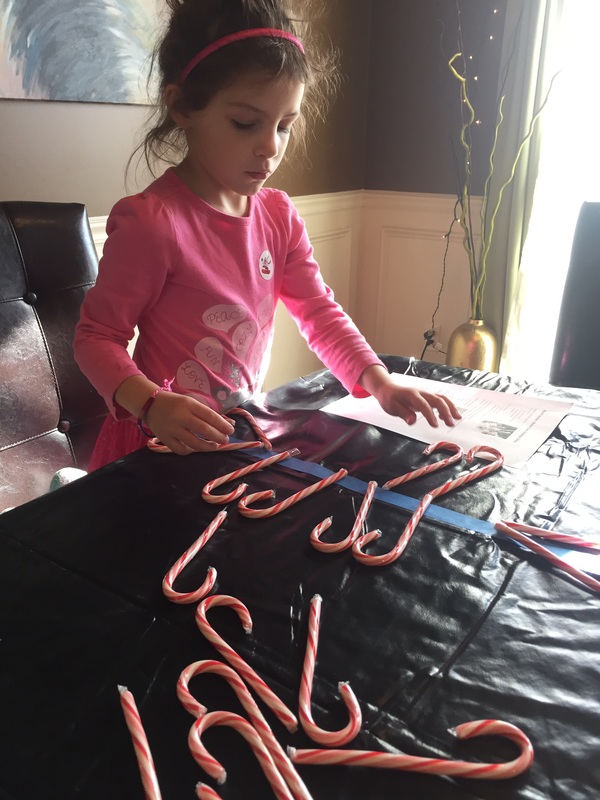
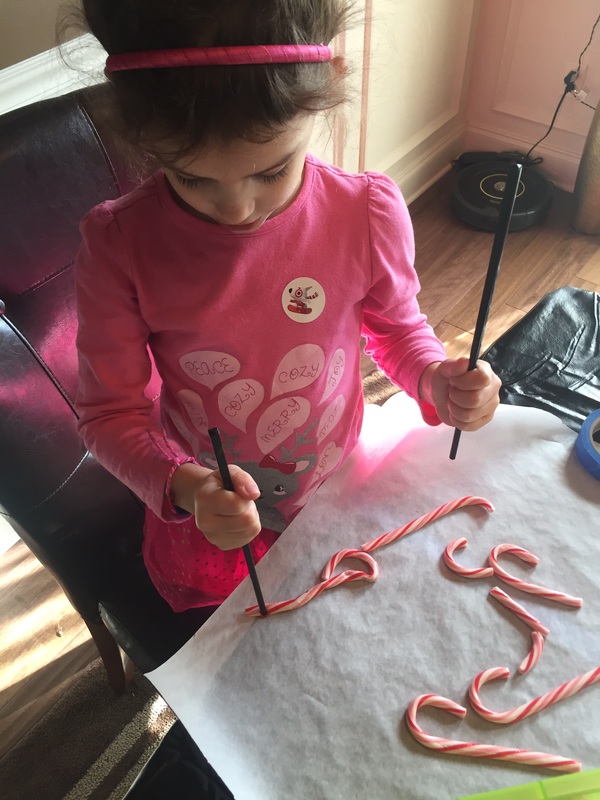
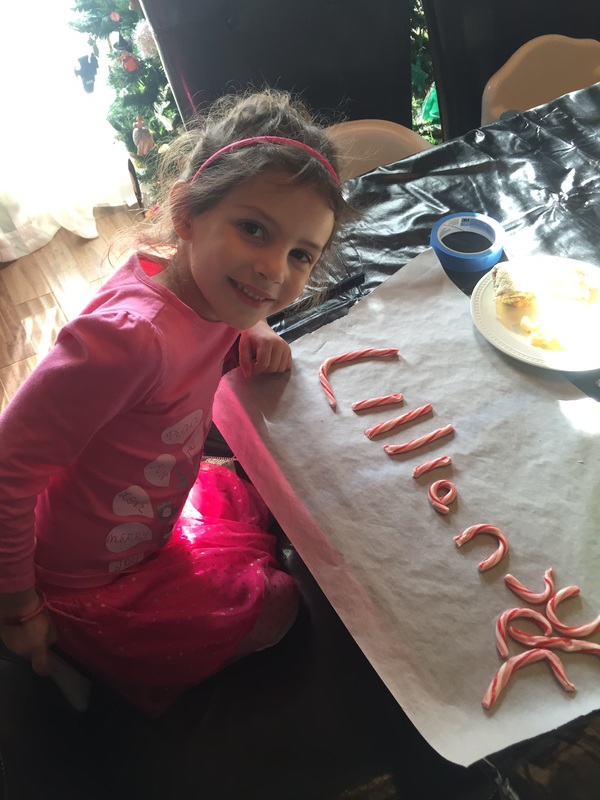
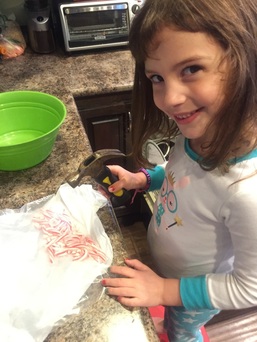
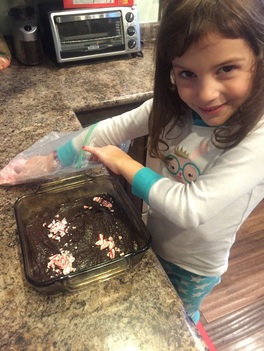
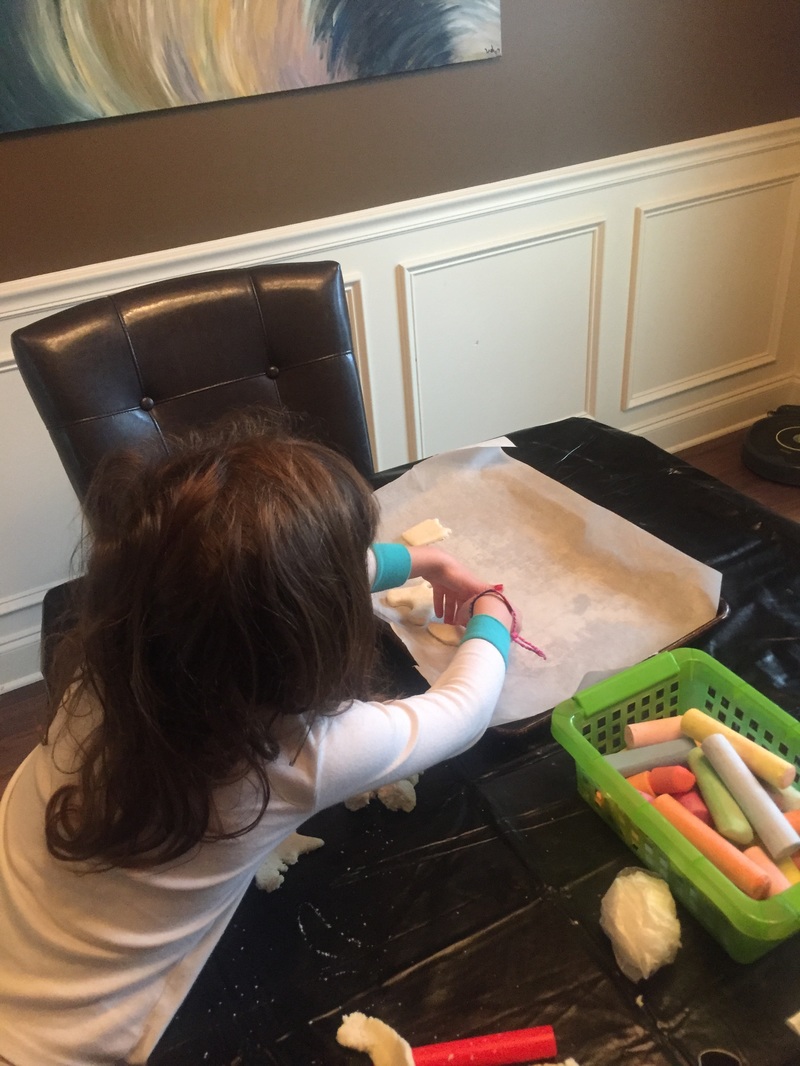
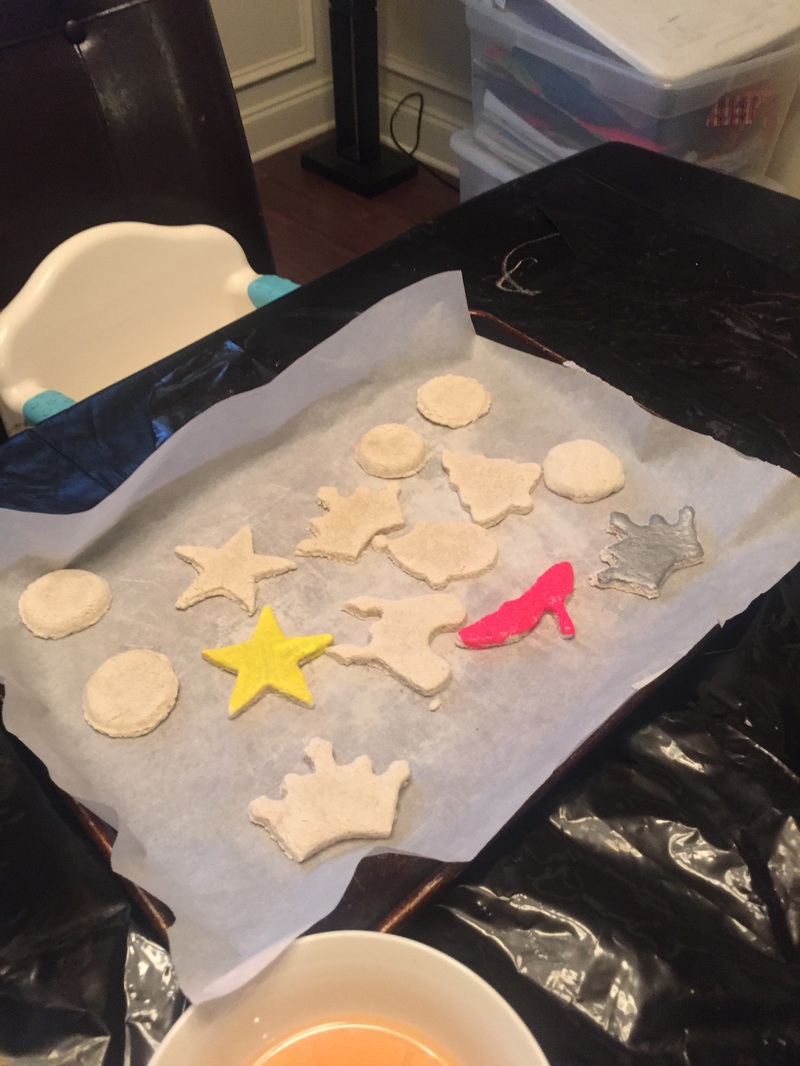
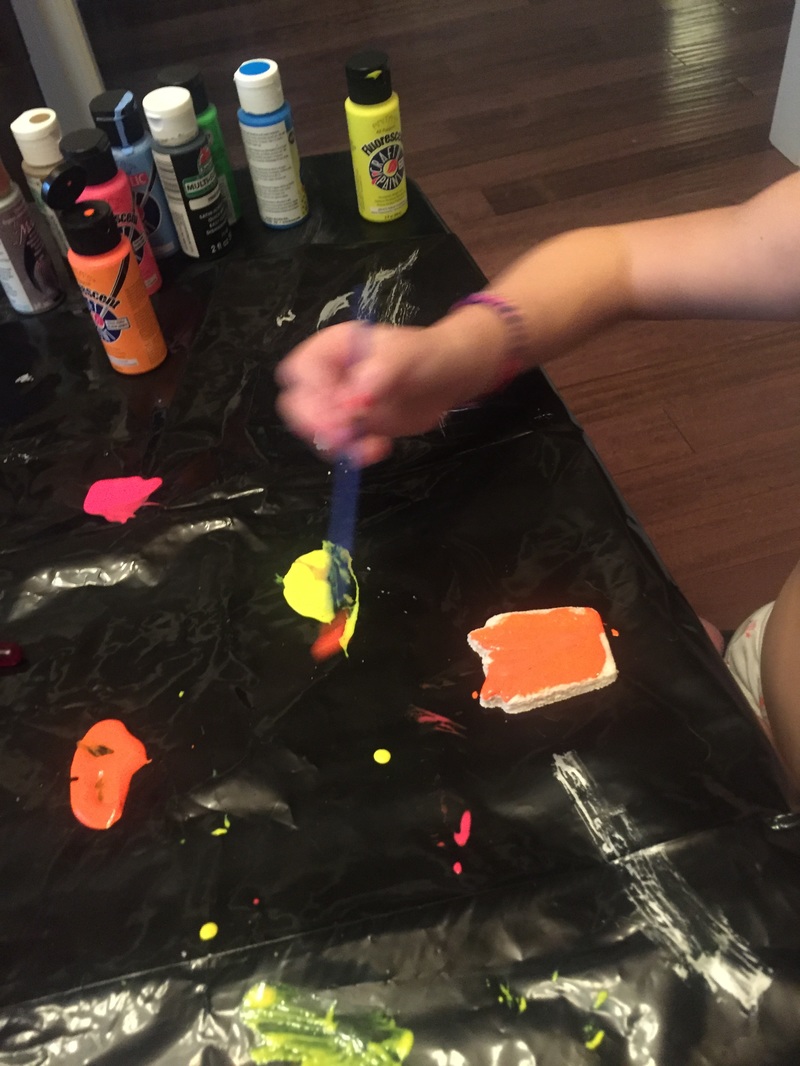
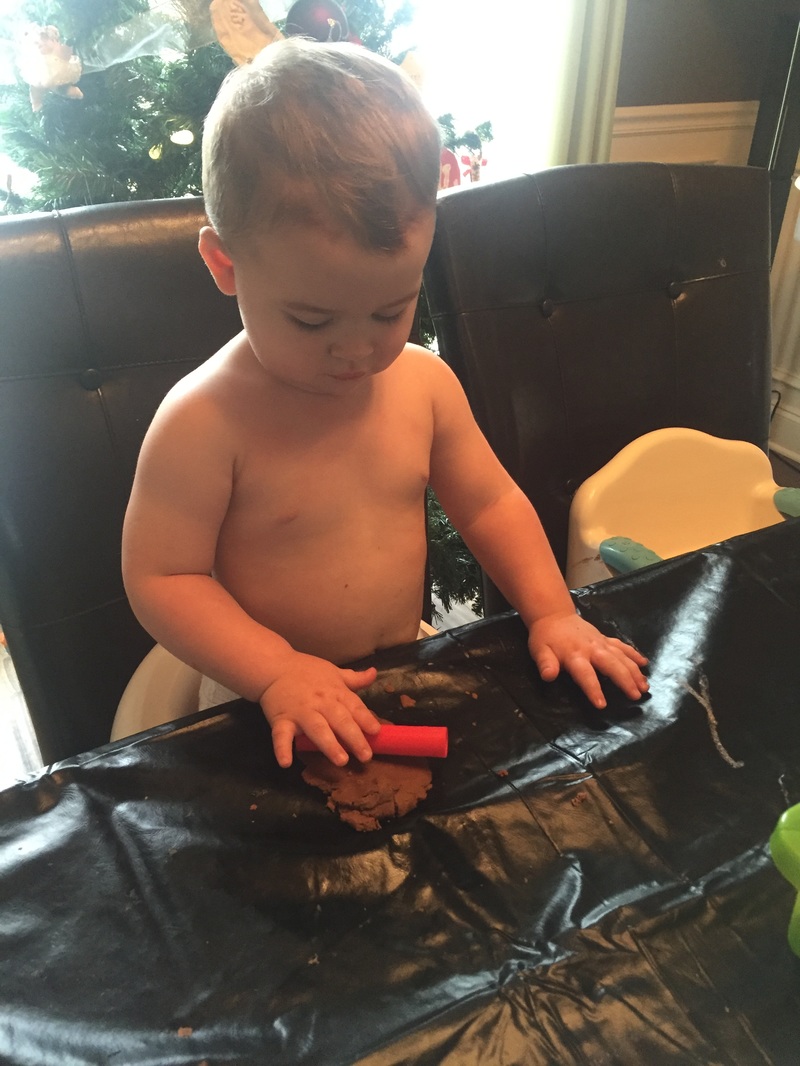
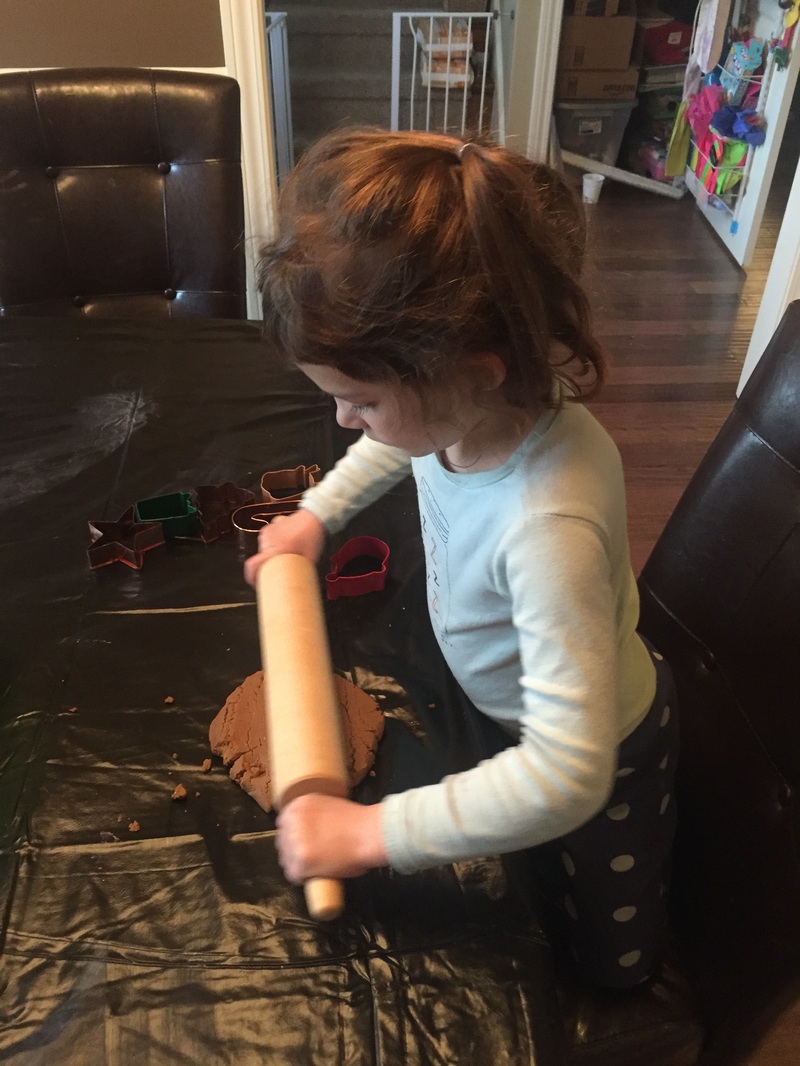
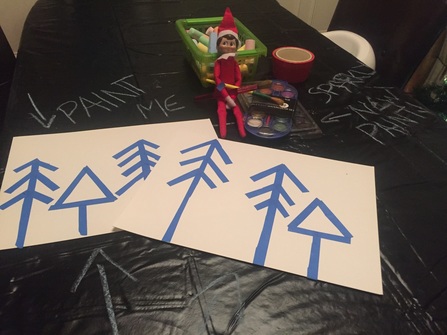
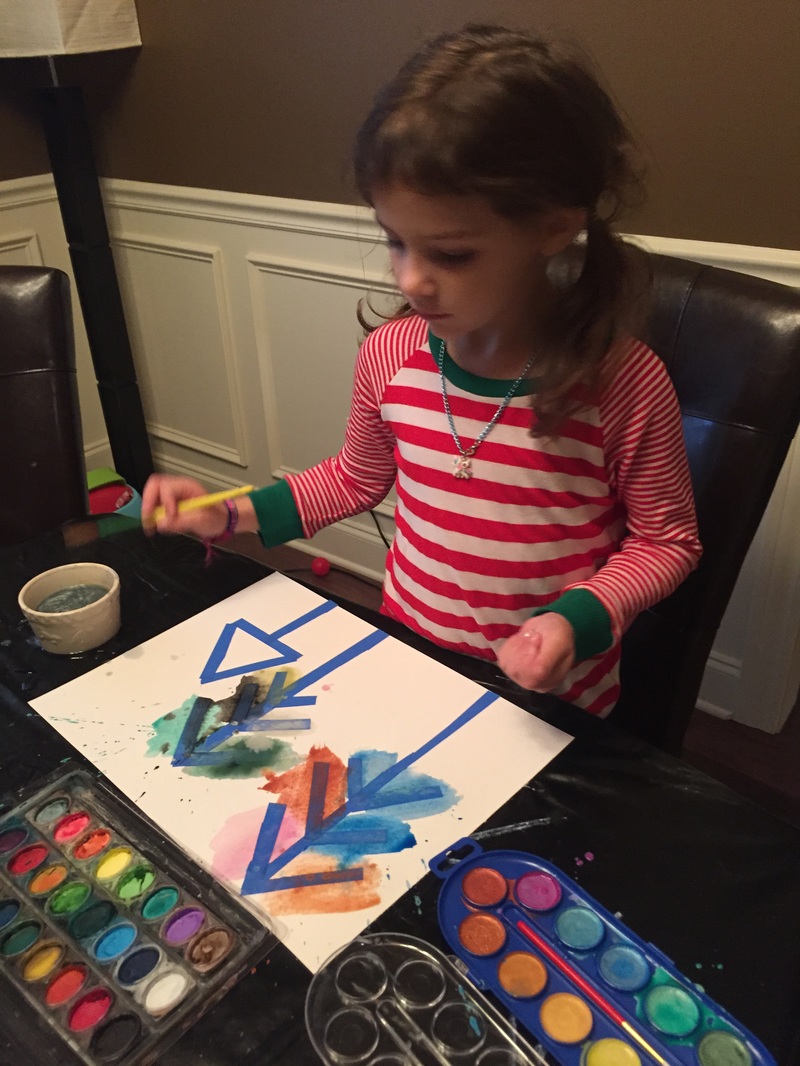
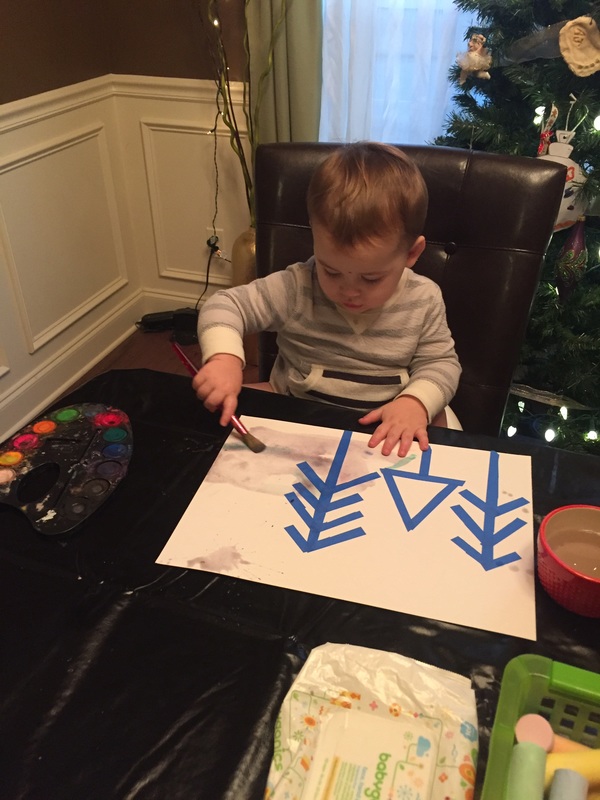
Fruitcake Cookies - Don't let the name deceive you! Not gross at all! They were delicious! Bourbon Bacon Chocolate Chunk Cookies - Yesssssss! Salted Dark Chocolate Truffle Cookies - Seriously. The. Best. Pumpkin Cheesecake Snickerdoodles - Really soft and yummy! I also select one fancy cocktail to make for everyone and this year it was a big hit. We drank it all! Holiday Sparkler It's the new year and I'm back in the swing of things at work. I realized that I hadn't shared some of the activities that we managed to do during Christmas from my Mommy Camp: Holiday Edition. So, here ya go! One of the first things we did was to play with candy canes. We did a little candy cane science by experimenting with how the candy cane behaved in bowls of water and vinegar and analyzed the results. We also heated some in the oven to make them malleable and had a good time making shapes with them while they were still warm. We ended our candy cane fun by baking some peppermint crunch brownies. Lilly had a blast smashing the candy canes and the results were delicious! Peppermint Crunch Brownies - 1 box dark chocolate brownie mix - peppermint oil (food grade) - 5 candy canes - hammer - ziploc bag 1. Make the brownies using the box directions. Add one teaspoon peppermint oil to batter. 2. Place unwrapped candy canes in ziploc bag and place on ground (we did it in the garage so as not to damage the hard wood floor). Then hammer the candy canes until they are very small pieces. 3. Pour batter into pan and sprinkle candy cane pieces on top of batter. Bake according to box directions. On a different day we made salt dough and created our very own pretend cookies for Lilly's tea parties and play kitchen. When I was a little girl my mother would help us make salt dough ornaments every year and I honestly forgot how very easy it is to make. Easy Salt Dough - salt - water - flour 1. Mix 1 cup salt, 1 cup flour and 1/2 cup water together in bowl untiil dough forms. 2. Create ornaments, shapes etc. 3. Place on parchment paper on baking sheet for 1 hour at 200 degrees. (They may need to cure overnight after baking to fully harden.) 4. Paint with acrylic paint if desired. They have been very enjoyed since we made them and really do look like cookies! The final activity I have to share today was something our elf, Elfie, left for the kids, watercolor tape resist art and new sparkly watercolor paints. Lilly did a really great job and hers turned out to be cute. Arthur didn't quite grasp the idea of watercolor and was more into the idea of water so, his is less colorful.
|
meet rachelRachel is a mother of three, elementary Spanish teacher and part-time blogger who loves crafting, creating fun and engaging activities for her children and students and hanging with her friends and family. She blogs about what she's doing and her interests at any given time which vary. She's a little OCD and always looking for her next project. Her husband calls it, "focusing her crazy", but she just calls it fun. Archives
June 2023
Categories
All
|
||||||||||||||||||||||||||||||||||||||||||||||||||||



 RSS Feed


