
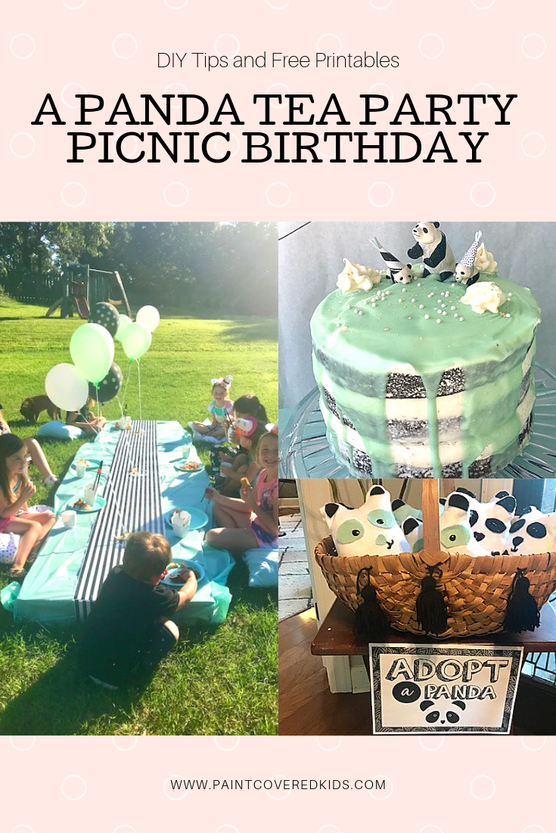
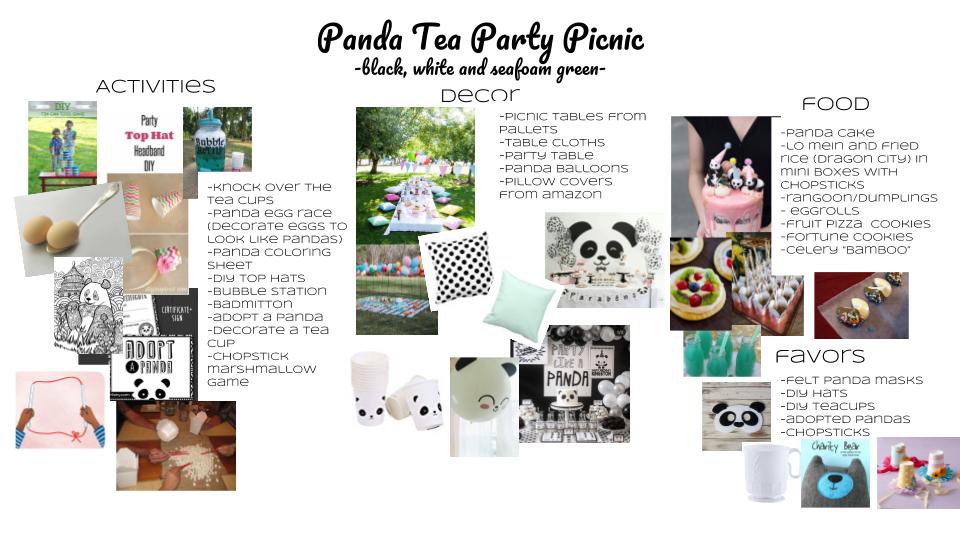
This weekend we celebrated my daughter's 8th birthday with a very fun, panda-themed party! I wrote about my plan in a previous post which you can find here.
When my daughter stated that she wanted a panda themed party I thought, "No problem!" but when I started trying to plan activities for a bunch of 7 and 8 year olds to do, I struggled. So, I built off of the teddy bear picnic idea and added in a tea party element for the craft focus. I think everyone had a great time despite the fact that it was a bit hotter outside than I would have liked.
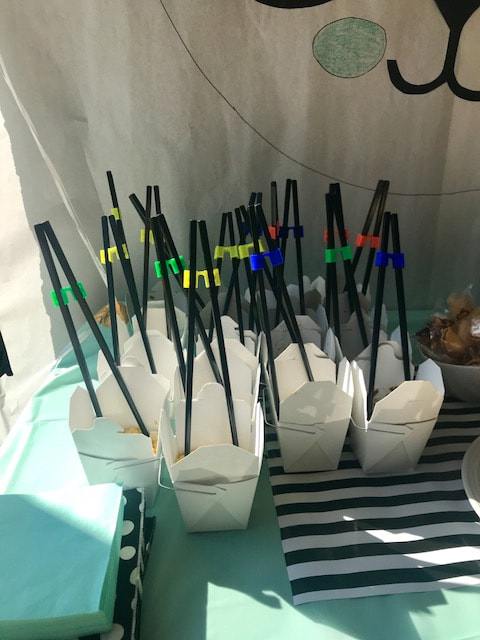 | 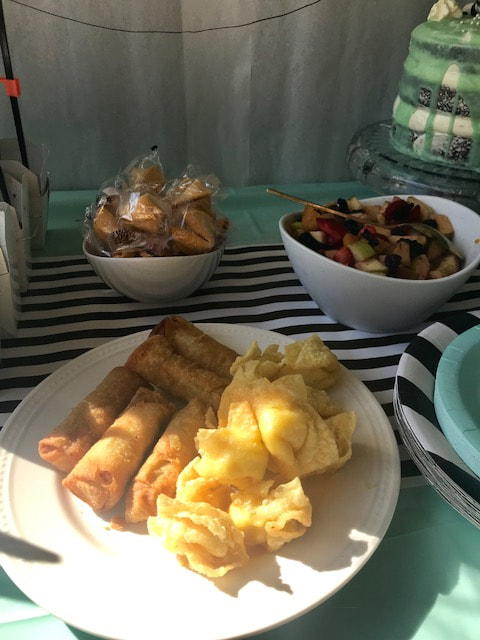 |
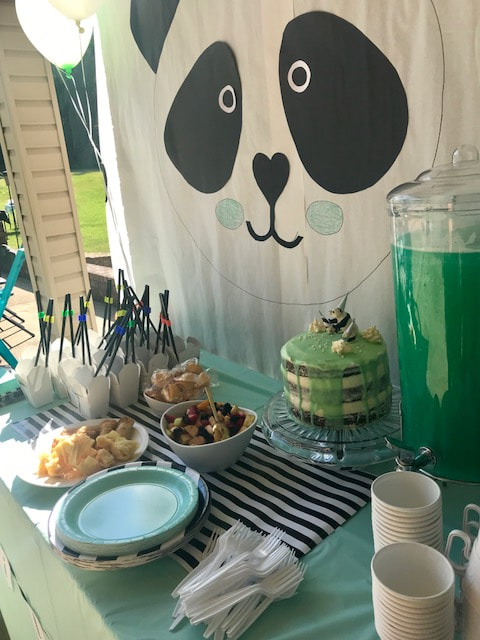
For the food, I went pretty easy and basically cheated by ordering chinese food from our favorite place. We had chicken and veggie fried rice, chicken and veggie lo mein, eggrolls, crab rangoon and, of course, fortune cookies. I also made a fruit salad and a pineapple, sprite, hawaiian punch. To make it a bit more fun looking I dolled it up a bit by transferring the food to small, cute chinese food containers that I purchased on Amazon. I also stuck a pair of plastic chopsticks and chopstick helper for anyone who was not skilled in the art of chopsticks (also purchased on Amazon) inside each container. As a bonus, the kids got to take home their chopsticks and chopstick helper.
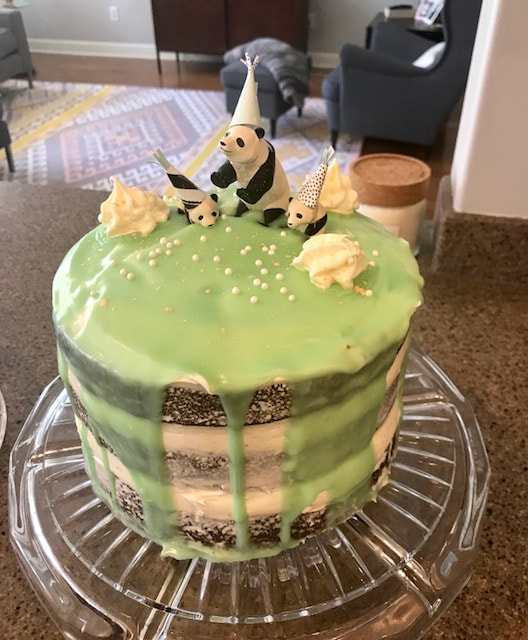
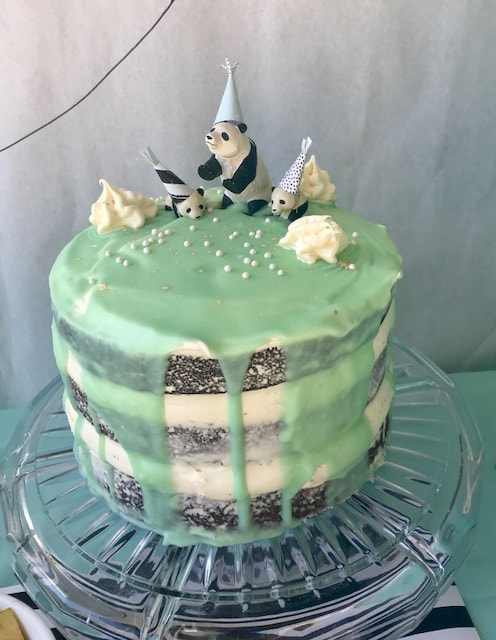
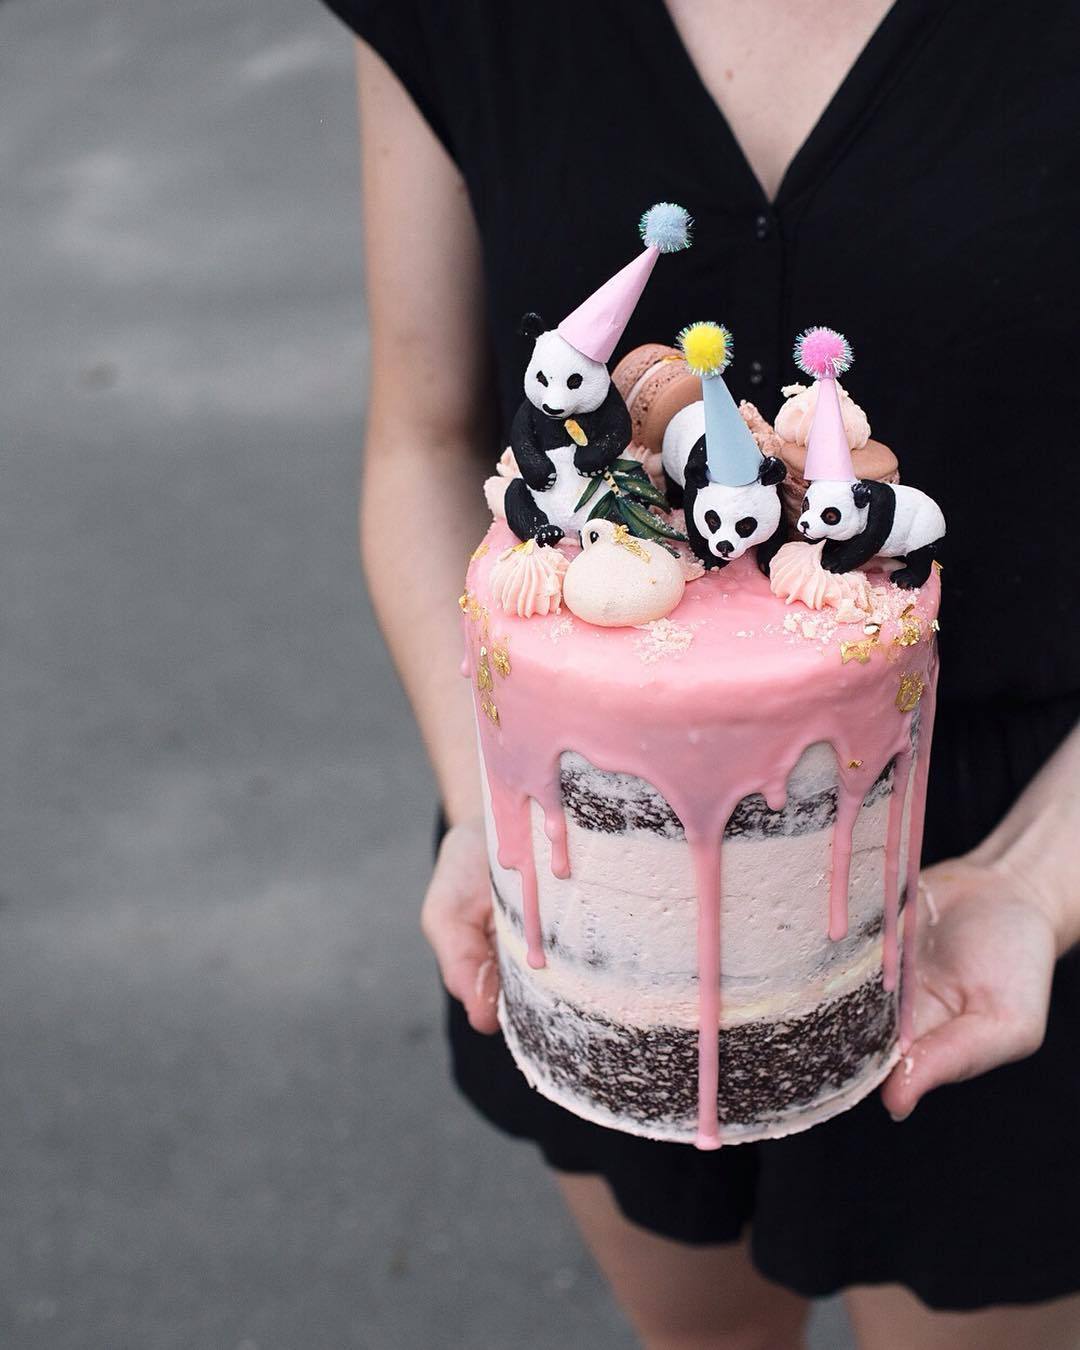
The thing I am most proud of is this cake. I MADE this! I found an image of a cake on Pinterest that I really liked and for a brief moment, the stars aligned and everything went perfectly in the baking of this cake. It is EXACTLY like I wanted it and looks super similar to the original photo here from bloglovin. I cheated and used a box cake mix and pre-made icing for the layers. But, I did make the ganache using white chocolate chips, mint green food coloring and heavy cream. It was super easy to get the drip effect and I will definitely be using this cake style again in the future. I followed directions here for making the ganache.
 |  |
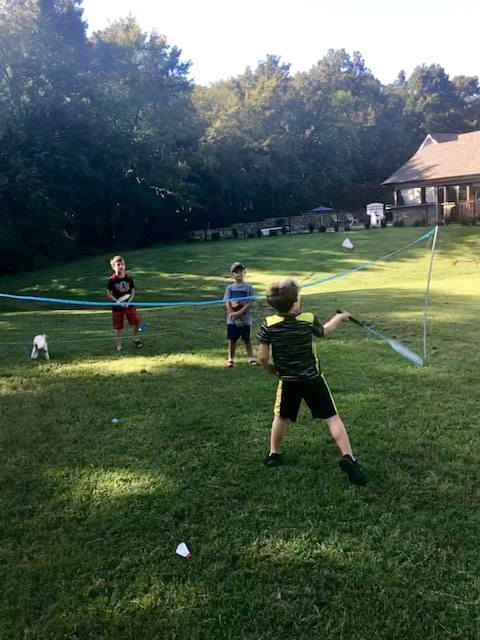
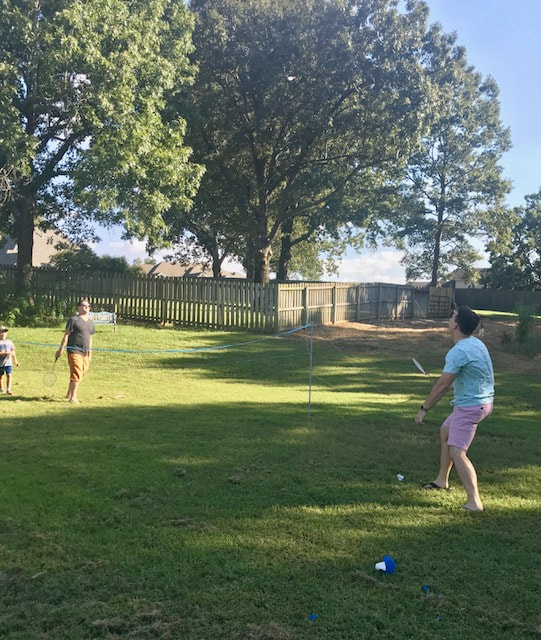
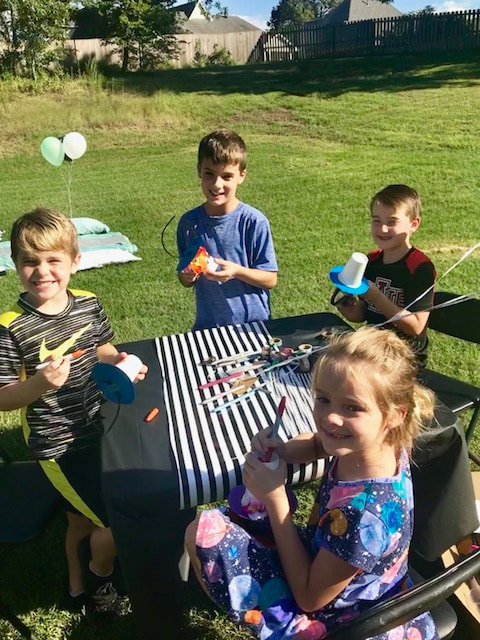
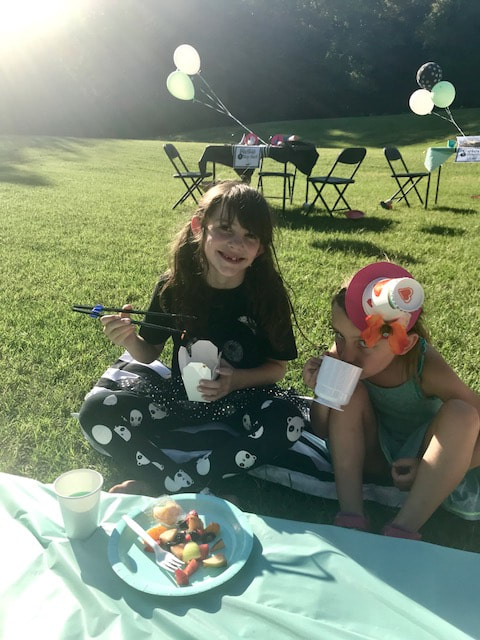
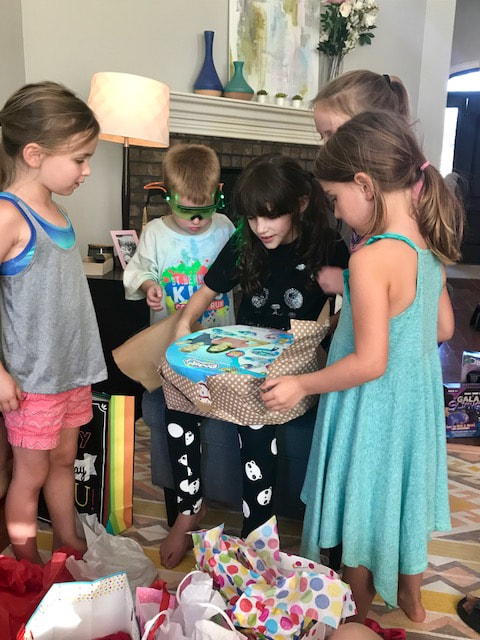
The kids not only had the option of playing outside on the trampoline and swing set but, they also had the opportunity to play badminton and participate in several craft activities.
 |  |
They were given the opportunity to paint a tea cup, color a panda bear coloring sheet and make a tea party hat. No one was very interested in the coloring table but everyone seemed pretty pleased with their craft opportunities.
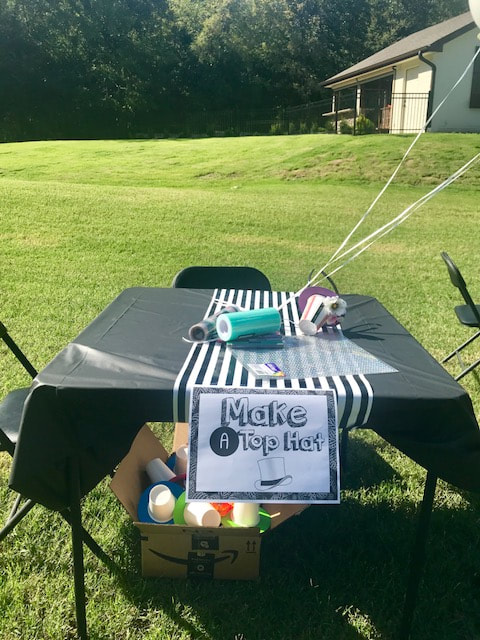 | 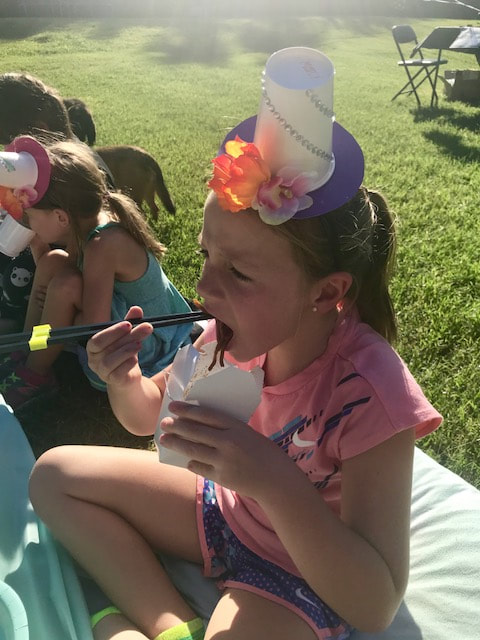 |
I made the tea party hats by taking a white paper cup and hot gluing it to a piece of cardstock that I cut into a circle. Then, I hot glued it to a black, plastic headband blank that I purchased on Amazon. Additionally, I hot glued a few fake flowers to some of the hats. For decorating, they had pre-sticky gems, washi tape and markers.
 | 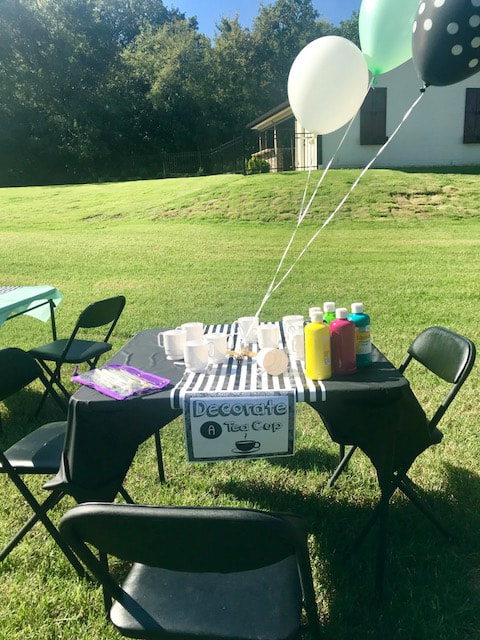 |
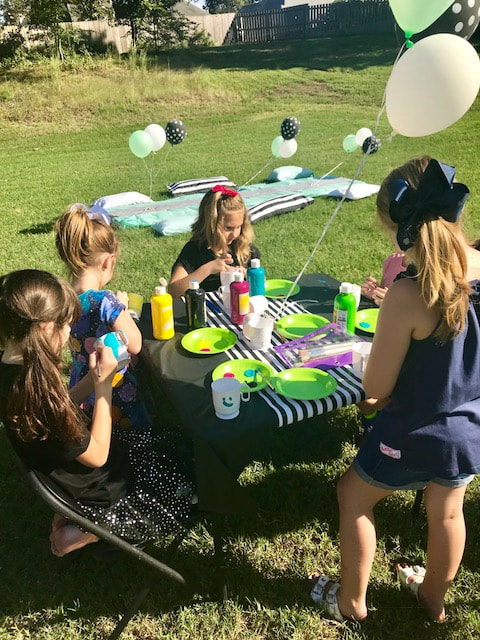
At the tea cup table, kids were provided tempera paint and white, plastic tea cups that I purchased on Amazon. Unfortunately, the tempera began peeling off (I thought it might happen but figured I would take the chance instead of giving kids permanent paint) but, the cup was still usable so, they can paint them again and again or not!
 |  |
 |  |
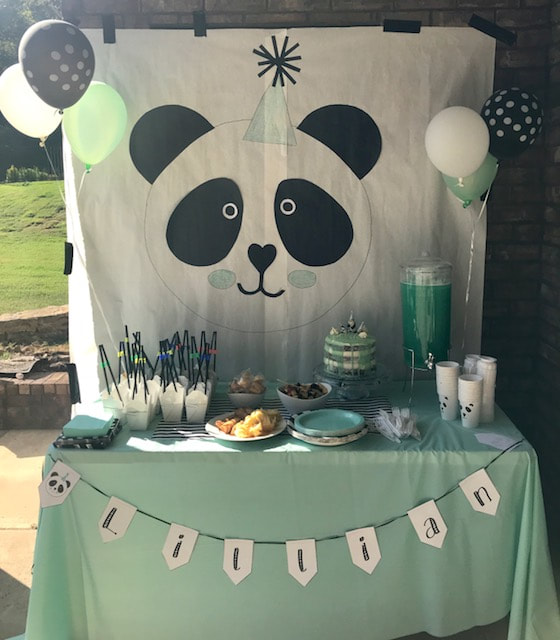
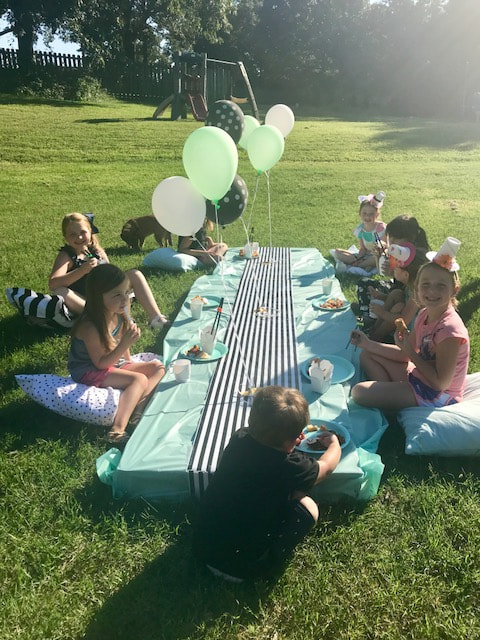
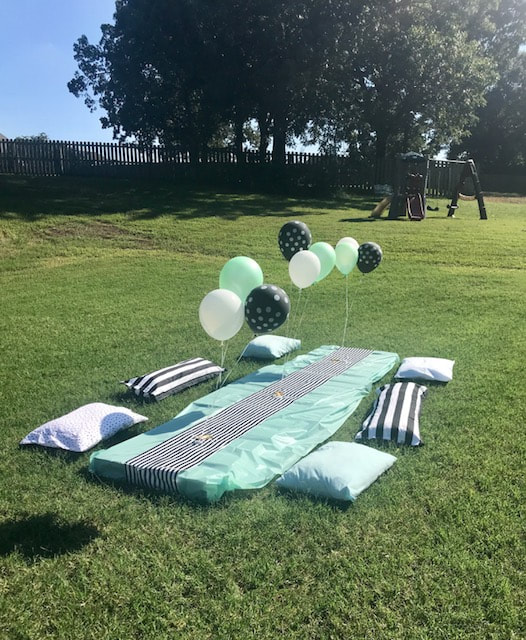
When it was time to chow down, they sat at a custom picnic area that I set up using pallets wrapped in plastic table cloths with a table runner made of black and white striped wrapping paper and balloon centerpieces. They sat on color coordinated pillows. I ended up buying the bigger pillow covers for only $10 total to add the pop of black and white and just stuffed them with plastic grocery bags (of which I always have a million). The other pillows were actual pillows inside of pillow cases I already had.
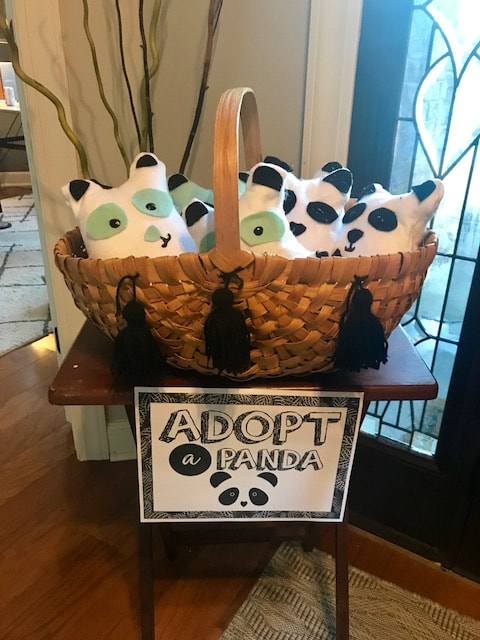 | 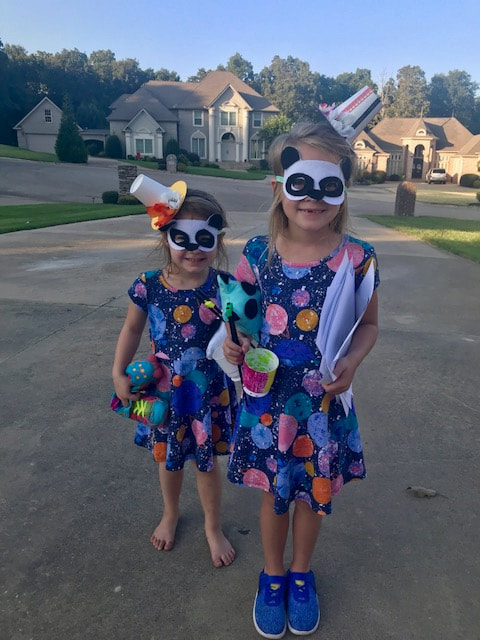 |
Aside from the tea cups, party hats and chopsticks, guests also got to take home a custom panda bear and panda bear mask handmade by ME!
I spent a good chunk of labor day weekend making the panda bears. I based my pattern off of this one but modified it quite a bit to get a shape I was happy with. I also did not sew it. I do not like to sew, even though I can, and instead created the pattern from felt and then hot glued it and flipped it inside out just like you would if it was sewn. Then, I stuffed it and sealed the stuffing hole shut. I cut out felt of a different color for the eyes, paw pads, legs, nose and ears to mimic a panda's markings and hot glued them down as well. I finished it off with black fabric paint for the eyeballs and mouth. I think they turned out amazing and my almost 2 year old quickly decided that "Bobo" was his new favorite lovey.
For the masks, I used one of my sons PJ Masks as a base for the panda face and then created my template by hand. I thought I had captured a few photos but upon looking through my camera, I realize I didn't. Oooops. Anyway, I used my template for the white base and then cut out the black eye, nose and ear areas all from felt. Then I hot glued again and attached ribbon to tie them on with. I made them over the course of two afternoons after work and probably only spent about 2 hours total. Not bad. Plus, I find this kind of crafting kind of zen like. After creating the pattern, it's just a repetitive cutting and gluing process and it is kind of like a form of meditation.

Oh! I also made the birthday girls shirt at the absolute last minute at 1am the night before. I created a panda face design in Silhouette and cut out a stencil. Then I used silver and pink glitter fabric paint to fill it in. It took no time at all and I think it looks adorable. She also had a black and silver tutu and panda leggings.
 |  |
It was a fun party with all sorts of personal touches that I am very proud of accomplishing. I know that we are nearing the time when she will no longer want a big party with activities and I plan on cherishing the last few moments where she is my little girl and wants me to go all out so, until she decides it isn't cool anymore, I'll keep up the hard work for the big payoff that is her smiling face at the end of the day and hope that when she has a little girl of her own she remembers and is able to do the same for her.


 RSS Feed
