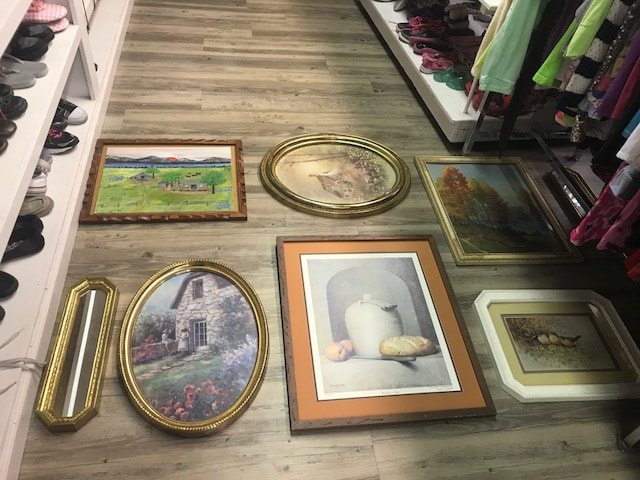
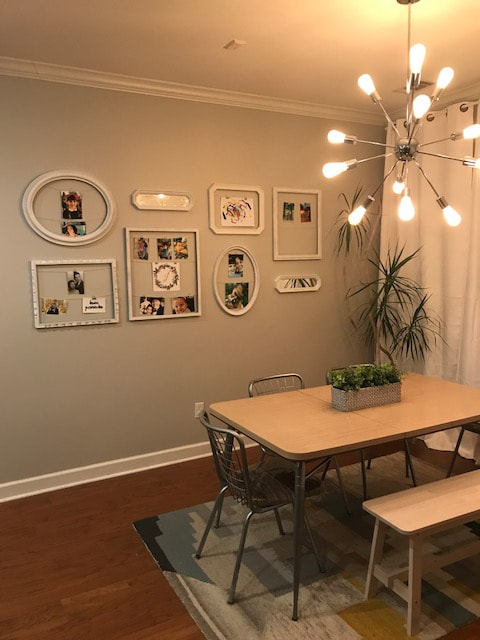
For this one, I headed to my local thrift shop and selected a bunch of picture frames of various sizes. I even laid it out on the floor of the shop to make sure it would all work together. I managed to get all of the frames for only $30!
|
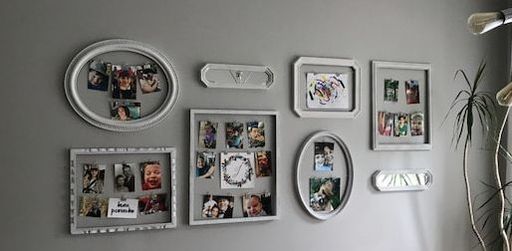
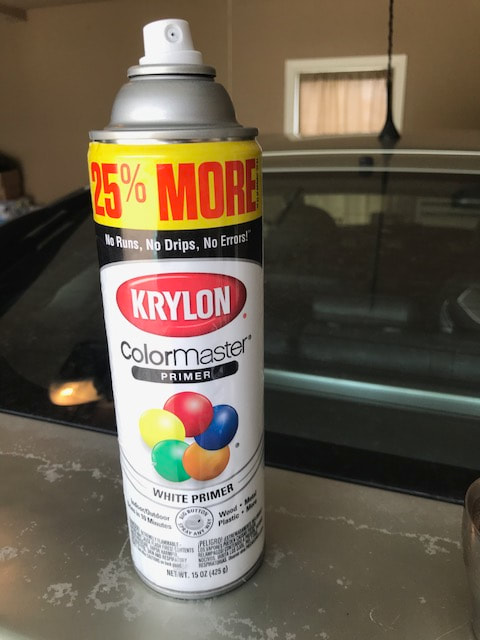
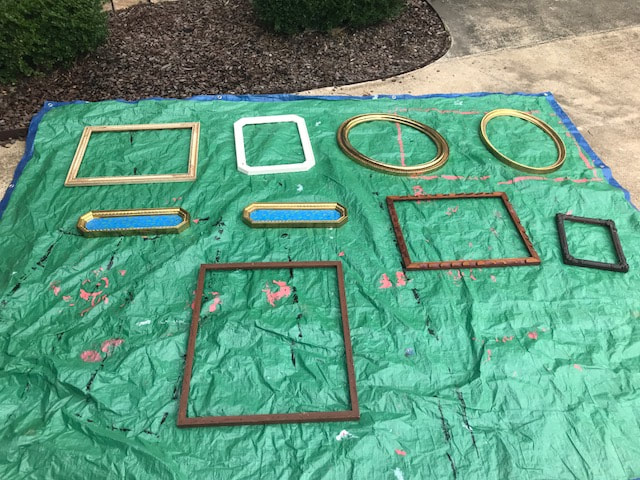
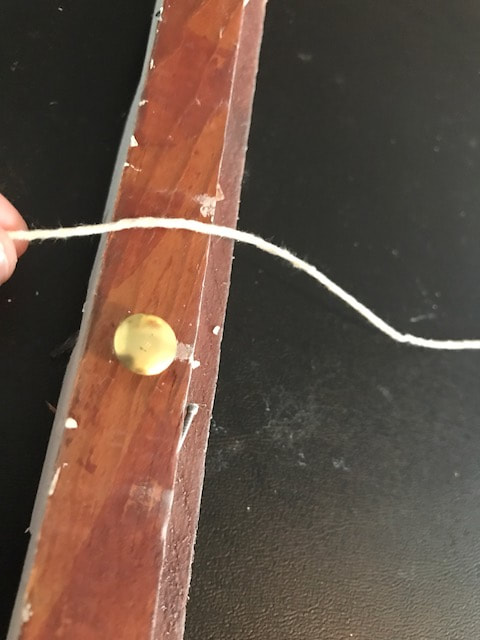
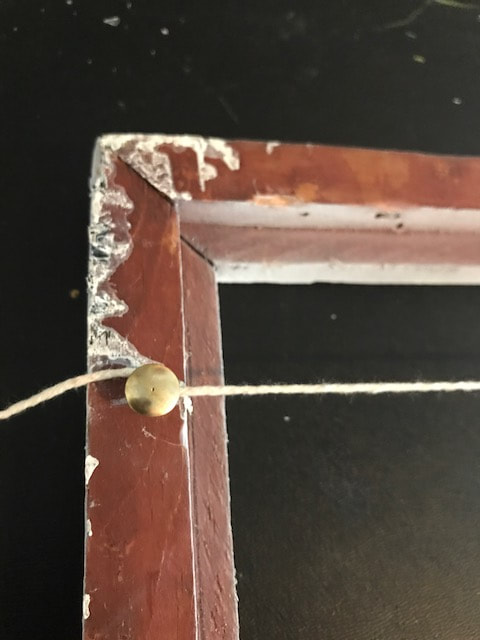
A few years ago I made a post about an easy-change gallery wall. Well, I've just updated it to be a more substantial, grown-up project. We finally managed to get the living space walls painted and I was ready to commit to a bigger project. For this one, I headed to my local thrift shop and selected a bunch of picture frames of various sizes. I even laid it out on the floor of the shop to make sure it would all work together. I managed to get all of the frames for only $30! Once I had my frames, I headed home and took out all of the art and taped the mirrors. Then I spray painted them all white. It took several coats and about 4 cans to make them all even. I just used a white primer spray paint. Once they were dry, I used tacks and twine to create strings for hanging photos. Two of the frames were plastic and I had to hot glue the twine. Then, I used large paper clips for hanging the photos onto each string. I am in love with how this project turned out and hope you like it too!
0 Comments
Leave a Reply. |
meet rachelRachel is a mother of three, elementary Spanish teacher and part-time blogger who loves crafting, creating fun and engaging activities for her children and students and hanging with her friends and family. She blogs about what she's doing and her interests at any given time which vary. She's a little OCD and always looking for her next project. Her husband calls it, "focusing her crazy", but she just calls it fun. Archives
June 2023
Categories
All
|


 RSS Feed


