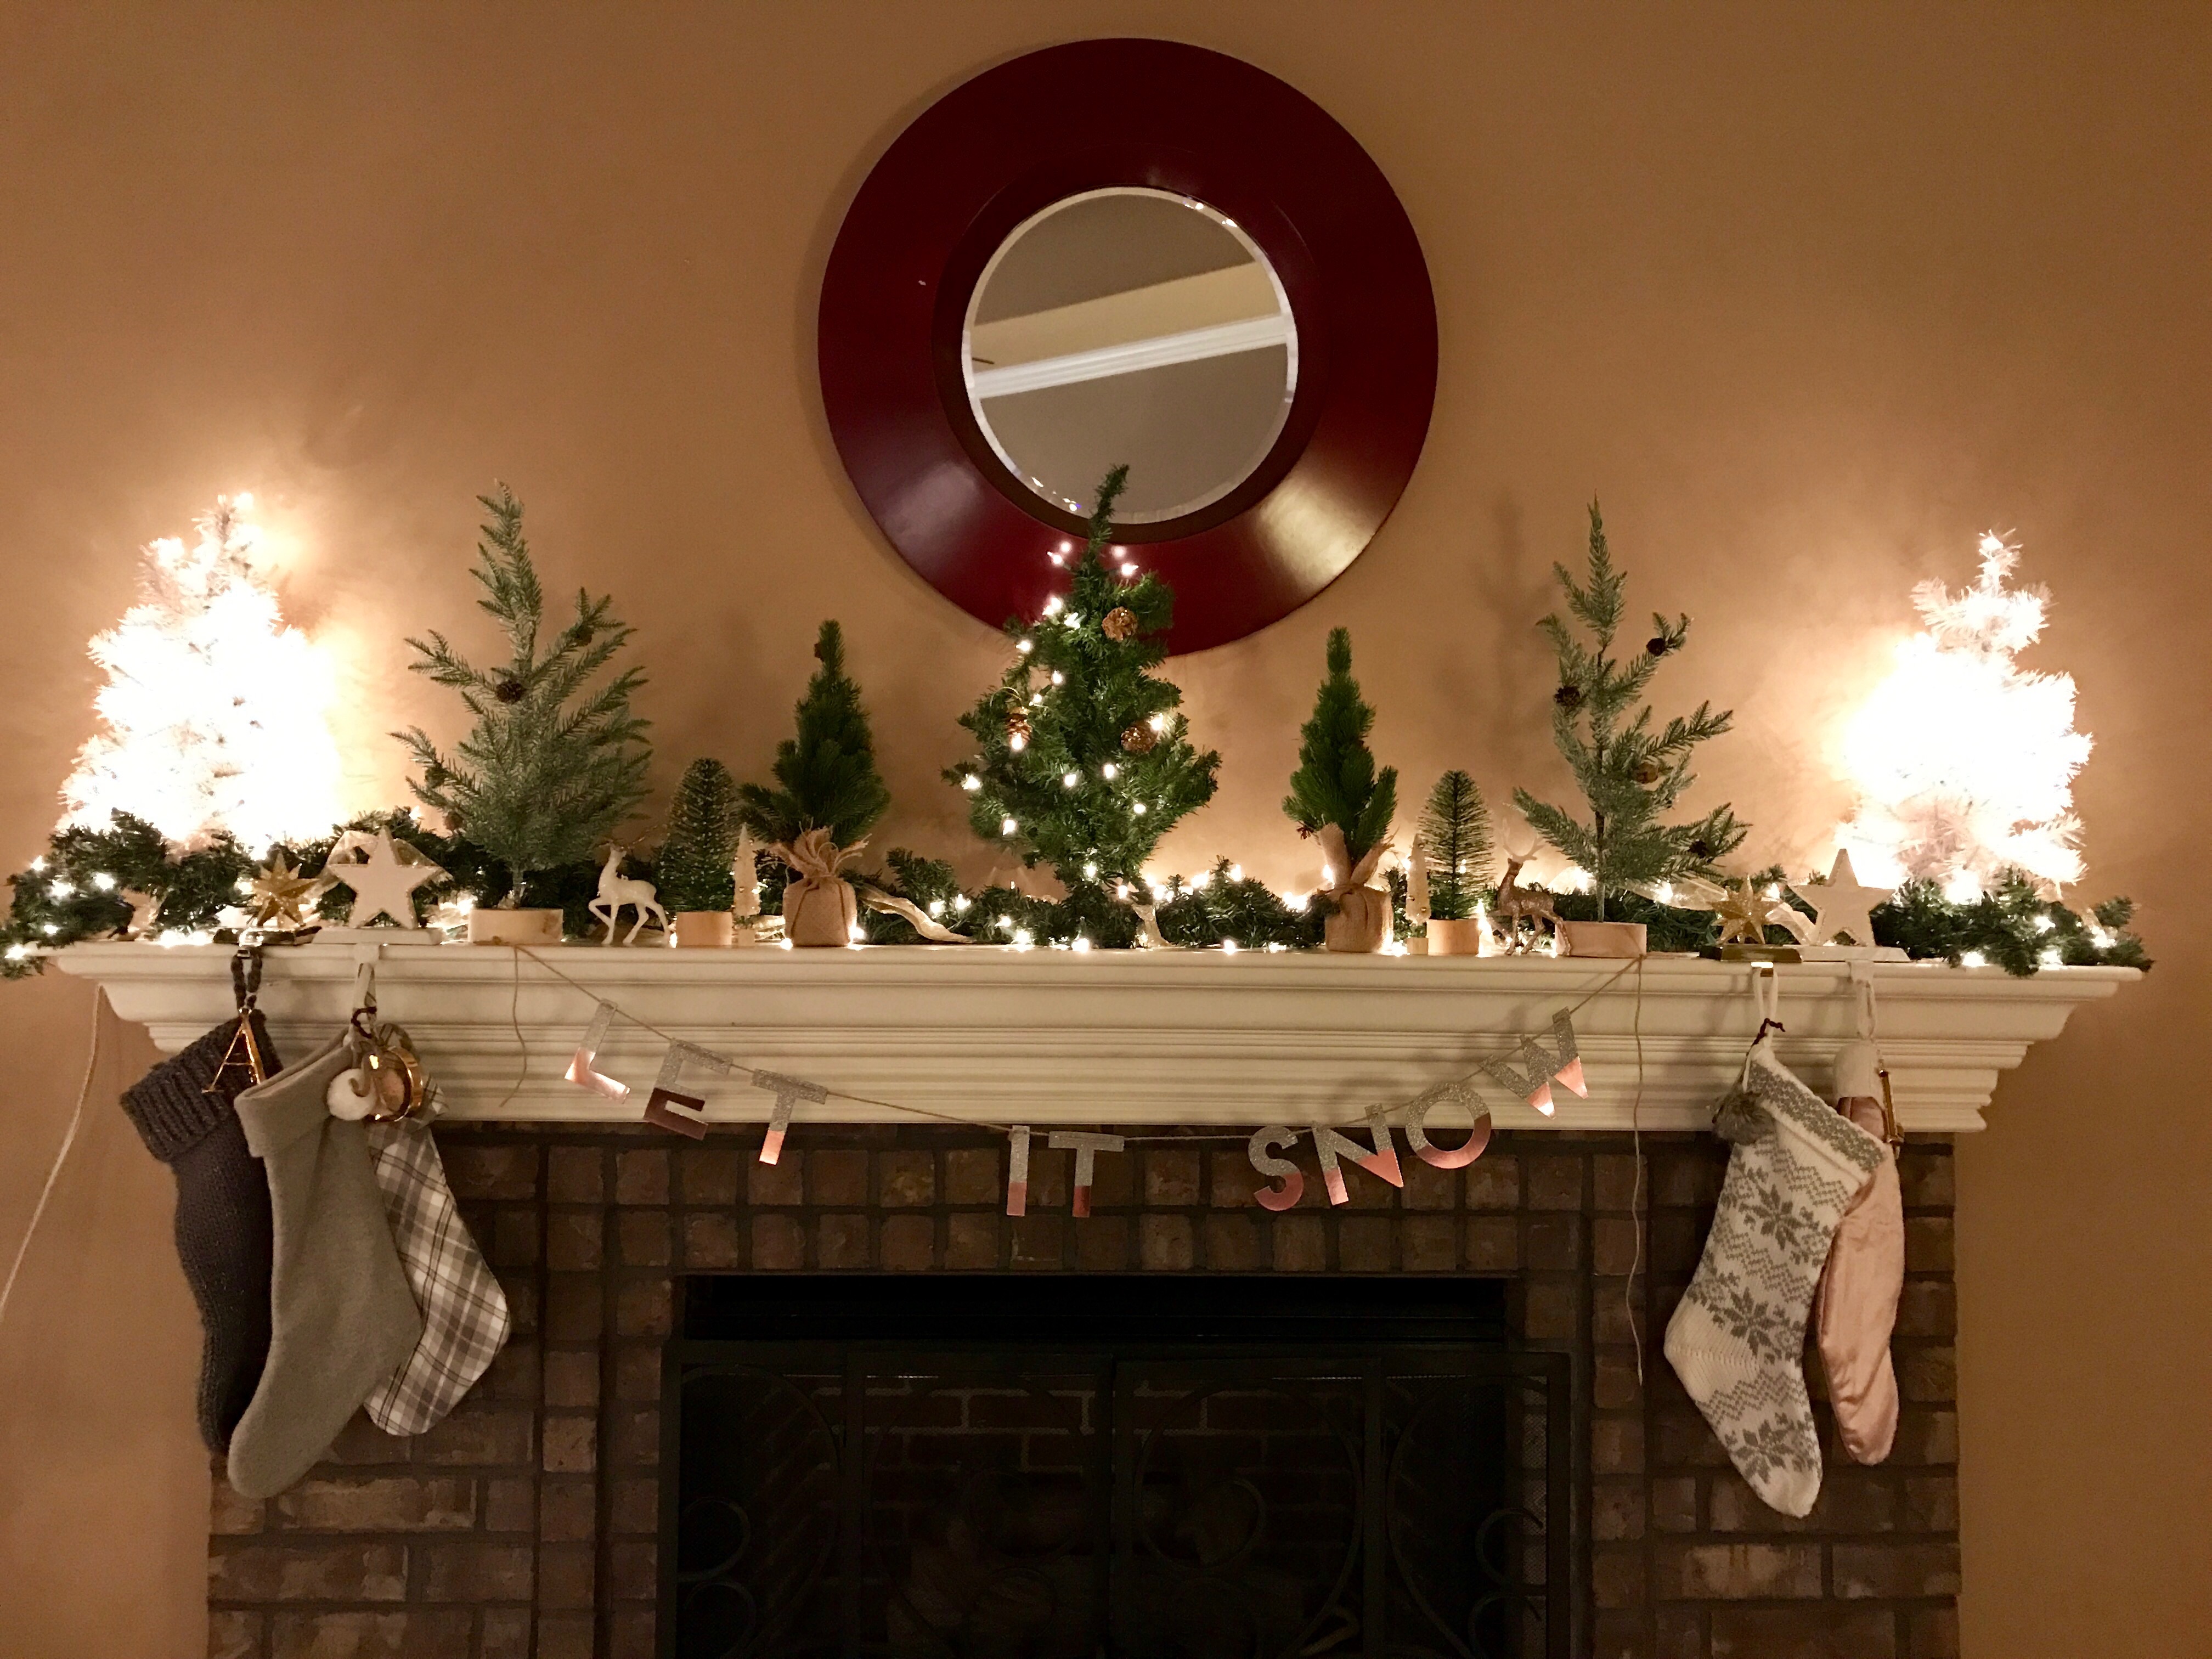
I think my favorite thing about my new mantle is that I can leave it up after christmas if I want. I'll just remove the stockings. It's not overtly Christmassy but still gives a warm and holiday feel. I just love it and I hope you love it too!
|
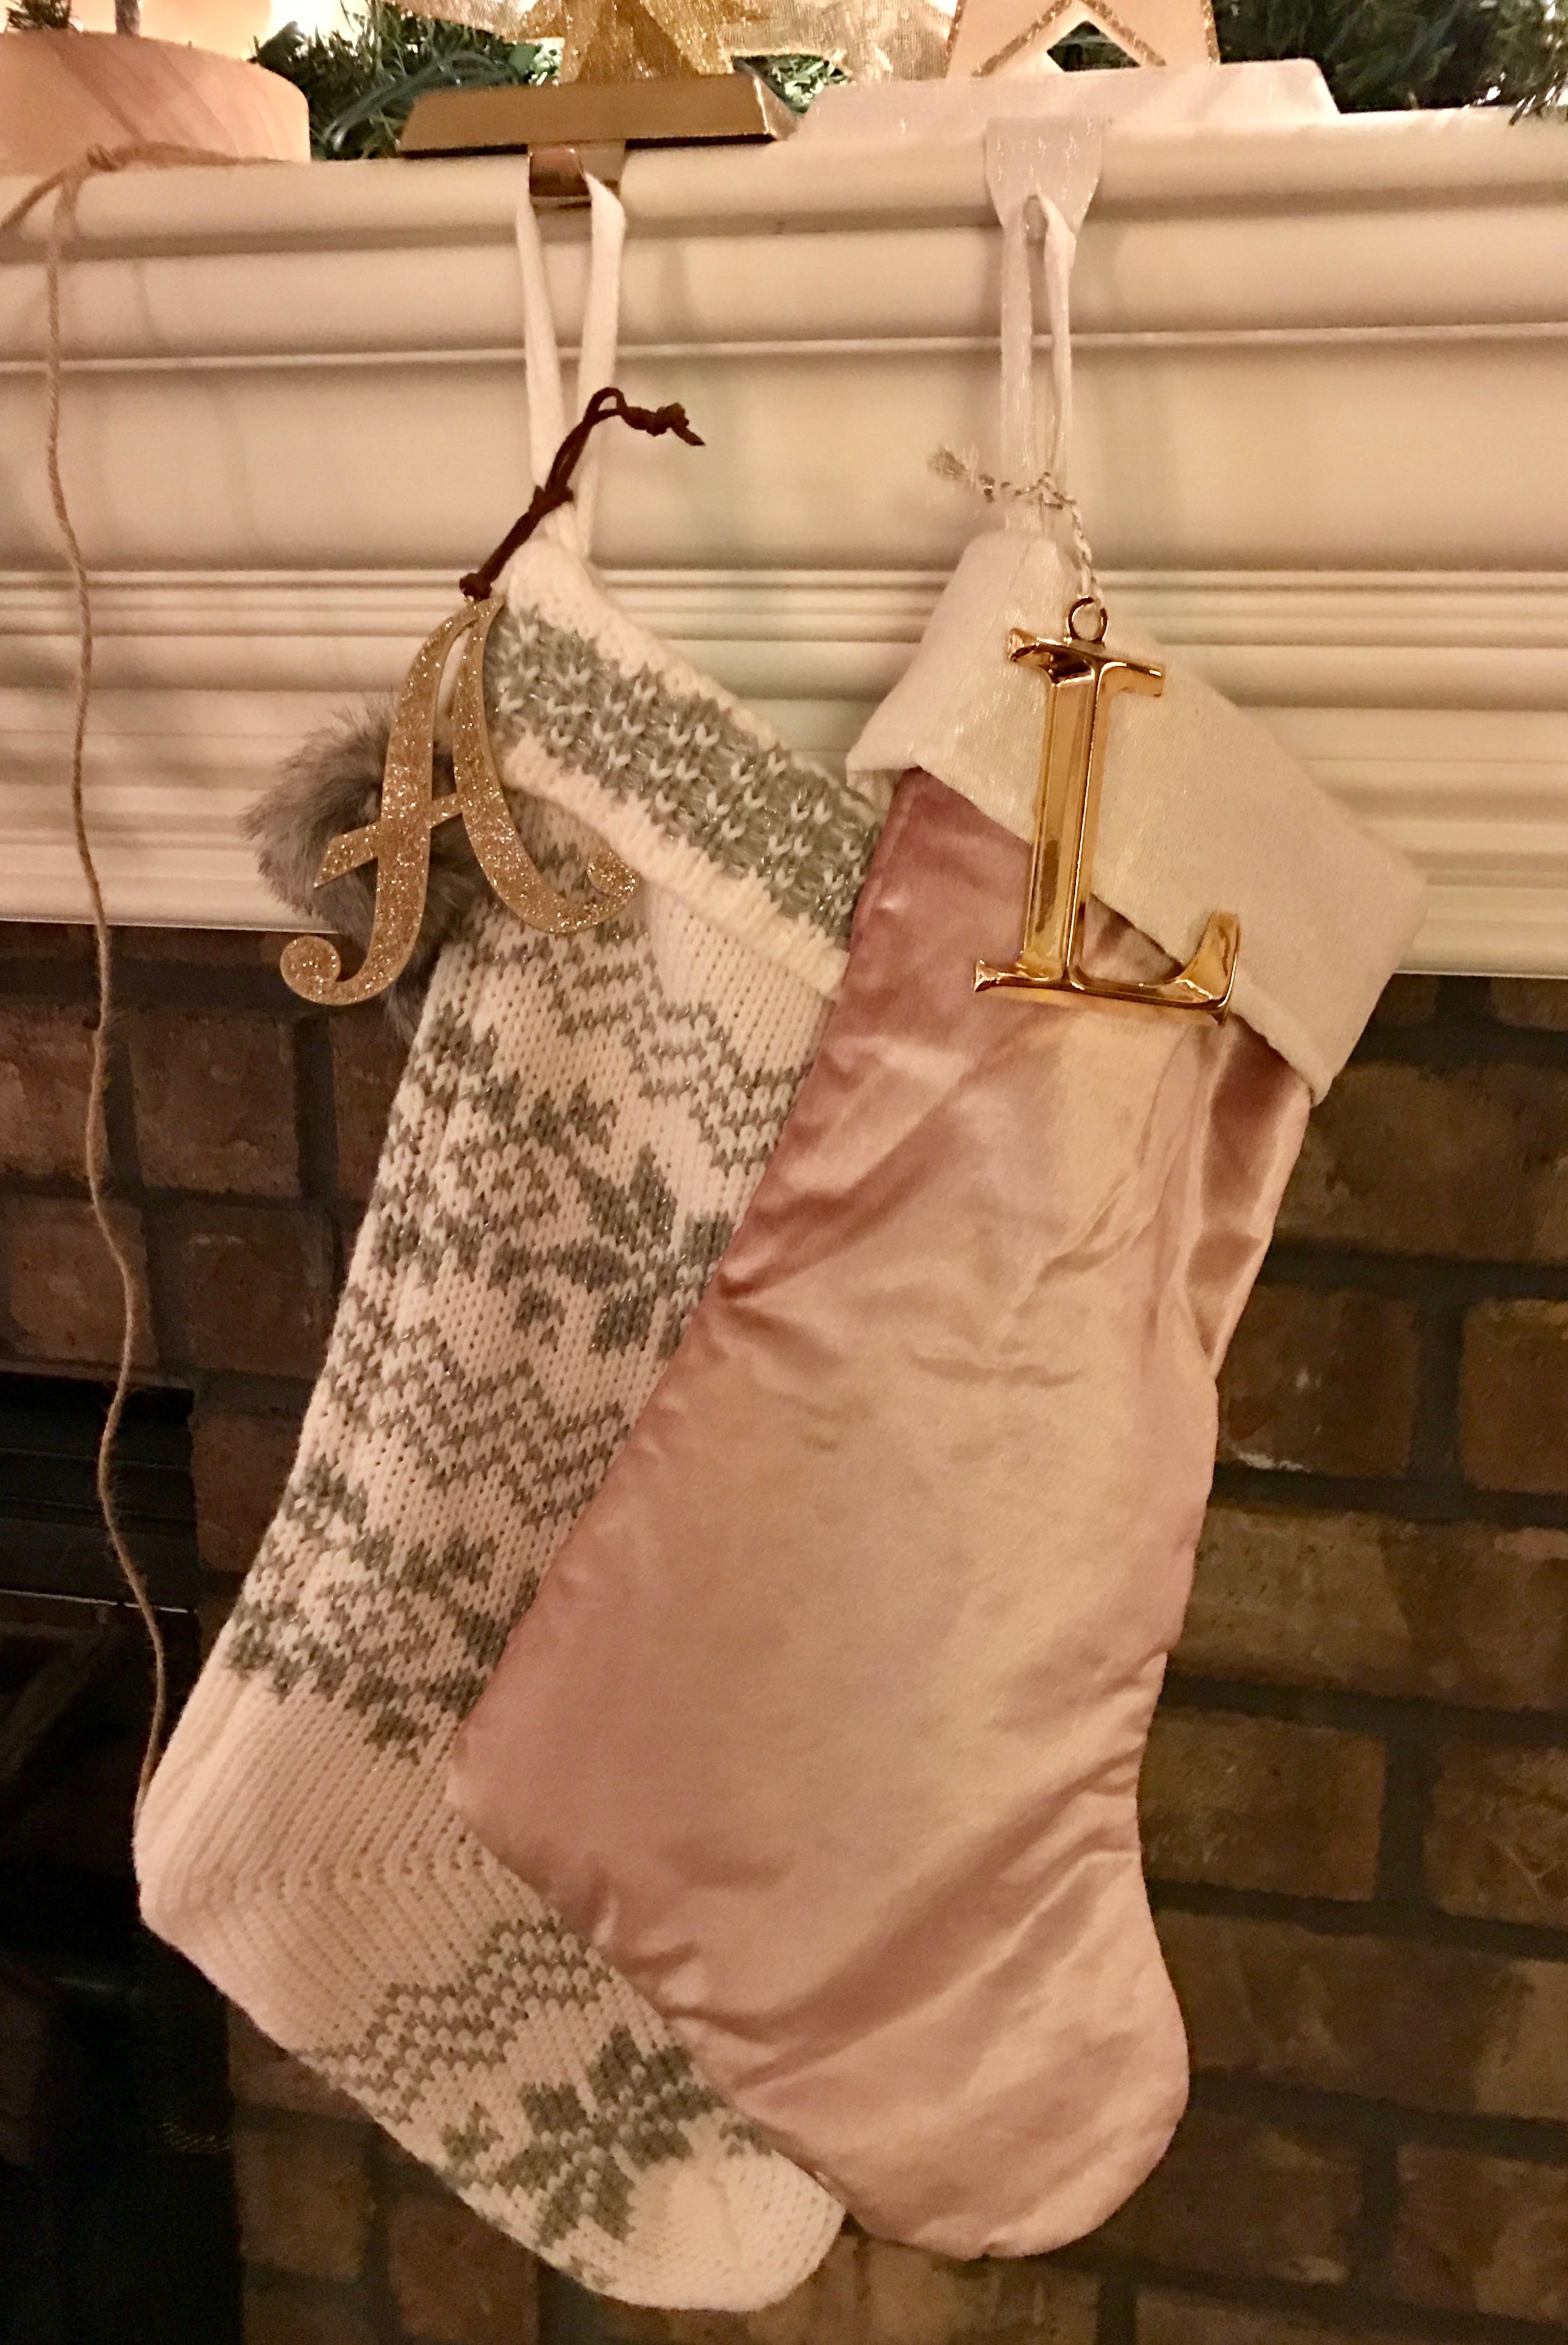
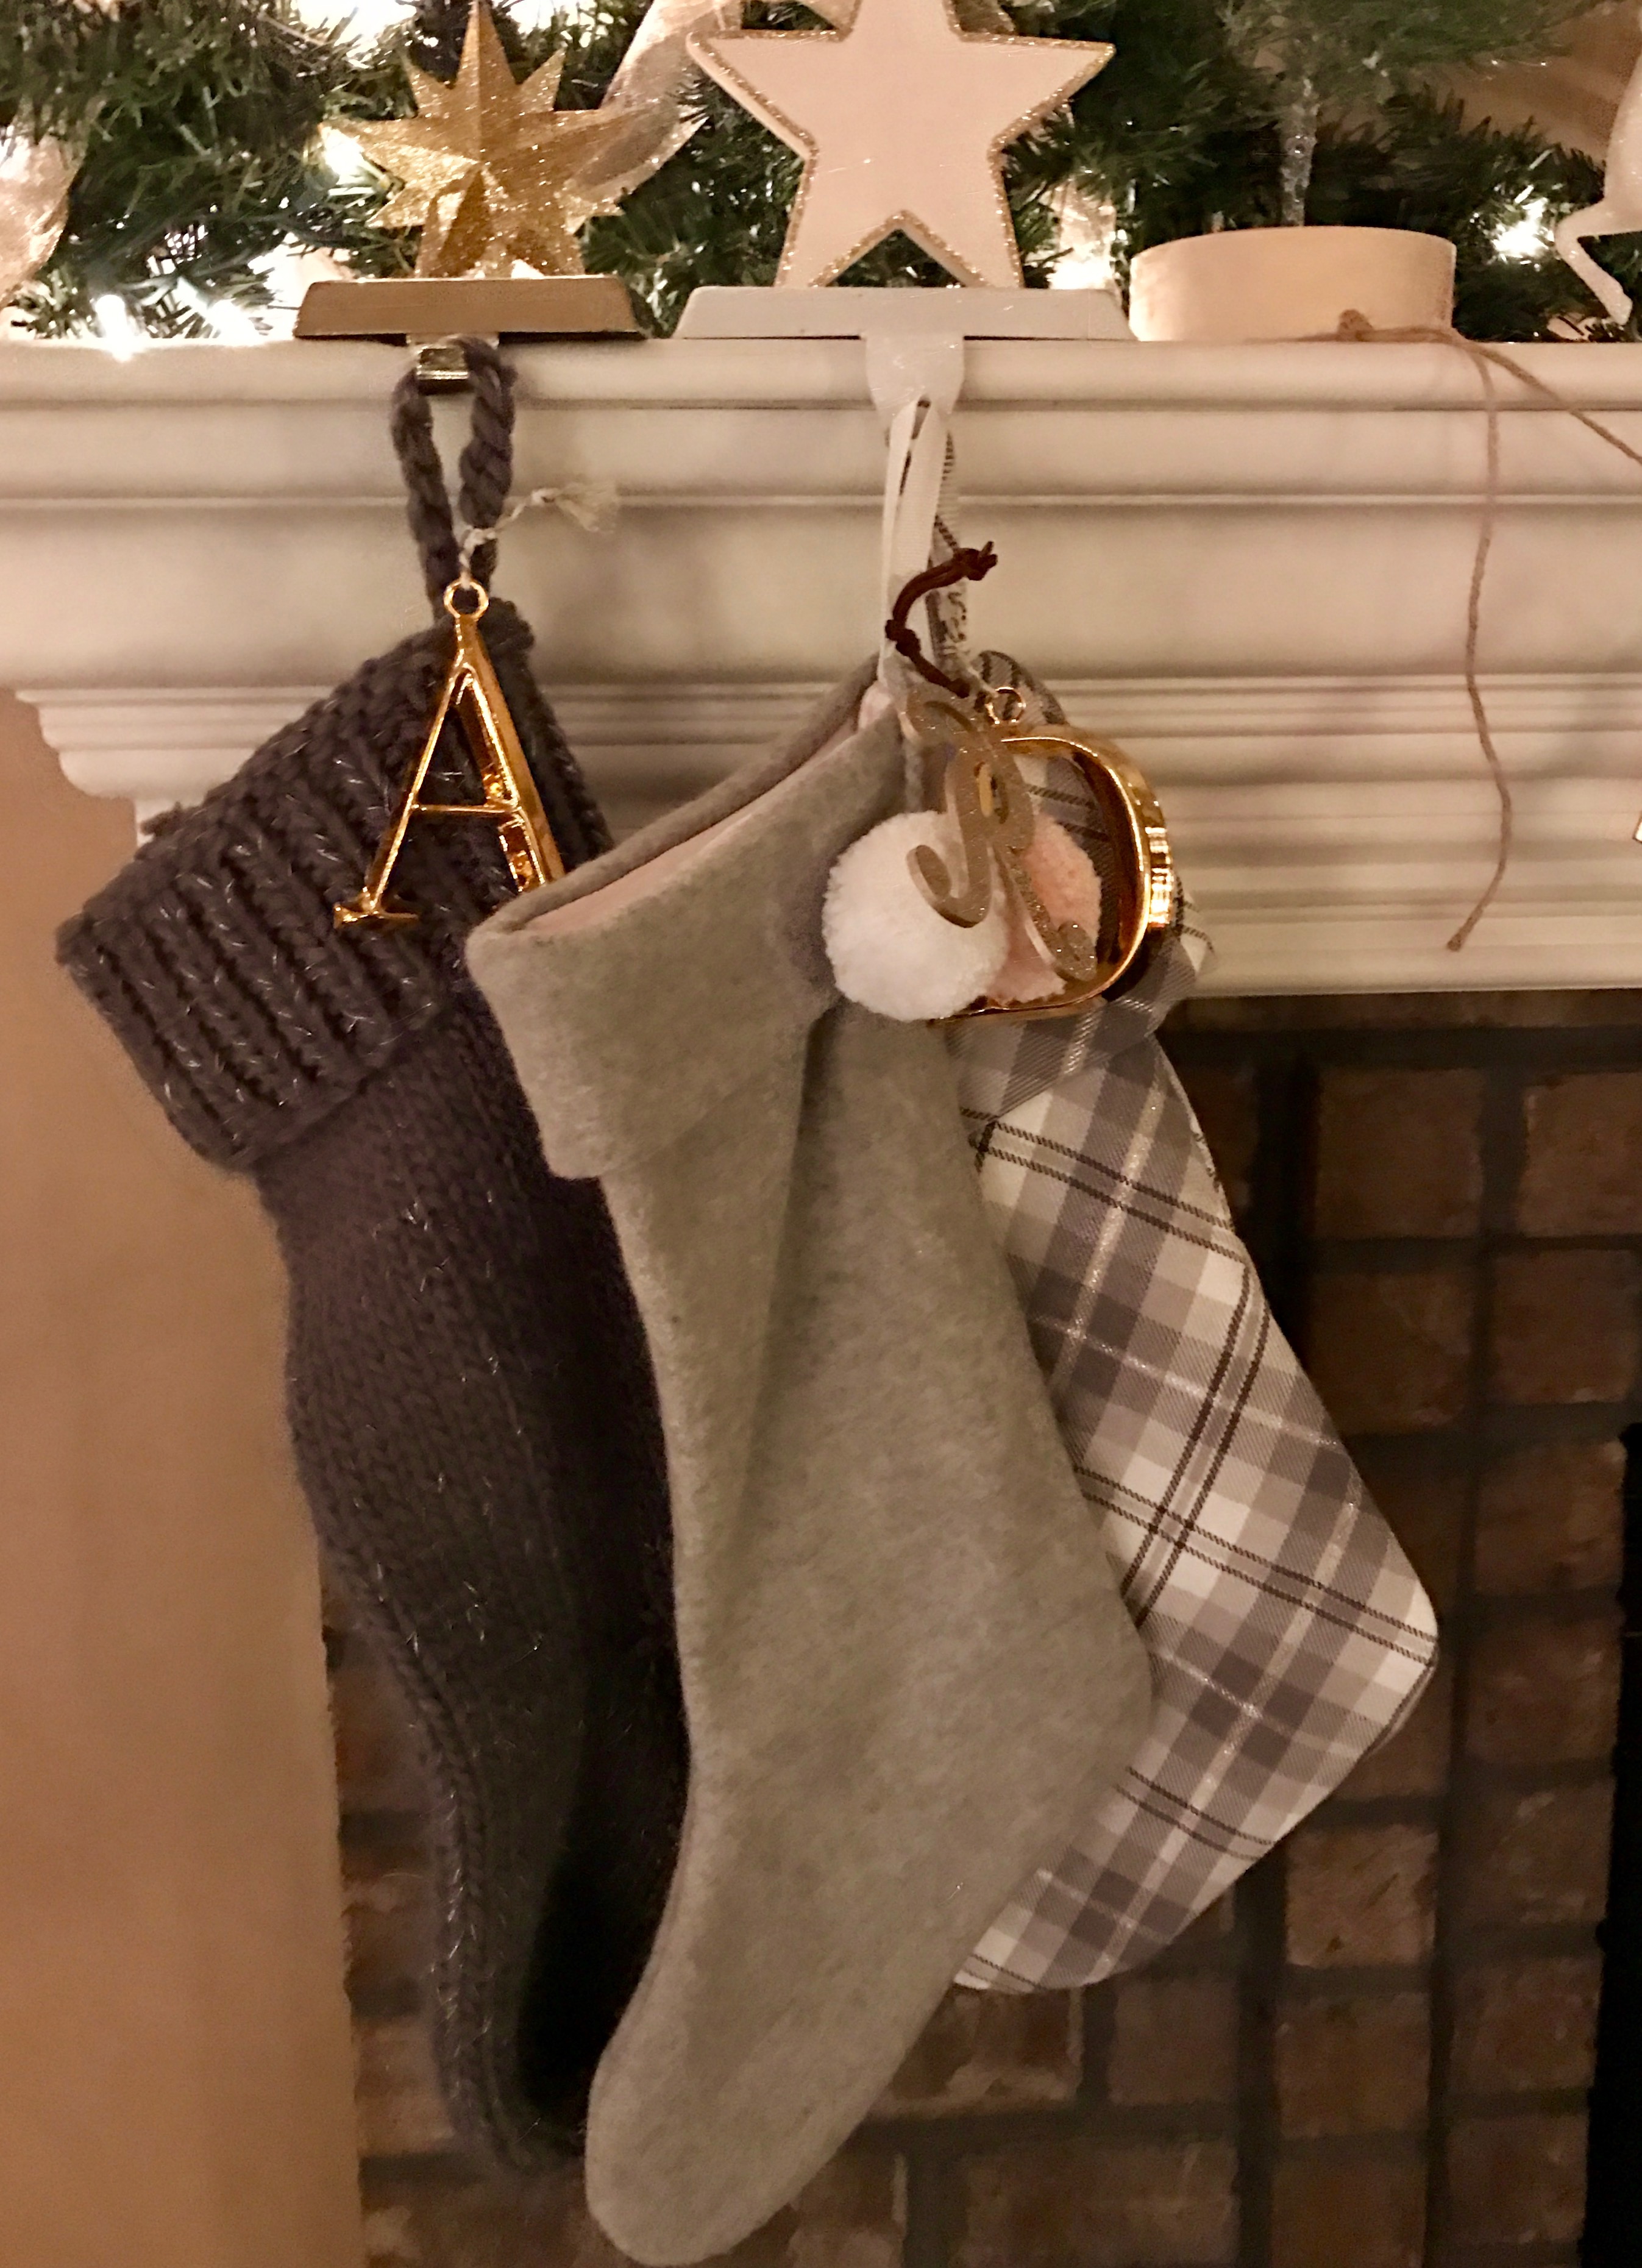
This year I decided to decorate my mantle with a woodland/tree theme. I figured I could easily find different types of trees to make it look rich and diverse. I started with two pre-lit white trees that I already owned and added a garland with gold ribbon and lights that already had as well. Target helped me take care of the rest. They ran a sale on the Saturday after black Friday where you could get $50 off of $100 spent in their Christmas department so I made sure to pick that day for my purchases. I selected two small bottle brush style trees for $3 each, a pair of mini bottle brush trees (they were actually ornaments and sold in a pair for $3), two slightly green trees with a burlap wrapped base and pinecones for $3 each and two larger threes with wooden bases, pinecones and faux ice/snow for $18 each. I also found two glittery deer ornaments that I felt would add nicely. Then I began arranging them on my mantle until I liked what I had. I ended up having a dead space in the middle and dug out a very old mini artificial tree and added lights and some gold pinecones. To finish, I added our star stocking hangers and the new stockings I purchased to which I added gold initials to each to denote the owner. Finally, I hung a banner that was meant to be a craft project from Target. I liked the letters because they were a two tone metallic and I felt it would go really well but, I am super disappointed with them. The string included with the kit was horrible so I used twine instead and the letters aren't a very sturdy material so they may not make it to next year. The basic idea when shopping for your mantle is to make sure that you get at least 4 different types of trees in varying sizes and get at least two of each different tree. Keep it simple and don't go for trees that are decorated and instead opt for simple, life-like looking trees. You also don't want to overcrowd the mantle and want to group the items in a natural way with some space between them but not perfectly spaced. You really just have to play with it until you like what you have. I rearranged mine a couple times and for a bit wondered if I hadn't made a mistake with my "genius idea" but I finally got an arrangement I love.
I think my favorite thing about my new mantle is that I can leave it up after christmas if I want. I'll just remove the stockings. It's not overtly Christmassy but still gives a warm and holiday feel. I just love it and I hope you love it too!
0 Comments
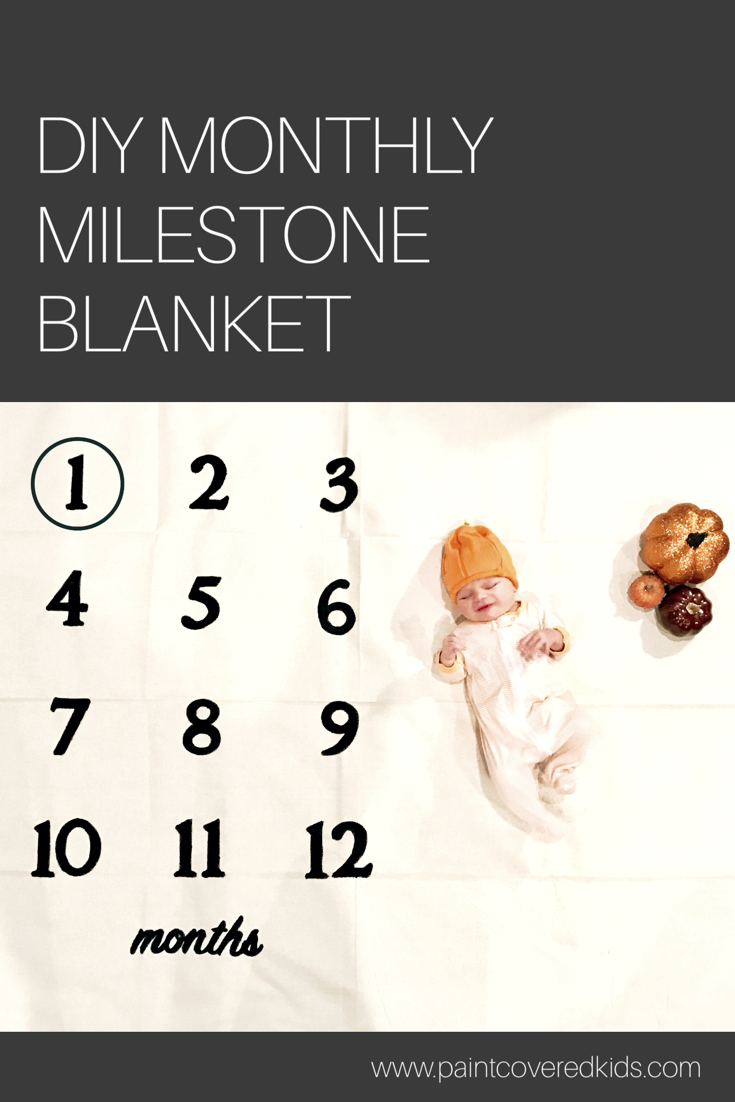
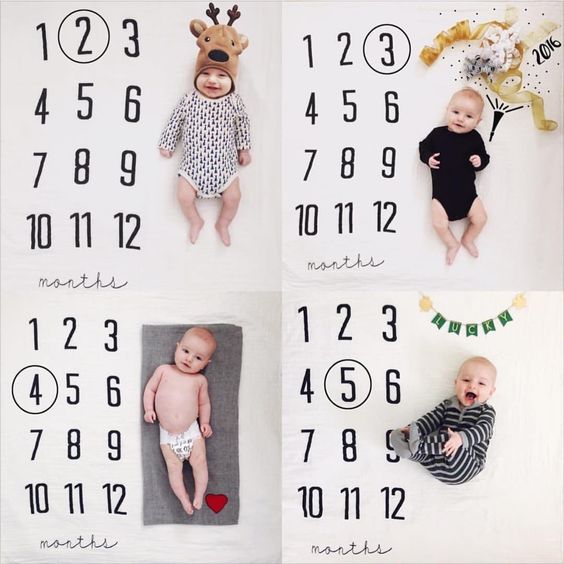
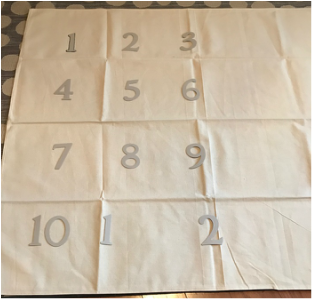
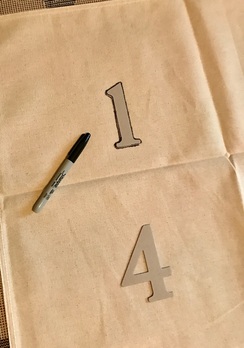
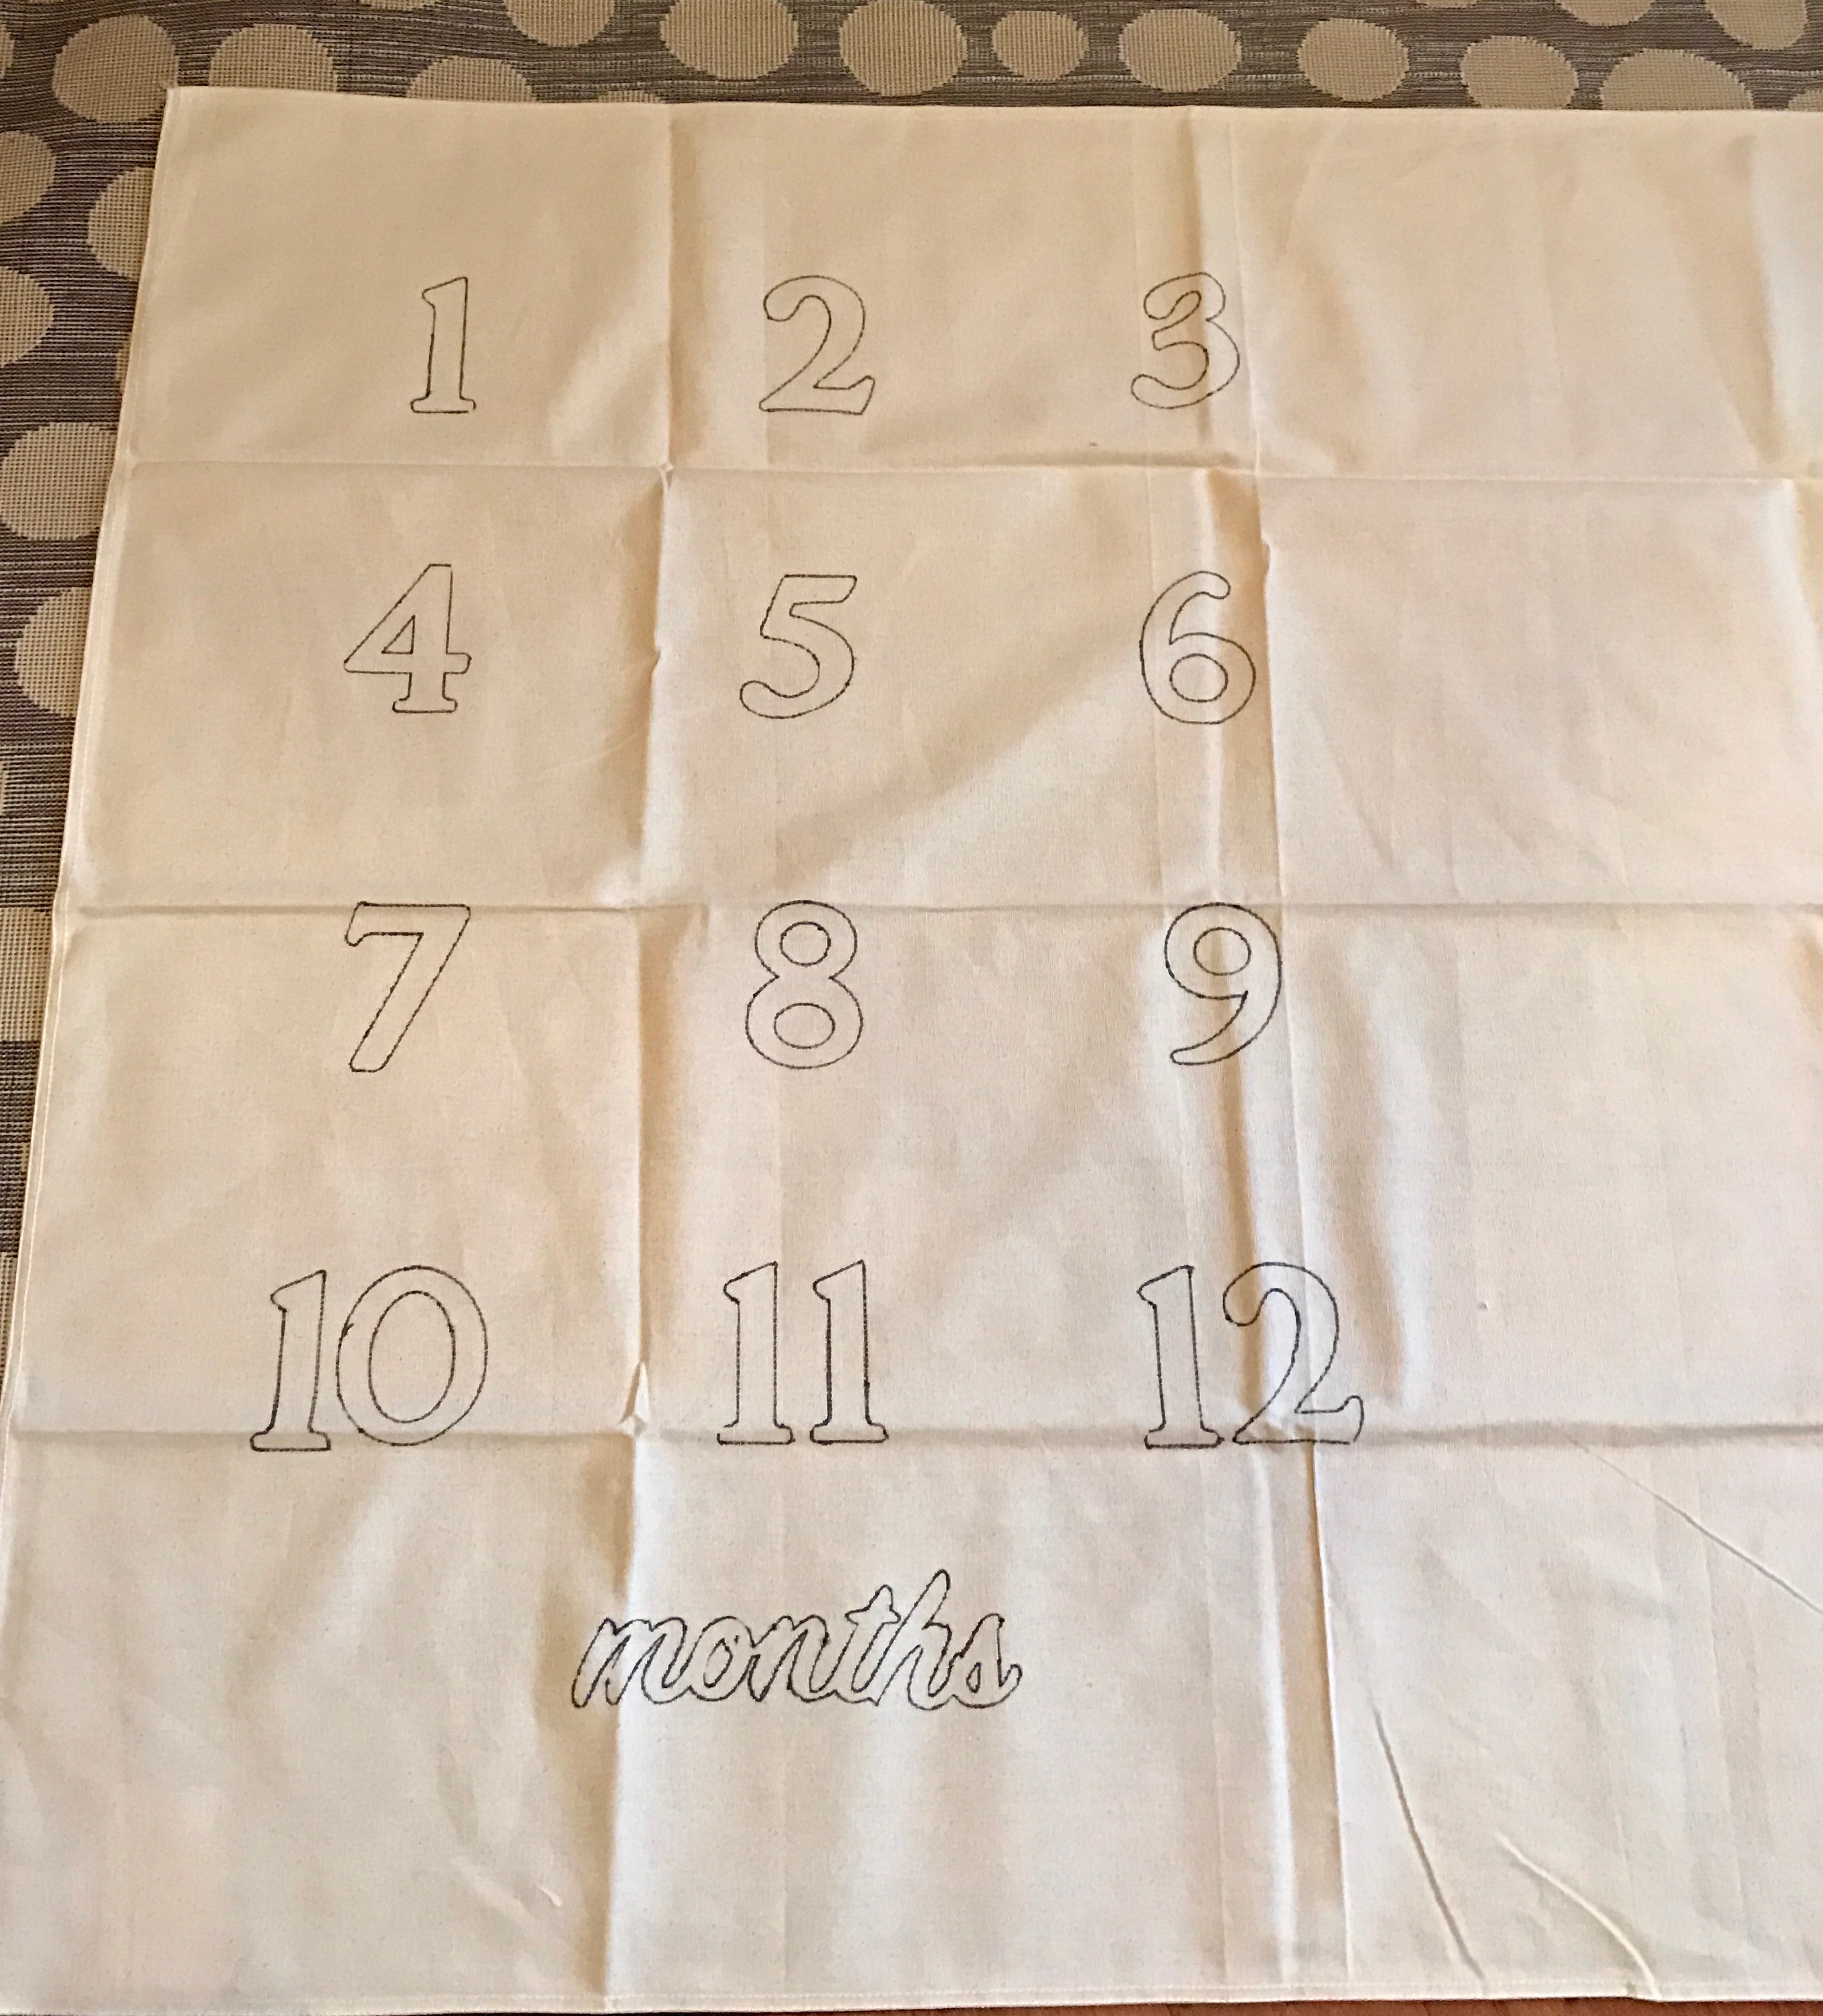
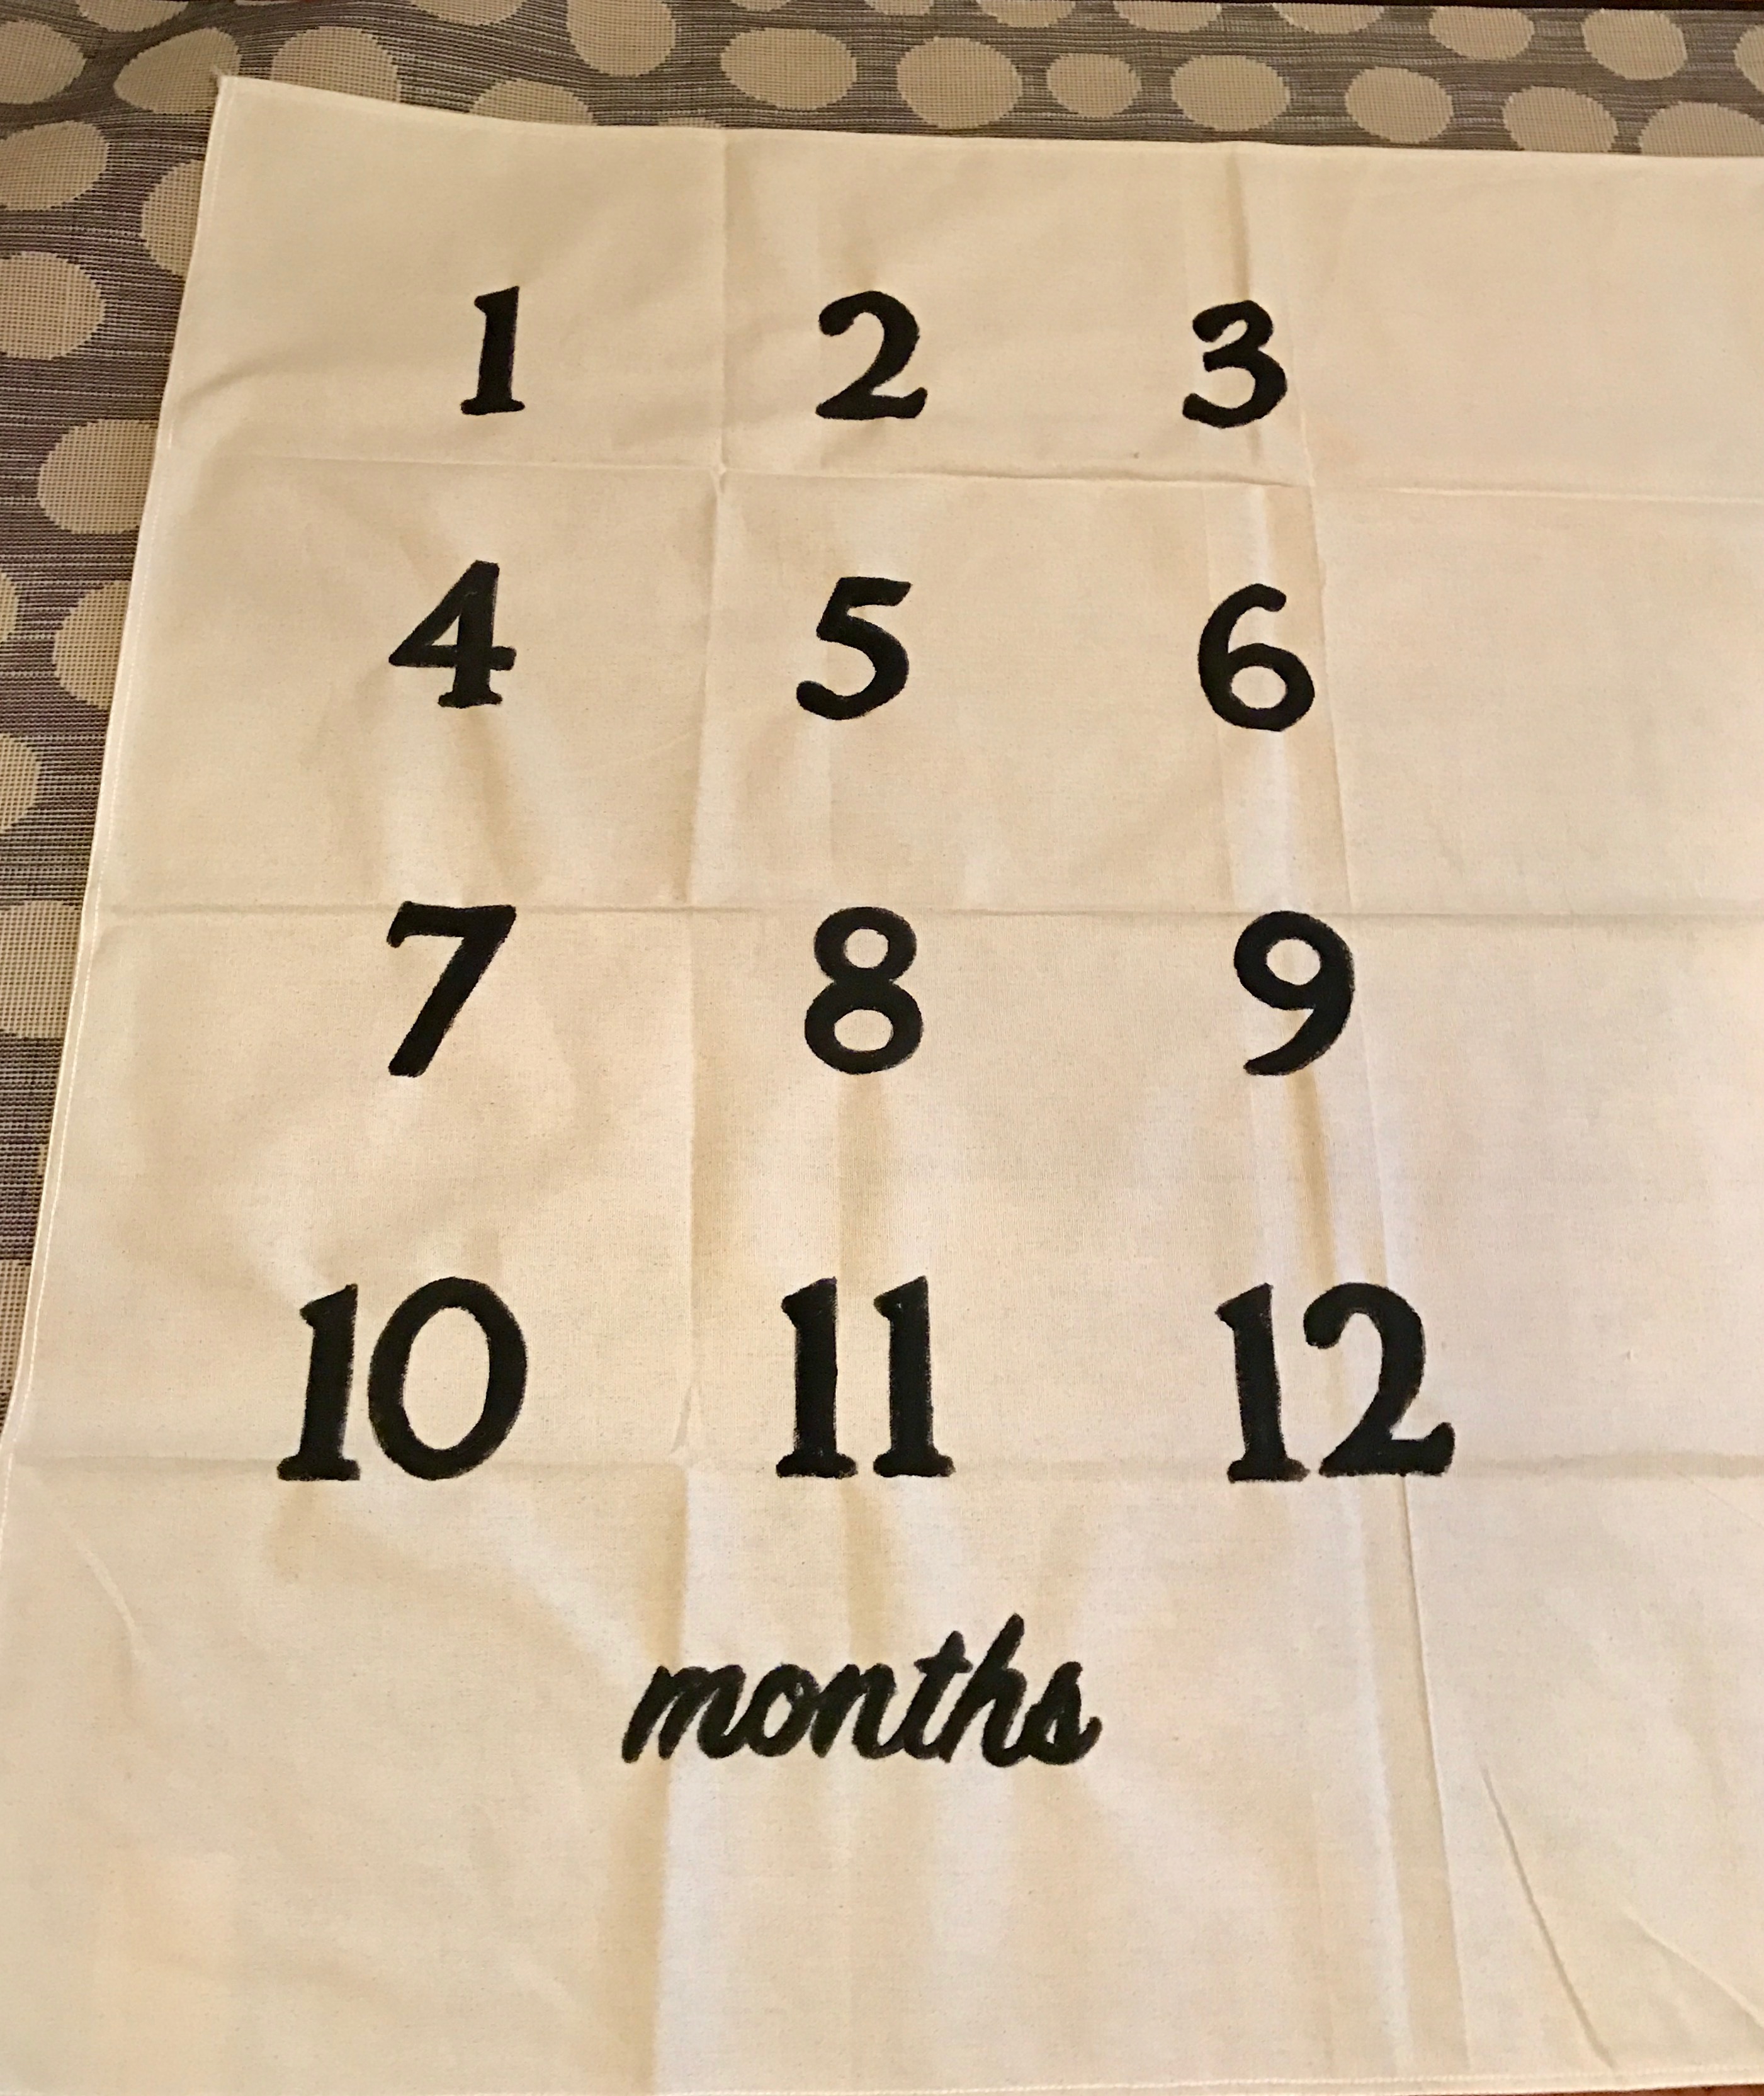
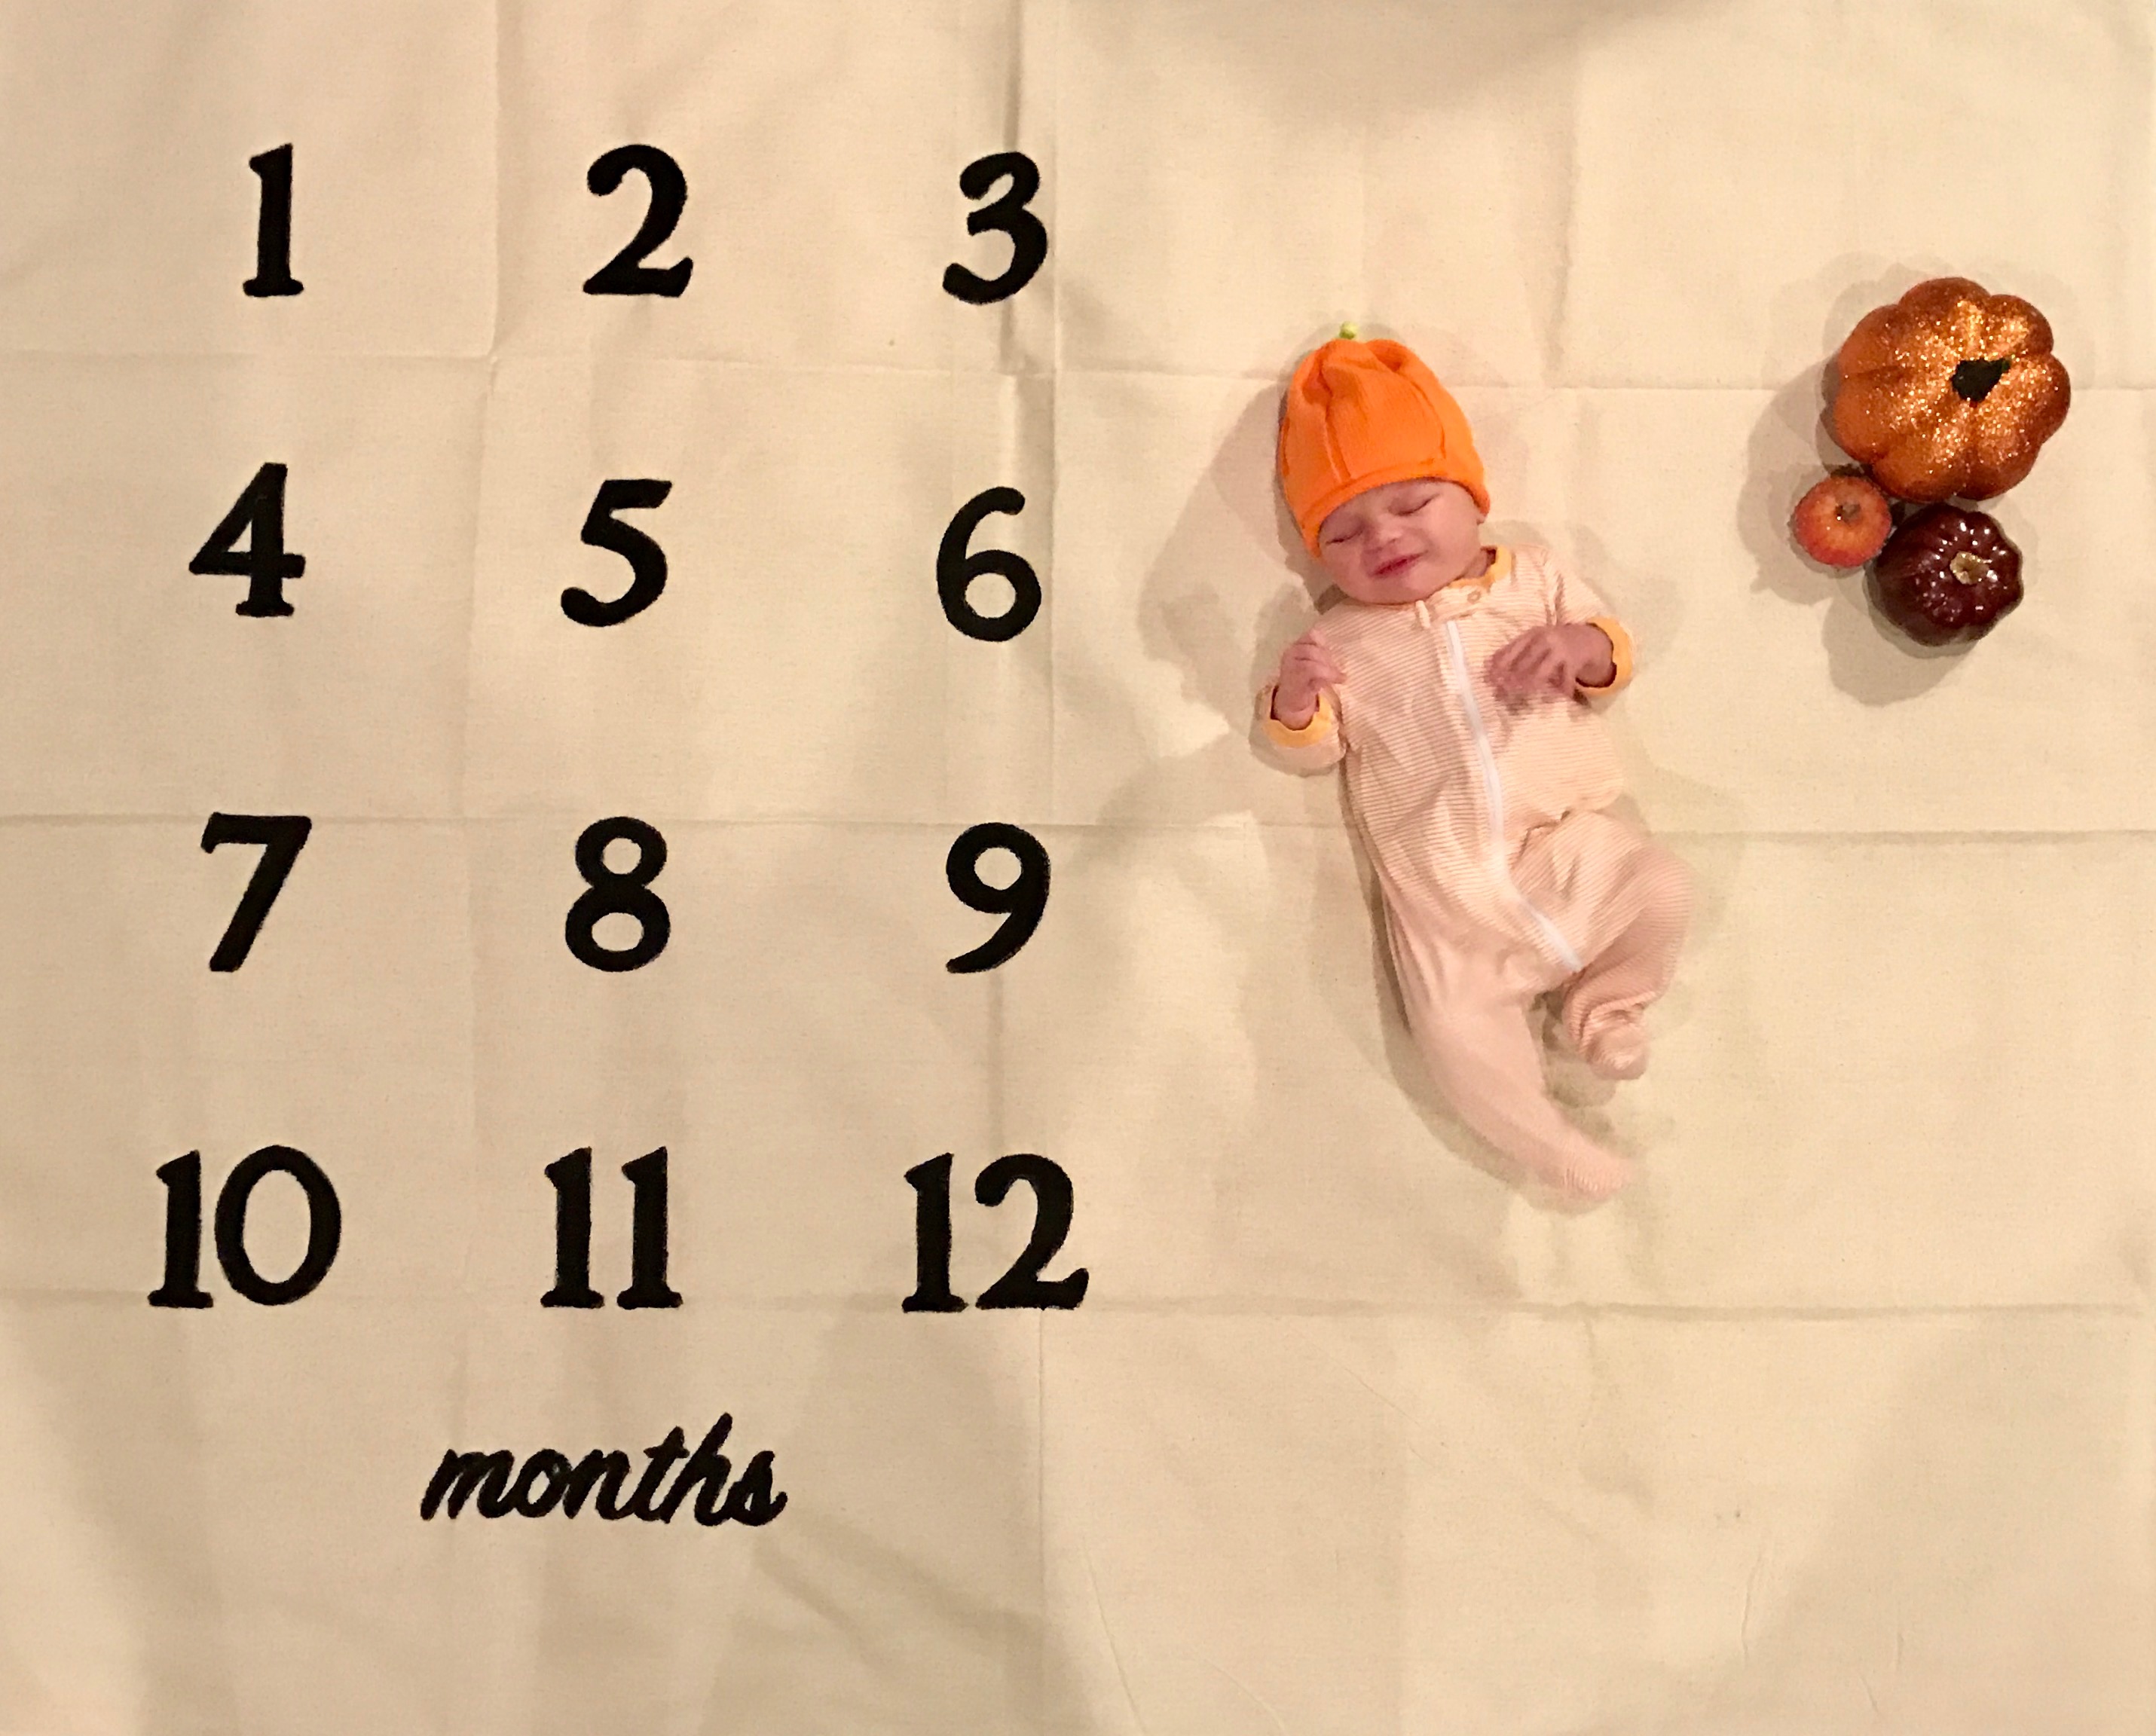
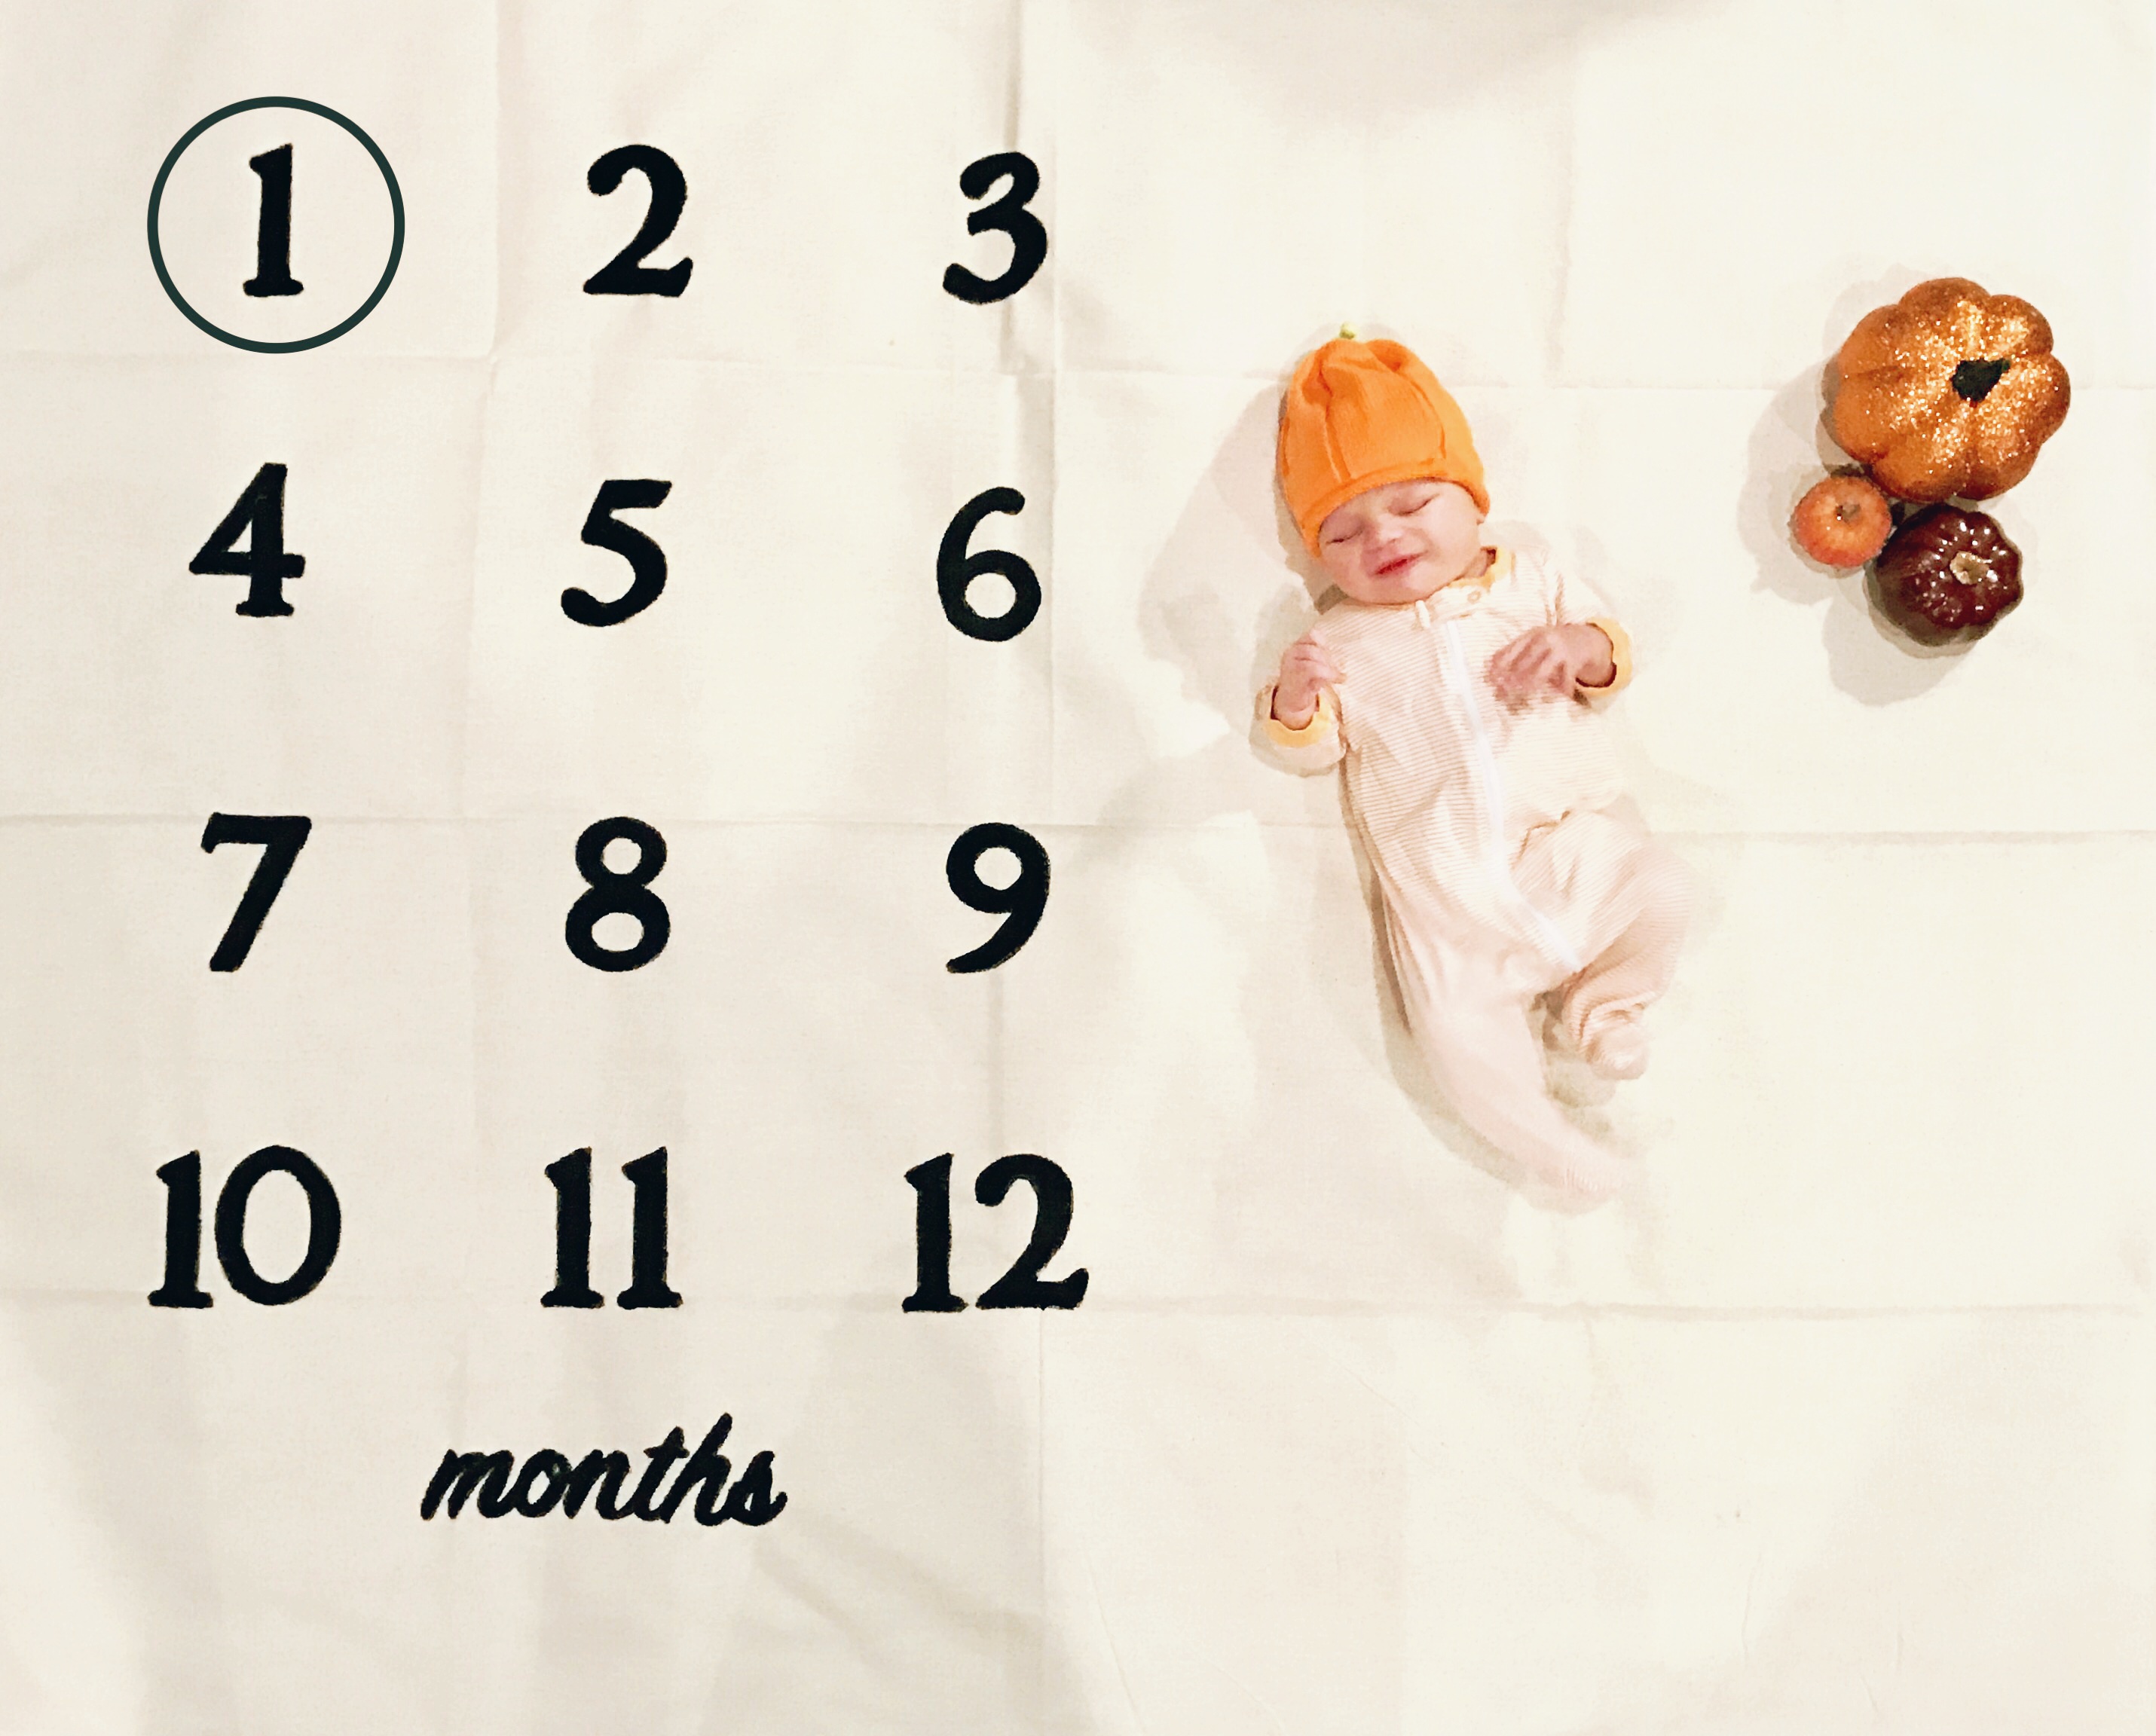
My son just turned one month old and I new I wanted a different kind of monthly photo from what I did with my first son. He's already going to get all of his hand-me-downs, I can at least give him an original monthly photo. So, I headed to pinterest to get some inspiration and found this adorable idea. It's a blanket you can buy the monthly milestone blanket for $33 at Etsy here. But, I thought, "I can definitely make that for waaaaaaaay cheaper.", and set about planning how to make that happen. I decided to use a canvas drop cloth as my "blanket". The smallest one I found at my local Harbor Freight was 4x12 so I had to cut it down a bit to make it a more appropriate size. It was easy to just use the fold lines and I wasn't too particular on measuring. After cutting it down I laid out my numbers. To make the numbers I was going to buy some number stencils but then couldn't find any. Instead, I used some chipboard numbers I found for $2.99 and traced around them. It was probably better anyway because it was way easier to see how everything laid out on my drop cloth. Once I figured out my spacing, I got a sharpie and traced around the edges of each number. After I had traced around each number, I grabbed some black acrylic paint and a paintbrush and filled in the tracings. Don't worry if it doesn't look perfect you won't be able to tell when you take the photo. For the "months" I ended up printing out the word using a microsoft powerpoint slide and then cut it out and stenciled around it and filled it in with black paint as well. Voila! Done! My son turned one month on Thanksgiving Day so I decided to put a few pumpkins next to him on the canvas and placed a pumpkin hat on his head. When I took the picture I stood on top of an ottoman and took it from a direct downward angle. My husband helped with keeping him somewhat happy and I just snapped away. Once I had a decent one I cropped and enhanced it and then ran it through my favorite photo editor Rookie Cam to lighten it up a bit. I intend to iron the fold lines out before the next photo I take because I didn't love having them in the photo. I also added a digital circle to the number one to indicate the month. You can do it digitally like me or you can find a picture frame and remove the glass and back to frame the number each month. The digital was easier for me since I was editing it anyway. I used the app "Phonto" to add the circle. I plan on doing other adorable things for the theme of each month similar to the idea that inspired this DIY. So, for about $15 (more than half the price to buy the inspiration) I ended up with this adorable milestone "blanket" and will get to give my son some really great photos to look back on. I hope it inspires you to make your own for either yourself or a friend. It would make a great gift!
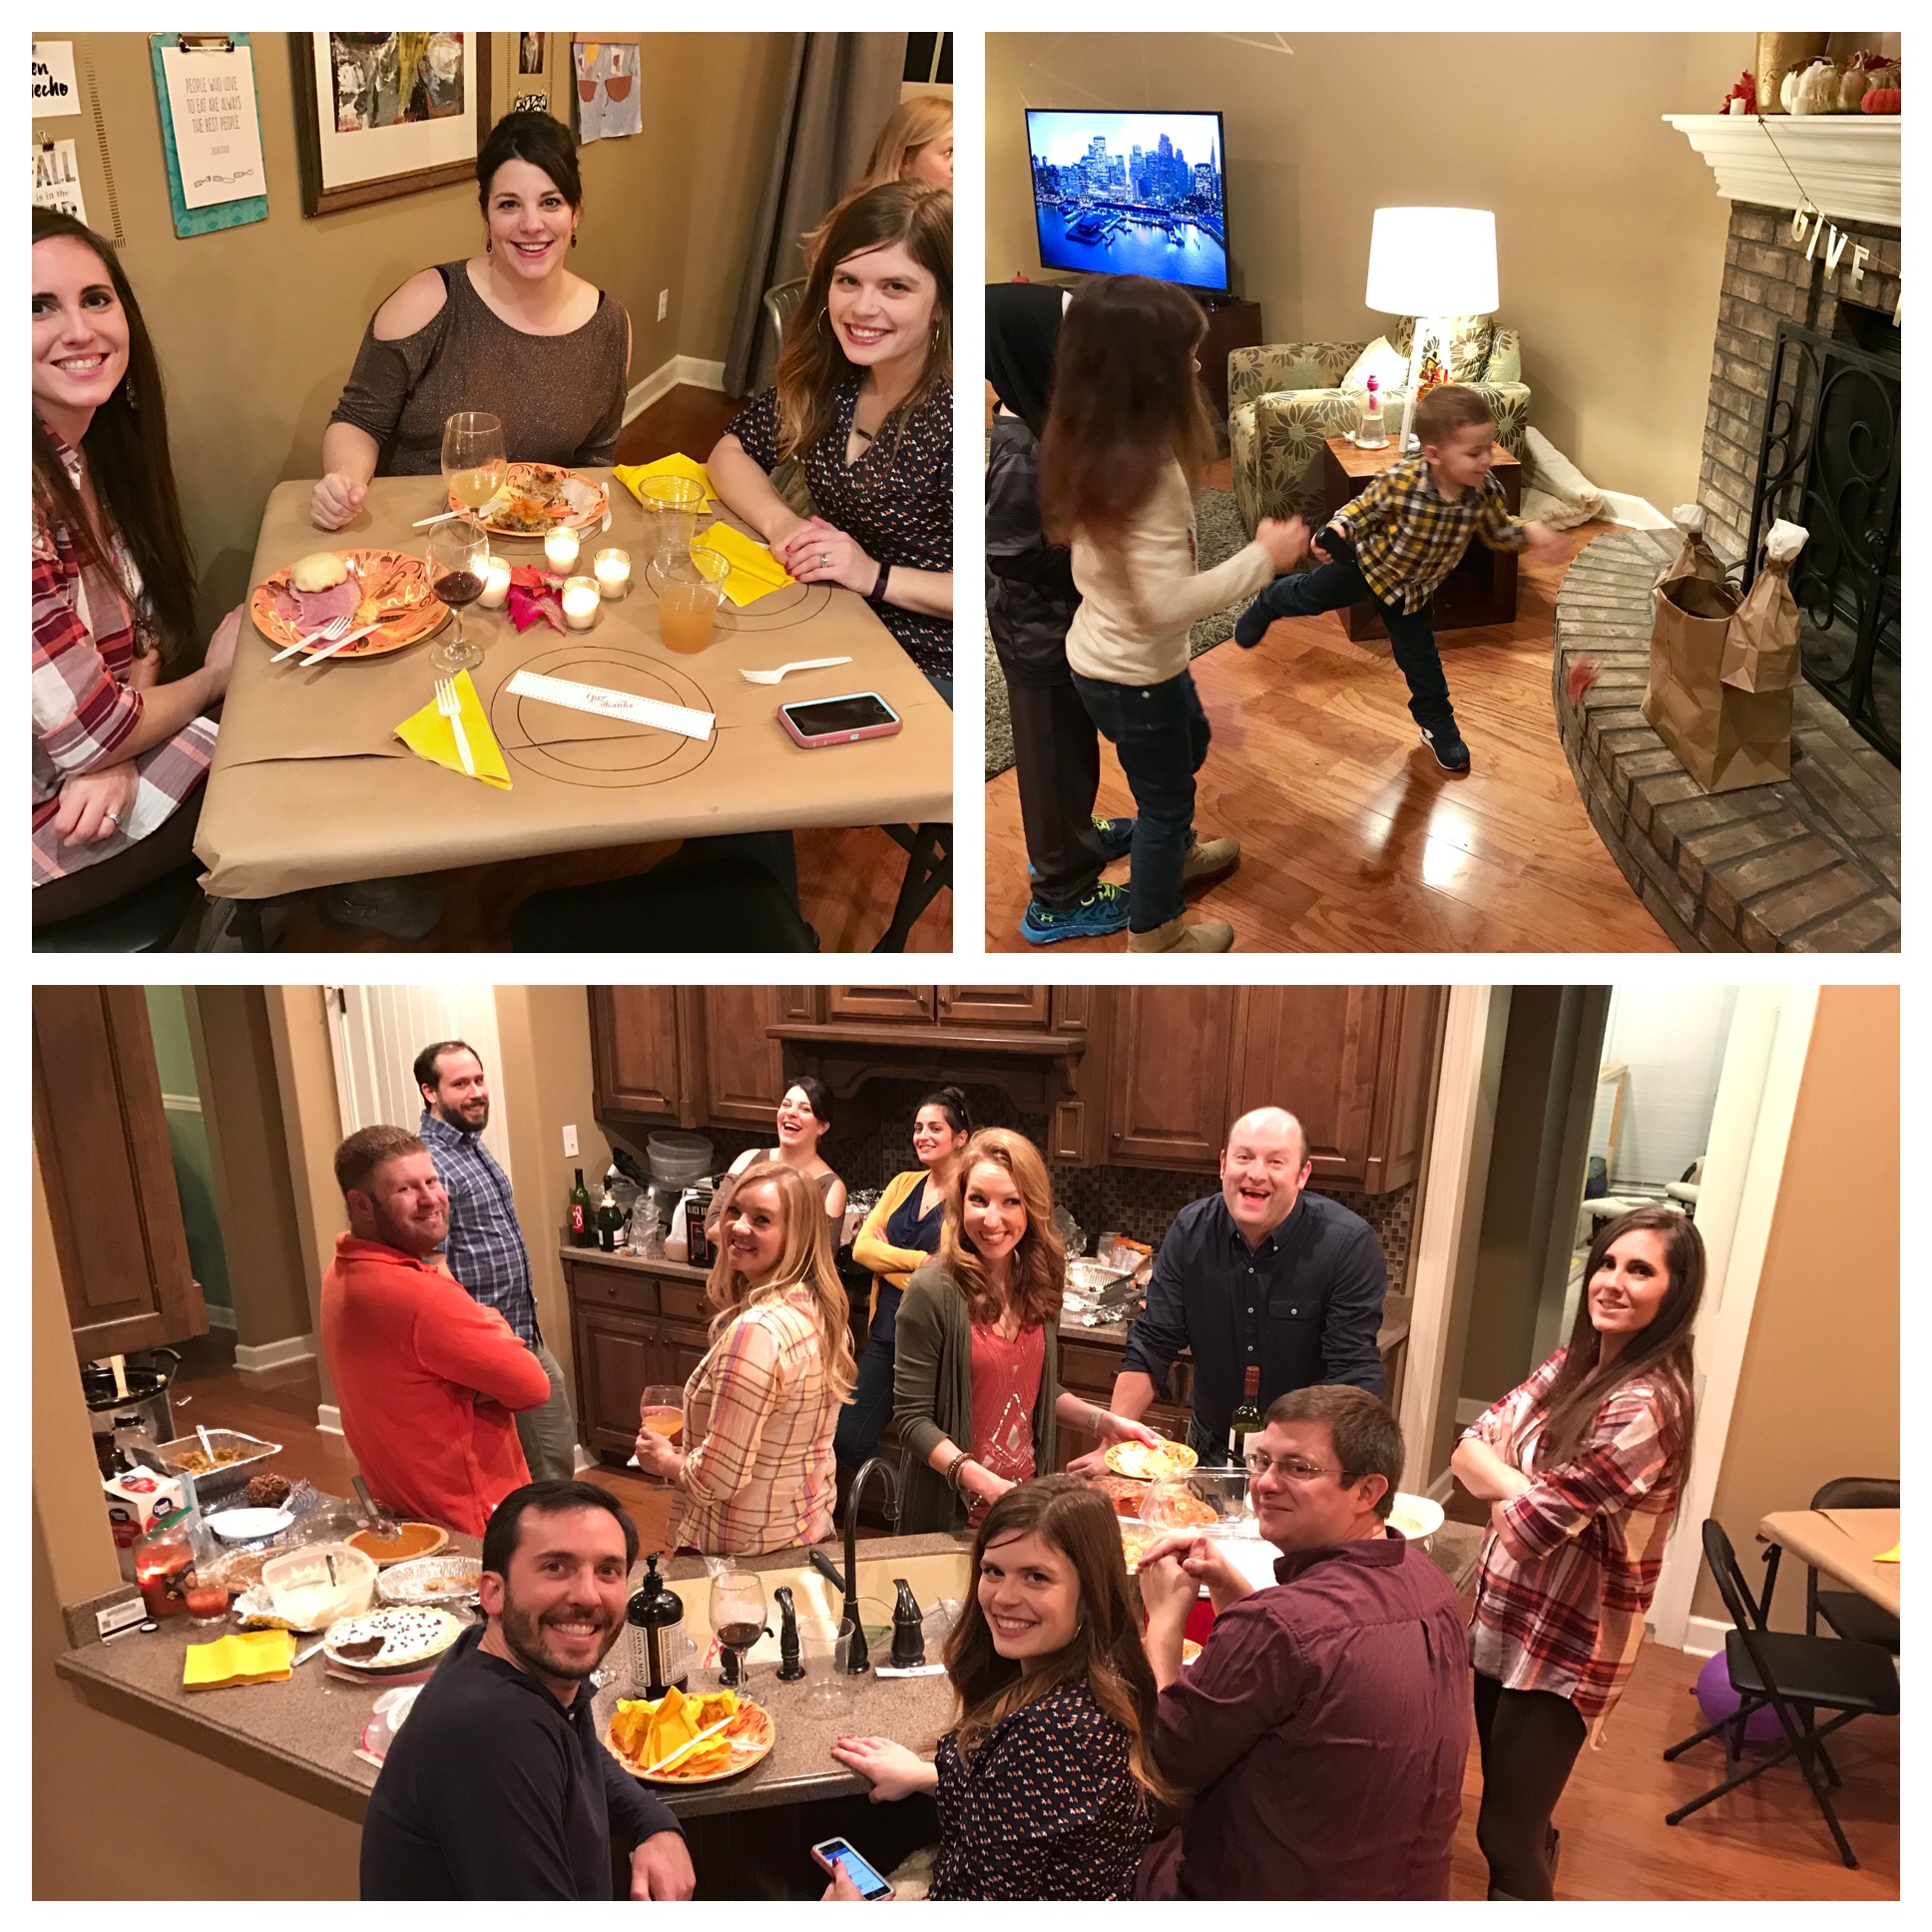
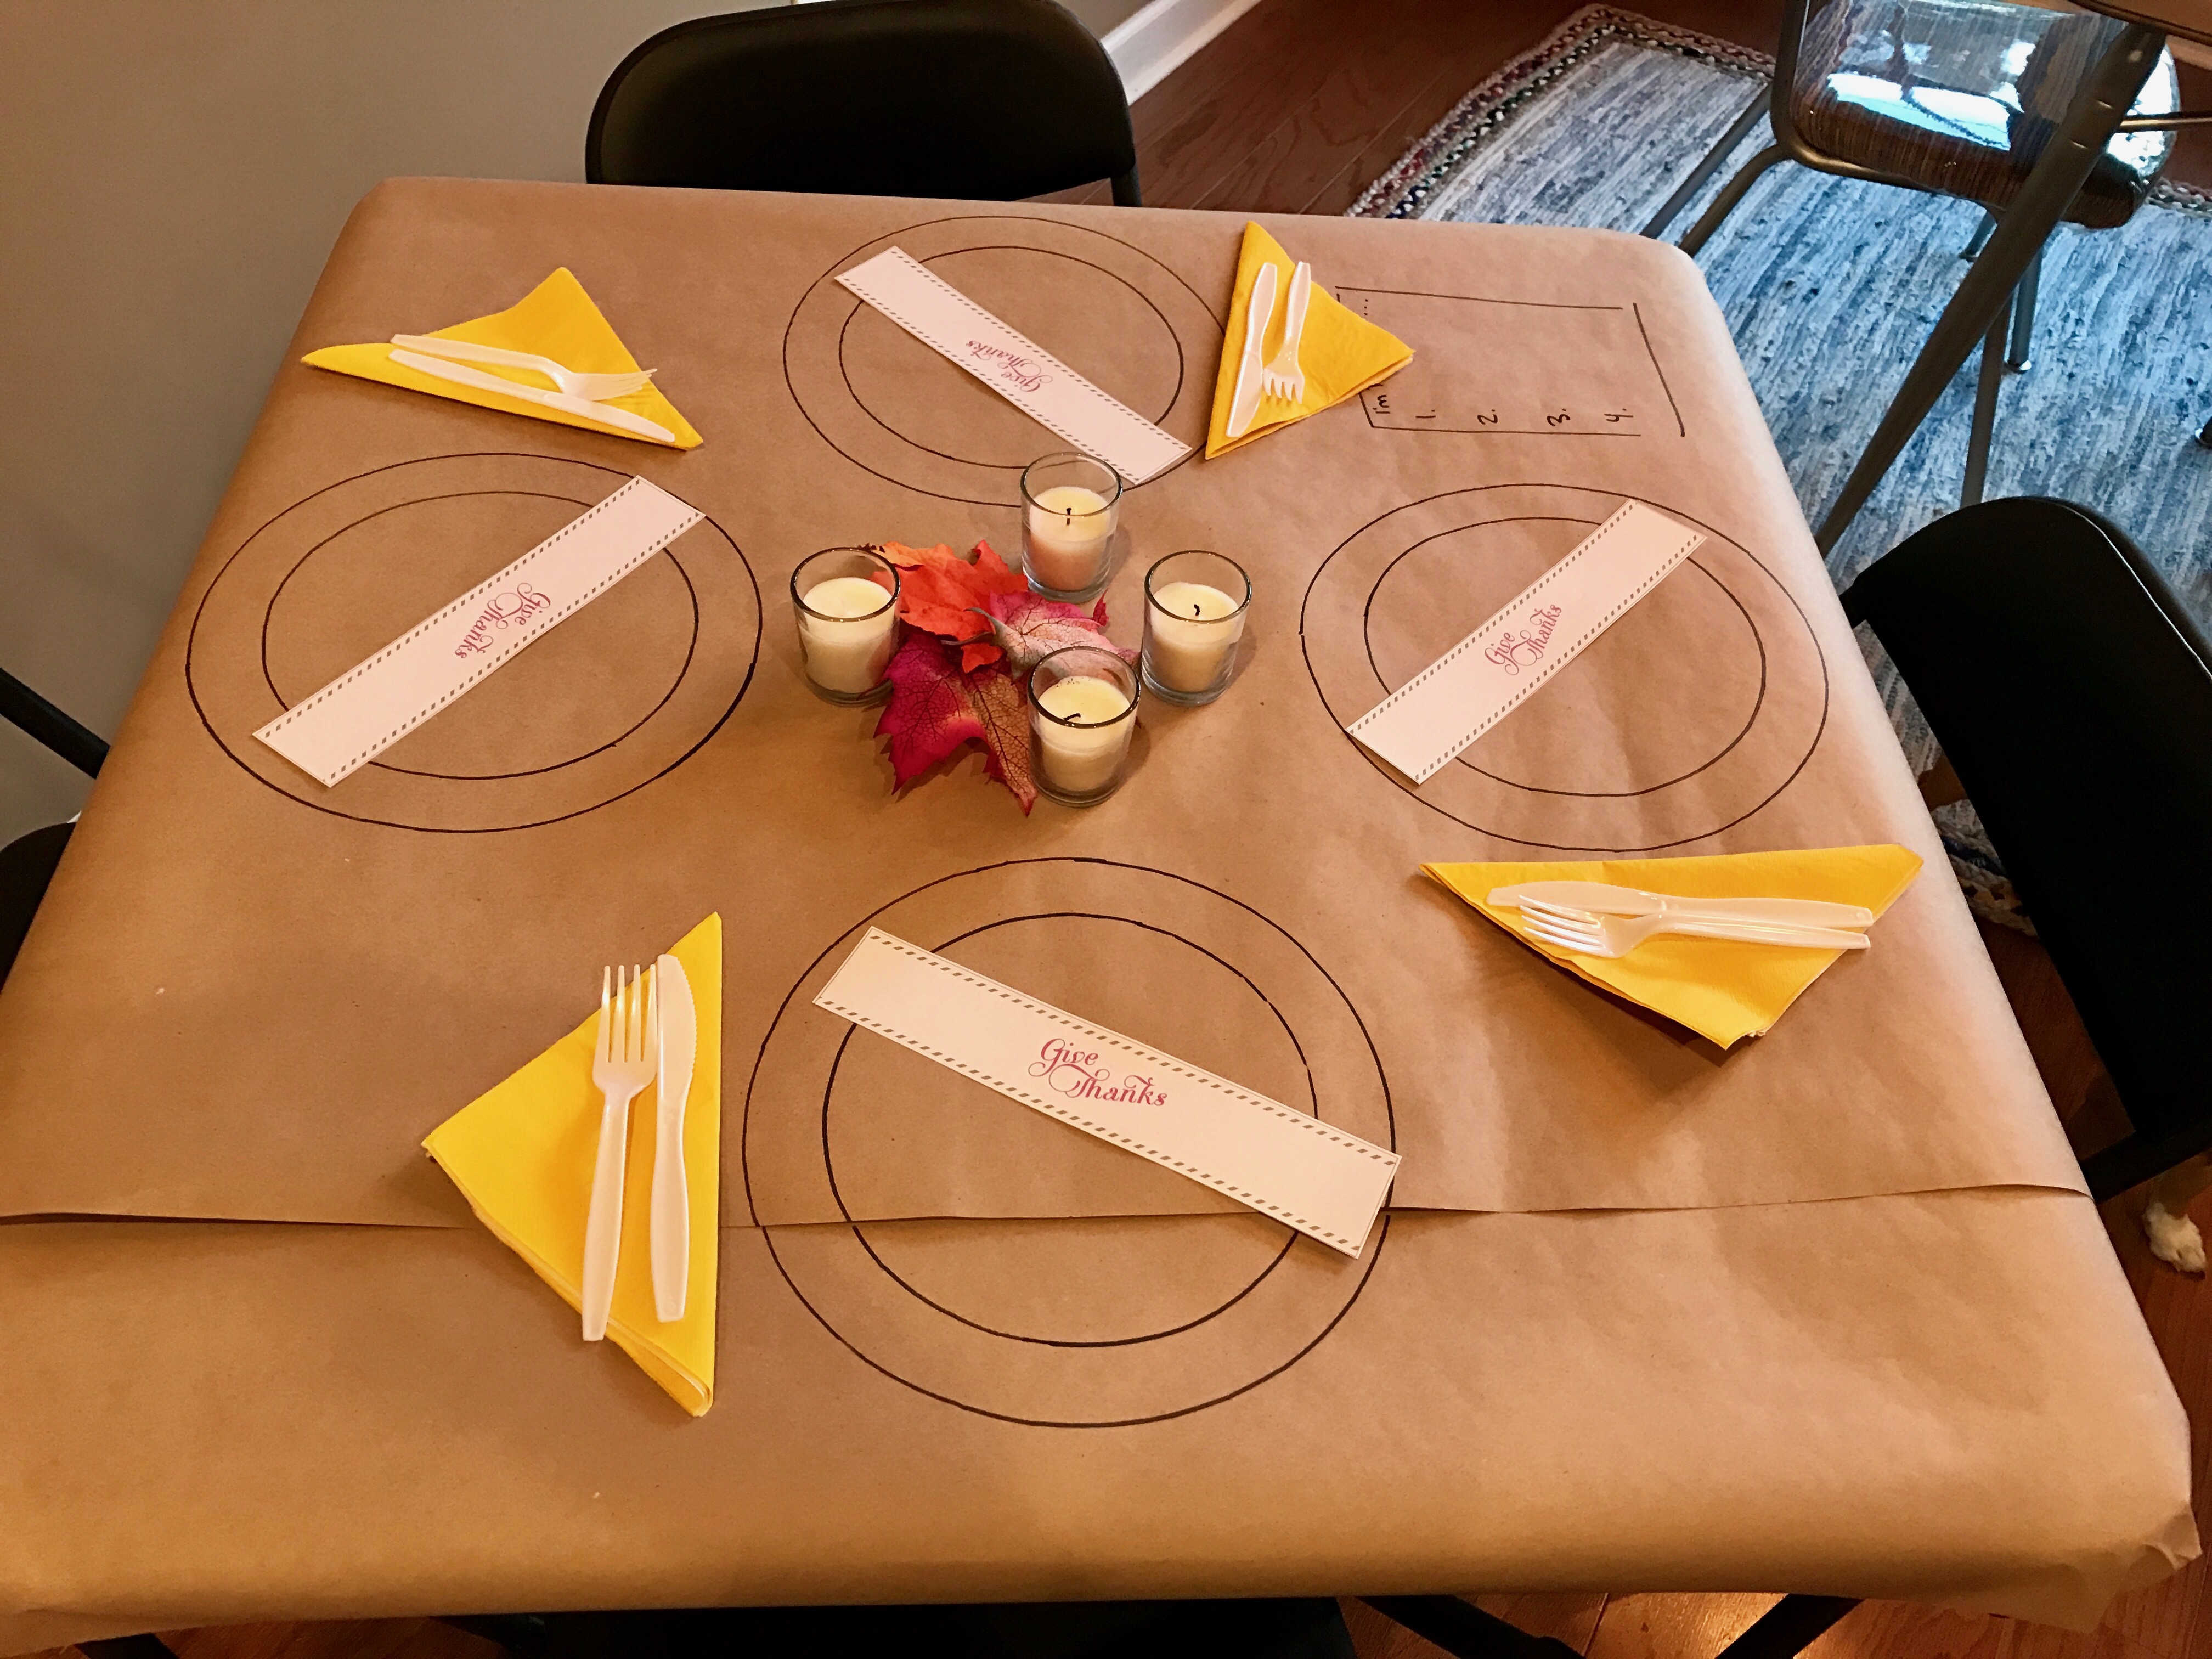
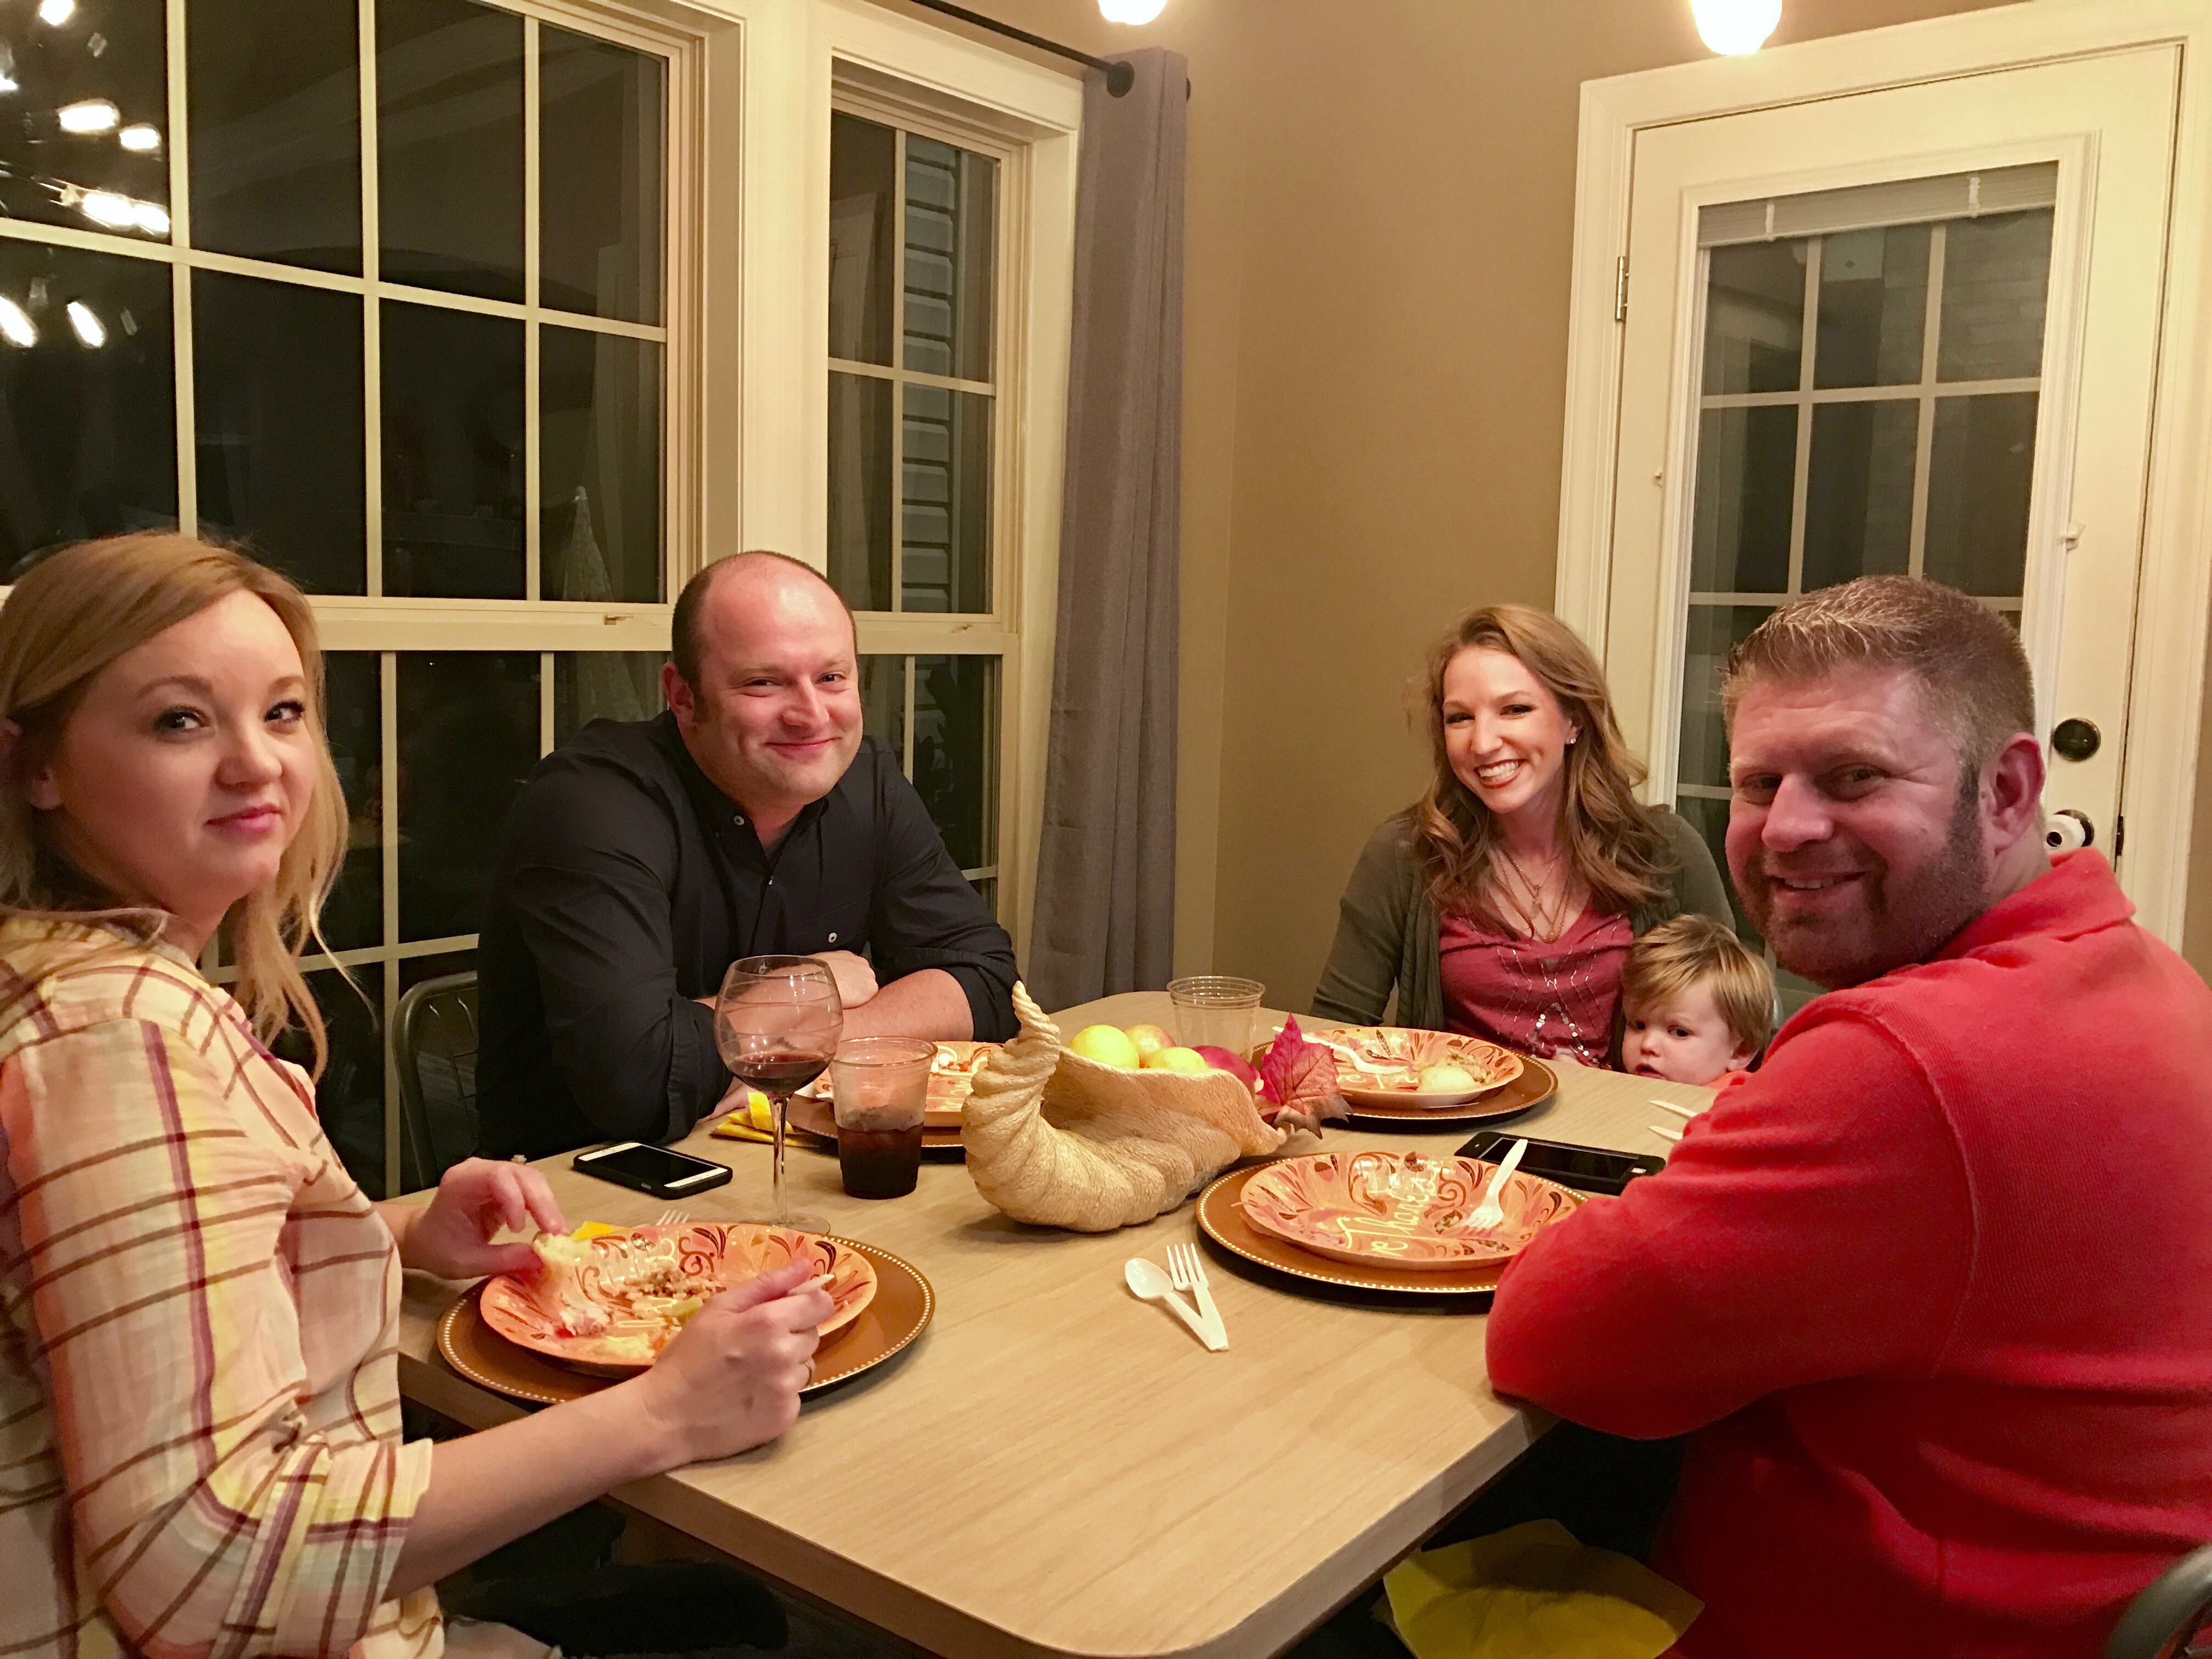
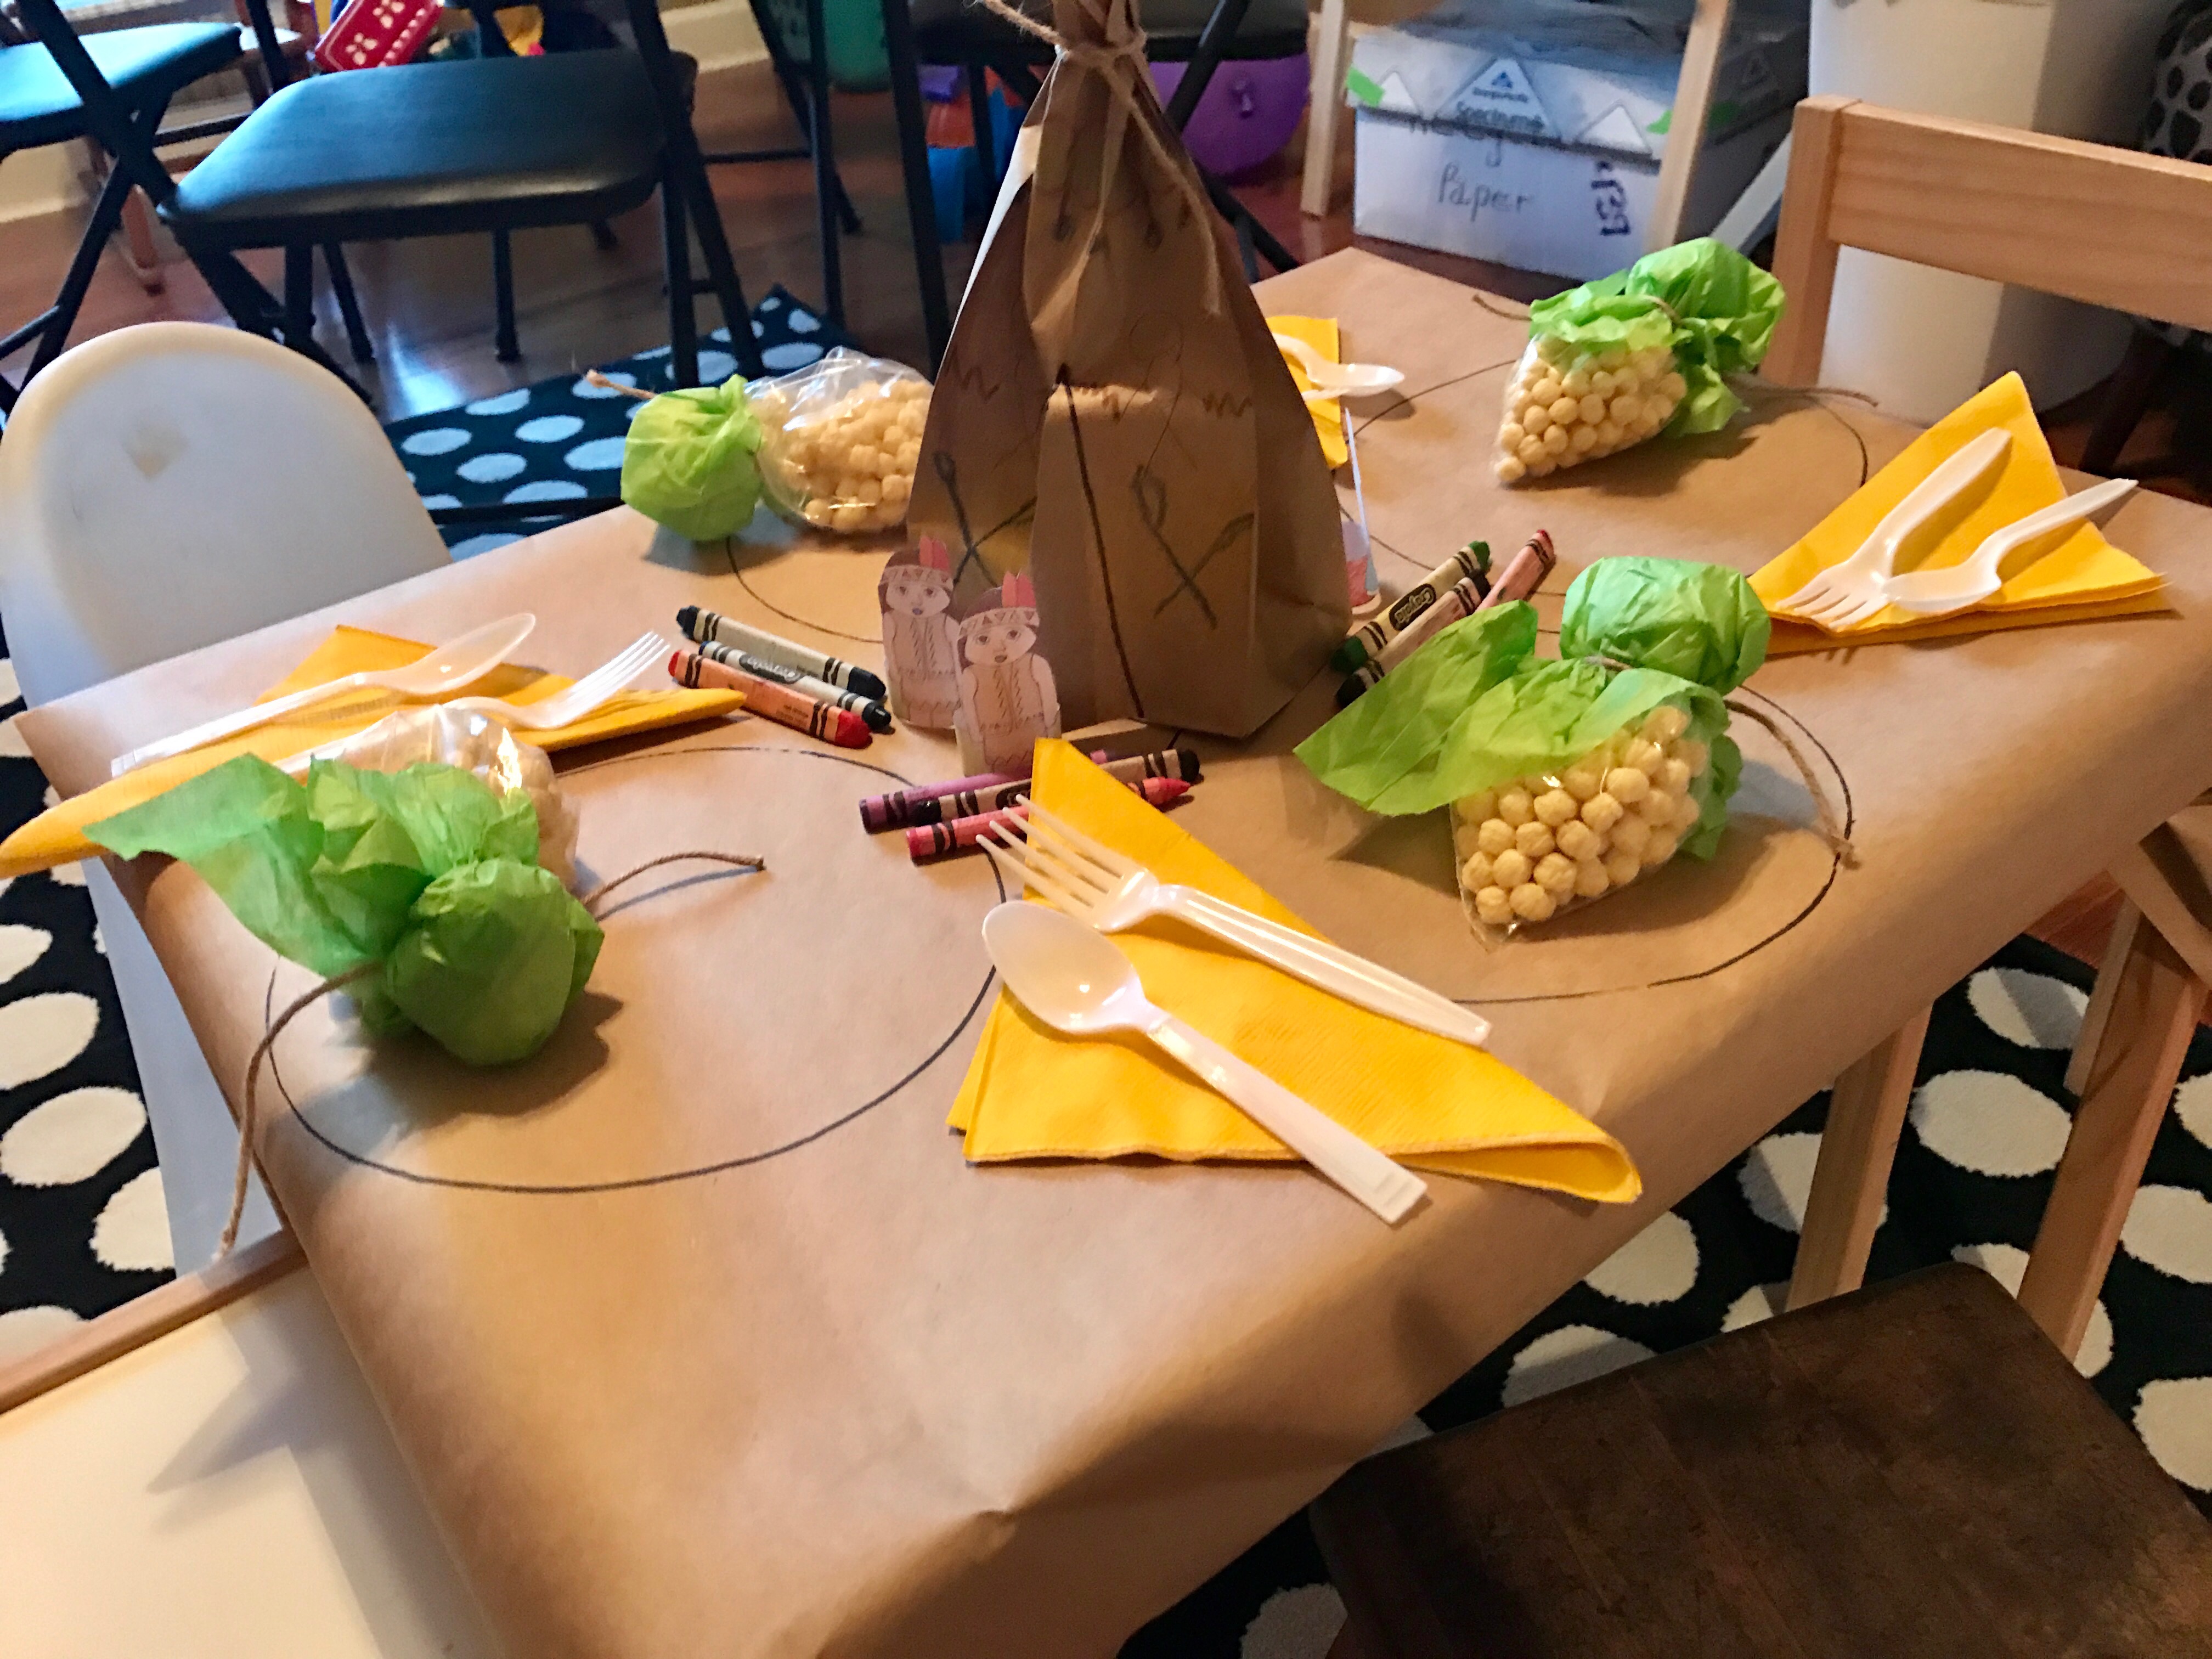
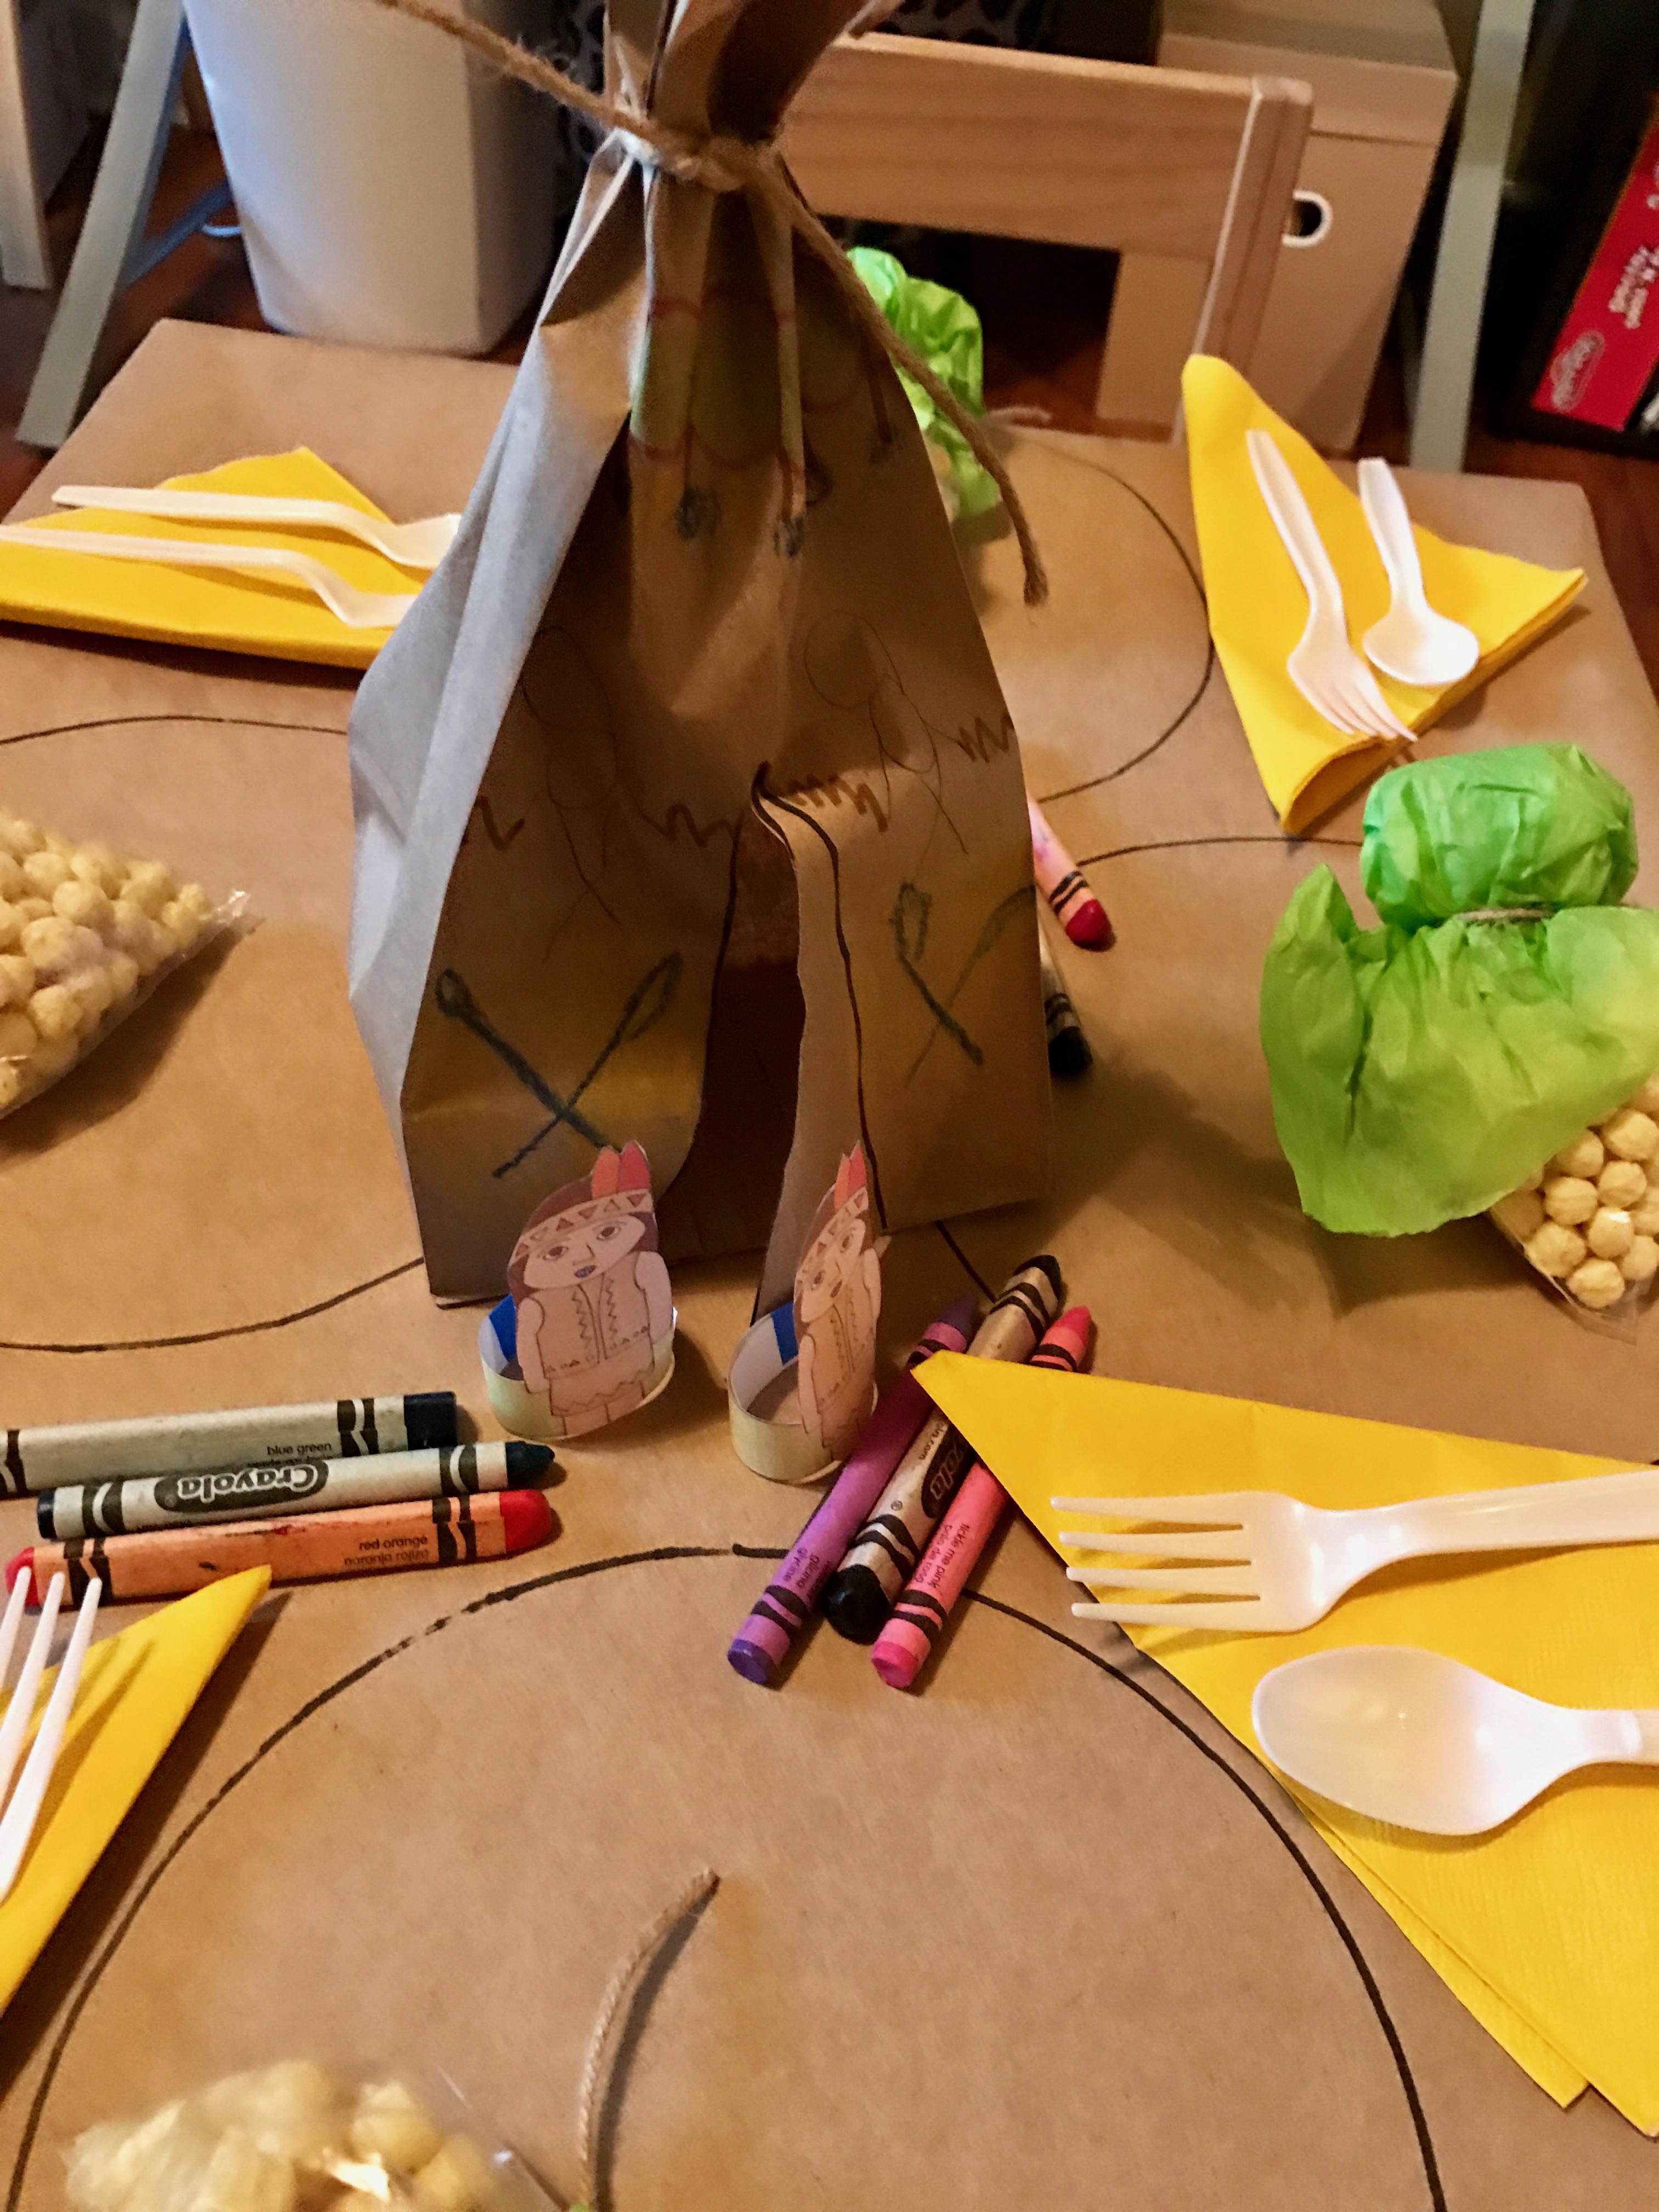
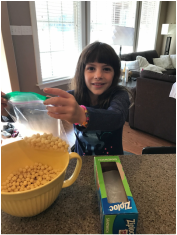
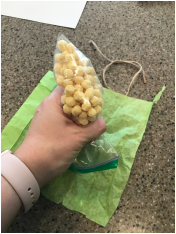
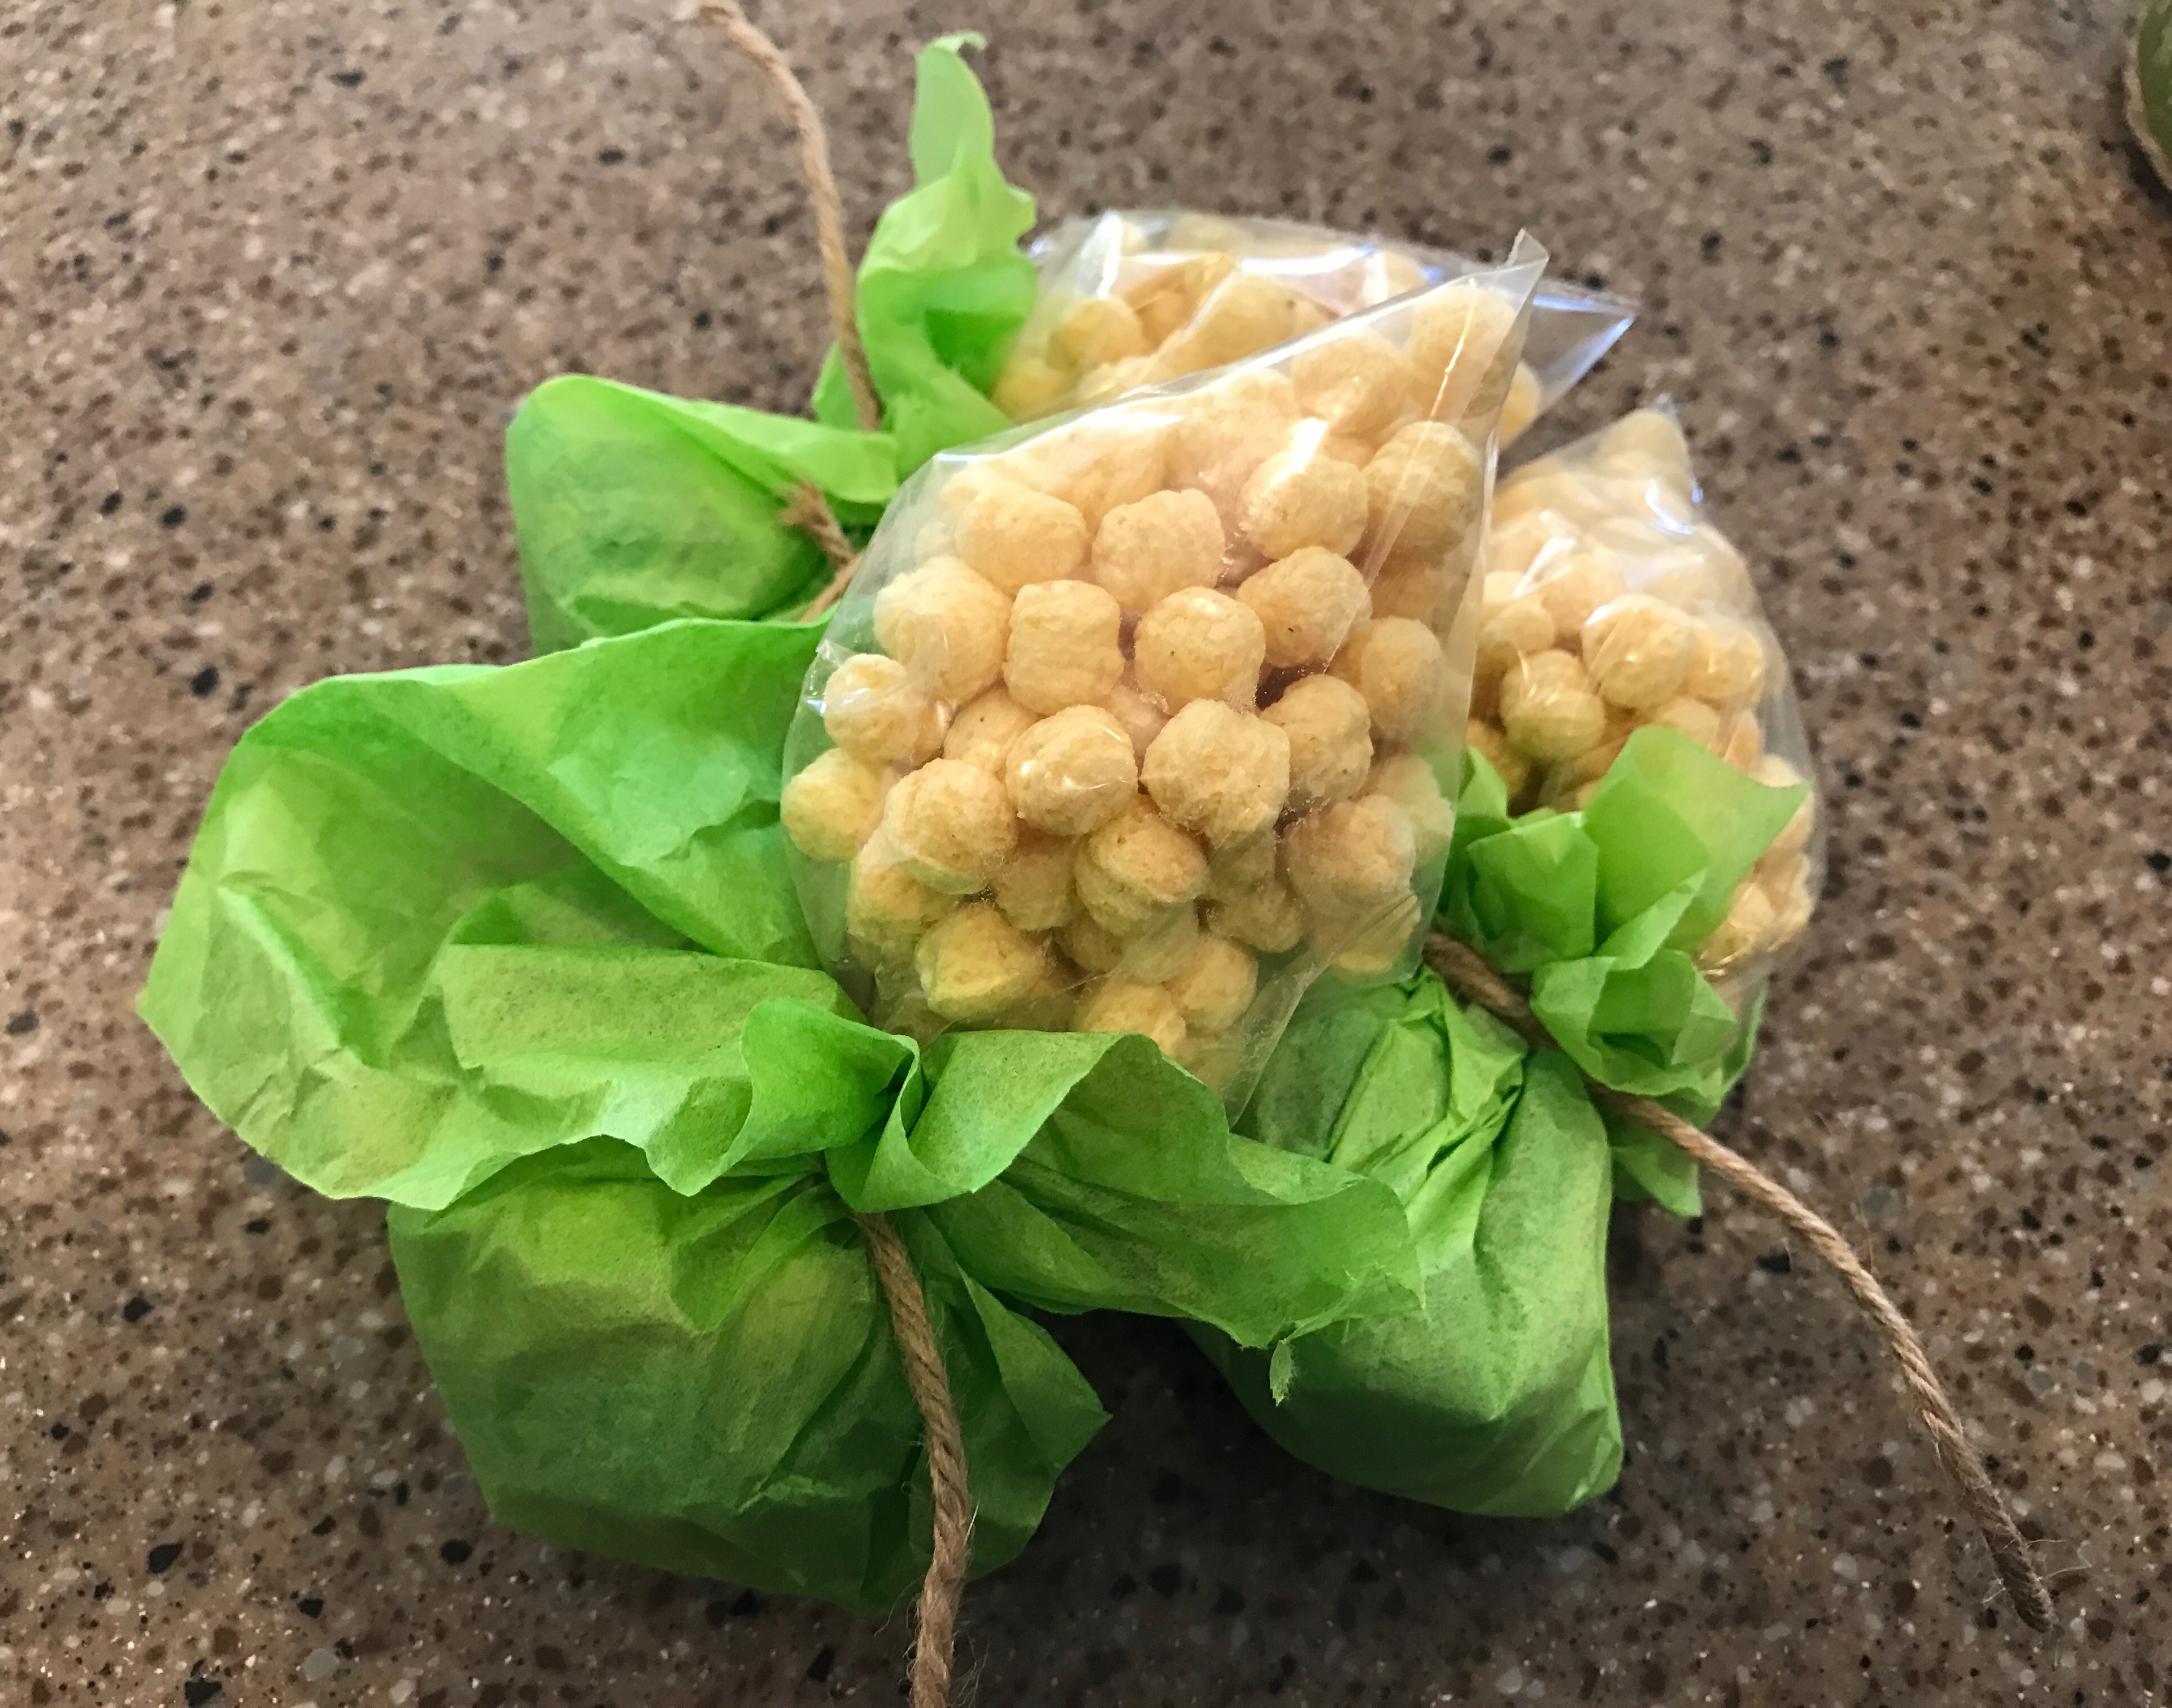
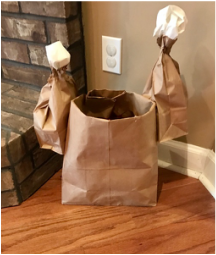
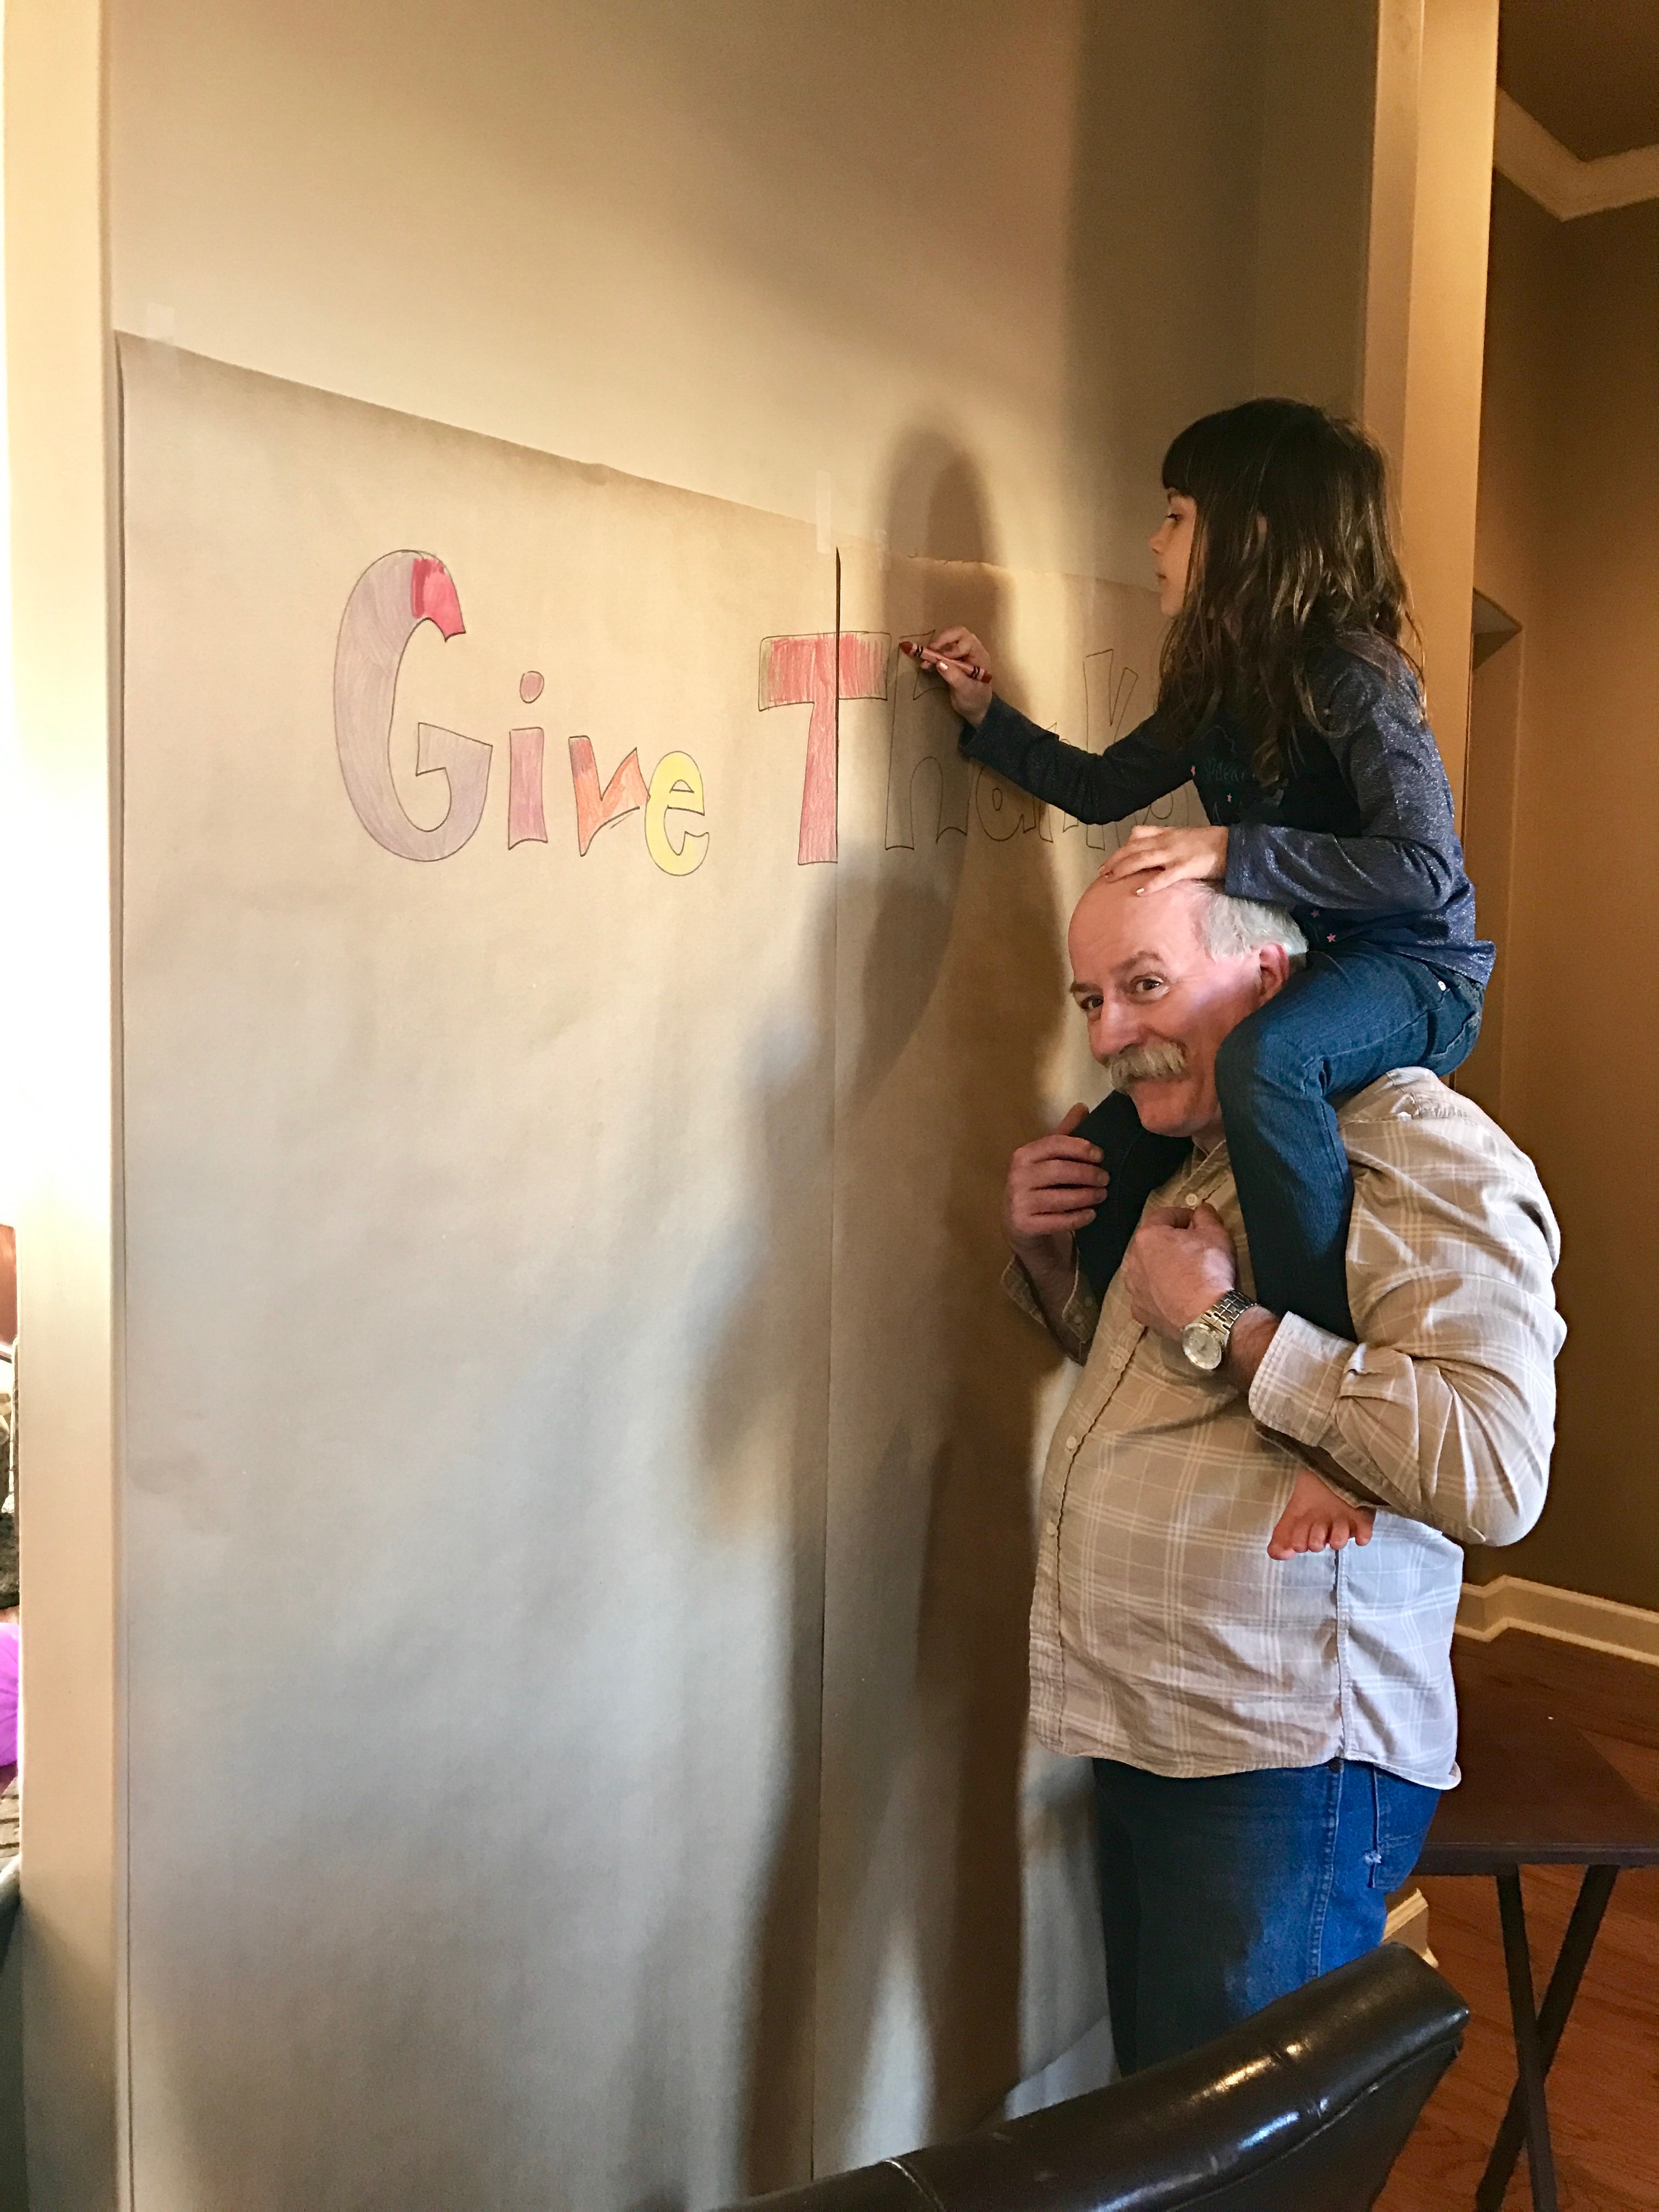
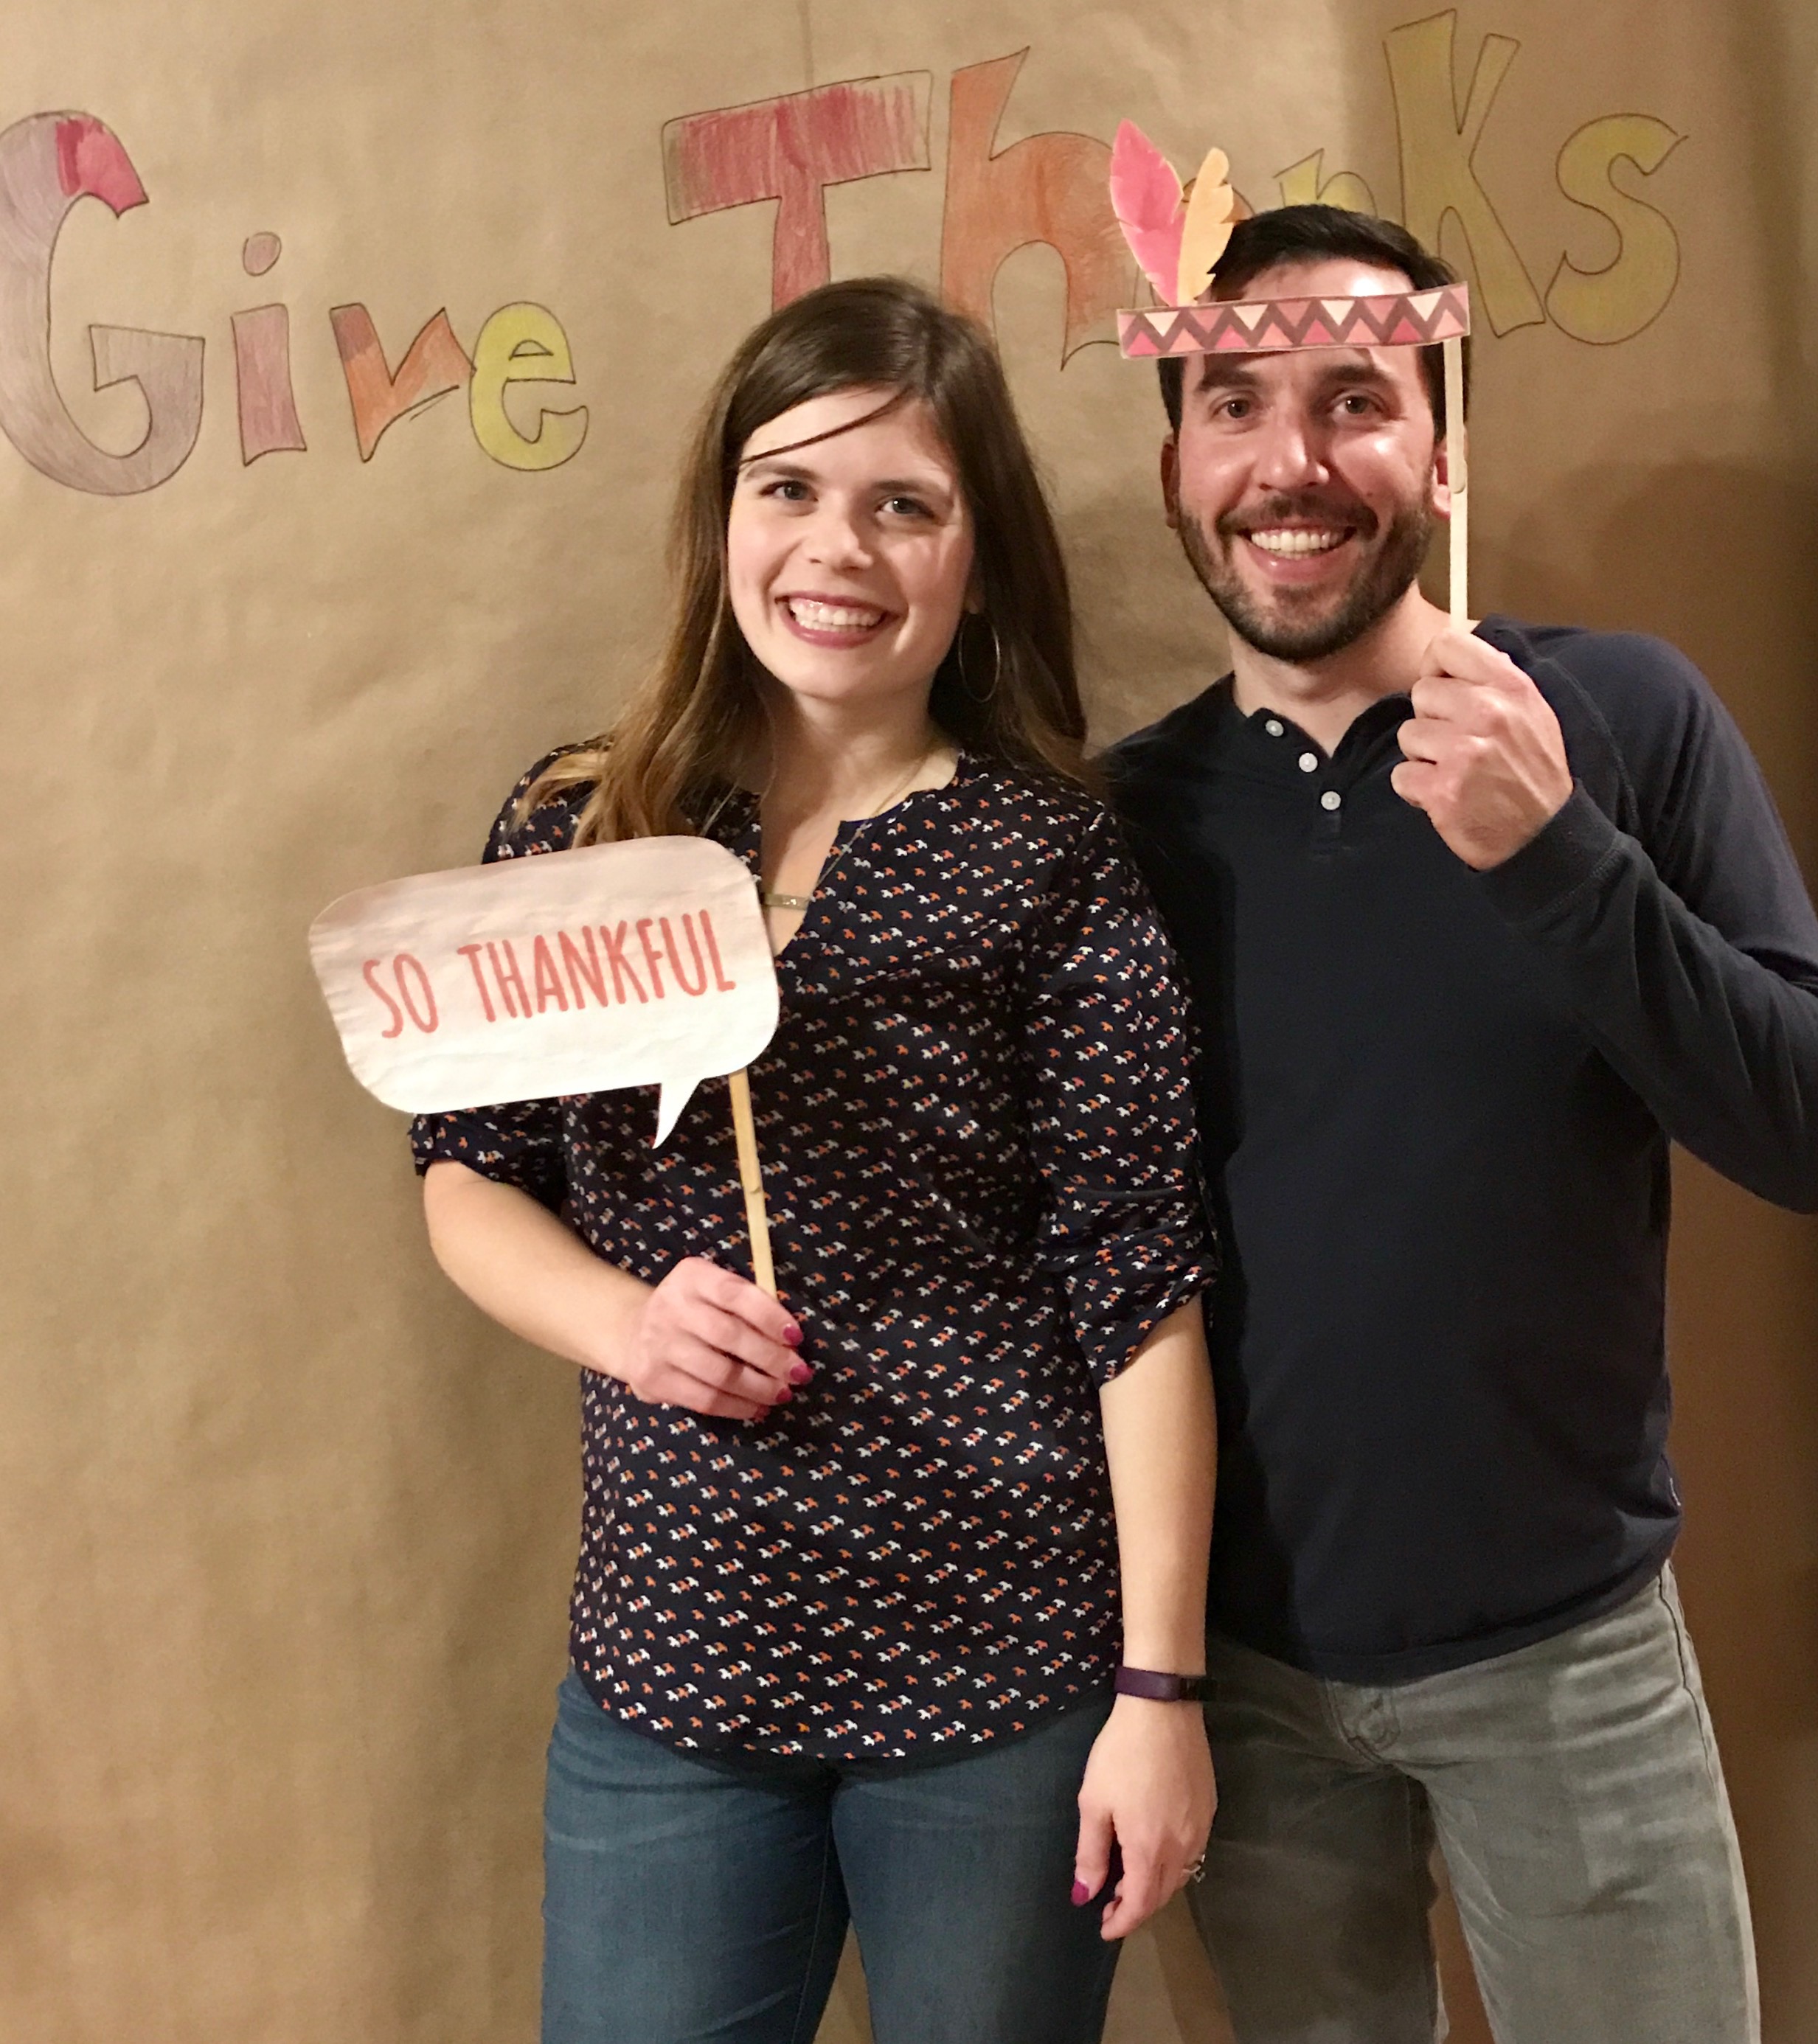
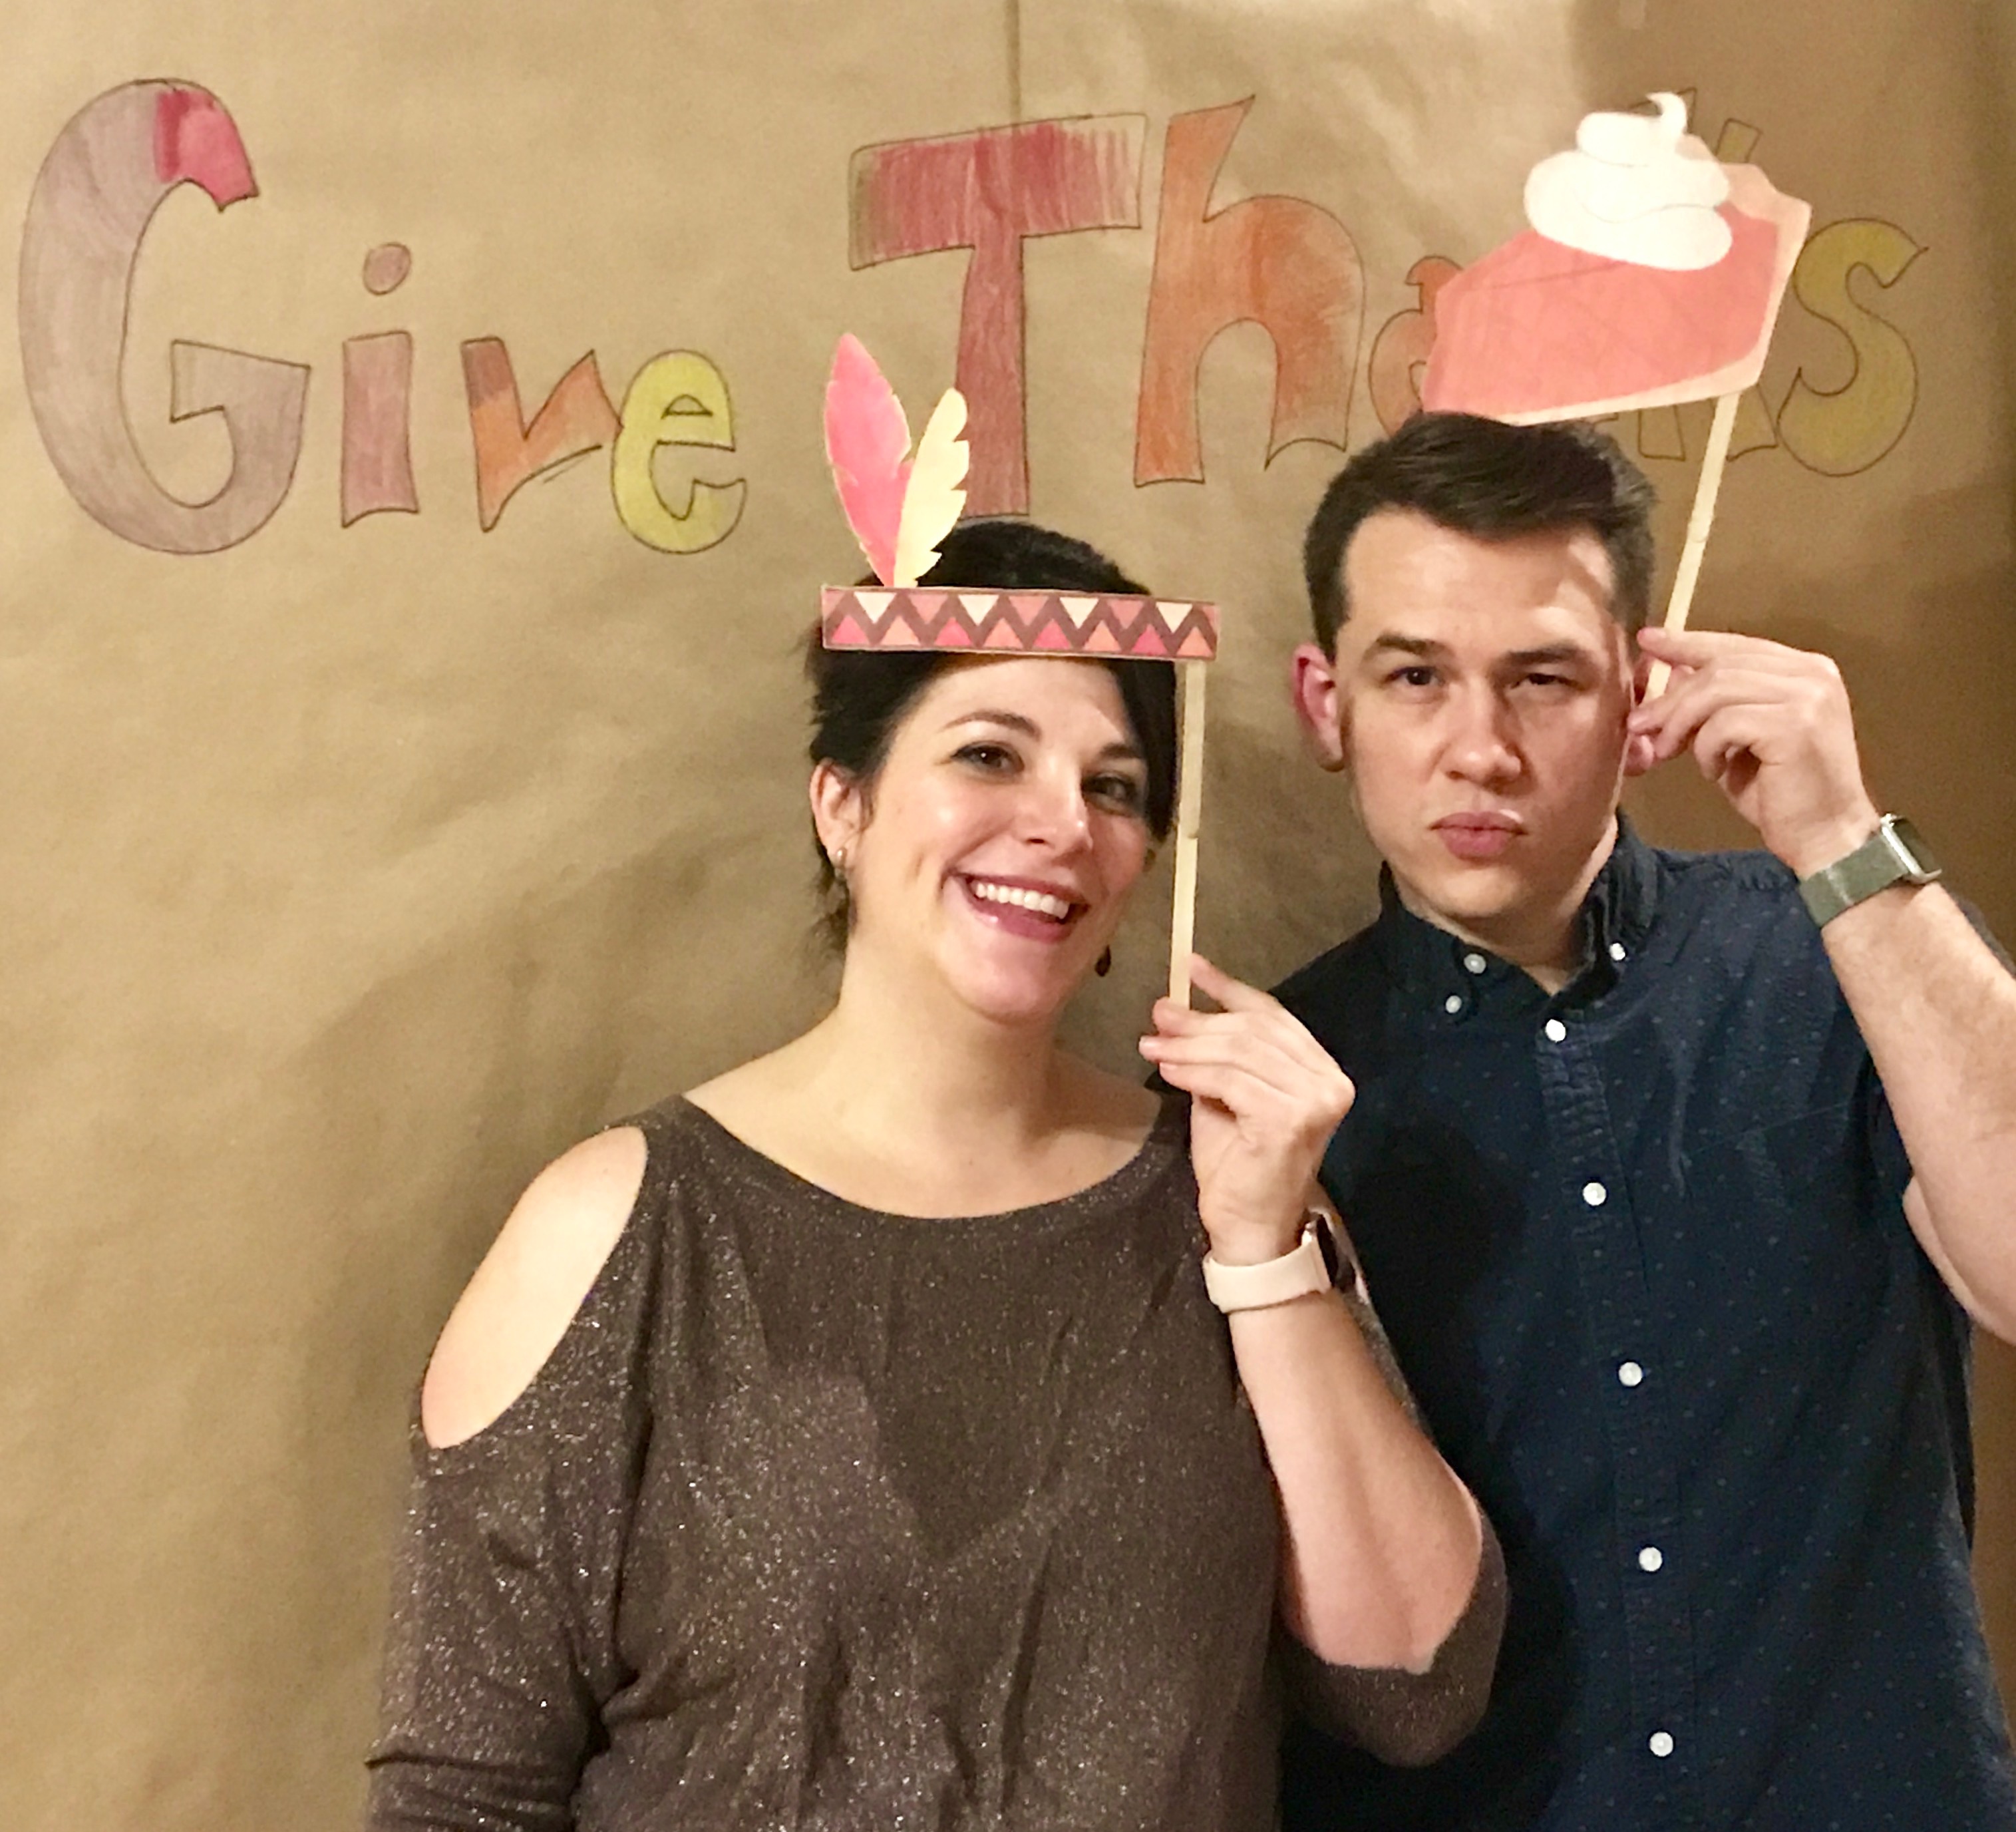
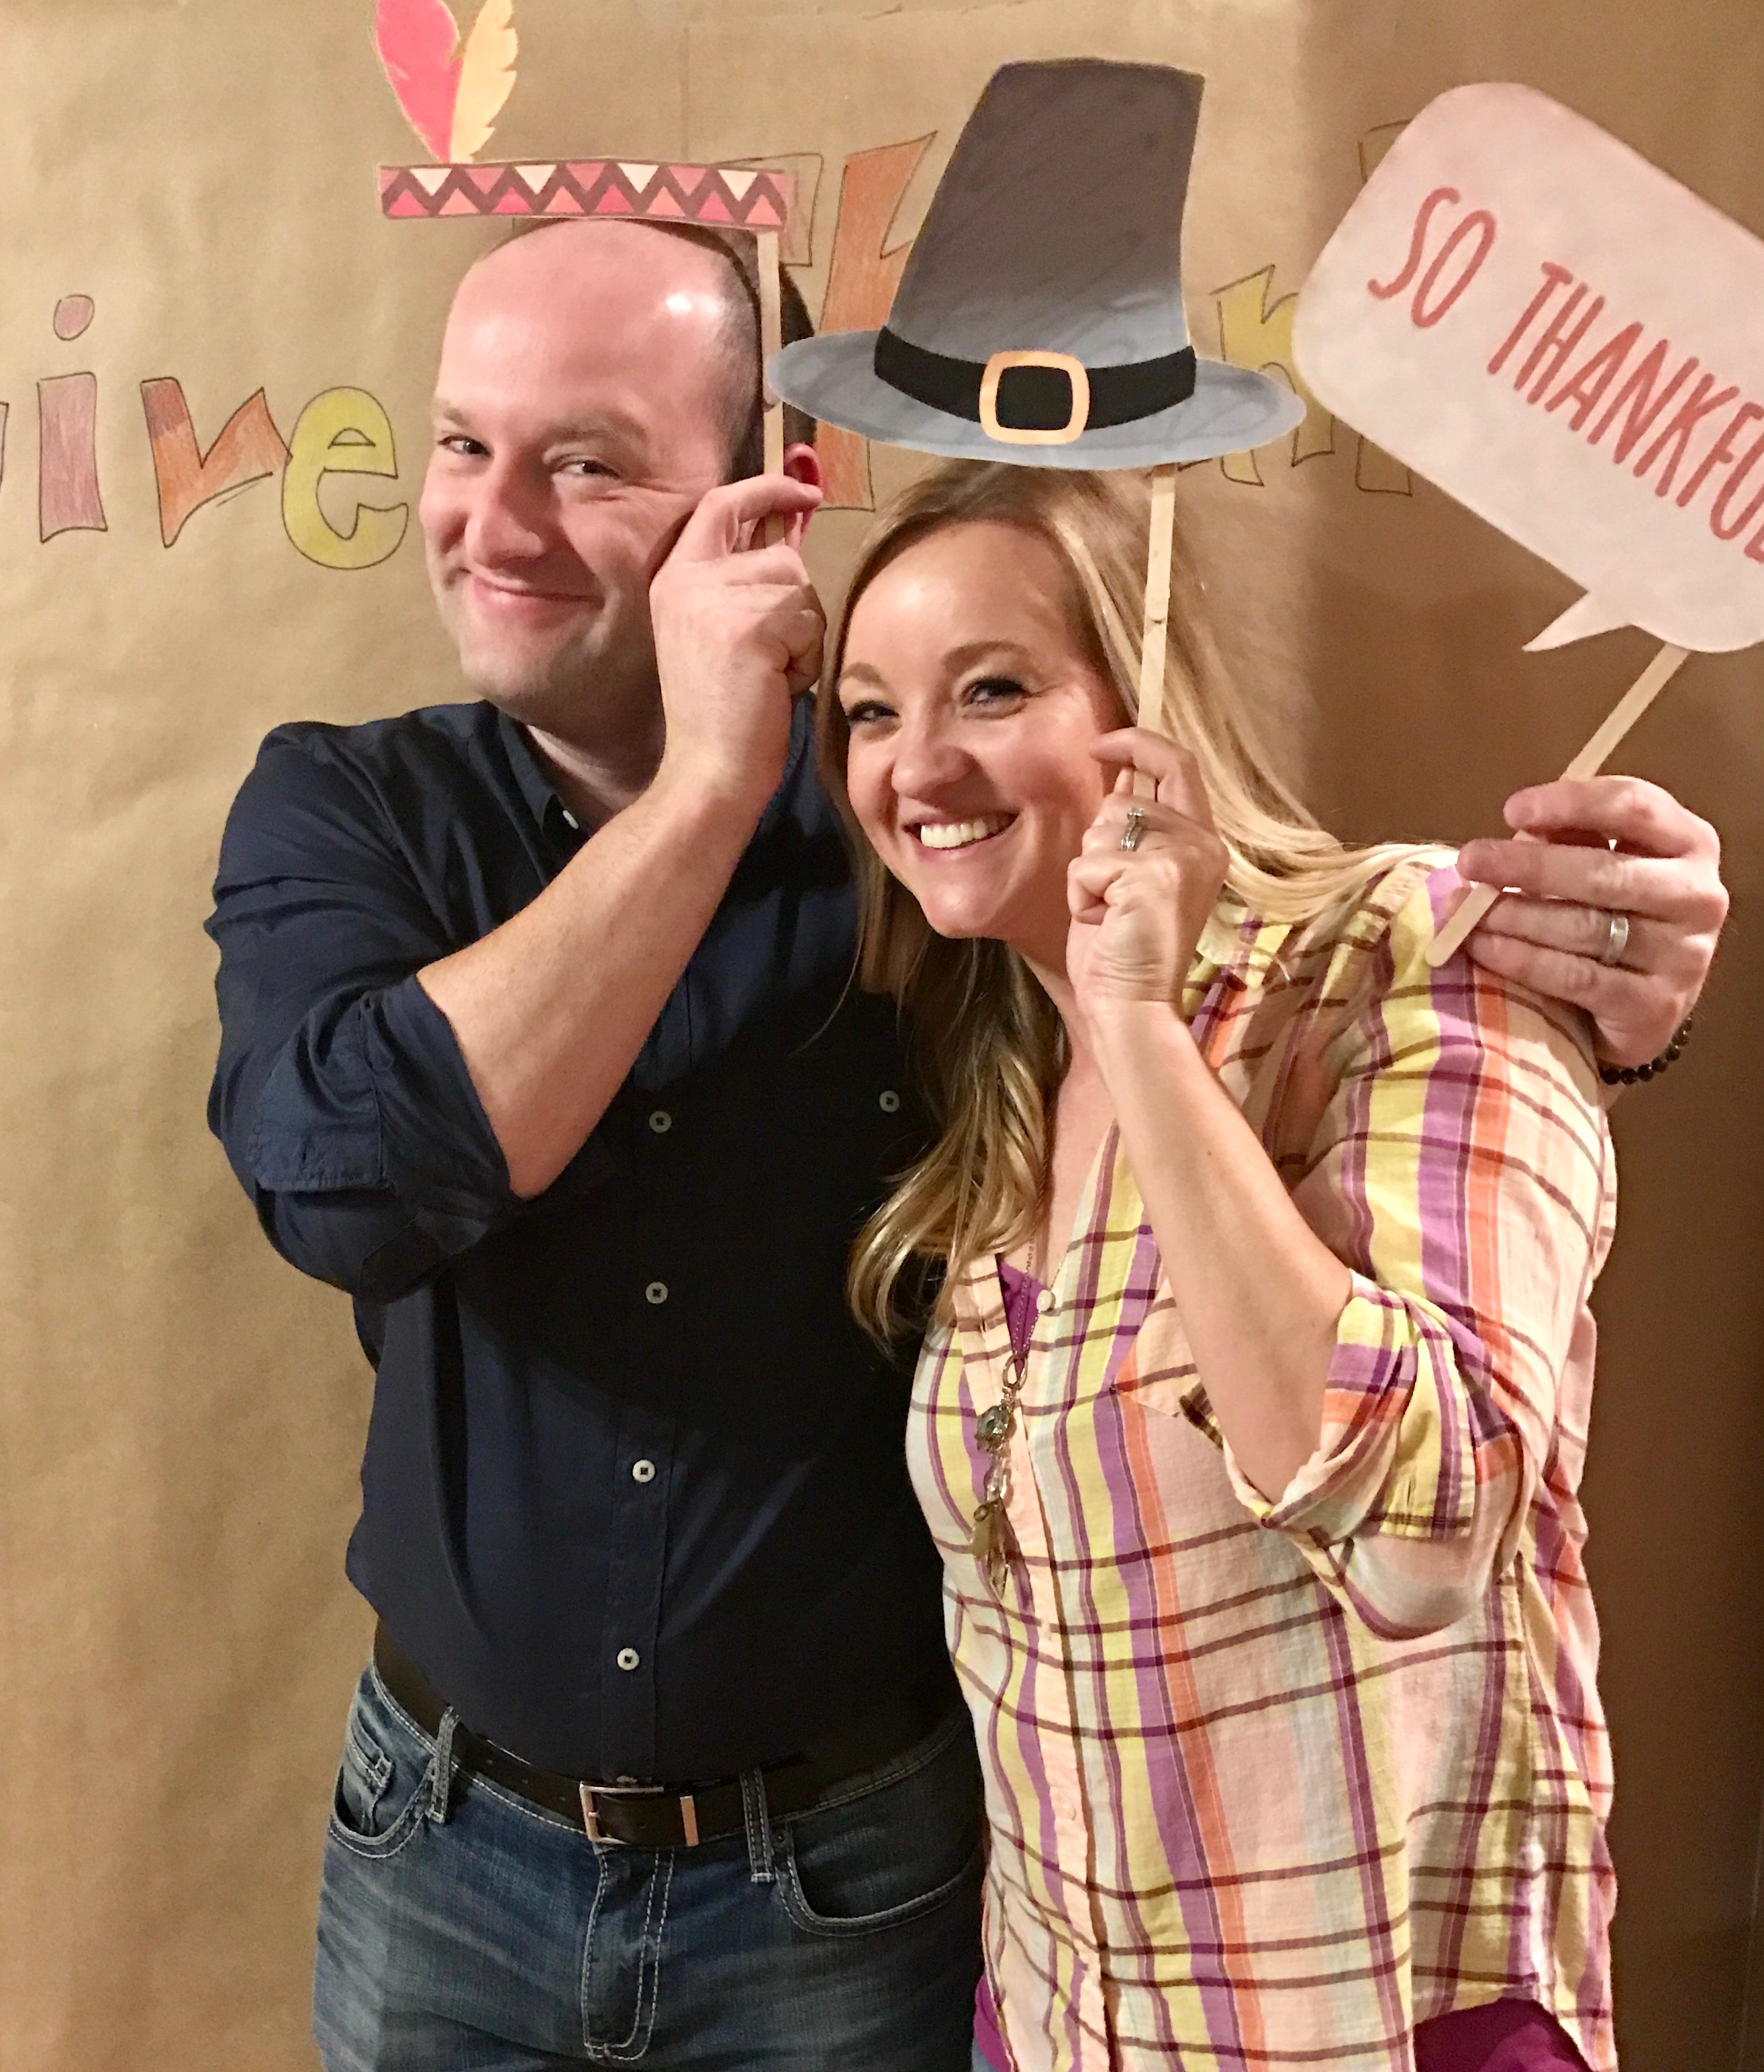
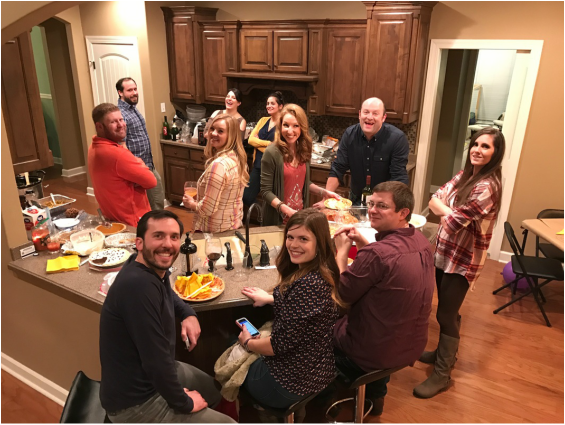
When my husband and I first got married we had several college friends who didn't have anyone to celebrate Thanksgiving with. So, we started hosting a Thanksgiving dinner on Wednesday evening to give those friends a Thanksgiving experience. When we started hosting this ten years ago we cooked everything but it was only for about six people and we didn't have any children. Now, most of our friends have somewhere to go for Thanksgiving so we've moved the event to the Saturday before Thanksgiving and we invite many more people so it's more of a potluck scenario where we cook the turkey and a few sides. By the way, if you want a fool proof turkey recipe you should try Alton Brown's Good Eats Roast Turkey. It's the recipe we've used every year and it always yields a delicious, juicy and flavorful turkey. Out of the several Thanksgivings we attend it is definitely our favorite. There is such great energy with all of our friends and their kids. It truly feels like an extended family. This year we got to host it at our new house which made the event even more awesome than ever before because we had more space for everyone including the 10 rowdy kids! With the layout of our new home, the dining room and breakfast nook were both large enough to add an additional table which allowed us to visit in larger groups while eating that in previous years. The house also has a room that is towards the back end of the house and I set that room up as the kids room giving the adults a little distance from the ruckus that they created. For table decorations I used brown butcher paper to cover our folding tables and then drew place settings with a sharpie. Then I added some white votives and faux fall leaves to the center. I printed out some free napkin rings but they were too big for the paper napkins and plastic silverware I was using so we just laid them across the drawn place setting and put the napkin and silverware on the side. I had a tablecloth and centerpiece on the main dining table and placed golden chargers at each setting with he same napkin ring/decorative paper strip, napkin and silverware and used a ceramic cornucopia filled with fruit for the breakfast nook table. For the kids tables I copied the adult tables by using craft paper and faux place settings but for the center I placed paper bag teepees made by my daughter and paper finger puppet pilgrims and indians. I also put a snack bag of Kix cereal that was dressed up to look like corn on the cob at each setting. To entertain the kids I provided indian headdresses for them to color and wear and crayons at the center of the tables. I also made a "Stuff the Turkey" game by following this tutorial which entertained the kids for at least a few minutes. Stuff the turkey was also a quick craft and I only needed a large paper bag, two small paper bags, white tissue paper (I ended up using white paper towels), several sheets of colored paper (for stuffing), a hot glue gun and a stapler. I followed directions found here.
We had a ton of food and a really great time! We even had a small break at around 8:30 for parents to take kids home and put them to bed. Then we reconvened for more adult time while sitters stayed with the sleeping children. It was pretty fun! Hopefully this event will continue to grow and be as much fun year after year. Enjoy the ideas and have a great Thanksgiving!
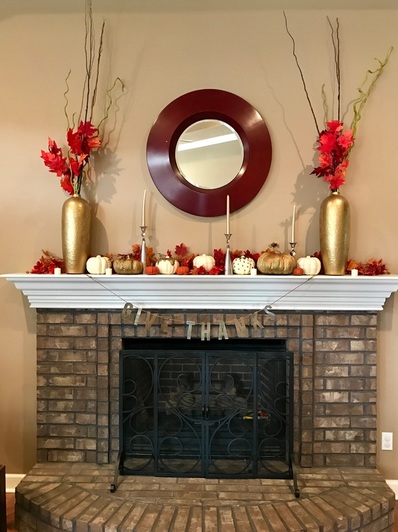
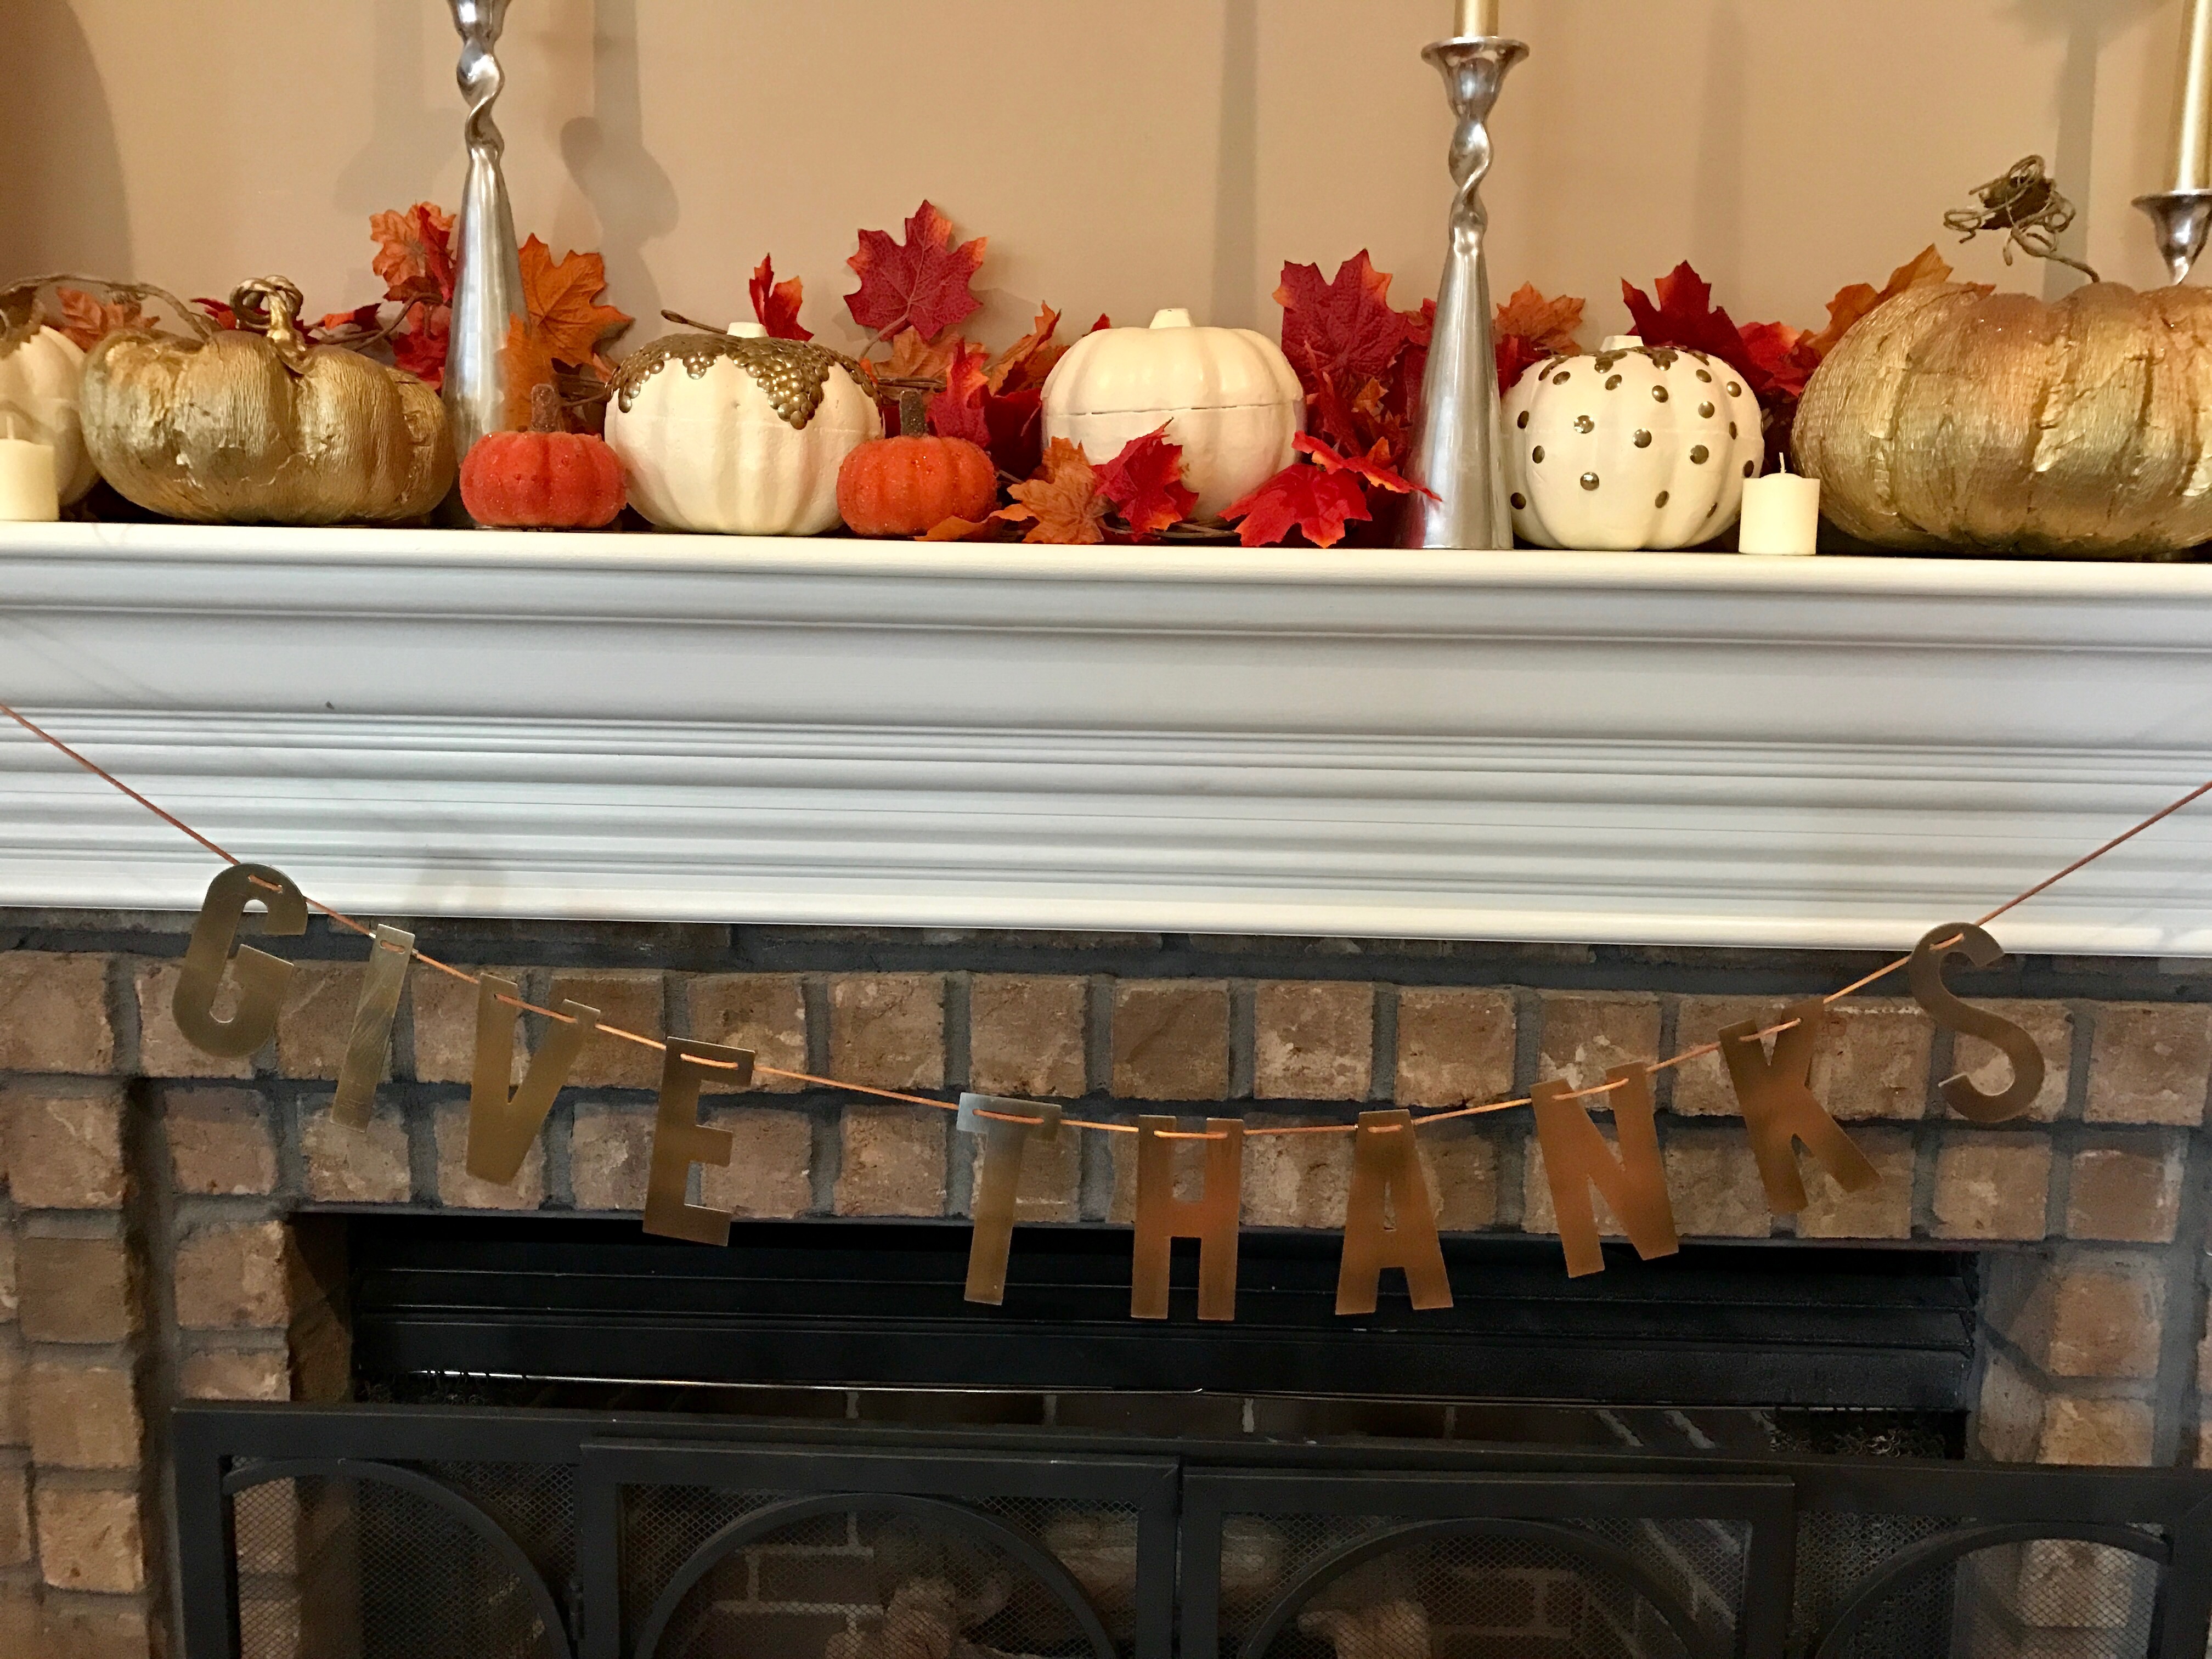
Now that I'm in my new house, decorating for holidays is a whole new adventure! I get to rethink and analyze how I can use my old decor to fit the new space. Over the years I have accrued numerous pumpkins for my fall decorating. Some I purchased on sale at Hobby Lobby and some I made using foam pumpkins from the dollar store, white paint and thumbtacks. (You can see a tutorial I used here.) I also had a garland of fall leaves and some sprigs of fall leaves. So, I began playing around with what I had and ended up creating a pretty nice looking miss mash of my old stuff. The only new thing I purchased was the metal "Give Thanks" banner from Target which I got on sale for only $7! The key is to make sure you have a few different sizes and colors of pumpkins to give the mantle the right look. I'm sure I'll change it up every year but, I'm pretty happy with it this year.
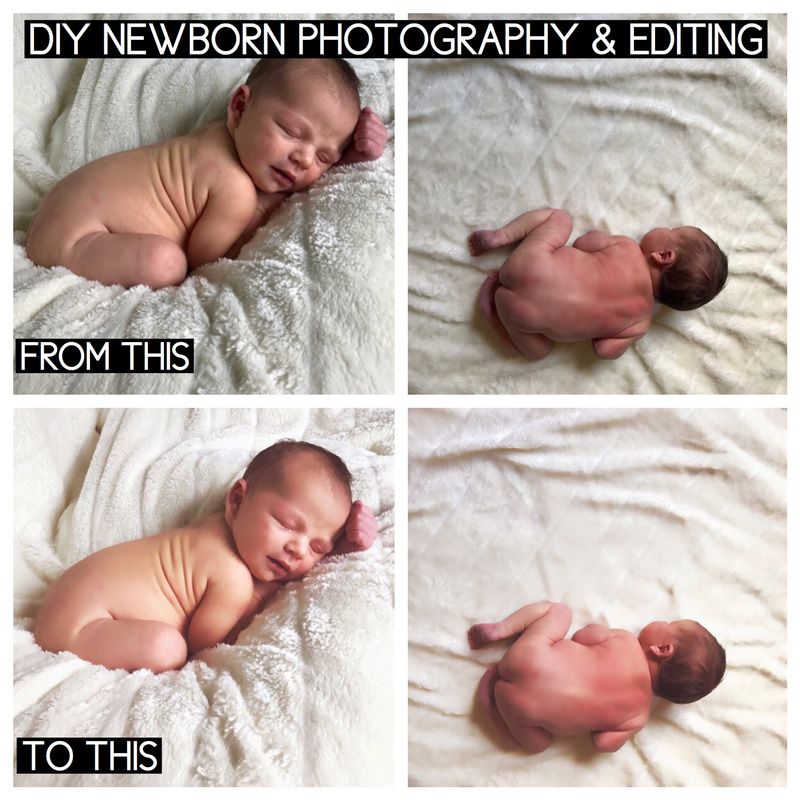
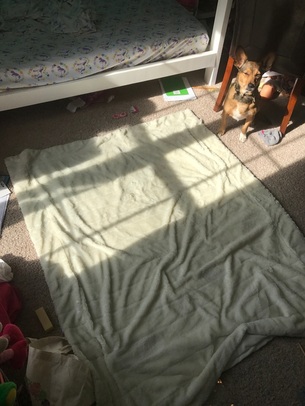
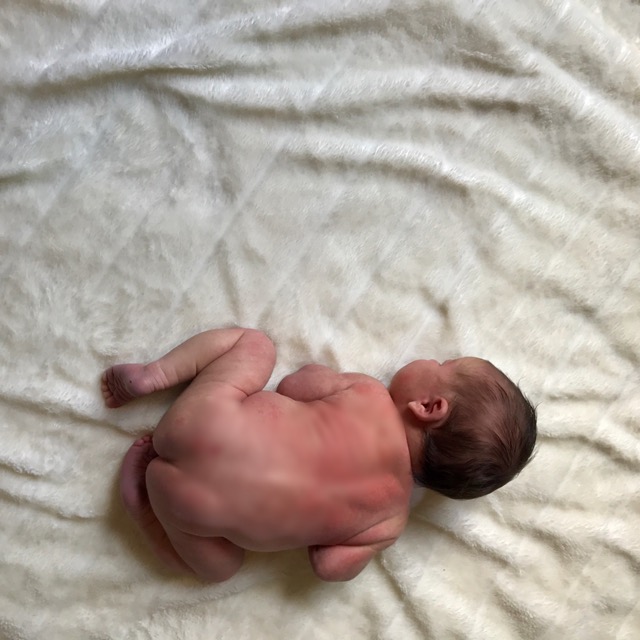
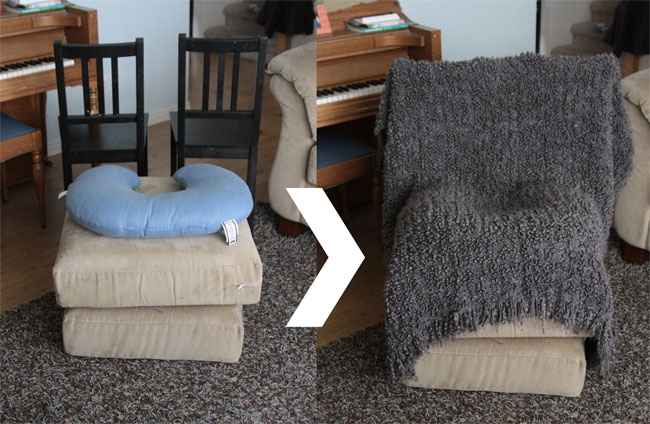
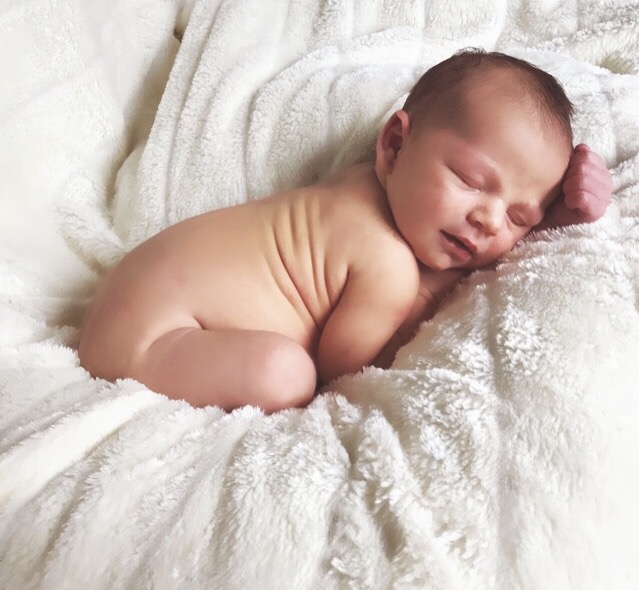
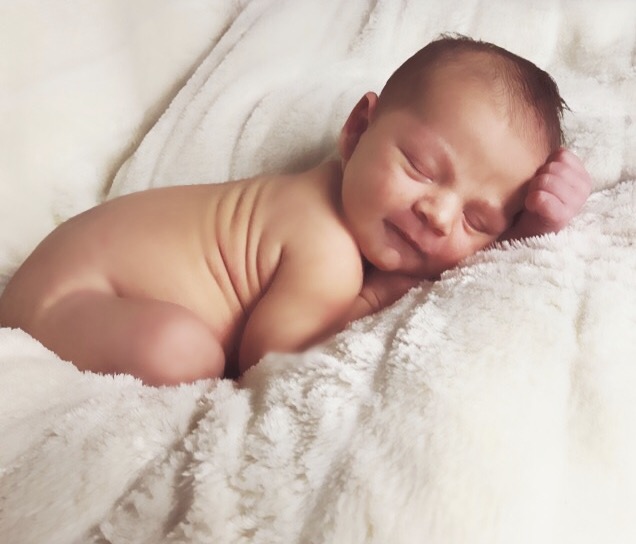
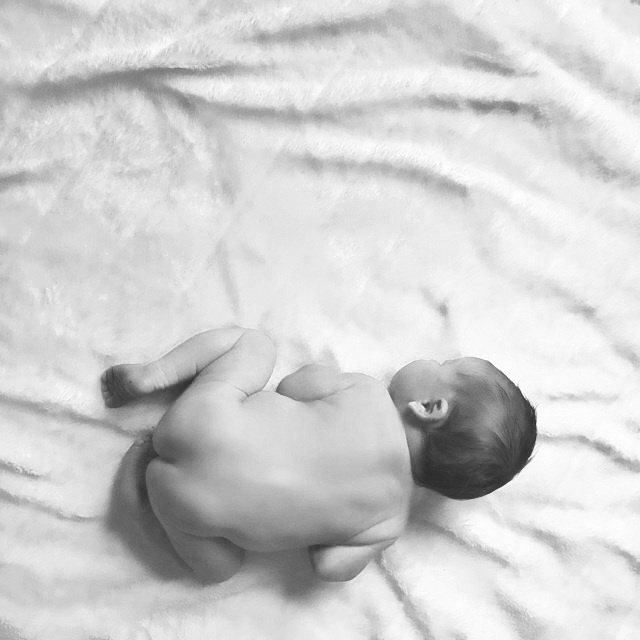
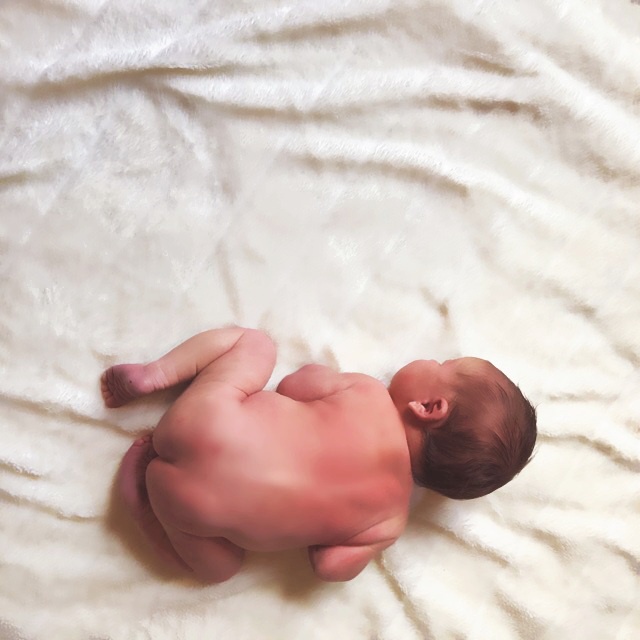
Having just had a baby I decided that I would try my hand at some newborn photography. I headed to Pinterest for some inspiration and formed an idea for my photography attempt. First I hunted down the best natural light in my house which ended up being my daughter's room. Unfortunately, my daughter's room was a disaster! Seeing as how I was only a week out from having major surgery I was not about to clean it. So, I used my foot to shove things around to give myself some space. Then, I gathered a white faux fur blanket, my boppy pillow, an ottoman and some chairs. I had barely enough space to set it up around the mess that was my daughters room but it worked ok. Now it was time to add the baby. While he was normally sleeping at any other point during any other day, he decided to be awake for this momentous occasion so that was less than ideal. He was unhappy with many of the positions I attempted but we finally landed on one he was ok with. I managed to snap a few shots before he peed and attempted a poo. I realized before he managed it though so, crisis averted. After doing my best with the boppy pillow set up I placed the blanket on the floor for an overhead shot. He didn't want to be still and after a few shots he spit-up all over the blanket. That's when I called it quits. Above you can see the blanket on the floor scenario and the best unedited photo that I managed to snap. I didn't think to get a picture of the set up with the ottoman, boppy pillow, blanket and chair set-up and was too exhausted afterwards to re-do it just for a photo but, the example below from It's Always Autumn is basically what I did. And, the two decent photos I captured are beneath the set-up photo. Once I had my three viable photos captured I began to edit them. I generally only use my phone for photo editing and this was no different. I used my favorite photo editing app, Rookie Cam, and ran the photos through a few different filters. After a little editing, I ended up with these! I would love to have captured a few more but, I'm really pleased with what I did capture. Hopefully you'll find my tips and the re-telling of my experience helpful in your own attempt at newborn photography. Just remember that lighting is one of the most important things along with good editing. Finding inspiration for poses is as easy as going on pinterest and that you can create some great photos in the midst of a very messy 6 year olds bedroom. Good luck and let me know if you have any success!
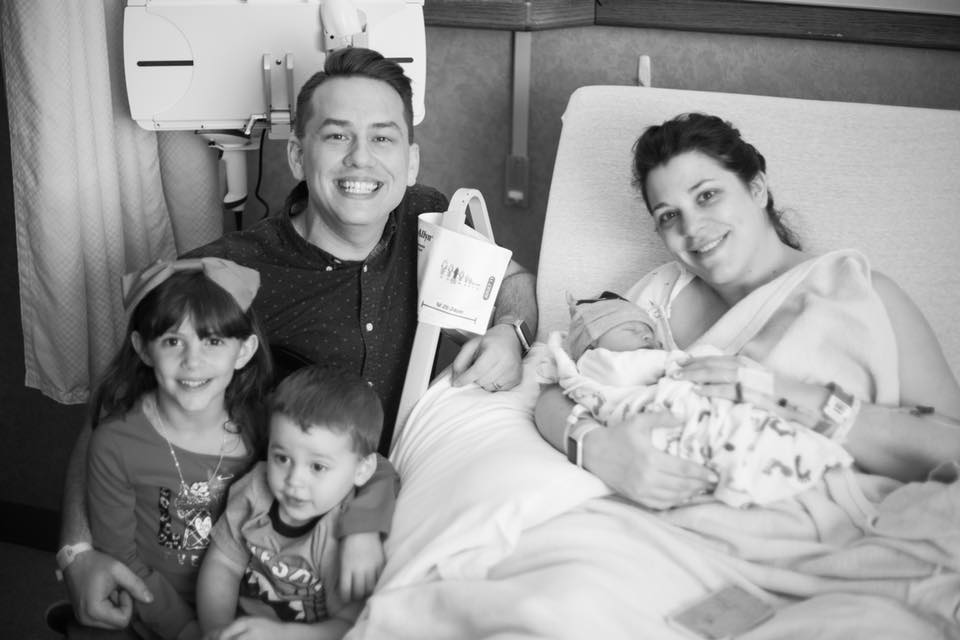
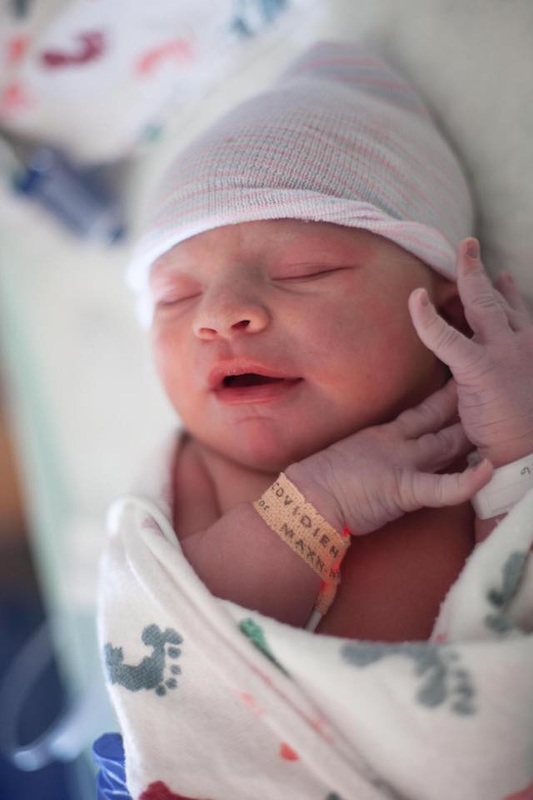
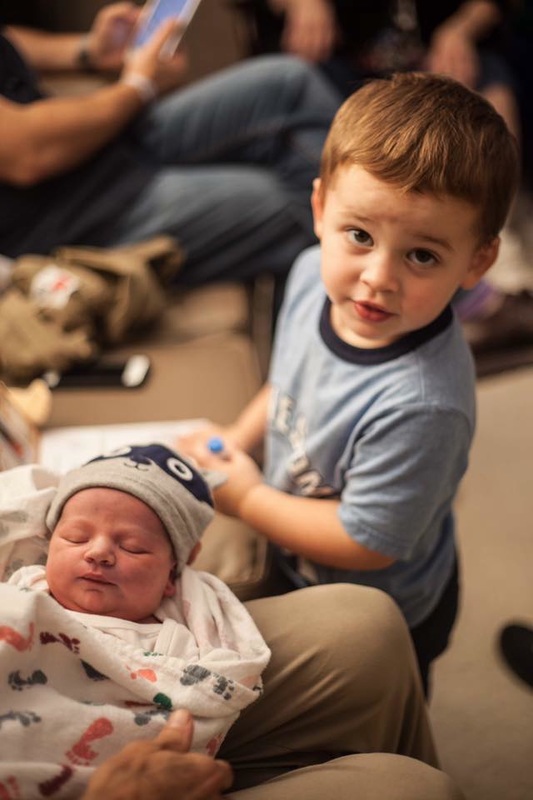
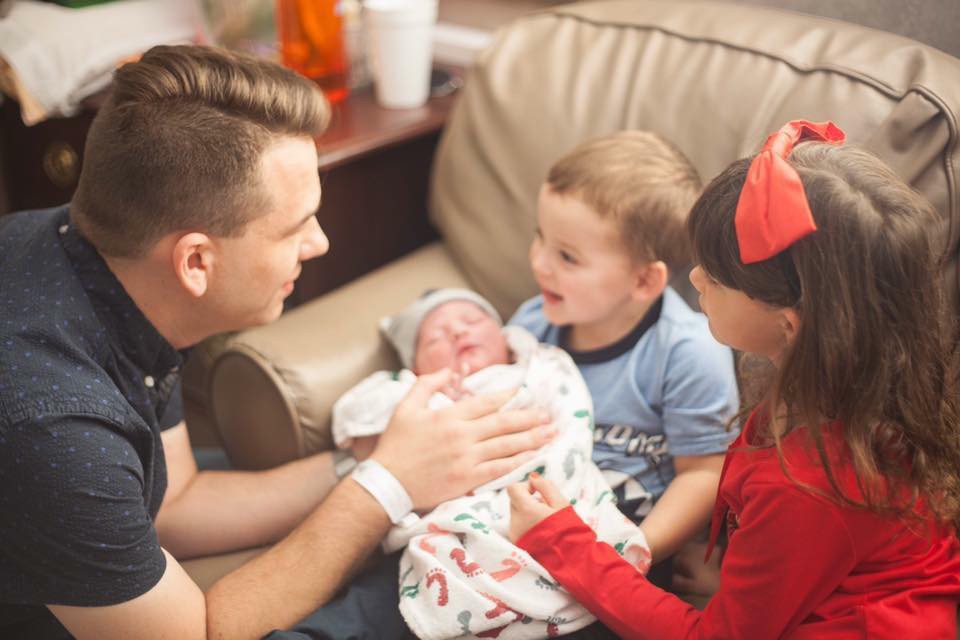
I know it's been a month since I last posted but, I have a good excuse! I had my baby! If you've been following my blog you know that we decided to be surprised about the gender. So, surprise! We are thrilled and even though the labor didn't go as planned we are both healthy and that is what is most important. I intended to have a natural labor without epidural like I managed with my first son. However, because I was attempting a second VBAC (vaginal birth after cesarean) I ended up with a complication. When the baby began to show signs of distress and the labor was not progressing as it should have and instead had regressed my doctor told me that he was concerned and urged me to have a c-section. I was upset because I had to have a c-section with my daughter due to her breach position and I did not handle it well. But, I knew if my doctor was suggesting it that I didn't really have a choice because he knew how much I didn't want that and allowed me to labor for 27 hours with my other son. When they got into surgery they found that the cord was wrapped around the baby's neck and feet, and that my c-section scar had burst open and part of the cord was sticking out of the opening! They also found that he was 9 lbs. So, I had some major factors working against me and had we not gone ahead with a cesarean we both could have died.
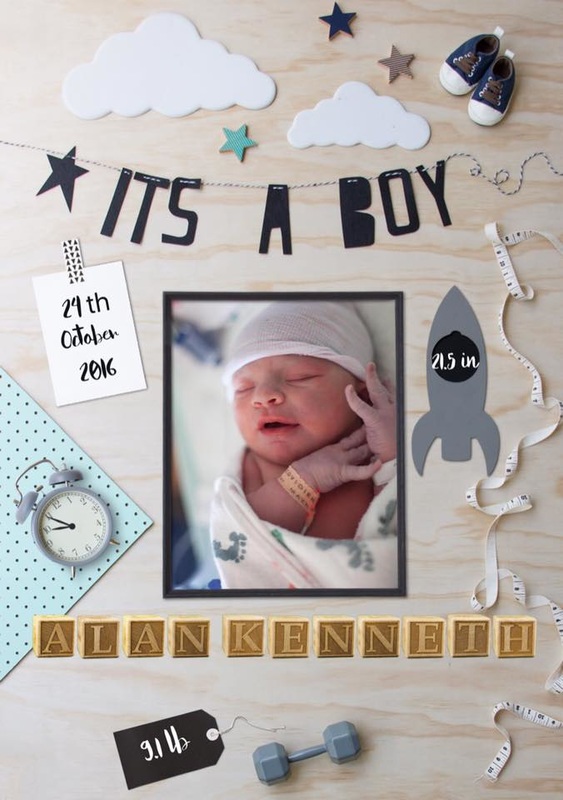
On a lighter note, what do you think of the birth announcement? Knowing I was about to have a baby I began looking into apps for creating one and discovered one called "Birth Announcement". It was a pre-created image with editable content areas. For only $3 I was able to get this customized announcement that only took a few moments to make and looks pretty awesome. Well, now that I'll be off for a bit I plan on getting a lot of things done in the crafting and home decor department as soon as I'm feeling capable. So, check back soon to see what fun things I'm up to! |
meet rachelRachel is a mother of three, elementary Spanish teacher and part-time blogger who loves crafting, creating fun and engaging activities for her children and students and hanging with her friends and family. She blogs about what she's doing and her interests at any given time which vary. She's a little OCD and always looking for her next project. Her husband calls it, "focusing her crazy", but she just calls it fun. Archives
June 2023
Categories
All
|


















 RSS Feed


