|
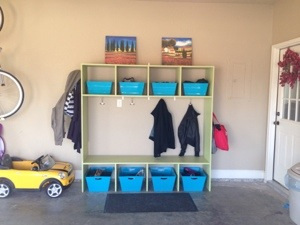
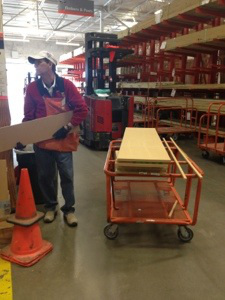
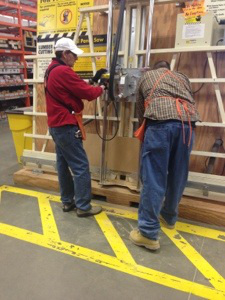
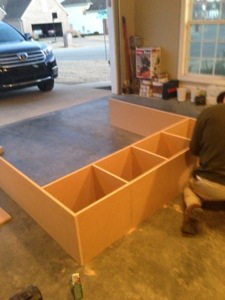
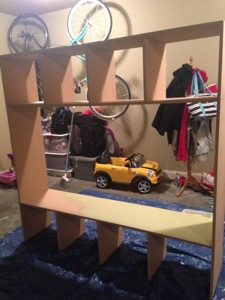
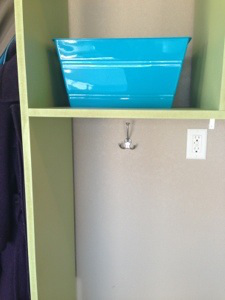
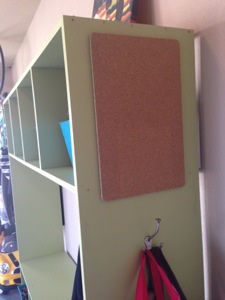
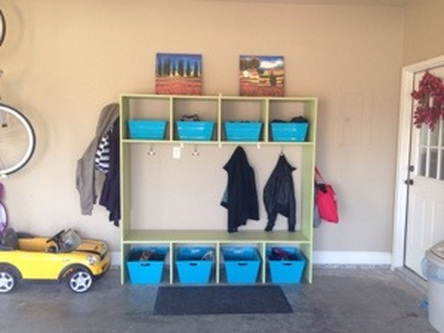
My parents came to visit this weekend and I enlisted my Stepdad to help me with a little project. I have been wanting to build a storage locker system for our shoes, bags and coats for a while. The system I had was not working and always looked junky. I found a project plan for lockers at ana-white.com that I used as my starting plan and just modified. It turned out great and will be super functional. It takes up less space than the 2 chairs and shoe rack system that I had before, looks more organized and is beautiful! Now, to make it was really easy. Did you know that Home Depot will cut your wood for you for FREE! Well, they will! So, we went with our plan and measurements and as long as your not doing a ton of crazy sized cuts they will help you out. So, we got two big sheets of MDF and had them cut them to our measurements which ended up being one cut to each board to make them 72 inches tall. Then another to cut the 72′ into 16′ wide strips (that left a little bit of leftover wood) and then cut the extra from cutting the big board into 72′ into 3 16×16 inch squares. For all of the wood, hooks that I used for the wall later, brackets for mounting it to the wall, screws and paint I paid under $140 total. So, it was a pretty inexpensive project. It also only took about 2.5 hours to build. When we got home we measure and screwed all of the pieces together to form a cubby hole top and bench cubby bottom. Then we painted it and mounted it to the wall using L brackets and dry wall screws. After attaching it to the wall we screwed some 3 prong hooks that I bought to the wall at the center of each cubby system as well as one on each side. I even added a cork board to the side that faces our door into the house so we can pin up things that are important or leave notes to remind us not to forget things. I bought the turquoise containers at Big Lots for $7 each for the bottom containers and $5 each for the top and I think they add a nice extra pop of color. I will probably customize it more with names and stuff later.I am super happy with the project and I hope it gives you inspiration!
1 Comment
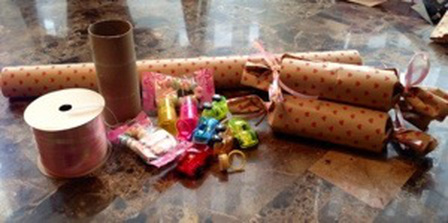
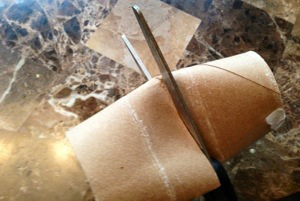
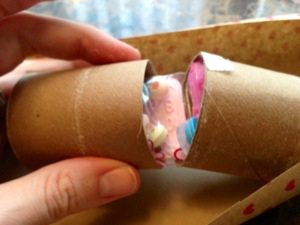
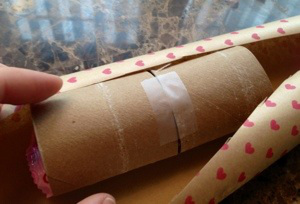
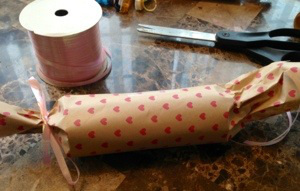
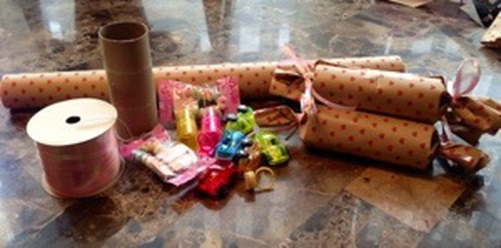
These cheap and easy to create party poppers will be a big hit with my daughter’s classmates. All you need to do is gather your materials and get started! You will need: – toilet paper rolls – candy and small toys/trinkets – tape – scissors – wrapping paper (as thin as you can get; don’t get the expensive stuff) – ribbon First, you cut each toilet paper roll in half. Second, you stuff it with your candy and toys. Third, tape the roll together (very little tape; you want it to be easy to pop open) and wrap it with your paper. Fourth, twist the ends of the paper together and tie it with a ribbon and your done!
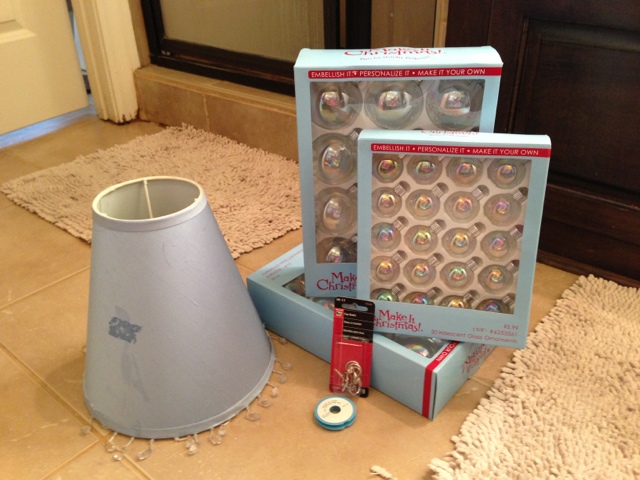
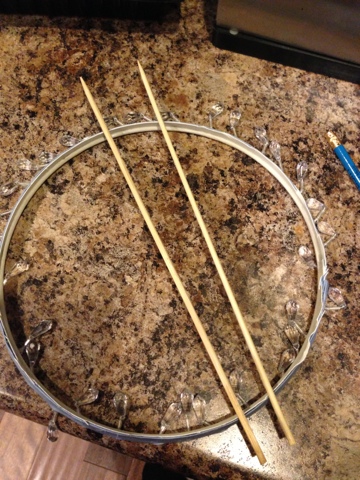
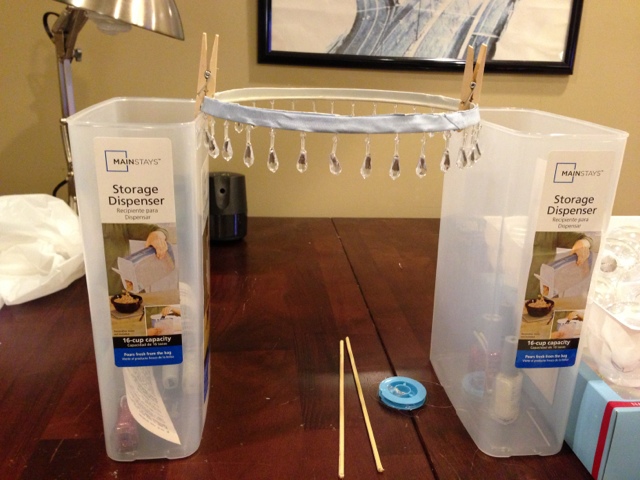
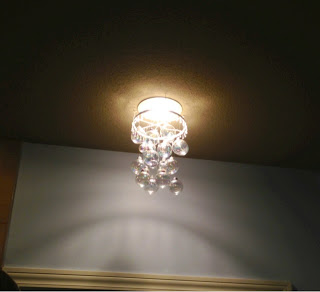
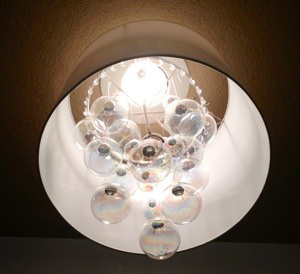
I'm sure you've seen the glass ornament chandeliers on pinterest. I know I have. That is where this idea got it's inspiration. However, mine has a few alterations to the one's you might have seen and also a different look. I knew I would be hanging my chandelier over my bathtub so I bought ornaments with a slight iridescent quality so they would look like soap bubbles. I decided that I would use the base ring of a lampshade for my frame and lucked out at Goodwill when I found a pale blue shade with crystals hanging from it's base for only $2. After the ornaments and lamp shade you will just need clear thread/fishing line, 4 wooden skewers, a hot glue gun and 3 small ceiling hooks. Once I had my supplies in order I cut the base of the lamp shade off. Then I cut the skewers to fit inside the lamp shade dividing it into eight sections and secured them with hot glue. Then I used some cereal storage containers and clothes pins to keep the base stead while I attached the ornaments. I just eyeballed it and hung them at different levels using the fishing line and tying it into knots around the ornament hook and the skewers. When it was done I screwed the three hooks into the appropriate locations around the light in my bathroom and then used some thread to make loops for hooking the the lamp shade to the hooks. I could have used the fishing line but I didn't want the knots to slip (which sometimes happens with the clear stuff. The pictures don't really do it justice but it looks really pretty. My daughter actually said "Look! Bubbles!" when she was in the bath and noticed it.
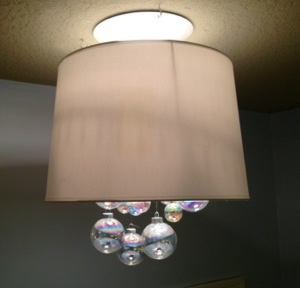
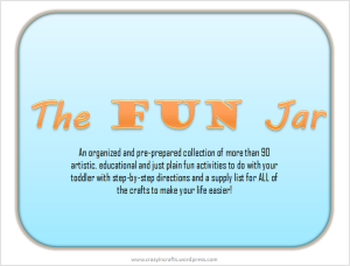
After it was hung I felt like it wasn't nearly as impressive or legit looking as I thought it would be in my head. I decided I hated it. But, I wasn't about to let all of that good work go to waste! I went to Target and grabbed a large white drum lampshade for about $20. When I got home, I placed my creation inside the new shade making sure a portion of the "bubbles" hung out of the bottom. I didn't even have to attach it in any way! The frame of my creation rests perfectly on-top of the new shade! Then I simply re-hung it by adding a few more hooks and tying fishing line on the new shade's supports. I LOVE it now! It makes the bathroom feel luxurious and is lovely to look at while taking a bath. I am always frustrated when it comes to finding things to do with my toddler. I save a ton of things to Pinterest but when I go to find an activity inevitably I don’t have what I need or it takes too long just to figure out and find all of the appropriate materials. So, I don’t get to even half of the fun things that I have pinned. So I came up with the idea for “The FUN Jar”. By spending a little extra time (ok not a little…it took me a couple of weeks) compiling all of the activities that I liked and creating a printable document with directions and materials lists I will be able to access all of the fun activities in a matter of seconds. You can also jump in on the fun by printing my FREE “FUN Jar” printable!!
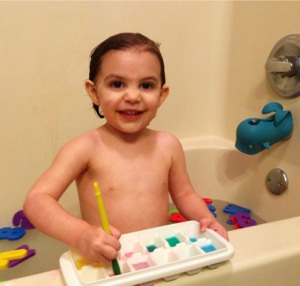
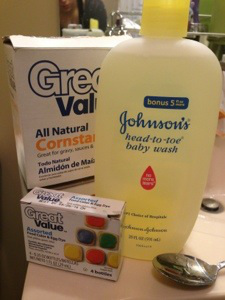
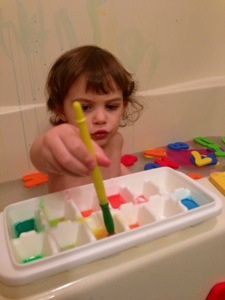
How does it work? First you have to print out the packet. Then, inside the packet are directions for 29 activity bags that you prepare ahead of time. I know that sounds like a lot but most of it is done for you. By creating these bags ahead of time for some of the more in-depth activities you can get started with your impatient little toddler more quickly and clean up is also fast. Keep in mind there are over 90 activities and you only have to prep for 29 of them. As long as you have purchased everything else that is on the materials list you will have everything you need to do each activity. Once you have prepared all of the activity bags and have printed everything out you just need to cut up the different “activity cards”, fold them and place them in some sort of jar or container. I haven’t made mine yet but I would suggest making it really decorative and fun looking so your child will be eager to help you select an activity. Now you are ready to select your first activity. You can use the color coded activities to make sure your child doesn’t draw an outdoor activity when it is raining. Let your child draw a piece of paper and then you can simply walk over to your box of activity bags and supplies and get the appropriate bag/supplies. Some of the activities don’t even require you to use anything special but are things we sometimes forget to do with our kids. The goal of “The FUN Jar” is to make your life easier and to enrich your child’s life. Let me know what you think! I’ll be posting updates as I begin to use my own “FUN Jar”. You can access the free printable here. I’ve had this pinned in my “Kid Boredom Prevention” board for a while and I finally remembered to do it. On a separate note, I remembered because I am currently working on a project that will make all of the fun ideas that I find for my daughter to do easier to remember and access. I’m calling it “The Fun Jar” and will post it as soon as it’s finished. It’s going to be great and a HUGE free printable so be on the lookout. Anyways…back to the paint. All you do is mix cornstarch, water and a few drops of baby shampoo in a cup or bowl and then pour it into individual containers. I chose to use an ice cube tray because it gave me a bunch of spots in a condensed space. Then you drop one or two drops of food coloring into each section and mix it up a little more. There you have it! Bathtub paint! It is super easy and doesn’t stain. Trust me. Since we started doing this she has knocked it into the floor several times and I was easily able to clean up the bathmat and the floor. I do recommend adding the food coloring over an area that is easy it to wipe down and doesn’t stain easily because straight food coloring that has not been mixed into water and cornstarch can stain. My husband proved this when he was making paint on the edge of the tub and spilled just food coloring. I now have red grout as proof.
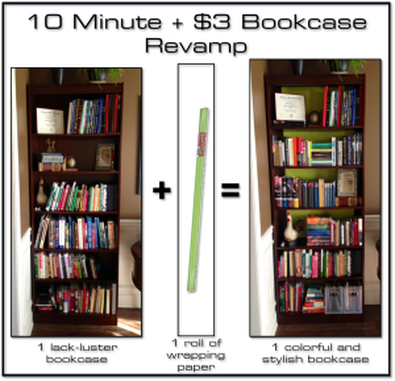
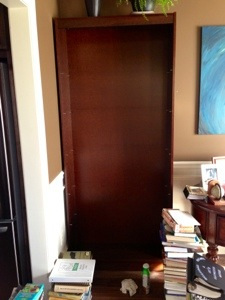
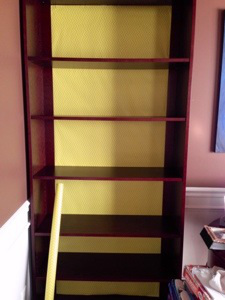
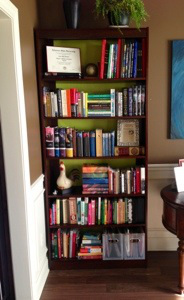
This project was inspired by all of the bookcase revamps you see on Pinterest and other home decor sites. However, I don’t want to spend a million hours precision cutting paper to fit my bookcase and I also don’t want to permanently change my bookcase with paint. So, I came up with this idea. I figured if I didn’t work then I had only wasted $3 on a roll of wrapping paper. Well, it was not a failure! It worked perfectly. So, here’s what I did. 1. Remove all of the books as well as the shelves. 2. Tape the starting point of the roll to the center of the bookcase and let the remaining paper roll to the bottom of the bookcase. The roll of paper did not fit perfectly so I just centered it on the bookcase. This left a small space on each side that was not covered in paper. But, since I kept it even it looks intentional and works well. (I taped it by rolling the tape and placing it behind the paper so you couldn’t see the actual tape.)
3. Continue to tape at various points down the paper then cut the paper at the bottom so that it ends with the bottom shelf. 4. Replace the shelves and books and you’re done! I really wanted to bring a pop of color to these bookcases and this did just that. It didn’t take me long at all and I can easily change it when the mood strikes. |
meet rachelRachel is a mother of three, elementary Spanish teacher and part-time blogger who loves crafting, creating fun and engaging activities for her children and students and hanging with her friends and family. She blogs about what she's doing and her interests at any given time which vary. She's a little OCD and always looking for her next project. Her husband calls it, "focusing her crazy", but she just calls it fun. Archives
June 2023
Categories
All
|


 RSS Feed


