|
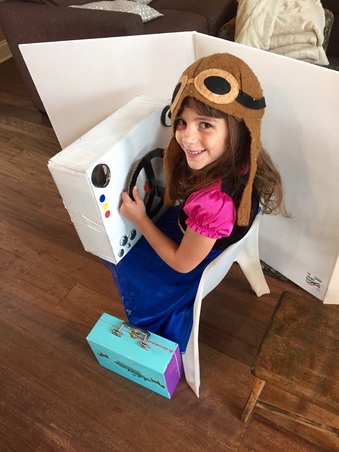
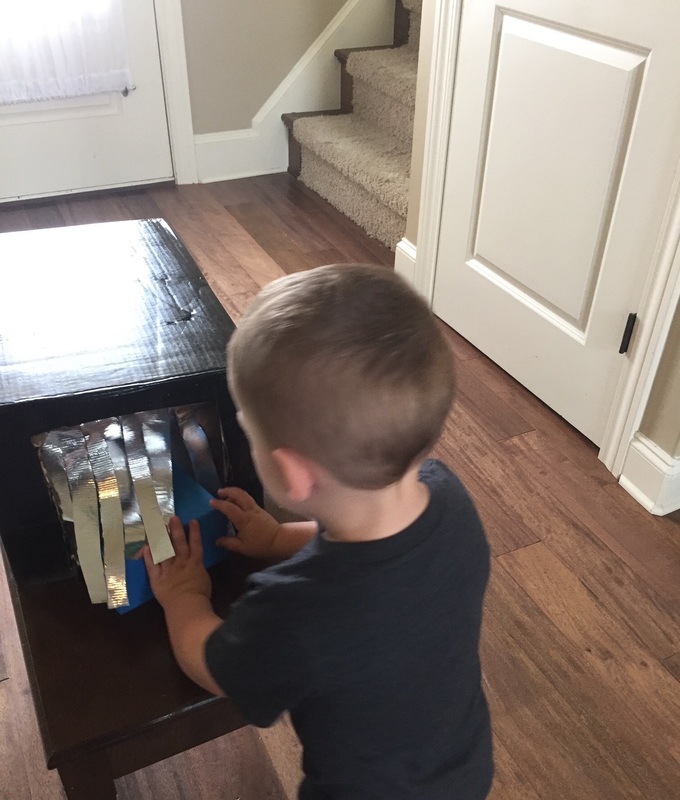
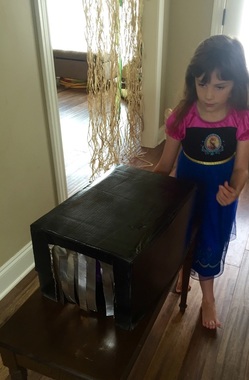
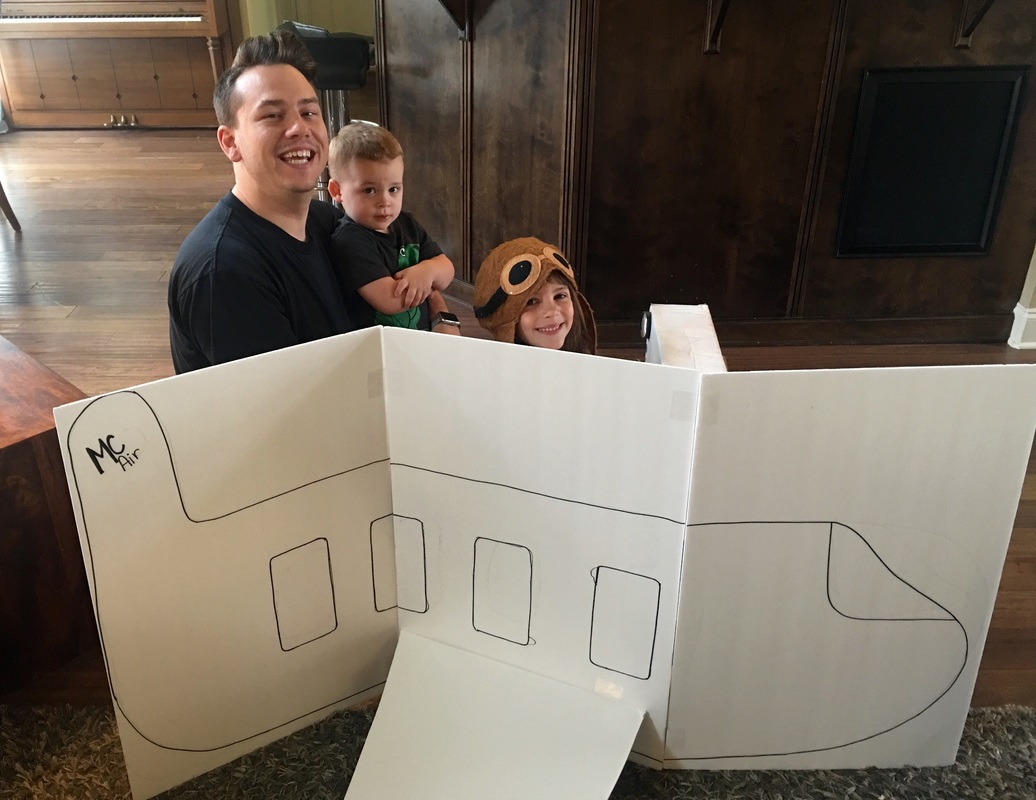
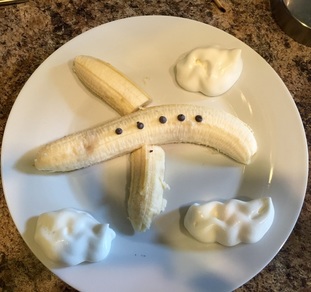
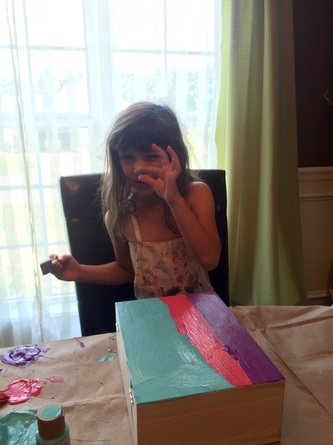
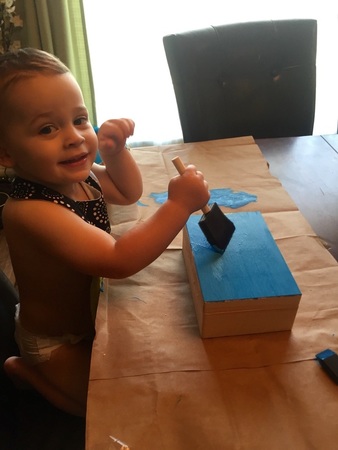
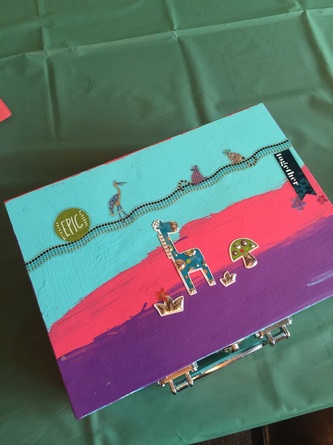
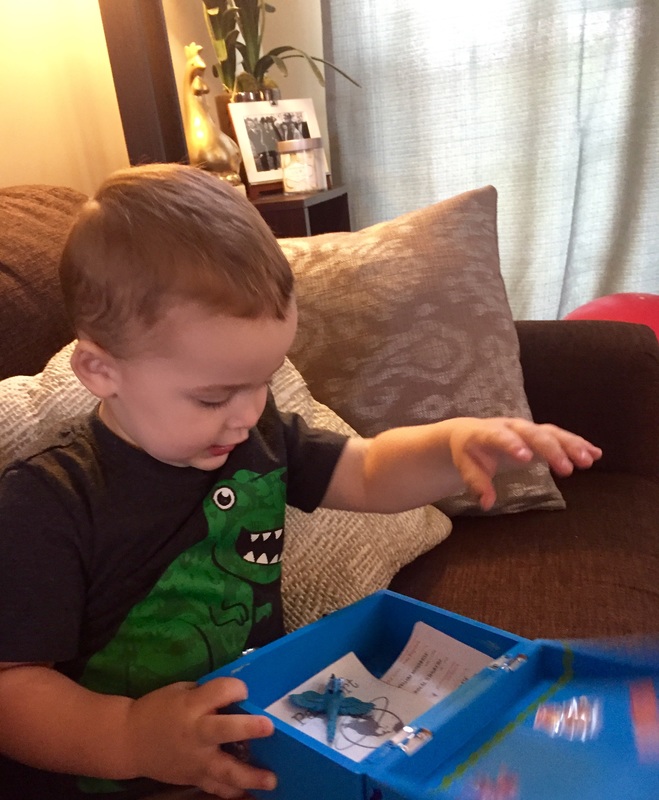
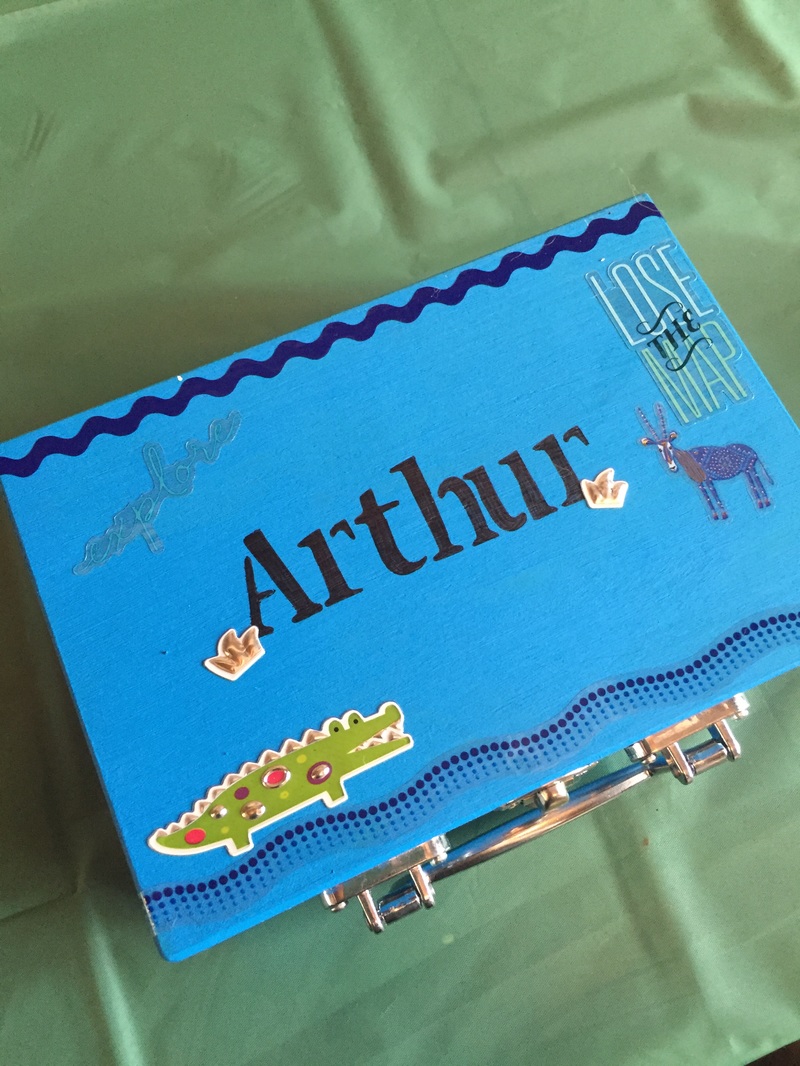
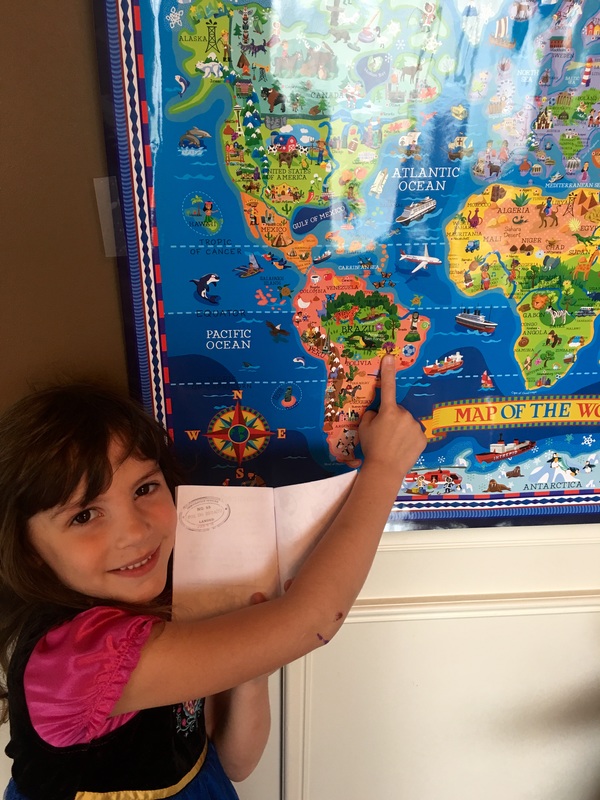
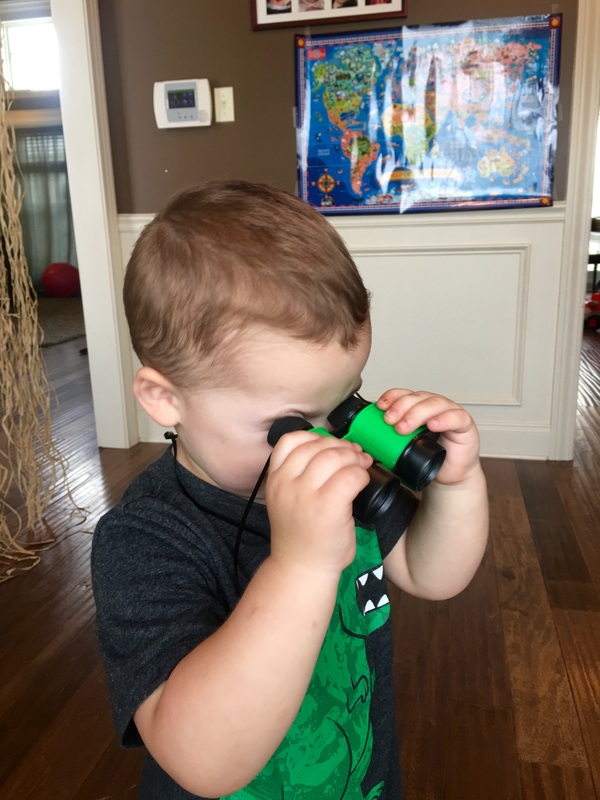
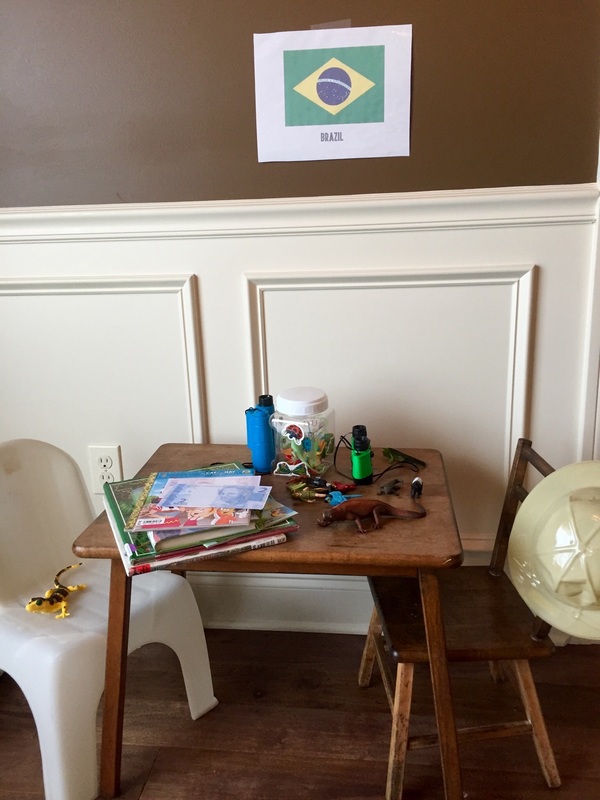
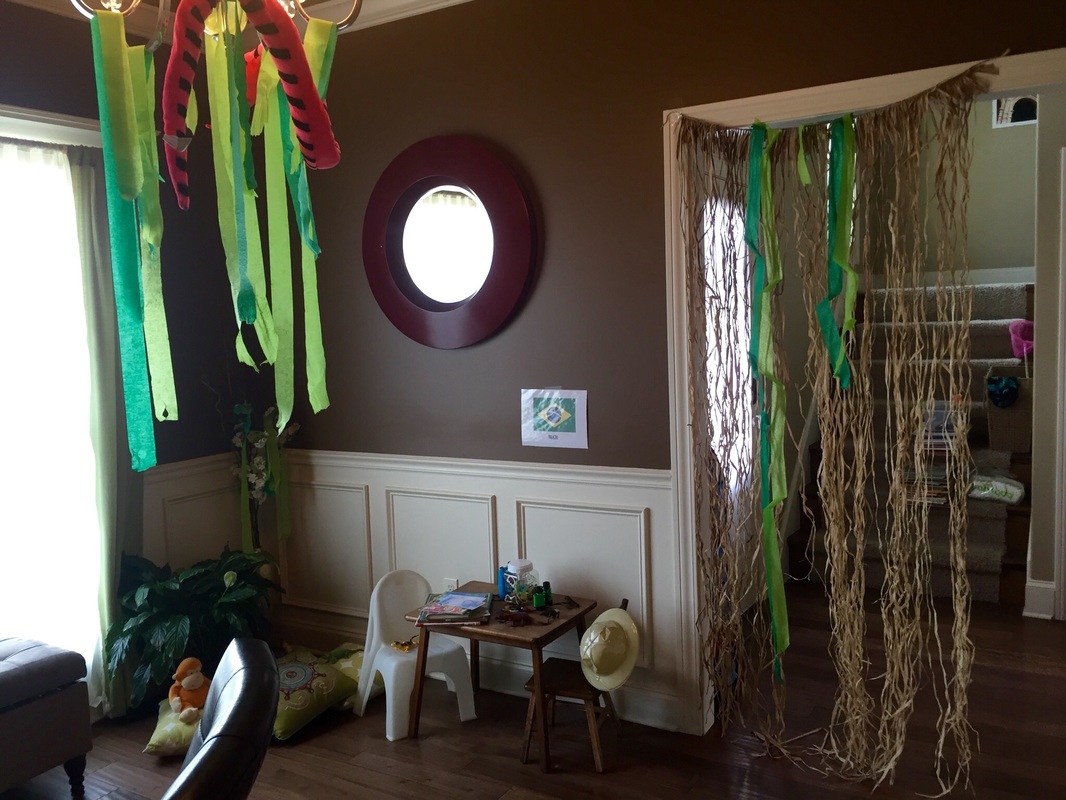
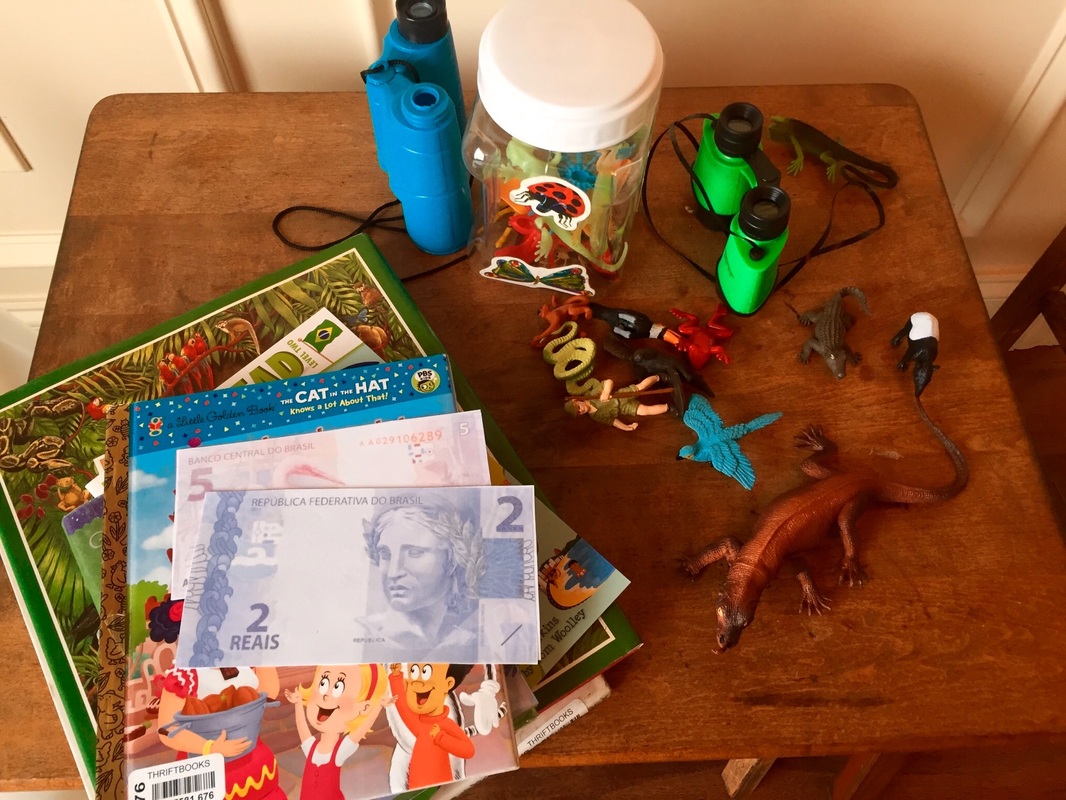
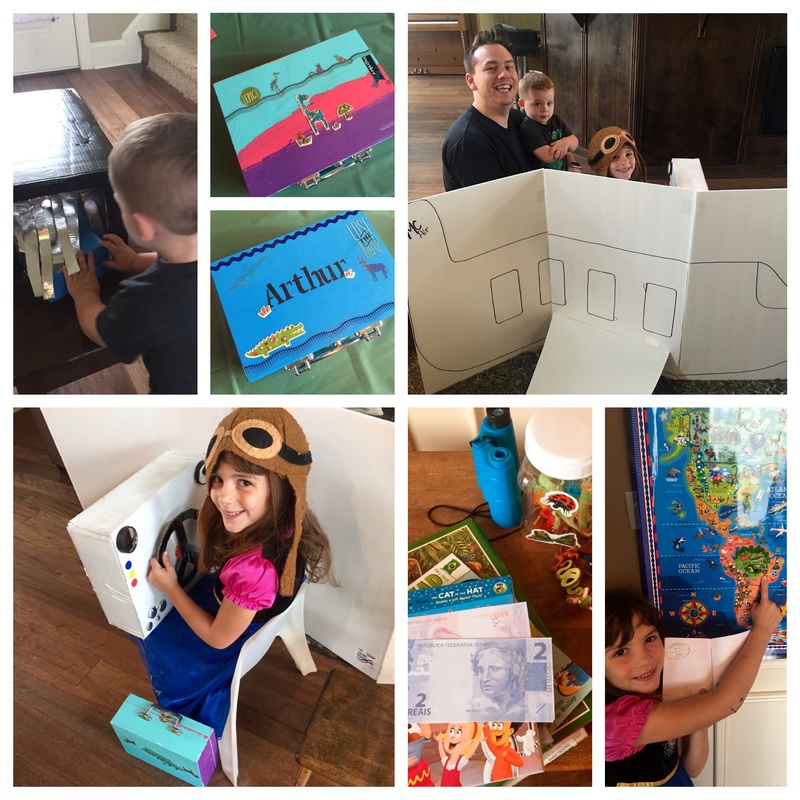
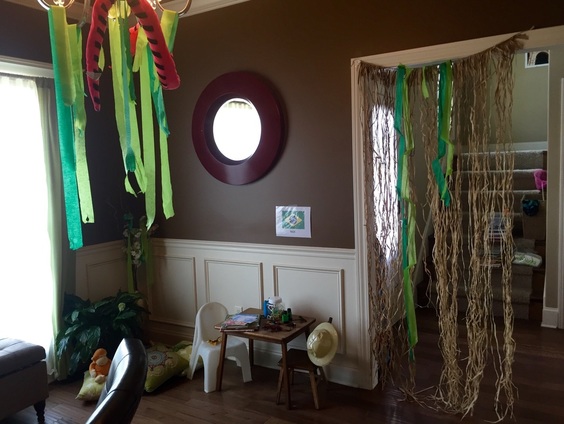
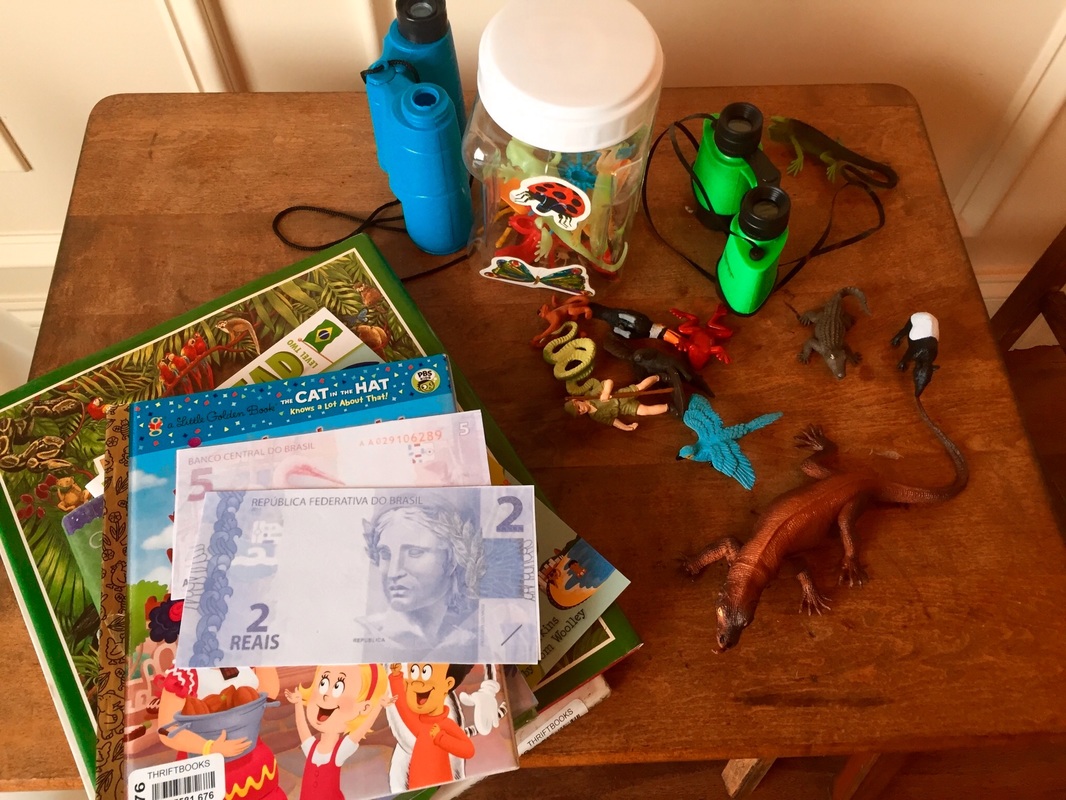
We started our MC journey this summer by flying south to Brazil! You can see how I made all of the airplane dramatic play items in this post. Before our "trip" we learned about airplanes and read the book "The Noisy Airplane Ride". They showed me their plane tickets (I discuss how I made them here.) , went through airport security with their luggage (described here) and piloted the plane with this handy control panel. We even had an airplane themed treat! The flight there was fun but it was just beginning! In preparation I created all of the dramatic play airplane stuff and you can read about it here. We also decorated our "suitcases". I had lots of different ideas for how we would create the suitcases but ended up buying two unpainted wooden boxes with hardware already attached from Hobby Lobby for about $6 each. I let Lillian choose her colors and we purchased fun, travel themed stickers for decorating. Then we painted them, let them dry and applied the stickers. I didn't realize how much of a hit these little boxes would be but, each kid carries them around all day. Arthur even wanted to sleep with his! Once we landed, I stamped their passports (You can find the document for your own passport and stamps here.) and we discussed the journey by looking at a map. Then, we explored our new surroundings. I hung green streamers from the light fixture, added a plant, tropical themed stuffed animals and some green pillows on the floor, and hung a raffia door curtain with green streamers in the doorway. Then I placed safari hats, the books for the week about Brazil and binoculars on the table along with some fake Brazilian Reales, and the items from the Raiforest Toob. I also placed lizards around the room and placed Lilly's bug jar and plastic bugs on the table. It was a pretty fun day and a great way to kick off our 2nd Annual Summer Mommy Camp. As always there were several things we didn't get to but, I'm sure I can work them in on a different day in the future. You can see my lesson plan including all of the things I didn't get to here. Have fun and thanks for visiting!
0 Comments
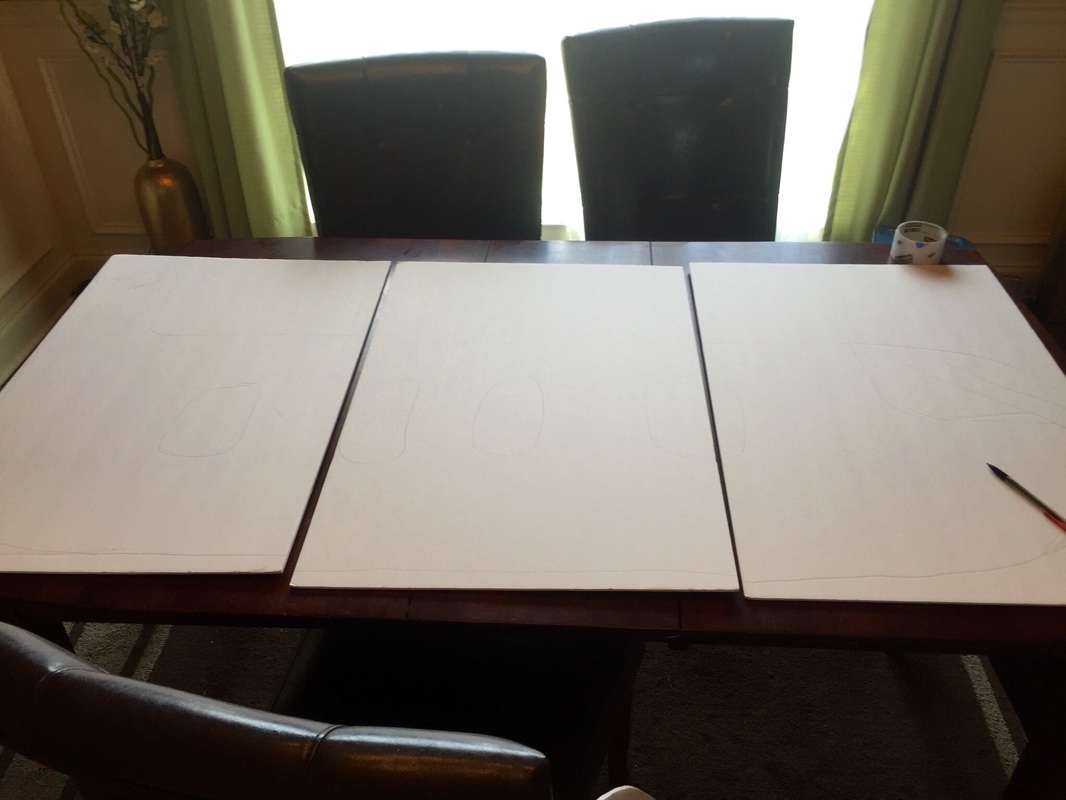
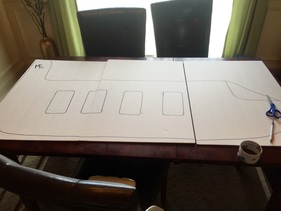
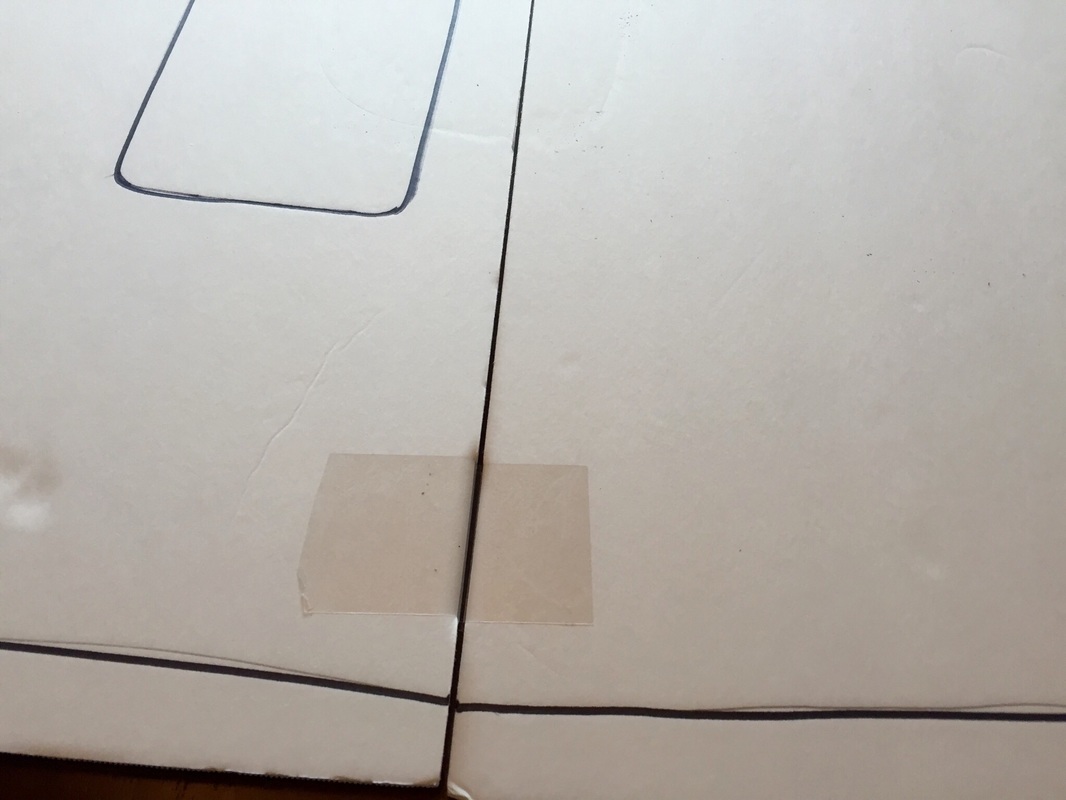
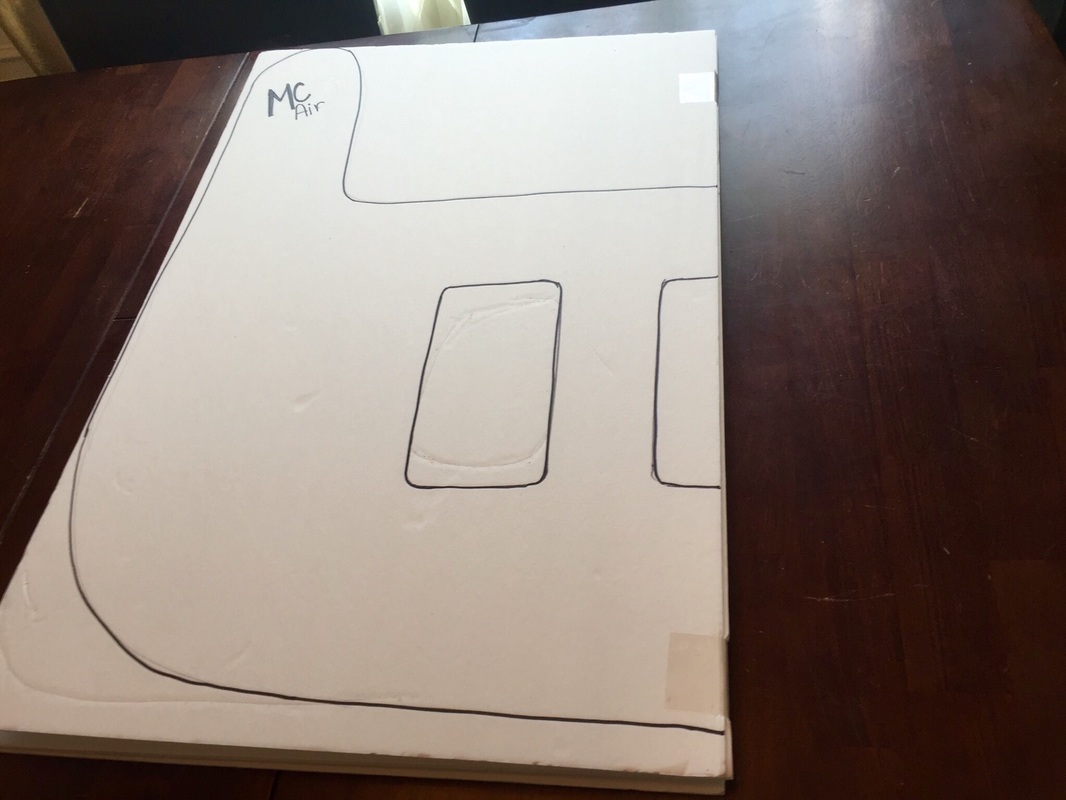
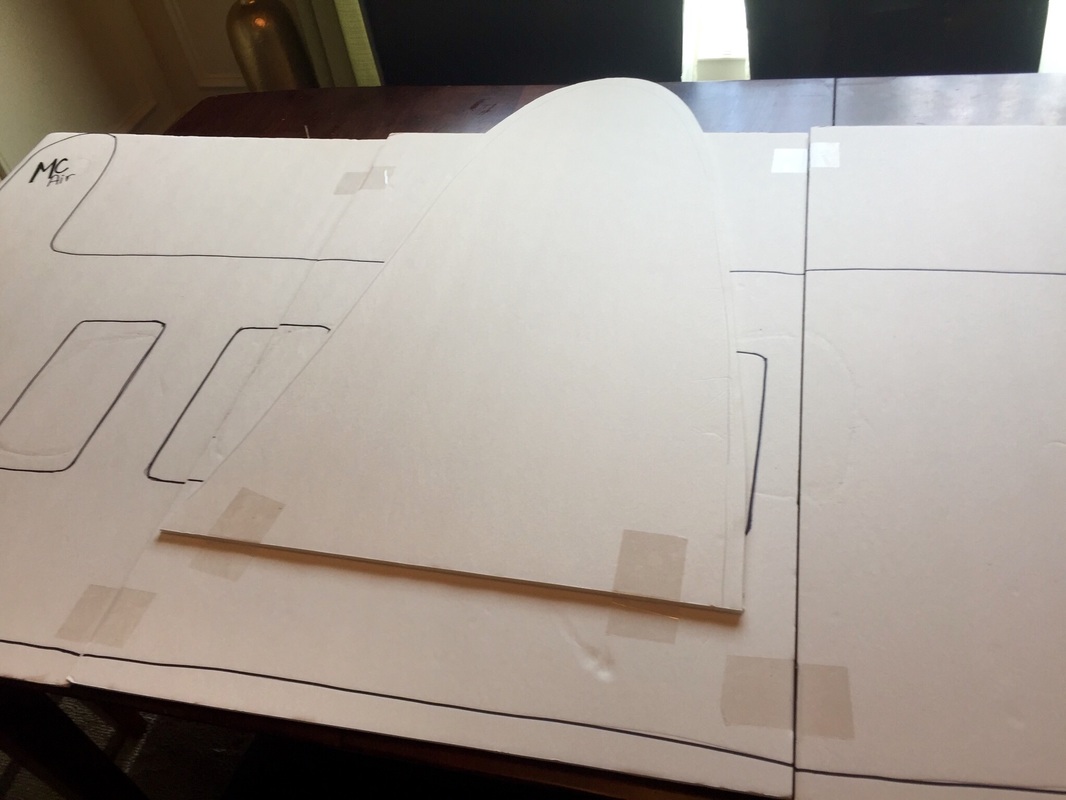
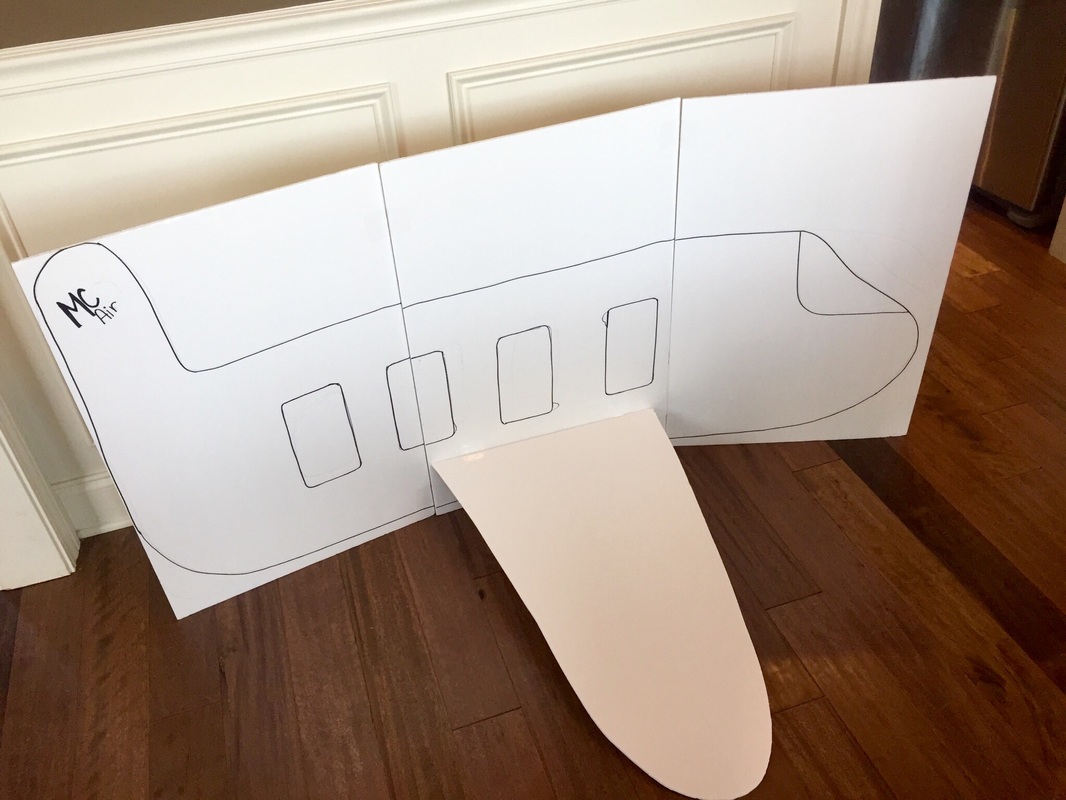
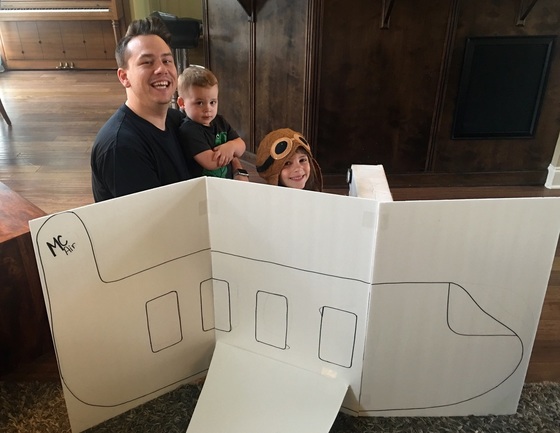
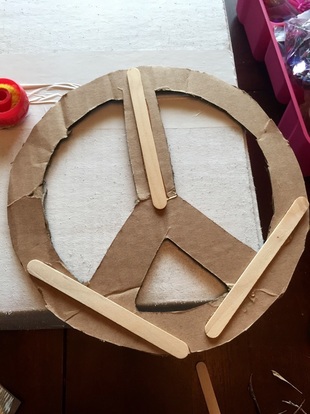
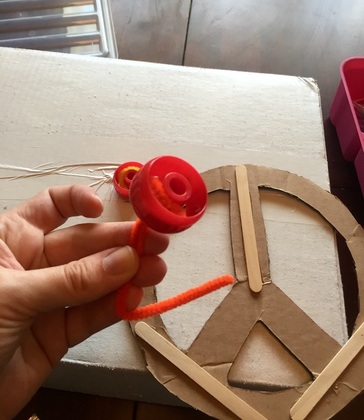
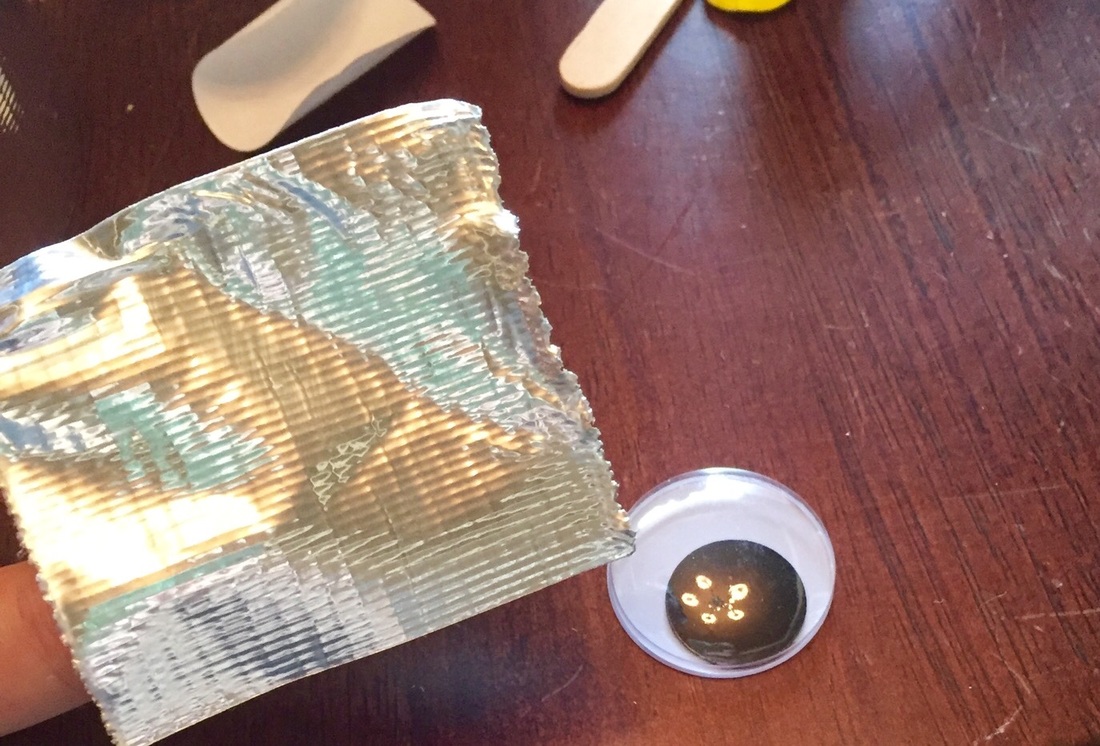
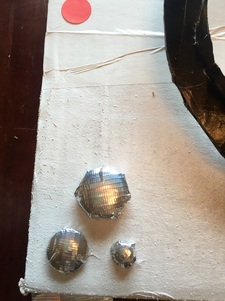
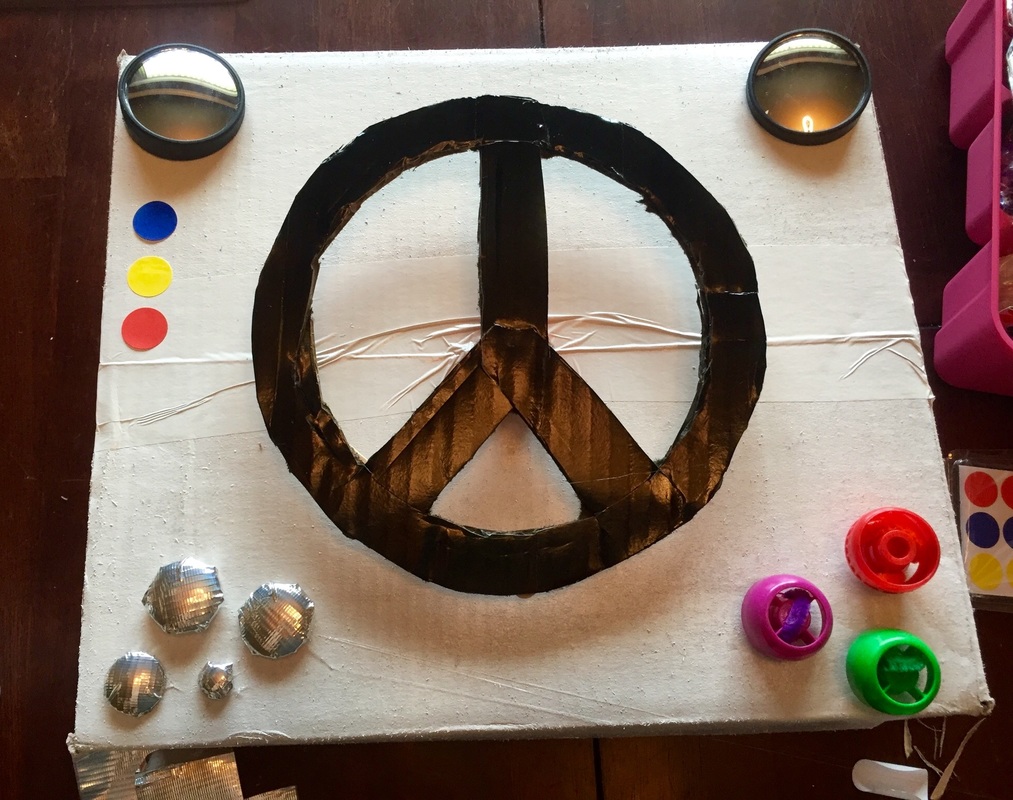
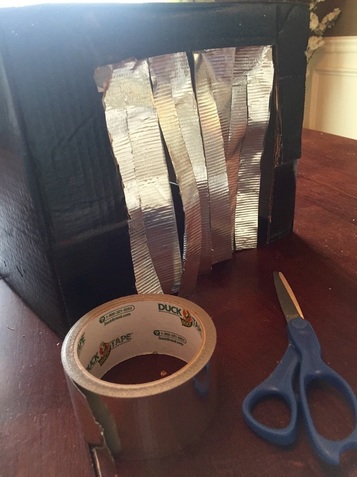
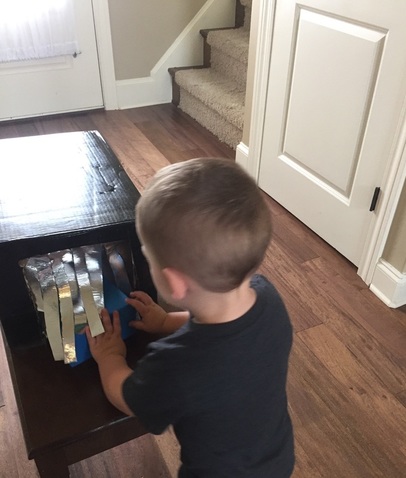
I always prep for each week of MC on the week leading up to it and/or the night before. It really depends on the amount of craziness I've decided to undertake as well as how tired I am after the craziness of each day. I kicked off MC today but, because we had friends over last night I didn't feel like doing anything once they left. So, I set it all up today during Arthur's nap. So, in the span of about two hours I created my pretend airplane, baggage check, plane control panel and transformed the dining room into a halfway Brazilian rainforest. Not too shabby! Below you can learn how I created the airplane dramatic play stuff and see the end result of it all! To create the airplane I purchased 4 foam boards from the dollar store, utilized a sharpie and some clear packing tape. It was really easy and probably only took about 10 minutes! Plus, I designed it to be foldable! I plan on using it every week as the intro to each country by "flying" there and didn't want a gigantic airplane cut-out that had to be stored. So, with my design, you can simply fold it up and it takes up significantly less space. First, I laid three of my foam boards on the table and sketched an airplane onto them using a pencil. Then I made sure I liked what I had and made any necessary corrections. Then, I traced over my pencil with a sharpie. After that, I spaced the panels about a centimeter apart and applied clear tape to each side, creating a hinge of sorts. I only placed tape in two places between each board so, I used eight small pieces of clear packing tape. I then made sure that you could actually fold it up. Once I knew it folded like I had imagined, I used my fourth piece of foam board to sketch and cut out a wing and applied it to the rest of the plane using the same process with the clear packing tape as I did to hinge the three plane parts. An added bonus to the hinge effect is that it can also stand on it's own if you slightly bend the three sides! I'm sure you could go crazy with your airplane design and drawing wise but, I'm not going to. The kids actually loved it as is and I'm glad I didn't spend more time fussing over the details. Now just add a few chairs behind it and the super cool and easy control panel I detail below and you have yourself a pretty fantastic and cheap airplane! Creating the airplane control panel was also pretty easy and basically free. I used a small box for the panel, cardboard and popsicle sticks for the steering wheel, puree/squeezie applesauce lids and pipe cleaners for the knobs and google eyes covered in silver ducttape for the buttons. I also added a few stickers for buttons and two mirrors from the dollar store (They came in one pack so, they were .50 each.) If you have cool looking tech stuff that can be sacrificed for the project you can make your panel even cooler with things like a calculator or light switch. I didn't want to buy anything extra but, my kids like it just fine. I sketched a steering wheel onto a piece of cardboard and then cut it out using a rotary cutter. Afterwards, I spray painted it black along with the box I was using white. To make the steering wheel sturdy I added popsicle sticks to the back. Then, to make it able to rotate, I used a squeezie pouch top with a pipe cleaner woven through it. To make that work I simply wove a pipe cleaner through both sides and twisted it together. Then I pushed it through a hole in the box and put duct tape over it on the inside of the box to secure it. It works beautifully. The buttons were made with googly eyes of varying sizes wrapped with silver duct tape and then hot glued to the box. It works nicely because they are pushable and make a unsound to boot! To make the baggage check x-ray machine, I spray-painted a box black and then cut a portion out of each smaller side for the passage. Then I took silver duct tape and then taped two strips together creating a double sided silver strip. Then I cut each strip into two almost all the way and taped it into the inside of the box. Boom! Dramatic play security check-point. They really enjoyed this and ran their suitcases through several times each. To see how we made our suitcases you can check out my post about our first day of Mommy Camp! You can also read more about the activities and prep that we completed on day one of our Brazil week in the same post. I hope you found my ideas helpful and inspiring. Until next time!
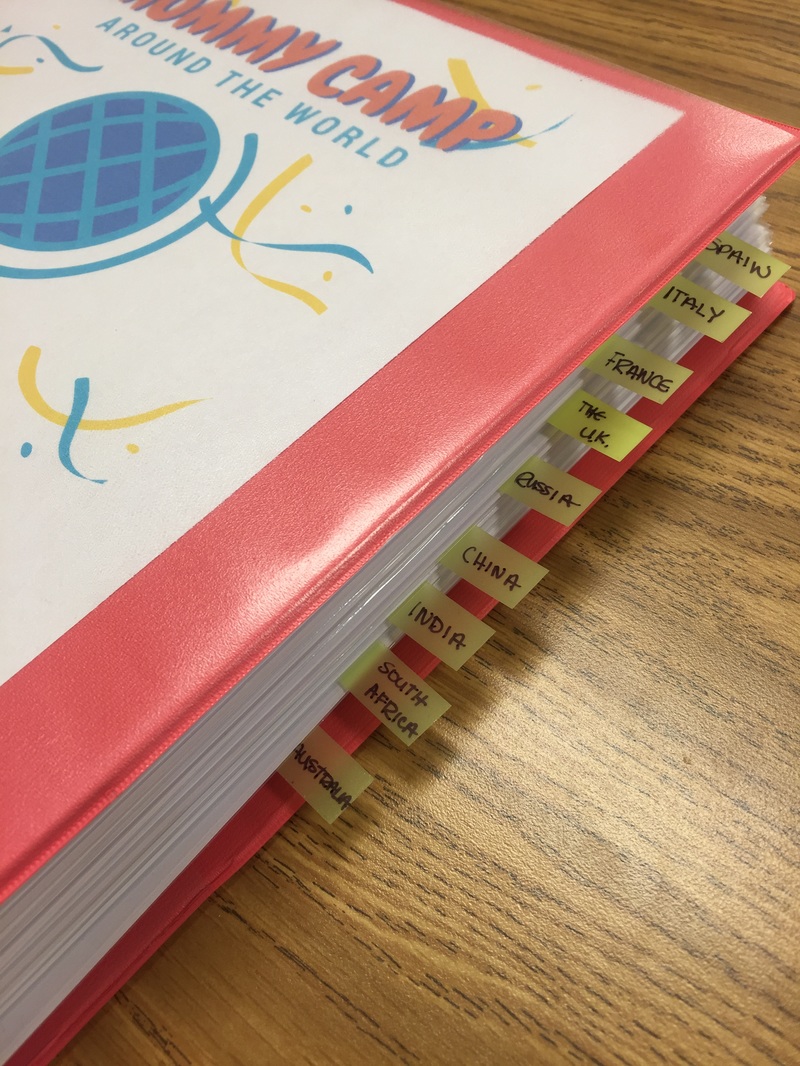
I'm sorry it's been awhile since my last post! I've been busily finishing up the school year with my Spanish classes and feverishly working on my Mommy Camp plans for this summer. I think I'm finally finished with all of my MC planning, printing, purchasing and laminating and am ready to share my super detailed plan with the world! The plan is to "visit" ten different countries, dedicating one week to each. We will be learning about Brazil, Spain, Italy, France, The U.K., Russia, China, India, South Africa and Australia. Each week will include crafts, music, art and food from each country and we will "fly" or travel by "train" to each one using our imaginations, a few printables and some cleverly created crafts. travel dramatic play
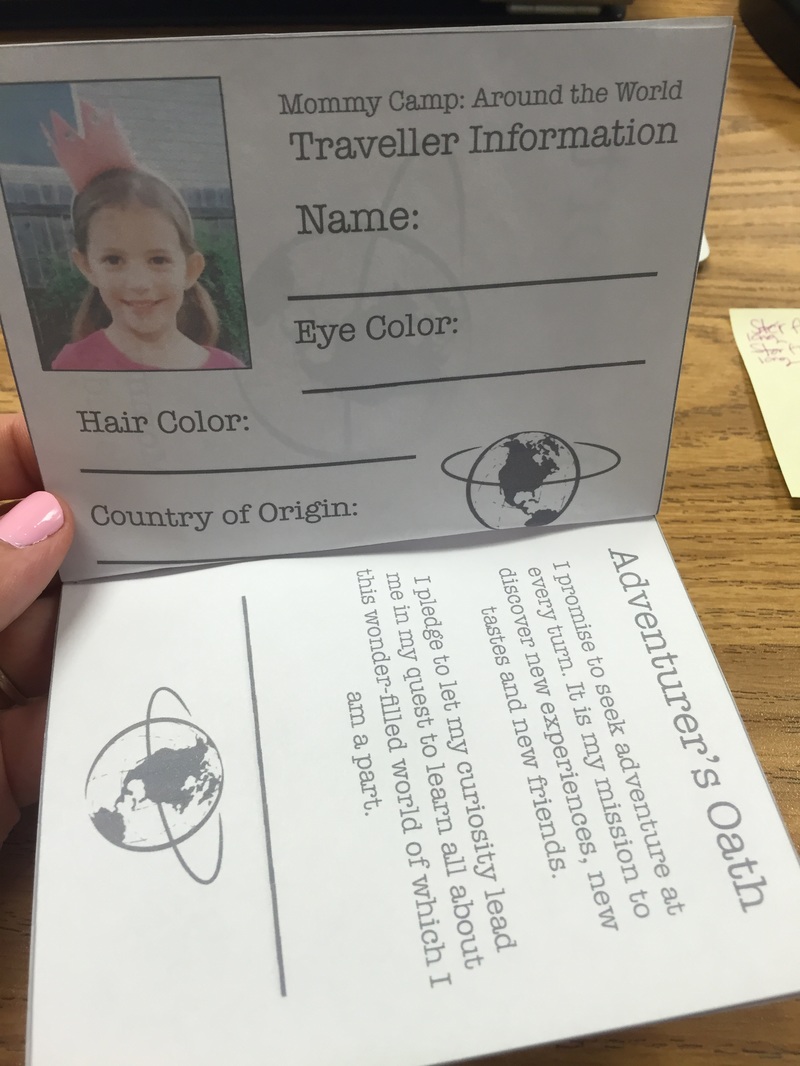
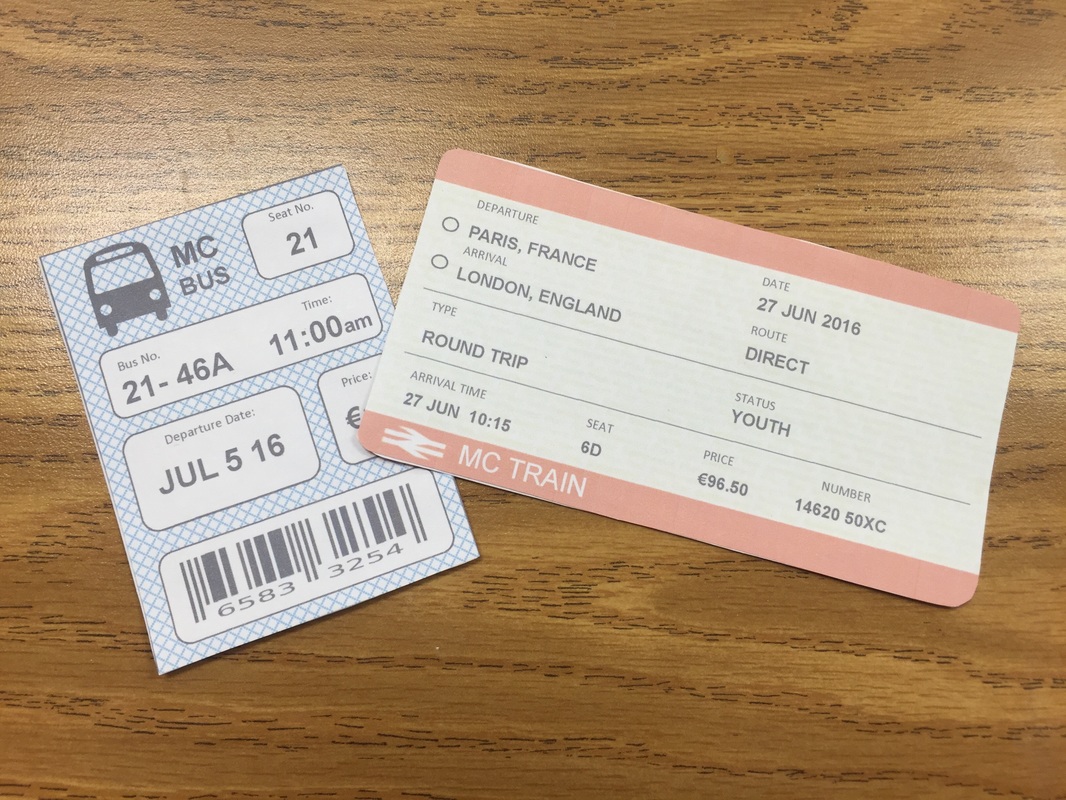
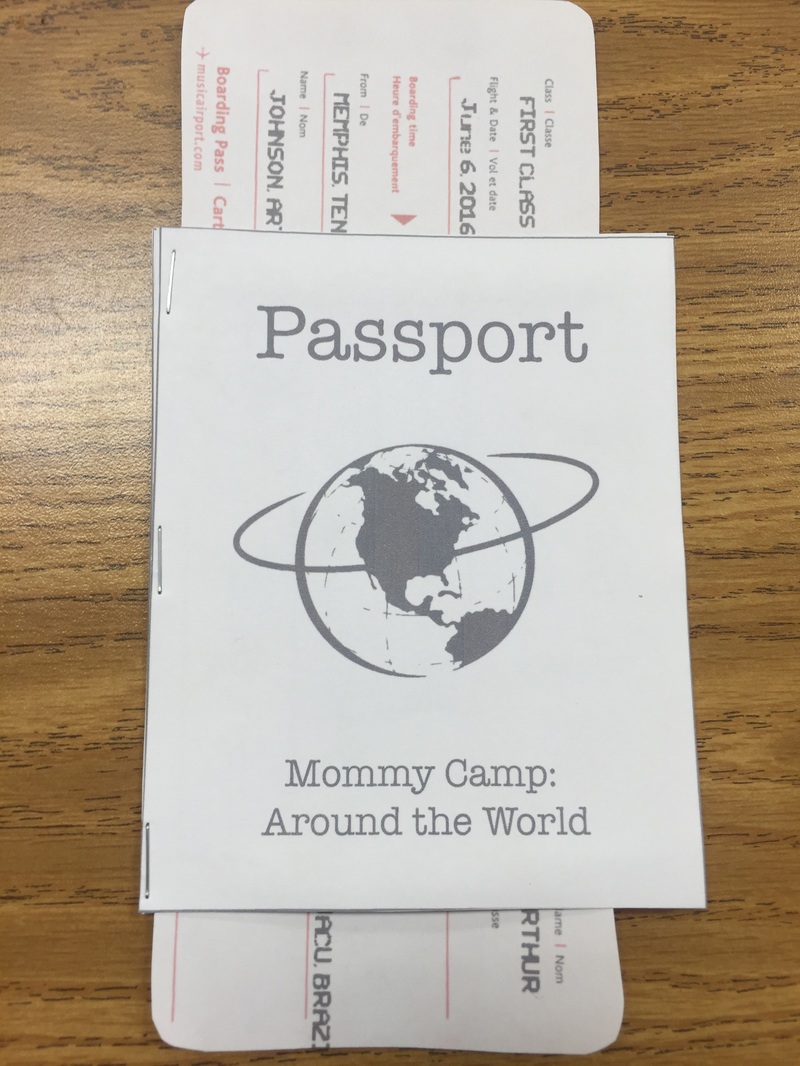
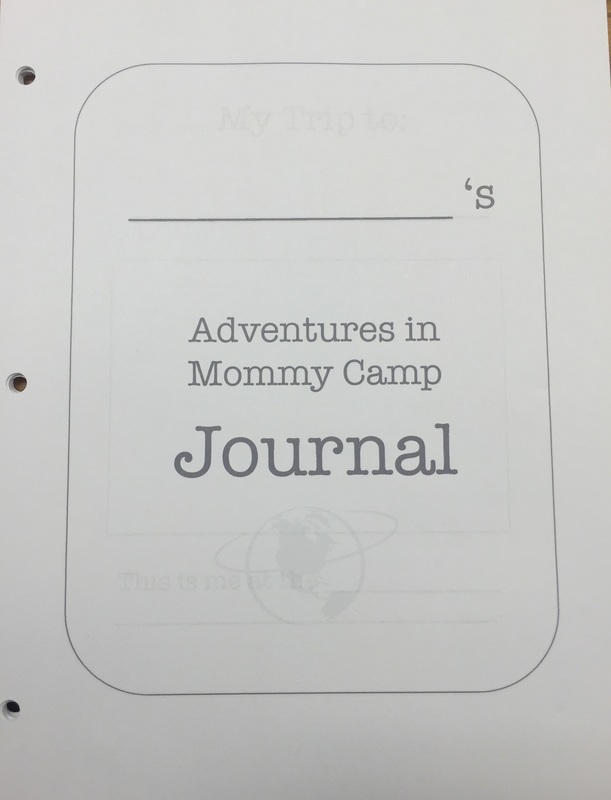
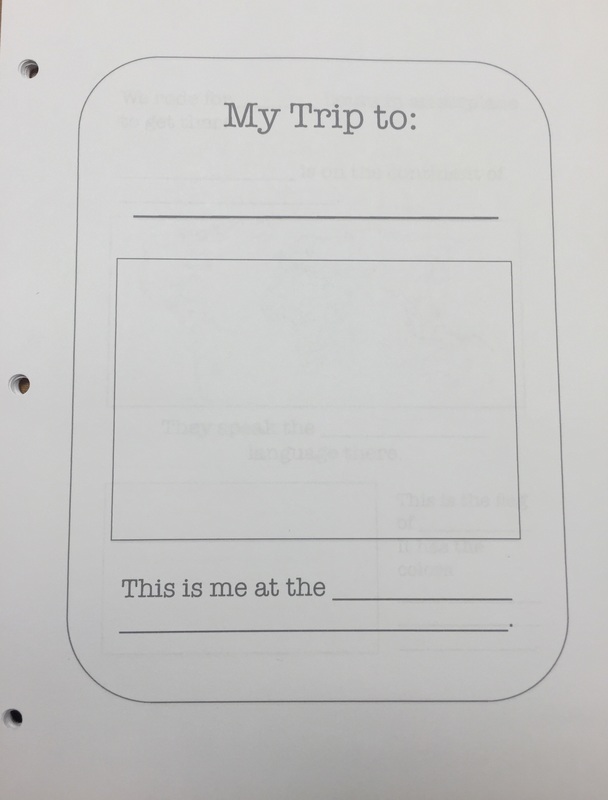
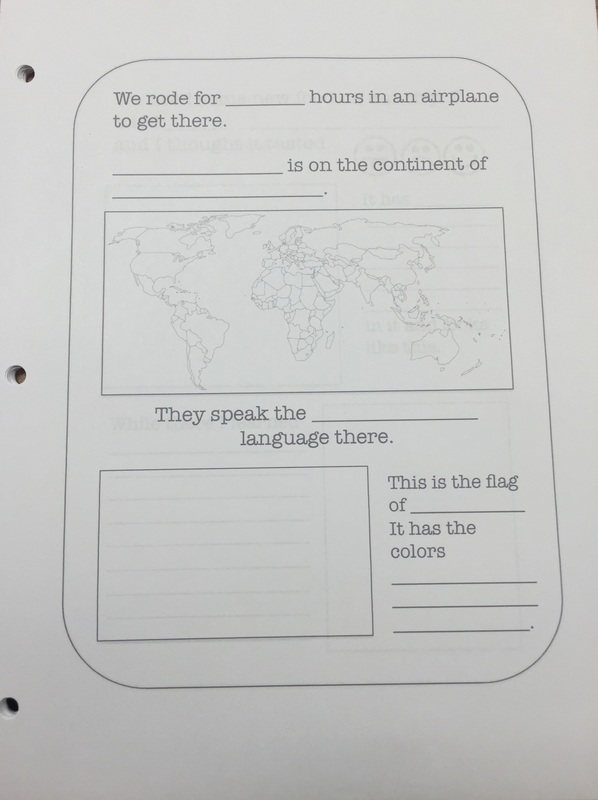
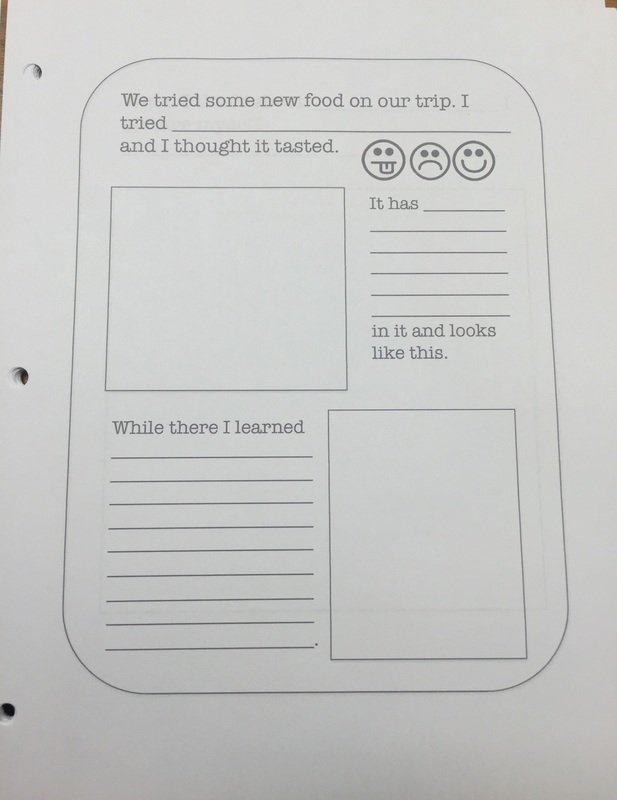
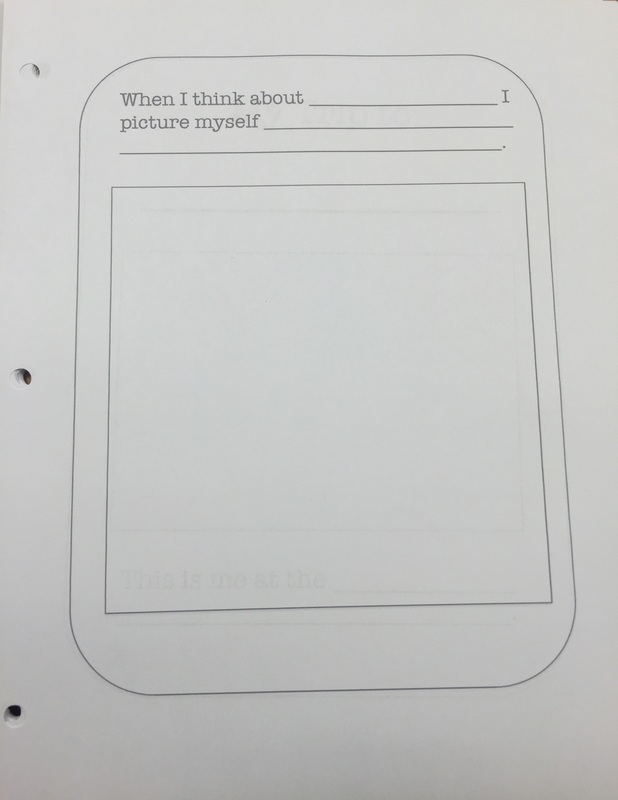
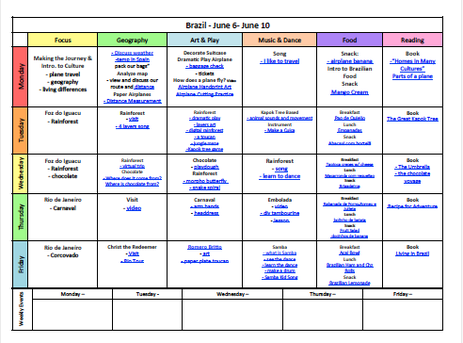
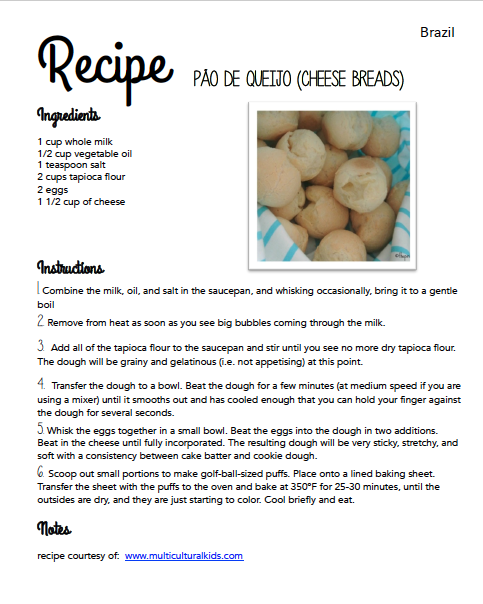
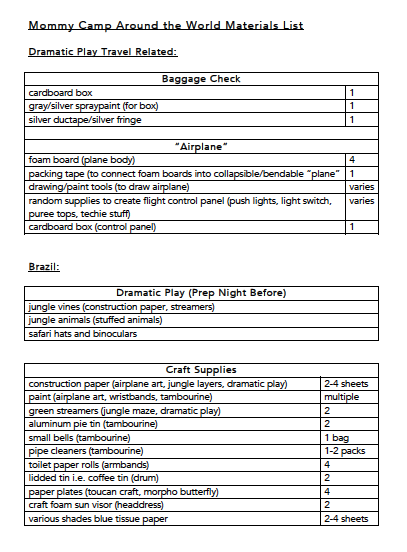
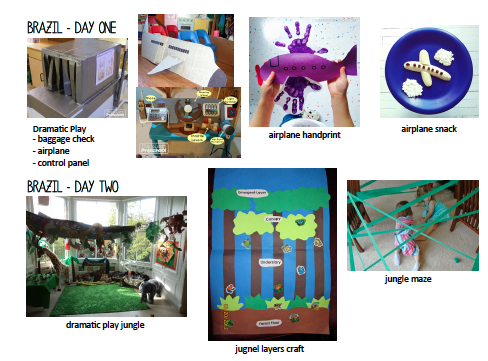
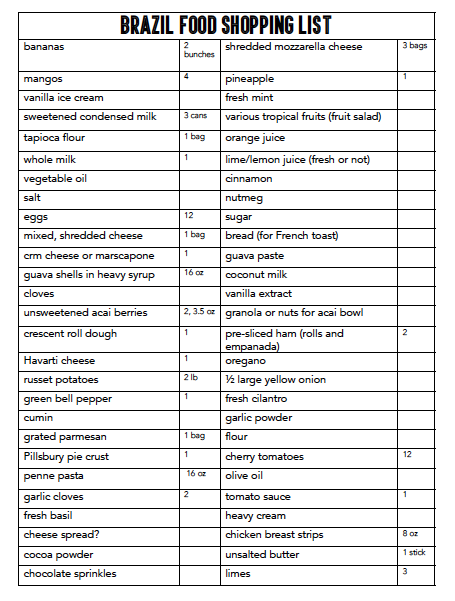
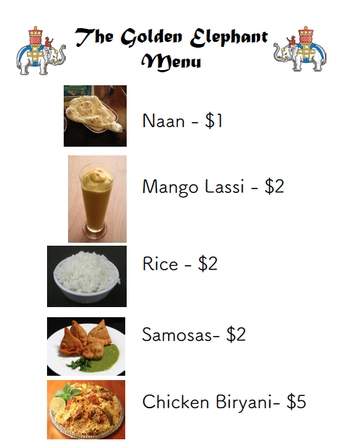
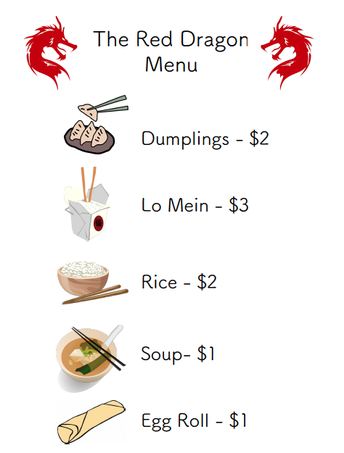
To begin, both of my kids will be given their own "passports" and tickets for the trip. I created the passports and you can download your own version by clicking the links beneath the photo above. I used this free site to generate the plane tickets. I created one ticket for each child that goes to each country we will visit and we will have fun with dramatic play and "boarding" the plane each week. I plan on creating a baggage check area with an "x-ray" machine similar to this one, an airplane prop using foam board and my drawing skills and diy cardboard suitcases which I haven't quite figured out yet. I'll link to that once I've actually made those items. So, the first day of each week will be dedicated to "flying" to the country, learning a bit of basic info, discussing geography and even focusing on airplanes and trains. There is at least one week where we will be "traveling" by train. For example, Paris to London on the chunnel. These weeks they will be given a train ticket and we will pretend to ride a train instead of the plane. They will also get a "passport stamp" each week (you can find my passport stamps in the passport file above). While we are "in" The U.K. we will also "ride" a double-decker bus and they will be given a bus ticket. You can get your own by clicking on the above images! I also created this nifty travel journal for my daughter to fill out (with my help) after we "visit" each country. It will give her a little more focus on reading and writing to keep her fresh and ready for Kindergarten this fall. Plus, it will create a really fantastic keep-sake of our adventures this summer. You can download your own Mommy Camp travel journal by clicking on the first image above! Now that we've covered all of the fun introductory stuff for MC, let's get to the meat and potatoes of this whole crazy thing! The lesson plans! I've created a lesson page for each week that looks similar to the one above. Each page has links to the project, video or content that I plan on using. When I created my MC folder, I simply went through and clicked on each link (unless it was a video link) to make sure I had printed out any templates or directions that I might need to complete each project. All of the links are also pinned to my MC pinterest board for easy reference this summer. You can download my lesson plans by clicking the photo above! You may notice the "food" column and all of the links to recipes for each country. I'm determined to get my picky kids to broaden their horizons this summer. Plain spaghetti noodles and pb&j are not going to be the only things that they eat! So, I've decided that we will learn about the food of each country and give it a try. I selected the least offensive items I could find to make it as kid-friendly as possible and, to make it easier for myself I went ahead and compiled all of the recipe links into a cookbook file! So, instead of having to go to the web every time I'm ready to get cookin', I can simply pull out my handy dandy cookbook arranged with each country in order! So much better! You can get your own copy of my cookbook and the cover art by clicking the photos above! Pretty awesome right?! You know...that's how I do. Finally, after all of that planning and the massive amount of things I am planning on achieving, I decided to make a materials list for each week, a grocery shopping list for each week to cover all of the recipes and a photo reference sheet to remind me what the craft projects should look like. (This way I don't have to run to pinterest each time I read the craft project for the day but can't remember what it's supposed to be.) You can also download those files by clicking the pictures above! You'll notice in the weekly materials list that I plan on creating a dramatic play area/scene for each country. They vary and some will include restaurant style dramatic play. I couldn't find any freebies that I liked for some of the restaurants so I created my own! You can download your own Indian restaurant and Chinese restaurant menus by clicking the photos above! The other dramatic play printables I used are linked in the lesson plan document and the things I plan on creating i.e. felt food, are also linked in the document. So, there you have it! My summer Mommy Camp plans in full! I will be posting weekly about our amazing adventures and how I manage to do everything so stay tuned all summer and enjoy!
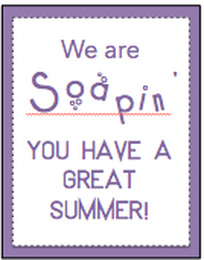
I always like to do a small gift for my children's teachers at the end of the year. This year my daughter helped pick out some soaps and lotions from Bath & Body Works and I created a cute tag to go with them. You can download the tags by clicking on the photo. I 100% forgot to snap a photo of the end result as I made them at the very last minute but, it was really cute. Trust me. Enjoy!
|
meet rachelRachel is a mother of three, elementary Spanish teacher and part-time blogger who loves crafting, creating fun and engaging activities for her children and students and hanging with her friends and family. She blogs about what she's doing and her interests at any given time which vary. She's a little OCD and always looking for her next project. Her husband calls it, "focusing her crazy", but she just calls it fun. Archives
December 2022
Categories
All
|
||||||


 RSS Feed


