Paint Covered Kids
  • Blog
  • About
  • Contact
  • The Gallery
  • DIY
  • Mommy Camp
  • Freebies
  • Subscribe!
  • Blog
  • About
  • Contact
  • The Gallery
  • DIY
  • Mommy Camp
  • Freebies
  • Subscribe!
Paint Covered Kids

​

Mommy Camp: Health Week

7/13/2015

2 Comments

 
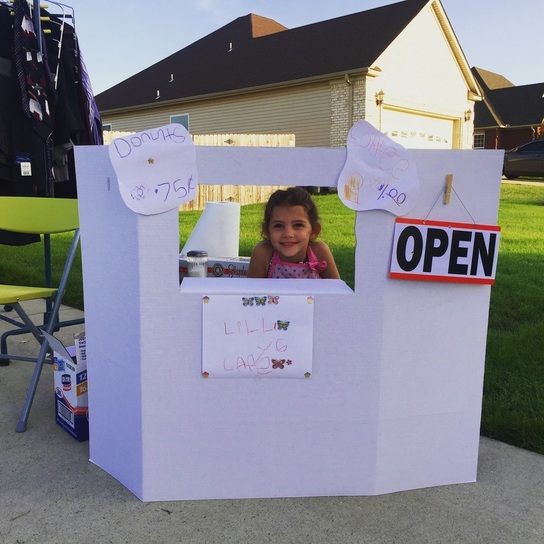
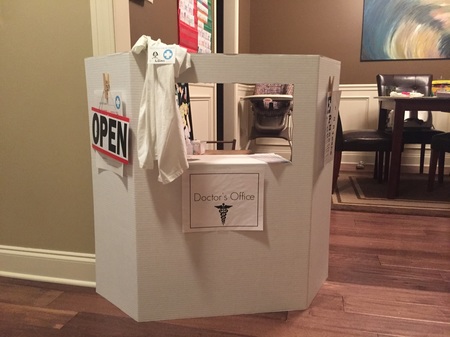
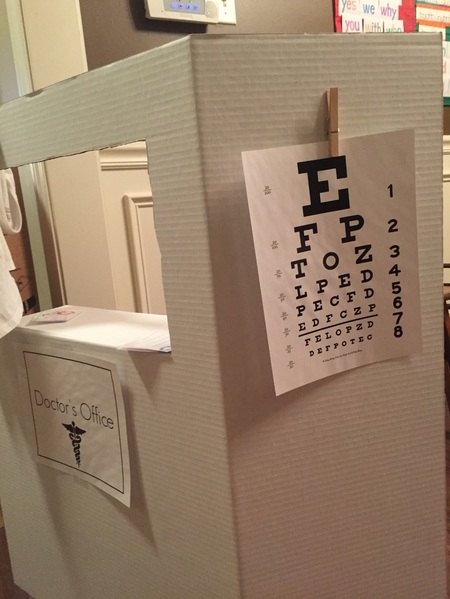
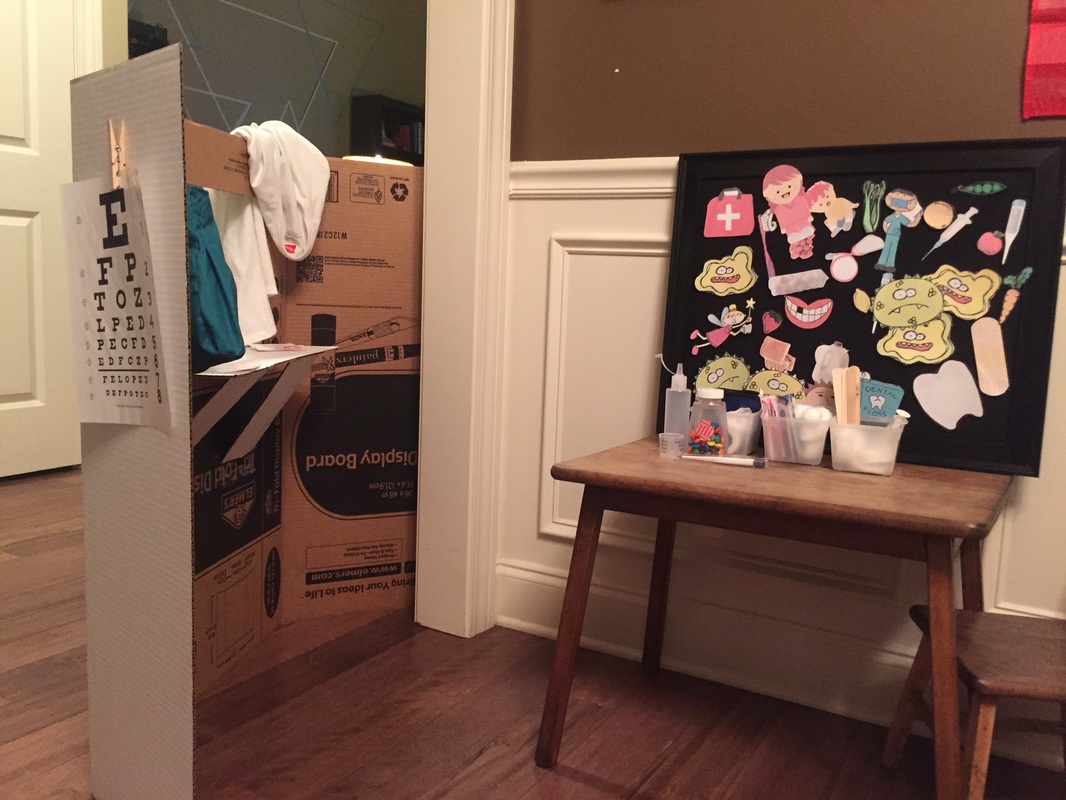
We had a crazy, busy week! It was so busy that we had to roll into the next week to finish up our lessons. We not only did mommy camp stuff but we also went to the waterpark again with friends and had a yard sale after cleaning out all of the closets, cabinets and rooms in the house. It feels great to have a clutter free home but I am exhausted. Of course, we did make $700 bucks and Lilly made $21 at her coffee and donut stand. (Look familiar? We changed out the signs on the DIY Doctor's Office.) So that made it worthwhile.
Picture
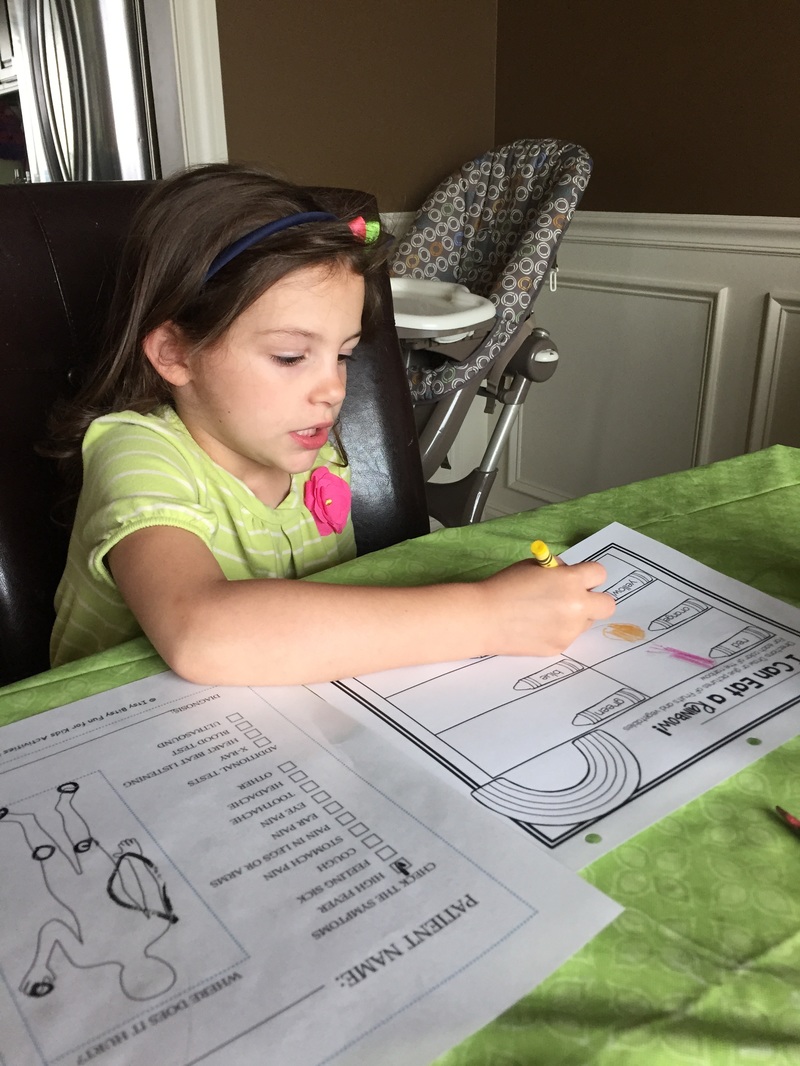
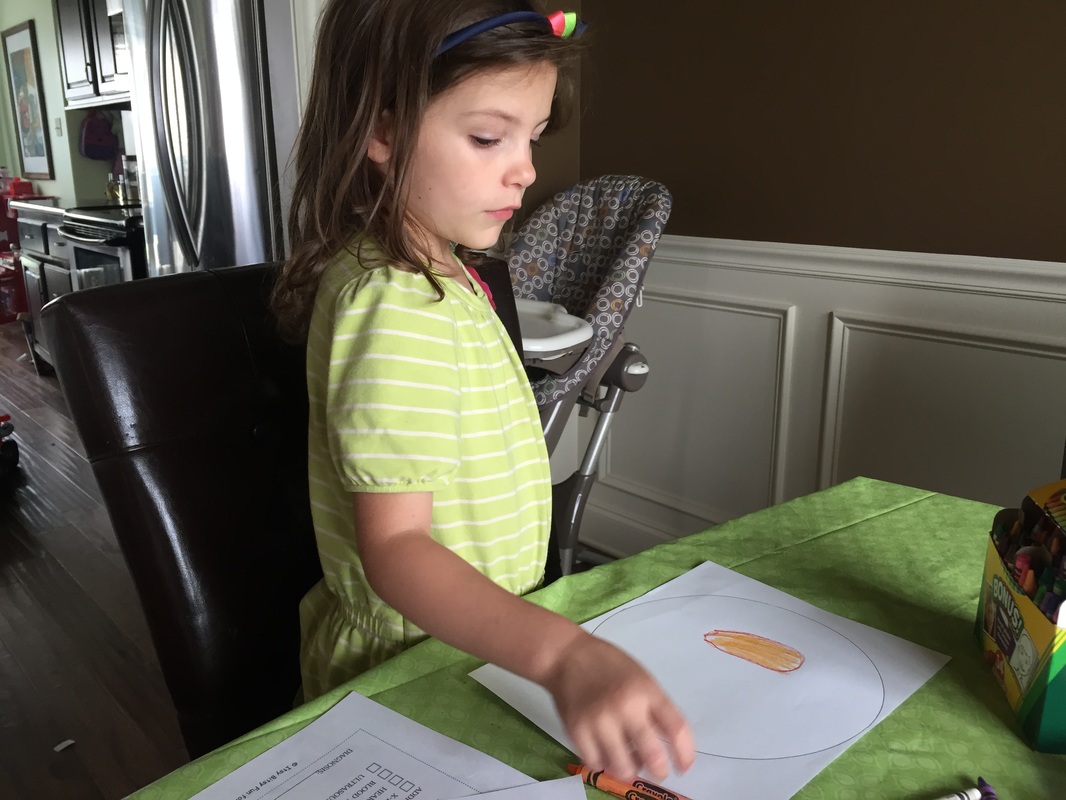
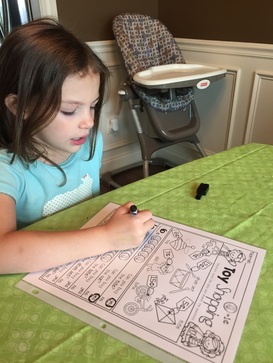
Our first day was all about the body, for day two we focused on the food pyramid. Lilly worked on identifying the food groups with some easy worksheets and then practiced a little reading, cutting, pasting and grouping skills with another worksheet. We discussed how it's important to have a colorful plate and practiced reading colors and then drew her own "healthy plate" with food from each food group.
Picture
Picture
Picture
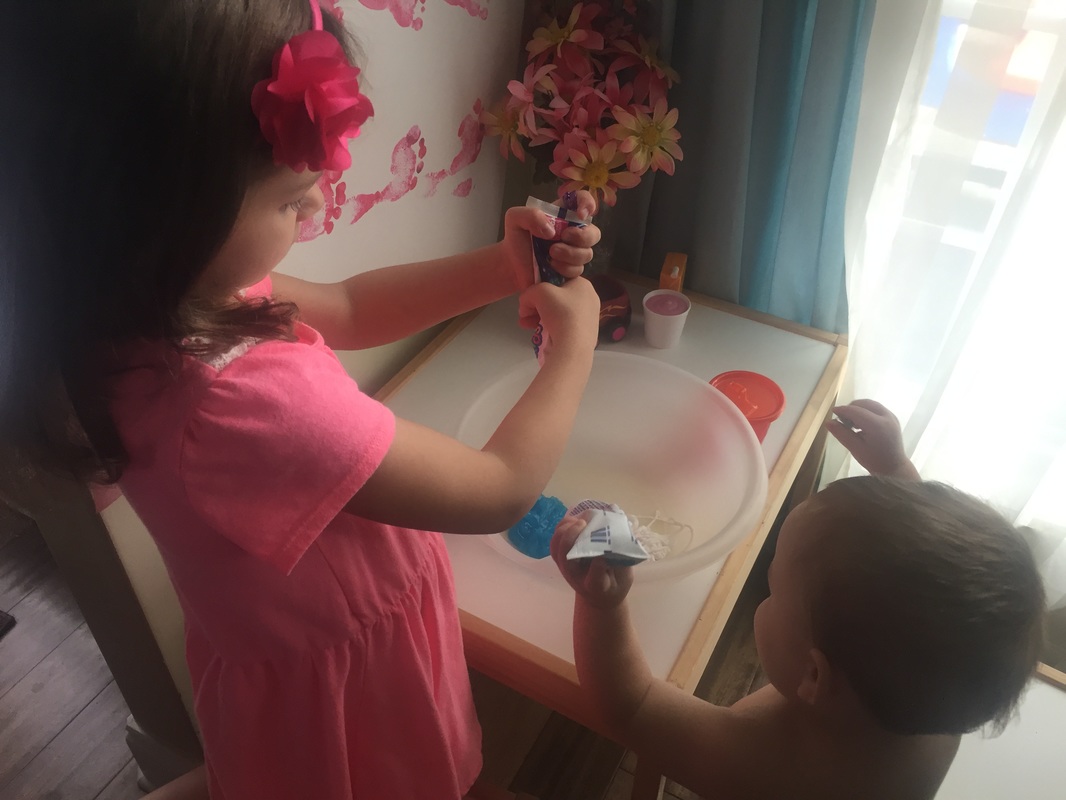
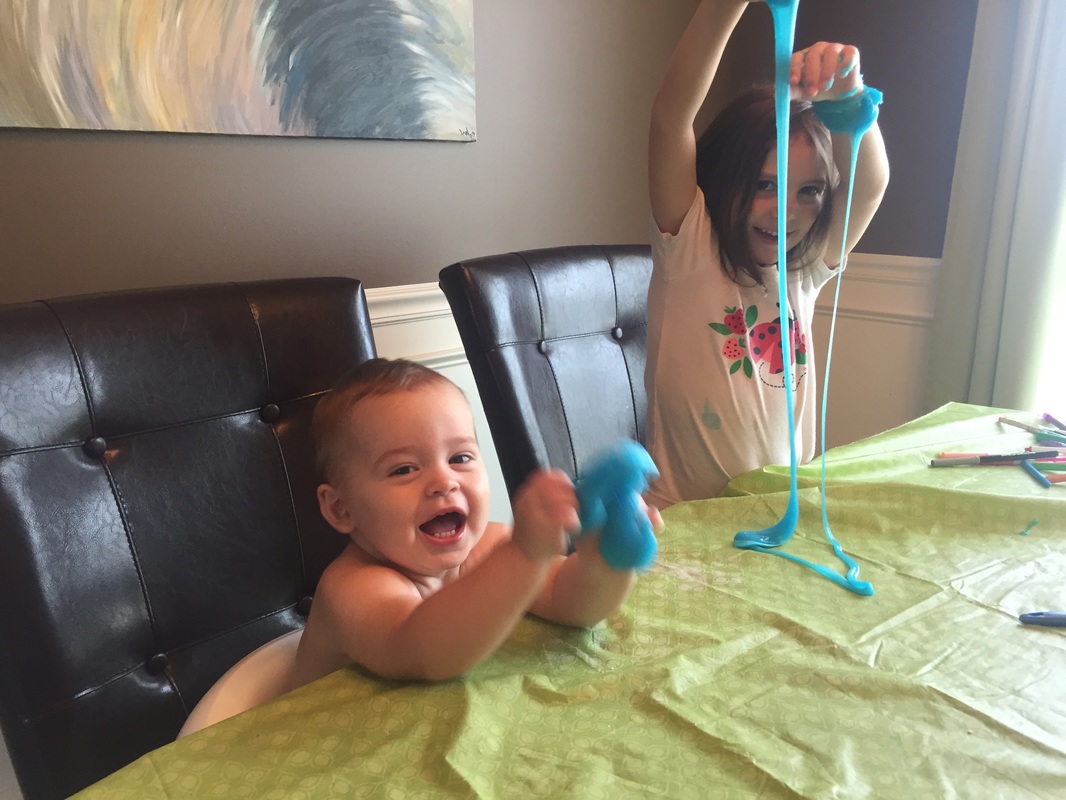
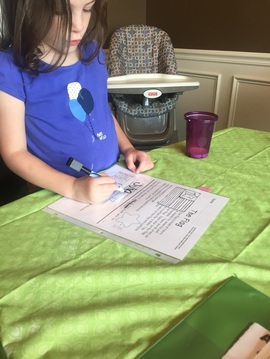
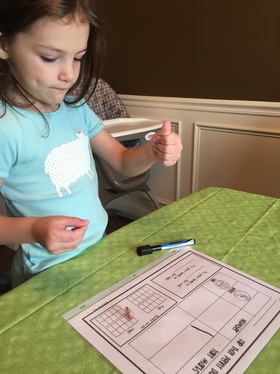
Day three focused on dental health. We started out with some fun with toothpaste! I gave them both a tube of dollar store toothpaste to enjoy squeezing into a bowl. The idea was to play a little more but Arthur decided eating it was a better idea so we had to scrap that idea. Instead, we made toothpaste slime using the same recipe as our space slime but substituted clear elmer's glue and neon blue food coloring instead of purple glitter glue. Lilly played with it for over an hour! She LOVES the stuff! We attempted elephant toothpaste as our science experiment but it was an utter fail. I followed the directions exactly right and nothing happened. It was pretty lame. We also completed a tooth brushing sequencing worksheet and a greater or less than worksheet with teeth and toothpaste.
Picture
Picture
Then we conducted an experiment using eggs to discuss how our teeth are effected by the different things we eat and drink. Lilly thought it was pretty neat and really enjoyed brushing the eggs afterwards.
Healthy Teeth Experiment
Materials:
- three eggs (we only had brown ones but white would have been better)
- one cup filled with milk
- one cup filled with water
- one cup filled with a dark soda
- free experiment printable
Directions:
1. Place one egg in each of the cups and let sit for a bit. (I think ours sat about 20 minutes.)
2. Hypothesize as to what will happen to each egg.
3. Remove the eggs and analyze the results. See if they match your hypothesis. 
4. Clean the eggs using a toothbrush and toothpaste.

The cup in the milk had a milky appearance because it was a brown egg. The egg in the soda was stained and brushing did not remove all of the stain. The egg in water was unchanged.
Picture
Picture
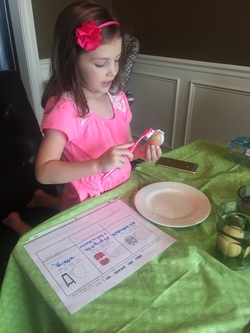
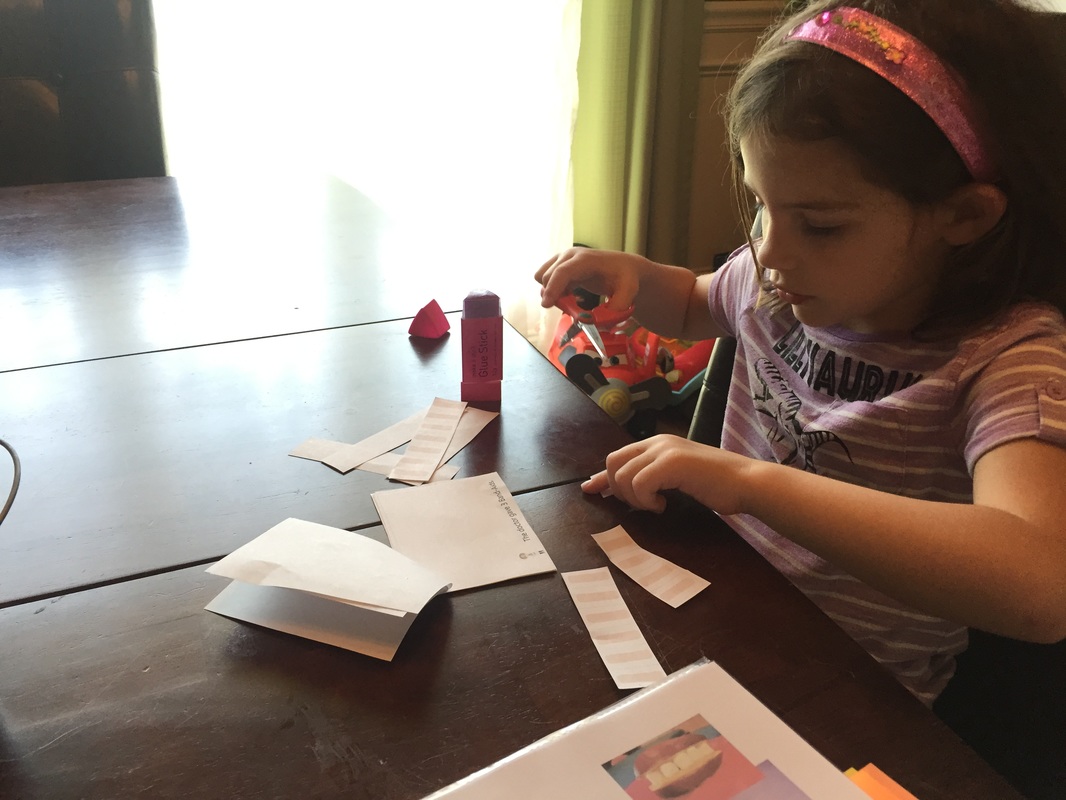
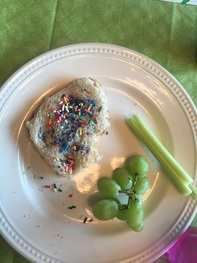
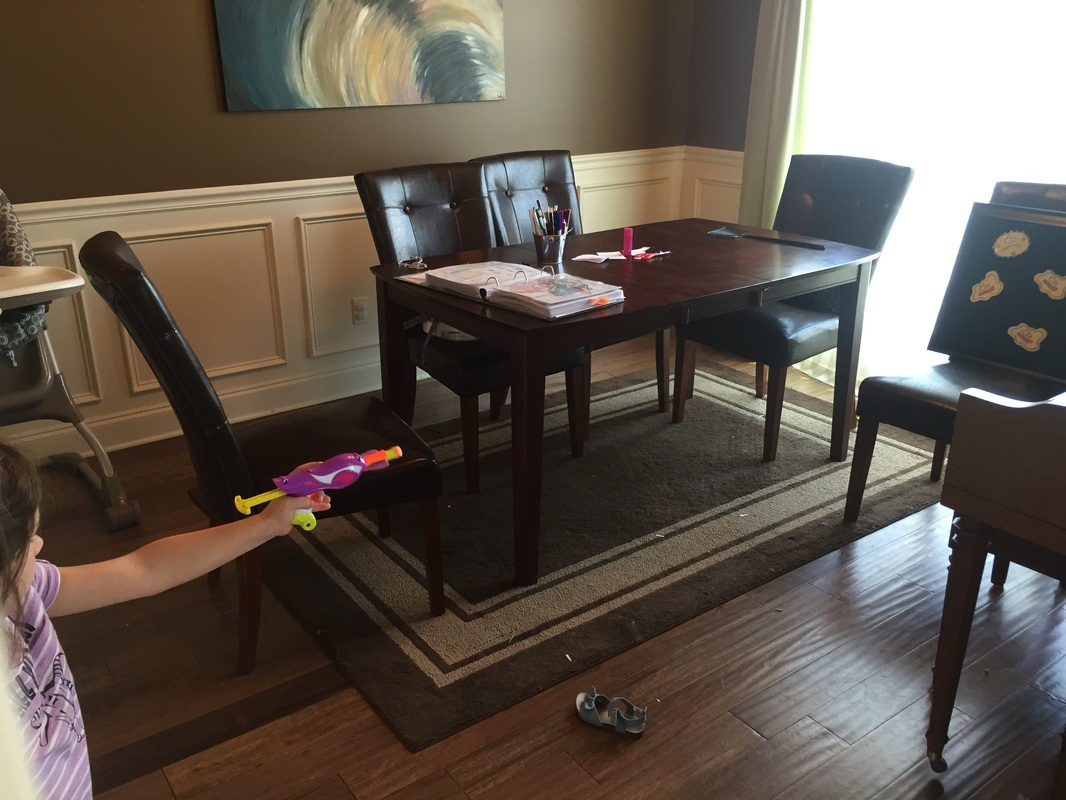
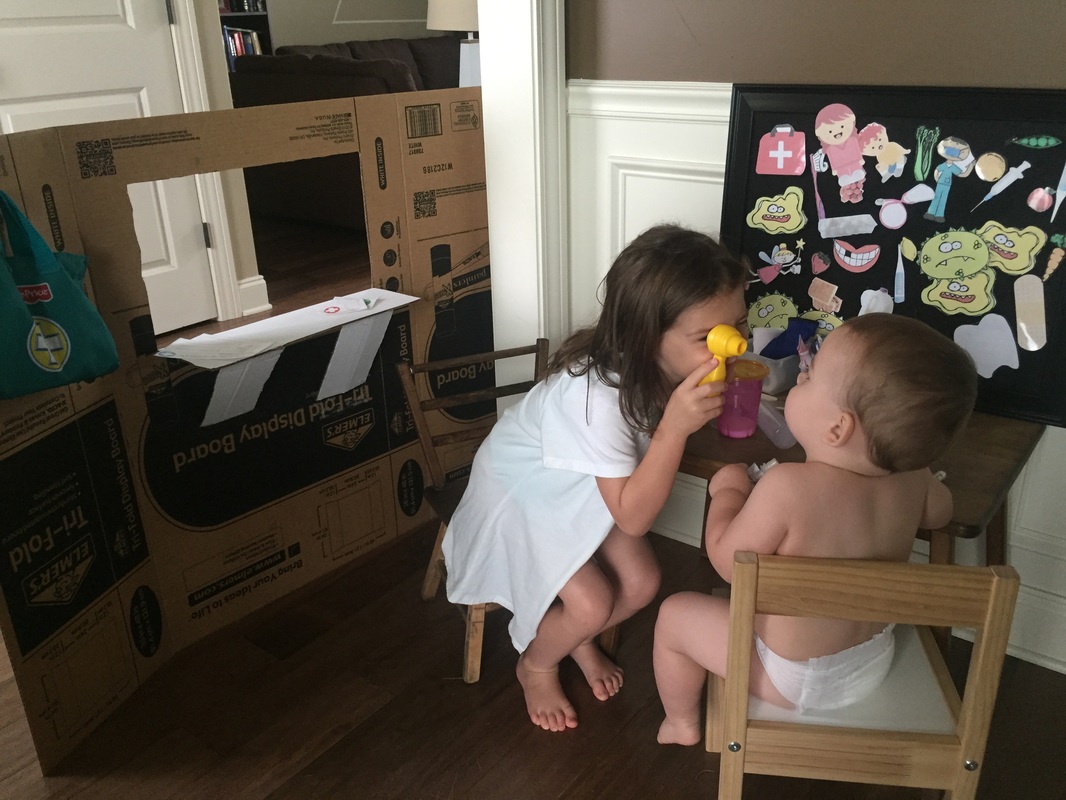
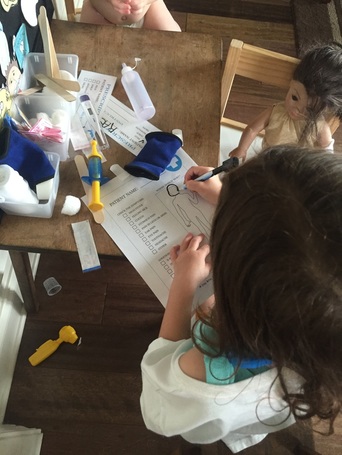
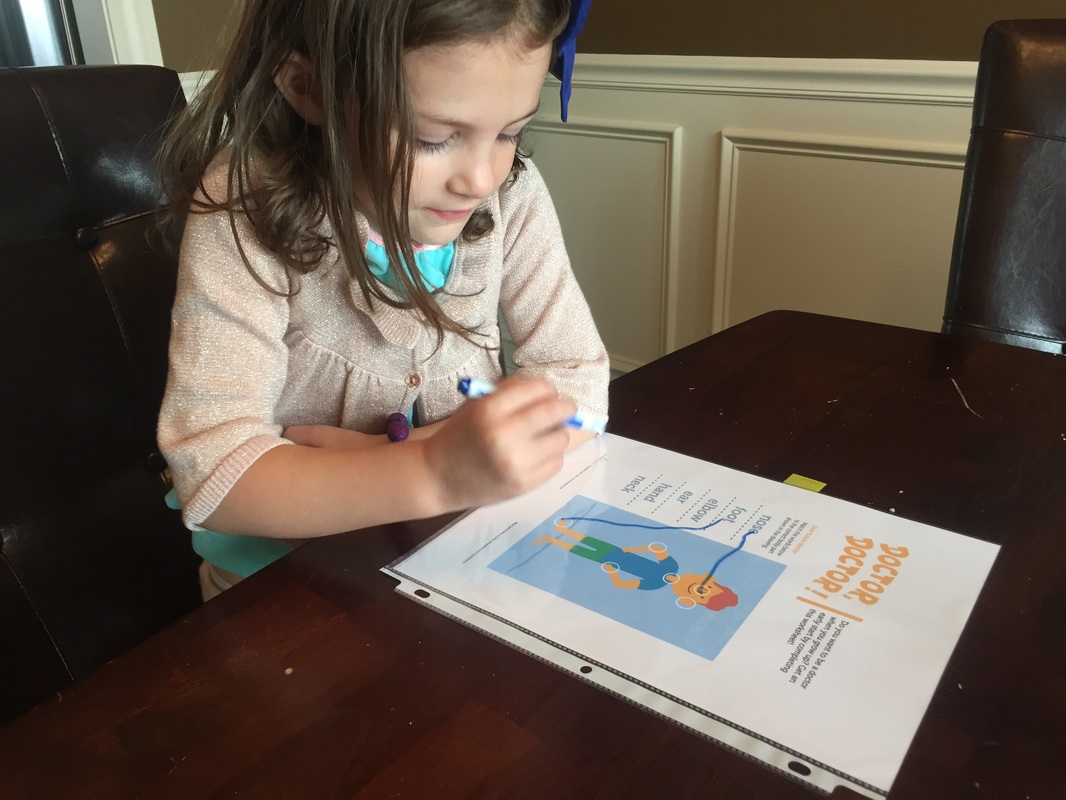
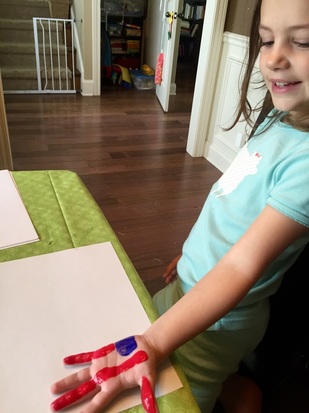
Day four we focused on germs and doctors. I had a lot more activities planned than we actually accomplished but we did manage to do a few of the things in between cleaning out closets and playing at the water park. Lilly completed an interactive counting reader that used paper bandaids that you cut and glue on each page to match the number in the sentence. Lilly also had fun taking down some germs with the felt board and a nerf gun. For lunch she had a germ sandwich. (I was kind of lazy with the Mommy special... sprinkles are fun though!)
Picture
Picture
Picture
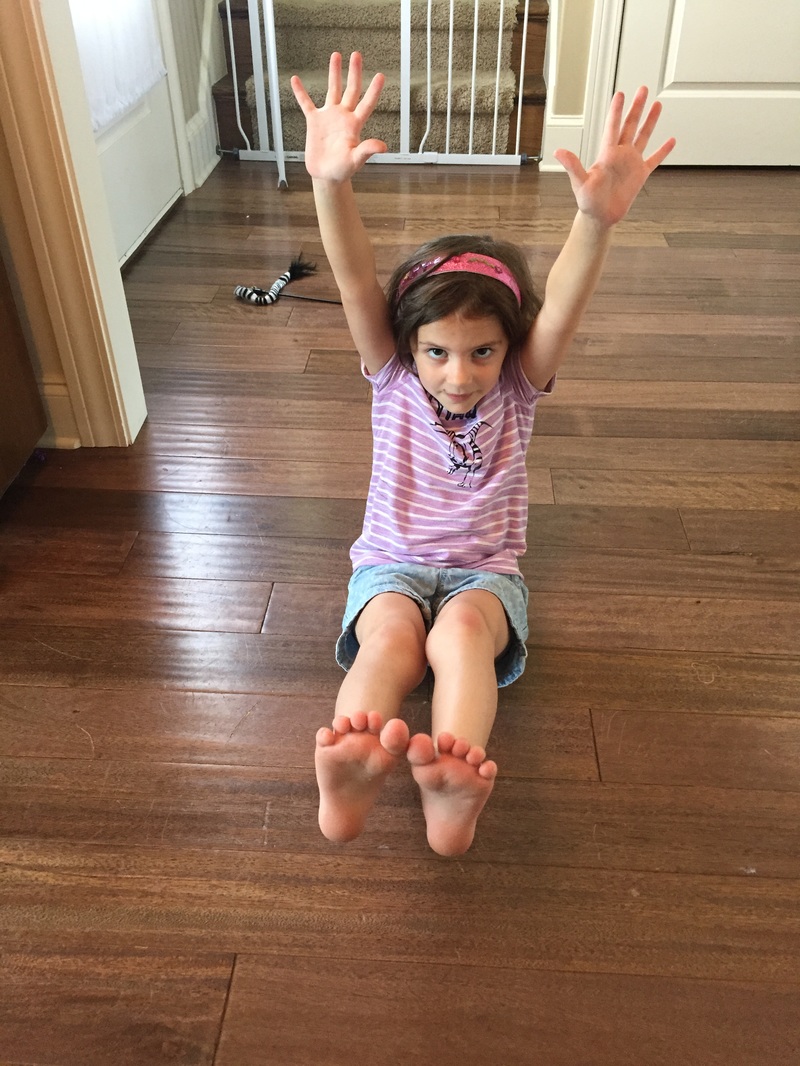
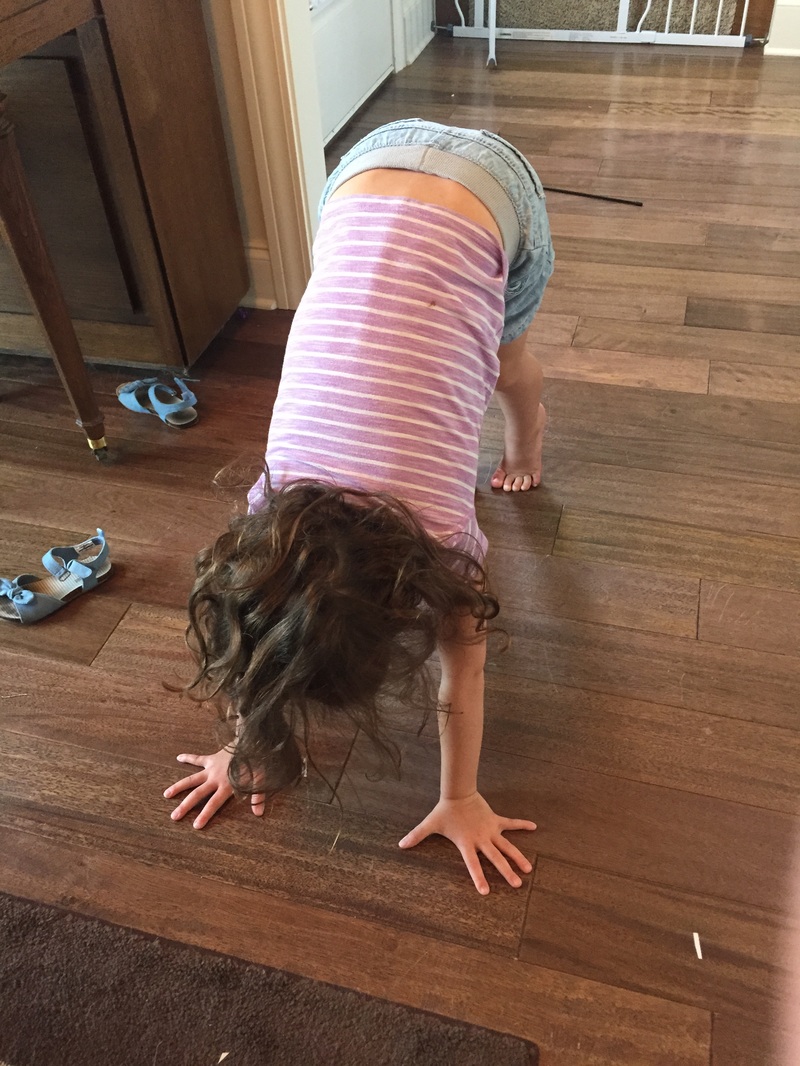
Day five was supposed to focus on exercise. We didn't do much with it. We talked about why exercise is good and important. Then we had fun with counting and balance. I would tell her different things to do and we would count to see how long she could hold her balance. She thought it was great and it took very little effort from me which was awesome. 

Here are a few things I asked her to do:
- balance on one foot
- balance on one foot and one hand
- balance on only your bootie with your hands and feet in the air
- balance on both feet and hands with your bootie in the air

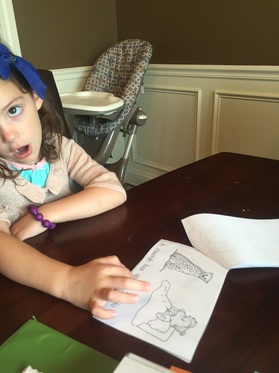
You could also have them act/walk like different animals. I had planned to make an obstacle course using streamers and tape in our hallway but it just didn't happen. We did manage to read another mini-reader together about our body so that was good.
Picture
Picture
That's a wrap on health week! Tomorrow we begin weather week and I'm pretty excited about all of the fun stuff I have planned!
2 Comments

All About the Body

7/6/2015

0 Comments

 
Today we started our health week with a focus on the human body. To start the day, I created a dramatic play doctor's office for Lilly to discover this morning and she loved it! She spent about an hour right at the start of the day playing pretend and doctoring her various dolls and animals. Once Arthur was awake he got a little doctoring too. Of course a fight erupted when he couldn't eat all of the "medicine" (it was m&m's). He's such a little chunkster.
Picture
Picture
Picture
Then we talked about different parts of our body and did a simple worksheet that required her to connect the word to the body part. I helped her sound out the words to give her some reading practice.  After that we read a short reader together focusing on our body (You can see she was really into it. lol) and then it was time for a craft!
Picture
Picture
For the craft we colored and cut out different body part worksheets (I made the brain myself. and discussed what they do while watching a few short videos about each body part. Lilly really enjoyed these videos from kidshealth.org on youtube. Then we got out our roll of dollar store butcher paper and created an outline of her body and glued them in the correct places. Then I added bones and helped Lilly label each part to give her some writing practice.
Picture
Her look today was mismatched pajama chic.

After our fun craft we took a break and watched an episode of "The Magic School Bus" where they go inside Ralphie to find out why he's sick. They are all on Netflix. :)
Picture
Picture
0 Comments

DIY Doctor's Office Dramatic Play

7/6/2015

0 Comments

 
Our theme this week at Mommy Camp is health. For the dramatic play area I decided to create a doctor's office. I'm pretty happy with how it turned out and Lilly was ecstatic! 
Picture
Materials:
- trifold display board (like for science fair)
- hot glue gun
- plastic hooks/clothespins
- exacto knife
- free doctor's office printables
- bandaids, cotton balls, pretend doctor kit, medicine syringes, gauze, gauze tape, giant popsicle sticks, thermometer (anything that isn't dangerous and can be used for pretend doctor stuff)

Directions:
1. Cut a hole out of the center portion of the trip-fold board. Be sure to only cut it out on the top and sides. Leave the bottom attached so it can be folded backwards into the "office" to create a counter. (This hole will act as the customer window.)
2. Reverse the tri-fold board so that the white part is facing out and the brown part is facing in. (This will make it look white and clean on the front/entrance to the doctor's office.)
3. Cut about 5-6 inches off of the folded in portion to make the counter the right width. (Otherwise it will stick out too far.)
4. Cut the portion you removed from step 2 in half and hot glue to the "shelf" and inner portion of the center part of the tri-fold board. (These two pieces hold the shelf in place and allow you to use it as a shelf.)
5. Attach hooks/clothespins to board for hanging signs/doctor's coat/doctor's bag. 
6. Print out and laminate the free printables. (These printables are great and include an eye chart, patient sheet, prescription sheets, doctor office sign and name tags for a doctor, pharmacist and ambulance driver.) 
7. Then I visited the dollar store for bandaids, gauze, gauze tape, a few little containers to hold stuff and an open/closed sign. I also grabbed a bottle of antacid that was a nice size for .88 at walmart. Then I emptied it and cleaned it, filled it with m&m's and used washi tape to create a cross on the front. It was a big hit. Although the bandaids may have been even more loved. Arthur and I have had to had numerous shots today, per Dr. Lillian's orders, and are covered in bandaids.

Picture
Picture
Picture
I also spent about 2 seconds making a doctor's coat out of a white t-shirt. I cut a line down the front center of the shirt and then added a dab of hot glue on the left side to which I attached a piece of velcro. This can be used with the name tags that come in the free printable if you laminate and attache velcro to them too. I also printed and laminated a bunch of images that relate to the topics this week and hot glued velcro to them for the felt board.

Check back to see all of the fun we'll be having learning about heath this week!
0 Comments

Wrapping Up America Week

7/6/2015

0 Comments

 
We finished up the lessons for America week but did miss a few things I had planned. We still managed to talk about all of the topics I wanted but didn't have time to complete all of the activities or spend as much time learning about money.
We finished up flag information on Friday and also discussed the job of the President. We did a few worksheets about the flag and coins and watched a video of the President reading a children's book as well as answering questions in an interview with kids. We also did a few more coin worksheets from education.com and teachers pay teachers about dimes, quarters and dollars. I was planning on playing a game with coins too but she was getting tired and the coin info was a bit hard for her so we skipped it.
Picture
About the Flag & Flag Writing Practice
Picture
Nickel Worksheet
We had a busy weekend full of friends and fun that made it a little difficult to finish all of America Mommy Camp. We had friends over Friday, Saturday we went to the lake with different friends, did fireworks and Lilly went on a Daddy date to see fireworks in the evening. Sunday the weather was so nice that we went to the park. We did manage to squeeze in a little art on the 4th with do a dot markers because Arthur raided my activity closet and demanded to use them. He also has a new thing that whenever he sees you holding a phone he says cheese and poses. It's adorable and can make for great pictures if Lilly cooperates at the exact same time, which usually doesn't happen.
Picture
Flag do-a-dot
At the lake Lilly won the ballon passing game! She beat adults! She also went down the slide without her puddle jumper (they weren't allowed on the slide). On the way home we grabbed a few fireworks and had fun in the driveway. We also made sure to discuss the reason we celebrate the 4th of July and why we use fireworks. 
Picture
Picture
Even though the 4th was over we wrapped up the last of the activities by discussing our National bird, the bald eagle. Lilly colored and cut out an eagle and we watched a video about the bald eagle and why it's our national bird. We also finished the rest of the coin and money practice. We were going to do a Statue of Liberty craft and talk about it but she wasn't interested and I didn't push it.
Picture
Picture
Eagle Color, Cut & Paste Craft
Like I said earlier in the post, I had many other things planned for this week that we just didn't have time to do because we were so busy doing fun summer things. But, she learned a lot and had fun which is the most important thing. Our next theme is health and I think it will be a lot of fun so check back for all of the great learning activities we'll be doing!
0 Comments

All About the Flag

7/2/2015

0 Comments

 
We started off the day with some yummy American Flag themed toast and then did some worksheets focusing on the penny because we didn't finish everything from the day before. (We are SUUUUPER behind this week and will definitely be continuing our lessons into the weekend.) One worksheet was a "shopping" activity with pennies and was very good for helping her understand the basics of using money. The other was a penny flipping activity that helped with understanding counting by tens and the concepts of greatest and least. She really enjoyed flipping the penny.
Picture
Picture
Toy Shopping with Pennies
Picture
Coin Flipping Activity
Then it was time for some fun with paint! We started by trying our hand at some American flag handprints. They turned out less than awesome but both kids loved the feeling of having their hand painted. (I also didn't have any white paint which should have been used for the white stripes and might have made a little difference.)
Picture
Picture
Picture
We went outside for the next painting activity involving handprints and footprints. I grabbed the blue and red paint as well as a piece of poster board. For good measure I also brought a roll of brown butcher paper and some yellow. I figured the kids would definitely want to continue painting after the project. Then we made an American flag using hands and feet. It turned out pretty ok. Lilly did hers by herself and I held Arthur to make his prints. Then I set them loose on the butcher paper and let them have fun with it. It might seem crazy to others but being outside, using washable paint and having a water hose makes the clean-up pretty easy and afterwards they got to have a fun bubble bath.
Picture
Picture
Picture
0 Comments
    Picture

    RSS Feed

    meet rachel

    Rachel is a mother of three, elementary Spanish teacher and part-time blogger who loves crafting, creating fun and engaging activities for her children and students and hanging with her friends and family. She blogs about what she's doing and her interests at any given time which vary. She's a little OCD and always looking for her next project. Her husband calls it, "focusing her crazy", but she just calls it fun. 

    Archives

    February 2022
    December 2021
    November 2021
    October 2021
    September 2021
    August 2021
    July 2021
    May 2021
    April 2021
    March 2021
    February 2021
    January 2021
    November 2020
    October 2020
    August 2020
    July 2020
    June 2020
    March 2020
    February 2020
    December 2019
    November 2019
    October 2019
    August 2019
    July 2019
    May 2019
    March 2019
    February 2019
    January 2019
    December 2018
    November 2018
    October 2018
    September 2018
    July 2018
    June 2018
    April 2018
    March 2018
    February 2018
    December 2017
    October 2017
    September 2017
    July 2017
    June 2017
    May 2017
    April 2017
    March 2017
    February 2017
    January 2017
    December 2016
    November 2016
    October 2016
    September 2016
    August 2016
    July 2016
    June 2016
    May 2016
    April 2016
    March 2016
    February 2016
    January 2016
    December 2015
    November 2015
    October 2015
    September 2015
    August 2015
    July 2015
    June 2015
    May 2015
    April 2015
    February 2015
    September 2014
    August 2014
    February 2013
    January 2013
    December 2012
    November 2012
    October 2012
    September 2012

    Categories

    All
    Baby
    Beauty
    Clothing
    Crafts
    Decor
    DIY
    DIY Gifts
    Dramatic Play
    Freebies
    Free Wallpapers
    Fun With Paint
    Holiday
    Inspire
    Kids
    Kid Snacks
    Mommy Camp
    My Thoughts
    Organize
    Parenting
    Party Time
    Photography
    Science Stuff
    Sensory Play
    Silhouette
    Toddlers
    Whole 30

    Picture
    Picture
    Mom Buzz Media
Proudly powered by Weebly