I'm also planning on a 1 year photo shoot that is going to be adorbs so stay tuned for that too.
|
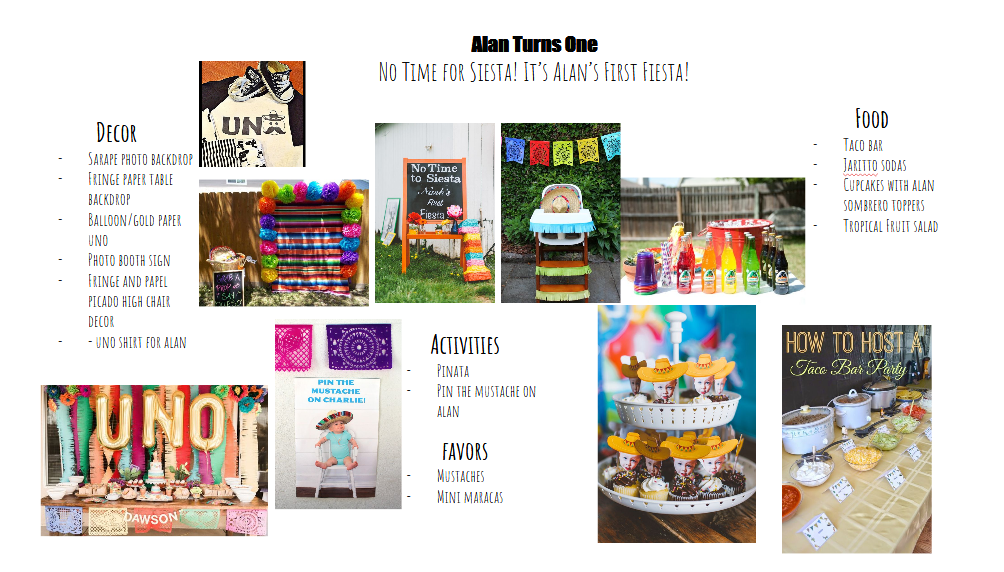
Alan's first birthday is fast approaching! We're planning on having a pretty low-key event with a few friends and family but, I have to make it awesome! It's going to be fiesta themed and freakin' adorable. Because we won't have many kids I've only planned a few activities but, the focus is going to be on food! We're going to have a taco bar!! Alan loves tacos so it is definitely appropriate. Check out the party plan and don't forget to come back when I post the deets!
I'm also planning on a 1 year photo shoot that is going to be adorbs so stay tuned for that too.
0 Comments
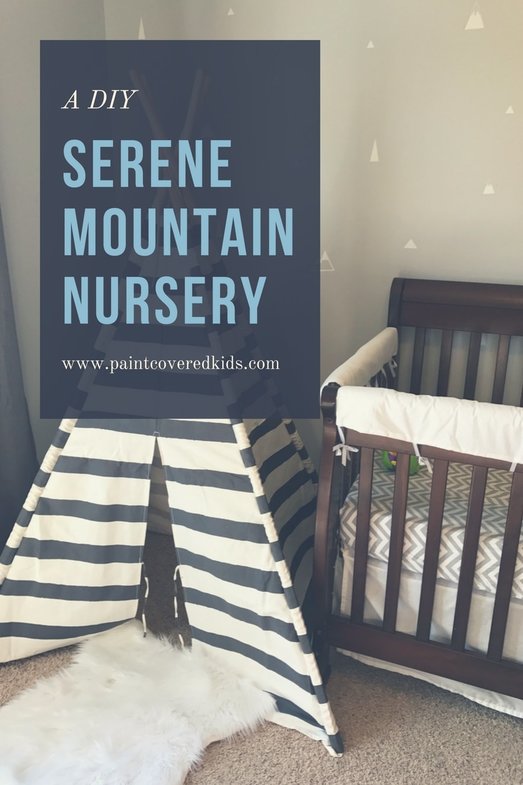
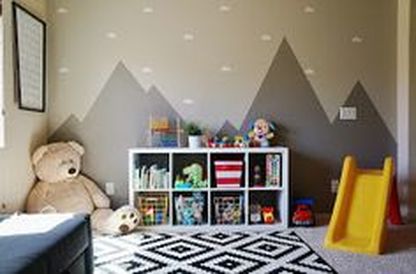
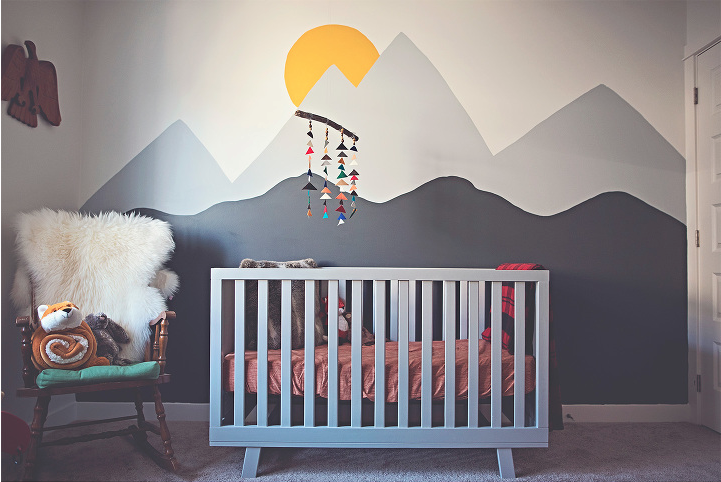
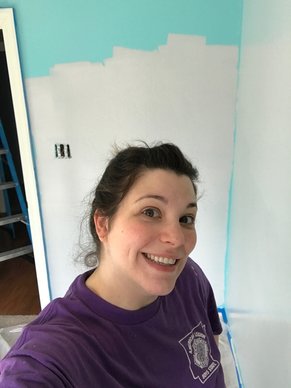
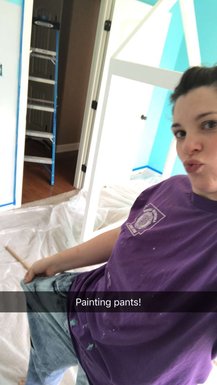
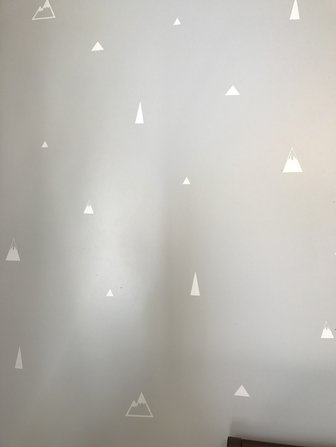
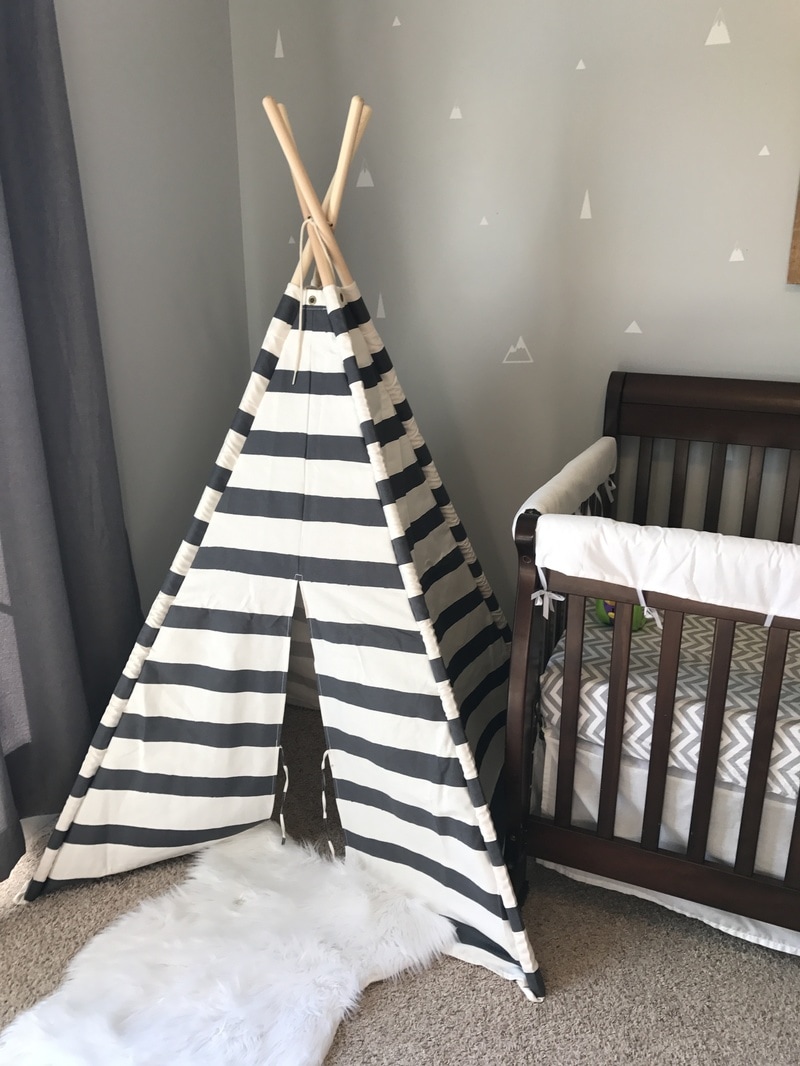
My son was born in October and I have only recently finished his nursery. I figured I didn't need to rush since he is still sleeping in a bassinet beside me. Plus, we waited to find out what we were having and let it be a surprise on the big day! So, I didn't want to decorate until I knew the gender. Once I began planning, I decided on a mountain theme and am really pleased with how it turned out! To begin I turned to Pinterest for inspiration, of course, and decided the mountain theme would be perfect. Originally I planned on painting a mountain mural similar to the ones below but, my husband was not a fan of the idea and, after painting the bedroom gray along with two other bedrooms and a bathroom, I was kind of over painting. I went on a painting spree in our new home and took both of the boys bedrooms (they share a bath jack and jill style) from a seriously bright turquoise hue to a much more subdued and versatile gray from Sherwin Williams called "Evening Shadow". It has a tendency to lean toward the blue end of the gray scale but, from my experience, works well with any colors you throw at it. I also painted my office this color. It is almost complete and I will post about it soon! In addition to painting those three rooms, I also painted the jack and jill bathrooms, taking them from flamingo pink (I know right?! All THREE of our bathrooms were painted this color when we moved in!) to a blue gray from Sherwin Williams called "Rarified Air" and my daughter's bedroom went from boring taupe to a lovely light (almost white) purple shade called "Silver Peony". So instead, I decided to create faux wallpaper using my silhouette machine and white vinyl. I found a few mountain shaped silhouettes and paired them with various triangle shapes, sent them through my machine and then applied them randomly on the main nursery wall. It took very little time and I love the result! In fact, if you want to create your own faux wallpaper using vinyl and a silhouette machine, you can download my file! Sweet!
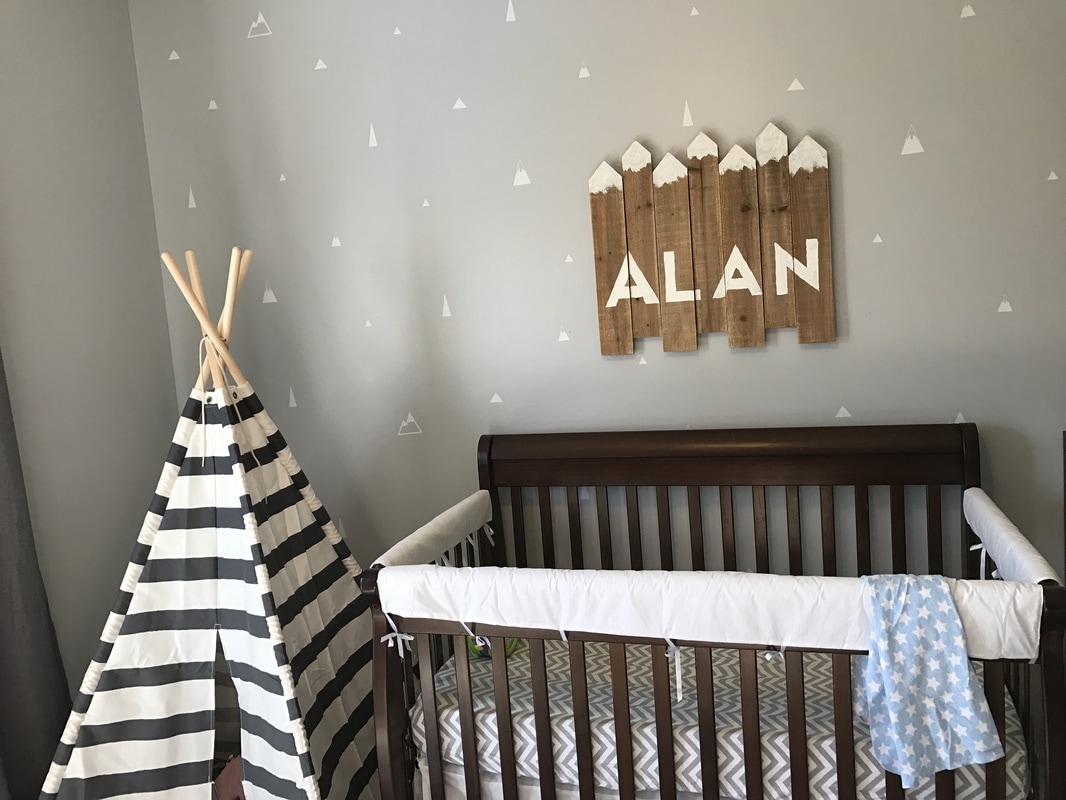
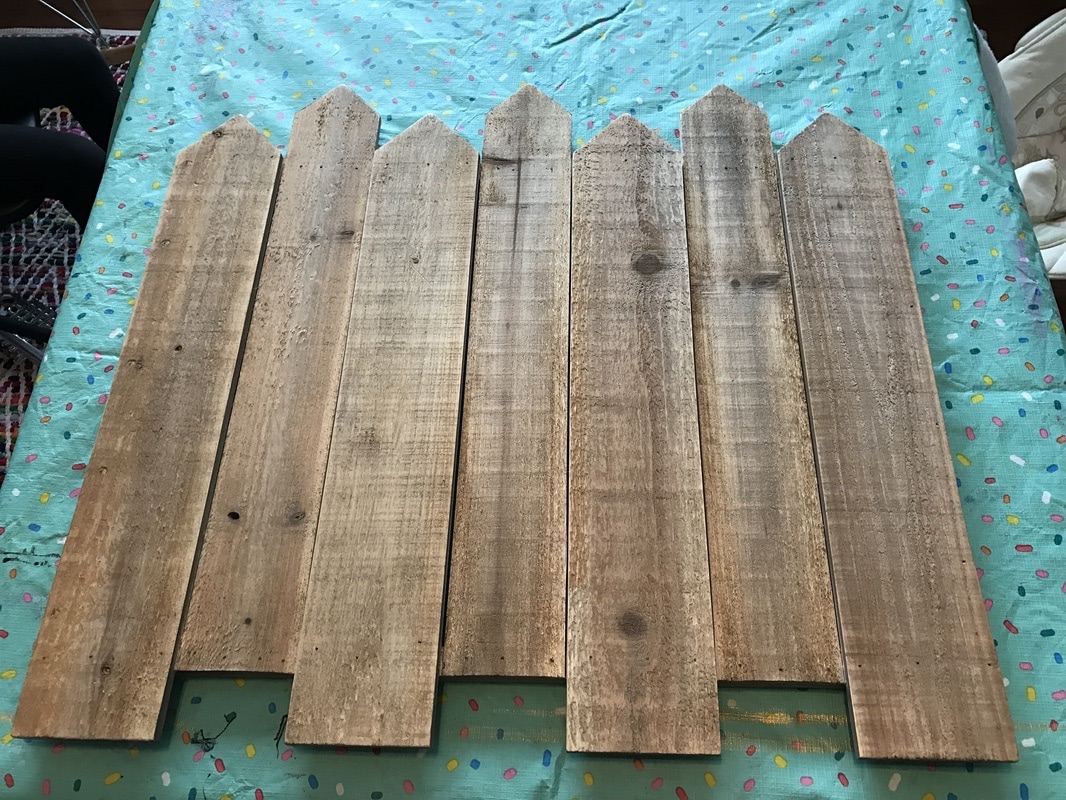
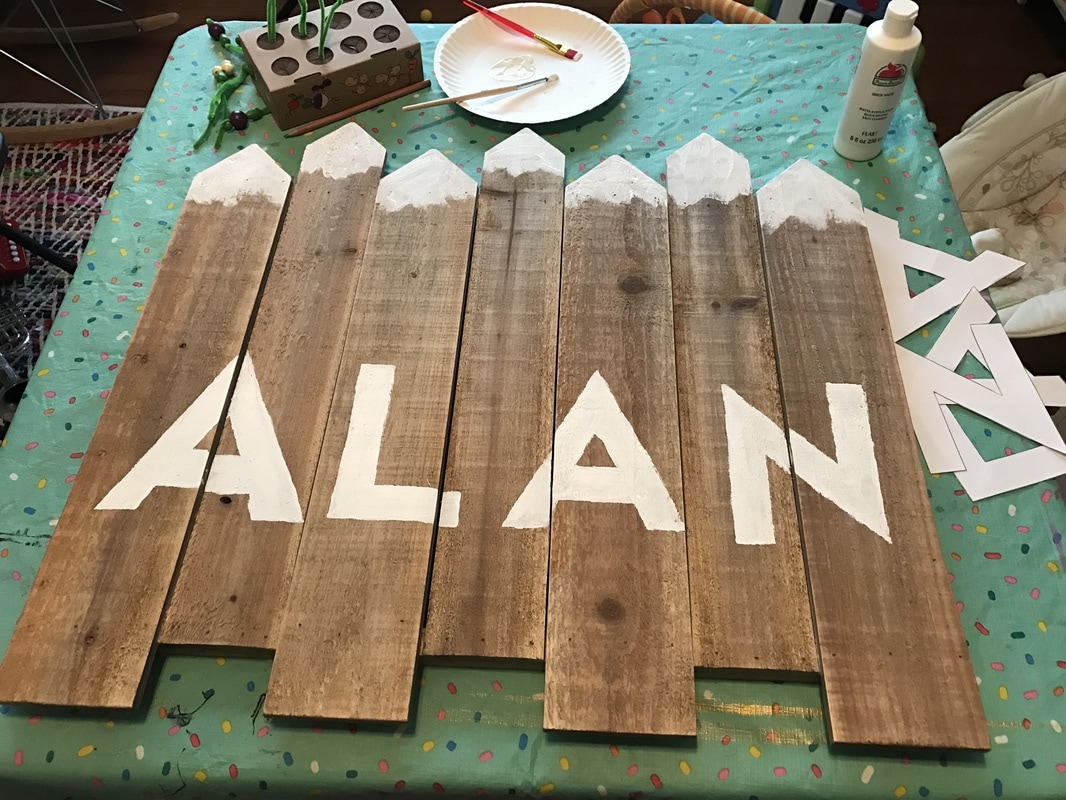
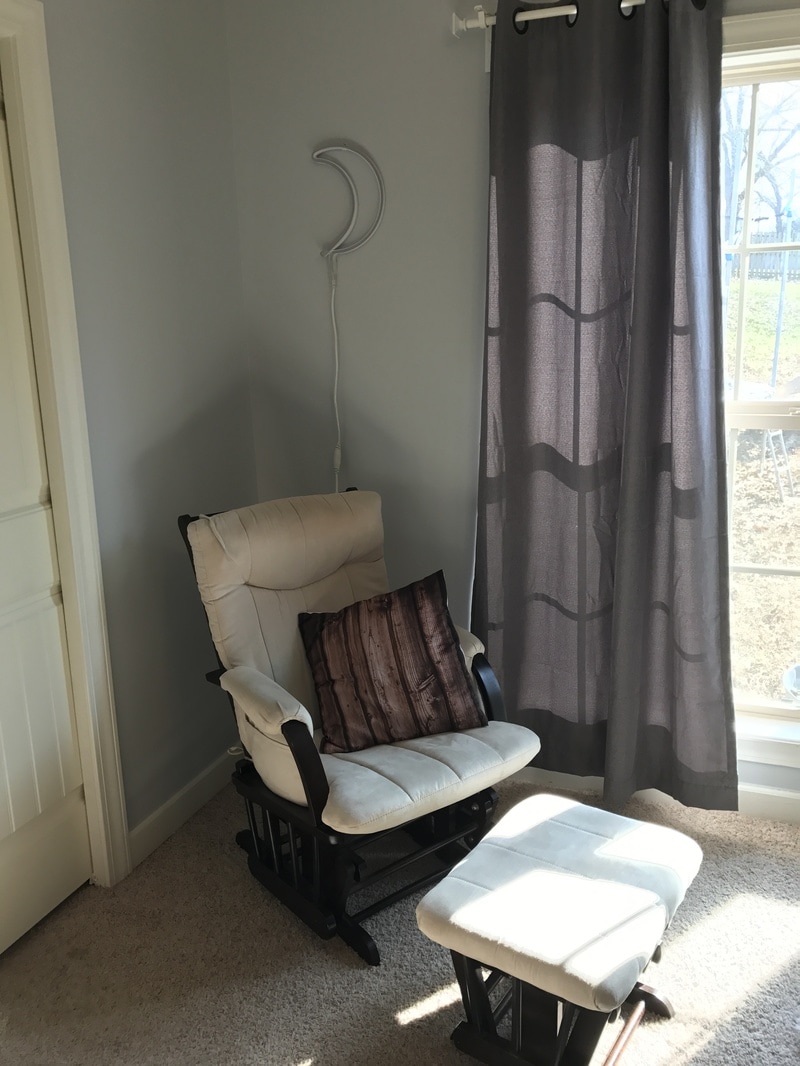
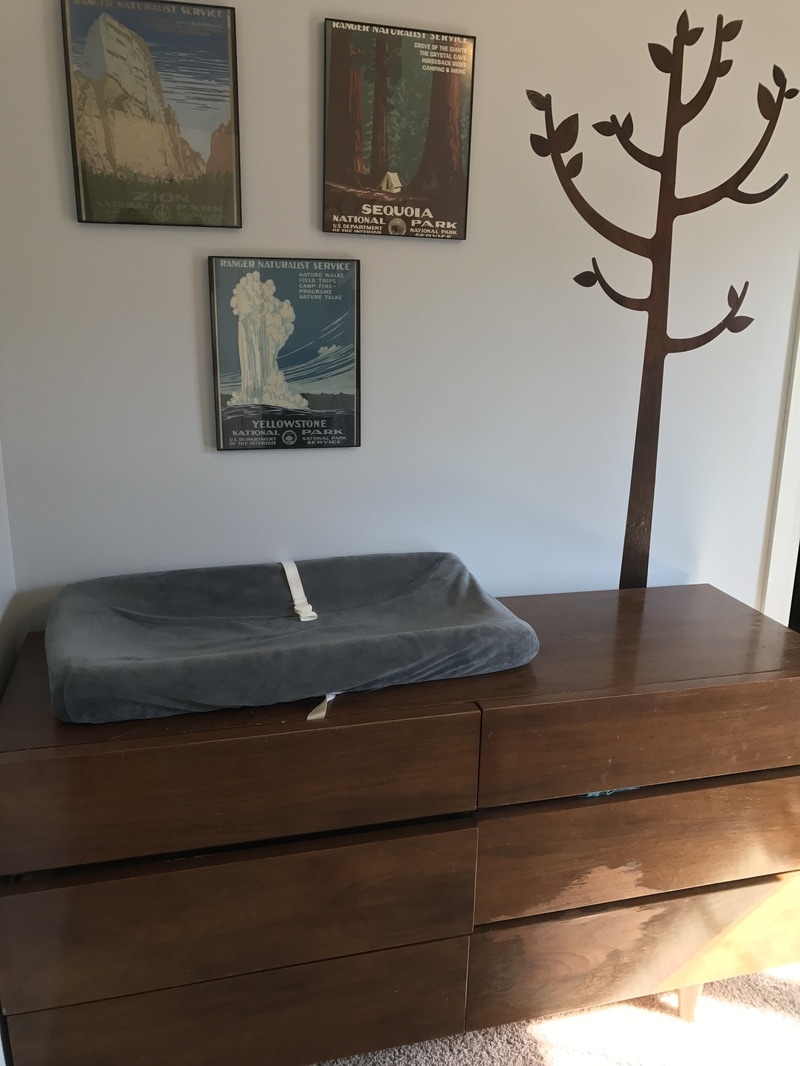
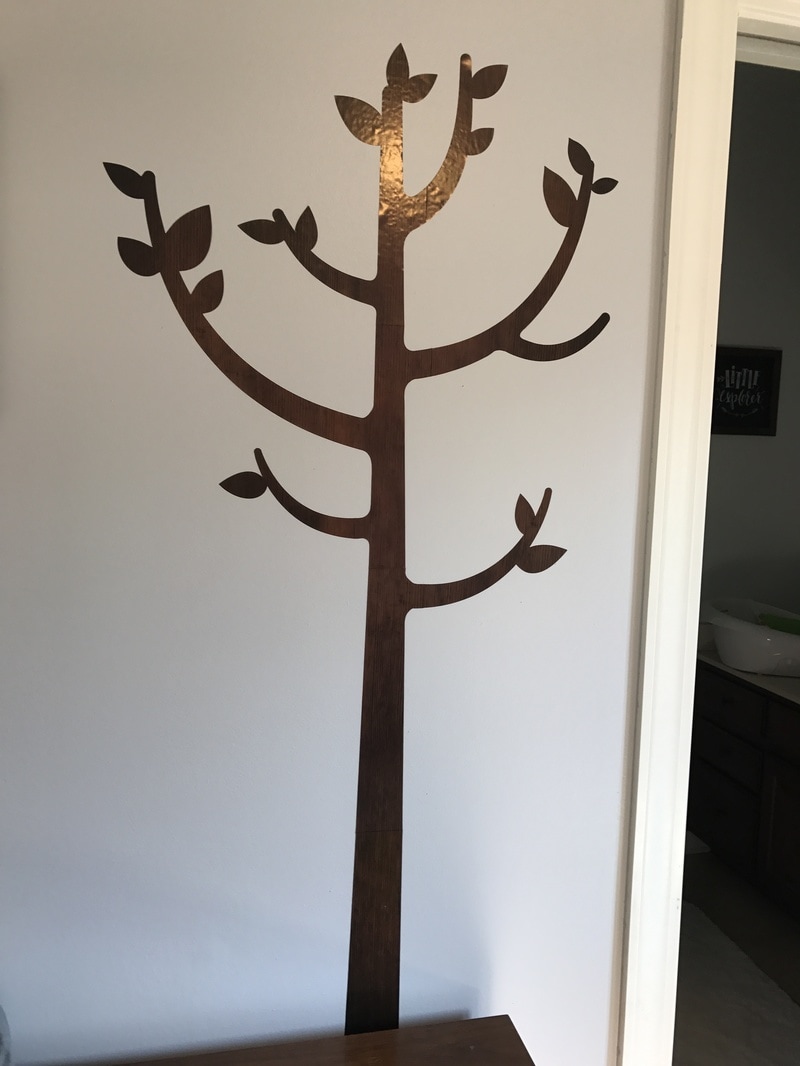
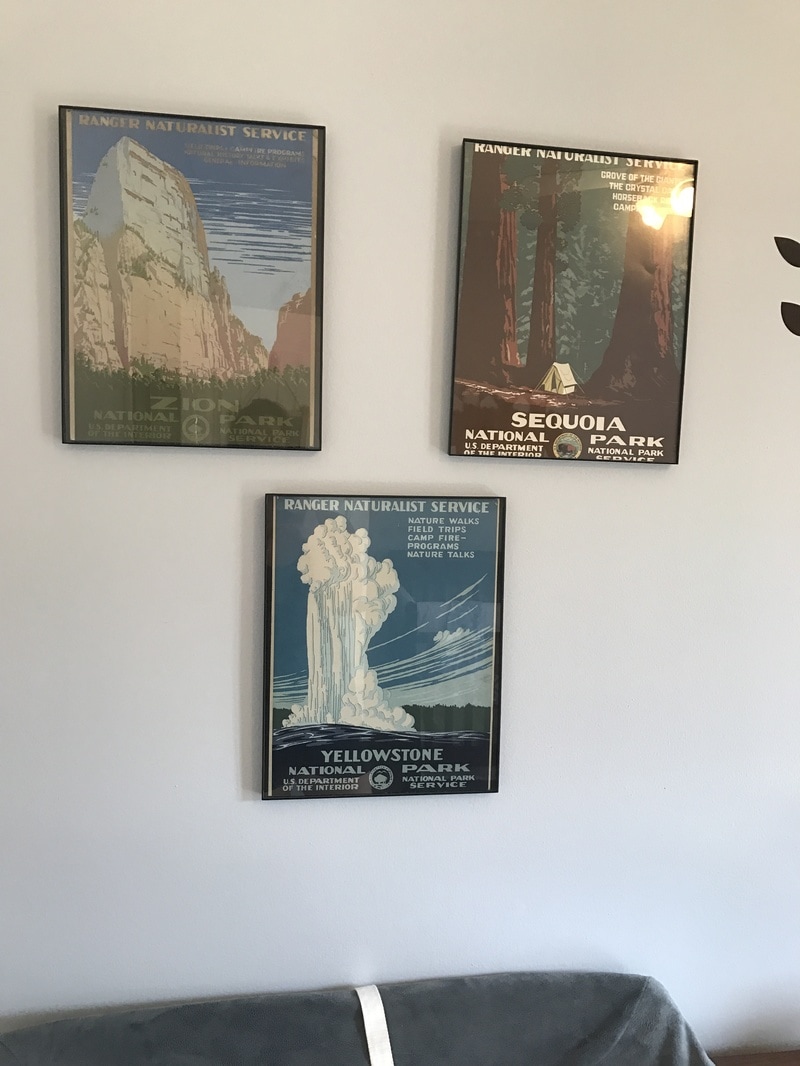
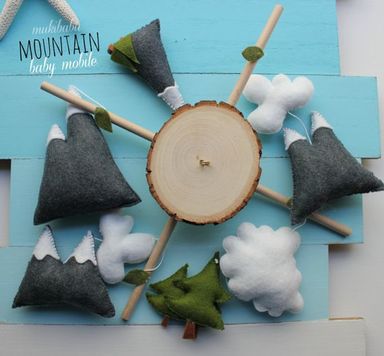
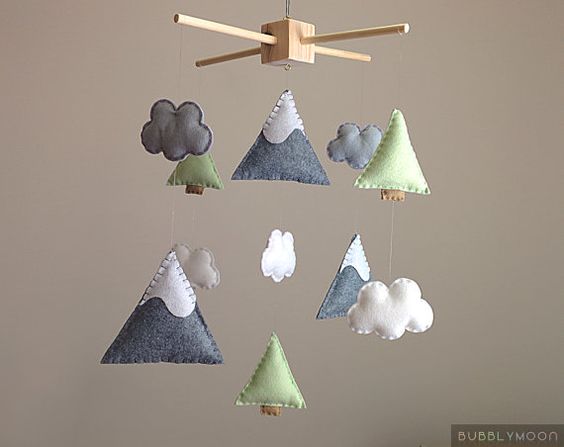
After applying the vinyl, I made the name sign for above the crib by purchasing the blank sign at Hobby Lobby for $20 and painting the tops to look like snow covered mountains. Then I created a stencil using letters printed out from my computer and then cut and traced on top of the wood. It was also a quick project but makes a big impact. To finish the room, I added a gray and white striped teepee from Hobby Lobby for $45 (I used the 40% off coupon) and white faux fur rug. The crib is the same one from my other two children but I added white teething covers to lighten it and to cover the destruction left behind from my first son. I hung gray room darkening curtains on a white arrow shaped curtain rod from Ikea. The rocking chair is also a hand me down from the other two kids and the pillow cover was also a clearance Hobby Lobby find for $3. The dresser is a vintage piece from my grandfather. I found an awesome LED moon light on super clearance at Target for $15 and created the national park prints by sending free original images, found online here, to Walgreens for printing and then framed them in $5 frames from Hobby Lobby where I also found the wall vinyl tree. It has the ability to hang hooks on the branches but I haven't gotten around to it yet. I only have one remaining project to complete for the room which is a mobile. I plan on making a mountain and tree one like the ones below. I've purchased all of the materials but haven't had the time to get it made. I'll definitely post about it when it's complete. I'm also on the lookout for a cool lamp but haven't found one I like yet. I'm sure there will be a few changes and additions once Alan gets moved into his new room but for now it is a lovely place to sit and relax while rocking him. If you're interested in checking out my inspiration board on Pinterest, you can see it here!
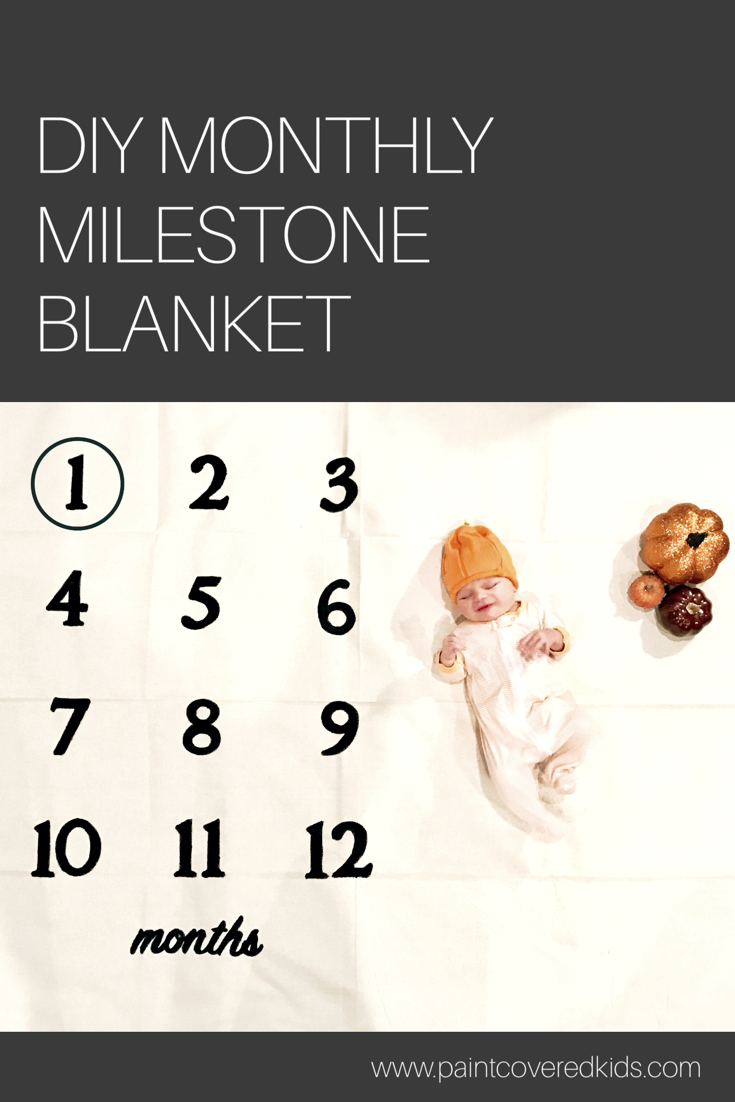
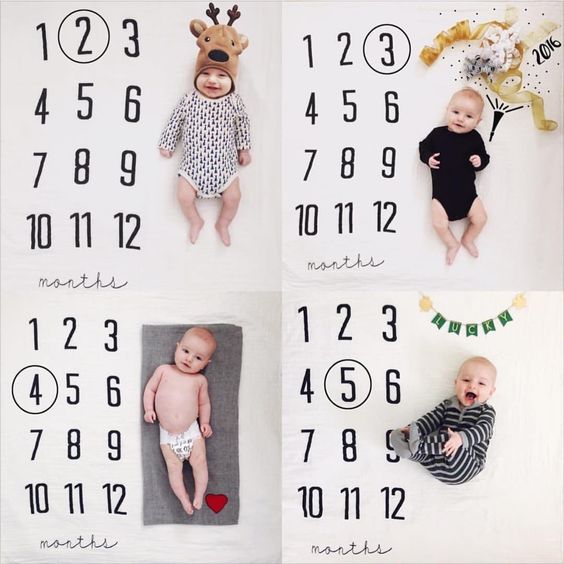
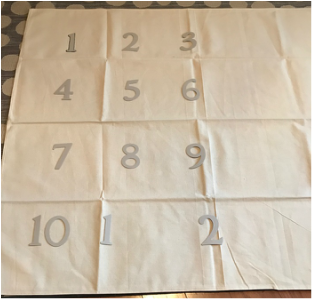
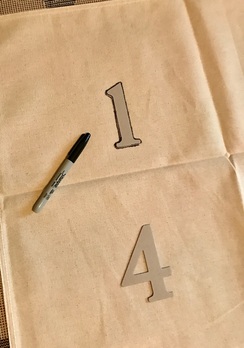
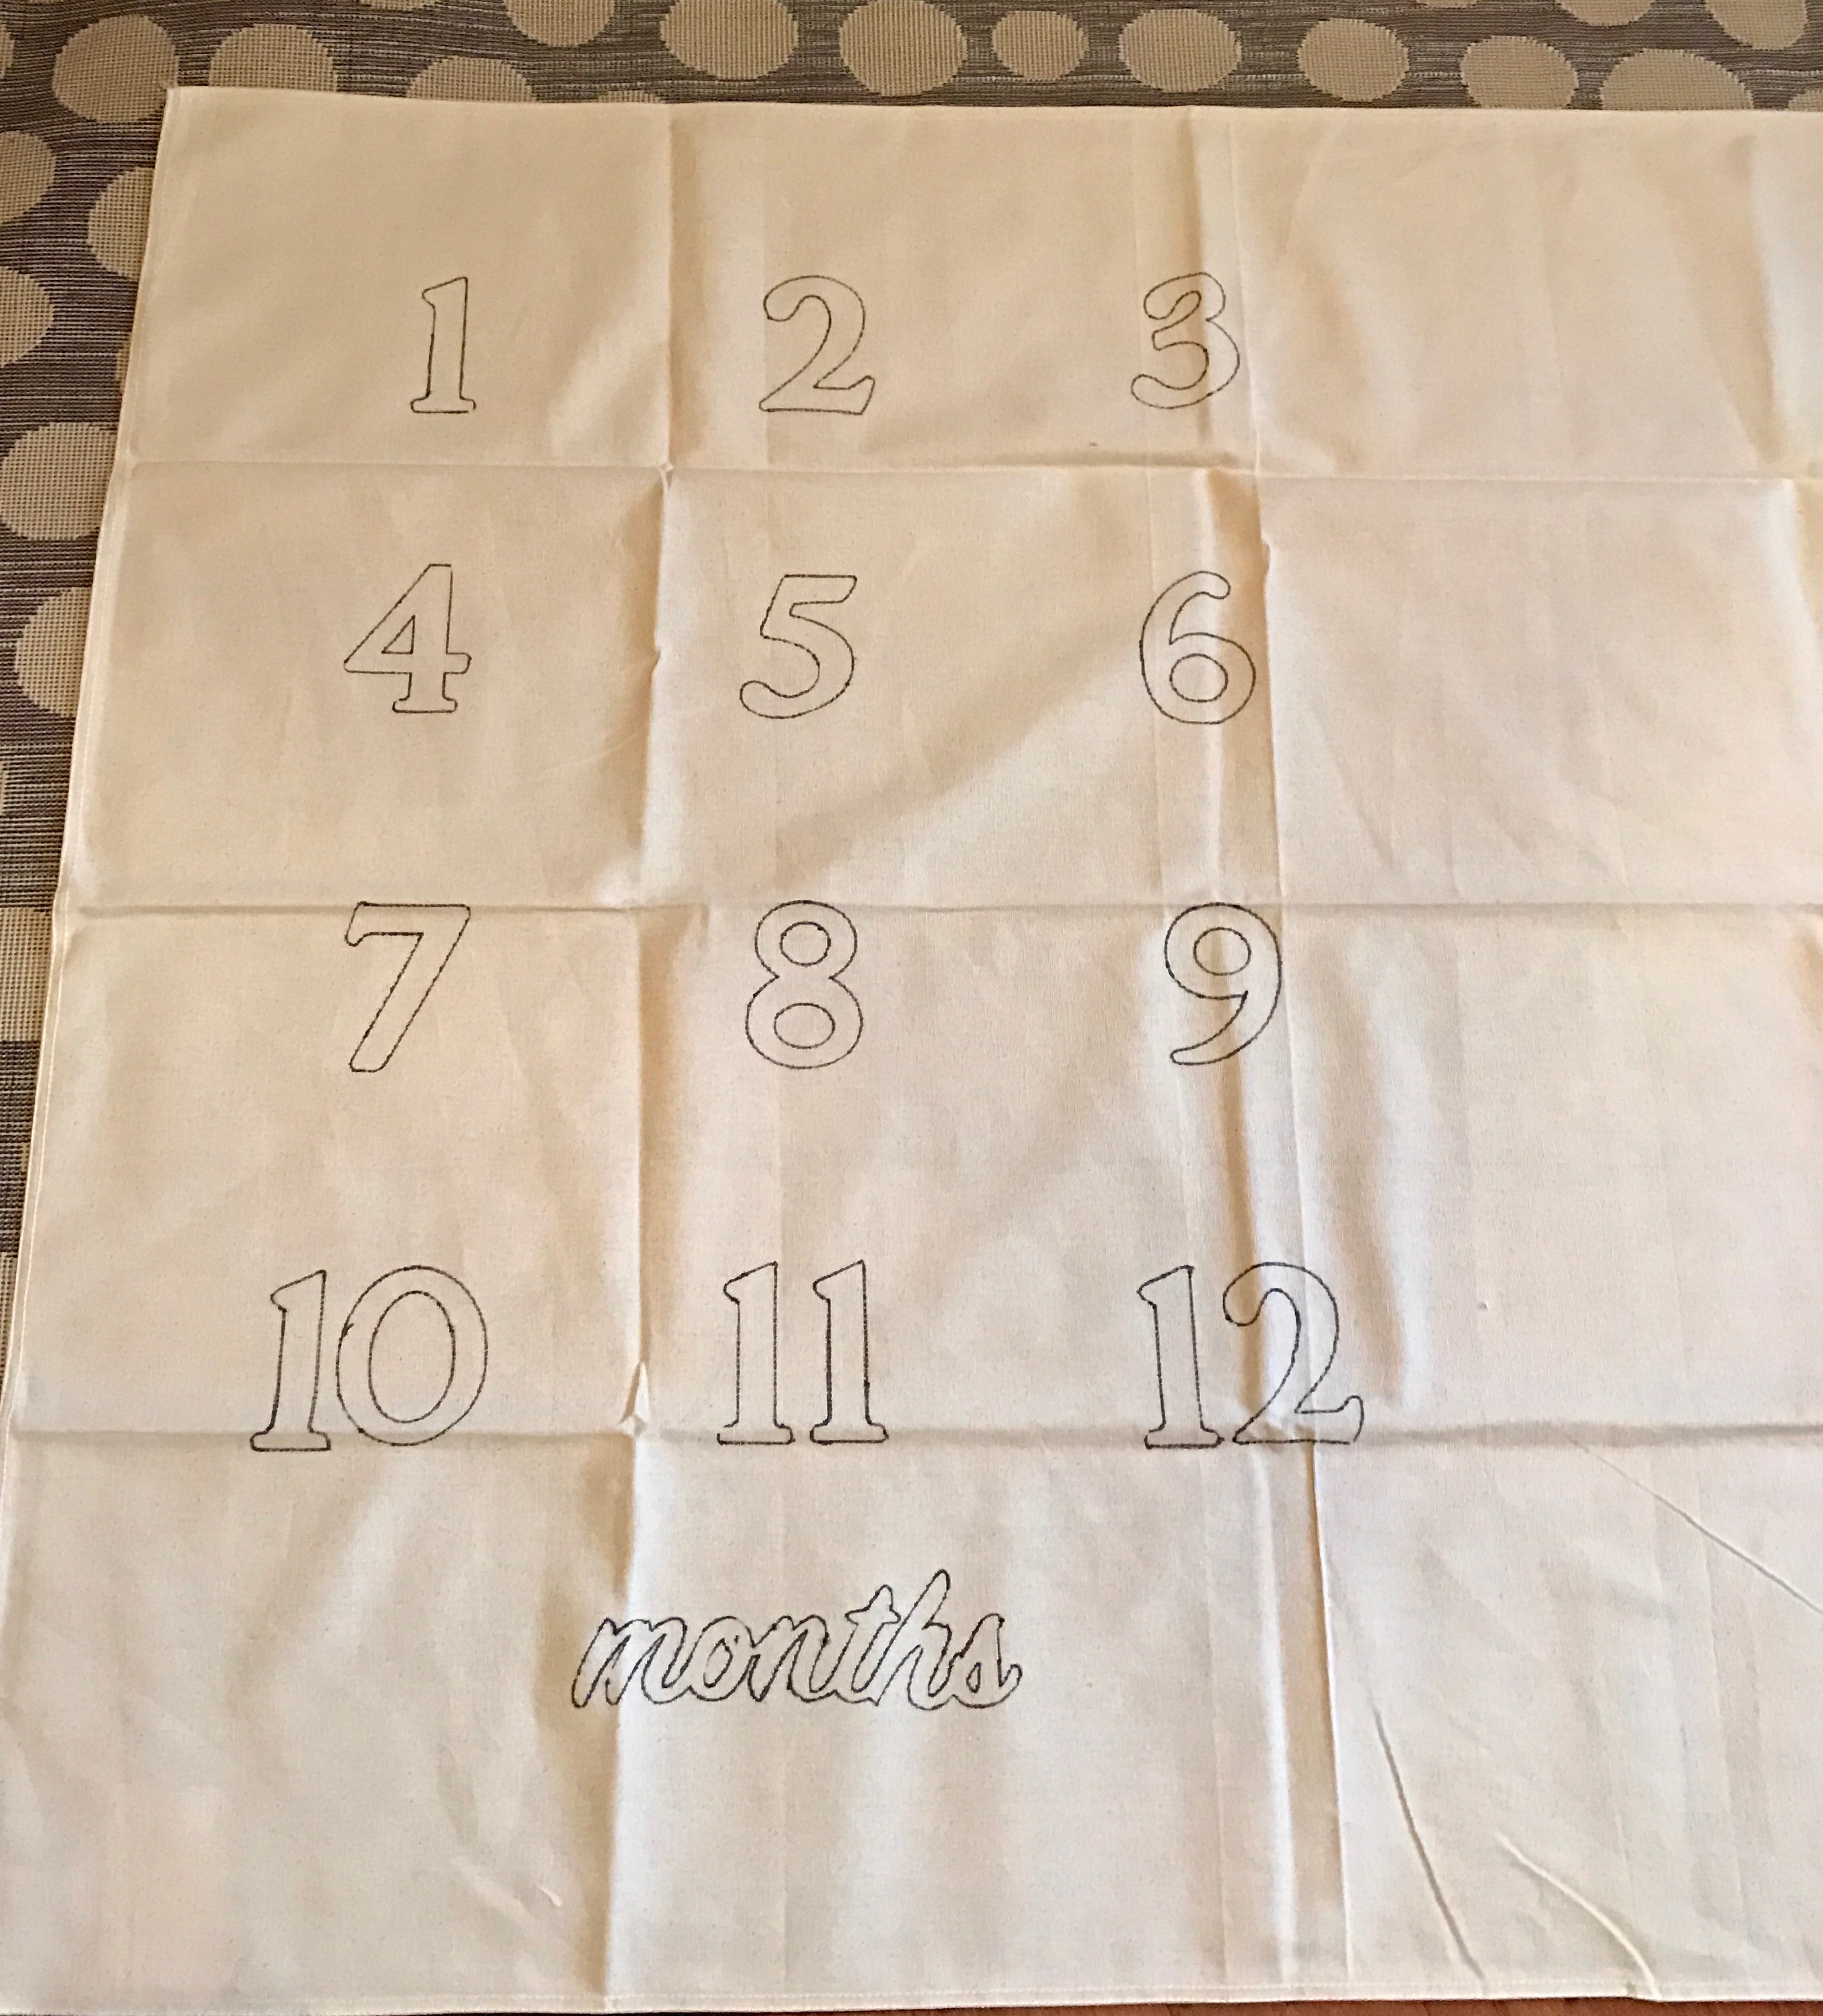
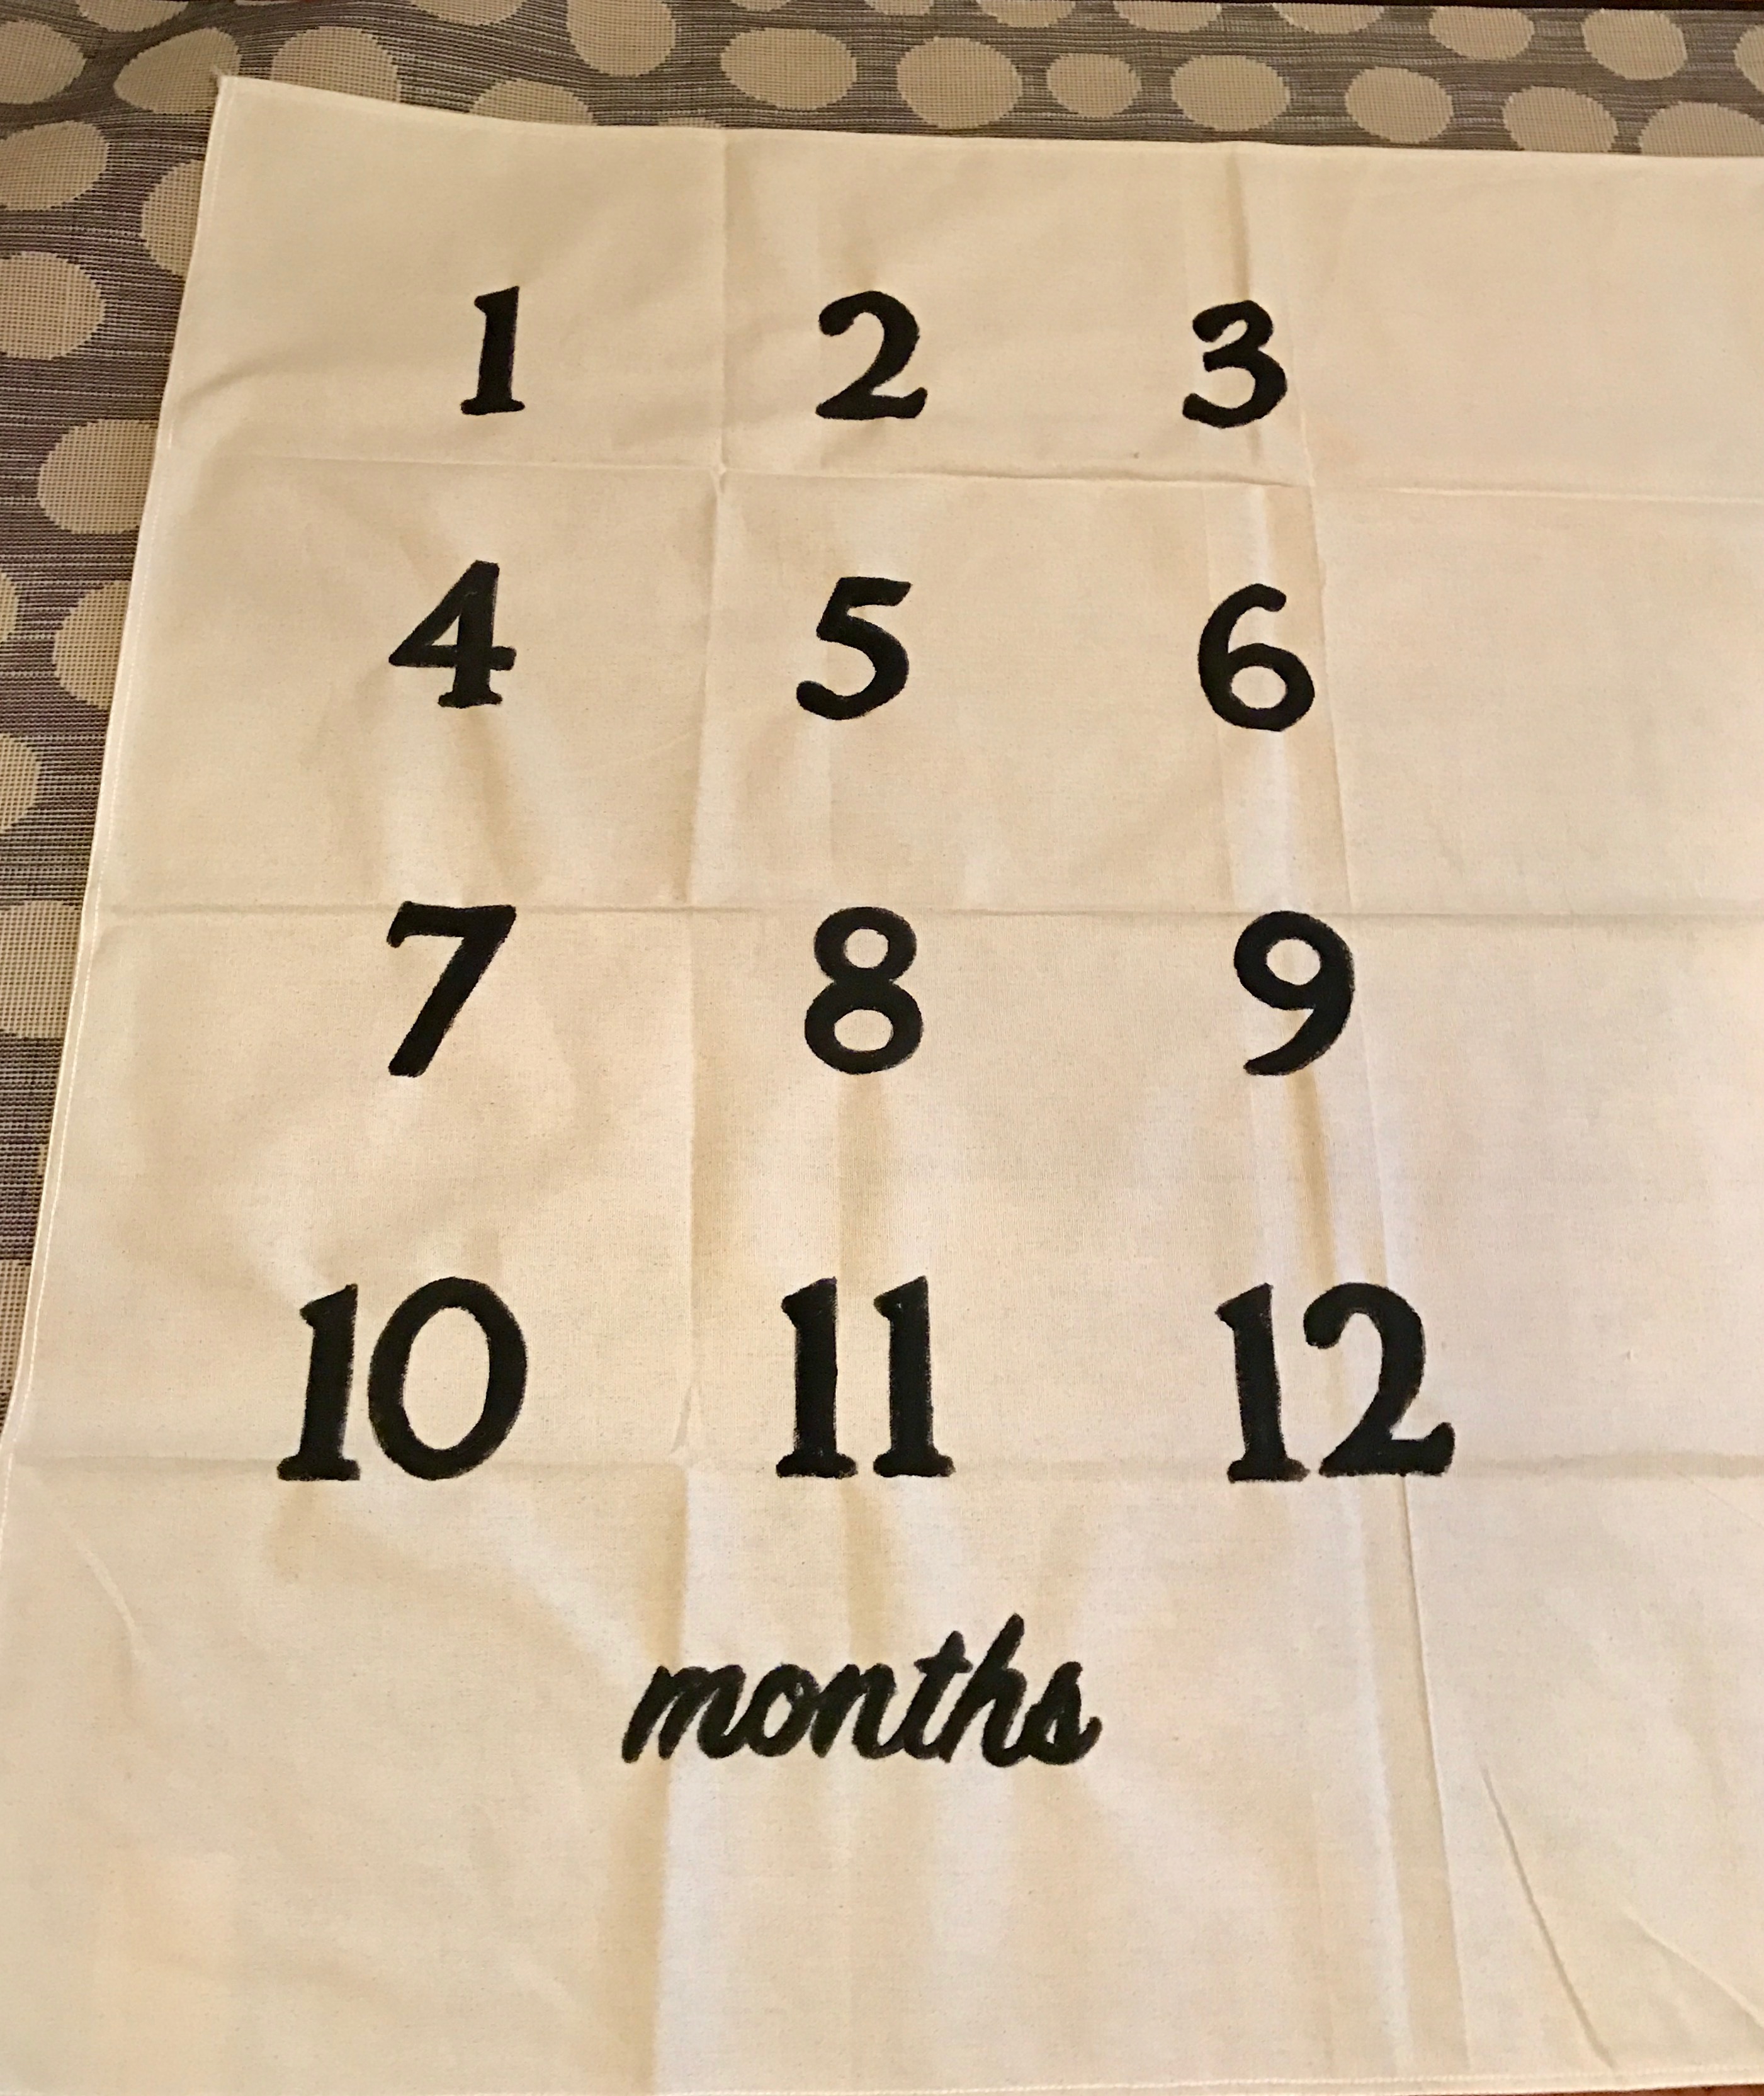
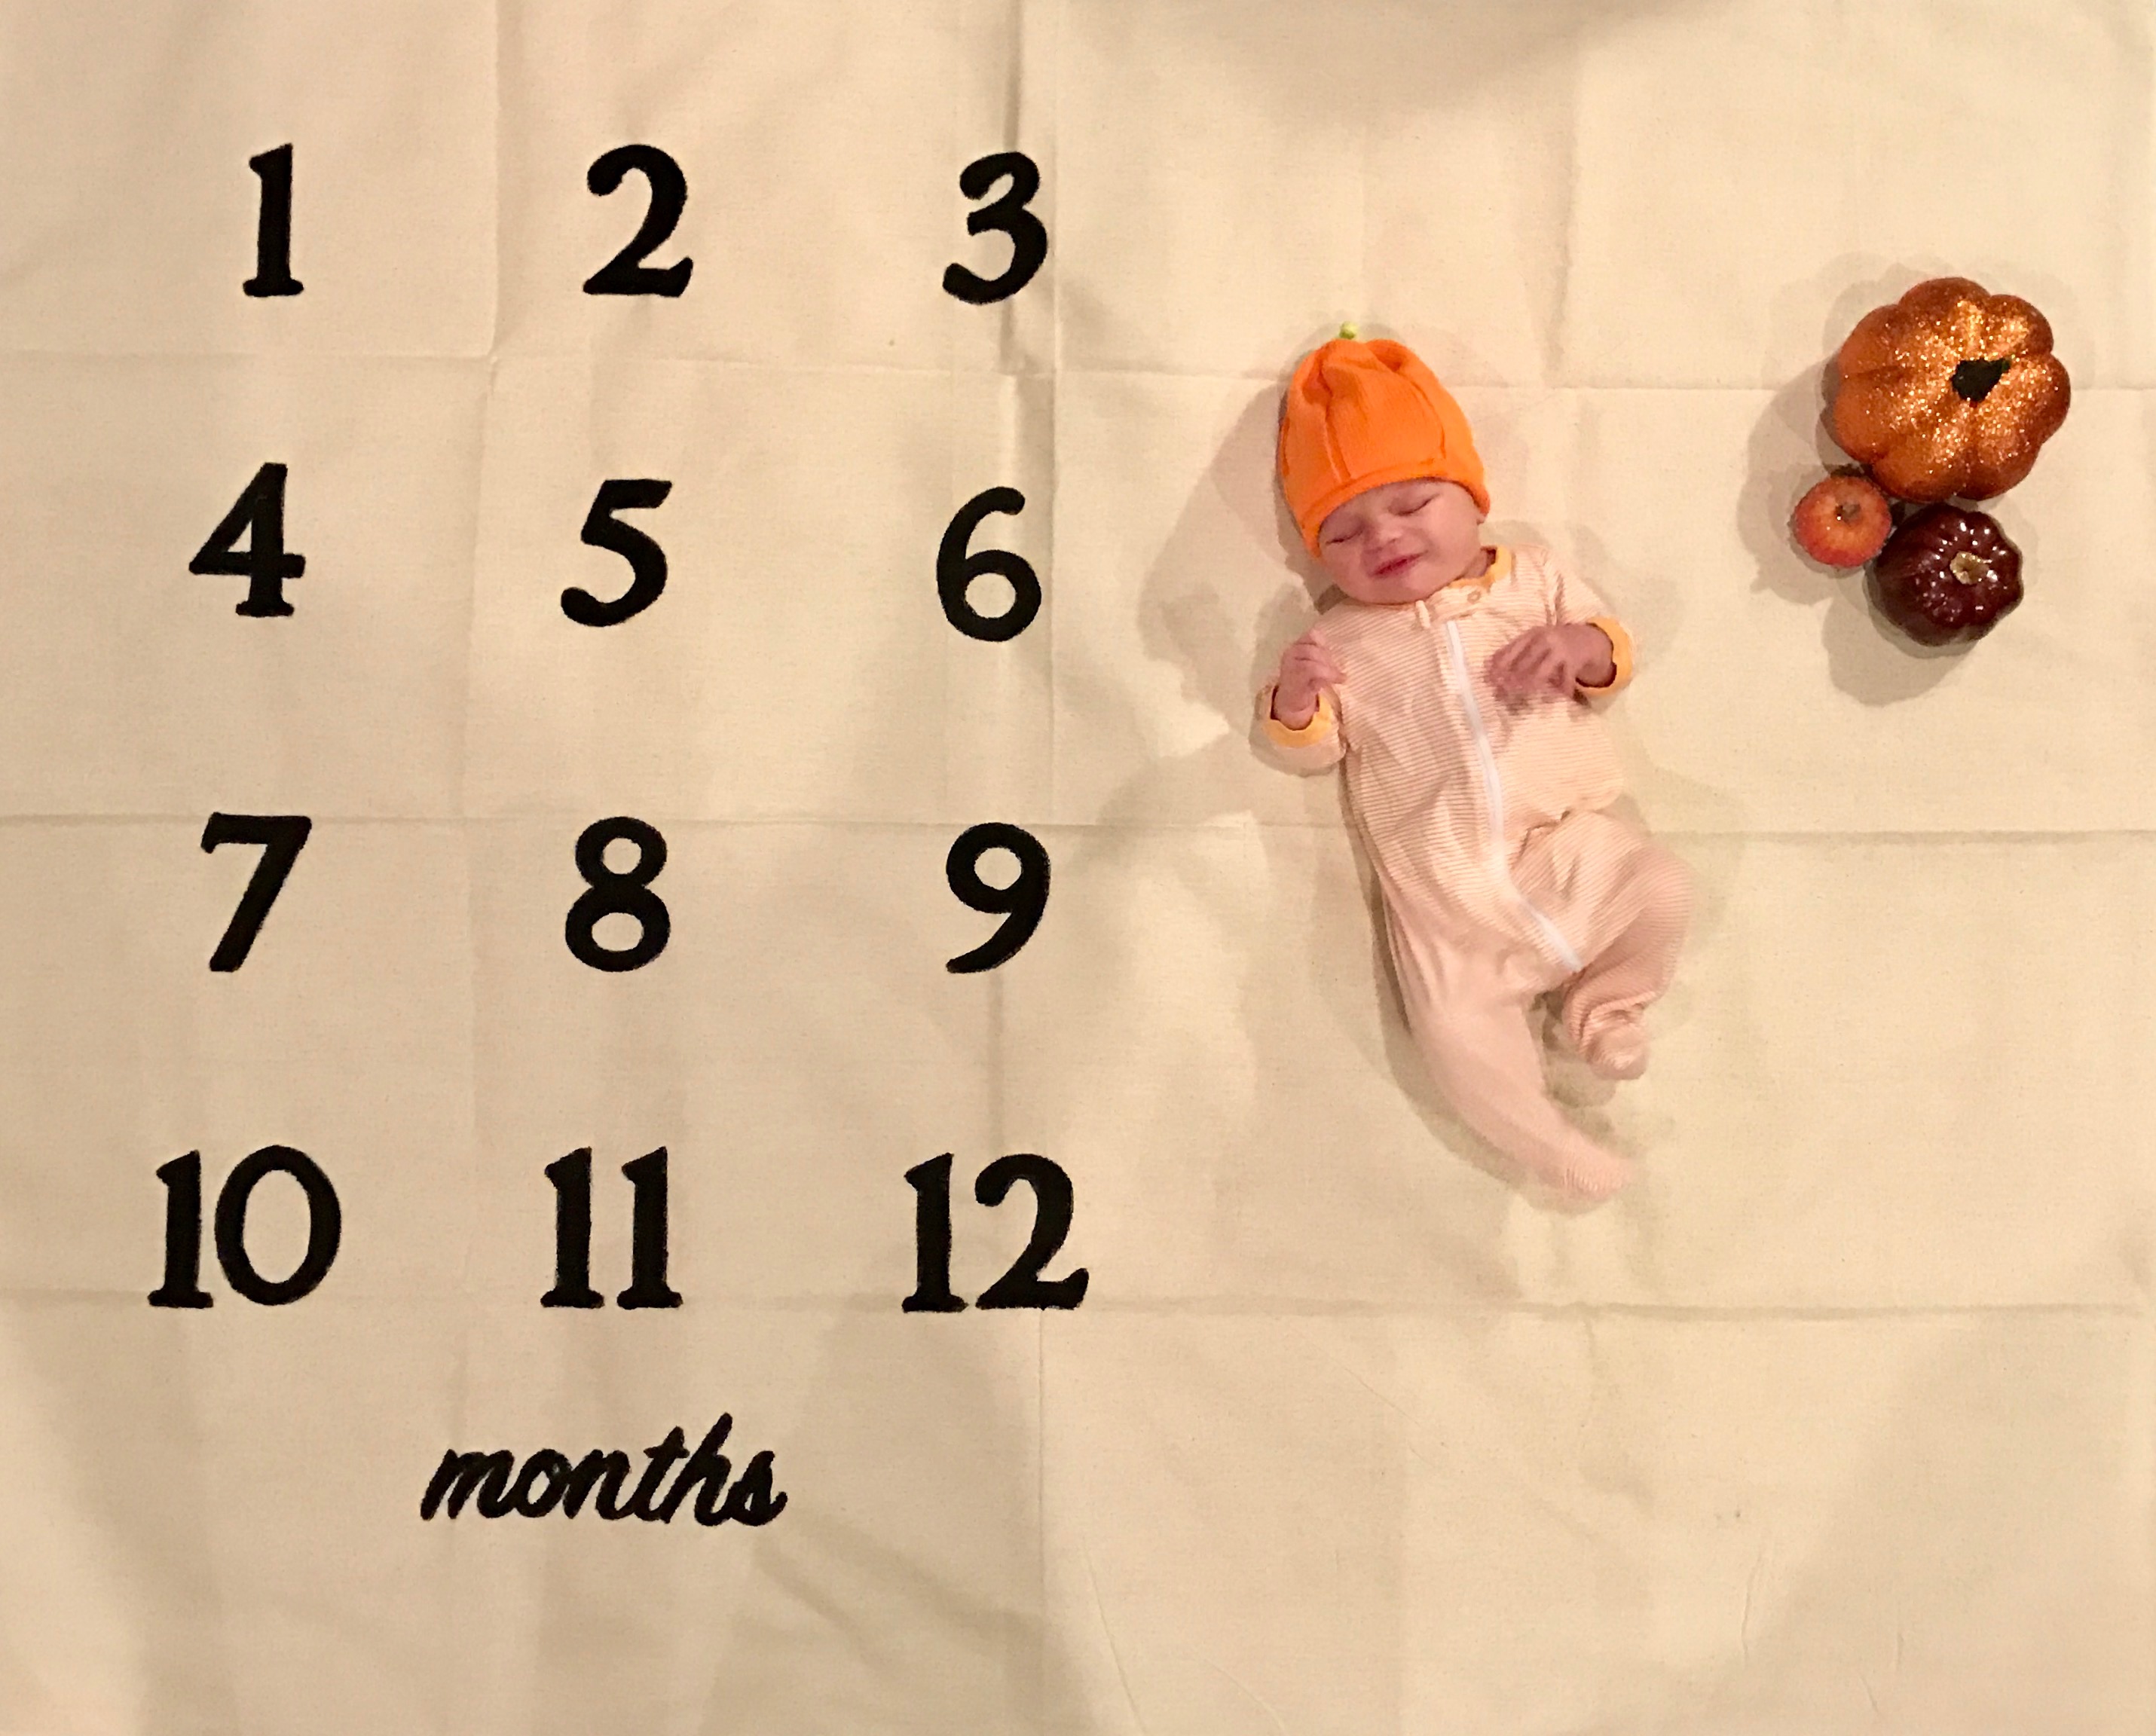
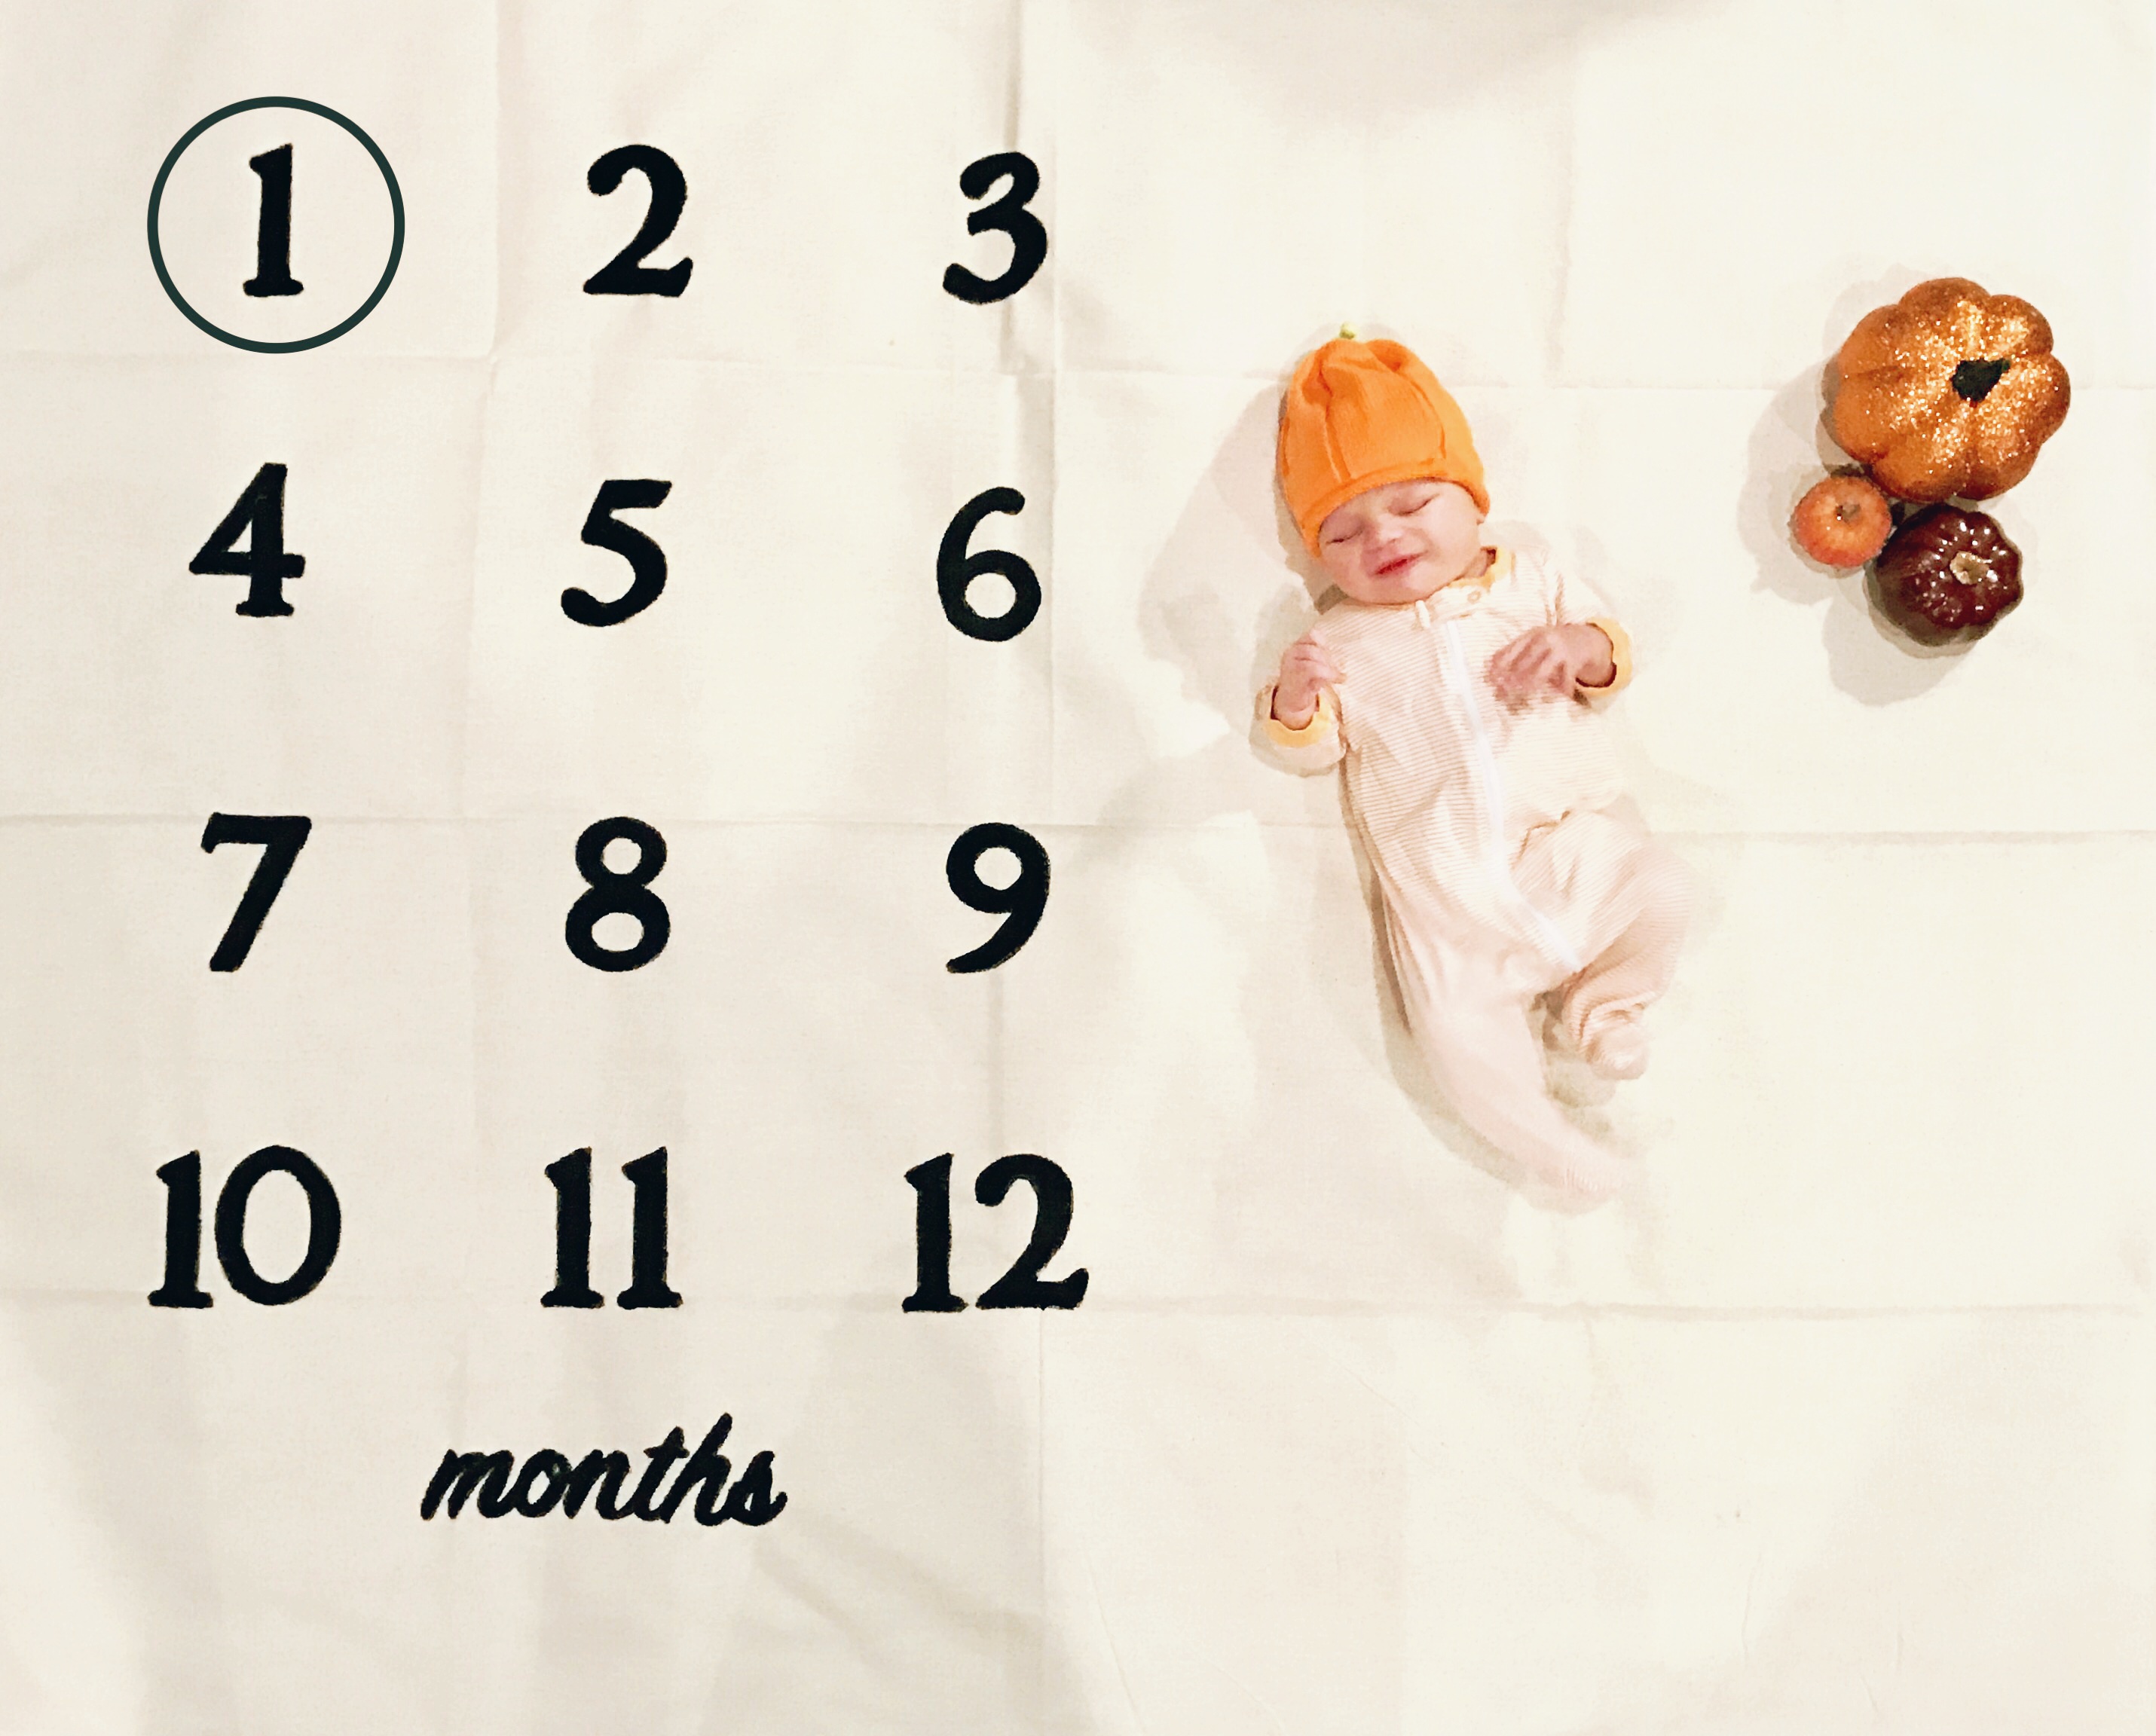
My son just turned one month old and I new I wanted a different kind of monthly photo from what I did with my first son. He's already going to get all of his hand-me-downs, I can at least give him an original monthly photo. So, I headed to pinterest to get some inspiration and found this adorable idea. It's a blanket you can buy the monthly milestone blanket for $33 at Etsy here. But, I thought, "I can definitely make that for waaaaaaaay cheaper.", and set about planning how to make that happen. I decided to use a canvas drop cloth as my "blanket". The smallest one I found at my local Harbor Freight was 4x12 so I had to cut it down a bit to make it a more appropriate size. It was easy to just use the fold lines and I wasn't too particular on measuring. After cutting it down I laid out my numbers. To make the numbers I was going to buy some number stencils but then couldn't find any. Instead, I used some chipboard numbers I found for $2.99 and traced around them. It was probably better anyway because it was way easier to see how everything laid out on my drop cloth. Once I figured out my spacing, I got a sharpie and traced around the edges of each number. After I had traced around each number, I grabbed some black acrylic paint and a paintbrush and filled in the tracings. Don't worry if it doesn't look perfect you won't be able to tell when you take the photo. For the "months" I ended up printing out the word using a microsoft powerpoint slide and then cut it out and stenciled around it and filled it in with black paint as well. Voila! Done! My son turned one month on Thanksgiving Day so I decided to put a few pumpkins next to him on the canvas and placed a pumpkin hat on his head. When I took the picture I stood on top of an ottoman and took it from a direct downward angle. My husband helped with keeping him somewhat happy and I just snapped away. Once I had a decent one I cropped and enhanced it and then ran it through my favorite photo editor Rookie Cam to lighten it up a bit. I intend to iron the fold lines out before the next photo I take because I didn't love having them in the photo. I also added a digital circle to the number one to indicate the month. You can do it digitally like me or you can find a picture frame and remove the glass and back to frame the number each month. The digital was easier for me since I was editing it anyway. I used the app "Phonto" to add the circle. I plan on doing other adorable things for the theme of each month similar to the idea that inspired this DIY. So, for about $15 (more than half the price to buy the inspiration) I ended up with this adorable milestone "blanket" and will get to give my son some really great photos to look back on. I hope it inspires you to make your own for either yourself or a friend. It would make a great gift!
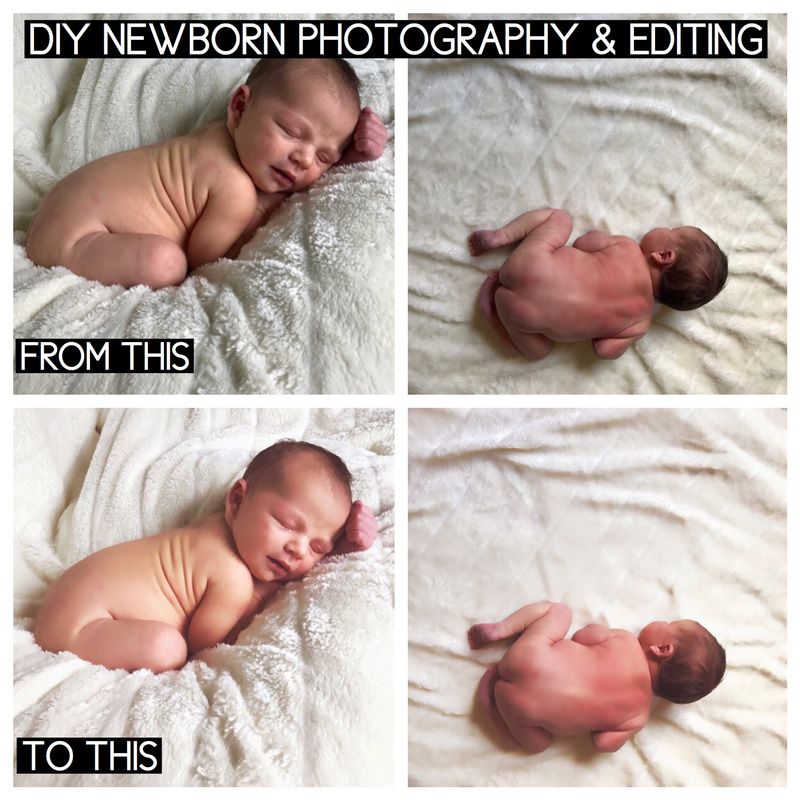
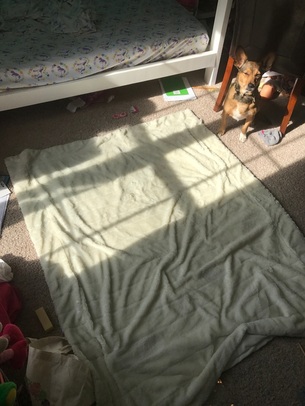
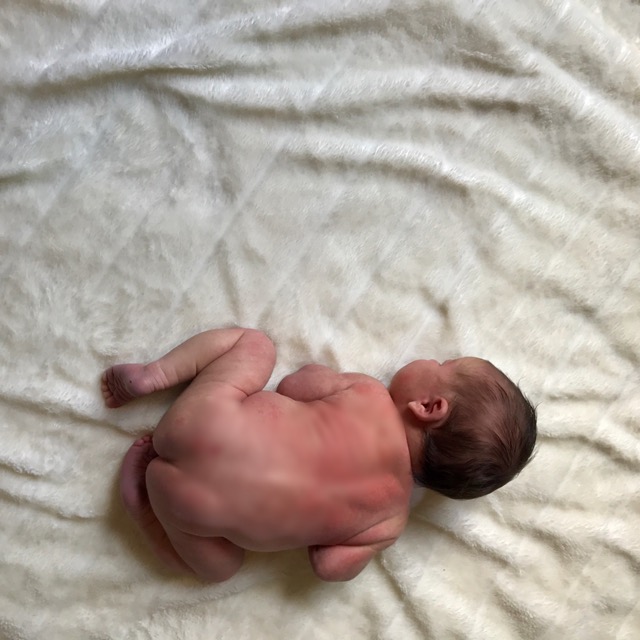
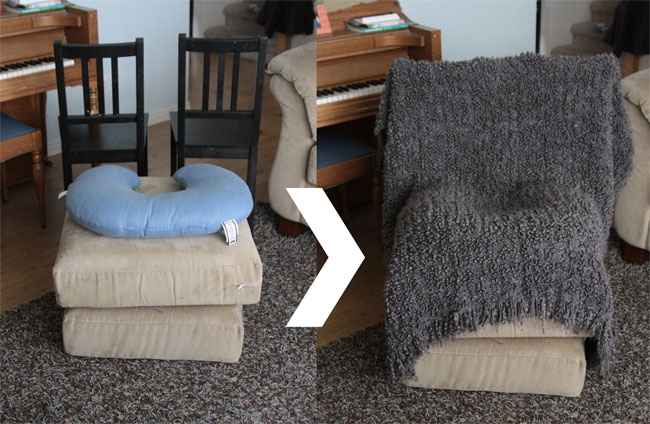
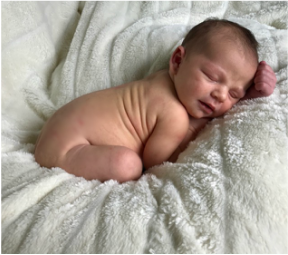
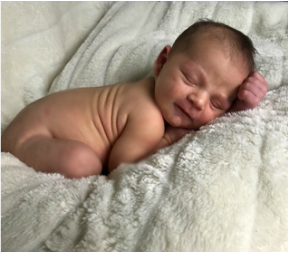
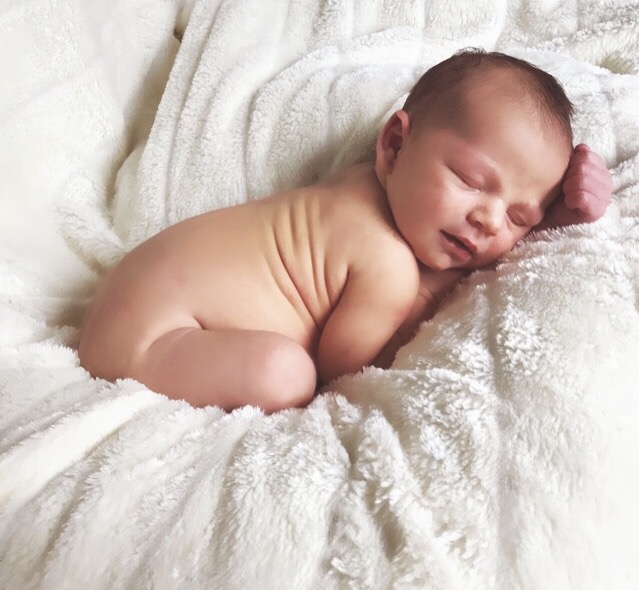
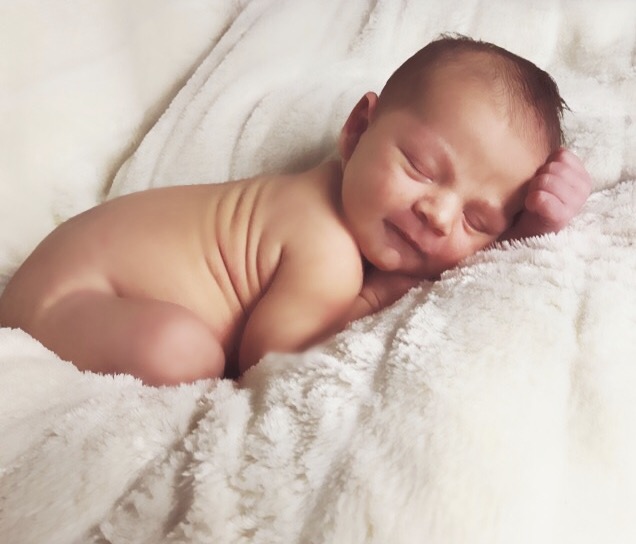
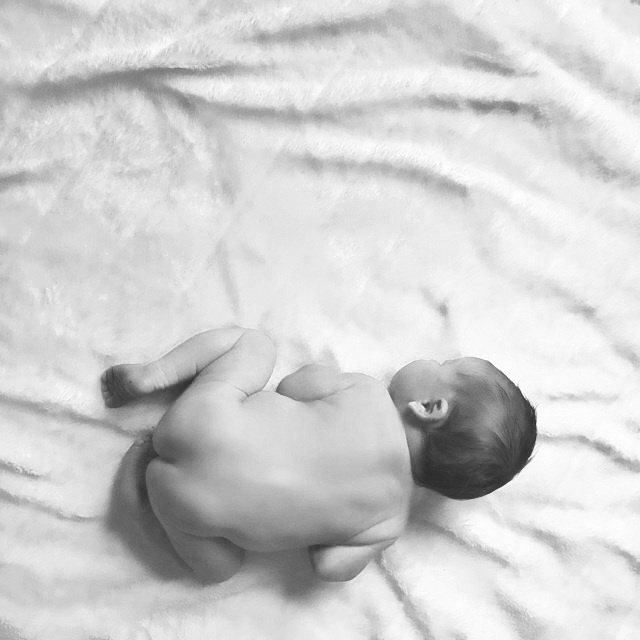
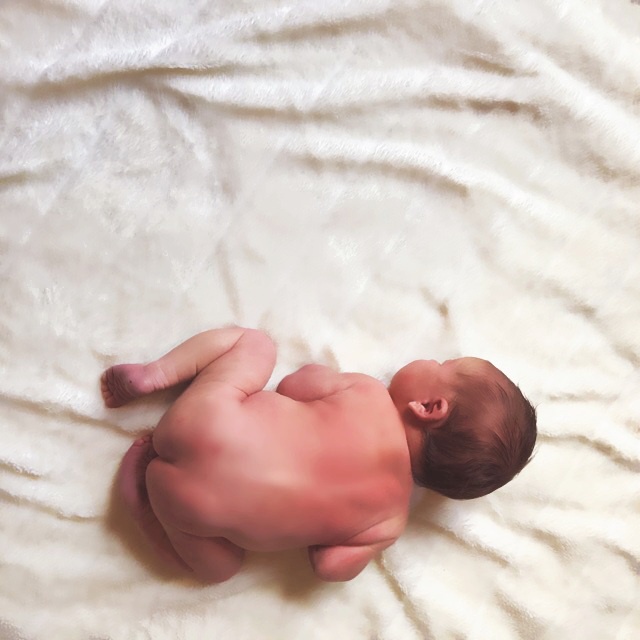
Having just had a baby I decided that I would try my hand at some newborn photography. I headed to Pinterest for some inspiration and formed an idea for my photography attempt. First I hunted down the best natural light in my house which ended up being my daughter's room. Unfortunately, my daughter's room was a disaster! Seeing as how I was only a week out from having major surgery I was not about to clean it. So, I used my foot to shove things around to give myself some space. Then, I gathered a white faux fur blanket, my boppy pillow, an ottoman and some chairs. I had barely enough space to set it up around the mess that was my daughters room but it worked ok. Now it was time to add the baby. While he was normally sleeping at any other point during any other day, he decided to be awake for this momentous occasion so that was less than ideal. He was unhappy with many of the positions I attempted but we finally landed on one he was ok with. I managed to snap a few shots before he peed and attempted a poo. I realized before he managed it though so, crisis averted. After doing my best with the boppy pillow set up I placed the blanket on the floor for an overhead shot. He didn't want to be still and after a few shots he spit-up all over the blanket. That's when I called it quits. Above you can see the blanket on the floor scenario and the best unedited photo that I managed to snap. I didn't think to get a picture of the set up with the ottoman, boppy pillow, blanket and chair set-up and was too exhausted afterwards to re-do it just for a photo but, the example below from It's Always Autumn is basically what I did. And, the two decent photos I captured are beneath the set-up photo. Once I had my three viable photos captured I began to edit them. I generally only use my phone for photo editing and this was no different. I used my favorite photo editing app, Rookie Cam, and ran the photos through a few different filters. After a little editing, I ended up with these! I would love to have captured a few more but, I'm really pleased with what I did capture. Hopefully you'll find my tips and the re-telling of my experience helpful in your own attempt at newborn photography. Just remember that lighting is one of the most important things along with good editing. Finding inspiration for poses is as easy as going on pinterest and that you can create some great photos in the midst of a very messy 6 year olds bedroom. Good luck and let me know if you have any success!
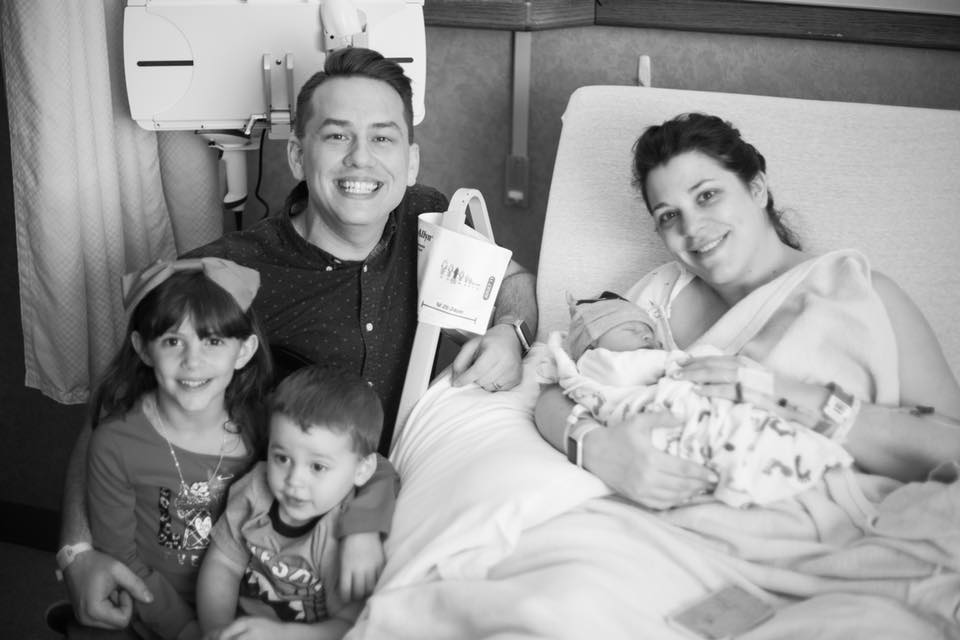
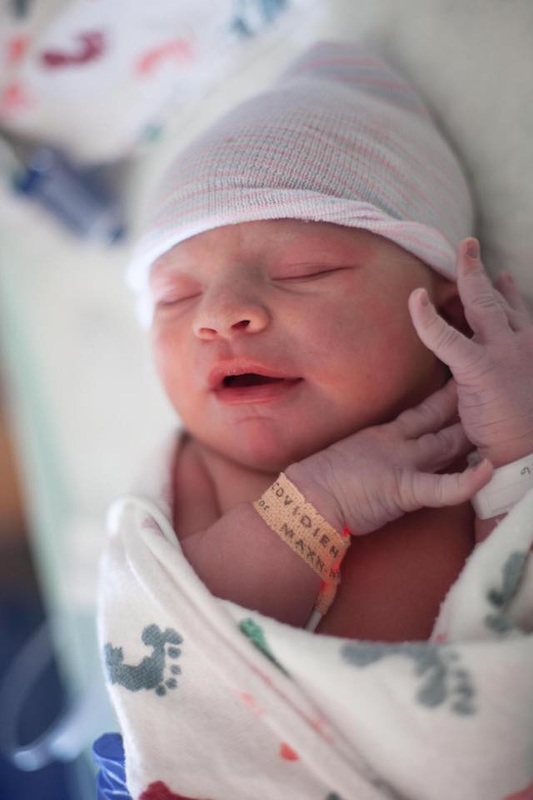
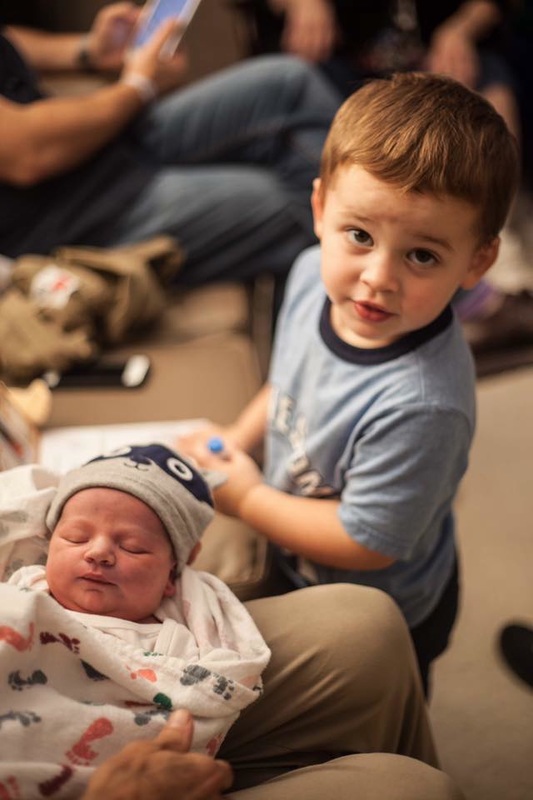
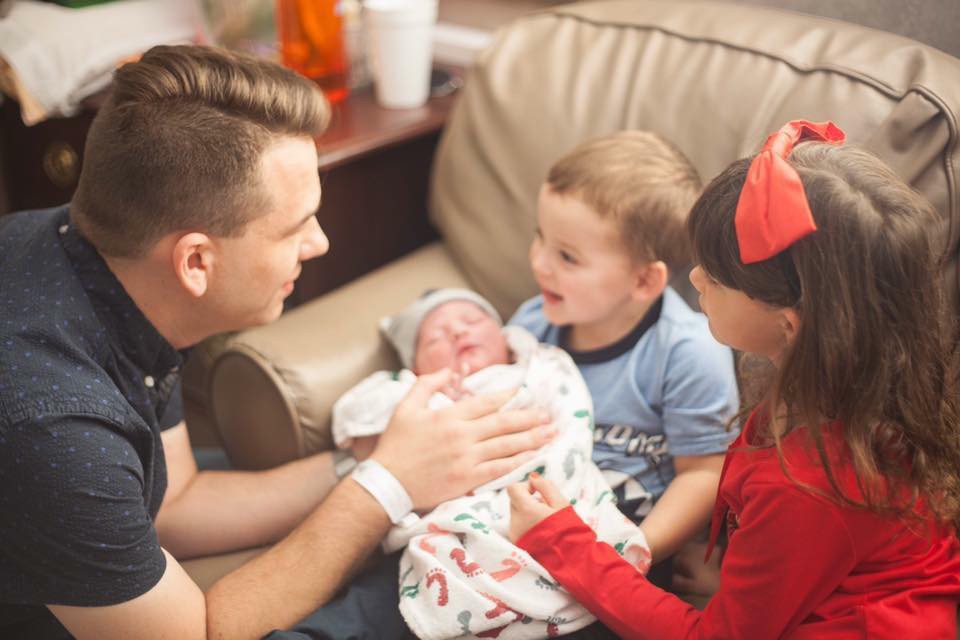
I know it's been a month since I last posted but, I have a good excuse! I had my baby! If you've been following my blog you know that we decided to be surprised about the gender. So, surprise! We are thrilled and even though the labor didn't go as planned we are both healthy and that is what is most important. I intended to have a natural labor without epidural like I managed with my first son. However, because I was attempting a second VBAC (vaginal birth after cesarean) I ended up with a complication. When the baby began to show signs of distress and the labor was not progressing as it should have and instead had regressed my doctor told me that he was concerned and urged me to have a c-section. I was upset because I had to have a c-section with my daughter due to her breach position and I did not handle it well. But, I knew if my doctor was suggesting it that I didn't really have a choice because he knew how much I didn't want that and allowed me to labor for 27 hours with my other son. When they got into surgery they found that the cord was wrapped around the baby's neck and feet, and that my c-section scar had burst open and part of the cord was sticking out of the opening! They also found that he was 9 lbs. So, I had some major factors working against me and had we not gone ahead with a cesarean we both could have died.
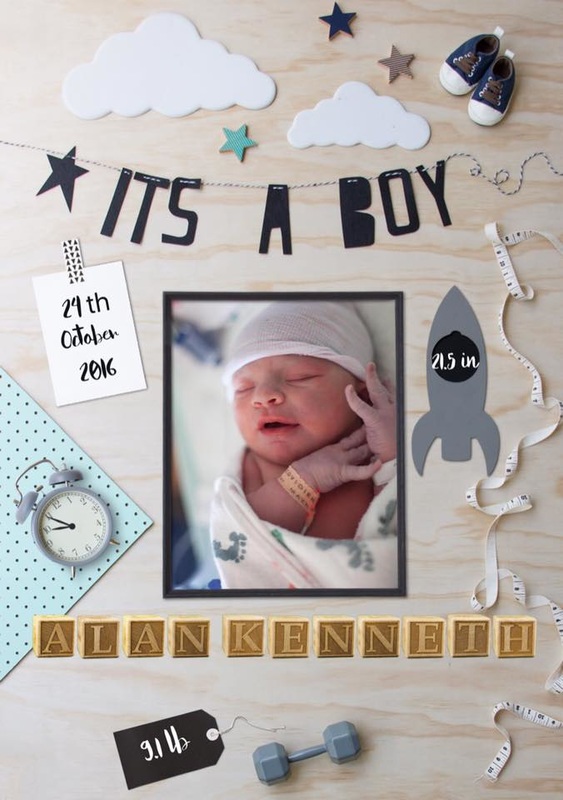
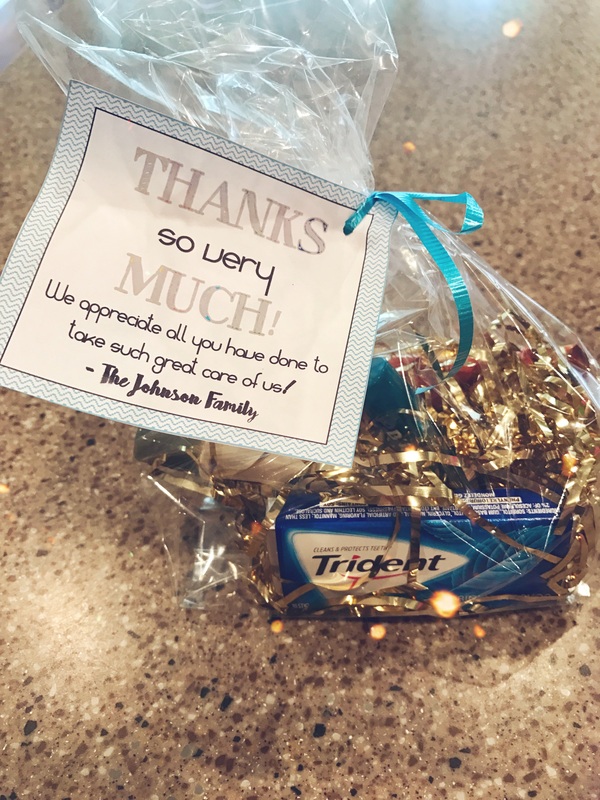
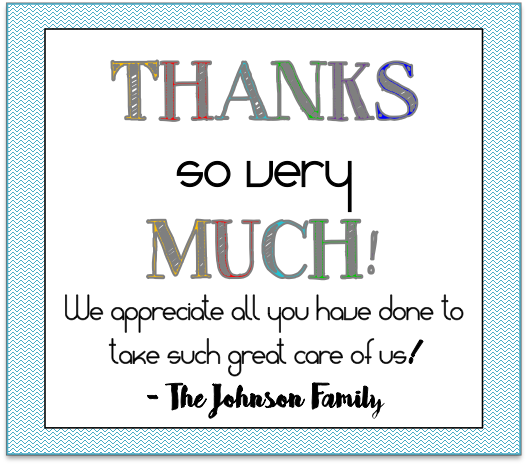
On a lighter note, what do you think of the birth announcement? Knowing I was about to have a baby I began looking into apps for creating one and discovered one called "Birth Announcement". It was a pre-created image with editable content areas. For only $3 I was able to get this customized announcement that only took a few moments to make and looks pretty awesome. Well, now that I'll be off for a bit I plan on getting a lot of things done in the crafting and home decor department as soon as I'm feeling capable. So, check back soon to see what fun things I'm up to! Since I could have a baby any day now I went ahead and made some doctor and nurse goody bags for all of the people who are going to help me bring a new life into the world. I did this for the birth of my son over 2 years ago and it went over really well. Everyone likes to be feel appreciated! It only took me about 30 minutes and probably the same in dollars to create something that shows those helping me through a pretty momentous event in my life that I appreciate them and what they do. What you will need: - small plastic gift bags - ribbon - hole punch - bag filler/confetti stuff - assorted items for the bags For example, I put a granola bar, chapstick, hand lotion and gum in my bags I cut out the tags and hole punched one corner. Then filled each bag with some bag filler (I used gold leftover from my daughters mermaid party.) and tossed in the items. Then I strung some ribbon through my hole punched tag and tied it onto the bag. Done! It was easy and fast and will hopefully brighten up their day! You can download the gift tags below. They don't include the "-The Johnson Family" section at the bottom and instead have a blank space where you could write in your family's name instead. Enjoy!
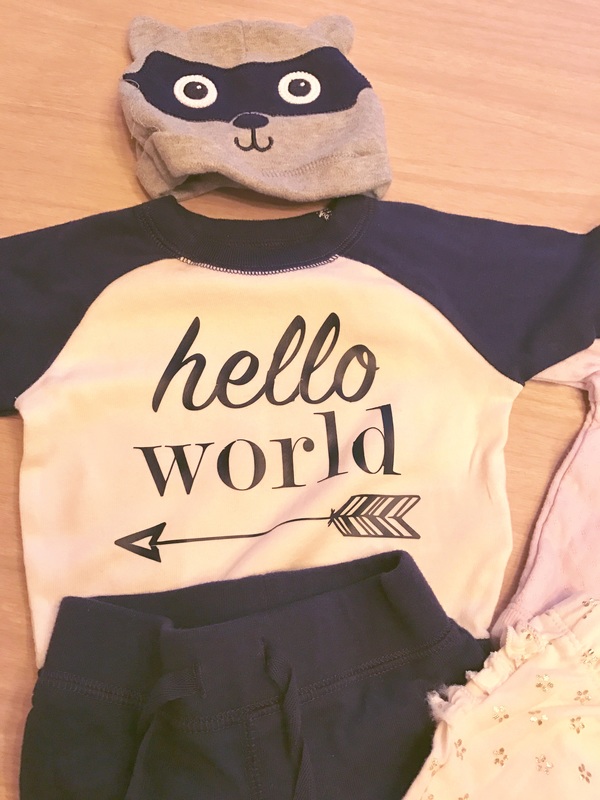
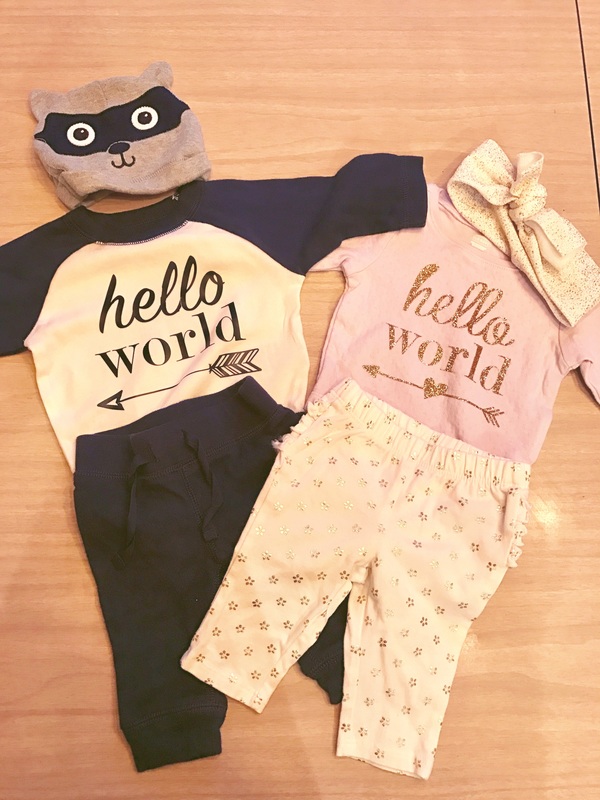
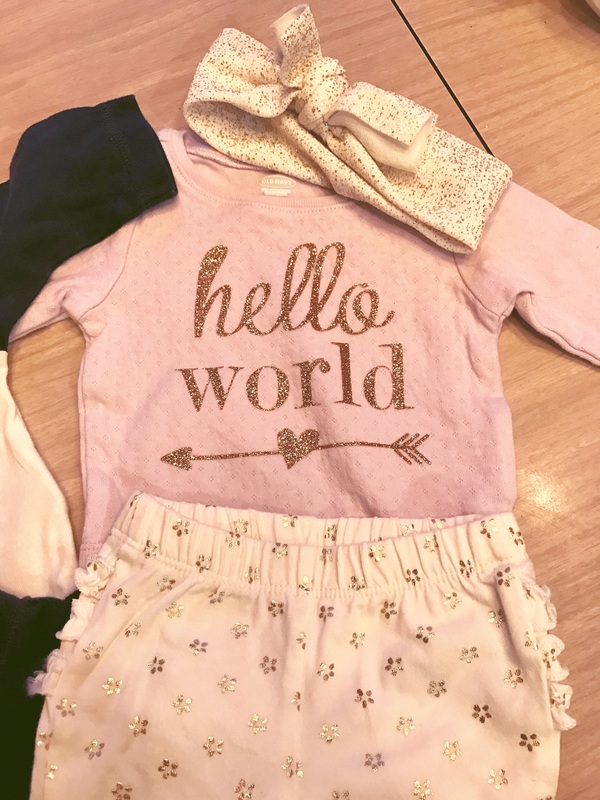
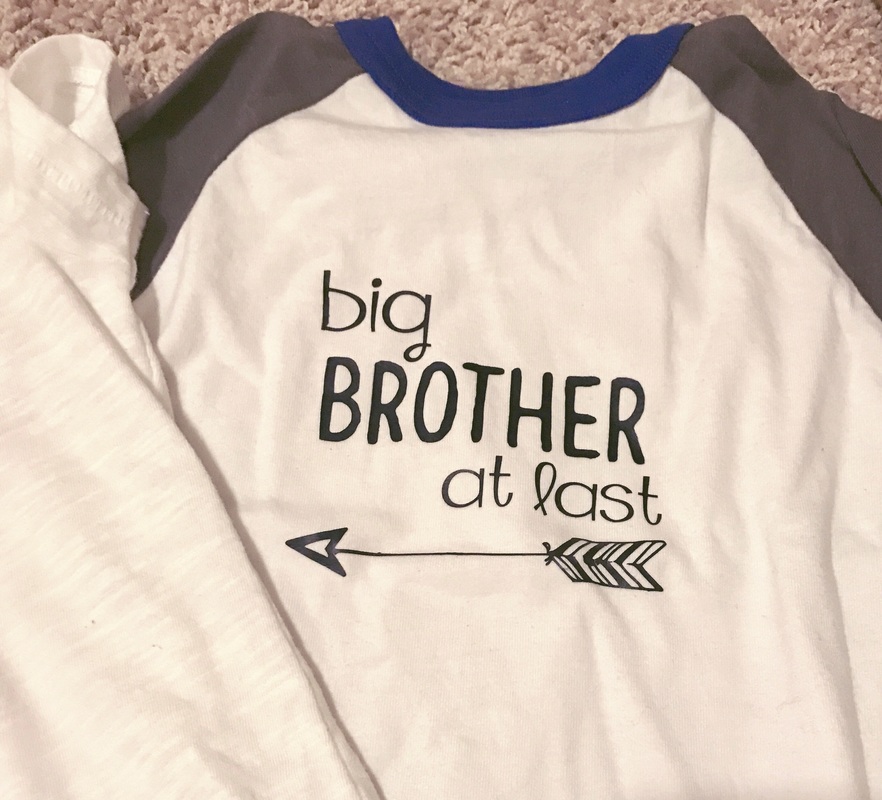
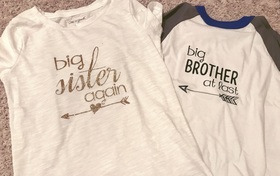
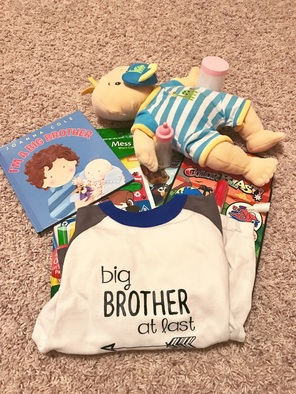
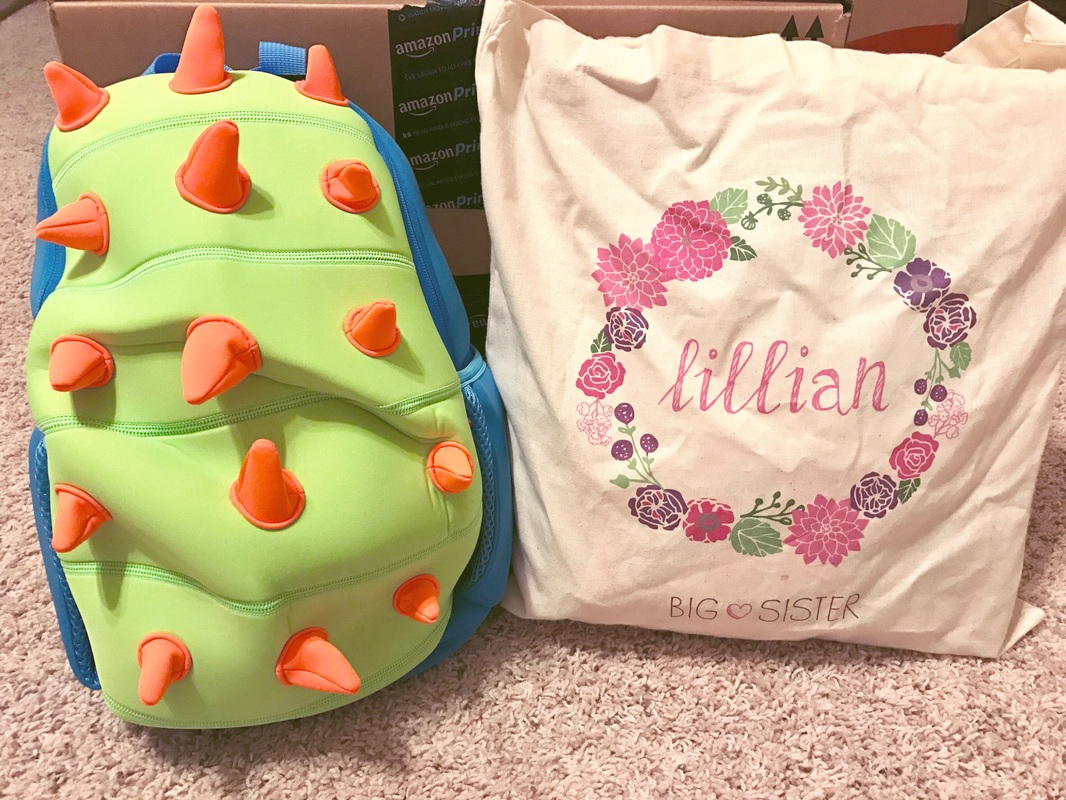
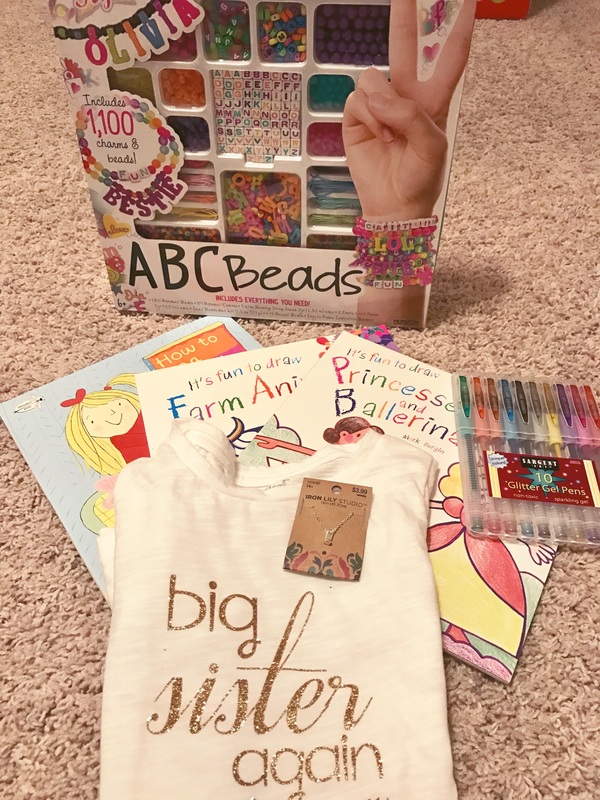
I am almost 39 weeks pregnant and could have my baby any day. So, I've been finishing up with the few things that needed to be done. Since we aren't finding out the gender until the baby is born the number of things on my to-do list is not much. I washed the one load of laundry I had, stocked my changing station with diapers and wipes, pulled out a few baby items from my previous two kids that might come in handy and set-up my new halo bassinet which I am super excited about. With my other pregnancies, I decorated the nursery and had an entire wardrobe plus made a few other personalized items for the new baby. However, not knowing the gender really puts a wrench in that plan. The one thing I have managed to do is create two different going home outfits using a few clothing items from Old Navy, a headband from Hobby Lobby, a hat from my son when he was a newborn and my silhouette machine. I designed the silhouette cut myself and chose gold glitter for the girl and navy for the boy. I think the outfits turned out pretty adorable and make me feel like I did SOME special preparation for this child. I also made big brother and big sister shirts for my other kids that kind of match. So, my daughter has a glitter gold vinyl on a white shirt and my son has a navy vinyl on a baseball tee. I also created big sister and big brother goody bags that include a few gifts, activities and snacks to keep them entertained. For my son, who's 2.5, I got a boy baby stella doll with a magnetic pacifier and threw in a few other toys we already had for pretend play with a doll. When my son was born my daughter also received a new baby doll and care items so she could pretend to take care of the baby. I think my son will really enjoy it and it is his first baby doll. I also got him a crayola color wonder activity set and a color blast set so he can be creative without coloring everything around him. He's a bit messy. I also got him his first backpack to carry all of his swag. He's a major dinosaur fan so I felt like the dino backpack was appropriate. He is also getting a book about being a big brother. I got the same book for my daughter about being a big sister when Arthur was born. I finished off the bag with some of his favorite snacks and treats. My daughter's bag was a bit more difficult because she has already gone through this once. But, I managed to find her an adorable book about being a big sister that is geared for a slightly older crowd called "How to be a Baby by Me the Big Sister". It's adorable and perfect for her bossy big sister personality. I also got her two "It's Fun to Draw..." books. She already has one of this series and loves it! To help her with the drawing I got her a set of glitter gel pens. I don't know about you but when I was a little girl these things were all the rage and coveted by any girl who had them. I hope she'll like them as much as I did. Since she didn't need another baby doll I decided to go with another craft project and chose a jewelry making kit. This one has a bunch of different beads including alphabet beads so, she can make a big sister bracelet if she wants. It's definitely something have fun with and will keep her entertained for a good long while. I finished off her bag with a small monogram necklace I picked up at Hobby Lobby, her Leap Pad and games and a few of her favorite snacks. I put them all in the same bag she received when Arthur was born which I custom ordered from Etsy. Even though I know big brother and sister bags are not necessary I feel like letting them know that I am thinking about them and making them feel special is important with such a big life-changing event. Plus, it makes my in-laws lives a bit easier since both kids will have new toys, snacks and activities to keep them entertained while they wait. When I had Arthur I was in labor for 27 unmedicated hours. So...it could be a while.
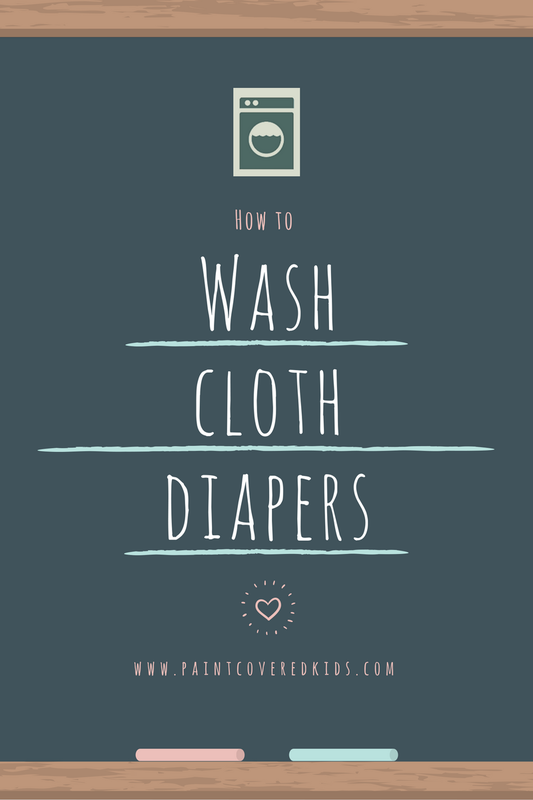
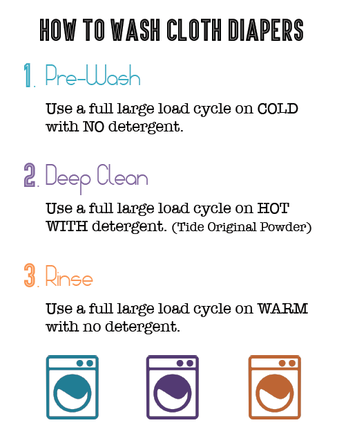
Now that I'm a month away from having a new baby I have finally gotten around to doing a little preparation. With selling our house, moving, starting back to work after summer break and planning for my daughter's birthday party I have just now found the time! A little late, I know. I'm usually an over-preparer but in this case I think my motivation has been somewhat thwarted by not finding out the sex of the baby. It makes it hard to have everything perfectly prepared seeing as how I don't know what clothing I'll need and don't really feel like decorating a nursery in gender neutralness. So, a lot of things are going to happen after the baby arrives to make it more personal. However, I am planning on tackling the cloth diaper monster again this time around. With my first child (who is now 6) we used cloth and it was really great. We saved a ton of money and she never had diaper rash. With my second we didn't and I fully regret that decision. The cost has been insane! So, I'm going back to cloth this time around. I've already purchased a starting set of diapers but want to wait to purchase the rest until I know the gender so I can get some adorable prints and more fun colors. The majority I've purchased are white with the exception of a few blue. I did a ton of research and tried out several types with my daughter and our favorite by far was Rumparooz. This time I did more research just to make sure it was still my best bet and have decided to only purchase those this time around. They still get some of the highest ratings on various websites and my past experience made it an easy decision. Washing cloth diapers isn't too difficult but a sleep deprived mom who hasn't done it in 6 years could always use a little help and I need to prep these diapers so they are ready to go! So, I did a bit of research to refresh my memory and created a printable to hang in my laundry room to remind not only myself but also my husband and anyone else who decides to help out from time to time. You can get my free printable below if you are also tackling the cloth diaper beast. Enjoy!
|
meet rachelRachel is a mother of three, elementary Spanish teacher and part-time blogger who loves crafting, creating fun and engaging activities for her children and students and hanging with her friends and family. She blogs about what she's doing and her interests at any given time which vary. She's a little OCD and always looking for her next project. Her husband calls it, "focusing her crazy", but she just calls it fun. Archives
June 2023
Categories
All
|
||||||||||||||||||||||||||||





 RSS Feed


