Paint Covered Kids
  • Blog
  • About
  • Contact
  • The Gallery
  • DIY
  • Mommy Camp
  • Freebies
  • Subscribe!
  • Blog
  • About
  • Contact
  • The Gallery
  • DIY
  • Mommy Camp
  • Freebies
  • Subscribe!
Paint Covered Kids

​

rosemary infused olive oil - free printable

12/18/2012

0 Comments

 
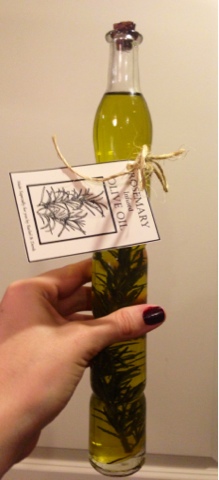
This was a super quick and easy project. I simply bought some nice looking bottles and some mid level priced olive oil. Then I went into my backyard and cut some rosemary off of one of our bushes. I then shoved said rosemary into the pretty bottle and poured the olive oil over it. To finish it off I just used some twine to wrap around it and added a custom label. Easy peasy and looks great!

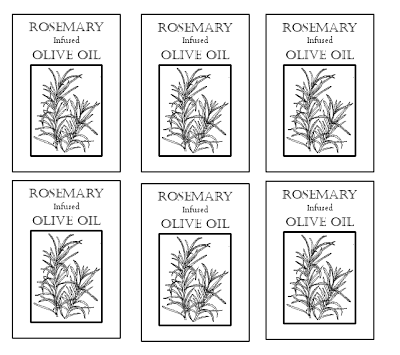
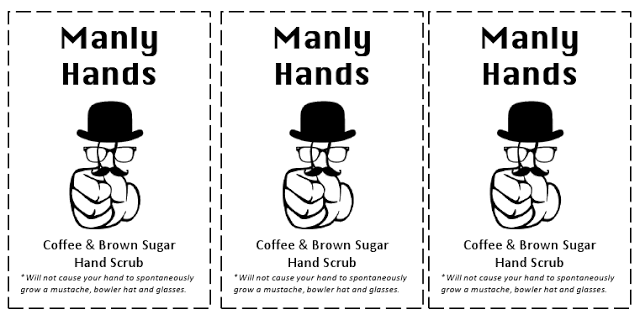
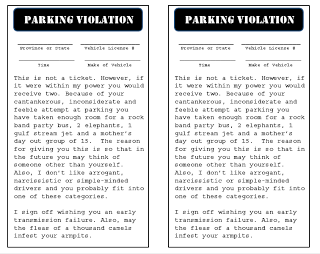
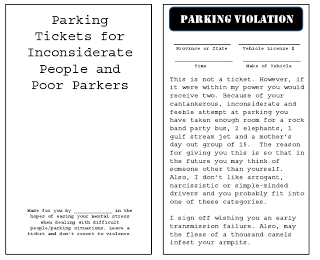
I've included my labels for you to print. Have fun!
Picture
Picture
0 Comments

diy "but first...coffee" shirt

12/10/2012

0 Comments

 
This was super quick and easy. I recently saw a t-shirt that said, "But first...Coffee" on it and I thought it would be perfect for my husband. He isn't really a huge t-shirt wearer but I figured it would be good for around the house and on weekends. So, this was also a very low stress project. I just pulled out a black fabric marker and these letter stencils left over from Lilly's birthday party apron craft and filled in the letters to make the phrase. I just eye-balled it and I feel it is pretty successful. It's not perfect but the phrase actually lends itself to imperfection. I will probably pair this shirt with the coffee and brown sugar hand scrub that I made to really give the gift a purpose.
Picture
Picture
0 Comments

diy burlap placemats

12/9/2012

0 Comments

 
This project is my least favorite so far. It was really messy and I didn't love the results. I mean...they're o.k. but not fantastic.

To do this o.k. project you need:

- a couple yards of burlap
- print outs of the words you want to use
- sharpie

I used a place mat that I already had as a template for cutting. This yielded uneven edges and as a result I had to cut them down so, now they are not quite the right size. After cutting....and cutting....and cutting to get them even I simply taped the the printed out words for tracing onto a piece of foam board (anything hard, white/lightly colored surface would do). Then I laid each piece of burlap onto the board and changed the words out underneath each one. I made 4 Italian ones that said thins like nourish, eat, enjoy etc. and 4 English that said the same thing. I made the Italian ones for my aunt and the others for my husbands aunt. Also, I had to place them underneath something heavy and flat to make the creases from being folded go away. I guess I could iron them but, I guess I just don't care anymore. I really hated this project. Good luck if you want to try it. Maybe it'll work out to be less painful for you.
Picture
Picture
Picture
Picture
0 Comments

diy "manly hands" coffee scrub + free printable

12/8/2012

0 Comments

 
I finished up all of my Christmas gift crafting this weekend and this was one on my list. I have few guy friends who are addicted to coffee but still care about their appearance and hand softness. So, I thought this would be a great gift and, it only took a few minutes to make!

You will need:
 - 1/4 cup olive oil
 - 1/2 cup brown sugar
 - 1/2 cup ground coffee
 - bowl for mixing
 - container for scrub
Picture
If you like this post you should also check out my DIY "But First...Coffee" Shirt!
0 Comments

a big hit

12/7/2012

0 Comments

 
My husbands work party was last night and I finally got to wear the ugly sweater dress that I made a few weeks ago.
​
Picture
Picture
Let's just say that I was very popular. We arrived at the party and everyone thought it was awesome but the best part of the night was going to the parade. First of all, it was Lillian's first time at a parade and she thought it was awesome. (I'm sure the two little girls that were 8 and 4 holding her hands didn't hurt. Lilly loves attention from older girls!) But the other awesome part was that I was a bit of a celebrity.
Picture
Almost every float that went by had women shouting that they loved my dress. Even the local news lady made a point to scream at me! Needless to say, I had a great time and the dress was totally worth the hour or so I spent making it. If you decide to get crafty and try to make a dress like mine post a pic so I can see how awesome you are!
0 Comments

diy state string art

12/6/2012

0 Comments

 
My sister-in-law posted a picture of string art similar to this one with the comment that she would like one for our state, Arkansas. So, I thought I would surprise her for Christmas.

To make the string art you need:
 - one board (I bought mine at Wal-Mart in the craft section unpainted for about $4.)
- paint color of your choice
- nails (I went with an oxidized looking nail. I thought they looked more retro and interesting than silver ones.)
- string (I used all purpose white thread. It's a little thicker than regular thread. I also just used red thread for the heart.)
- a printed out image of your state or whatever you would like to make string art with

First, I painted my board. I chose lime green because my sister is kind of fun and I think it will match her home. Then I laid my map print out on the board and taped it down. Then I began to place my nails around the edge of the state lines. I then made a heart around the city that she lives in.
Picture
When I placed the nails for the heart I found that the board bent because there was nothing to stabilize it while hammering so I found a piece of styrofoam and placed it under the area I was nailing to make it easier.
Picture
Once I had placed the nails it was time to string it! I tied the beginning of my string to the first nail at the top left corner and then began to wind back and forth between the nails forming the heart and the nails forming the state shape. I had to use each nail making up the heart multiple times. I didn't really count or anything I just did it until it looked like I should move on to the next nail. When I finished I tied the end of the string to the final nail which ended up being the same as my starting nail.
Picture
After doing the white part I decided that I would fill in the heart with red thread to emphasize that it was a heart. I followed the same method as I did with the white except that I stayed within the boundaries of the heart shape.
Picture
There you have it! A heartfelt piece of art that will hopefully make a great gift. My only problem with this project was that the nails I bought were a little difficult to use. Aesthetically they were very pleasing but they were not uniform and some were rather dull ended. This made it much more difficult to nail them to the board than if I had chosen uniform, sharp nails. But, It all worked out. Oh, as a note I actually did put some hot glue on the nail tips on the underside of the board to make sure they stayed in place while I was stringing them. I did this because my nails were not cooperating and kept popping out. I would imagine that if you used more uniform nails that weren't so wide then you wouldn't need to do this.
0 Comments

diy parking tickets

12/4/2012

0 Comments

 
I have been planning on making these for a really long time and have never gotten around to it but, I recently saw a photo that someone posted of a "ticket" they received and it spurred me into action. I plan on giving my "parking tickets" as little booklets and placing them in stockings for my friends and family to use. I hope they are helpful to you.
Picture
Picture
You can access the file here.
0 Comments
    Picture

    RSS Feed

    meet rachel

    Rachel is a mother of three, elementary Spanish teacher and part-time blogger who loves crafting, creating fun and engaging activities for her children and students and hanging with her friends and family. She blogs about what she's doing and her interests at any given time which vary. She's a little OCD and always looking for her next project. Her husband calls it, "focusing her crazy", but she just calls it fun. 

    Archives

    February 2022
    December 2021
    November 2021
    October 2021
    September 2021
    August 2021
    July 2021
    May 2021
    April 2021
    March 2021
    February 2021
    January 2021
    November 2020
    October 2020
    August 2020
    July 2020
    June 2020
    March 2020
    February 2020
    December 2019
    November 2019
    October 2019
    August 2019
    July 2019
    May 2019
    March 2019
    February 2019
    January 2019
    December 2018
    November 2018
    October 2018
    September 2018
    July 2018
    June 2018
    April 2018
    March 2018
    February 2018
    December 2017
    October 2017
    September 2017
    July 2017
    June 2017
    May 2017
    April 2017
    March 2017
    February 2017
    January 2017
    December 2016
    November 2016
    October 2016
    September 2016
    August 2016
    July 2016
    June 2016
    May 2016
    April 2016
    March 2016
    February 2016
    January 2016
    December 2015
    November 2015
    October 2015
    September 2015
    August 2015
    July 2015
    June 2015
    May 2015
    April 2015
    February 2015
    September 2014
    August 2014
    February 2013
    January 2013
    December 2012
    November 2012
    October 2012
    September 2012

    Categories

    All
    Baby
    Beauty
    Clothing
    Crafts
    Decor
    DIY
    DIY Gifts
    Dramatic Play
    Freebies
    Free Wallpapers
    Fun With Paint
    Holiday
    Inspire
    Kids
    Kid Snacks
    Mommy Camp
    My Thoughts
    Organize
    Parenting
    Party Time
    Photography
    Science Stuff
    Sensory Play
    Silhouette
    Toddlers
    Whole 30

    Picture
    Picture
    Mom Buzz Media
Proudly powered by Weebly