Paint Covered Kids
  • Blog
  • About
  • Contact
  • The Gallery
  • DIY
  • Mommy Camp
  • Freebies
  • Subscribe!
  • Blog
  • About
  • Contact
  • The Gallery
  • DIY
  • Mommy Camp
  • Freebies
  • Subscribe!
Paint Covered Kids

​

Basic Bitch Fall Day

10/18/2021

1 Comment

 
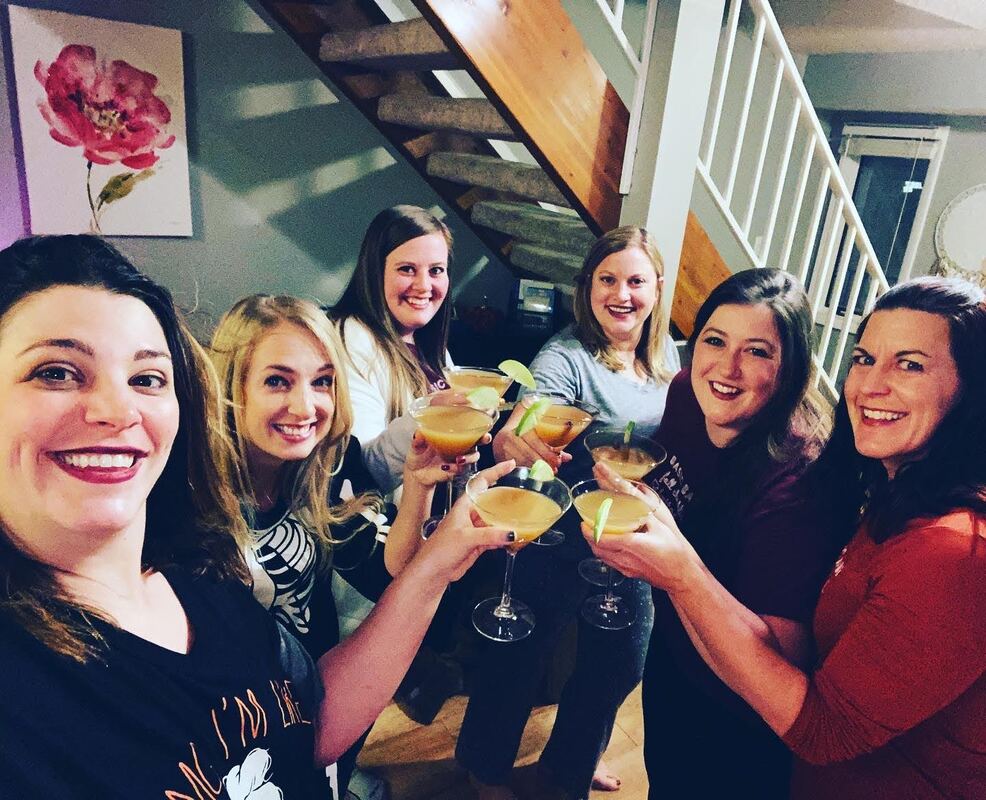
I know...being basic is not generally one's goal. However, my friends and I made it just that when we began planning a day of fall fun for ourselves. We decided to cram as many fall activities and alcohol into one day as possible and I think we succeeded. Did I mention that my friends are the bomb?!

First, we must have an agenda. I, of course, took care of that. Everyone needs to know how this day is going down right?
Picture
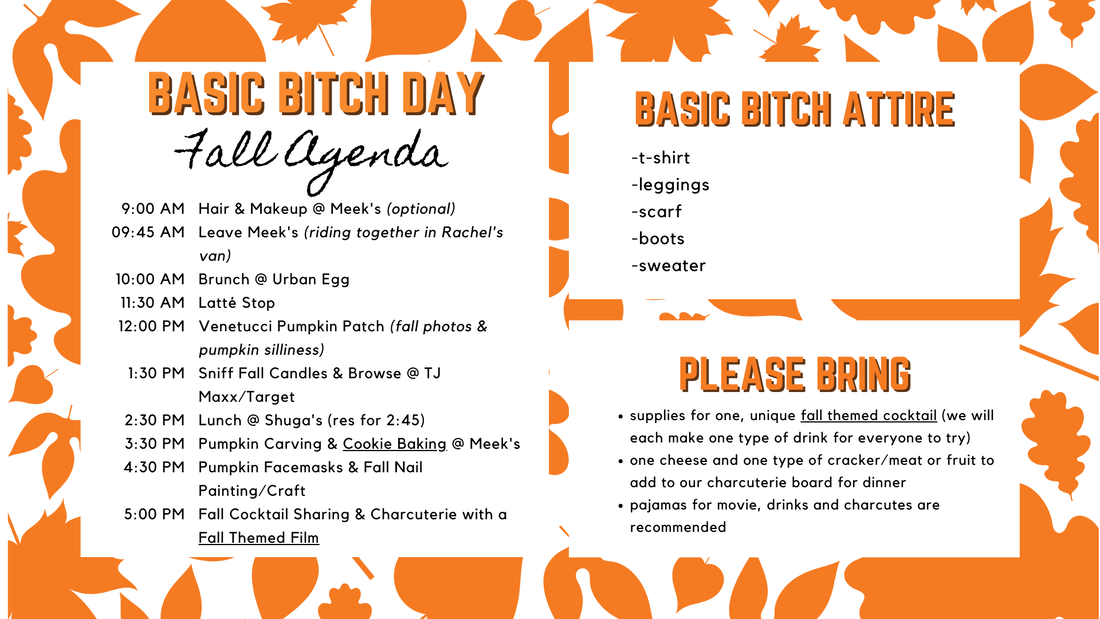
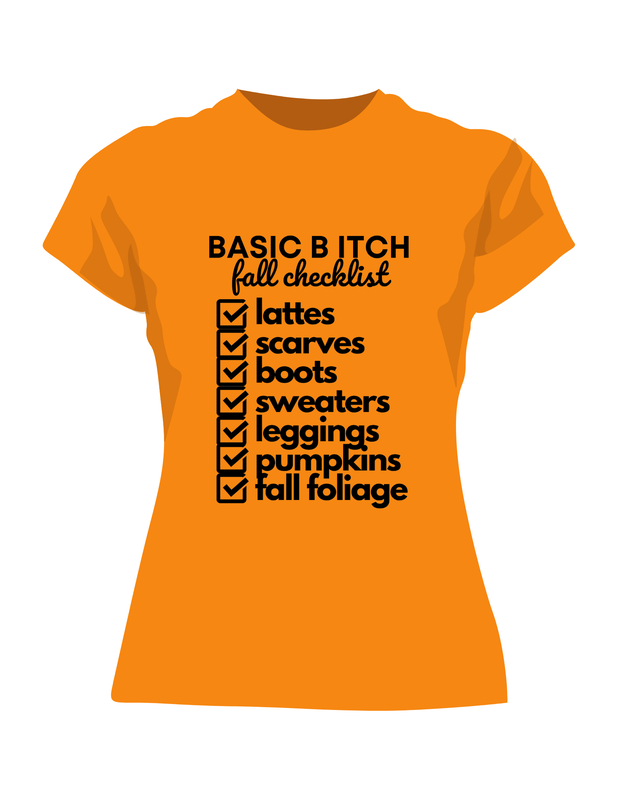
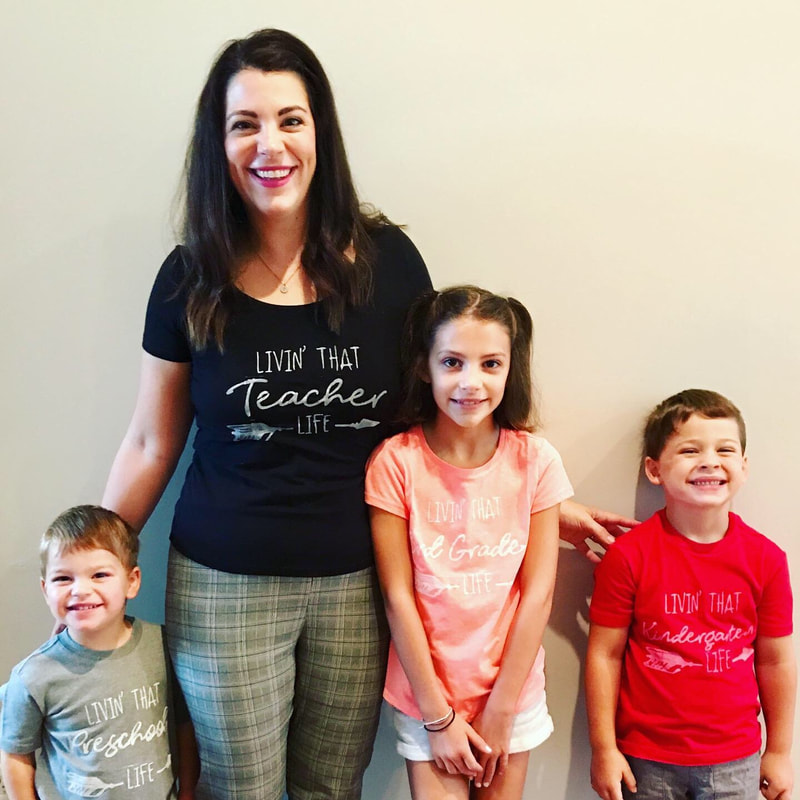
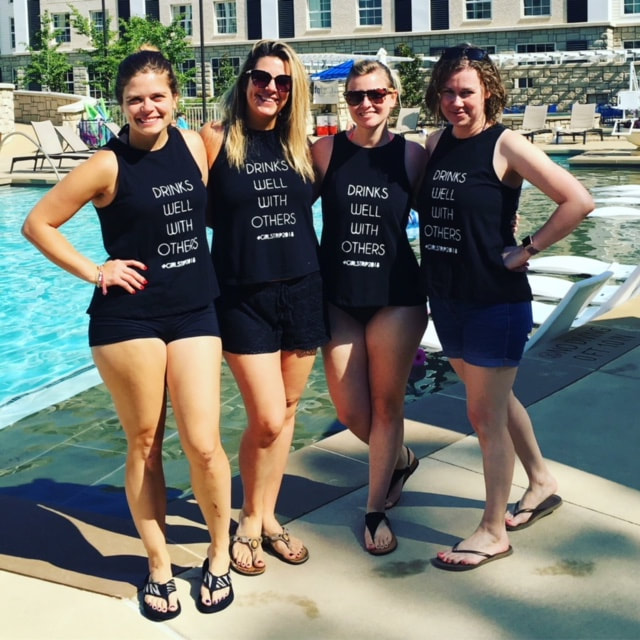
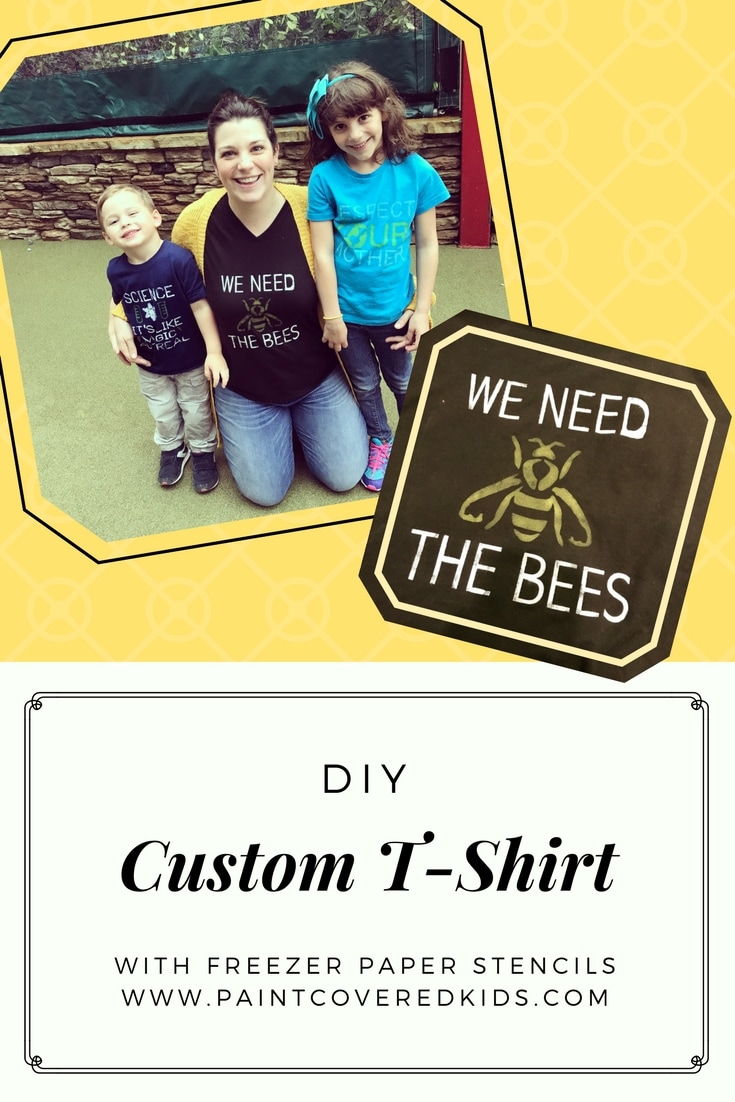
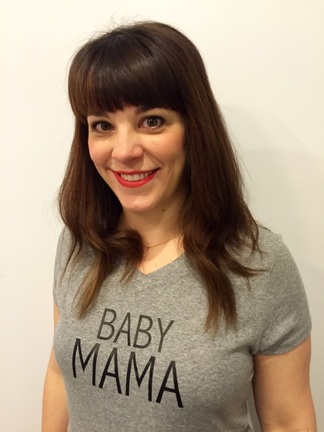
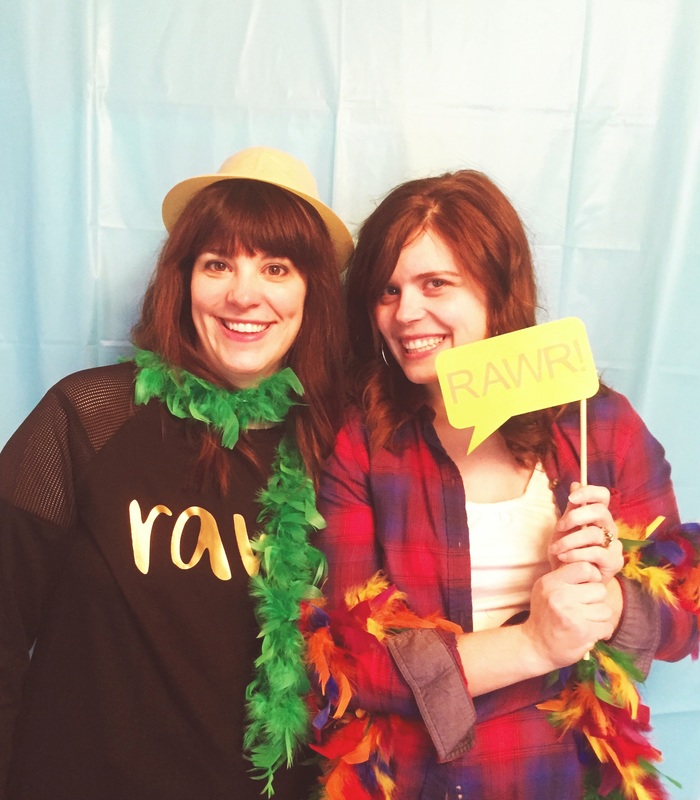
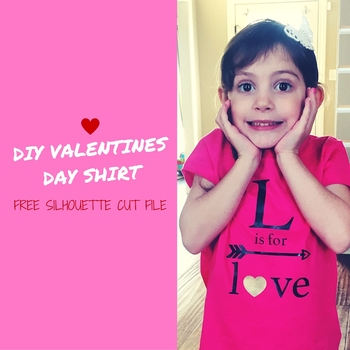
After it was planned we also made basic babe tshirts (we teach elementary school and everyone wanted to be able to wear them to work), booked sitters and hit the store for food and drink. Take a look at all of our fun and know that we 100% recommend all girlfriends do this. It was so fun!
Picture
Picture
Picture
Picture
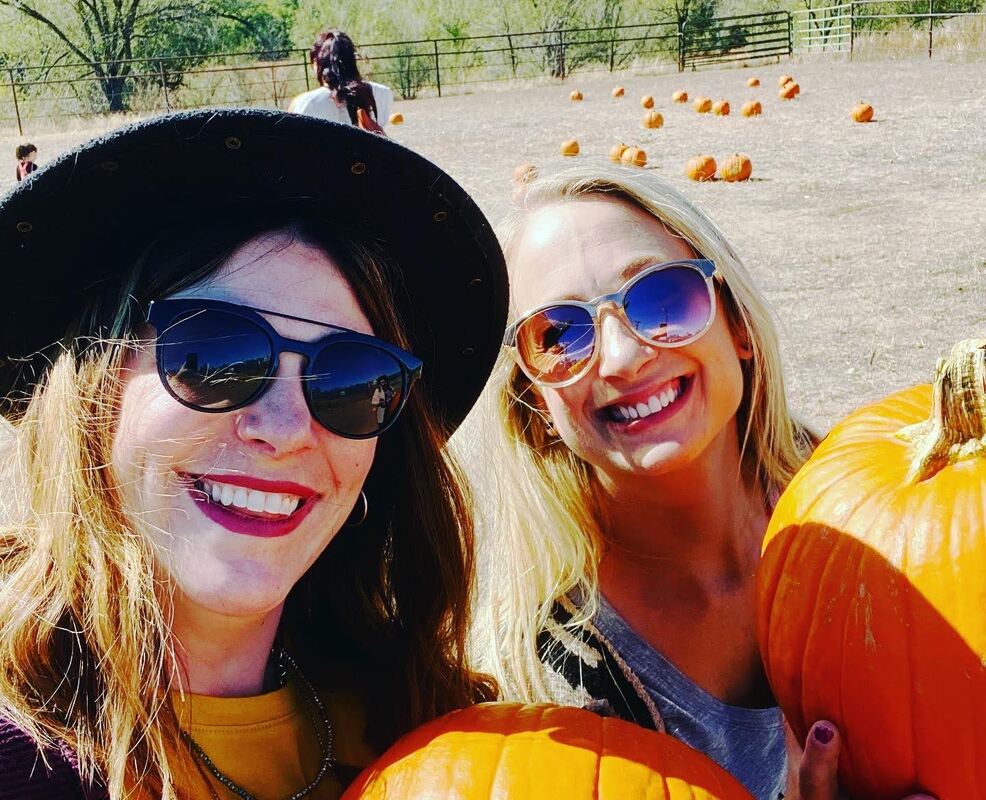
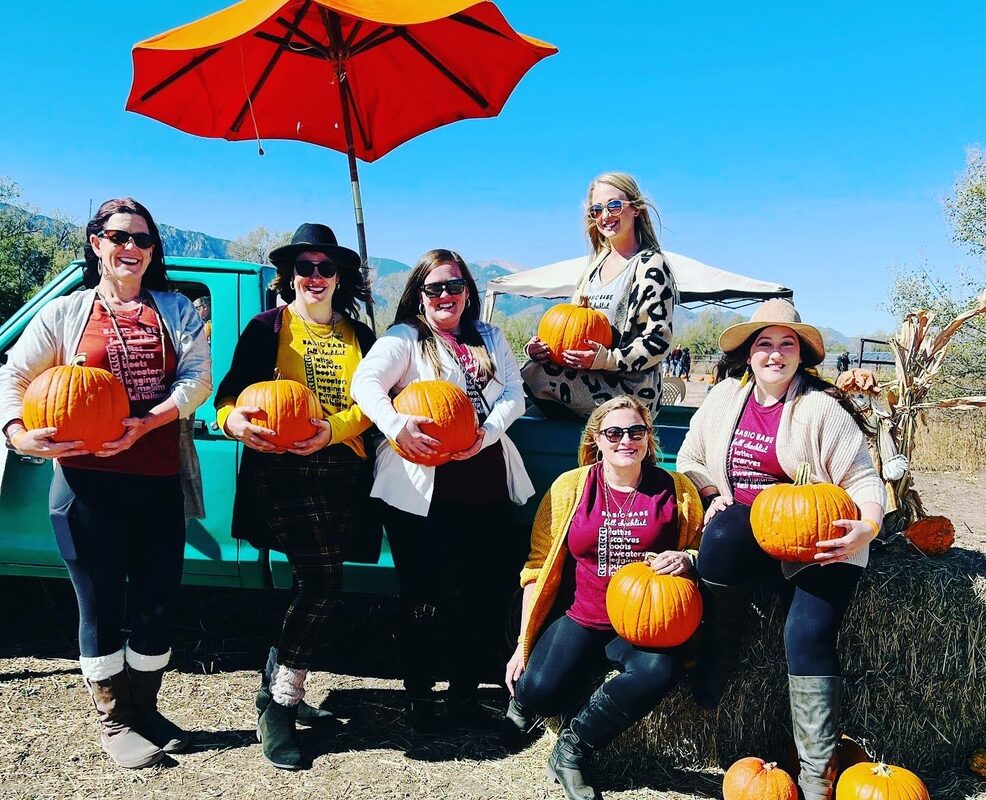
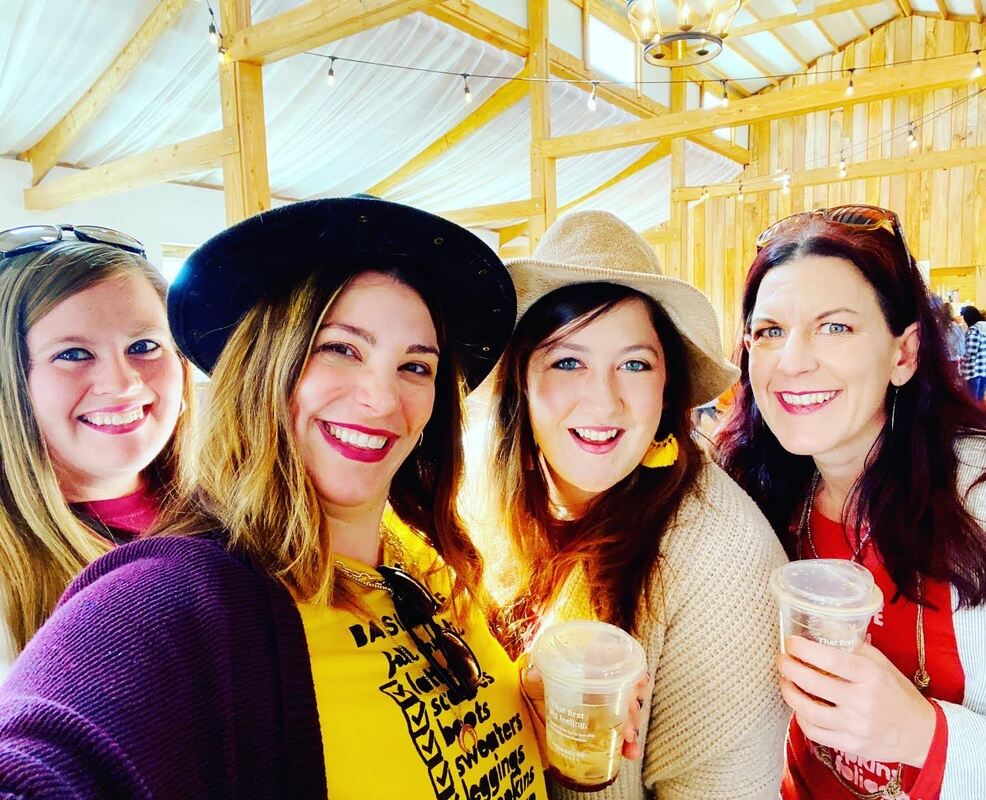
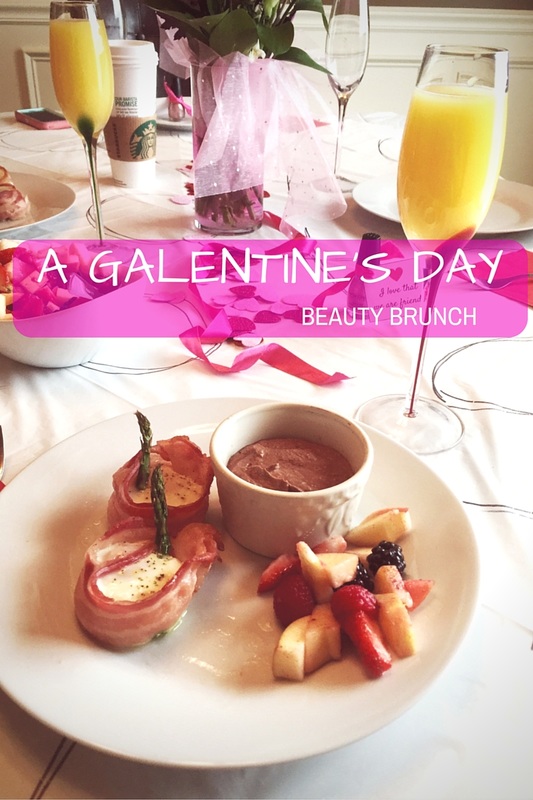
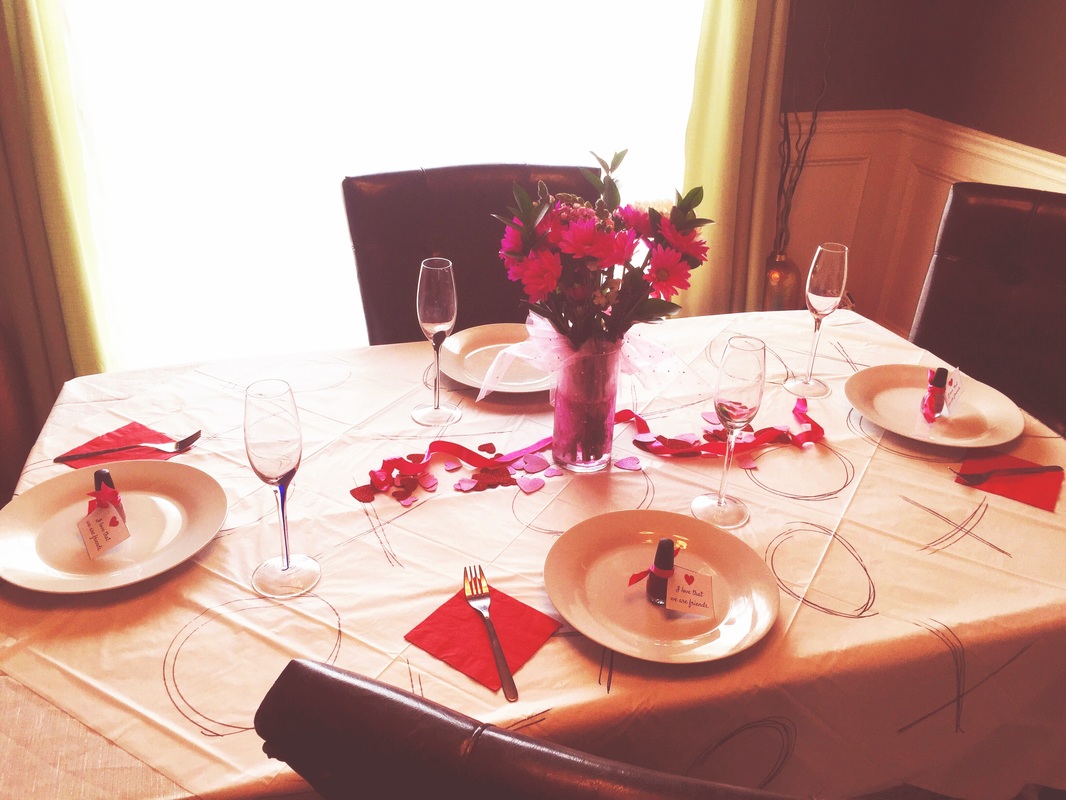
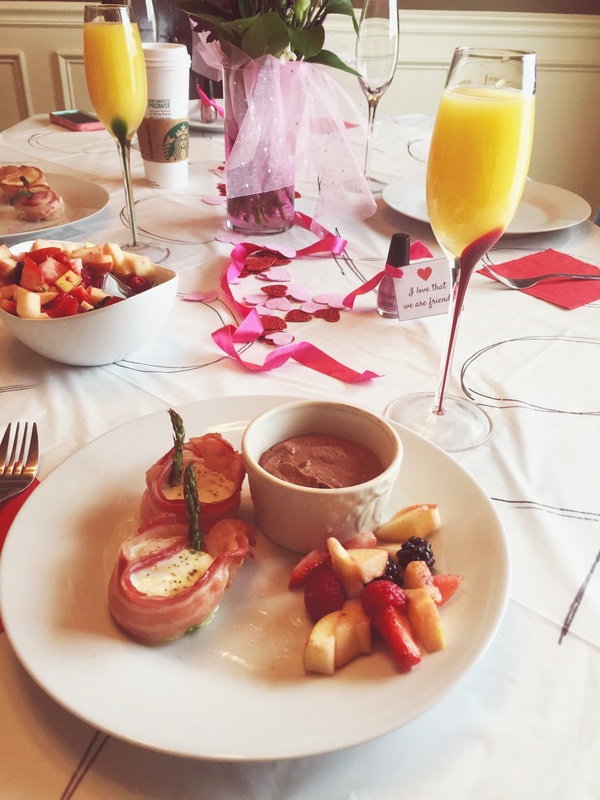
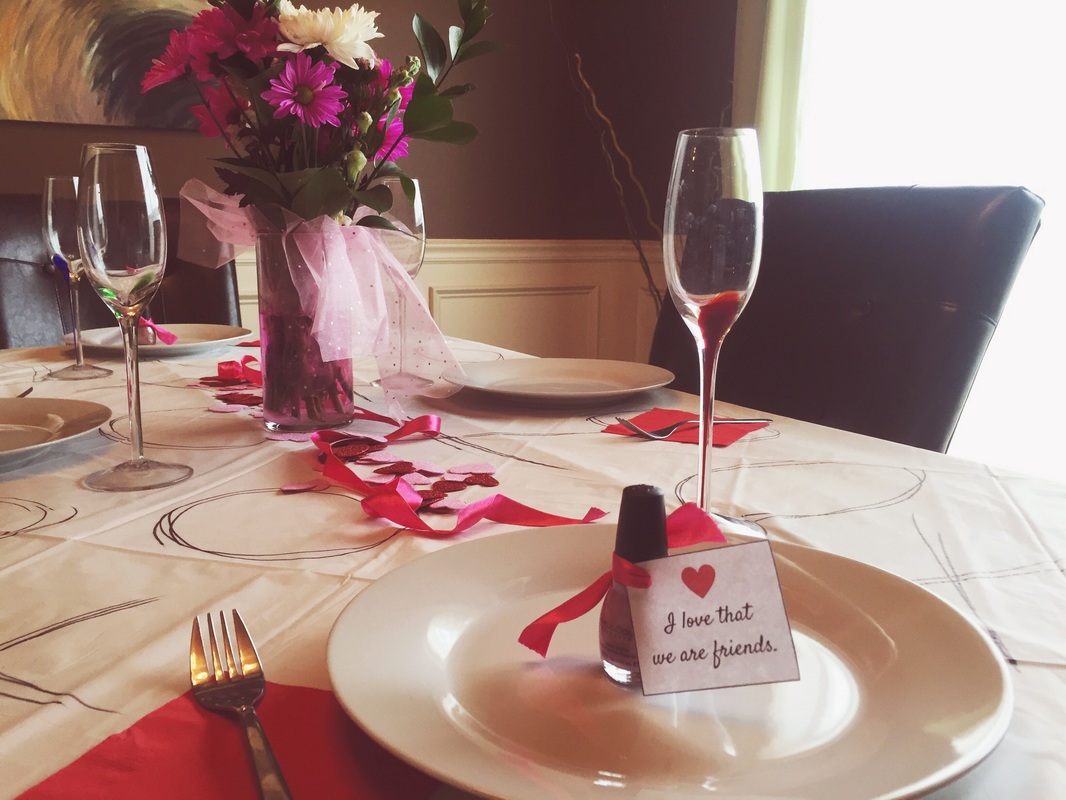
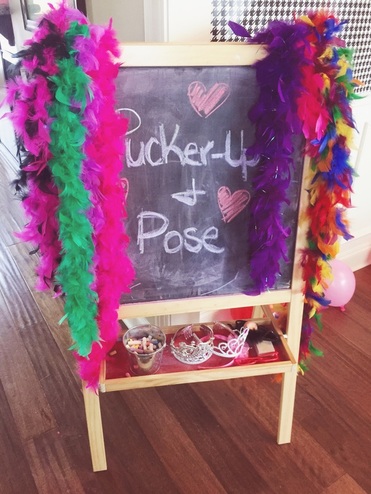
Brunch, Lattés and a Pumpkin Patch
Picture
Picture
Picture
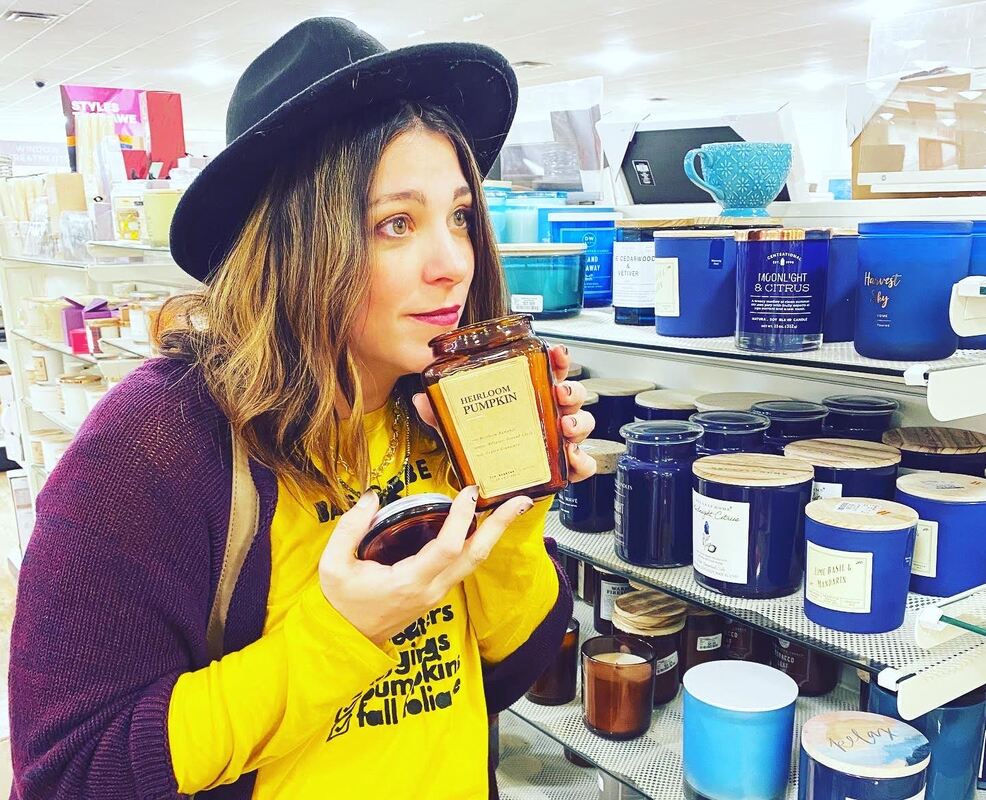
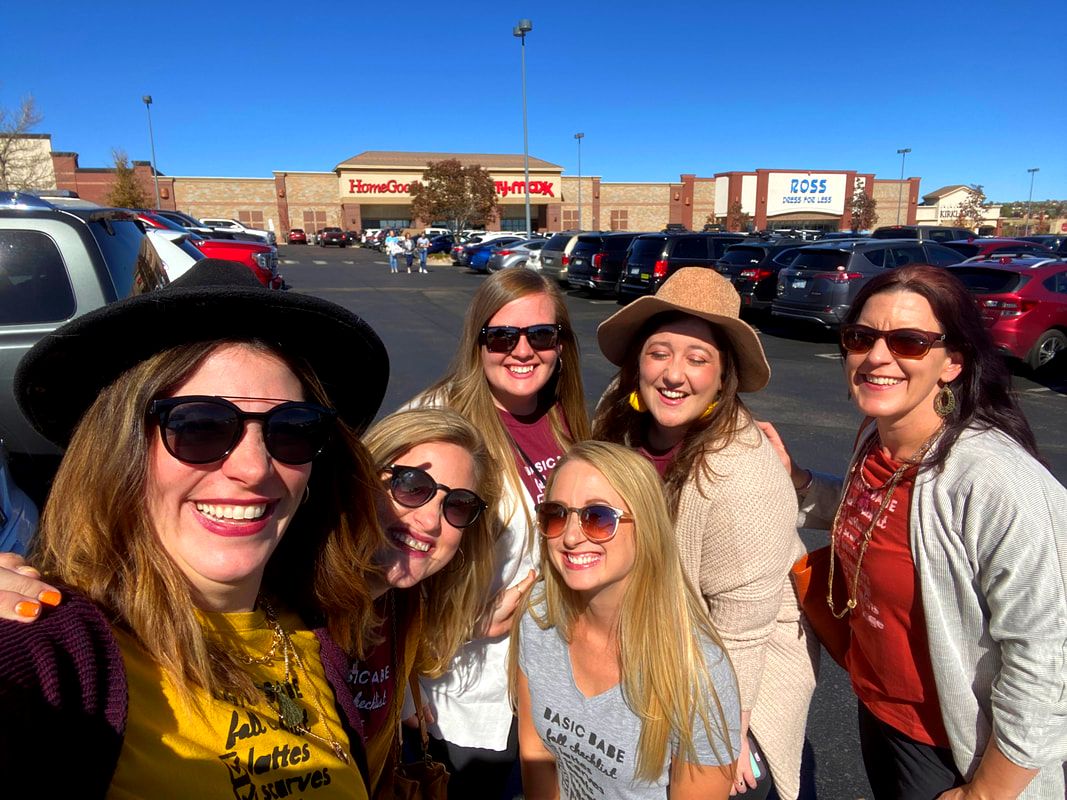
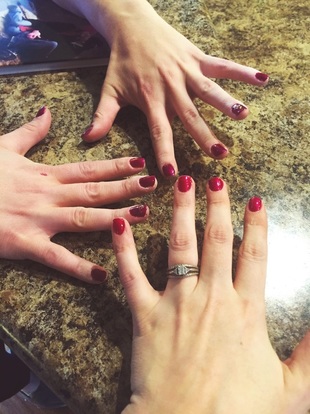
Shopping & Candle Smelling
Picture
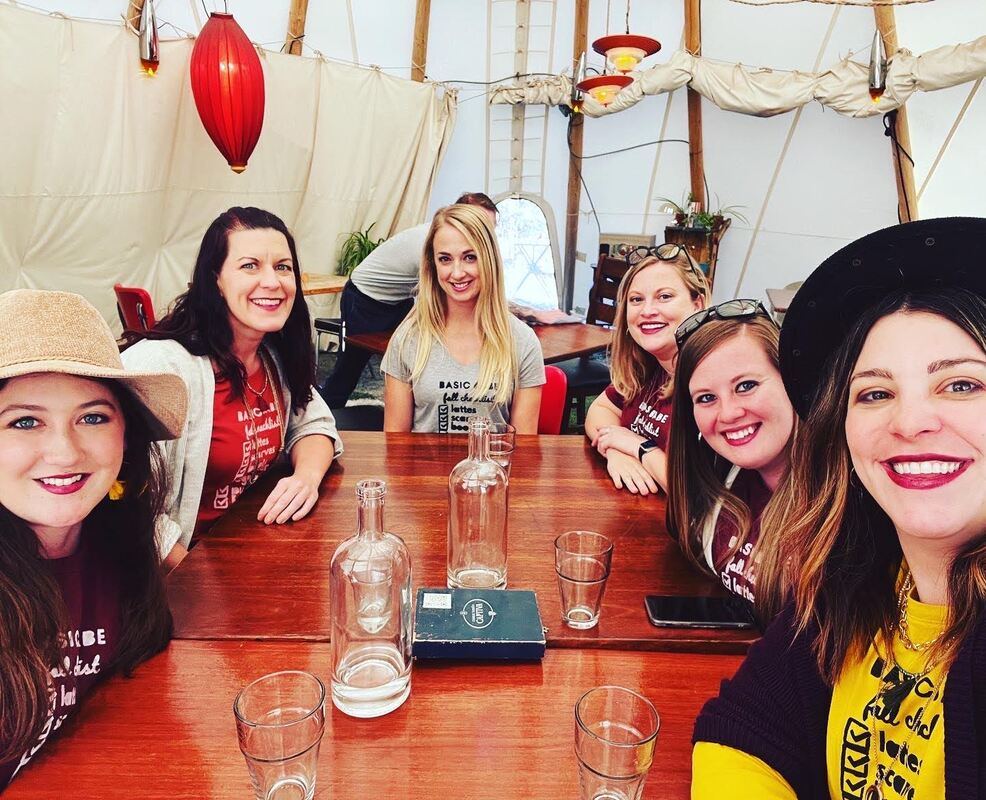
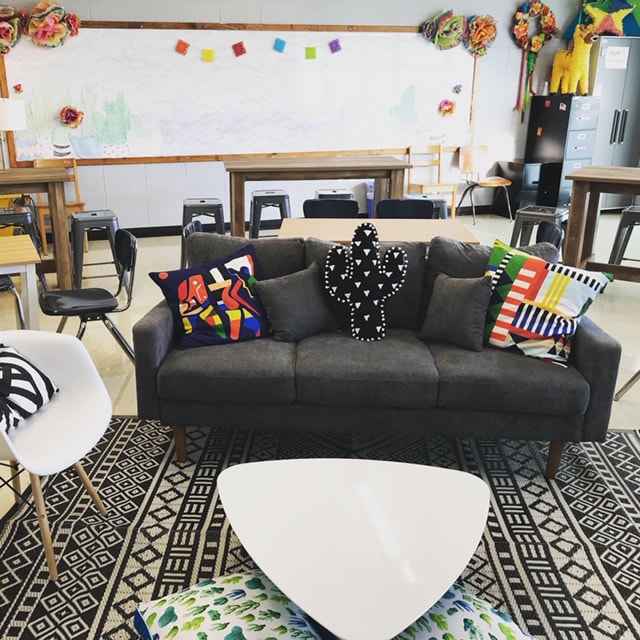
Dinner & Drinks in a Teepee
Picture
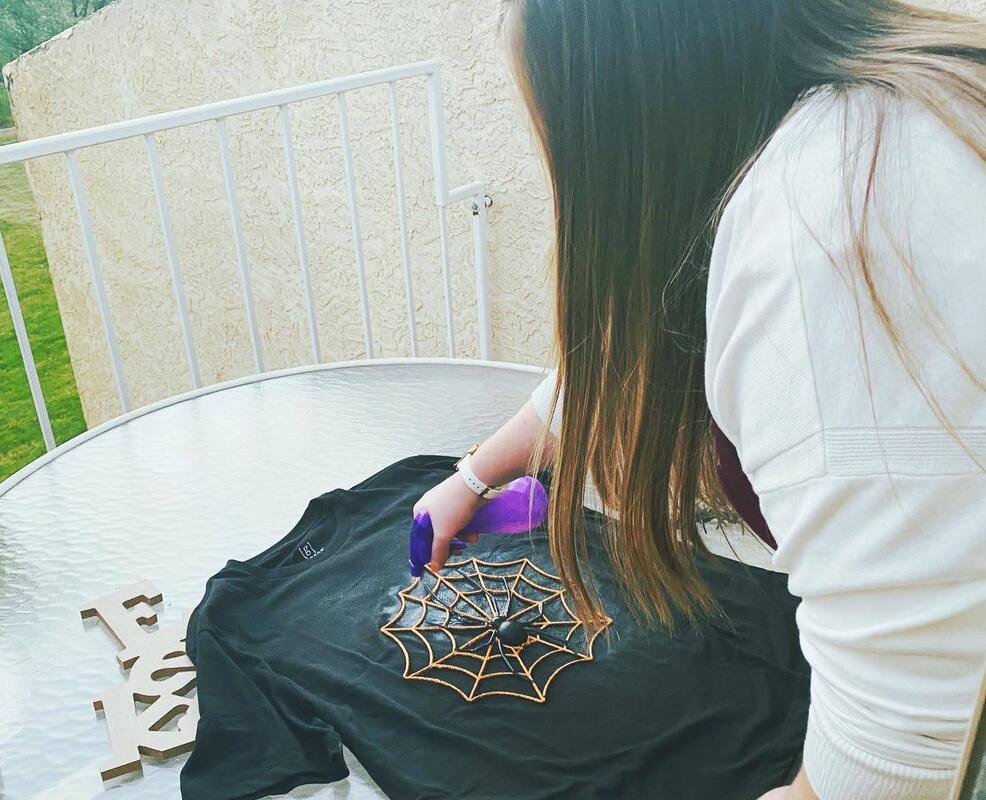
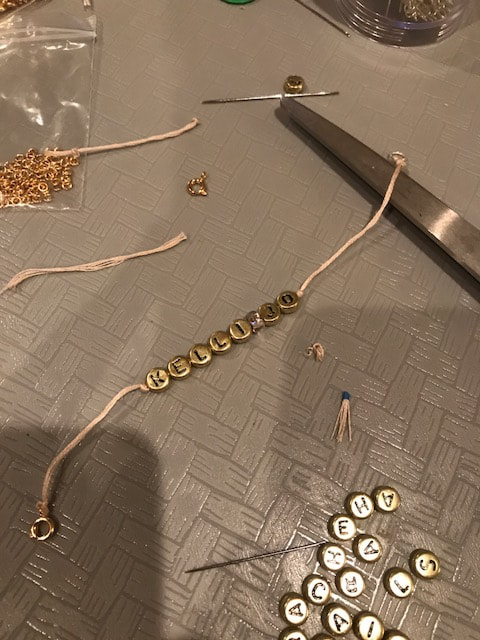
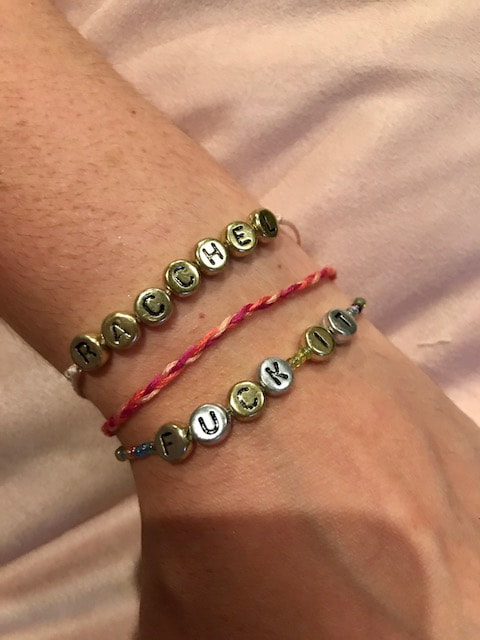
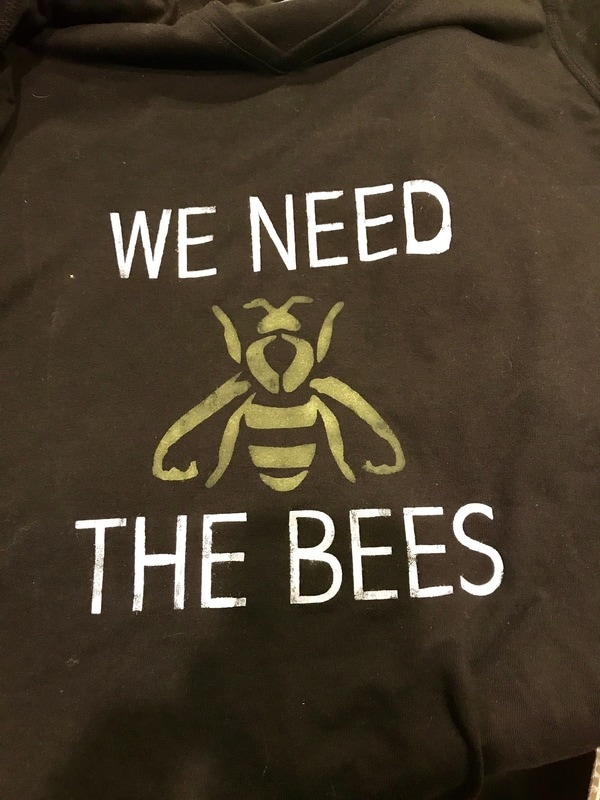
Crafting - We did a bleach t-shirt craft for Halloween. It was easy, cheap and had the smallest margin of error for completing while drinking.
Picture
Picture
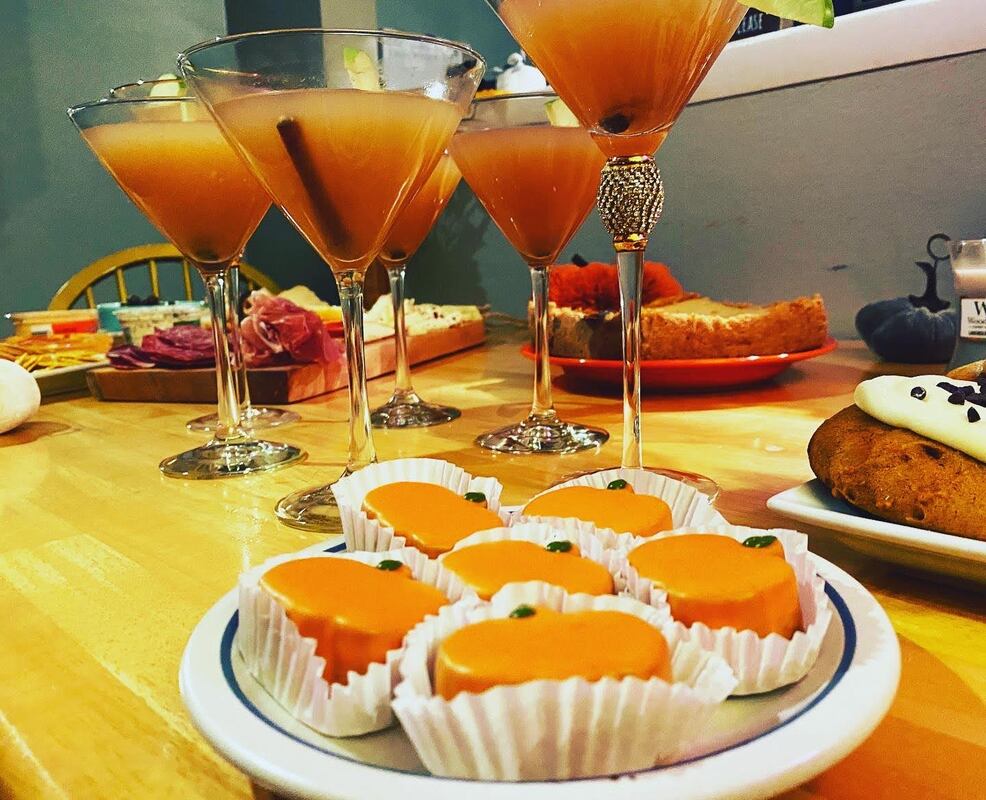
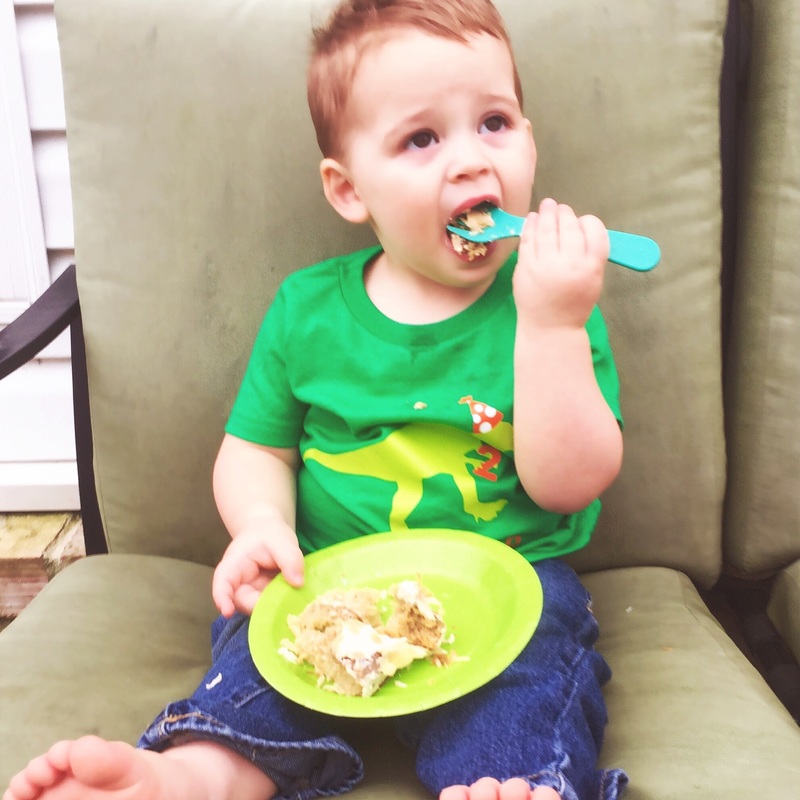
Charcuterie, Sweets and Fall Cocktails 
Picture
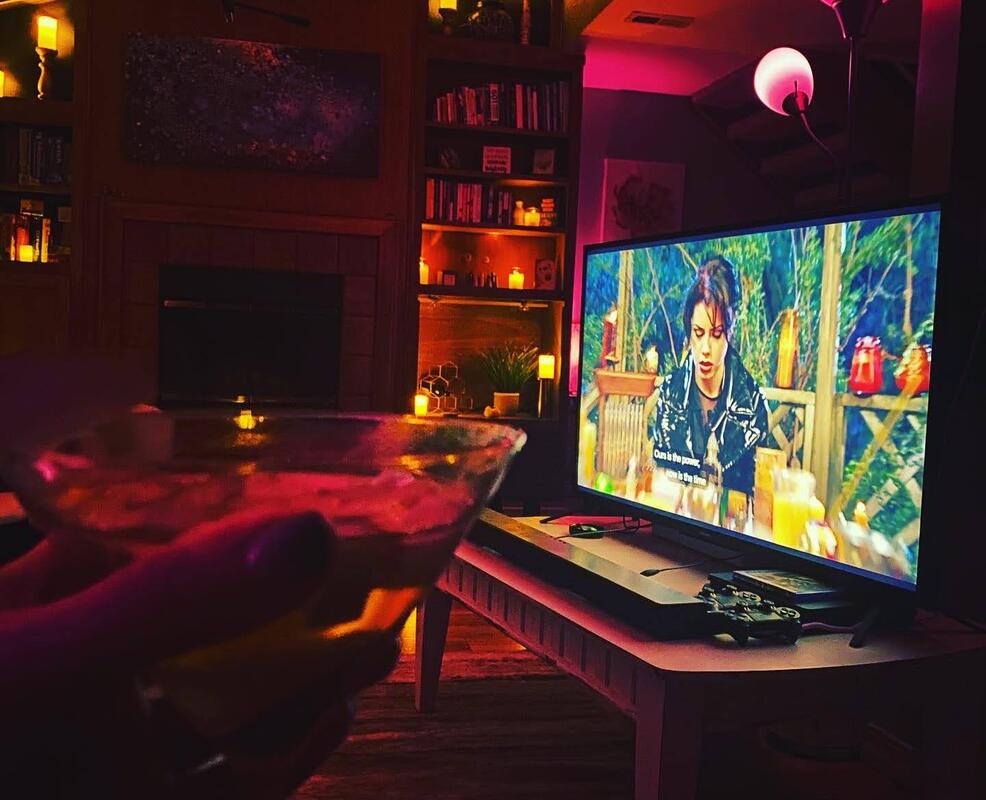
Finished up with PJ's and a movie. We chose "The Craft".

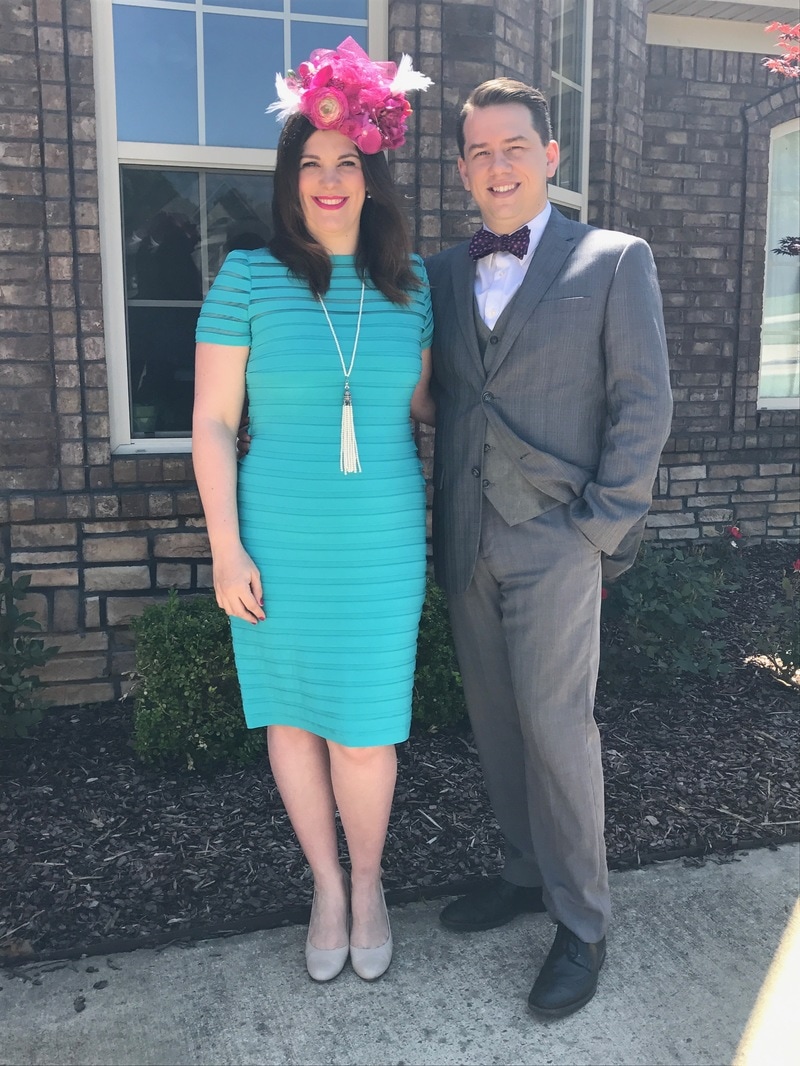
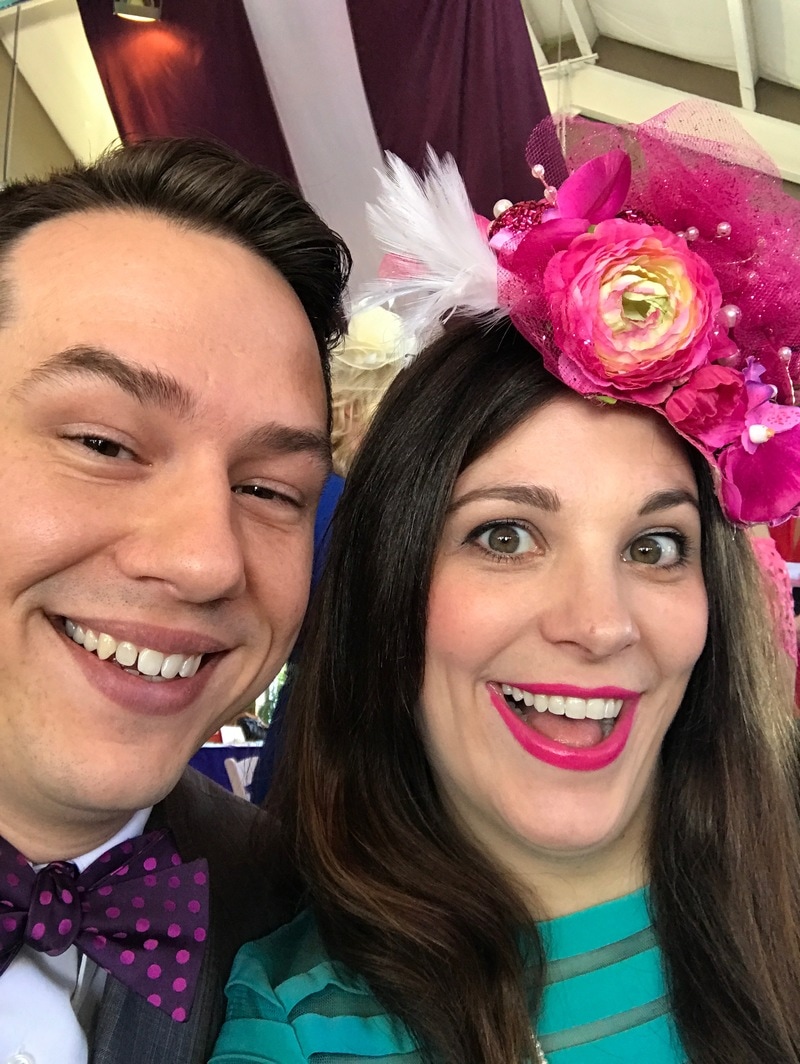
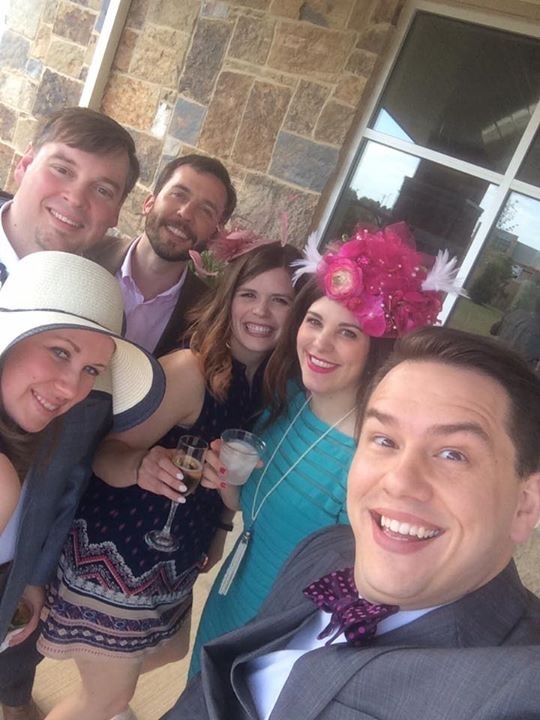
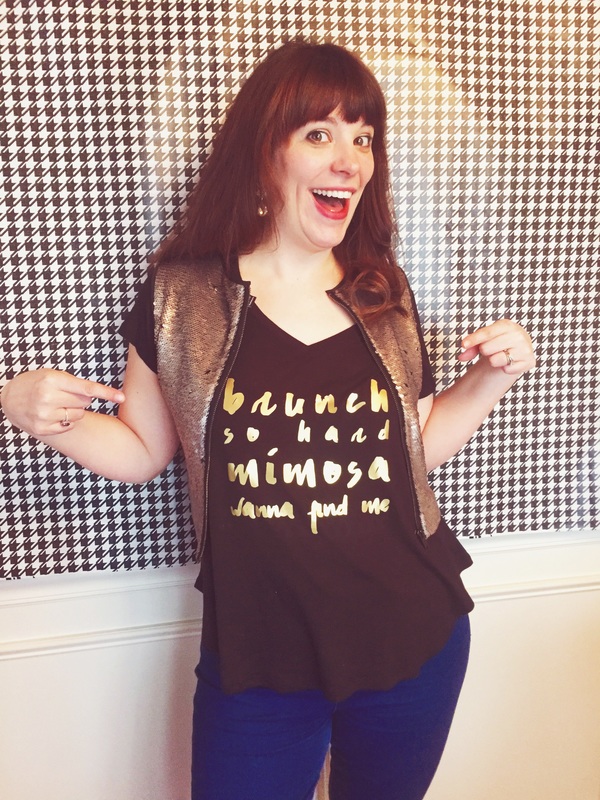
Again, I cannot stress how much fun this was. Also, I got a huge number of compliments on my outfit which made me think I should go for the basic girl aesthetic more often. I literally worked so hard putting the outfit together. I bought some very interesting plaid leggings from Walmart and borrowed a hat from my daughter but I guess it worked!

We've decided that next year we'll make an extra shirt and award it to the person we see out that we deem an honorary member of our basic crew if their vibe is what we were striving for. Now that I'm typing it it sounds mean-hearted but honestly, I'm too lazy to make this look work for me everyday. I spent forever putting the outfit together and, that hat may have looked good but it drove me crazy all day long. I don't know how other people do it.
1 Comment

Back to school craftiness

8/12/2019

0 Comments

 
Back to school is a crazy, busy time! I did manage to pull it together (by staying up until 1am) and craft custom t-shirts for my crew's first day back as well as gifts for my teacher peeps! Check it out!
Picture
I used my silhouette machine to make stencils for the tshirts. I used the same stencil for all of the shirts but took out the middle and added the different grades. I love making stencils because I can reuse them unlike vinyl which is definitely a time saver. Once the stencil is made you just need the tshirt, (I get mine from Wal-Mart and Target), and acrylic paint in your choice of color.
Picture
Picture
I used the same stencil technique for my teacher bags. One stencil made ALL of the bags! I grabbed the totes at Wal-Mart for 3 for $6. Many of my friends were trying to improve their health and weight so I honored their efforts and made low carb chocolate zucchinni muffins. They were AMAZING and no one could believe they were diet friendly! I paired that with a low calorie frap and voila! Adorable gifts to let my friends know I care!
Picture
Picture
Picture
I lucked out and got a huge furniture upgrade for my room this year which called for a total re-do on decor. So, I made a bitmoji door greeting, used my silhouette to create a custom door sign and "hola" greeting, added curtains and many more things to make my room it's best version of itself. I love my new class and am definitely ready to kick-off the greatest school year ever!
0 Comments

The Greatest Showman Halloween Costumes 2018

11/8/2018

0 Comments

 
Picture
This year we went as characters from the movie The Greatest Showman. I was the bearded lady, Derek was the ringmaster, Lillian was the acrobat, Arthur was the strong man and Alan was the small man dressed as Napoleon. I feel like our costumes turned out great and you can read on to see how I pulled it all together!
Picture
The ringmaster costume was easy. Derek already has a top hat and cane as well as black pants and boots and a white shirt so, I just ordered him a jacket from Amazon. It looked great and was cheap. Done.
Picture
Picture
My costume was also relatively easy. I thought I would luck out and find a cheap prom dress at Goodwill but that did not work out and I ended up buying a cheap dress on Amazon along with a taffeta underskirt. I already had some flowers for my hair. For the beard, I researched how to apply a fake beard which is surprisingly easy. You can see the video I used here. All I needed was fake hair and spirit gum. Done.
Picture
Picture
The strong man costume was also pretty quick and easy. I did take a few liberties and went with a more traditional strong man costume, omitting the tattoos because it seemed like a lot of work and I was not feeling it. I purchased his muscle suit, red shorts, and inflatable bar bell on Amazon, drew a mustache on his face with some waterproof eyeliner, slicked his hair back and done. Yes...I know his shoes are on the wrong feet. We are working on that. He just likes them that way. lol.
Picture
The acrobat costume took a bit more work. I ordered a leotard, cape and pink wig on Amazon but the cape and leotard needed to be embellished. I went to Hobby Lobby and purchased some gold trim and purple ruffle material and hand sewed them onto the leg holes of the leotard and the neckline. I also glued on gems onto the mesh portion of the neckline. I added the gold to the edge of the cape as well but got lazy there and just hot glued it. I gave her a little bit of pretty makeup and pulled the hair back after attaching it to her head and done.
Picture
Picture
The Napoleon costume took the most effort. I had to make it entirely from scratch but, it also turned out to be the most awesome one in my opinion. I used a Martha Stewart tutorial as my guide but did make some changes to the steps. I purchased a navy blue long sleeved shirt and cut it down the middle creating a curved edge on both sides. Then, I glued bias tape to the cut edge on both sides. After that, I cut out red felt with angled edges, double layered it and then hot glued it to the neck of the cut shirt. Then, I hot glued little gold buttons on both sides of the cut shirt. To finish off the jacket, I took navy blue felt and created epaulets to which I added some gold fringe and then hot glued those to the shoulders of the shirt. Finally, I followed the Martha Stewart tutorial exactly for the hat using black felt, hot glue and gold trim. I put him in blue pants with blue rain boots and a white button up shirt to finish it off. I did not modify the white shirt because I felt like it was unnecessary and would ruin the shirt for future use.
Picture
I was super happy with how all of our costumes turned out this year! I hope you had a great Halloween too!
Picture
Picture
Picture
Picture
0 Comments

Girls Weekend Goody bags

9/5/2018

0 Comments

 
Picture
Sorry for the delay in posts recently! School started back and I've been busy juggling the myriad things at work along with dealing with the kids and general everyday stuff. So, yeah...

Right before school started back, I had a blast on a girls weekend getaway and I just had to shower my girls with some fun swag. So, I made girls trip goody bags full of fun stuff. 
In the bag:
- custom diy t-shirt
- snacks
- lip balm
- custom bracelets
- custom cups
- sequin clutches
Picture
Picture
Picture
For the shirts, I found some cute tanks at Old Navy on sale for only $3 each. Then, I made a stencil using my silhouette machine and used white paint to paint the shirts.

​For the bracelets, I used embroidery thread, seed beads and sterling silver findings along with plastic letter beads in gold and silver and created a trio for each girl with their name, a simple friendship bracelet and a f*** it bracelet.
Picture
Picture
I used my silhouette machine again for the cups, which I found for $2 each on clearance at HomeGoods. I was going to paint them with stencils too but that didn't work and I ended up ruining one of the cups with that adventure.

To finish out the bag I hit the Dollar Tree hard and grabbed snacks as well as the adorable flip sequin bags! Total score! Which worked out great for my friends since several hadn't remembered to bring a clutch for our night out. 

The bags took a bit of time but not too terribly long and at under $6 each were definitely economical. We all had a great time on a short, nearby trip to Memphis and stayed at the Graceland Guesthouse which, by the way, I totally recommend! It was super swanky and exactly what we needed to get away from it all and chill poolside! It was definitely a fun-filled weekend!
Picture
Picture
Picture
0 Comments

diy kentucky derby hat

5/9/2017

0 Comments

 
DIY Kentucky Derby Hat
Last weekend I was invited to attend a fundraiser for Arkansas Children's Hospital that was Kentucky Derby themed. Being the crazy person I am and not knowing anything about the Kentucky Derby (or horse races for that matter), I of course hit the internet hard learning about the event. In my research I discovered that the hats are one of the biggest deals at the derby. Each year women show up with crazier and crazier hats with the goal of begin the most outrageous but in a still attractive and super bourgeois kind of style. It's all about the hat.
Picture
So, I decided to go all in on my hat and set about deciding what kind I would be wearing. I chose to go with a floral theme in hot pink tones and headed for Hobby Lobby. Still not quite sure about how I would be making the hat, I rolled up and down the isles looking for inspiration. I ended up picking the week that the floral stems were not 50% off so that was pretty unfortunate as all the flowers I liked were a bit on the pricey end. My goal was to spend no more than $25 and hopefully less.

I ended up on the wedding aisle and discovered a good bit of it was marked 50% off including some pearl sprays, feather sticks, and fun, hot pink baubles.  I also found the floral sprays that are only $1 - $3 each meant for bouquets. I selected my flowers from these. They were the perfect length and there were plenty of varying types and sizes to give my hat some real pizzazz. 
After leaving the bridal aisle with a much more concrete plan in mind I then grabbed a roll of pink glitter tulle. Still not sure about how to form a base for my hat I hit the craft foam and felt aisle in search of something that might work when I found a blank dolls hat made from the very material that derby hats are made from, sinamay! It would make for a perfect base but, it was a boring tan color. So, I headed to the paint aisle and grabbed a bottle of hot pink acrylic paint. Knowing I already had felt and a pink headband at home I headed to the checkout ready to get started! The best part is I only spent $23!! And, that was without the floral items being on sale! 
Picture
Picture
Picture
Picture
Picture
When I arrived home, I first painted the hat. It took a matter of minutes and the boring tan became a vibrant pink. After letting it dry, I began to play around with placement of the items on my hat. I also had to snip the flowers off of the stems to be able to do this. I also made some gathered tulle pieces by cutting a strip of tulle and bunching it in the middle and then stapling it in the center. If you look online there's a much nicer (and more time consuming) way of accomplishing this but, it requires sewing and I try to avoid that all costs. This worked just fine. Once I had a good idea of placement, I began to adhere the largest pieces first as a base to work from. I added the details as I went to make it balanced. To add the wired details I simply poked them through the hat and twisted them together underneath to be sure they didn't budge. 

After getting it all glued (I used hot glue) and wired on. I stuffed the hat with pink napkins I happened to already have. You could stuff it with whatever you like. Then I cut a circle of hot pink felt and glued it over the hat base. After that, I glued my headband to the felt circle and cut an identical circle, snipping two slits in it for the headband ends to pass through. Then I slid the second circle over the headband and glued it down as well. 

Overall, I probably spent about an hour on this project but, it was really worth it! At the party, every woman I spoke with said they loved my hat and several said it was their favorite at the event. I had a great time making and wearing it and I encourage you to get crafty and make your own if you ever attend a party where such a hat is encouraged!
Picture
Picture
Picture
Picture
0 Comments

custom tshirts with freezer paper stencils

4/24/2017

0 Comments

 
I've become disillusioned with vinyl t-shirt creating. No matter what I do, they never look as good as I imagine they will. They take a lot of effort and don't end up costing much less than if I'd just purchased it already made. So, when I decided to create some shirts for Earth Day I went with a new method: Freezer Paper Stencils! And, let me tell you, I AM IN LOVE! Why do you ask? Well, it was cheaper, faster and way, way, way easier! Let me tell you all about it!
Learn how to make awesome and professional looking t-shirts using paint and freezer paper!
You will need:
- freezer paper (You cannot sub wax paper. Freezer paper is only waxed on one side unlike wax paper.)
- scissors
- exacto blade and/or cutting machine (I used my silhouette machine but, technically you could get extra artsy and use a cutting tool and free hand it. I would never dedicate that time but, to each his own.)
- acrylic paint colors of your choice
- paint brush
- iron
- pre-washed t-shirt

1. Design your stencil. I used my silhouette machine and designed the shirts using it's software. You could design it on a piece of paper or in powerpoint, print it out, and then trace over your design on the wax paper to cut it out.
2. Send your design through the machine. Place the freezer paper shiny side down on your cutting mat. The settings will depend on how detailed your design is and how sharp your blade is but for me, the settings that worked best were: 
         blade: 1
         thickness: 4
         speed: 3
            I did modify for different designs by changing the thickness or speed one or two depending. But, the blade remained at 1.
3. Weed your design and make adjustments if necessary. There were a few times where it didn't cut quite right and I ended up modifying it with scissors. You couldn't even tell when it was all done so don't stress if it's not perfect. 
4. Position your paper on your shirt and apply heat with the iron. This creates a seal on the shirt with the waxy side of the paper but is easily removed with no damage making it great for painting!
5. Paint with desired colors using a paint dobber brush. I really liked the weathered look that was created by using just enough paint and not applying it evenly to all letters. I think it made the shirts look more professionally created. So, imperfection is rewarded here. Don't overdo the paint and don't stress that some letters get more than others. Yay!
6. Allow to dry.
7. Remove freezer paper stencil.
Picture
Picture
Picture
Picture
Picture
Picture
Picture
I couldn't be more pleased with how my shirts turned out and after washing they look as good or even better! I'm excited to make a ton more and am so glad that I don't have to mess with the frustration or cost of vinyl anymore! I hope you're inspired by this post and if you like my shirts you can download the silhouette files below! 
bees.studio3
File Size: 162 kb
File Type: studio3
Download File

magicscience.studio3
File Size: 172 kb
File Type: studio3
Download File

respectearth.studio3
File Size: 104 kb
File Type: studio3
Download File

yallneedscience.studio3
File Size: 115 kb
File Type: studio3
Download File

zygote.studio3
File Size: 220 kb
File Type: studio3
Download File

0 Comments

Getting ready for number 3

10/13/2016

0 Comments

 
I am almost 39 weeks pregnant and could have my baby any day. So, I've been finishing up with the few things that needed to be done. Since we aren't finding out the gender until the baby is born the number of things on my to-do list is not much. I washed the one load of laundry I had, stocked my changing station with diapers and wipes, pulled out a few baby items from my previous two kids that might come in handy and set-up my new halo bassinet which I am super excited about.

With my other pregnancies, I decorated the nursery and had an entire wardrobe plus made a few other personalized items for the new baby. However, not knowing the gender really puts a wrench in that plan. The one thing I have managed to do is create two different going home outfits using a few clothing items from Old Navy, a headband from Hobby Lobby, a hat from my son when he was a newborn and my silhouette machine. 

I designed the silhouette cut myself and chose gold glitter for the girl and navy for the boy. I think the outfits turned out pretty adorable and make me feel like I did SOME special preparation for this child.
Picture
Picture
Picture
I also made big brother and big sister shirts for my other kids that kind of match. So, my daughter has a glitter gold vinyl on a white shirt and my son has a navy vinyl on a baseball tee. I also created big sister and big brother goody bags that include a few gifts, activities and snacks to keep them entertained.
Picture
Picture
Picture
For my son, who's 2.5, I got a boy baby stella doll with a magnetic pacifier and threw in a few other toys we already had for pretend play with a doll. When my son was born my daughter also received a new baby doll and care items so she could pretend to take care of the baby. I think my son will really enjoy it and it is his first baby doll. I also got him a crayola color wonder activity set and a color blast set so he can be creative without coloring everything around him. He's a bit messy. I also got him his first backpack to carry all of his swag. He's a major dinosaur fan so I felt like the dino backpack was appropriate. He is also getting a book about being a big brother. I got the same book for my daughter about being a big sister when Arthur was born. I finished off the bag with some of his favorite snacks and treats.
Picture
Picture
Picture
My daughter's bag was a bit more difficult because she has already gone through this once. But, I managed to find her an adorable book about being a big sister that is geared for a slightly older crowd called "How to be a Baby by Me the Big Sister". It's adorable and perfect for her bossy big sister personality. I also got her two "It's Fun to Draw..." books. She already has one of this series and loves it! To help her with the drawing I got her a set of glitter gel pens. I don't know about you but when I was a little girl these things were all the rage and coveted by any girl who had them. I hope she'll like them as much as I did. Since she didn't need another baby doll I decided to go with another craft project and chose a jewelry making kit. This one has a bunch of different beads including alphabet beads so, she can make a big sister bracelet if she wants. It's definitely something have fun with and will keep her entertained for a good long while. I finished off her bag with a small monogram necklace I picked up at Hobby Lobby, her Leap Pad and games and a few of her favorite snacks. I put them all in the same bag she received when Arthur was born which I custom ordered from Etsy. 
Even though I know  big brother and sister bags are not necessary I feel like letting them know that I am thinking about them and making them feel special is important with such a big life-changing event. Plus, it makes my in-laws lives a bit easier since both kids will have new toys, snacks and activities to keep them entertained while they wait. When I had Arthur I was in labor for 27 unmedicated hours. So...it could be a while.
0 Comments

A Productive Weekend Alone

4/6/2016

0 Comments

 
This past weekend my husband went on a camping trip with a bunch of friends and the kids stayed with their grandparents. This meant that I had an ENTIRE weekend all to myself. I can't remember the last time I was alone for that long and it was glorious! I was not only able to complete several projects that I've been dying to get to but, I also had plenty of time to veg out in front of the t.v., hang with a girlfriend and even hit the mall! 

The first project I tackled, after cleaning up a bit, was to put labels on my son's closet drawers and my daughters play area storage. I've had them created for awhile but just hadn't had the time to cut and apply them. Now, it is easy to find and put away his clothes and easy to clean up her toys. Plus it looks adorable! I used my silhouette machine to create and cut them. I've included the cut files below!
Picture
kidlabelsarthur.studio3
File Size: 612 kb
File Type: studio3
Download File

Picture
playkitchenlabels.studio3
File Size: 741 kb
File Type: studio3
Download File

Picture
I also used my silhouette cameo to create some decorative vinyl decals for my bathroom and vanity. I made  "get naked" for my glass shower door and "be awesome" for my vanity mirror. In addition to creating the vinyl decals I upgraded my vanity light to make it easier to apply my makeup in the mornings. Before I was using a lamp that cast odd shadows. I'm pretty excited about how bright it is now except I can see all of my facial flaws so that's a bit depressing. 
Picture
Picture
getnaked.studio3
File Size: 100 kb
File Type: studio3
Download File

beawesome.studio3
File Size: 86 kb
File Type: studio3
Download File

Sounds like enough right? Nope! I also made two pregnancy t-shirt decals and applied them AND created a decorative banner to place above Arthurs bed. I'm fixing his room up with a dinosaur theme so his knight themed mobile and king arthur wall decal had to go. I've also ordered him dinosaur bedding and hung two poster sized photographs of the amazingly fun images from the book "What the Dinosaurs Did Last Night: A very messy adventure". So, it's still a work in progress until the bedding arrives and I can change the curtains. I'll post about it when it's all finished so, ignore his mismatched crib bedding for now.
Picture
Picture
Picture
rawr_arthur_room_garland_1.studio3
File Size: 213 kb
File Type: studio3
Download File

rawr_arthur_room_garland_2.studio3
File Size: 81 kb
File Type: studio3
Download File

Picture
preggers.studio3
File Size: 135 kb
File Type: studio3
Download File

babymama.studio3
File Size: 77 kb
File Type: studio3
Download File

My final projects were to do a little gardening. Now that the weather is nice we'll be spending most of our afternoons outside and I needed some color to freshen up the somewhat dreary backyard. I always enjoy planting herbs and chose sage, cilantro and basil. I also purchased some bright turquoise pots for only $1.50 at Home Depot that are self-watering to plant them in. I planted some bright red flowers (I can't remember their name.) in a pedestal pot for my front porch as well as Lilly's flower garden. And also planted a purple flower in her garden since it's her favorite color. Her garden already had mint, lemon balm and strawberries that came back from last year so it looks nice and lively now. Finally, I purchased a new door mat for our front porch to brighten the space. Our old one had become faded and drab. 
Picture
Picture
Picture
Picture
It was so nice to have time alone. Of course I missed my husband and kids but, it was very cathartic to have only myself to answer to. Plus, finishing all of those projects will give me the ability to be more present with everyone since I don't have nearly as many things that I want to get done. Although, I'm sure I'll find some. I'm the kind of person who gets bored easily and is always looking for something fun and exciting to do or make. In fact, I didn't finish everything I wanted to get done. I still plan on painting a new piece of art for my staircase. My goal is to create something that looks like the picture below. I guess that will have to wait until next time! But, when I get around to it I'll share it with you!
Picture
0 Comments

Roar! - it's a dino party!

2/22/2016

0 Comments

 
Picture
My son just turned two and while he doesn't say much, one thing he loves to say is "ROAR"! So, it was only fitting that he have a dinosaur themed birthday party this year. I had a lot of fun preparing for this party and I hope you find some inspiration!
When guests arrived they saw gigantic dino footprints down our front sidewalk to our door. I had my brother draw them because he's a graphic designer and I figured he'd have fun with it. He did. He decided that he wanted to morph the dinosaur prints into tiny Arthur prints as they got closer to the door. It was stinking adorable.
Picture
Picture
I used my silhouette to create the Arthur banner (it slipped and went a little crooked in this photo. Oops) as well as the 3D pterodactyls. I used plastic dinosaurs to make the food items fun and created a cute menu using canva.com. The "dinosaur eggs" were supposed to look super cute and have colored outsides but, the peeling process was a disaster and many looked slightly ragged. They tasted good though.
Picture
Picture
Picture
Picture
Picture
Picture
Picture
Picture
I made the cake using this paleo coconut cake recipe. It was soooooo good! Everyone enjoyed it! i added toasted coconut to the top and slivered almonds around the sides to make it a little prettier. Then I added a dinosaur and a speech bubble that said "RAWR" for the dino. I think it turned out pretty great!
Picture
For fun, the kids had a dino fossil dig area and a cardboard "volcano" for pretend play. We were really lucky to have 60 degree weather in February so we had all of the fun in the backyard. The kids also had the opportunity to jump on the trampoline, swing and play in the playhouse. Once gifts were opened, they also had fun with some really cool chalk stencil sets that were gifted (My mother-in-law said she got them at Wal-Mart.).
Picture
Picture
Picture
Picture
I made the volcano with three cardboard boxes, brown craft paper, red streamers, a knife and some tape. I cut a big opening at the bottom of the biggest, center box and then folded the sides in on the smaller boxes but left them open on both ends to create tunnels. Then I taped all three boxes together and covered them with crinkled paper and streamers at the top. I taped the sign to the swing set which was in front of the volcano. The kids actually played quite a bit with it and it only cost about three dollars!
Picture
Picture
Picture
Picture
The dig site was a water table we already had filled with play sand and plaster of paris dino bones. I bought the molds from amazon and made the bones the night before. They popped out pretty easily and looked really great! Then I threw in a few sand tools like a shovel and a bucket and a few chunky paint brushes for dusting the fossils and taped a sign to the side. This was a big hit with everyone! 
Picture
Picture
Picture
I made all four of us adorable dino themed shirts too. Lilly had a girl walking a pet dinosaur in glitter, Arthur had a t-rex holding the number two and wearing a party hat, I had a shirt that said "RAWR" and Derek had a dinosir, a t-rex with a top hat, bow tie and monocle. I didn't manage to snap a pic of Derek with his shirt and Arthur was NOT into photos so these are the best I could do. I created all of them using my silhouette and iron-on vinyl.
Picture
Picture
Picture
Picture
We also had a photo booth area set up. I hung a plastic table cloth on the wall and provided a few props and a selfie-stick to encourage guests to take a pic. We got some pretty cute ones. I made the signs with my silhouette and craft. Threw in some feather boas, dino masks and a safari hat for good measure. The kids all got to take home goodie bags with mini dinosaurs, masks and a craft activity from amazon that was dinosaur themed.
Picture
Picture
Picture
Picture
Picture
Arthur had a good time and really enjoyed the watermelon and cake. The adults were able to visit because the kids were having so much fun and no one got hurt or threw up. I call it a success!
Picture
Picture
Oh, and when Arthur went to blow out the candle, he started as soon as it was lit...across the room. It was adorable to watch him blowing at the candle for the entirety of the Happy Birthday Song.
0 Comments

A Galentine's Day BEAUTY BRUNCH

2/16/2016

0 Comments

 
Galentine's Day brunch
We had a lovely time at the Galentine's day party even though several people had to miss it for last minute reasons (sick kid, no babysitter etc.) my friend Kila and I still had a blast hanging out and enjoying yummy food! I followed through with the plan I created in my first post and made whole30 approved recipes including bacon wrapped egg cups, fruit salad and chocolate mousse with the optional mimosa (I used sparkling water to stay whole30). It was all really good and my friend couldn't believe that it was all whole30 compliant! Let me tell you, those egg cups are amaze-balls! I actually ate four! 

I spent very little time creating the decorations but I think they definitely set the mood and were pretty. I copied the idea for a xoxo table cloth but used a $1 plastic table cloth and a sharpie instead of white fabric and paint. It was very thin so I laid it on top of a glittery cream colored fabric tablecloth I already own. I used my white dishes and simple champagne flutes and placed a fork on top of a red paper napkin at each setting. In the center of each plate a placed a nail polish with a cute tag that I created tied on with pink ribbon. In the center of the table I placed a bouquet of grocery store flowers in a clear vase and a sprinkling of pink and red glitter heart stickers from the dollar store as well as the remaining pink ribbon. I think it turned out very pretty and elegant. And it cost a grand total of $12 for decorations (the flowers were $10).
Picture
Picture
Picture
Picture
I also set up a photo area with the same wrapping paper I used for the Valentine's photo shoot with my kids. It's is just so versatile! I taped it to the wall width wise at waist height. Then I raided my daughter's room for feather boas and tiaras as well as her art easel for the sign. We took selfies with my hand dandy selfie stick! You can get them at most stores for about $5.
Picture
Picture
After eating, we did a foot bath and painted our nails. It was really nice to just relax and visit. We used my current favorite nail polish, Sally Hansen Miracle Gel, if you buff your nails and polish them well I've been able to get a full week with almost no chips out of one paint session. That includes doing dishes and actually functioning like a real person! (BTW, they aren't paying me to say this. I just really like it.) 
Picture
Picture
I also made this super cute shirt with my silhouette machine! Even though I didn't officially drink a mimosa, it had the right vibe. I bought the black shirt and sequin jacket at Forever21. (The "jacket" is actually a crop top with a zipper in the back. I just put it on backwards and voila! sequin jacket!) The "jacket" was on sale for less than $10! How could I turn that down?! You can download the free cut file for my shirt below!
Picture
brunchsohard.studio3
File Size: 235 kb
File Type: studio3
Download File

It was a very fun, very girly time and left both of us feeling refreshed and slightly pampered before heading back to the real world of dirty diapers, screaming kids, dirty laundry and sticky kisses.
0 Comments

Valentine's Day Shirts DIY

2/1/2016

0 Comments

 
Lilly and I got a little crafty this weekend and created some ADORABLE V-Day shirts! And, I'm giving you a FREE cut file so you can make one just like hers!
free valentine's day shirt cut file
I simply designed her shirt in Silhouette Studio using their text files and some free images from the web. Then I sent it to cut. I used black iron-on transfer material. After I cut the black, I copied the heart from "love" and pasted it into a new file. Then I sent it through the machine in gold iron-on transfer material. Once both were cut, I weeded the text and removed the black heart. Then I replaced it with the gold one. It was really easy because I could see the outline of the original one on the plastic. Then I ironed it onto the pink shirt I picked up at Wal-Mart! She had fun hitting the "load" and "unload" button as well as designing it with me so it was a win/win, cute shirt + time together!
vday shirt silhouette cut file
vday shirt cut file
vday shirt cut file
I made the other shirts for a friend and they took a little more manipulating. I created a file with x's and a separate file with o's. I sent the hearts through on the gold material and the hearts on the leopard material. Then I weeded them and cut the plastic material down to the edges of the transfer material. Then I laid them onto the shirt in the correct order and evenly centered them on the shirt. Pretty easy and a great result!
Picture
Grab the free cut file for the "L is for Love" shirt below. Happy crafting!
lisforlove.studio3
File Size: 131 kb
File Type: studio3
Download File

0 Comments

DIY Graphic Tee + FREE Cut File!

1/26/2016

0 Comments

 
I got crafty with the silhouette machine again! This time I cut this adorable graphic for a t-shirt. I think it's pretty great and you can make your very own! I grabbed my t-shirt at Wal-Mart for about 6 bucks and used black transfer vinyl. You can download the free file below. Enjoy!
teacher shirt cut file
teachervoice.studio3
File Size: 187 kb
File Type: studio3
Download File

0 Comments

DIY Hans Solo Costume - SUPER Easy!

11/3/2015

0 Comments

 
Picture
My husband decided he and Arthur would go as Chewbacca and Hans Solo for Halloween this year. I quickly came up with a very easy way of creating a tiny Hans Solo costume for very little money! 

Supplies:
- 1 white long-sleeved shirt (the size your child wears) (I got mine at Wal-Mart for $4)
- 1 black short-sleeved shirt (the size your child wears) (I got mine at Wal-Mart for $4)
- 1 pair blue cotton pants (I got mine on amazon in a pack of two for $8)
- 1 piece of red felt
- red thread and needle (or fabric glue if you want)
- black sharpie
- black boots (I used a pair of rain boots we already had and they were perfect. I got them from Wal-Mart.)
- pretend gun and holster set (also from Wal-Mart for $4.98)

Directions:
- cut a slit at the neck of the white shirt going down the center about 1 inch
- cut the sleeves off of the black shirt and cut a line all the way down the center to create a vest
- cut two thin strips of red felt that is the length of the pant
- add black lines down the lengths of the red felt
- sew (or glue if you don't care to make it permanent) the red felt strip down the side of each pant leg)
- top off the outfit with the gun and holster and a the rain boots
Picture
Picture
Picture
Honestly, he barely wore the gun and holster and the outfit was totally recognizable without it so, you don't really have to have it. :) If you like my Ursula outfit above be sure to check out that tutorial here. Also, Derek's Chewy costume was actually a onesie male pajama set from Target for only $24.99!
0 Comments

DIY Ursula Sea Witch Costume

11/3/2015

7 Comments

 
Picture
After making the Ariel costume for my daughter I attacked the Ursula costume for myself. It didn't take nearly as long as I expected and I'm pretty happy with the results!

DIY Ursula Costume Supplies:
- 2 black yard trash bags (They need to be quality trash bags that are nice and thick.)
- one roll bubble wrap (I got it at the dollar store.)
- one package of black elastic waist band (I used a thick elastic.)
- one black fitted dress
- one white wig or white hair paint and ALOT of gel
- one piece yellow craft foam
- one strand black ribbon
​- purple spray paint
​- a bunch of plastic disposable shopping bags (like walmart or target)
​- silver and black sharpie markers
- hole punch
​- stapler
- two rolls black tulle (I purchased the 1 ft. rolls at hobby lobby.)

For my costume I decided that purchasing a fitted black dress and adding tentacles to the base. I bought my dress direct from China but, it turned out to be exactly what I expected. You can find it here. Just make sure you get it in the right size based on measurements. Once the dress came in I measured how long to make the tulle on the waist band as well the length of the tentacles. I chose to sew the tentacle/tulle waist band in at the knee slit on the dress since Ursula is very fitted and then her tentacles blossom out of the bottom. 

Picture
Picture
Making the Tentacle/Tulle Elastic Band
Measure how much elastic you need for the location of your band. I chose to start mine at the slit in the dress I'm using so mine will be attached to the dress right about the knee. Cut the elastic to the size you need and hot glue or sew the two ends together.

Step One:
Take the bubble wrap outside and spray paint the bubble side with the purple spray paint. I found a shimmery purple and it looked awesome.
​Step Two:
While the bubble wrap dries begin your tentacles. Get the black trash bag and draw the shape of your tentacle on the black using a silver sharpie marker. Make sure that you draw it with a curve upwards at the end so that it will curve up from the floor when attached to the elastic. You will also need about 2 inches of extra space at the top of each tentacle to attach it to the waist band.

When you cut it you will have two identical sides (you know, 'cause it's a trash bag:), Turn the two sides around so the sharpie you used is not visible on the outside. (if you don't do this it actually looks ok and is not very noticeable, especially if you cut it out perfectly. Then glue the two pieces together along the entire outer edge leaving the top of the tentacle open for stuffing. Repeat 7 more times.

​Once all of your tentacles are cut and glued you can stuff! Begin stuffing your tentacles with the trash bags. Don't over stuff because the tentacles will get heavy. Just fill them enough to make it obvious what they are. You also do not need to stuff all the way to the top. In fact, don't. It'll be easier to attach to the waist band.

When stuffing you may find sections that did not get glued. You can fix them easily before or after stuffing.
Picture
Picture
Picture
​Step Three:
Apply the bubble wrap A.K.A. the suction cups! Cut out pieces of bubble wrap and lay them on the side of each tentacle. (I didn't want to spray another roll of bubble wrap so I only put bubble wrap on one side of each tentacle. If you wanted you could put more but I think it looks good without the extra work.) Hot glue the section of painted bubble wrap on each tentacle.
Picture
​Step Four:
Attach the tentacles to the elastic waistband you made at the beginning. Before attaching, stretch the waistband around the back of a chair like you would for making a tutu. Fold the 2 inches you left at the top of each tentacle over the top of the waist band and then staple. Attach them at even intervals around the entire waist band. 
Picture
​Step Five:
Add the tulle. Cut the tulle in the lengths that you decided were appropriate earlier. Then tie them to the waist band like you do when making a tutu. You can see how that is done here. Fill in between each tentacle evenly making the skirt full. 

You should now have a tentacle waist band! Now you just need to attach it to the bottom of your dress or, if you decided to wear it around your waist simply slide it on! I hand sewed mine to the bottom of my dress.
Picture
Making the Ursula Necklace:
Grab your yellow craft foam, black sharpie, hole punch and black ribbon. Cut out a shell shape. I free-handed it based on the picture of Ursula. Add detail with the sharpie. Punch a hole at the top of the "shell" and thread the ribbon through! Voila!
Finishing the Look:
I did my Ursula makeup following this tutorial. I also purchased purple body paint from here and it is perfect. It is actually made for clowns and does not rub off or flake! I applied it all over before applying the Ursula make-up. 

For my hair I purchased this wig and then hung it vertically while applying liquid spray starch, super strong hold hairspray and gel. Once it dried it worked out pretty well.
Picture
I hope you enjoyed my tutorial! Happy Halloween!
7 Comments

DIY Ariel Costume

10/28/2015

0 Comments

 
Picture
This year Lilly and I will have costumes with a matching theme and Derek and Arthur will too but we won't match as a family. I am going to be Ursula (check out that tutorial here) and Lilly will be Ariel. Derek will be Chewbacca and Arthur will be Hans Solo (check out that tutorial here). I am making everyone's costume but my husbands. He purchased a Chewbacca pajama onesie at Target and is planning on wearing that.

To make the Ariel costume (child sized) you will need:
- 1 yard stiff green broadcloth
- 1 yard iridescent blue-green chiffon
- one package of wide white elastic
- one tan bodysuit
- one piece of purple felt
- one small piece of iridescent  purple chiffon
- hot glue gun and glue
- purple thread and needle

I measured the length that I needed for the tail to touch the floor and then free-handed a mermaid tail on the green broadcloth. I cut out two of these tail shapes. Leave enough room at the top to fold over and place the elastic waist band inside.

After cutting out the tail shape, I cut out about a million fish scale shaped chiffon pieces. Then I hot glued the top portion of the scale to the tail shape. I glued them in horizontal rows until, slightly overlapping each other, I filled the tail. You may also have to trim them when they reach the edge and hang off.

Once I had covered both tails in scales, I folded over the top bit and hot glued it to make a pocket. Then I threaded the elastic through the hole and sewed the ends of the velcro together. This created a tail "skirt".

I ordered green fish scale leggings from Easy. If you're into sewing I'm sure you could find some fish scale fabric and make them yourself. I am not into sewing.

For the top, I purchased a tan bodysuit from Spirit of Halloween. Then I cut out a piece of purple felt in a bra shape, drew accent lines for the "shell" with a sharpie and used fabric glue to glue a piece of purple chiffon to the top. Then, using purple thread, I hand stitched the "bra" to the bodysuit.

To finish off the outfit I purchased a red Ariel wig. As a note, this wig is absolutely horrible! In the photo you can tell it is just terrible quality. Thanks Disney!  So, I'm going to give it the liquid fabric softener treatment to make it look better.

​
Picture
Picture
0 Comments
<<Previous
    Picture

    RSS Feed

    meet rachel

    Rachel is a mother of three, elementary Spanish teacher and part-time blogger who loves crafting, creating fun and engaging activities for her children and students and hanging with her friends and family. She blogs about what she's doing and her interests at any given time which vary. She's a little OCD and always looking for her next project. Her husband calls it, "focusing her crazy", but she just calls it fun. 

    Archives

    February 2022
    December 2021
    November 2021
    October 2021
    September 2021
    August 2021
    July 2021
    May 2021
    April 2021
    March 2021
    February 2021
    January 2021
    November 2020
    October 2020
    August 2020
    July 2020
    June 2020
    March 2020
    February 2020
    December 2019
    November 2019
    October 2019
    August 2019
    July 2019
    May 2019
    March 2019
    February 2019
    January 2019
    December 2018
    November 2018
    October 2018
    September 2018
    July 2018
    June 2018
    April 2018
    March 2018
    February 2018
    December 2017
    October 2017
    September 2017
    July 2017
    June 2017
    May 2017
    April 2017
    March 2017
    February 2017
    January 2017
    December 2016
    November 2016
    October 2016
    September 2016
    August 2016
    July 2016
    June 2016
    May 2016
    April 2016
    March 2016
    February 2016
    January 2016
    December 2015
    November 2015
    October 2015
    September 2015
    August 2015
    July 2015
    June 2015
    May 2015
    April 2015
    February 2015
    September 2014
    August 2014
    February 2013
    January 2013
    December 2012
    November 2012
    October 2012
    September 2012

    Categories

    All
    Baby
    Beauty
    Clothing
    Crafts
    Decor
    DIY
    DIY Gifts
    Dramatic Play
    Freebies
    Free Wallpapers
    Fun With Paint
    Holiday
    Inspire
    Kids
    Kid Snacks
    Mommy Camp
    My Thoughts
    Organize
    Parenting
    Party Time
    Photography
    Science Stuff
    Sensory Play
    Silhouette
    Toddlers
    Whole 30

    Picture
    Picture
    Mom Buzz Media
Proudly powered by Weebly