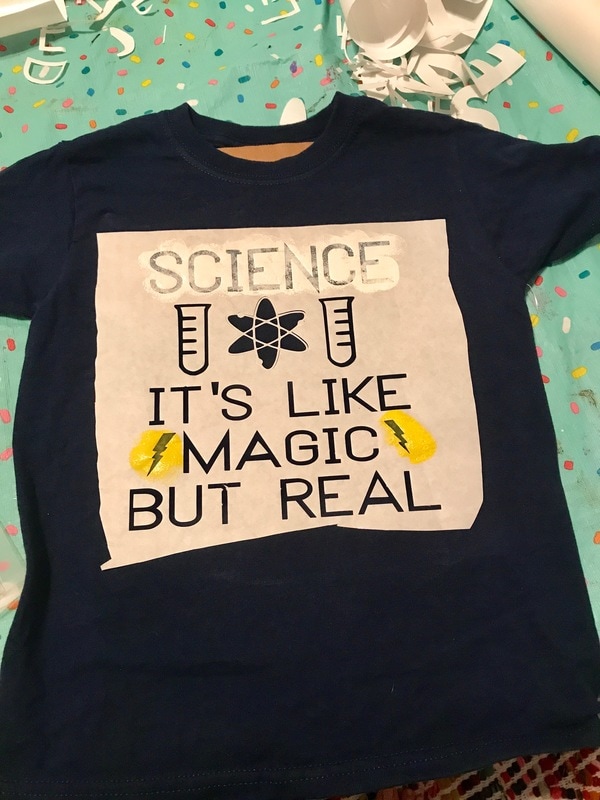
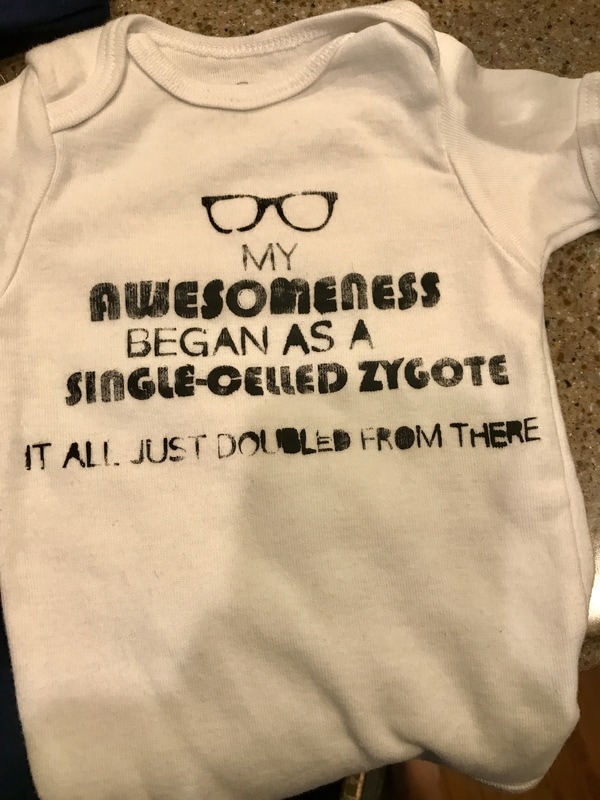
- freezer paper (You cannot sub wax paper. Freezer paper is only waxed on one side unlike wax paper.)
- scissors
- exacto blade and/or cutting machine (I used my silhouette machine but, technically you could get extra artsy and use a cutting tool and free hand it. I would never dedicate that time but, to each his own.)
- acrylic paint colors of your choice
- paint brush
- iron
- pre-washed t-shirt
1. Design your stencil. I used my silhouette machine and designed the shirts using it's software. You could design it on a piece of paper or in powerpoint, print it out, and then trace over your design on the wax paper to cut it out.
2. Send your design through the machine. Place the freezer paper shiny side down on your cutting mat. The settings will depend on how detailed your design is and how sharp your blade is but for me, the settings that worked best were:
blade: 1
thickness: 4
speed: 3
I did modify for different designs by changing the thickness or speed one or two depending. But, the blade remained at 1.
3. Weed your design and make adjustments if necessary. There were a few times where it didn't cut quite right and I ended up modifying it with scissors. You couldn't even tell when it was all done so don't stress if it's not perfect.
4. Position your paper on your shirt and apply heat with the iron. This creates a seal on the shirt with the waxy side of the paper but is easily removed with no damage making it great for painting!
5. Paint with desired colors using a paint dobber brush. I really liked the weathered look that was created by using just enough paint and not applying it evenly to all letters. I think it made the shirts look more professionally created. So, imperfection is rewarded here. Don't overdo the paint and don't stress that some letters get more than others. Yay!
6. Allow to dry.
7. Remove freezer paper stencil.
| bees.studio3 |
| magicscience.studio3 |
| respectearth.studio3 |
| yallneedscience.studio3 |
| zygote.studio3 |


 RSS Feed


