After our chat we ended up with a fun and varied list for me to utilize to create a summer of fun that everyone will be interested in doing. Additionally, it is a good time to make a switch with my kids getting older they are less interested in me providing them daily lesson activities for hours and would rather just do a few things a week that have more relevance for them. So, stay tuned for my newest summer Mommy Camp coming soon!
|
Over the years I have done so many different themes for Mommy Camp that when I sat down to ponder what my focus would be for this summer I couldn't really pick. So, I decided to have a sit down with my family and provide them the opportunity to pick things that they want to learn about and accomplish.
After our chat we ended up with a fun and varied list for me to utilize to create a summer of fun that everyone will be interested in doing. Additionally, it is a good time to make a switch with my kids getting older they are less interested in me providing them daily lesson activities for hours and would rather just do a few things a week that have more relevance for them. So, stay tuned for my newest summer Mommy Camp coming soon!
0 Comments
Have you heard the term, "multi-passionate individual"? A multi-passionate individual is defined as: An individual who excels at more than one interest and passion. I at the ripe old age of 37 have finally found a term that applies to me and provides some insight into myself that I was previous lacking.
When I was in high school everyone around me was talking about their future plans and what they wanted to be and I never really had an answer. I was interested in many things and choosing just one felt sad and depressing. What if I get bored in my chosen profession? What if I hate it after a few years? What if I make the wrong choice? When it came time to declare my major at college I went with International Business with a minor in Spanish. I thought that would give me a lot of different directions and I knew I liked the Spanish language. I figured that I would never be able to learn all there is to know about the language and culture so that would take care of the potential boredom part and the business seemed like something that would have some variety and a broad range of options. However, once I took a business class I realized that was not for me. Even though I received an A in the class I absolutely hated every minute of it. It was soooooo boring and didn't put my creative skills to use in a way that I thought would work for the long-term. So, I went back to the drawing board and actually visited the campus counseling center where I took an aptitude test and spent weeks going over the results with a counselor to decide my future. In the end, I kept the Spanish part and ditched the business side in favor of education. Now, I would like to state that for the entirety of my school career I had sworn up and down that I would never be a teacher because my Mom was a teacher and made it seem terrible. But, low and behold, that is what I went with. I will say that I don't regret that decision. I loved teaching and it served me well but with the current state of education in the U.S. it became an untenable situation for me. Teaching provided me with the opportunity to apply my multi-tiered skillset and enabled me to feel like I was contributing to the world and that I was of value. So, when I transitioned into the corporate world I had quite a shock when I realized that I was hired for a specific and very small portion of my skillset and to remove myself from the tiny box in which I had been placed would be a challenge. I also experienced an environment where my gifts were not recognized as valuable but instead as a threat to their job and status within the company. So, after almost one year at my new, big girl job. I am looking for a change. I realize now that I need a position that values all of the parts of me and wants to utilize all of my skills. This year has been the worst experience for my mental health and I recognize that my big personality and broad skillset is not for everyone but I am sure I will find somewhere that I feel valued for all I have to offer. To wrap up my little quasi-diary entry to the internet, I'm still here and plan on going back to my roots by exploring all of my interests again so you'll definitely be seeing some great new content soon. I just want to end this by saying that if you are also a multi-passionate, big and loud personality that you have so much to offer and you should never hide your light to fit in. Instead, you should venture off to find somewhere that accepts you for who you are and appreciates all that you have to offer. Life is too short to spend it second-guessing every action and holding back all of the wonderful things you have to offer just because others are threatened by you or don't understand you. You can only control your actions. I know that I enter all interactions with an open mind and heart and that I only ever have the best intentions. Wish me luck on my next adventure and on fully accepting who I am and what I have to offer and if this post resonates with you I'd love to hear from you and be a kind and listening ear if you want to talk. About 10 years ago I read an article or saw a post talking about how you could potentially get free things if you gave really great reviews on Amazon. I'm sure I was bored on summer break or maternity leave and decided it was worth a shot and diligently went through my purchases leaving well-worded, helpful reviews.
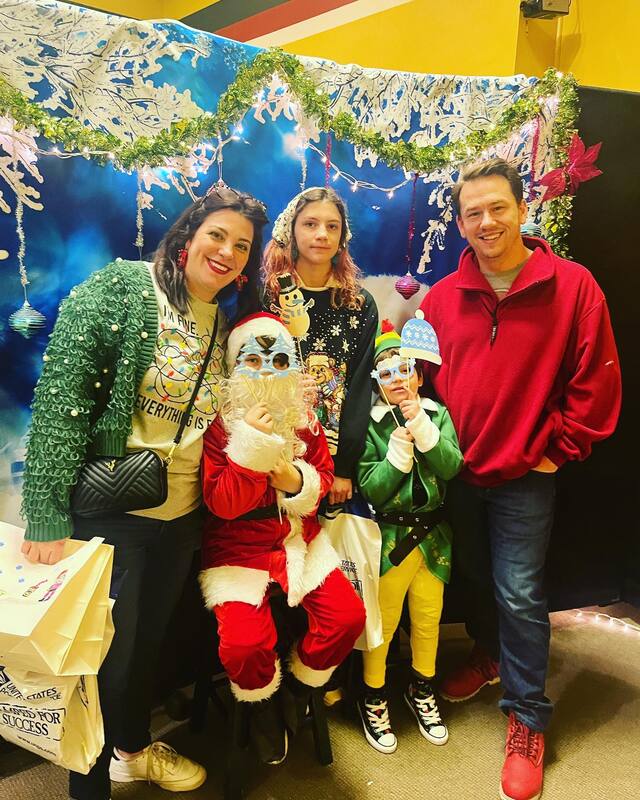
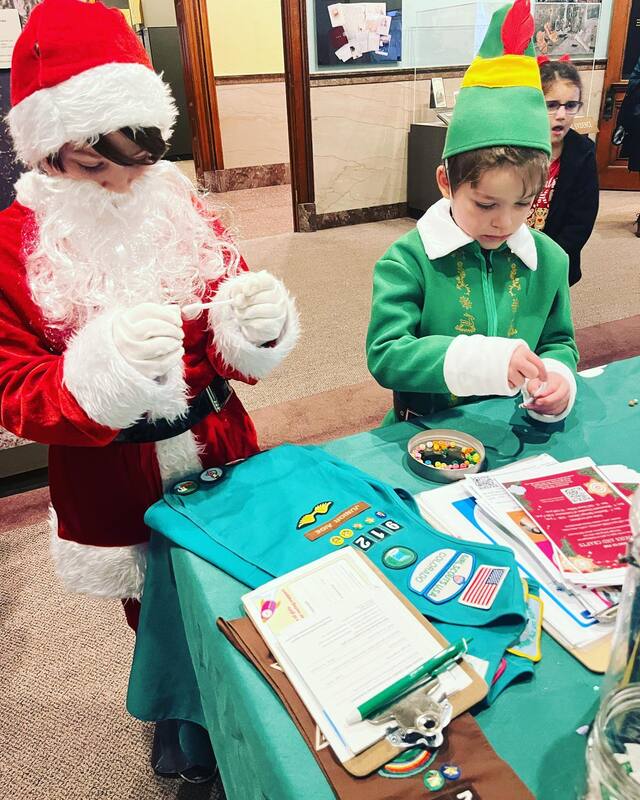
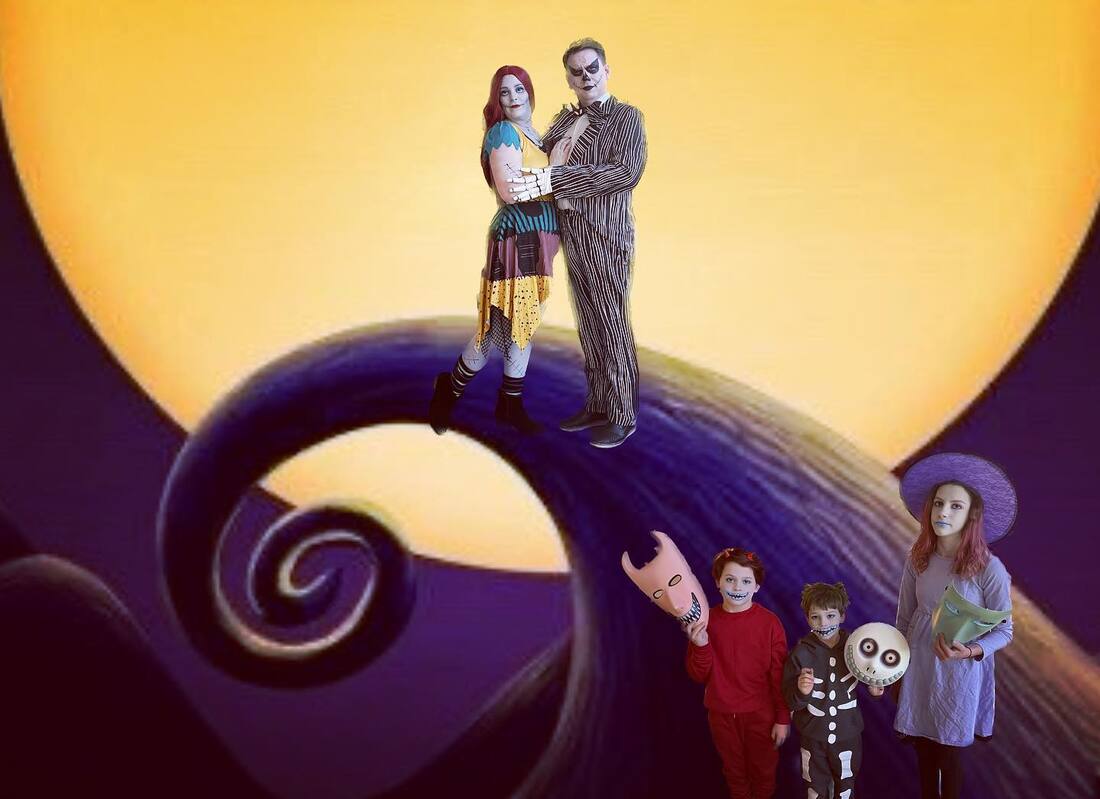
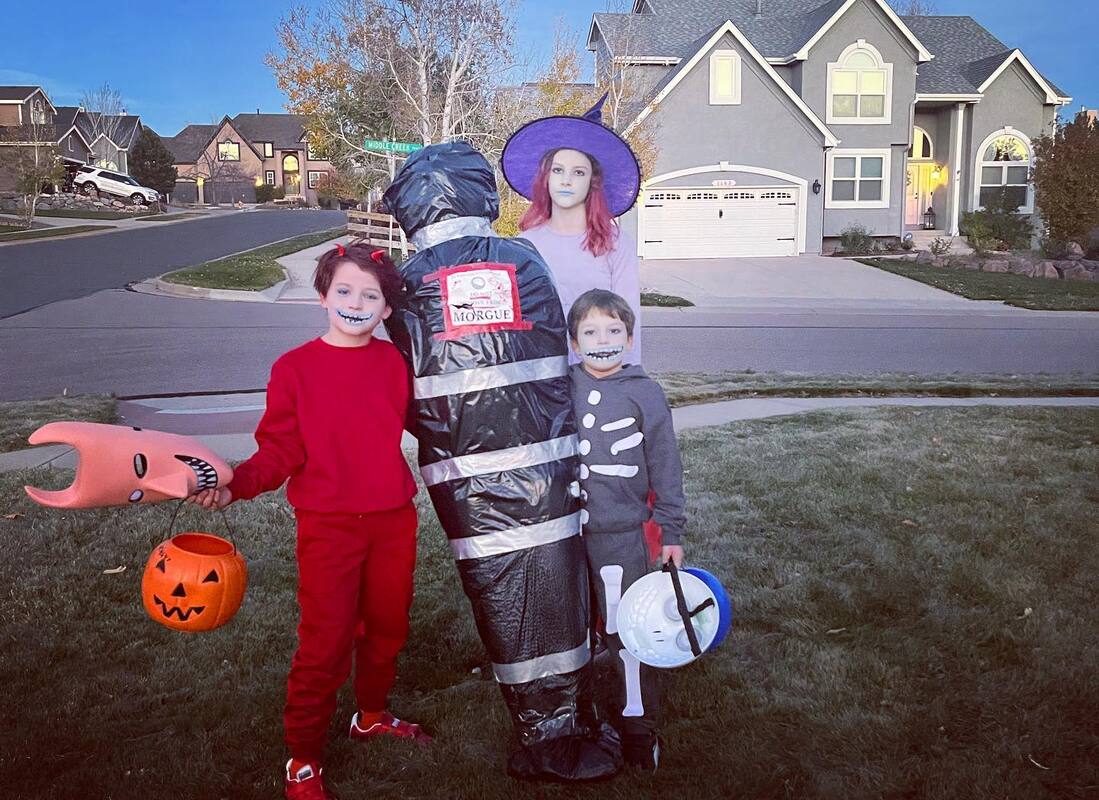
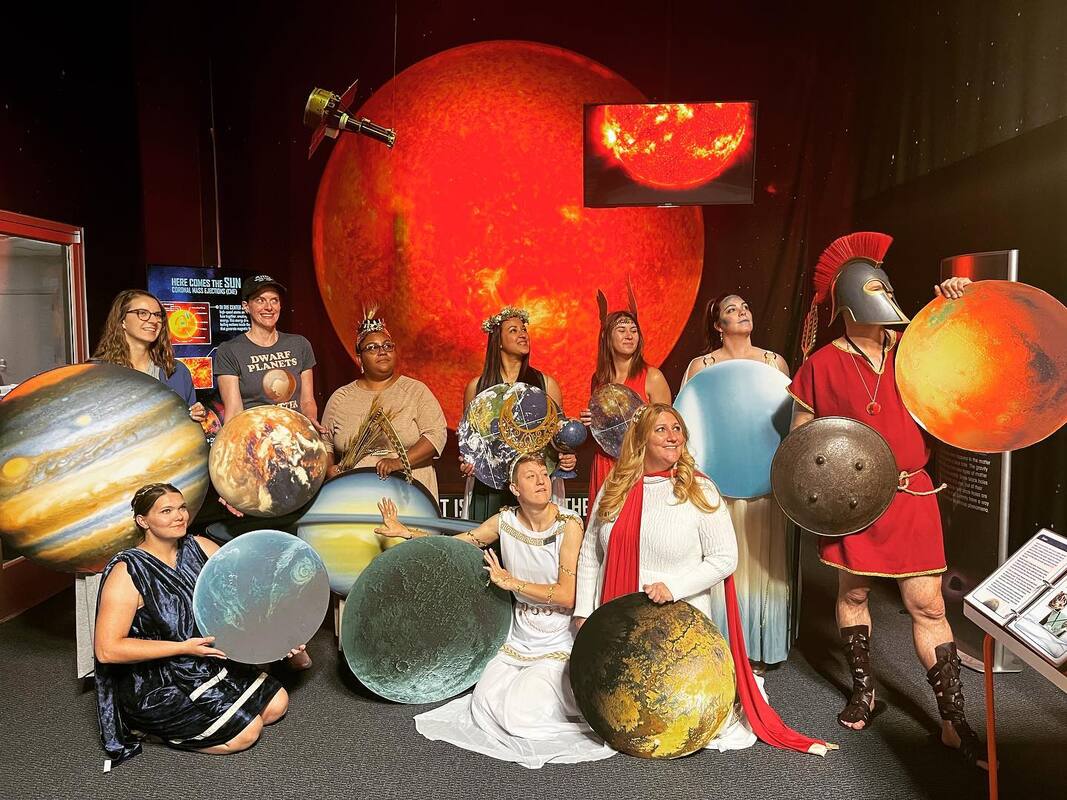
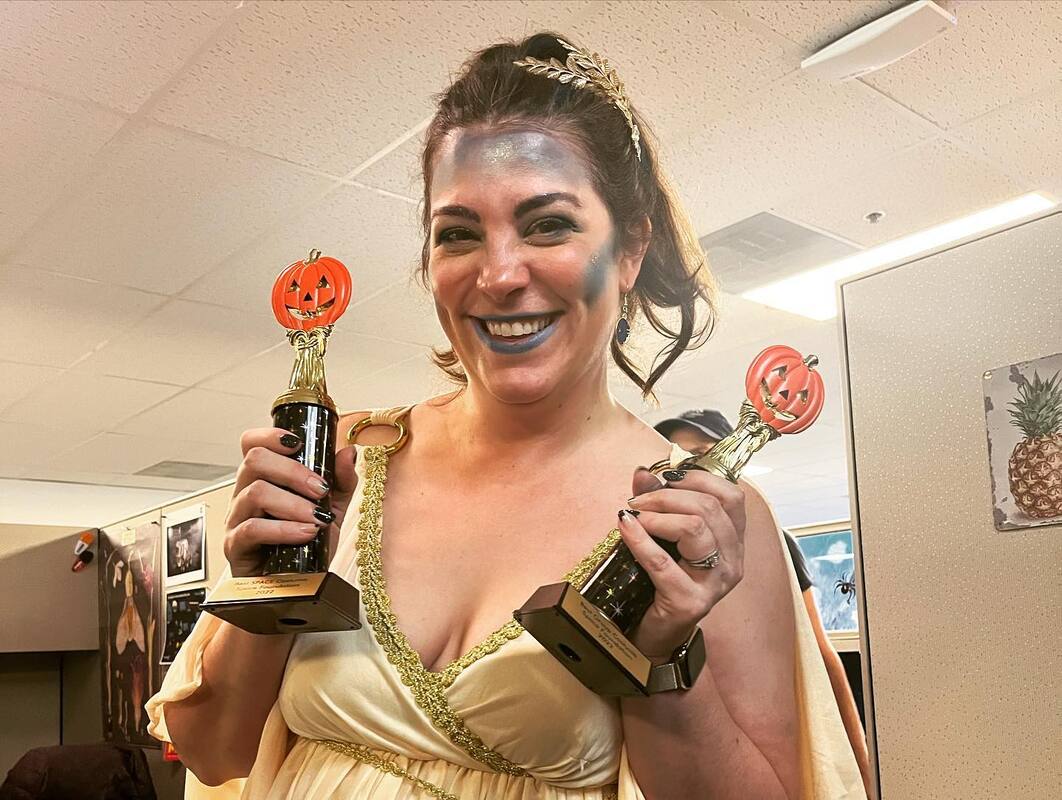
Well, fast-forward to now and I received an email inviting me to join the Amazon Vine program. It is invite only and I think it is based on how many helpful reviews you have written. Apparently, I have had more than 20,000 people rate my reviews as helpful! So, now I get to select three FREE things PER DAY to receive for free as long as I post an honest review of them! Let me tell you, this has been so fun and the timing has been perfect. I've gotten so many things that i intend to give as gifts and it's like a mini shopping spree every day. Long story short, I encourage everyone to review their Amazon purchases and maybe you'll get an invite to join too! Also, the items aren't garbage items. So far I've gotten an oil diffuser, record player, cervical support pillow, toy train, hydroponic system, kids electronic watch, clothes, jewelry, handbags, organization items and more. It is legit. Here's a pic of my boys wearing their free via Vine Santa and Elf costumes that I would never have purchased but definitely don't regret getting for free! Each year we put together a family costume and this year is no different! We decided to go as characters from The Nightmare Before Christmas and we were all super excited about how they turned out. I only had to make one costume which was my youngest sons costume because I was unable to find a gray skeleton outfit. So, I bought a gray sweatsuit and made bones out of sticky felt. It was easy peasy! Other than donning our costumes we only had to do a little face painting to bring the idea to fruition. The coolest thing about the kids costumes was that they were double! The characters have spooky faces but also wear masks for their costumes so my kids had masks but underneath also had spooky facepaint. It worked out great! At work we had a costume contest and since I still work with a bunch of educators we went all in! I proposed the idea of going as the solar system because we had the perfect number. In addition to the solar system we also went as the Roman gods that each planet was named for! We were excited to win the best team costume and best space themed costume so our hard work was definitely rewarded with bragging rights.
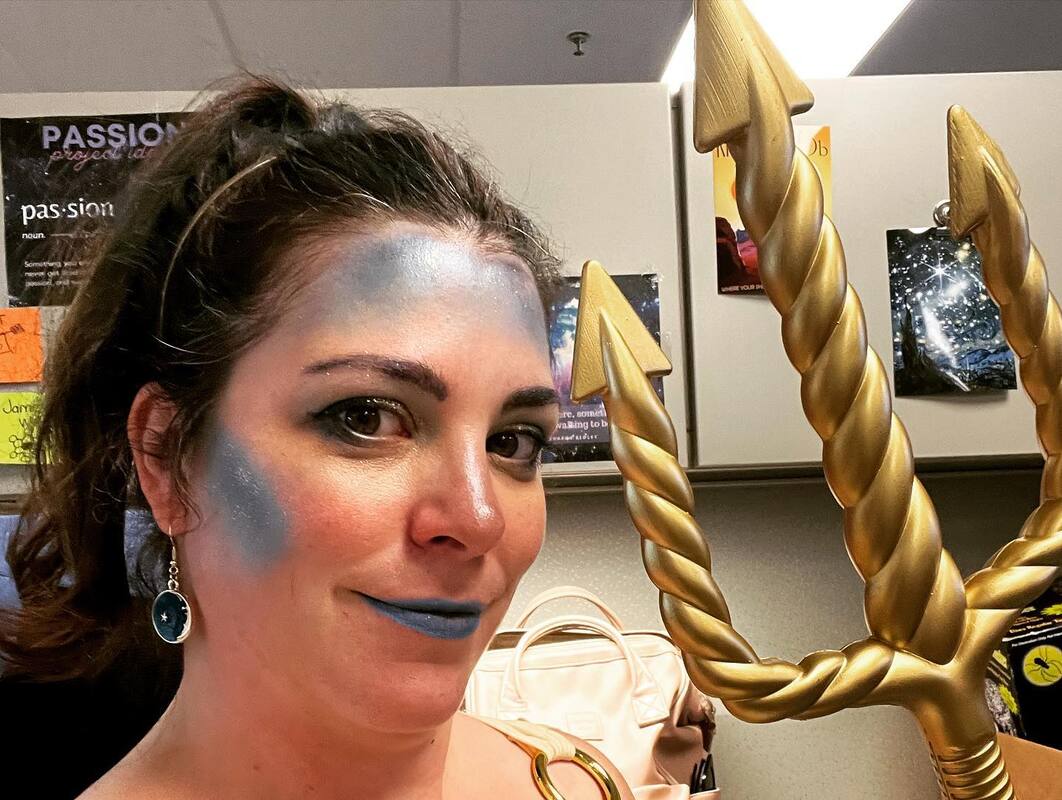
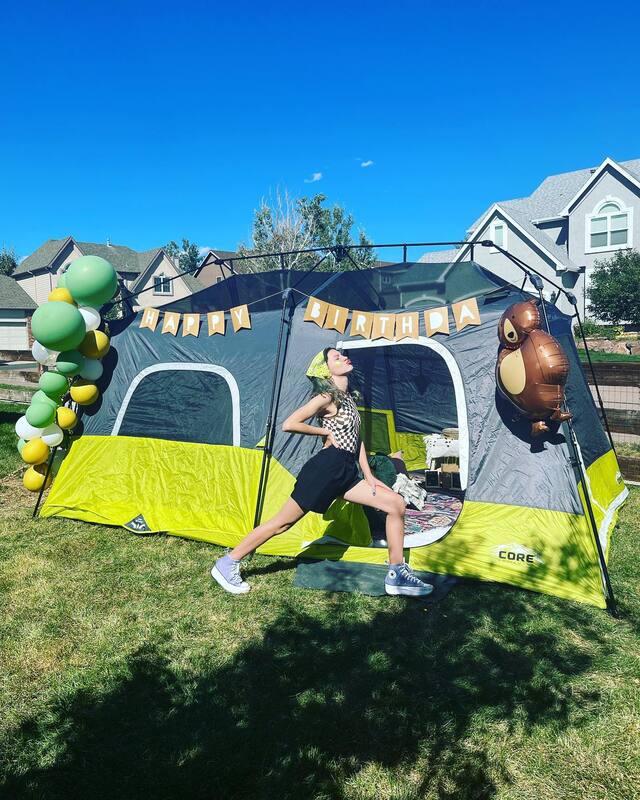
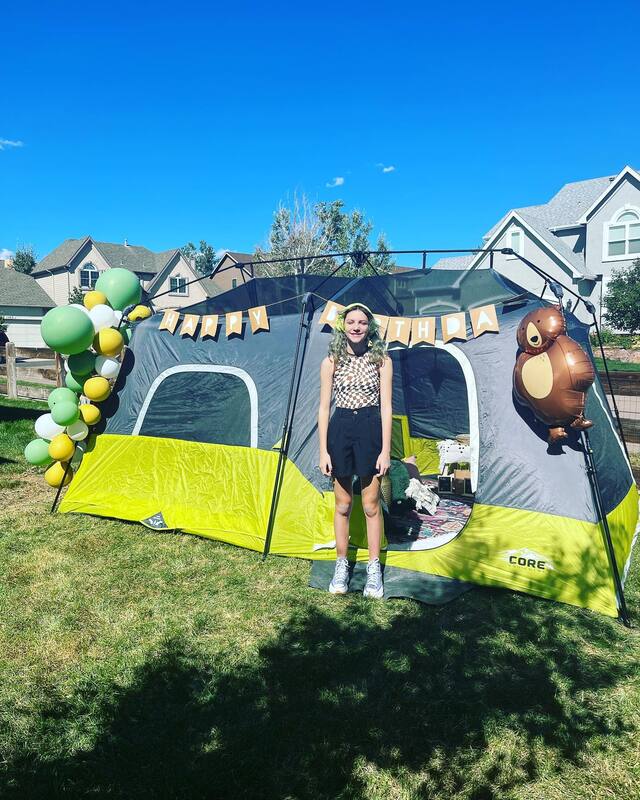
The planets were rescued from the trash of our warehouse cleanout and everyone put together their own costume. I was lucky enough to find the perfect dress at Goodwill and then added some fun makeup and a trident because I was Neptune which is named after the Roman god of water. My daughter is finally at the age where she just wants to have a few friends over to celebrate her birthday. This year she went with a glamping party in the backyard. We set up our tent and decked the inside out with rugs, an air mattress, tons of pillows, blankets and snacks as well as a projector and screen. Guests recieved a goodie bag with a compass, lantern and glow stick jewlery. We had s'mores and grilled out and then she wanted to watch her first scary movie. She went with the new IT film and I am happy to say, no one got too scared or had to come inside. It was a fun evening and I wouldn't be surprised if this is the new norm for her birthday parties.
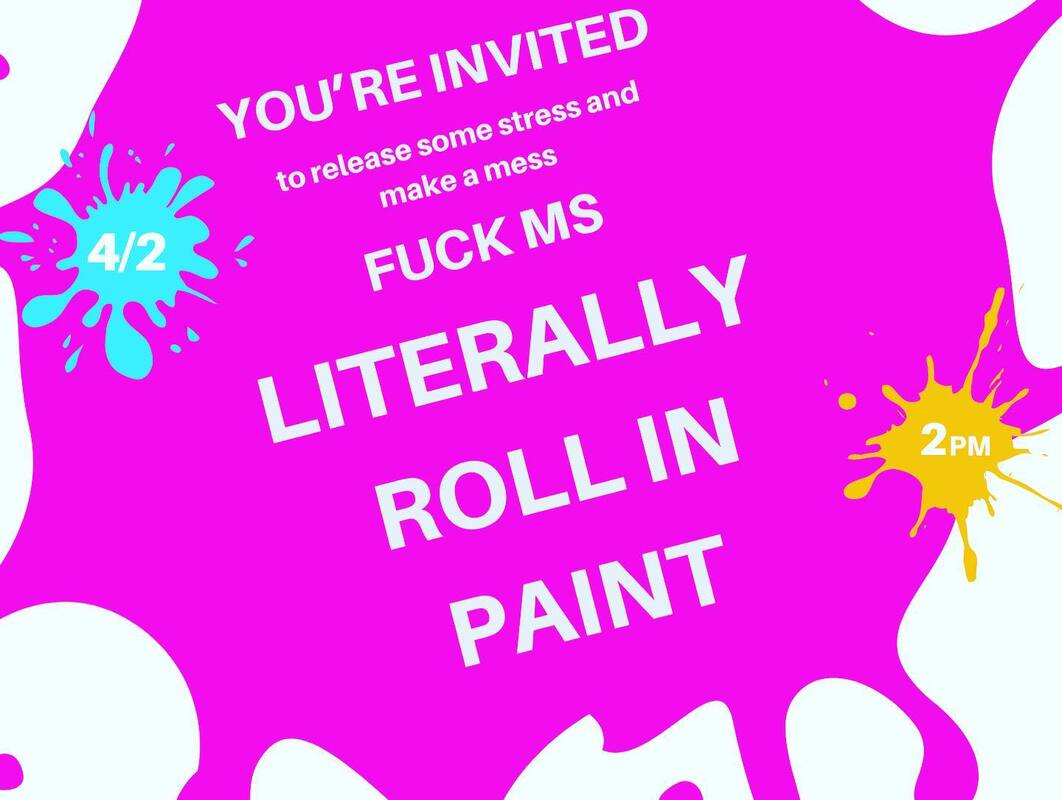
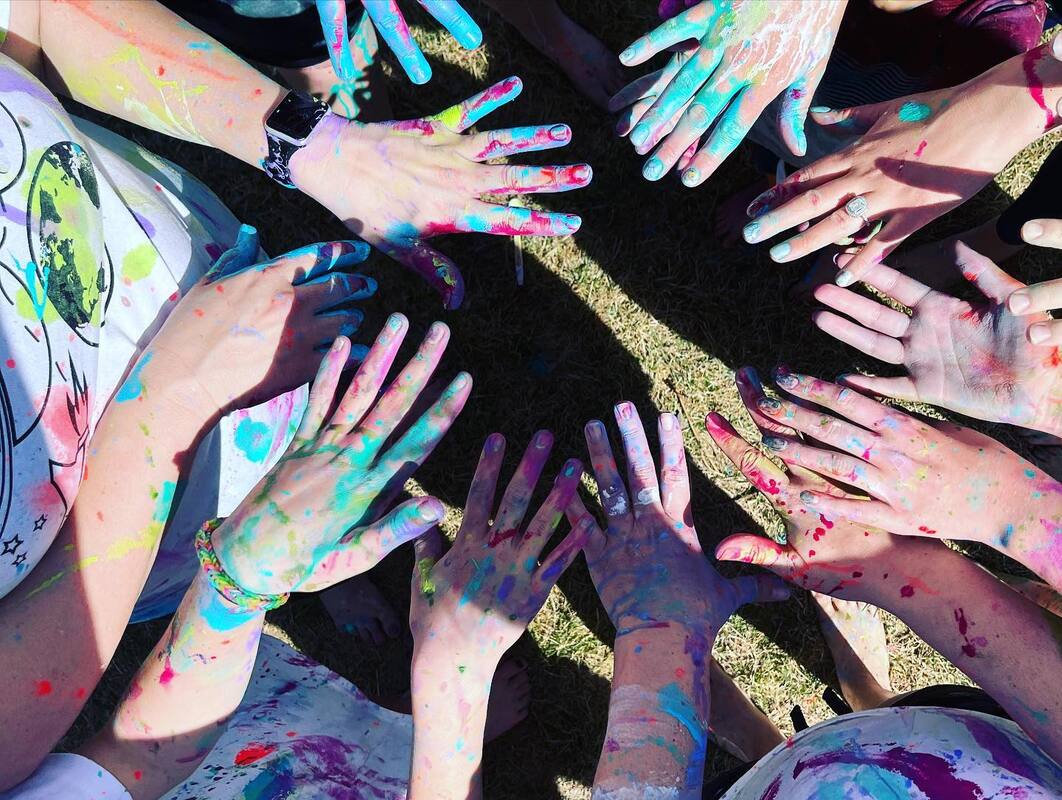
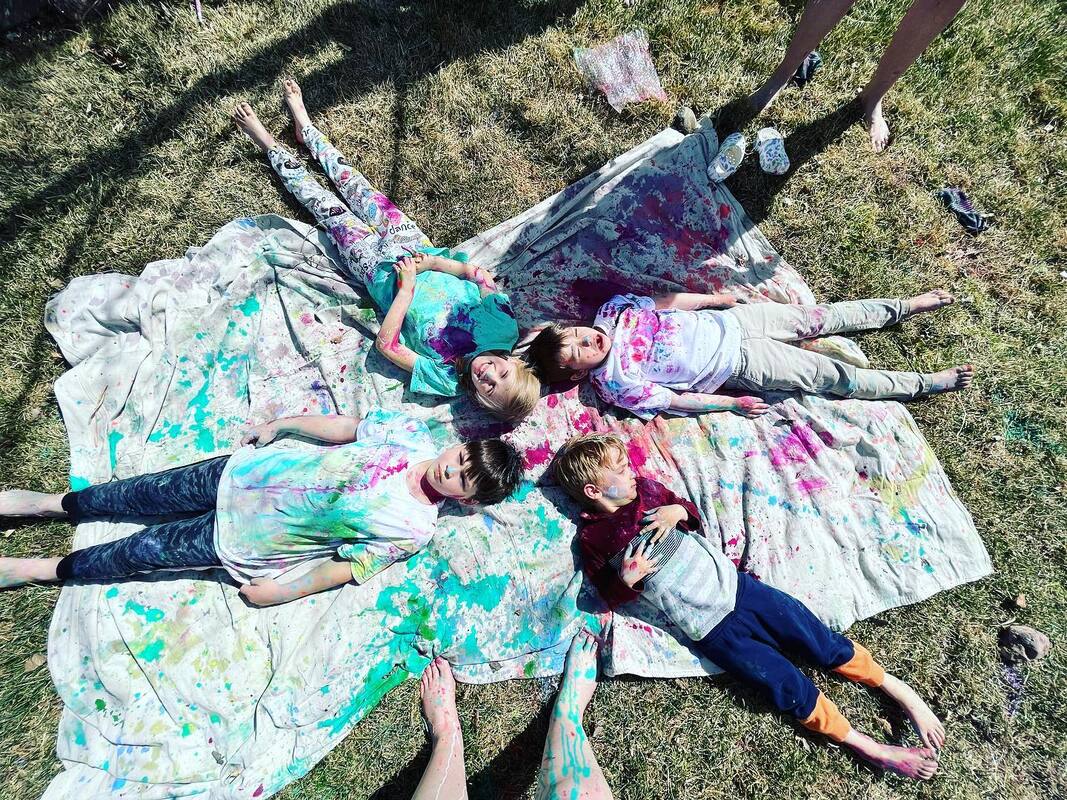
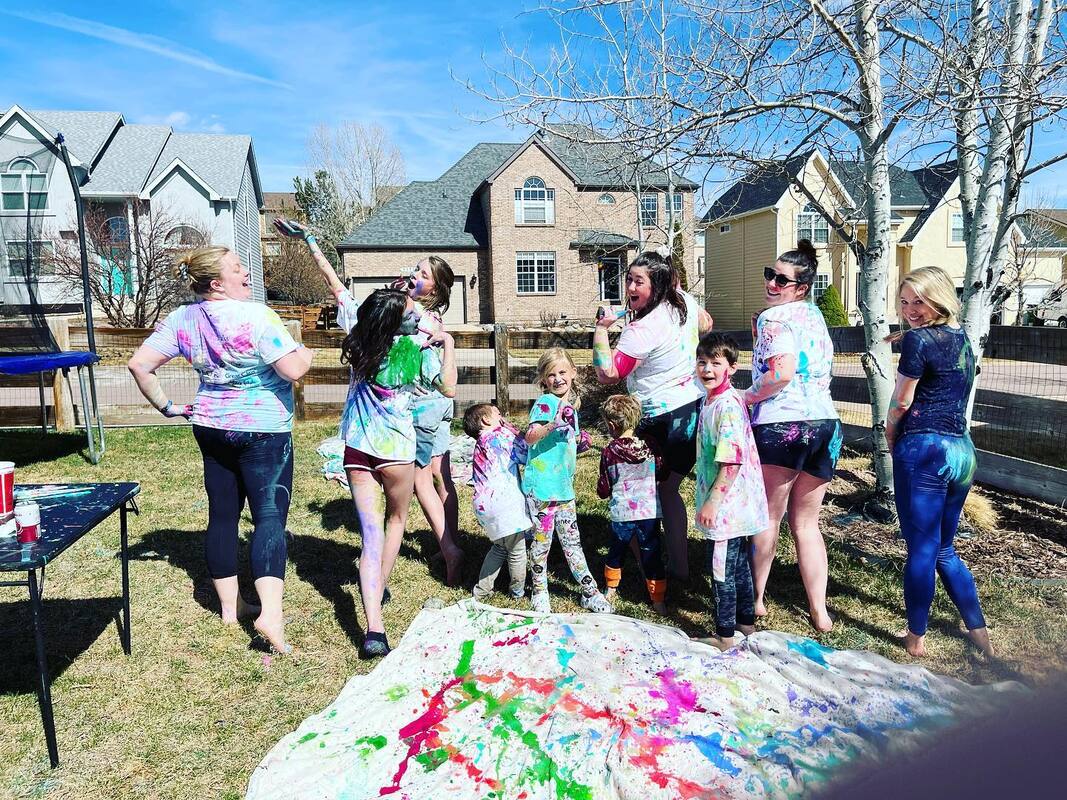
In true Paint Covered Kids fashion I needed to release some stress and anger after my MS diagnoses (see previous post) and decided I needed to do something a little destructive and a lot messy. So, I had a paint throwing party and invited all of my friends and their kids. I grabbed a bunch of fun acrylic paint colors, some canvas tarps and set up in the backyard. Friends were encouraged to wear a white shirt to keep as a memento and bottoms they didn't care about. Then, I laid the tarps on the ground, added some water to the paint to not only extend its use but also to make it easier to throw at each other! Everyone had a lot of fun and we definitely let out some frustration after a pretty rough couple of months. I am so grateful for friends willing to entertain my crazy ideas and join in on a messy but fun day. I encourage everyone to have a day like this. It was fun, stress relieving and rendered some awesome canvases that I plan on eventually framing and putting up in my home.
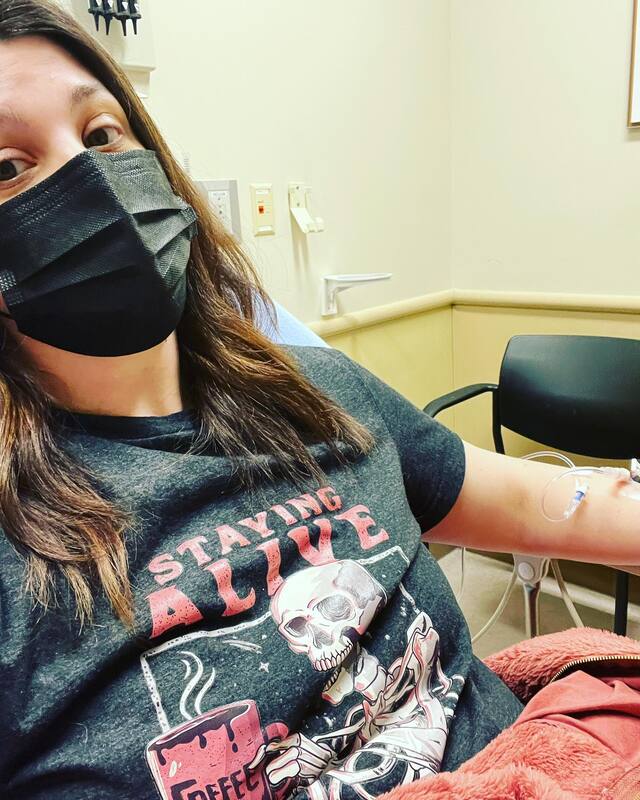
If you've been paying attention you'll notice that I haven't posted in a while. I would love to say that I was off galavanting across the globe having the time of my life but unfortunately that is not the case. After catching Covid and experiencing a mild case. I began to experience severe vertigo that I attributed to a change in my migraines due to Covid. I toughed it out and tried to continue as normal but not long after the vertigo I began to experience vision impairment. I was sent for an MRI and was hospitalized for over a week where they determined I have multiple sclerosis that was triggered by the Covid infection. During this entire ordeal I was unable to drive and feared never being able to drive again. I then spent the next several months recuperating, adjusting to my new normal and making some major life shifts. Luckily, my vision improved somewhat and my dizziness dissipated so I was able to drive again and start living life. Unfortunately, my school decided to make a huge modification to my job requirements and I chose not to return to the classroom. Instead, I joined the droves of teachers leaving public education and entered the world of business. After putting extensive work towards updating my resume and making it business world worthy I was lucky enough to acquire a job working at Space Foundation where I will be a Space Education Specialist (SES) where I will help write and teach space curriculum to the world through our outreach programs and upcoming curriculum launch.
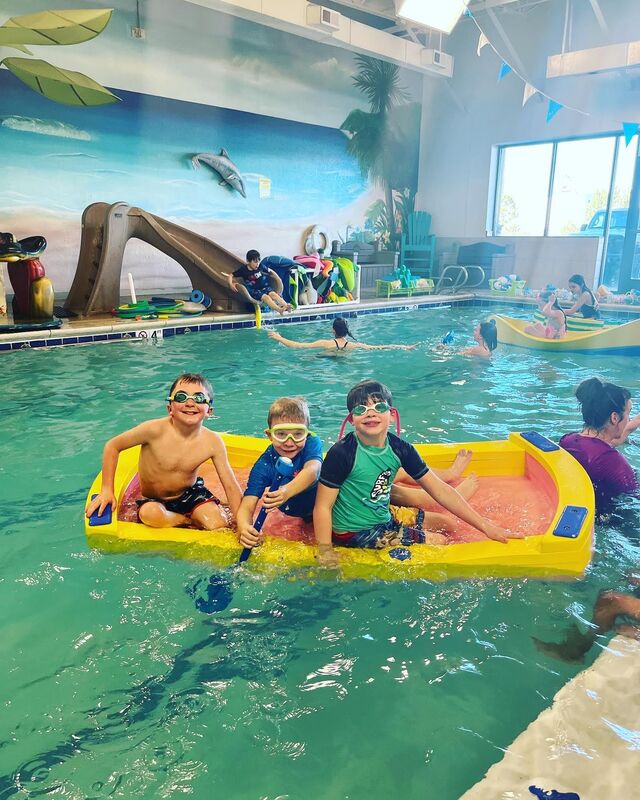
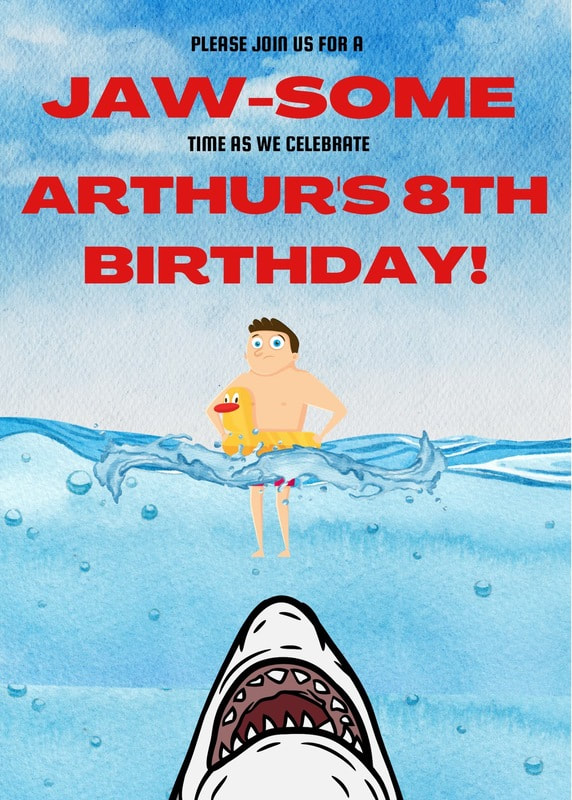
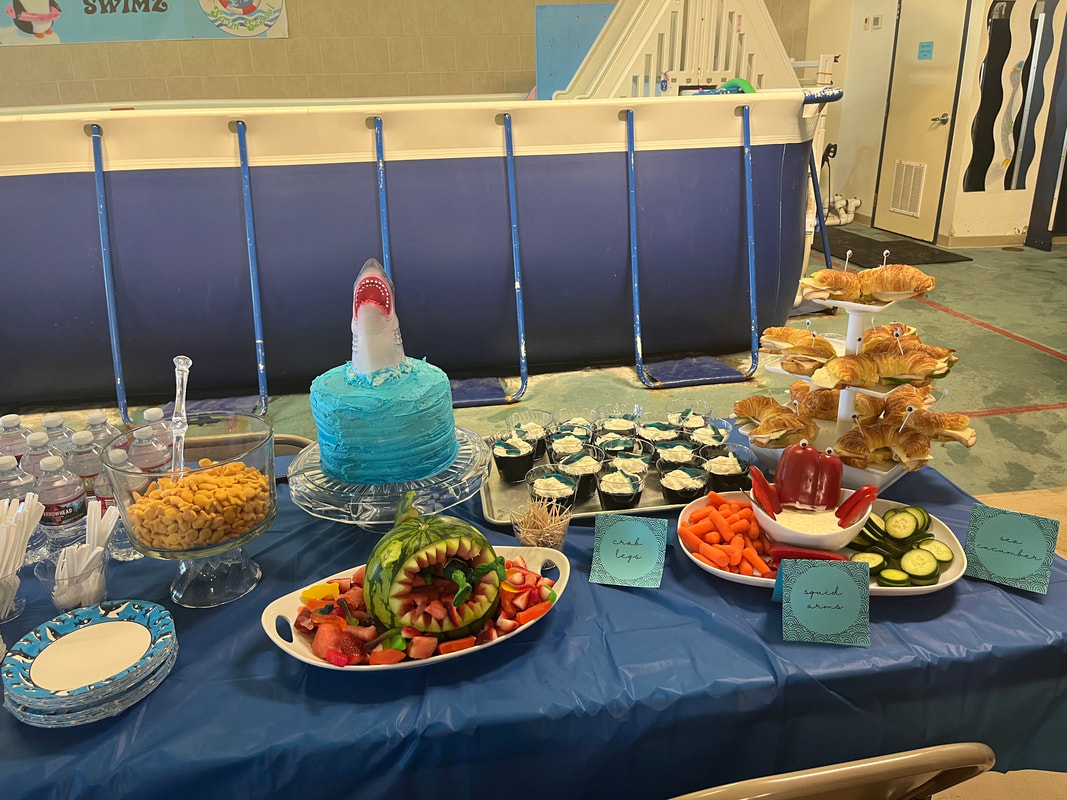
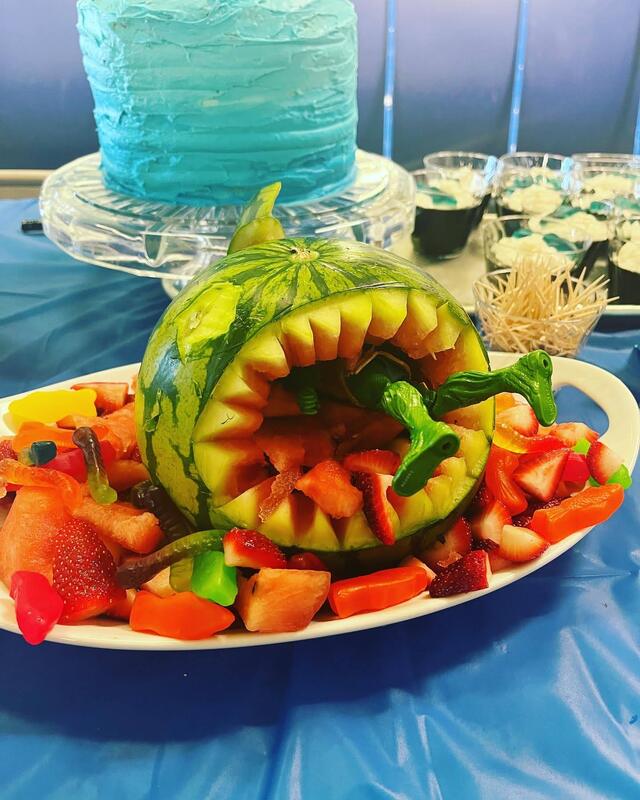
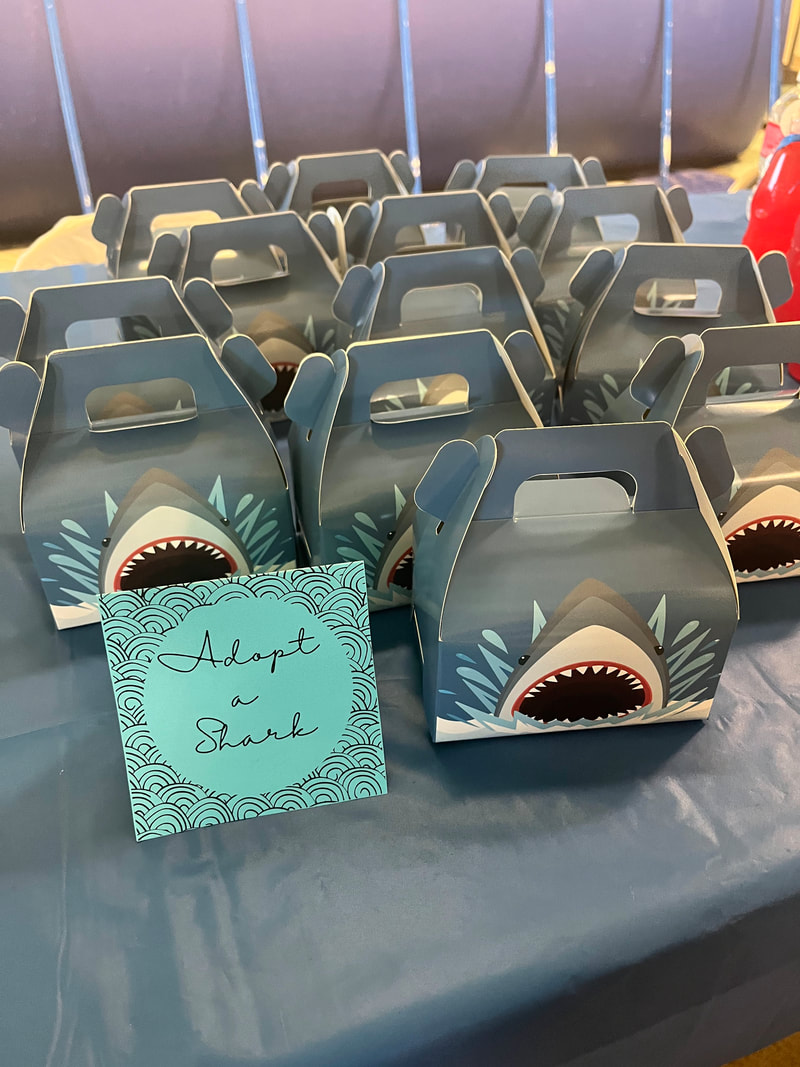
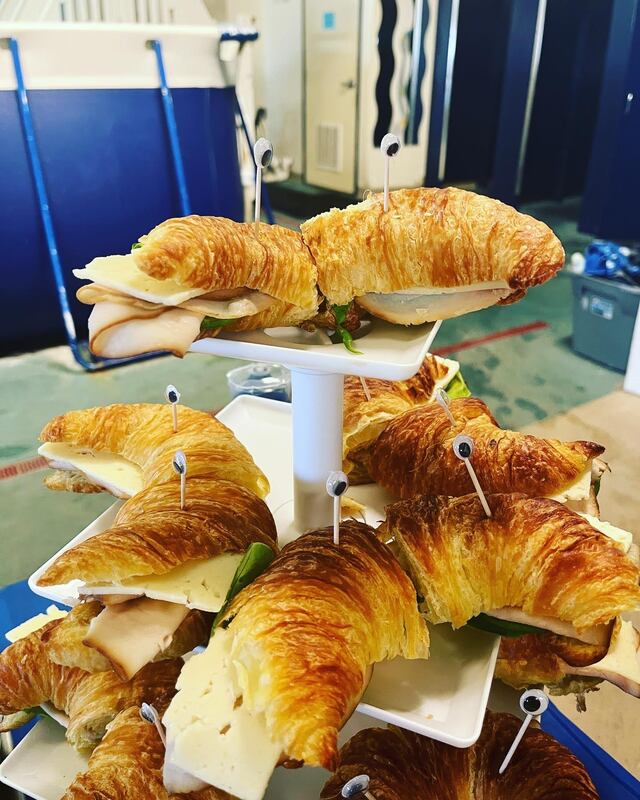
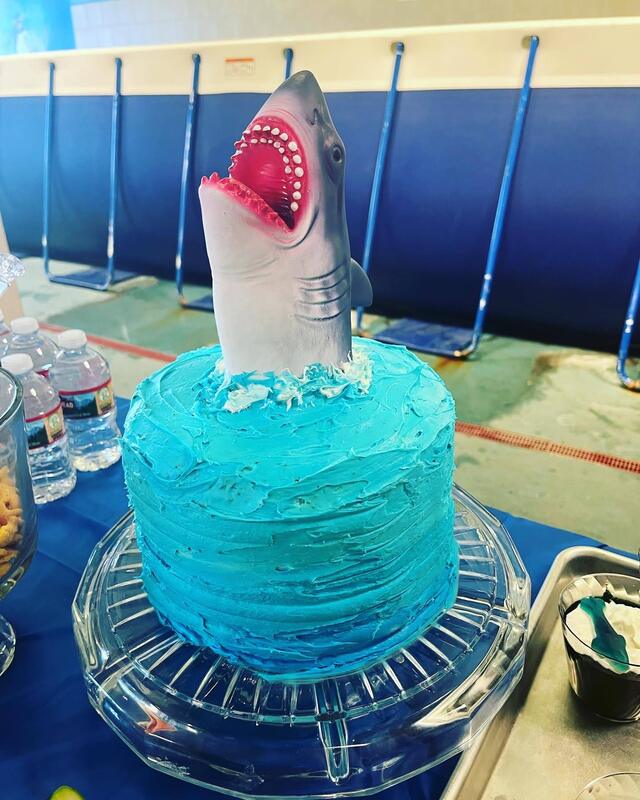
It has definitely been a crazy period of time but I'm on the upswing and have high hopes for the future. In the meantime, I'll continue to add fun and inspiring content here on my blog just as I have done for the past 10 years. With my whole family vaccinated AND post catching COVID despite that fact, we decided to go all in on my son's 8th birthday this year. The last big birthday we celebrated was his 6th mere weeks before the pandemic began. He requested a shark themed party so I did my best to make it happen in the dead of winter in Colorado. Starting with the location, it took a bit of sleuthing but I finally managed to find an indoor pool that allowed birthday parties. The location was a swimming school and turned out to be a fabulous venue. They had fun murals all over the walls and TONS of water toys. They also provided tables for food and gifts and two life guards for the pool who played with and monitored all of the guests for us. For the invites I headed to Canva and got to creating. I wanted to impart the vibe in a fun way and I think they turned out great. After designing them I sent them for same day pickup to Walgreens. (there was a backside with all the deets too) Once the overall plan was made I set to work on the details by heading to Pinterest of course! I went all in on fun themed food and ordered trinkets for goody boxes. Unlike other parties held at my home in the past, this party didn't require games and activities for the guests so once I figured out the food and party favors I was done! I made the shark cake with two boxes of cake mix, store bought white icing that I dyed various shades of blue and a shark hand puppet stuffed with paper towels. I followed a tutorial for the shark watermelon, hot glued googly eyes to toothpicks for the crab croissant sandwiches and attempted to make ocean jell-o with gummy sharks but it was an epic fail. I ran out of jell-o and had to scavenge for more in my pantry but it was the wrong color. So, I added blue food coloring but it turned out purple because it was red and yellow jell-o mixed together. There was supposed to be a graham cracker sand bottom but when I added the jell-o it floated and because the space was warm the whipped cream went flat. But, it was tasty and I created a new flavor of jell-o: lemon, strawberry, blue-raspberry.
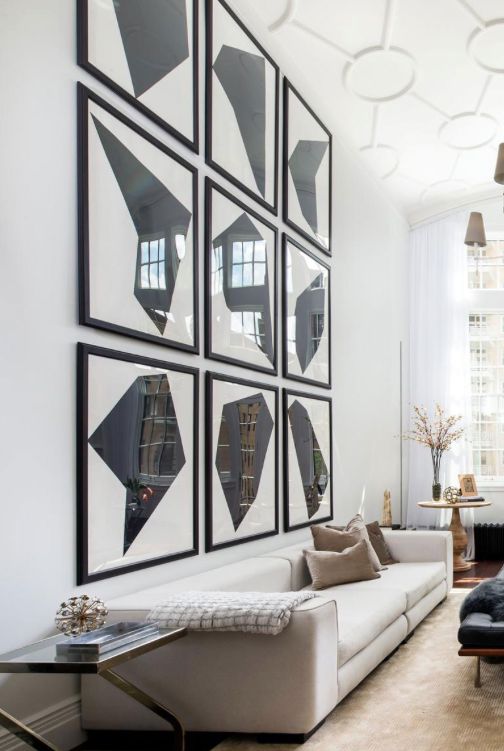
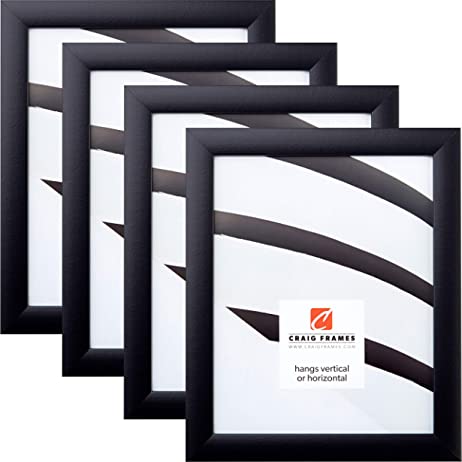
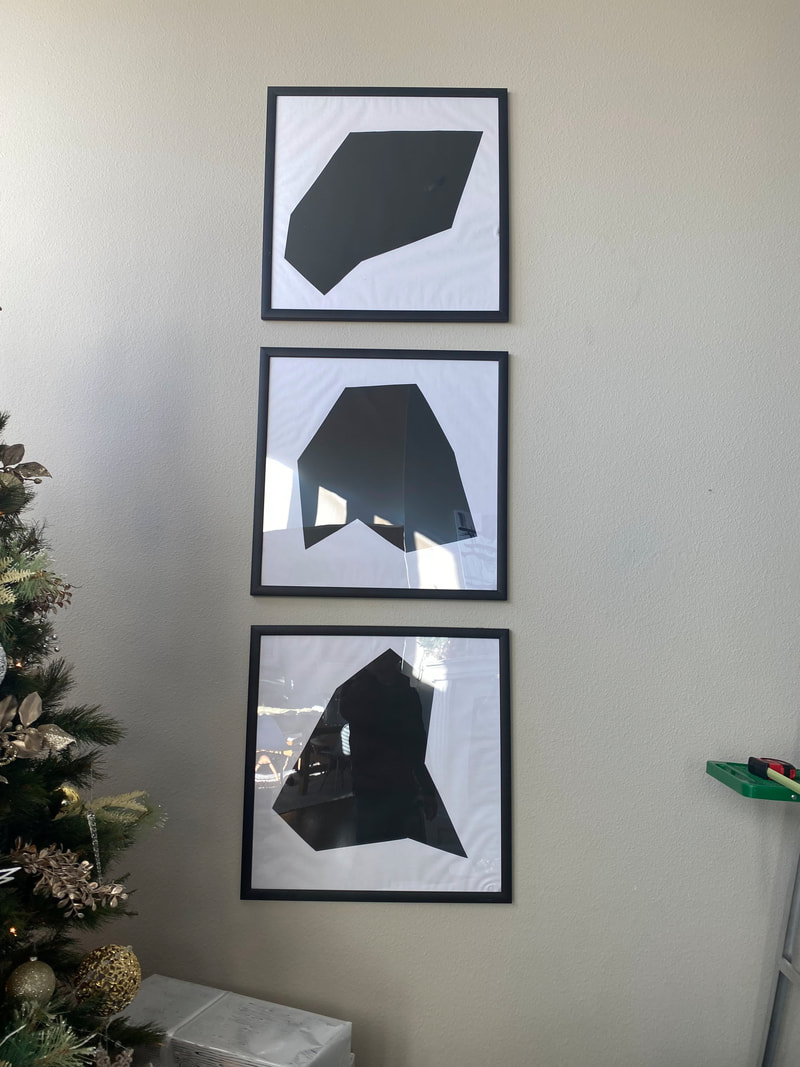
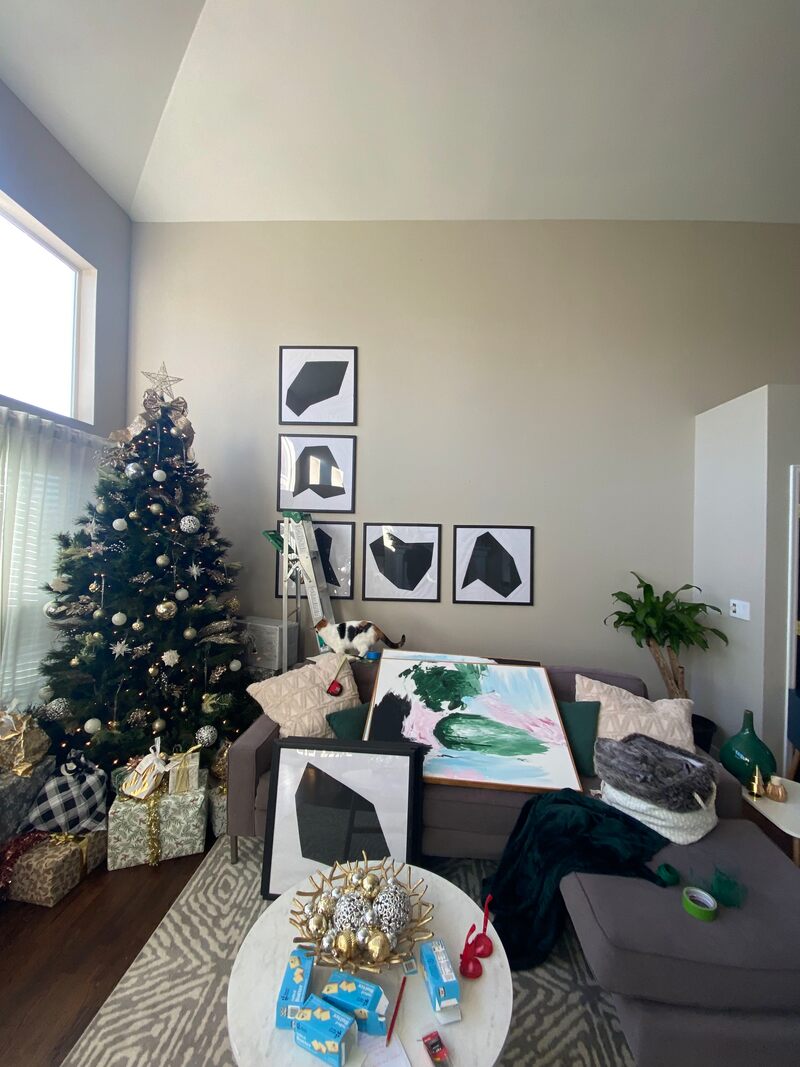
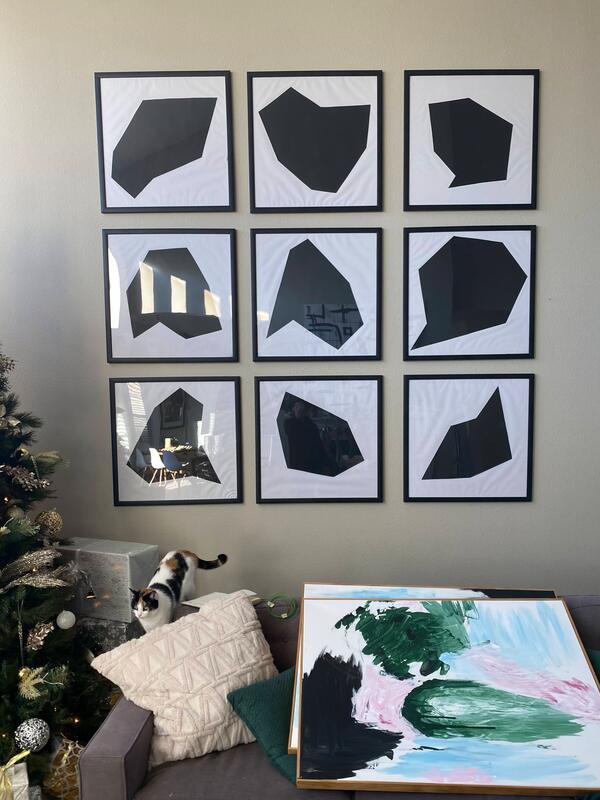
It was a very fun party that took way less effort than most other parties I have planned which was good because I've been experiencing vertigo and functioning has been interesting. I hope you enjoyed looking at my pictures! Thanks for visiting! I've been wanting a large scale art piece for my new living room since moving in but was waiting until I found something I loved. When I found this pin on Pinterest I knew it was the winner! The key to this look in my opinion are the square shaped frames. It's unusual and custom looking. So, I set to work finding the frames first and was successful on Amazon. I purchased two packs of four and one single of these. Once I had the frames it was time to make the art. I bought a bunch of black poster board from the dollar store and a huge roll of white paper from the craft store that is usually used for bulletin boards. Then I wrapped the cardboard backing of each frame with the white paper for my base. Then I used a ruler and pencil to draw lines and make straight cuts into shapes. I ended up just going with whatever shapes I wanted and didn't try to copy the original shapes. The biggest thing was to make sure they weren't too big for the frame. After I cut all of the shapes I used a regular glue stick to glue the black paper cuts onto the white paper and popped them into their frames.
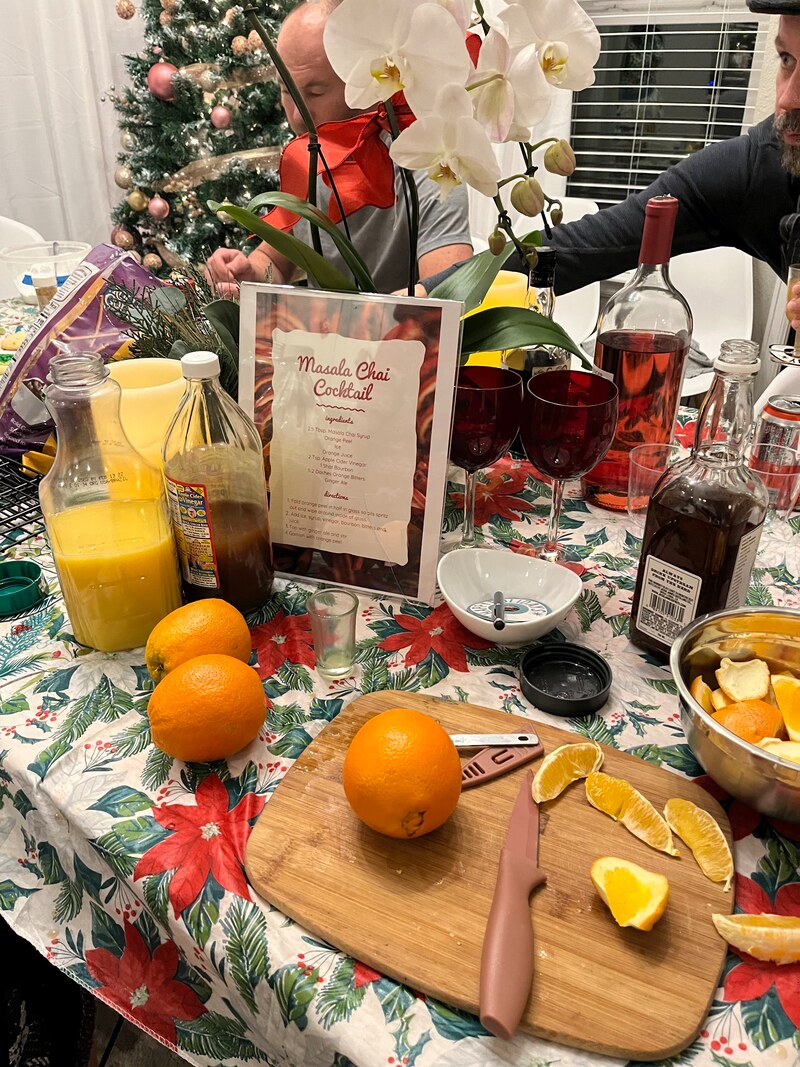
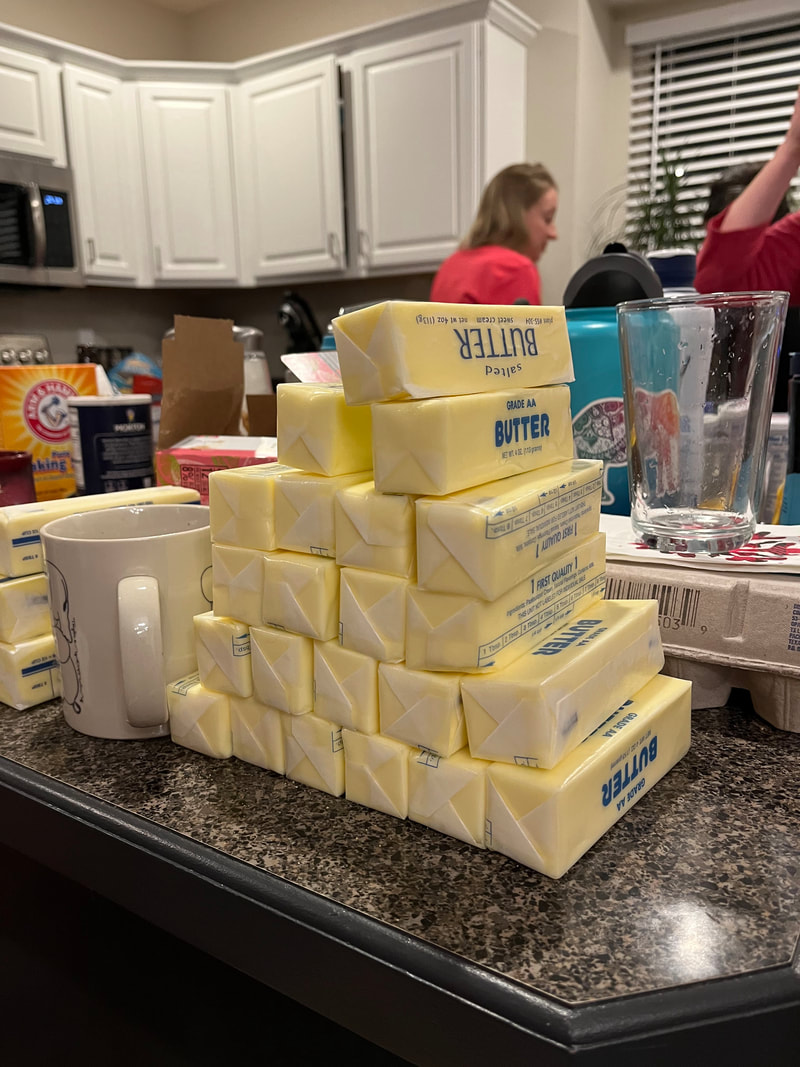
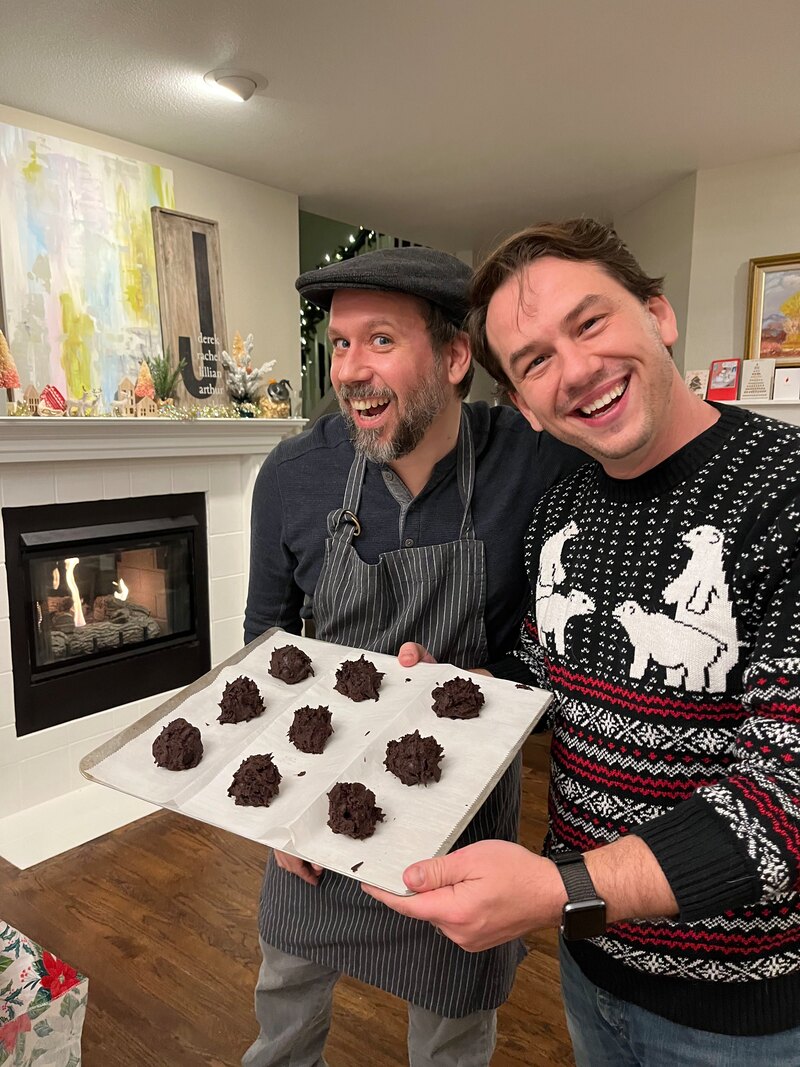
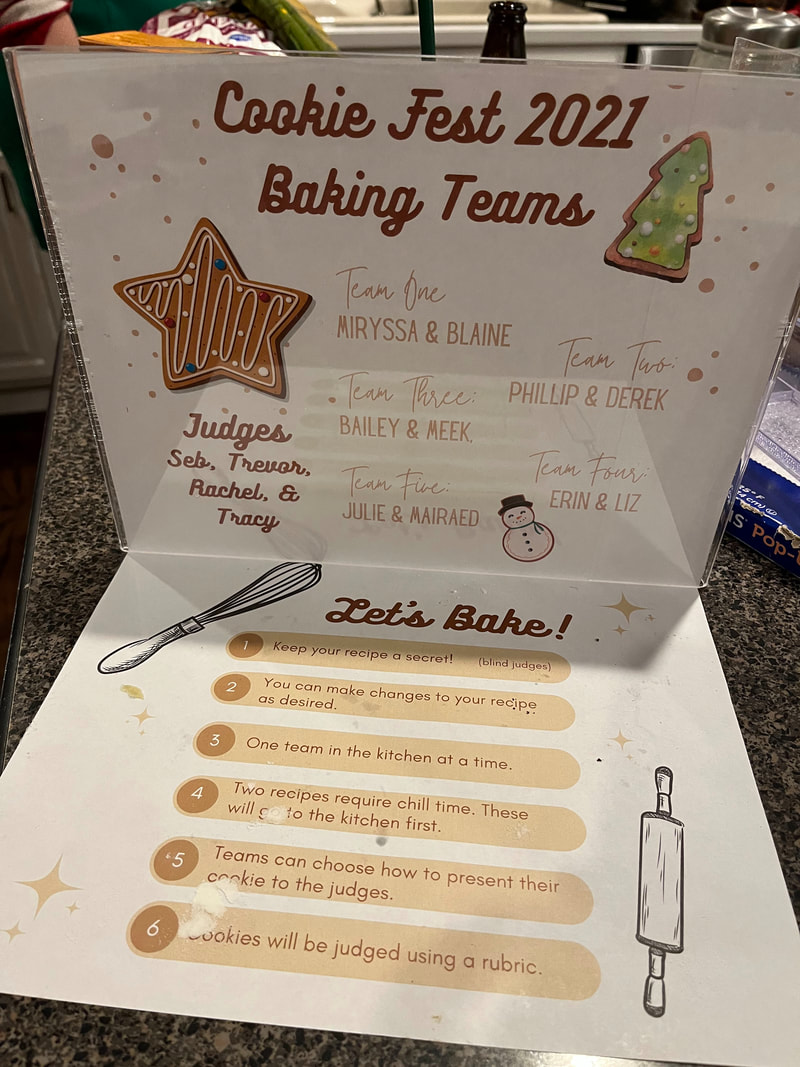
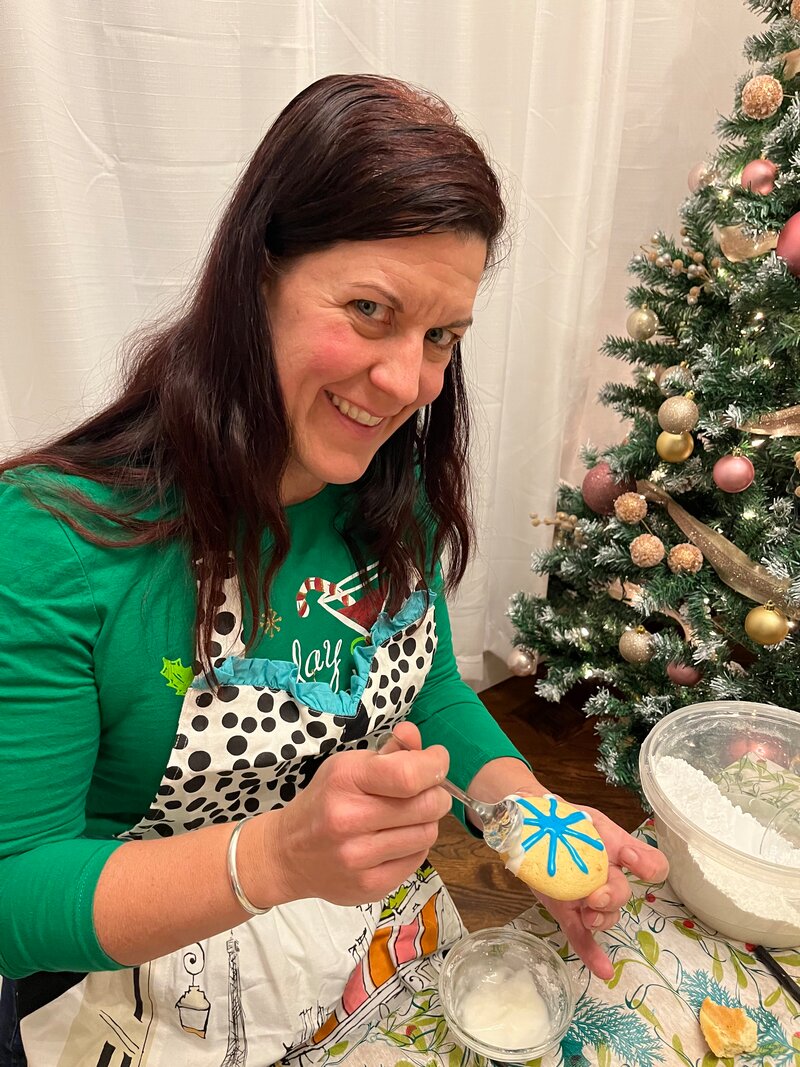
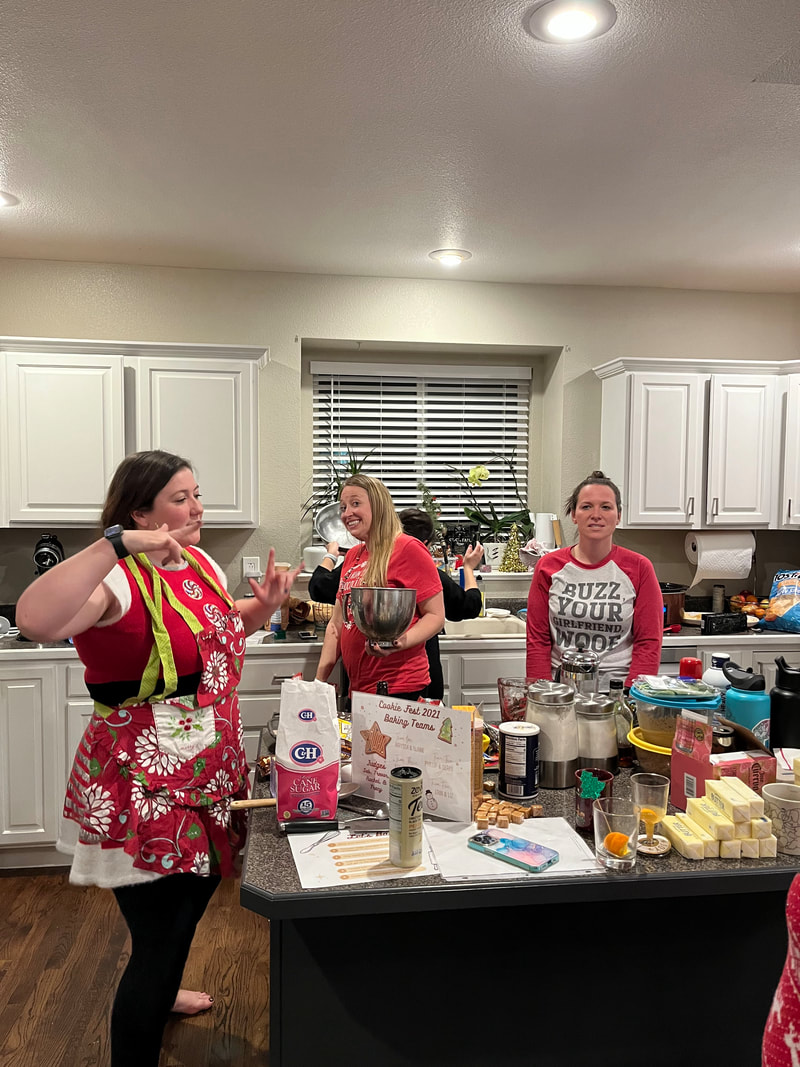
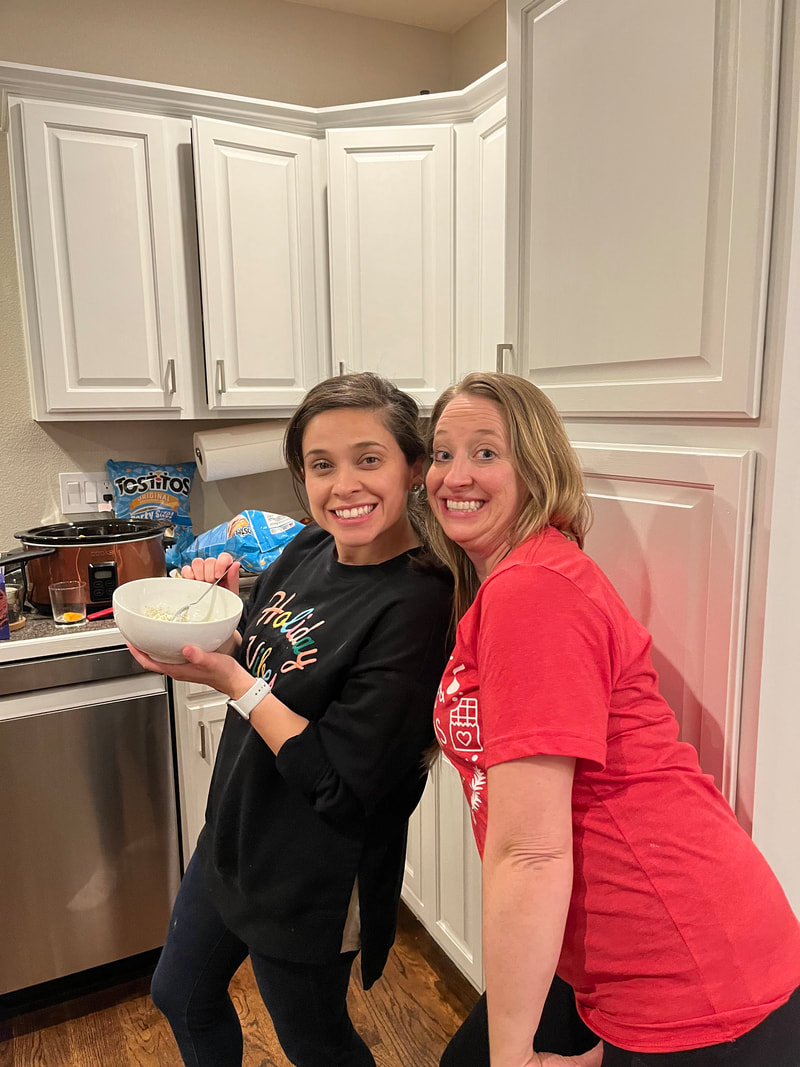
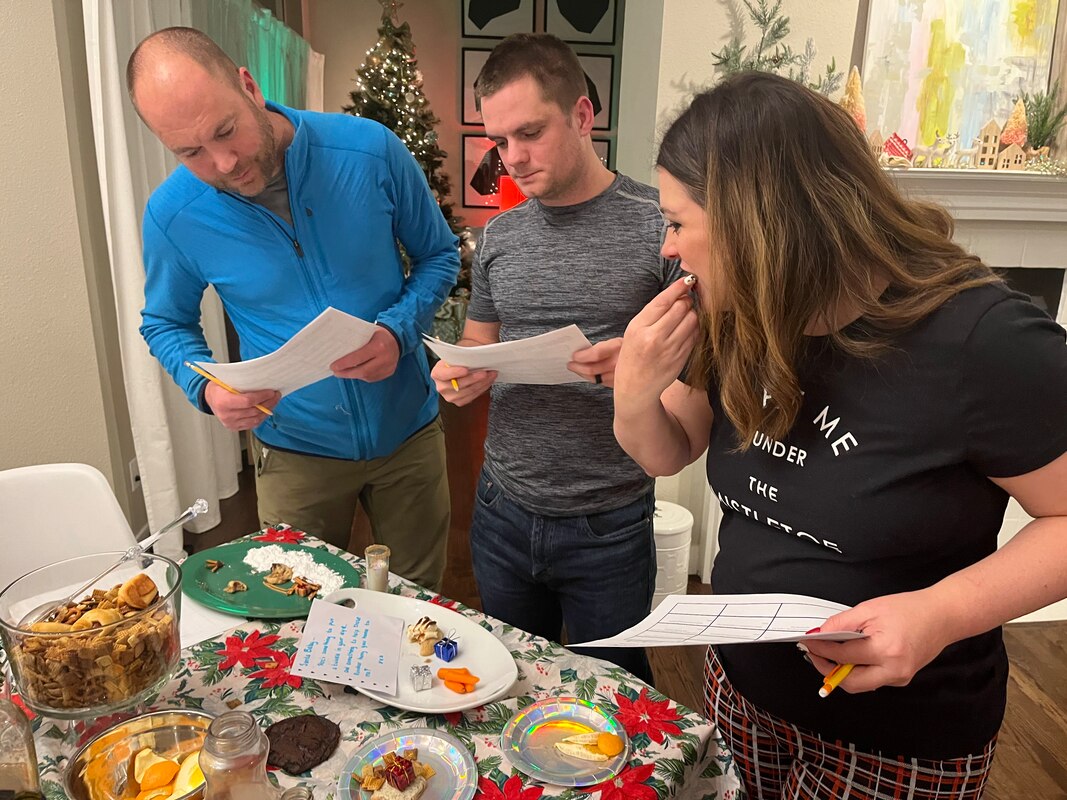
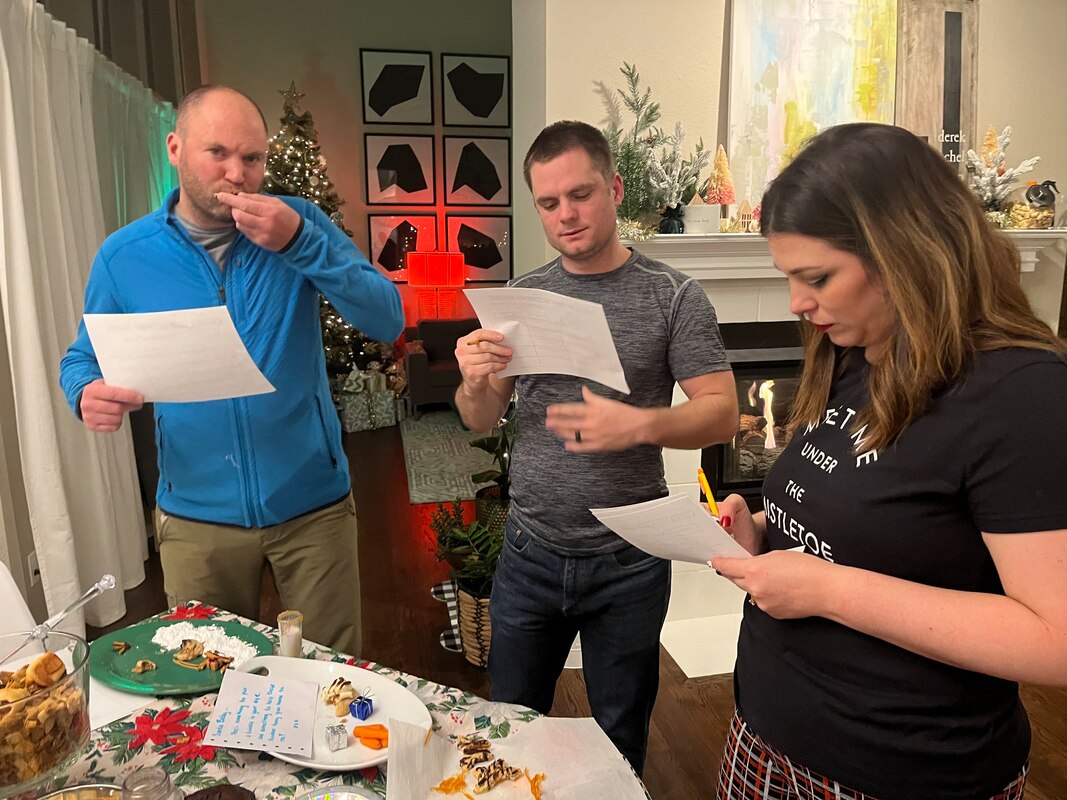
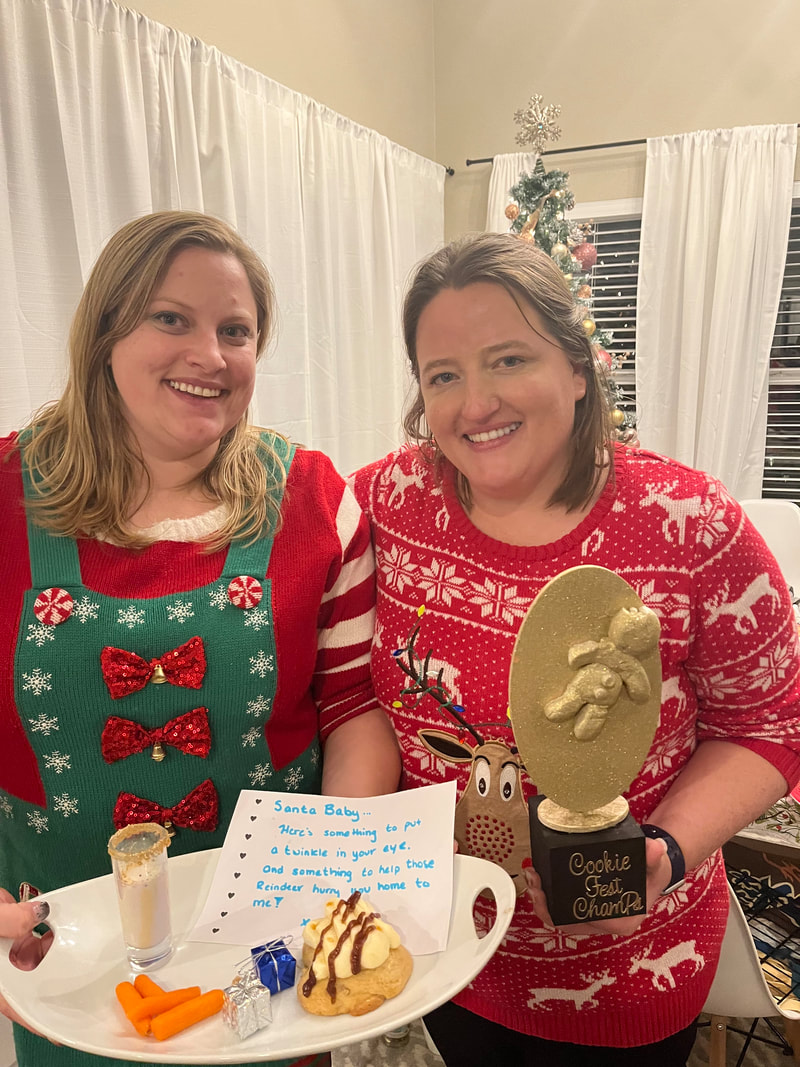
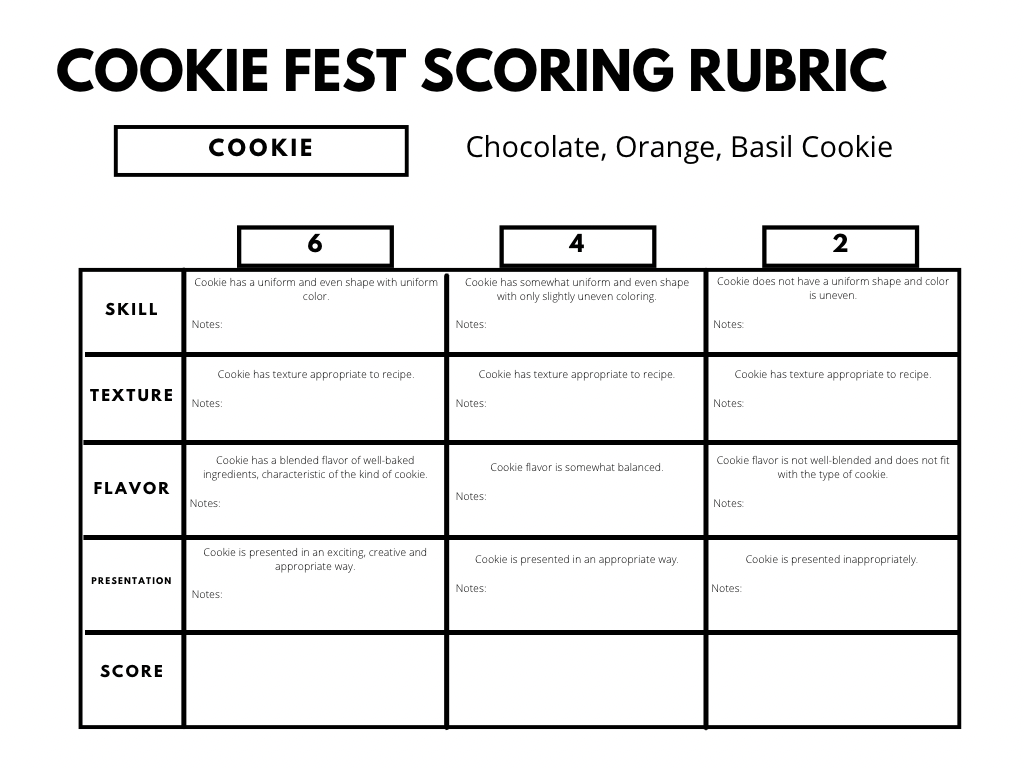
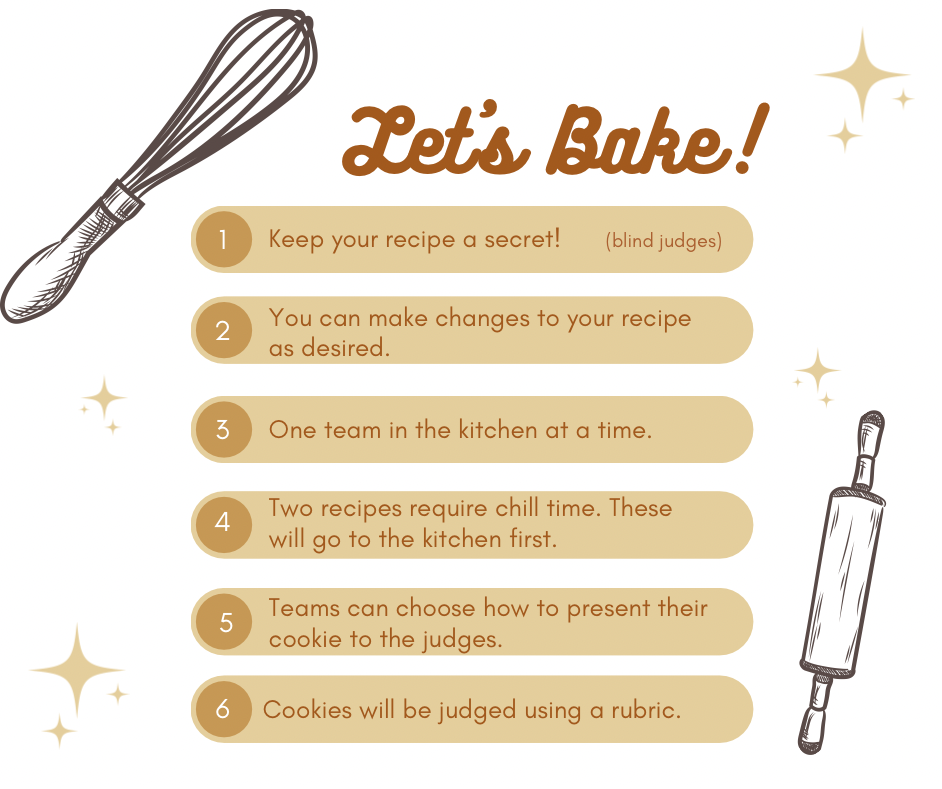
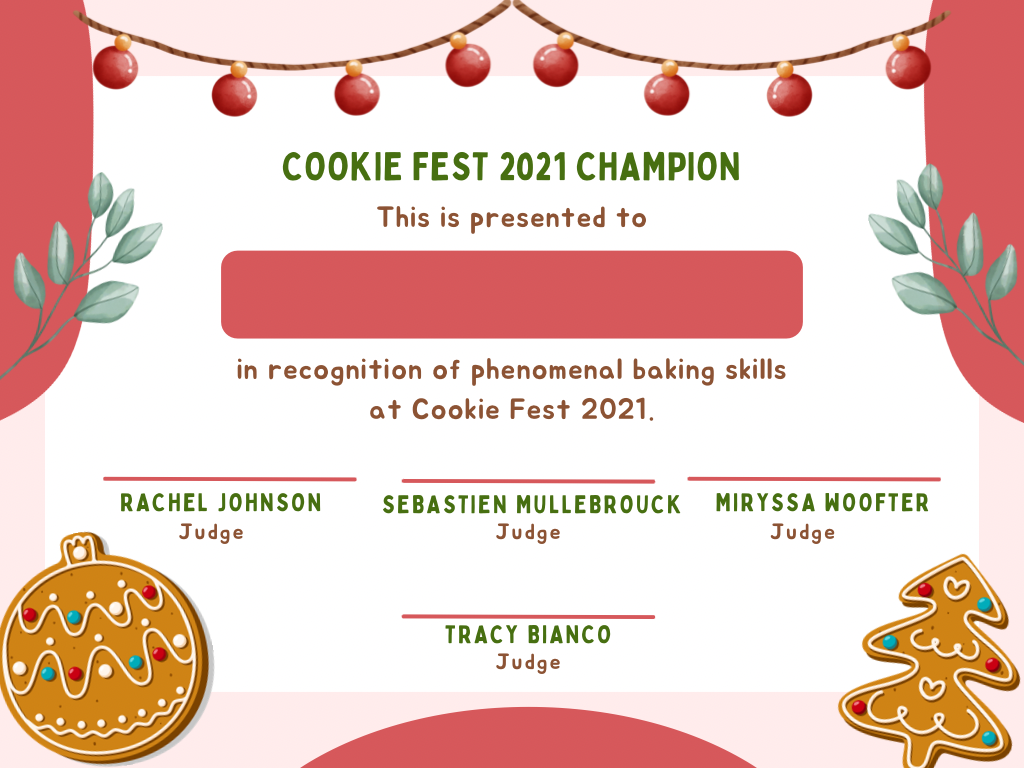
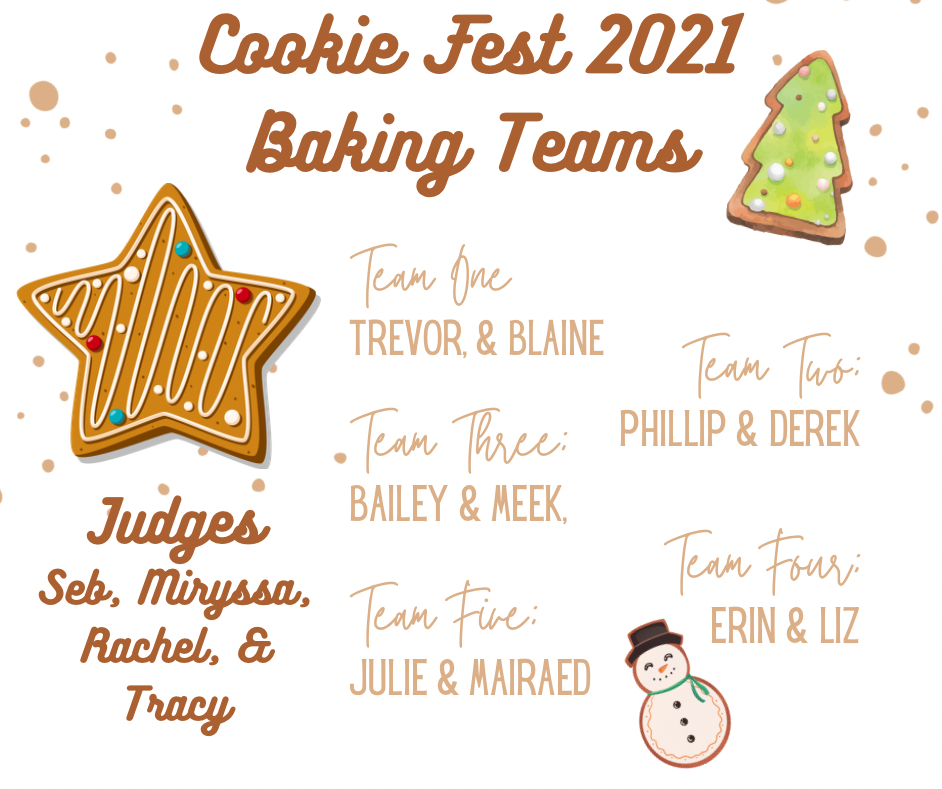
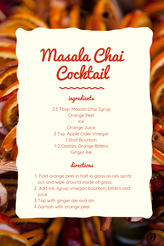
Hanging them was done by my husband and was apparently a chore. But, they look pretty fab and I'm in love! We've been hosting Cookie Fest every year since we were college babies and this year it got a bit of a make-over. My new friend group is much more into all of the craftiness that I love and are definitely competitive se we went all in on Cookie Fest in regards to the competition element this year. I made rubrics, a trophy, certificates for the winners and we had rules. It was a ton of fun and we ended up with some delicious cookies. I love offering a custom cocktail and this year it was a masala chai digestive aid cocktail and let me tell you...it was BOMB! I printed out directions so everyone could make their own and I wouldn't be a drink mixer slave all evening. You can get the printable recipe below. We use a TON of butter every year at cookie fest and this year was no exception. Look at that mountain of butter! Above you can see the judges deliberating and scoring and the winning team with their trophy and prize cookie. (You got points for presentation and theirs included a shot to go with their cookie!) You can click the images below to download all of the documents I used to make this cookie fest the most epic of them all. After the baking ended and the winners were declared by the judges, all guests took home cookies in containers I purchased at the dollar tree and a custom oven mitt that I created using the template linked below. You can edit and make it your own by clicking the image.
This is a fun way to gift your teacher at Christmas time! Give them a punch out countdown calendar for the days leading up to Christmas break. Place goodies inside each cup, cover with tissue paper and add a number. It's easy, adorable and will definitely get the teacher excited! You will need:
- foam board - tissue paper - paper cups - small gifts How to Make it: 1. Hot glue cups onto foam board with opening facing out. I placed mine in a tree shape and decorated it to look like a tree but you could make it look like anything. 2. Add gifts to cups. 3. Use a rubber band to hold a small square of tissue paper on top of the cup opening. 4. Decorate as you like. I love gifting my co-workers at Christmas time but the struggle is finding something simple enough and inexpensive enough to gift to 50 people. This year I made simmer pot's in a bag and they turned out so cute! You can watch the full how to on my TikTok: @rennaissance.rachel and go ahead and follow me while your there! You can download the free tag by clicking the image below! To make it all you will need are:
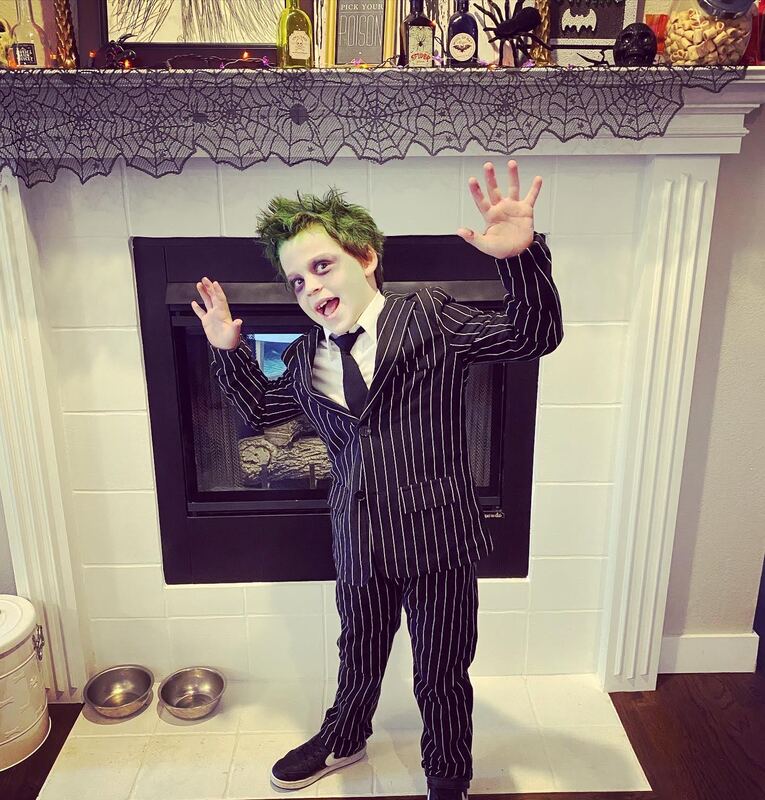
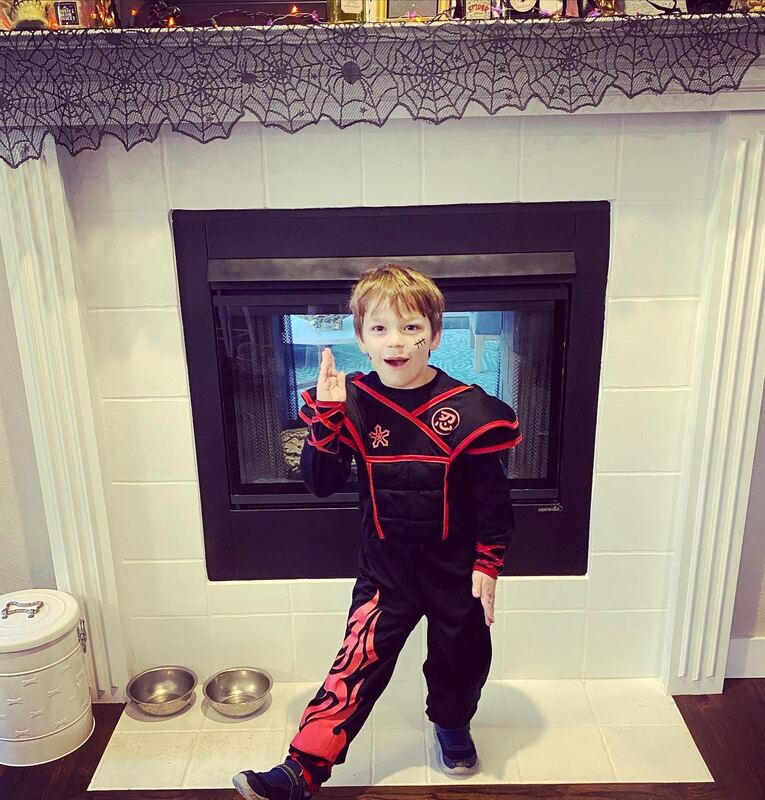
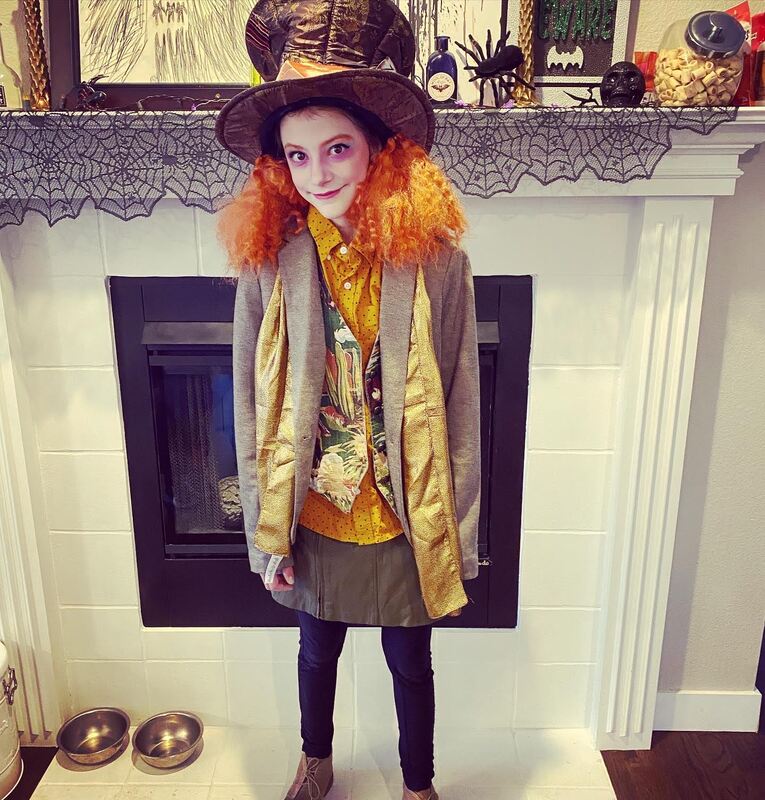
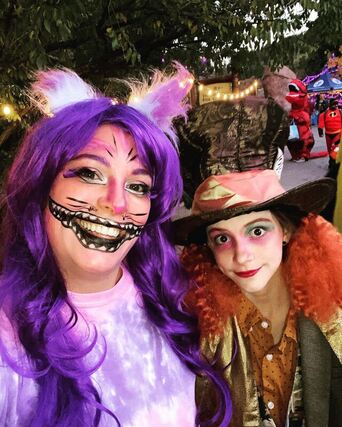
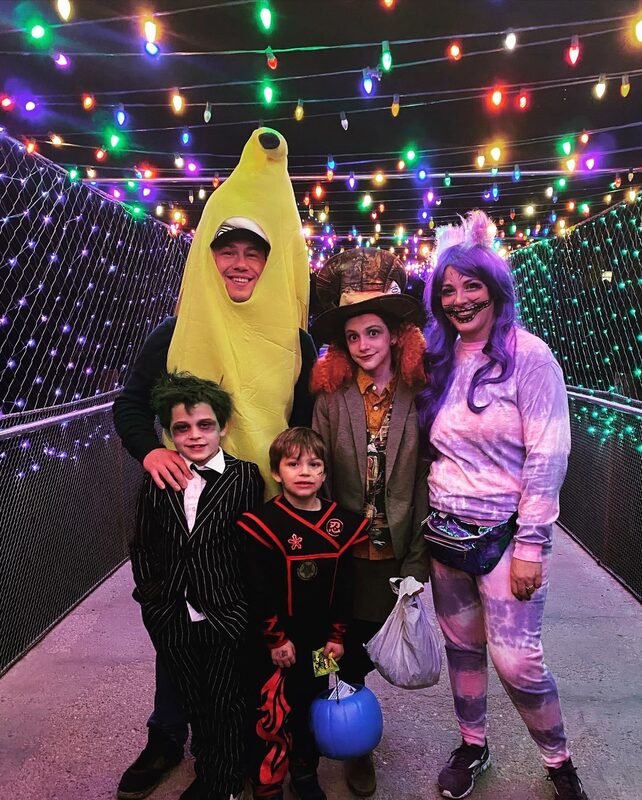
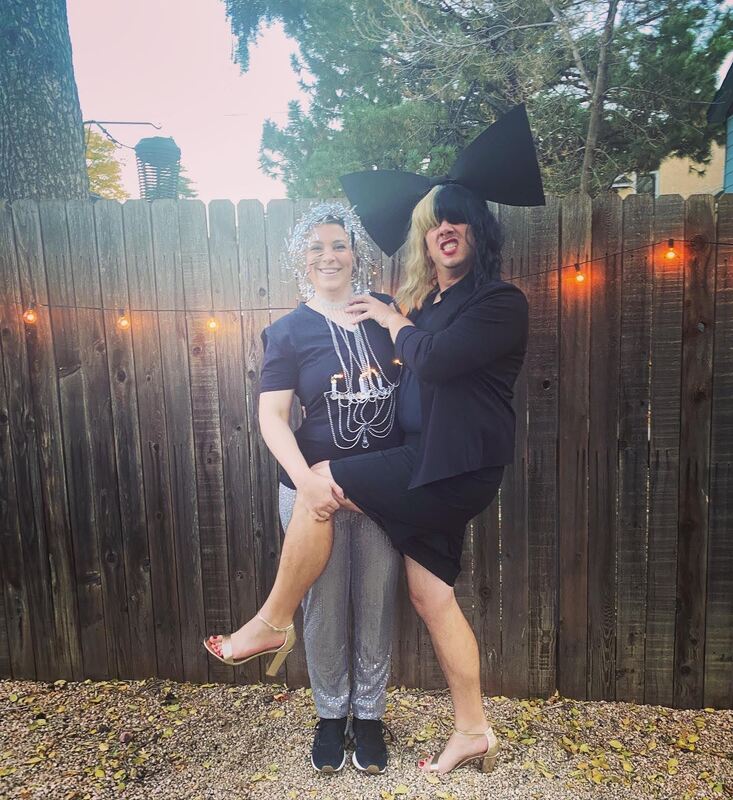
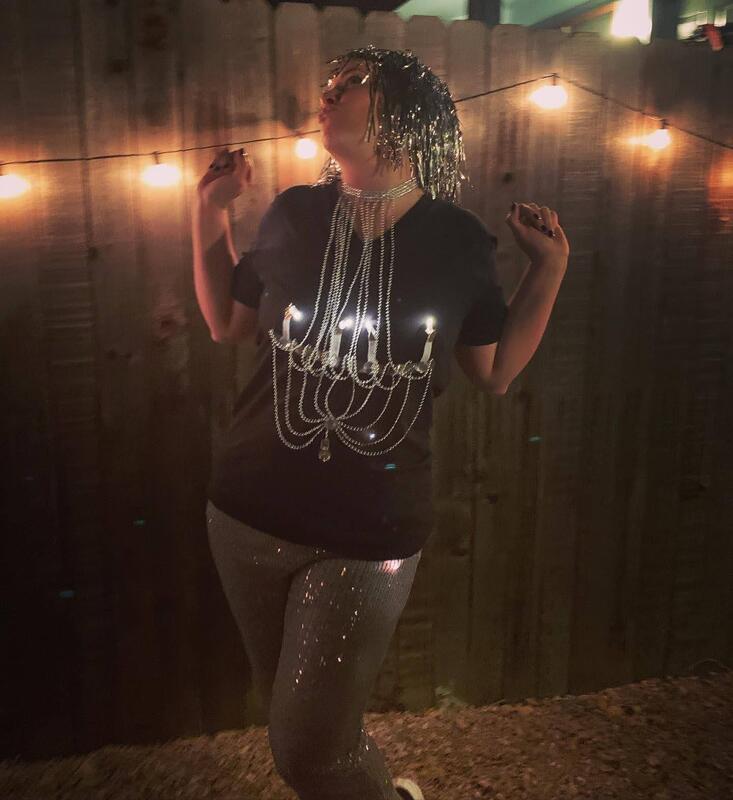
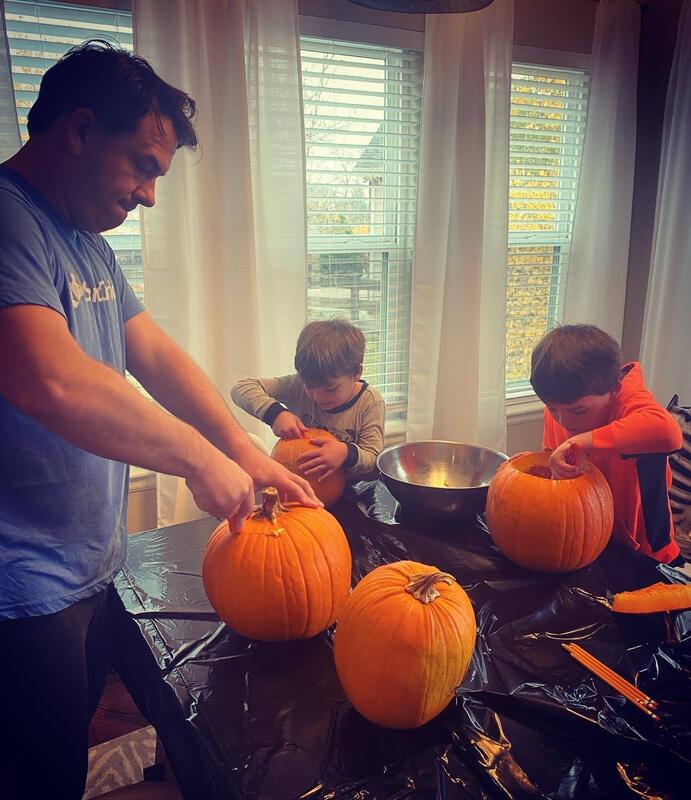
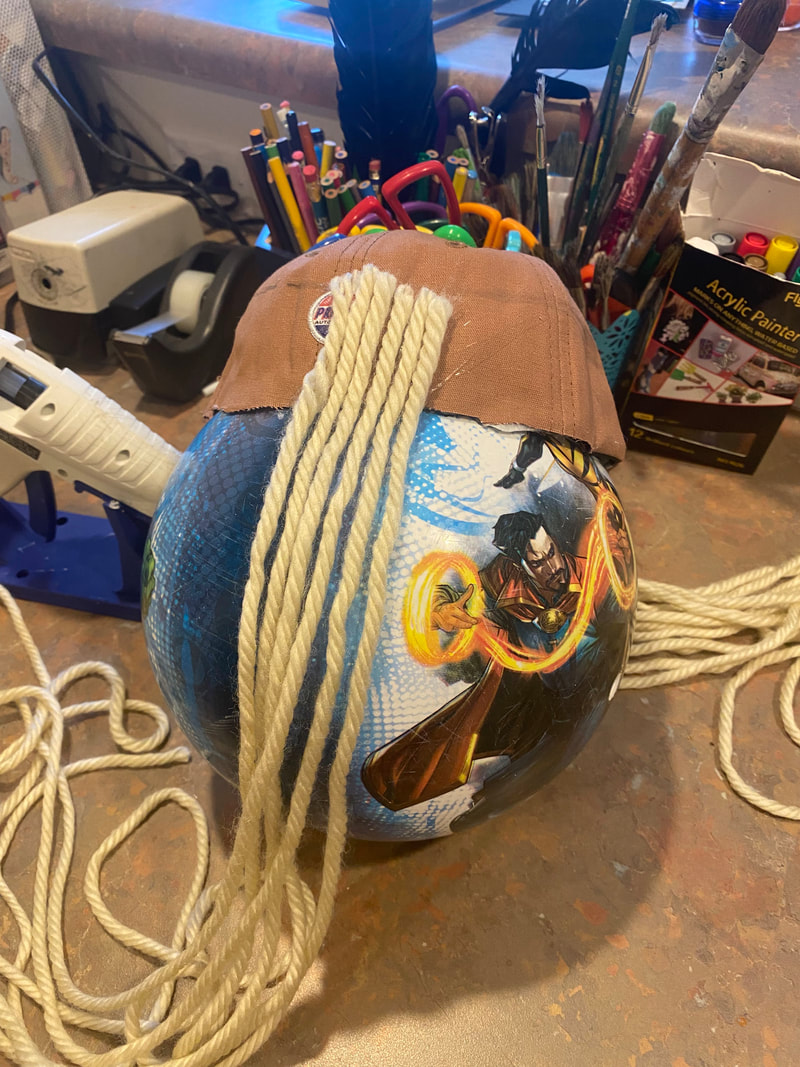
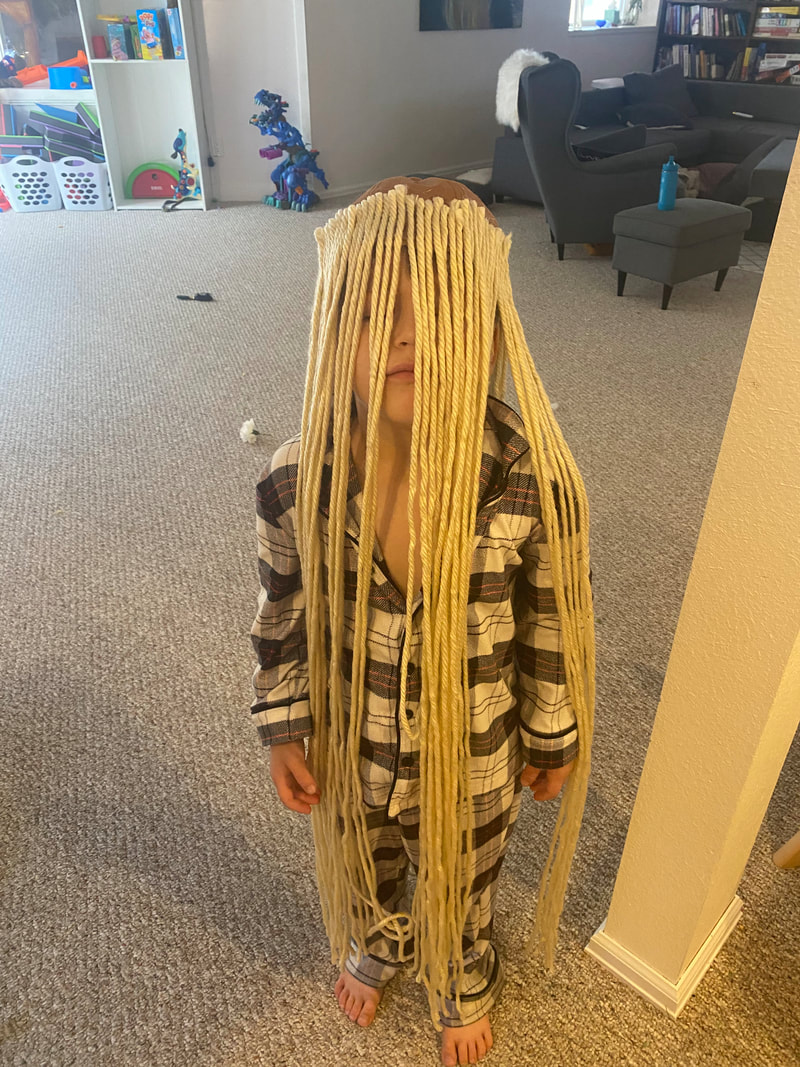
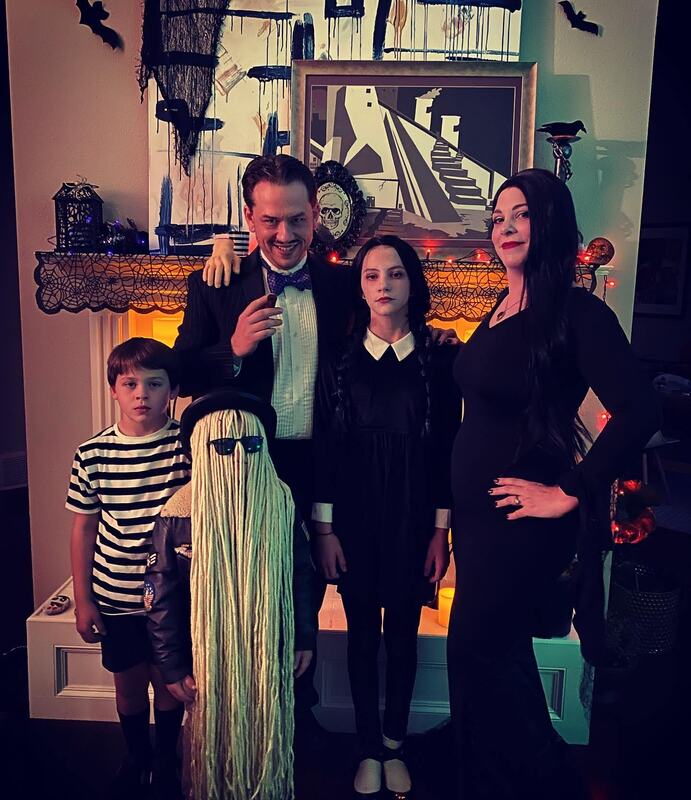
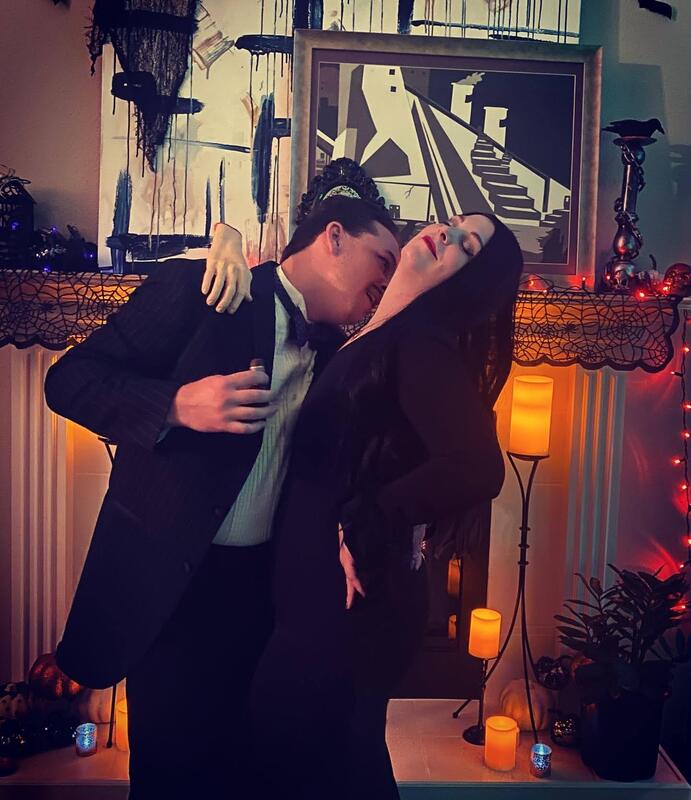
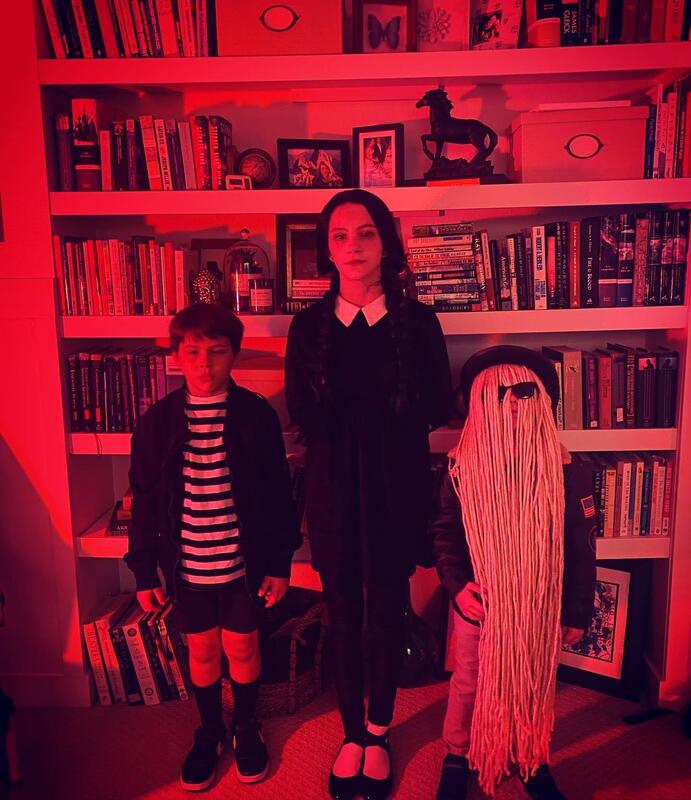
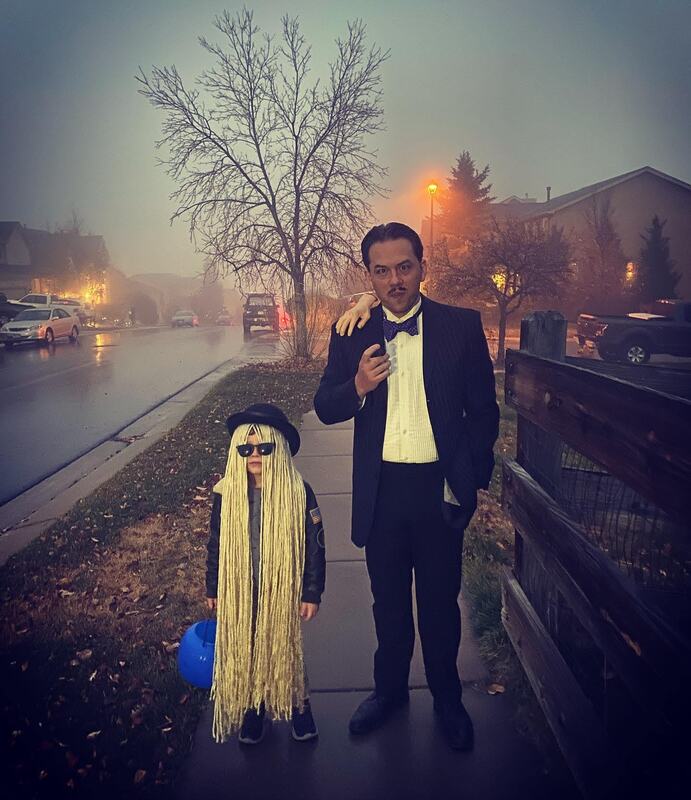
- oranges - cinnamon sticks - evergreen branches or rosemary - cloves - ribbon - clear plastic bags - free printable tag (below) Halloween was definitely eventful this year. Derek and I had a total of three different costumes for Halloween including a recycled costume from several years ago and two new ones. The kids all had two costumes each and we all had a serious blast. We started the festivities on Friday with school parties. I went as the Cheshire Cat and reused an older costume from several years ago when we were Alice in Wonderland themed. Lilly also chose an Alice in Wonderland character but went for The Mad Hatter instead of Alice and we had to build her costume using random awesomeness from Goodwill. Arthur went as Beetlejuice which was comprised of a suit from Amazon, green hair paint and makeup. Alan went as a ninja and took very little extra work which I appreciated. That evening we went to Boo at the Zoo and kept our costumes from school with the addition of Derek as a banana. Saturday I spent the day cleaning up the house and finishing up costumes for Sunday. That evening we went to a Halloween party with friends and the kids had a sitter. I was super proud of our costumes and put considerable effort into them. Derek was the singer Sia and I was a chandelier. He went all the way wearing a skirt and heels. It was phenomenal. For my chandelier costume I roamed through Hobby Lobby looking for anything silver that I thought would work. I purchased a black tshirt, silver leather, some felt, silver gems and silver beading and ribbon from the ribbon section. I referred to a sketch of a chandelier and started hot-gluing. I ended up making a choker out of the jeweled ribbon and hot-glued the beading to it and the shirt. I even cut slits and inserted some battery pack lights to electrify it. I found a silver wig and silver sequin pants on amazon and the outfit was complete. For Sia, I made the bow out of a headband blank, black craft foam and hot glue. Purchased the wig from amazon and then dressed him in m clothes. Yes...unfortunately we wear the same size. For the actual day we spent quite a bit of time recovering from Saturday's party which involved us arriving home at 3:30am. But, once I was rehydrated with two Body Armor Drinks and filled with a breakfast burrito I was ready for the day. We carved pumpkins and watched The Addams Family to get ourselves into character. Then we donned our family costumes and totally killed it! I made it easy on myself this year and most of our costumes were just purchased items put together. I did go hunting for Derek's jacket at Goodwill because I didn't like the costume options online and I had to make Alan's Cousin It costume from scratch but, it was actually pretty quick. To make it I took a tan baseball cap and cut off the brim. Then I measured yarn for the correct length for Alan (didn't want it dragging the ground). Then I hot-glued two layers of said yarn around the rim of the cap and then a piece of tan felt on top of the layers to keep it more sturdy. I put a bowler hat and sunglasses on top and he was ready to go! He was definitely the star of our little show.
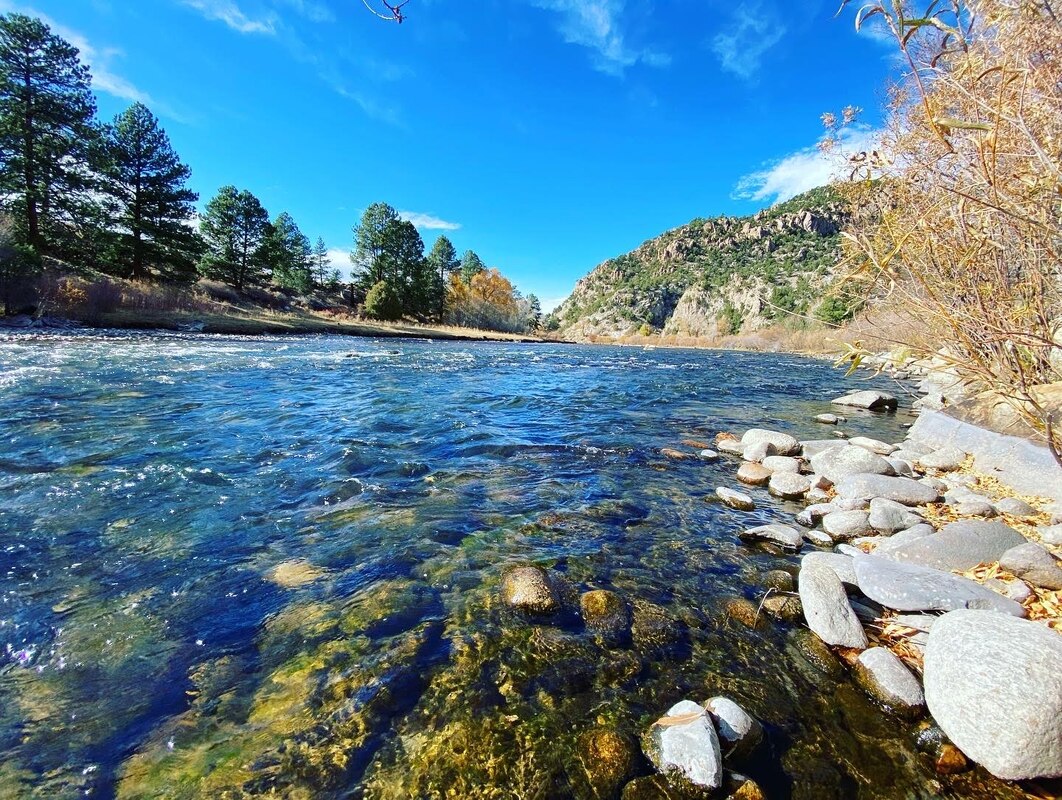
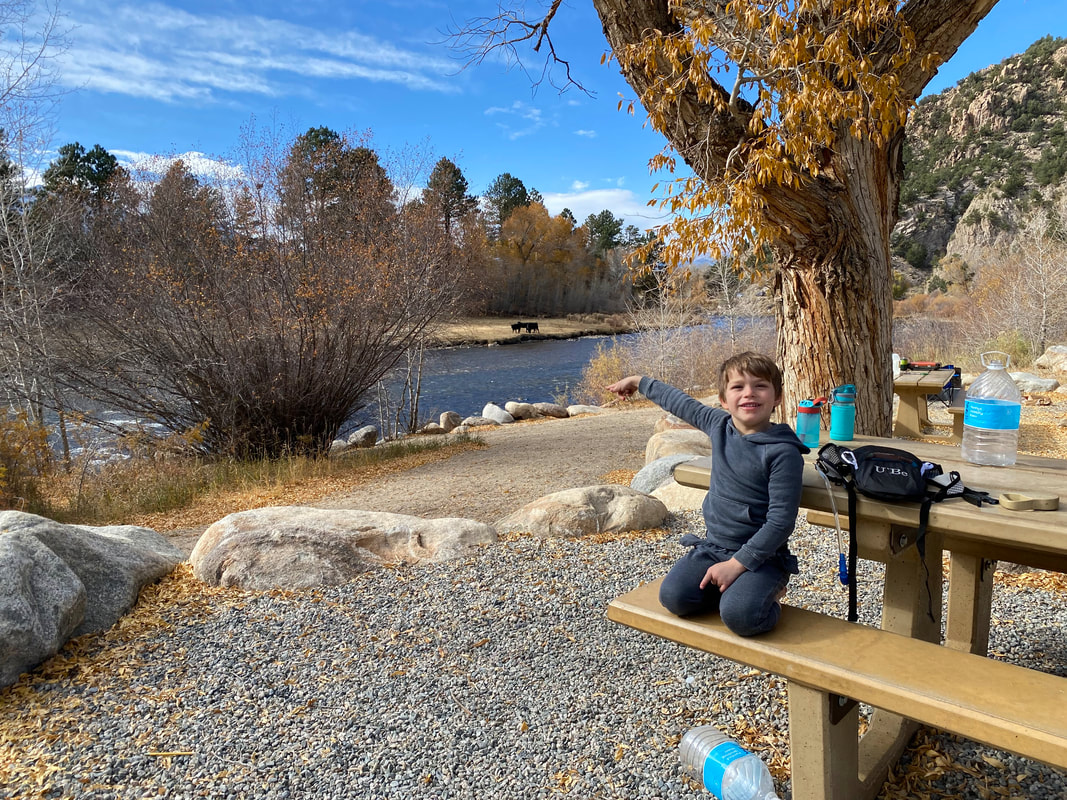
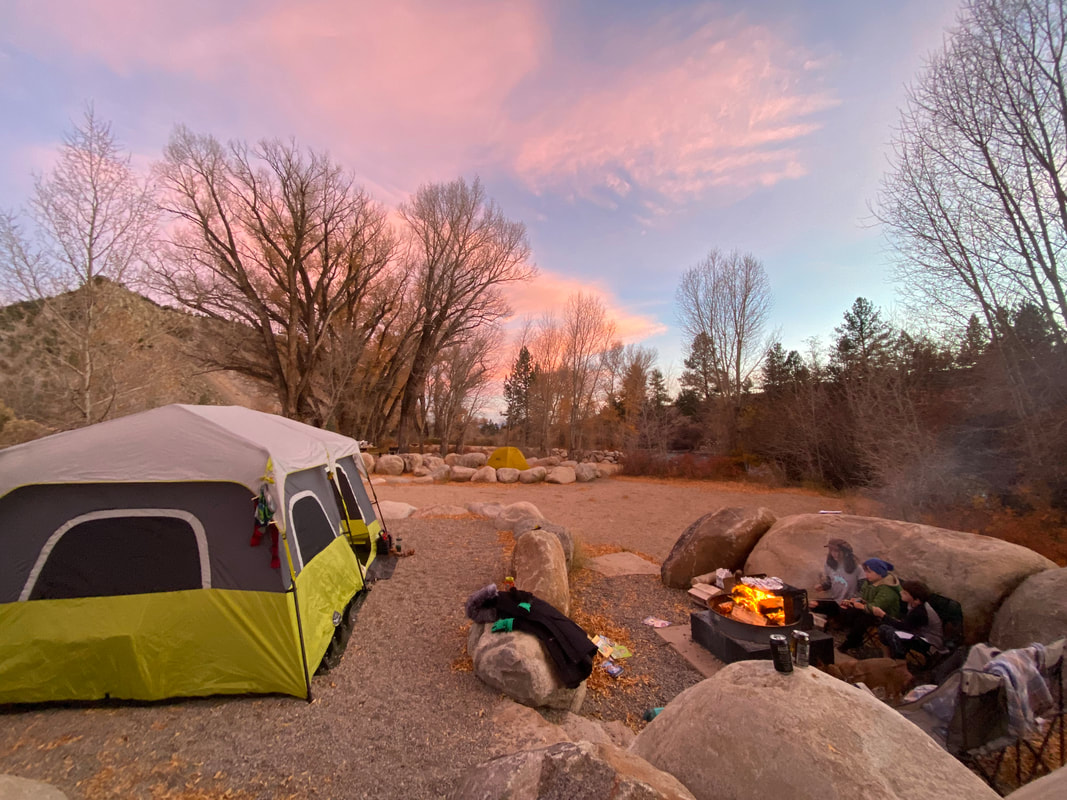
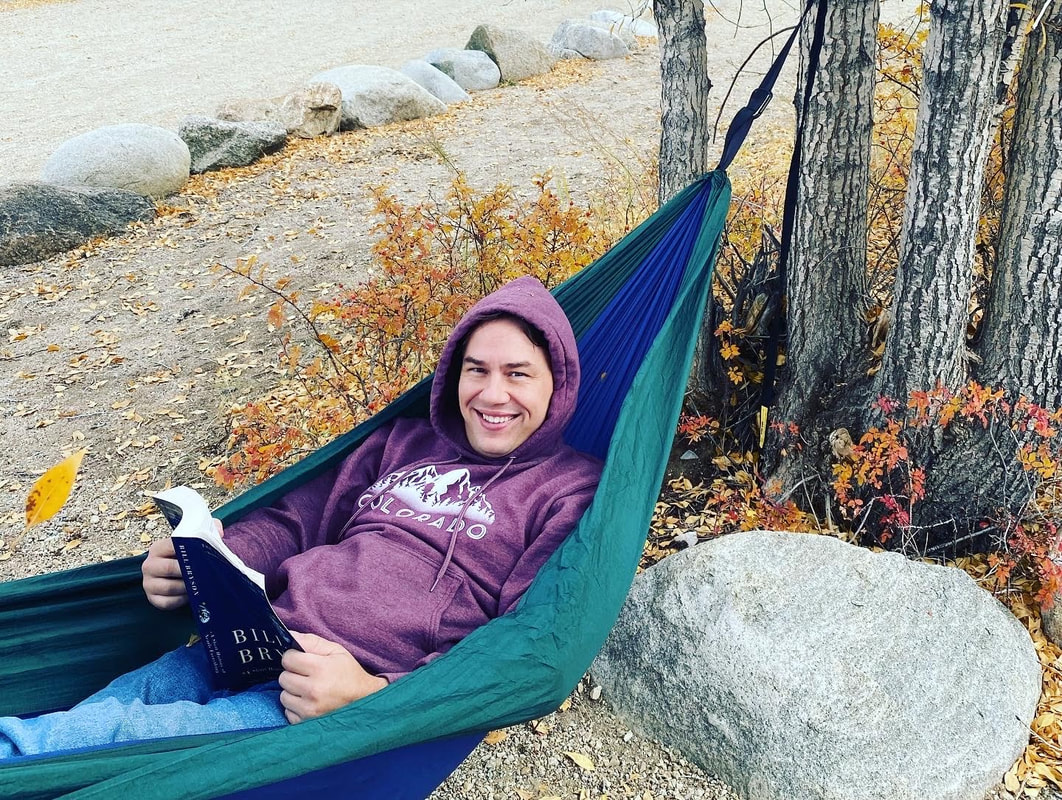
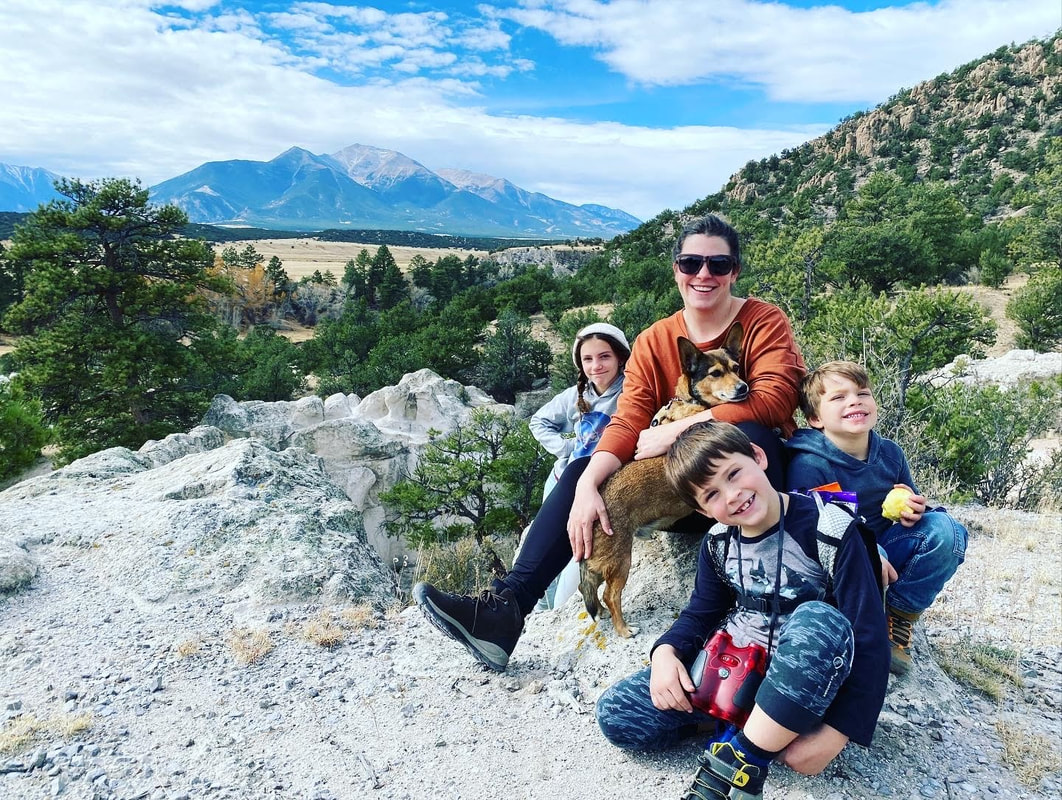
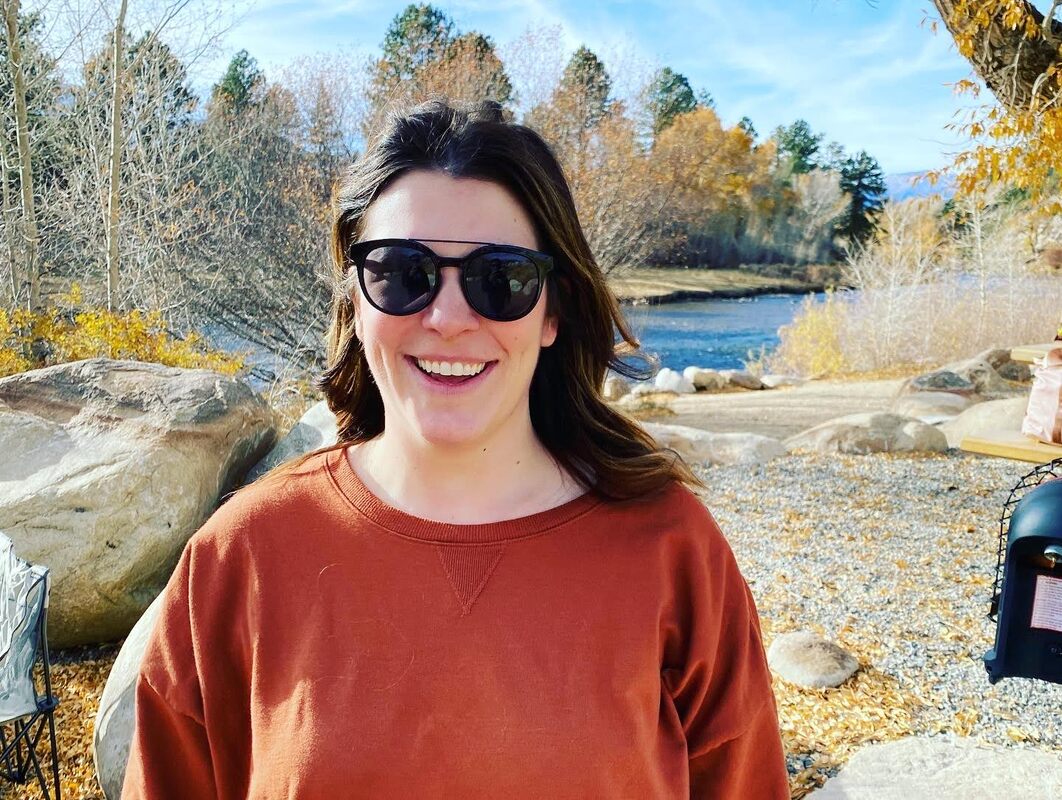
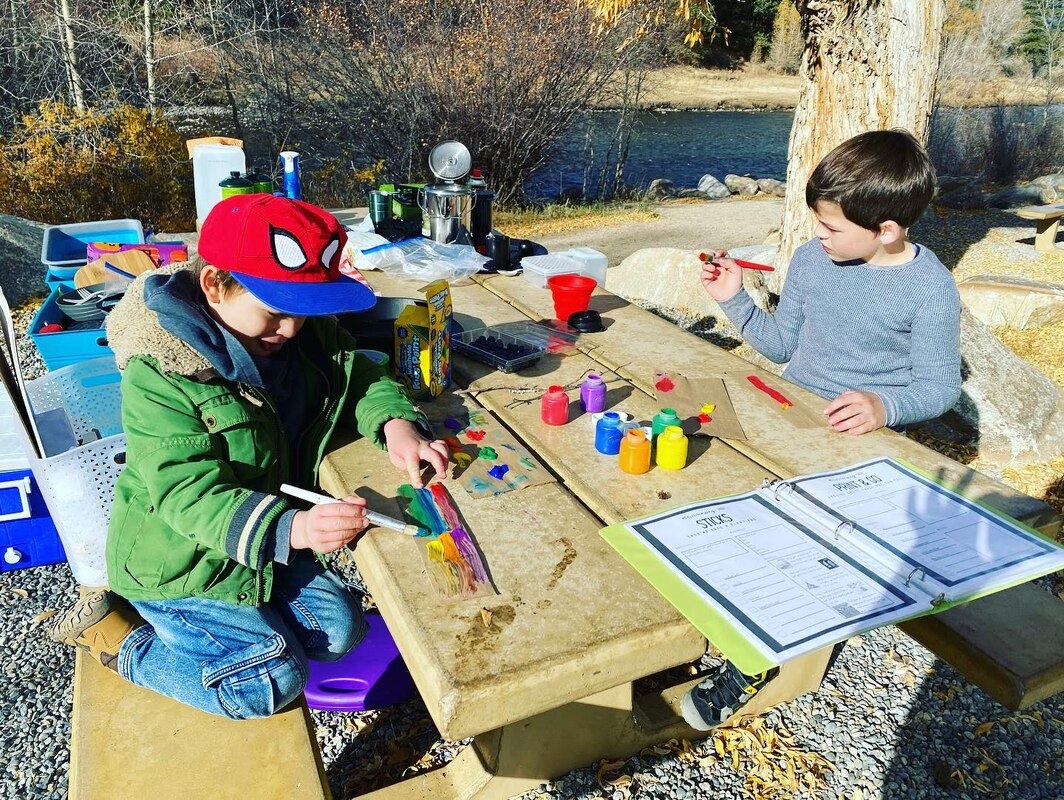
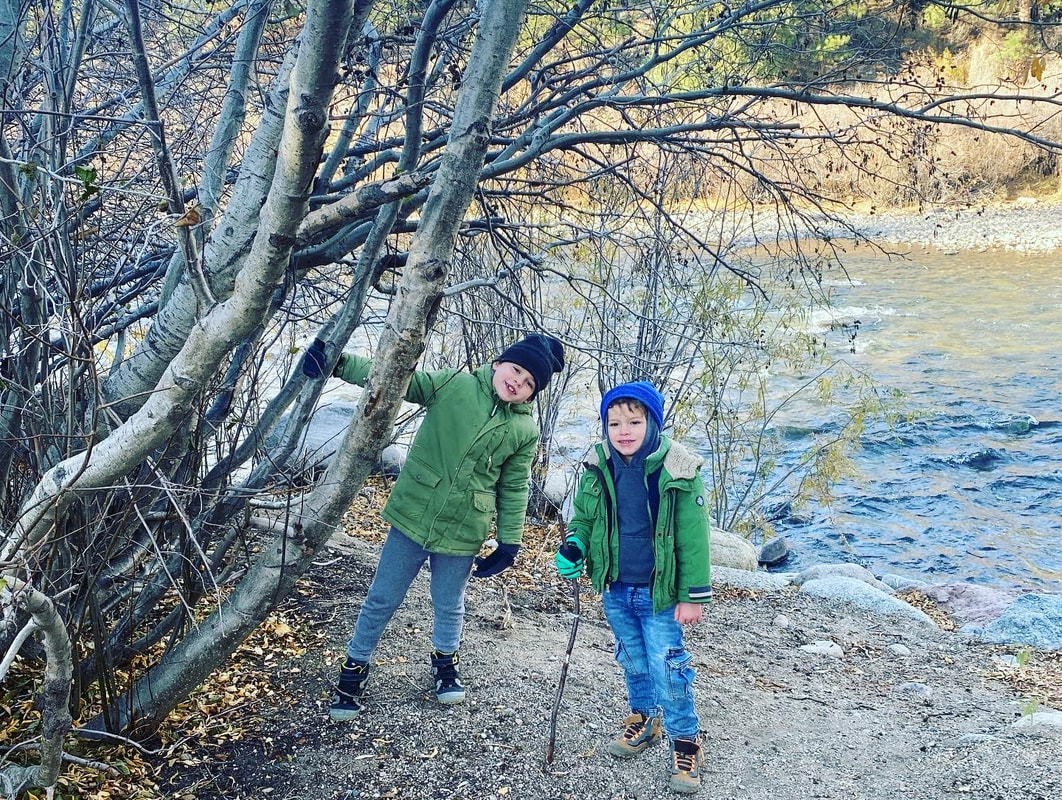
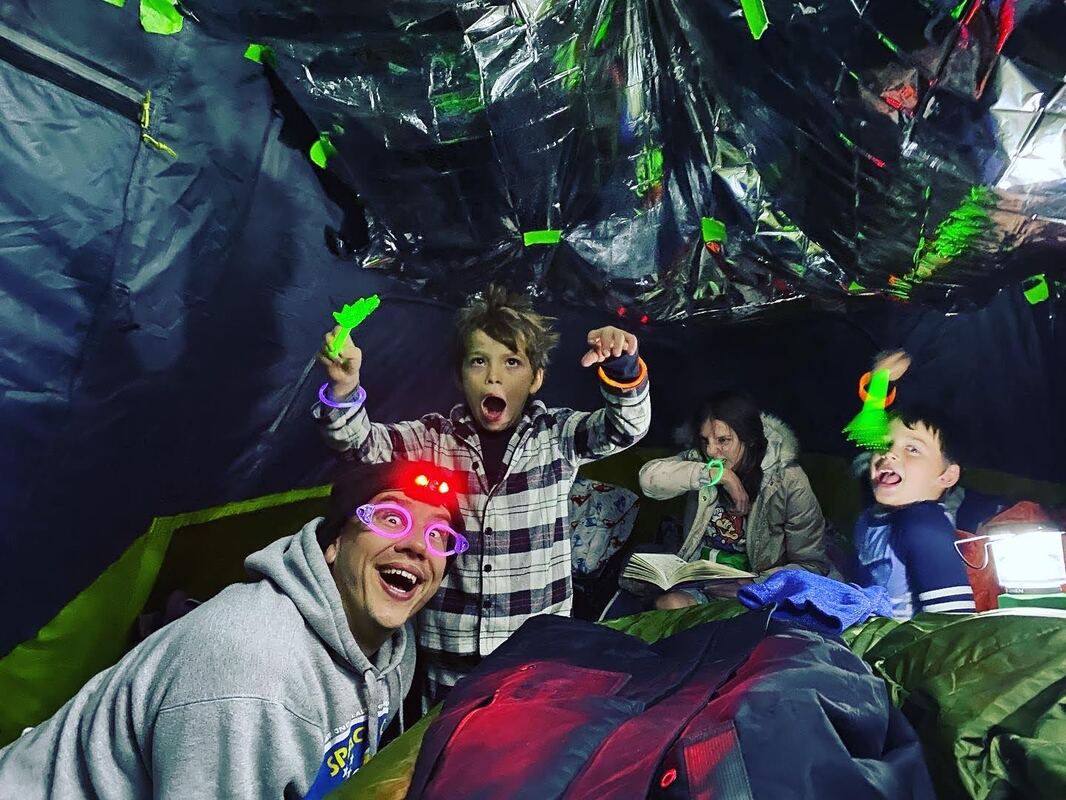
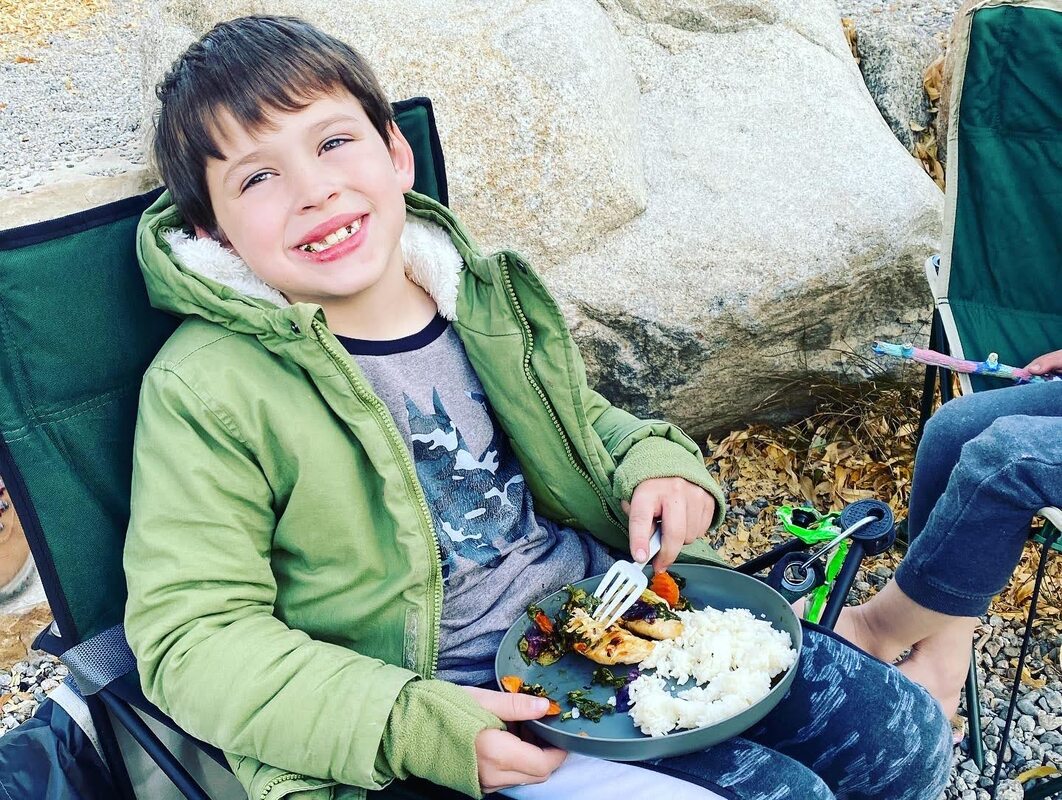
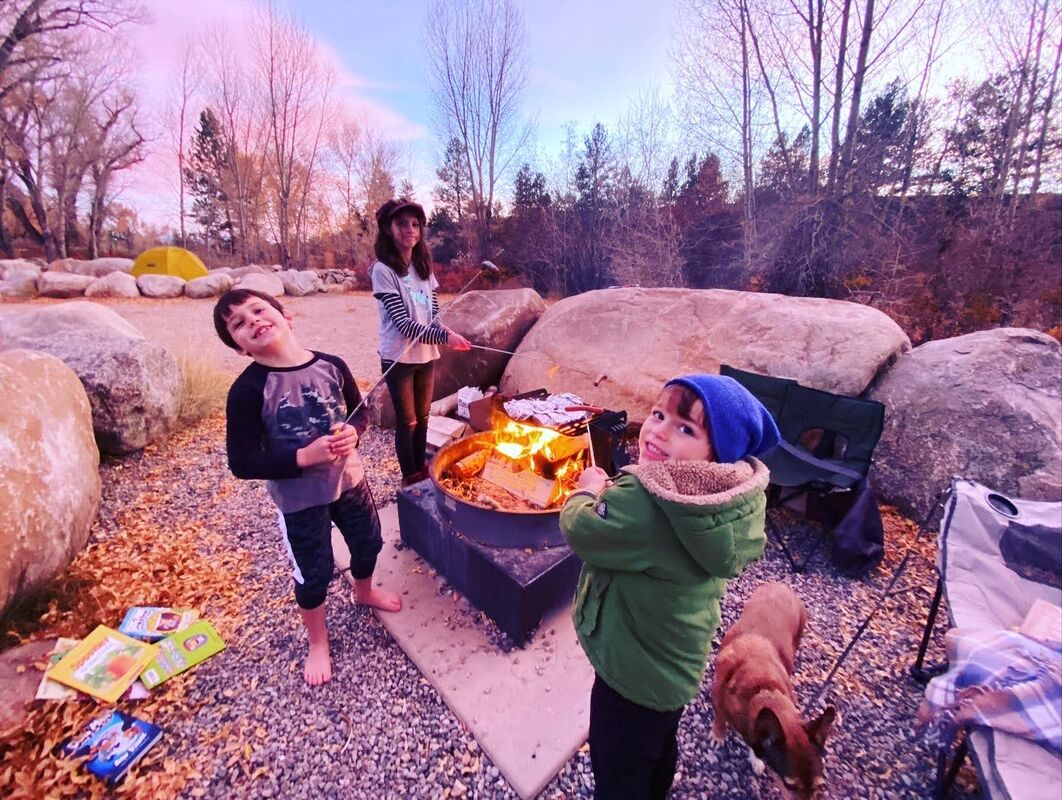
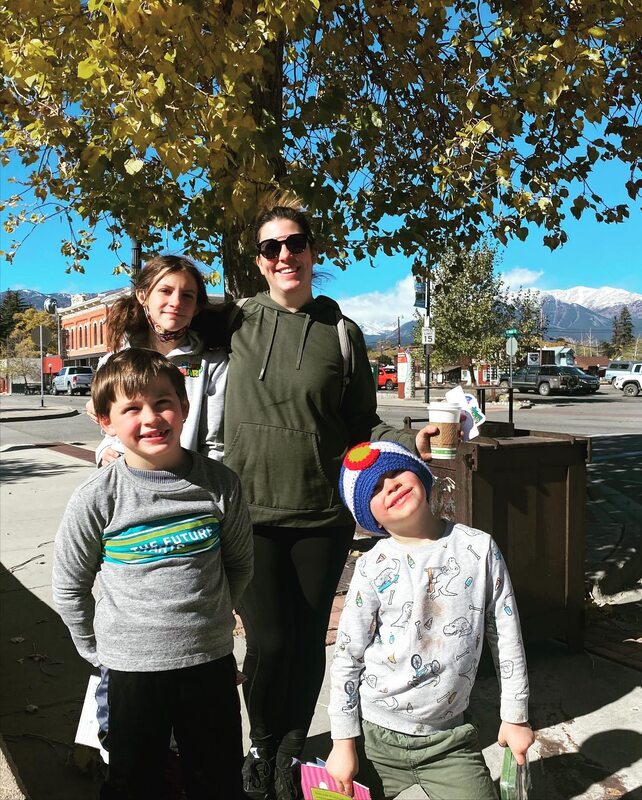
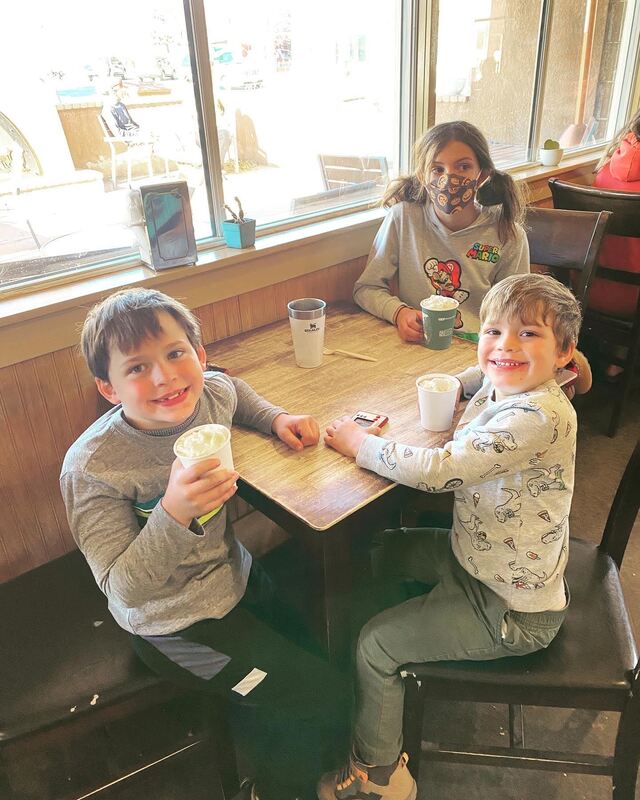
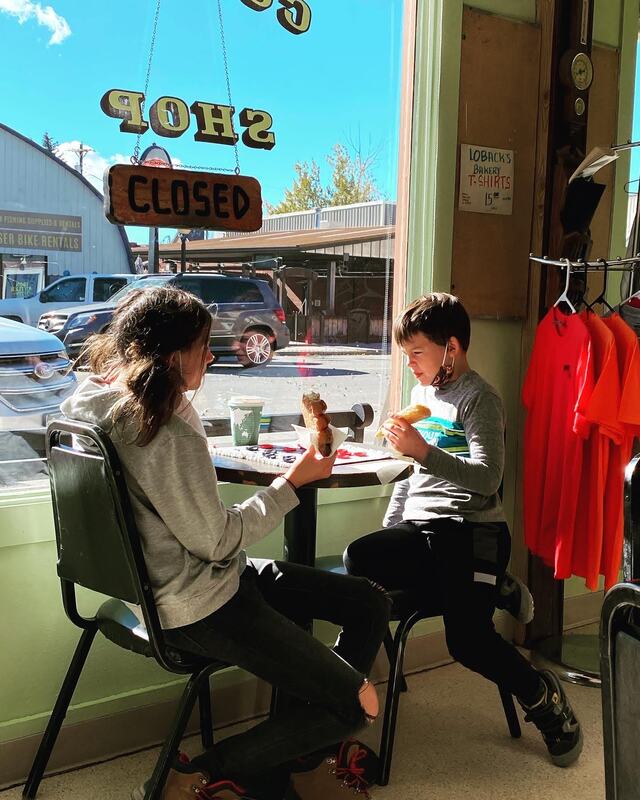
In my previous post I discussed the planning of our first family camping trip. I tried to plan everything to perfection so the kids would have the best time ever and be excited about any and all future trips and I'm proud to say that, even with a few mishaps, it was a successful trip! So, here's the recap! The drive there was super pretty and uneventful. We followed along the side of the Arkansas River for the majority of the drive which made for some nice scenery. When we arrived the weather was nice and we got right to work setting up camp. The first snaffoo was realizing that the air pump for our air mattress needed D batteries that I did not have. So, Derek went to a the nearest town (20 minutes) to purchase some along with some alcohol for us to enjoy later by the fire. He wasn't excited about it but I have scoliosis and was unwilling to compromise with no mattress. Mere moments after his departure Arthur was trying to rinse his hands in the river and FELL IN! Luckily it is the Arkansas River Headwaters so the river is not as huge as it gets further south but he was pretty upset and the water was very cold. Luckily, the tent was set up so we got him in some dry clothes and he was all better. When Derek returned we finished setting up our bed and had a dinner of chili cheese fries, hotdogs and s'mores. Everyone had a blast. Then it was bedtime. I purchased a tent heater to ensure that we had a good night's sleep however, I did not purchase a winterized tent. FAIL. The tent has a roof that is made entirely of mesh with an optional cover for rain. So, all of the heat our bodies and the heater produced went straight out of the top of the tent. We were all freezing for the entire night. It was terrible. So, the next morning I have the ingenious idea to duct tape emergency blankets to the entire ceiling of the tent. I was quite proud of myself. I looked like we were inside of a a UFO and was a bit noisy but I'll take a little noise over freezing to death any day. The rest of the day was nice and relaxing. I made fire cooked blueberry french toast for breakfast which was bomb. We hung out, went for a hike, read books, the kids took advantage of all of the crafting supplies that I brough and I worked on some cross-stitching. For dinner I made us chicken teriyaki vegetables with rice which was also amaze-balls and we had some more s'mores. Then the wind came. It was so very, very windy. We had to extinguish the fire for fear of catching our tent on fire and we sent the kids into the tent to watch t.v. on my phone to distract them from the fact that Derek was outside literally holding the tent down. Oh, and the emergency blanket ceiling was soooooo loud with that wind ripping through it you could barely hear inside the tent. But, it did hold up and only had to be re-taped in a few places. And, once the wind calmed down we all slept great because the emergency blankets worked! I actually got sweaty even though it was colder the second night than it was the first. The next morning the wind was still insane so we couldn't have a fire for breakfast but we did have a camp stove so we managed to eat some eggs and sausage. After packing up we headed to the nearby town of Buena Vista which is super picturesque. We enjoyed some well-deserved doughnuts and bougie coffee and even found an adorable bookstore to peruse for a bit. Then it was back home! So, was it the picture perfect trip I had planned? No. But, it was very memorable and included a lot of family time. Plus, the kids had a blast despite the sleeping woes and are ready to go back. However, I don't think I will plan another fall camping trip. We'll go for a summer trip next time and hopefully avoid all of the trouble we experienced on this trip. If you're interested in any of the fun activities, planners and recipes that I used on my trip you can find them all for free in the my Mommy Camp: Camping download found on the post linked below.
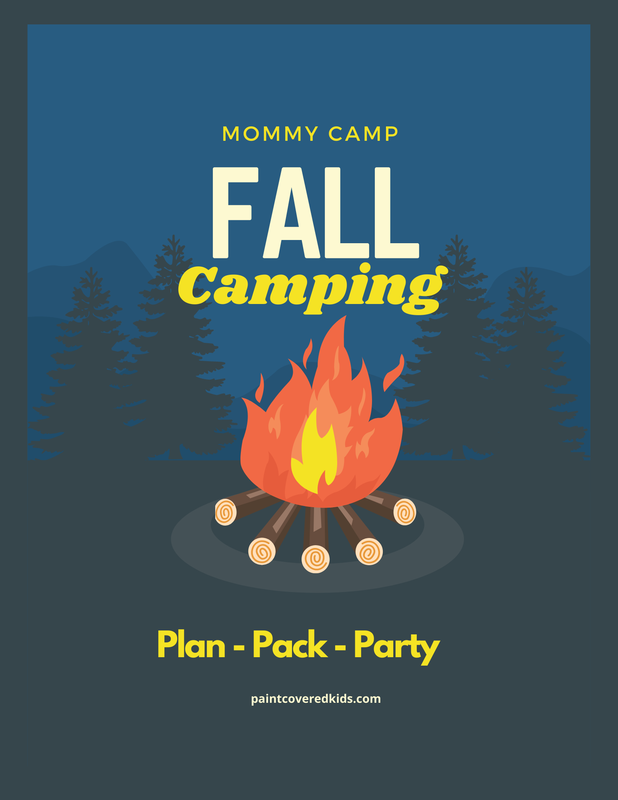
Since moving to Colorado we have been loving the ability to be outdoors! No mosquitos?! Count me in! So, after acclimating our kids to hiking and general outdoorsiness, we've decided it's time to take them on a legit camping trip! But, I want it to be perfect so they love it and we can do it all the time without whining. (Hiking took a bit before they stopped whining about going.) So, I'm planning everything down to the last detail. I don't know if you've picked up on this yet but I have never been a chill person. I'm very extra in just about everything. After spending hours researching tents, sleeping bags and everything else I could possible need, spending way too much on Amazon. Justifying the amount spent by rationalizing that if the world ends we'll be prepared and scouring the internet for suggestions that I may not have thought of (like cracking eggs before hand and storing them in a container...genius). I think we're ready to go. And, what kind of insane, OCD, extra mom would I be if I didn't make a special binder full of the plans, recipes, lists and kid activities to go along with us?! So, enjoy my Mommy Camp: Camping Guide which you can download by clicking the photo below and be sure to check back to see if all of my planning paid off or if we ended up in a hotel.
|
meet rachelRachel is a mother of three, elementary Spanish teacher and part-time blogger who loves crafting, creating fun and engaging activities for her children and students and hanging with her friends and family. She blogs about what she's doing and her interests at any given time which vary. She's a little OCD and always looking for her next project. Her husband calls it, "focusing her crazy", but she just calls it fun. Archives
December 2022
Categories
All
|






 RSS Feed


