|
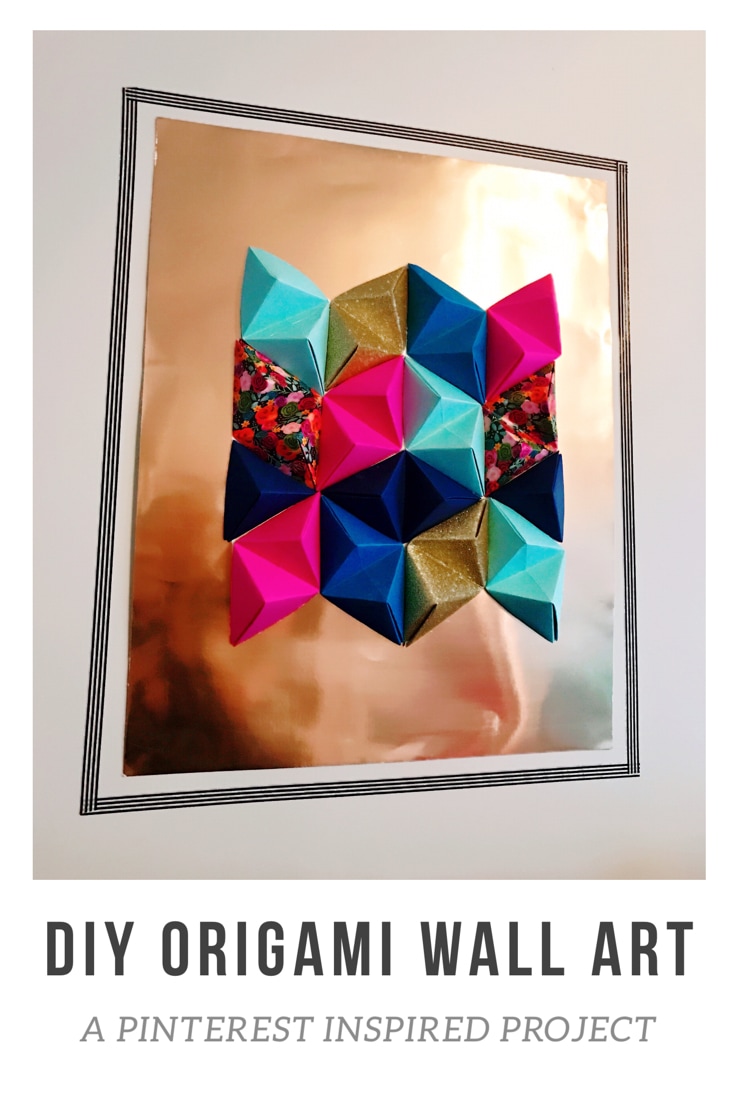
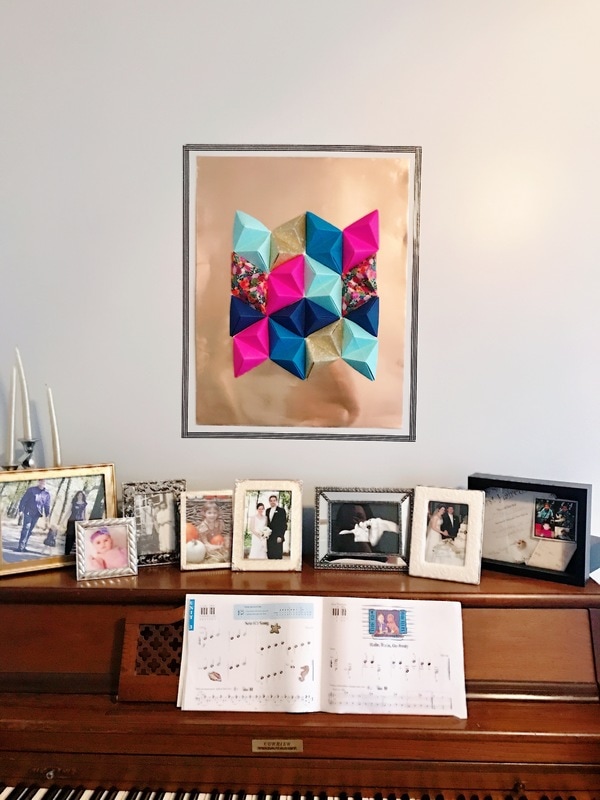
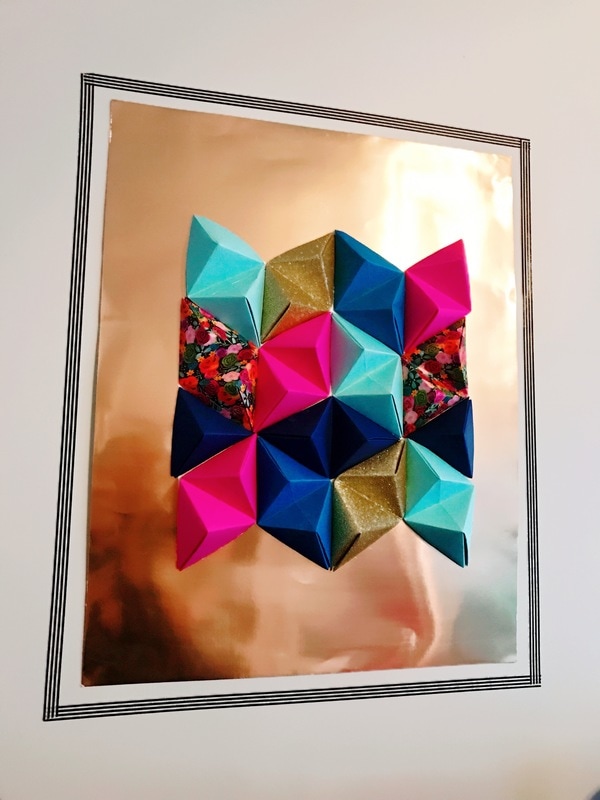
I'm always trying to get the most bang for my buck and save as much as possible when redecorating our new home. So, for my office I began browsing pinterest for inspiration and came across a fantastic tutorial to create 3D origami art. I figured that paper was cheap so in the worst case scenario I wouldn't be out much money if the project ended up being a fail. I selected papers that matched the color scheme for my room, pulled out my paper cutter, ruler and pencil and got to work! I followed the tutorial exactly and then configured them in my own way on a piece of white poster board. Once I figured out the arrangement I liked, I used hot glue to adhere them to the white poster board. After that, I cut it out of the poster board and got glued it to a piece of gold poster board. Then I stuck it on the wall using poster stickers. Once I got it up there I felt it needed a little something extra and added some black and white washi tape to frame it. I LOVE how it turned out and only spent about 30 minutes making it! It really pops on the wall and I adore the paper choices I made. I love it so much I may make some similar art for other rooms in my house.
1 Comment
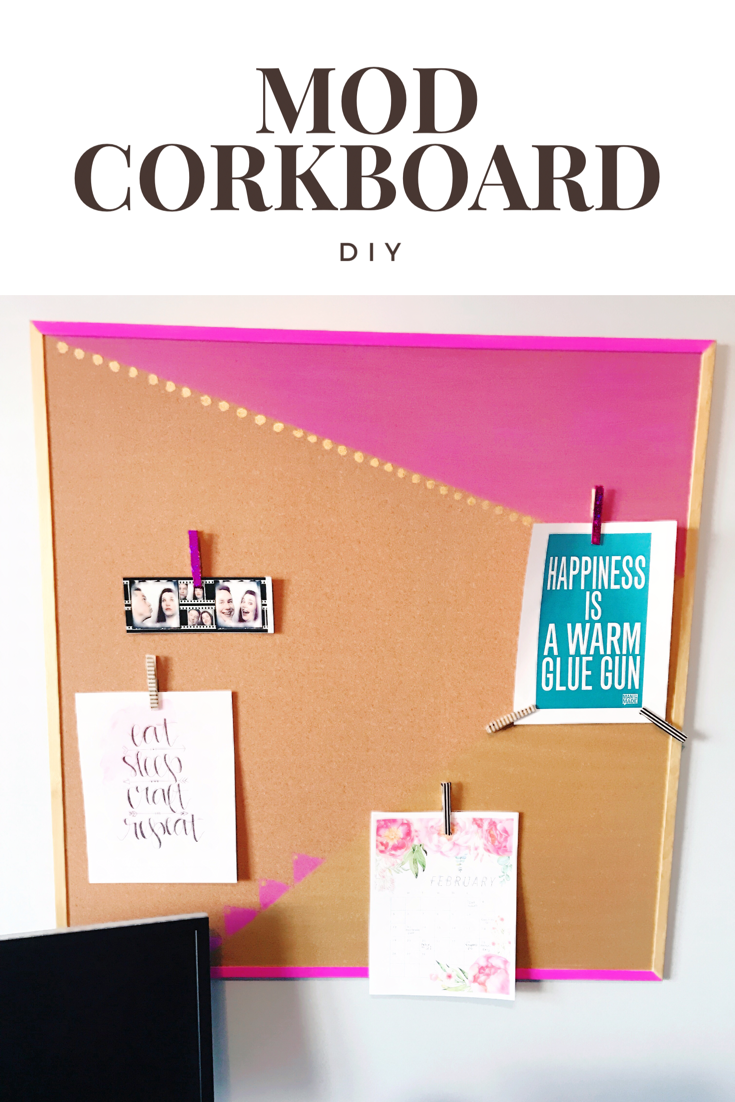
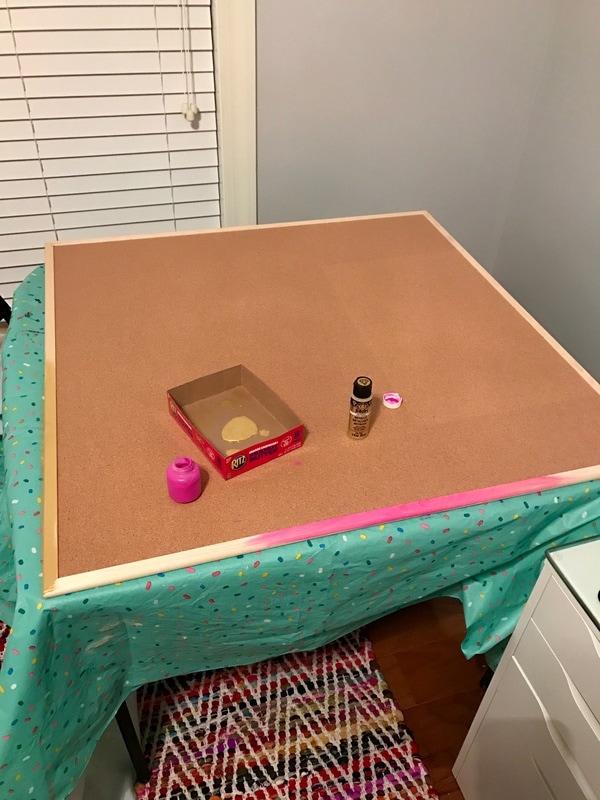
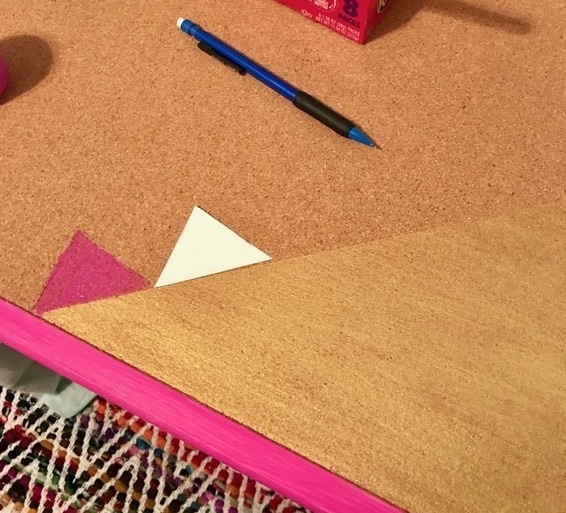
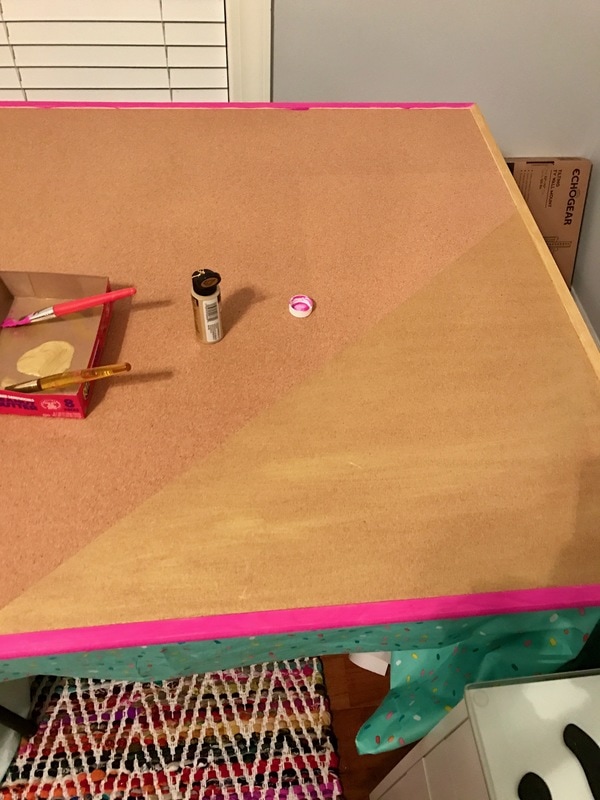
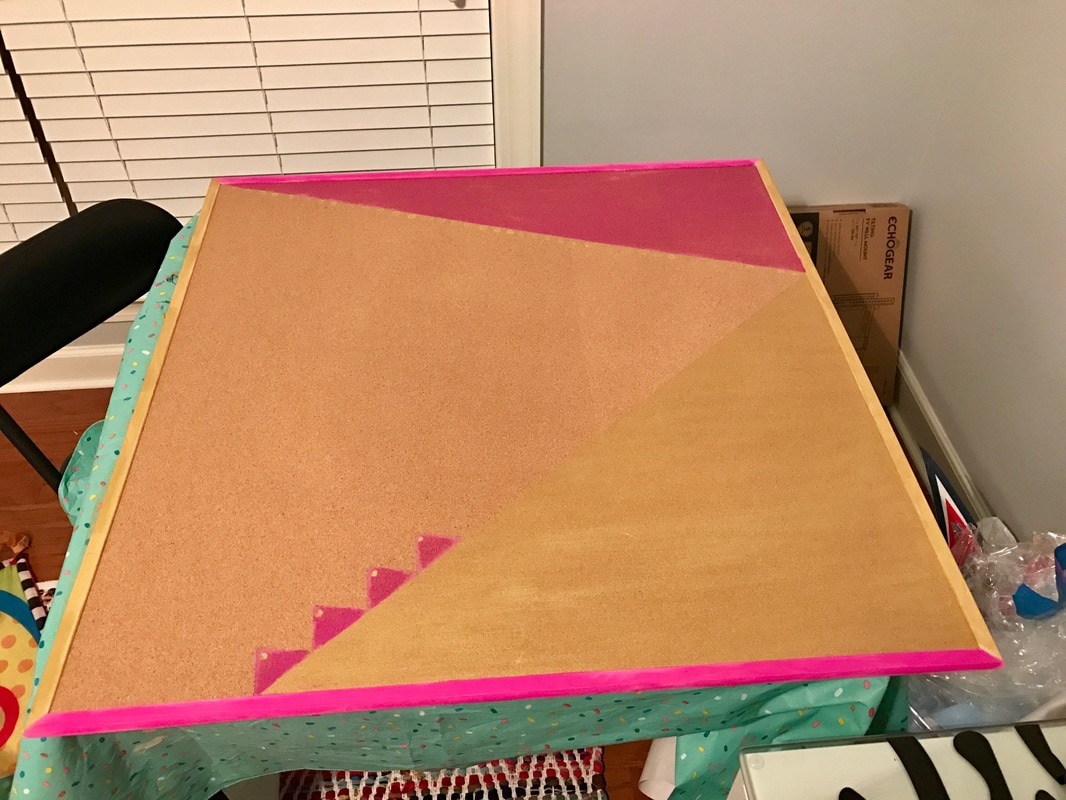
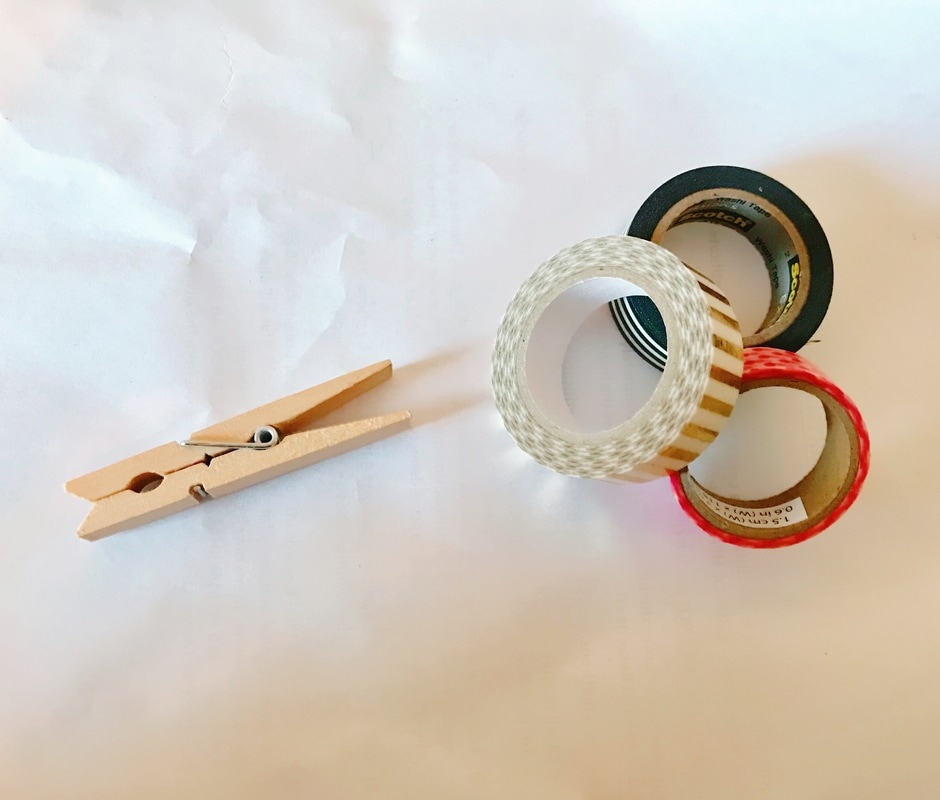
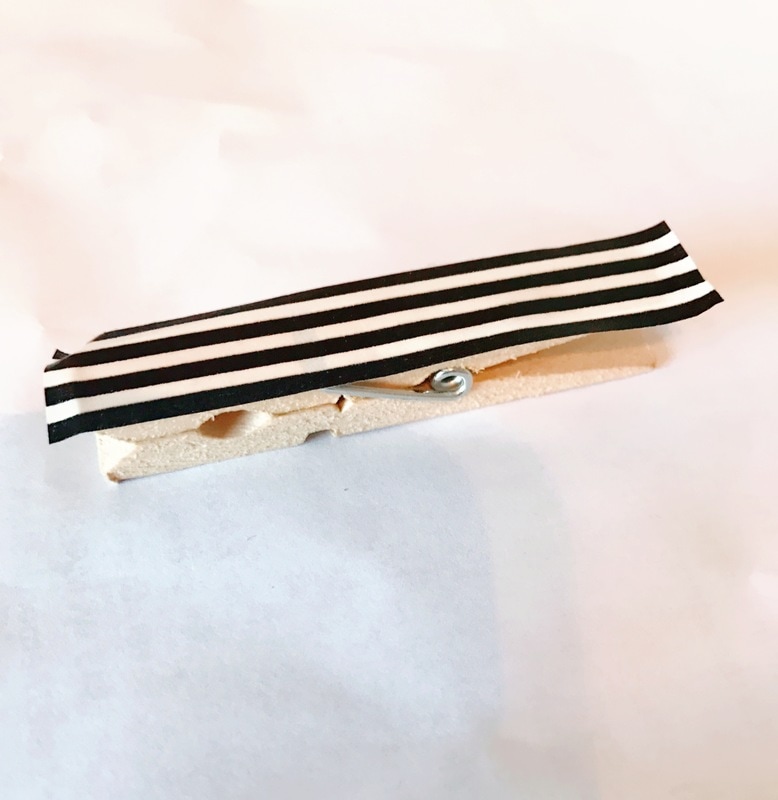
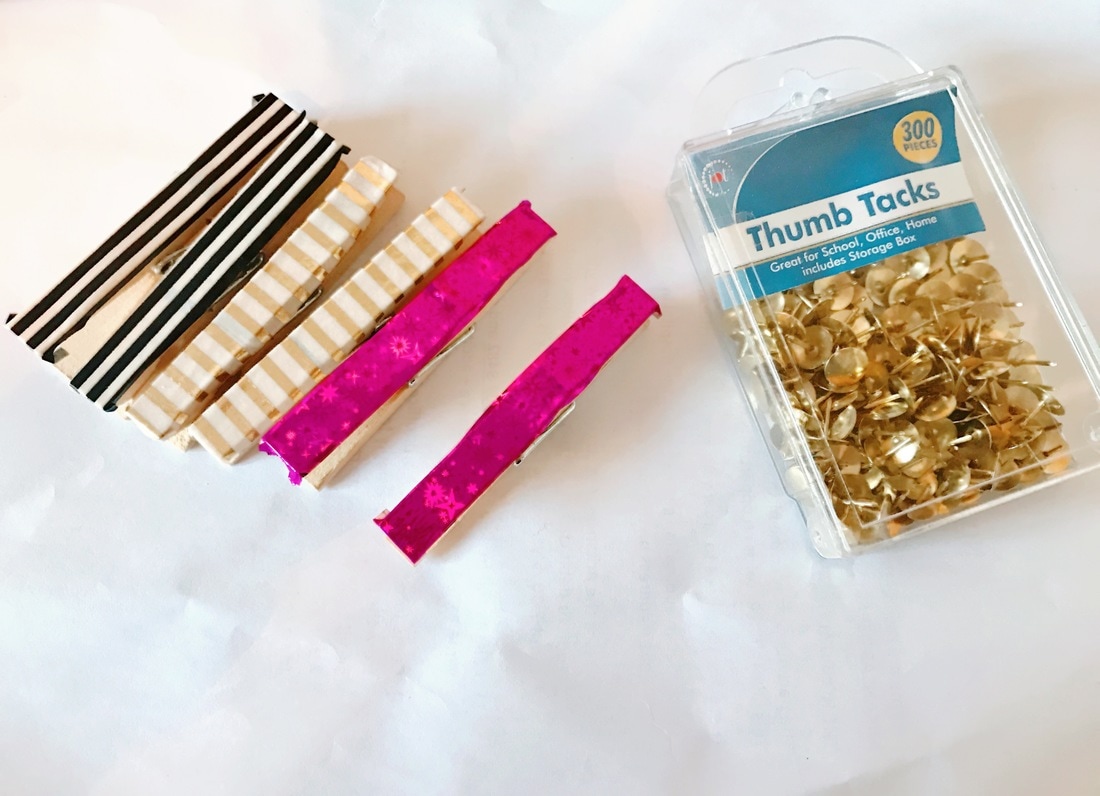
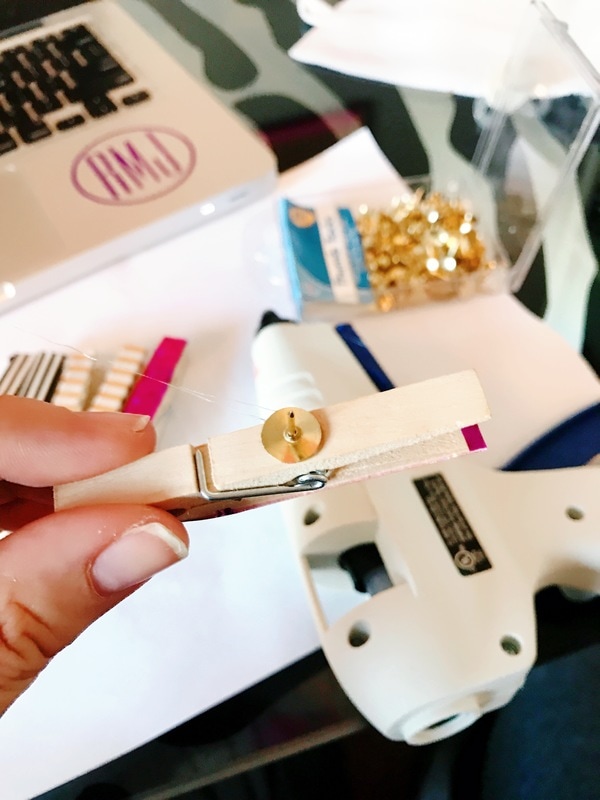
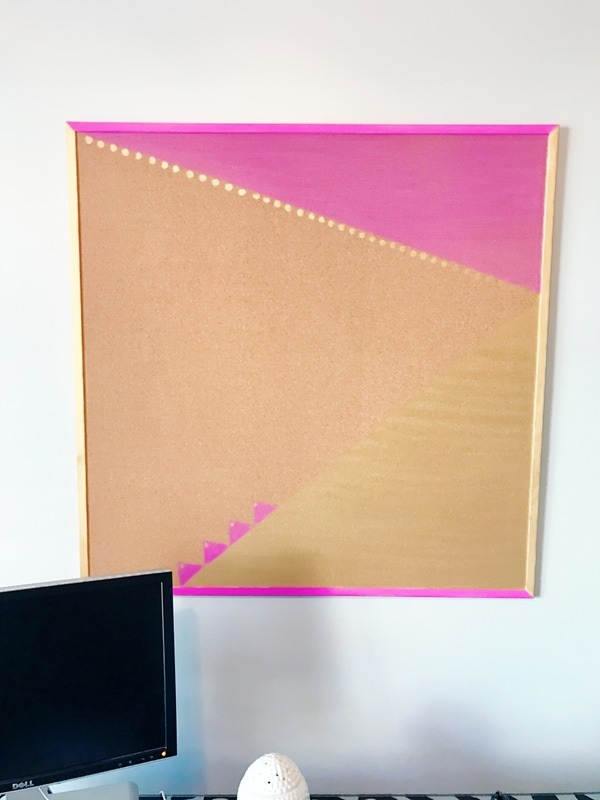
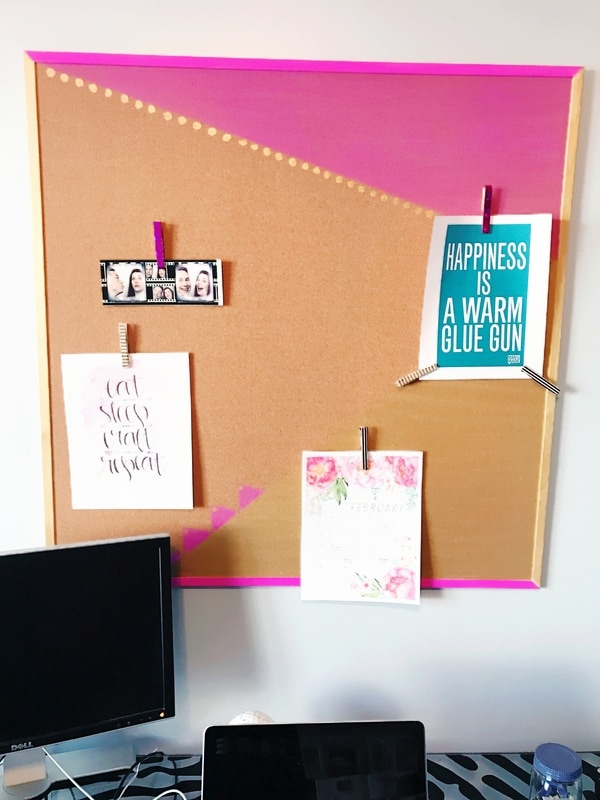
I've slowly been checking off my to-do list since moving into our new home this fall and this week I took on my office/craft room! It's not finished yet so you'll have to wait for that post a bit longer. But, I can definitely share with you a few of the projects I've been working including a super easy and fun cork board that I've hung in my office. You will need:- framed cork board - paint (I used gold and hot pink) - paintbrush - clothespins - washi tape (I used black and white striped, metallic pink and a gold pattern) - thumbtacks - hot glue and hot glue gun - painter's tape Directions:1. Decide on your design. I chose to tape a gold triangle off in the bottom right corner and a pink in the top right. Then I added gold dots along the edge of the pink triangle and a few pink triangles on the edge of the golden one. I also painted the top and bottom parts of the frame pink and the sides gold. I used painter's tape to create a straight line for both triangles. I used a piece of paper to outline my triangles with a pencil and then filled them in with pink paint. 2. While your board dries, gather the rest of your supplies to create the fun clothespins. Apply washi tape to the front of each clothespin. Then use your hot glue gun to apply a push pin to the opposite side of each clothespin. 3. Put it to use! I found some cute free printables for my board and added a pic of my husband and I. I'm sure it will soon be covered with all of my goals and to-do's but for now it looks very neat and pretty. The prints I used are "Eat, Sleep, Craft, Repeat" from The Plaid Palette , a 2017 floral calendar from The Cottage Market, and "Happiness is a warm glue gun" from Man Made DIY. I'm really happy with my result and hope you enjoy it! Thanks for visiting!
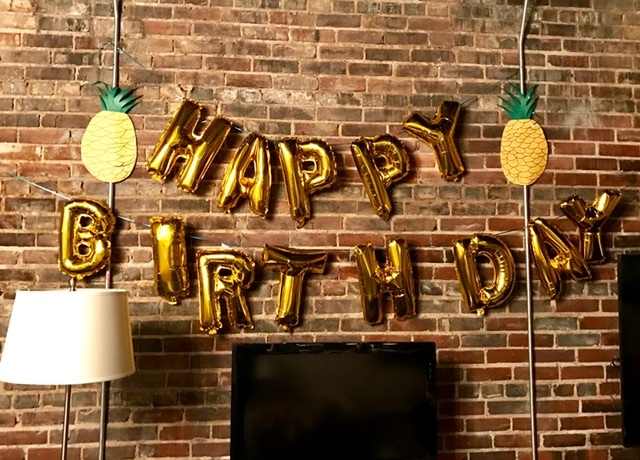
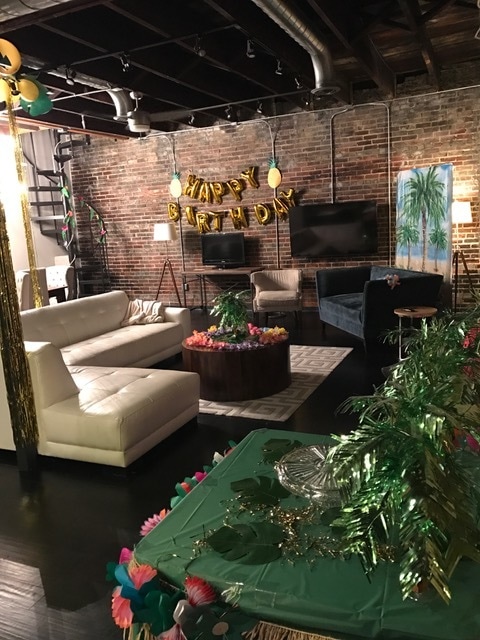
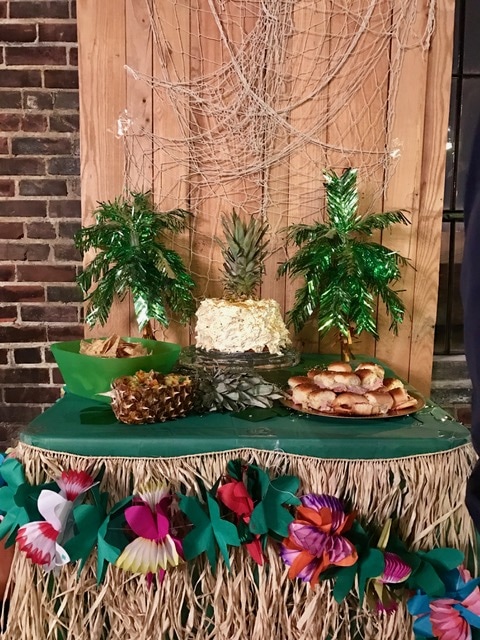
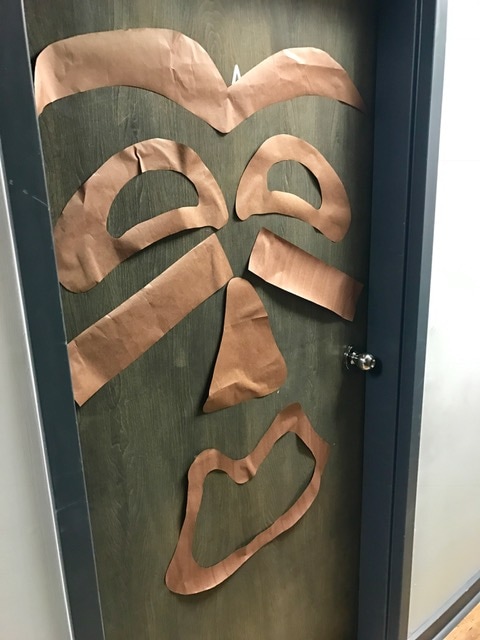
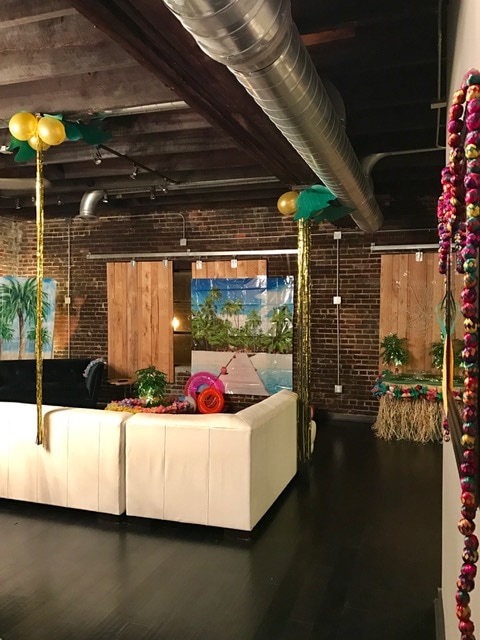
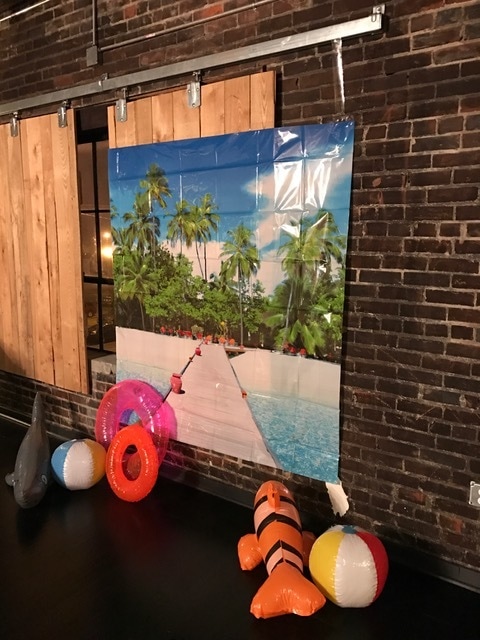
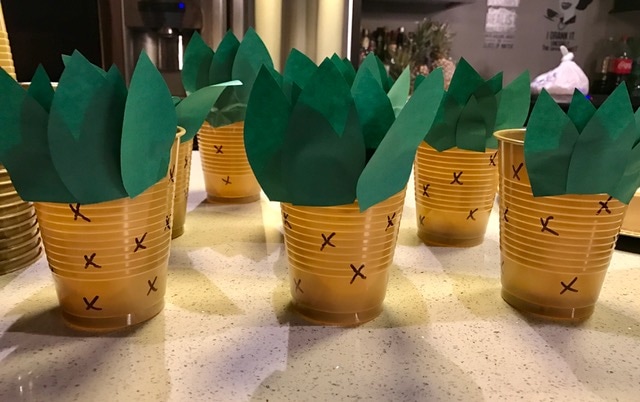
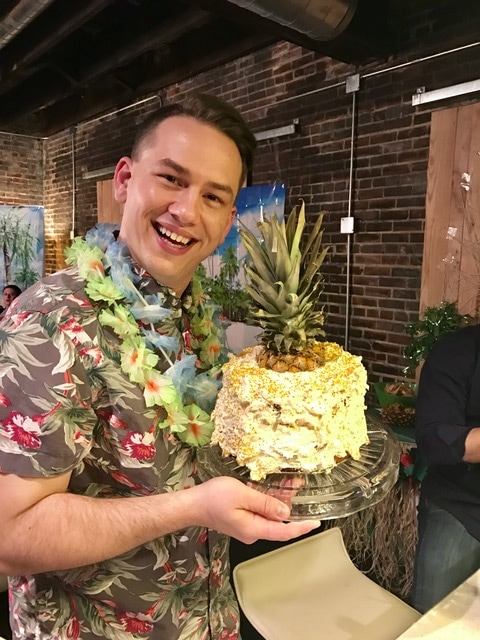
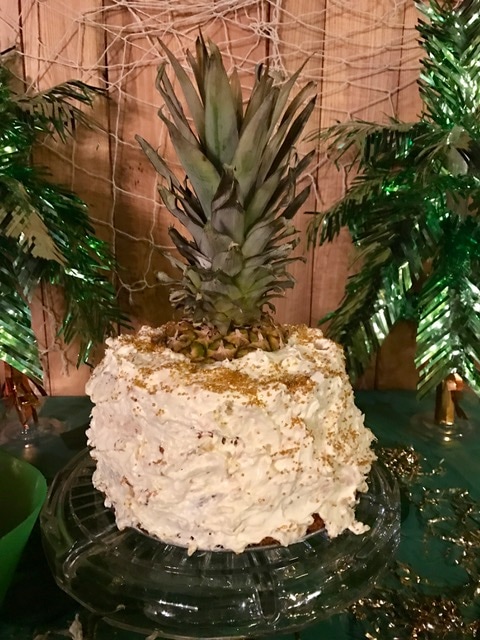
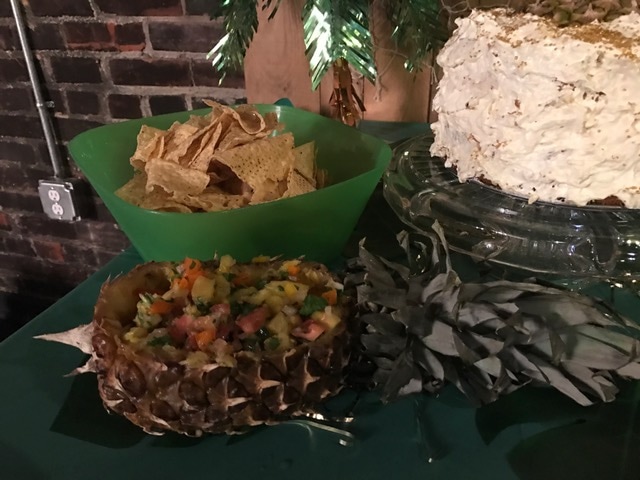
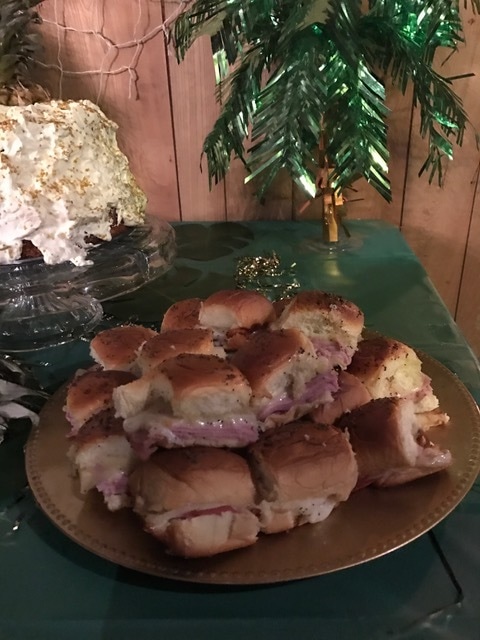
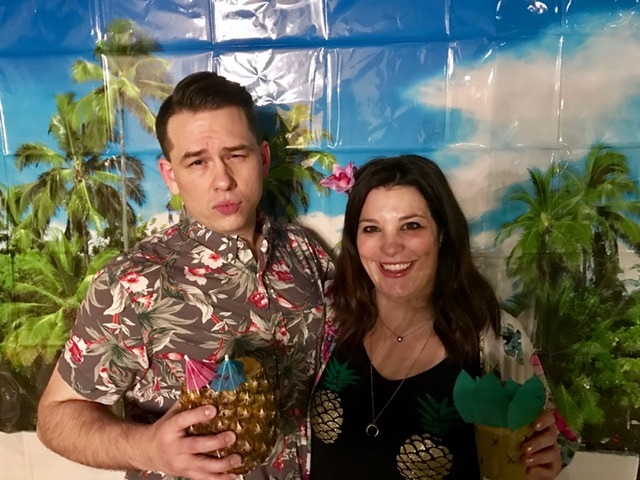
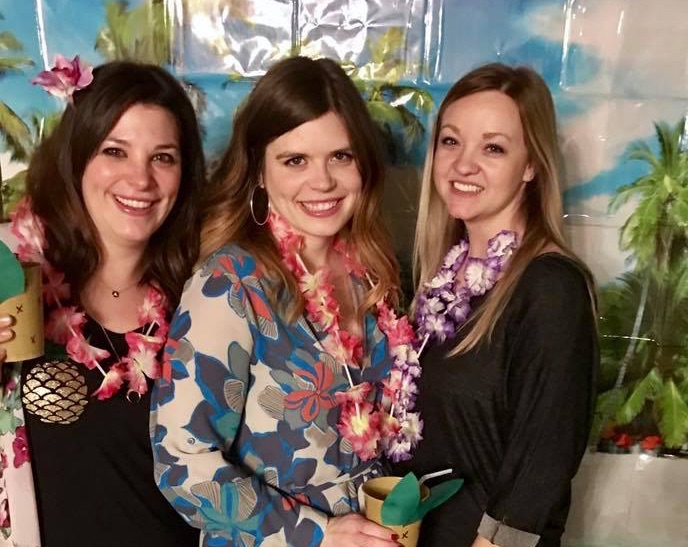
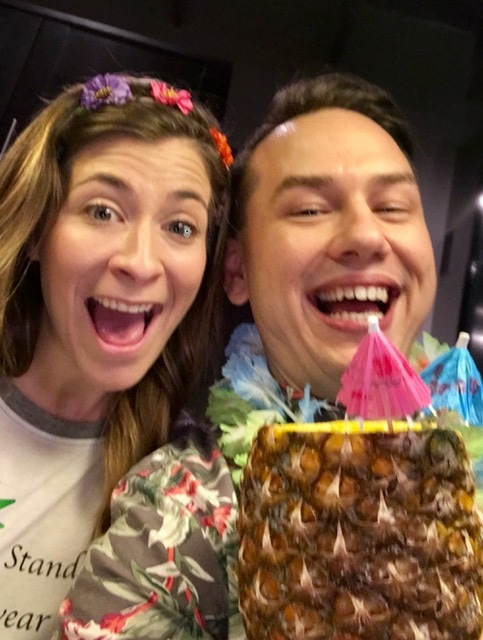
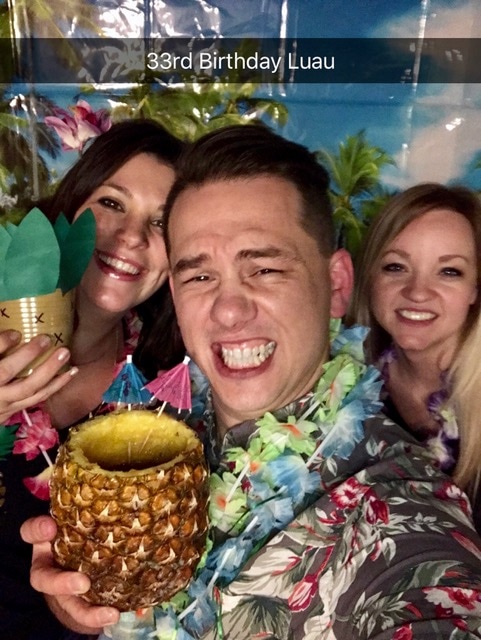
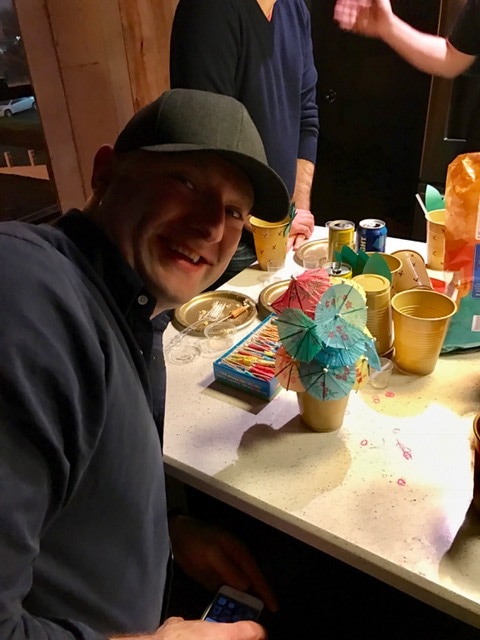
For the past few years we haven't done anything big for my husband's birthday and he wanted to celebrate a little bigger this year so, I sat down and put my party planning skills to work for his 33rd birthday! We decided to go with a luau theme which made the party planning really fun and super versatile. Since his birthday is in January it was also kind of unique and funny since it is definitely not luau weather outside! Since it is an adults only party I didn't do nearly as much as I would for a kid party. We can entertain ourselves and don't need crafts or games. I did however want to have a few yummy things to eat and some festive decor. I got some inspiration from pinterest and made myself a planning board. I decided to go with gold, yellow and green as the main party colors but accented with a bunch of fun tropical colors too. I purchased some lei's, drink umbrellas, gold cups and plates, a photo backdrop, a flower garland, some fake palm leaves, some birthday balloons and a golden fringe curtain for decorations from Amazon and finished it up using some craft paper and tape. My friend Paige also helped with planning and contributed some fun blow-up fish and beach balls as well as a few fake palm trees and nets to add even more ambiance. We spent about four hours putting it all together the night before and ended up with a really fun, vibrant party where the guests could enjoy themselves. For the food I wanted a few easy but delicious tropical themed things. I decided to make a pineapple cake, pineapple salsa and Hawaiian baked sandwiches. I also had all of the ingredients for guests to make a rum punch. The cake was an easy recipe that used a yellow box cake mix as a base. After adding the required ingredients for the mix as well as 1/2 cup sour cream and an 8oz can of crushed pineapple, you baked until done. I made two cakes and stacked them on top of each other with icing in between. Once it cooled I iced it with icing made up of a container of cool whip, a package of vanilla pudding (powder only) and a 20oz can of pineapple. After icing, I chopped the top of off a pineapple and centered it on the cake. Then I sprinkled it with some gold sprinkles. It was a big hit and I will definitely be making this cake again luau or not. It was delicious!
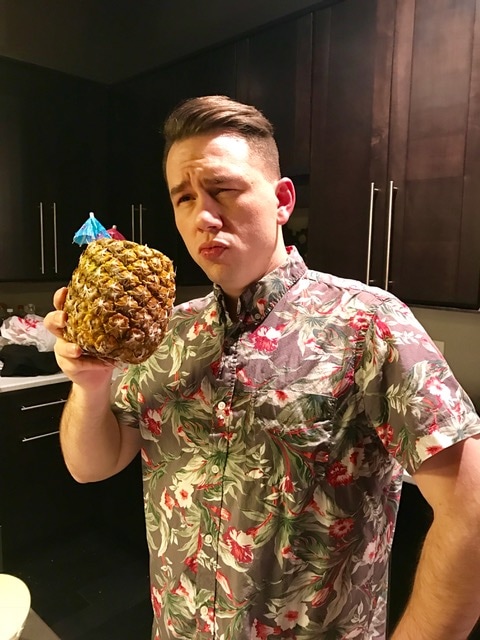
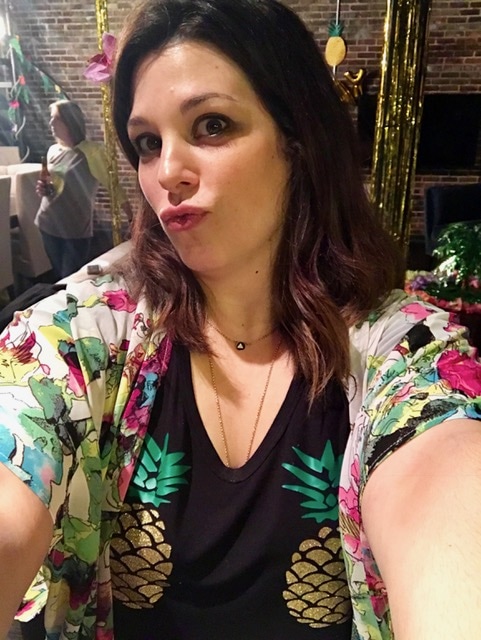
Everyone had a great time and loved the decorations and the food! My first adult party planning was a success! I purchased an amazing gizmo that cores and slices pineapple in a matter of seconds and used it to hollow out a pineapple in order to create a pineapple cup for the birthday boy. I don't know why I didn't already own this nifty gadget. It is seriously amazing! Since it was a luau theme that relied heavily on pineapples I decided to make a shirt with my silhouette. However, I ended up running out of time and my party planning partner did it for me using her silhouette. She used gold glitter for the pineapple body and green for the leaves. So, I ended up with a super fun pineapple booby shirt! Hopefully you enjoyed and were inspired by my luau party! Thanks for visiting!
|
meet rachelRachel is a mother of three, elementary Spanish teacher and part-time blogger who loves crafting, creating fun and engaging activities for her children and students and hanging with her friends and family. She blogs about what she's doing and her interests at any given time which vary. She's a little OCD and always looking for her next project. Her husband calls it, "focusing her crazy", but she just calls it fun. Archives
June 2023
Categories
All
|


 RSS Feed


