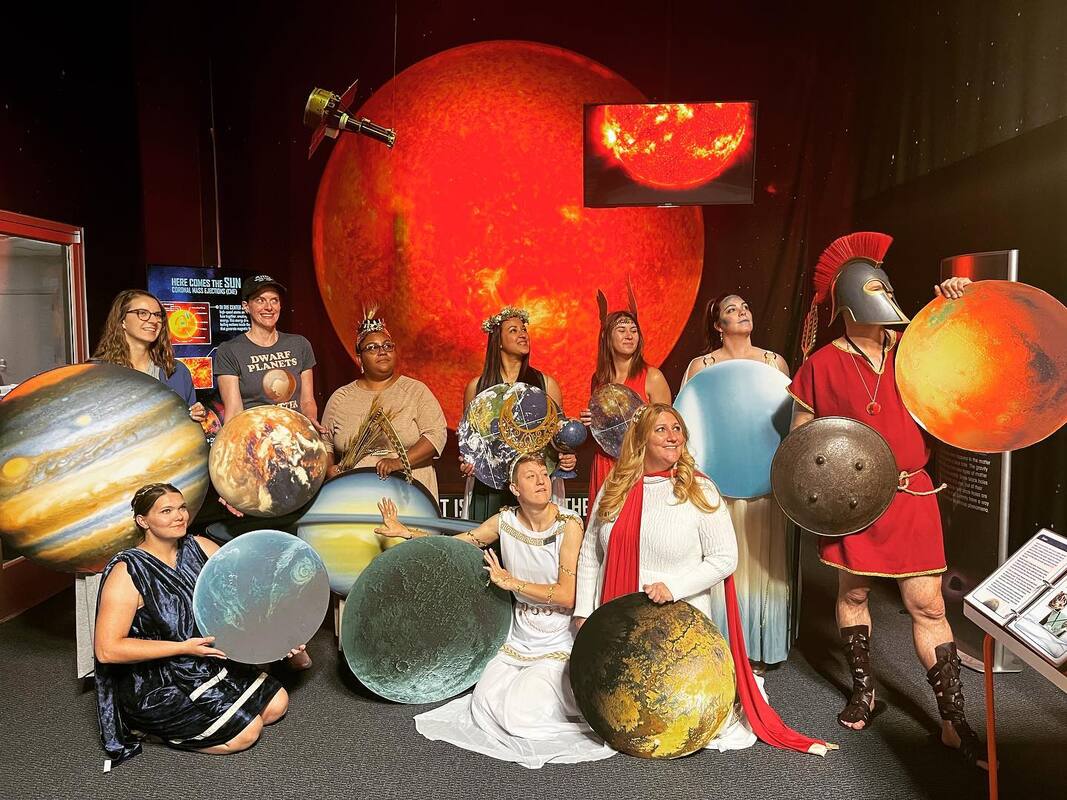
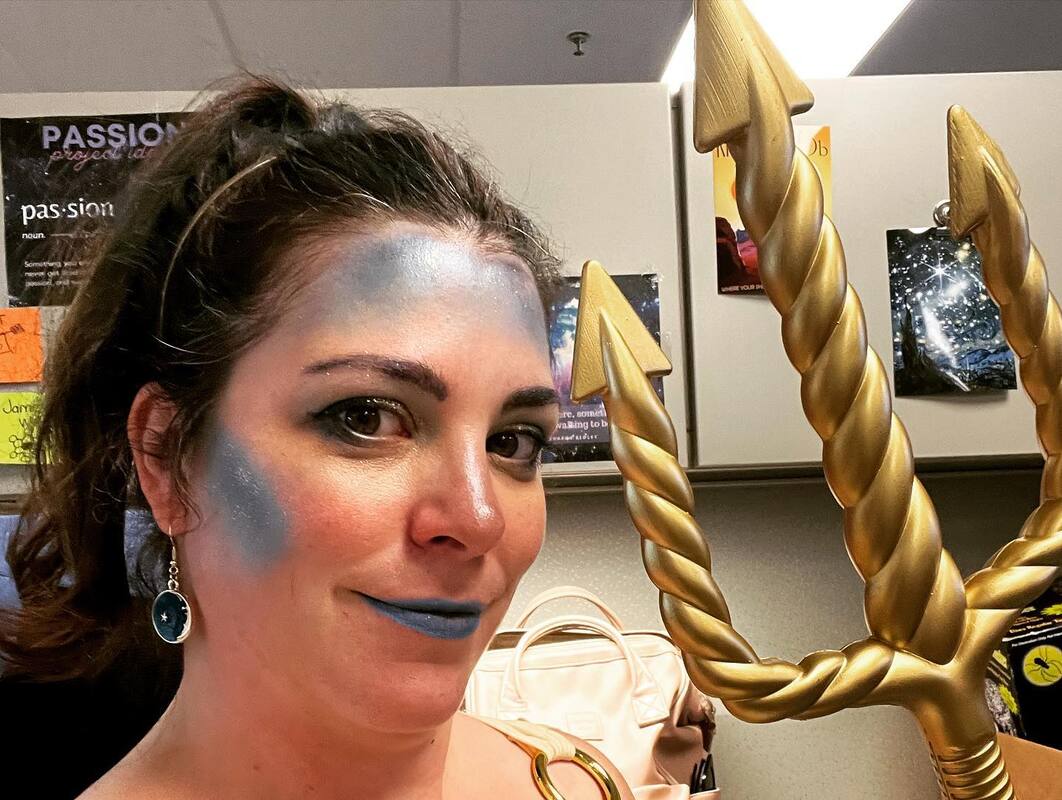
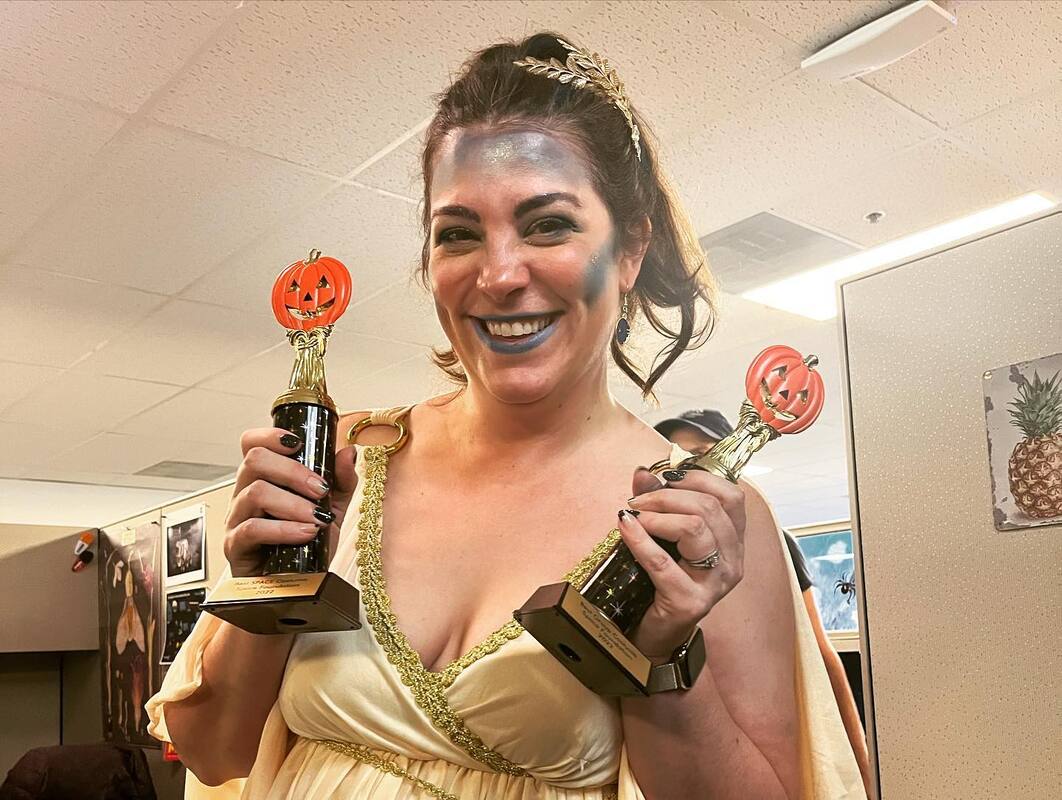
The planets were rescued from the trash of our warehouse cleanout and everyone put together their own costume. I was lucky enough to find the perfect dress at Goodwill and then added some fun makeup and a trident because I was Neptune which is named after the Roman god of water.
|
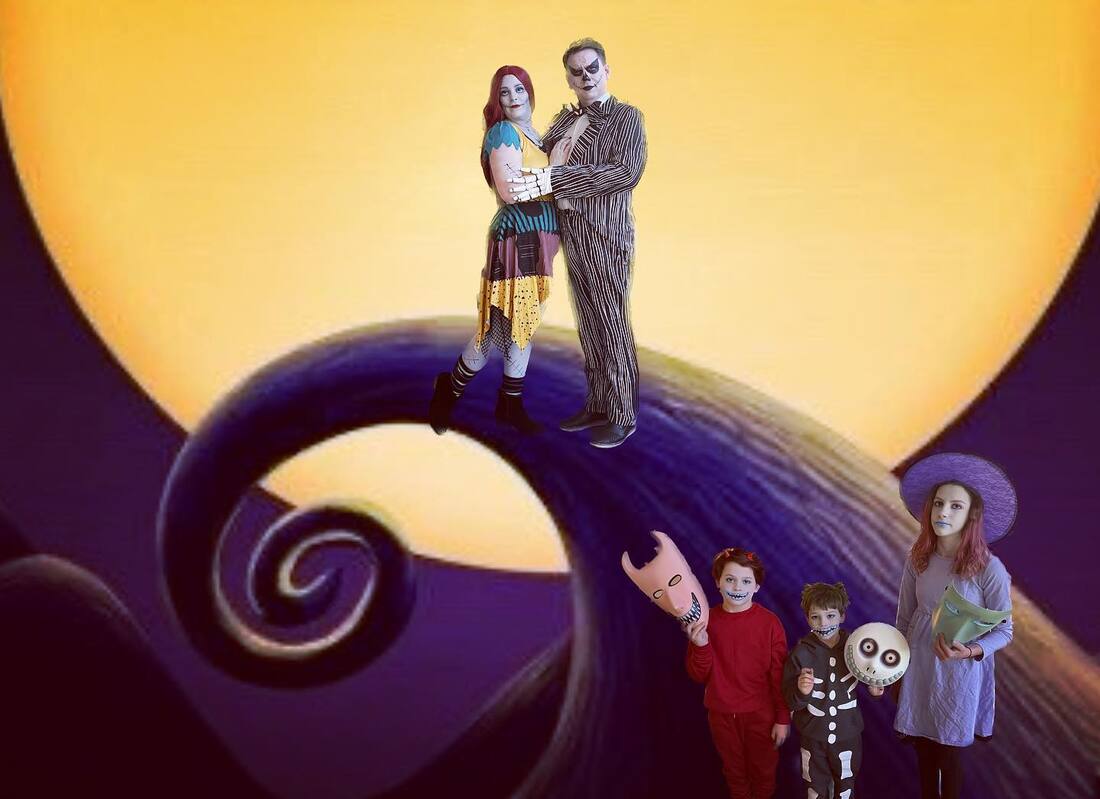
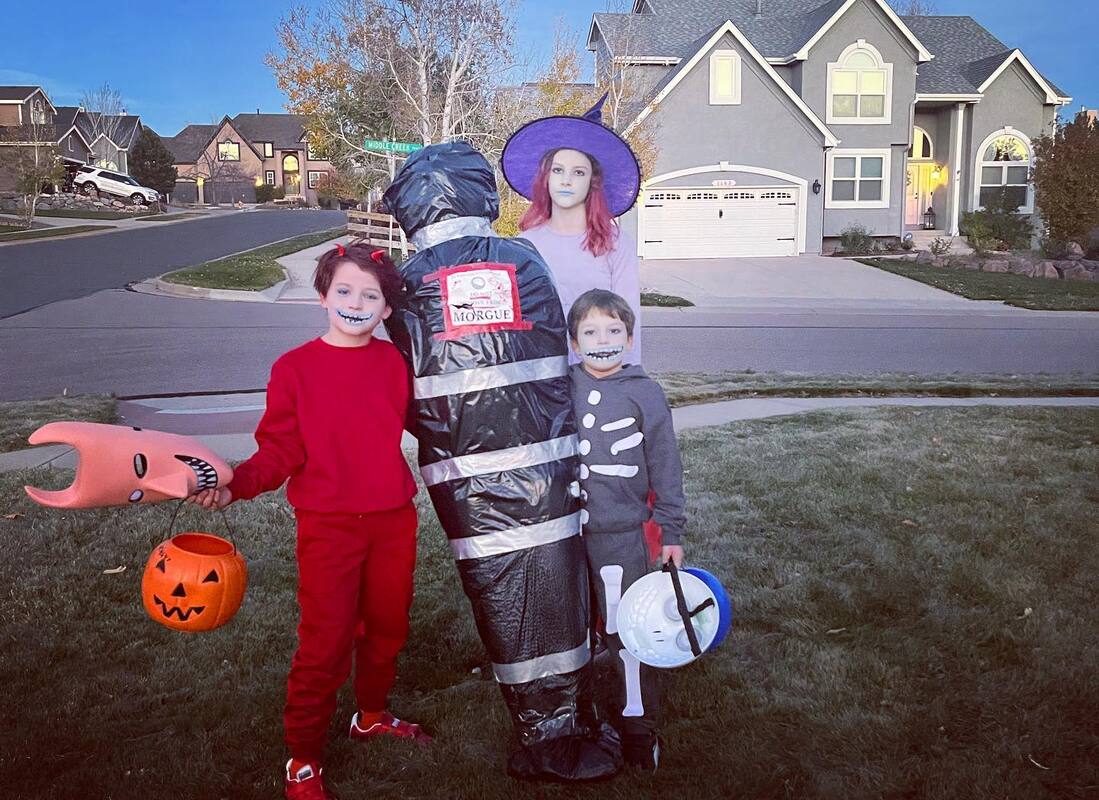
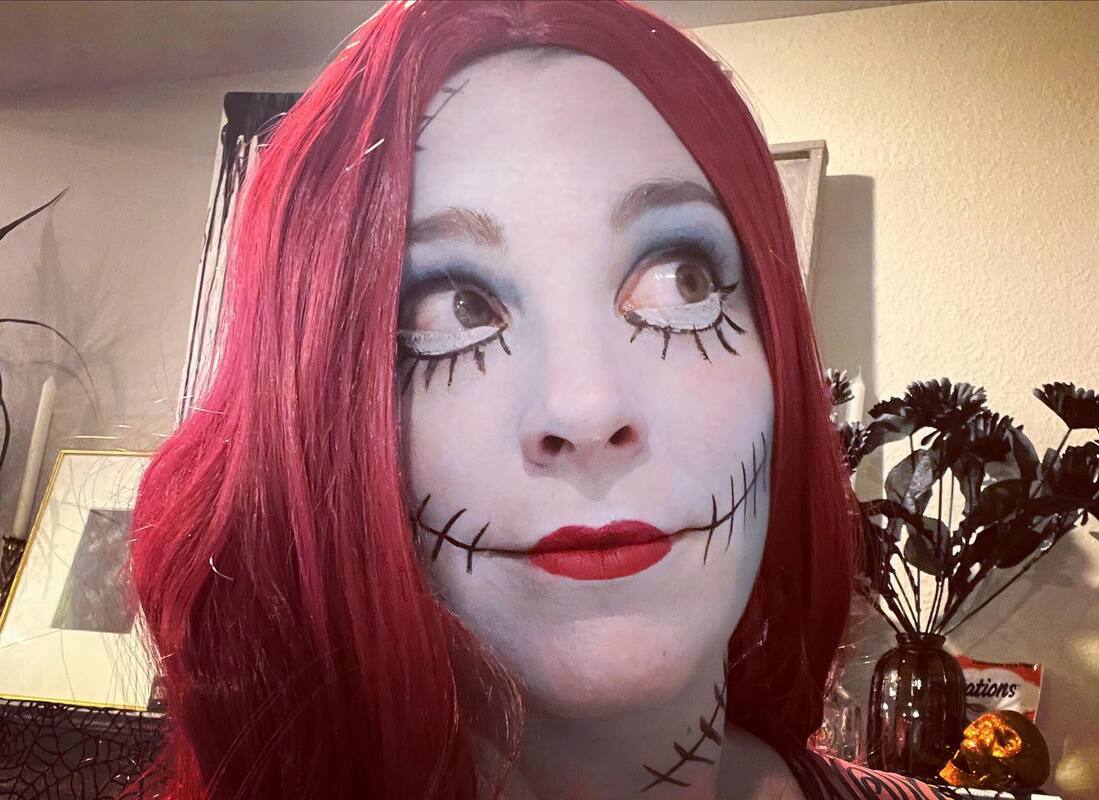
Each year we put together a family costume and this year is no different! We decided to go as characters from The Nightmare Before Christmas and we were all super excited about how they turned out. I only had to make one costume which was my youngest sons costume because I was unable to find a gray skeleton outfit. So, I bought a gray sweatsuit and made bones out of sticky felt. It was easy peasy! Other than donning our costumes we only had to do a little face painting to bring the idea to fruition. The coolest thing about the kids costumes was that they were double! The characters have spooky faces but also wear masks for their costumes so my kids had masks but underneath also had spooky facepaint. It worked out great! At work we had a costume contest and since I still work with a bunch of educators we went all in! I proposed the idea of going as the solar system because we had the perfect number. In addition to the solar system we also went as the Roman gods that each planet was named for! We were excited to win the best team costume and best space themed costume so our hard work was definitely rewarded with bragging rights.
The planets were rescued from the trash of our warehouse cleanout and everyone put together their own costume. I was lucky enough to find the perfect dress at Goodwill and then added some fun makeup and a trident because I was Neptune which is named after the Roman god of water.
0 Comments
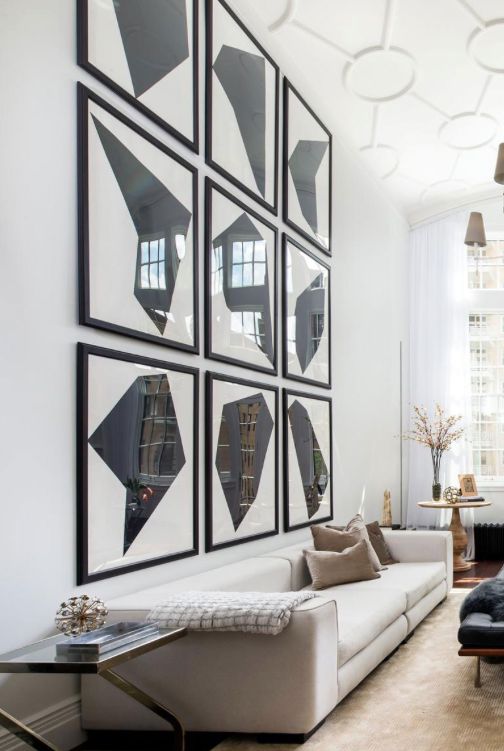
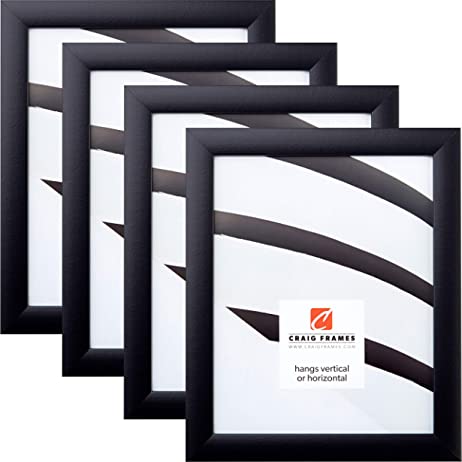
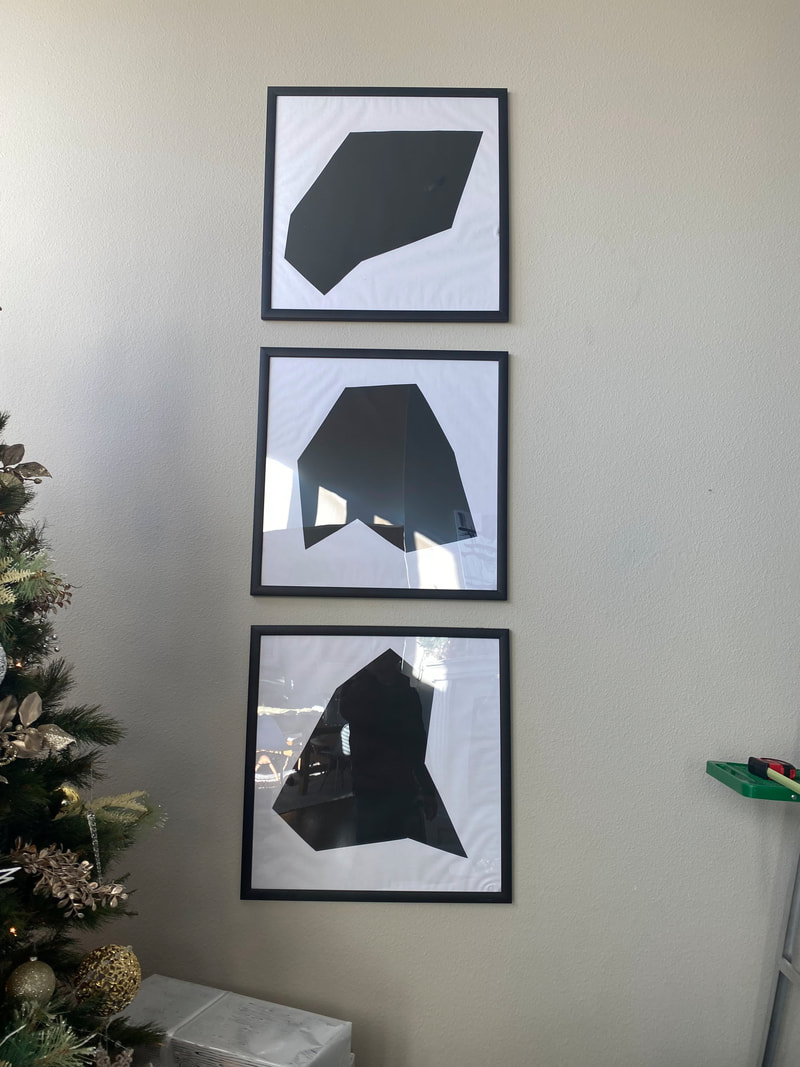
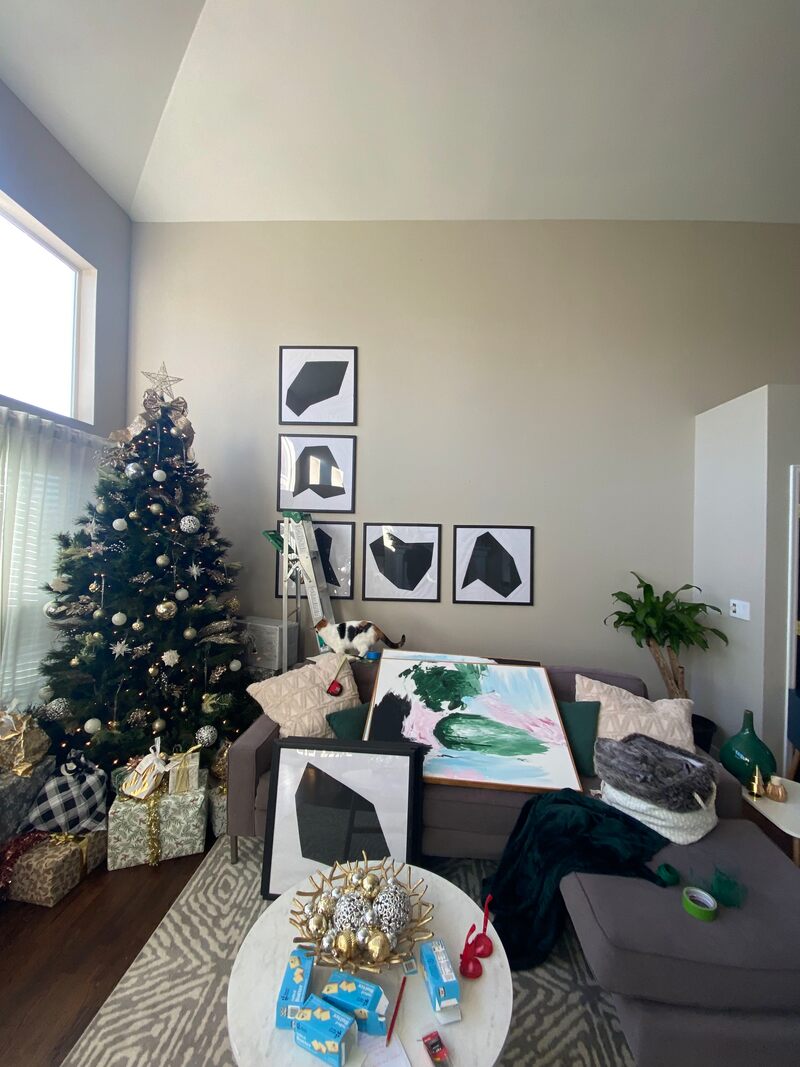
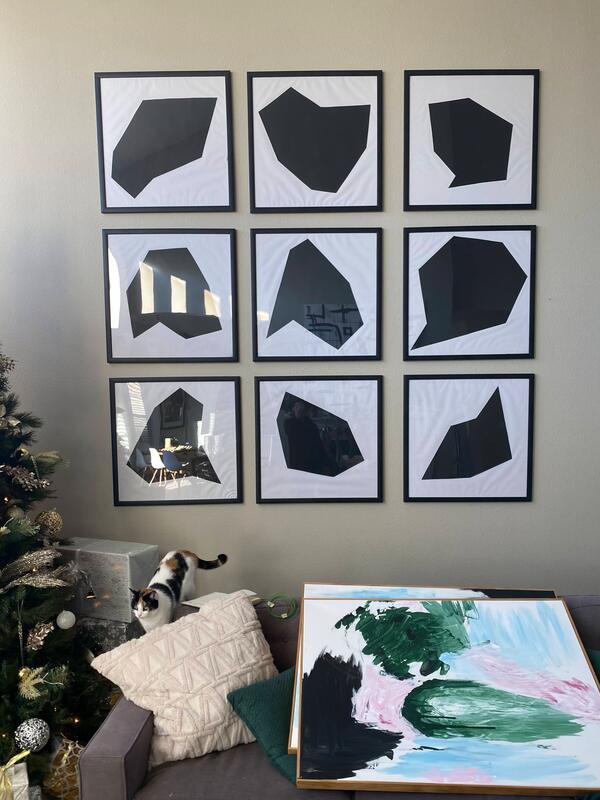
I've been wanting a large scale art piece for my new living room since moving in but was waiting until I found something I loved. When I found this pin on Pinterest I knew it was the winner! The key to this look in my opinion are the square shaped frames. It's unusual and custom looking. So, I set to work finding the frames first and was successful on Amazon. I purchased two packs of four and one single of these. Once I had the frames it was time to make the art. I bought a bunch of black poster board from the dollar store and a huge roll of white paper from the craft store that is usually used for bulletin boards. Then I wrapped the cardboard backing of each frame with the white paper for my base. Then I used a ruler and pencil to draw lines and make straight cuts into shapes. I ended up just going with whatever shapes I wanted and didn't try to copy the original shapes. The biggest thing was to make sure they weren't too big for the frame. After I cut all of the shapes I used a regular glue stick to glue the black paper cuts onto the white paper and popped them into their frames.
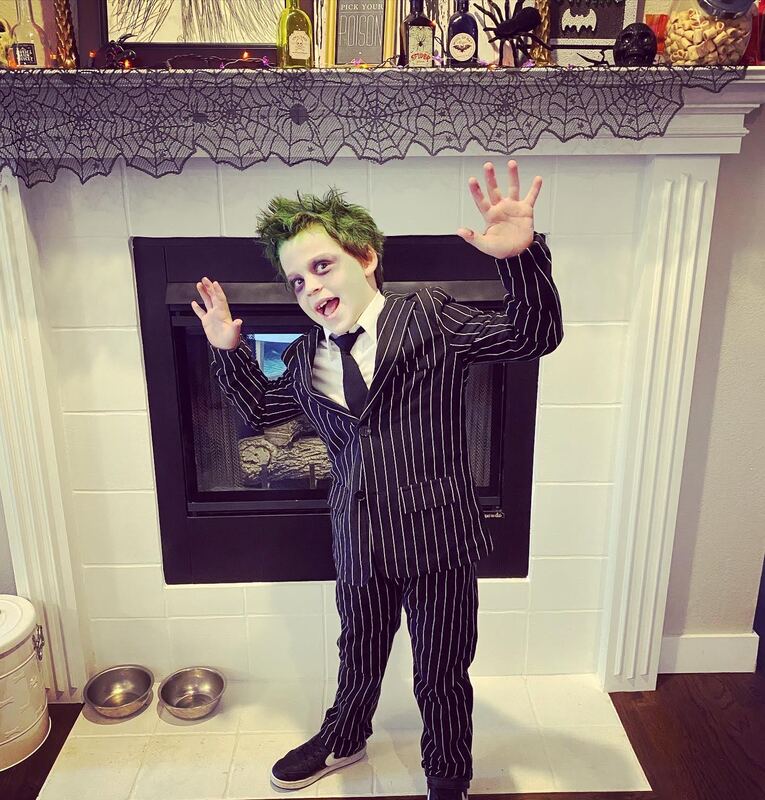
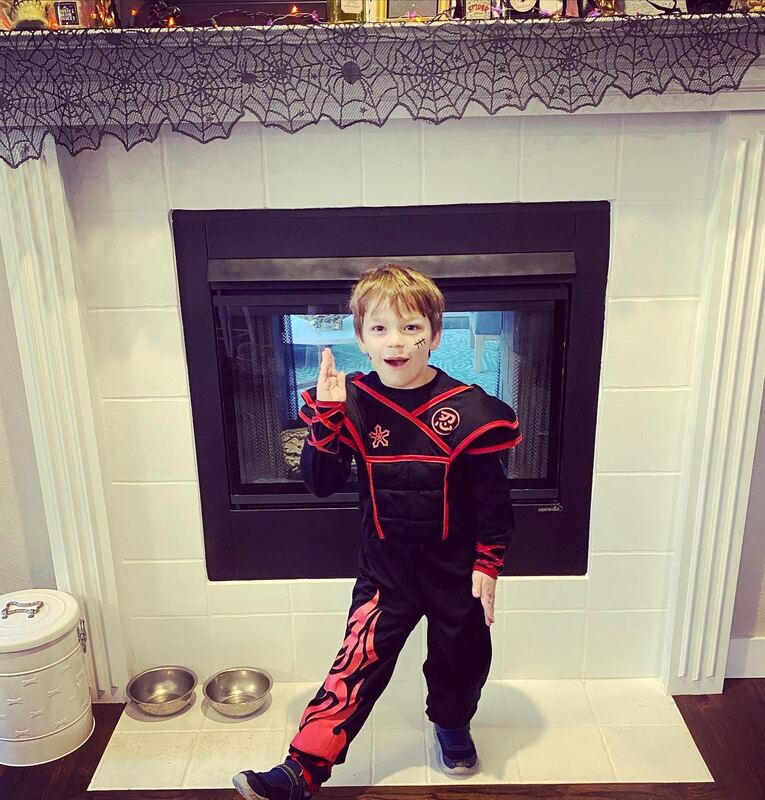
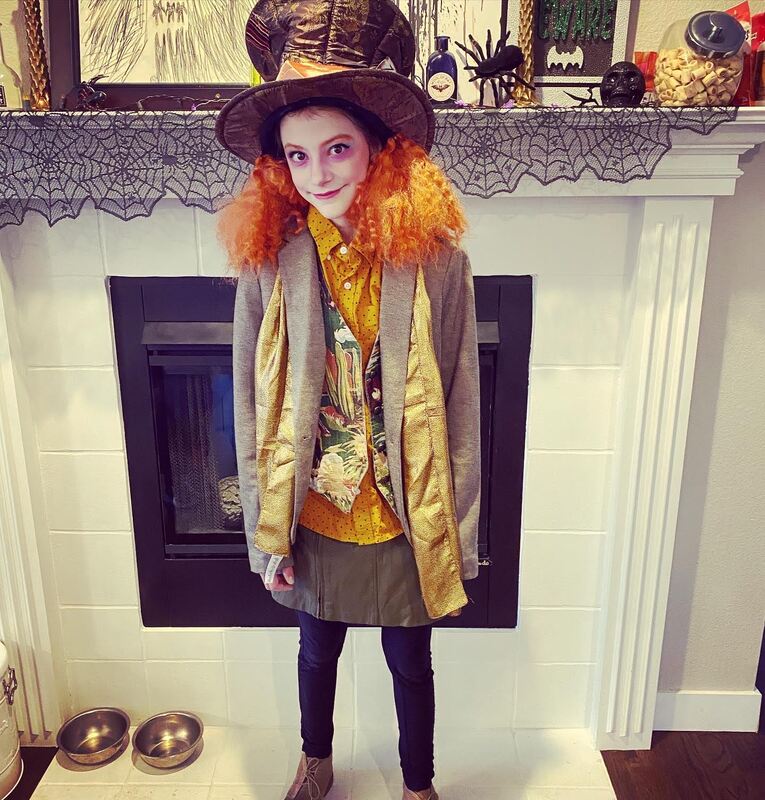
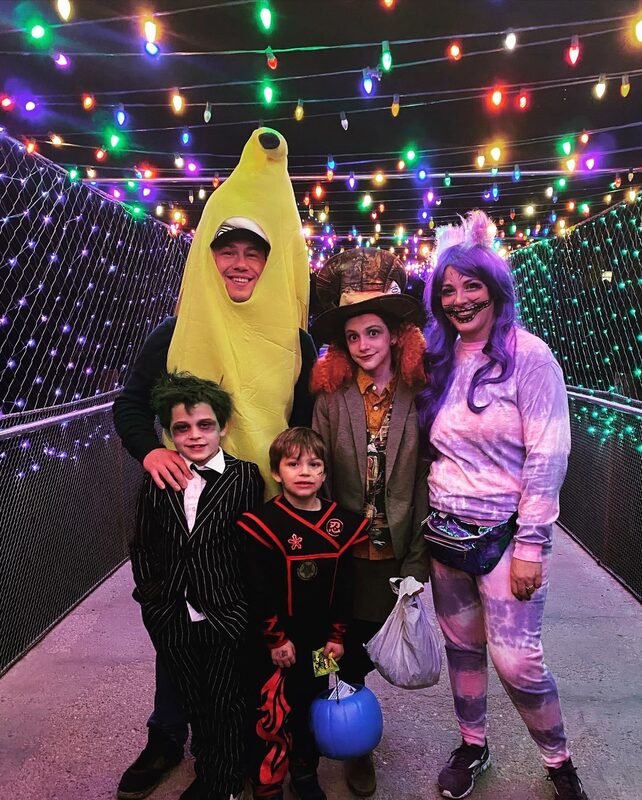
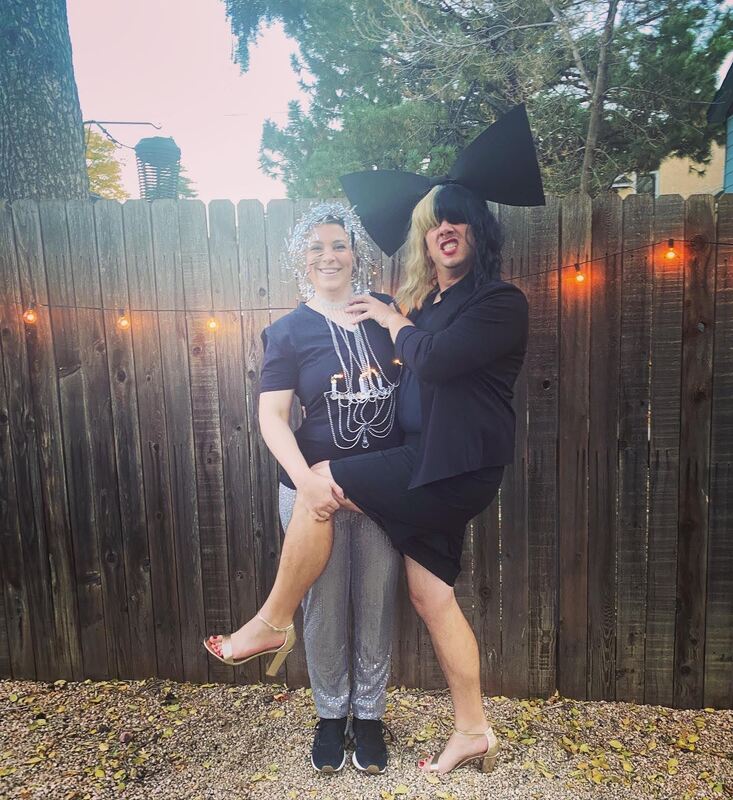
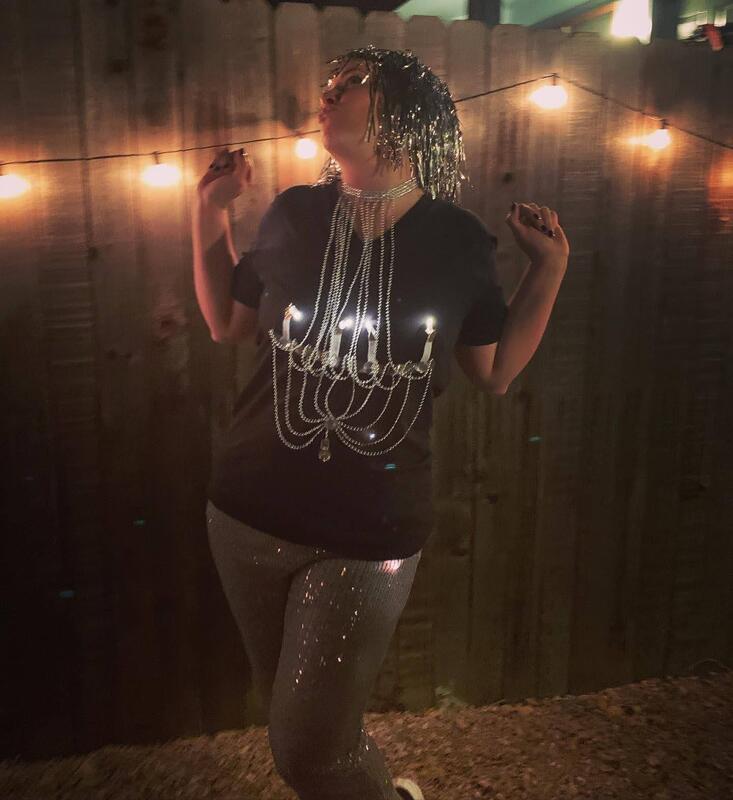
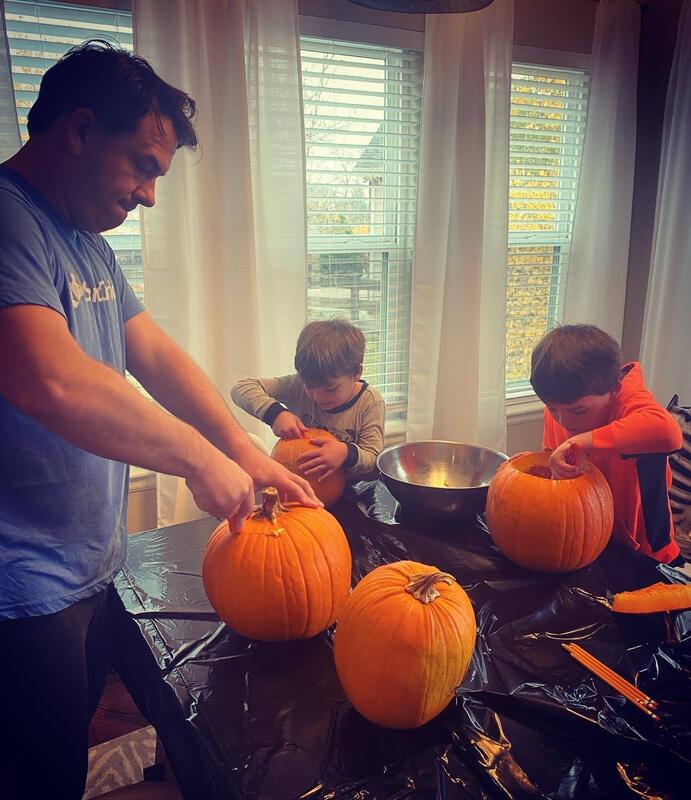
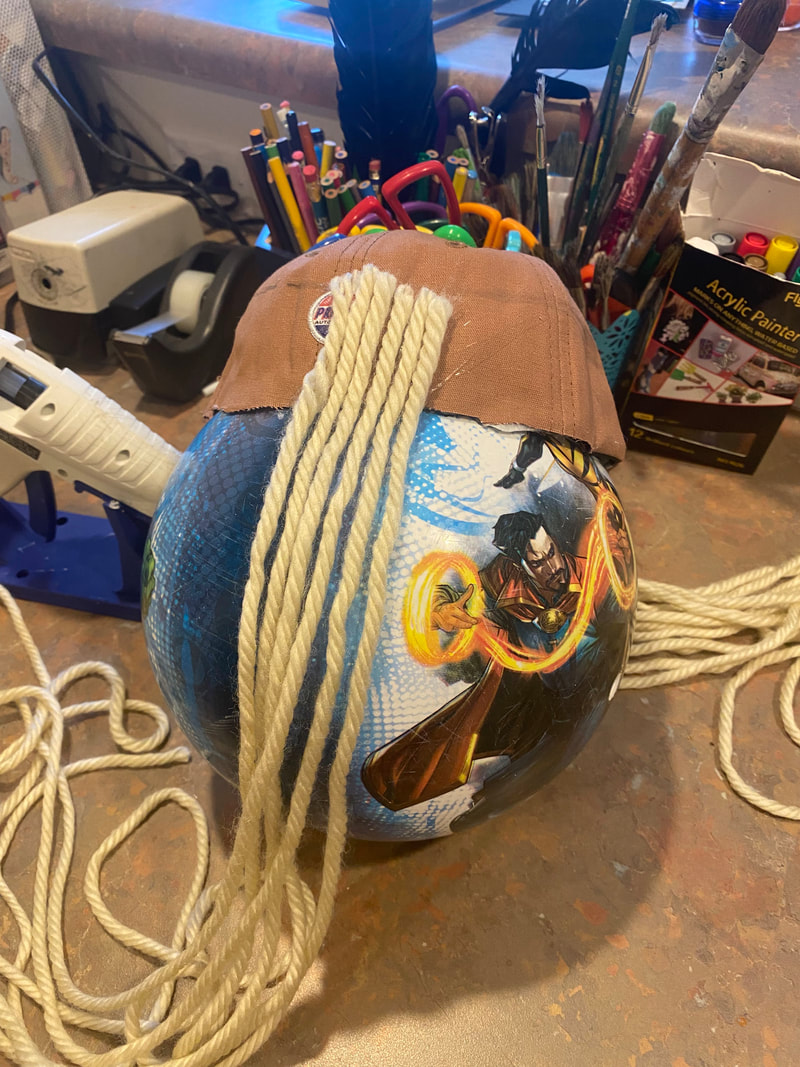
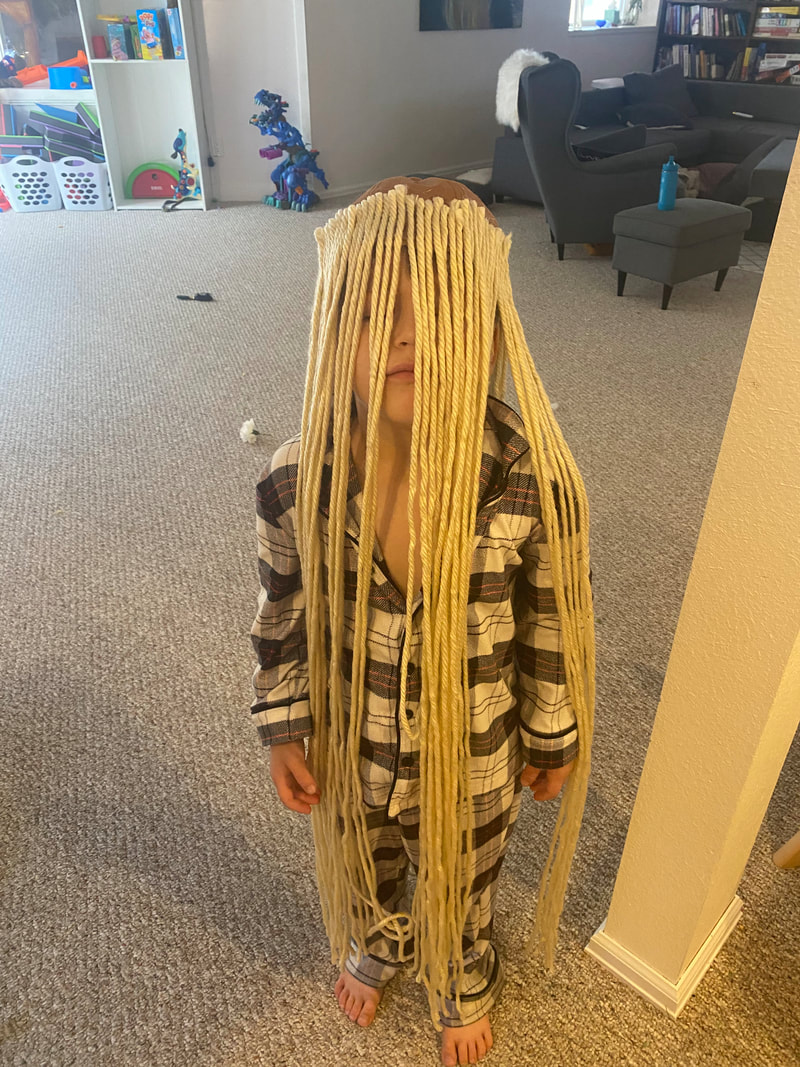
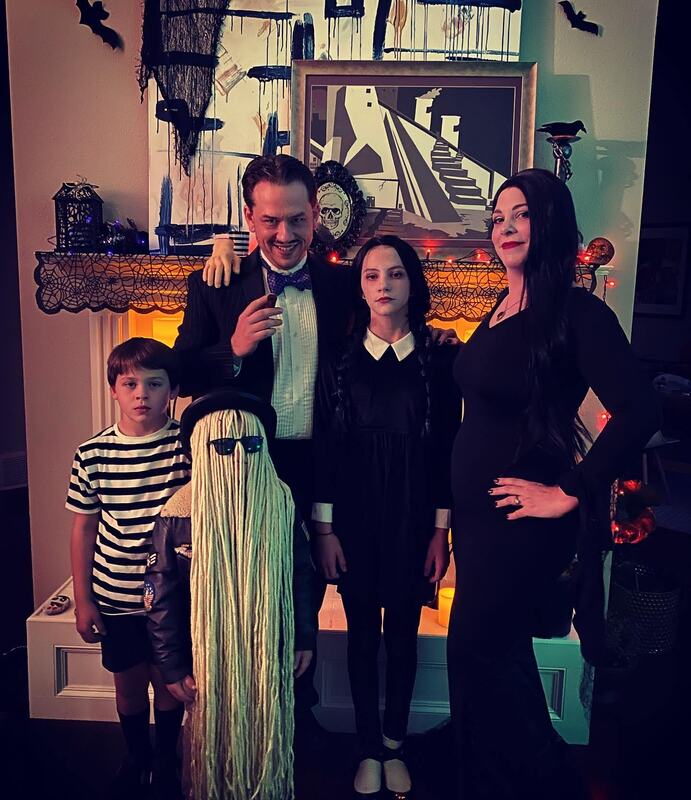
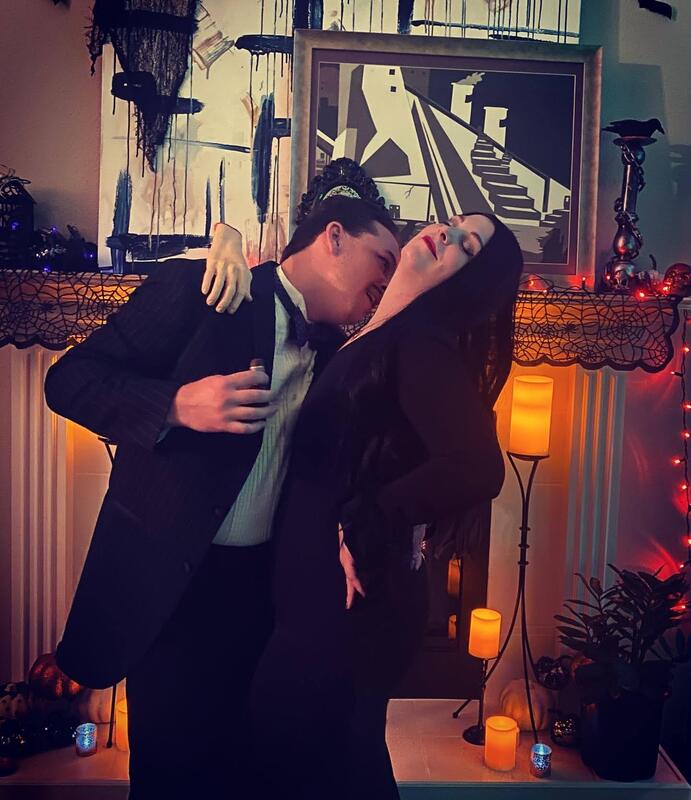
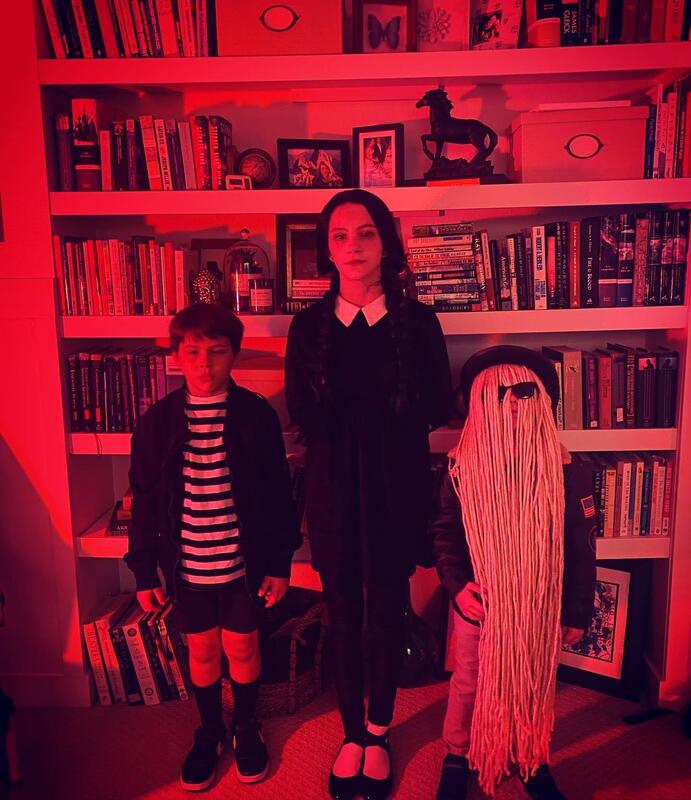
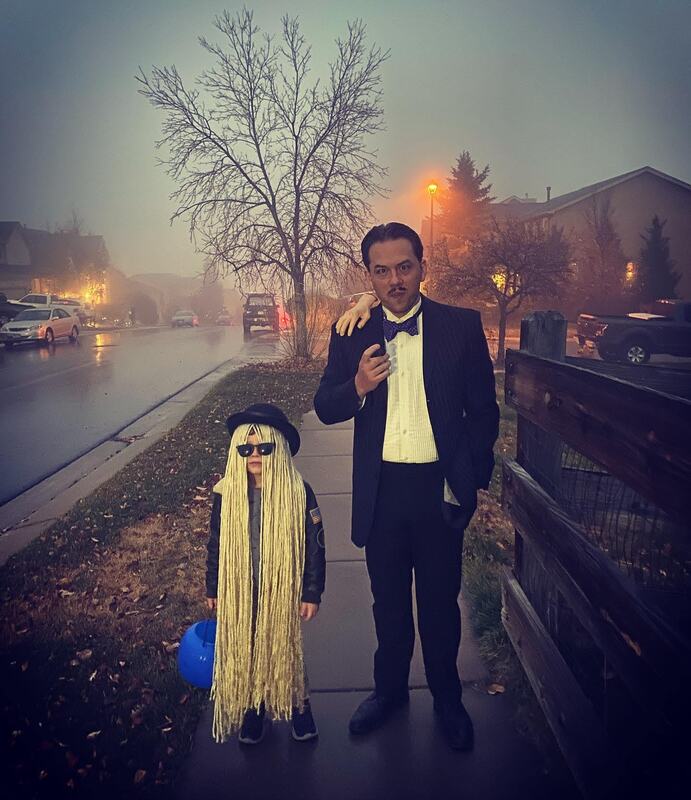
Hanging them was done by my husband and was apparently a chore. But, they look pretty fab and I'm in love! Halloween was definitely eventful this year. Derek and I had a total of three different costumes for Halloween including a recycled costume from several years ago and two new ones. The kids all had two costumes each and we all had a serious blast. We started the festivities on Friday with school parties. I went as the Cheshire Cat and reused an older costume from several years ago when we were Alice in Wonderland themed. Lilly also chose an Alice in Wonderland character but went for The Mad Hatter instead of Alice and we had to build her costume using random awesomeness from Goodwill. Arthur went as Beetlejuice which was comprised of a suit from Amazon, green hair paint and makeup. Alan went as a ninja and took very little extra work which I appreciated. That evening we went to Boo at the Zoo and kept our costumes from school with the addition of Derek as a banana. Saturday I spent the day cleaning up the house and finishing up costumes for Sunday. That evening we went to a Halloween party with friends and the kids had a sitter. I was super proud of our costumes and put considerable effort into them. Derek was the singer Sia and I was a chandelier. He went all the way wearing a skirt and heels. It was phenomenal. For my chandelier costume I roamed through Hobby Lobby looking for anything silver that I thought would work. I purchased a black tshirt, silver leather, some felt, silver gems and silver beading and ribbon from the ribbon section. I referred to a sketch of a chandelier and started hot-gluing. I ended up making a choker out of the jeweled ribbon and hot-glued the beading to it and the shirt. I even cut slits and inserted some battery pack lights to electrify it. I found a silver wig and silver sequin pants on amazon and the outfit was complete. For Sia, I made the bow out of a headband blank, black craft foam and hot glue. Purchased the wig from amazon and then dressed him in m clothes. Yes...unfortunately we wear the same size. For the actual day we spent quite a bit of time recovering from Saturday's party which involved us arriving home at 3:30am. But, once I was rehydrated with two Body Armor Drinks and filled with a breakfast burrito I was ready for the day. We carved pumpkins and watched The Addams Family to get ourselves into character. Then we donned our family costumes and totally killed it! I made it easy on myself this year and most of our costumes were just purchased items put together. I did go hunting for Derek's jacket at Goodwill because I didn't like the costume options online and I had to make Alan's Cousin It costume from scratch but, it was actually pretty quick. To make it I took a tan baseball cap and cut off the brim. Then I measured yarn for the correct length for Alan (didn't want it dragging the ground). Then I hot-glued two layers of said yarn around the rim of the cap and then a piece of tan felt on top of the layers to keep it more sturdy. I put a bowler hat and sunglasses on top and he was ready to go! He was definitely the star of our little show.
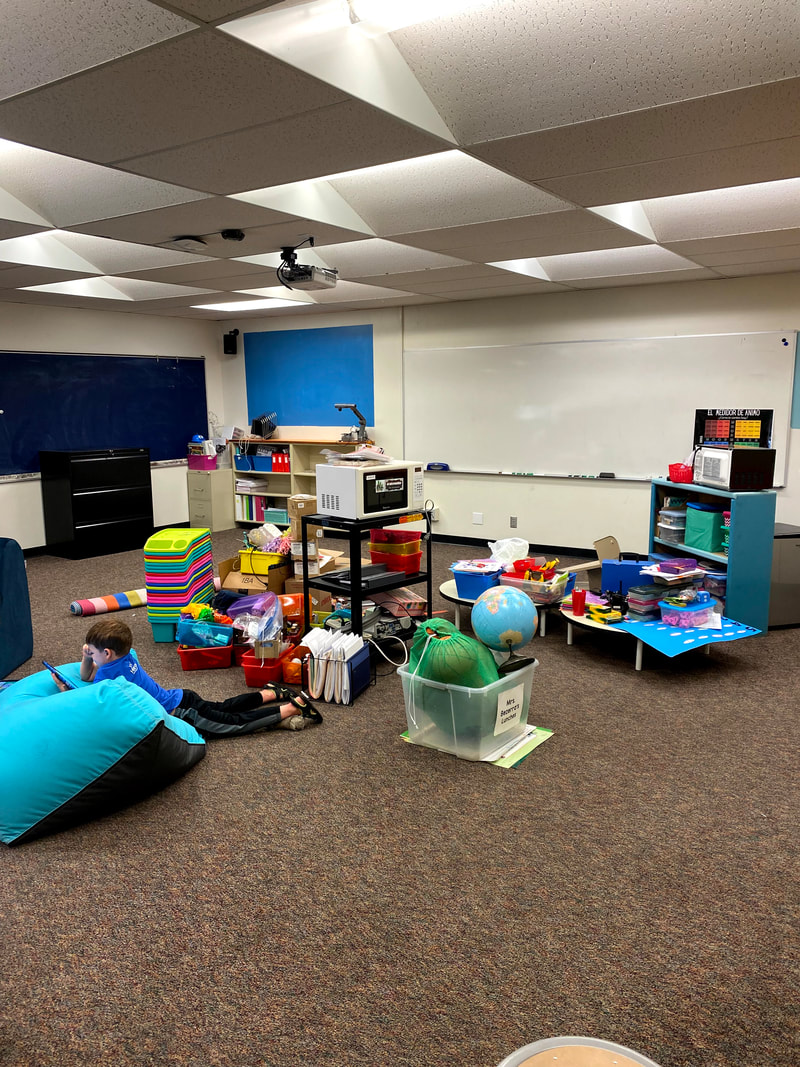
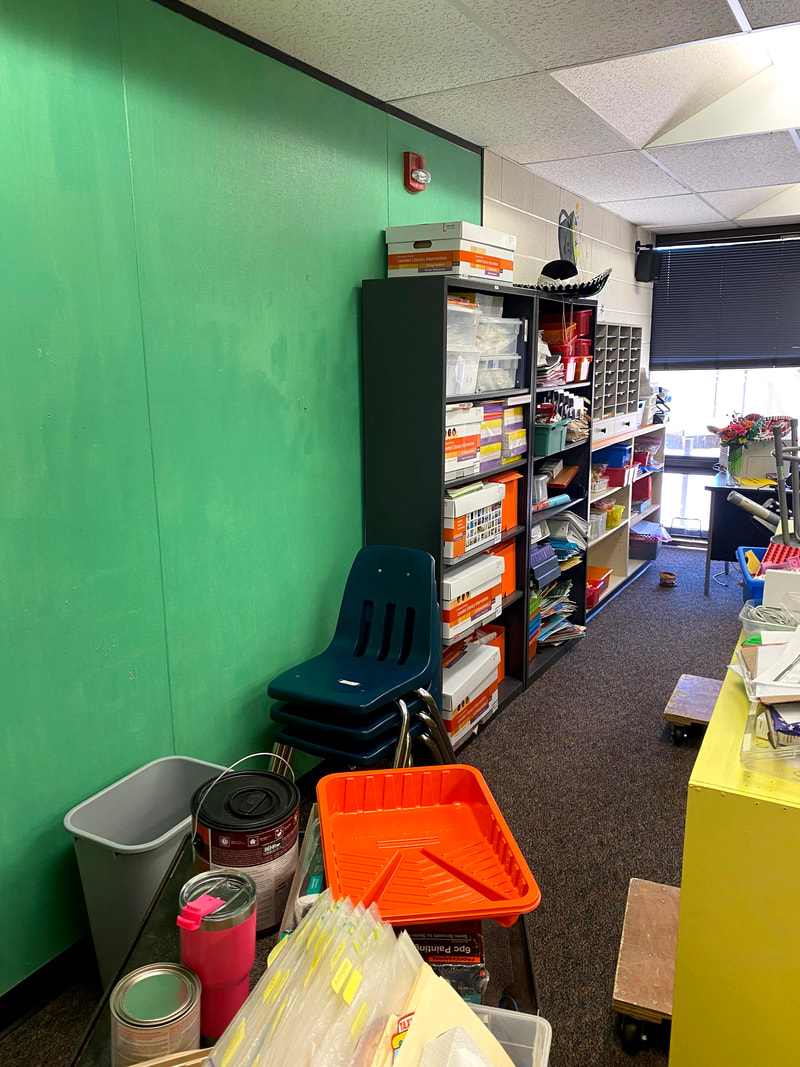
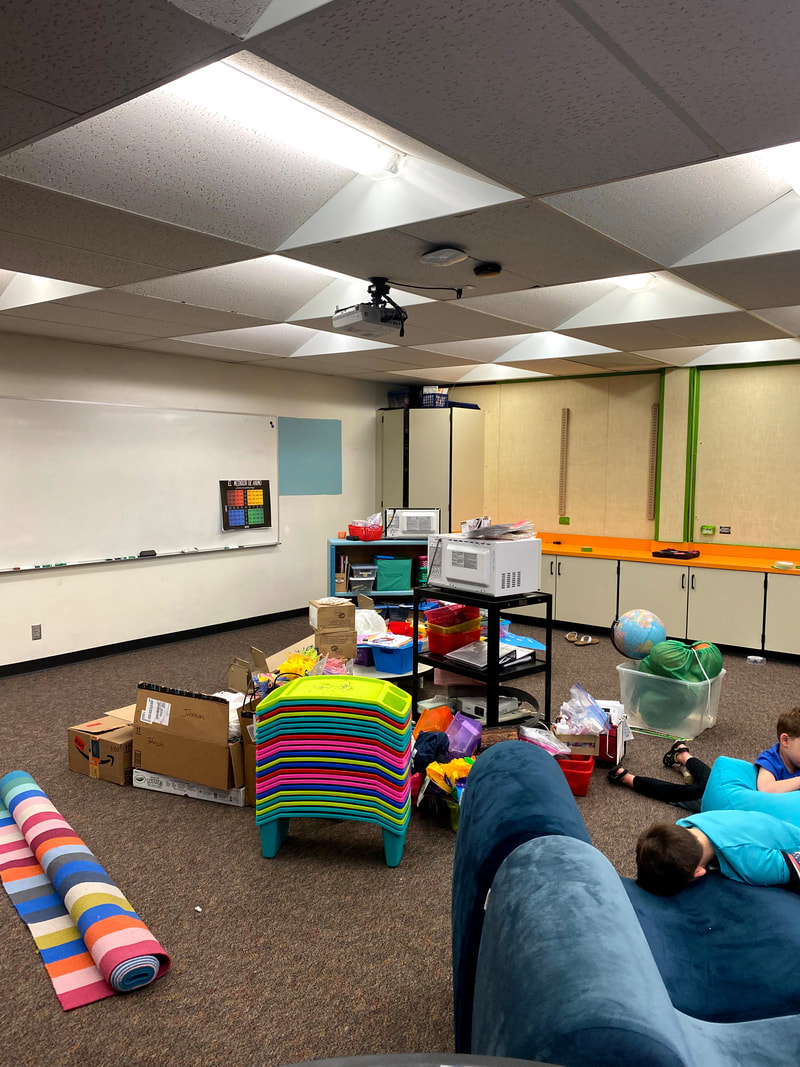
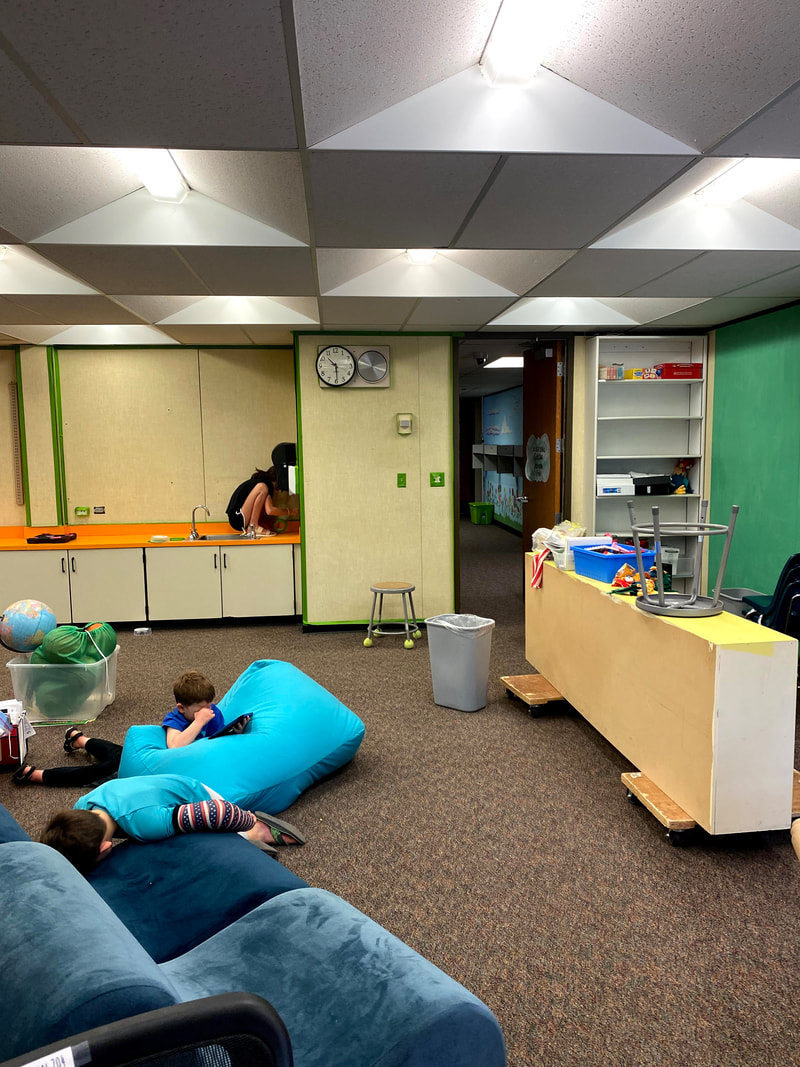
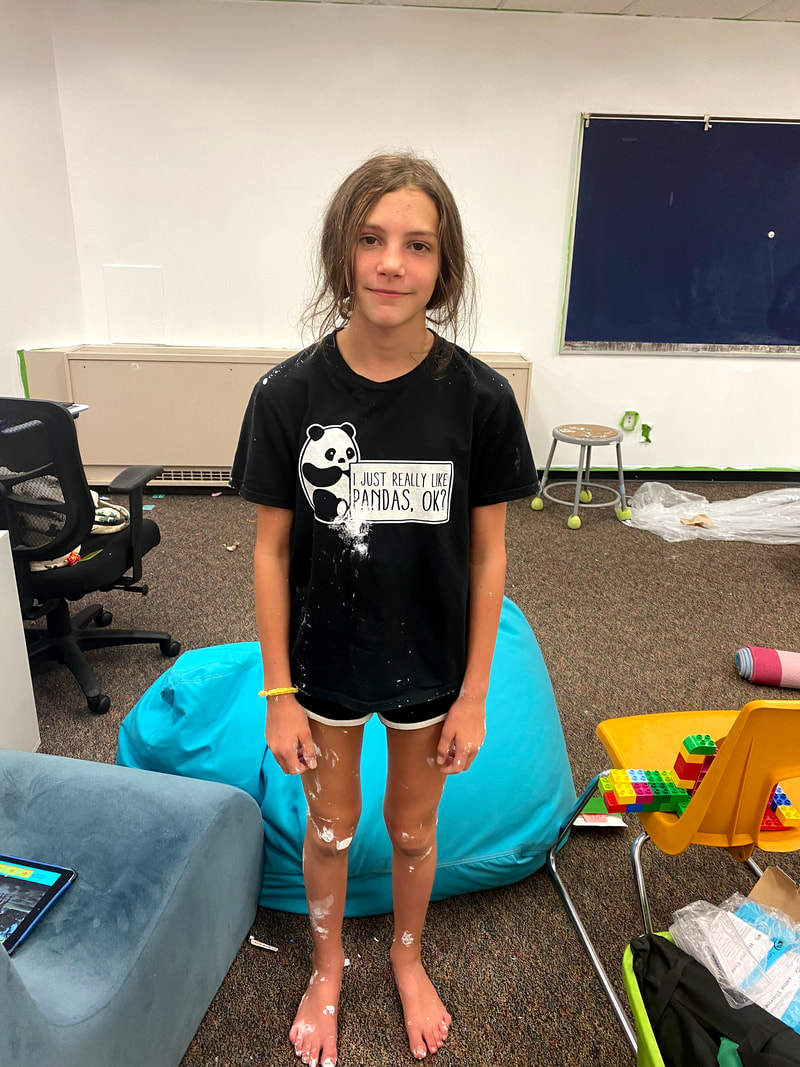
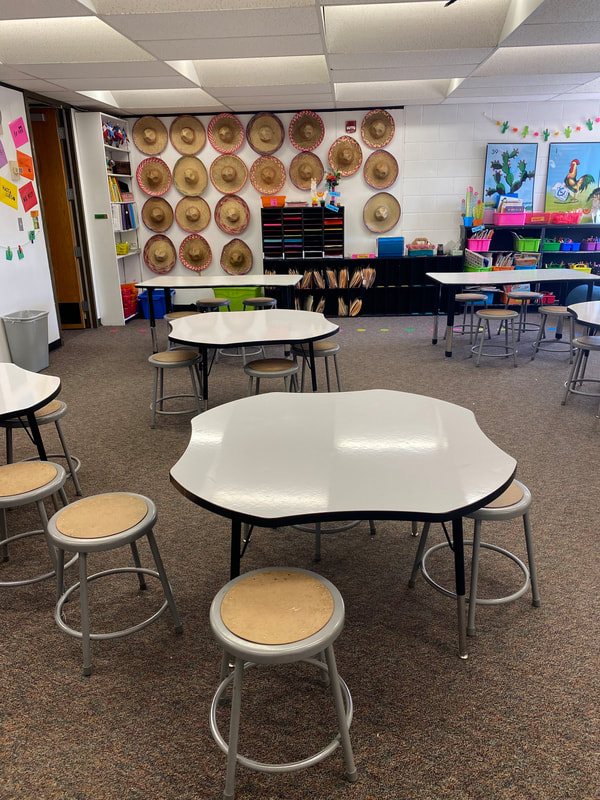
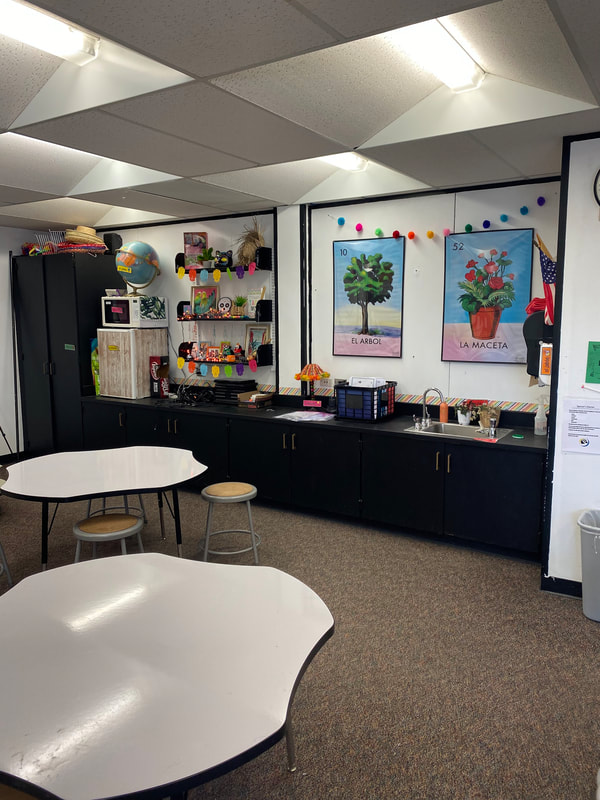
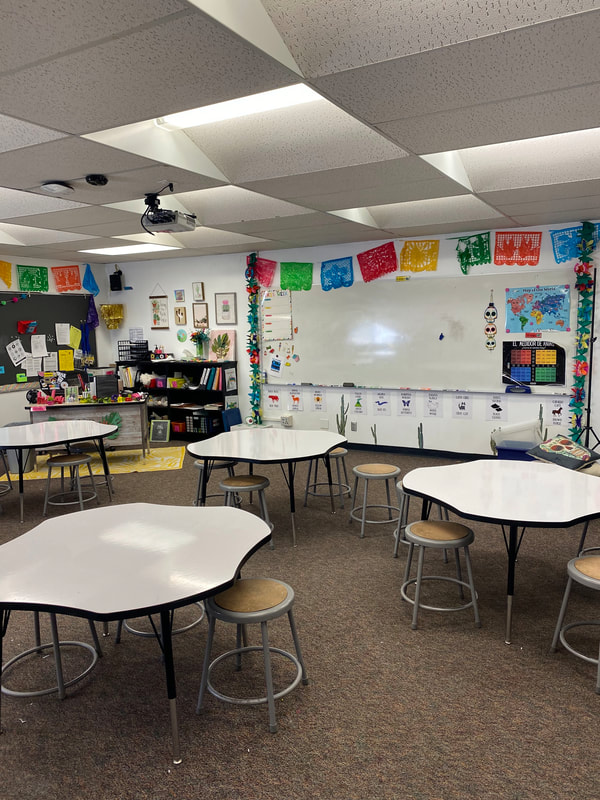
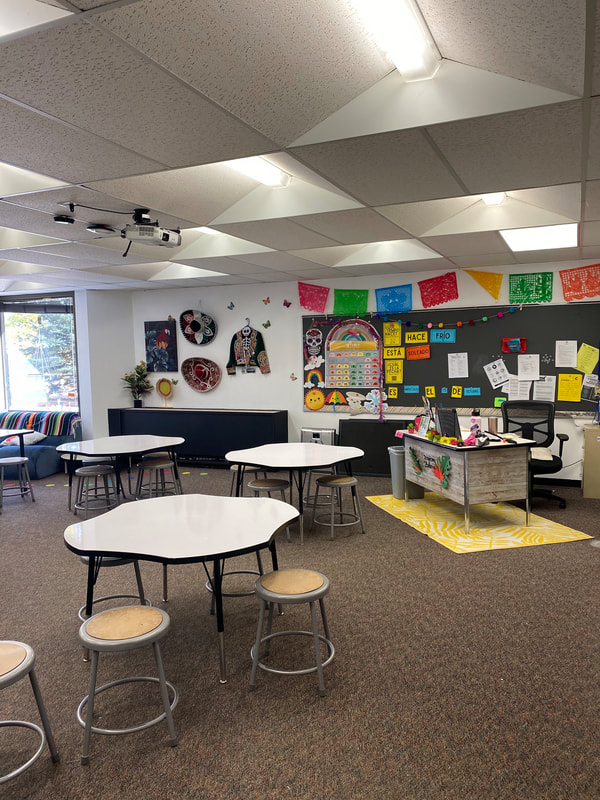
Last year I made a huge career switch and began teaching elementary Spanish in January, in the middle of a pandemic, in an entirely different part of the country. It was a big deal. My classroom was super tiny and definitely not what I needed and I made sure to let my administration know that I desperately needed bigger digs. They totally came through like the boss bitches they are and gave me a full sized classroom for the new school year. But, it was in desperate need of a facelift. I immediately got to work painting every surface of the room and planning for the overall vibe. After spending countless days of my summer vacation working on it with the help of my daughter I'm happy to say that it is perfect. I love it. I'm never leaving. before:DuringAfterI chose to go super basic with my paint colors so I have the ability to change the room look with decorations and NEVER PAINT AGAIN. Seriously, I painted all of the walls white. Then painted both built in bookcases black (originally a dirty cream) and all of the cabinets, countertops and heater black. The counters were ORANGE. And not a cute orange. A 1970's orange. I also painted the metal shelves black and the chalkboard went from blue to gray. I chose bright colors for my accents and even made an entire wall a focus wall with sombreros I found while going through stuff the old Spanish teacher left. There were like 30 sombreros.
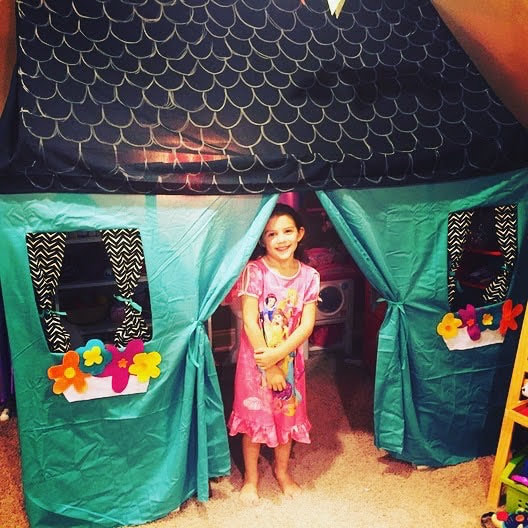
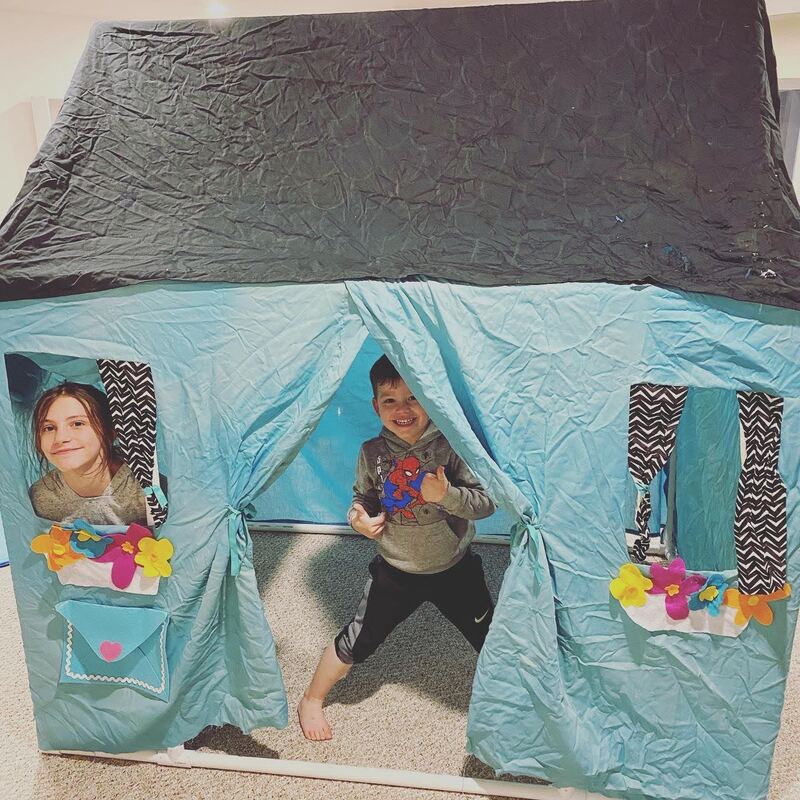
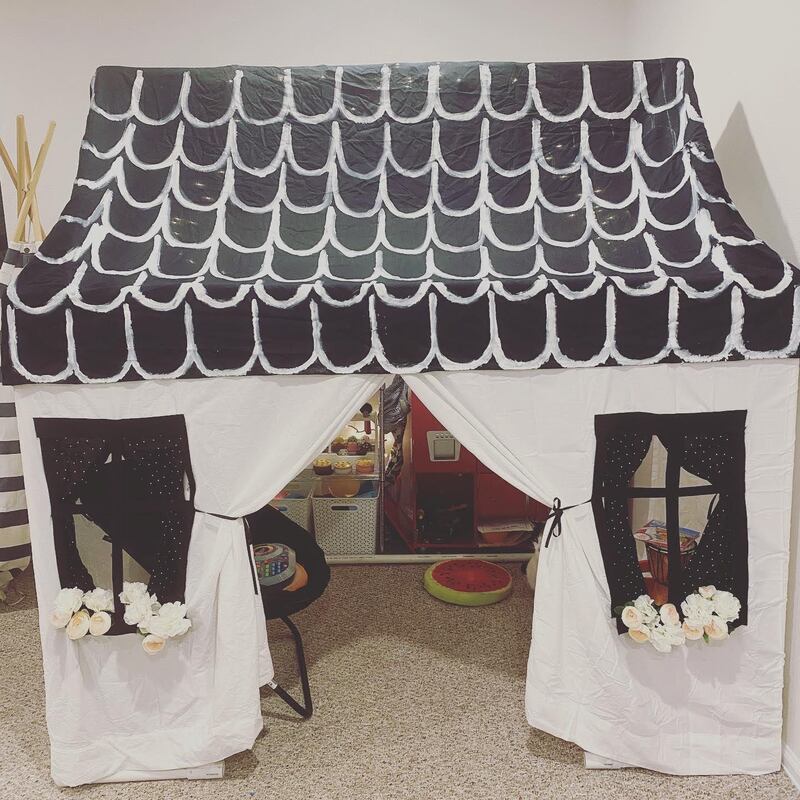
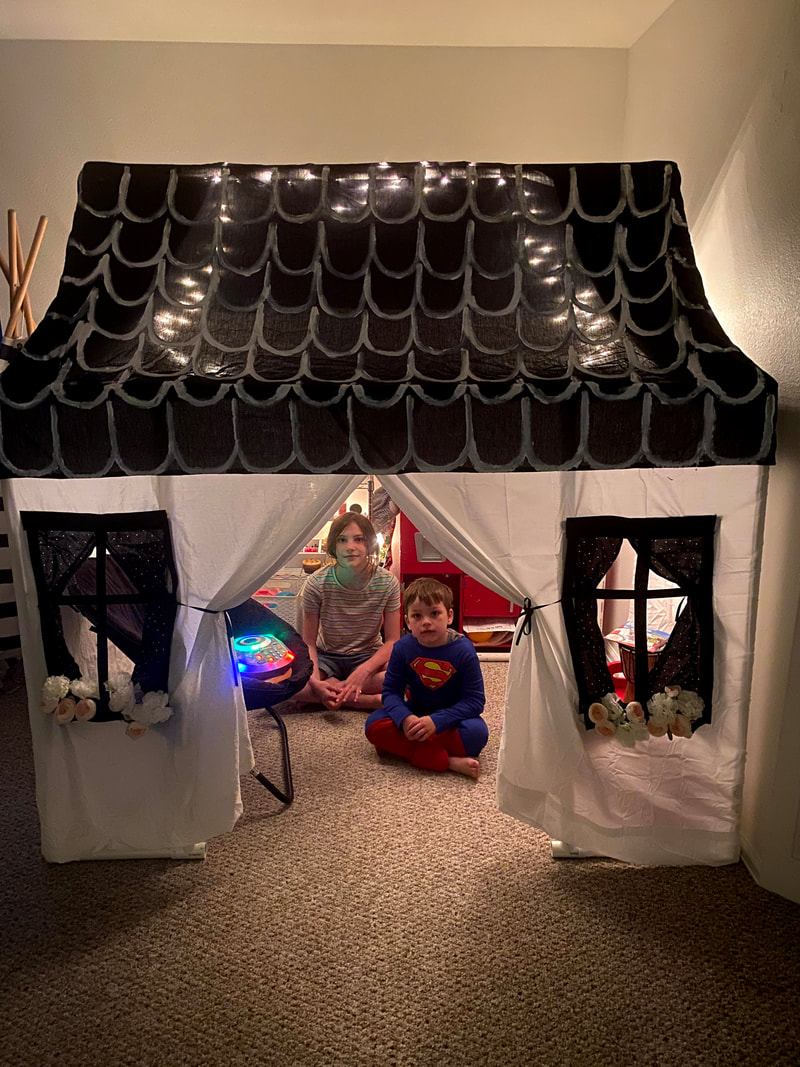
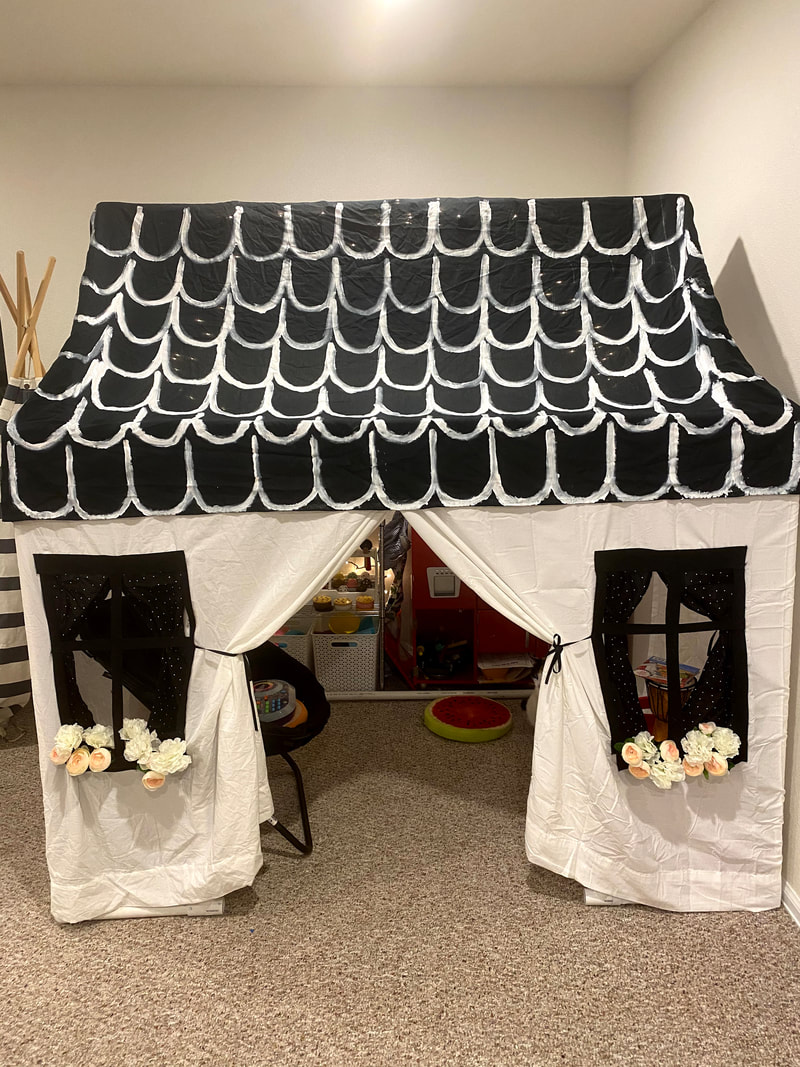
I had plans to paint the stools black and cover the seats with fun paper and mod podge but I ran out of time. Maybe that's a project for next summer. Six years ago I built a PVC playhouse. It was super cute, easy to take apart and I spent a lot of time creating it so, when we moved from our first home to our second and there wasn't a place to put it, I kept it in the attic. I'm not throwing away all that work! So, it sat in the attic for four years until our recent move across the country. When we found it hidden in the far corner of the attic my reaction was the same. We are not throwing that away! So it made the trip with us. Our new home has a HUGE basement which has a dedicated play area for the kids and is a perfect place to bring the playhouse back to life. I was able to rebuild it by referring to my old blog post without any issues and the kids were pumped. But, the cover had seen better days so I spent a few days making a new, more aesthetically pleasing one. I bought a king sized white sheet and scrounged around my fabric scraps where I found a black and white polka dot material for curtains I used black felt for the flower boxes and instead of making felt flowers like before I thought an added element of being able to switch the flowers for the seasons would be fun so I bought cheap fake flowers and trimmed the stems so they would fit. To finish it off I used another king sized sheet but in black for the roof and painted white shingles on it. I also put some Christmas lights in the top of the house. I was not about to sew anything this time and just hot glued the cover to the frame this time. I figure I can always pull it off pretty easily when it's time to retire the playhouse again. But, rest assured, I plan on keeping it until I have grandkids who will find it just as magical as my kids do right now and I will be MiMi of the year!
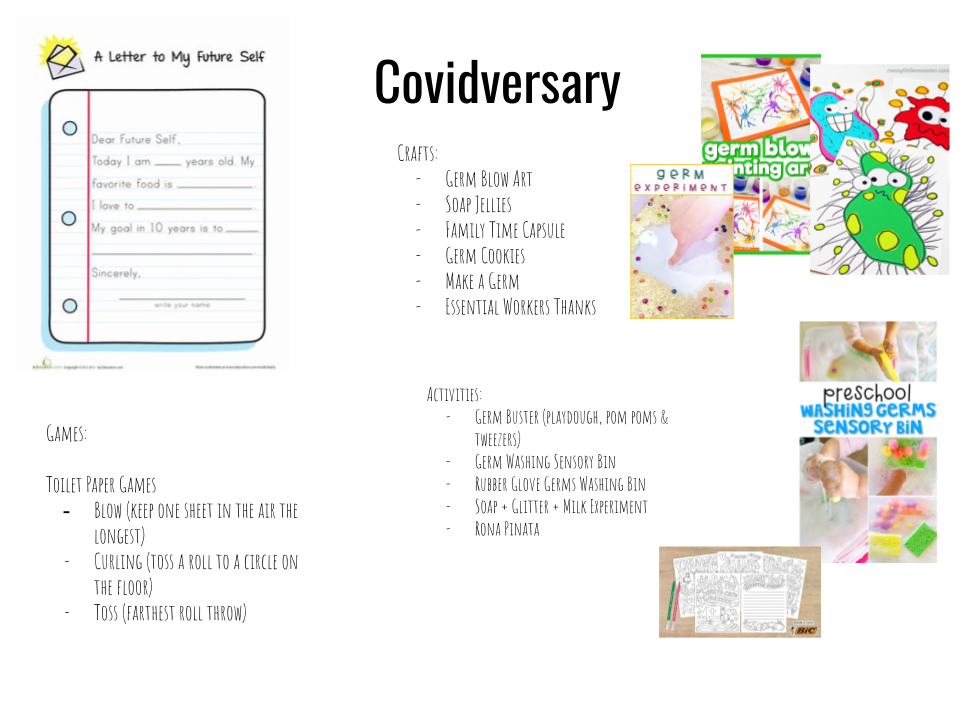
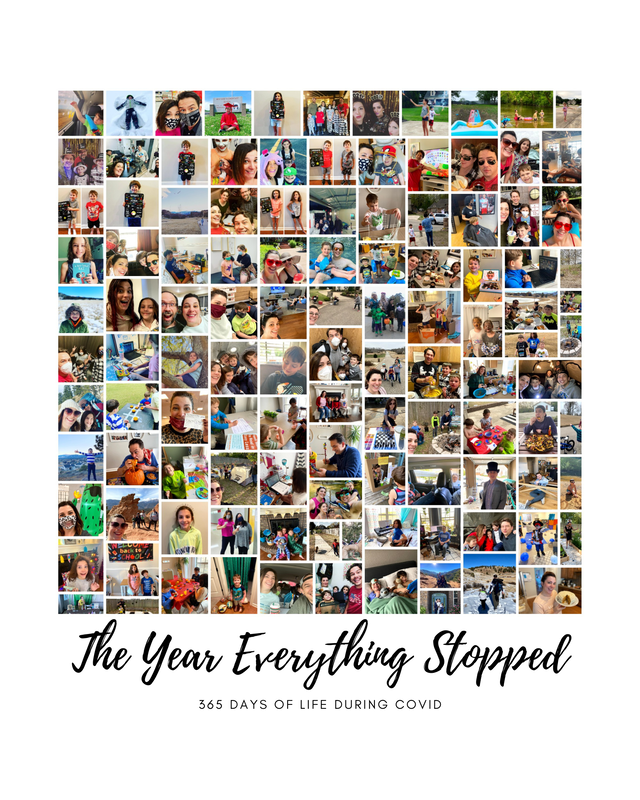
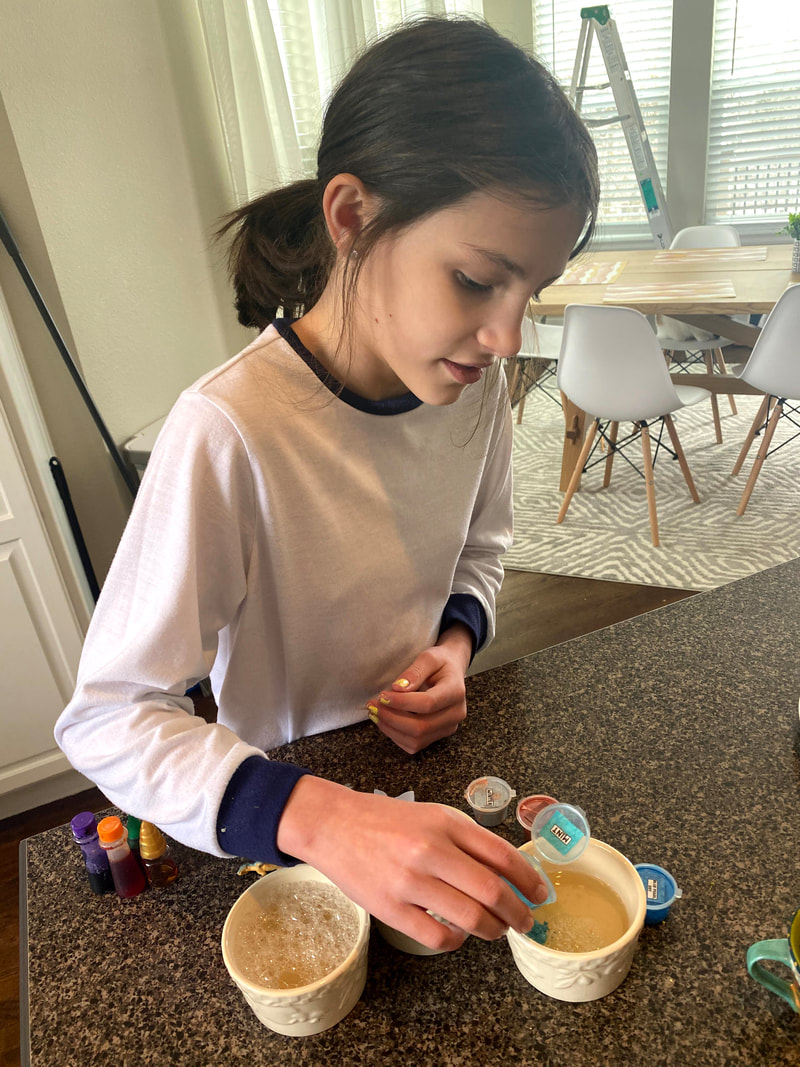
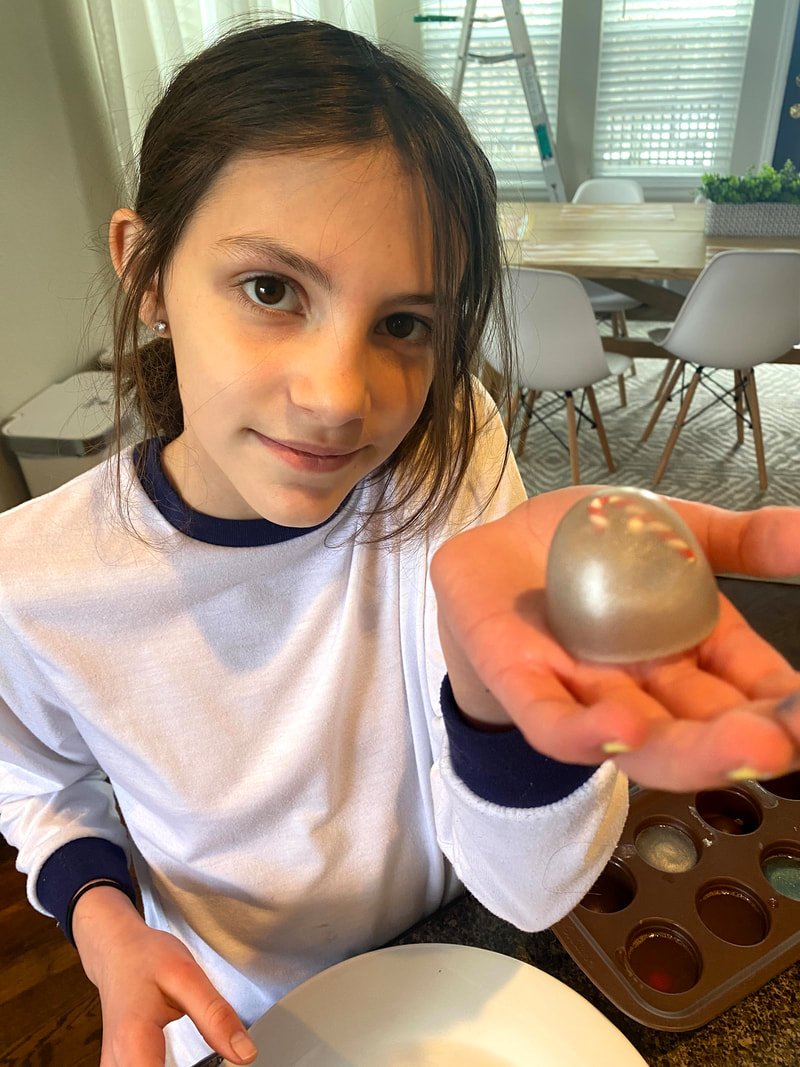
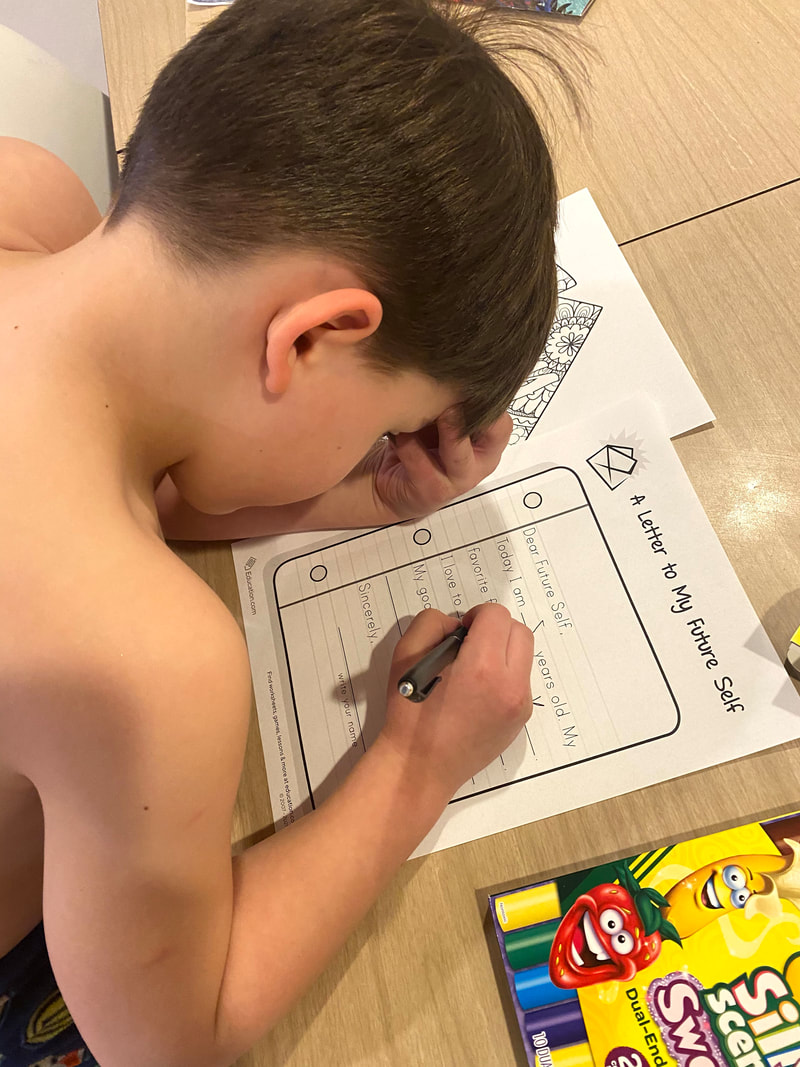
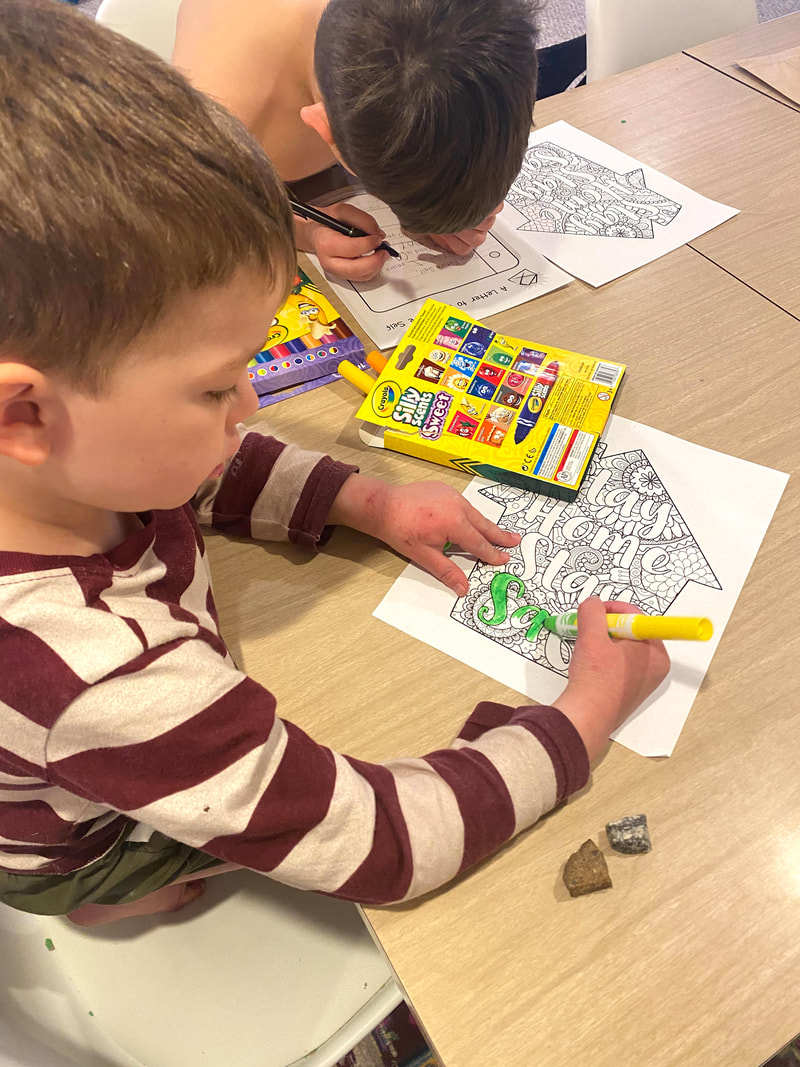
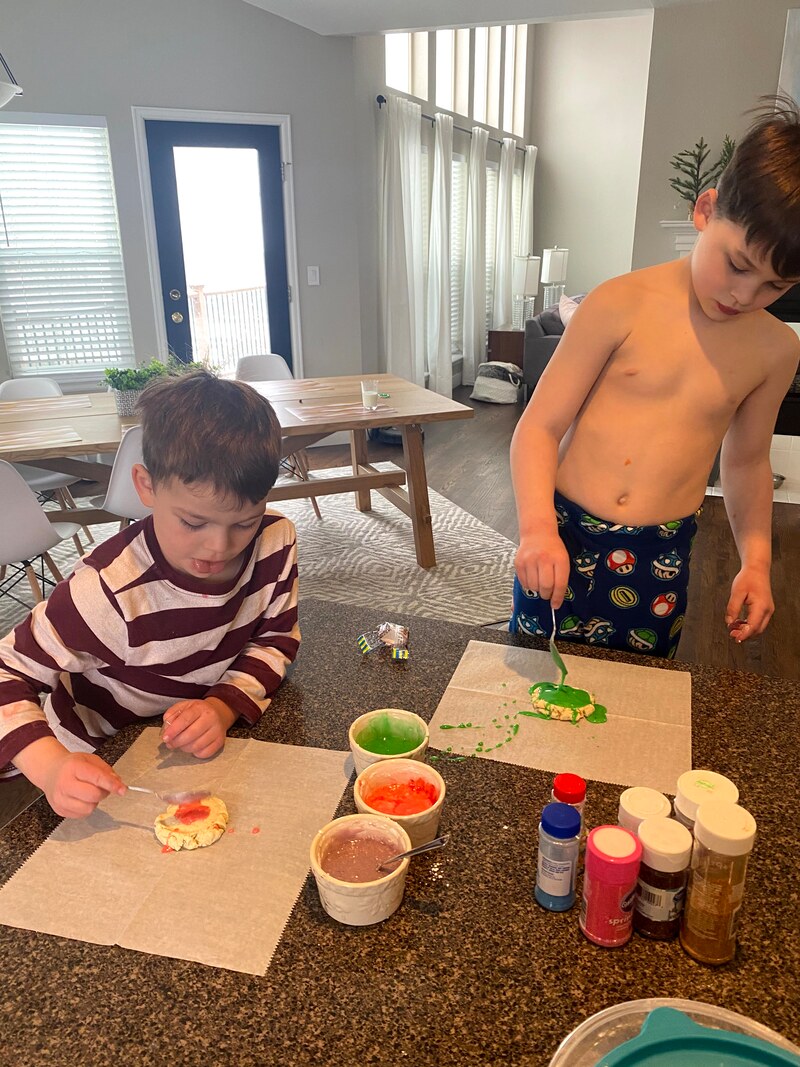
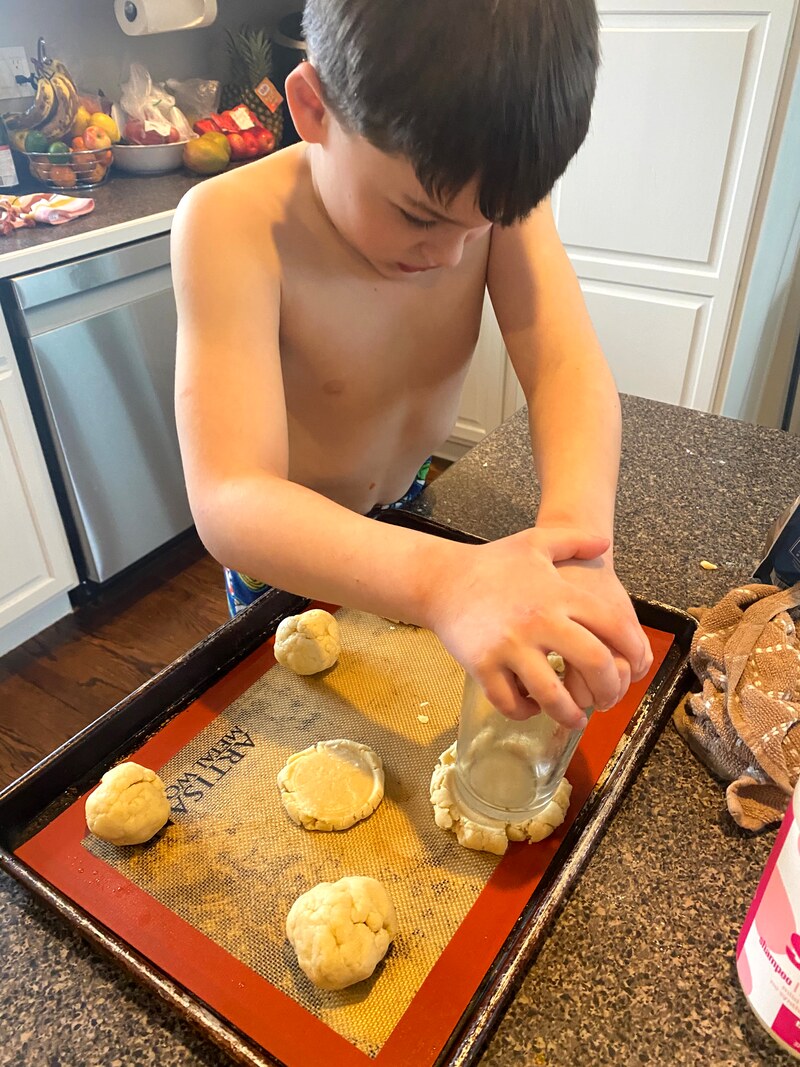
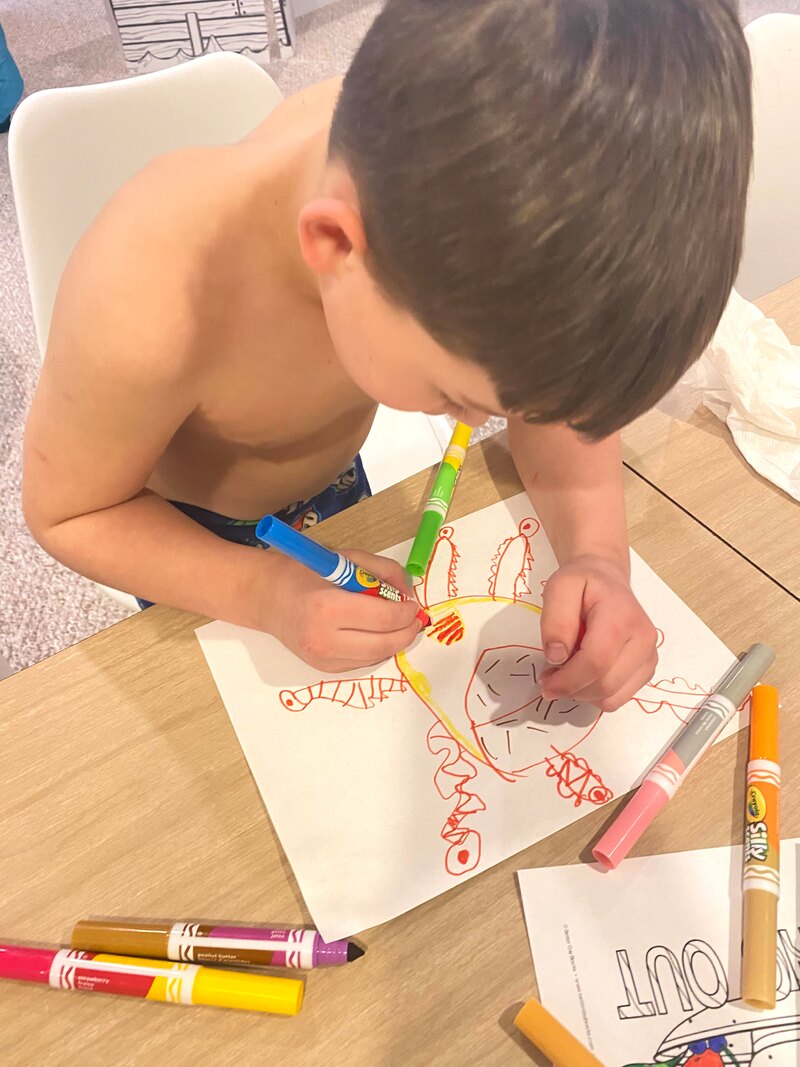
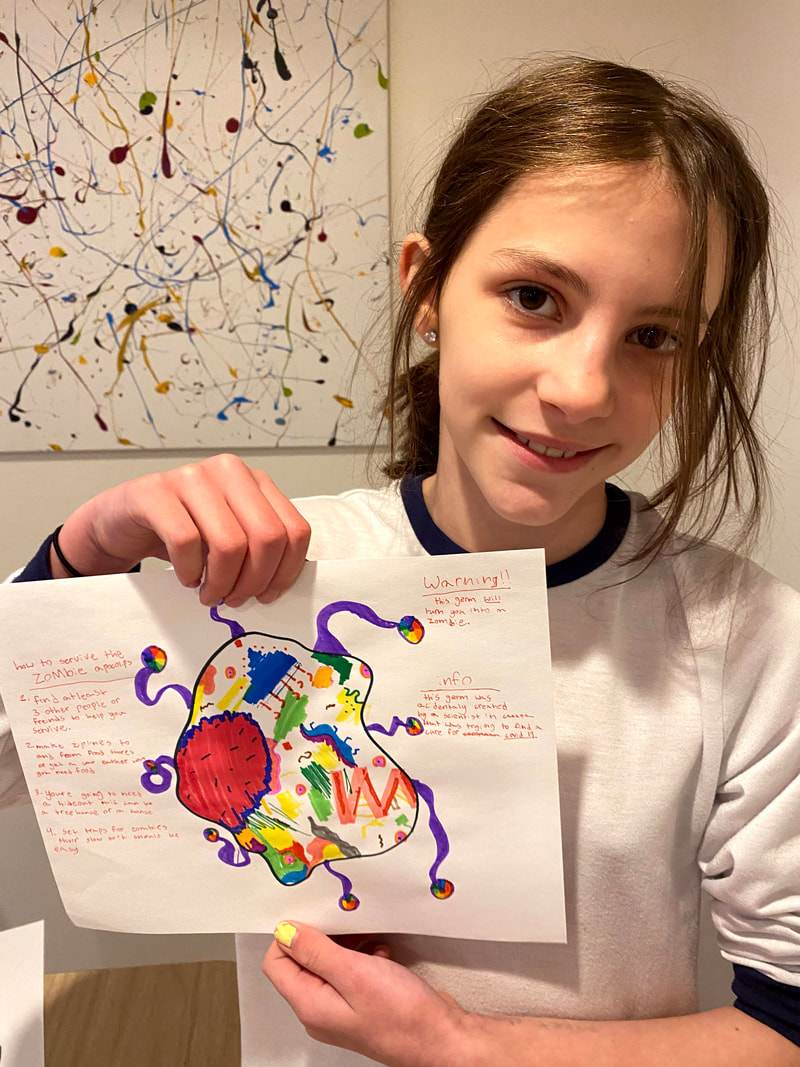
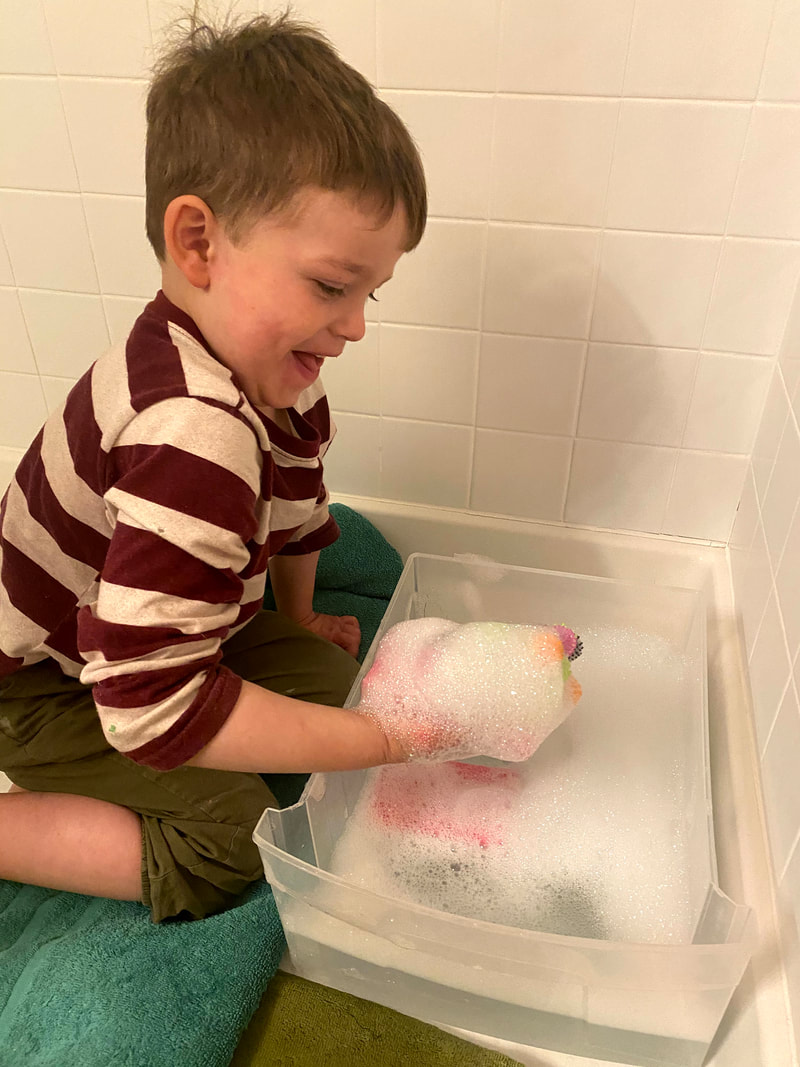
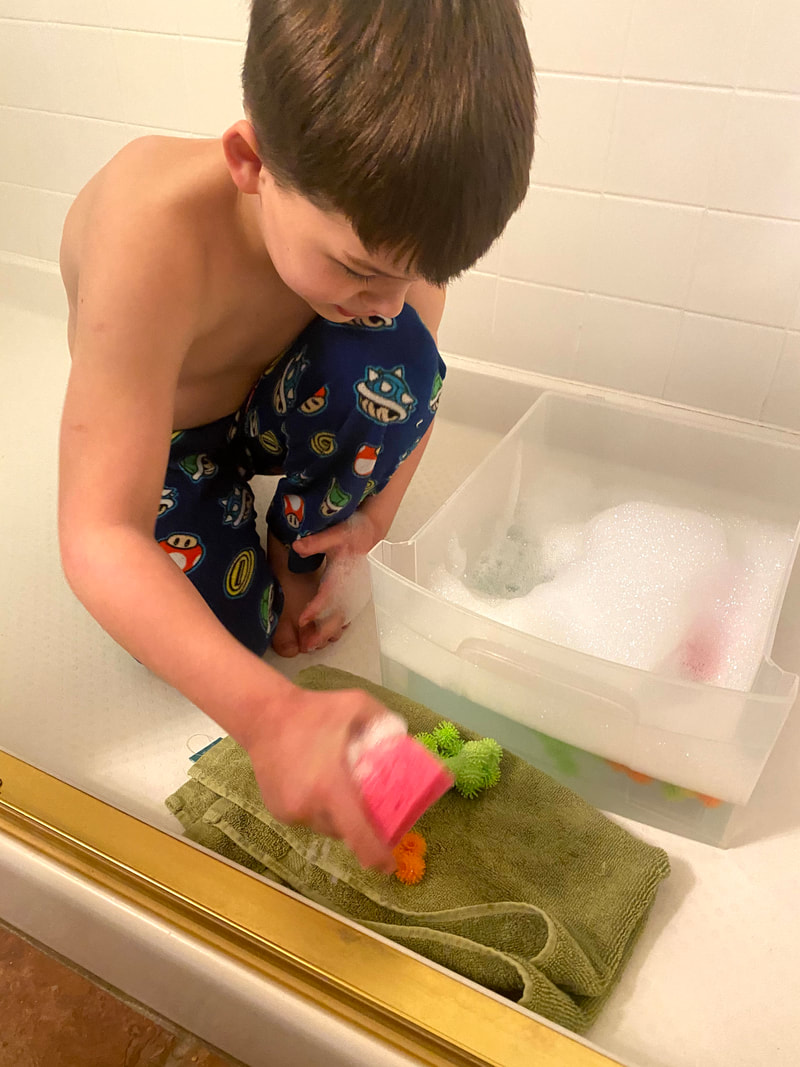
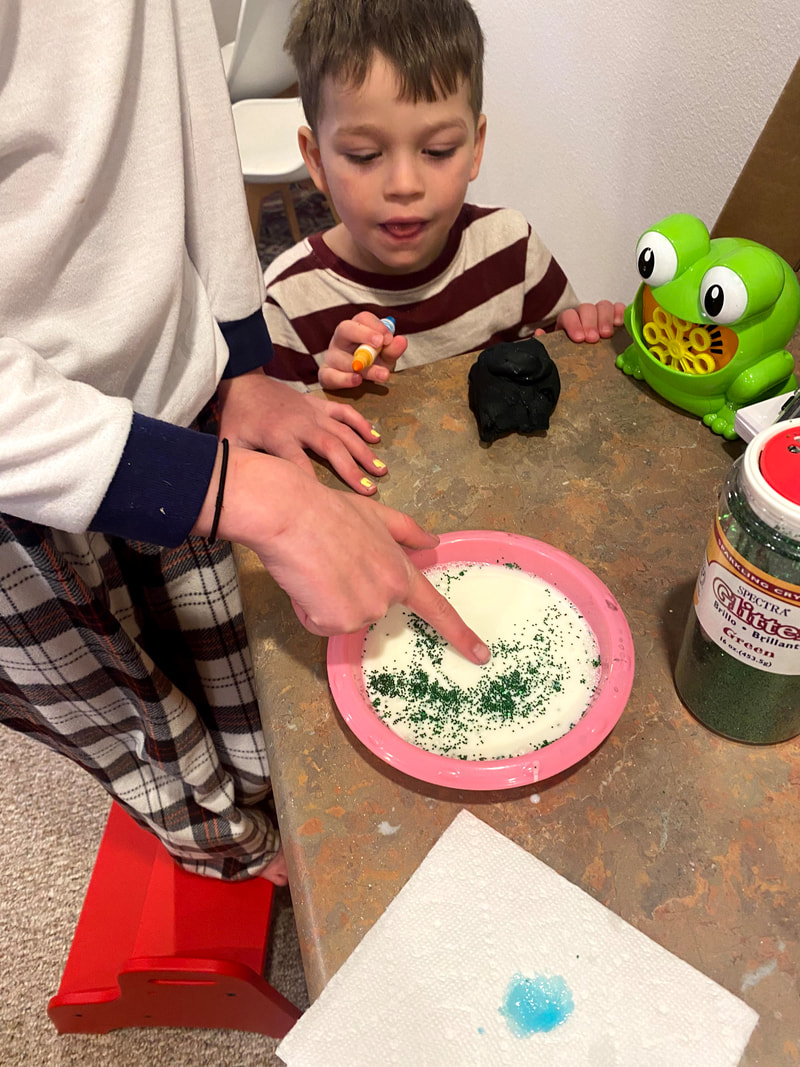
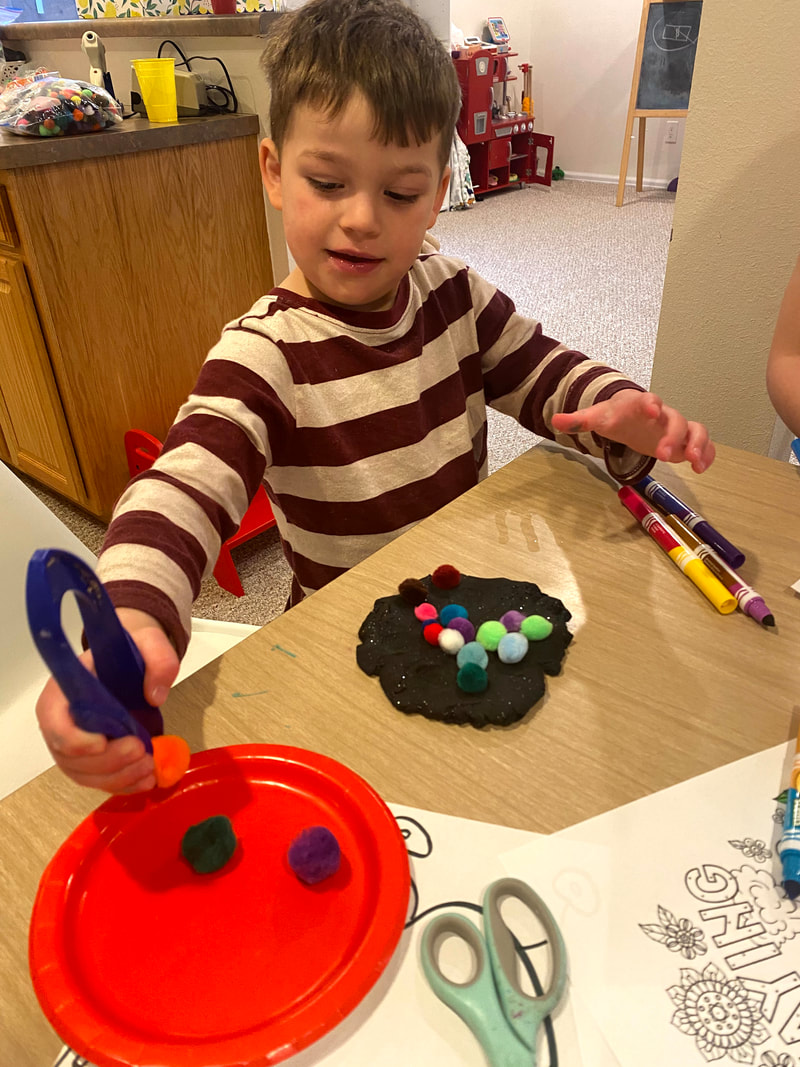
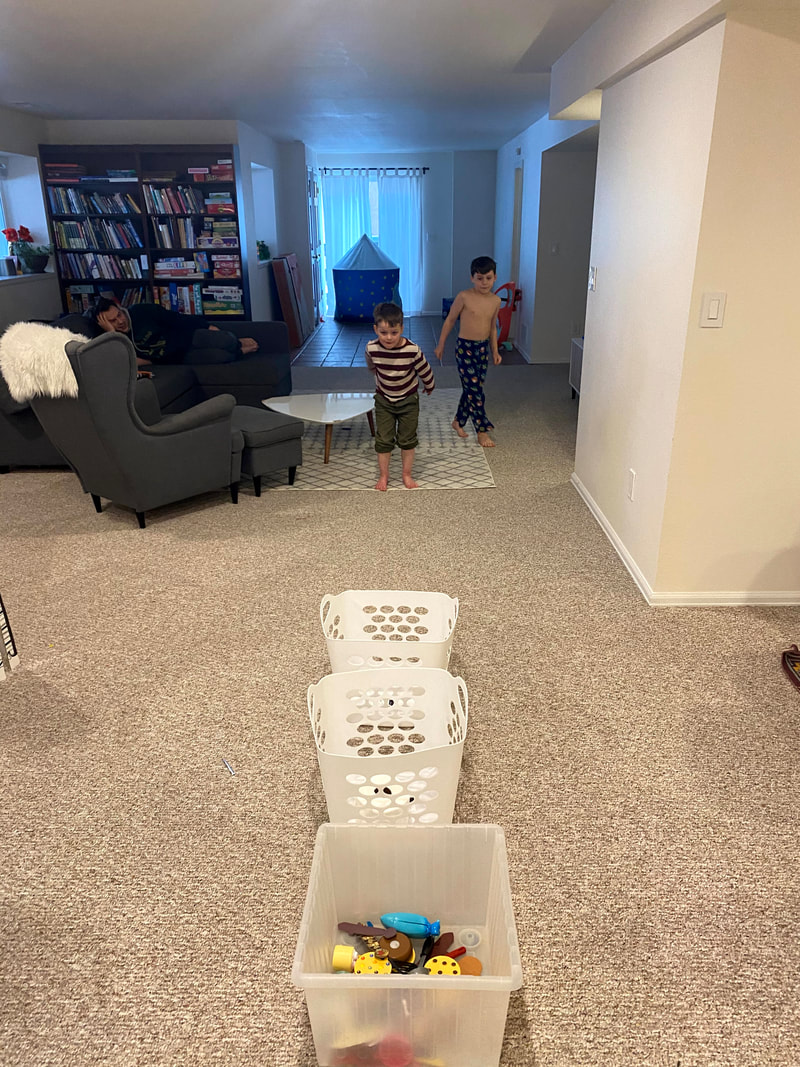
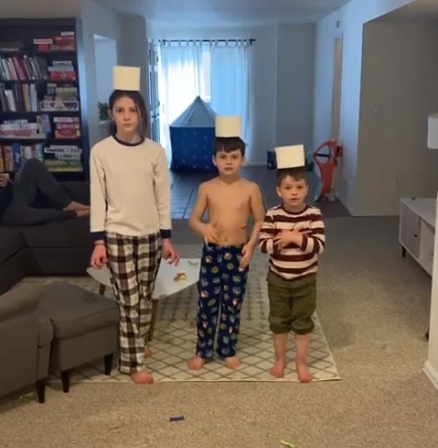
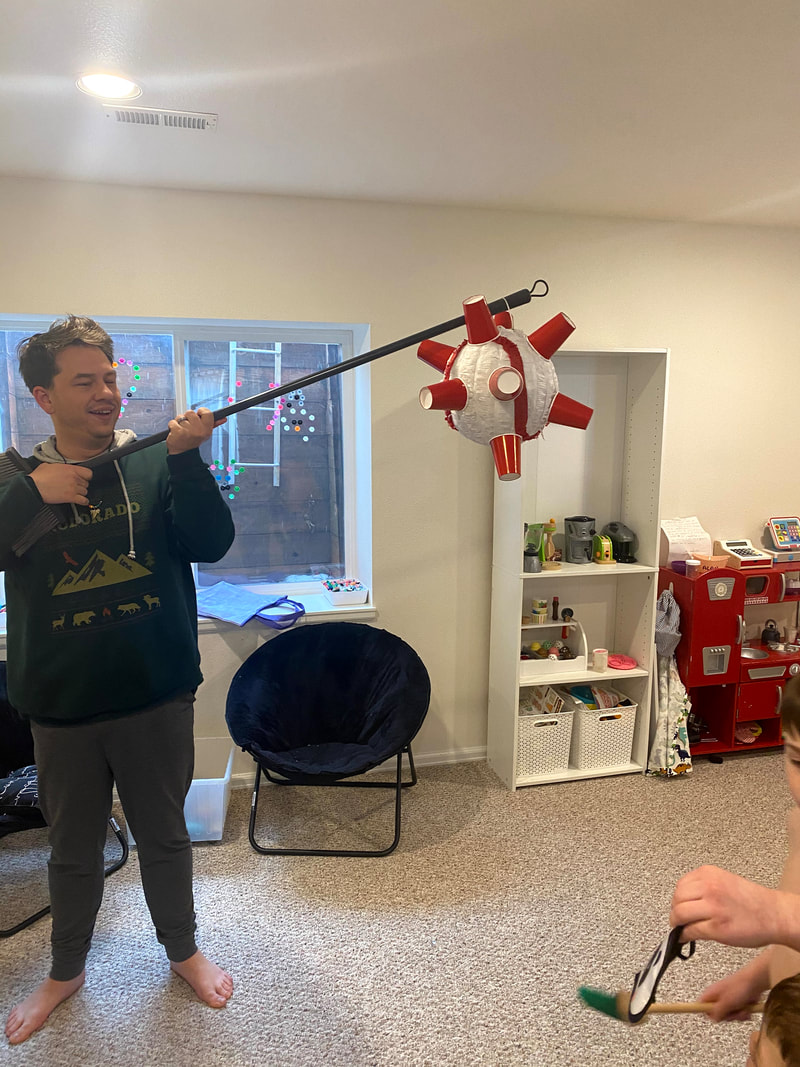
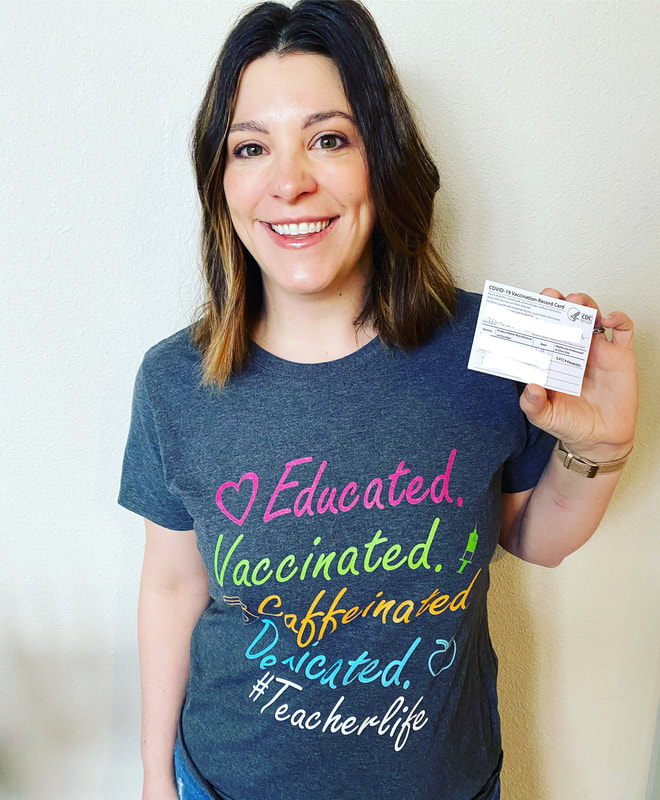
It's been one year since the world was turned upside down. During that year everyone has suffered in one form or another and most people have experienced serious life-changes. As you read in my previous post, we had a major life change and moved across the country during this pandemic which was definitely an interesting and stressful experience. So, we decided to recognize the anniversary of the start of the pandemic by doing some activities. We did a few crafts, created a family time capsule, played some games and took our frustrations on a DIY covid piñata. It was a nice way to reflect on this insane year and to have a little bit of fun while still respecting the importance of the day and how it has affected people. We stayed in our pajamas all day and ended our activities by going to the movies covid style and bought the new Disney movie "Raya and the Last Dragon" to watch at home with popcorn and candy. I also created a collage of photos from our year in quarantine to memorialize it and plan on hanging it somewhere in the house. Even though it was scary and difficult, we had many wonderful times all together. We made soap jellies kind of like the lush jellies you can buy. They were super easy and the kids thought the result was amazing. We even put little trinkets inside to find. You can find the recipe I used here. We wrote letters to our future selves and colored "stay at home" coloring pages to put in our time capsule. We also included a trinket that reminded us of this time to look back on later. The plan is not to open the box until at least 10 years from now and I shoved it in the far reaches of our basement storage room. So no one is tempted to peek sooner. We talked about germs and did several germ activities including making germ cookies, germ removal playdough, designing our own germ and a "find the germs" water activity using velcro balls, soap and a sponge. We also did the glitter + milk + soap experiment. We played a few minute to win it style games revolving around toilet paper including a toilet paper toss and balancing tp races. Then they attacked the piñata I made. To make it I found a baseball piñata and just hot glued red paper cups around the edges. It looked pretty good! I look forward to a more normal way of life and am hopeful that we will eventually get there. I've been fully vaccinated and most of my relatives are starting to get the vaccine as well. We'll still have to be cautious because the kids aren't old enough but it is reassuring to know that the adults in my life are safer.
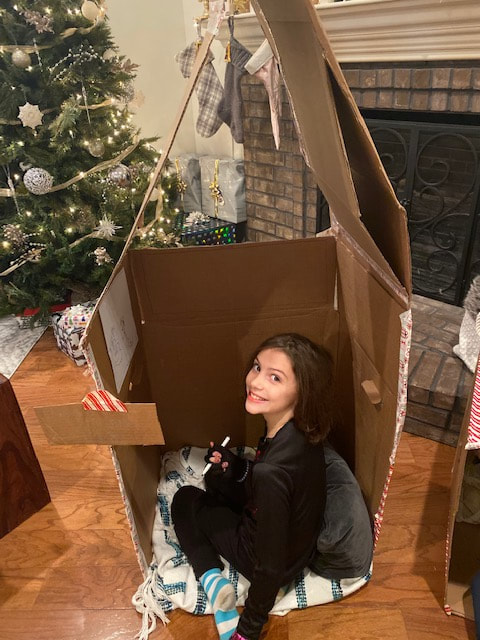
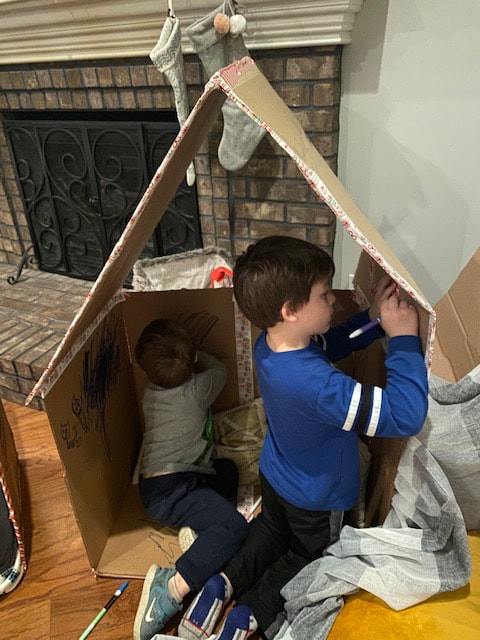
I don't know about you but, I conduct most of my Christmas shopping online. With three kids it's just too hard to find the time to get it all done any other way. So, while standing in my craft room surrounded by empty boxes I decided to make use of them! I quickly searched Pinterest for some tips and managed to find an easy tutorial for creating a cardboard box house with just scissors and tape. I whipped together three, one for each kid because otherwise a fight was sure to happen, and plopped them in the entry-way of our home with a container of markers. It is now one week later and the cardboard village has had a few modifications but, the kids have been devoting a TON of their time in creating their own little homes. There have been a few times when I've found the little one with scissors trying to conduct a little home improvement like his older siblings which was a bit scary but, I swear, these kids LOVE these things. It was a fab idea and I don't even mind the mess because they are all so quiet while updating and modifying their spaces with pillows, blankets and books. It's been great!
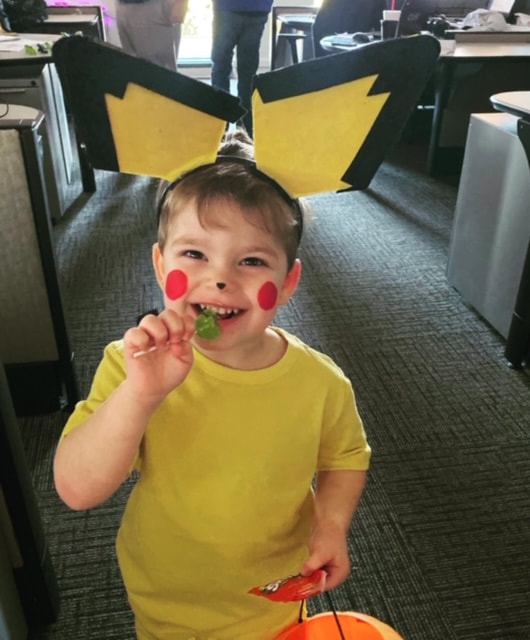
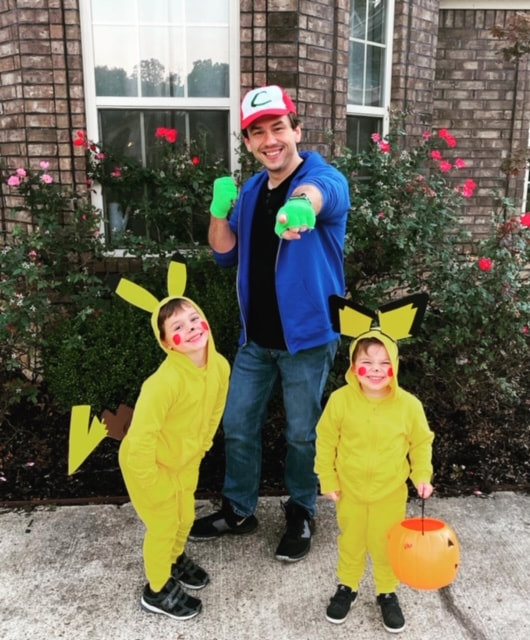
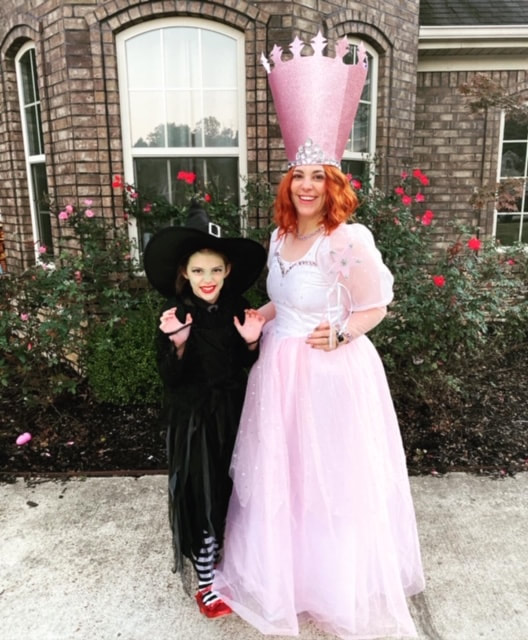
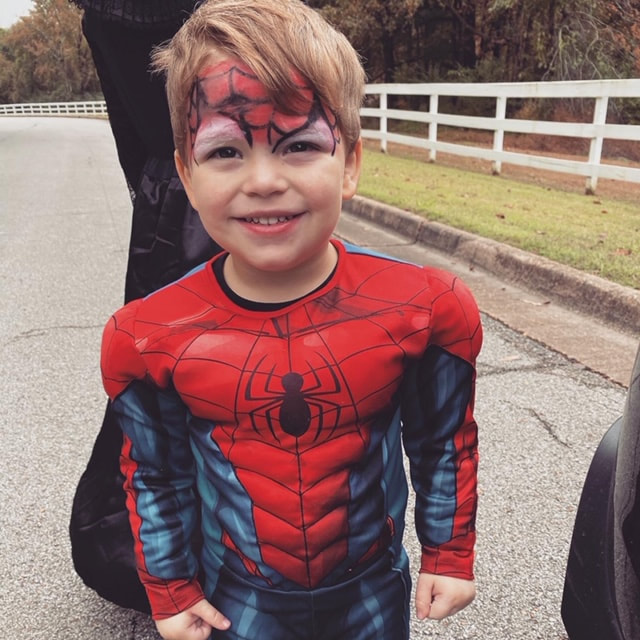
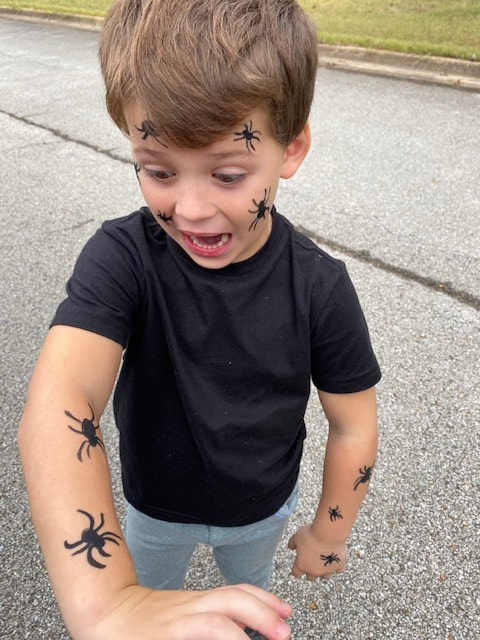
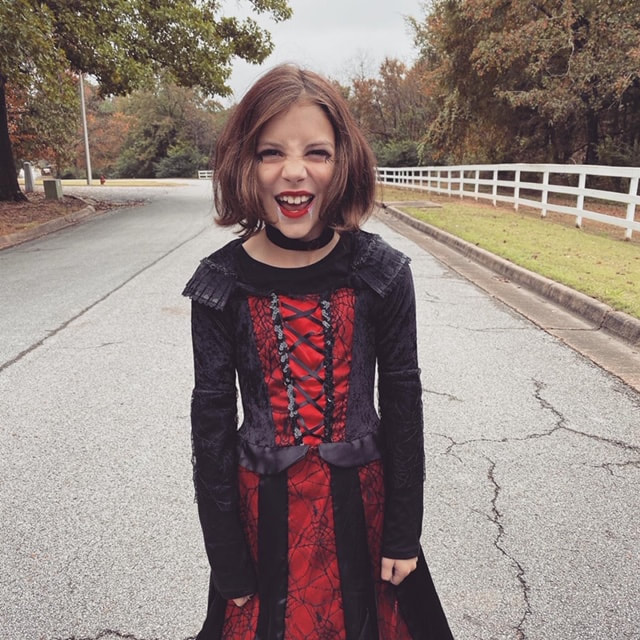
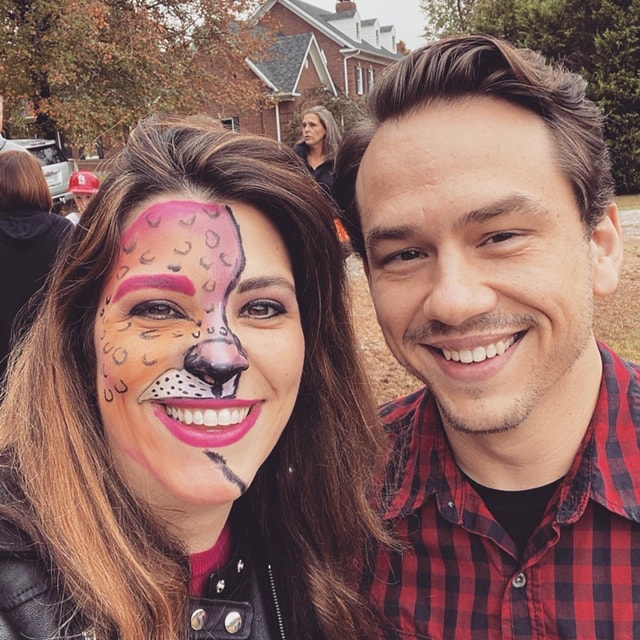
Halloween is one of my favorite holidays! Every year I make a good majority of our costumes because I like the craft factor and knowing that no one will have the same costume as me. Sometimes we go with a family theme like last year when we went as characters from "The Greatest Showman" and sometimes we mix it up with some of us going together and others not. This year, Arthur wanted to go as Pikachu so we put the boys in matching costumes as Pikachu, Pichu and Ash. I didn't really love the Pikachu costumes you could buy and decided to make my own. So, I purchased yellow pants and sweat shirts for the base. Then I got stiff yellow, black and brown felt and cut out ear and tail shapes. I used elastic waistband material to attach the tails to and glued the ears to black plastic headband blanks. Then I drew on a little black nose and red cheeks and voila! I thought they were super adorable. Plus, the clothing items can be worn again and again. Ash was even easier. I ordered a blue hoodie and an Ash hat from Amazon along with a pair of green gloves. I cut off the fingertips of the gloves and we had an Ash. Easy. As for my and Lillian, she wanted to go as a witch, but not a cute one. So, we went as the Wicked Witch of the West and Glinda the Good! I happened to have a Glinda costume that I found at Goodwill several years ago so the majority of my costume was ready to go! I simply made a crown using pink glitter craft foam and gems. I also made a wand by purchasing a pre-made wand and painting it pink and adding gems. I also bought a red wig to complete the look. For Lillian, I purchased all of her costume and didn't actually make anything. But, I did paint her green. I purchased all of her items from Amazon. We also went to a pre-Halloween event but didn't want to ruin our costumes so we threw together a few more. Did I mention I love Halloween? I happen to be pretty ok at facepainting and Alan wanted to wear his Spiderman costume. So, I gave him a quick facepainted mask. Arthur wanted to be creepy and decided being covered in spiders fit the bill. So, I drew little spiders all over him. Lillian already had a vampire costume and chose to wear that with a bit of lipstick. I found a fun pic of Lisa Frank style leopard face paint and did my best to recreate it. And Derek went as the Brawny Man. Hope you had a fun Halloween!
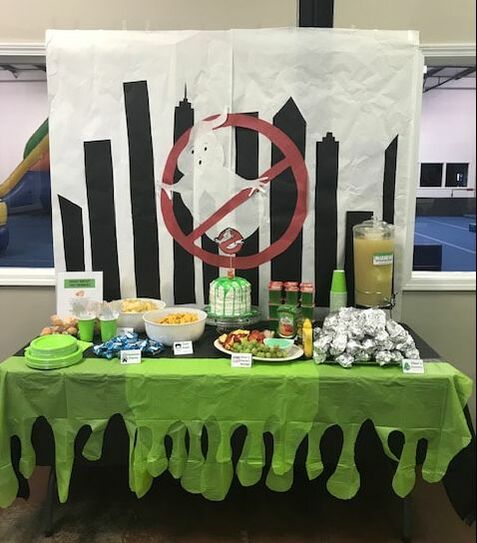
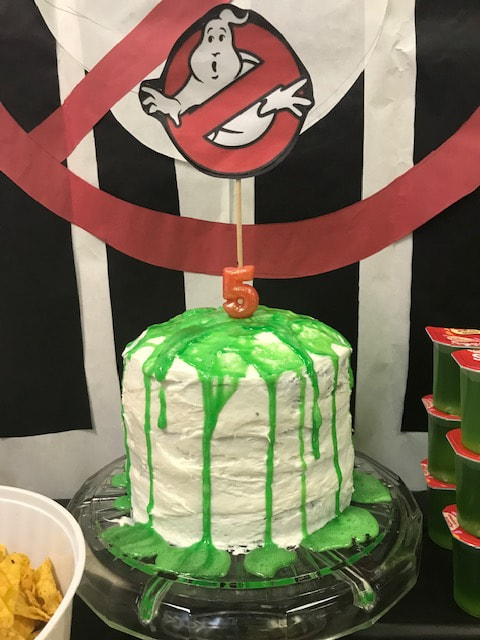
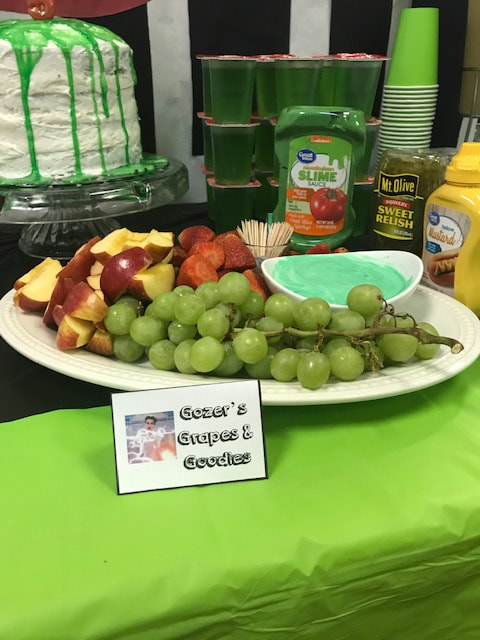
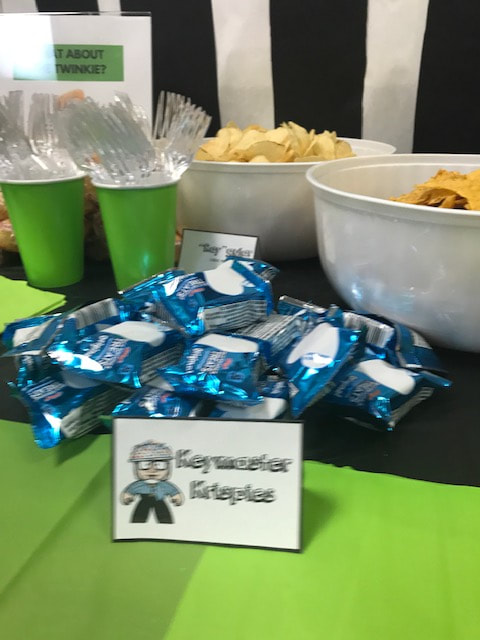
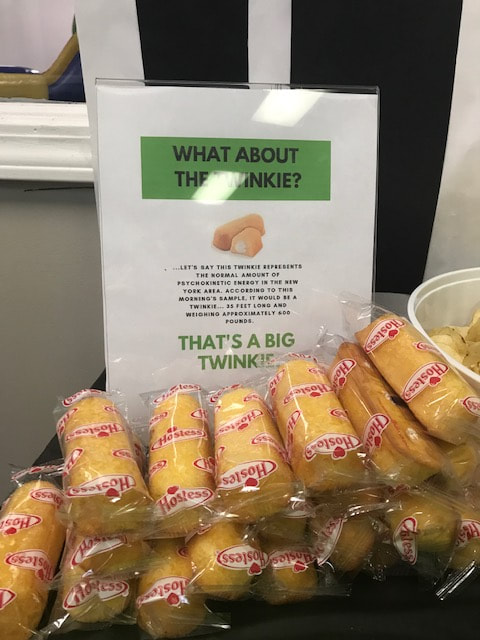
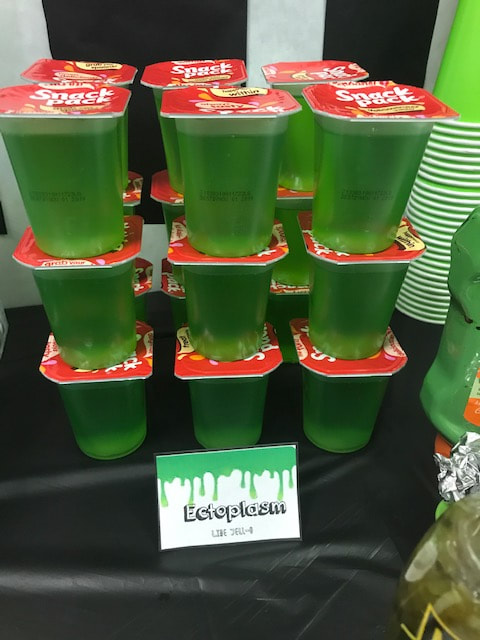
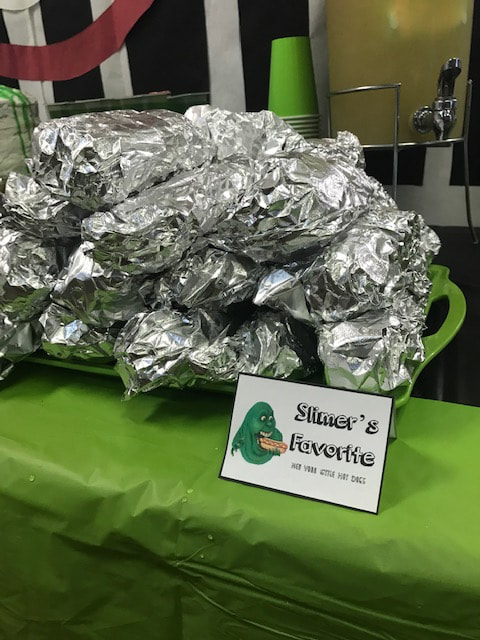
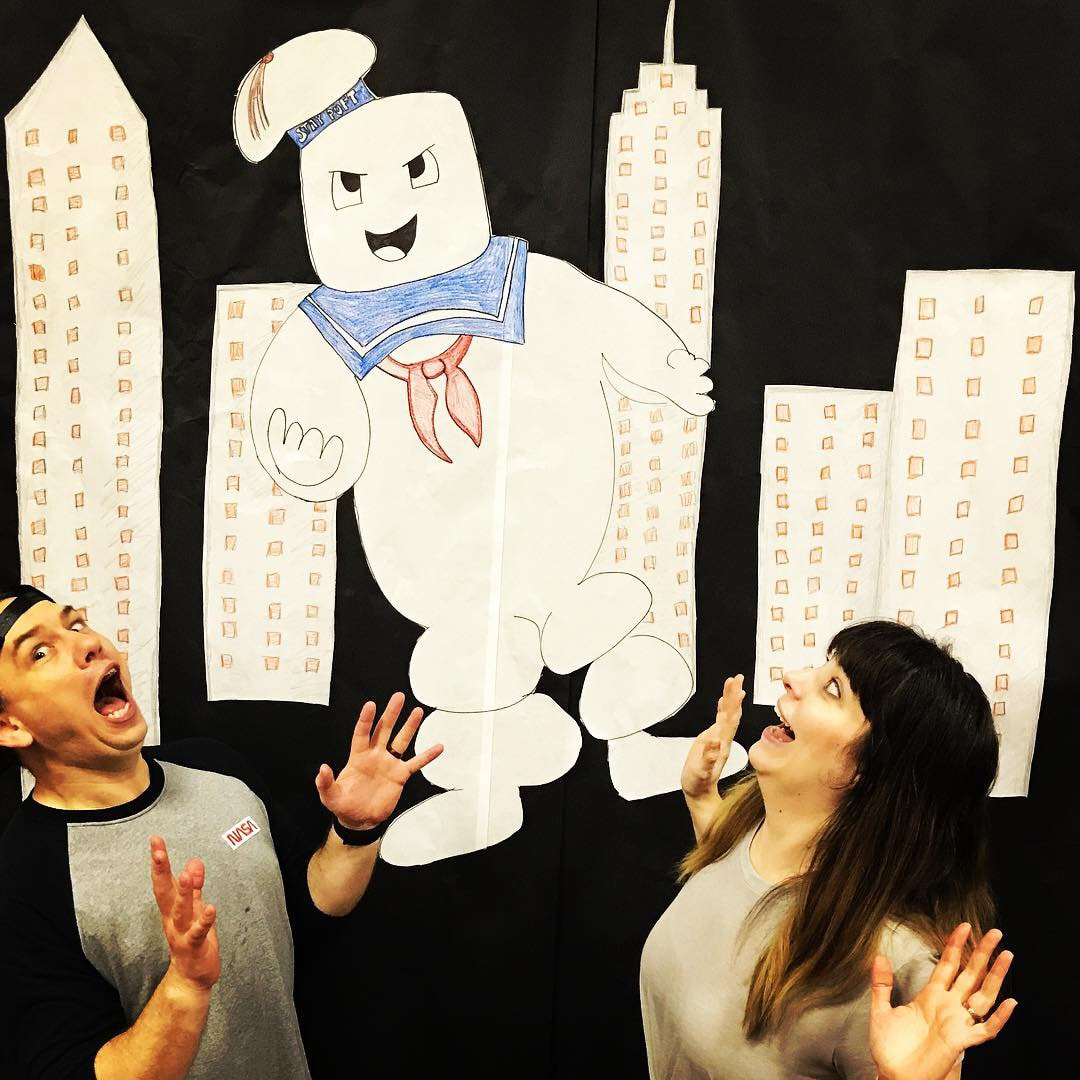
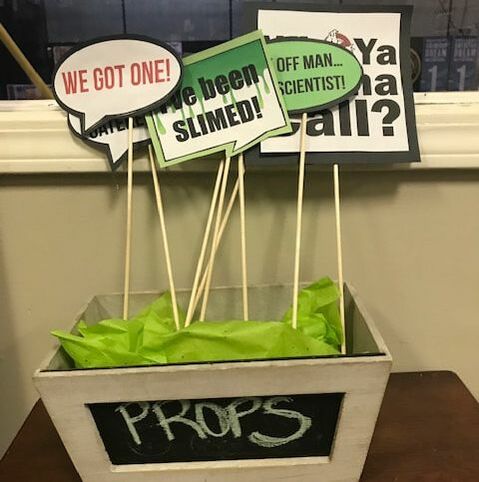
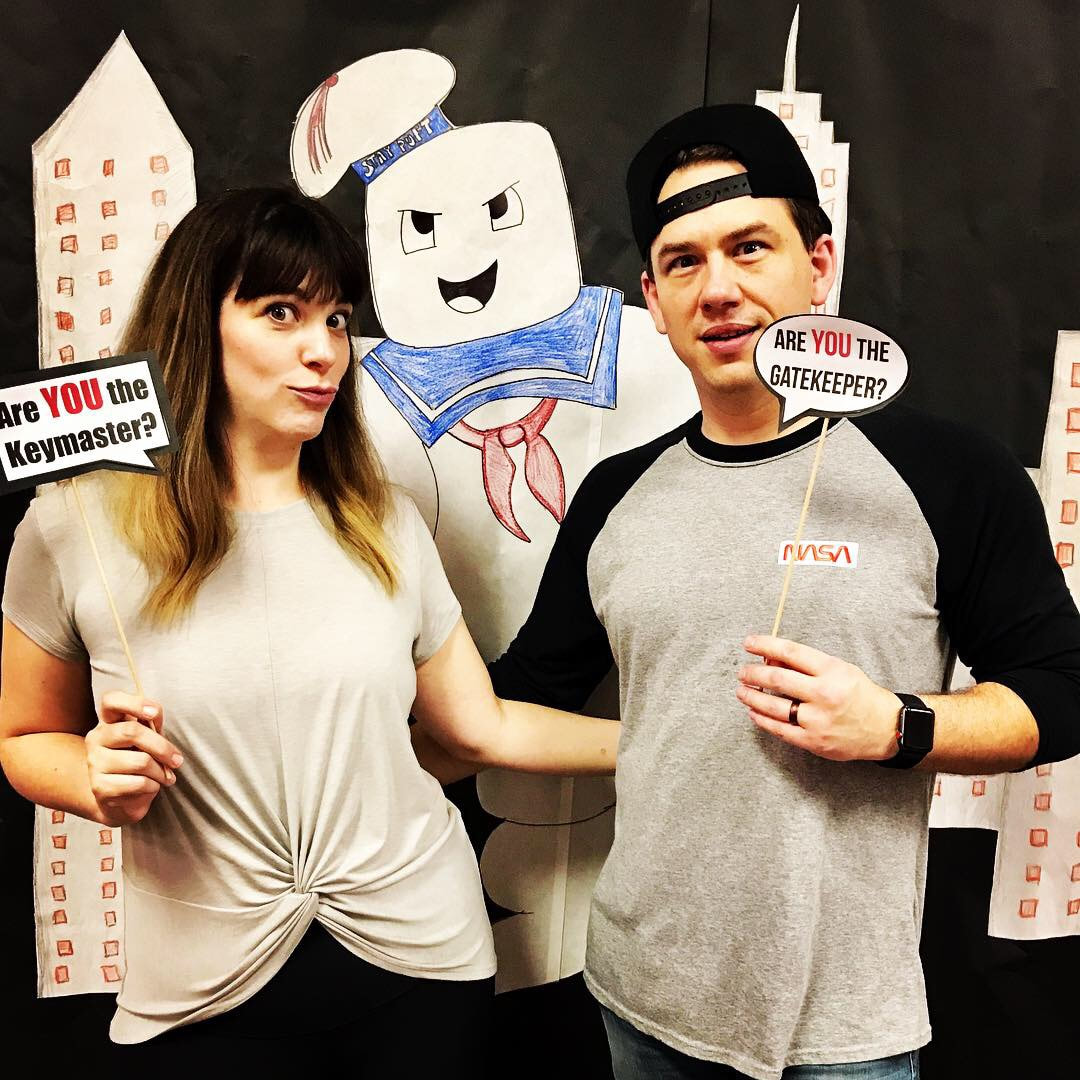
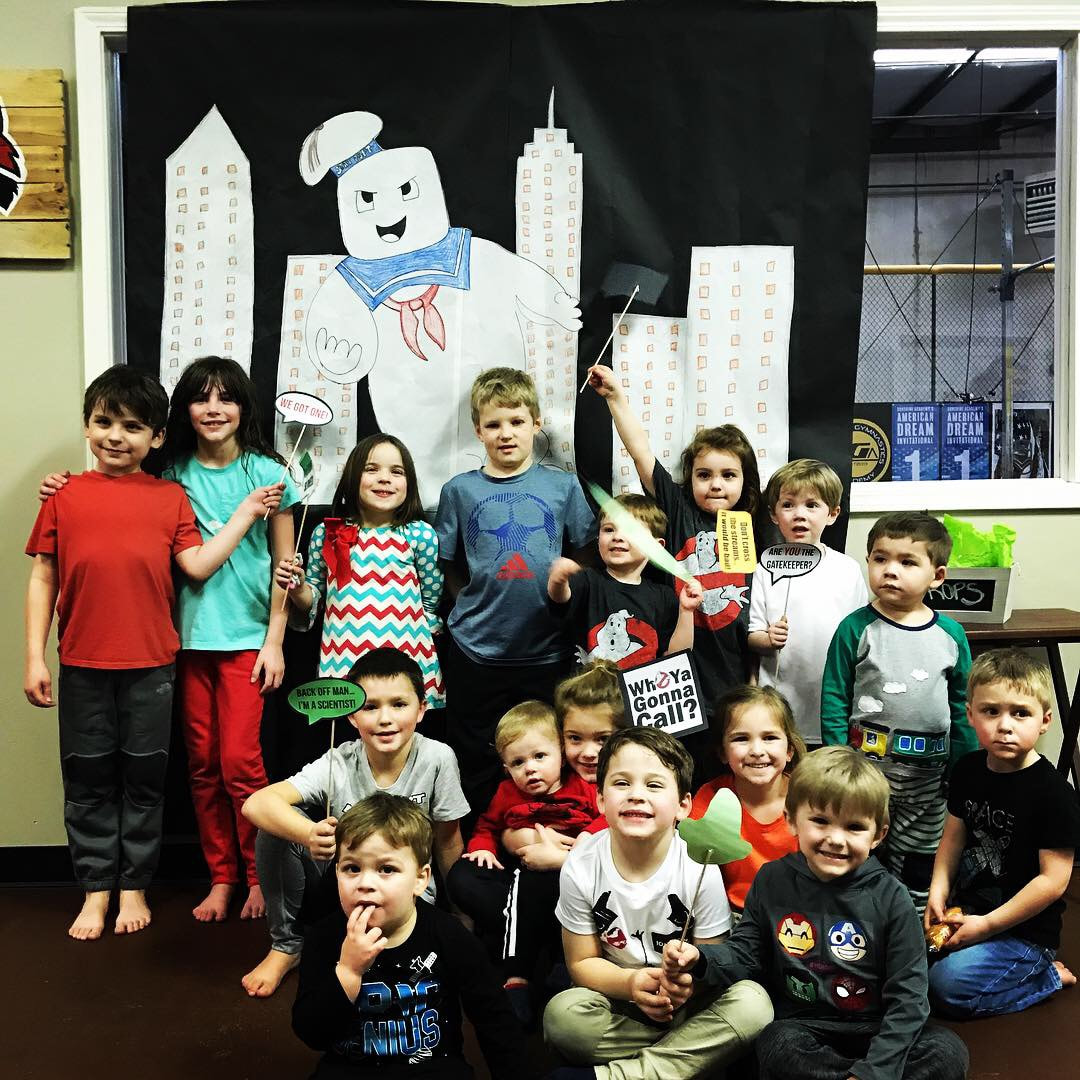
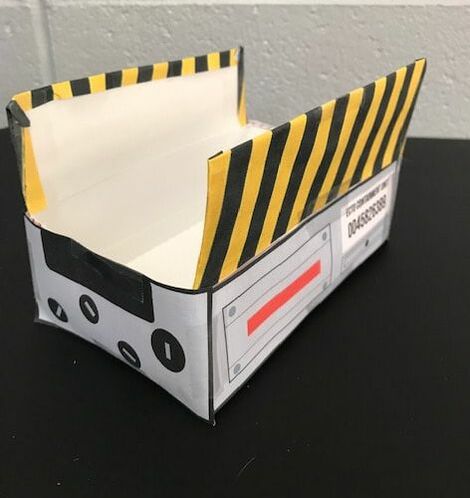
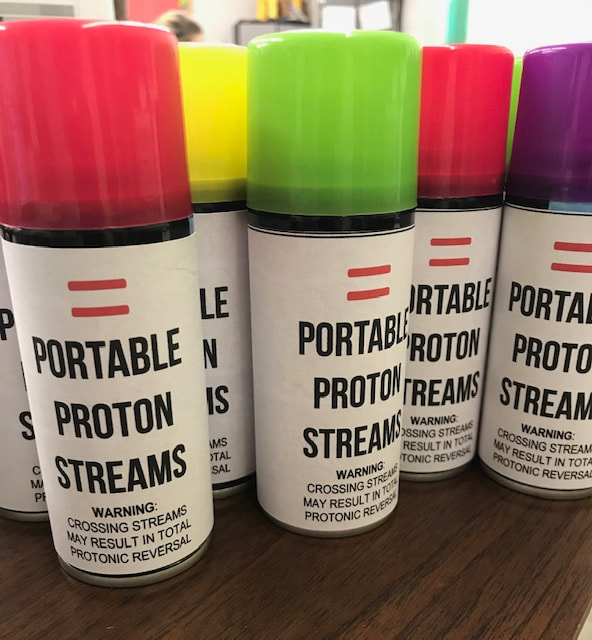
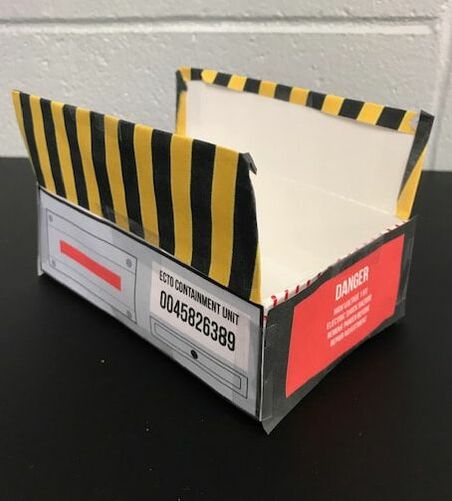
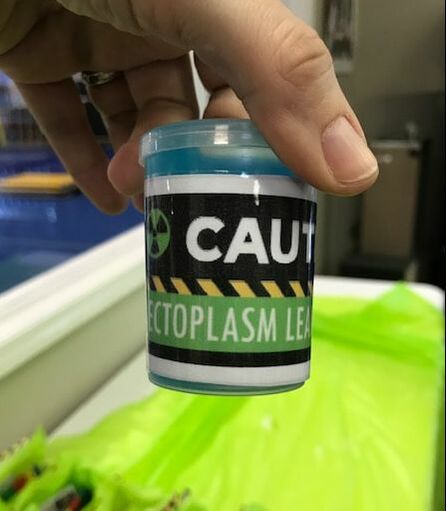
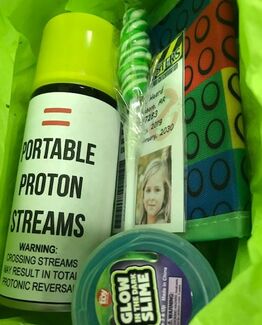
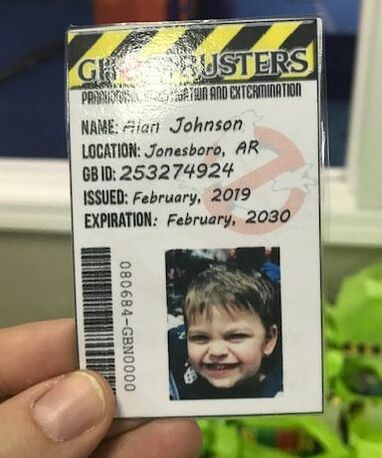
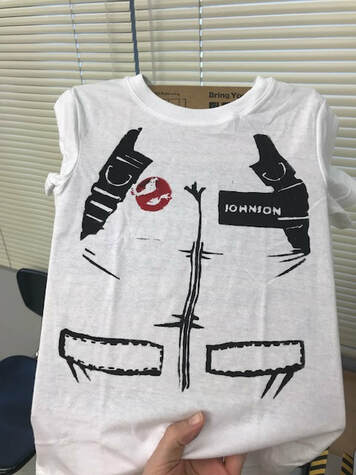
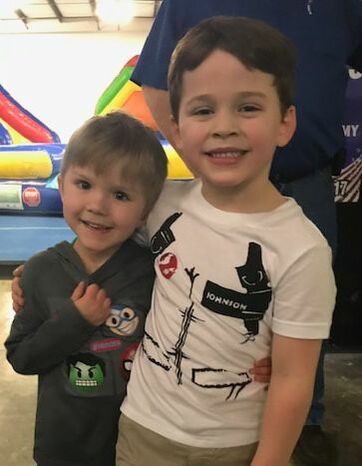
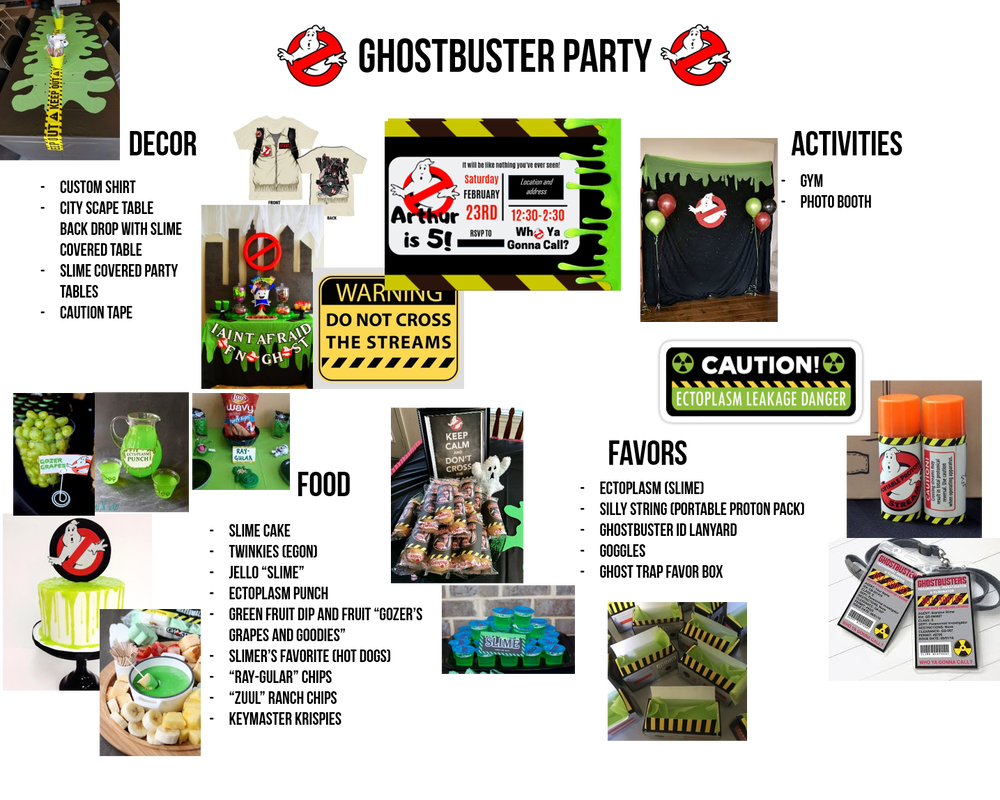
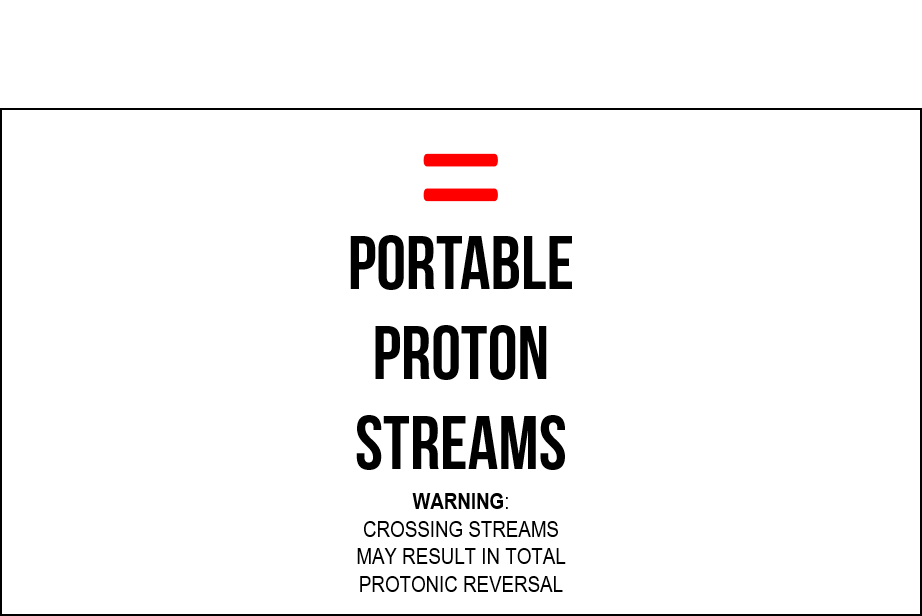
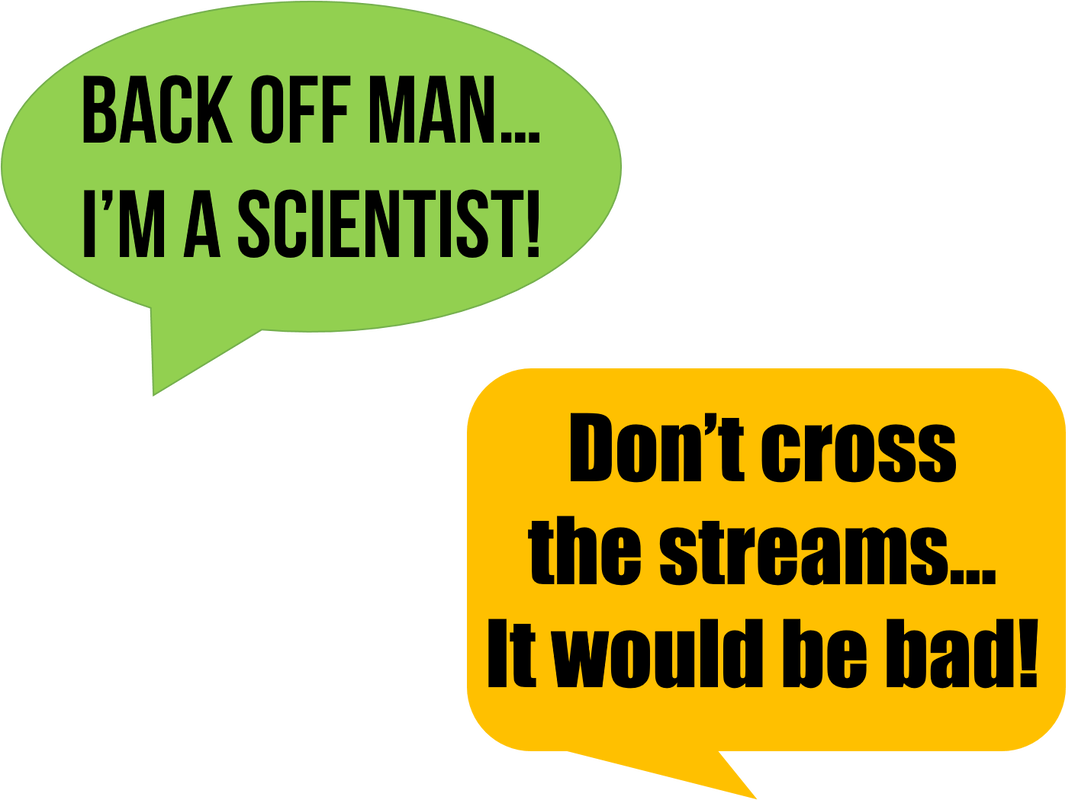
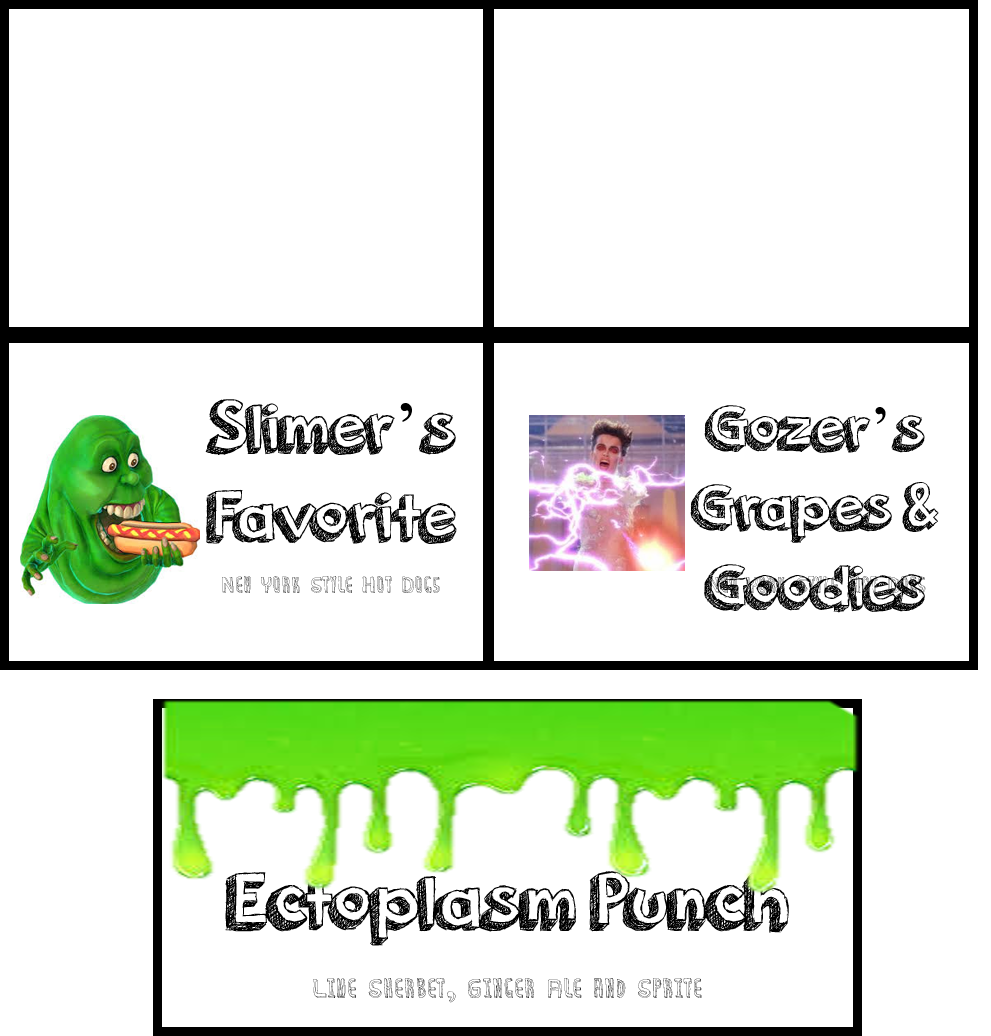
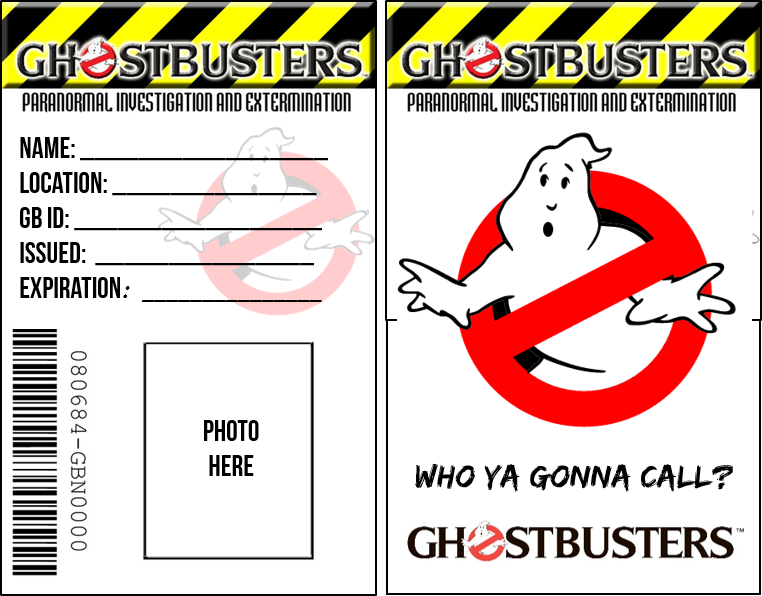
We held Arthur's 5th birthday party this weekend so I finally got to put all of my hard work on decor and planning into action. You can check out the party plan I created in this post. I was really happy with how everything turned out and it seemed like everyone had a great time! For the food I did pretty easy and quick stuff like chips and pre-packaged sweets but, I made puny labels to make everything seem way more impressive which you can print out at the original planning post. We made hotdogs and wrapped them in aluminum foil for quick grabbing and I made the cake using good ole' Duncan Hines box mix and icing but, it was super yummy with double fudge cake and marshmallow icing. To fancy it up a bit I made green slime to pour over the cake. It was easy to make using lime jell-o and tonic water (it would have glowed under a black light). For the backdrop I cut out building shapes from black paper and glued them to a white paper. Then I free-handed a ghost and red "no" symbol and glued it all down. It was quick, easy and cheap but made a nice statement. For the table I put down a black plastic tablecloth and then cut slime shapes out of a green plastic table cloth and draped it across the front. I also set up a photo booth area with fun props I made and you can print out on my original planning post. I free handed a giant marshmallow man and city scene on white butcher paper and colored it. Then I cut it out and pasted it onto black paper to make it pop. I was most proud of the goody boxes. I purchased popcorn boxes and cut and taped them to create a shape like the ghost trap. Then, I MADE a ghost trap printable (I was going to use a free printable I found but I realized it was for a much smaller box and it didn't work.) Once the printable was made, I printed, cut and taped 25 to the already cut and taped ghost trap popcorn boxes. It took quite a bit of time but aren't they fabulous?! To complete the magic, I put green tissue paper inside each one and topped them off with the treats which are equally fab. For the treats inside, I purchased silly string and created a portable proton stream label which can be found in the original planning post. I purchased mini, glow-in-the-dark slimes on amazon and taped ectoplasm labels to them. Additionally, kids got a green twisty sucker and a velcro wallet. Why a wallet you ask? Well, I made custom ghostbuster ID badges for all of the kids! I even laminated them. They are legit! You can find the editable ID badge document and the printable ghost trap box below by clicking on the images. I also made Arthur a custom Ghostbuster shirt that turned out pretty cute. I created a cut file for my Silhouette machine. I used stencil material for cutting and then used acrylic paint to fill in the stencil on a shirt. I feel like the party was a great success and everyone had fun! I hope you found some inspiration for your next party!
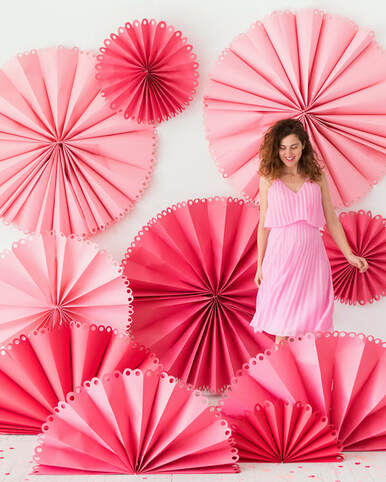
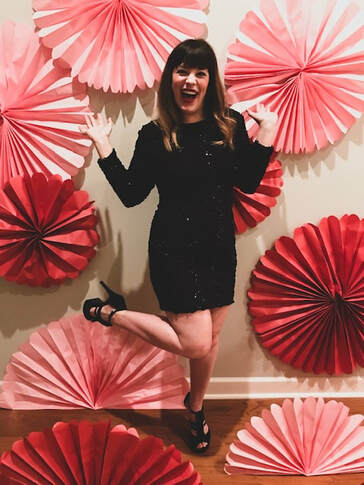
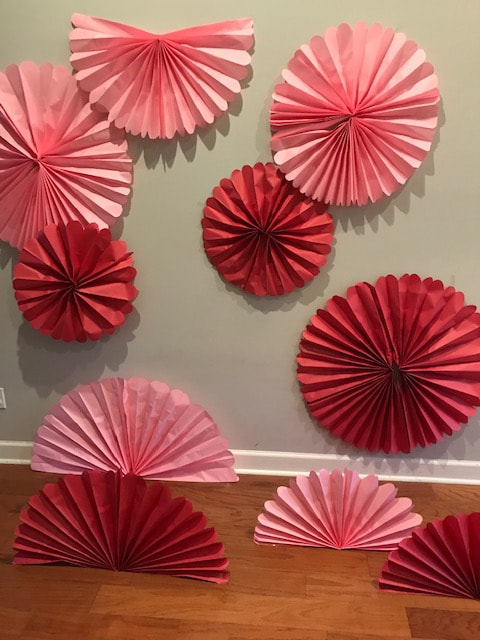
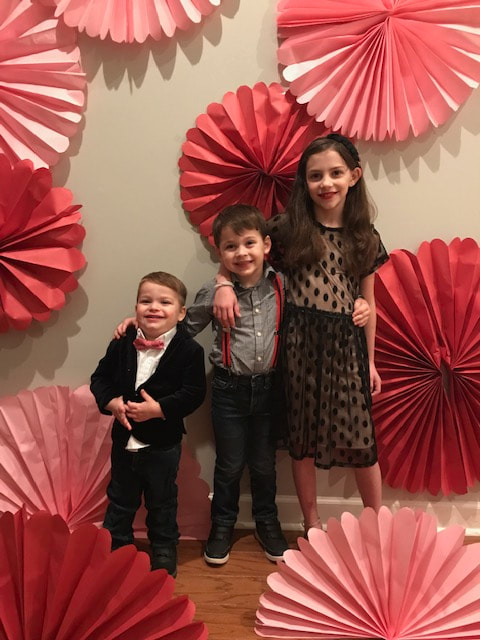
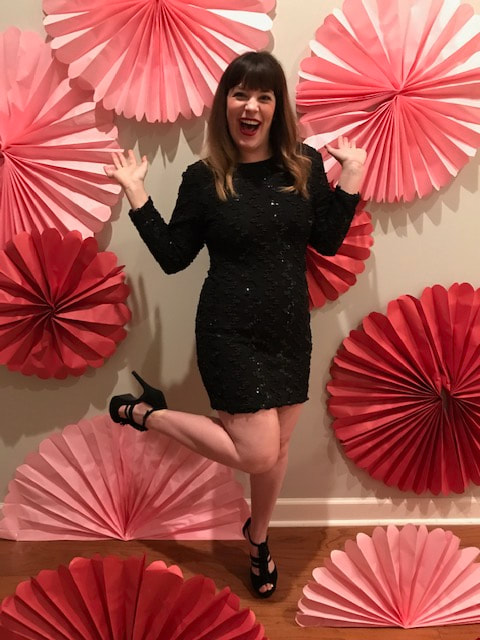
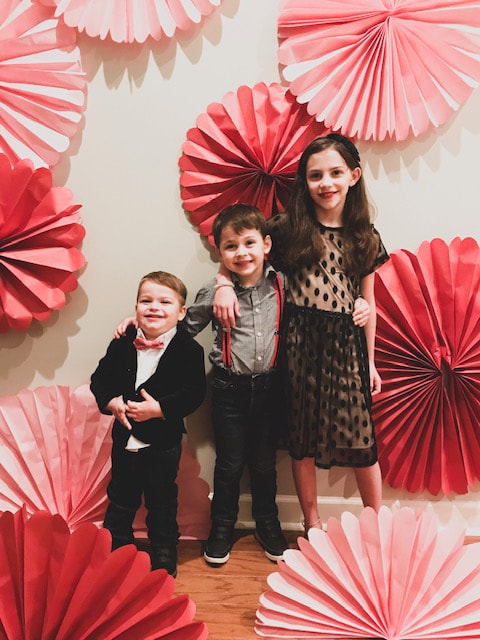
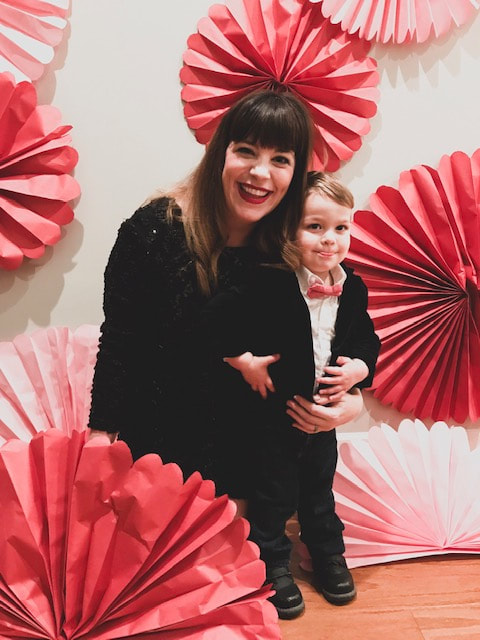
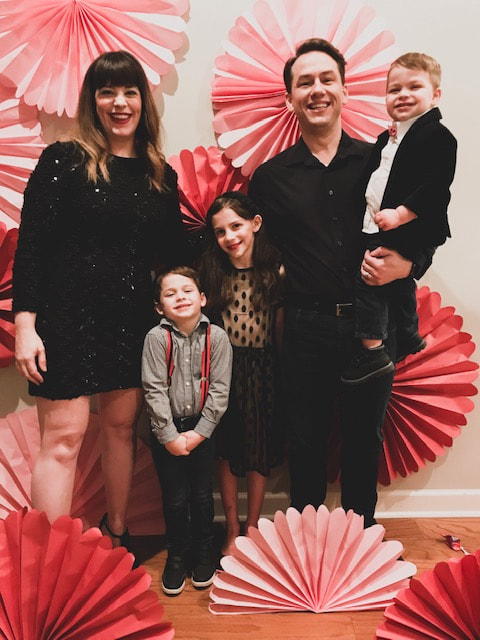
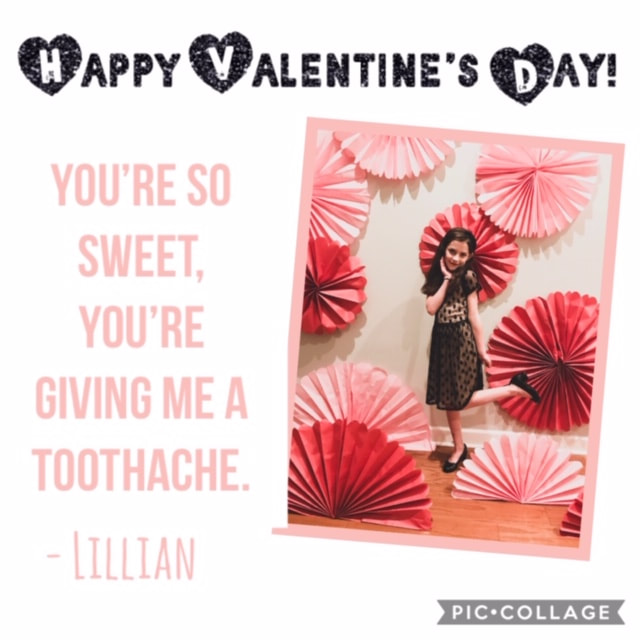
I generally conduct a mini photo session in my living room for Valentine's Day each year. In the past I've shared those tips which include using a table cloth or wrapping paper as a back drop. This year I got inspired by a fun backdrop at Oh Joy! and had to re-create it! It was ridiculously easy to set up and even though I don't have the fancy lighting used in the original I think they turned out adorable! To create the fans I simple followed basic directions and created an accordion fold on large pieces of butcher paper. Then I stapled them in the middle, cut the edges to be round and stapled the middle edges together. You can use this tutorial to help you out. It is for mini fans but is closest to what I did except I didn't use glue and instead used staples. Once I created a bunch of different sized fans, I simply taped them to the floor and walls to create the backdrop area. It couldn't have been quicker or easier! I definitely spent more time taking and editing the photos. The Images below are before editing. After running the images through a bunch of filters and apps I ended up with the images below. I also made valentine message images for fun. Happy Valentine's Day!
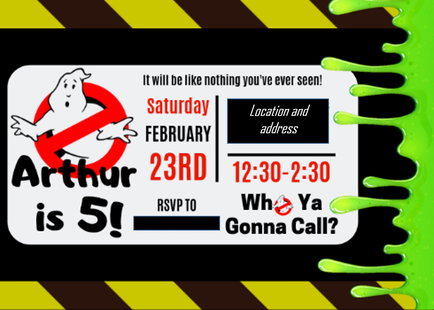
I'm planning another bday party! This time I'm taking a bit of a break by having it at a local gymnastics place. I won't be able to use the outside since it's February and I don't think I can handle a bunch of 4-5 year olds running around my house even if I plan the heck out of the thing. So, as you can see above, I've still done quite a bit of planning as is my way. I also created a bunch of printables including id badges, food signs, goody bag labels and photo props. You can check out my Pinterest inspirations here and download the printables by clicking the party planning image above! My plan involves no activities for kids which is a first for me! I figure they will be much more interested in the giant foam pit, trampoline and other gymnastics stuff than crafts and games. I do have plans for fun goody bags, food and custom shirts for the family. I used my favorite digital everything maker site, Canva, to make the invite. The coolest thing is that now they print your creations AND the prices are great! So, for about $30 I ordered 50 invites with envelopes and they look perfect!
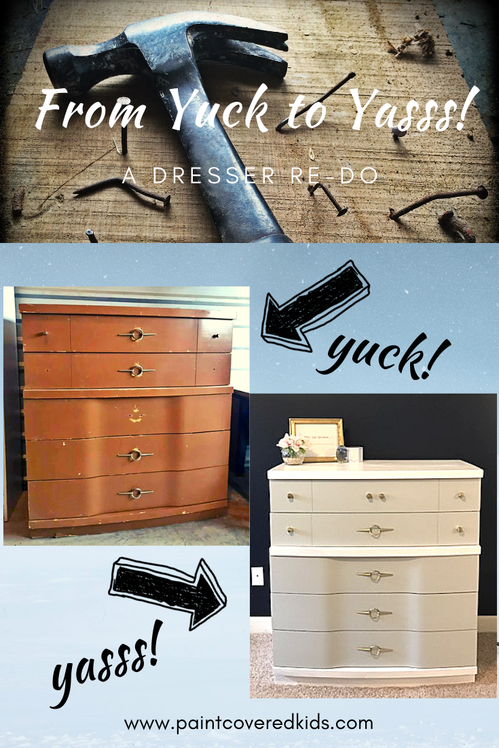
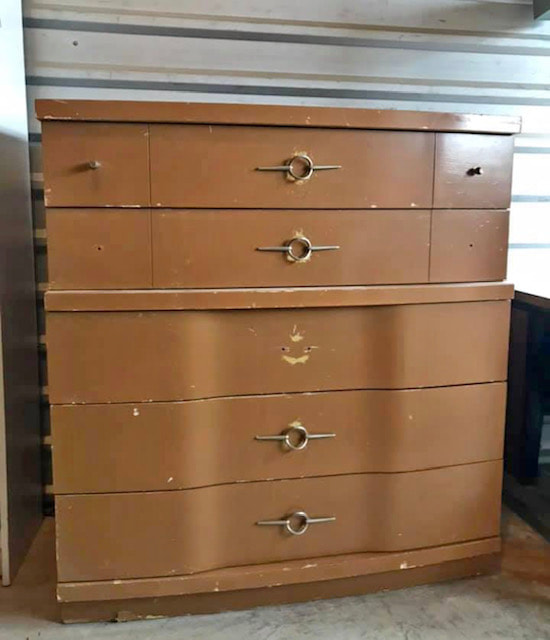
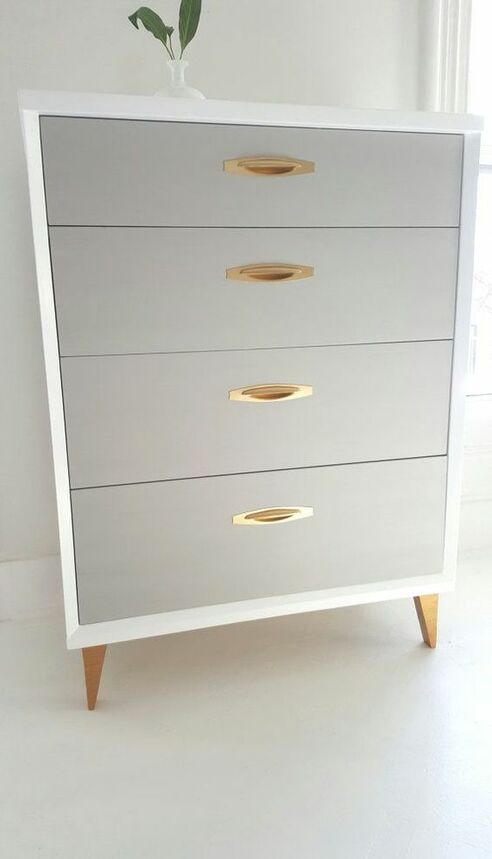
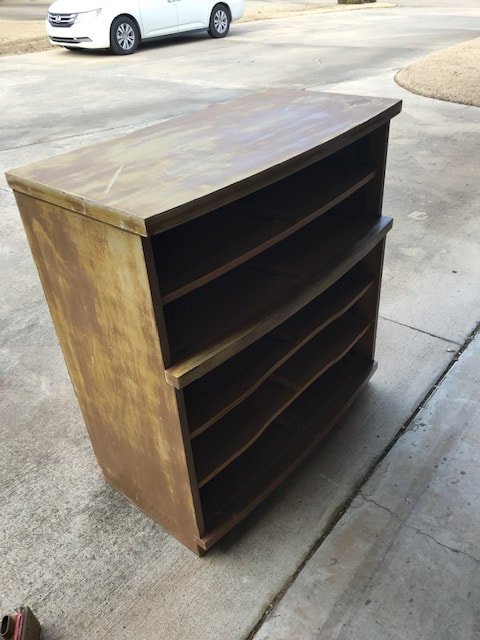
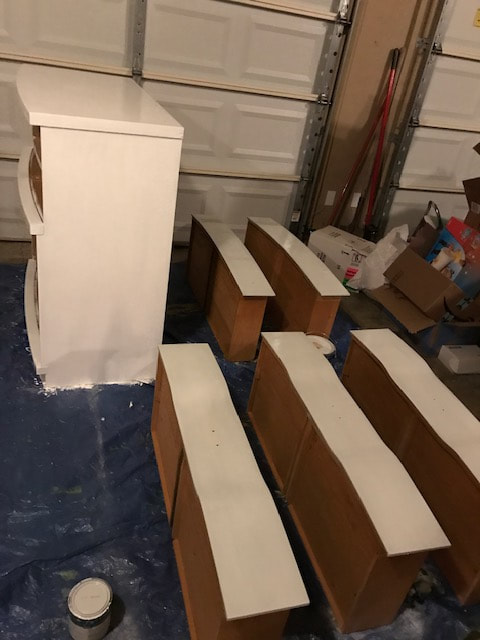
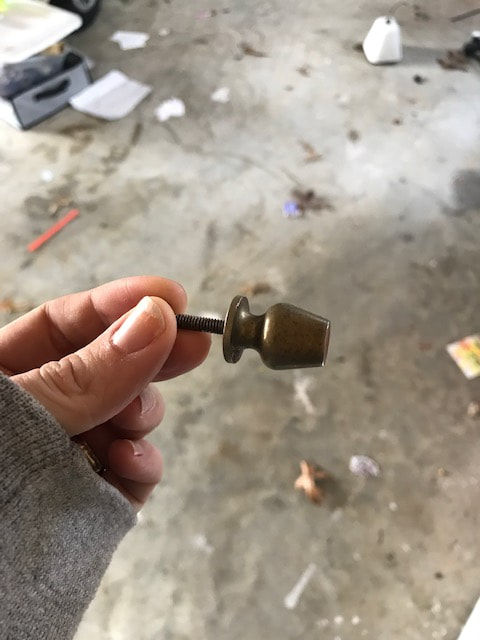
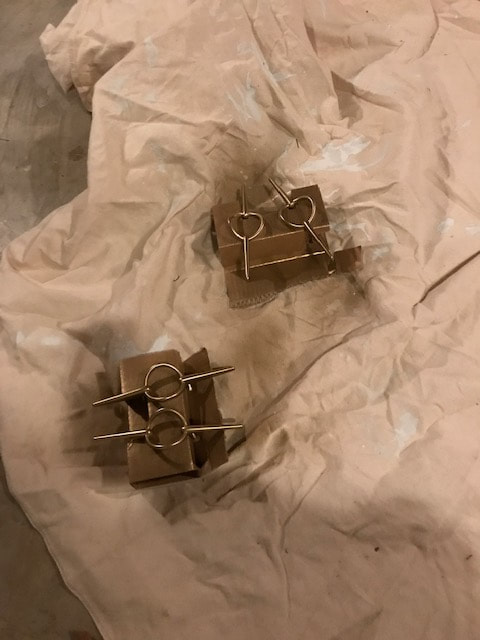
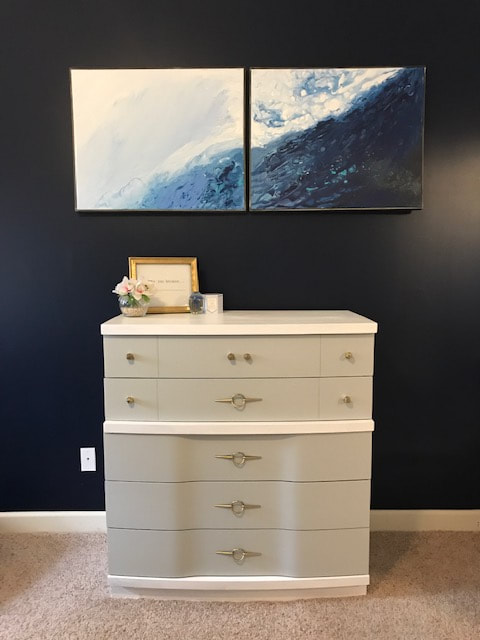
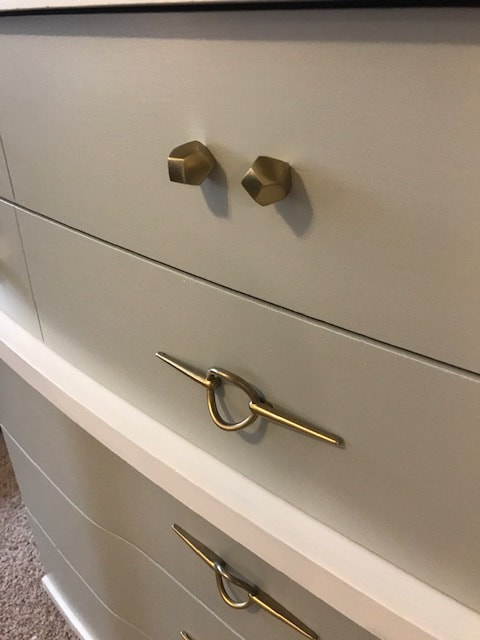
I'm excited about this party and can't wait to get it all put together! Be sure to check back to see the party photos! In my previous post I discussed the vanity project which was how the bedroom re-do began. But, for it all to work out, I needed to ditch my old dresser and replace it with a less wide version. I also wanted to brighten up the space a bit with a white or light piece of furniture since it would be sitting against a navy blue wall. So, I've been keeping my eyes open for a cheap dresser with good bones that I could paint/refinish. I managed to snag a really great looking piece for only $35 on my local Facebook Marketplace. It had some damage and was a terrible brown color but I could see it's potential. I mean, look at those cool handles! I headed to Pinterest for inspiration on refinishing it and found a great color combo that I thought would fit the bill. I headed to Home Depot and had them mix me a perfect gray and grabbed a can of the base white and headed home! I removed all of the hardware and then sanded the piece with an electric sander and 80 grit paper. Then I wiped it down with a damp cloth and removed the drawers. I was ready to paint! it took about 4 coats to make it perfect but it was worth it! Since it was missing one handle and two knobs I had to get creative. I was DEFINITELY using those handles. So, I went to Hobby Lobby and grabbed 6 knobs that I felt were reminiscent of the original ones. Then, I spray painted the original handles using the same gold spray paint I used for my previous vanity mirror project so that all of the knobs matched. After everything was dry, I re-attached the knobs and handles in a slightly different order than the original and put it all back together. I am so very pleased with how wonderfully this project turned out. My husband was even surprised. When he first saw the dresser he was pretty against the whole idea but, he knows not to mess with my crazy lol. We both LOVE how it turned out and I feel like I have my own little Instagram worthy designed space. I love it when my vision actually works out! After hanging some paintings I made a few years ago above the dresser and putting a few pretty items to sit on top, I feel like it is perfect. Thanks for joining me on the journey! I hope it inspires you!
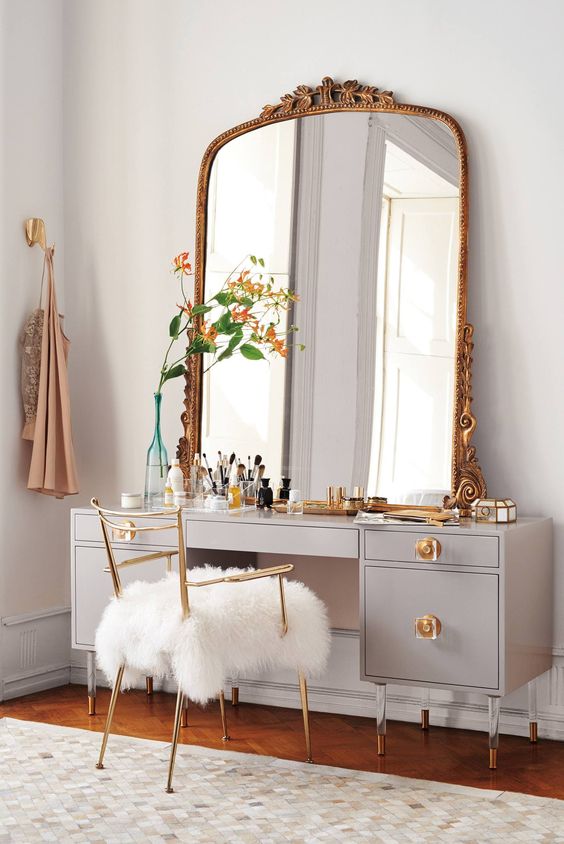
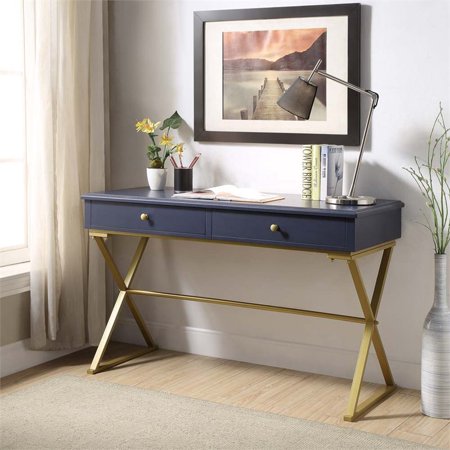
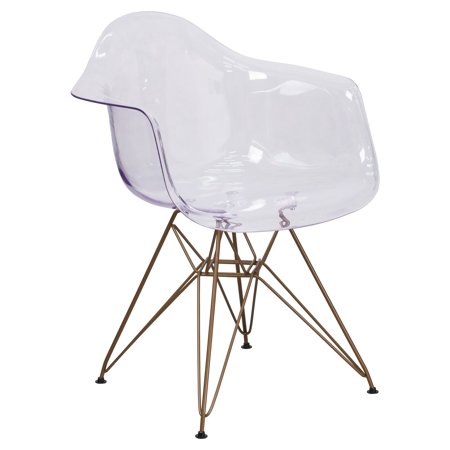
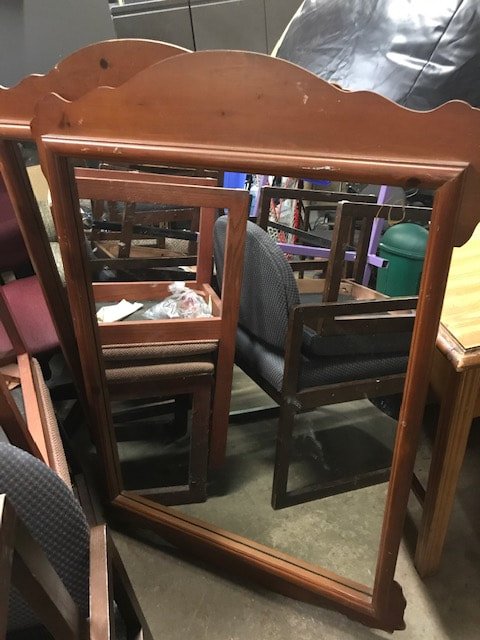
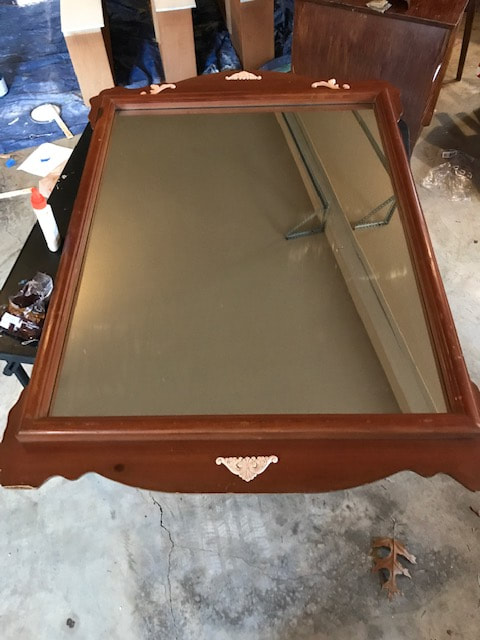
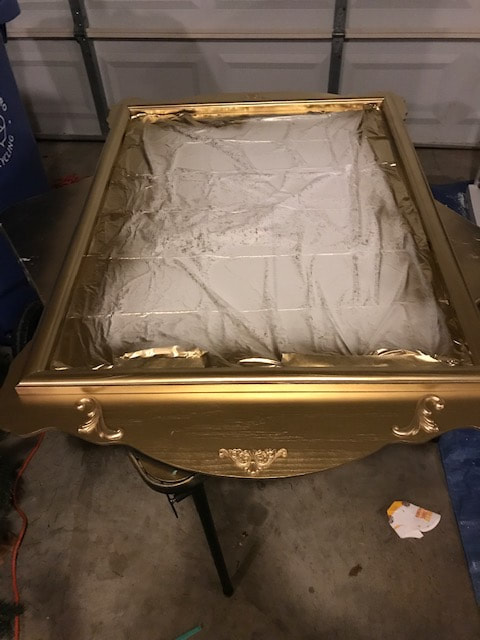
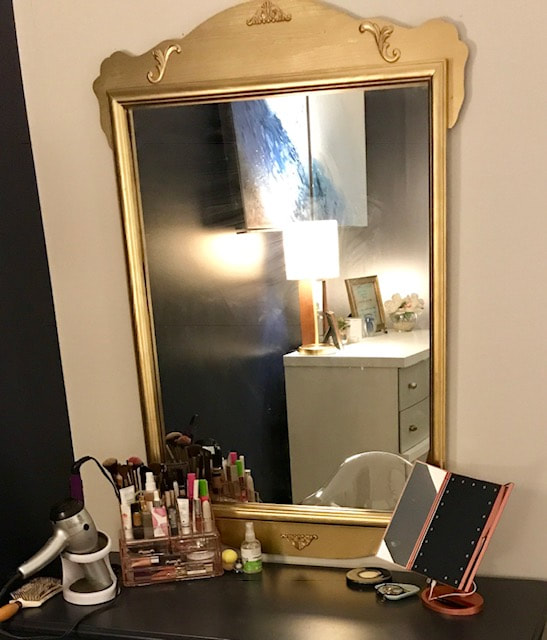
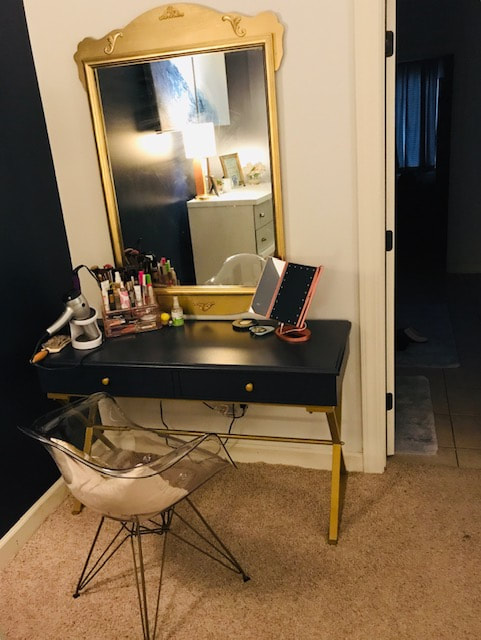
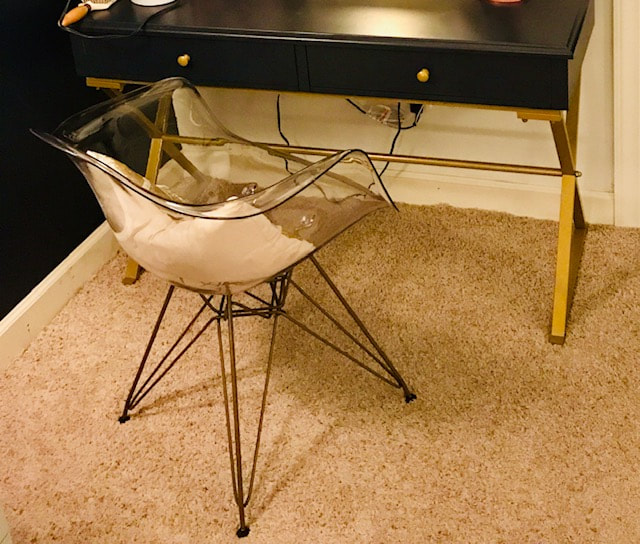
Ever since we moved into our current home two years ago, I have missed my vanity area. Our bathroom is large with double sink areas but it just isn't the same putting on makeup and doing me hair standing at the sink. So, for Christmas I got to set up a new vanity area! I was also given the go-ahead by my adorable husband to revamp our bedroom. We've focused on the rest of the house but our room has been left out. I always like to get a picture in my head of my end goal so I immediately hit Pinterest. I found the photo below and used it as my inspiration. I even researched the exact desk but after finding it was over $1,000 I realized I was going to have to do more research. The think I loved most about the desk was that it had drawers and gold accents along with clean lines. We have a navy blue accent wall in the bedroom and I decided that I would like to pull that color into the space. So, after browsing the web, I found this amazing desk at Wal-Mart.com for only $160 and added it to my cart. I also found a very fun acrylic chair there for only $54 and purchased it as well. Now all that was left was the mirror. That was quite an order! I mean, look at that thing in the inspiration photo! It's freaking huge and, I'm sure, cost a fortune. I decided to hit up our local thrift shop because, ya know, gold spray paint can make most things look pretty fabulous and I'm cheap. So, walking around I began to get a bit sad as there were no potential mirrors anywhere in sight. But then, in between some ugly and ancient old pieces of furniture, I found something promising. It was definitely not as large but I could see the potential and, for only $5 I figured it was definitely worth a try. If nothing else, I could just use it until I found something better. I decided it needed a bit more decoration to make it a little more ornate like the inspiration so I grabbed some wooden accent pieces at Hobby Lobby for a couple bucks and used wood glue to adhere them. Then, I taped off the mirror and broke out the spray paint! To finish up the vanity area I added a few items that I received as Christmas gifts like an acrylic make-up organizer and tri-fold make-up mirror. My sweet husband hung the mirror (which was no small feat as it probably weighs 50lbs!) And voila! A wonderfully perfect and very me vanity space where I can feel extra fancy. I'm pretty pleased with how everything turned out and for less than $250 bucks I couldn't be happier!
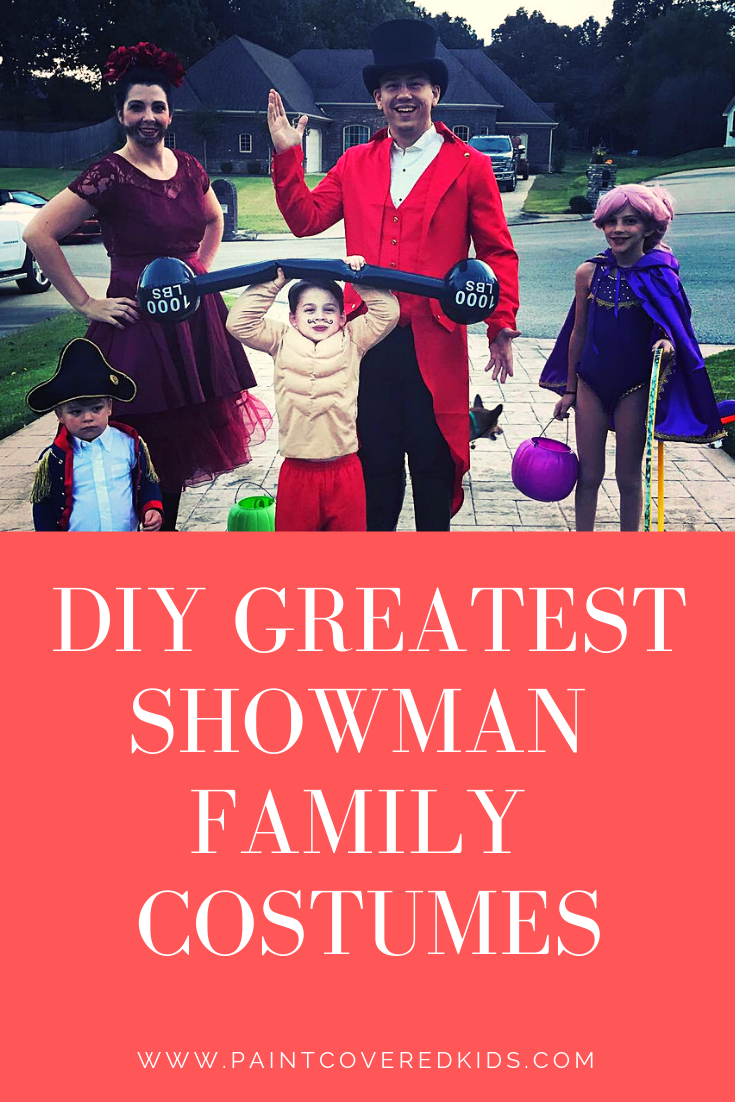
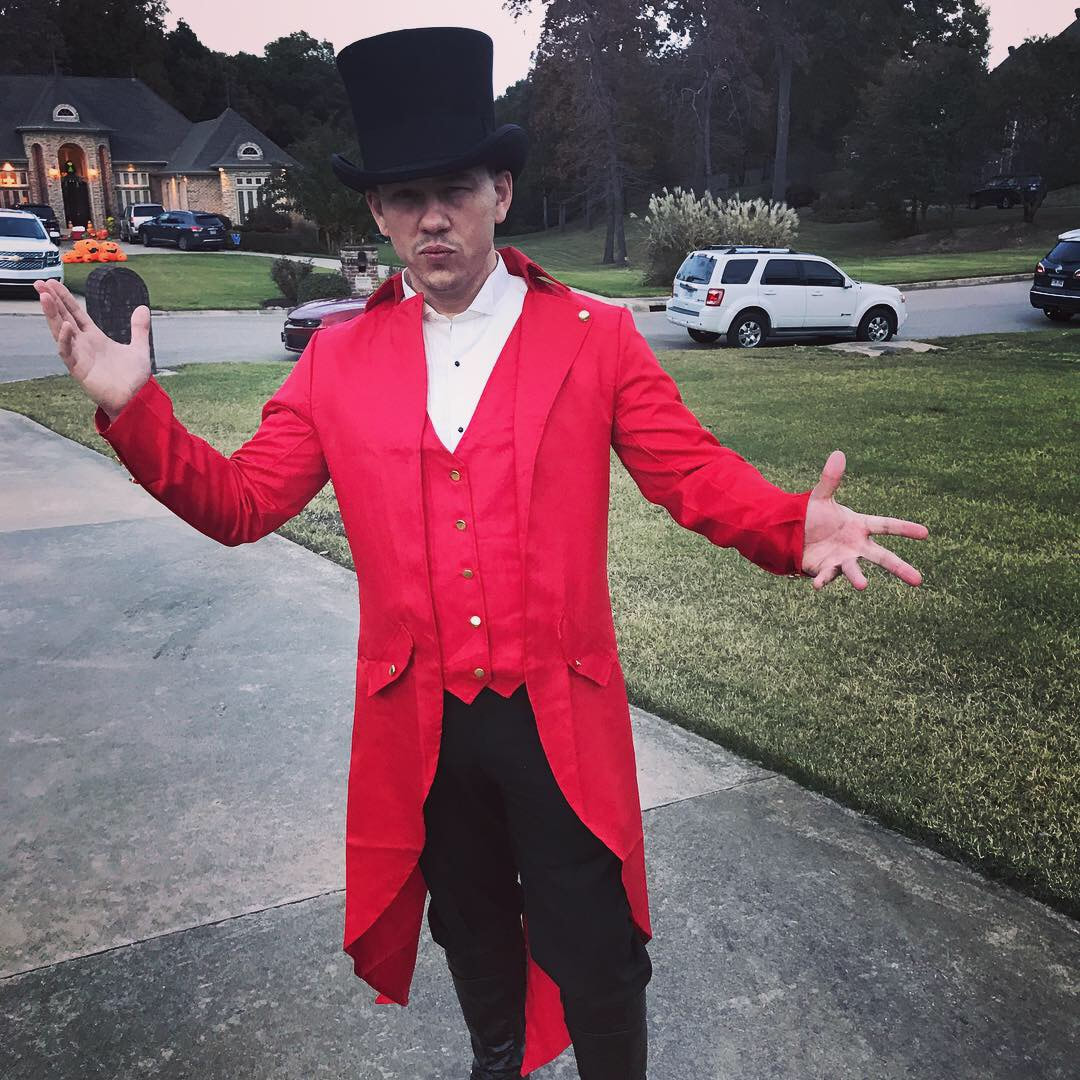
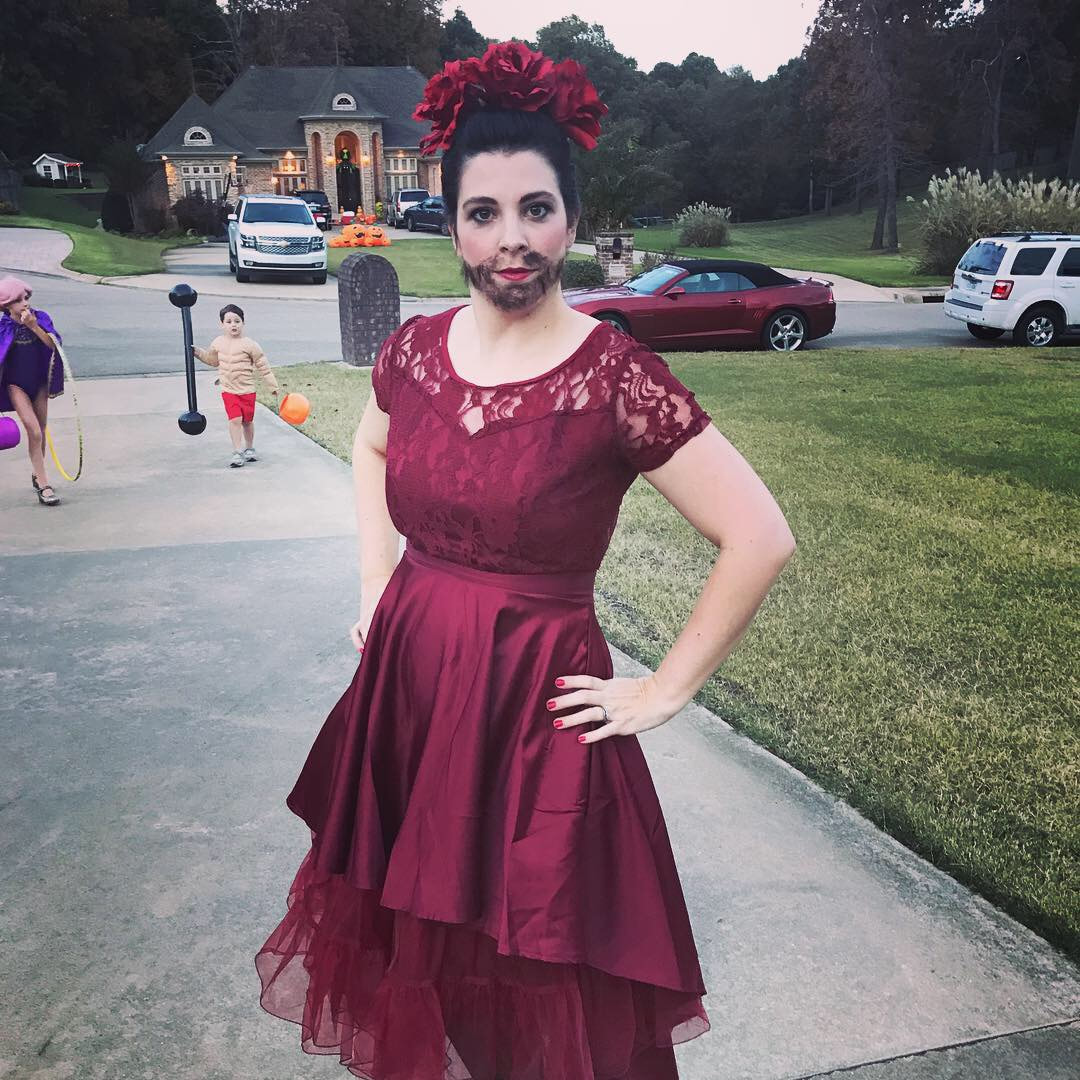
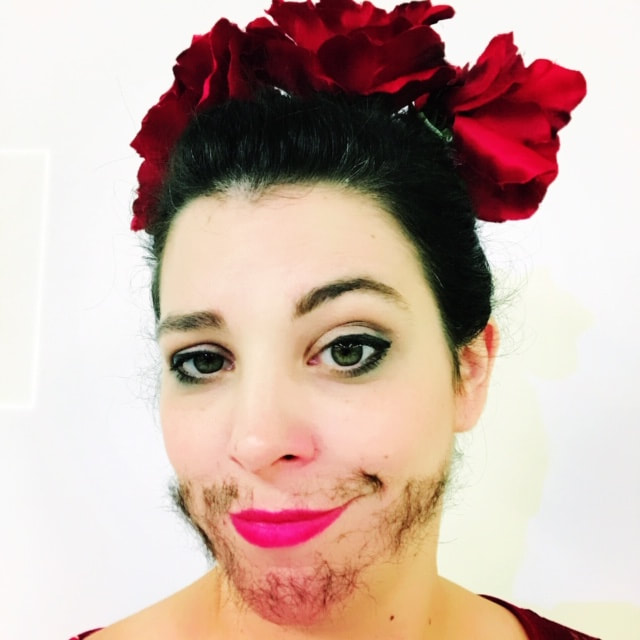
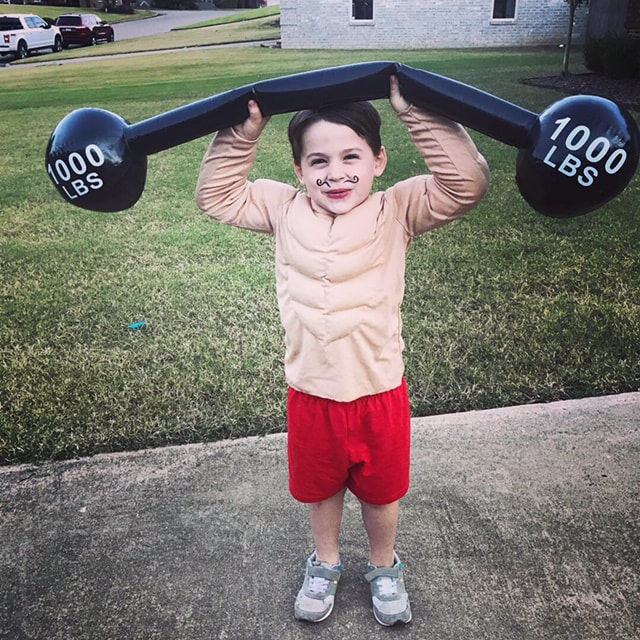
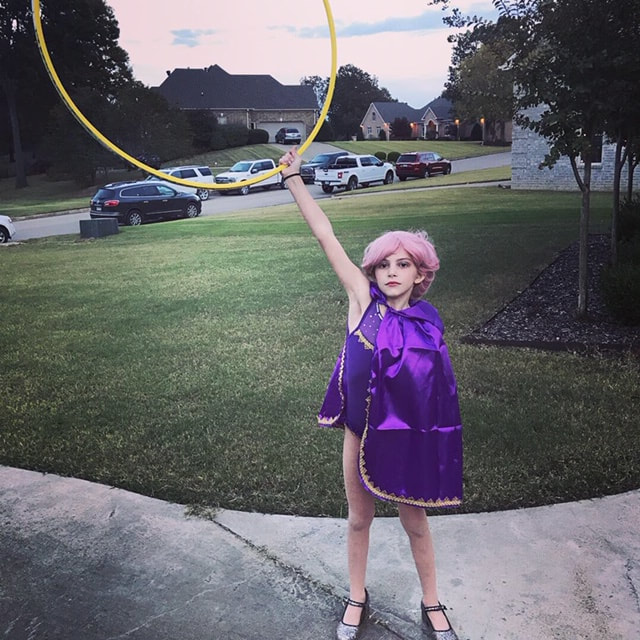
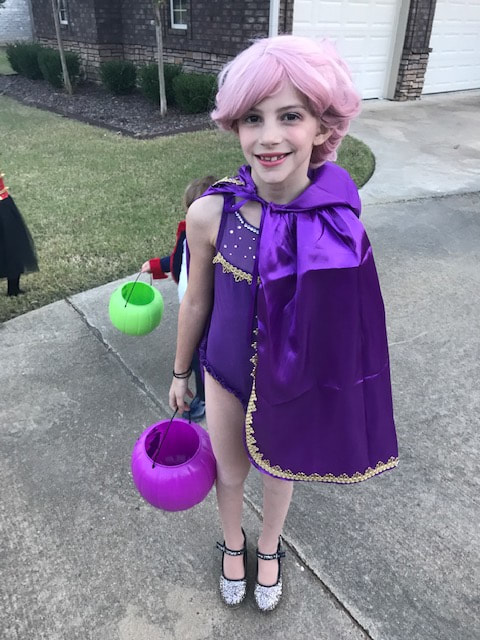
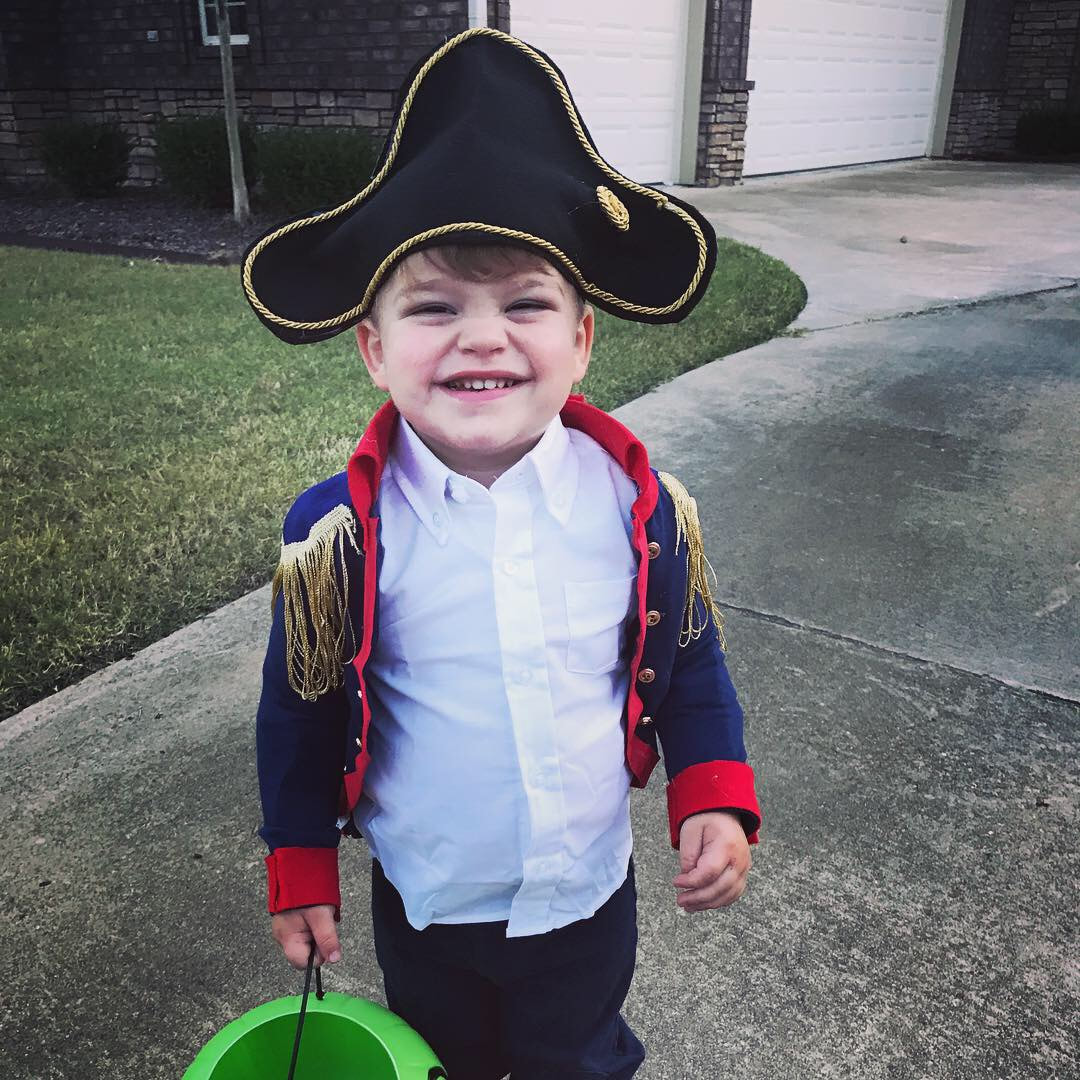
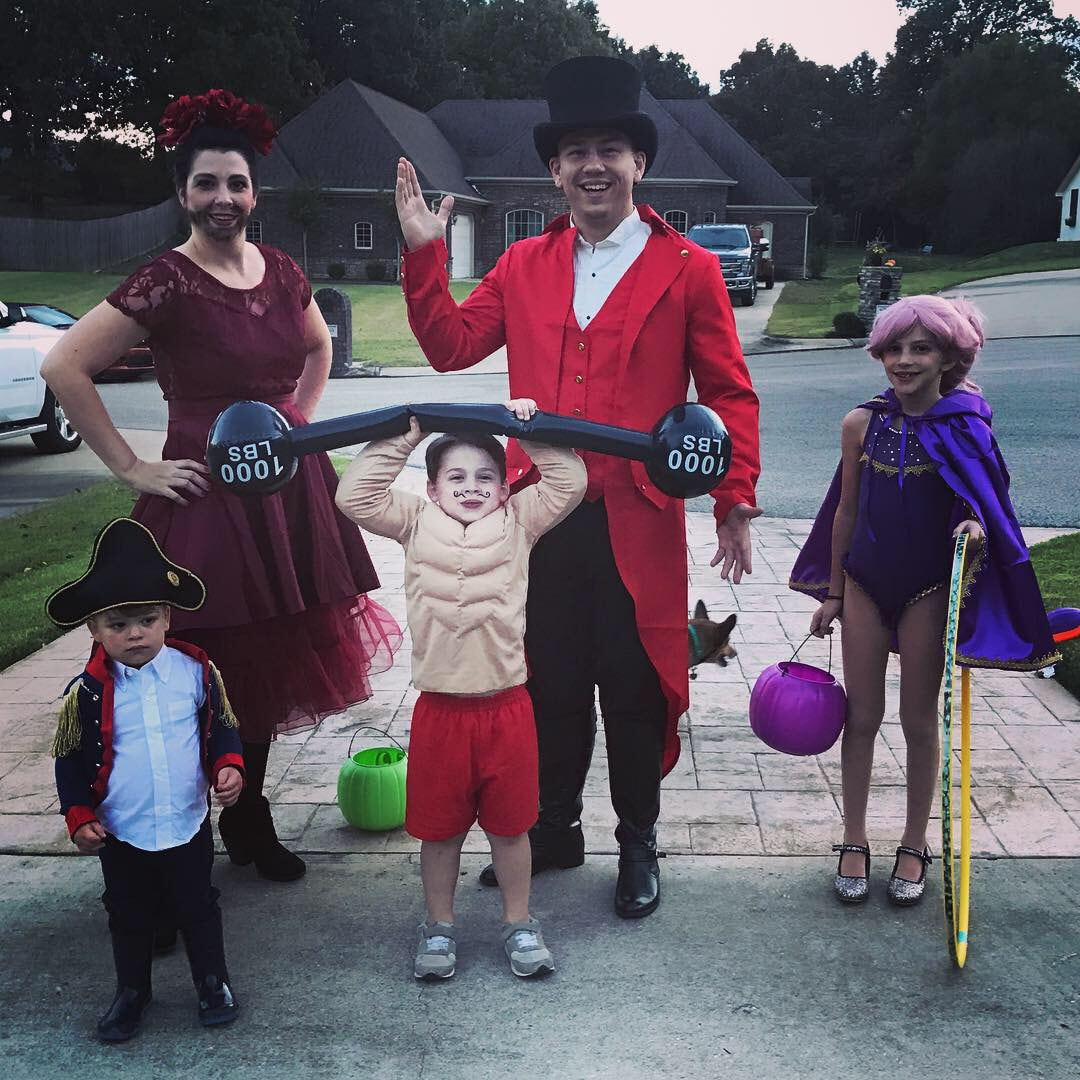
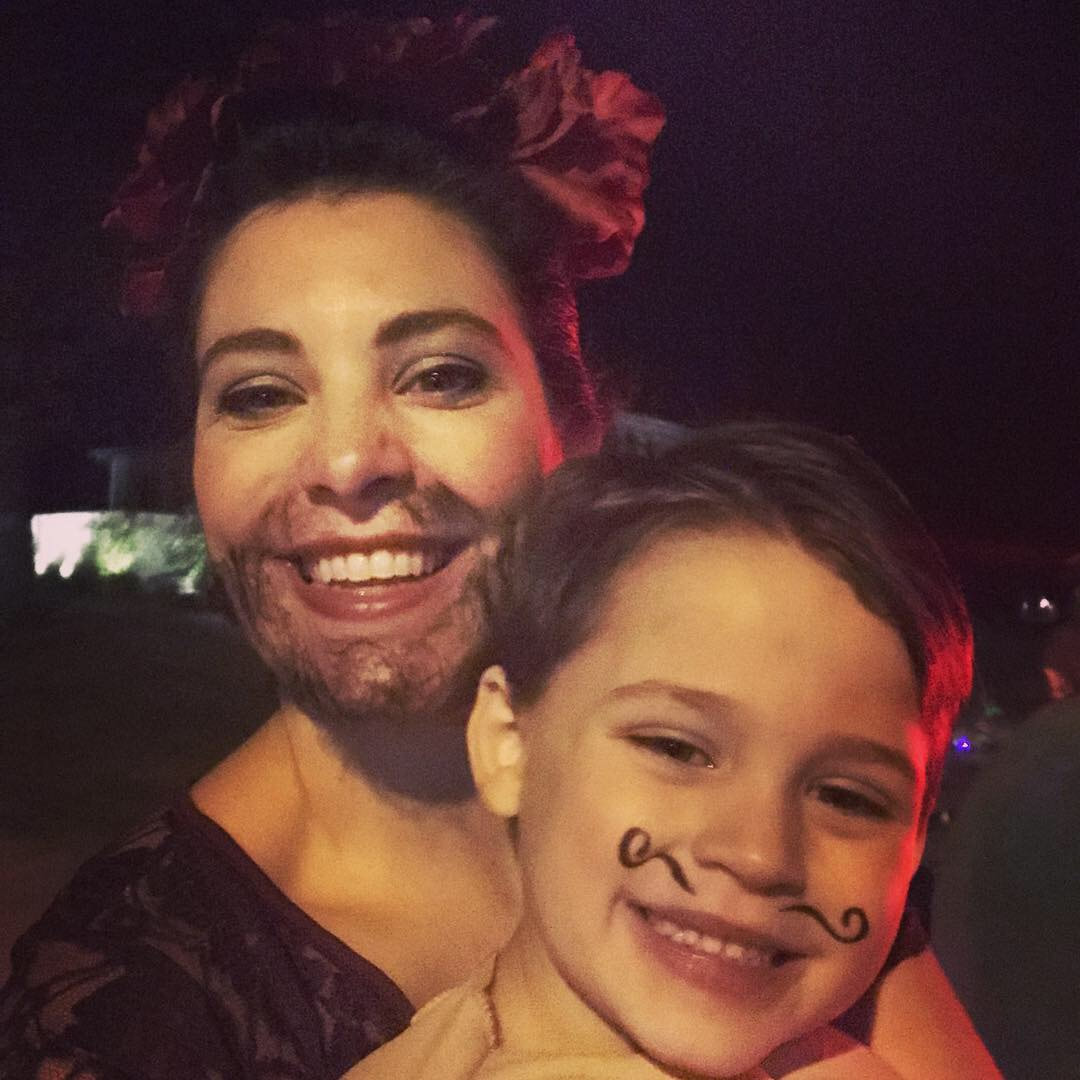
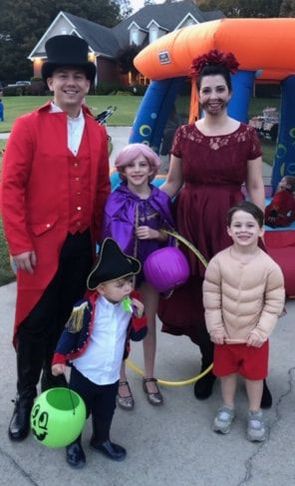
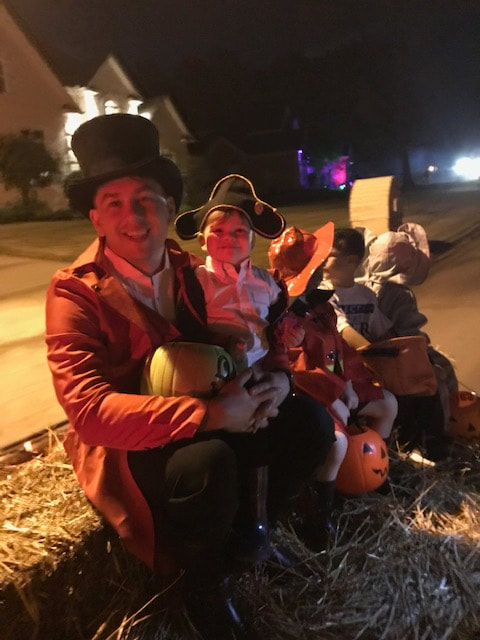
This year we went as characters from the movie The Greatest Showman. I was the bearded lady, Derek was the ringmaster, Lillian was the acrobat, Arthur was the strong man and Alan was the small man dressed as Napoleon. I feel like our costumes turned out great and you can read on to see how I pulled it all together! The ringmaster costume was easy. Derek already has a top hat and cane as well as black pants and boots and a white shirt so, I just ordered him a jacket from Amazon. It looked great and was cheap. Done. My costume was also relatively easy. I thought I would luck out and find a cheap prom dress at Goodwill but that did not work out and I ended up buying a cheap dress on Amazon along with a taffeta underskirt. I already had some flowers for my hair. For the beard, I researched how to apply a fake beard which is surprisingly easy. You can see the video I used here. All I needed was fake hair and spirit gum. Done. The strong man costume was also pretty quick and easy. I did take a few liberties and went with a more traditional strong man costume, omitting the tattoos because it seemed like a lot of work and I was not feeling it. I purchased his muscle suit, red shorts, and inflatable bar bell on Amazon, drew a mustache on his face with some waterproof eyeliner, slicked his hair back and done. Yes...I know his shoes are on the wrong feet. We are working on that. He just likes them that way. lol. The acrobat costume took a bit more work. I ordered a leotard, cape and pink wig on Amazon but the cape and leotard needed to be embellished. I went to Hobby Lobby and purchased some gold trim and purple ruffle material and hand sewed them onto the leg holes of the leotard and the neckline. I also glued on gems onto the mesh portion of the neckline. I added the gold to the edge of the cape as well but got lazy there and just hot glued it. I gave her a little bit of pretty makeup and pulled the hair back after attaching it to her head and done. The Napoleon costume took the most effort. I had to make it entirely from scratch but, it also turned out to be the most awesome one in my opinion. I used a Martha Stewart tutorial as my guide but did make some changes to the steps. I purchased a navy blue long sleeved shirt and cut it down the middle creating a curved edge on both sides. Then, I glued bias tape to the cut edge on both sides. After that, I cut out red felt with angled edges, double layered it and then hot glued it to the neck of the cut shirt. Then, I hot glued little gold buttons on both sides of the cut shirt. To finish off the jacket, I took navy blue felt and created epaulets to which I added some gold fringe and then hot glued those to the shoulders of the shirt. Finally, I followed the Martha Stewart tutorial exactly for the hat using black felt, hot glue and gold trim. I put him in blue pants with blue rain boots and a white button up shirt to finish it off. I did not modify the white shirt because I felt like it was unnecessary and would ruin the shirt for future use. I was super happy with how all of our costumes turned out this year! I hope you had a great Halloween too!
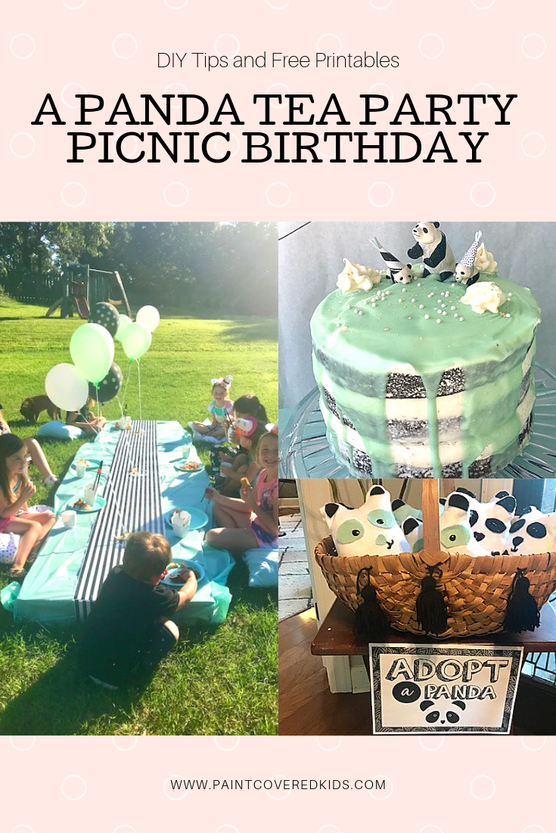
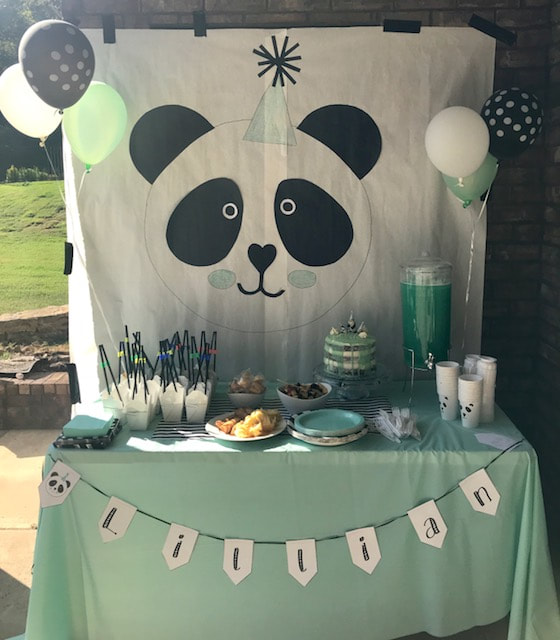
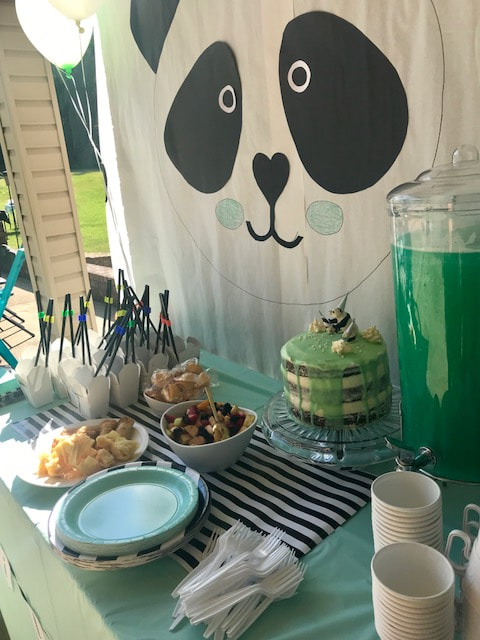
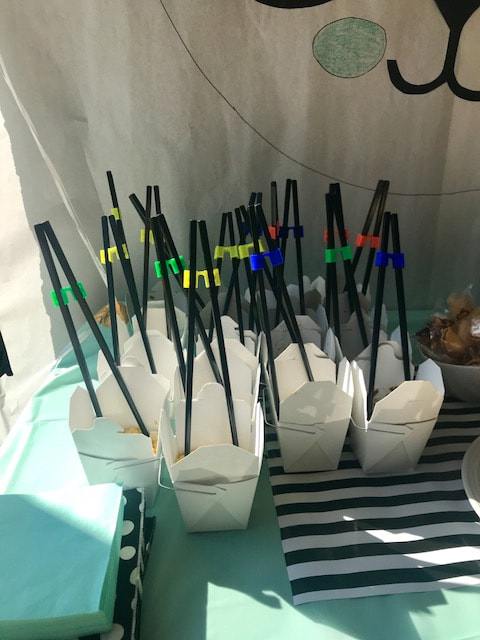
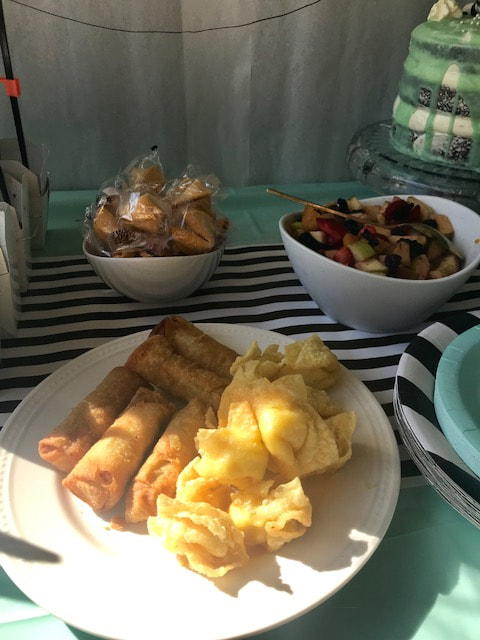
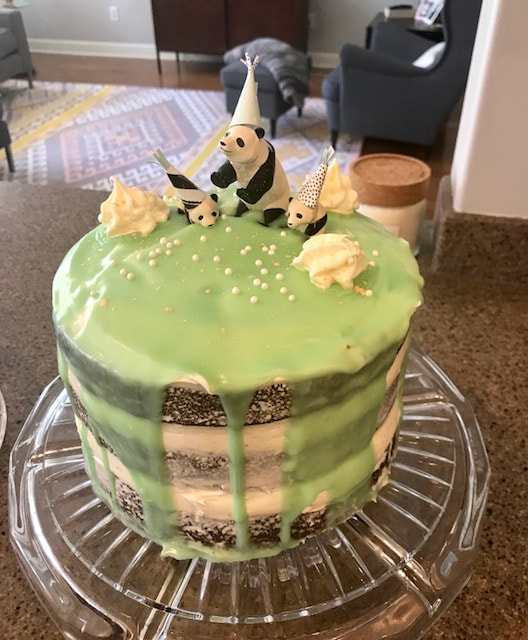
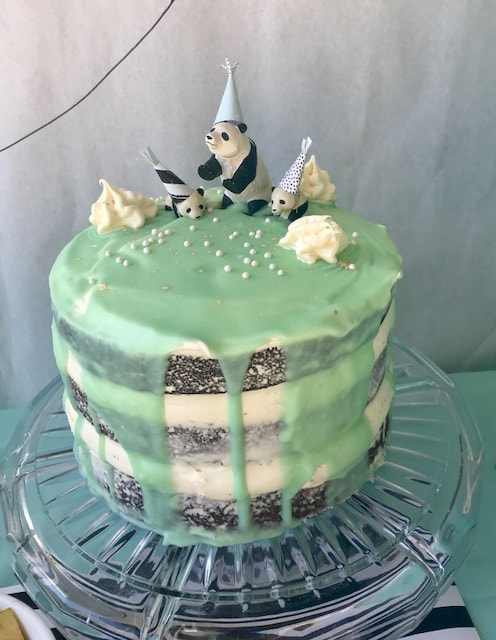
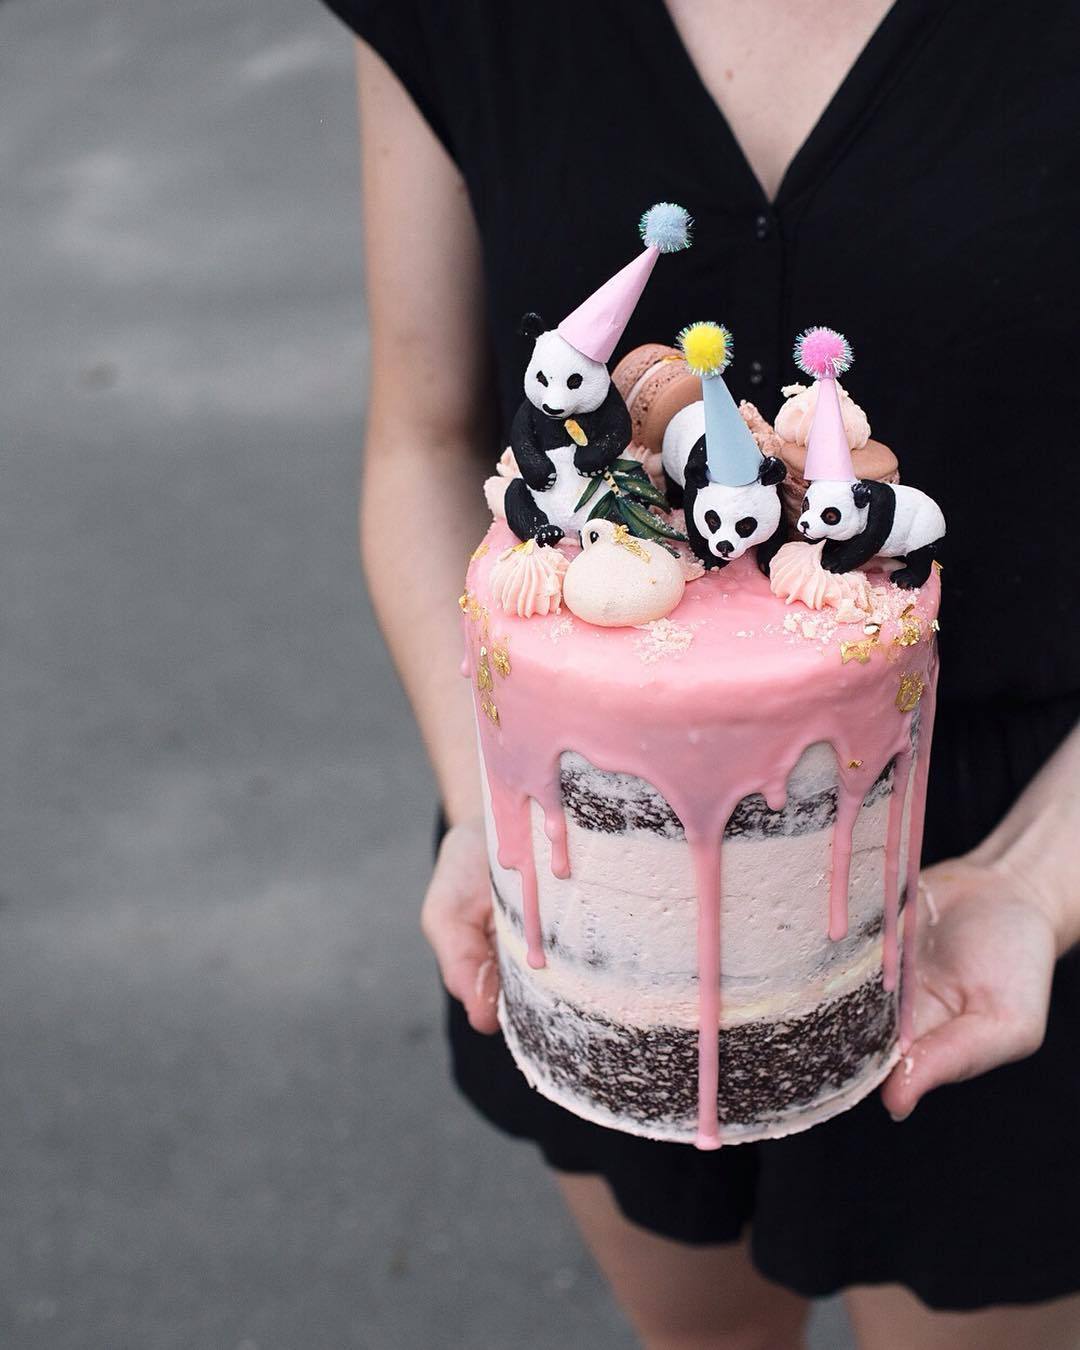
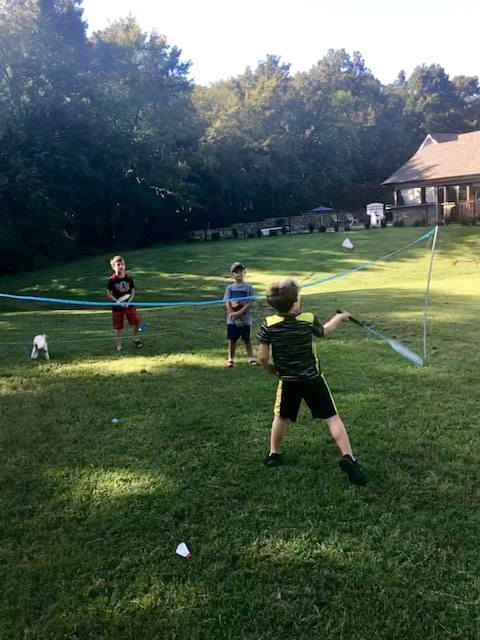
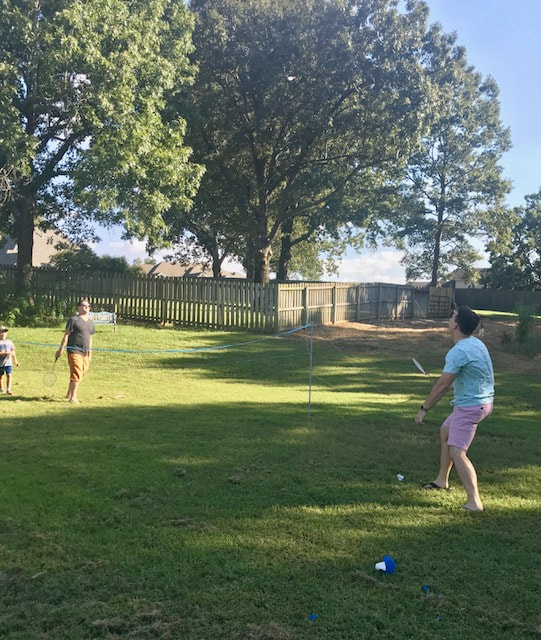
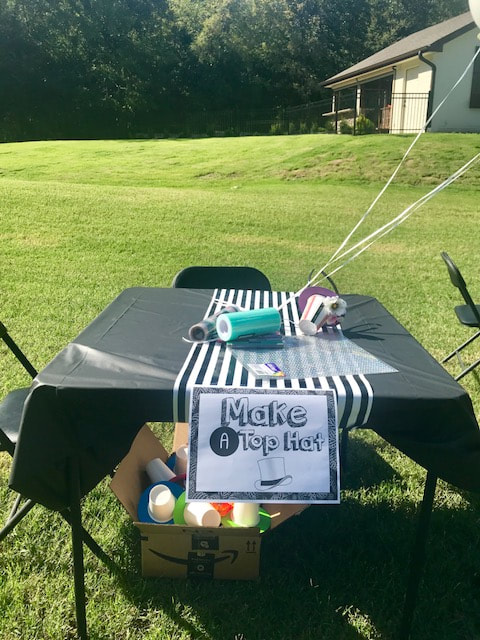
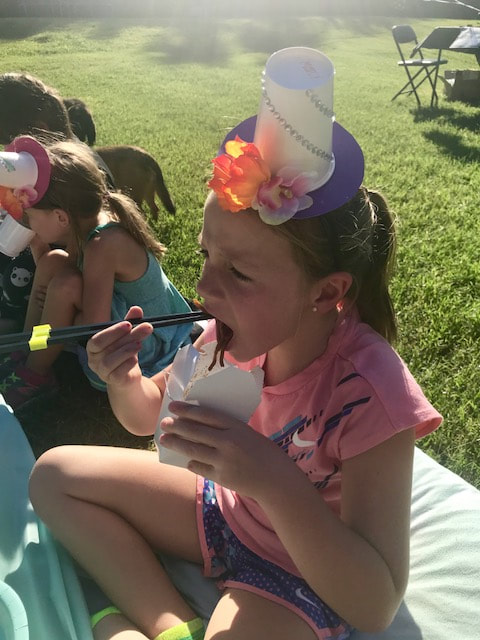
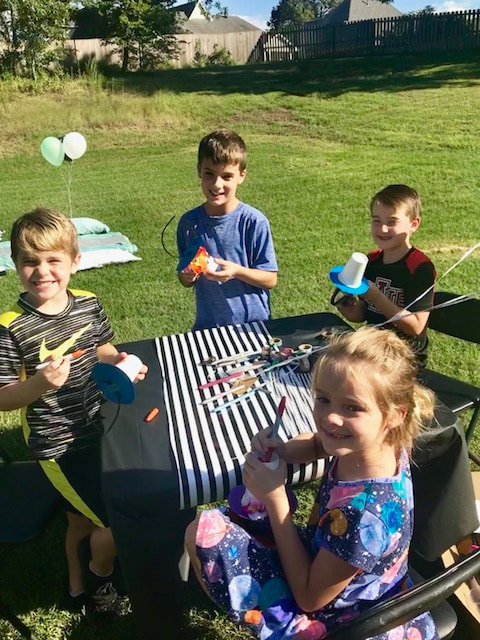
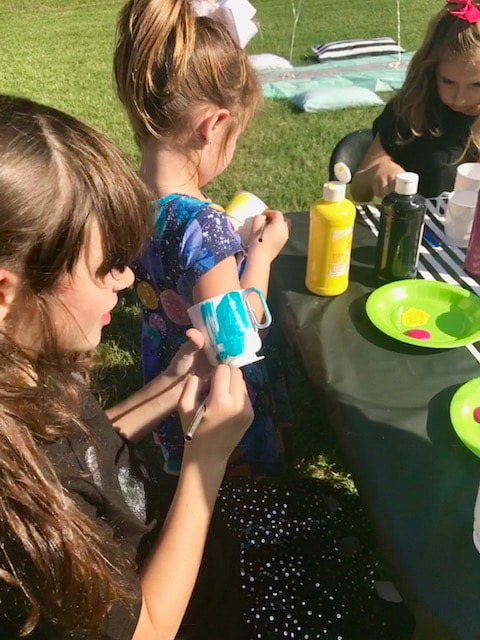
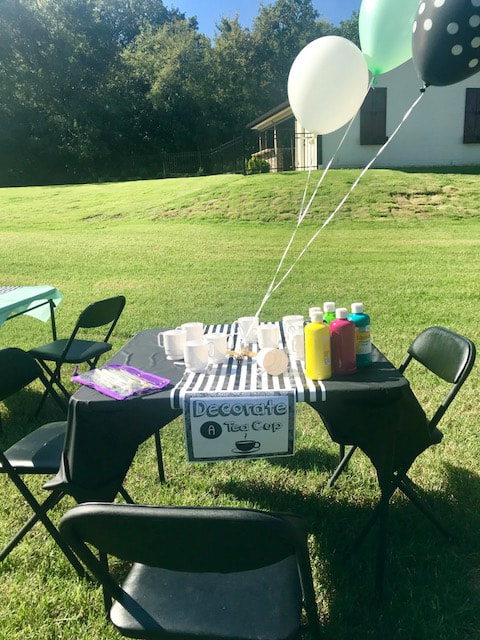
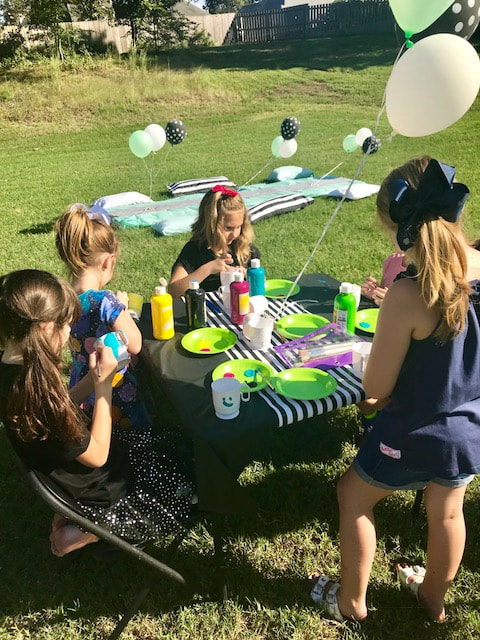
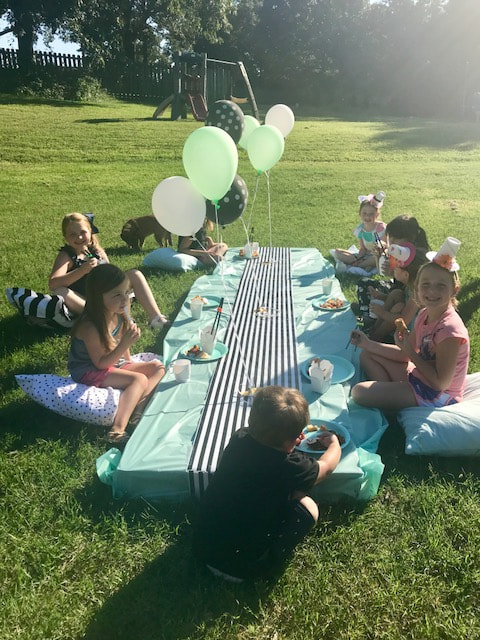
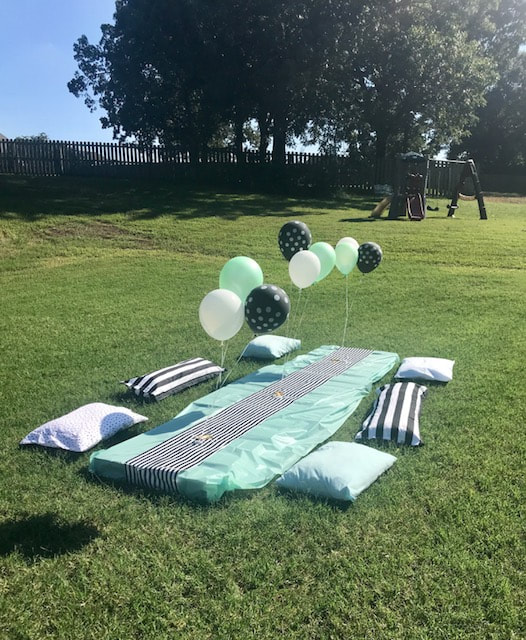
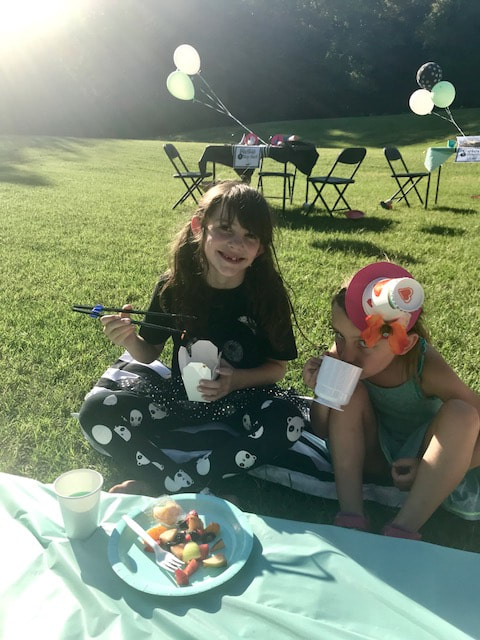
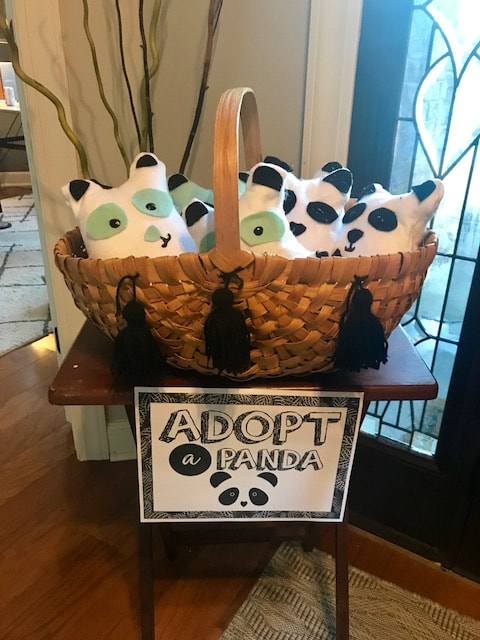
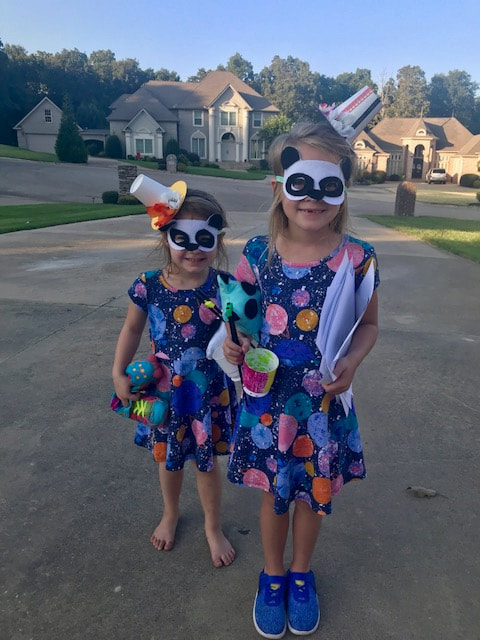
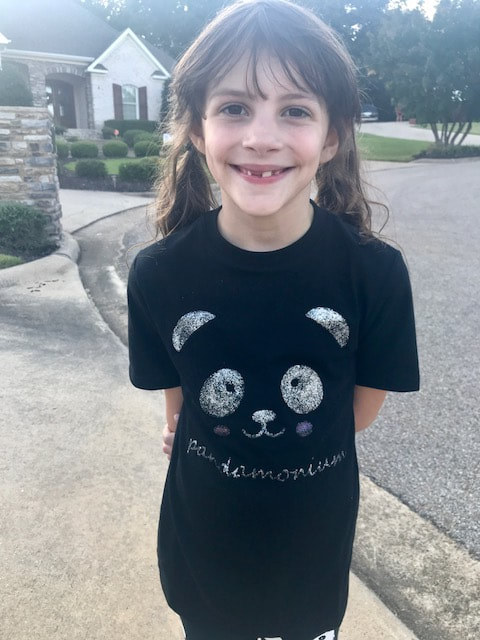
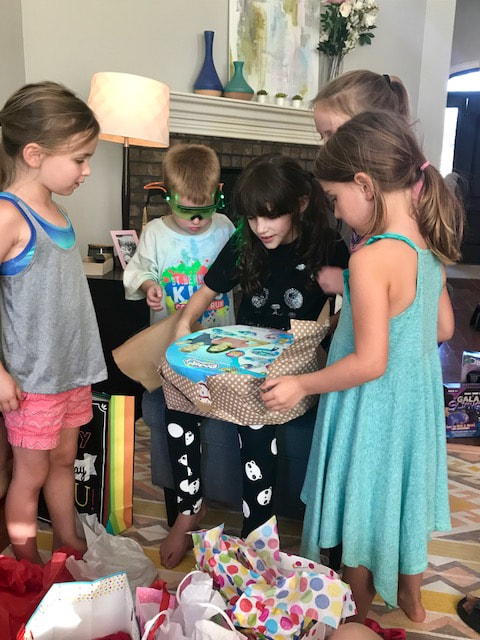
This weekend we celebrated my daughter's 8th birthday with a very fun, panda-themed party! I wrote about my plan in a previous post which you can find here. When my daughter stated that she wanted a panda themed party I thought, "No problem!" but when I started trying to plan activities for a bunch of 7 and 8 year olds to do, I struggled. So, I built off of the teddy bear picnic idea and added in a tea party element for the craft focus. I think everyone had a great time despite the fact that it was a bit hotter outside than I would have liked. For the food, I went pretty easy and basically cheated by ordering chinese food from our favorite place. We had chicken and veggie fried rice, chicken and veggie lo mein, eggrolls, crab rangoon and, of course, fortune cookies. I also made a fruit salad and a pineapple, sprite, hawaiian punch. To make it a bit more fun looking I dolled it up a bit by transferring the food to small, cute chinese food containers that I purchased on Amazon. I also stuck a pair of plastic chopsticks and chopstick helper for anyone who was not skilled in the art of chopsticks (also purchased on Amazon) inside each container. As a bonus, the kids got to take home their chopsticks and chopstick helper. The thing I am most proud of is this cake. I MADE this! I found an image of a cake on Pinterest that I really liked and for a brief moment, the stars aligned and everything went perfectly in the baking of this cake. It is EXACTLY like I wanted it and looks super similar to the original photo here from bloglovin. I cheated and used a box cake mix and pre-made icing for the layers. But, I did make the ganache using white chocolate chips, mint green food coloring and heavy cream. It was super easy to get the drip effect and I will definitely be using this cake style again in the future. I followed directions here for making the ganache. The kids not only had the option of playing outside on the trampoline and swing set but, they also had the opportunity to play badminton and participate in several craft activities. They were given the opportunity to paint a tea cup, color a panda bear coloring sheet and make a tea party hat. No one was very interested in the coloring table but everyone seemed pretty pleased with their craft opportunities. I made the tea party hats by taking a white paper cup and hot gluing it to a piece of cardstock that I cut into a circle. Then, I hot glued it to a black, plastic headband blank that I purchased on Amazon. Additionally, I hot glued a few fake flowers to some of the hats. For decorating, they had pre-sticky gems, washi tape and markers. At the tea cup table, kids were provided tempera paint and white, plastic tea cups that I purchased on Amazon. Unfortunately, the tempera began peeling off (I thought it might happen but figured I would take the chance instead of giving kids permanent paint) but, the cup was still usable so, they can paint them again and again or not! When it was time to chow down, they sat at a custom picnic area that I set up using pallets wrapped in plastic table cloths with a table runner made of black and white striped wrapping paper and balloon centerpieces. They sat on color coordinated pillows. I ended up buying the bigger pillow covers for only $10 total to add the pop of black and white and just stuffed them with plastic grocery bags (of which I always have a million). The other pillows were actual pillows inside of pillow cases I already had. Aside from the tea cups, party hats and chopsticks, guests also got to take home a custom panda bear and panda bear mask handmade by ME! I spent a good chunk of labor day weekend making the panda bears. I based my pattern off of this one but modified it quite a bit to get a shape I was happy with. I also did not sew it. I do not like to sew, even though I can, and instead created the pattern from felt and then hot glued it and flipped it inside out just like you would if it was sewn. Then, I stuffed it and sealed the stuffing hole shut. I cut out felt of a different color for the eyes, paw pads, legs, nose and ears to mimic a panda's markings and hot glued them down as well. I finished it off with black fabric paint for the eyeballs and mouth. I think they turned out amazing and my almost 2 year old quickly decided that "Bobo" was his new favorite lovey. For the masks, I used one of my sons PJ Masks as a base for the panda face and then created my template by hand. I thought I had captured a few photos but upon looking through my camera, I realize I didn't. Oooops. Anyway, I used my template for the white base and then cut out the black eye, nose and ear areas all from felt. Then I hot glued again and attached ribbon to tie them on with. I made them over the course of two afternoons after work and probably only spent about 2 hours total. Not bad. Plus, I find this kind of crafting kind of zen like. After creating the pattern, it's just a repetitive cutting and gluing process and it is kind of like a form of meditation. Oh! I also made the birthday girls shirt at the absolute last minute at 1am the night before. I created a panda face design in Silhouette and cut out a stencil. Then I used silver and pink glitter fabric paint to fill it in. It took no time at all and I think it looks adorable. She also had a black and silver tutu and panda leggings. It was a fun party with all sorts of personal touches that I am very proud of accomplishing. I know that we are nearing the time when she will no longer want a big party with activities and I plan on cherishing the last few moments where she is my little girl and wants me to go all out so, until she decides it isn't cool anymore, I'll keep up the hard work for the big payoff that is her smiling face at the end of the day and hope that when she has a little girl of her own she remembers and is able to do the same for her.
|
meet rachelRachel is a mother of three, elementary Spanish teacher and part-time blogger who loves crafting, creating fun and engaging activities for her children and students and hanging with her friends and family. She blogs about what she's doing and her interests at any given time which vary. She's a little OCD and always looking for her next project. Her husband calls it, "focusing her crazy", but she just calls it fun. Archives
December 2022
Categories
All
|







 RSS Feed


