
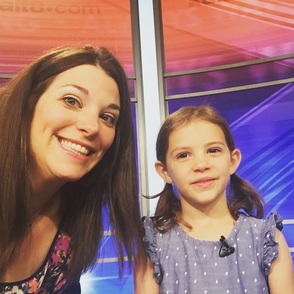
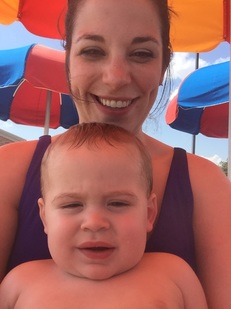
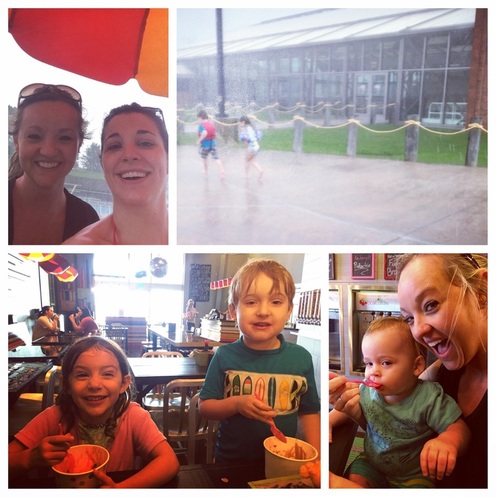
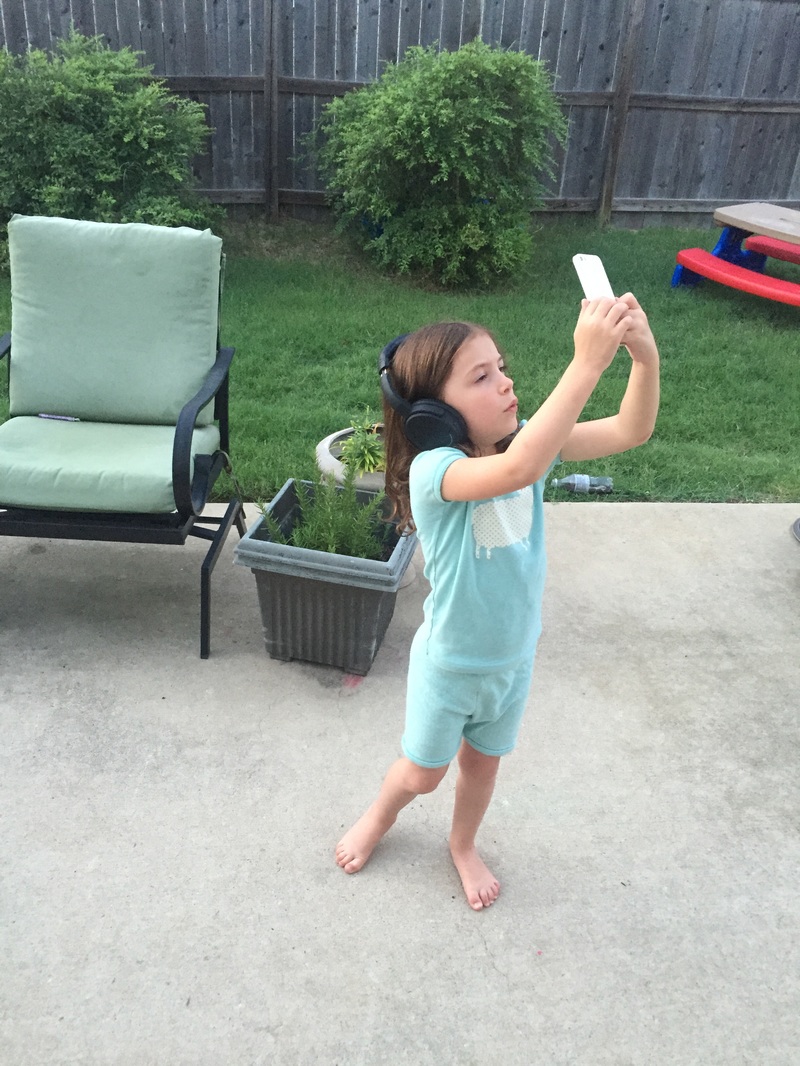
Yesterday should have been day one for this week's theme but we had a lot of things to do! First of all, Lilly and I got to be on our local news's midday program to demonstrate fun crafts for the 4th of July! You can see it here. It was a lot of fun but did cut into our time for Mommy Camp. Once we got home we had lunch and then decided to try the waterpark with our friends again since we got rained out last week.
 |  |
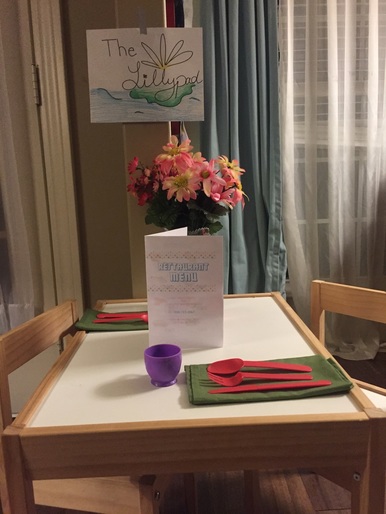
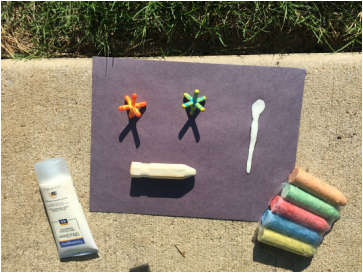
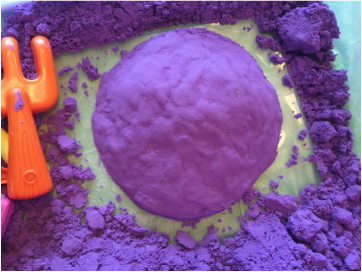
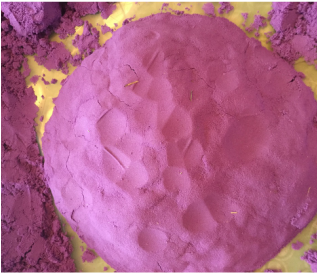
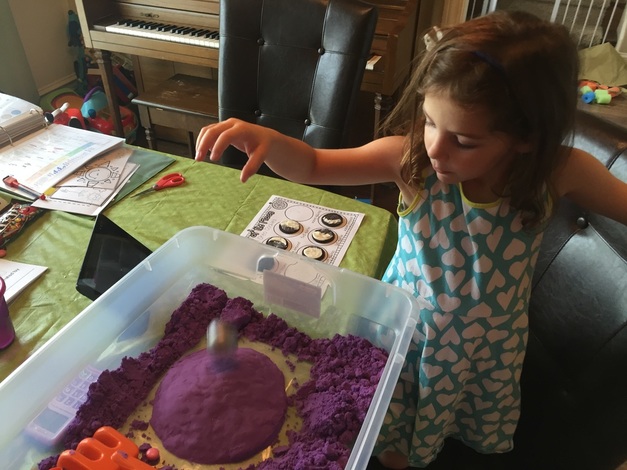
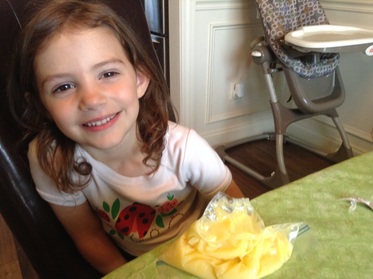
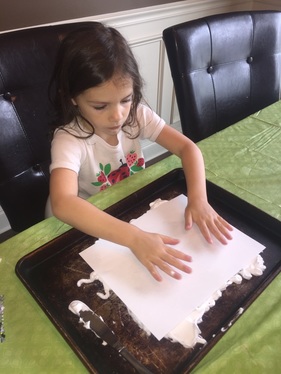
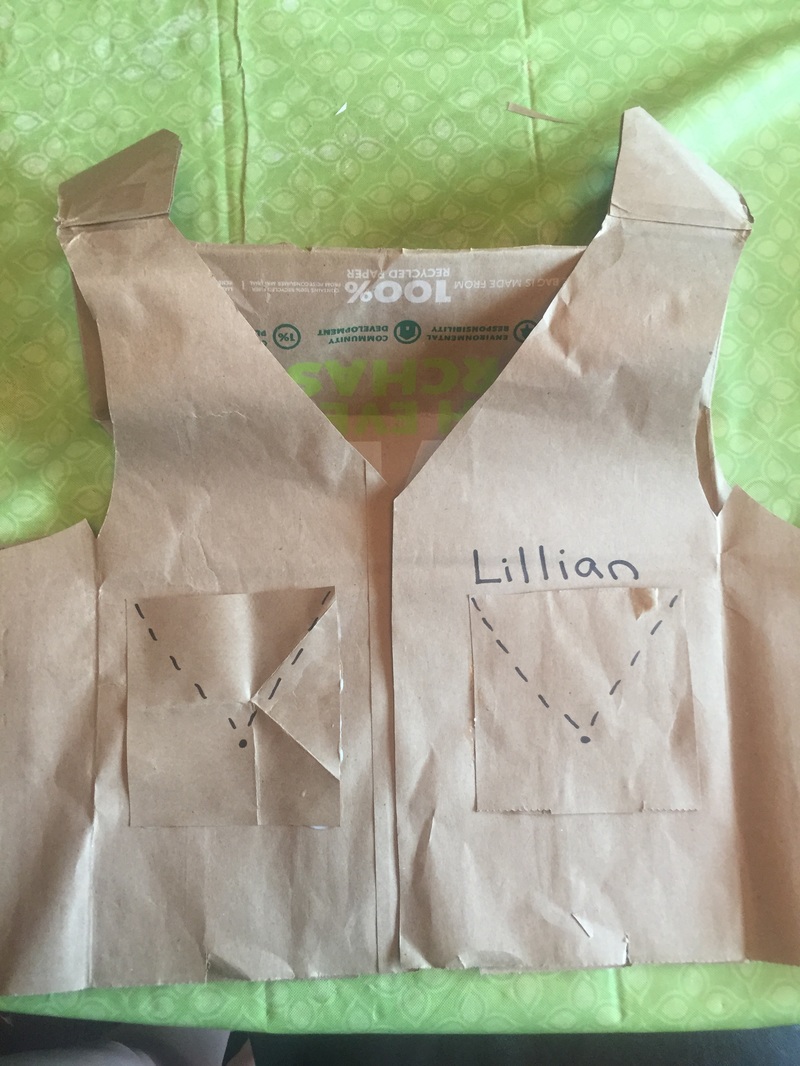
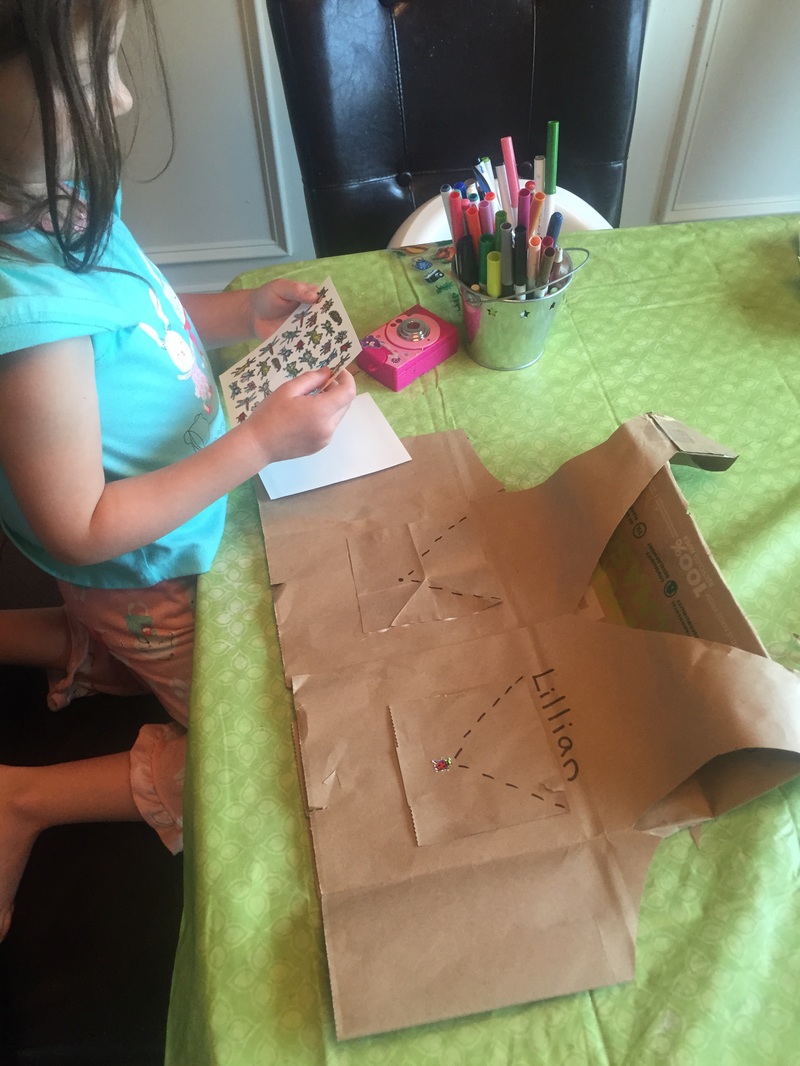
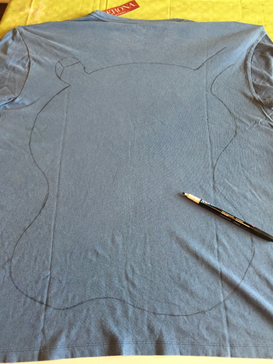
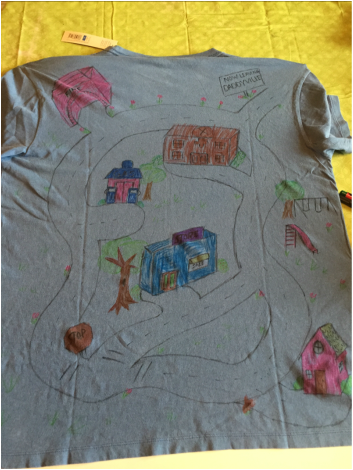
The only thing we did, in regard to Mommy Camp, was play with the new restaurant themed dramatic play area. This week the theme is America because I felt it tied in with the fact that this weekend is the 4th of July. Each day has a different focus like the president, symbols and more but each day also focuses on a different form of currency. So, the dramatic play area is a restaurant which allows us to practice using money. I also got some great new pretend food items to complete her kitchen and give her the ability to take orders from the fun free menu printable I found.
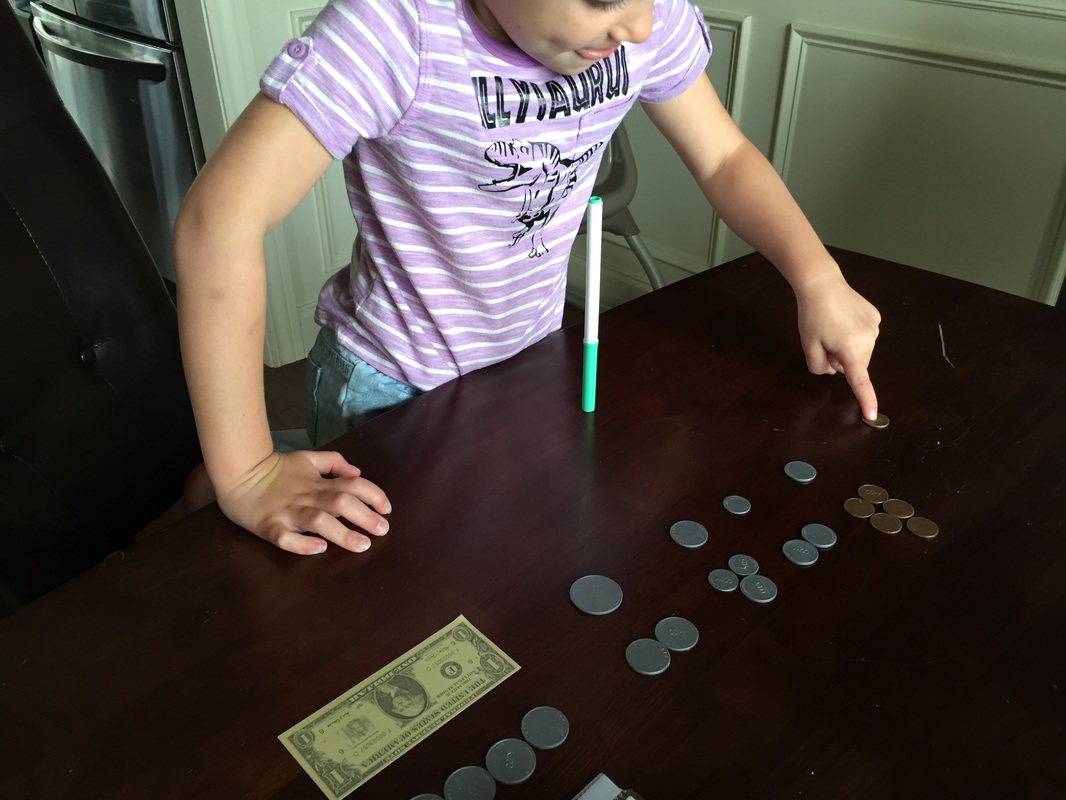
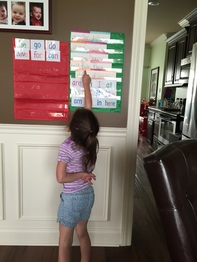
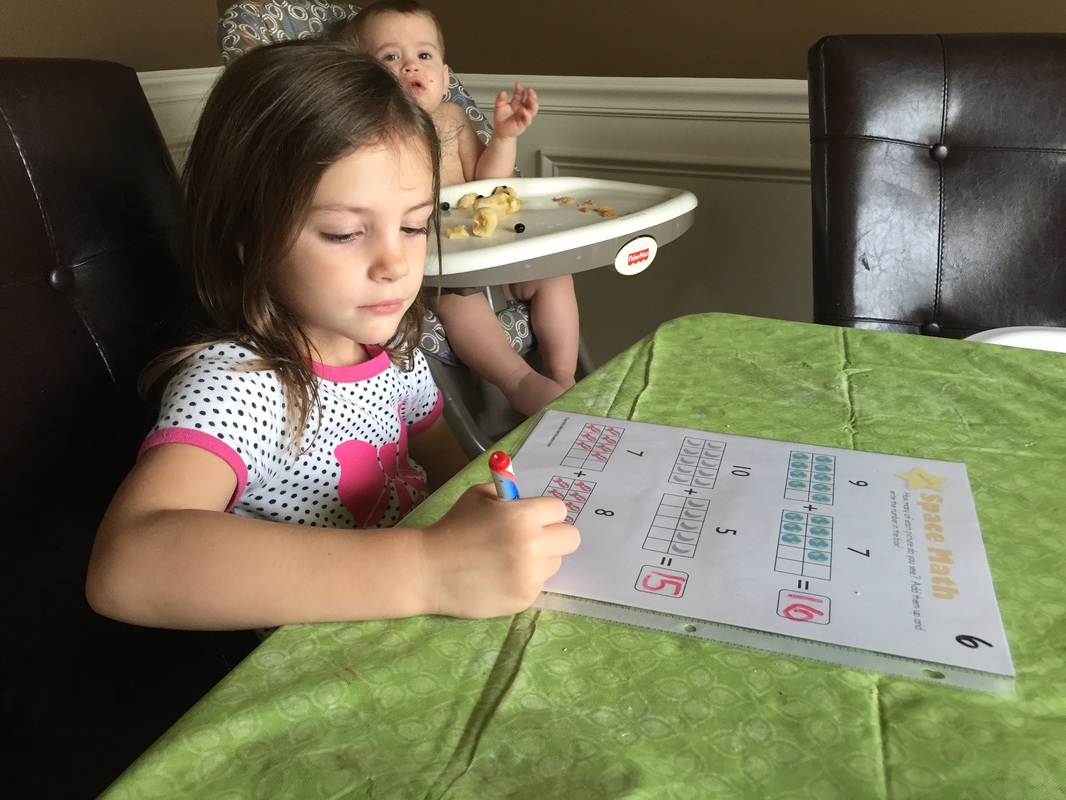
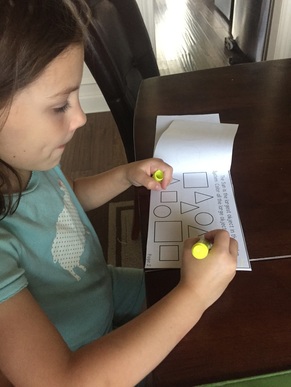
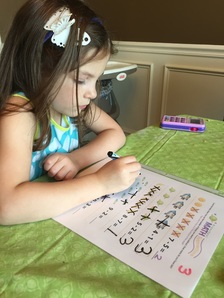
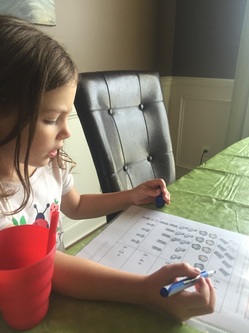
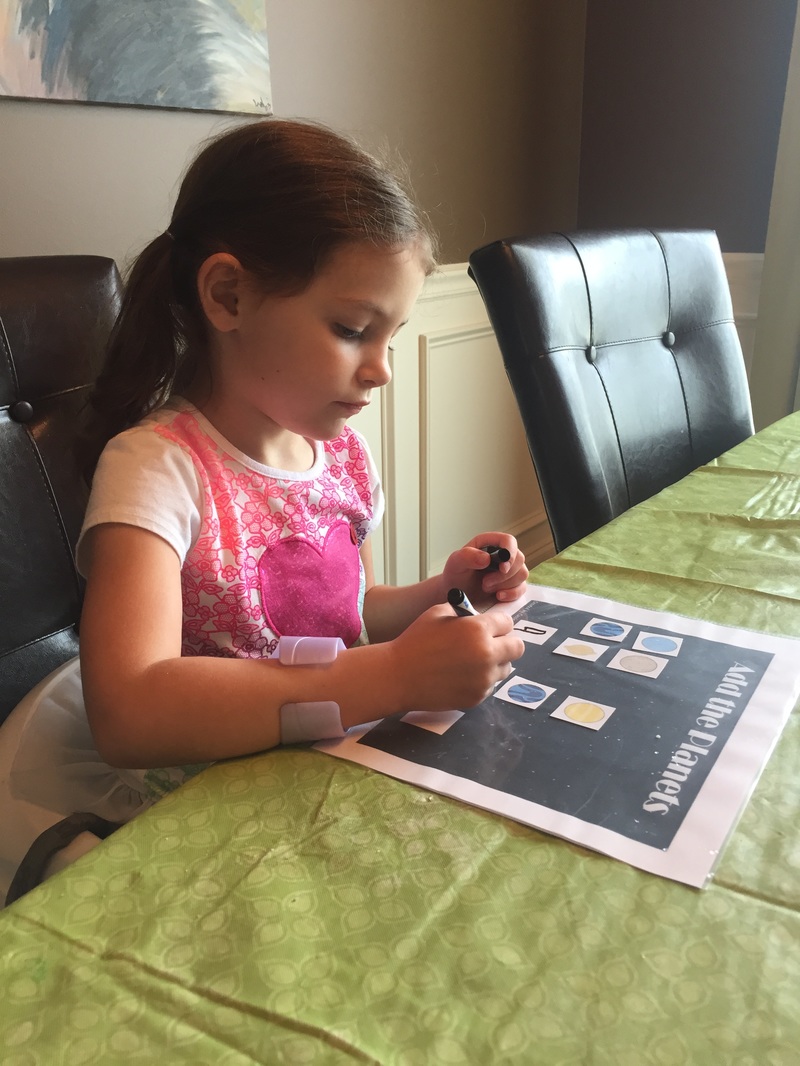
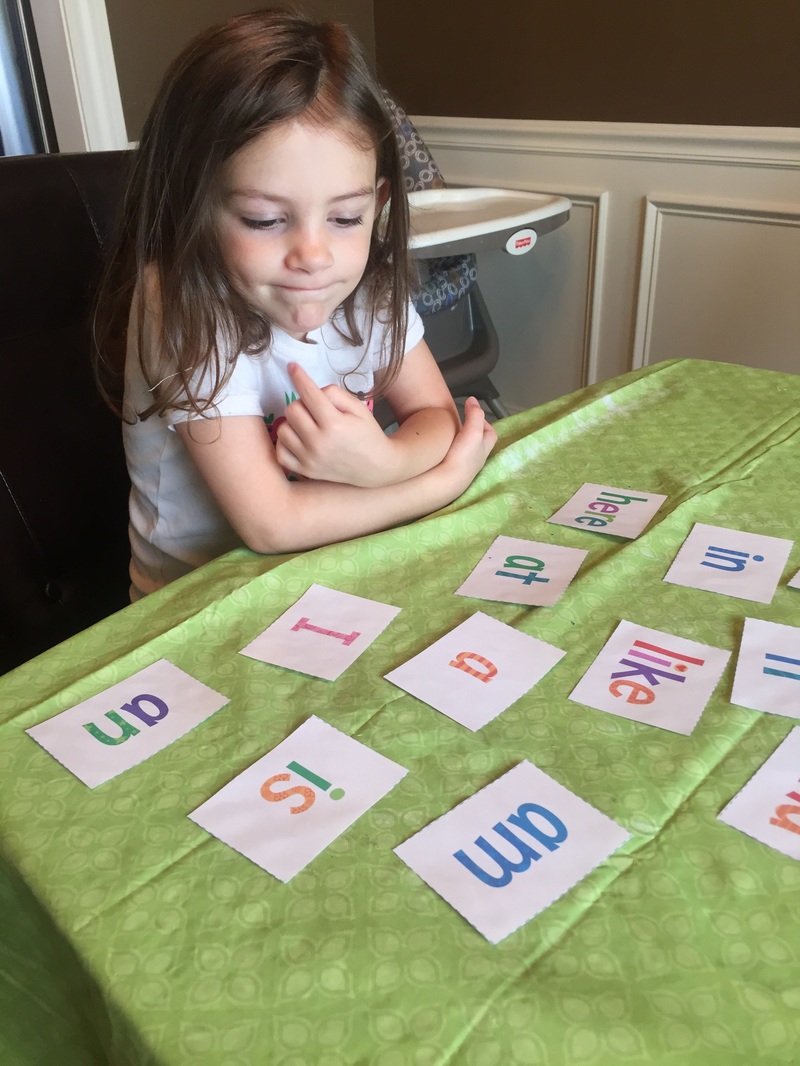
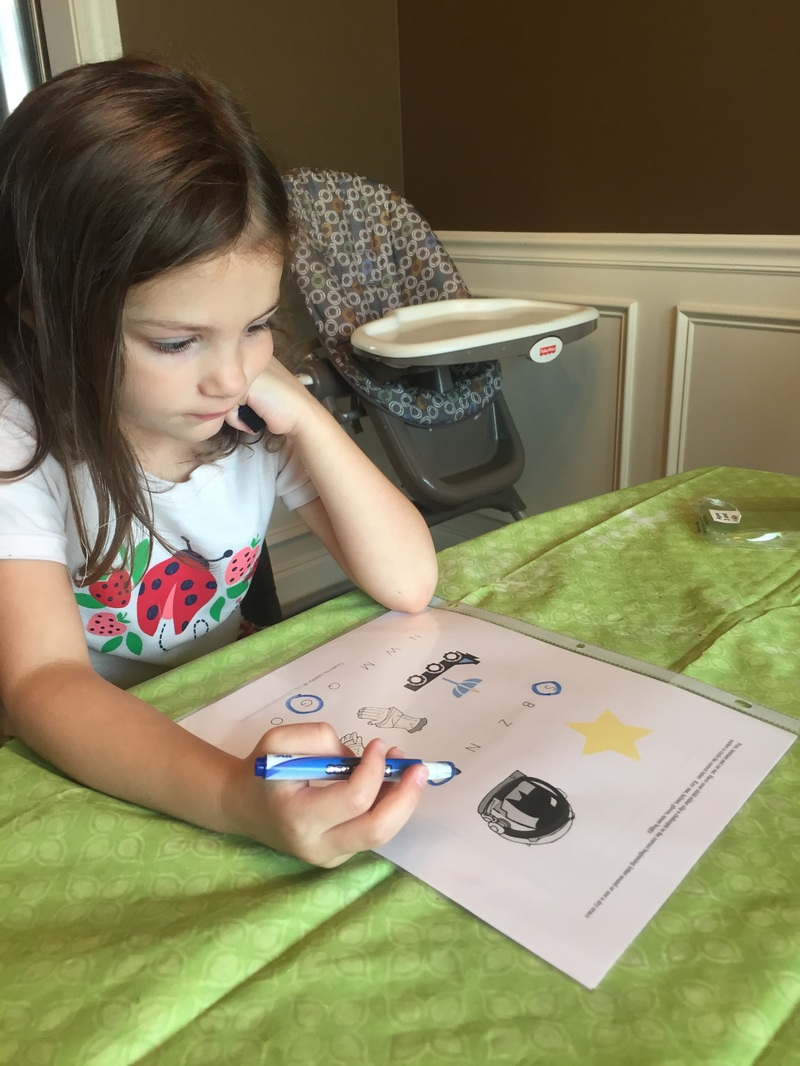
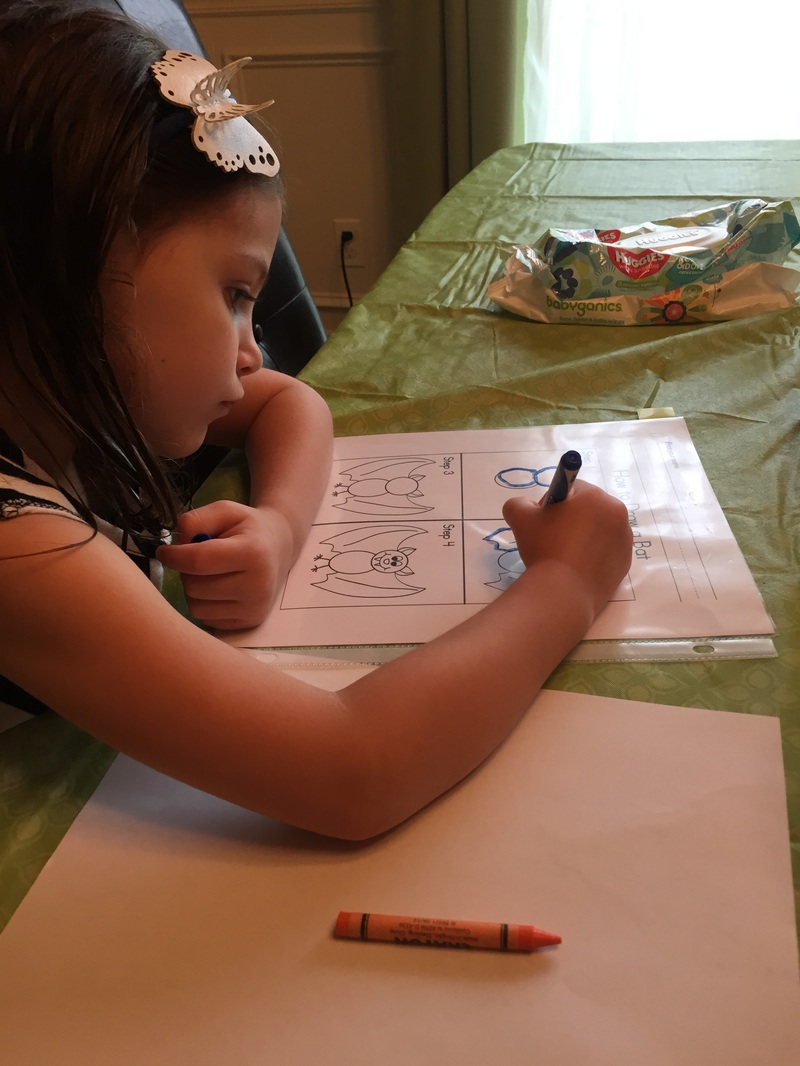
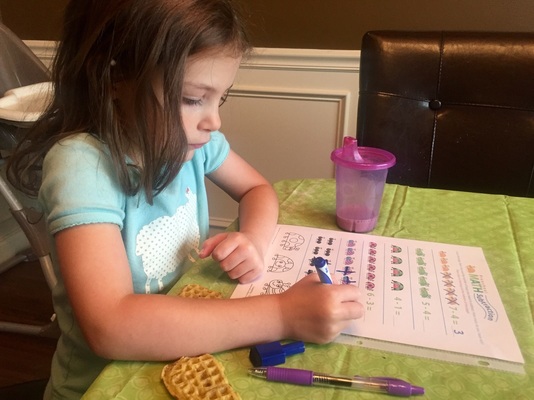
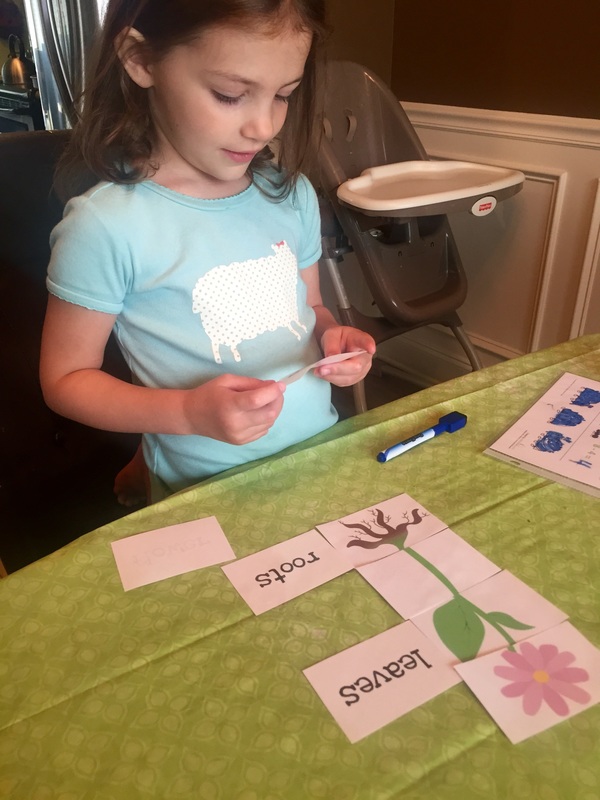
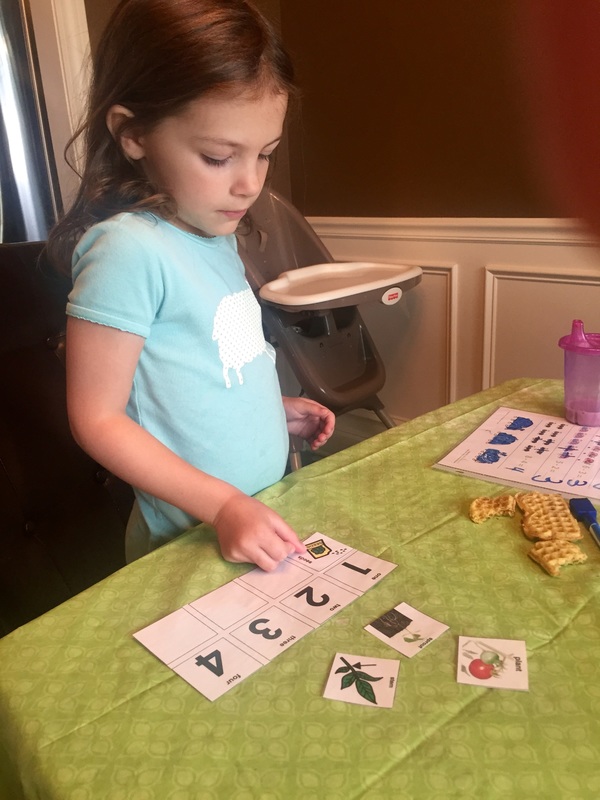
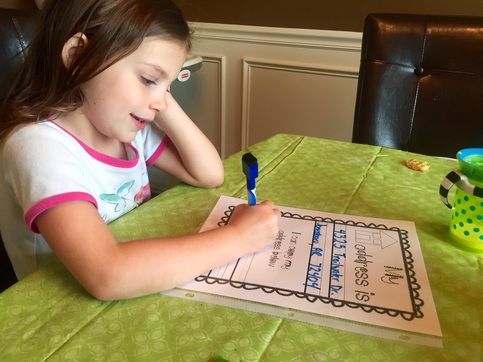
Today we did a little America themed addition and subtraction after visiting the library for some books to fit our theme this week. After our worksheets we talked about the different coins and their value as well as how to spell them and how each coin relates to the others in terms of value. It was a little overwhelming for Lilly but the goal was to introduce her to the idea and then we will focus on each coin individually from now on until the end of the week. I got a great set of pretend money online that is only slightly smaller than actual currency but looks nearly identical. We will be using it all week to learn about money value.
 |  |
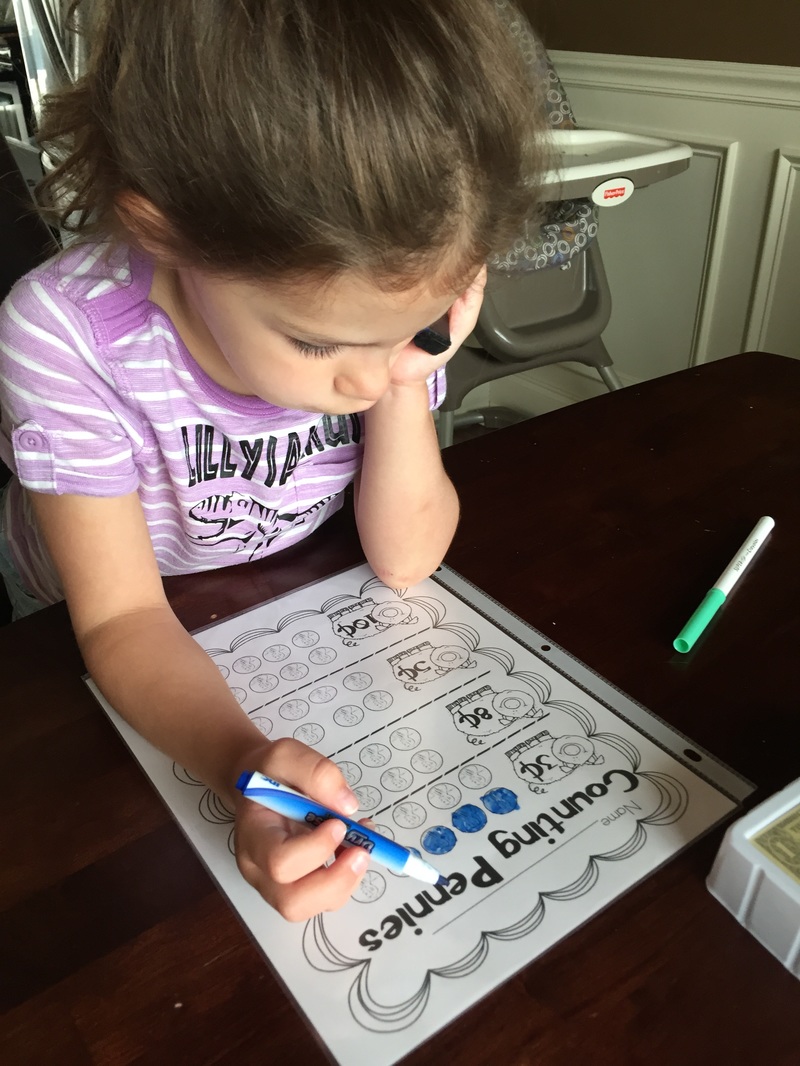
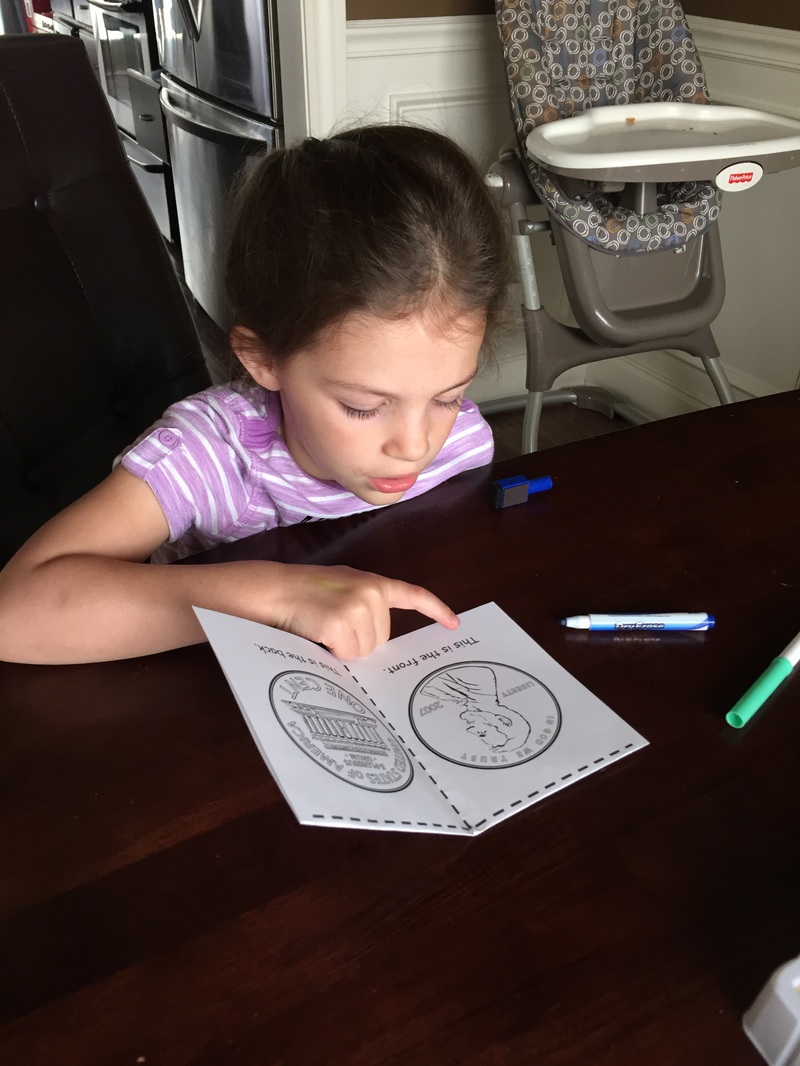
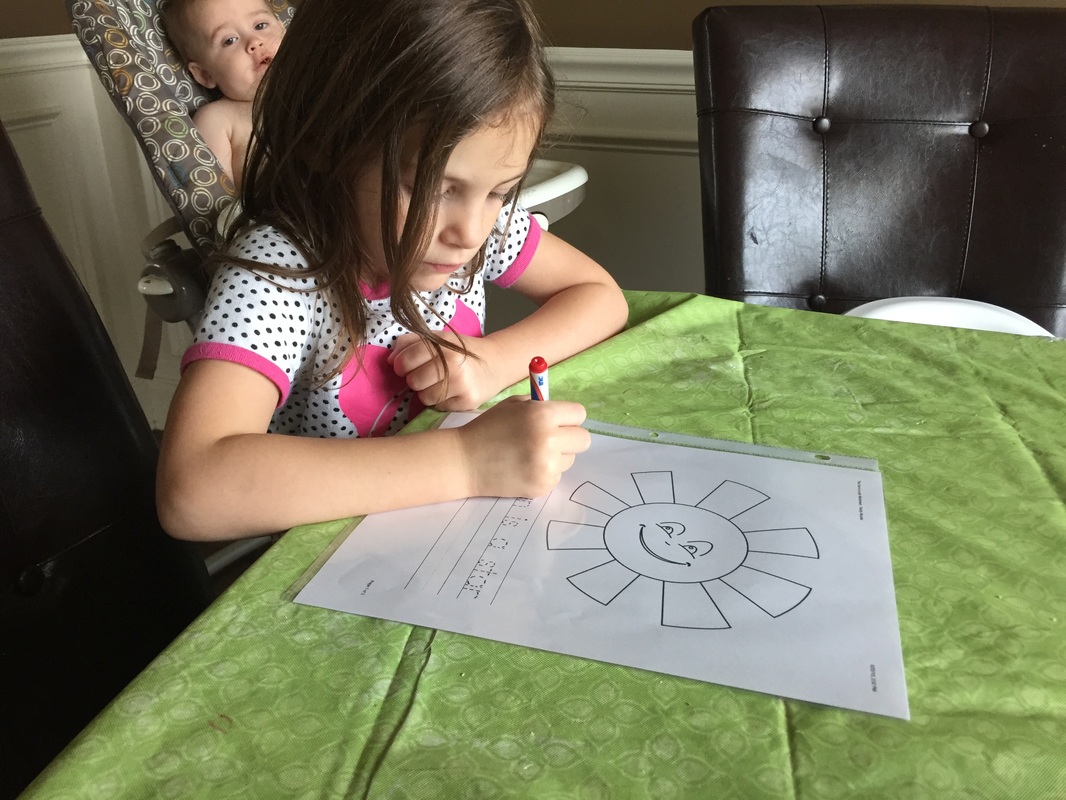
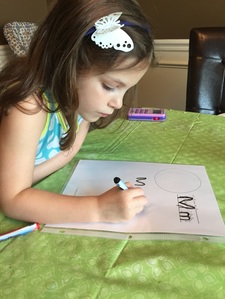
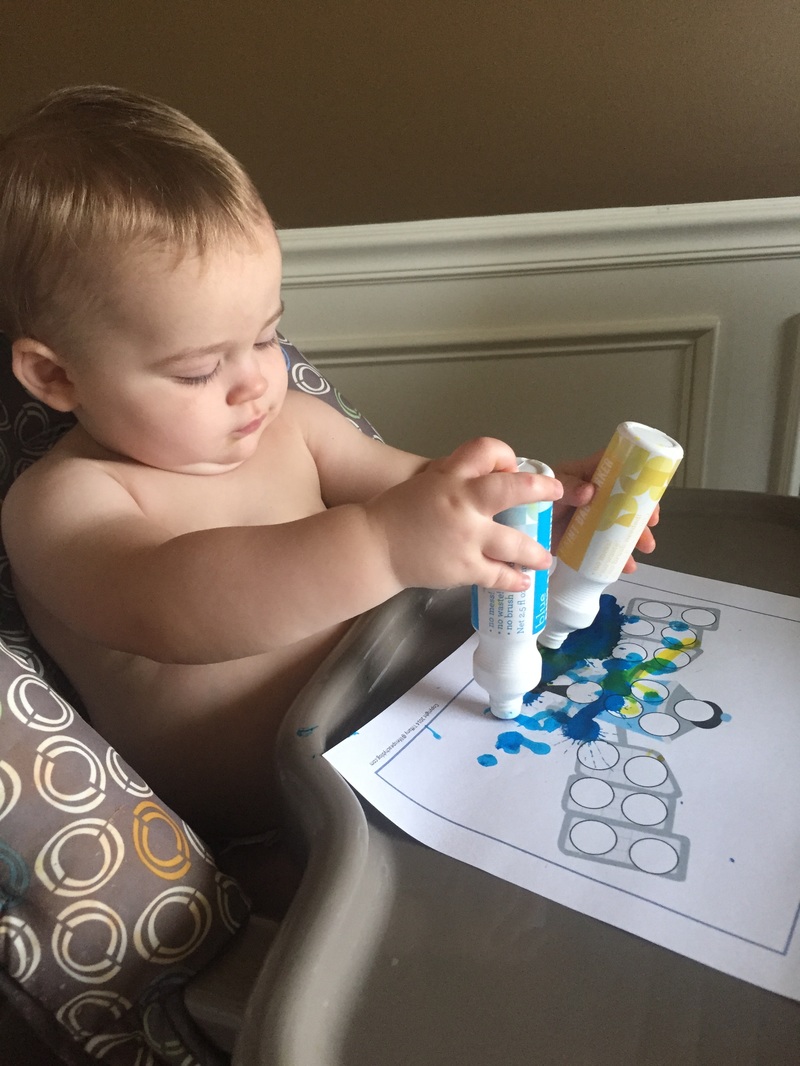
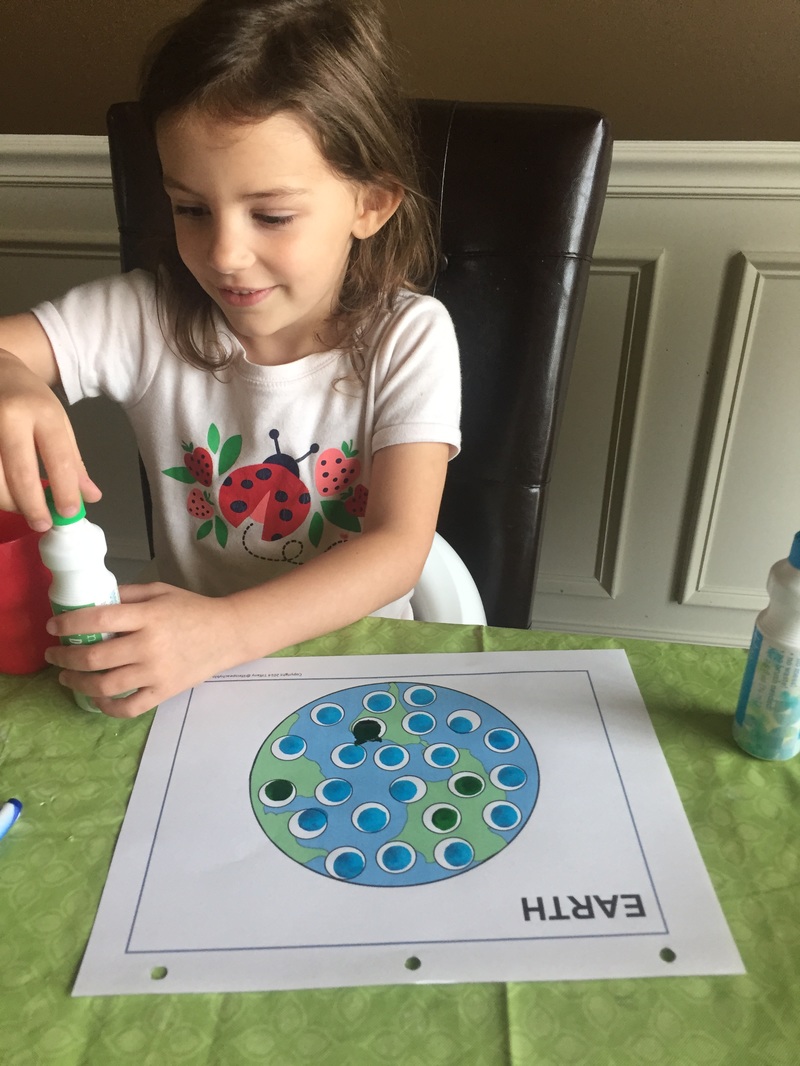
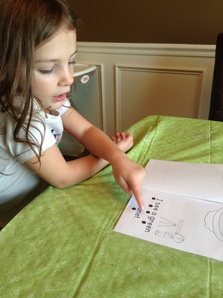
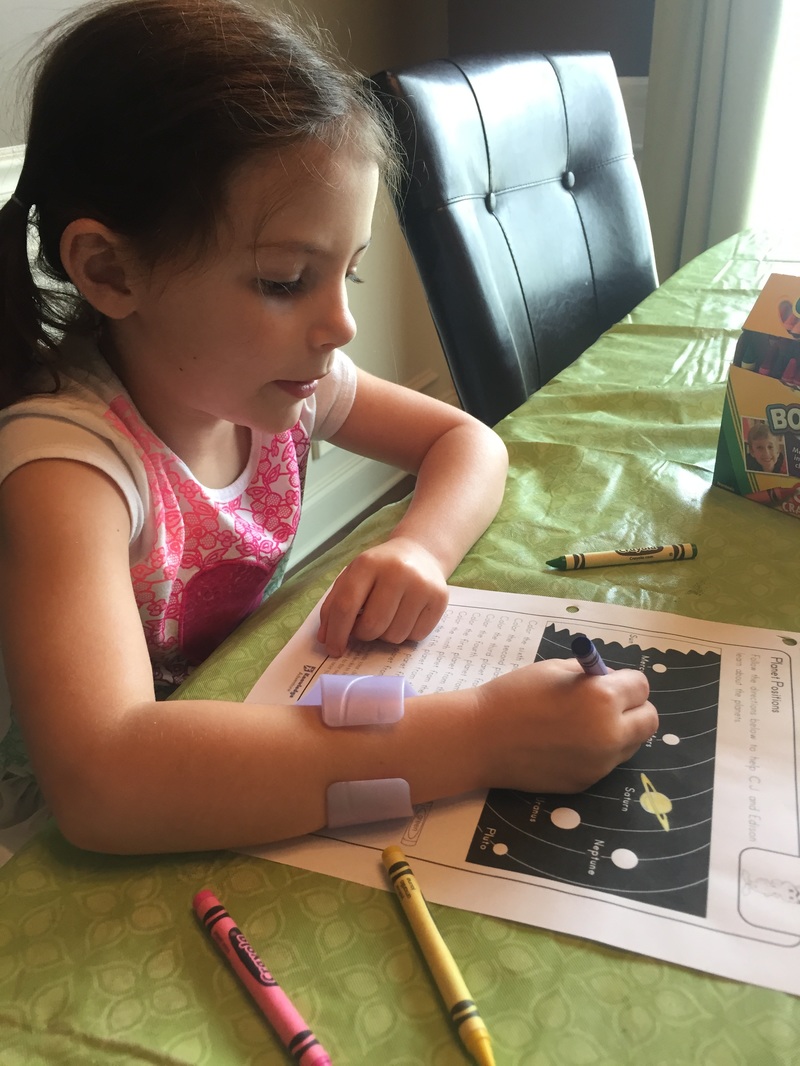
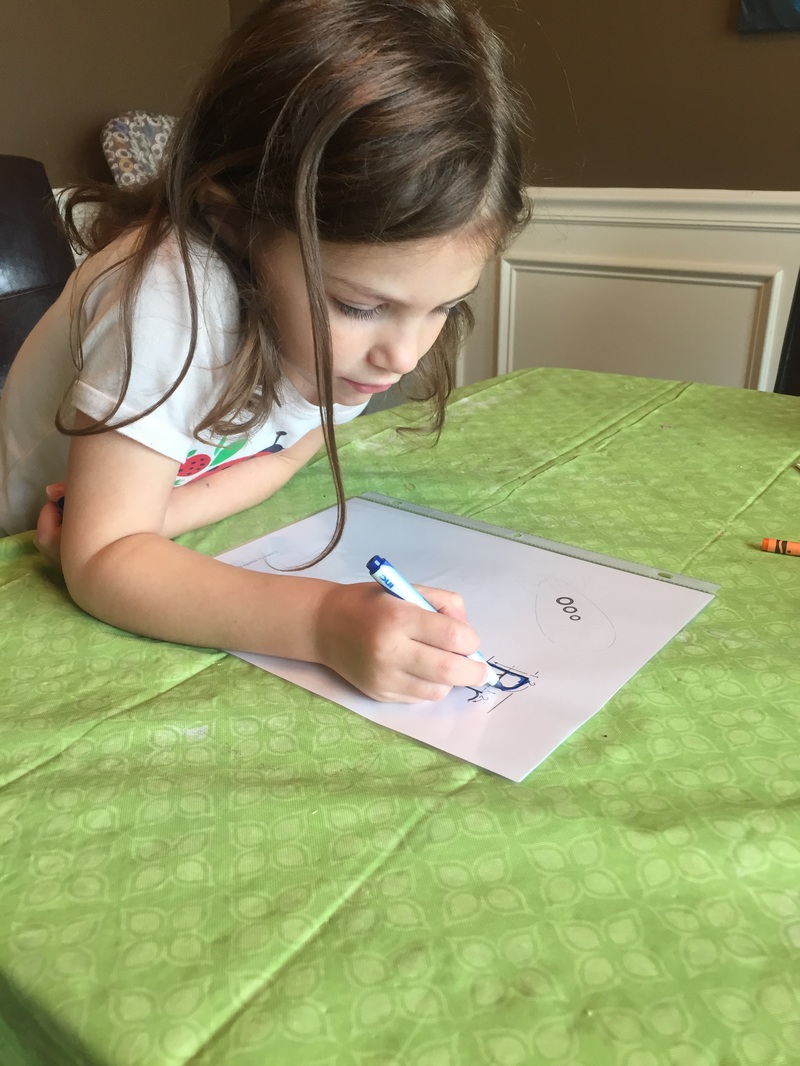
Then we did a worksheet focusing only on the penny and it's value and read a mini book about the penny.
 |  |
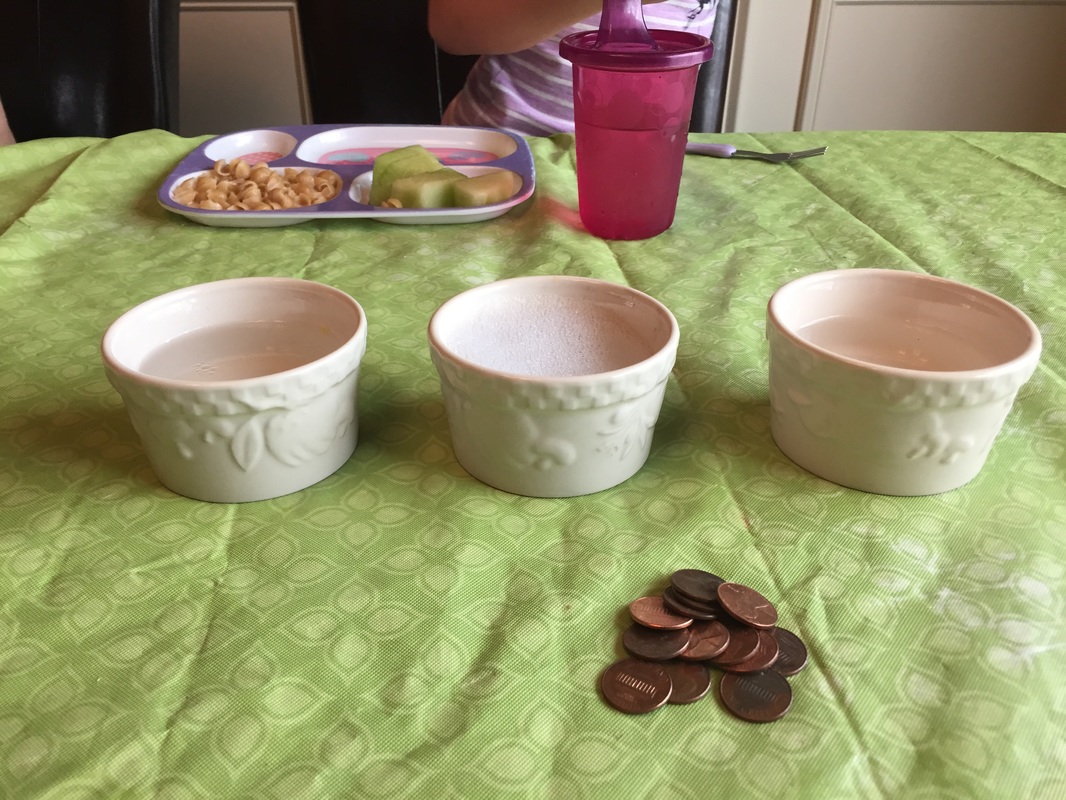
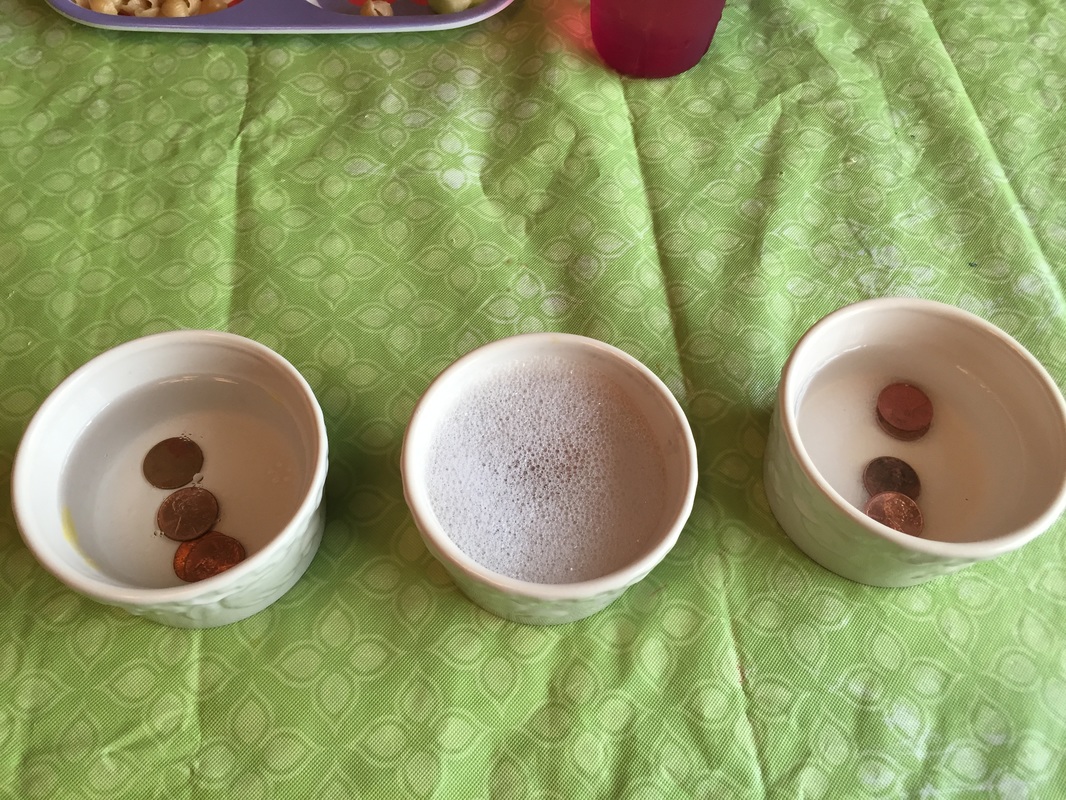
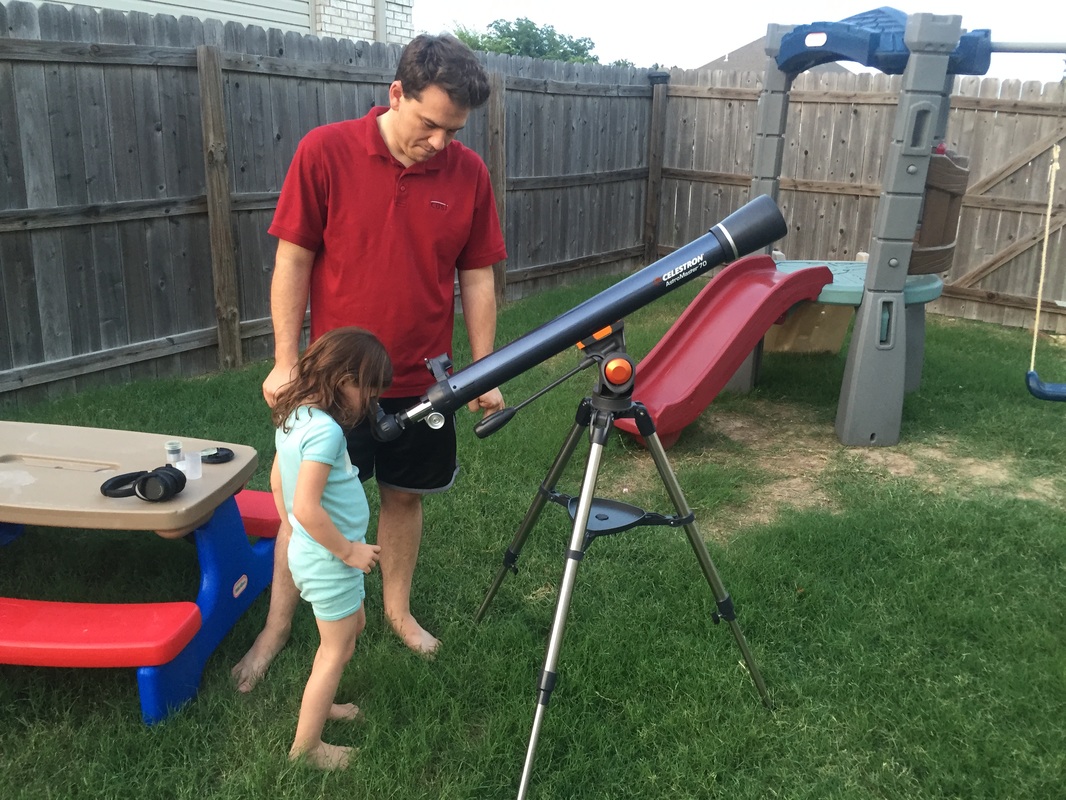
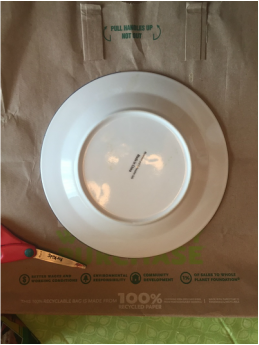
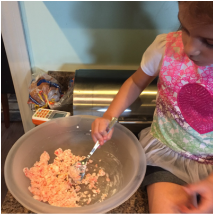
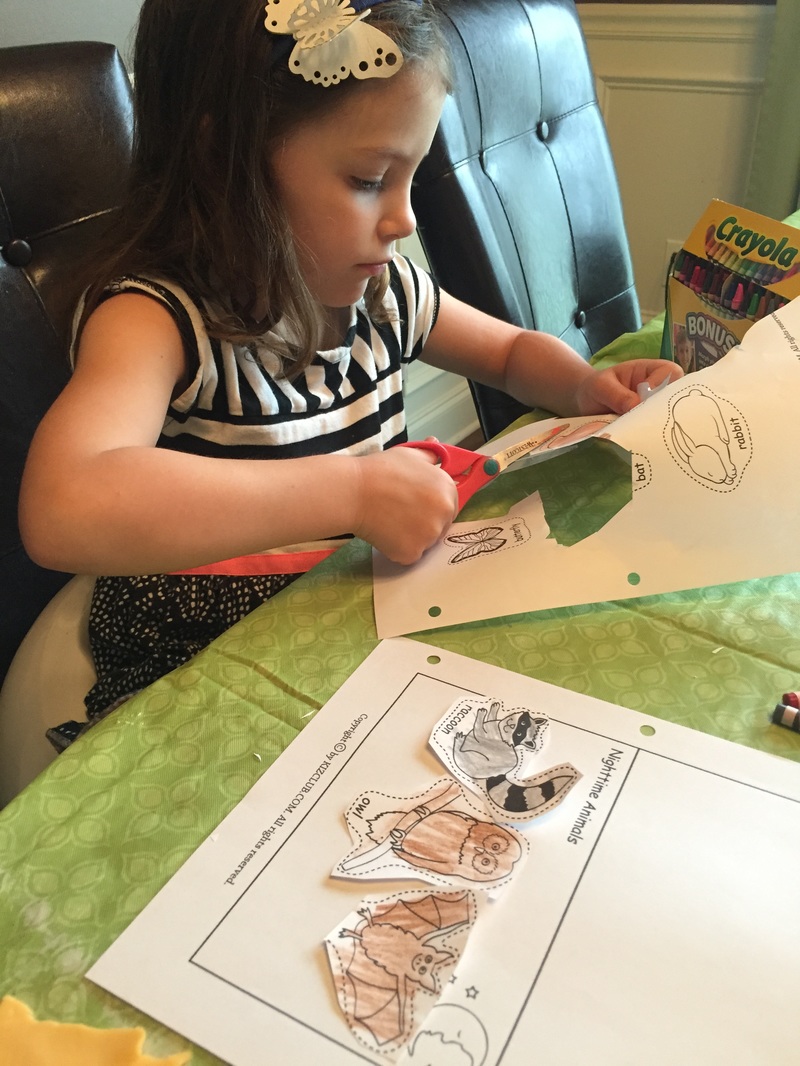
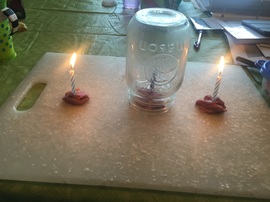
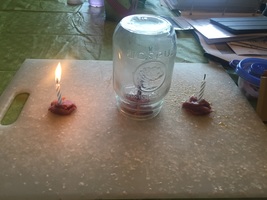
Then we took a break to learn how money and coins are made by watching a few videos. After that we conducted an experiment with pennies.
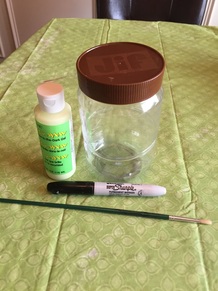
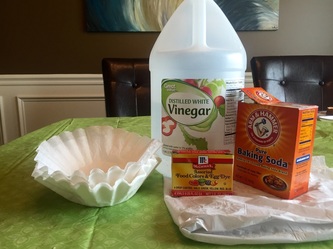
Dirty Pennies Experiment
Materials:
- dirty/tarnished pennies
- water
- soap
- 3 dishes/bowls
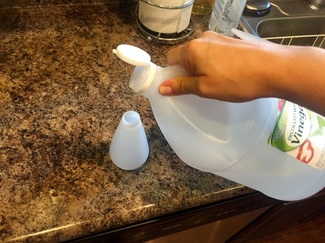
- vinegar
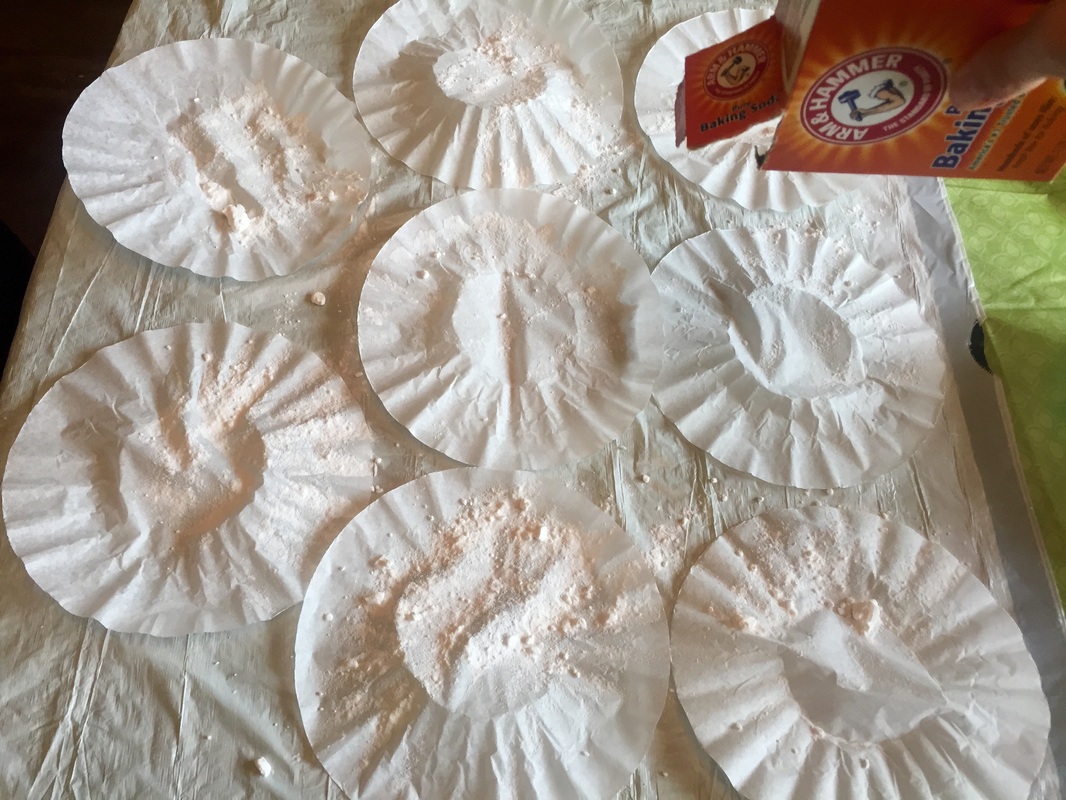
- salt
Directions:
1. Fill one bowl with water.
2. Fill one bowl with soapy water.
3. Fill one bowl with about 1/2 cup of vinegar and 2 tsp. of salt and mix.
4. Discuss the different solutions and form a hypothesis as to what you think will happen to the pennies in each solution.
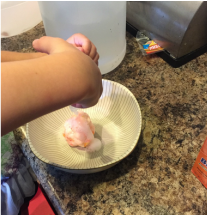
5. Place the pennies in the bowls and leave for 5 min. or more.
6. While leaving the original pennies alone, take a different penny and dip it halfway into the vinegar solution for about a minute. Then look at the penny together. (You should be able to see a difference in regards to the cleanliness of the dipped side.
Dirty Pennies Experiment
Materials:
- dirty/tarnished pennies
- water
- soap
- 3 dishes/bowls
- vinegar
- salt
Directions:
1. Fill one bowl with water.
2. Fill one bowl with soapy water.
3. Fill one bowl with about 1/2 cup of vinegar and 2 tsp. of salt and mix.
4. Discuss the different solutions and form a hypothesis as to what you think will happen to the pennies in each solution.
5. Place the pennies in the bowls and leave for 5 min. or more.
6. While leaving the original pennies alone, take a different penny and dip it halfway into the vinegar solution for about a minute. Then look at the penny together. (You should be able to see a difference in regards to the cleanliness of the dipped side.
 |  |
How does it work?
Pennies get dull and dirty because the copper in the pennies reacts with oxygen in the air to form copper oxide. When you put your pennies in a vinegar and salt mix, the vinegar and salt react together and remove the copper oxide.
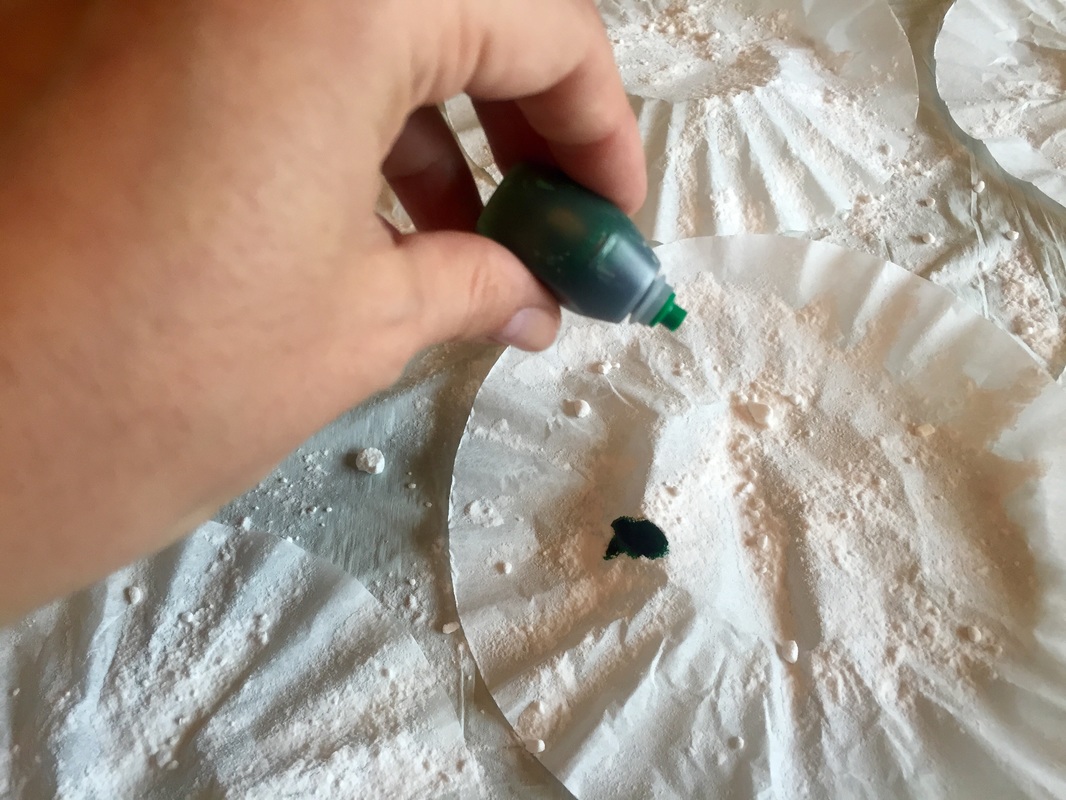
There is an extension activity that goes along with the statue of liberty that you could continue following this activity or save for later. I'm going to save it for later in the week when we focus on the statue of liberty and other American symbols. For the extension activity you leave the pennies that were in the vinegar solution out of the solution without washing them for about an hour. They will turn green like lady liberty.
Why?
If you don't wash the salt and vinegar mix off, a blue-green layer forms on the pennies. The salt and vinegar mix speeds up the reaction between copper and oxygen in the air, forming copper oxide - which is a blue-green colour. It's the same reaction that makes the Statue of Liberty green!
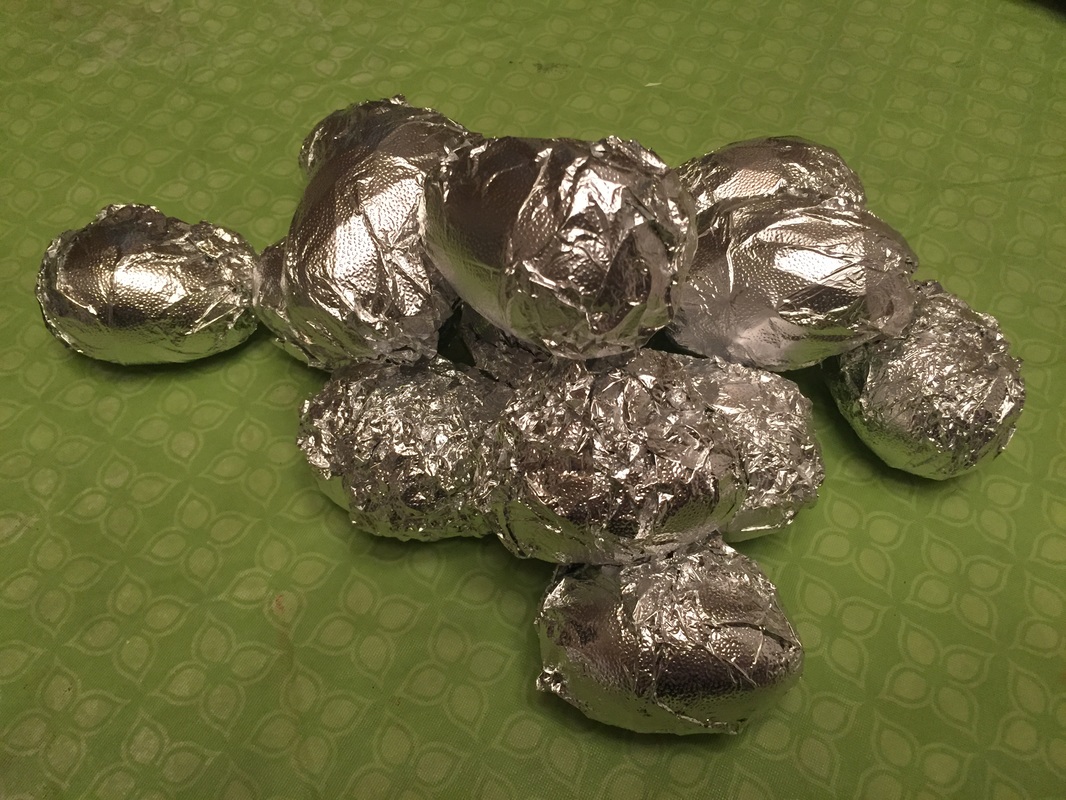
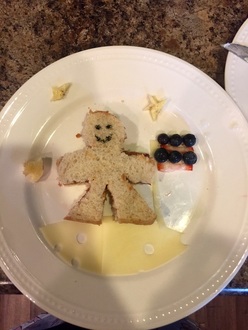
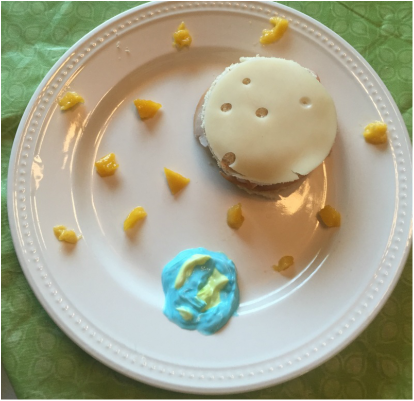
On a completely separate note, I've discovered that my picky eater, Lillian, will eat just about anything if it is a "Mommy Special". She loved the snacks/meals I've made that are themed for each week and now she requests them. Tonight I was not prepared for a special and had to do some quick thinking. I found these spiral hot dogs on a stick/"fireworks" and thought that I could probably manage that. However, Arthur had other plans and I had to work more quickly than expected. Plus, I couldn't find my star cookie cutter. So I just gave the items of the meal a fun name. They enjoyed: twisty dogs, All-American Mac n' Cheese, "Money" Honeydew and Freedom Carrots. Lilly had two twisty dogs and ate everything but the macaroni = success. The best thing about the "Mommy Special" is I can make ANYTHING I want and she doesn't complain! It's genius! Muah-ha-ha-ha-ha!!!
Pennies get dull and dirty because the copper in the pennies reacts with oxygen in the air to form copper oxide. When you put your pennies in a vinegar and salt mix, the vinegar and salt react together and remove the copper oxide.
There is an extension activity that goes along with the statue of liberty that you could continue following this activity or save for later. I'm going to save it for later in the week when we focus on the statue of liberty and other American symbols. For the extension activity you leave the pennies that were in the vinegar solution out of the solution without washing them for about an hour. They will turn green like lady liberty.
Why?
If you don't wash the salt and vinegar mix off, a blue-green layer forms on the pennies. The salt and vinegar mix speeds up the reaction between copper and oxygen in the air, forming copper oxide - which is a blue-green colour. It's the same reaction that makes the Statue of Liberty green!
On a completely separate note, I've discovered that my picky eater, Lillian, will eat just about anything if it is a "Mommy Special". She loved the snacks/meals I've made that are themed for each week and now she requests them. Tonight I was not prepared for a special and had to do some quick thinking. I found these spiral hot dogs on a stick/"fireworks" and thought that I could probably manage that. However, Arthur had other plans and I had to work more quickly than expected. Plus, I couldn't find my star cookie cutter. So I just gave the items of the meal a fun name. They enjoyed: twisty dogs, All-American Mac n' Cheese, "Money" Honeydew and Freedom Carrots. Lilly had two twisty dogs and ate everything but the macaroni = success. The best thing about the "Mommy Special" is I can make ANYTHING I want and she doesn't complain! It's genius! Muah-ha-ha-ha-ha!!!


 RSS Feed
