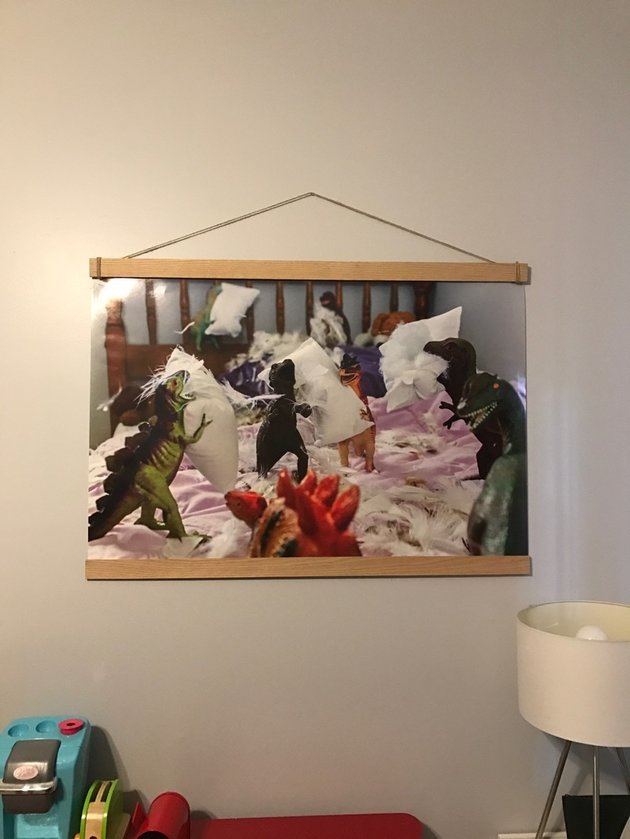
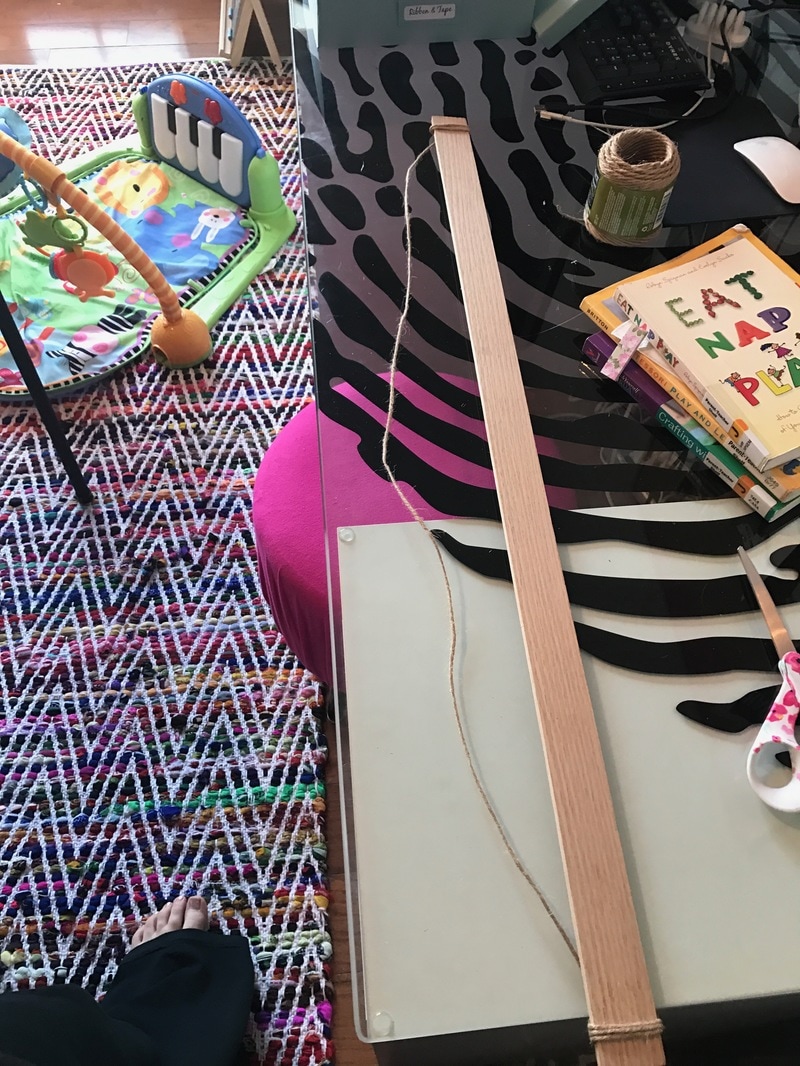
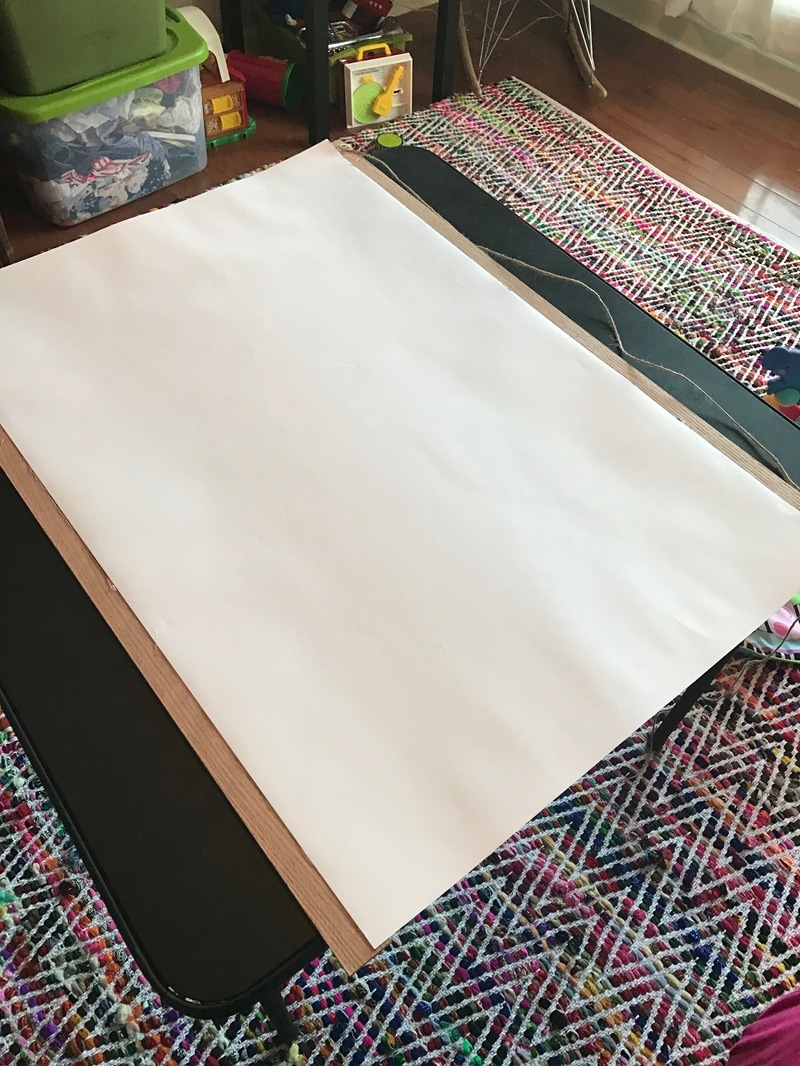
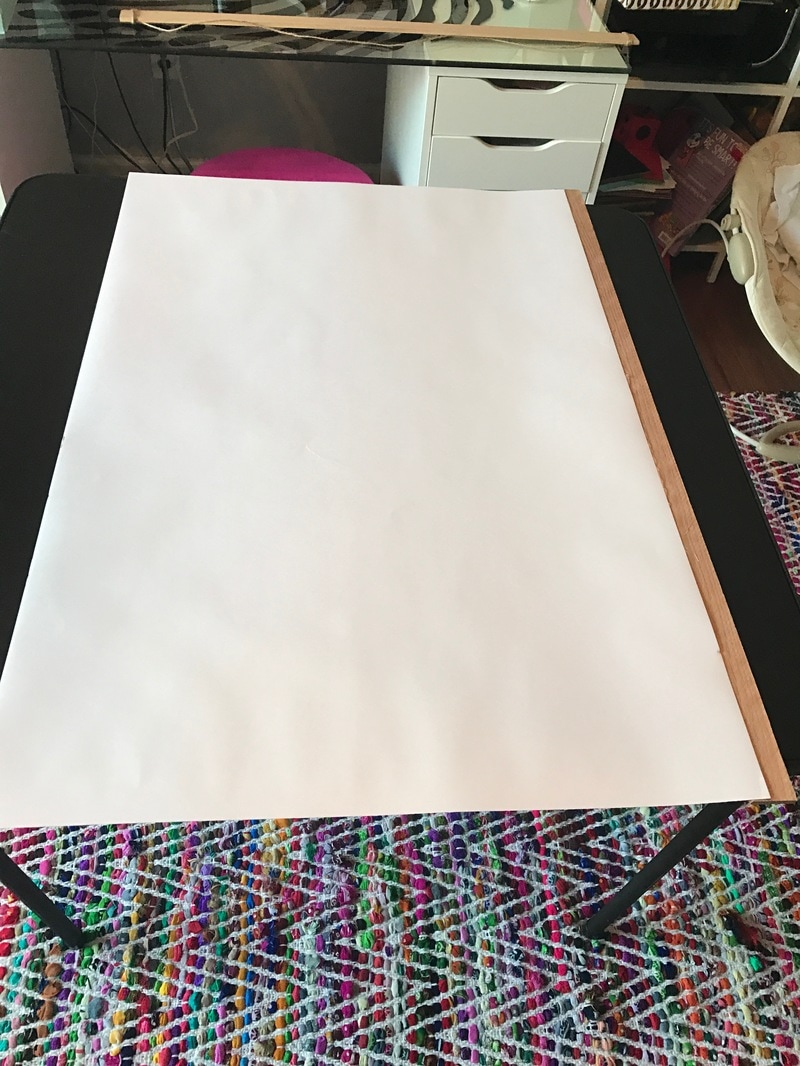
I grabbed two "hobby boards" for around $3 each from Home Depot and hot glued the print to the boards at the top and bottom. I recommend measuring and drawing a line down the board on the side you plan on gluing so it is even. Then, I wrapped twine around the top board creating a string to hang from a nail on the wall. It only took a few minutes and I love the result! Plus, if my son knocks it in the future there isn't any glass so I don't have to worry about potential danger. I'm pleased and will probably use this method again. So easy!
|
I don't know if you feel the same way but, framing art can be expensive! So, when it I needed to put art up in my sons room I looked into ways to get it up for waaaaaay cheaper! A quick trip to the hardware store, a glue gun, some twine and your print are all you'll need to whip up a cheap hanging method that also looks pretty cool! Inspired by my gallery wall hanging frames, I set out to get a similar but more permanent look. The prints I used were made at Walgreens for less than $10 each and could easily be reprinted so, I didn't have a problem with permanently adhering them to a frame. I grabbed two "hobby boards" for around $3 each from Home Depot and hot glued the print to the boards at the top and bottom. I recommend measuring and drawing a line down the board on the side you plan on gluing so it is even. Then, I wrapped twine around the top board creating a string to hang from a nail on the wall. It only took a few minutes and I love the result! Plus, if my son knocks it in the future there isn't any glass so I don't have to worry about potential danger. I'm pleased and will probably use this method again. So easy! Hopefully you're inspired to think of new ways to hang your art! Enjoy!
0 Comments
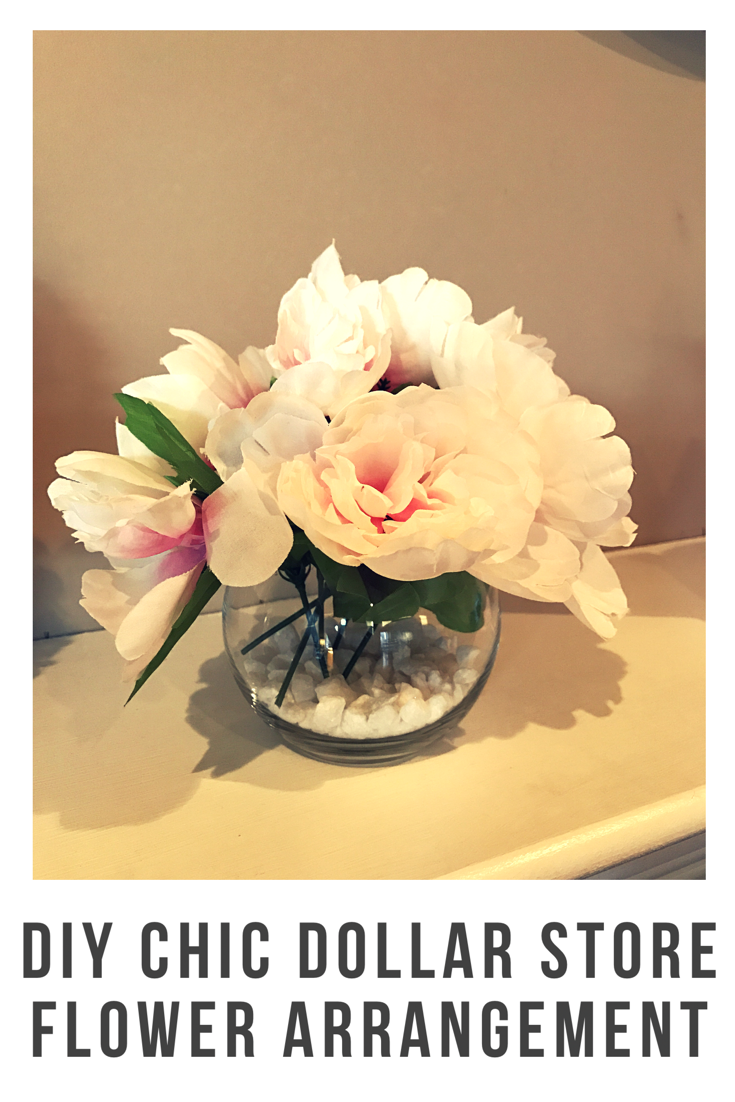
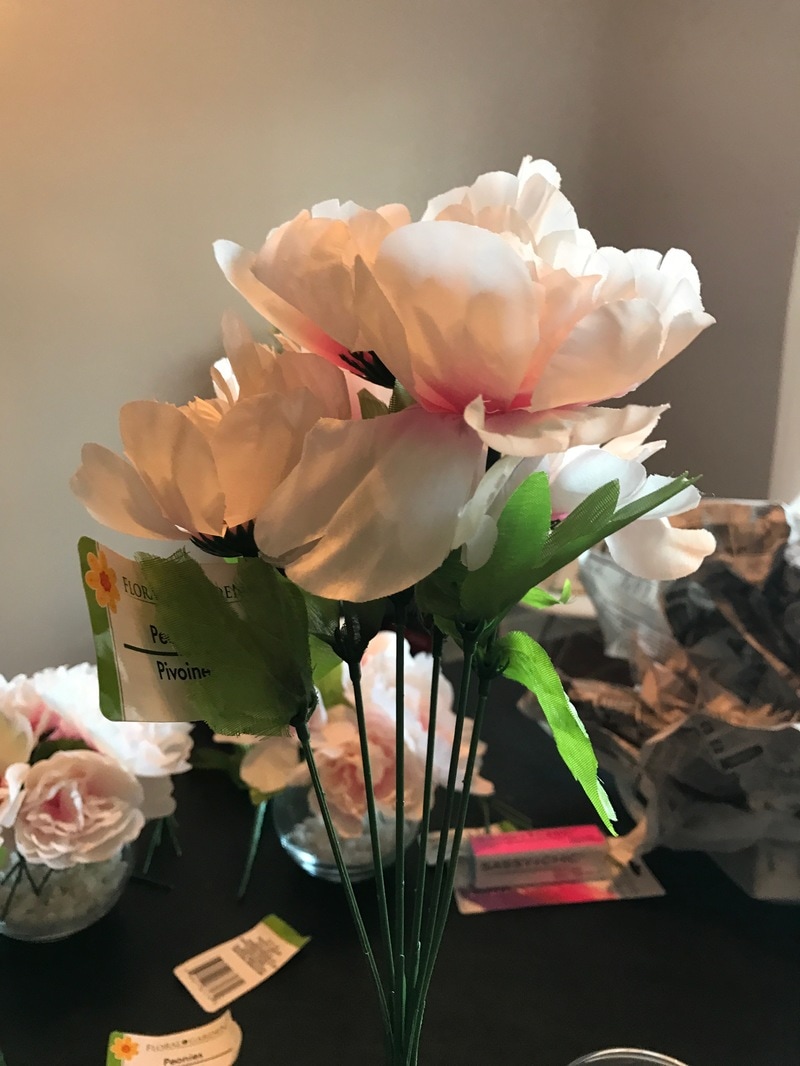
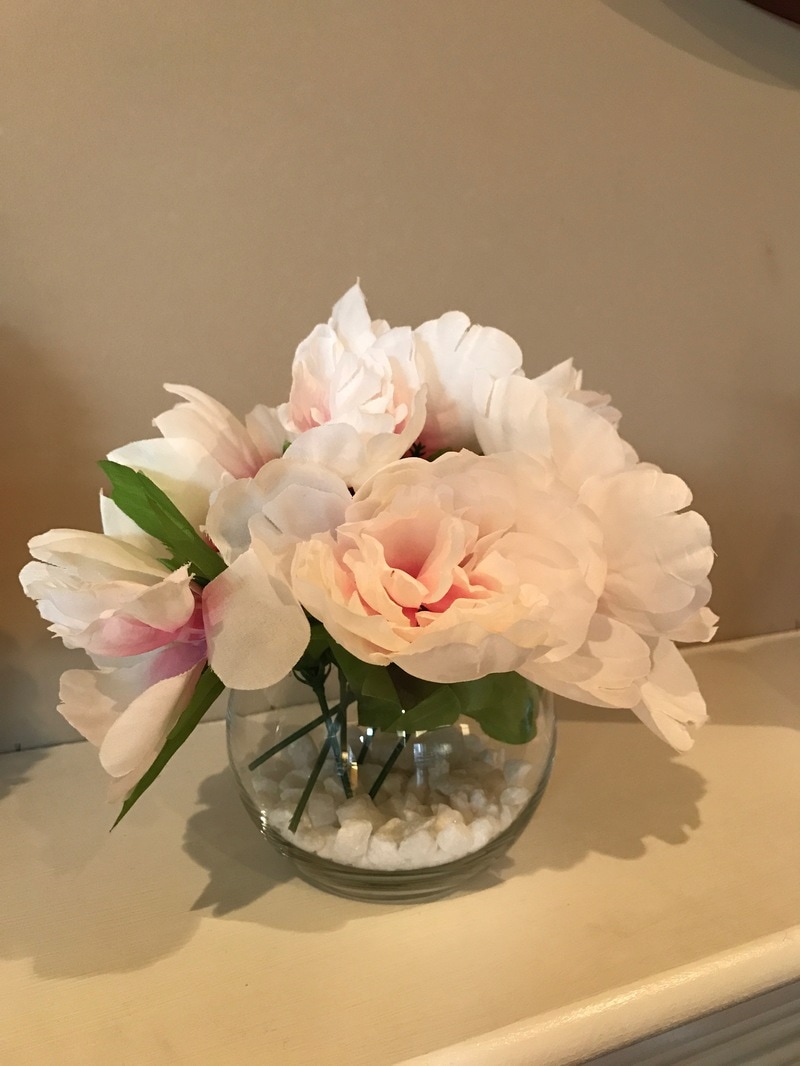
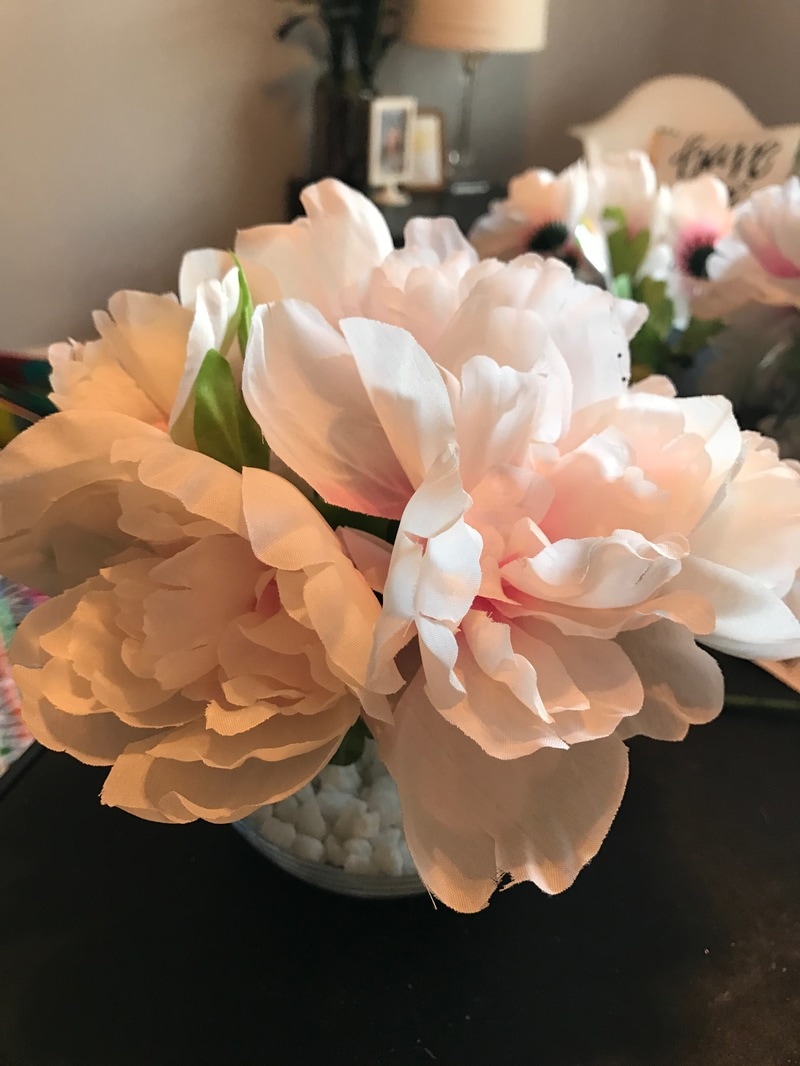
I was looking for some cute and simple flower arrangements to give a nice spring feel to my home but, everywhere I looked they were way out of my price range. So, I decided to get crafty and make them myself. However, when I visited my local craft store I left discouraged about the cost there as well. But, when I visited my local Dollar Tree I found exactly what I was looking for and only spent a fraction of what I would have elsewhere. Check out how I did it! You will need:
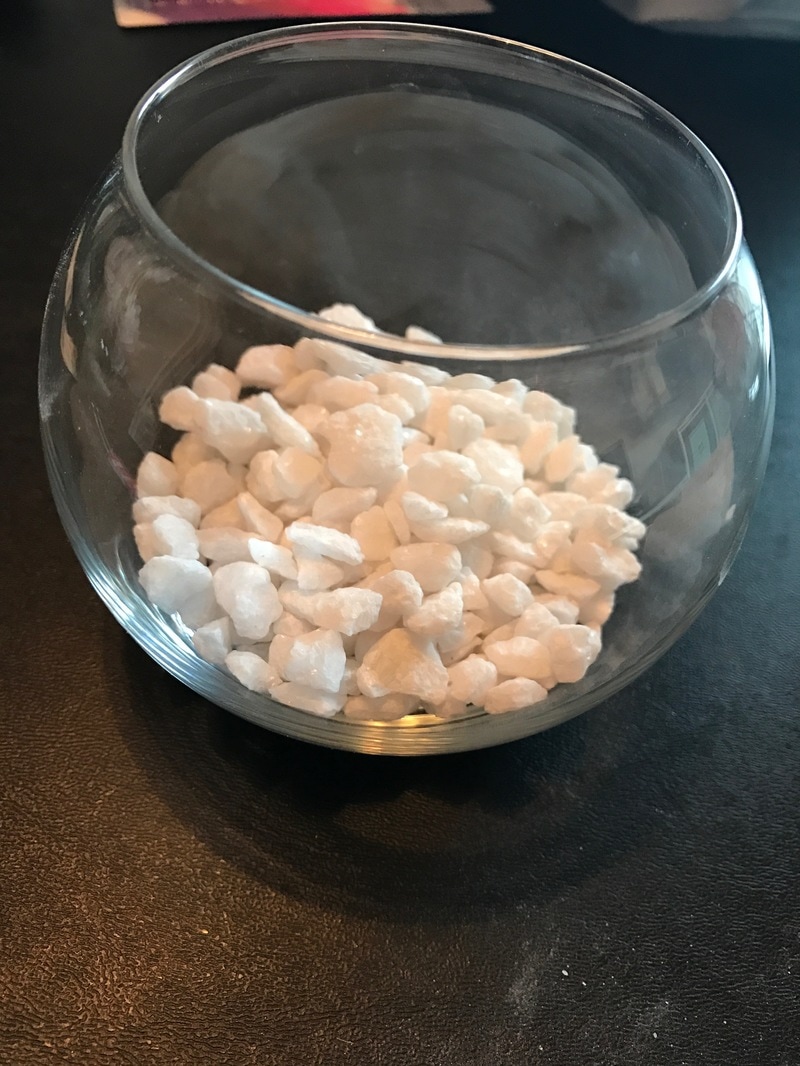
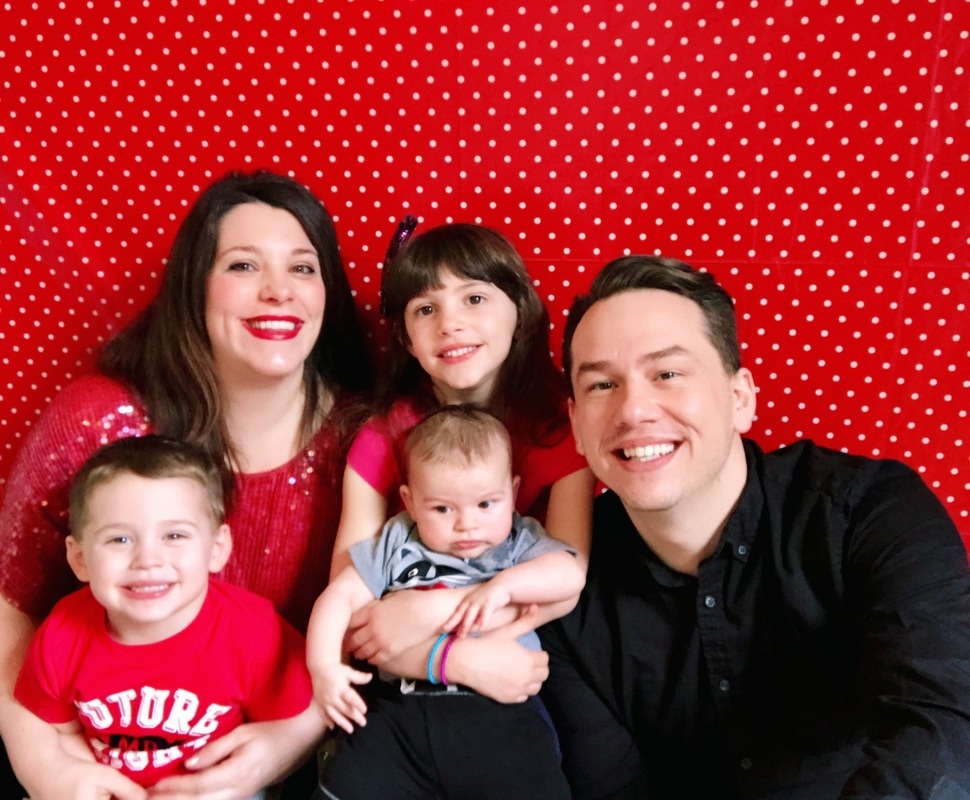
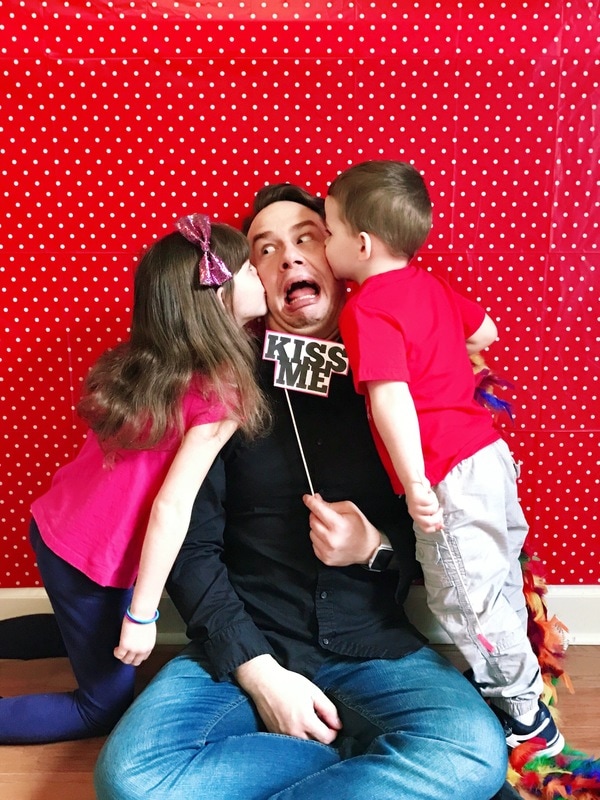
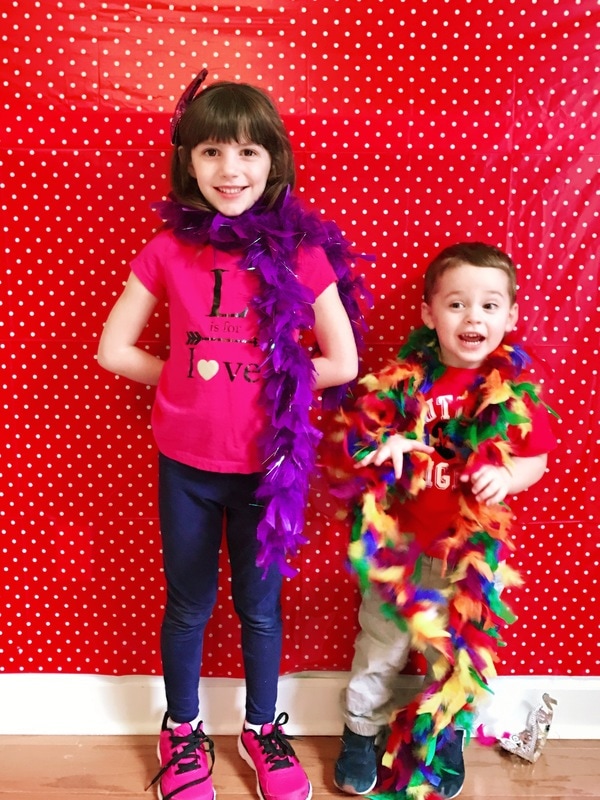
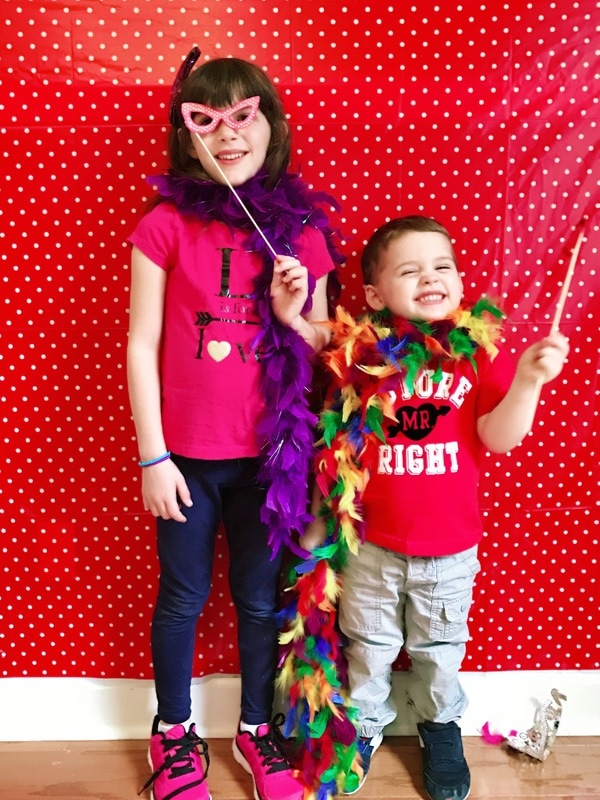
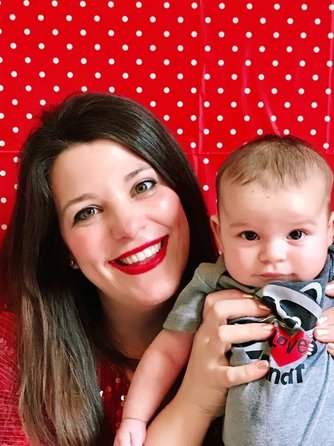
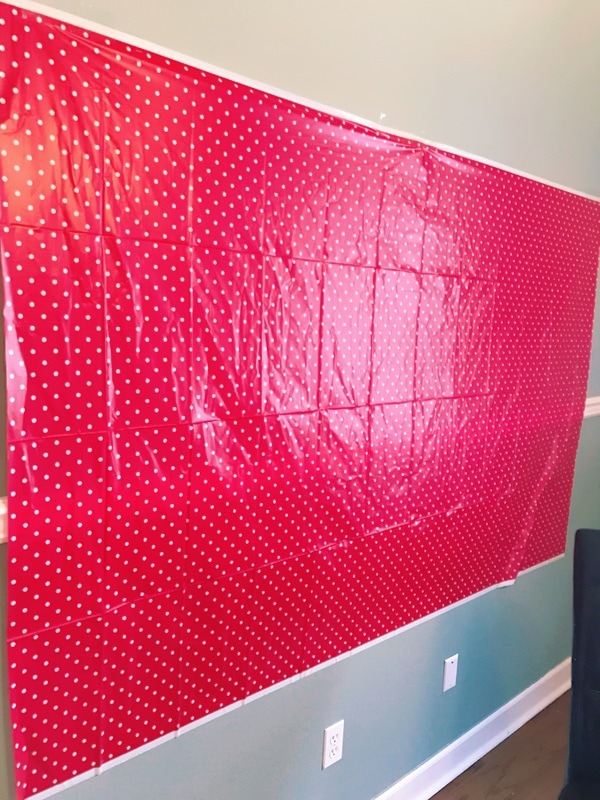
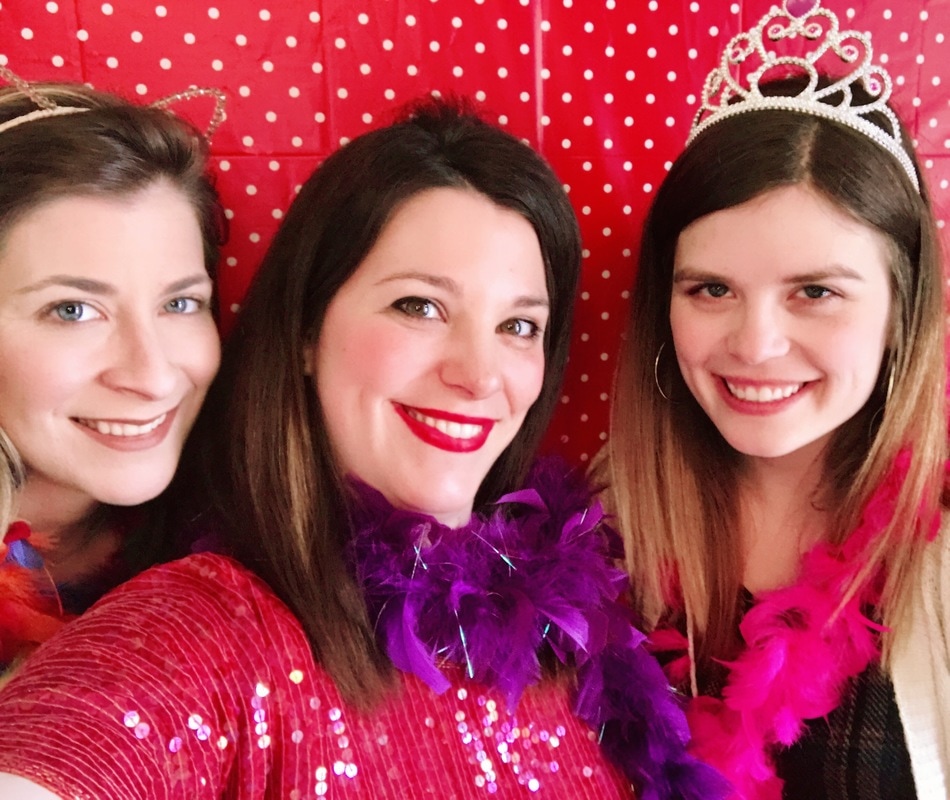
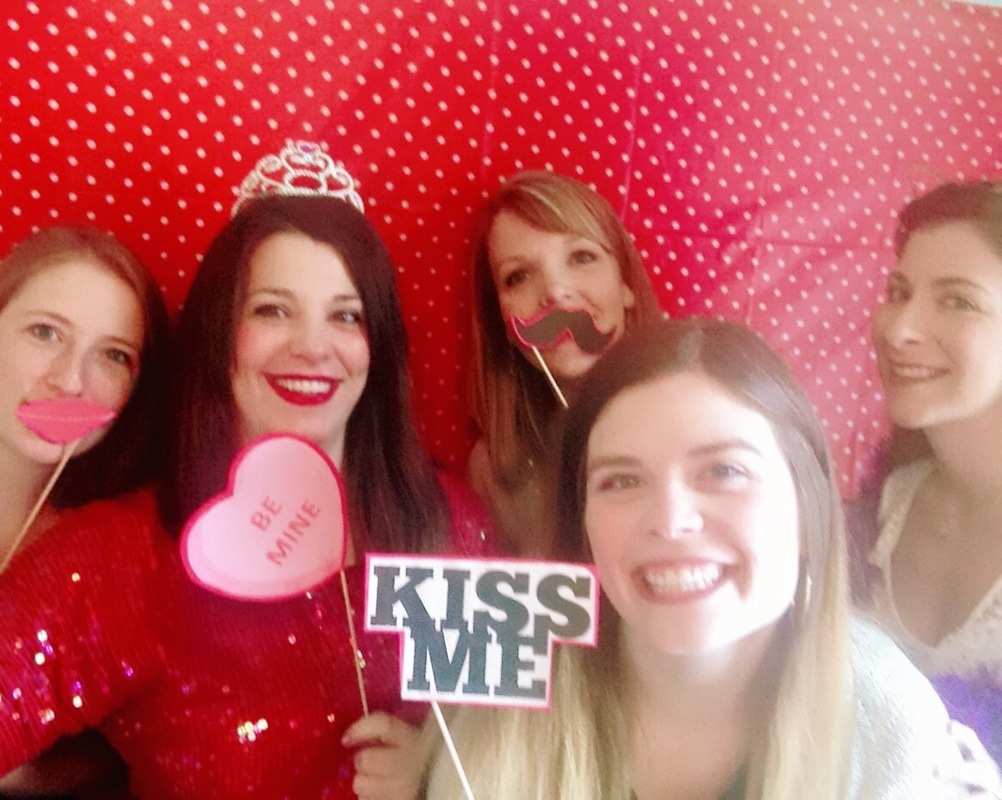
- Several bunches of the most realistic looking flowers at your dollar store. I chose some soft pink flowers that look like a peony and an azalea had a baby. They weren't overly colorful and they looked light and airy. - Short, glass vessel. I selected the round bubble like ones. They have a simple and expensive feel but are still just $1. - 1 bag of white rocks. - Sharp scissors for cutting the flower stems Once you have all of your items, simple cut the flowers into varying lengths that cause the flowers to sit at the top edges of the glass vase. Fill the vase with your white rocks and then arrange the flowers. The biggest note I can give is to make sure you put plenty of flowers in your vase. if it is not filled fully it will not look quite right. After hosting a Galentine's Day Brunch I used the photo booth and props I set up to snap a few fun pics with my family. The beauty of the photo backdrop is that I used a plastic table cloth taped to the wall! That's it! Tape the cloth at the appropriate height and snap away! The key here is to tape it width wise and not long wise on the wall. You need a good amount of width to keep the backdrop in the entire frame. For my party I had it taped higher on the wall and then lowered it to be touching the floor for my kids. It meant that my husband and I had to squat or sit on the ground for our family shoot but I think the pics turned out pretty ok for only spending a few moments taking them. So yeah! A couple of dollars for a plastic table cloth and you can have a pretty great photo backdrop! Throw in some props and even a selfie stick and you can create some great pics for next to nothing and have more time for play!
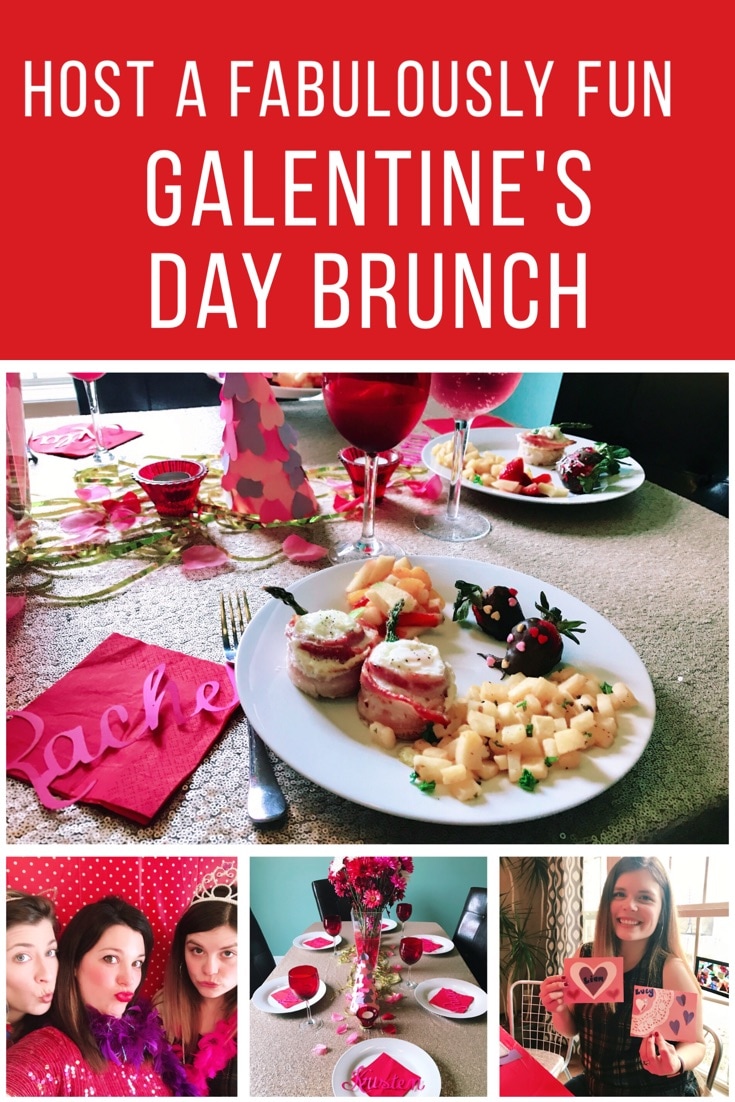
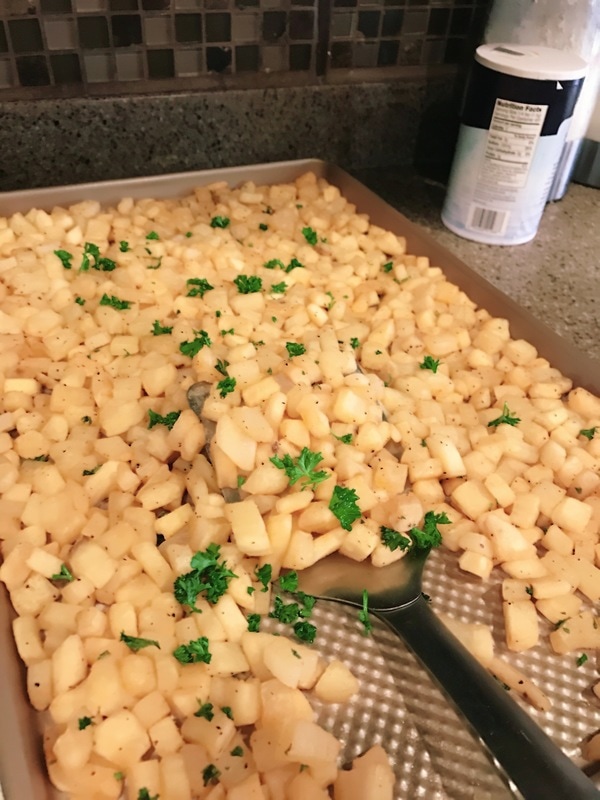
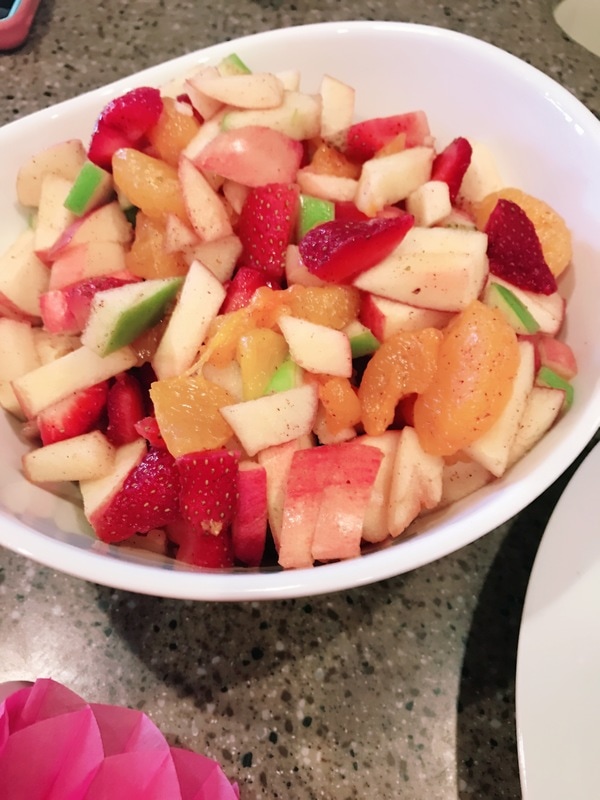
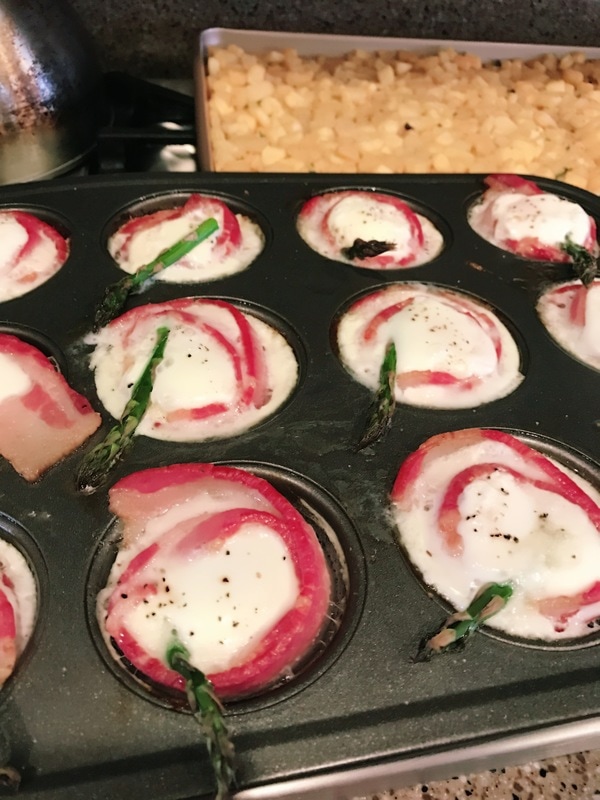
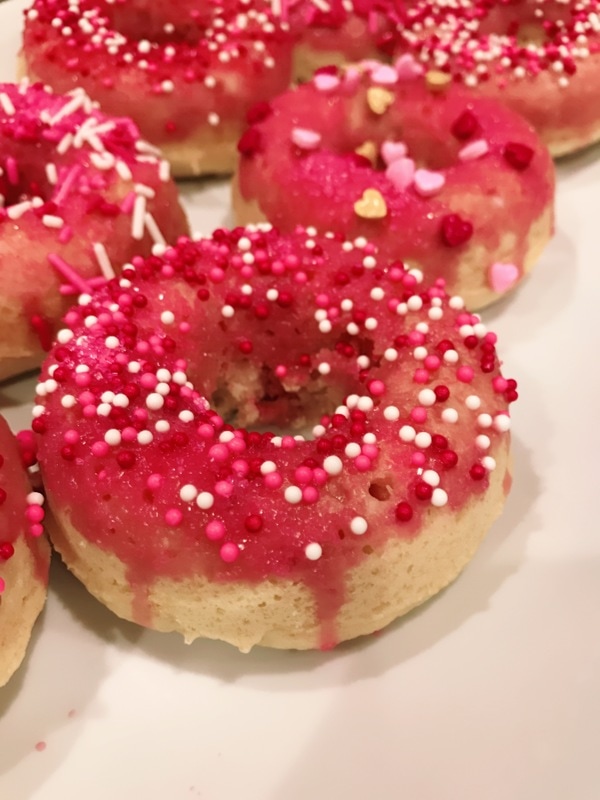
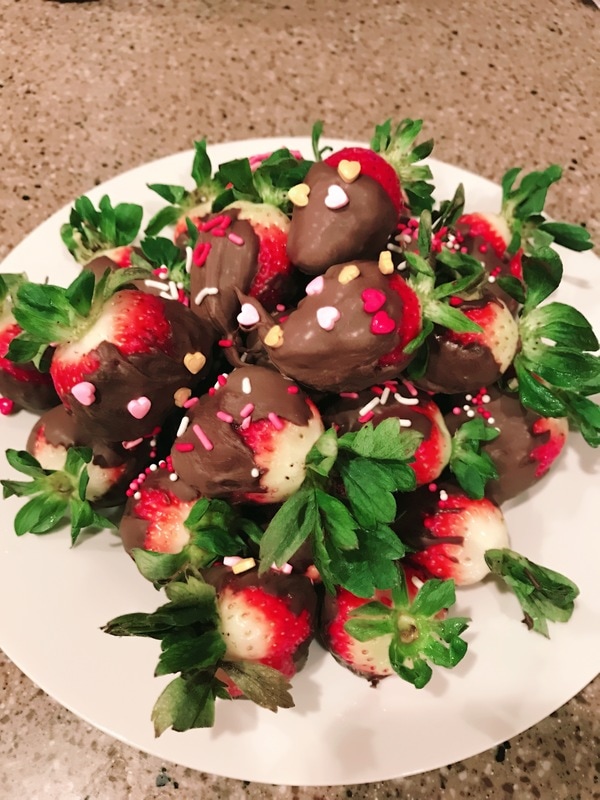
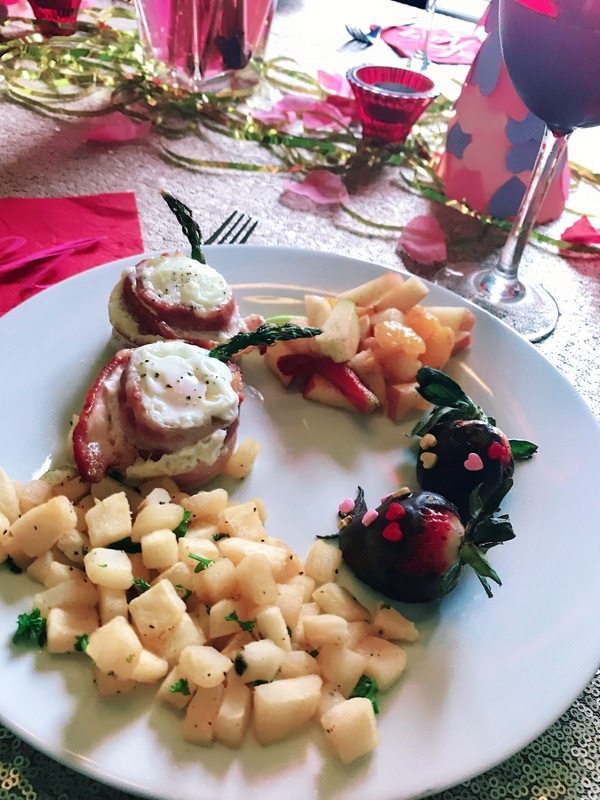
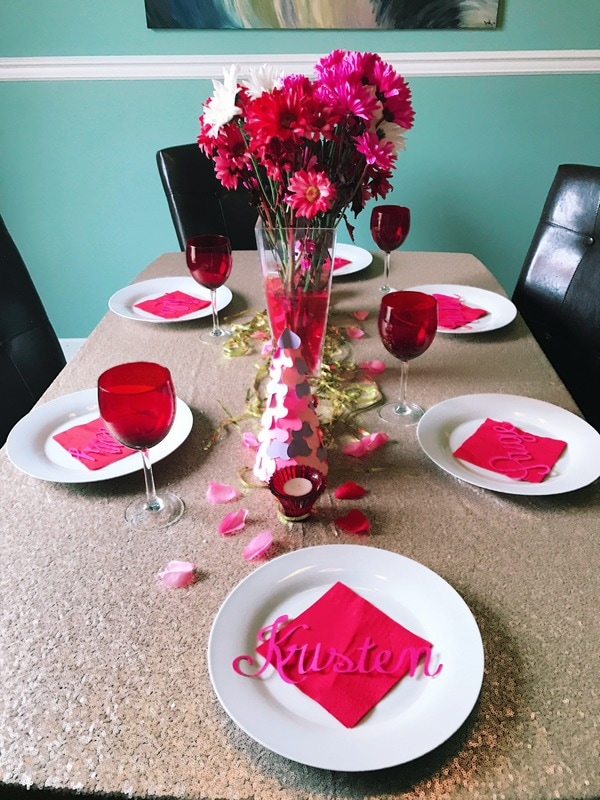
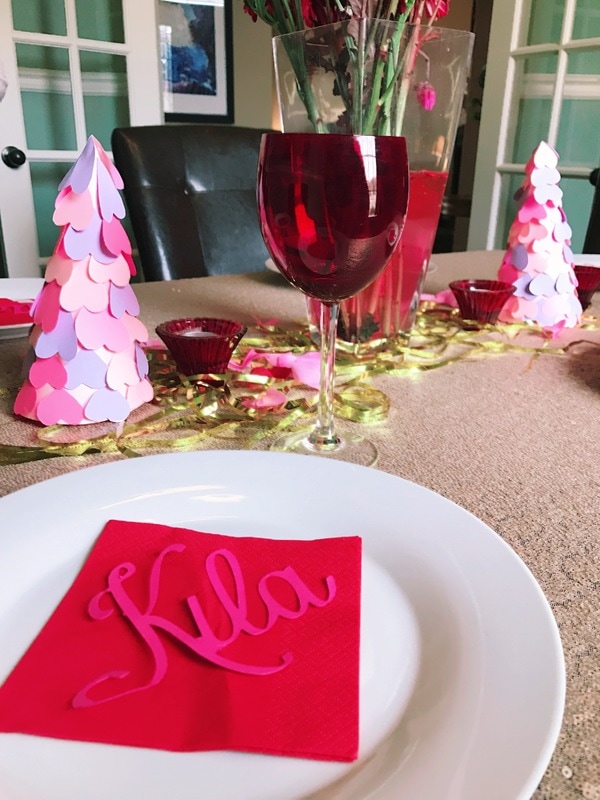
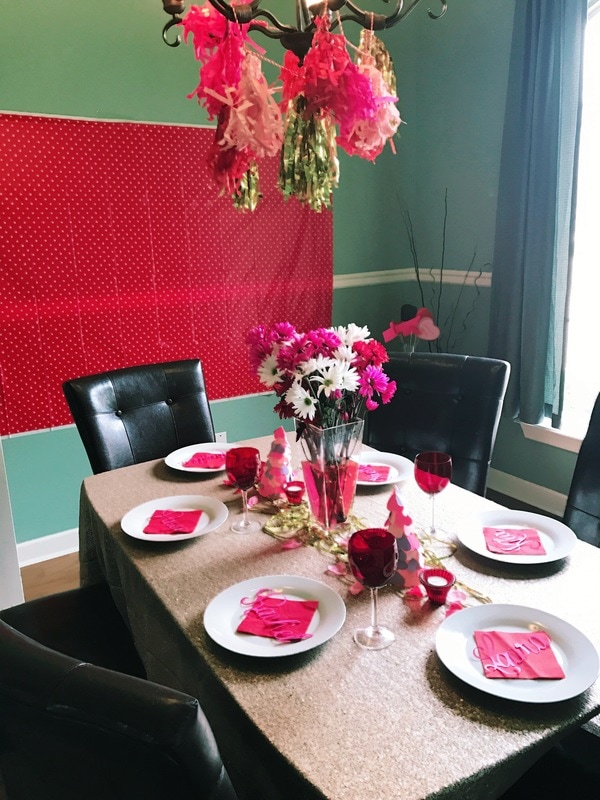
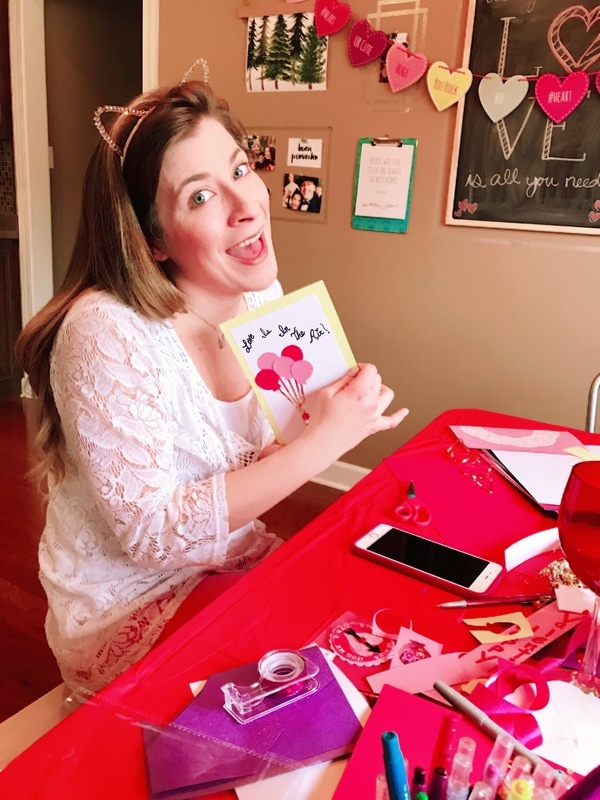
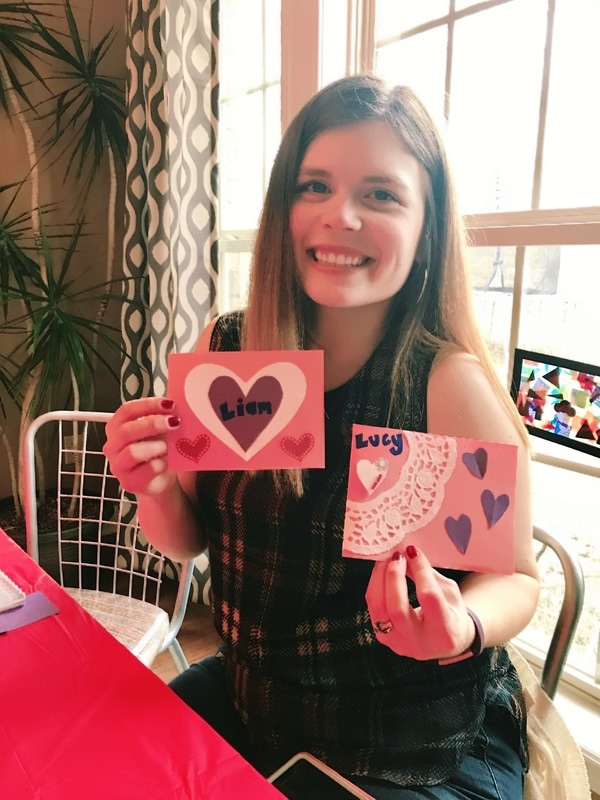
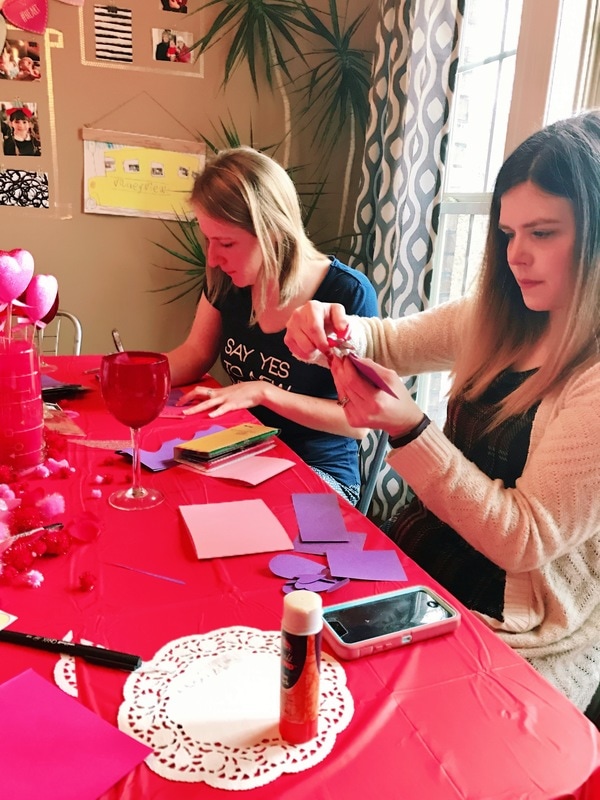
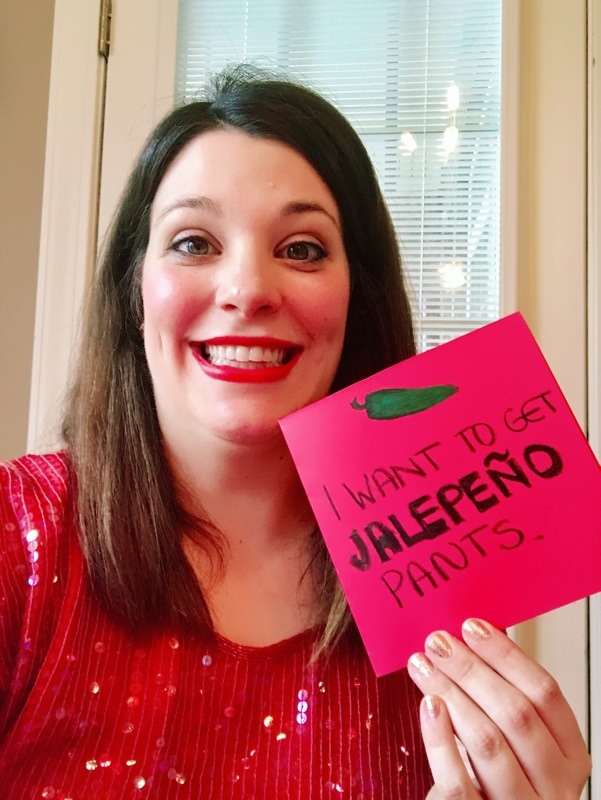
Who doesn't love a good excuse for day drinking and getting dressed up?! Ever since the invention of Galentine's Day by our friends at "Parks and Rec" we now have a perfect reason to listen to the Spice Girls, eat yummy food and day drink! I hosted a Galentine's Day party this weekend with a few of my closest friends and you can too! It doesn't take much to have a fun time with the girls. Simply select a few food items, throw together a photo booth for next to nothing and provide supplies for creating Valentine's. The Menu: I decided to make paleo egg cups, breakfast potatoes, vanilla baked donuts, chocolate covered strawberries and a fruit salad. I also had the choice of a raspberry champagne or mango champagne floats (inspired by the raspberry ones using white bubbly and mango sorbet). It was all relatively easy and everyone enjoyed it! The Decor: I've been looking for an excuse to purchase a gold sequin tablecloth forever and finally had a perfect excuse! I got it for only $17 on amazon and I'll be able to use it for a million other things in the future. I also picked up some Valentine's flowers at Kroger. Then I sprinkled some fake flower petals and some golden confetti on the table with some red candle holders for the center. My co-host also made a few paper heart cone trees that I added. I purchased a fringe banner and dangled it around the chandelier above the table and that completed the table decor. For the photo booth I taped a plastic red and white polka dot table cloth on the wall width wise for the background and then printed off these free Photo Booth props and hotglued them to skewer sticks. I also added a few feather boas and some tiaras to the dress up table for extra fun. Activities: I created a Galentine's playlist to listen to while we visited and got crafty. Then I set up a Valentine making table with colored paper, scissors, glue, stickers, pom pom balls and more for us to create Valentine's for our loved ones. It was a fun excuse to hang with my favorite ladies and I think everyone enjoyed the festivities. Good luck with your party planning and let me know if you use any of my ideas!
|
meet rachelRachel is a mother of three, elementary Spanish teacher and part-time blogger who loves crafting, creating fun and engaging activities for her children and students and hanging with her friends and family. She blogs about what she's doing and her interests at any given time which vary. She's a little OCD and always looking for her next project. Her husband calls it, "focusing her crazy", but she just calls it fun. Archives
June 2023
Categories
All
|






 RSS Feed


