|
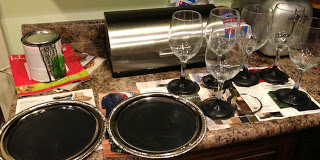
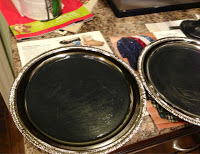
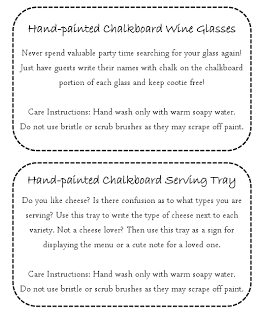
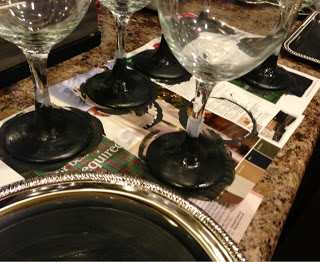
I've seen several posts about doing this type of thing. But, I'm going to post my take on it. I went to the dollar store and bought 6 wine glasses and 3 "silver" trays. I already had some chalkboard paint from a previous project. Then I just painted the center of each tray with the paint and the base of each wine glass as well. I didn't even tape off the plates but I did wrap a piece of tape around the glass where I wanted the paint to stop. I did about 3 coats on each thing but other than the waiting for paint to dry this only took about 30 minutes total "working" time. I plan on giving the wine glasses with a bottle of my infused alcohol and a little note describing how to care for the glasses along with some chalk wrapped in a bow. I don't have a specific person in mind for the trays but I figured I was using the paint anyway so I might as well go ahead and make the trays too. You know you always need a gift at the last minute. I will also include some ribbon wrapped chalk with them and directions for their care. I have included an image of my chalkboard dishware care instructions below and you can download them here.
0 Comments
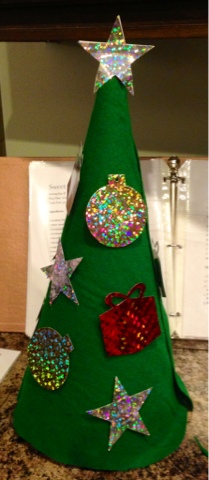
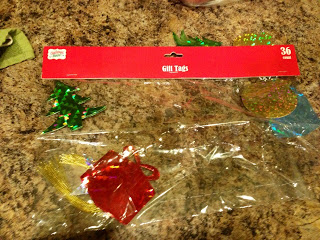
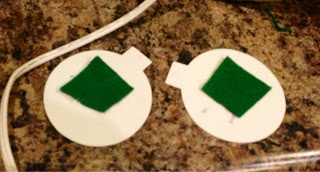
I'm sure you have seen the felt Christmas tree project on Pinterest. However, I am kind of lazy sometimes and I made mine even easier. It didn't take a very long time and she really enjoyed it. All you need is a piece of poster board, a hot glue gun, some green felt and some sparkly ornament looking gift tags. I found mine at the dollar store. First you roll up the poster board to make a cone. I had to cut off a portion of the poster board to make the size and shape I wanted. Then you wrap the poster board cone with the green felt and hot glue it. Finally, you take your blingy, ornament gift tags and hot glue little strips of the same green felt (in my case the scraps) to the back of each tag. I also hot glued two star gift tags together to make the star tree topper. Voila! Done! It took me maybe 15 minutes and was well worth the time.
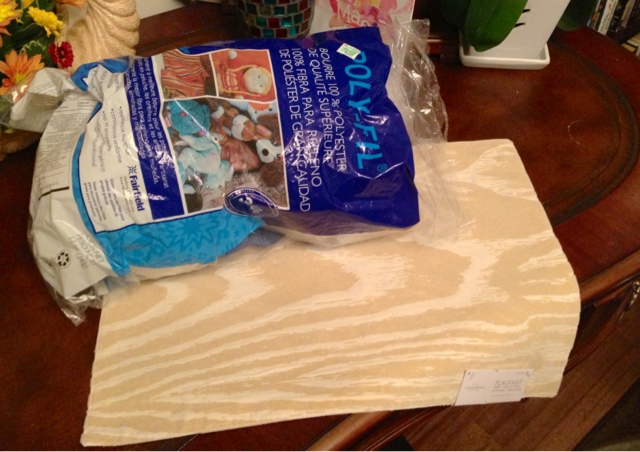
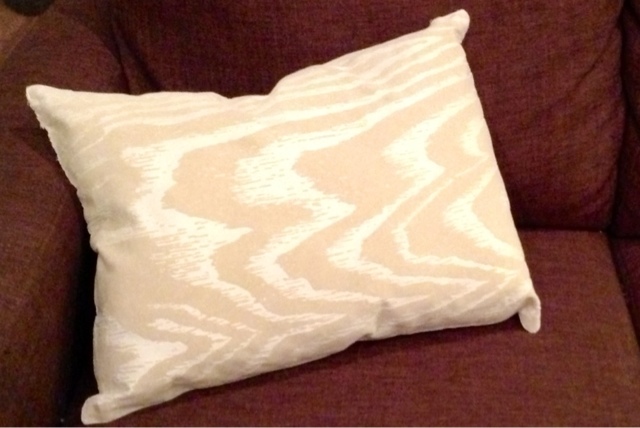
A while back I saw a post where you take a place mat and turn it into a pillow. After seeing that post I excitedly went in search of suitable pillow place mats but could not find any that I liked and that met the requirements. But, while at Target the other day I found these flocked faux bois place mats that I felt would definitely work and met the project requirements of being two pieces of fabric sewn together and not just one piece with no seams and at only $3.99 I figured it was worth a shot. I also grabbed two bags of poly fill for stuffing for $2.99 each. So the pillows ended up costing a little less than $7 because I didn't use all of the stuffing. So, how do you do it? You take your place mat and rip open one of the seams from one of the short sides. You don't have to rip the whole seam. Then you stuff it with your poly fill. And then you sew the seam shut again. I just hand stitched it. This project literally took me less than 30 minutes and I love the pillows! I am actually going to go back and get a couple more place mats in a different pattern that will look great with these. It's actually really sad how excited $7 but look like $40 pillows make me.
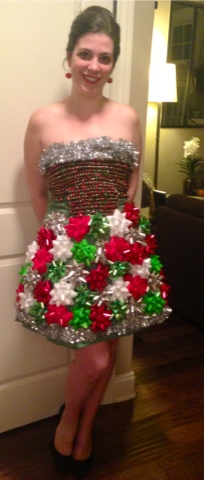
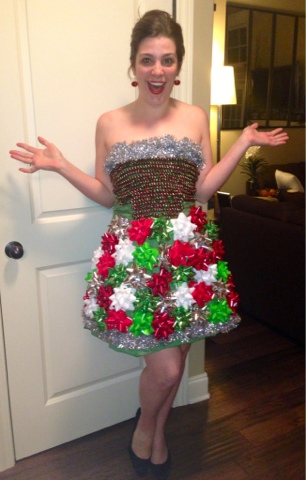
I will be attending an ugly Christmas sweater party in a few weeks and I decided that I was going to take it to a whole. 'nutha. level. So, I decided to make an ugly Christmas dress. It only took about an hour and I think it is definitely fun. I found the dress at Savers for $10. I was specifically looking for a green or red dress. This one is green which allowed me to leave parts of it exposed and cut down on the amount of ugly stuff I had to buy and apply. I bought the green and red ribbon tinsel at the dollar store as well as the silver tinsel and I bought the bows for %50 off at Hobby Lobby. It took almost two bags of bows and two things of the red and green ribbon.
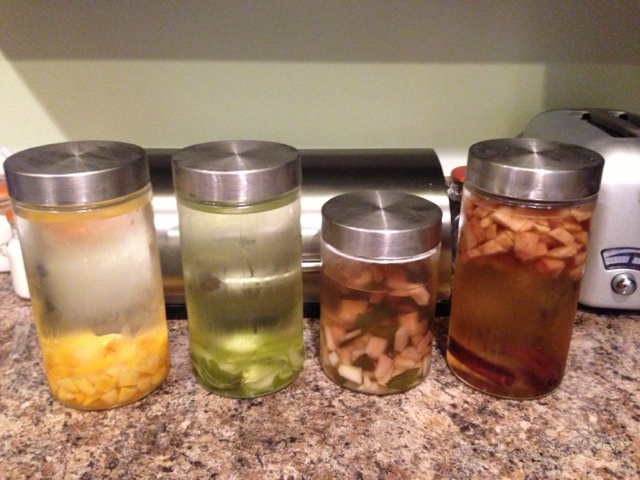
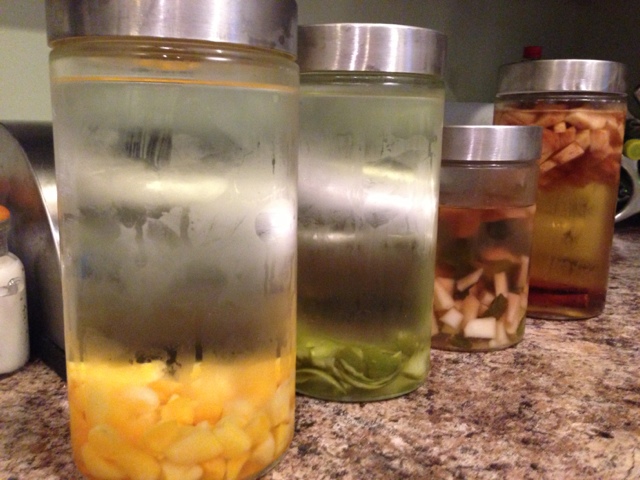
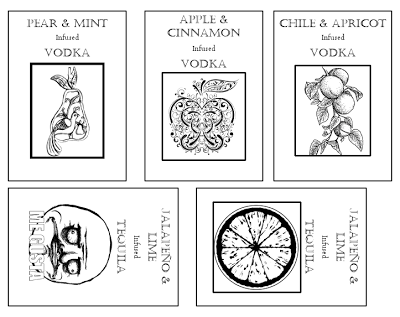
To apply them I used hot glue on the tinsel and ribbon and hot glue combined with staples for the bows. I left the ribbon in one long piece and just wound it down the bodice. Hot glueing as I went. I did the same for the silver tinsel. For the bows I first hot-glued them one row at a time. Then I went back over each bow with a few staples just to make sure that they were extra secure. I don't want to be shedding ribbon at the party. I continued this until I reached the bottom. I can't wait to wear it to the party. My husband and I will really class up that party. He will be sporting some extra hideous garb in the form of Christmas plaid suit jacket, outrageously ugly sweater vest, snowman turtleneck and Christmas bow-tie. We're going to be extra, super, awesomely ugly and I am so excited! For an update to see how I modified my look for the party and to see the awesome outfit I put together for my husband you can check out my post about the party. I decided to try my hand at making infused alcohol for several of my friends and family this Christmas. I did a little research and came up with the flavors I wanted to create. Then I went to get my ingredients. Infused alcohol is really easy to make. You simply take your choice of alcohol, something in the middle price range, and the fresh fruit, herbs and vegetables you want to infuse into your liquor. I decided to use vodka with the flavor combos of thai chile and apricot, pear and mint and apple cinnamon. I also made a lime jalapeño tequila. All you have to do once you buy your ingredients is to cut them up, wash them off and place them in your alcohol. However, there are a few rules that you should be aware of before you throw everything into your jar. 1. Only leave citrus fruit peels in for a max of 5 days otherwise they start to get bitter. 2. Some things take longer to infuse their flavor than others. For example: citrus only needs a few days as does any other fresh fruit but stronger flavors like peppers and chiles only need up to 24 hours. 3. You can always remove the stuff you place in the jar and refresh it with new ingredients if you want to make the flavor stronger but, you can't take away! I haven't finished my infusions yet but so far the pear+mint is the best combination which makes me pretty happy because it was completely my idea and not inspired by someone else's combinations. The dried apricot is going to take a few weeks before it tastes like anything other than vodka because I'm not adding those chiles until the last minute. The apple cinnamon is also pretty good and the tequila just tastes like lime right now but will be really fun once I add the jalapeño. I also made labels for my bottles that I plan on applying after pouring the different liquors into my clear bottles from Hobby Lobby. You can download the pdf of my labels here. If you like this idea then you should check out the even easier gift of Rosemary Infused Olive Oil which also includes a how to and printable labels!
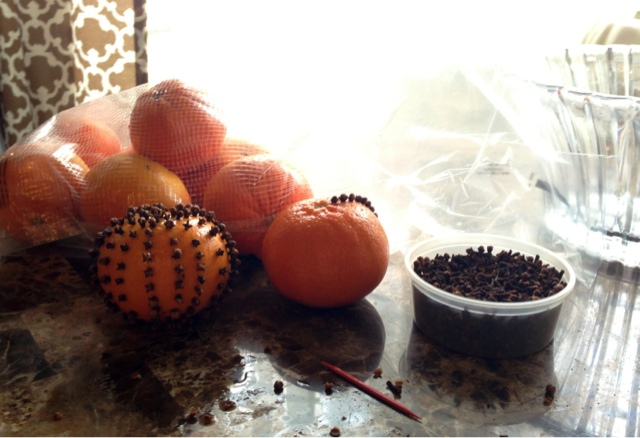
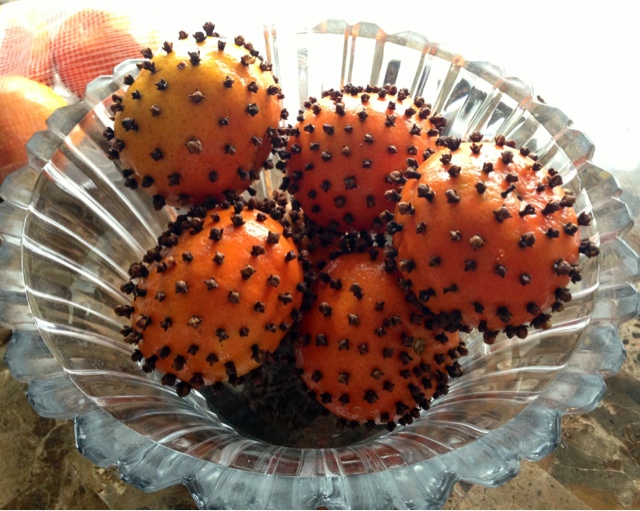
I love the smell of oranges and cloves so when I came across the idea of making pomanders with them I jumped at the chance. This is a very easy but somewhat time consuming project but the result is fantastic. All you need are oranges, cloves and a toothpick. Once you have your materials you simply poke holes with your toothpick and push the cloves into the holes. You can actually do this without the toothpick but I found it much faster and easier to poke a preliminary hole first. You can create patterns with your cloves or you can cover the whole thing. I chose to cover the whole orange because I read somewhere that by doing that your oranges would be more likely to dry out instead of spoiling with the goal being that I don't have to make them again and can reuse them every year. However, if they don't make it more than a few weeks I will be happy. They smell so amazing! My husband actually asked if he could take some to work and put them on his desk because they smelled so nice.
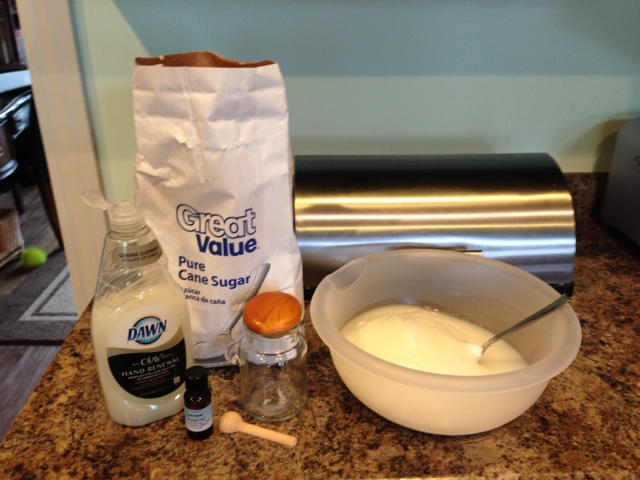
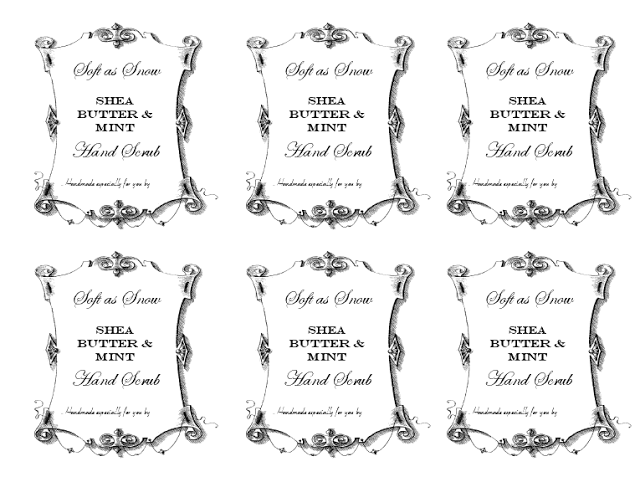
I was super productive this weekend and got a head start on my Christmas presents. I've decided that I'm going to demonstrate my craftiness this year and am opting to make as many gifts as I can. I made it to Hobby Lobby with my 2 year old Friday after work and managed to walk out with everything on my list! I didn't forget anything and glass ware, the main reason I was there, was fifty percent off! I worked on several gifts this weekend. The first was a hand scrub. I found some adorable glass jars with wooden spoons in them at Hobby Lobby and at fifty percent off of 2.38 I got a great deal on them. This hand scrub is seriously easy and it actually took me longer to fill the jars than it did to create the scrub. I got my inspiration from this blog. I figured it would be so cheap to make that it was worth a try. I did make a few alterations. First of all, I mixed the ingredients in a large bowl and not in the jar. This made it much faster and I could make one big batch of uniform scrub. I also decided to use the tropical shea butter scented soap. I liked it's smell for this time of year a little better. Finally, I added about 6 drops of peppermint oil to the mix. This gave it a slightly different smell and made it a little more refreshing. When I began making it I decided that I would just "eyeball" it and didn't actually measure anything. I dumped a bunch of white sugar into the bowl and then squirted in some soap. I erred on the side of caution because I didn't want it to be runny. Then I added a few drops of essential oil. I just kept adding elements until I felt like the mix was the right consistency. It actually began to get a little fluffy and look like snow when I decided I liked the texture. I also made custom labels for the scrubs. You can see a sample below and can download them here.
|
meet rachelRachel is a mother of three, elementary Spanish teacher and part-time blogger who loves crafting, creating fun and engaging activities for her children and students and hanging with her friends and family. She blogs about what she's doing and her interests at any given time which vary. She's a little OCD and always looking for her next project. Her husband calls it, "focusing her crazy", but she just calls it fun. Archives
June 2023
Categories
All
|




 RSS Feed


