|
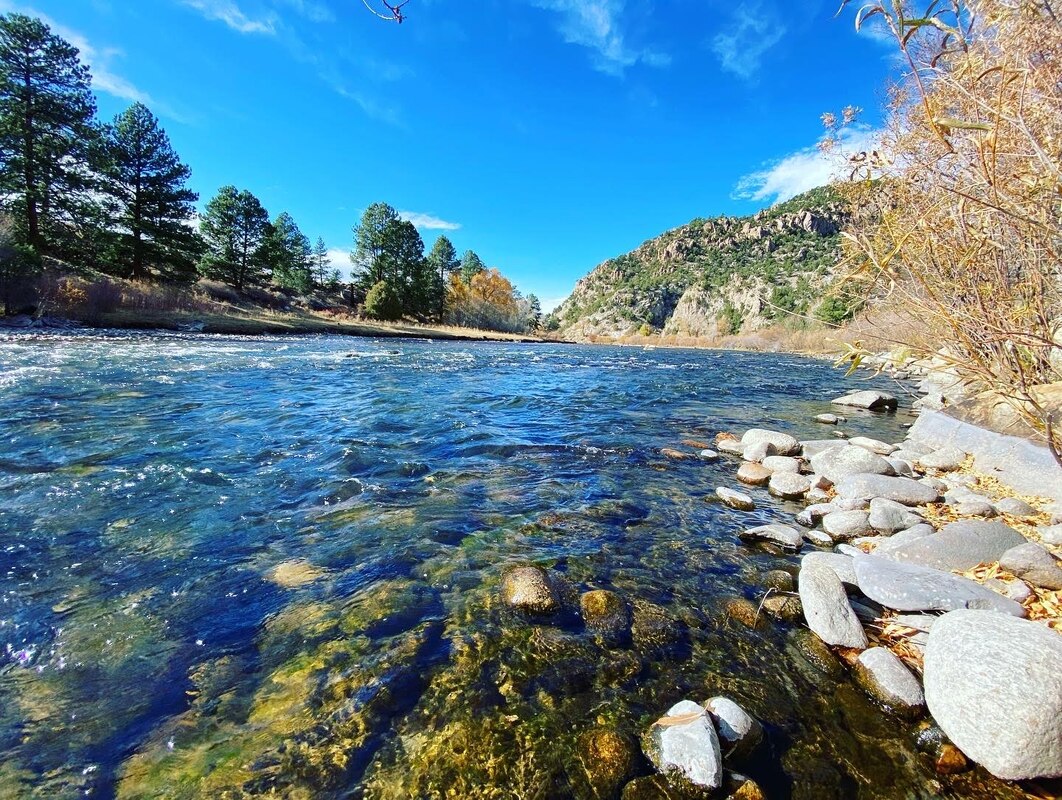
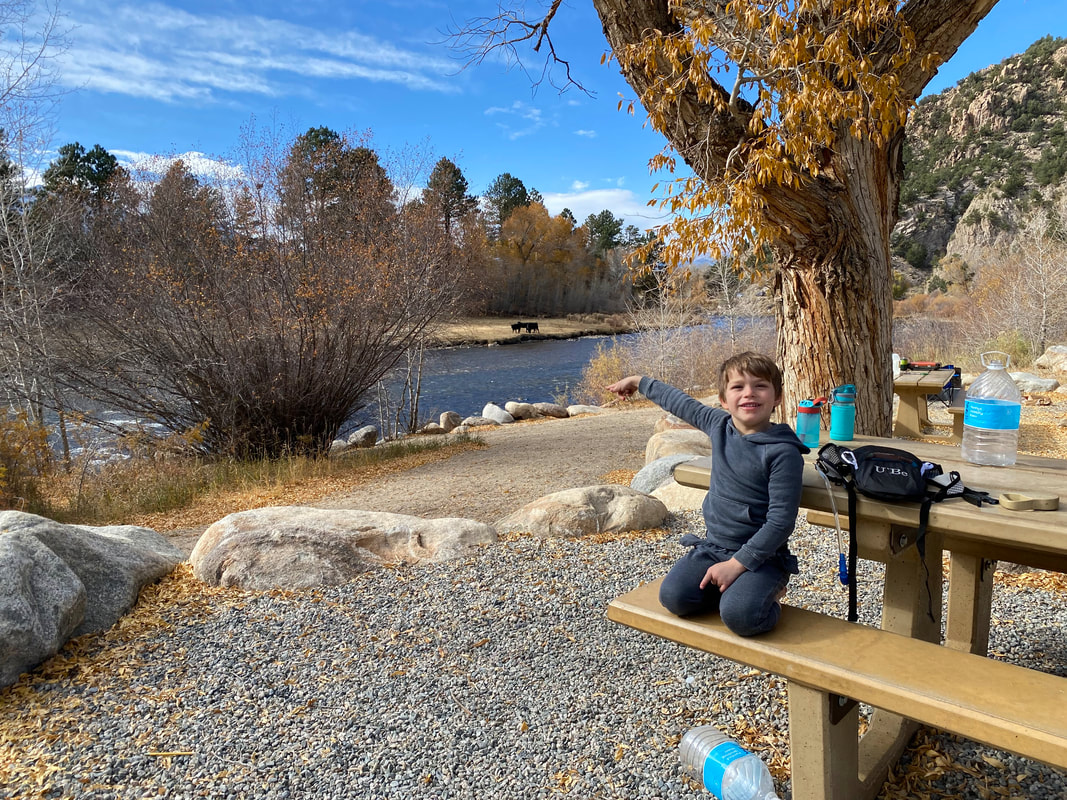
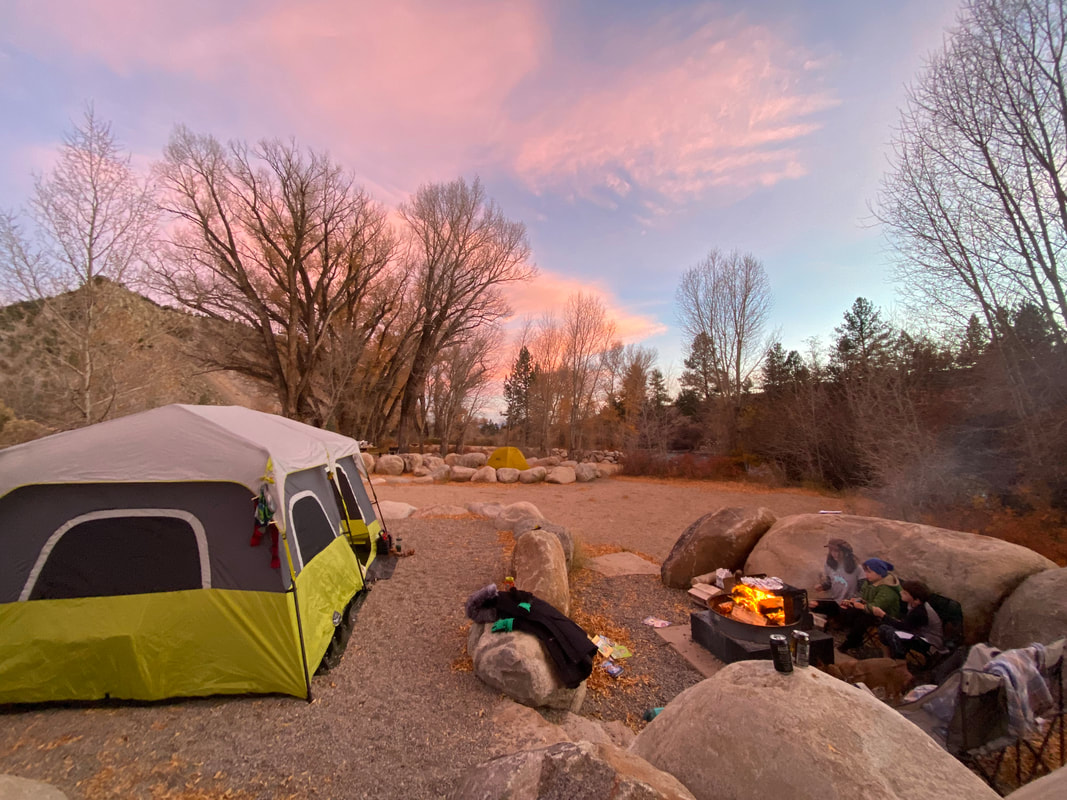
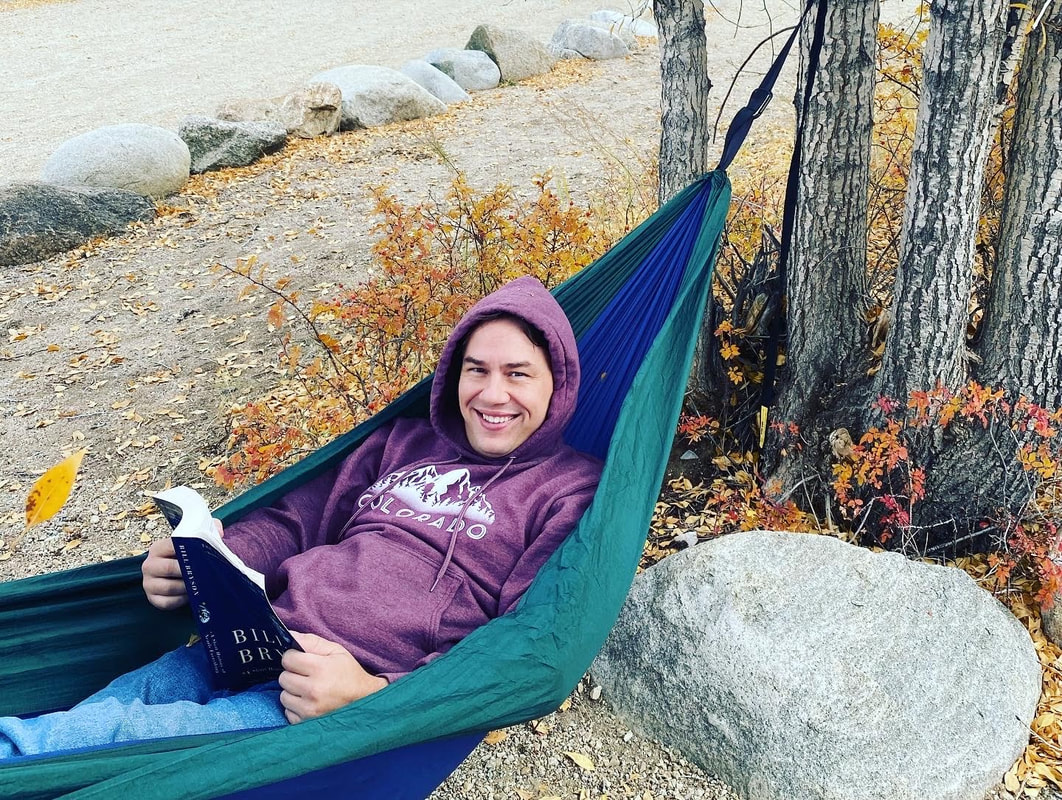
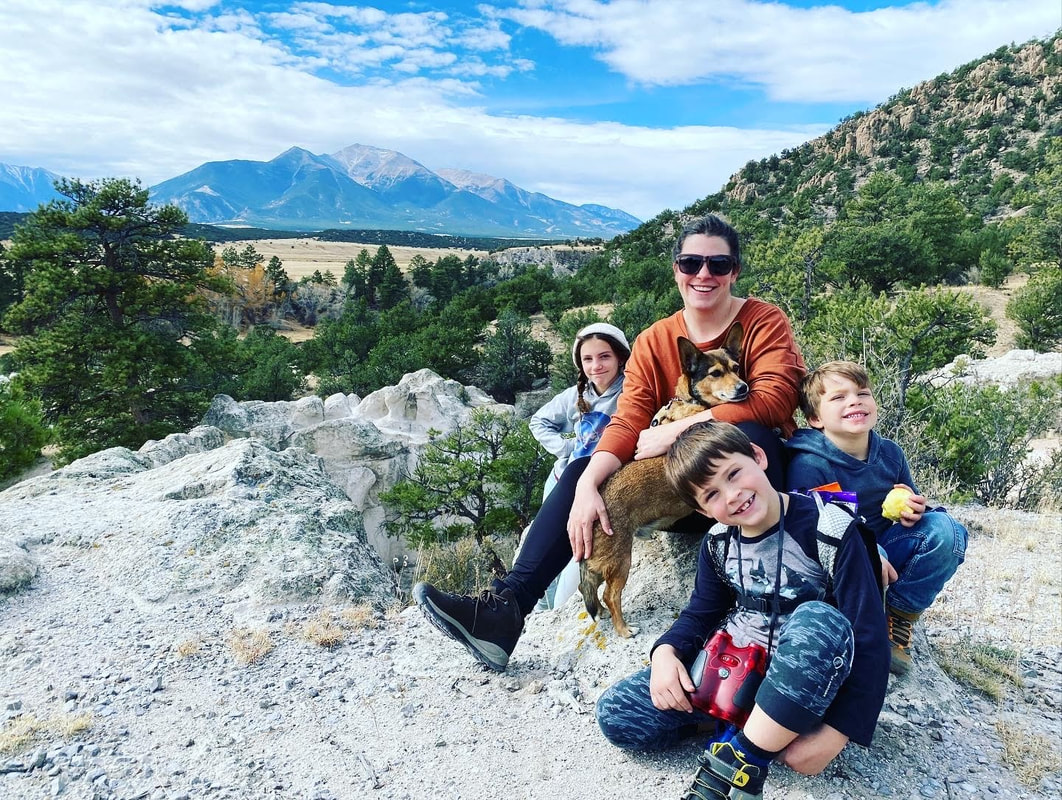
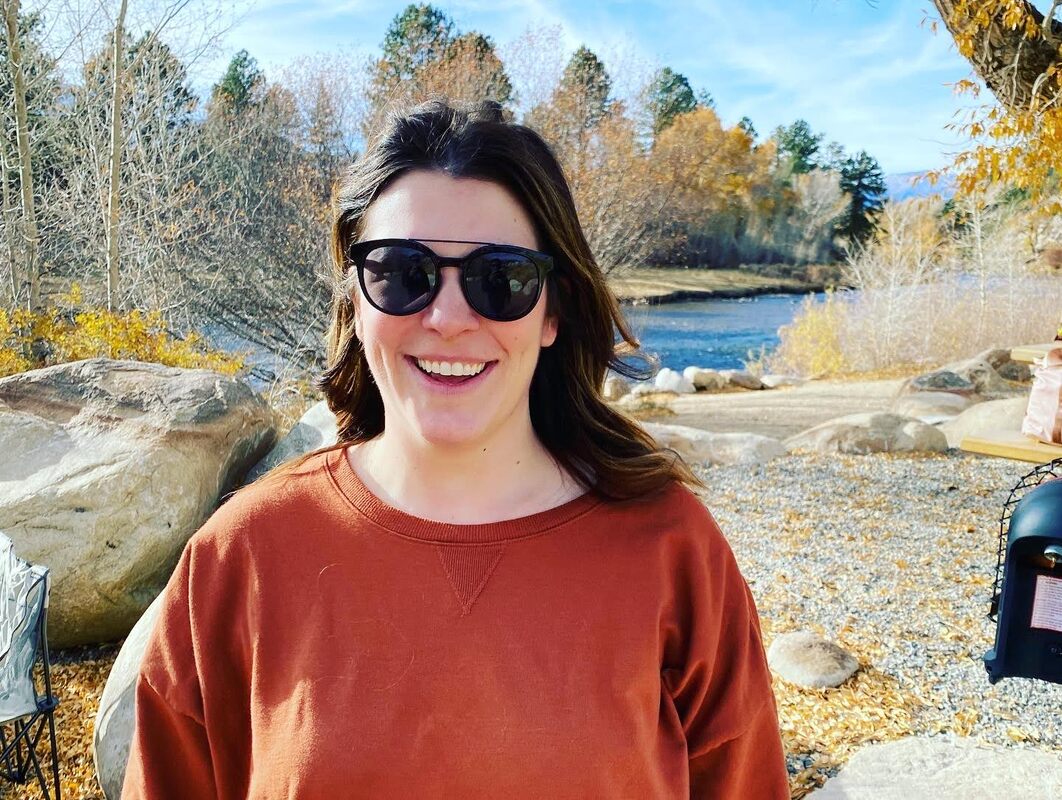
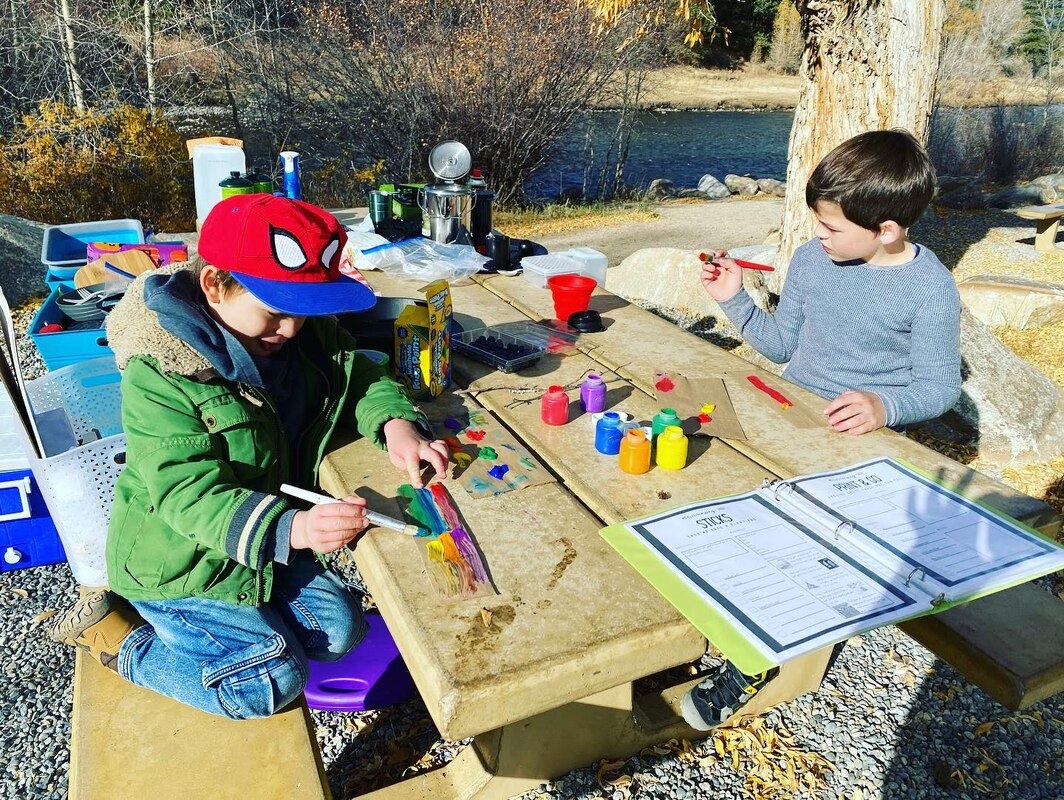
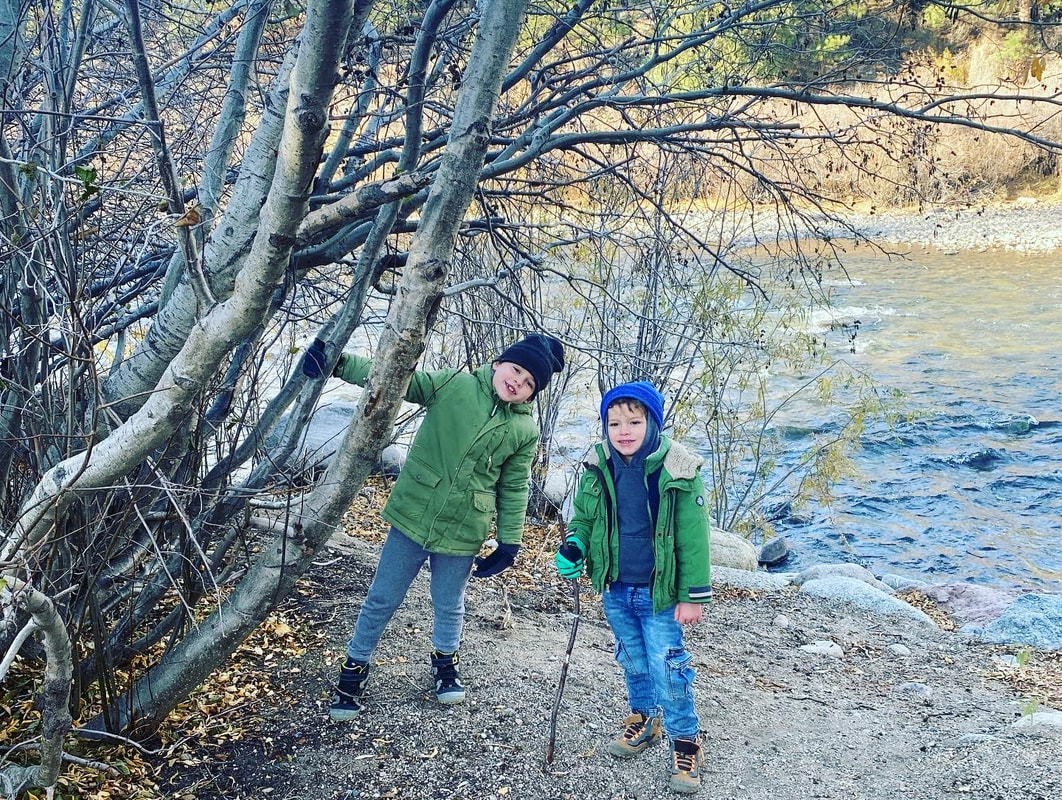
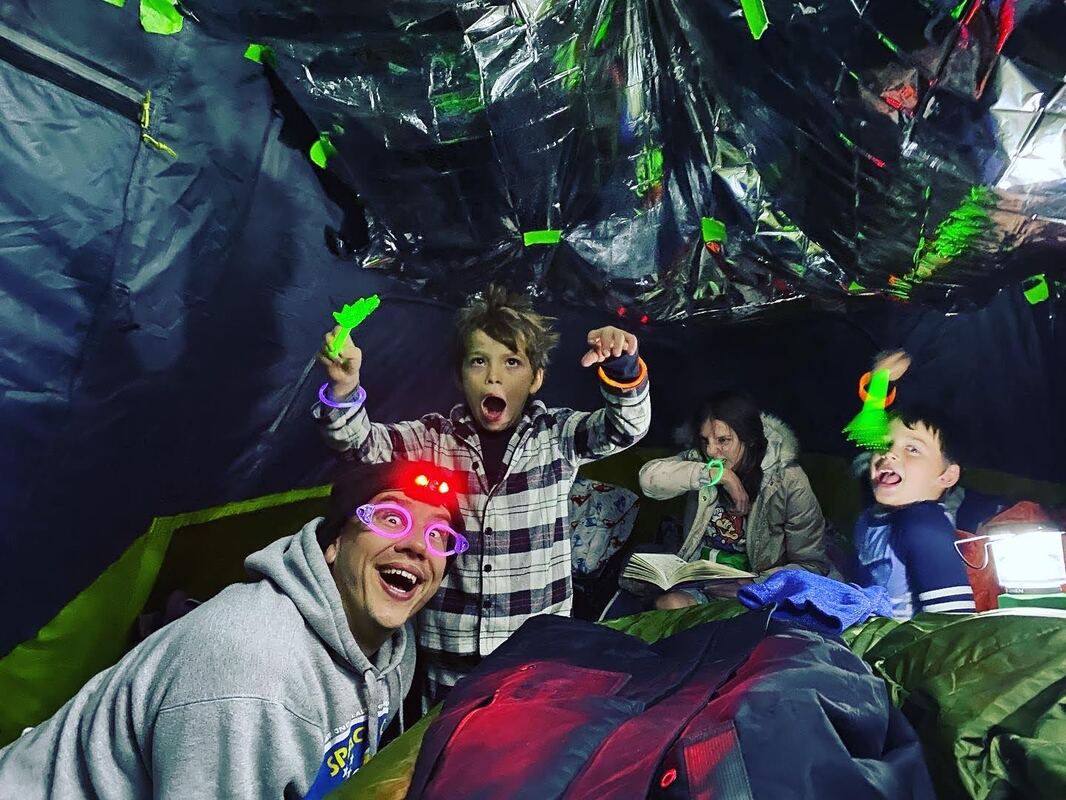
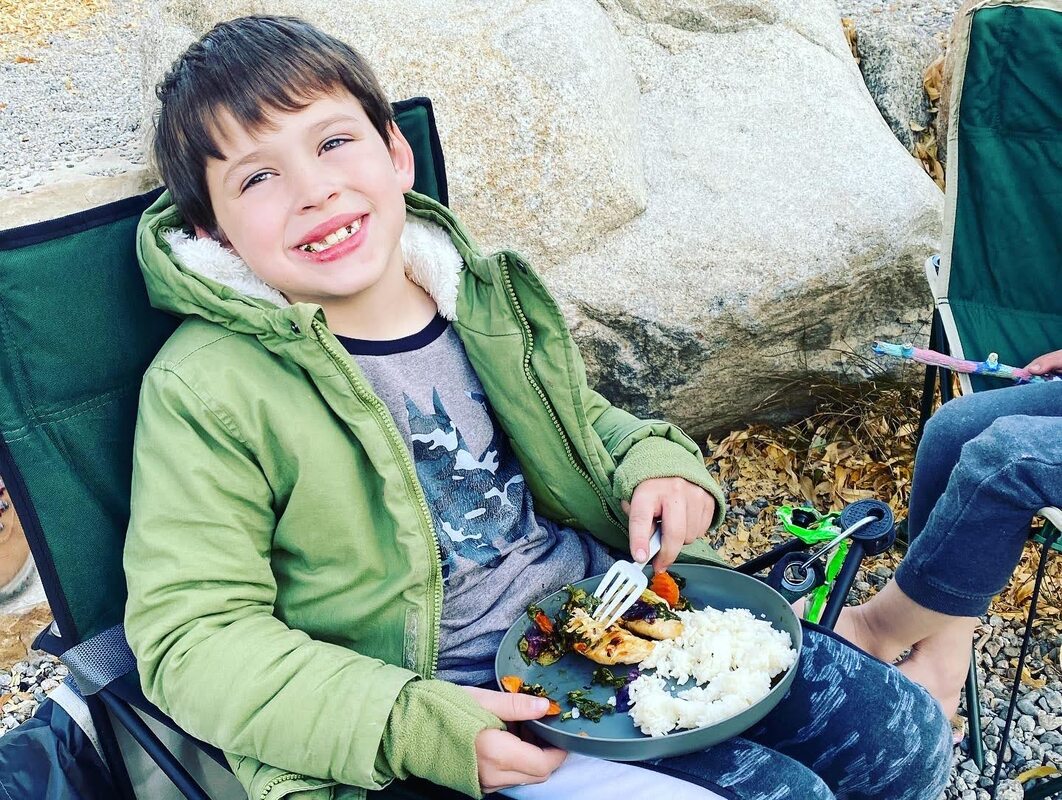
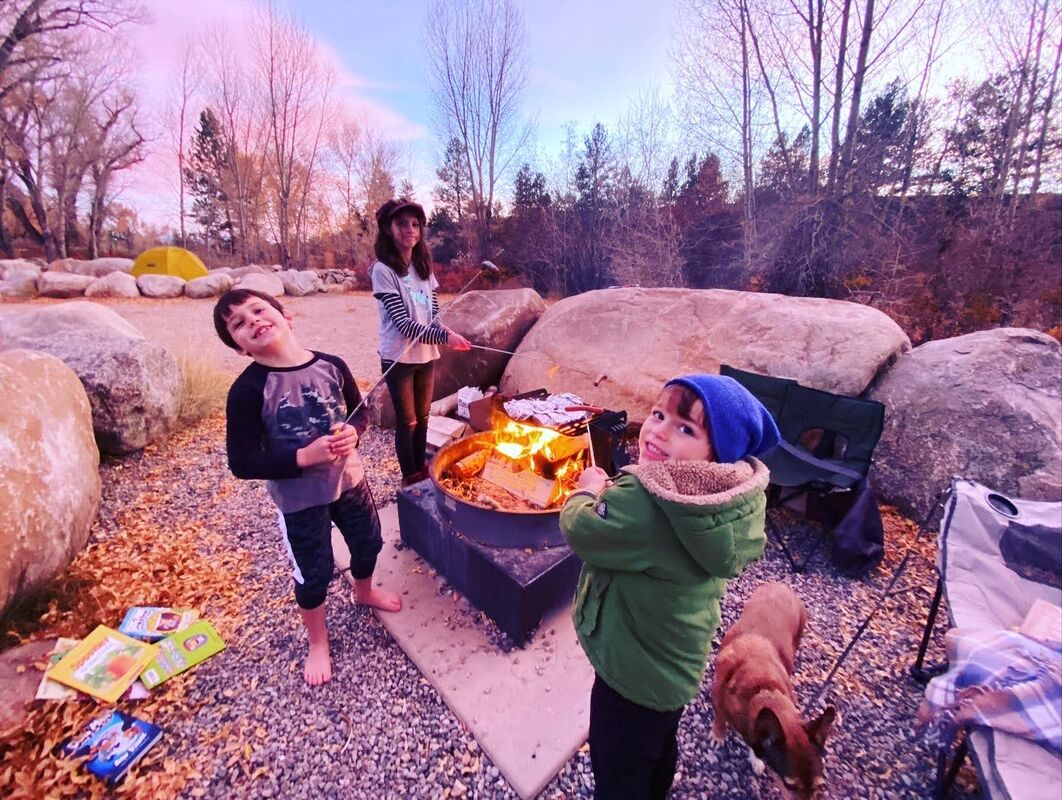
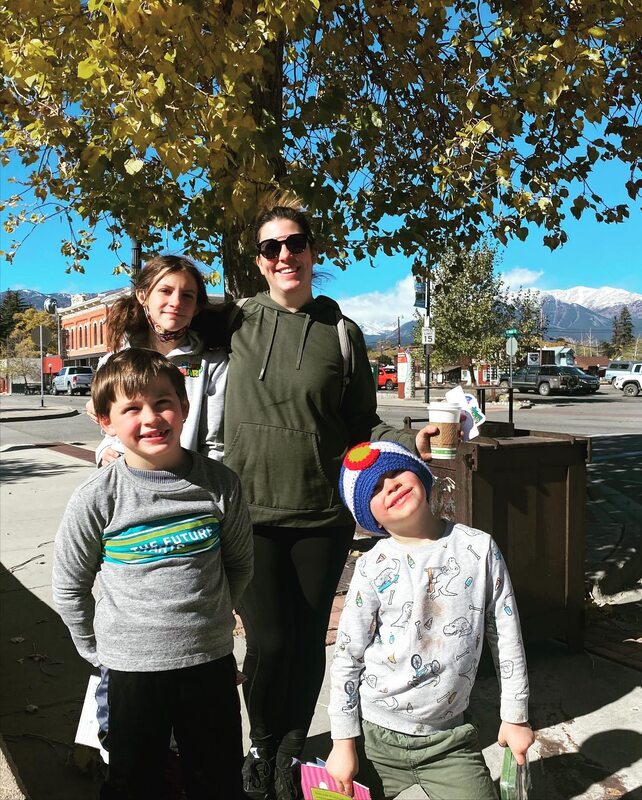
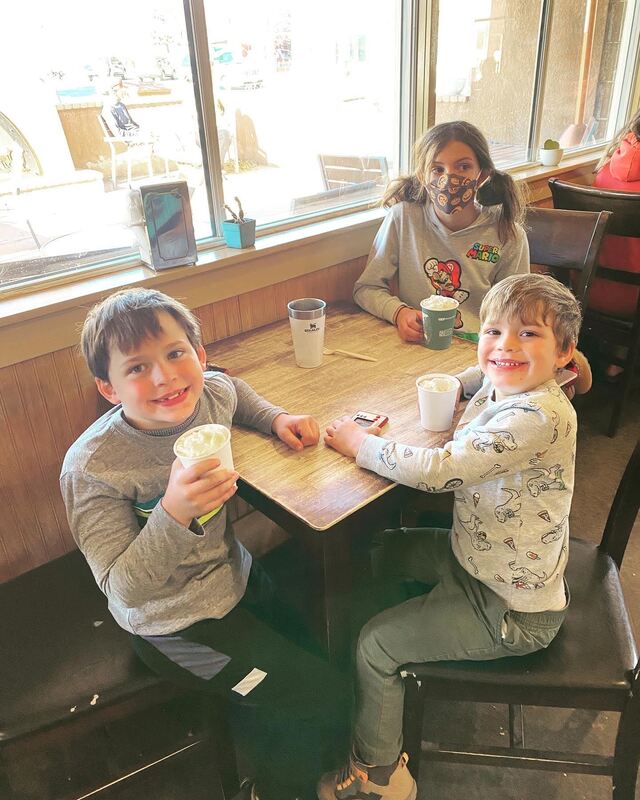
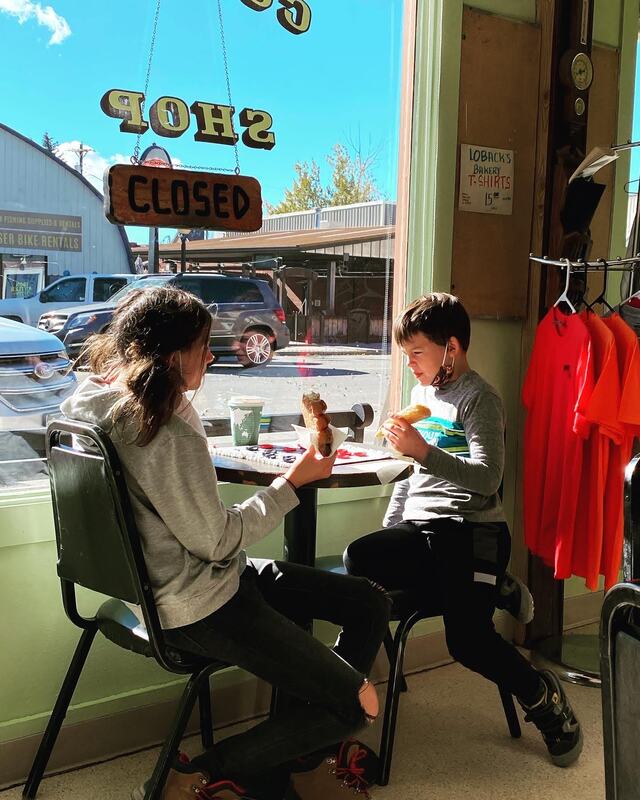
In my previous post I discussed the planning of our first family camping trip. I tried to plan everything to perfection so the kids would have the best time ever and be excited about any and all future trips and I'm proud to say that, even with a few mishaps, it was a successful trip! So, here's the recap! The drive there was super pretty and uneventful. We followed along the side of the Arkansas River for the majority of the drive which made for some nice scenery. When we arrived the weather was nice and we got right to work setting up camp. The first snaffoo was realizing that the air pump for our air mattress needed D batteries that I did not have. So, Derek went to a the nearest town (20 minutes) to purchase some along with some alcohol for us to enjoy later by the fire. He wasn't excited about it but I have scoliosis and was unwilling to compromise with no mattress. Mere moments after his departure Arthur was trying to rinse his hands in the river and FELL IN! Luckily it is the Arkansas River Headwaters so the river is not as huge as it gets further south but he was pretty upset and the water was very cold. Luckily, the tent was set up so we got him in some dry clothes and he was all better. When Derek returned we finished setting up our bed and had a dinner of chili cheese fries, hotdogs and s'mores. Everyone had a blast. Then it was bedtime. I purchased a tent heater to ensure that we had a good night's sleep however, I did not purchase a winterized tent. FAIL. The tent has a roof that is made entirely of mesh with an optional cover for rain. So, all of the heat our bodies and the heater produced went straight out of the top of the tent. We were all freezing for the entire night. It was terrible. So, the next morning I have the ingenious idea to duct tape emergency blankets to the entire ceiling of the tent. I was quite proud of myself. I looked like we were inside of a a UFO and was a bit noisy but I'll take a little noise over freezing to death any day. The rest of the day was nice and relaxing. I made fire cooked blueberry french toast for breakfast which was bomb. We hung out, went for a hike, read books, the kids took advantage of all of the crafting supplies that I brough and I worked on some cross-stitching. For dinner I made us chicken teriyaki vegetables with rice which was also amaze-balls and we had some more s'mores. Then the wind came. It was so very, very windy. We had to extinguish the fire for fear of catching our tent on fire and we sent the kids into the tent to watch t.v. on my phone to distract them from the fact that Derek was outside literally holding the tent down. Oh, and the emergency blanket ceiling was soooooo loud with that wind ripping through it you could barely hear inside the tent. But, it did hold up and only had to be re-taped in a few places. And, once the wind calmed down we all slept great because the emergency blankets worked! I actually got sweaty even though it was colder the second night than it was the first. The next morning the wind was still insane so we couldn't have a fire for breakfast but we did have a camp stove so we managed to eat some eggs and sausage. After packing up we headed to the nearby town of Buena Vista which is super picturesque. We enjoyed some well-deserved doughnuts and bougie coffee and even found an adorable bookstore to peruse for a bit. Then it was back home! So, was it the picture perfect trip I had planned? No. But, it was very memorable and included a lot of family time. Plus, the kids had a blast despite the sleeping woes and are ready to go back. However, I don't think I will plan another fall camping trip. We'll go for a summer trip next time and hopefully avoid all of the trouble we experienced on this trip. If you're interested in any of the fun activities, planners and recipes that I used on my trip you can find them all for free in the my Mommy Camp: Camping download found on the post linked below.
0 Comments
Since moving to Colorado we have been loving the ability to be outdoors! No mosquitos?! Count me in! So, after acclimating our kids to hiking and general outdoorsiness, we've decided it's time to take them on a legit camping trip! But, I want it to be perfect so they love it and we can do it all the time without whining. (Hiking took a bit before they stopped whining about going.) So, I'm planning everything down to the last detail. I don't know if you've picked up on this yet but I have never been a chill person. I'm very extra in just about everything. After spending hours researching tents, sleeping bags and everything else I could possible need, spending way too much on Amazon. Justifying the amount spent by rationalizing that if the world ends we'll be prepared and scouring the internet for suggestions that I may not have thought of (like cracking eggs before hand and storing them in a container...genius). I think we're ready to go. And, what kind of insane, OCD, extra mom would I be if I didn't make a special binder full of the plans, recipes, lists and kid activities to go along with us?! So, enjoy my Mommy Camp: Camping Guide which you can download by clicking the photo below and be sure to check back to see if all of my planning paid off or if we ended up in a hotel.
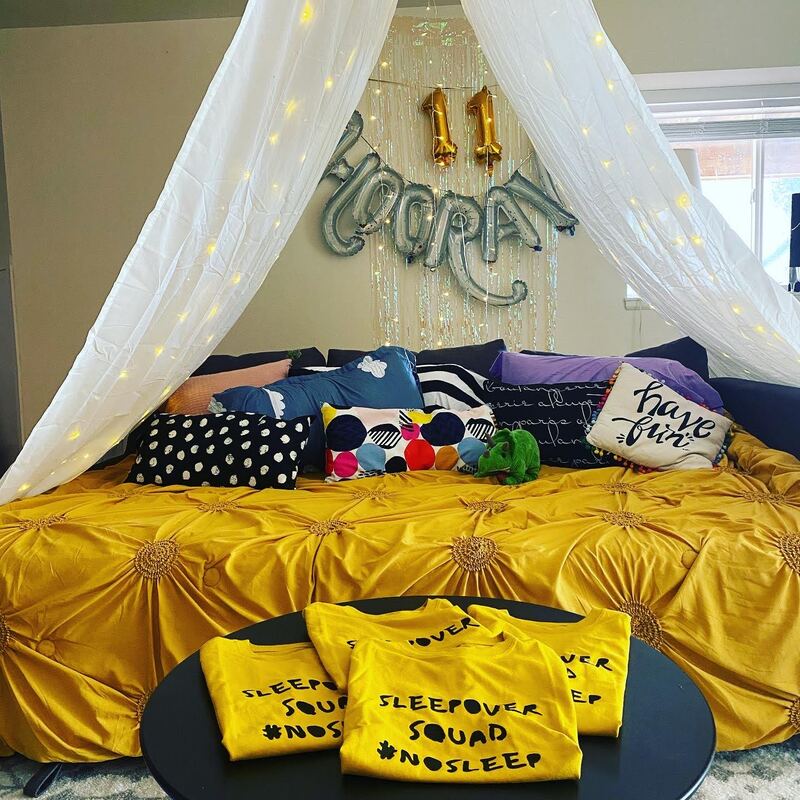
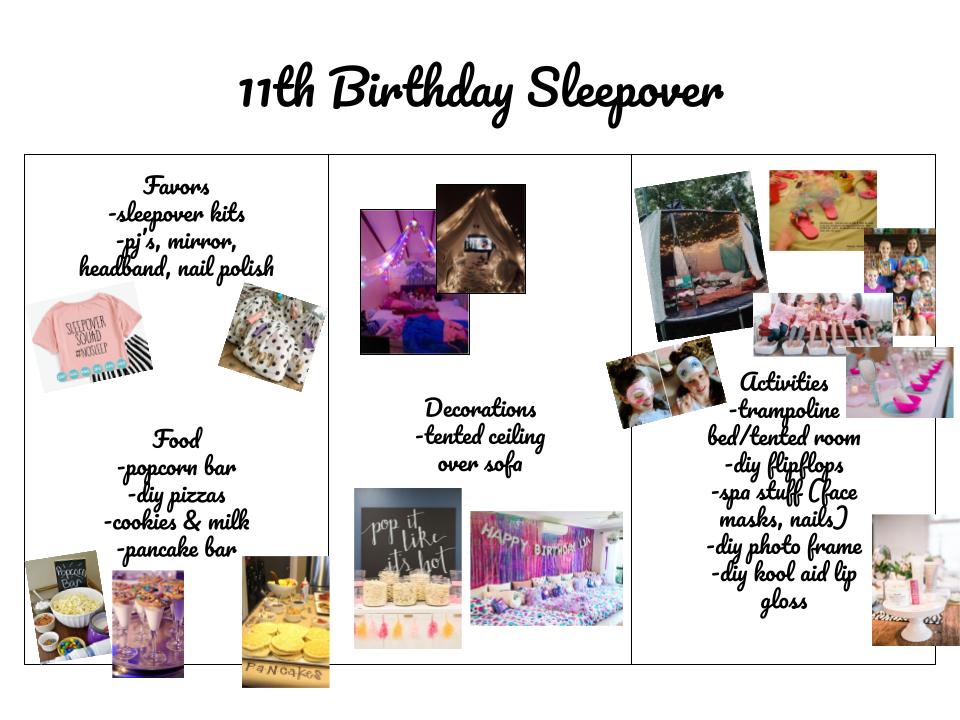
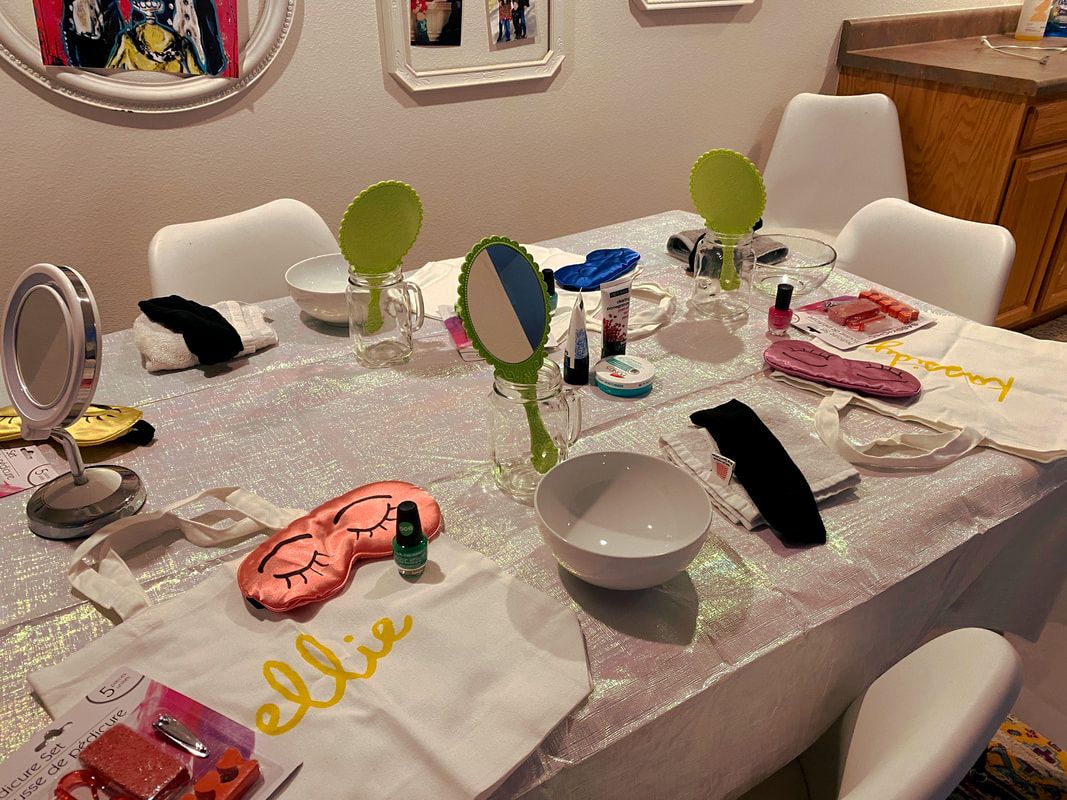
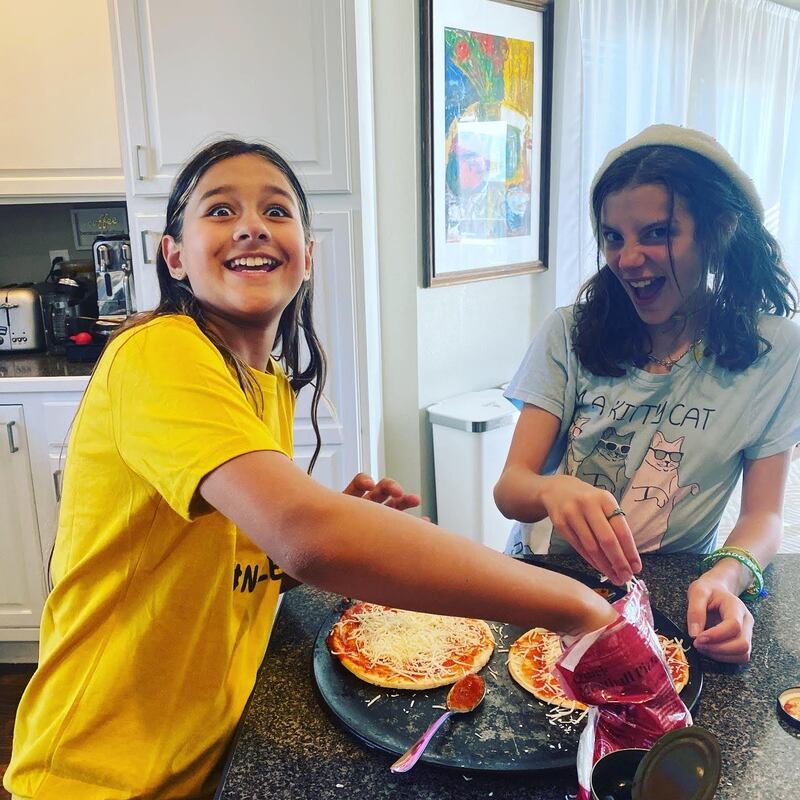
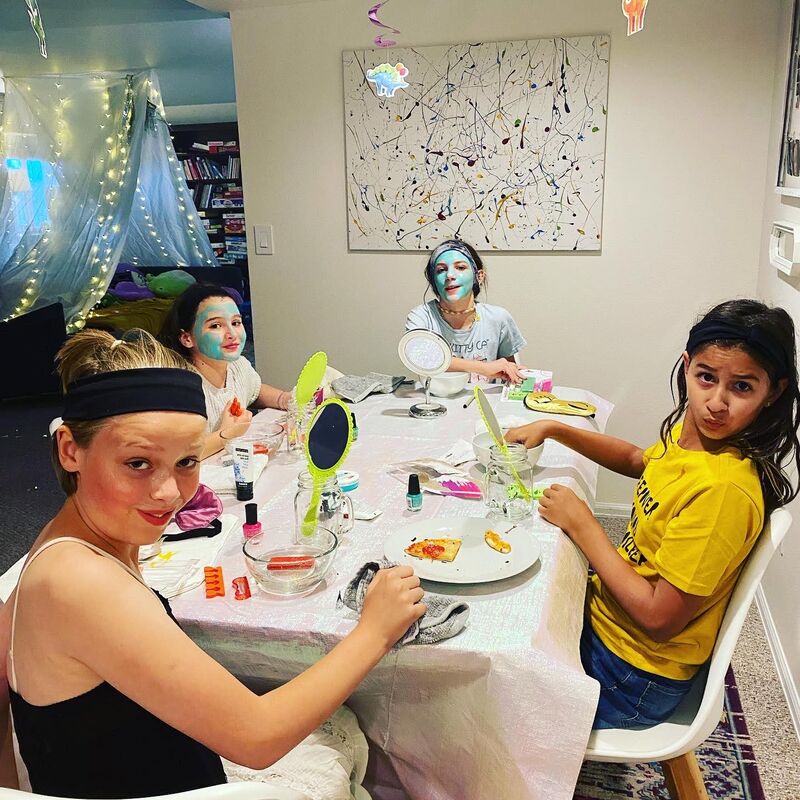
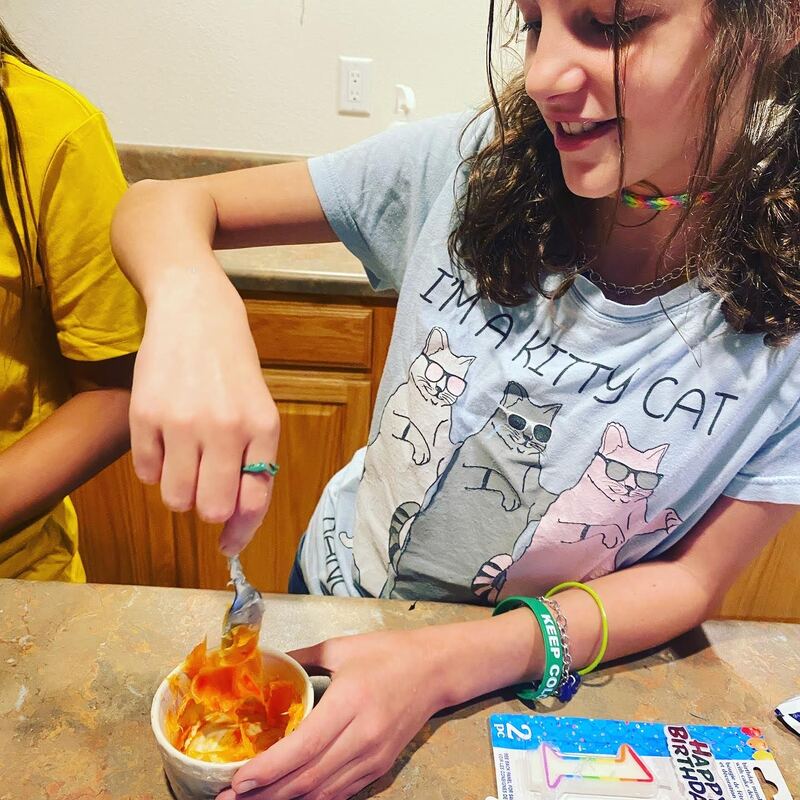
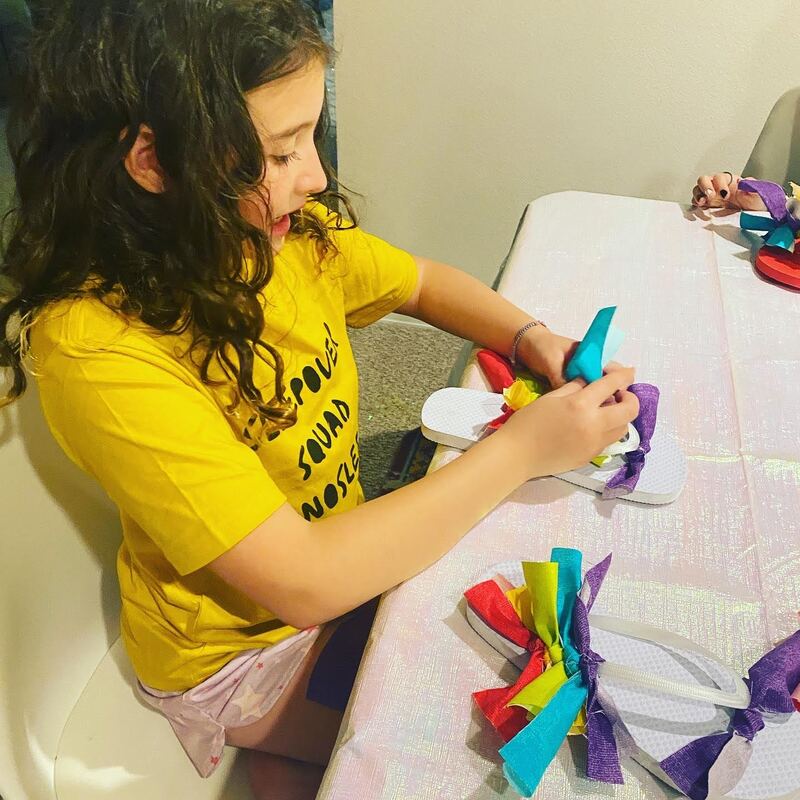
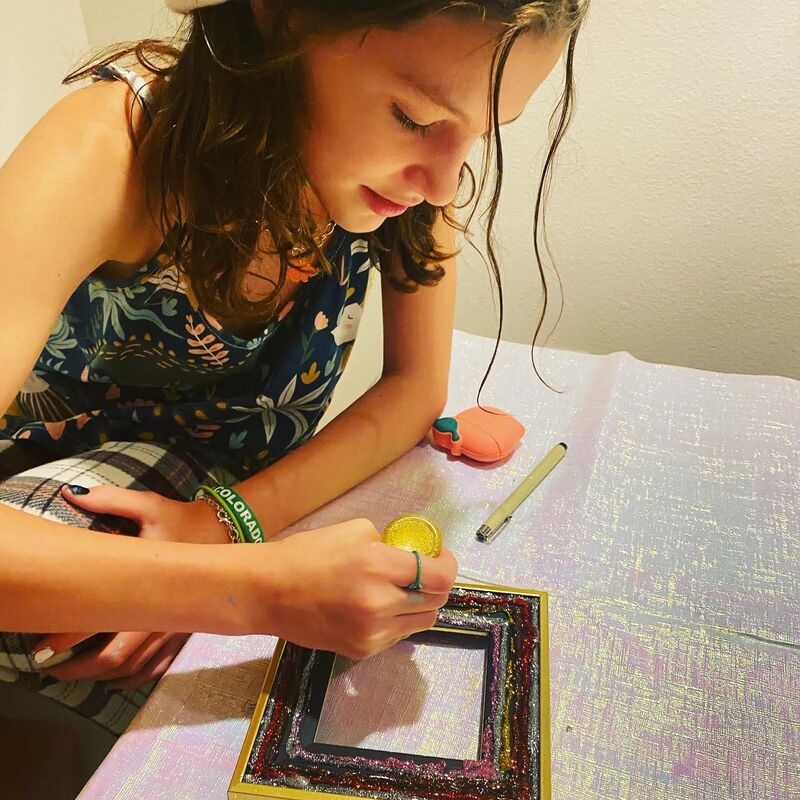
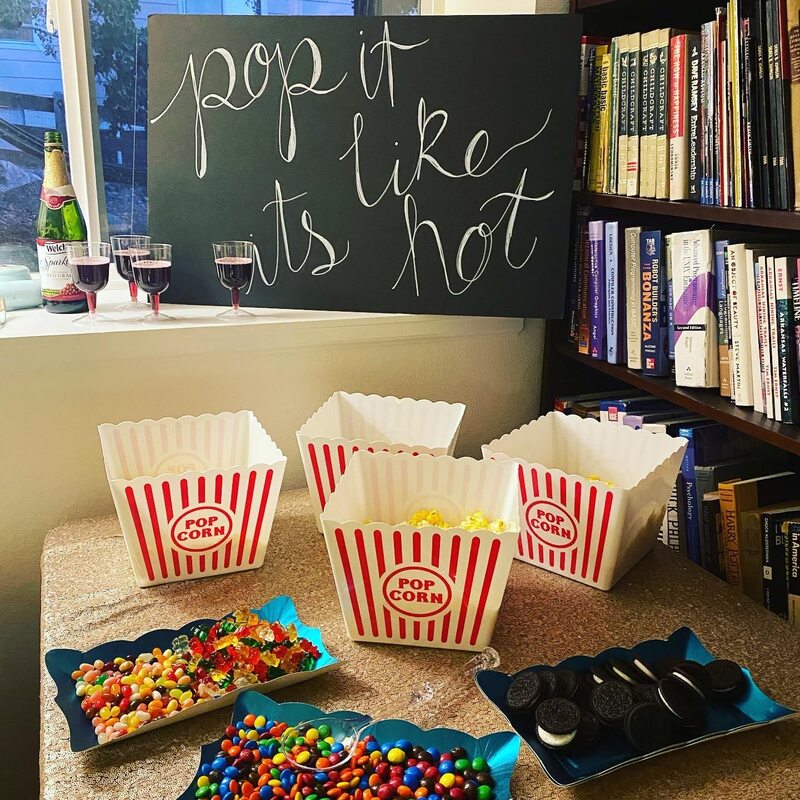
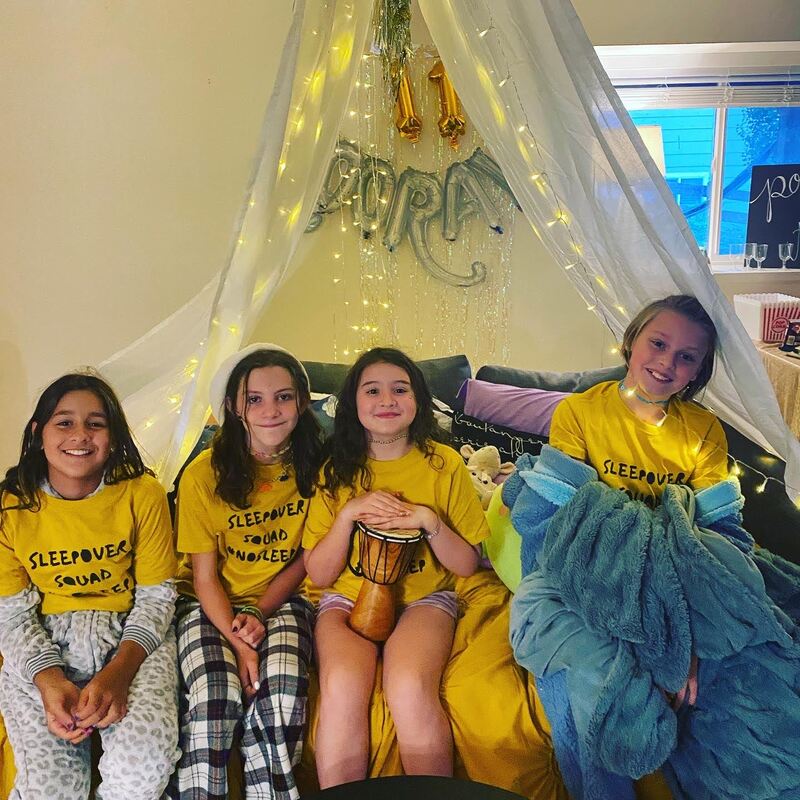
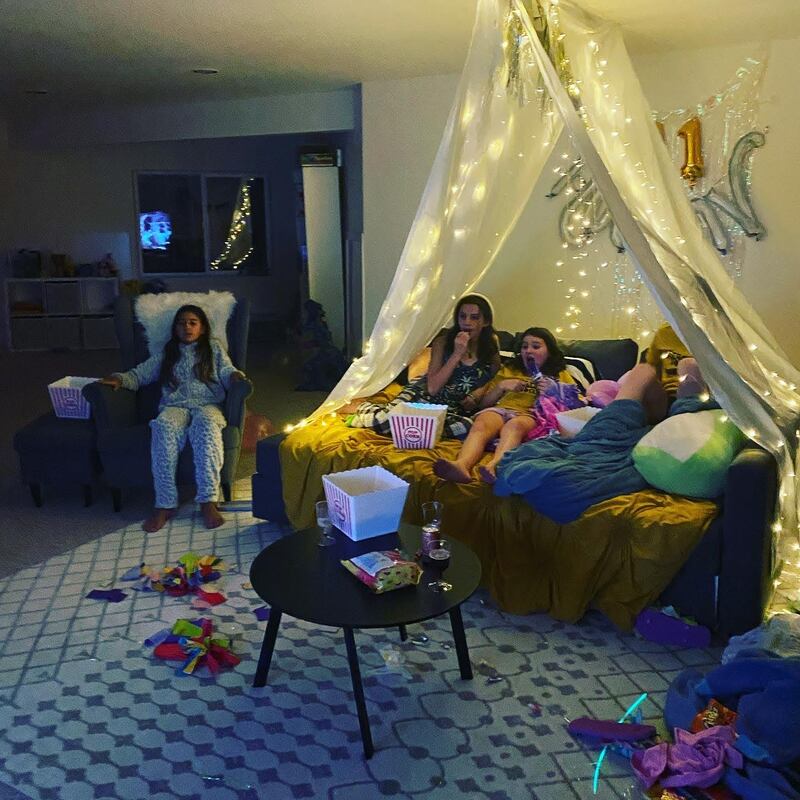
This year my daughter decided a sleepover with just a few friends was her idea of a good time for her birthday so I got to work planning the best sleepover I could imagine. Note, she is very anti girlie things like pink and sparkles so that ups the difficulty level here. I started with a vision board as always (click the image below to get the plan and shopping list). She originally mentioned sleeping on the trampoline and making it a big tent but I successfully talked her out of that so we decided to set up a huge tent thing over the basement sofa pull-out. No party of mine would be complete without ample craft activities so we really embodied a classic sleepover and did face masks, nail painting and made our own lipgloss. We also decorated picture frames for an instant photo we took for each girl and made our own flip flop slippers that they named "trash flops". For food we started by making our own mini pizzas. Then we had a popcorn bar stocked with all the sweets for movie time. We also had fizzy juice in fancy cups. For party favors, each girl got a custom sleepover tshirt, sleepover bag and a bunch of beauty goodies like a nail kit, mirror, nail polish, the homemade lip balm, sleep mask, the diy flip flops and the picture frames with photos that we decorated. Making lip balm is super easy. All you need is vaseline and kool aid. You mix them together an put them in cute little containers from the travel section at Walmart. For the flip flops I purchased dollar store flip flops and pre-cut fabric from the quilting section at Walmart. Then you just knot the strips onto the flip flop. Done! We got the frames from the dollar store too and used glitter glue and a ton of decorative items to make them our own. We used my daughters polaroid instamax to take photos of the girls for each of them to put in the frames. To set up the tent I just used white curtains I had in storage (we didn't need them in our new house when we moved) and used push pins to pin them to the ceiling over the sofa. I also added some curtain string lights that I purchased on amazon to light it. Between all of the crafts I planned, a basement full of sweets and a trampoline in the backyard, the girls had a fabulous sleepover. Now I just need to plan one of these for myself and my girlfriends! The pictures of the tent really don't do it justice. It was magical!
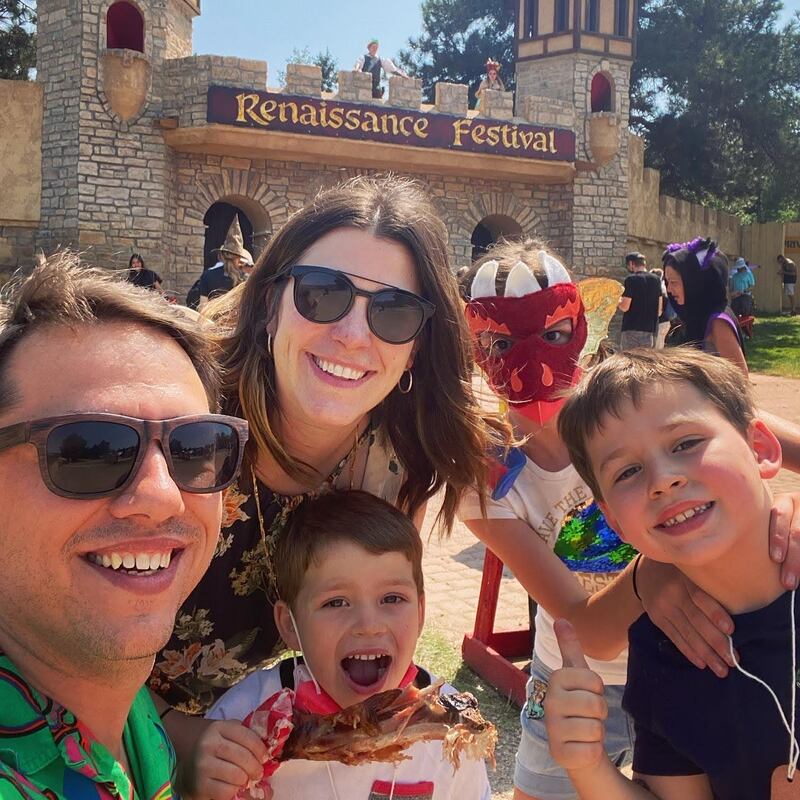
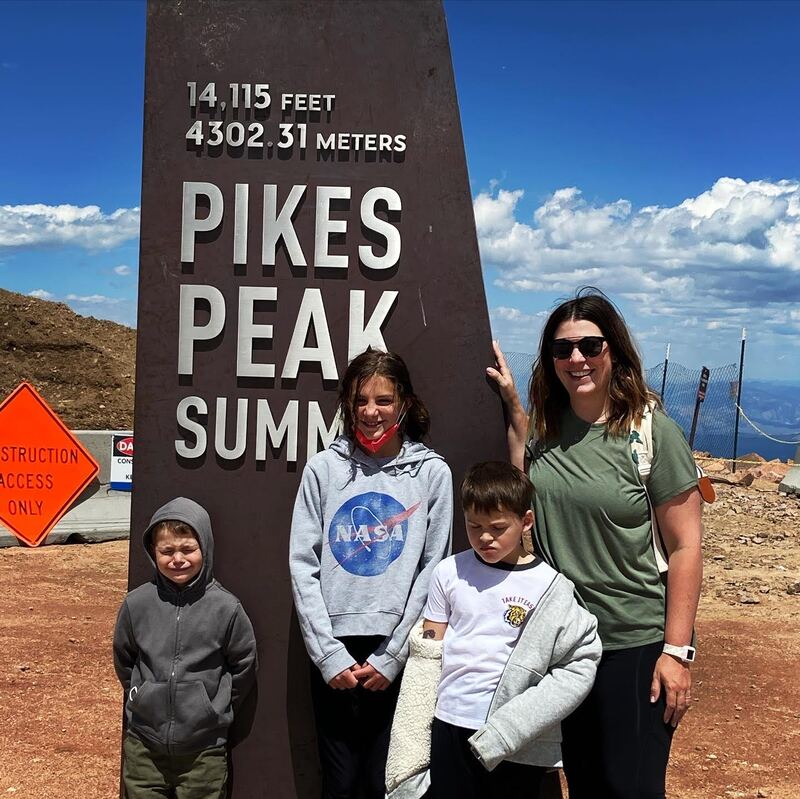
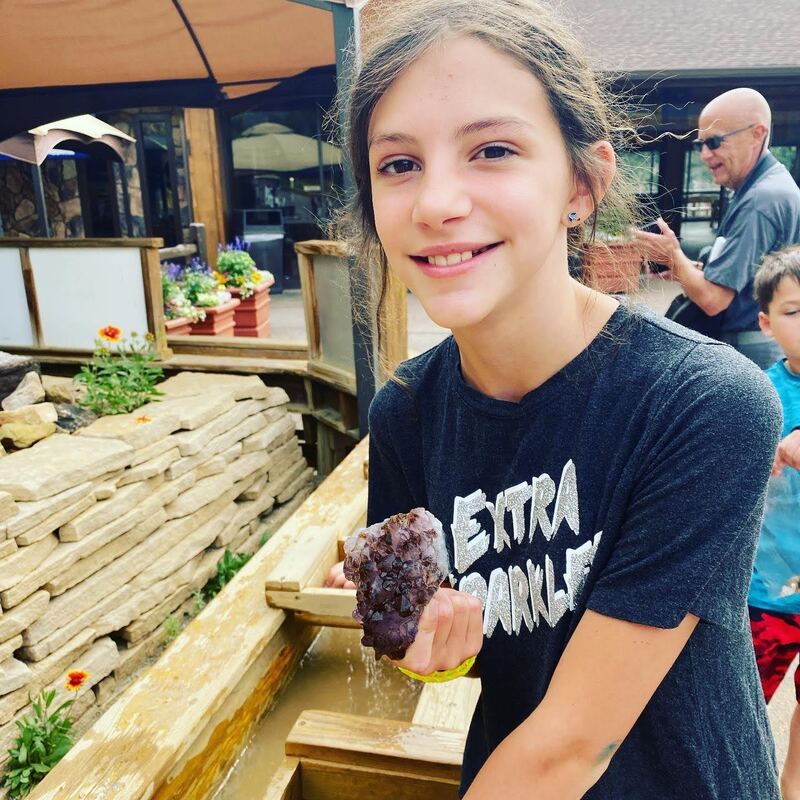
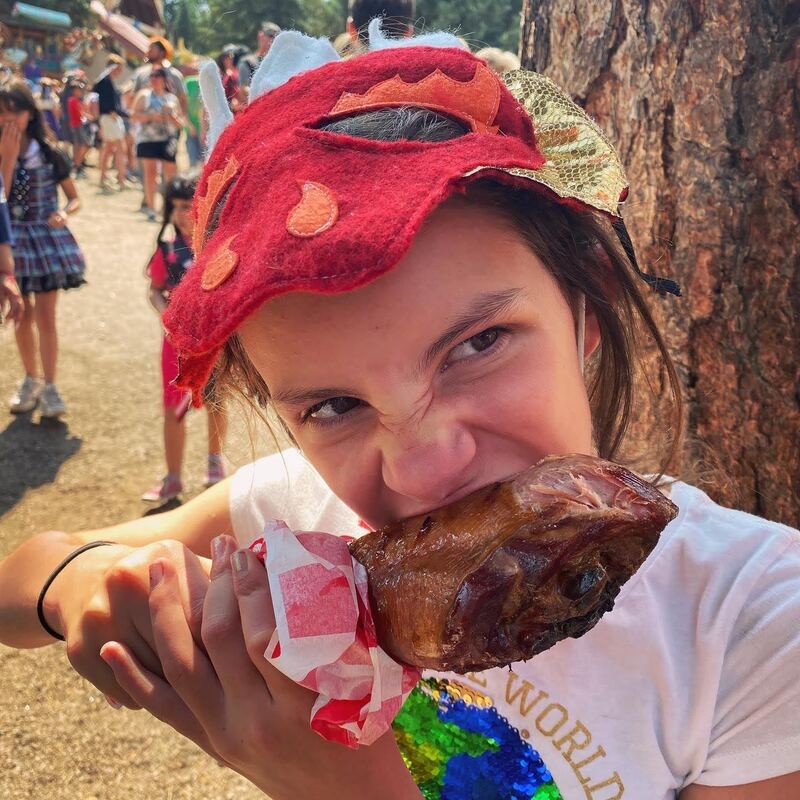
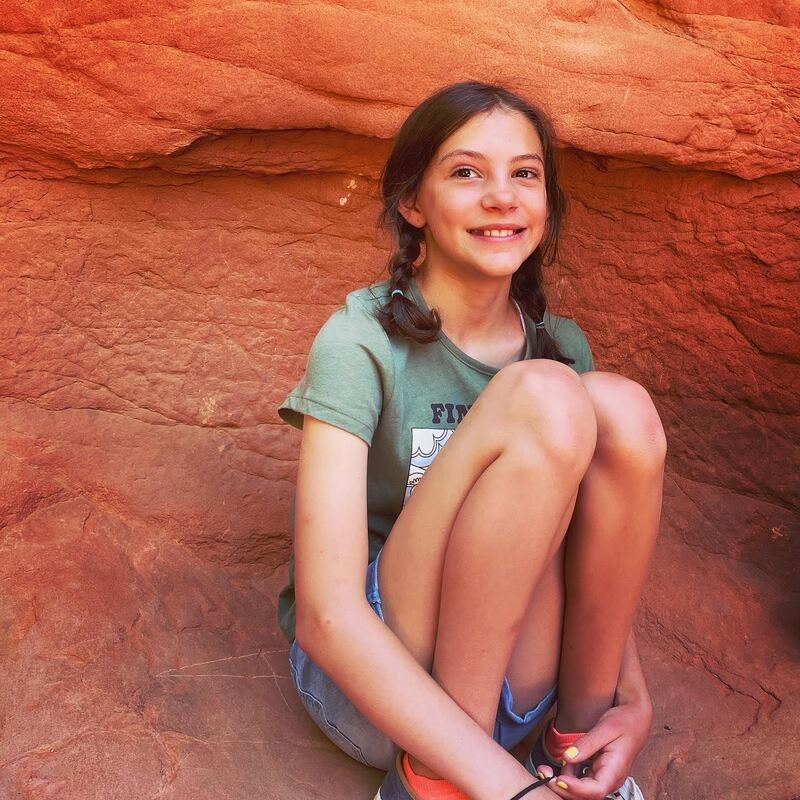
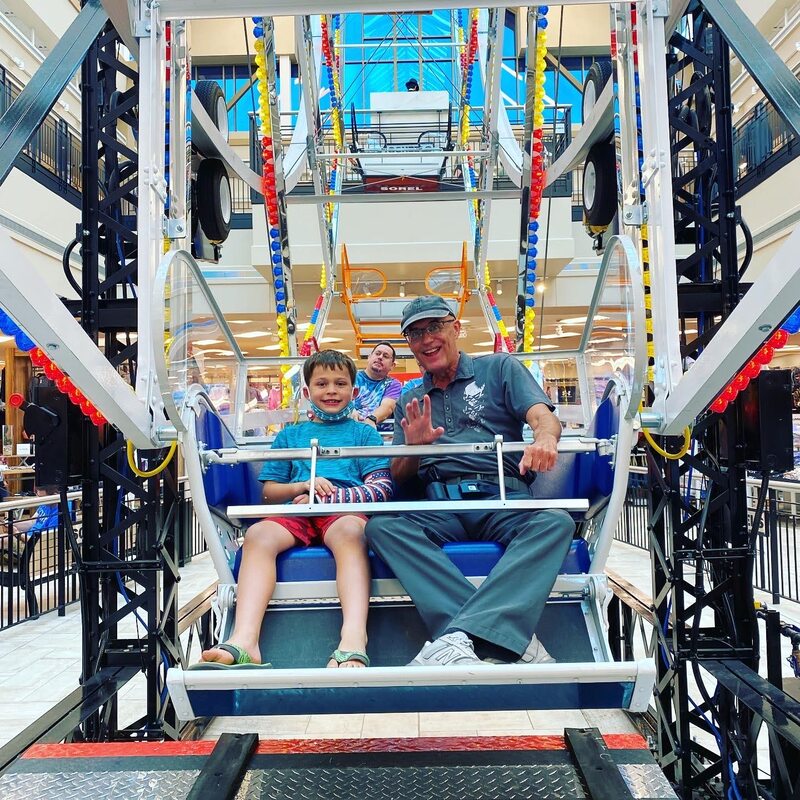
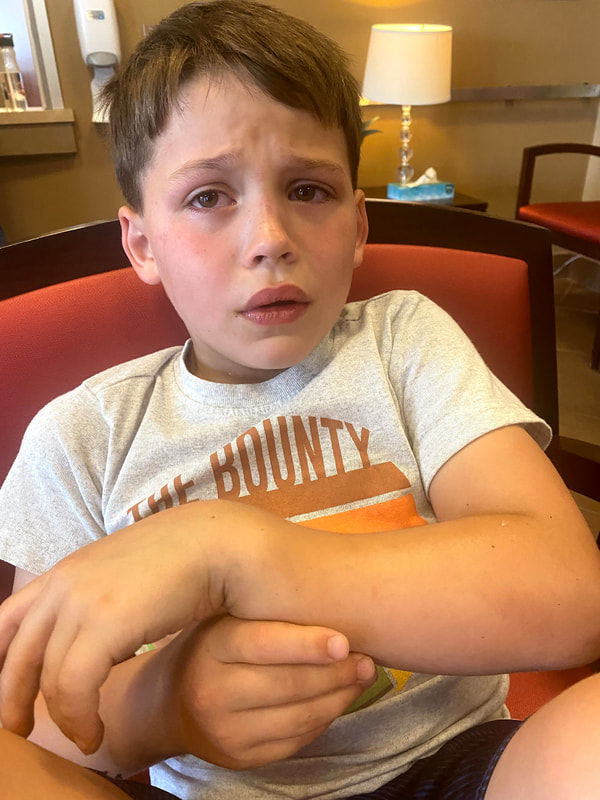
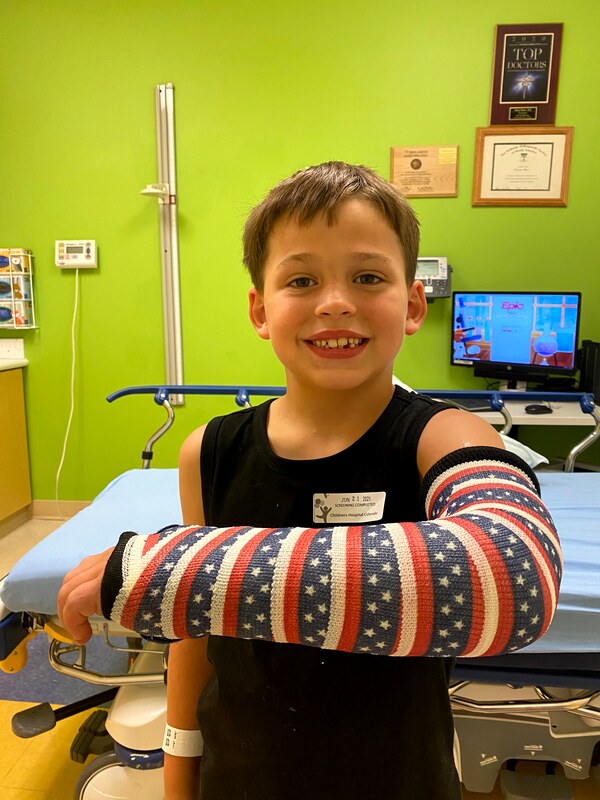
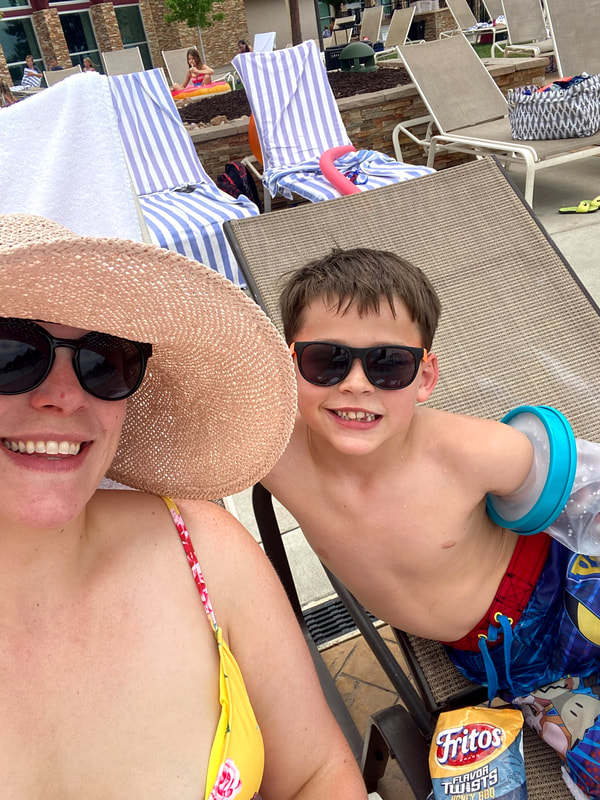
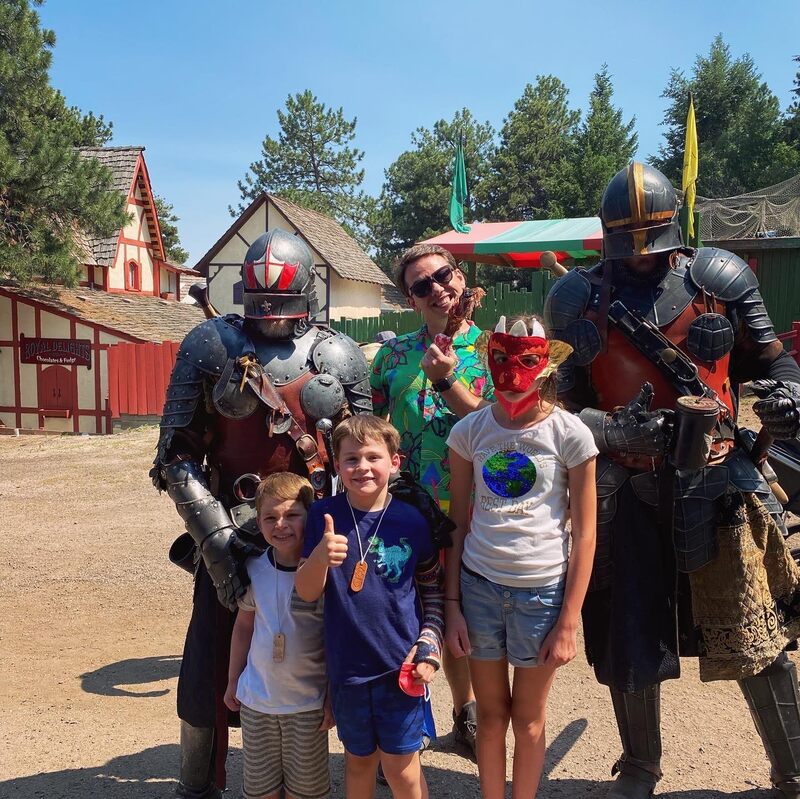
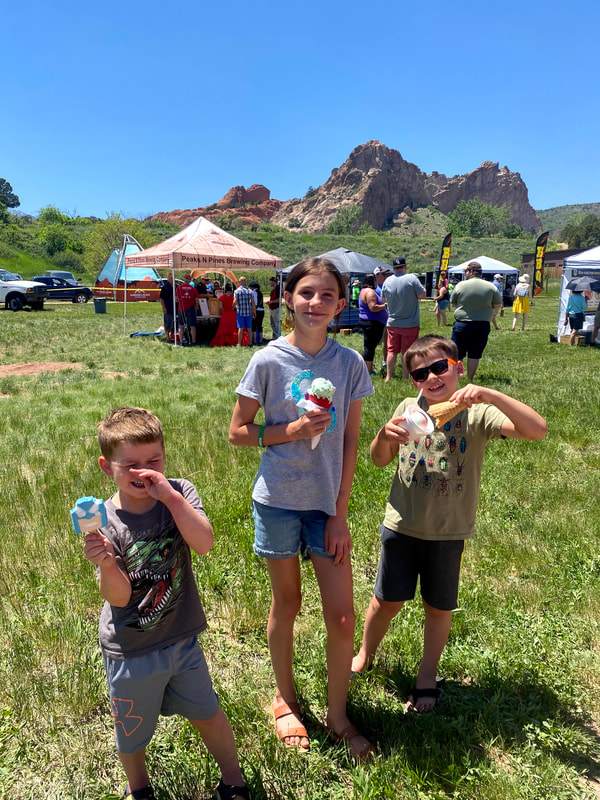
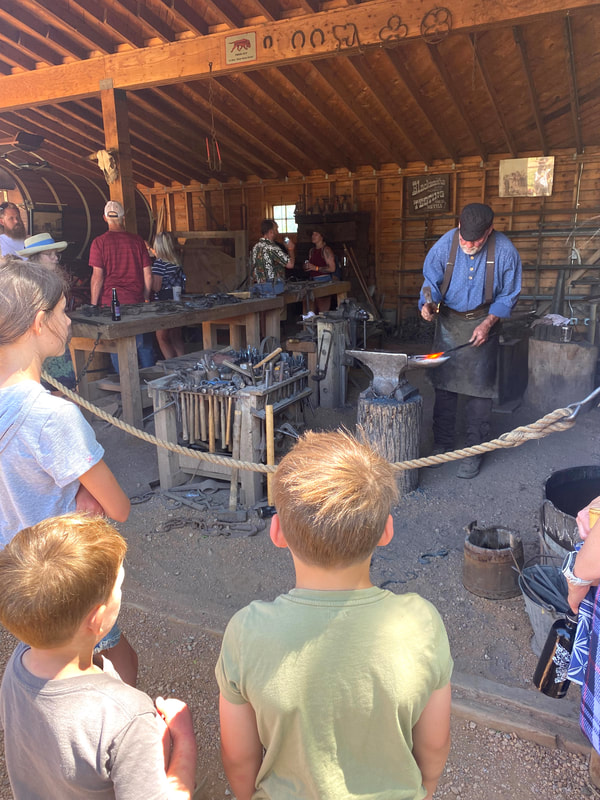
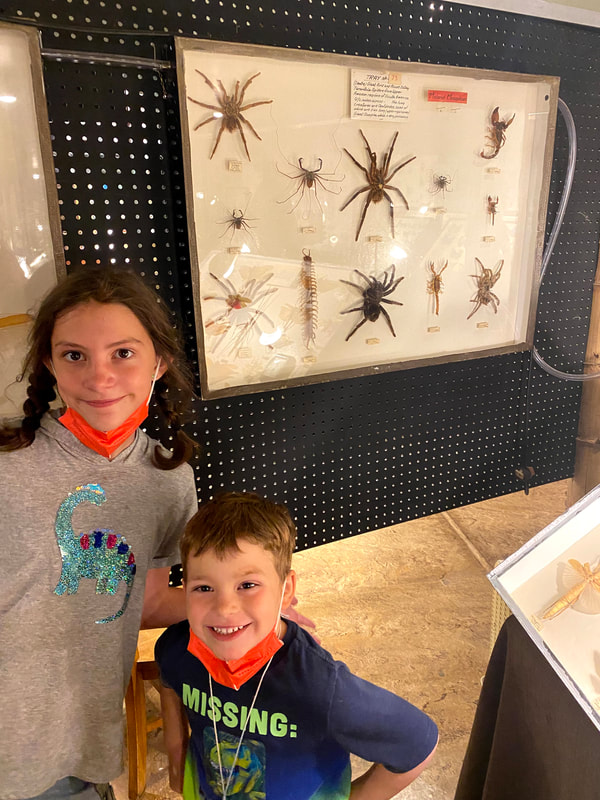
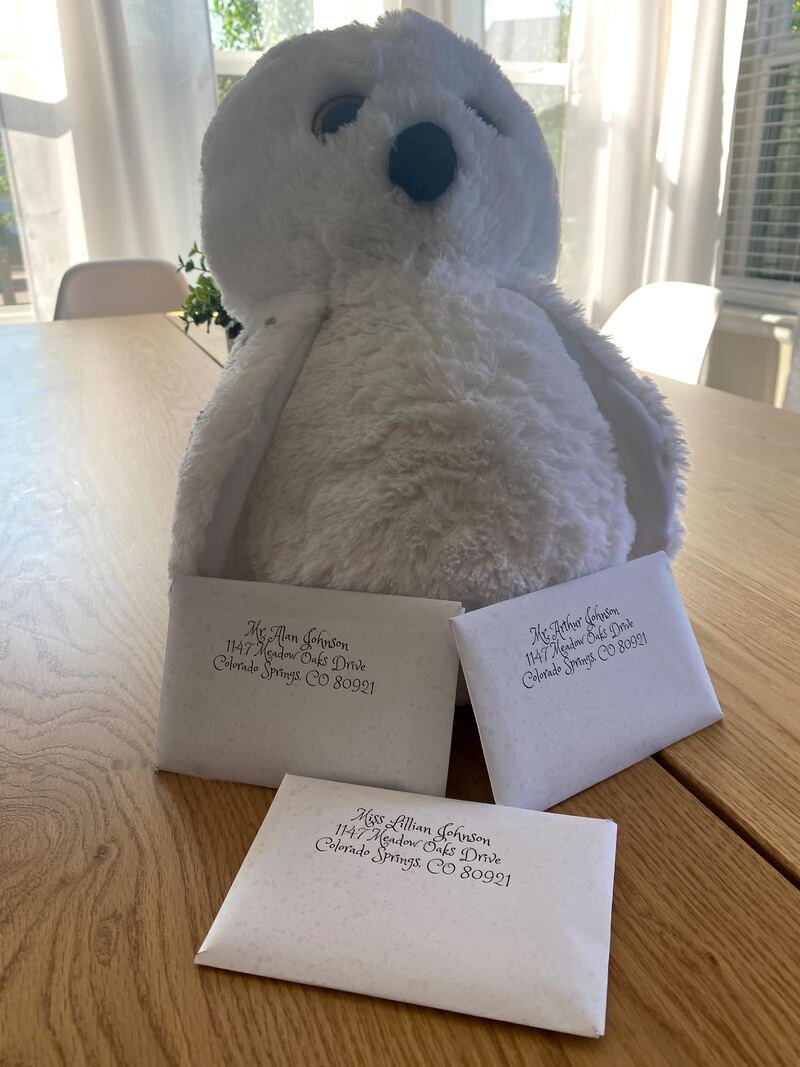
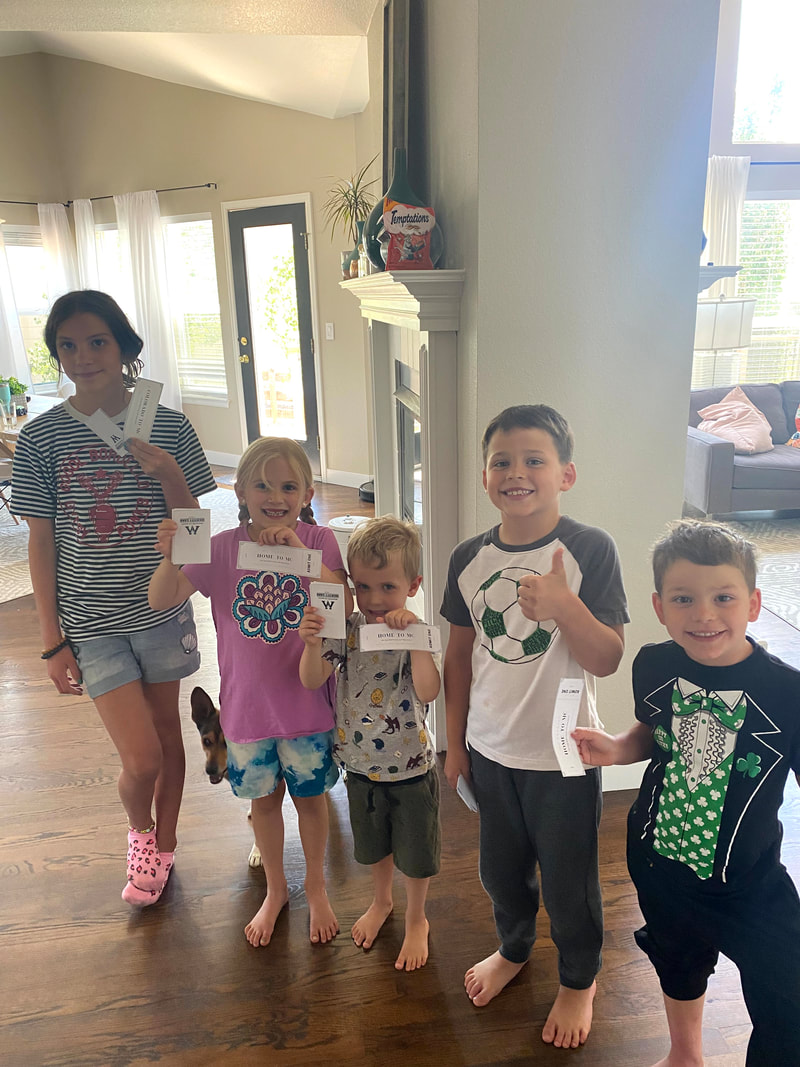
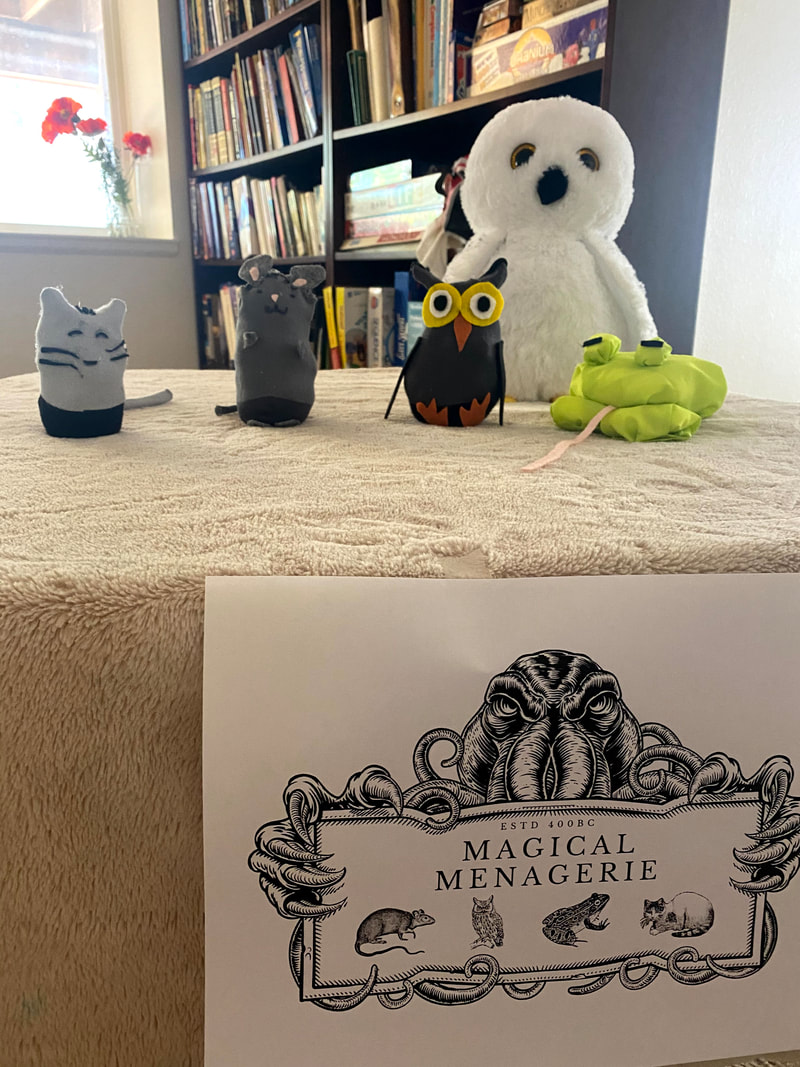
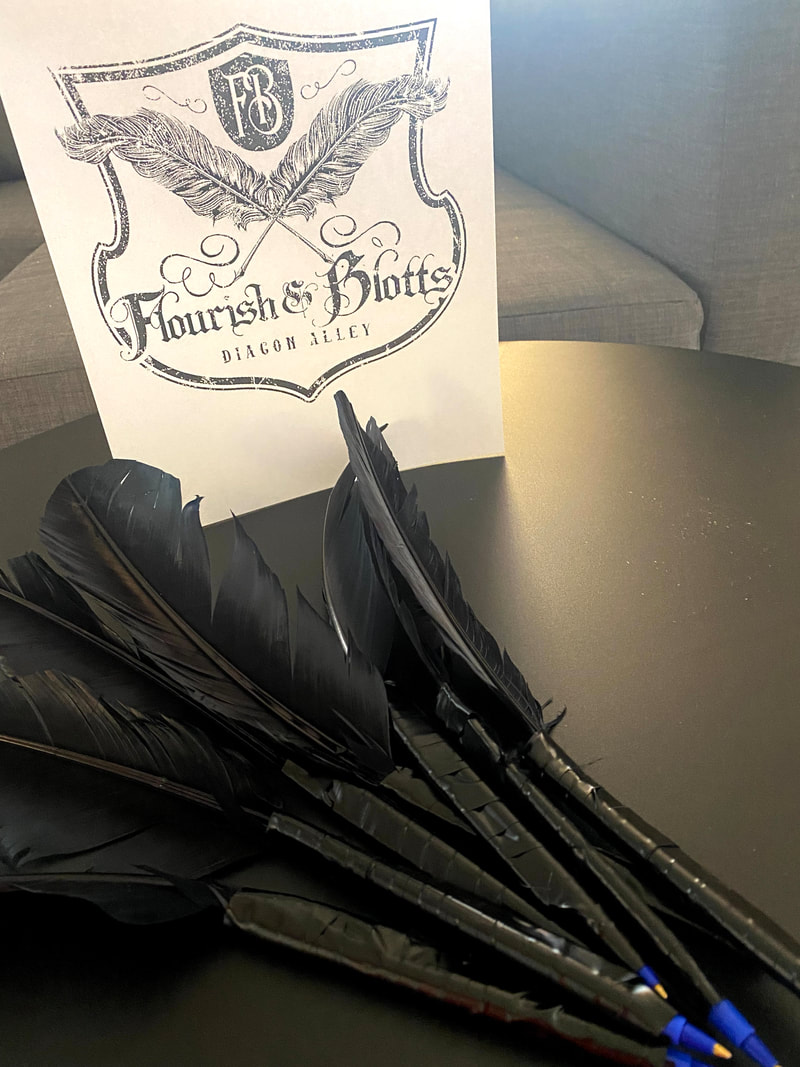
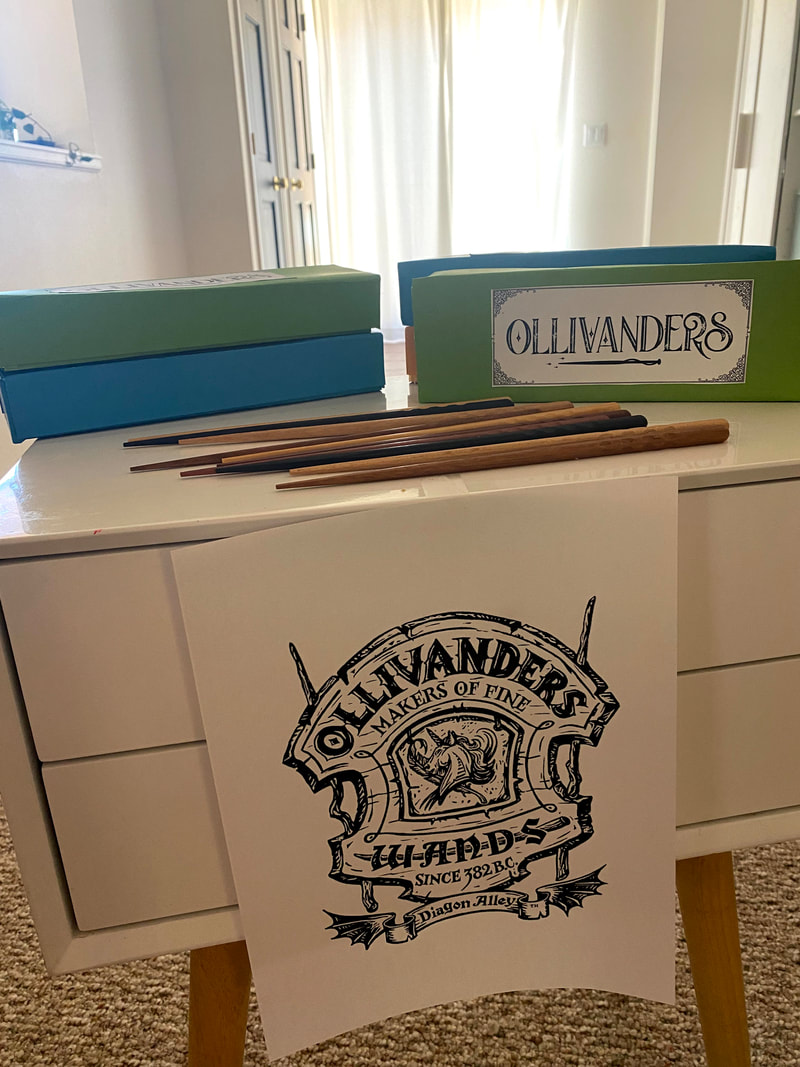
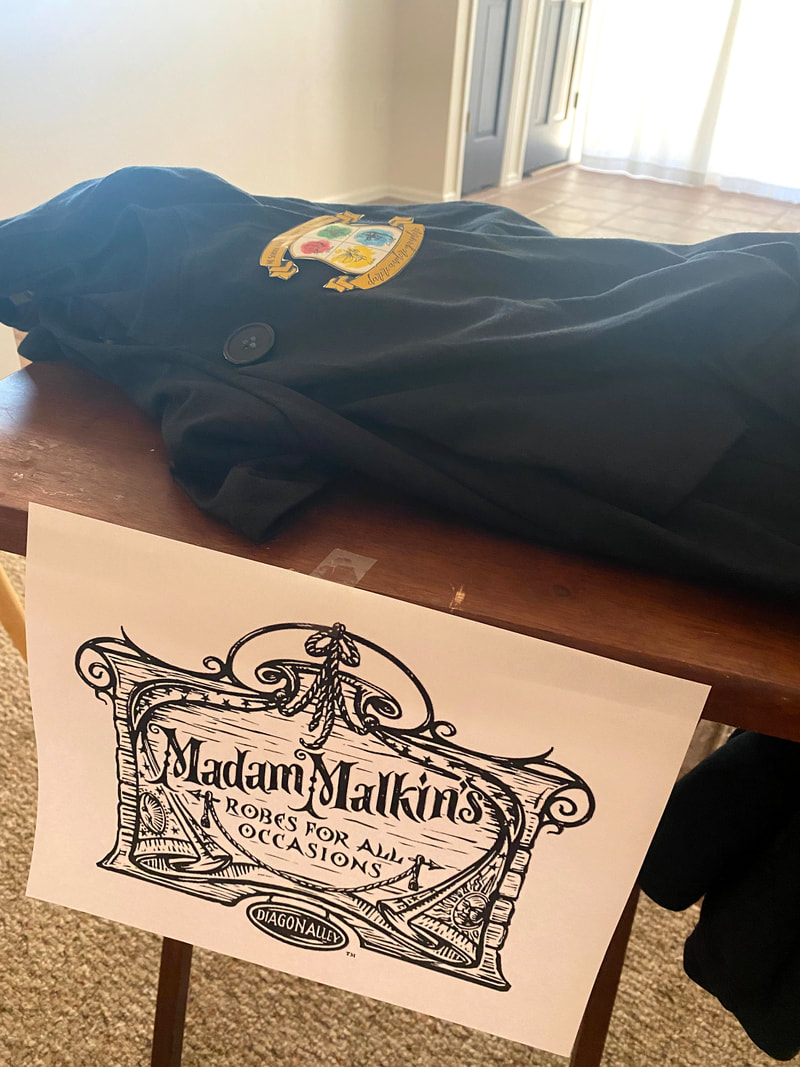
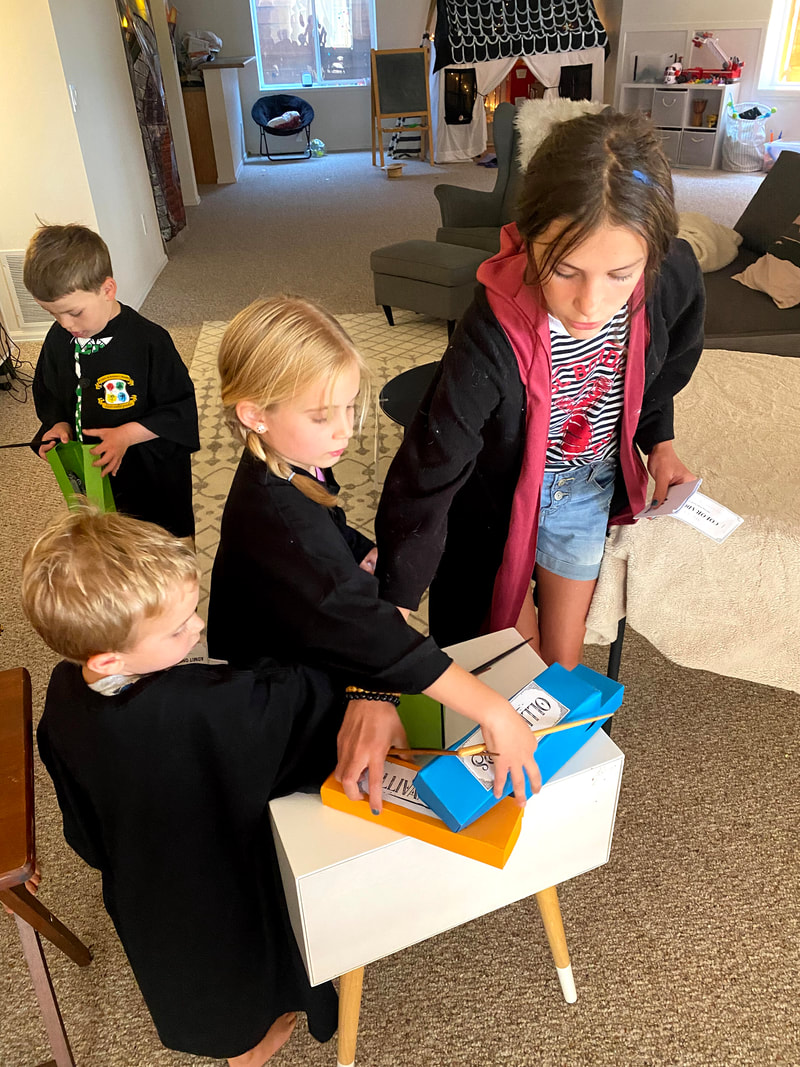
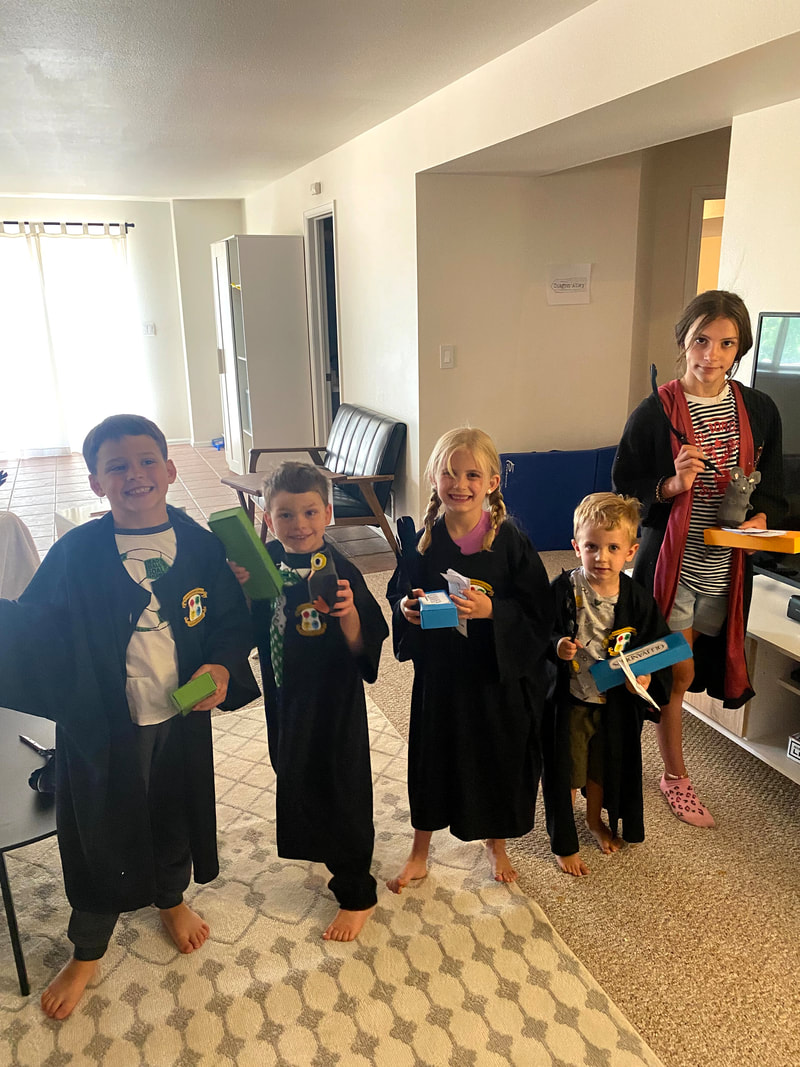
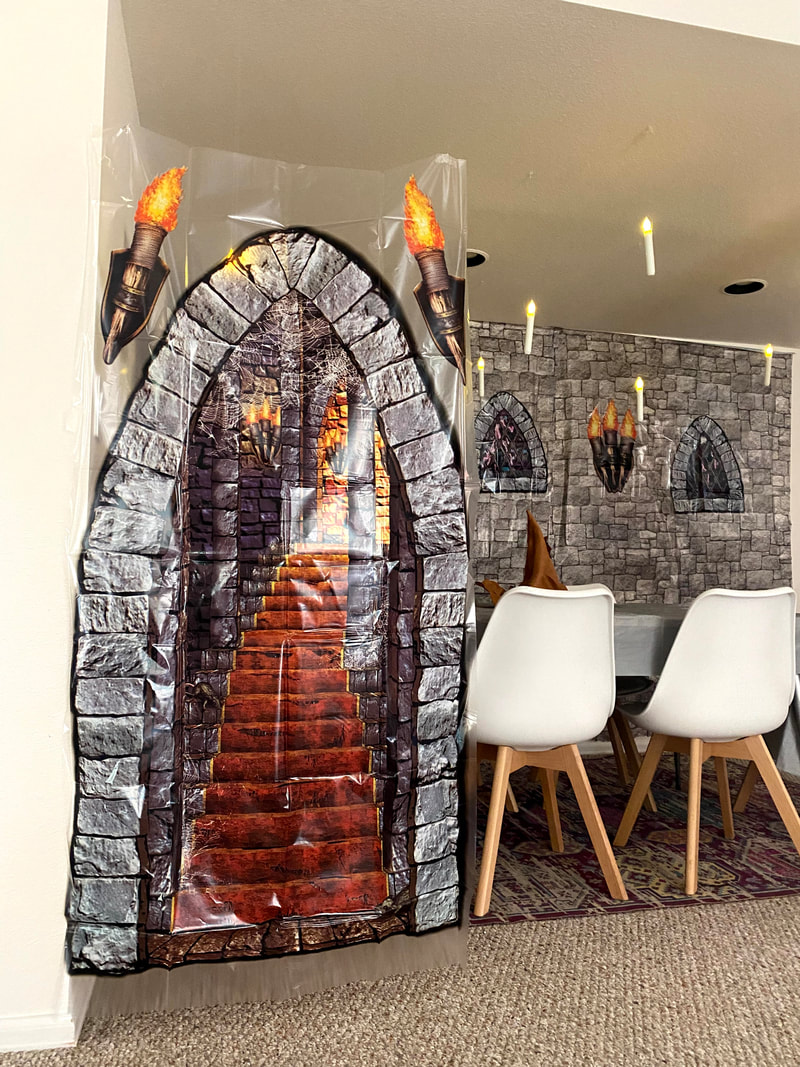
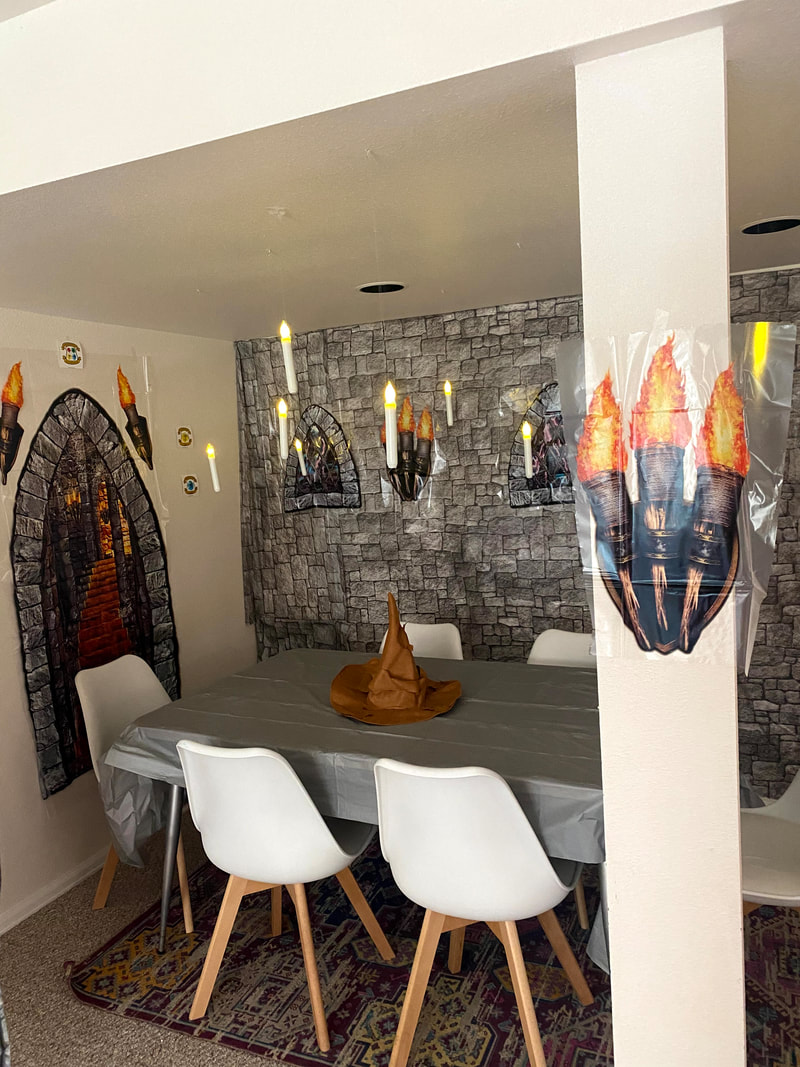
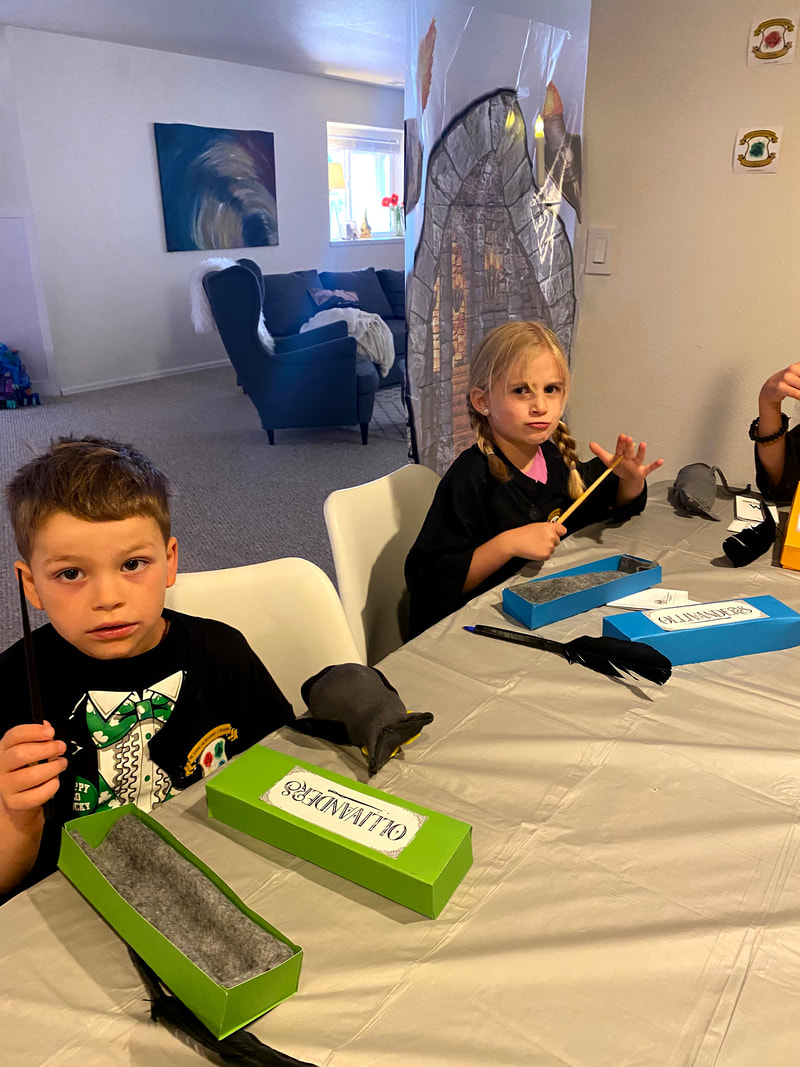
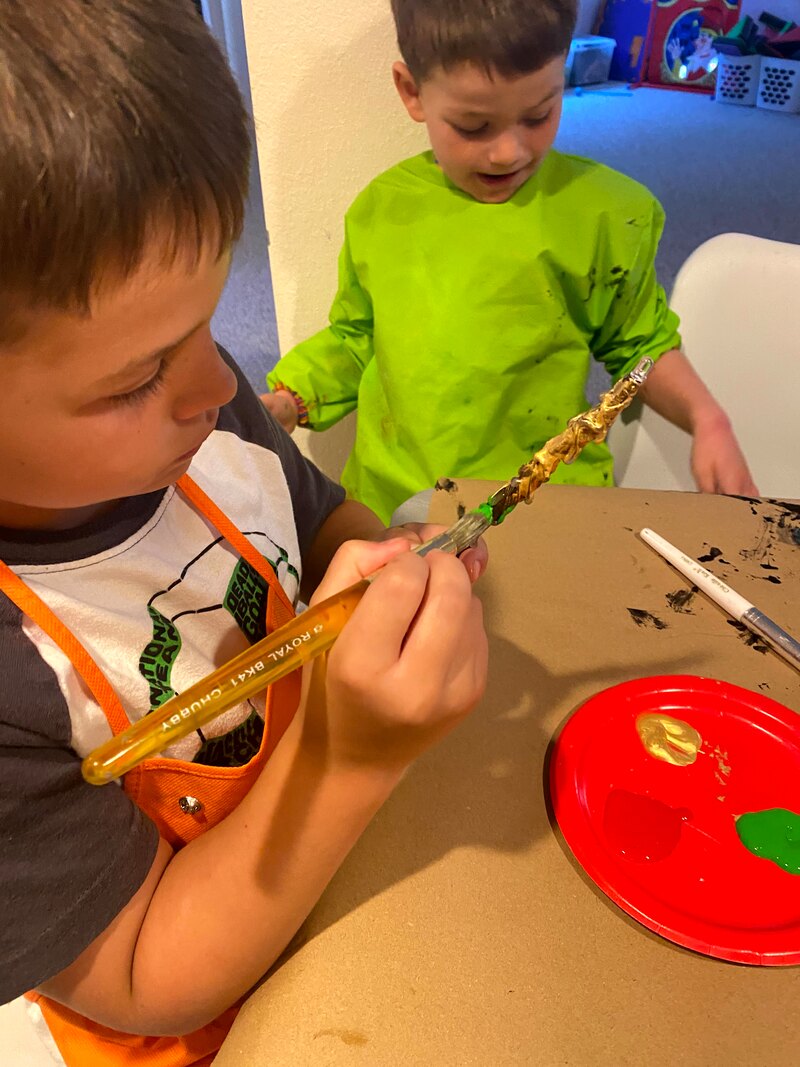
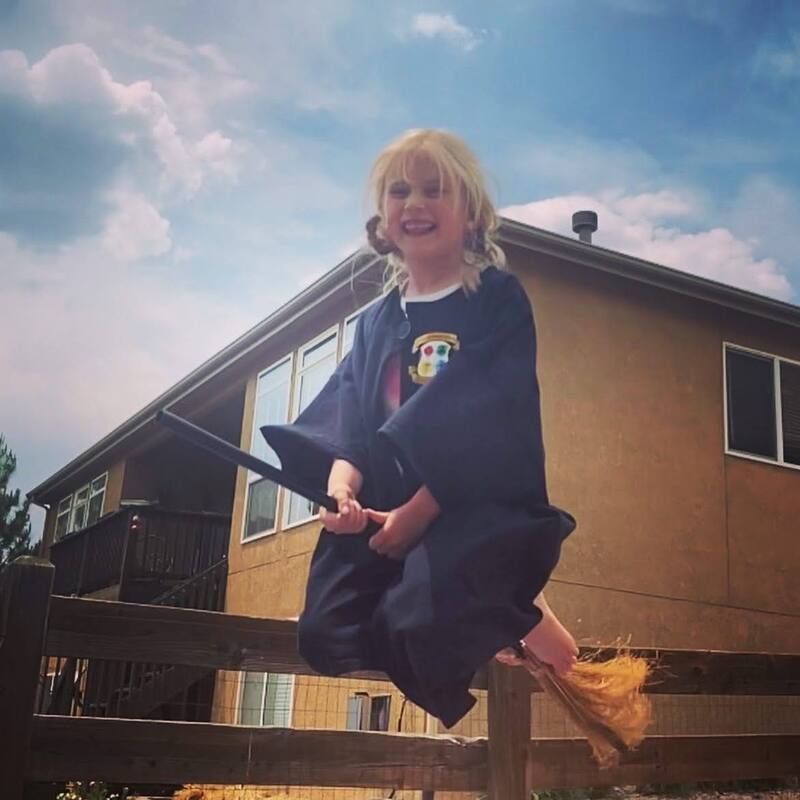
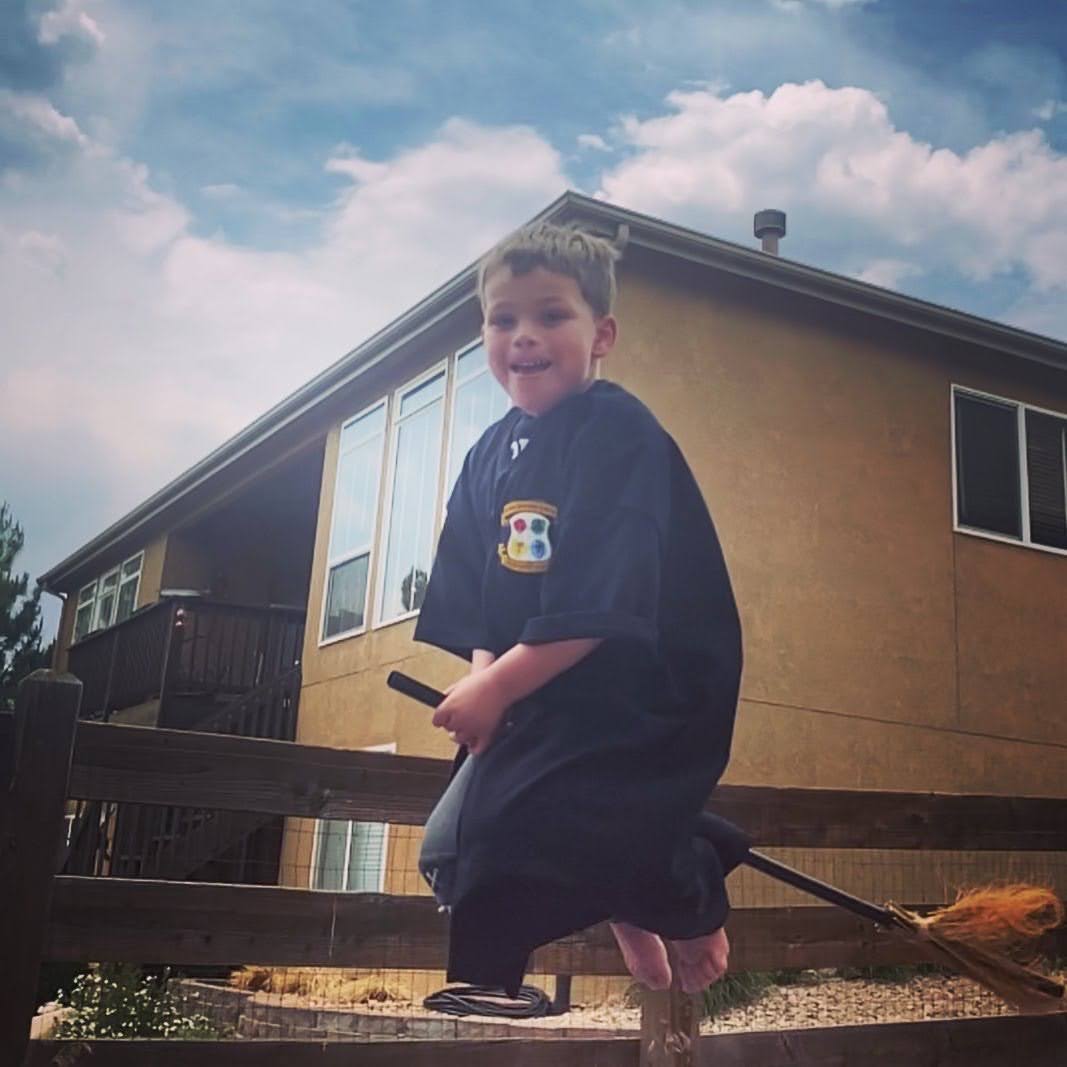
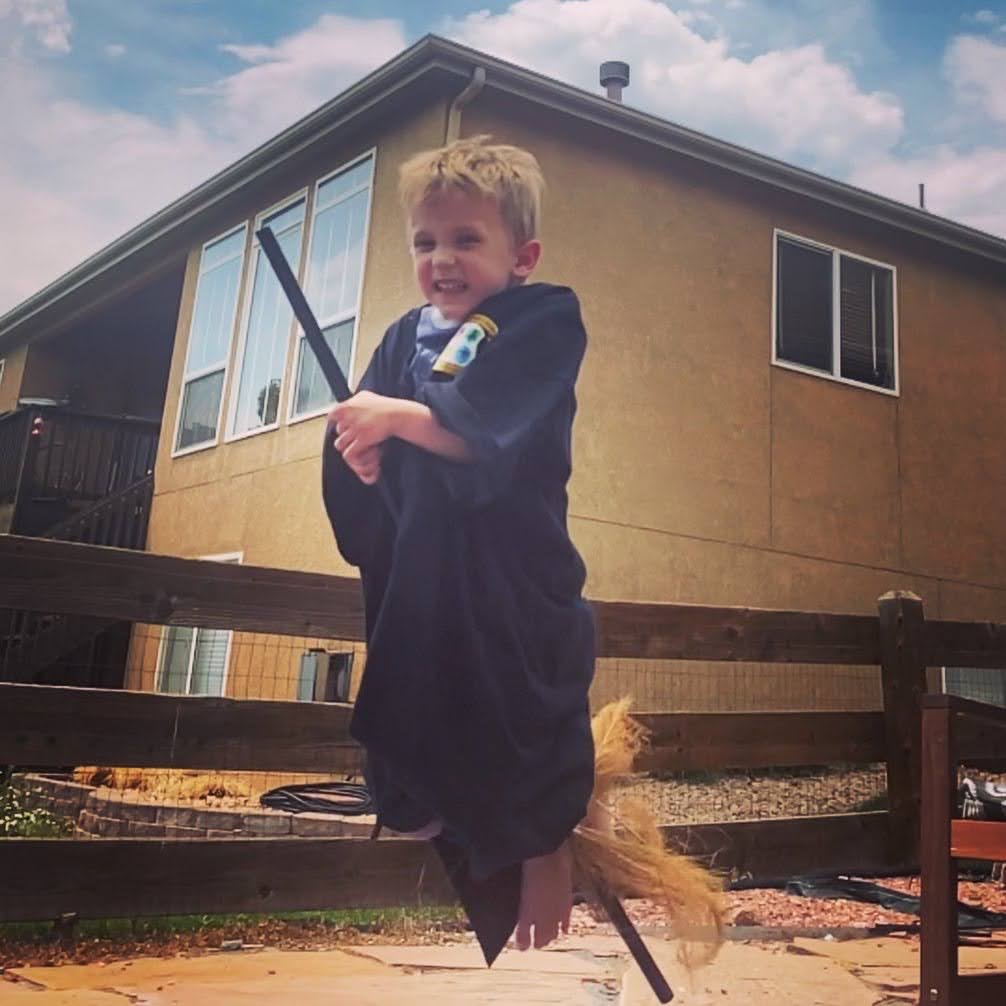
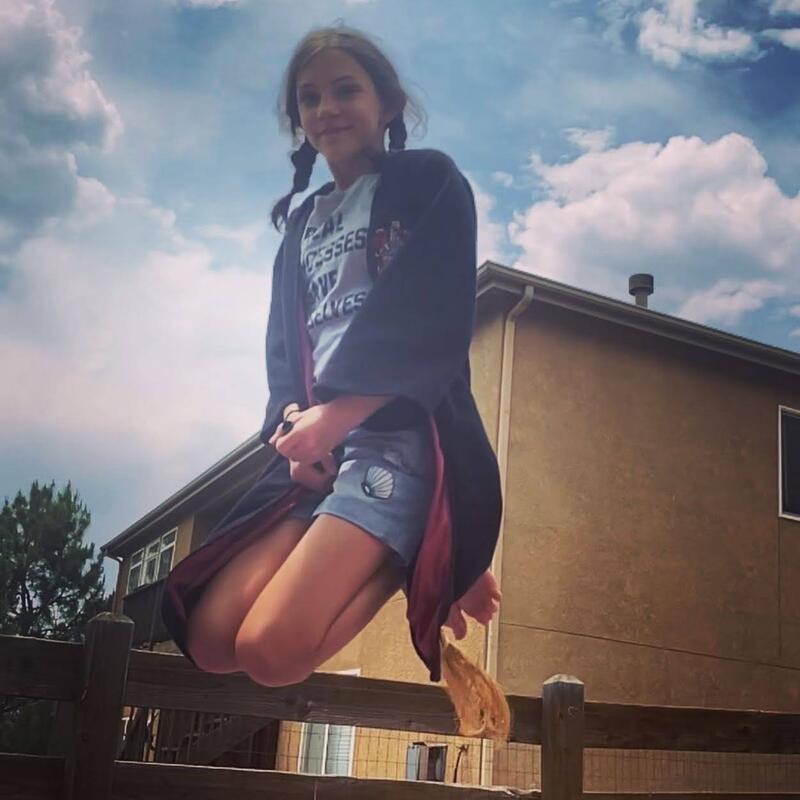
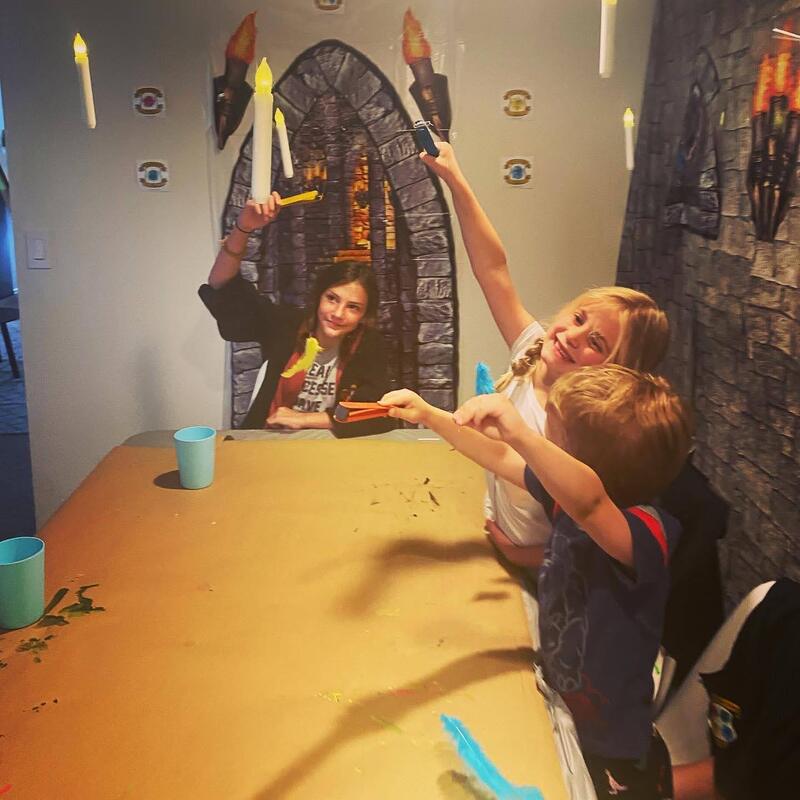
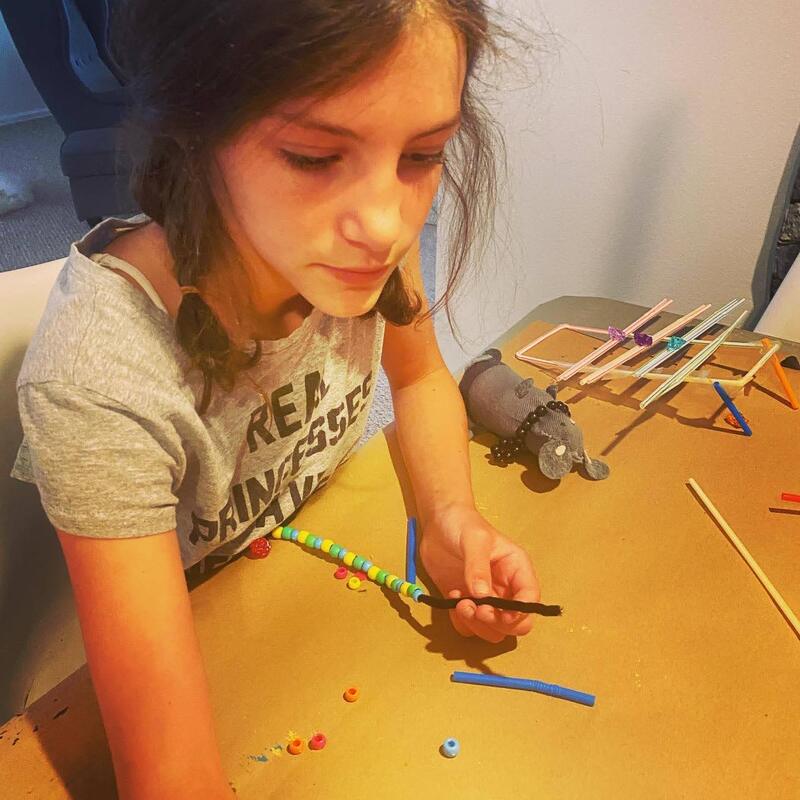
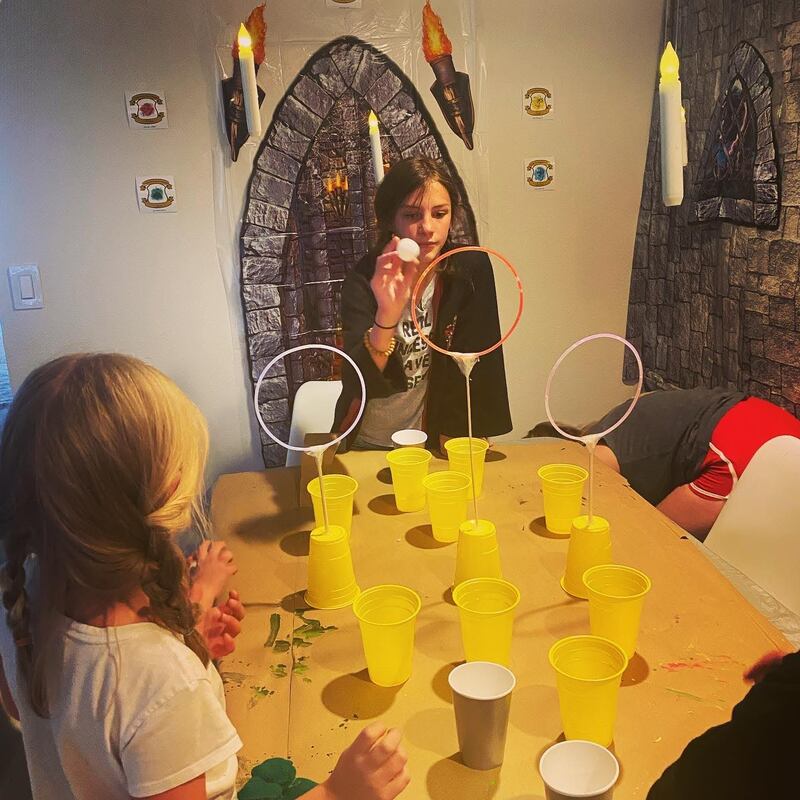
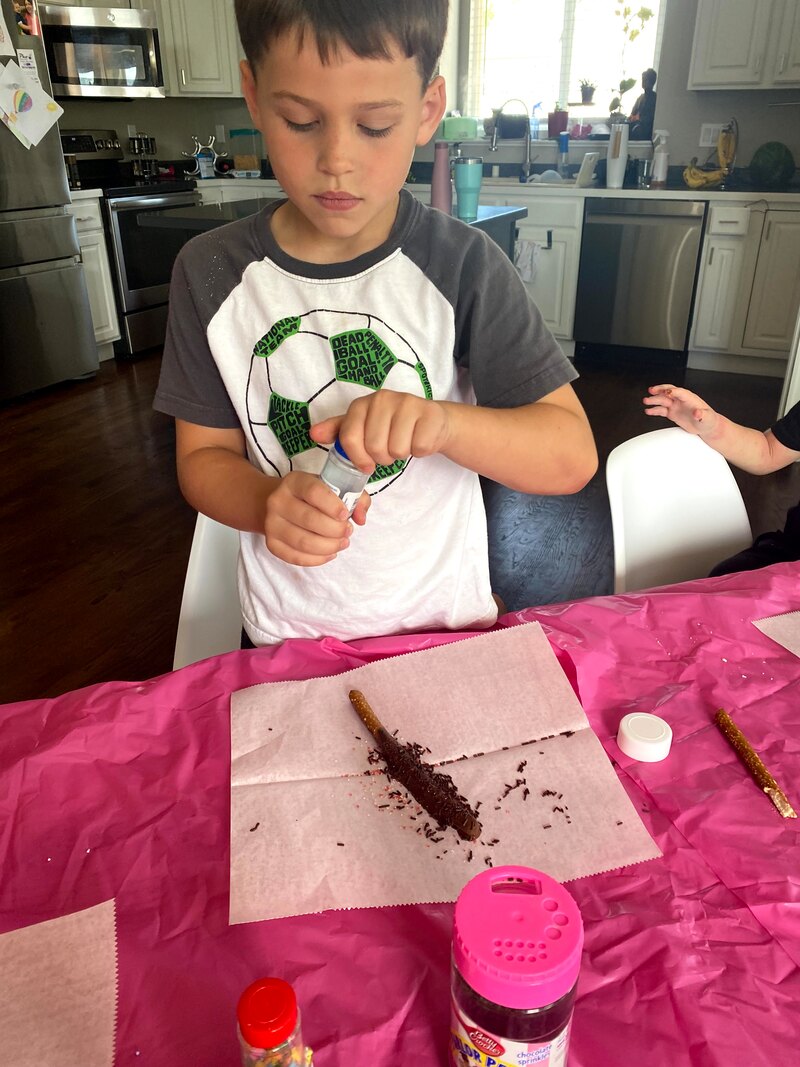
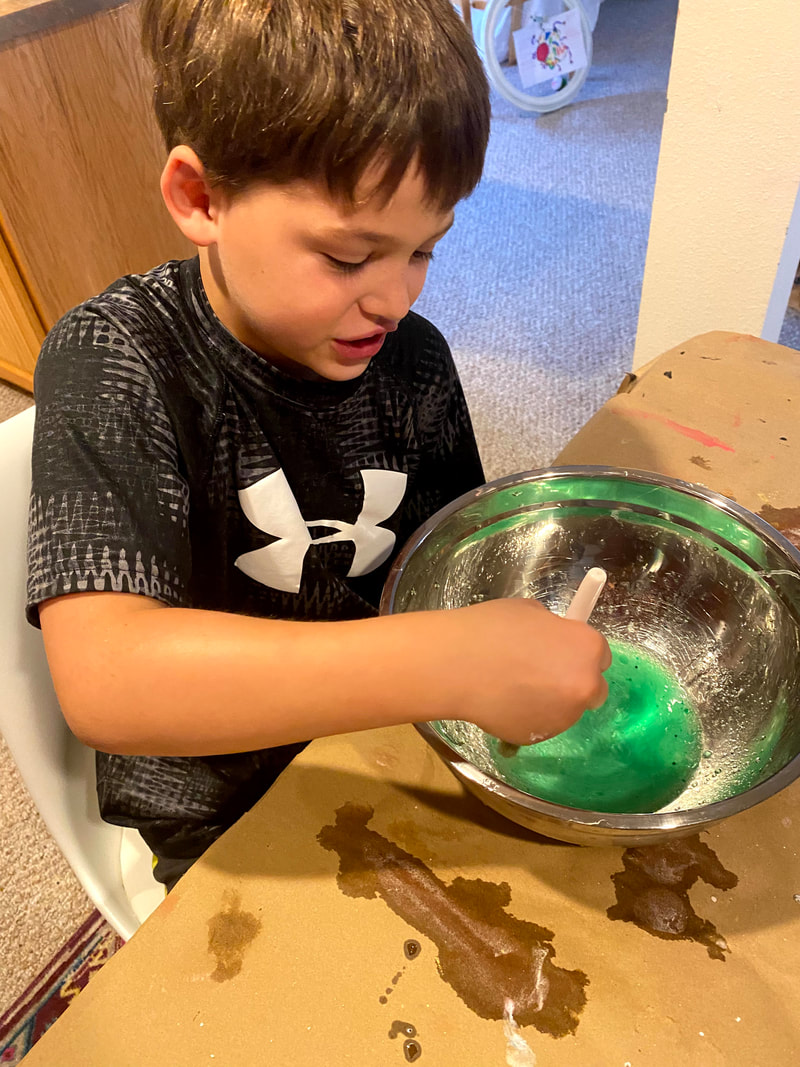
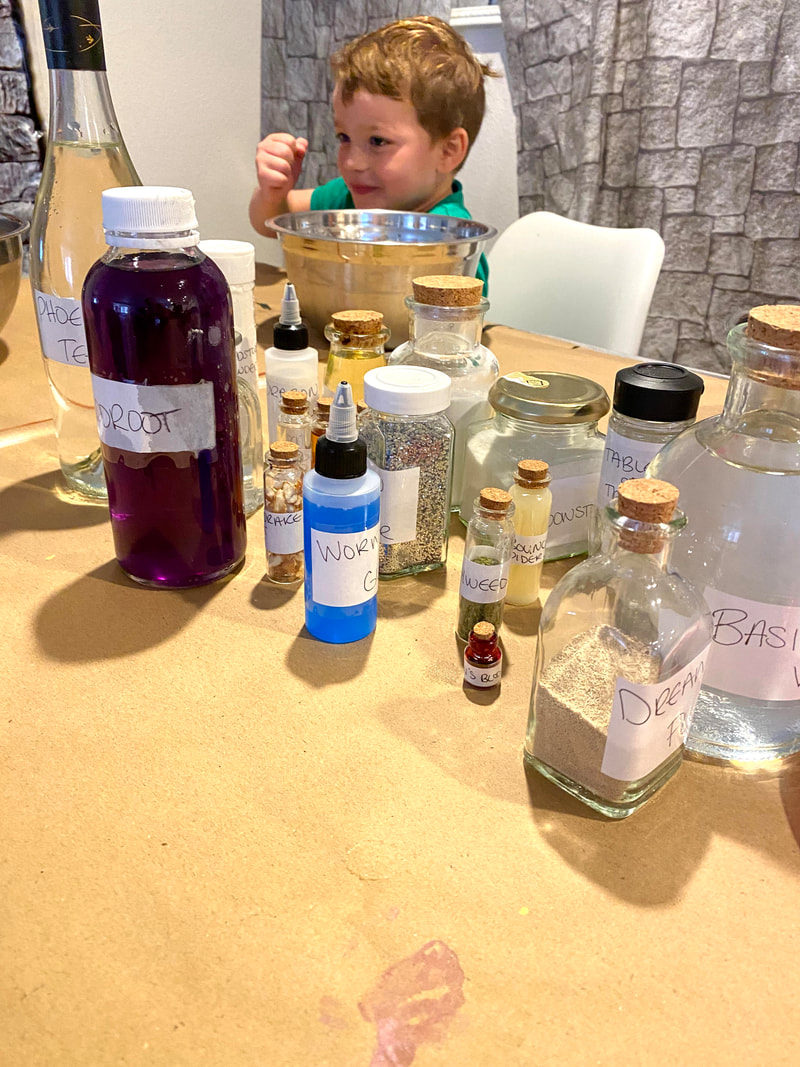
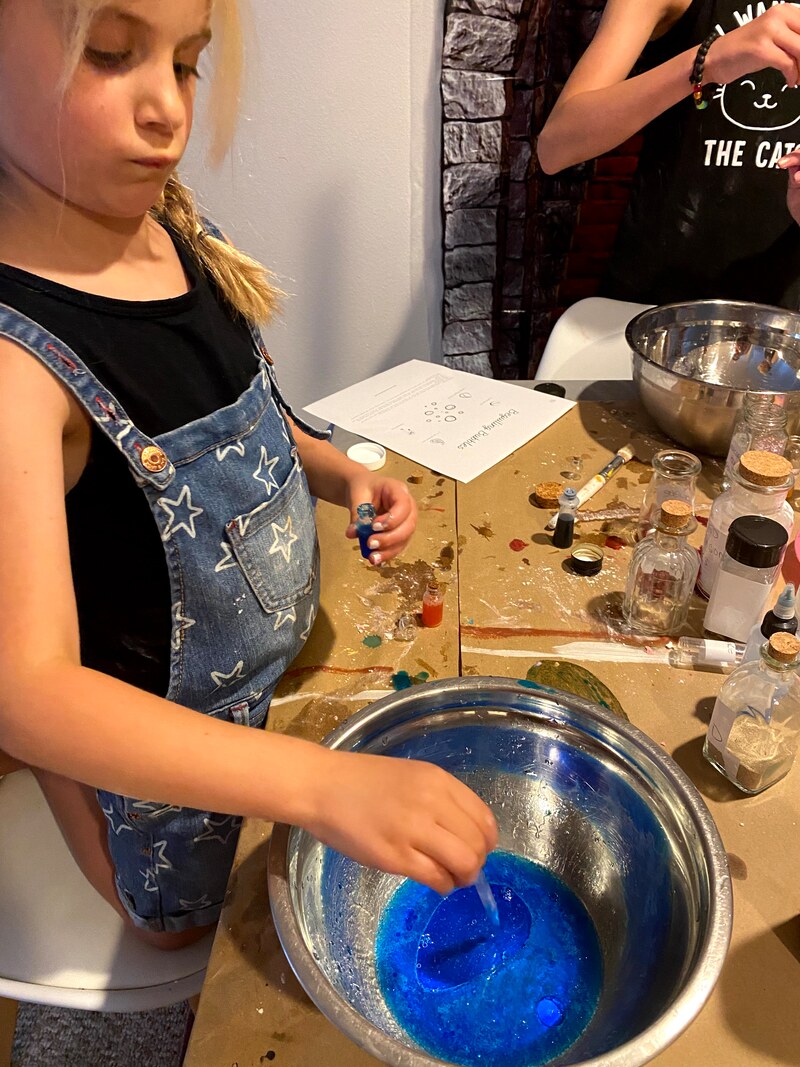
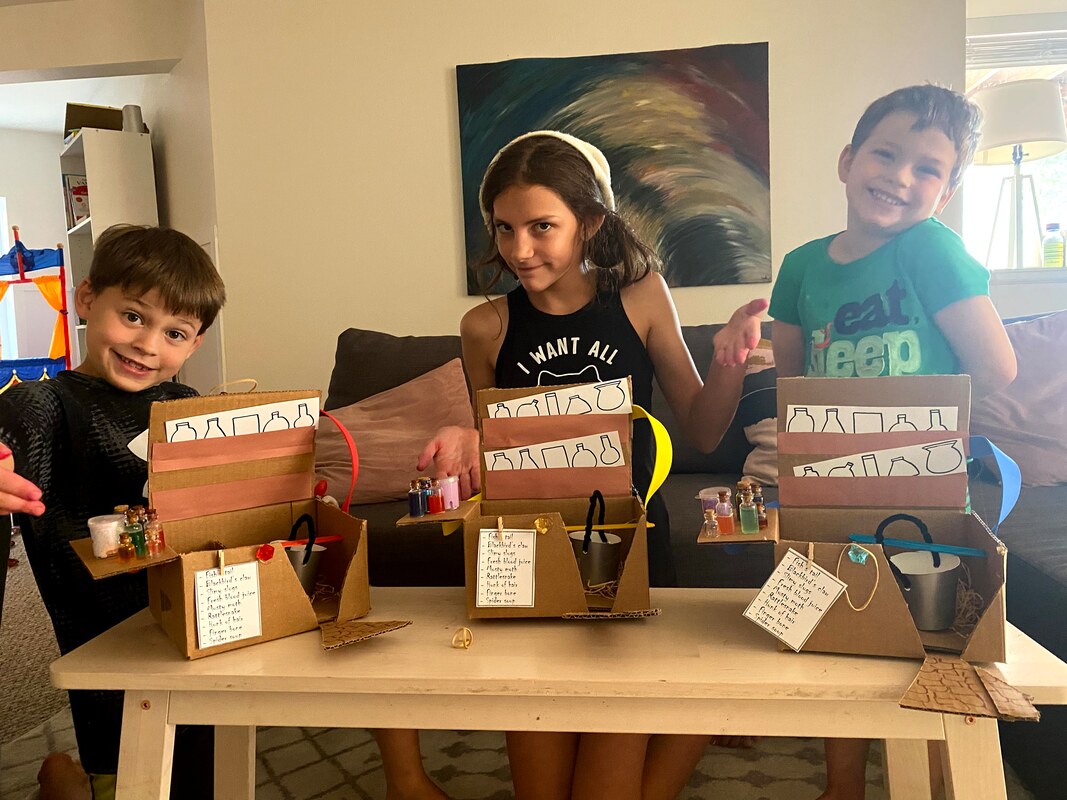
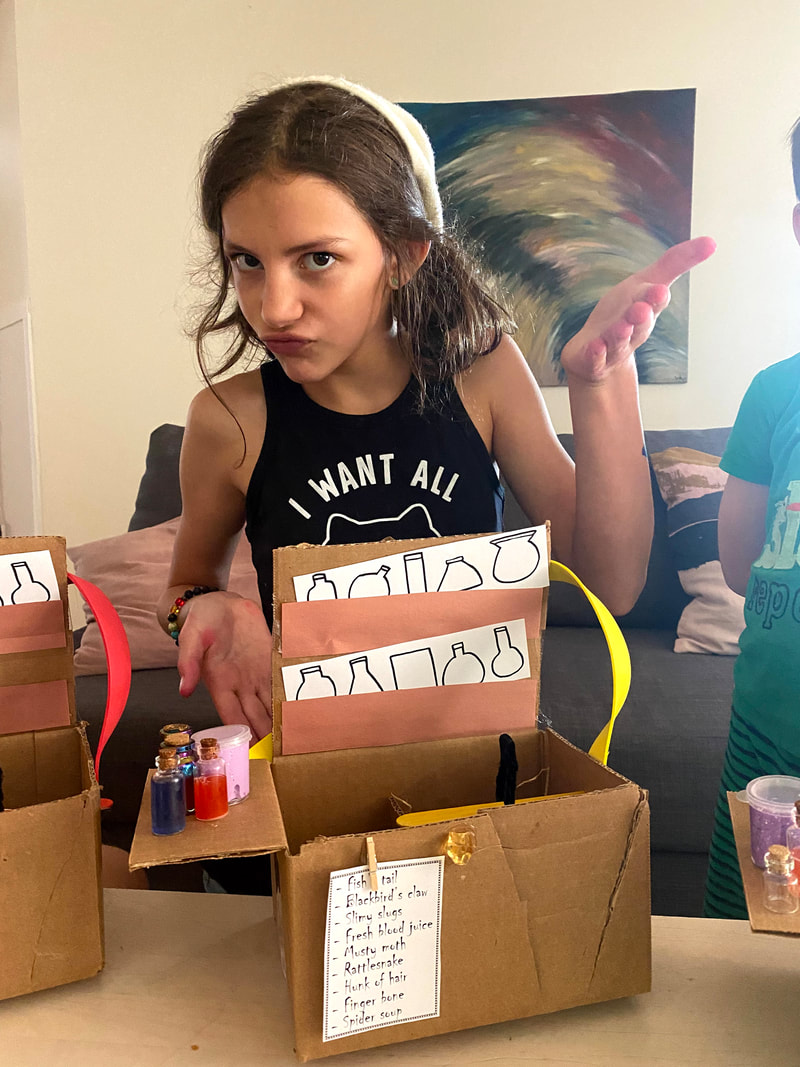
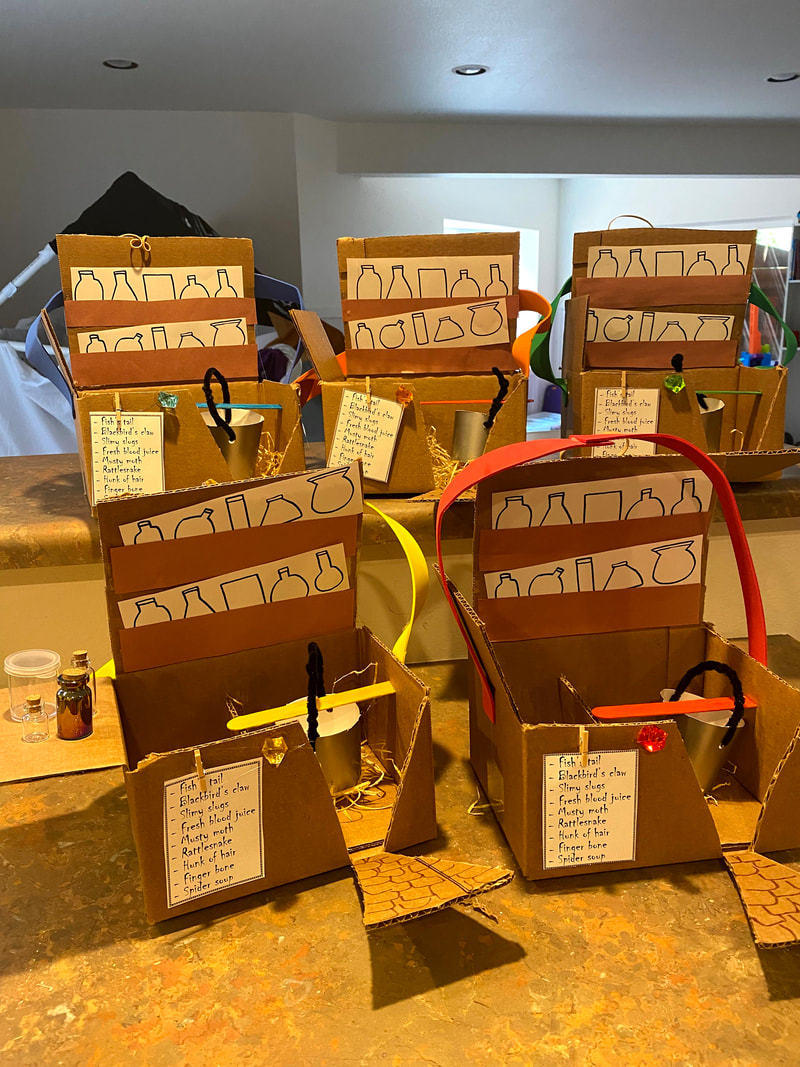
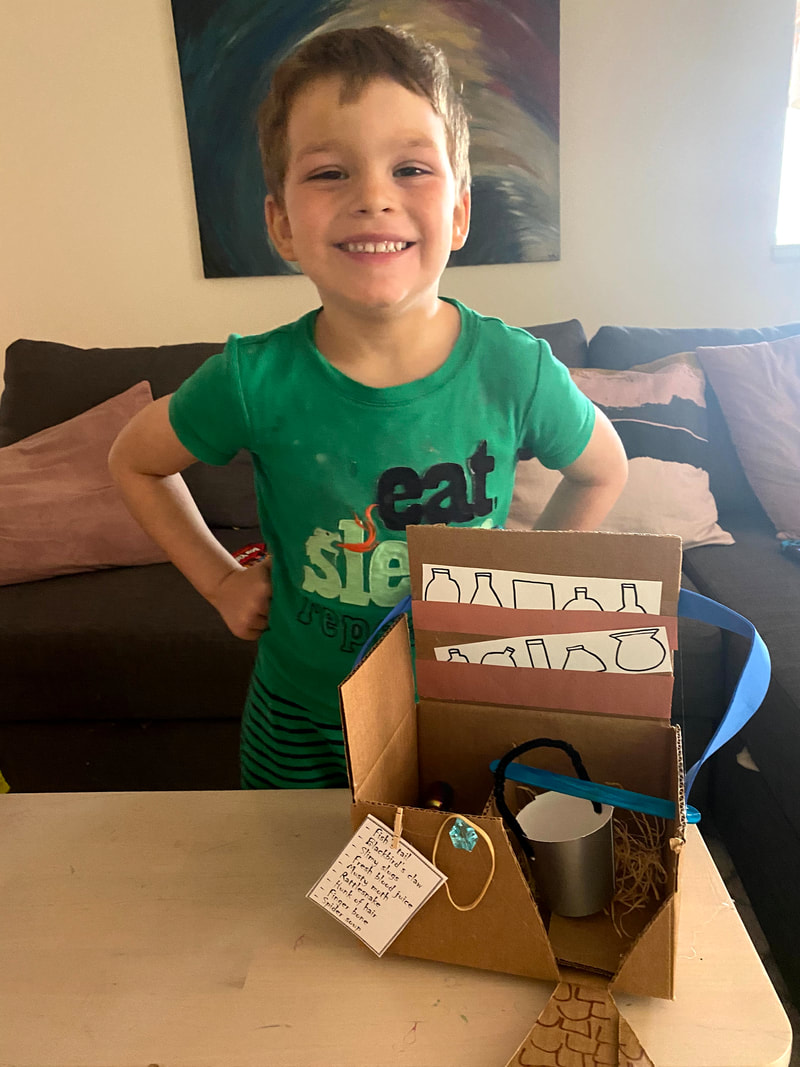
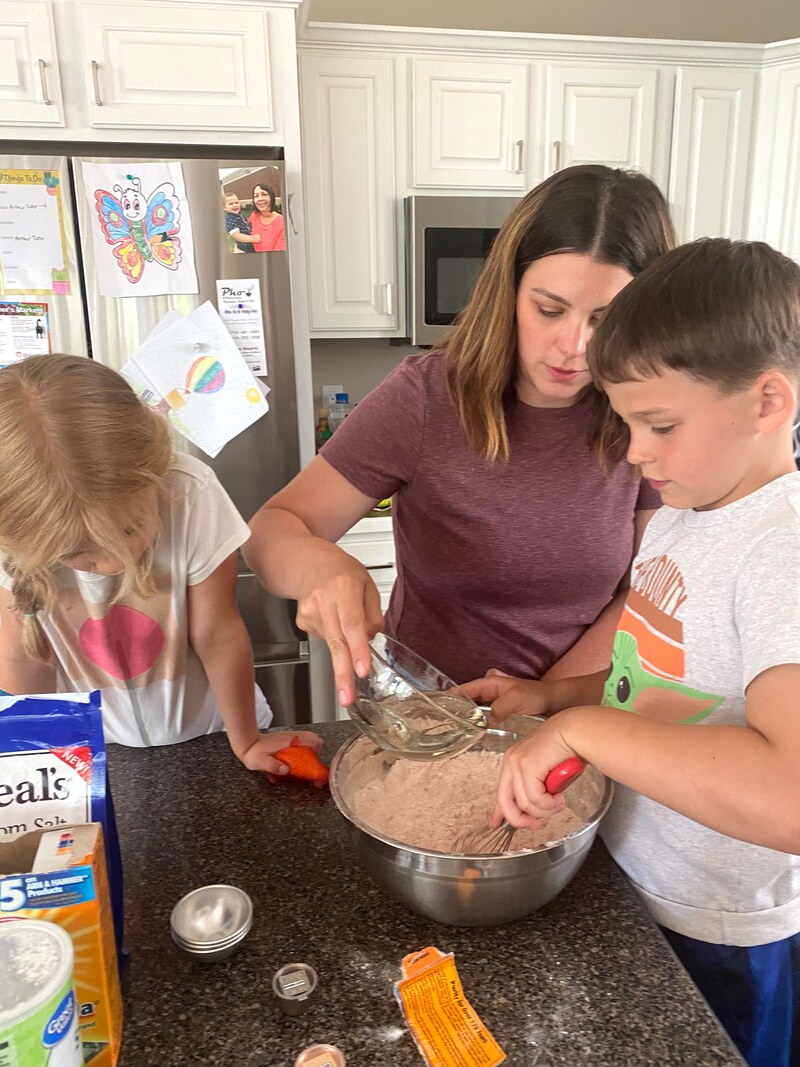
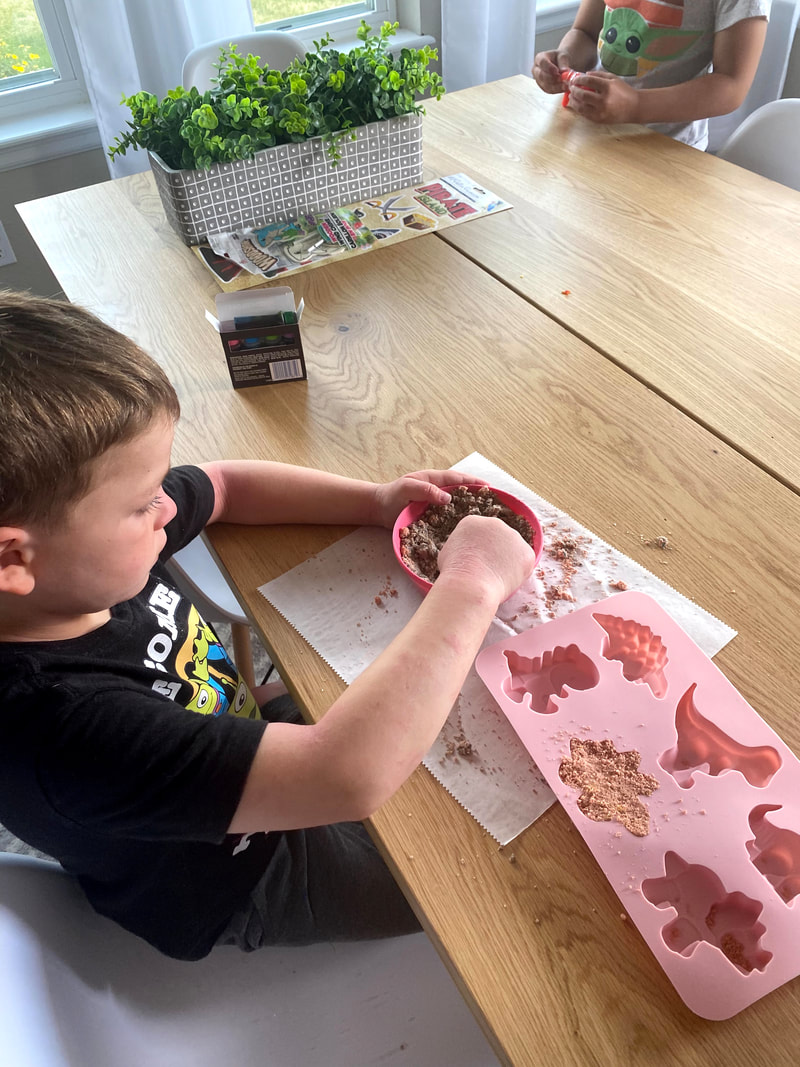
Summer was busy! With the kids getting older, our social lives in a really good place and living in a new city with many fun things to do we didn't even come close to finishing all of my Mommy Camp plans this summer. Oh! And Arthur broke his arm at the playground during our first day of mommy camp! So he spent all summer with a cast! Other than the amazing mc plans we visited with tons of family, went to Pike's Peak to see the new visitor center, peeped bugs at the May Natural History Museum, examined plants at the Denver Botanic Gardens, ate turkey legs at a rennaisance fair, visited the ferris wheel in the new Scheel's, panned for gold and gems, hiked at Red Rocks again and spent plenty of time at the pool. But, what we did do was pretty amazing and by including a few friends it was made extra special. As a note, my friend Kate (mom of said friends) says her kids won't take off their robes and carry their hand made familiar animals and wands with them everywhere! So, huge hit! Check out some of the fun we had and how the plans came to life! It started off with an owl delivering their initiations to attend the school of Witchcraft & Wizardry for Whippersnappers. You can find the letter template in the Mommy Camp document. They were given tickets for the MC Express and then "boarded/rode the train" down our diy stair slide that led to the basement where "Diagon Alley" was set-up for them to do their shopping. The days leading up to our start of camp I made familiar animals out of socks and fabric, quills out of electrical tape and feathers, wand boxes from a printable I found (we used chopsticks as the base for our wands which we painted and electrified later), small brooms I bought from Amazon and robes from big black t-shirts. I made signs for the "shops" and they got to collect all of their supplies before heading into the "school". For the "school" I purchased castle decorations and hung them in our table area. I also used fishing wire to hang battery operated candles from the ceiling to add to the fun and to embody a Hogwarts vibe. The first thing they did was to get sorted into their house. I created my own houses and then we picked which house fit their personalities best. I made a note sheet with their houses on it for my husband who was upstairs (he works from home). Then, we called him on my phone and put it on speaker phone. We taped my phone into the top of a sorting hat I bought online and then announced each time we placed the hat on one of the kids heads so he knew who he was sorting. They thought it was magical and my husband did a great job with the voice! For the rest of our first day we electrified our wands using led's, electrical tape, a ton of hot glue, paint and a small battery. They turned out so cool! (find the tutorial in MC Harry Potter) We ended our day with some broom flying photos! To get these we had the kids stand with their broom and jump as high as they could with it between their legs and their knees bent. I had to literally pancake myself to the ground to get the shot but they turned out great. After our first day we had a break for travel and other fun but met back up for more activities. We focused on wand magic by making feathers float with our wands using magnets. Then we practiced a balancing spell by making bridges out of straws to balance some gems. We also threw some broom fun in and made brooms out of pipe cleaners and pony beads. Then we did another broom focused activity and played pong quidditch. We ended our day by making pretzel wands. We only managed one other day of Mommy Camp this summer and that was a day focused on potions! It was definitely one of my favorite MC days ever and everyone had a blast. To start, we created portable potion kitchen kits for them to store their concoctions from the day and make more in the future. I spent weeks collecting various bottles and filled them with all of our ingredients and added labels that matched a recipe book for potions that I made (find it at the original post). Then we made each potion together. Some had a color reaction, some fizzed, others changed consistency but they are all awesome. After we finished each potion they put a sample of it inside of a tiny potion bottle I purchased from Hobby Lobby/Dollar Tree. Honestly, the ability to store their tiny potions in the portable kit was the highlight. Mine carried theirs around for weeks after and showed everyone they could. We ended the day by making bath bombs. They were supposed to be golden snitch's but that didn't really work out. They did smell good and still worked as a bath bomb they just didn't look like snitches. While we didn't even get halfway through all of my plans we most definitely had a good time so I'll call it a win. As a bonus, we can pick up where we left off next summer and I can save myself hours upon hours of planning a new MC! If you are interested in doing any of the activities mentioned be sure to visit the original post containing the FREE Harry Potter Themed Mommy Camp that includes detailed directions, supply lists and daily plans!
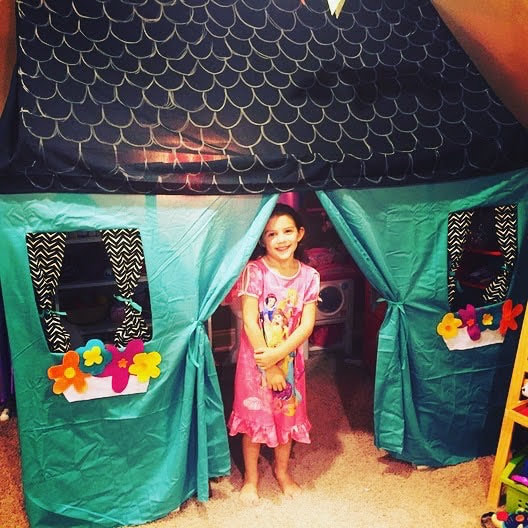
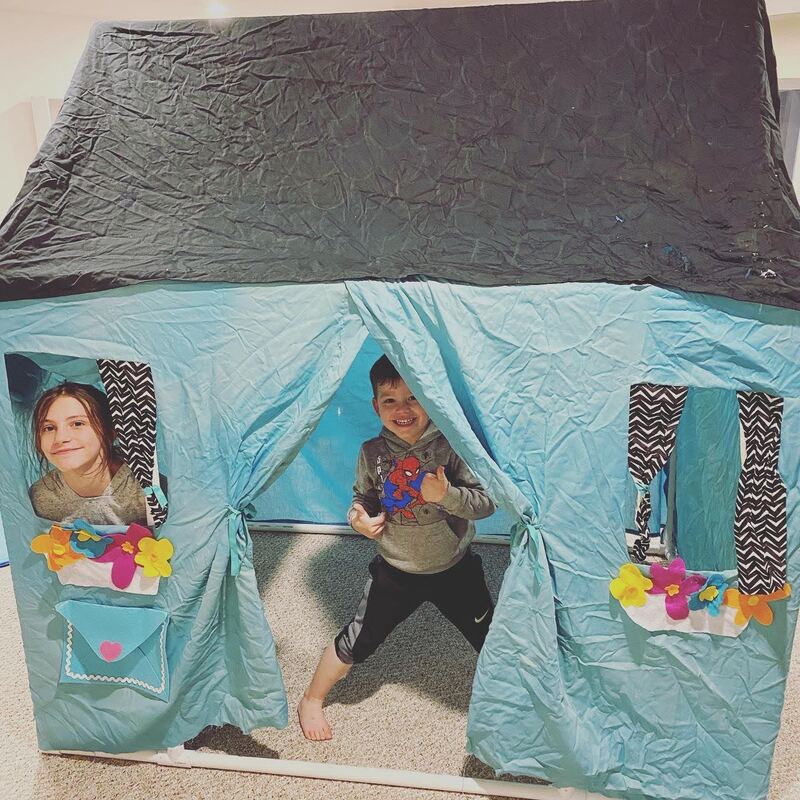
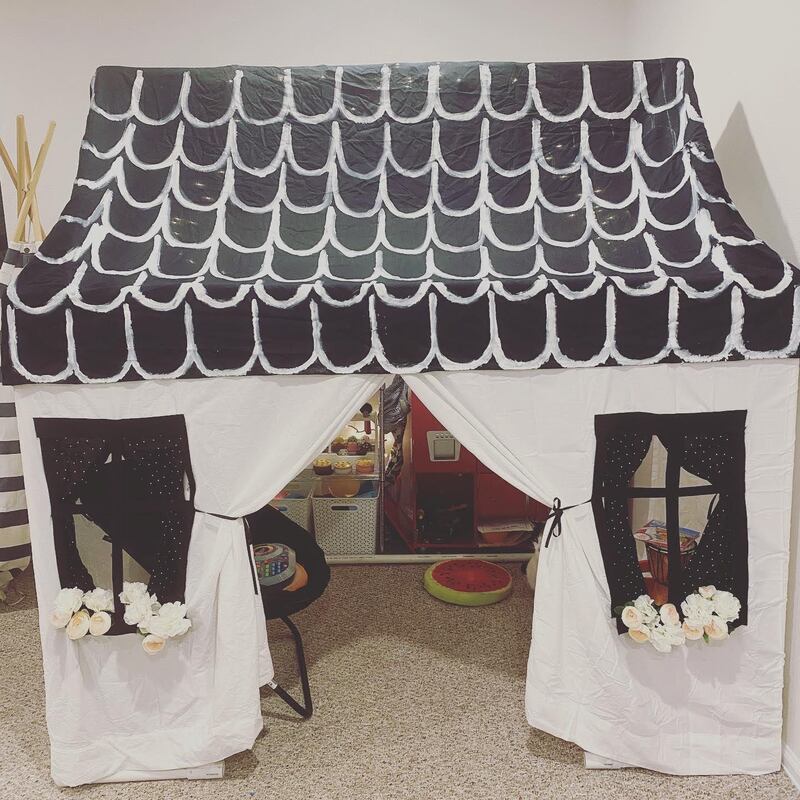
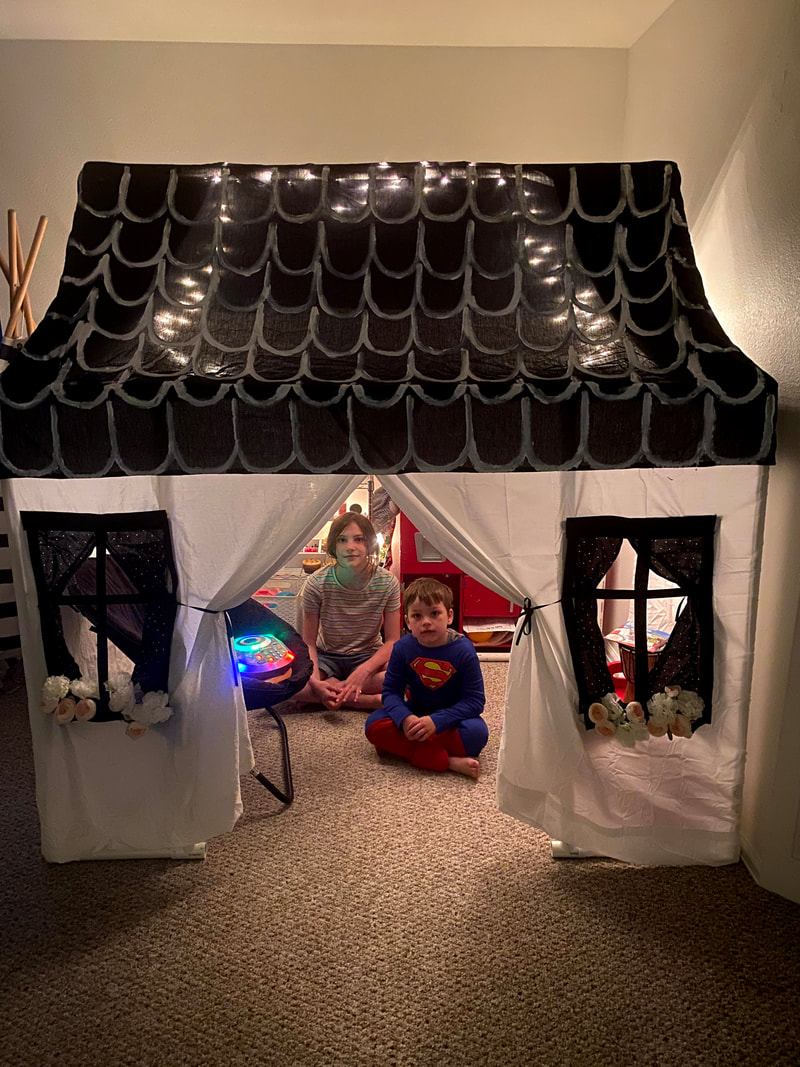
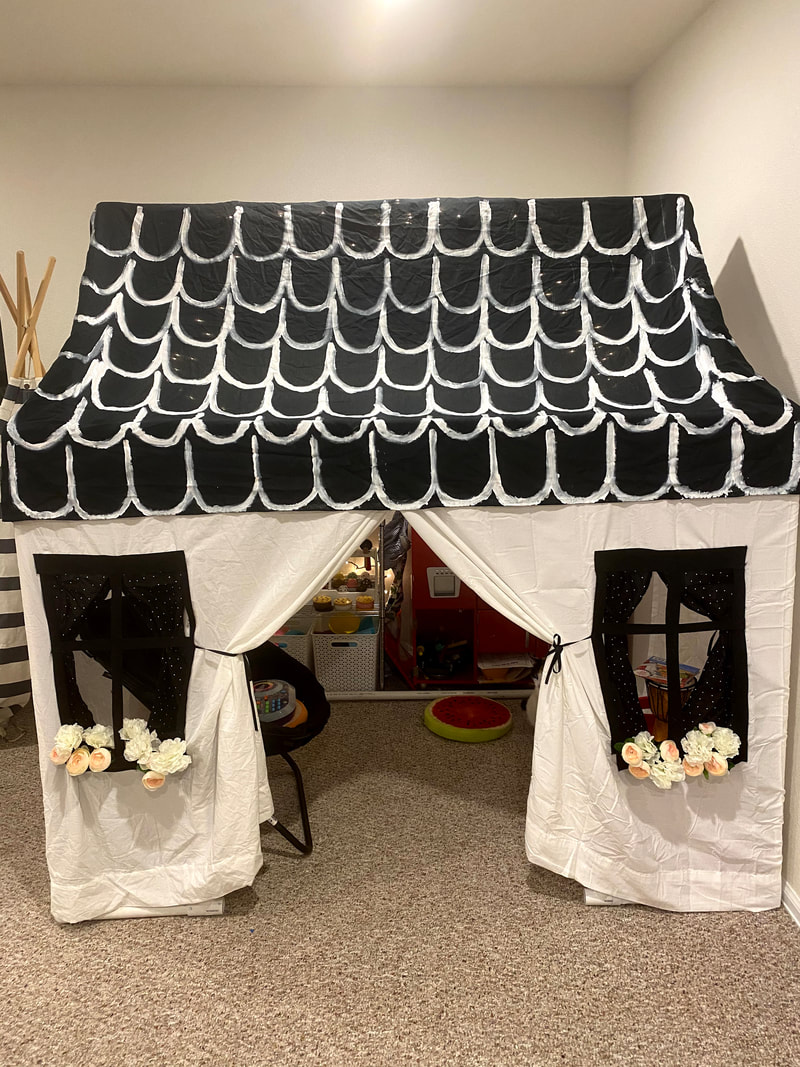
Six years ago I built a PVC playhouse. It was super cute, easy to take apart and I spent a lot of time creating it so, when we moved from our first home to our second and there wasn't a place to put it, I kept it in the attic. I'm not throwing away all that work! So, it sat in the attic for four years until our recent move across the country. When we found it hidden in the far corner of the attic my reaction was the same. We are not throwing that away! So it made the trip with us. Our new home has a HUGE basement which has a dedicated play area for the kids and is a perfect place to bring the playhouse back to life. I was able to rebuild it by referring to my old blog post without any issues and the kids were pumped. But, the cover had seen better days so I spent a few days making a new, more aesthetically pleasing one. I bought a king sized white sheet and scrounged around my fabric scraps where I found a black and white polka dot material for curtains I used black felt for the flower boxes and instead of making felt flowers like before I thought an added element of being able to switch the flowers for the seasons would be fun so I bought cheap fake flowers and trimmed the stems so they would fit. To finish it off I used another king sized sheet but in black for the roof and painted white shingles on it. I also put some Christmas lights in the top of the house. I was not about to sew anything this time and just hot glued the cover to the frame this time. I figure I can always pull it off pretty easily when it's time to retire the playhouse again. But, rest assured, I plan on keeping it until I have grandkids who will find it just as magical as my kids do right now and I will be MiMi of the year!
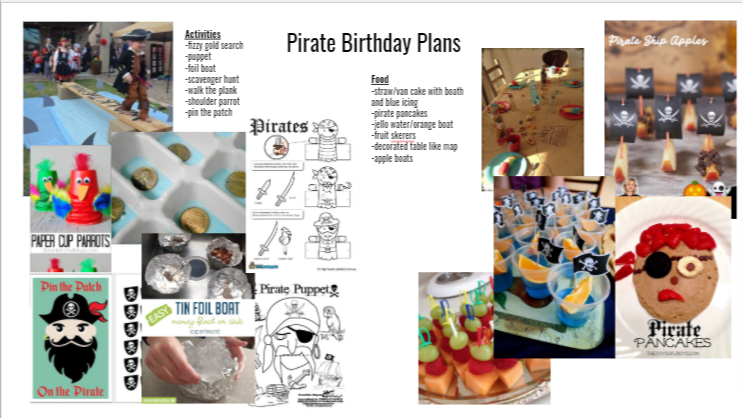
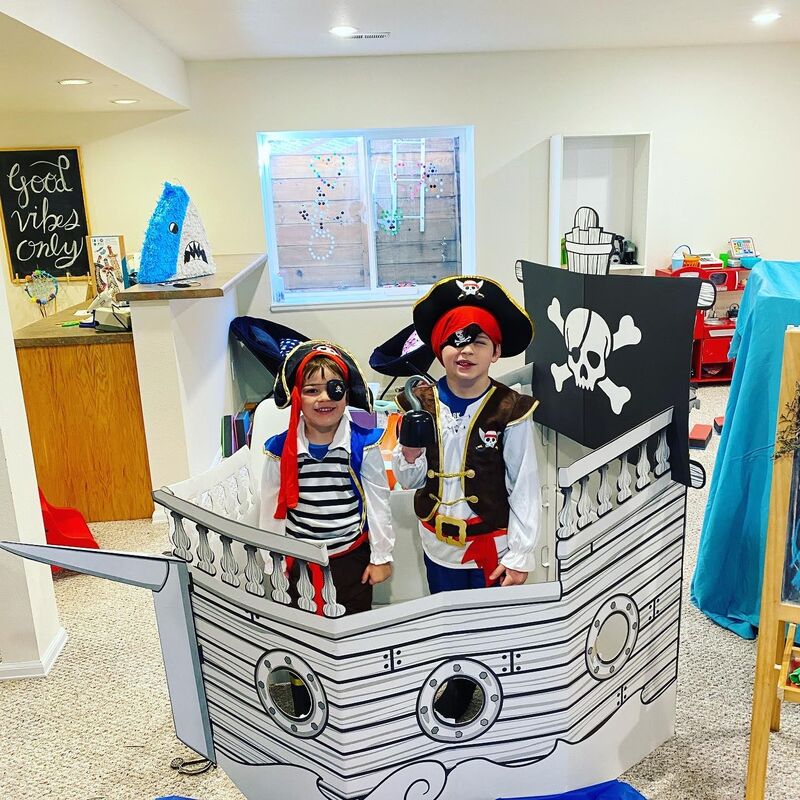
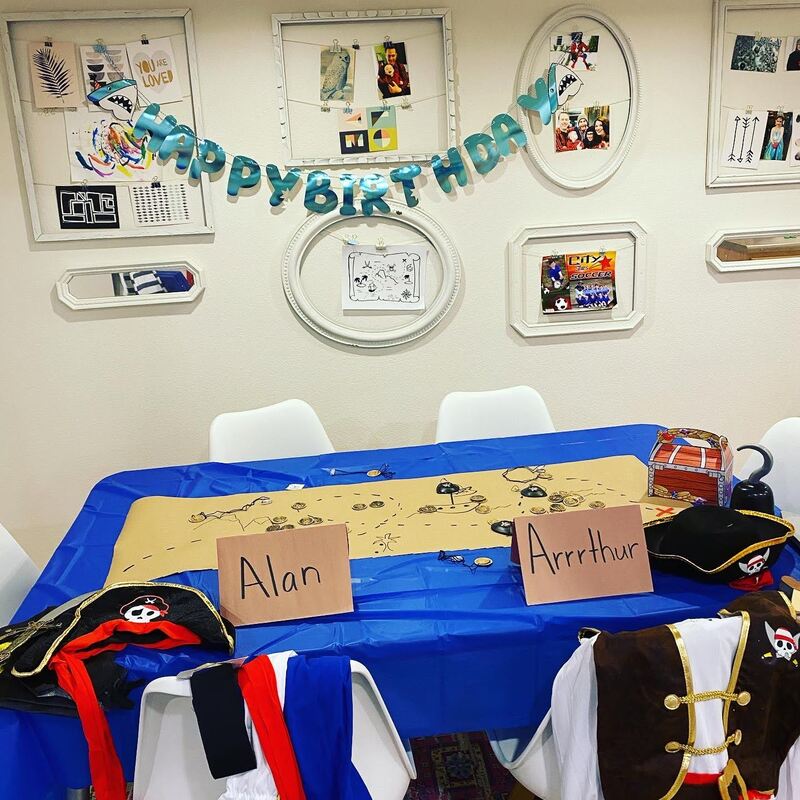
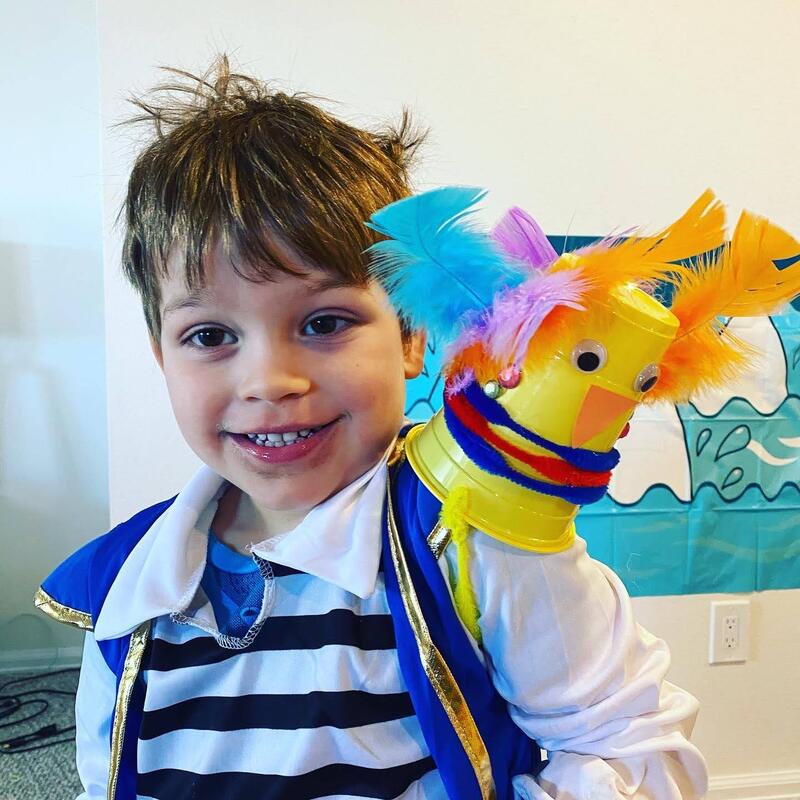
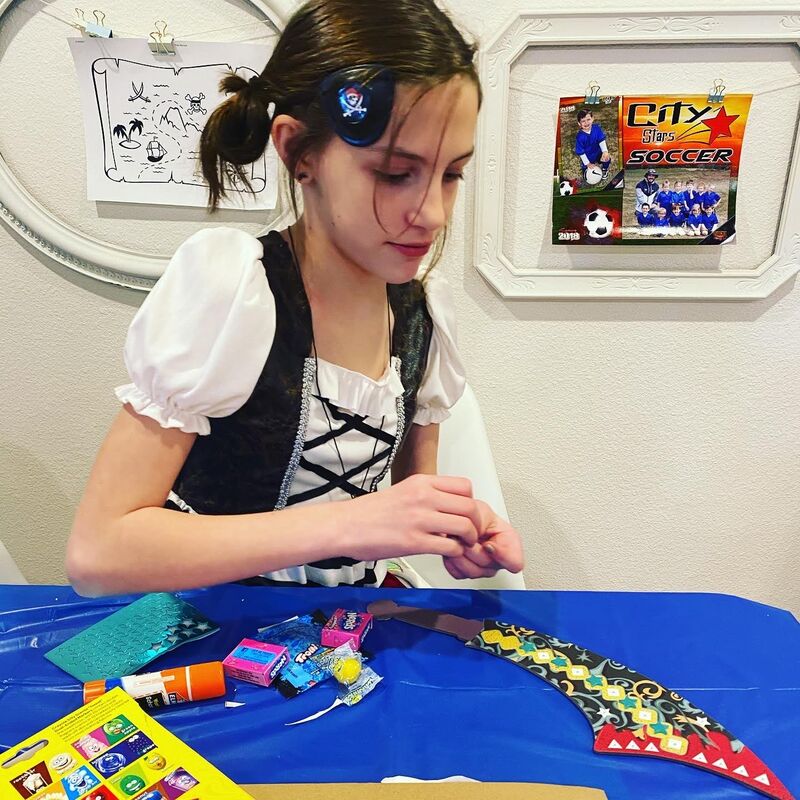
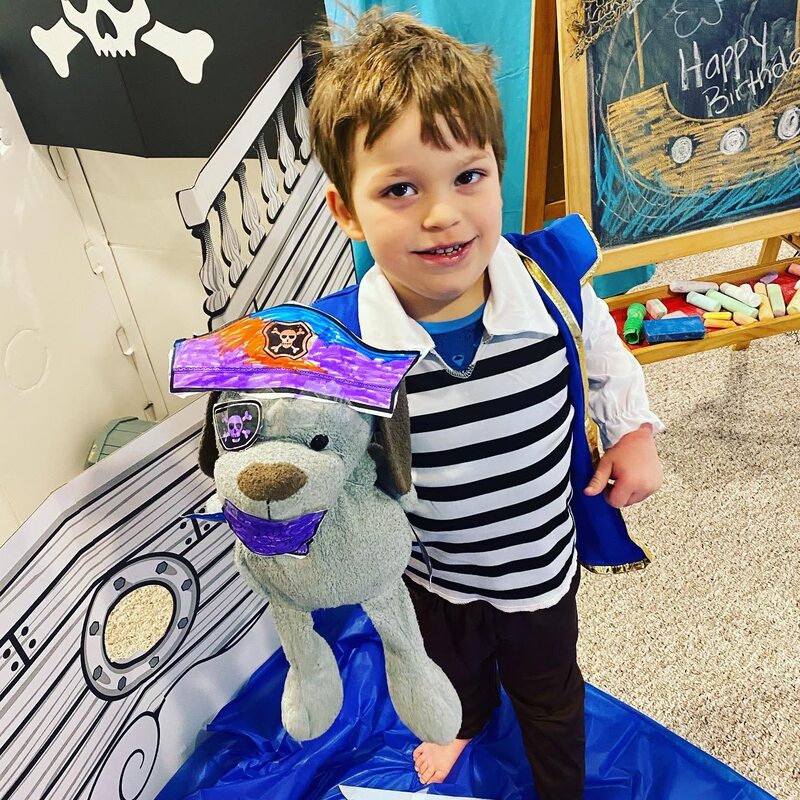
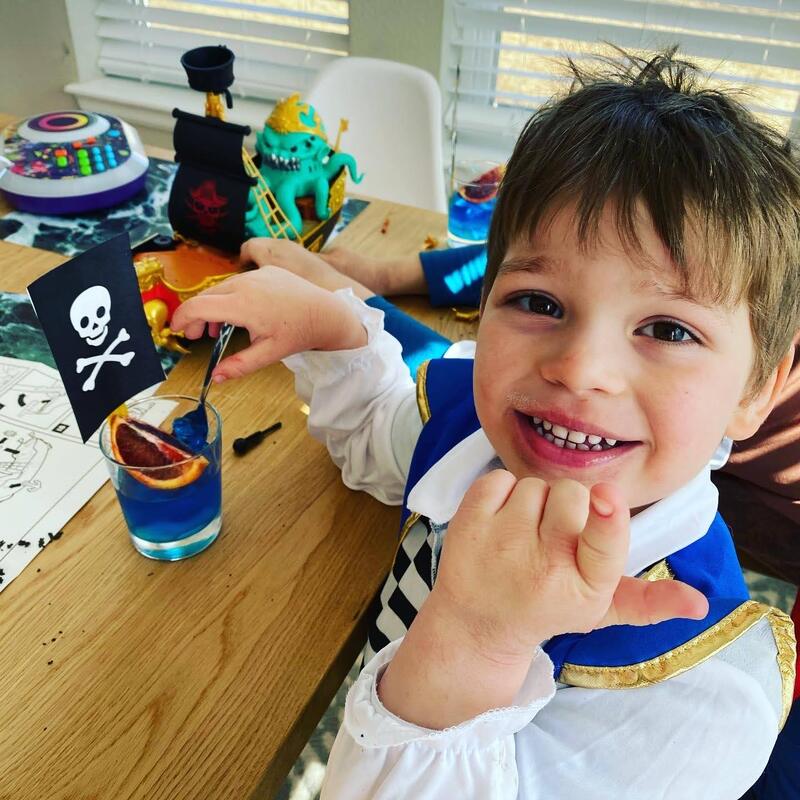
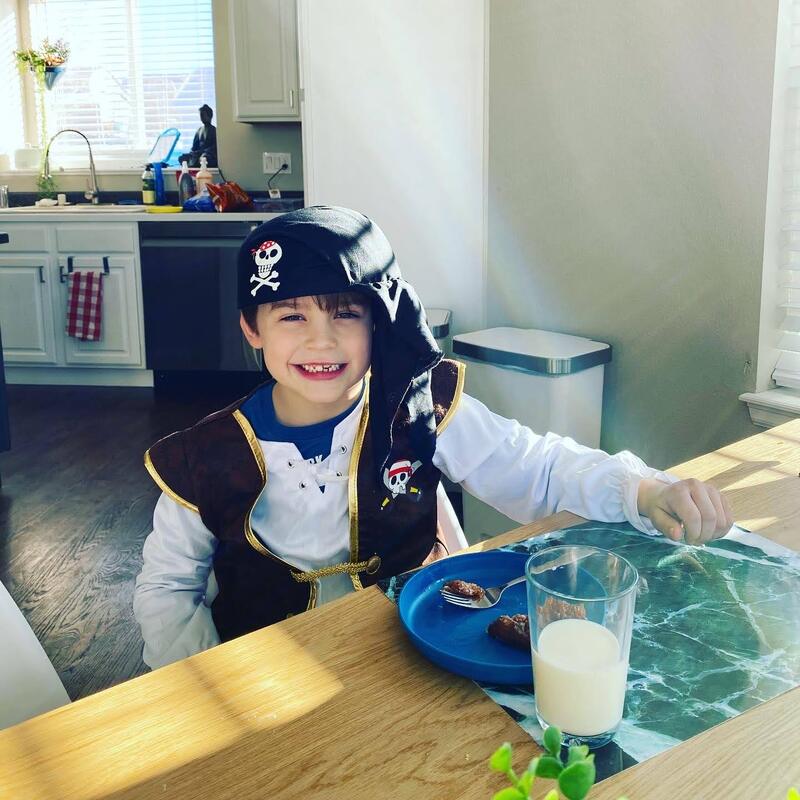
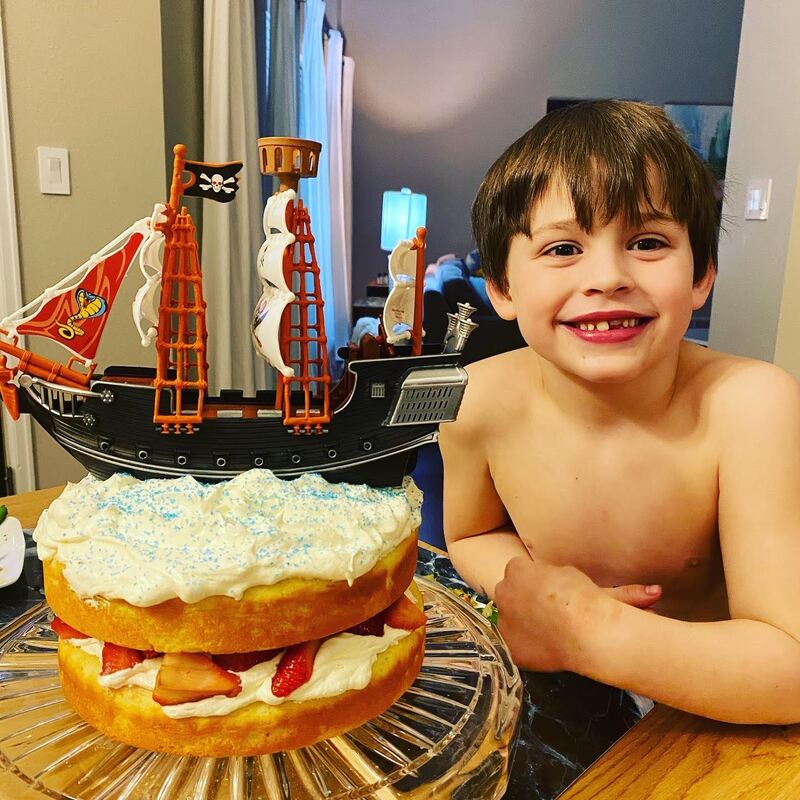
PWith covid still a very real thing we did not have a big party for Arthur's 7th birthday. However, just because we can't have people over doesn't mean we can't have a party! With three kids we basically have a party anyway. So, I planned a day full of activities revolving around pirates, his chosen theme. We had a great day doing all the things and, the best part for my son was that he never had to change out of his pajamas. He's a real home body and if allowed, he would choose to almost never leave the house. I made a party planning sheet and Pinterest board to make sure I didn't forget anything, hit Hobby Lobby hard for supplies and headed home to get it all prepped! He woke up to find a pirate themed basement with a cardboard ship, pirate costumes, treasure, a shark infested "ocean", pin the teeth on the shark and a piñata. After a riddle filled treasure hunt we did a lot of crafts including making a shoulder parrot, coloring pirate accessories for our stuffed animals so they could join in on the fun, decorating swords and making maps. Mixed into all of the fun we had jell-o ocean cups with orange ships, his fav breakfast (apple fritters), gold oreos and birthday cake in his chosen flavor, strawberries and cream. I even made the cake twice because the first time the altitude killed it and I had to start over. But, I made chocolate covered cake balls out of the failed attempt that turned out delicious. We all had a great day of togetherness and celebration and I don't think he missed having a huge group of people over in the least.
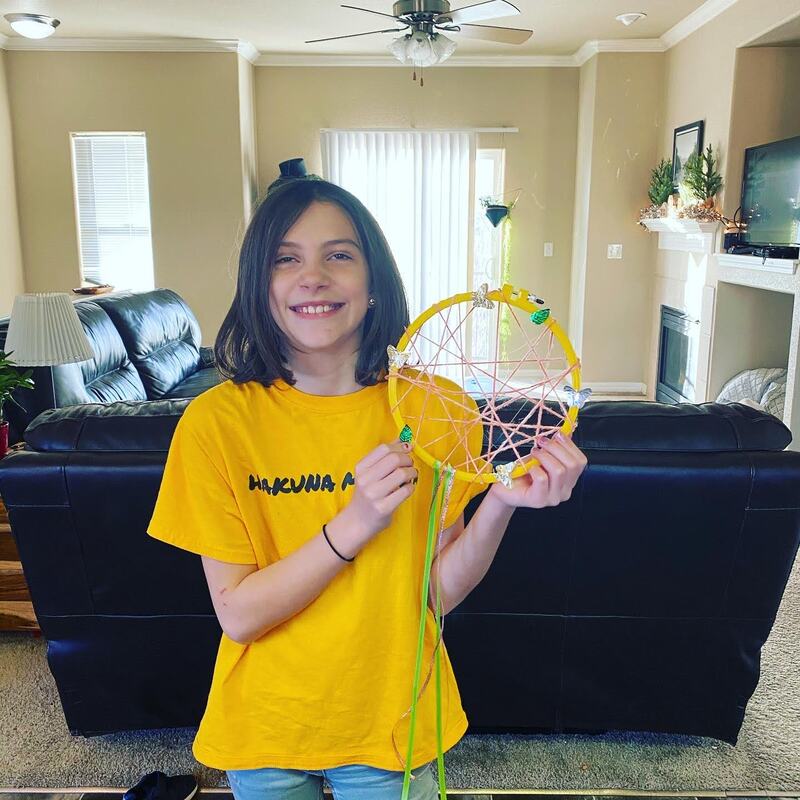
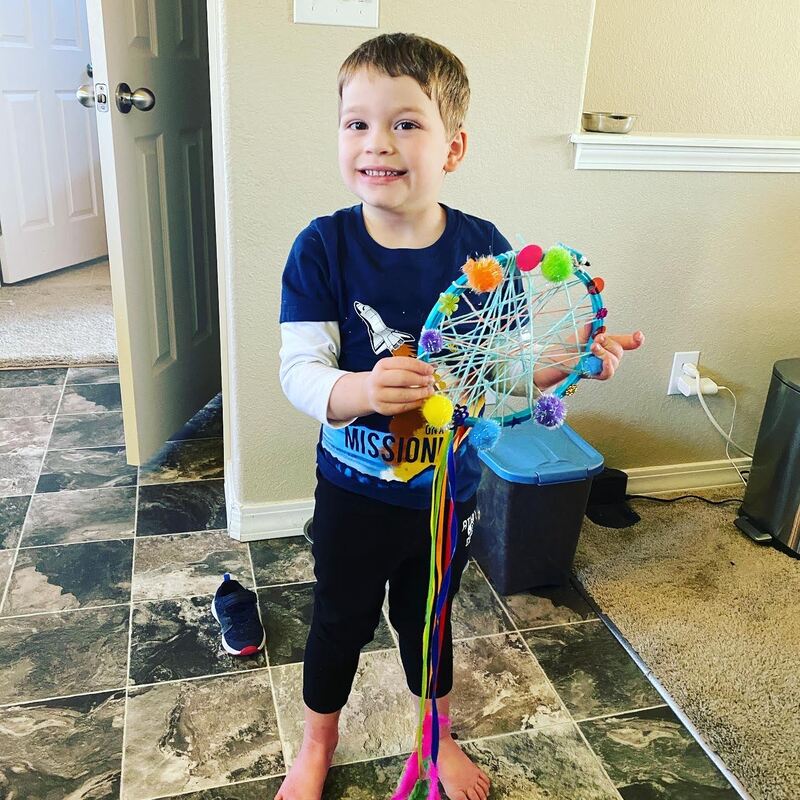
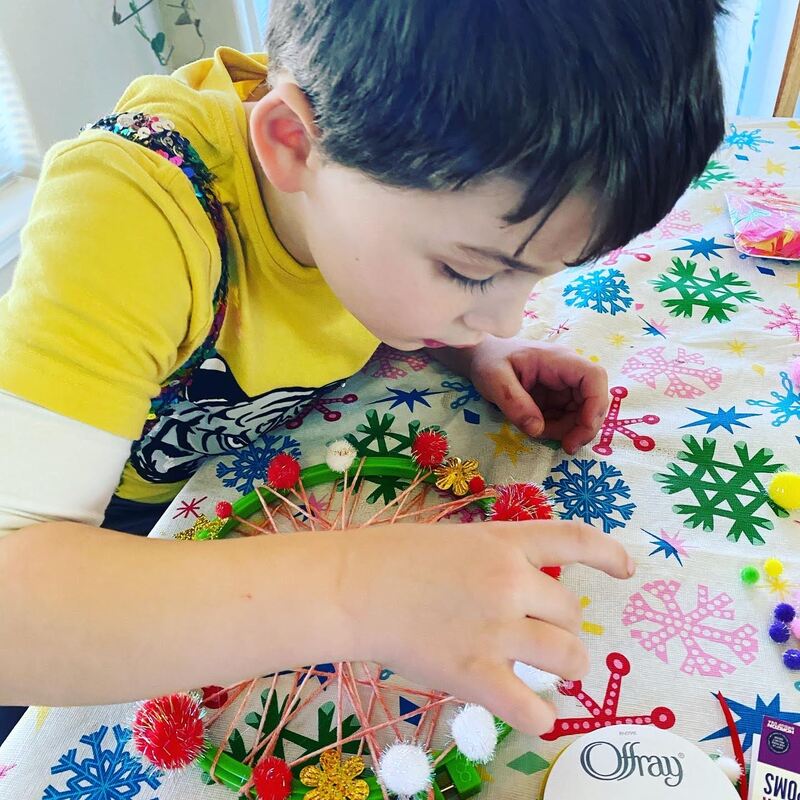
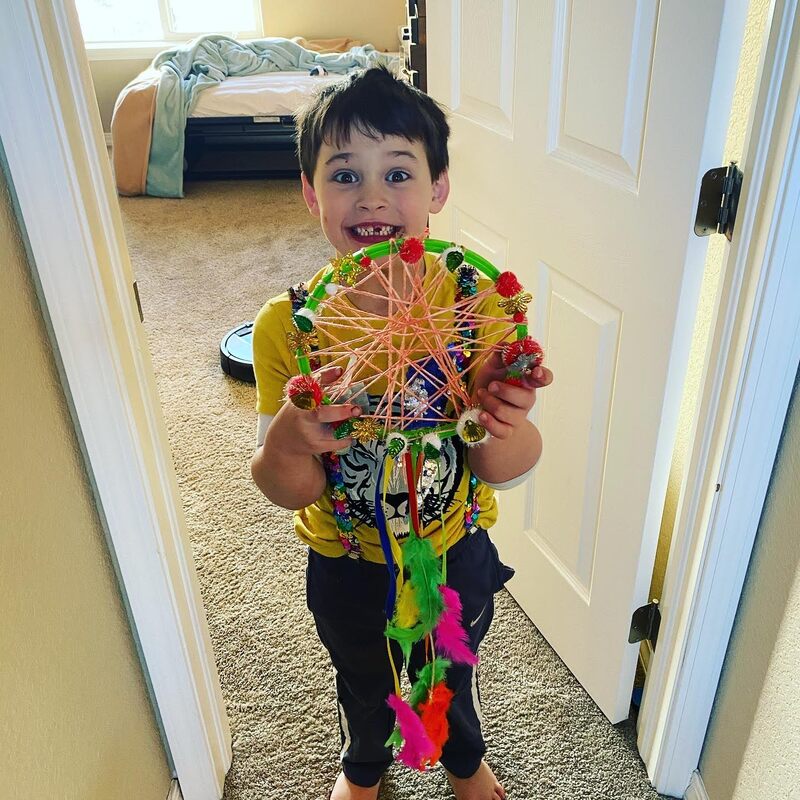
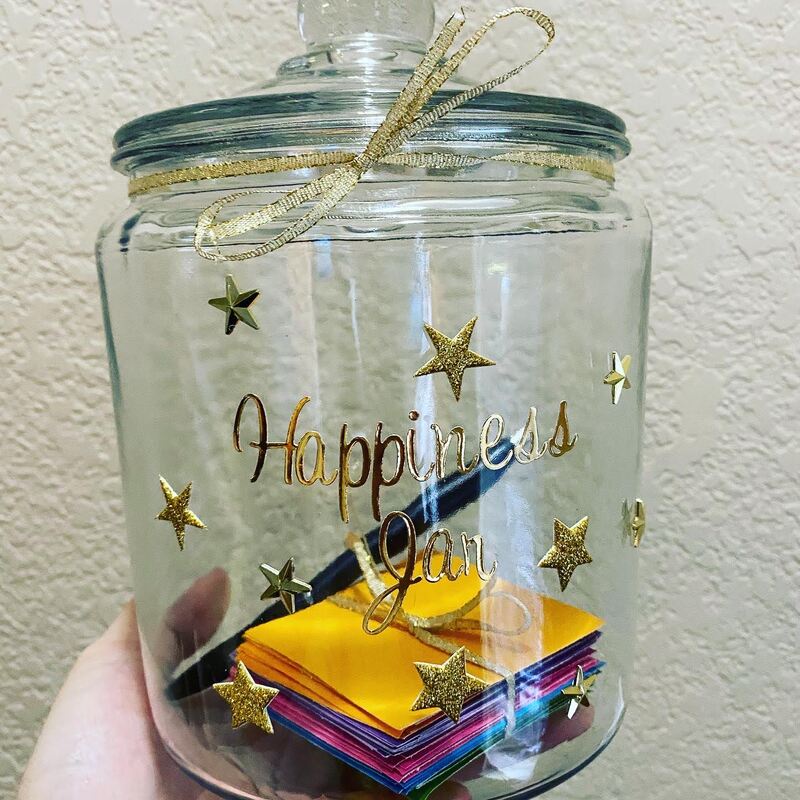
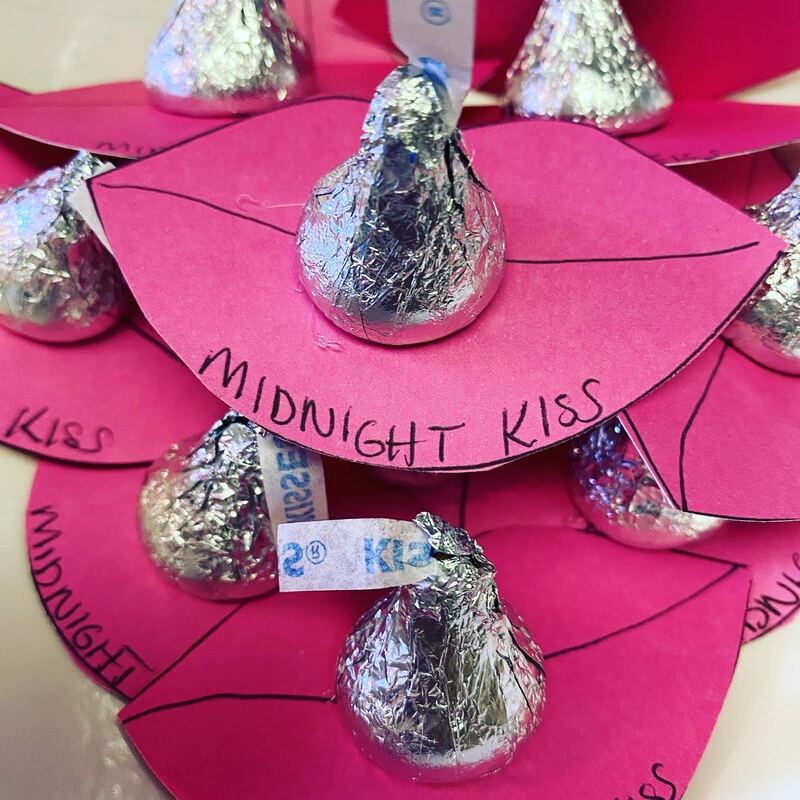
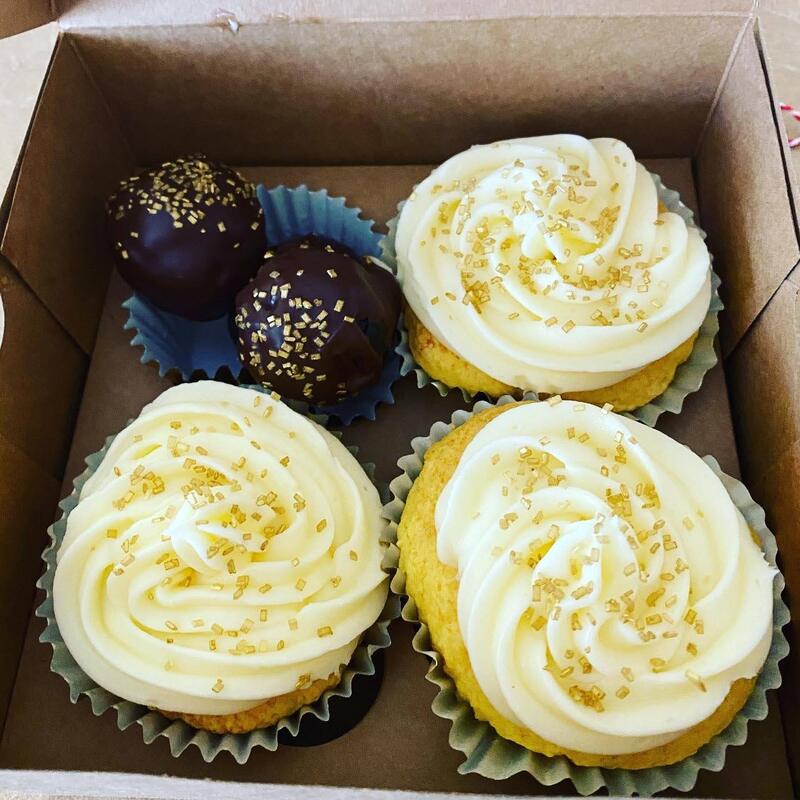
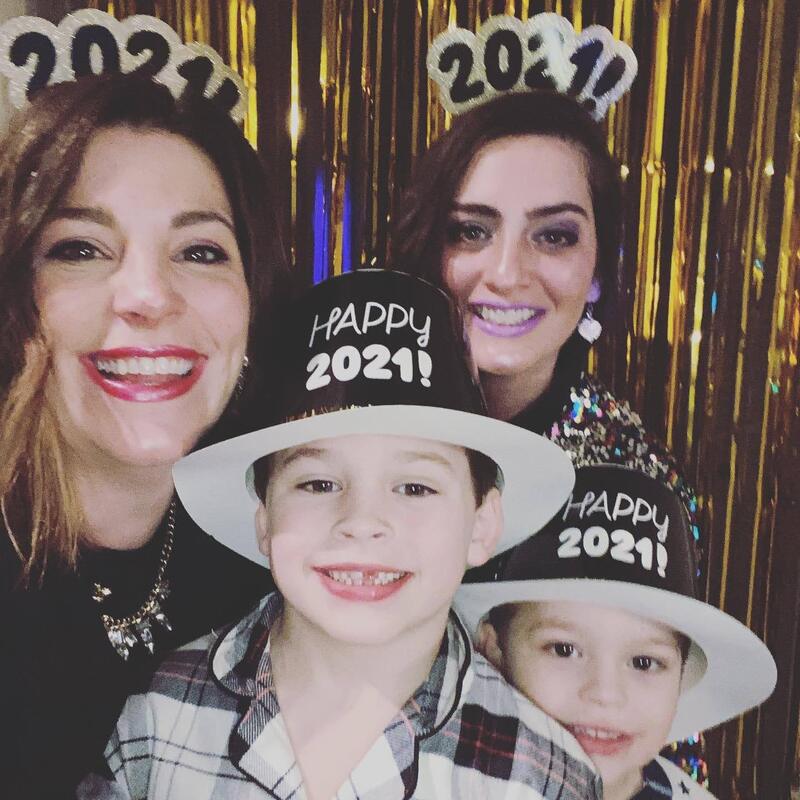
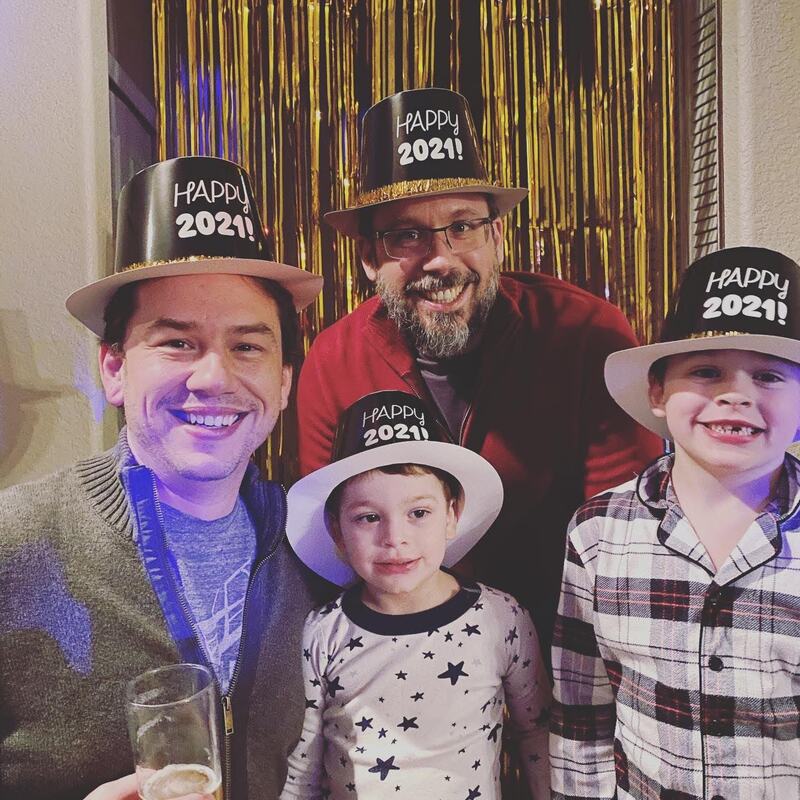
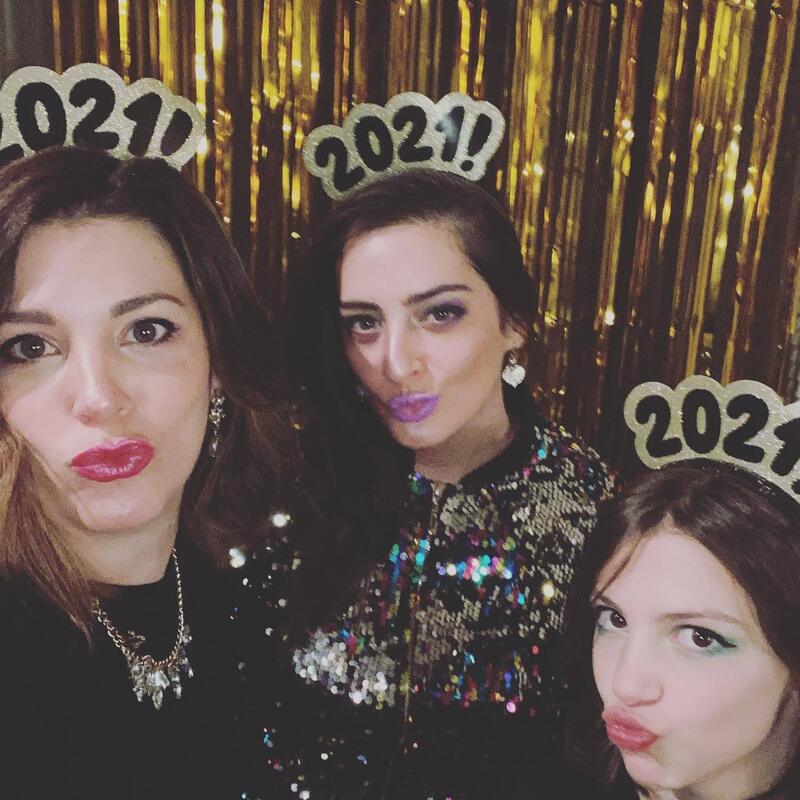
You can find links to all of my inspiration ideas on my pinterest board here. Thanks for visiting! Our new year's eve plans vary each year. Sometimes we go out with friends, other years we stay in. This year going out was clearly off the table so I planned some fun kid activities for the day. We started the day off by making dream catchers. I used embroidery hoops for the base and a mix of yarn, ribbon, feathers and sequins to decorate. Then we made some champagne cupcakes, chocolate truffles and midnight kisses. We also made a happiness jar so we can keep track of all of the good things that happen during the upcoming year. We ended our evening by getting glammed up, taking some photos, watching fireworks from Pike's Peak, having a dance party and playing minute to win it games. You can check out my pinterest board with all of the inspiration I used for the activities here.
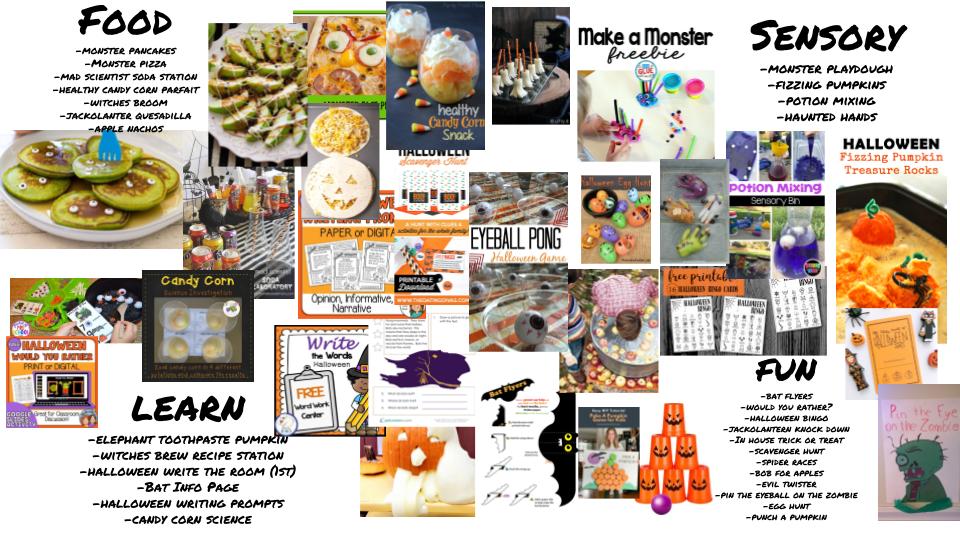
Halloween this year will be different just like everything else in this dumpster fire of a year. But, just because we can't do all of the normal things doesn't mean we can't make the most of our time and have fun. Halloween is finally on a Saturday so that gives me the whole day to fill with fun and exciting things for my kids. So, I've compiled a huge idea board full of food, activities, learning opportunities and things to do as a family. I linked all of the things to the posts about them online so you can do it too! We may not get to everything but we definitely won't run out of exciting things! What's the plan?
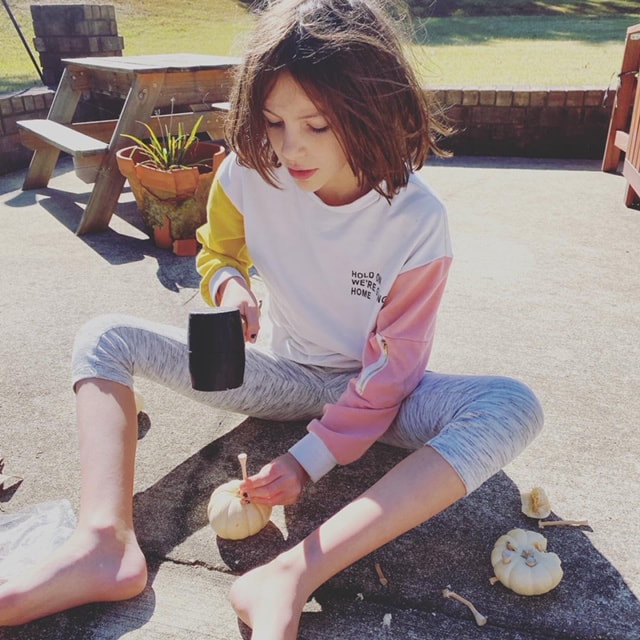
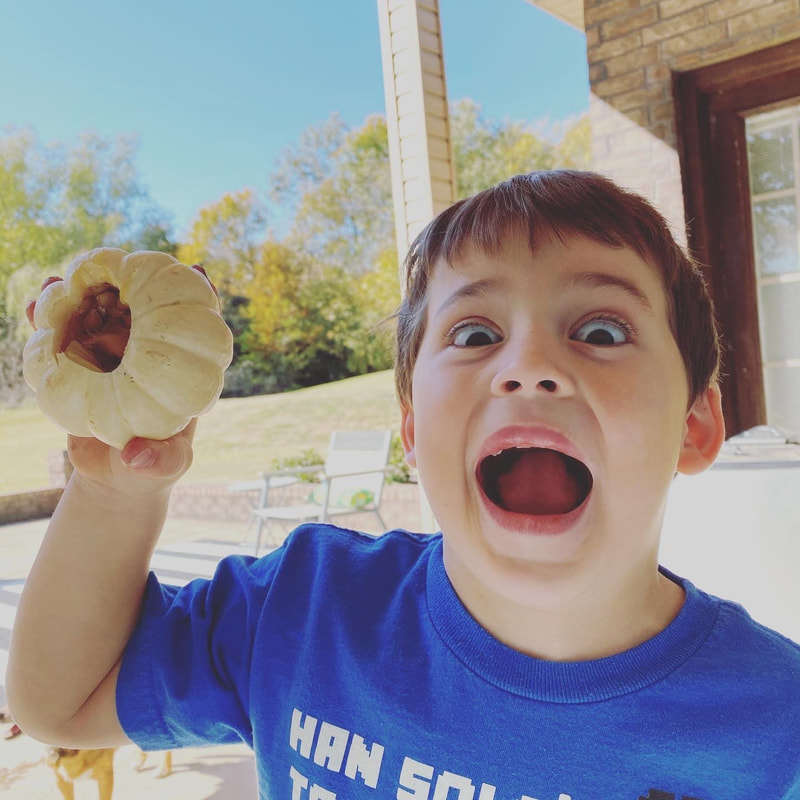
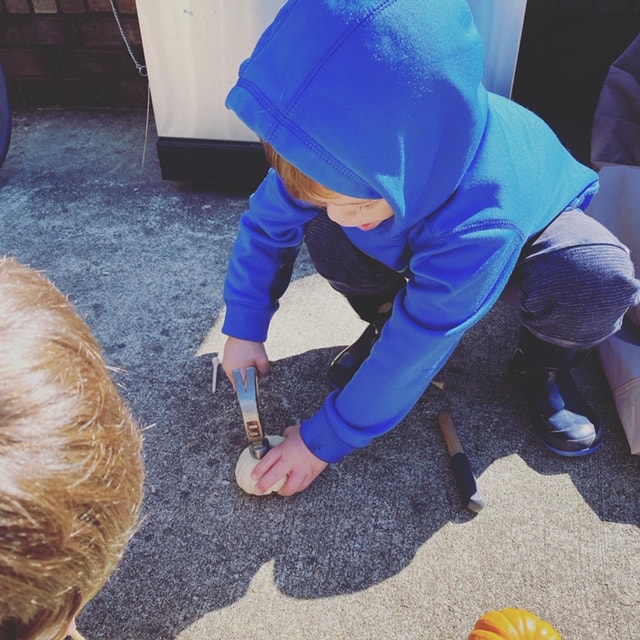
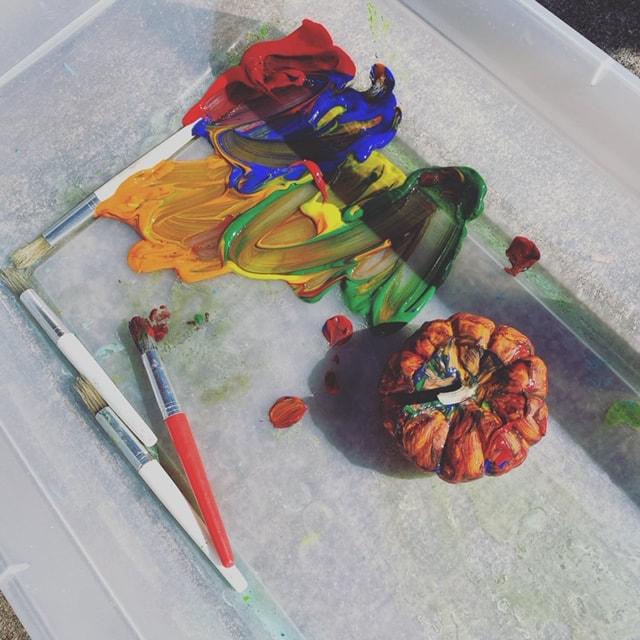
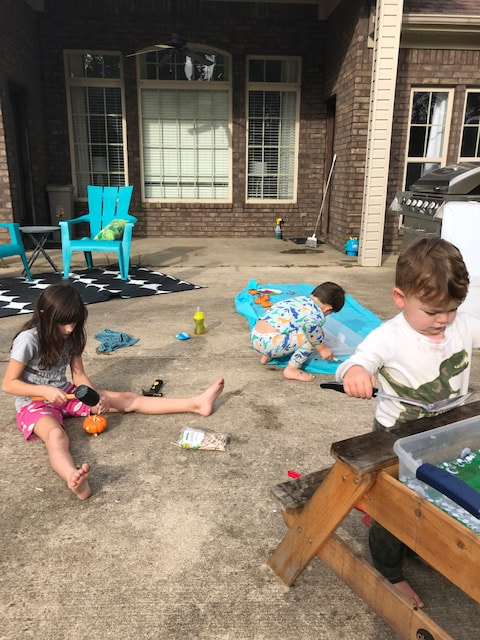
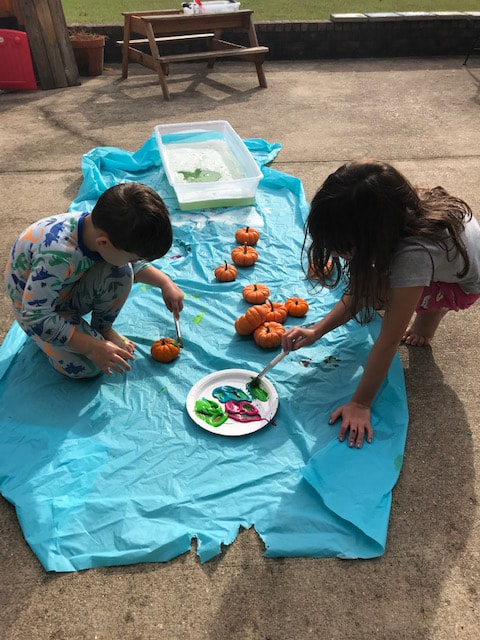
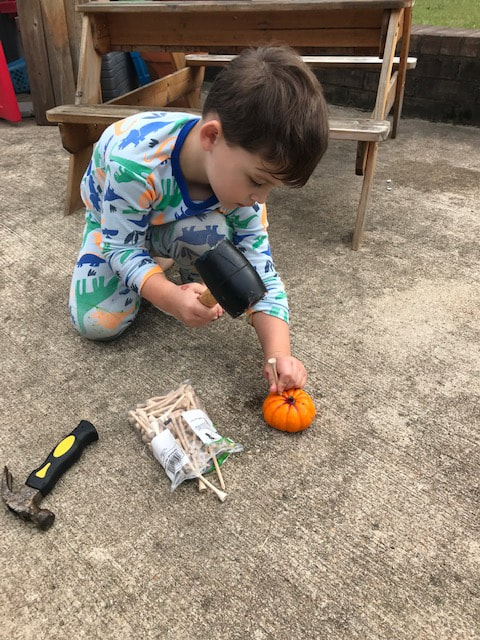
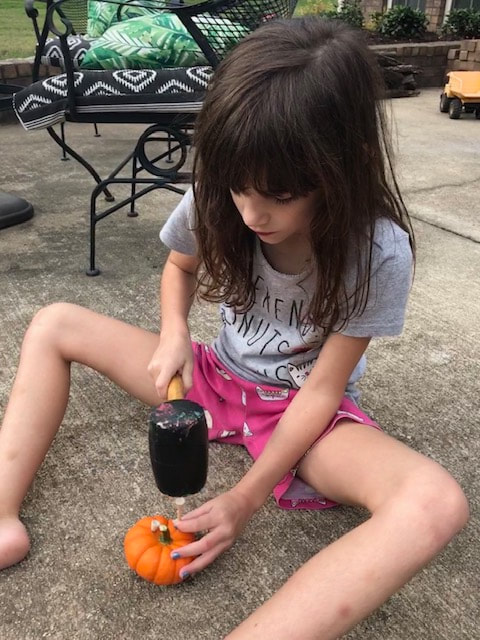
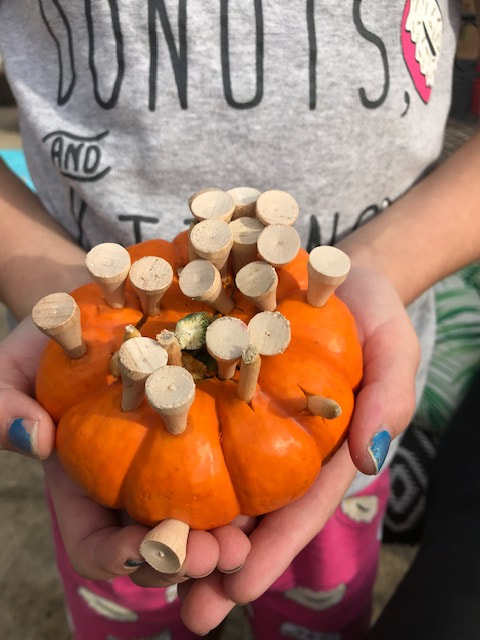
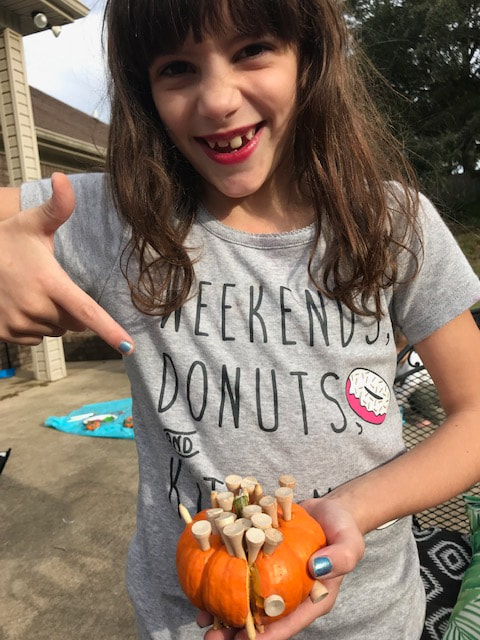
Morning: Wake up and make sneaky monster pancakes packed with spinach and covered with candy eyeballs! With all of the candy they will be eating throughout the day I want to make sure they get some healthy foods as well and they won't even know they're getting some leafy goodness with these green pancakes. After breakfast we will start our activities in no certain order. Afternoon: Lunch will be a make your own monster pizza and healthy candy corn parfait made with just fruit and whipped cream. Then we'll continue with more activities. Evening: Mummy dogs for dinner with popcorn and candy while we watch a movie after trick or treating in the house and going on a halloween egg hunt for candy in the yard. What are the activities? I've planned a ton of things but these are the ones I'm most excited about. You can find all of the activities and links by opening the document linked above. -Pumpkin Punch Out - solo cups, tissue paper and small trinkets will make a pumpkin punch board for them to find treasures. -Halloween Scavenger Hunt - cute clues from The Dating Divas and a boo basket prize at the end will make for a ton of fun -Mad Scientist Drink Station - throw a variety of soda and juice in various plastic containers and let kids make their own tasty drinks, it'll be way more fun than when we used to make suicides at the drink dispensers -Make a Potion - provide a bunch of plastic halloween trinkets, a bowl or plastic cauldron and colored water, soap and glitter so kids can make pretend potions -Elephant Toothpaste Pumpkin - the classic elephant toothpaste science activity but inside of a carved pumpkin -Candy Corn Science - another classic science experiment using candy corn -Bob for Apples - a traditional activity that you don't see much anymore but will be sure to entertain -Playdough Monsters- playdough, trinkets and imagination will keep the kids entertained for a good while -Pin the Eyeball on the Zombie - my son specifically requested a pin the something game so this is for him -In House Trick or Treating - they still get to trick or treat but this time they'll do it at eachother's bedroom doors. -Glow in the Dark Halloween Egg Hunt - glow sticks and sharpie monster eggs hidden in the yard for a twist on the normal outdoor shenanigans I think it will be a memorable and fun Halloween even though we are missing out on our annual door to door and party with friends. I'll post all of our photos and share our experience next week. Until then, enjoy the ideas and be safe! I always try to throw together a few themed activities depending on the time of year. This year I brought back a popular activity from last year, Pumpkin Destruction! I just gave the kids some pumpkins, water, small hammers, golf tees and paint and let 'em at it. They loved breaking the pumpkins open and exploring the insides or, if they are less into destruction, simply painting them and washing them over and over again. It kept them entertained for at least an hour. There was quite a mess afterwards but, that wasn't a big deal since they did it outside.
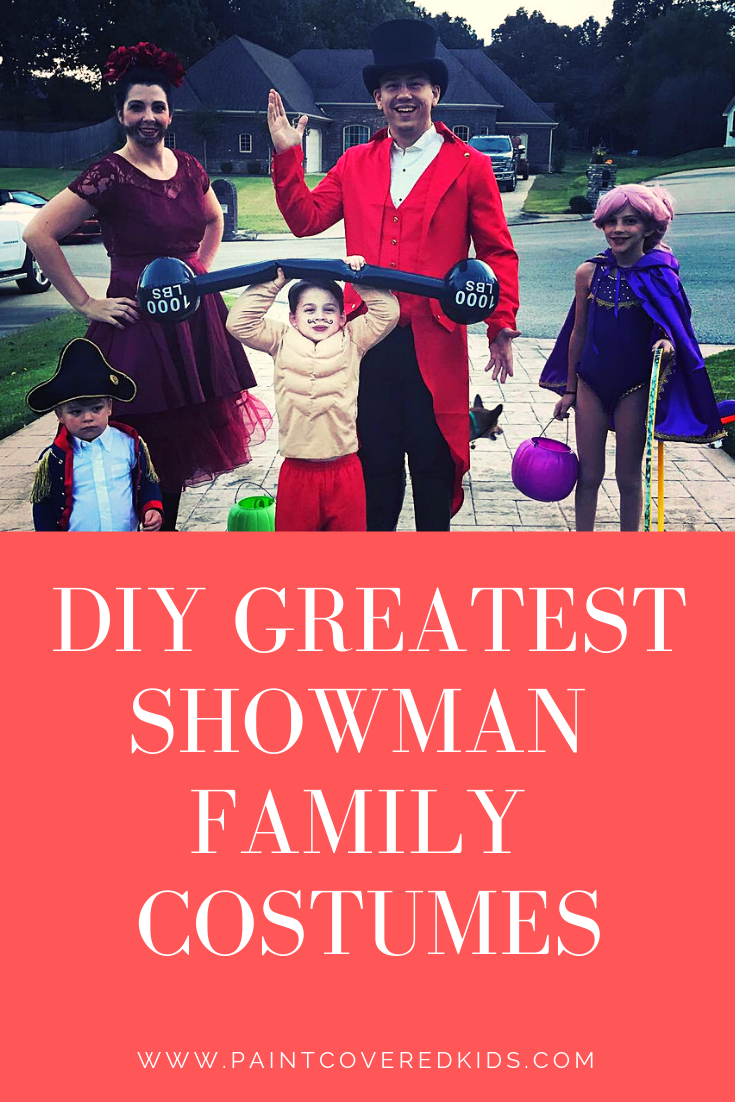
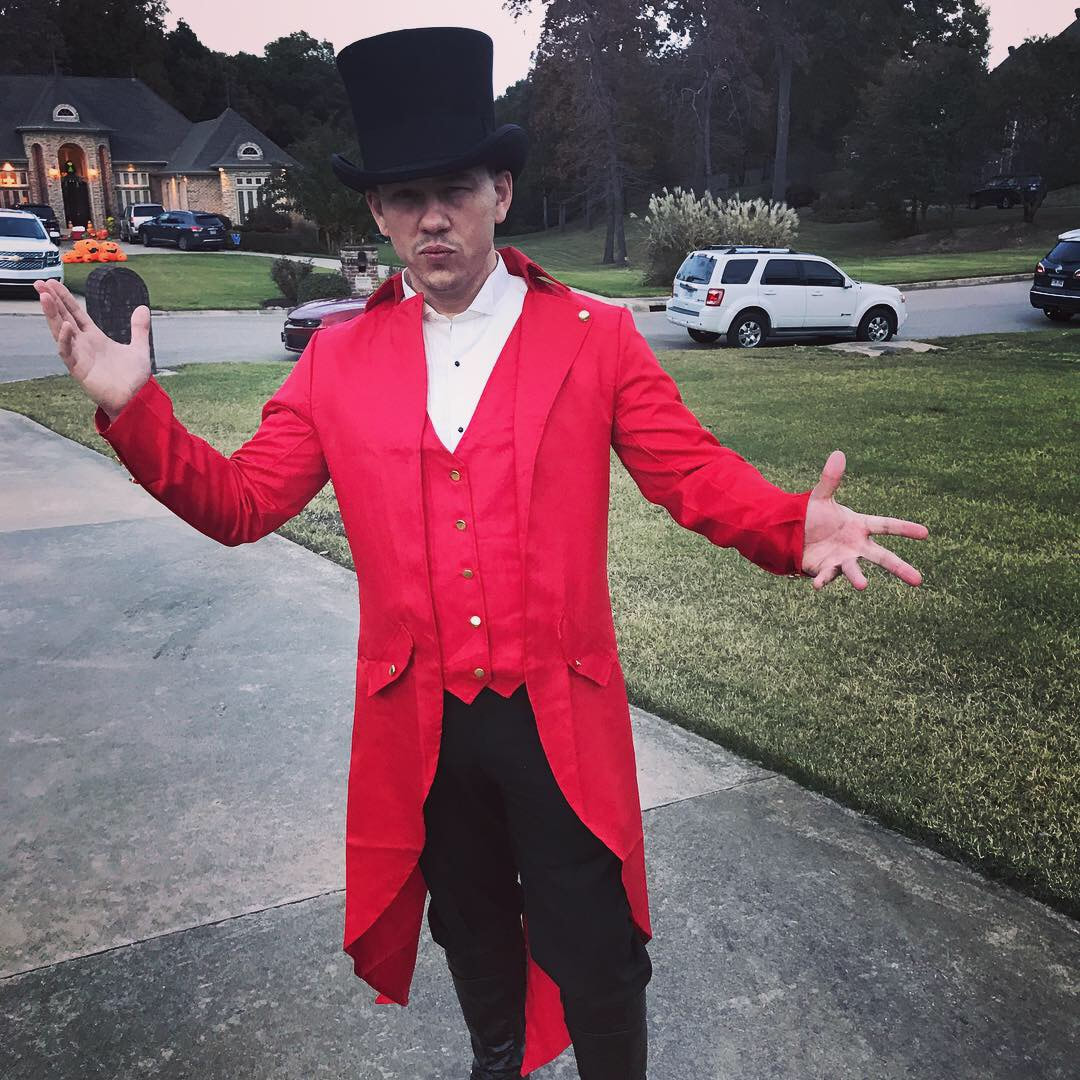
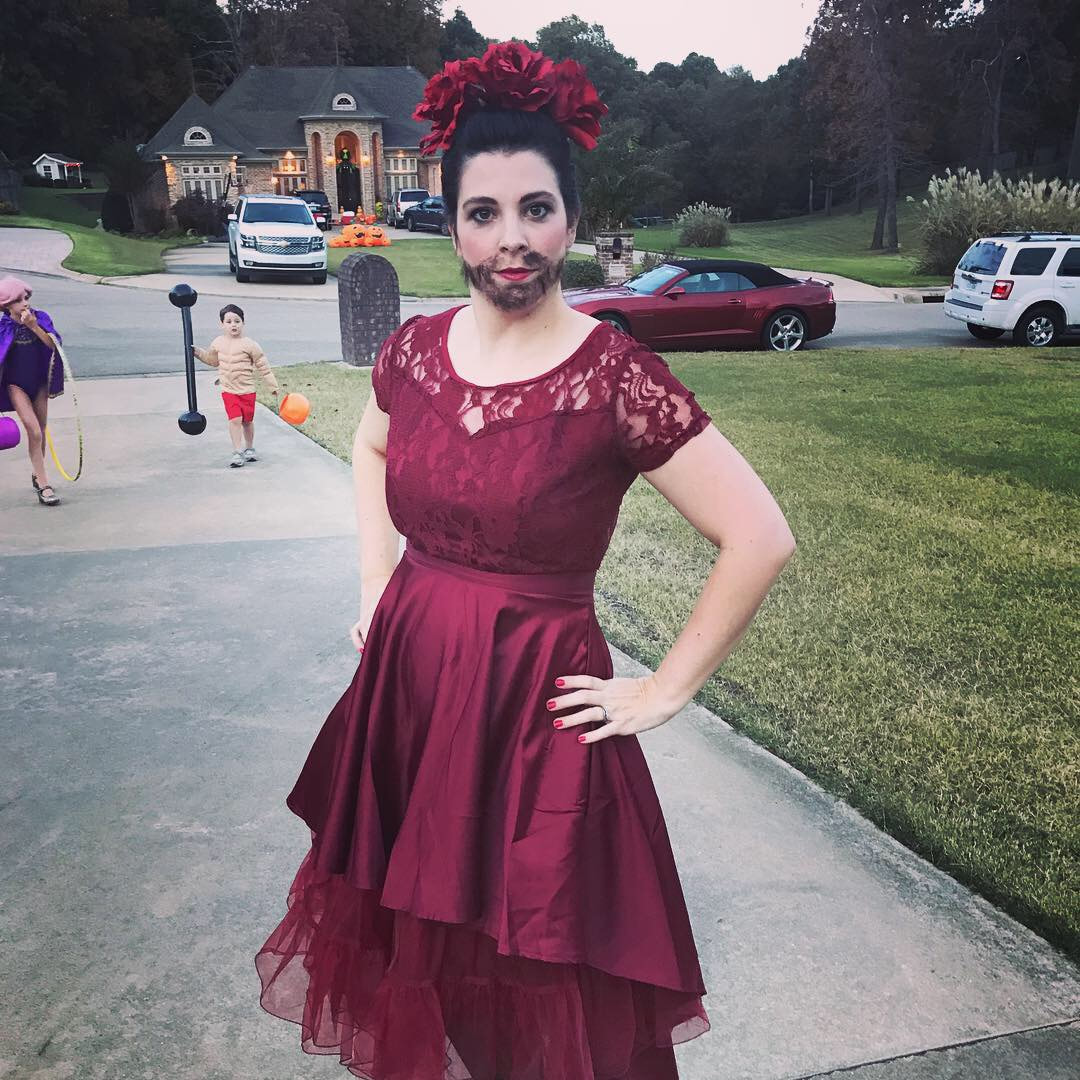
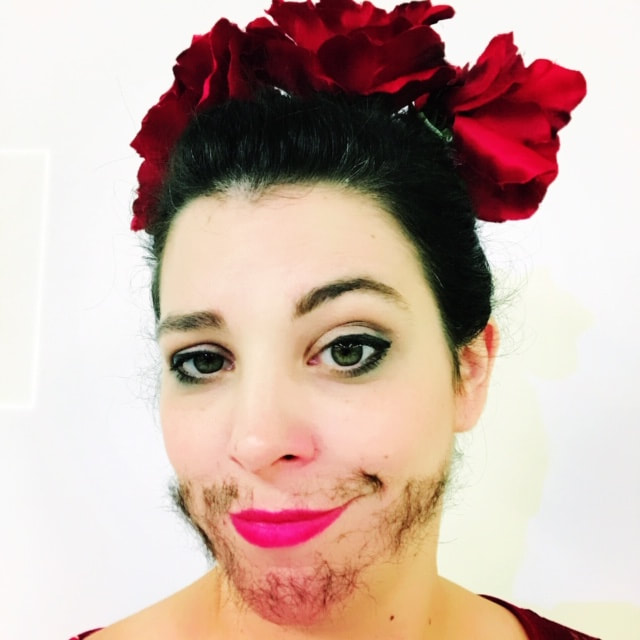
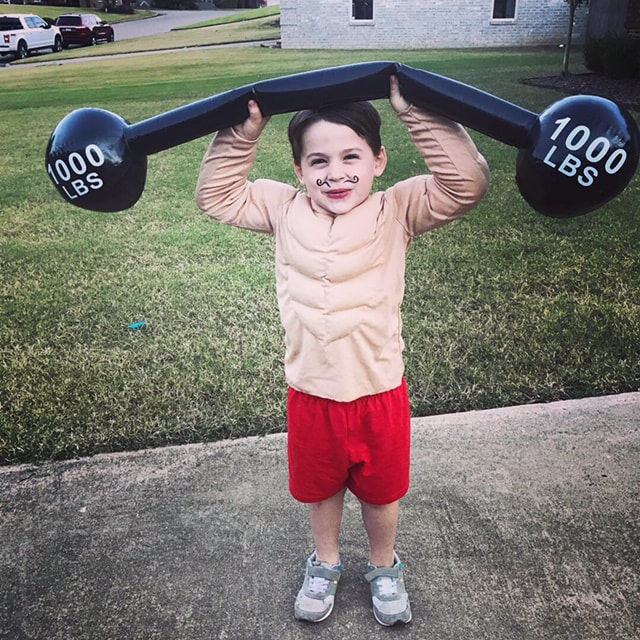
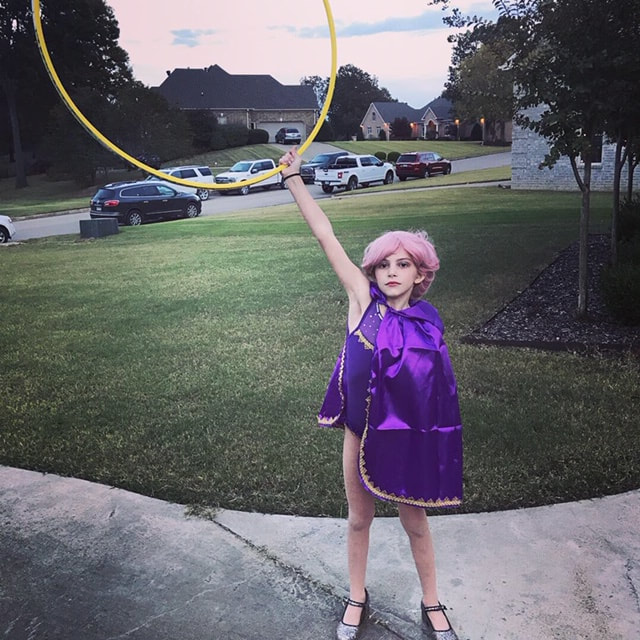
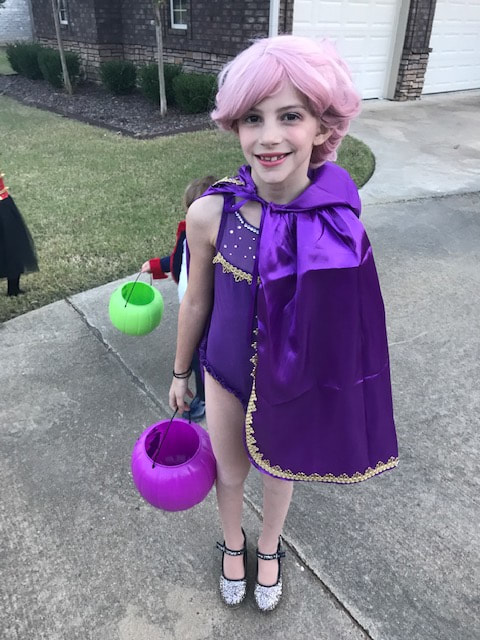
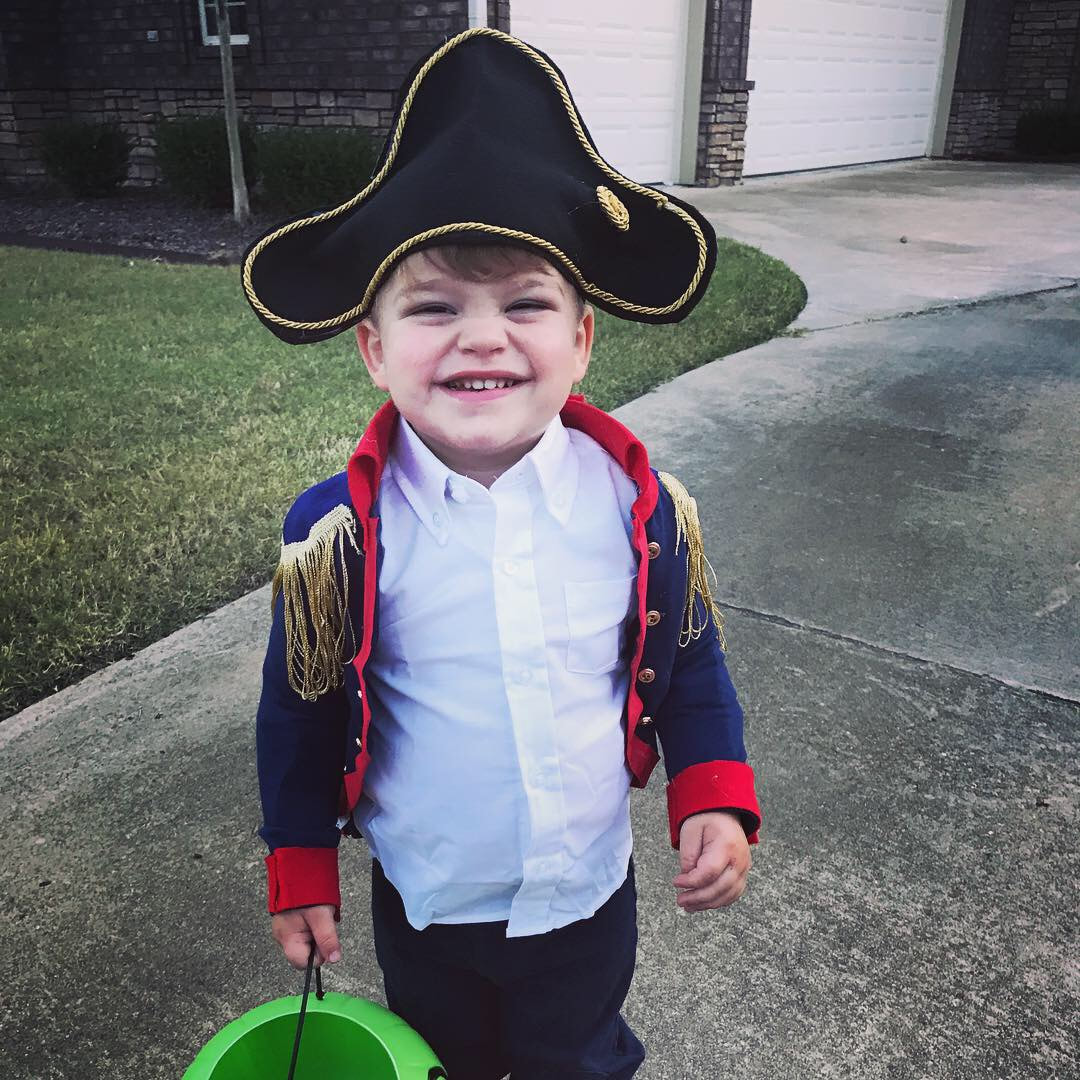
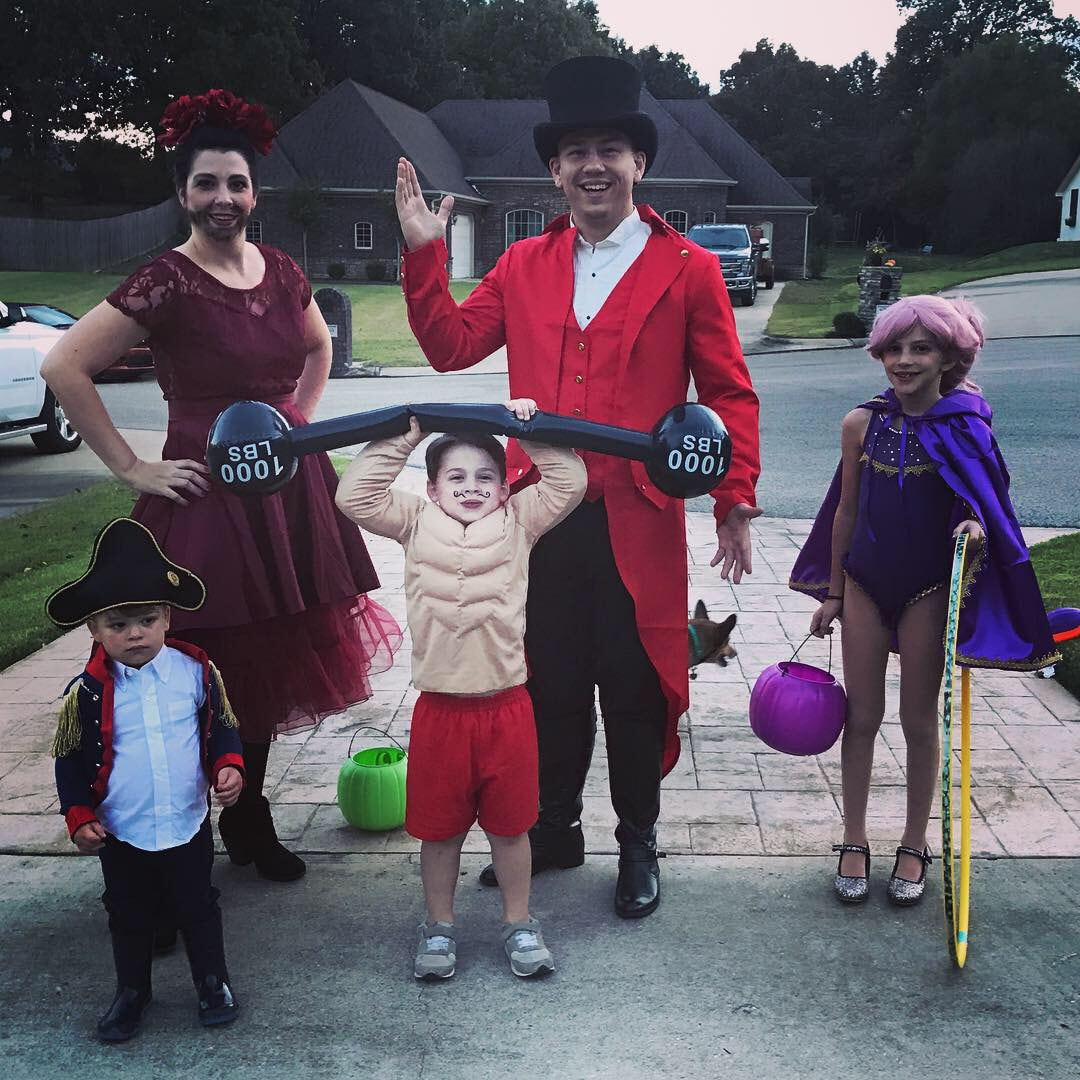
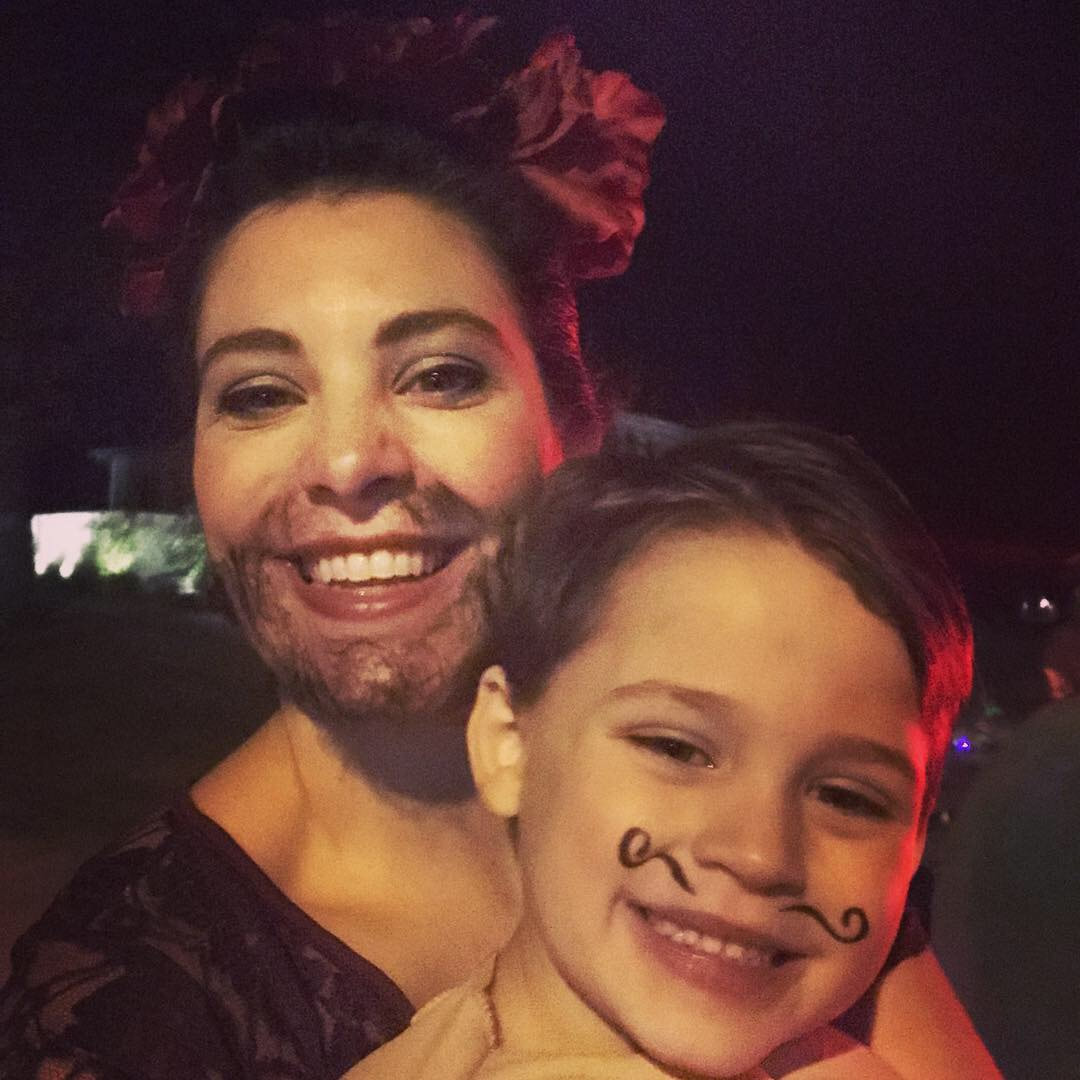
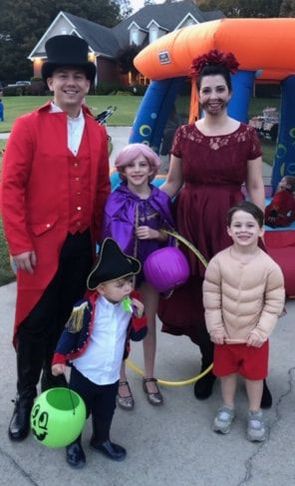
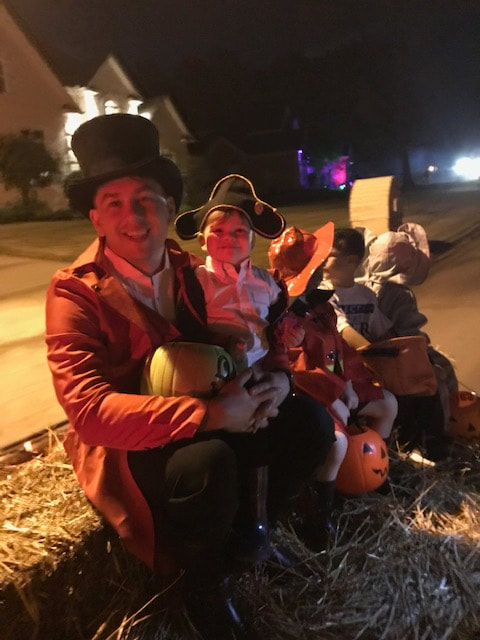
This year we went as characters from the movie The Greatest Showman. I was the bearded lady, Derek was the ringmaster, Lillian was the acrobat, Arthur was the strong man and Alan was the small man dressed as Napoleon. I feel like our costumes turned out great and you can read on to see how I pulled it all together! The ringmaster costume was easy. Derek already has a top hat and cane as well as black pants and boots and a white shirt so, I just ordered him a jacket from Amazon. It looked great and was cheap. Done. My costume was also relatively easy. I thought I would luck out and find a cheap prom dress at Goodwill but that did not work out and I ended up buying a cheap dress on Amazon along with a taffeta underskirt. I already had some flowers for my hair. For the beard, I researched how to apply a fake beard which is surprisingly easy. You can see the video I used here. All I needed was fake hair and spirit gum. Done. The strong man costume was also pretty quick and easy. I did take a few liberties and went with a more traditional strong man costume, omitting the tattoos because it seemed like a lot of work and I was not feeling it. I purchased his muscle suit, red shorts, and inflatable bar bell on Amazon, drew a mustache on his face with some waterproof eyeliner, slicked his hair back and done. Yes...I know his shoes are on the wrong feet. We are working on that. He just likes them that way. lol. The acrobat costume took a bit more work. I ordered a leotard, cape and pink wig on Amazon but the cape and leotard needed to be embellished. I went to Hobby Lobby and purchased some gold trim and purple ruffle material and hand sewed them onto the leg holes of the leotard and the neckline. I also glued on gems onto the mesh portion of the neckline. I added the gold to the edge of the cape as well but got lazy there and just hot glued it. I gave her a little bit of pretty makeup and pulled the hair back after attaching it to her head and done. The Napoleon costume took the most effort. I had to make it entirely from scratch but, it also turned out to be the most awesome one in my opinion. I used a Martha Stewart tutorial as my guide but did make some changes to the steps. I purchased a navy blue long sleeved shirt and cut it down the middle creating a curved edge on both sides. Then, I glued bias tape to the cut edge on both sides. After that, I cut out red felt with angled edges, double layered it and then hot glued it to the neck of the cut shirt. Then, I hot glued little gold buttons on both sides of the cut shirt. To finish off the jacket, I took navy blue felt and created epaulets to which I added some gold fringe and then hot glued those to the shoulders of the shirt. Finally, I followed the Martha Stewart tutorial exactly for the hat using black felt, hot glue and gold trim. I put him in blue pants with blue rain boots and a white button up shirt to finish it off. I did not modify the white shirt because I felt like it was unnecessary and would ruin the shirt for future use. I was super happy with how all of our costumes turned out this year! I hope you had a great Halloween too!
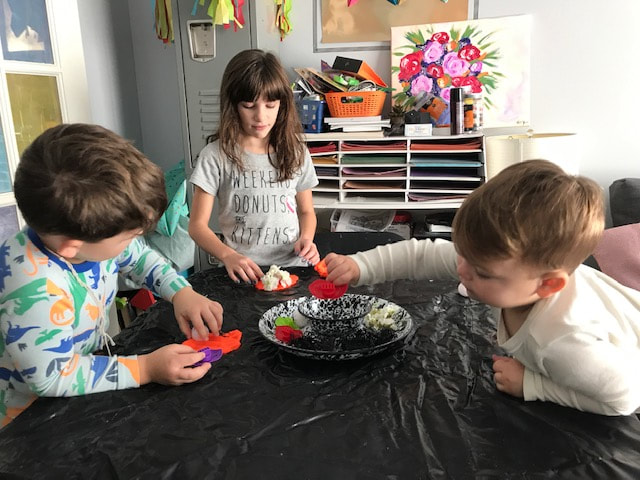
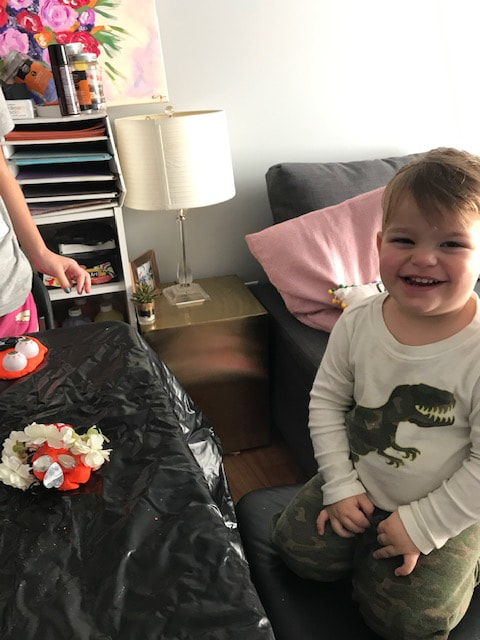
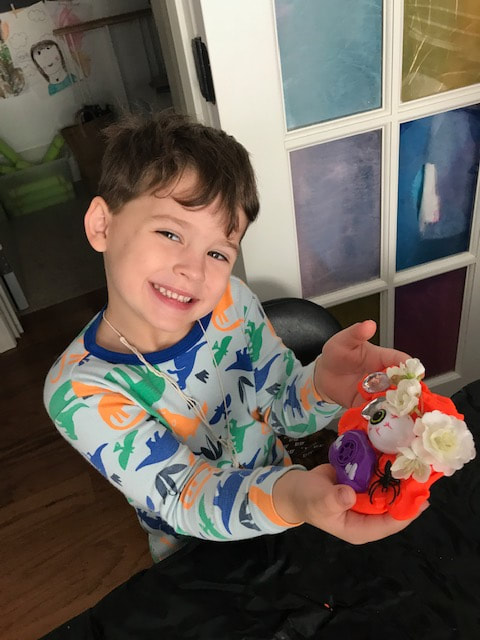
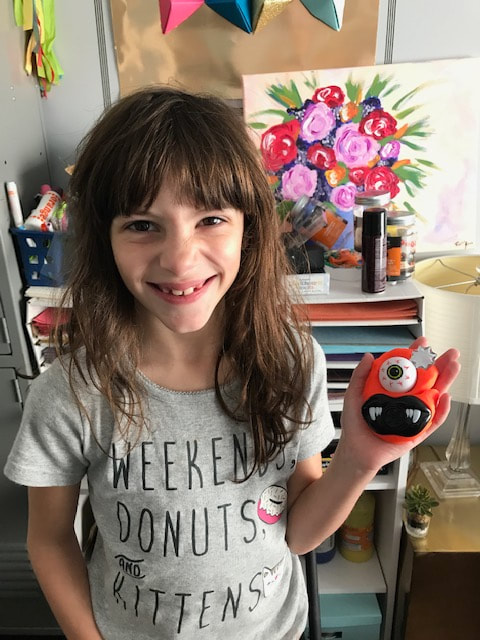
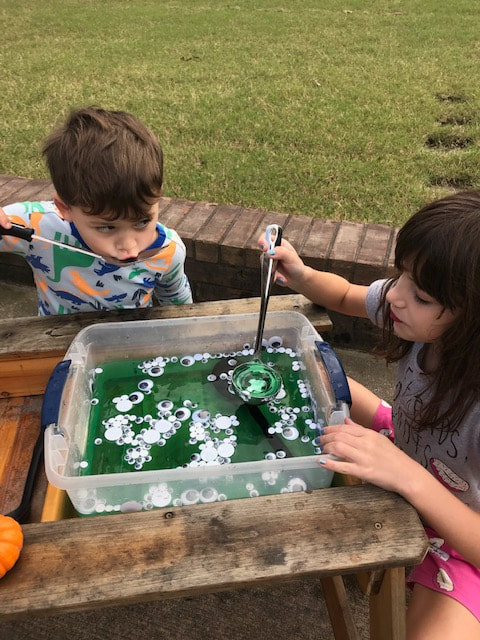
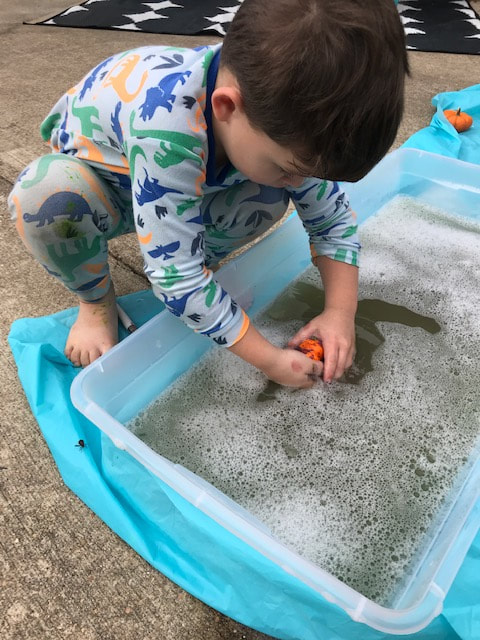
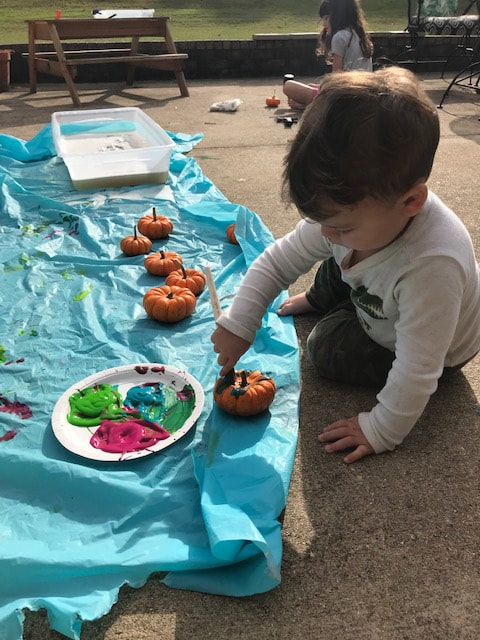
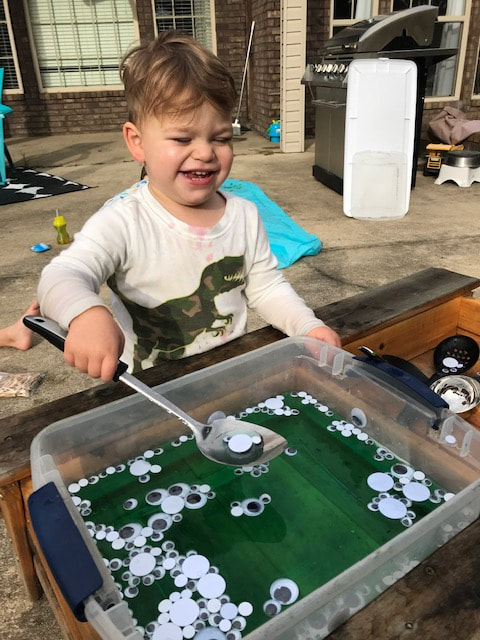
As you might already know, I am a high school teacher. This week we had parent-teacher conferences on Tuesday and then had Wednesday off so, while sitting in my classroom between parent meetings I worked on a little plan for entertaining my kids and keeping my sanity during our day off together. As always, we didn't finish everything but, we did have a lot of fun that was pretty low effort on my part and extremely inexpensive too! You can print out my plan at the end of this post! We started the morning with some indoor fun because it was a bit chilly outside. So, I set up an invitation to play with play dough by giving them some spider rings, plastic eyeballs, gems, silk flowers and orange play dough and asked them to make me a monster. You can give them any doo dads you think they might like. I hit up the halloween aisle at Wal-Mart to have a few spooky things like the rings and eyeballs. After the play dough fun, we headed outside for a little bit of messier play. I set up a container with colored water and googly eyes and placed a few large spoons next to it for them to create an eyeball stew. I also had a pumpkin painting station, pumpkin washing station and a pumpkin hammering station. For the washing station I just filled a container with soapy water and for the hammering station I provided a few small hammers and golf tees. They all enjoyed various areas more than others and they were all entertained for almost two hours! We also made some boo hand print art and were going to make a monster wreath but, Arthur wasn't interested and wanted to play with play dough more and Lillian didn't want to make a monster wreath. Instead, she made a "pretty" wreath using ribbon and glue. They were happy so I was happy. If we end up with some free time before Halloween I will try to do the activities we didn't have time for and I'll post about it if I do. There are several fun science ones that I couldn't do because I didn't have any vinegar! So be sure to check out the document for those! We ended the day with a trip to chikfila and I have to say, it was a pretty great day!
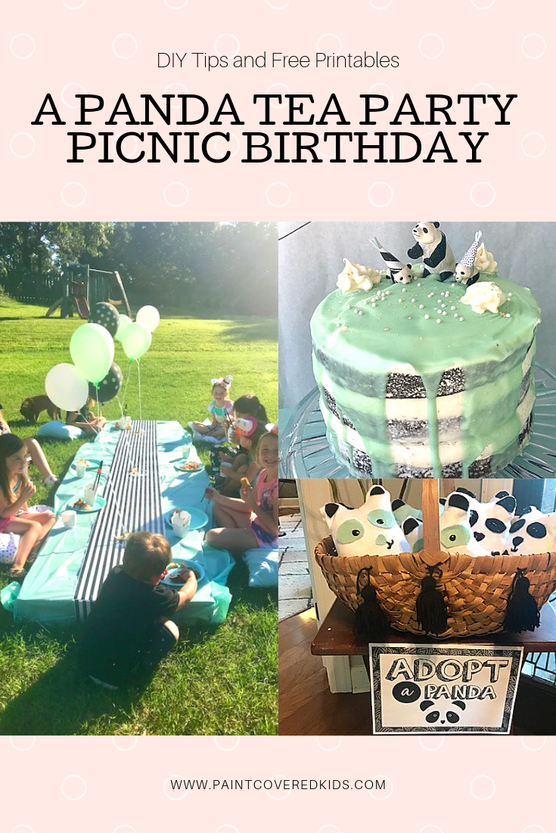
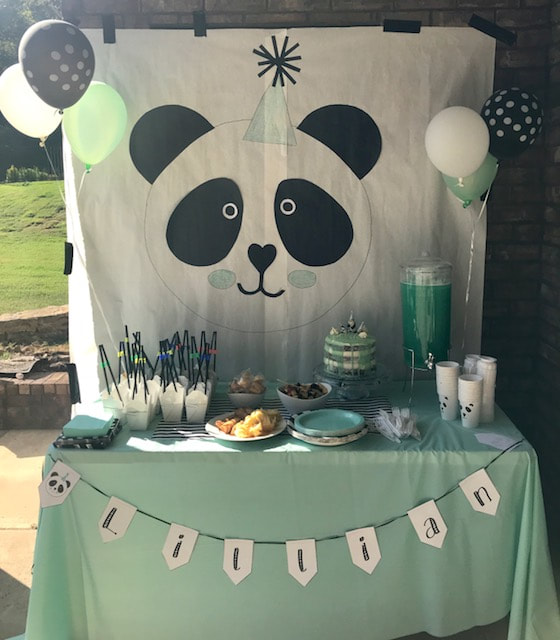
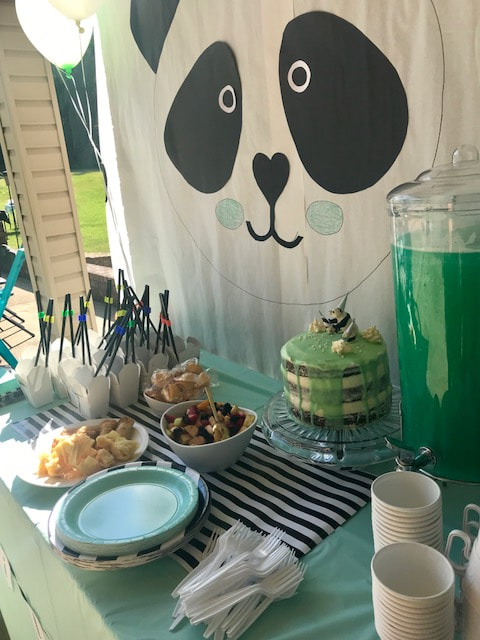
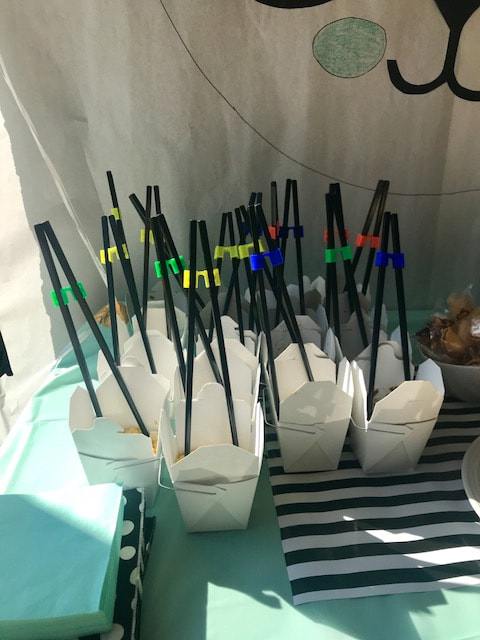
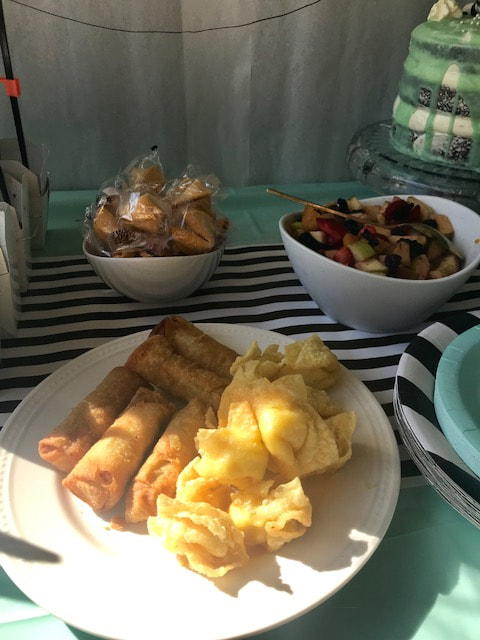
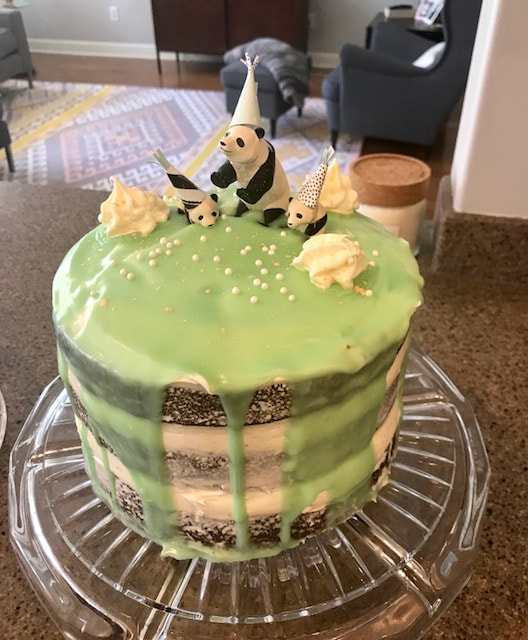
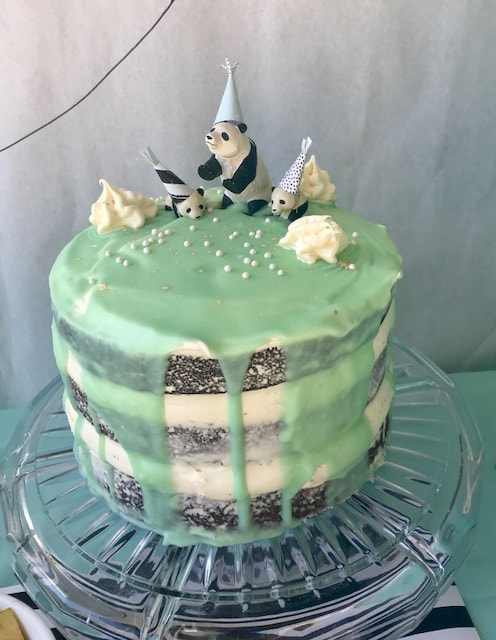
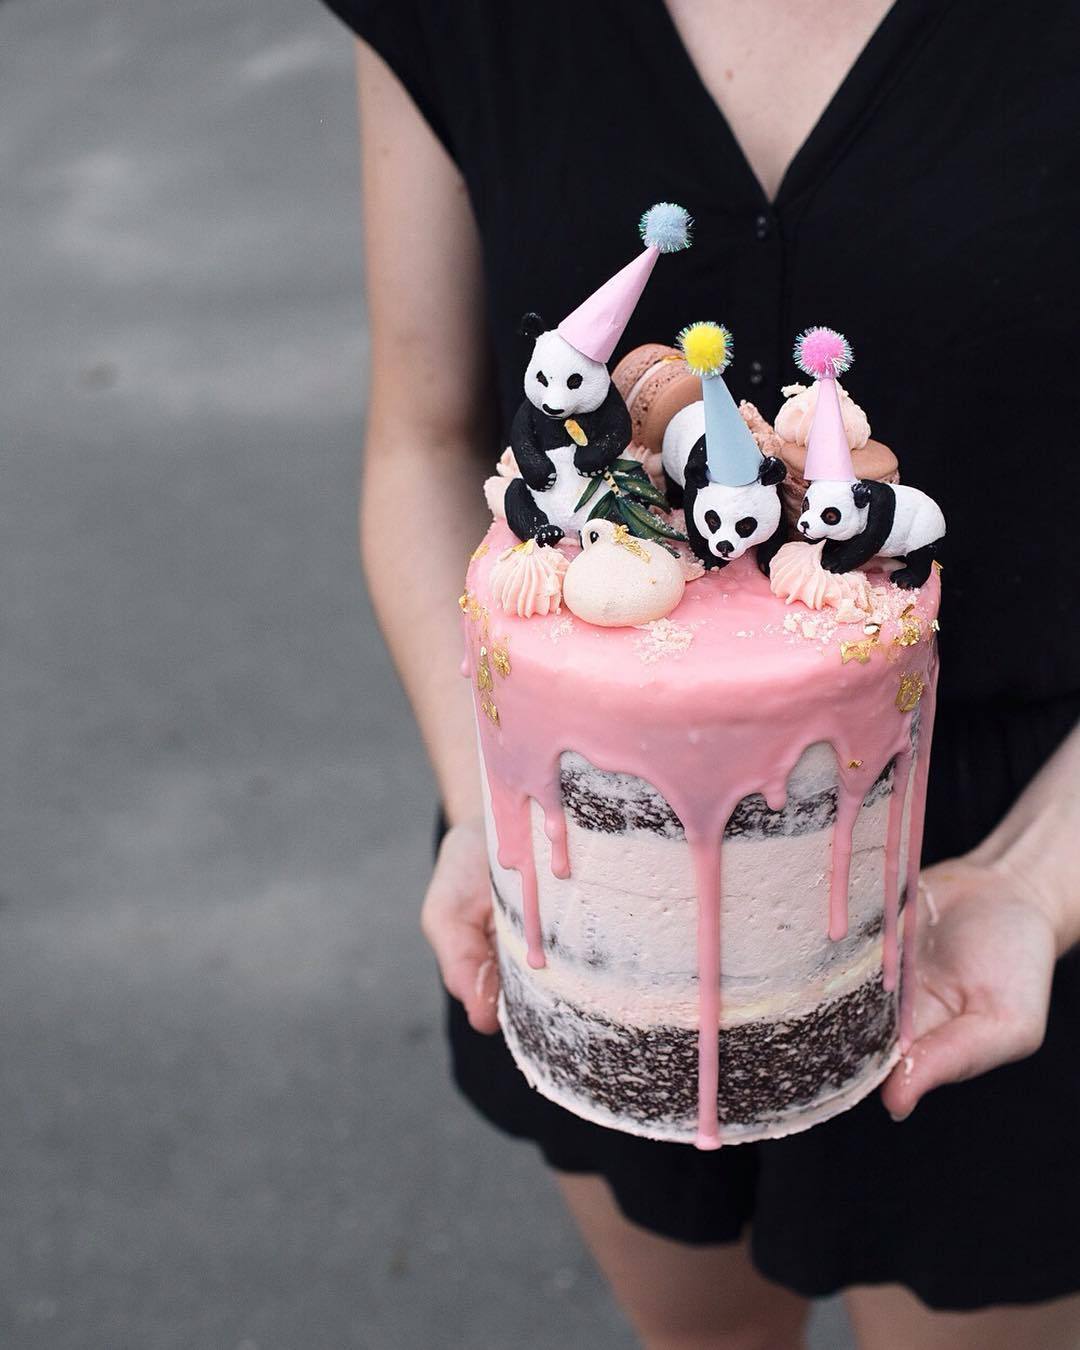
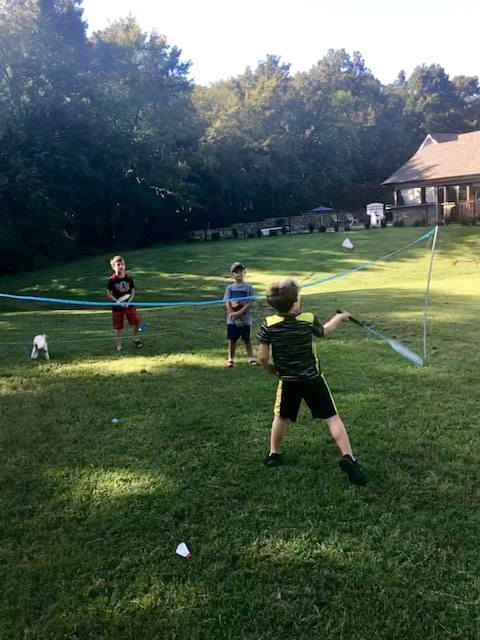
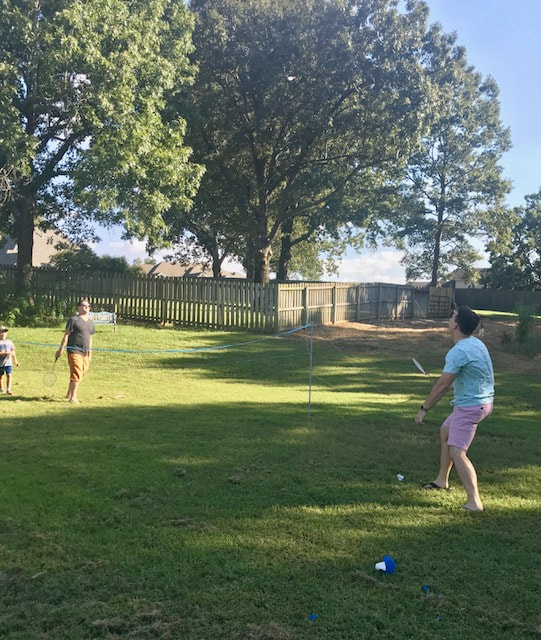
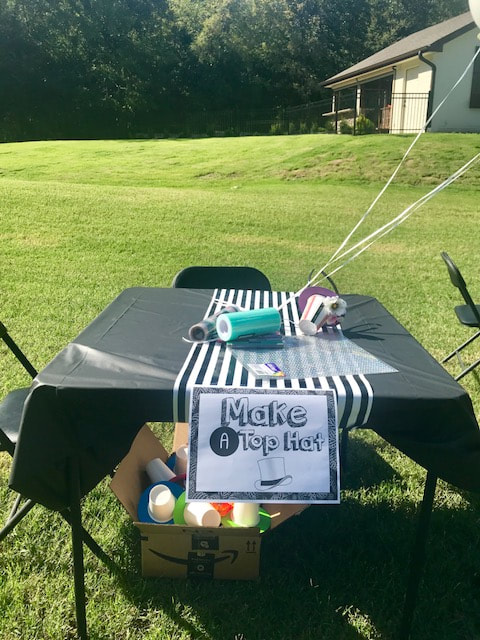
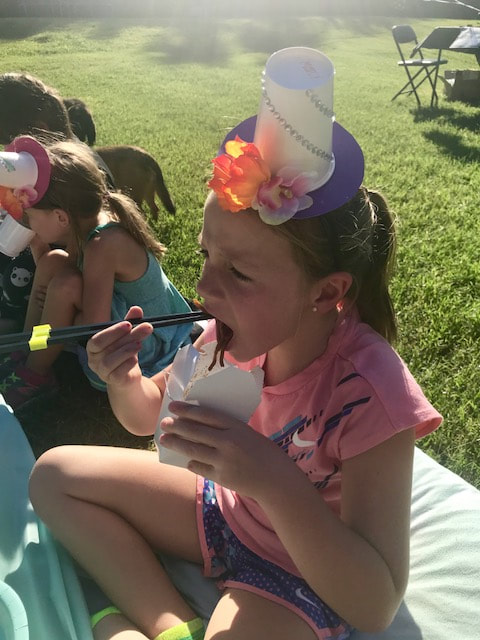
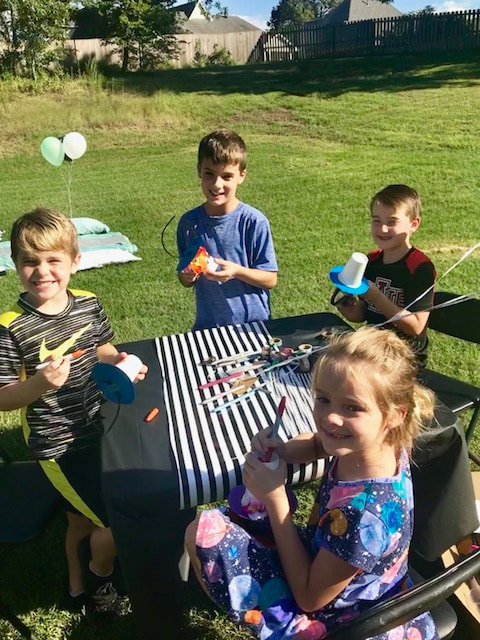
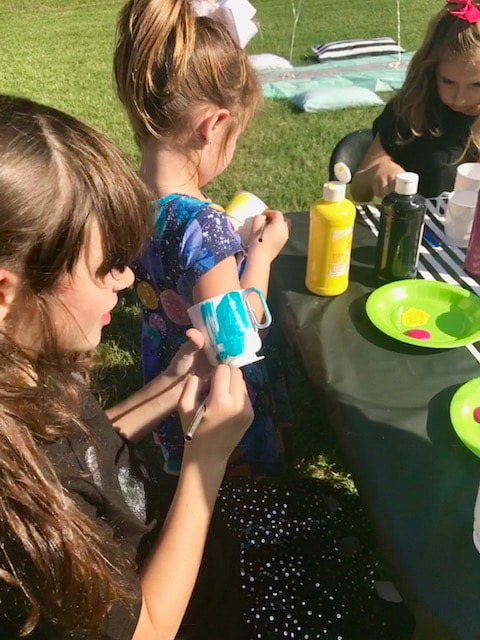
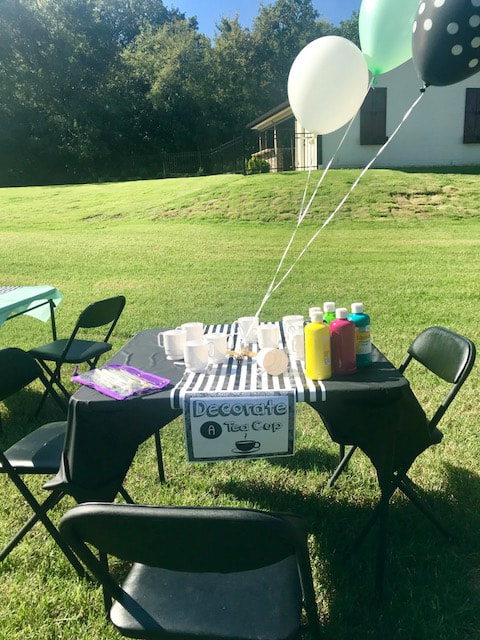
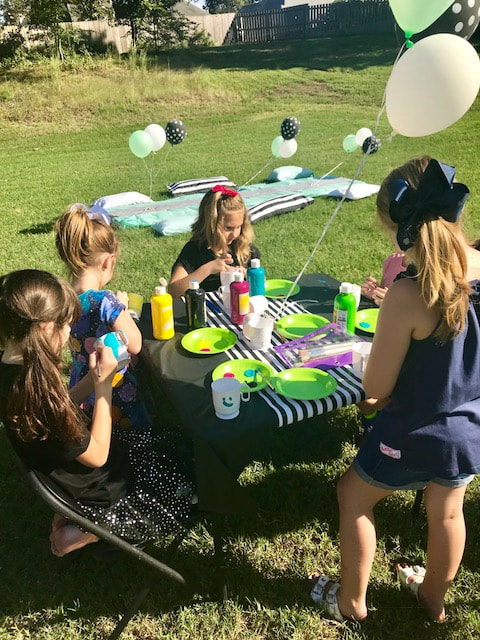
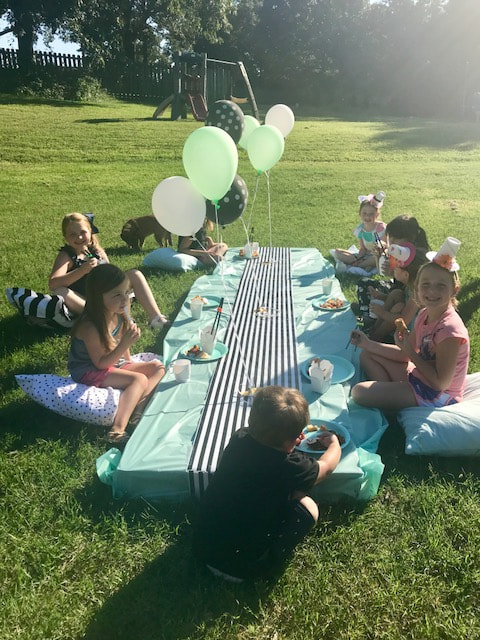
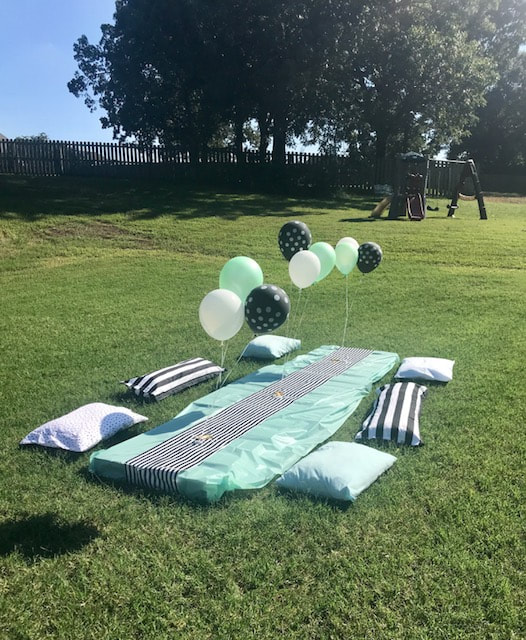
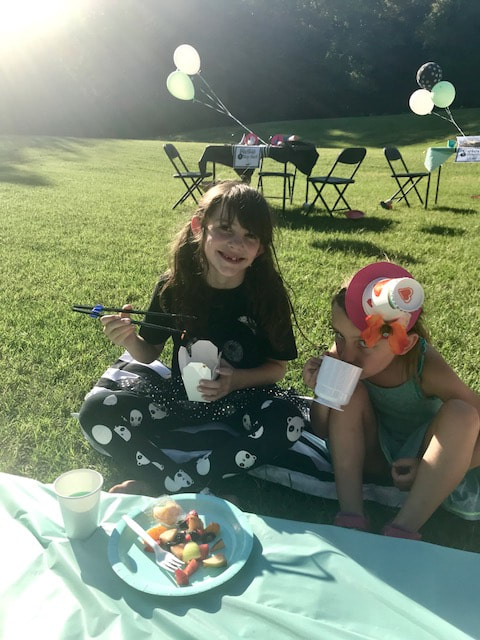
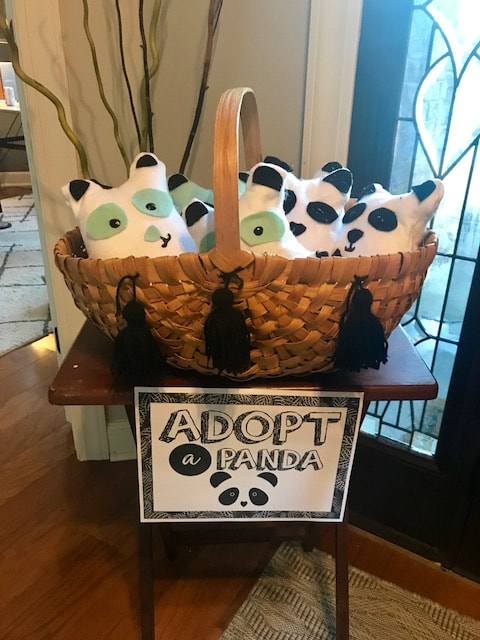
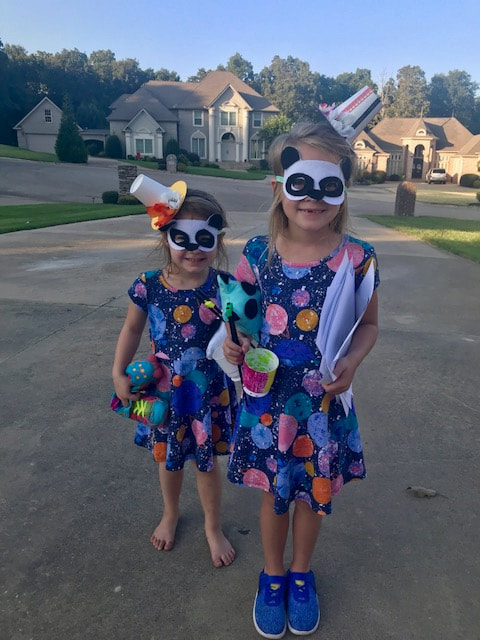
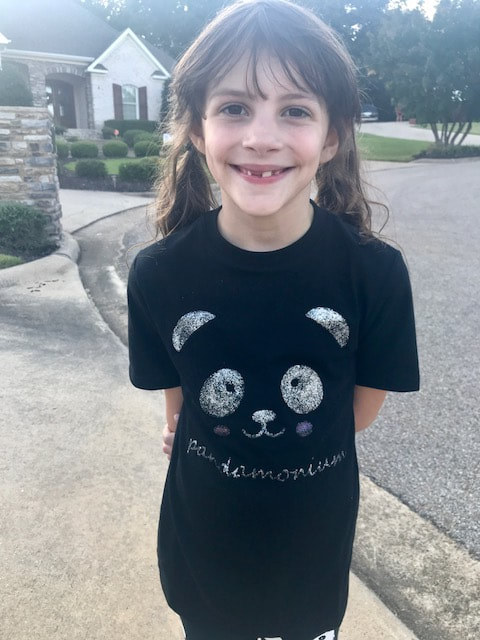
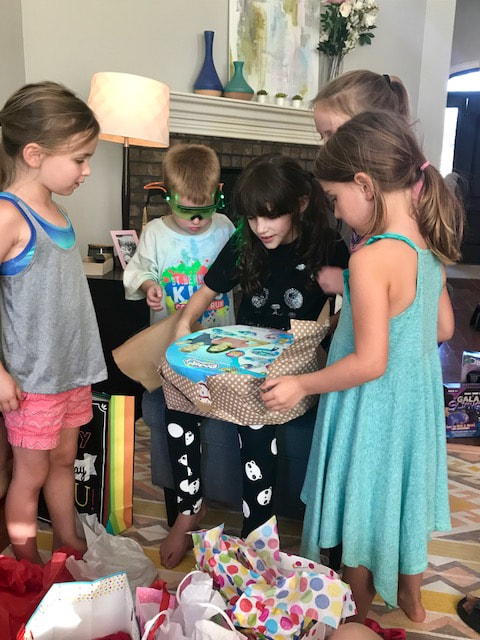
Download my very basic but serviceable plan below and enjoy! This weekend we celebrated my daughter's 8th birthday with a very fun, panda-themed party! I wrote about my plan in a previous post which you can find here. When my daughter stated that she wanted a panda themed party I thought, "No problem!" but when I started trying to plan activities for a bunch of 7 and 8 year olds to do, I struggled. So, I built off of the teddy bear picnic idea and added in a tea party element for the craft focus. I think everyone had a great time despite the fact that it was a bit hotter outside than I would have liked. For the food, I went pretty easy and basically cheated by ordering chinese food from our favorite place. We had chicken and veggie fried rice, chicken and veggie lo mein, eggrolls, crab rangoon and, of course, fortune cookies. I also made a fruit salad and a pineapple, sprite, hawaiian punch. To make it a bit more fun looking I dolled it up a bit by transferring the food to small, cute chinese food containers that I purchased on Amazon. I also stuck a pair of plastic chopsticks and chopstick helper for anyone who was not skilled in the art of chopsticks (also purchased on Amazon) inside each container. As a bonus, the kids got to take home their chopsticks and chopstick helper. The thing I am most proud of is this cake. I MADE this! I found an image of a cake on Pinterest that I really liked and for a brief moment, the stars aligned and everything went perfectly in the baking of this cake. It is EXACTLY like I wanted it and looks super similar to the original photo here from bloglovin. I cheated and used a box cake mix and pre-made icing for the layers. But, I did make the ganache using white chocolate chips, mint green food coloring and heavy cream. It was super easy to get the drip effect and I will definitely be using this cake style again in the future. I followed directions here for making the ganache. The kids not only had the option of playing outside on the trampoline and swing set but, they also had the opportunity to play badminton and participate in several craft activities. They were given the opportunity to paint a tea cup, color a panda bear coloring sheet and make a tea party hat. No one was very interested in the coloring table but everyone seemed pretty pleased with their craft opportunities. I made the tea party hats by taking a white paper cup and hot gluing it to a piece of cardstock that I cut into a circle. Then, I hot glued it to a black, plastic headband blank that I purchased on Amazon. Additionally, I hot glued a few fake flowers to some of the hats. For decorating, they had pre-sticky gems, washi tape and markers. At the tea cup table, kids were provided tempera paint and white, plastic tea cups that I purchased on Amazon. Unfortunately, the tempera began peeling off (I thought it might happen but figured I would take the chance instead of giving kids permanent paint) but, the cup was still usable so, they can paint them again and again or not! When it was time to chow down, they sat at a custom picnic area that I set up using pallets wrapped in plastic table cloths with a table runner made of black and white striped wrapping paper and balloon centerpieces. They sat on color coordinated pillows. I ended up buying the bigger pillow covers for only $10 total to add the pop of black and white and just stuffed them with plastic grocery bags (of which I always have a million). The other pillows were actual pillows inside of pillow cases I already had. Aside from the tea cups, party hats and chopsticks, guests also got to take home a custom panda bear and panda bear mask handmade by ME! I spent a good chunk of labor day weekend making the panda bears. I based my pattern off of this one but modified it quite a bit to get a shape I was happy with. I also did not sew it. I do not like to sew, even though I can, and instead created the pattern from felt and then hot glued it and flipped it inside out just like you would if it was sewn. Then, I stuffed it and sealed the stuffing hole shut. I cut out felt of a different color for the eyes, paw pads, legs, nose and ears to mimic a panda's markings and hot glued them down as well. I finished it off with black fabric paint for the eyeballs and mouth. I think they turned out amazing and my almost 2 year old quickly decided that "Bobo" was his new favorite lovey. For the masks, I used one of my sons PJ Masks as a base for the panda face and then created my template by hand. I thought I had captured a few photos but upon looking through my camera, I realize I didn't. Oooops. Anyway, I used my template for the white base and then cut out the black eye, nose and ear areas all from felt. Then I hot glued again and attached ribbon to tie them on with. I made them over the course of two afternoons after work and probably only spent about 2 hours total. Not bad. Plus, I find this kind of crafting kind of zen like. After creating the pattern, it's just a repetitive cutting and gluing process and it is kind of like a form of meditation. Oh! I also made the birthday girls shirt at the absolute last minute at 1am the night before. I created a panda face design in Silhouette and cut out a stencil. Then I used silver and pink glitter fabric paint to fill it in. It took no time at all and I think it looks adorable. She also had a black and silver tutu and panda leggings. It was a fun party with all sorts of personal touches that I am very proud of accomplishing. I know that we are nearing the time when she will no longer want a big party with activities and I plan on cherishing the last few moments where she is my little girl and wants me to go all out so, until she decides it isn't cool anymore, I'll keep up the hard work for the big payoff that is her smiling face at the end of the day and hope that when she has a little girl of her own she remembers and is able to do the same for her.
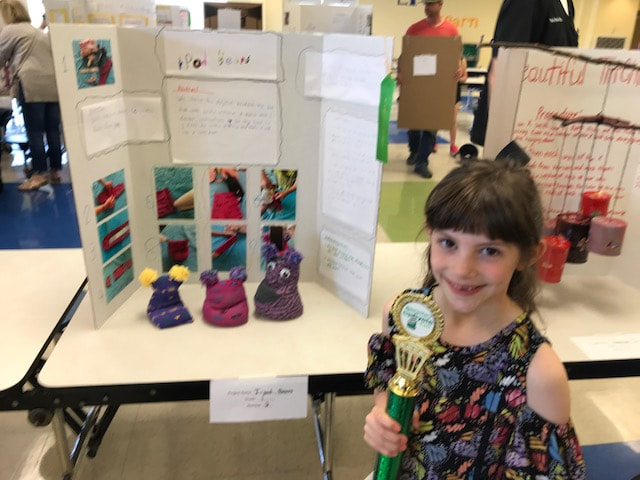
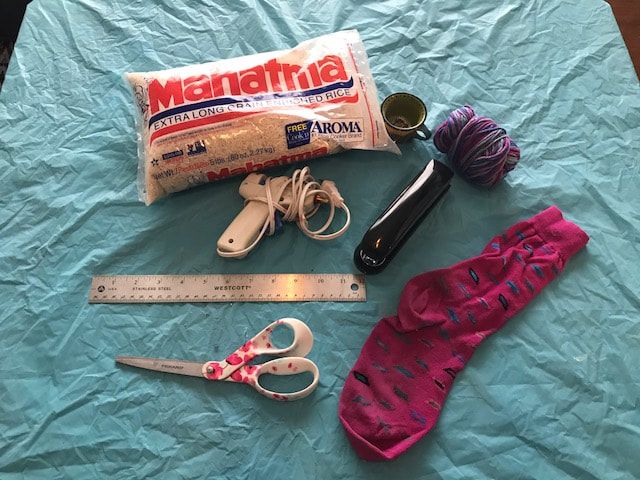
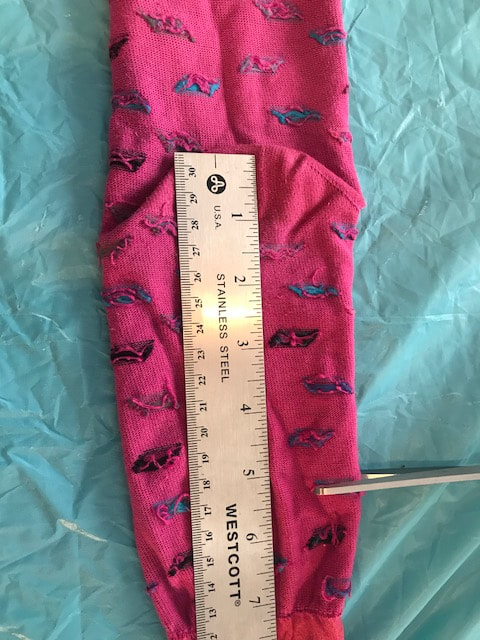
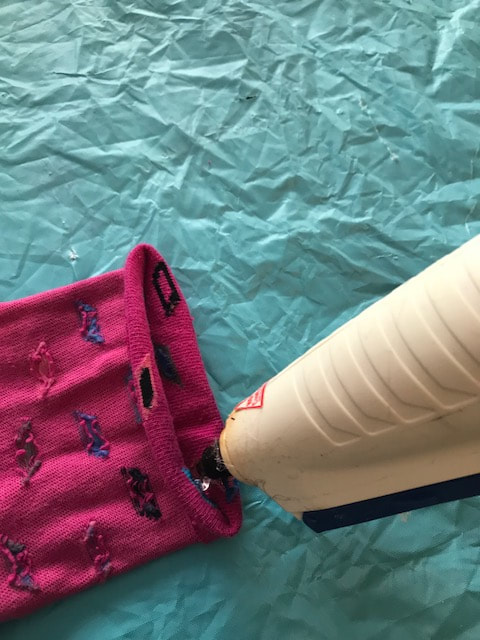
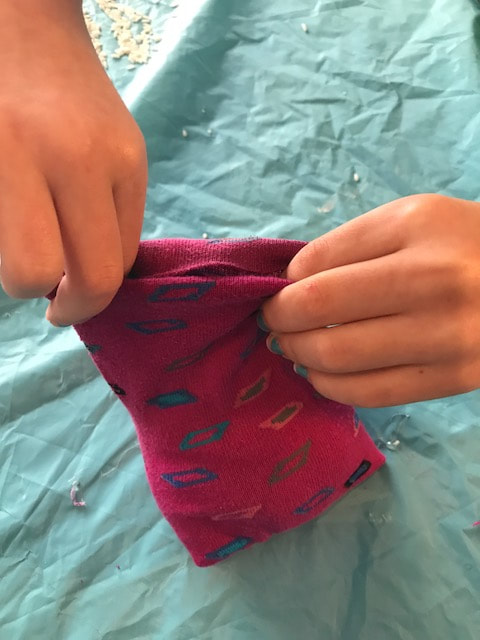
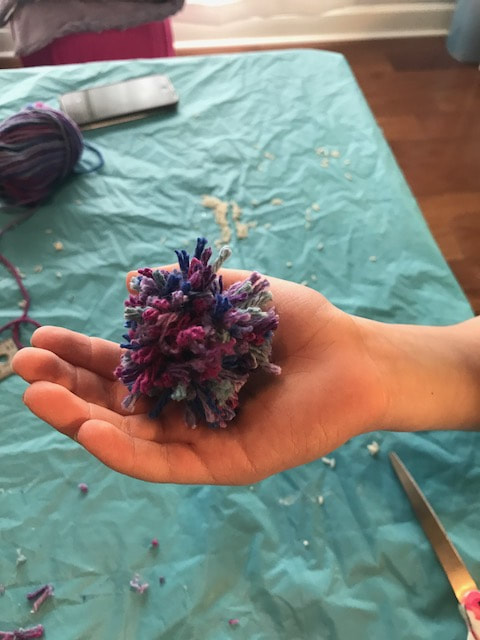
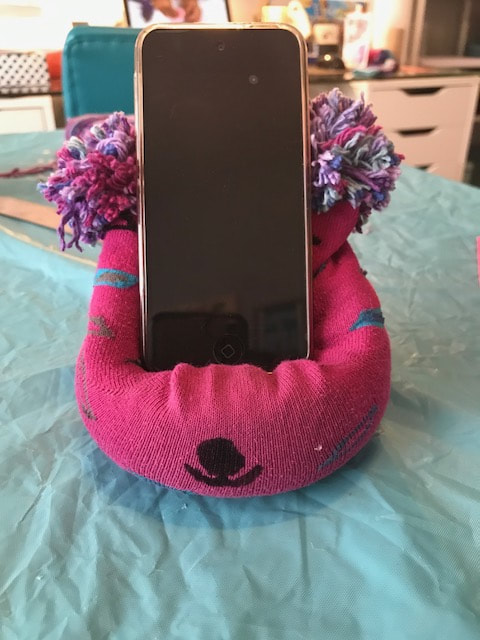
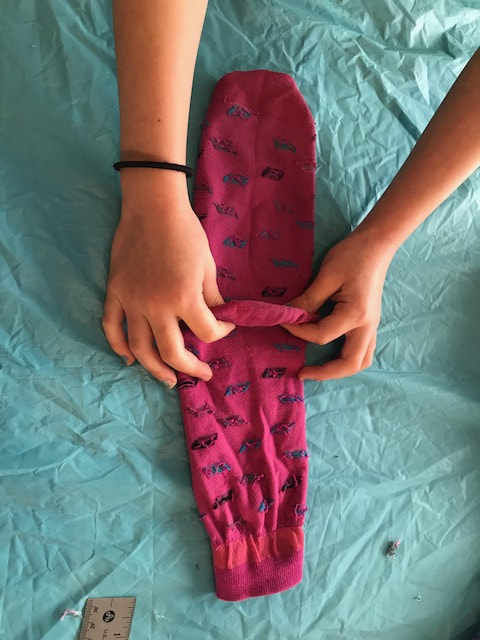
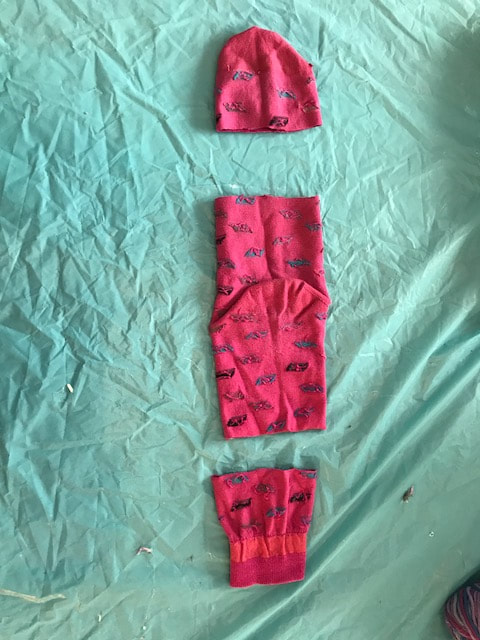
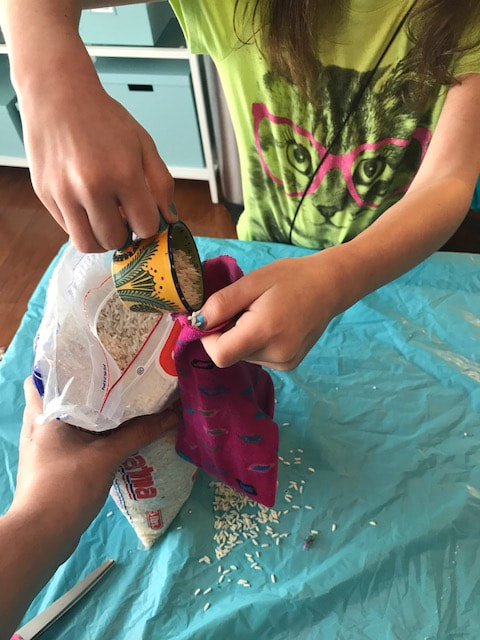
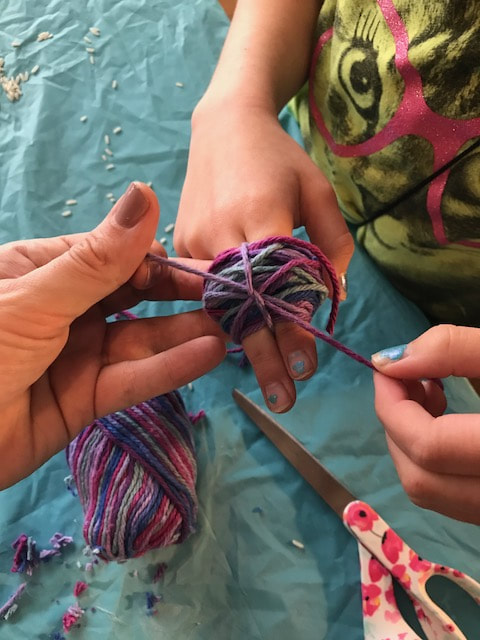
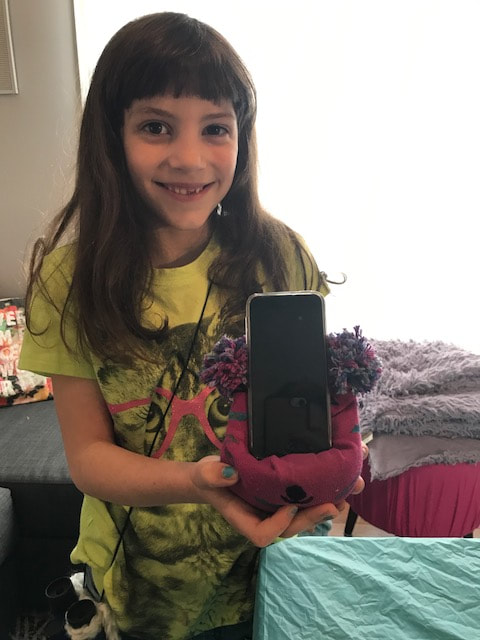
Lilly's school has an upcycle fair every year. Last year she made a plastic bag jump rope and won 3rd place in her grade. This year she made what she called "ipod Bears" which are basically mini bean bag chairs that look like chairs to hold your ipod or iphone. She won 1st place in her grade! I'm going to show you how we made them so you can make your own. They are super adorable and easy to do using materials you probably have right now! We did get the idea from youtube and used this video to help us make them. diy: ipod bears You will need: - rice- hot glue and glue gun - yarn - stapler - sock - scissors - ruler
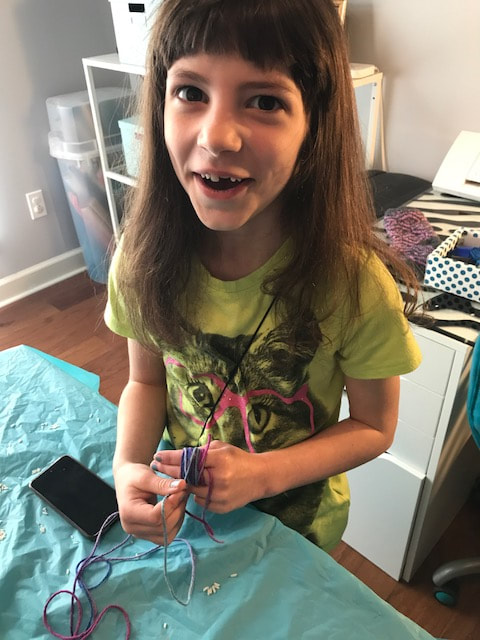
It was a pretty easy and fairly quick project. We ended up making three in total and only spent about 1 and a half hours. It's definitely something interesting to do with all of those socks with missing partners!
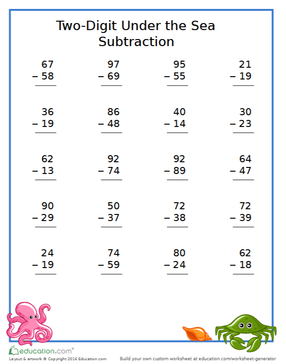
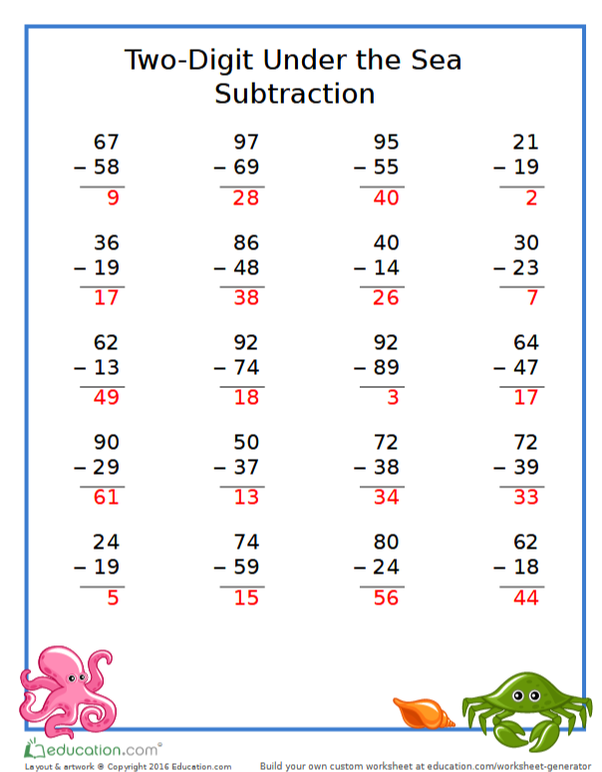
Maybe now she won't lose her ipod under her bed. Lol. I have another great guest post from Education.com! This time they've provided a free worksheet and answer key!
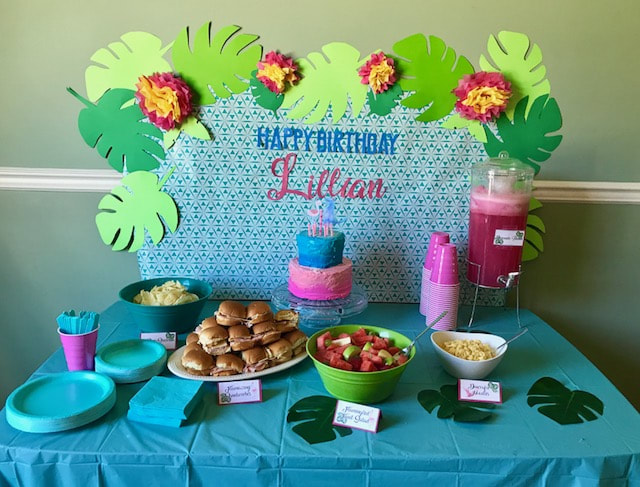
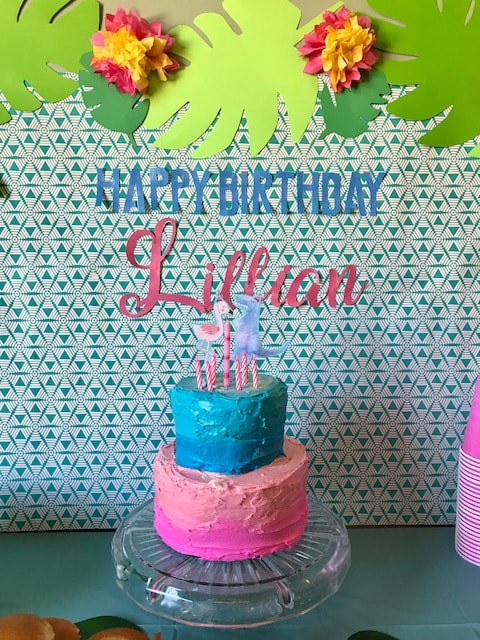
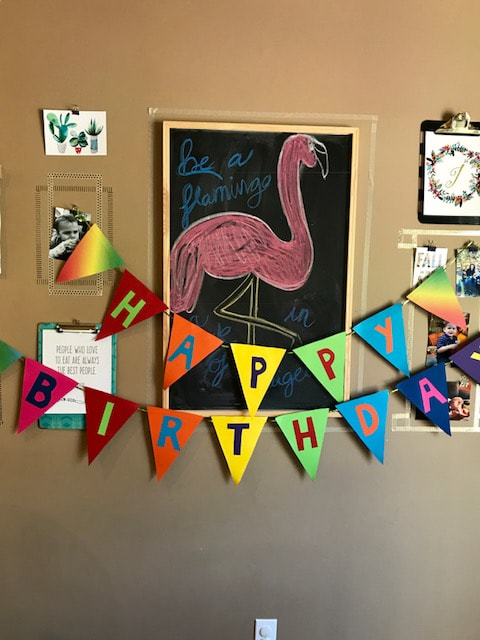
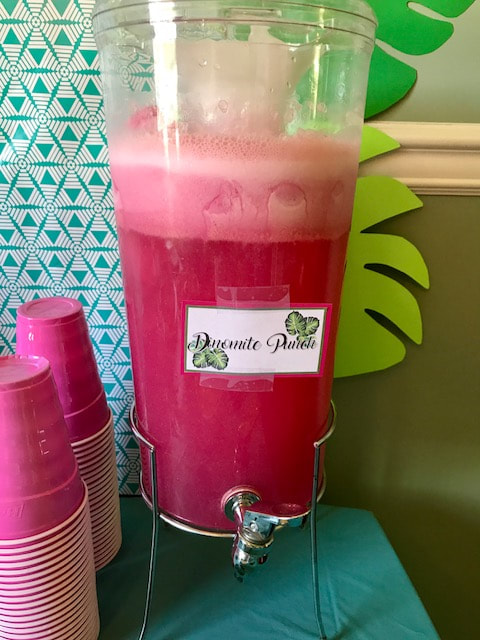
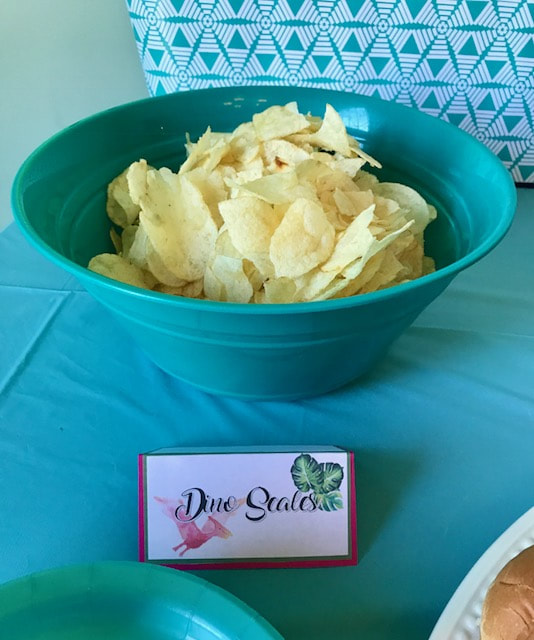
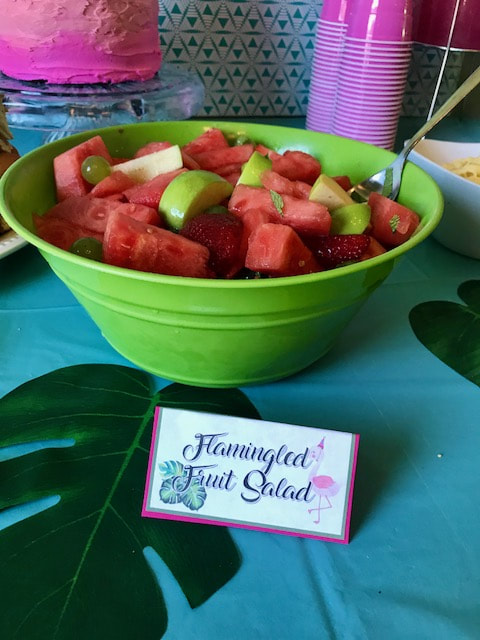
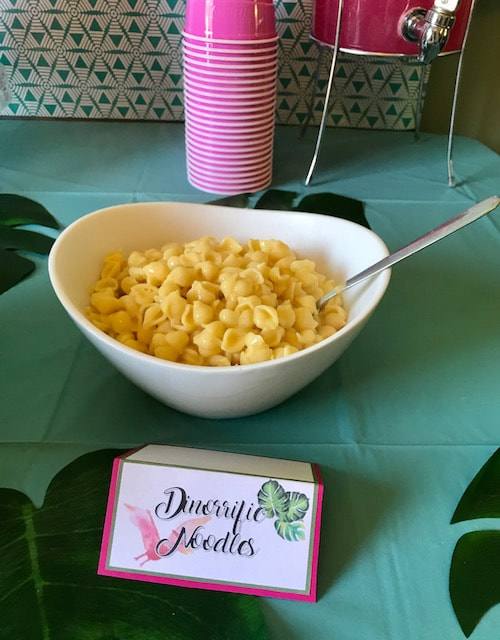
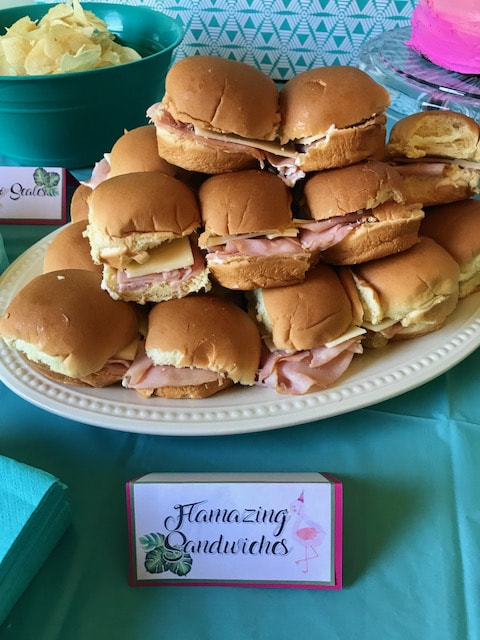
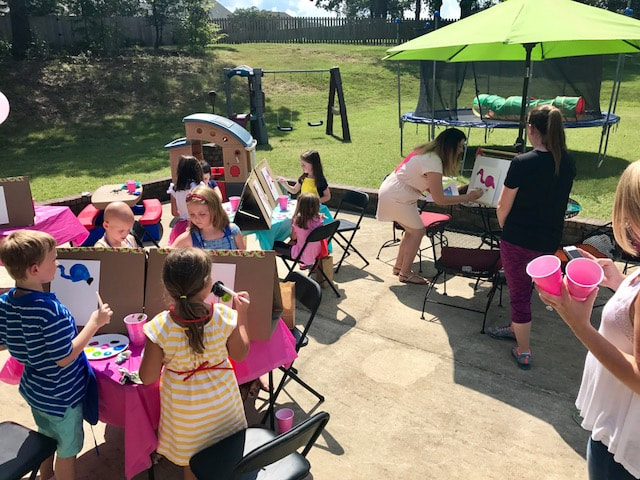
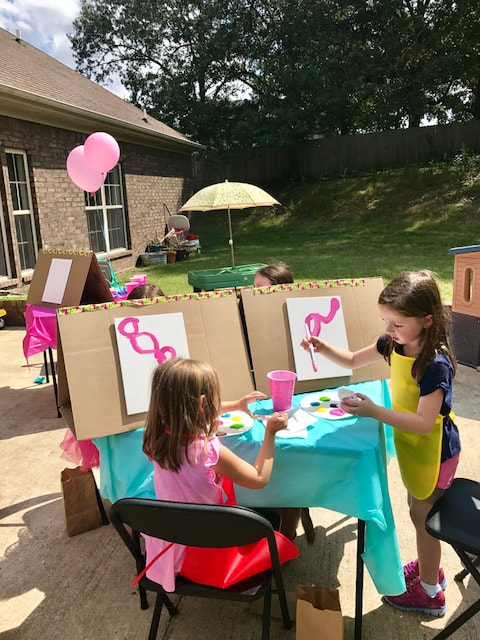
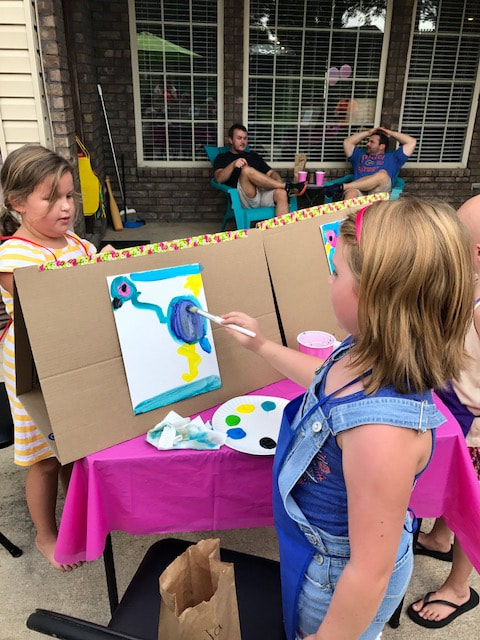
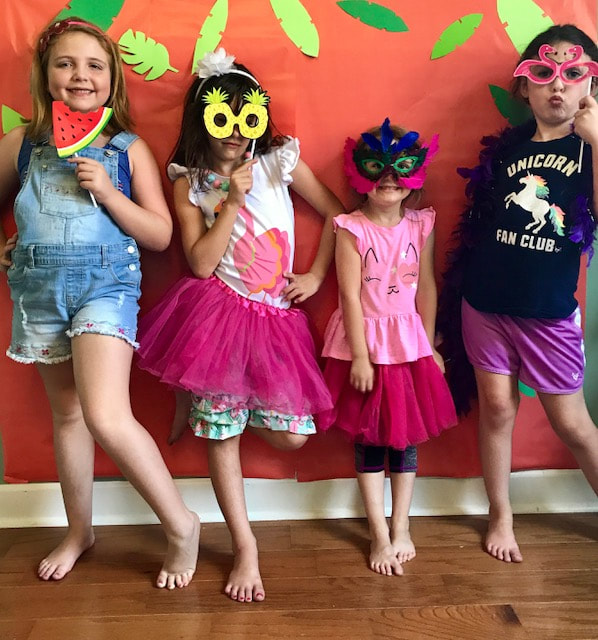
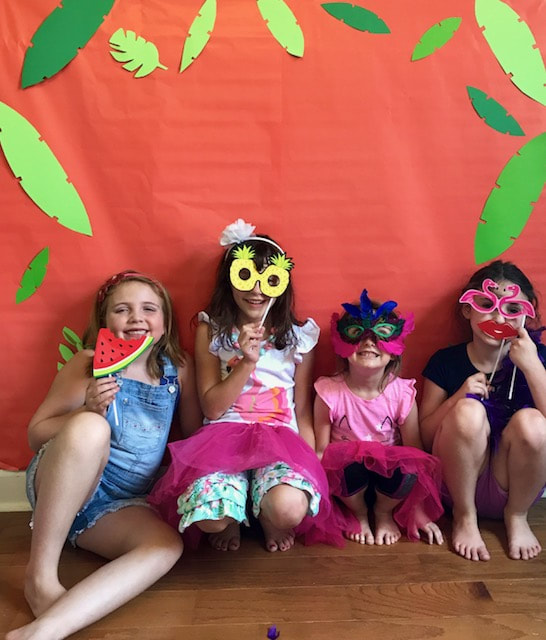
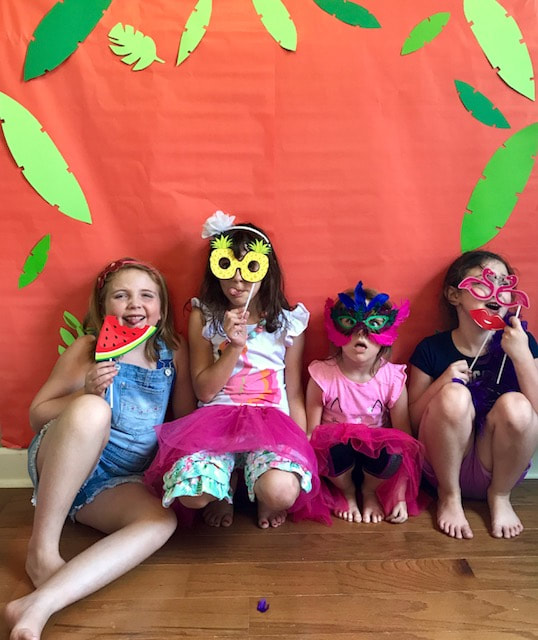
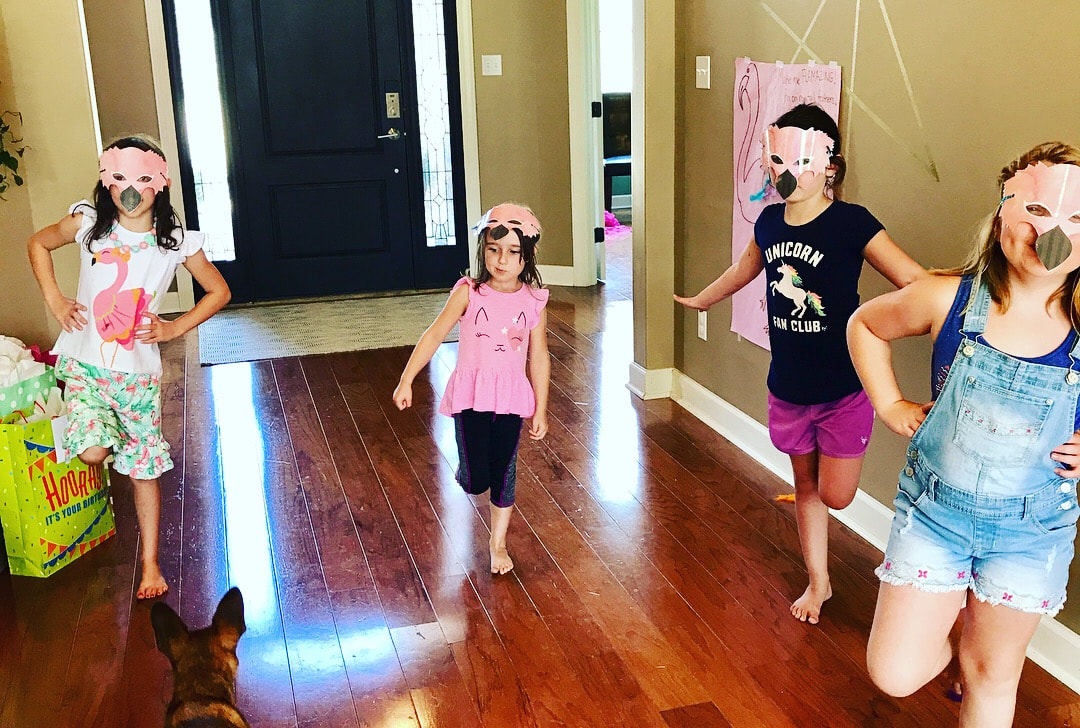
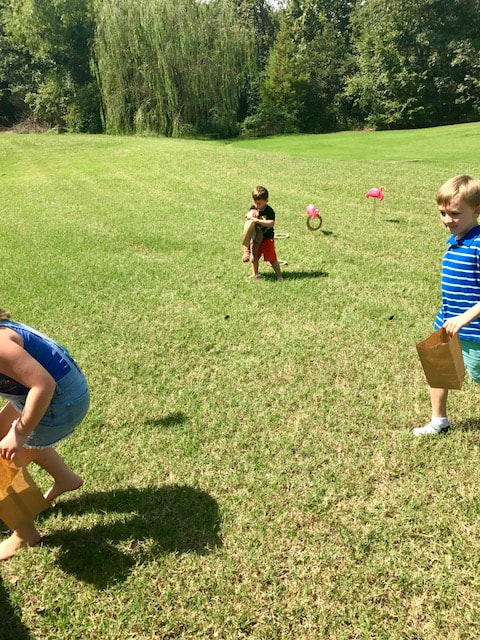
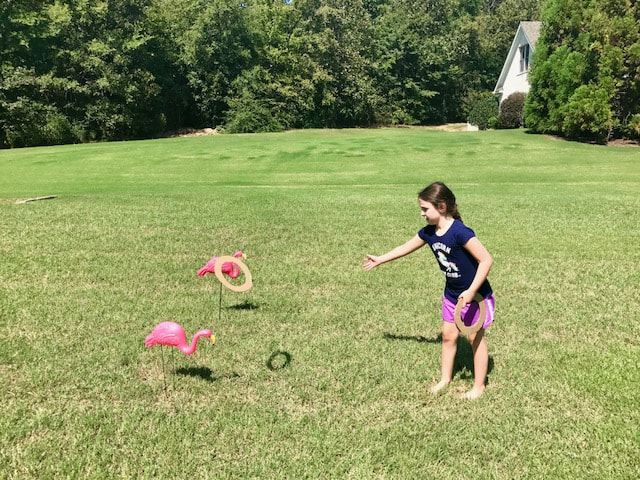
Let your child float through practicing subtraction with this fun Under-the-Sea Worksheet. Find more subtraction resources from Education.com. You can get the free worksheets by clicking each image. We celebrated my daughter's 7th birthday this past weekend and it went off without a hitch! I even managed to make a cake that was not an epic fail like previous years! Check out all of the details, activities and fun below! The theme was Flamingos and Dinos with a focus on the flamingo. The cake was one hundred percent boxed mixes in both devil's food and confetti and canned icing but, I made it look extra by making it a tier with ombre icing. I made the two paper figures on top by printing out a dino and flamingo image from the internet and backing it with colored paper and then taping it to a skewer. The rest of the food was simple but yummy with dino scales (chips), flamazing ham and cheese sandwiches, flamingled fruit salad, dinorriffic noodles and dinotastic punch. For activities, we played flamingo ring toss, had a dino and flamingo egg hunt, did a guided flamingo painting, pinned the tail feather on the flamingo and had a competition to see who could stand on one leg the longest. We also had a tropical themed photo wall area. For the art activity, I created cardboard easels by cutting out one side of a small packing box and creating a triangle. Then I used duct tape to tape along the cut edge. Then I taped the canvases onto the sides. You can see how I made them here. I ordered kid aprons online for each kid to wear and bought a pack of big paint brushes as well. The paint was liquid tempera purchased at Hobby Lobby and I put the paint on paper plates. The kids all got to take their aprons, paint brush and art home as party favors. The photo booth props were something I planned on making and then I found a pre-made set in the party aisle at Wal-Mart on clearance for .99 cents! So, I just used that. It even had flamingo glasses! Perfect! I also supplemented with some items from our dress-up collection including tutu's, masks, tiaras and feather boas. In addition to the art themed favors, kids also took home a flamingo or dino mask. The girls above are wearing them while competing in the one-legged standing competition. In the background you can see the pin the tail feather game I made. Somehow it did not get photographed! I just drew a flamingo on some pink paper and game the kids colored feathers with tape to tape onto the bird. They enjoyed it! I found free mask printables, backed them with construction paper and then laminated them. Then I hole punched them and added ribbon for tying. They actually took a lot of time but were essentially free and I think they looked awesome! I purchased pre-filled eggs online one set was regular eggs but the other were dino eggs! I had some other adults hide them while I corralled all of the kids inside and handed them paper bags with their names on them. Then we let them loose! I think the party was a success and all of the guests had fun. I didn't feel too rushed the day of but I'm sure that was mostly due to staying up until one the night before. Now I have to get planning on my son's 1st birthday coming up in October! Thanks for visiting!
|
meet rachelRachel is a mother of three, elementary Spanish teacher and part-time blogger who loves crafting, creating fun and engaging activities for her children and students and hanging with her friends and family. She blogs about what she's doing and her interests at any given time which vary. She's a little OCD and always looking for her next project. Her husband calls it, "focusing her crazy", but she just calls it fun. Archives
June 2023
Categories
All
|




 RSS Feed


