
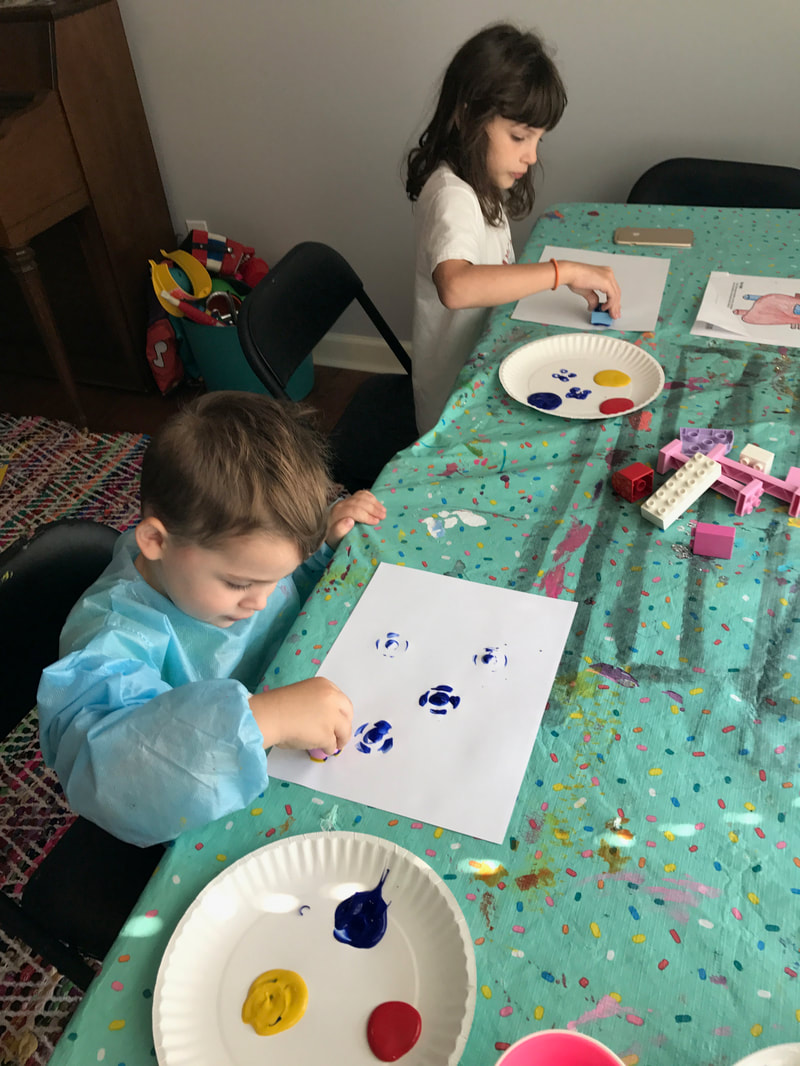
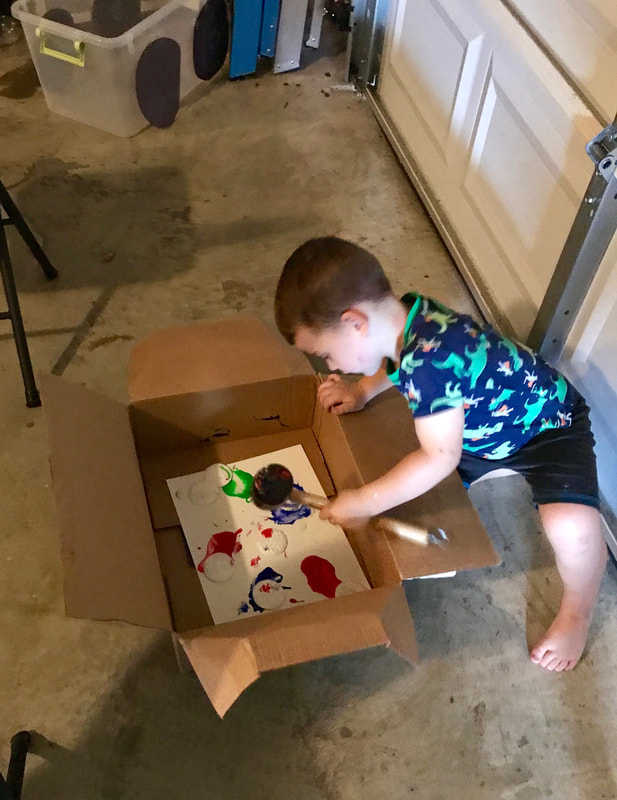
Help your child with important vocabulary building by leading him through some easy, at-home activities designed to help him understand basic spatial relationships and the words used to describe them. You’ll start out with a short activity involving two jars and some handmade labels and then move on to building with blocks. Watch him acquire new vocabulary to express direction and position without even realizing that he's learning! These activities that involve building, ordering, and rearranging materials will also help him develop strong observational skills.
What You Need:
Thanks so much to Education.com for this fun post! I love their site and always find great activities that match many of my Mommy Camp focus topics! You can find more math focused activities like this one on their site here.
--
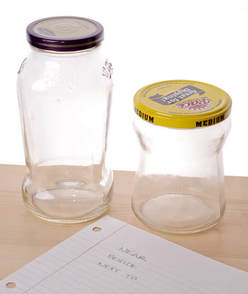
- Two glass jars
- Paper
- Pencil
- Scissors
- Blocks of any kind
- Write out a list of words that describe spatial relationships. Start out with words that will be easy to demonstrate with two jars. Include words like near, beside, next to, in, under, on and between. Cut these labels out so that your child can place them appropriately.
- Hand your child the labels one at a time. As you give him a label, help him read it. Can he put the appropriate label near one of the jars? What about far away from the jar? He will have to open jars and may have to move things around a bit for some commands. For example, in a jar, under a jar, and between two jars.
- Encourage him to keep going until all of the labels are in fitting places.
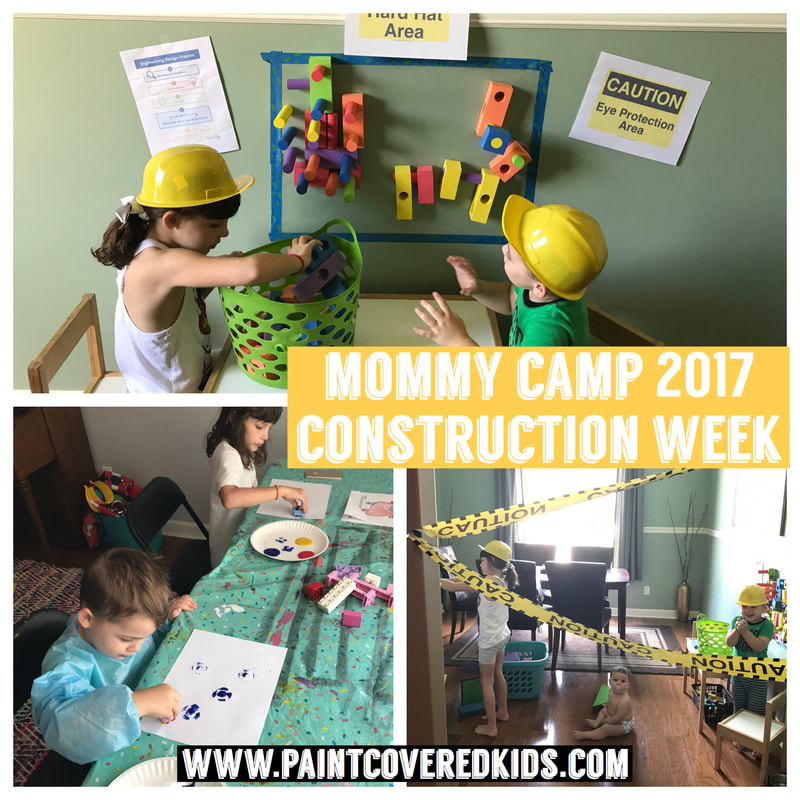
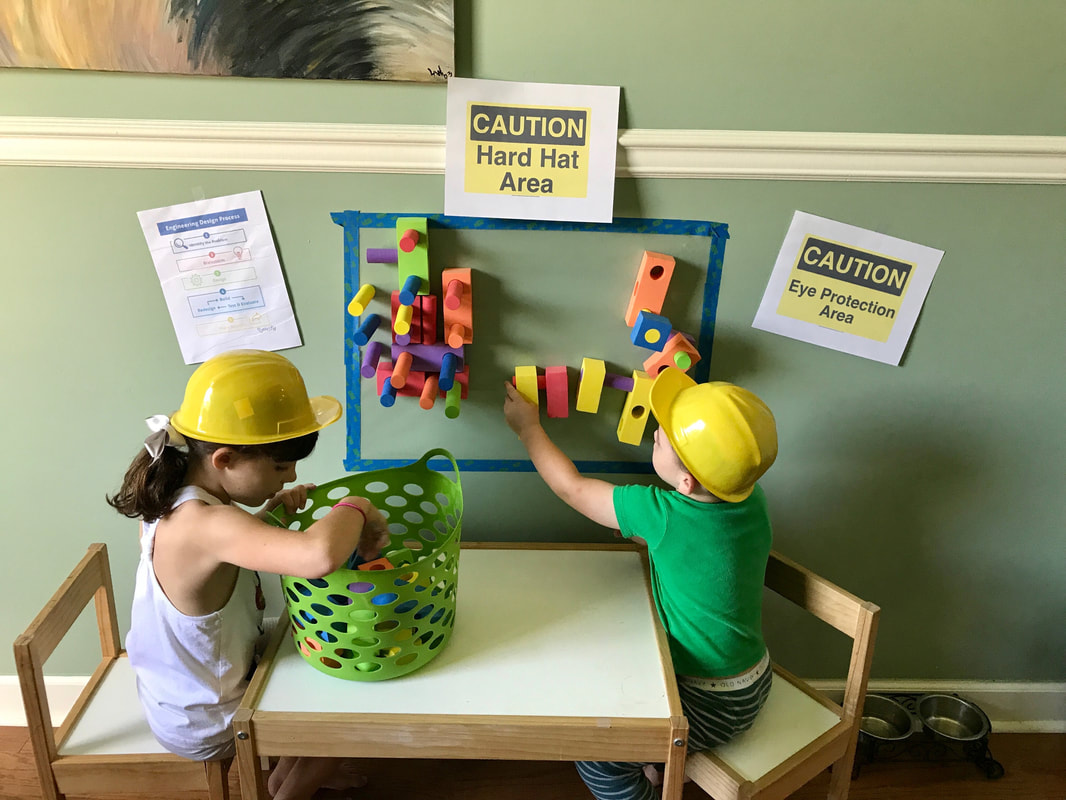
- Now it’s time to play with the blocks. What can he build if he stacks these blocks on top of each other? If he lays them out beside each other? Encourage him to build walls, towers and other structures. As he works, discuss with him which block is on top, which is on the bottom, which is in the middle. You can also talk about over, under and beside.
- Now get him to give you instructions and be sure to do exactly what he tells you to do. This will help him learn to use the correct words when giving directions to others.
Thanks so much to Education.com for this fun post! I love their site and always find great activities that match many of my Mommy Camp focus topics! You can find more math focused activities like this one on their site here.
--


 RSS Feed
