
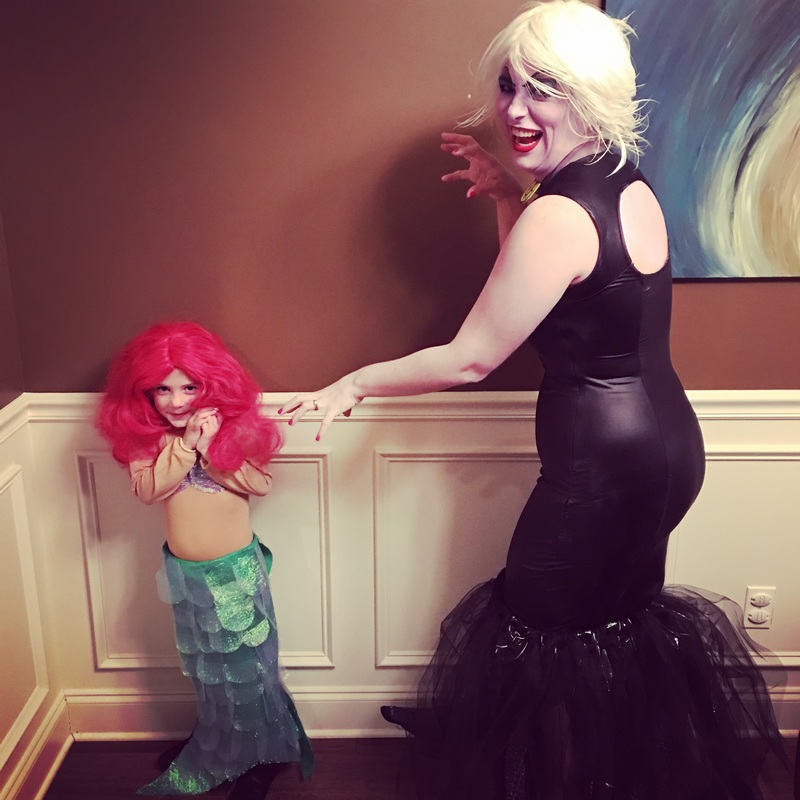
After making the Ariel costume for my daughter I attacked the Ursula costume for myself. It didn't take nearly as long as I expected and I'm pretty happy with the results!
DIY Ursula Costume Supplies:
- 2 black yard trash bags (They need to be quality trash bags that are nice and thick.)
- one roll bubble wrap (I got it at the dollar store.)
- one package of black elastic waist band (I used a thick elastic.)
- one black fitted dress
- one white wig or white hair paint and ALOT of gel
- one piece yellow craft foam
- one strand black ribbon
- purple spray paint
- a bunch of plastic disposable shopping bags (like walmart or target)
- silver and black sharpie markers
- hole punch
- stapler
- two rolls black tulle (I purchased the 1 ft. rolls at hobby lobby.)
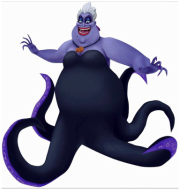
For my costume I decided that purchasing a fitted black dress and adding tentacles to the base. I bought my dress direct from China but, it turned out to be exactly what I expected. You can find it here. Just make sure you get it in the right size based on measurements. Once the dress came in I measured how long to make the tulle on the waist band as well the length of the tentacles. I chose to sew the tentacle/tulle waist band in at the knee slit on the dress since Ursula is very fitted and then her tentacles blossom out of the bottom.
DIY Ursula Costume Supplies:
- 2 black yard trash bags (They need to be quality trash bags that are nice and thick.)
- one roll bubble wrap (I got it at the dollar store.)
- one package of black elastic waist band (I used a thick elastic.)
- one black fitted dress
- one white wig or white hair paint and ALOT of gel
- one piece yellow craft foam
- one strand black ribbon
- purple spray paint
- a bunch of plastic disposable shopping bags (like walmart or target)
- silver and black sharpie markers
- hole punch
- stapler
- two rolls black tulle (I purchased the 1 ft. rolls at hobby lobby.)
For my costume I decided that purchasing a fitted black dress and adding tentacles to the base. I bought my dress direct from China but, it turned out to be exactly what I expected. You can find it here. Just make sure you get it in the right size based on measurements. Once the dress came in I measured how long to make the tulle on the waist band as well the length of the tentacles. I chose to sew the tentacle/tulle waist band in at the knee slit on the dress since Ursula is very fitted and then her tentacles blossom out of the bottom.
 |  |
Making the Tentacle/Tulle Elastic Band
Measure how much elastic you need for the location of your band. I chose to start mine at the slit in the dress I'm using so mine will be attached to the dress right about the knee. Cut the elastic to the size you need and hot glue or sew the two ends together.
Step One:
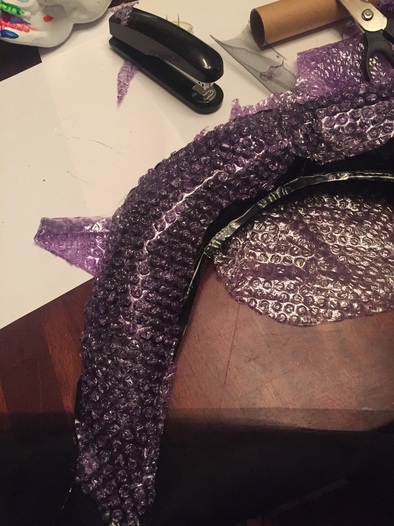
Take the bubble wrap outside and spray paint the bubble side with the purple spray paint. I found a shimmery purple and it looked awesome.
Measure how much elastic you need for the location of your band. I chose to start mine at the slit in the dress I'm using so mine will be attached to the dress right about the knee. Cut the elastic to the size you need and hot glue or sew the two ends together.
Step One:
Take the bubble wrap outside and spray paint the bubble side with the purple spray paint. I found a shimmery purple and it looked awesome.
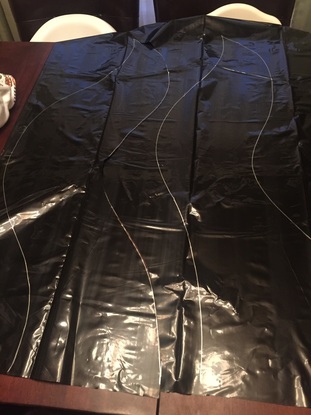
Step Two:
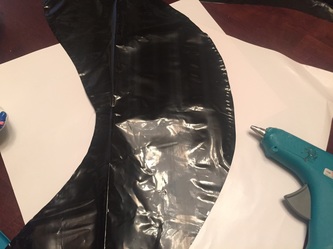
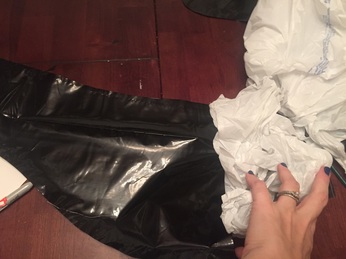
While the bubble wrap dries begin your tentacles. Get the black trash bag and draw the shape of your tentacle on the black using a silver sharpie marker. Make sure that you draw it with a curve upwards at the end so that it will curve up from the floor when attached to the elastic. You will also need about 2 inches of extra space at the top of each tentacle to attach it to the waist band.
When you cut it you will have two identical sides (you know, 'cause it's a trash bag:), Turn the two sides around so the sharpie you used is not visible on the outside. (if you don't do this it actually looks ok and is not very noticeable, especially if you cut it out perfectly. Then glue the two pieces together along the entire outer edge leaving the top of the tentacle open for stuffing. Repeat 7 more times.
Once all of your tentacles are cut and glued you can stuff! Begin stuffing your tentacles with the trash bags. Don't over stuff because the tentacles will get heavy. Just fill them enough to make it obvious what they are. You also do not need to stuff all the way to the top. In fact, don't. It'll be easier to attach to the waist band.
When stuffing you may find sections that did not get glued. You can fix them easily before or after stuffing.
 |  |
Step Three:
Apply the bubble wrap A.K.A. the suction cups! Cut out pieces of bubble wrap and lay them on the side of each tentacle. (I didn't want to spray another roll of bubble wrap so I only put bubble wrap on one side of each tentacle. If you wanted you could put more but I think it looks good without the extra work.) Hot glue the section of painted bubble wrap on each tentacle.
Apply the bubble wrap A.K.A. the suction cups! Cut out pieces of bubble wrap and lay them on the side of each tentacle. (I didn't want to spray another roll of bubble wrap so I only put bubble wrap on one side of each tentacle. If you wanted you could put more but I think it looks good without the extra work.) Hot glue the section of painted bubble wrap on each tentacle.
Step Four:
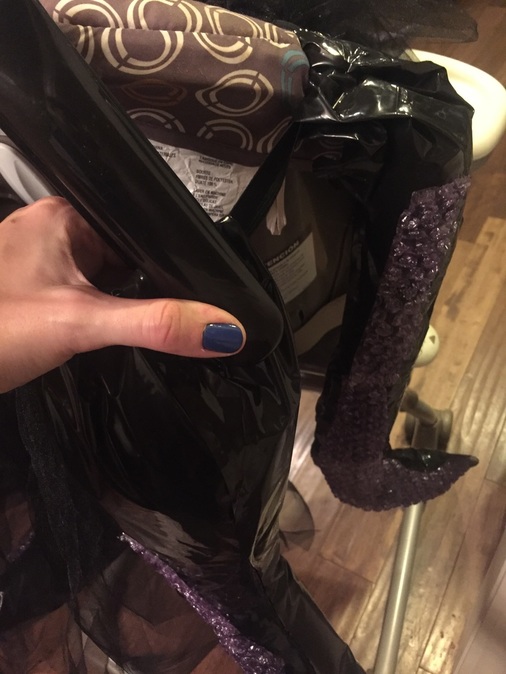
Attach the tentacles to the elastic waistband you made at the beginning. Before attaching, stretch the waistband around the back of a chair like you would for making a tutu. Fold the 2 inches you left at the top of each tentacle over the top of the waist band and then staple. Attach them at even intervals around the entire waist band.
Attach the tentacles to the elastic waistband you made at the beginning. Before attaching, stretch the waistband around the back of a chair like you would for making a tutu. Fold the 2 inches you left at the top of each tentacle over the top of the waist band and then staple. Attach them at even intervals around the entire waist band.
Step Five:
Add the tulle. Cut the tulle in the lengths that you decided were appropriate earlier. Then tie them to the waist band like you do when making a tutu. You can see how that is done here. Fill in between each tentacle evenly making the skirt full.
You should now have a tentacle waist band! Now you just need to attach it to the bottom of your dress or, if you decided to wear it around your waist simply slide it on! I hand sewed mine to the bottom of my dress.

Making the Ursula Necklace:
Grab your yellow craft foam, black sharpie, hole punch and black ribbon. Cut out a shell shape. I free-handed it based on the picture of Ursula. Add detail with the sharpie. Punch a hole at the top of the "shell" and thread the ribbon through! Voila!
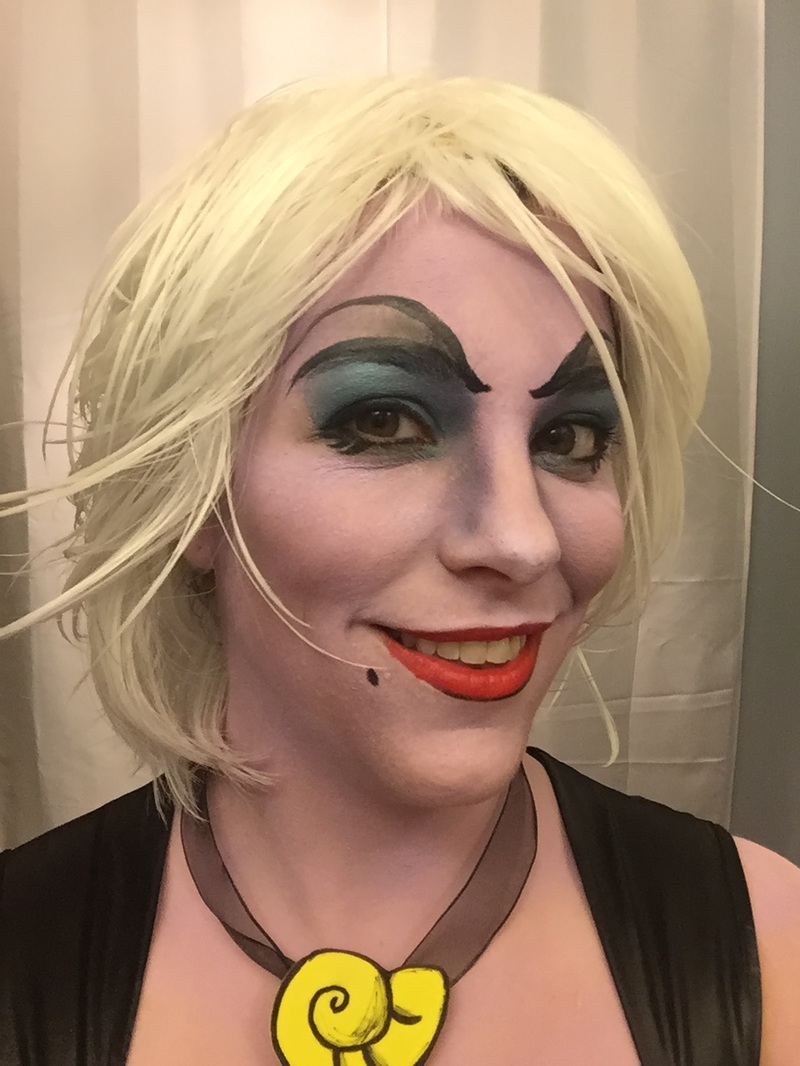
Finishing the Look:
I did my Ursula makeup following this tutorial. I also purchased purple body paint from here and it is perfect. It is actually made for clowns and does not rub off or flake! I applied it all over before applying the Ursula make-up.
For my hair I purchased this wig and then hung it vertically while applying liquid spray starch, super strong hold hairspray and gel. Once it dried it worked out pretty well.
I hope you enjoyed my tutorial! Happy Halloween!

 RSS Feed
