I will be posting every week so you can follow along and see how I put it all together! I hope you decided to join us on this very exciting summer of learning!
|
I've finally finished all of the planning for my Mommy Camp Summer 2017 lessons and activities!! It took a lot of work but I know my kids and I will be excited all summer long and they'll learn a ton and create some great memories. You can download the lessons and materials for each week by clicking the images below. Each document contains everything you need including worksheets, lesson plans, dramatic play printable and set-up ideas, directions and even pictures to help guide you AND it's all for FREE! I will be posting every week so you can follow along and see how I put it all together! I hope you decided to join us on this very exciting summer of learning! Just click on each image to download the documents for that week!
0 Comments
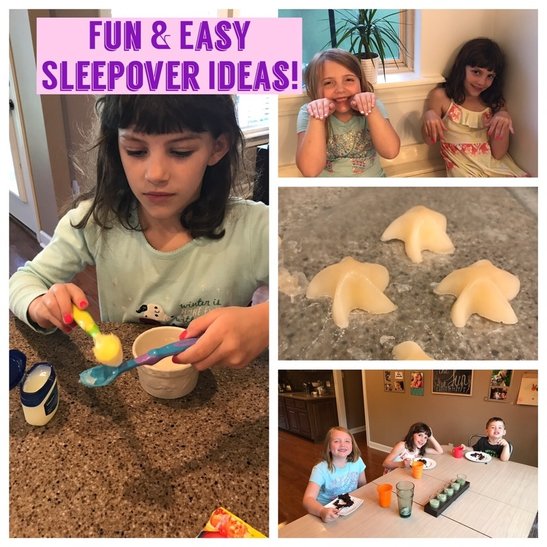
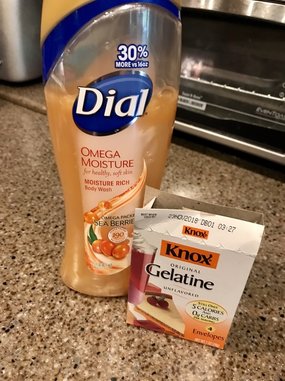
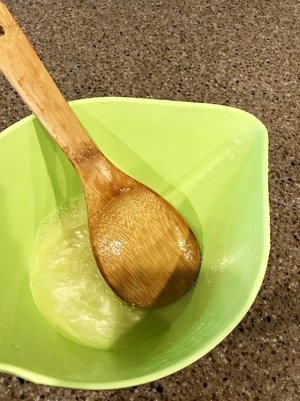
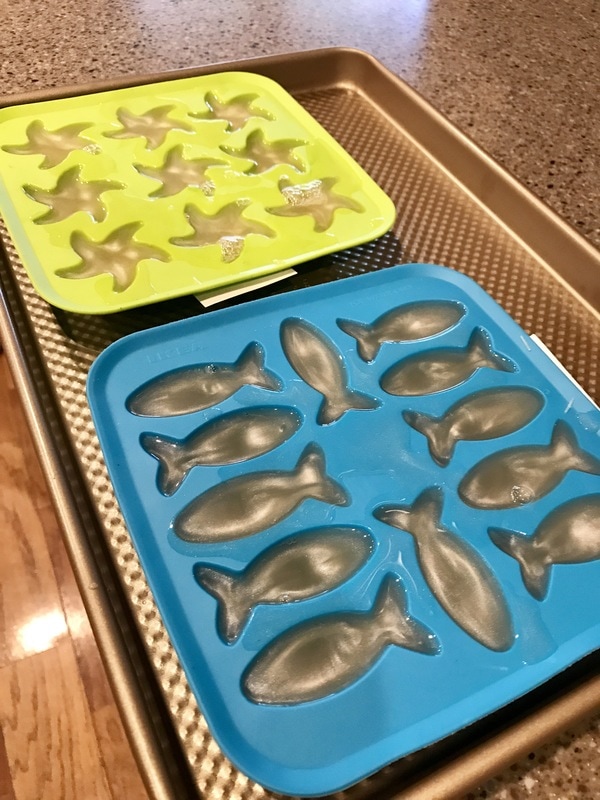
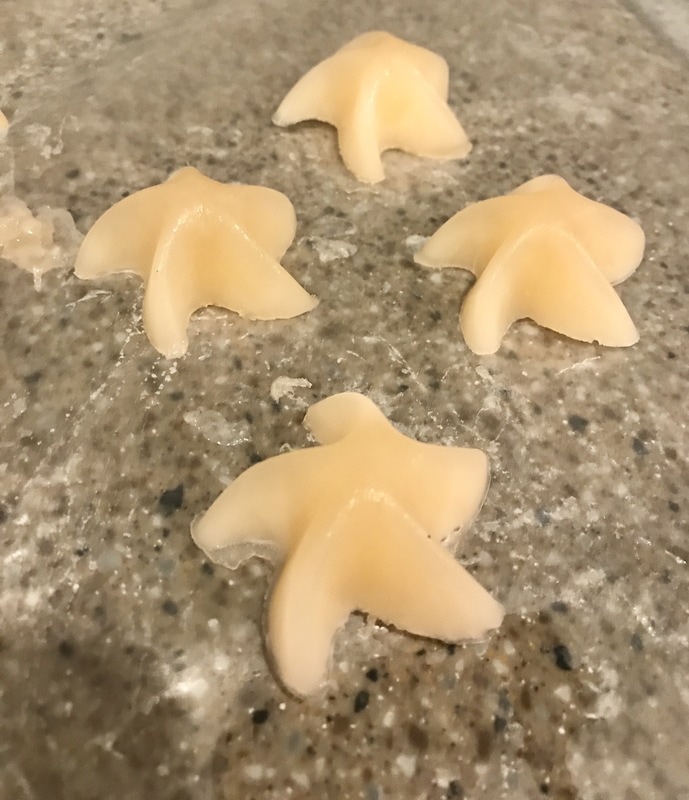
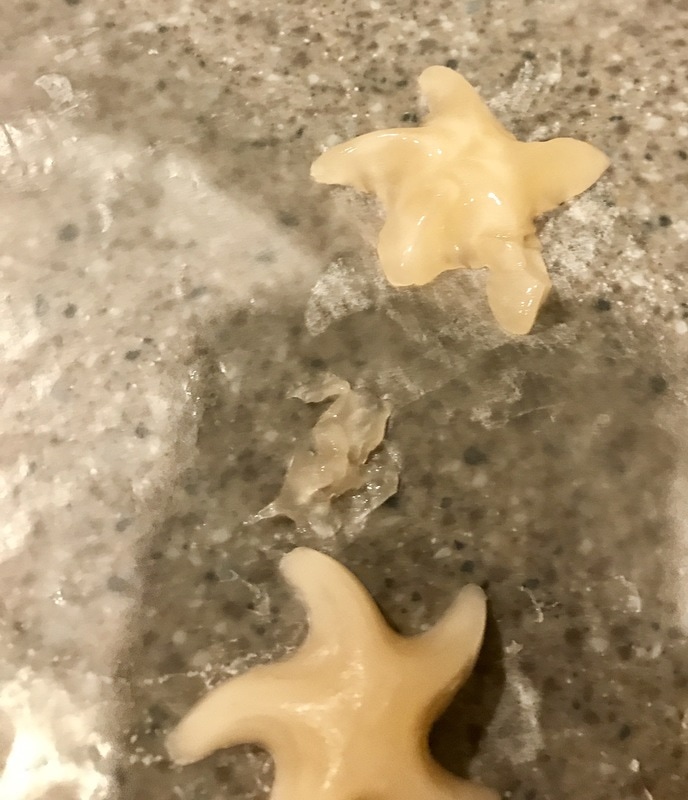
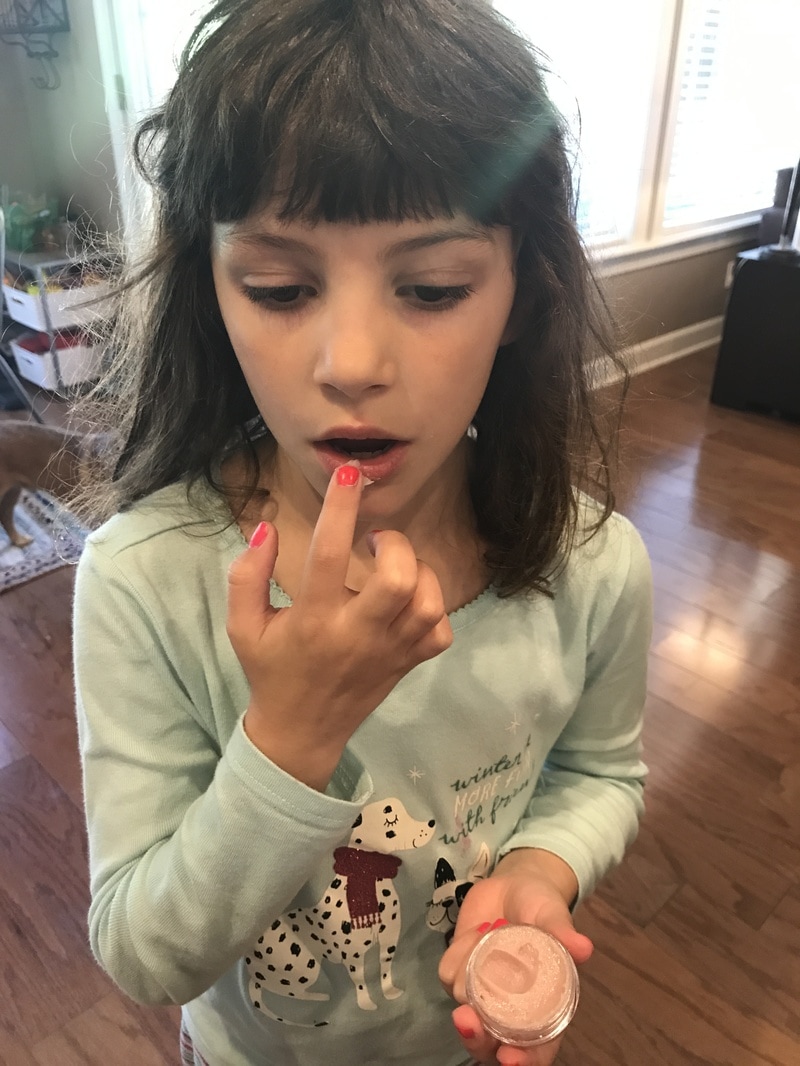
My daughter had her first girlie sleep over this weekend with her very best friend. So, naturally, I planned a few fun activities for them. We made shower jellies and lip gloss, painted our nails, made brownies and they had tons of fun playing dress-up, doctor, drawing, reading and trying to avoid the little brother. So, check out how we made the shower jellies and lip gloss below! DIY Shower Jellies You will need: - 1/2 cup bath gel/soap - 1 package unflavored gelatin - silicone mold - small pot - spoon - 1 cup water I followed a recipe I found online here. But, my jellies didn't stay jelly-like once they reached room temperature. I'm not sure what the reason is but, I plan on re-trying this with more gelatin next time. Anyhoo, it was still a fun project and they were pretty cute before they got too gooey. 1. Mix gelatin with one cup water in small pot over medium-high heat until fully dissolved. 2. Remove from heat and mix in shower gel. We used a peach colored shimmery dial soap and did not add coloring but you could add a few drops of food coloring if you like. 3. Pour mixture into mold. 4. Refrigerate 3-4 hours until set. As I stated above, mine didn't retain their gelatin like shape for long once they reached room temperature. It is possible that we put too much soap in it. I'll retry it later and update this post when I do. DIY Lip Balm
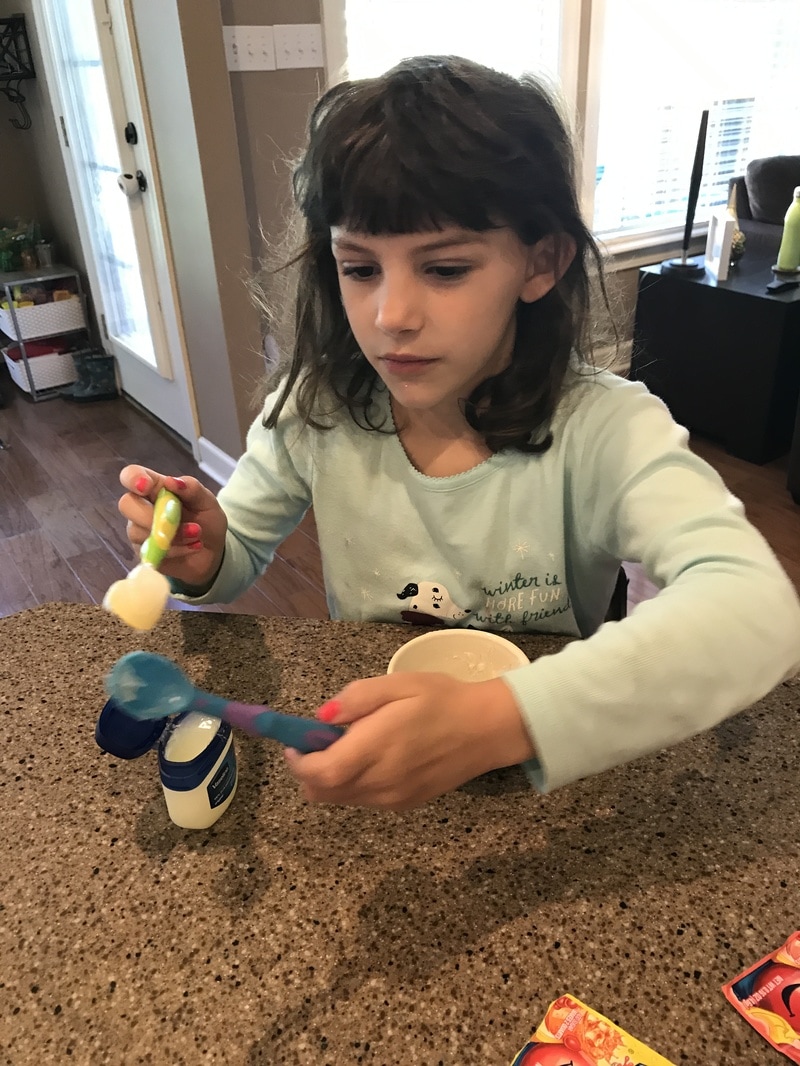
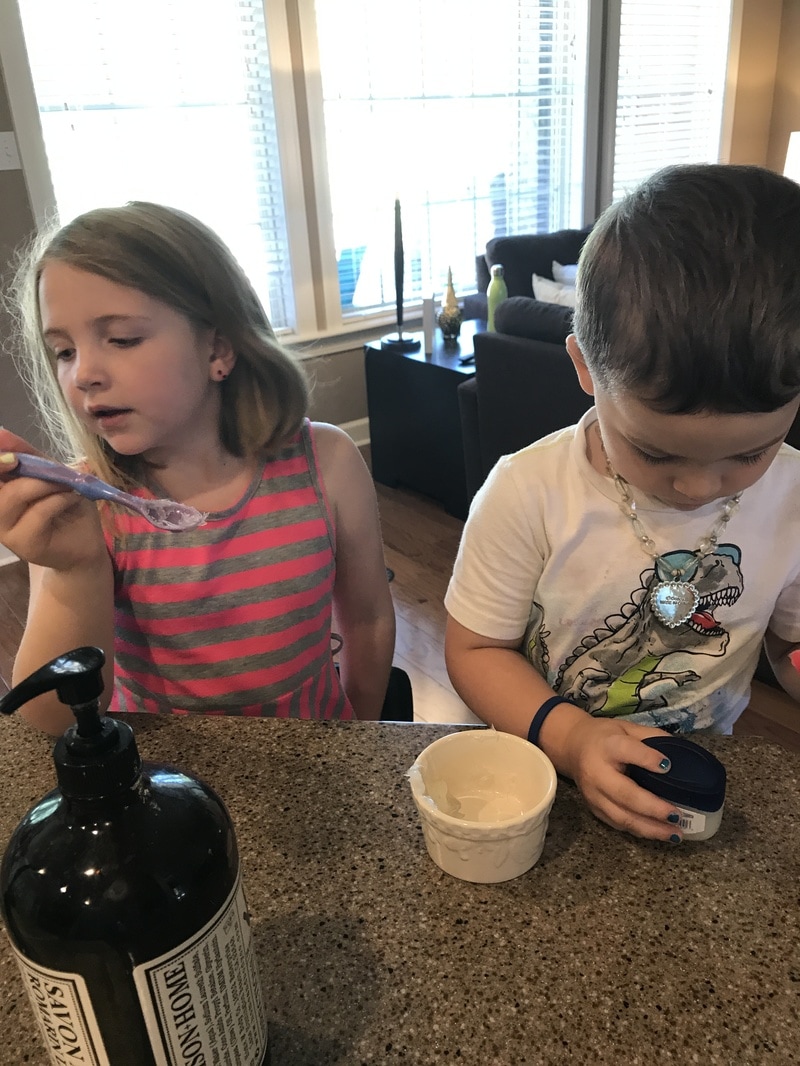
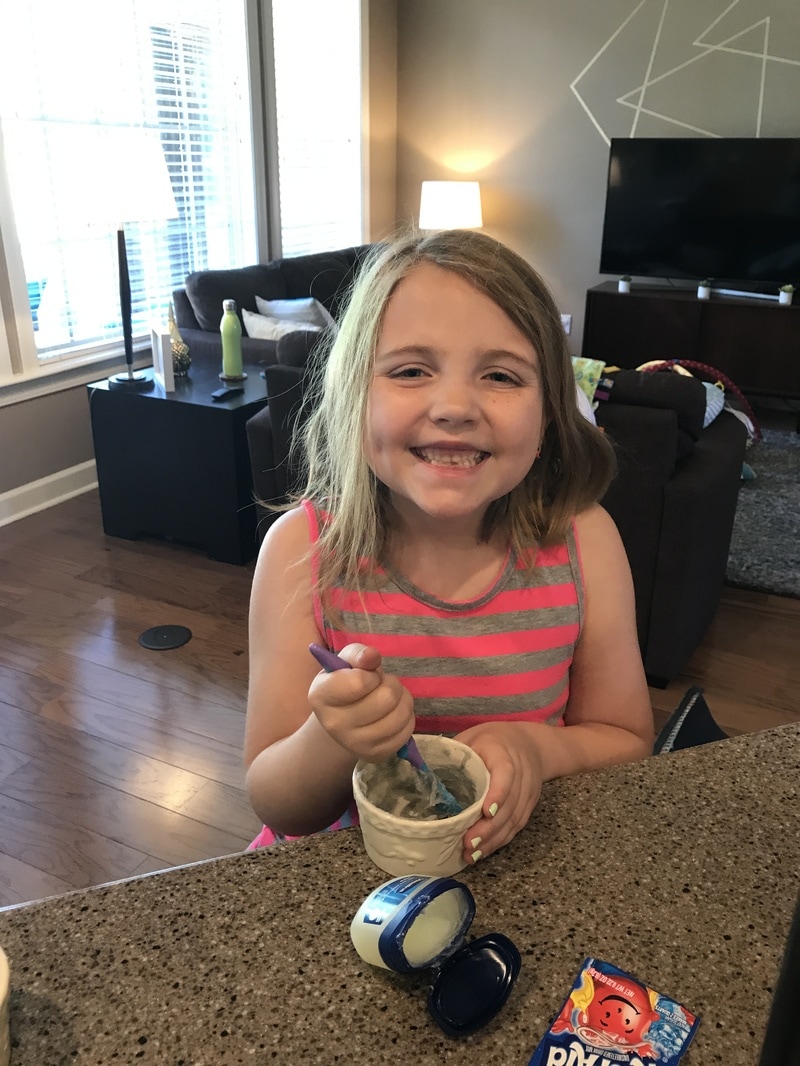
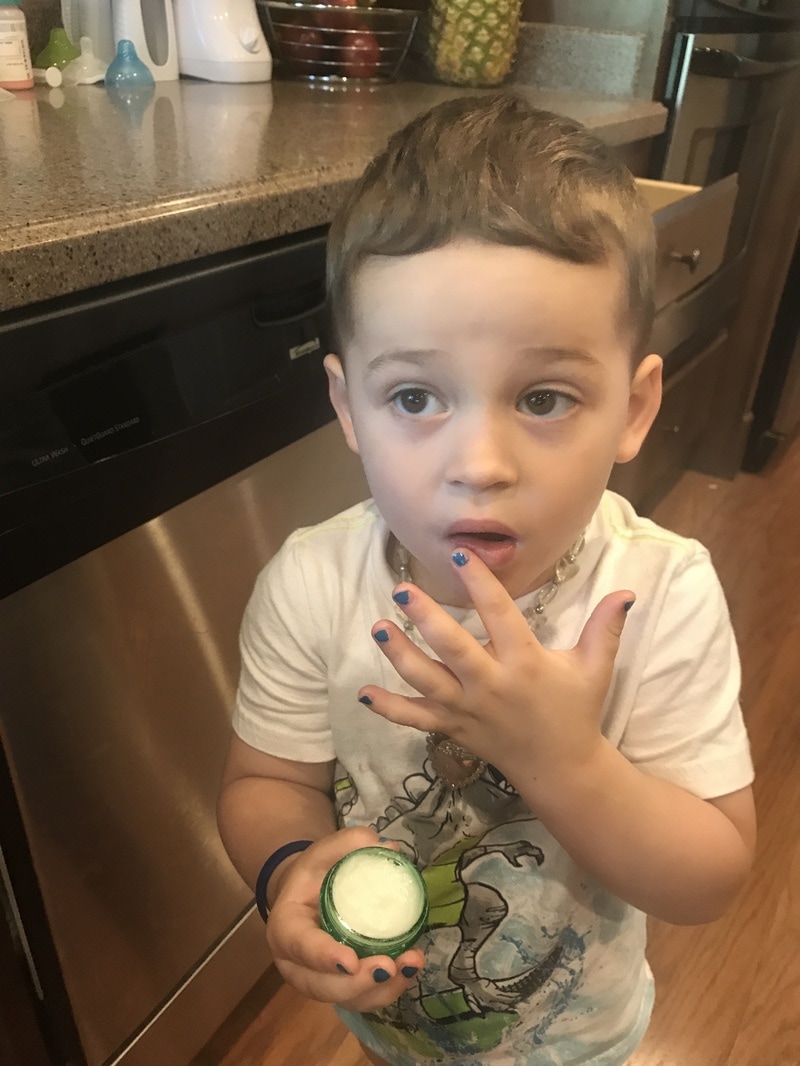
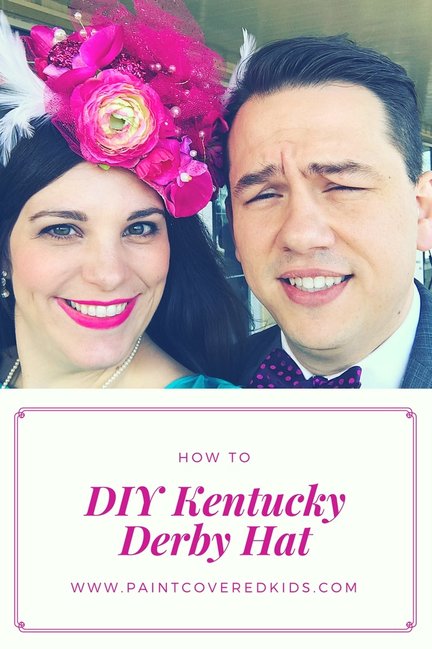
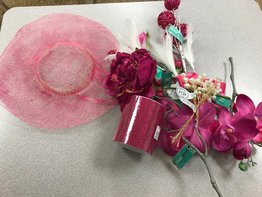
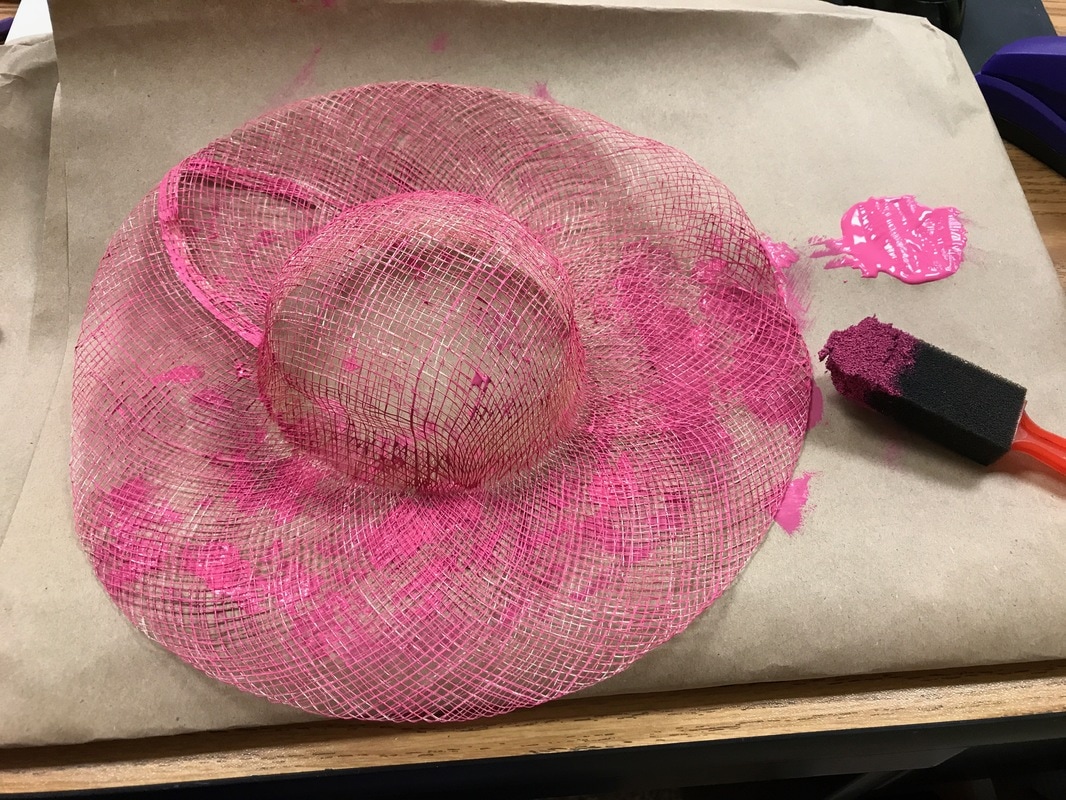
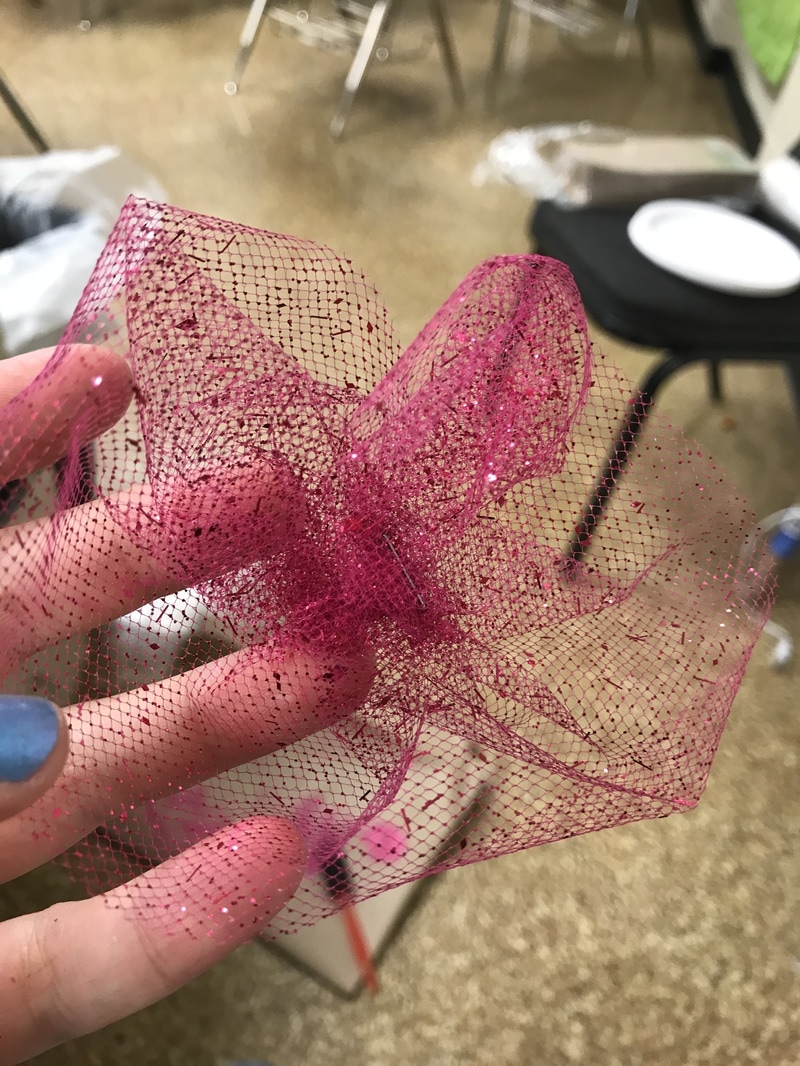
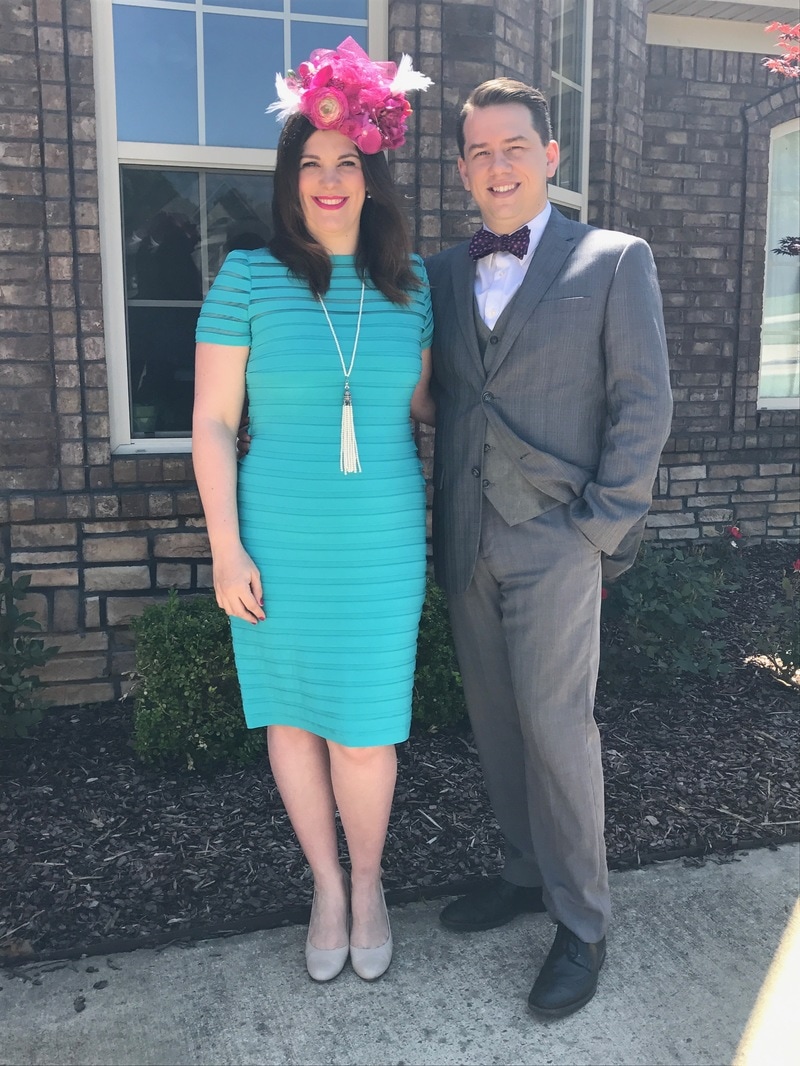
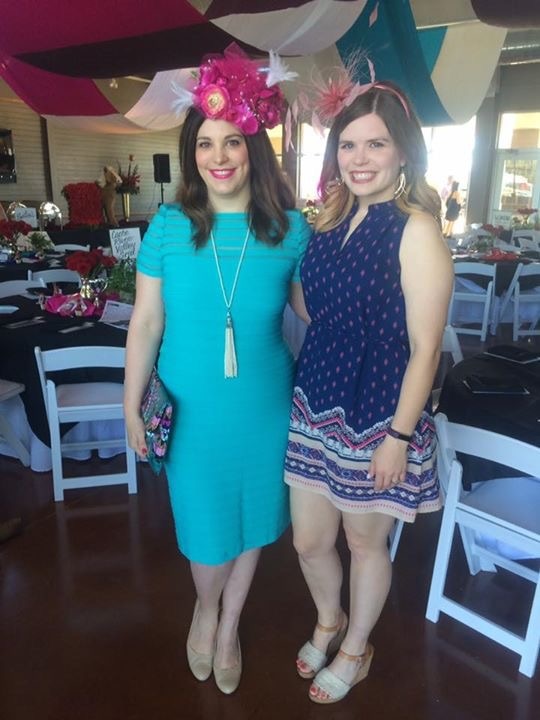
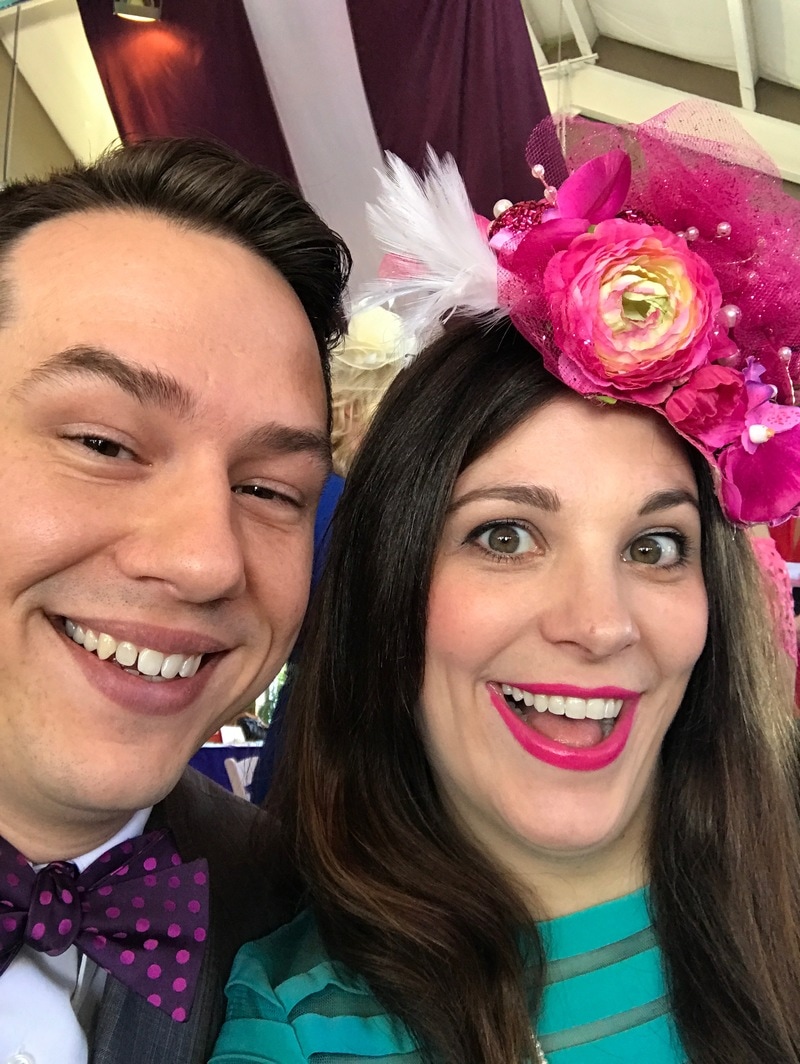
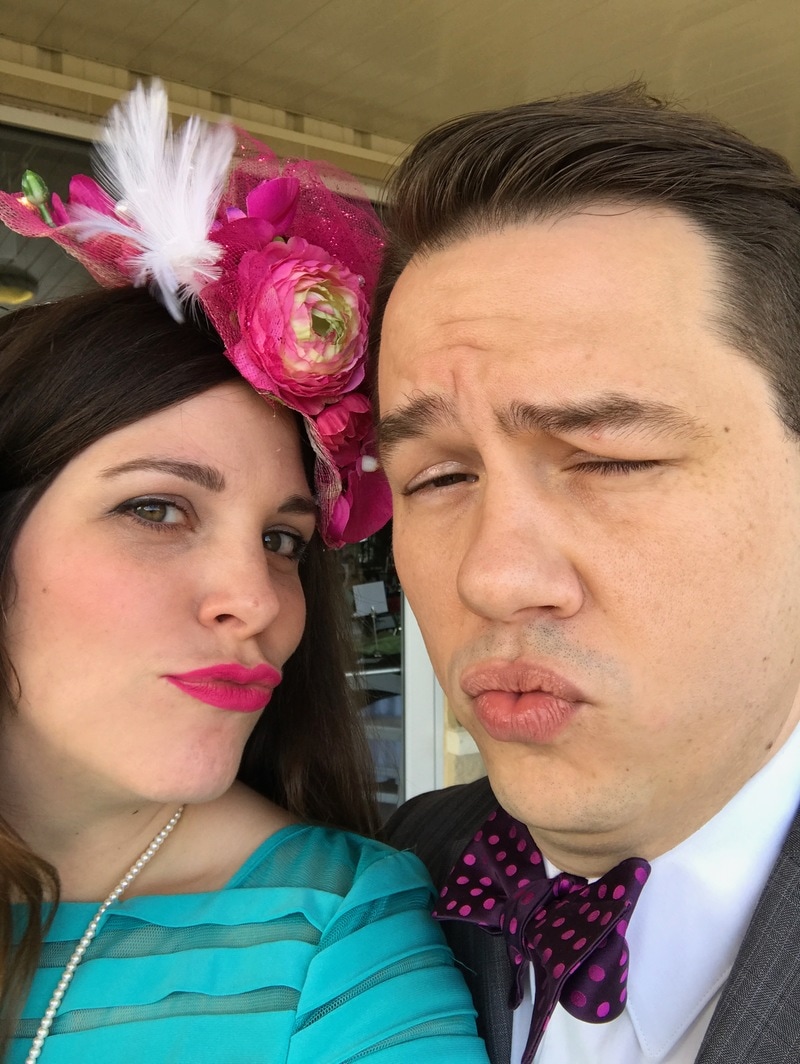
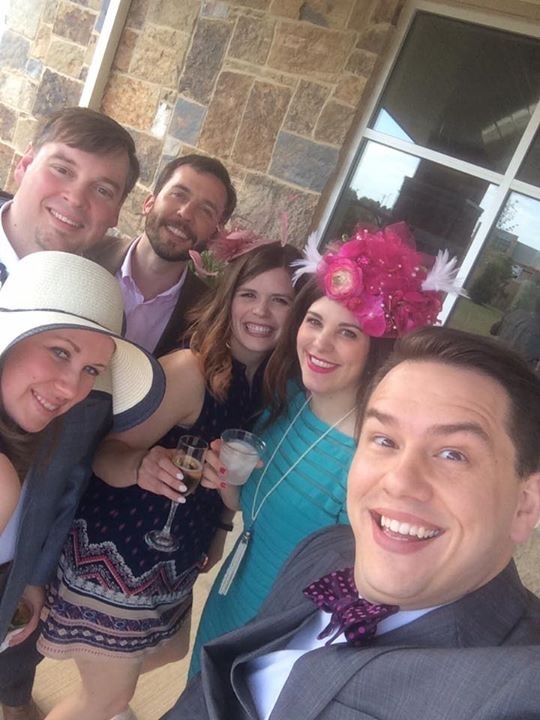
You will need: - vaseline - kool aid - container - spoon This is a super simple project that both girls were pleased with. All you do is mix some vaseline with some Kool aid powder of your choice. I didn't measure the Kool aid or the vaseline. Just do what feels right. I purchased my containers at Wal-Mart on the travel soap aisle for .98 for two. Last weekend I was invited to attend a fundraiser for Arkansas Children's Hospital that was Kentucky Derby themed. Being the crazy person I am and not knowing anything about the Kentucky Derby (or horse races for that matter), I of course hit the internet hard learning about the event. In my research I discovered that the hats are one of the biggest deals at the derby. Each year women show up with crazier and crazier hats with the goal of begin the most outrageous but in a still attractive and super bourgeois kind of style. It's all about the hat. So, I decided to go all in on my hat and set about deciding what kind I would be wearing. I chose to go with a floral theme in hot pink tones and headed for Hobby Lobby. Still not quite sure about how I would be making the hat, I rolled up and down the isles looking for inspiration. I ended up picking the week that the floral stems were not 50% off so that was pretty unfortunate as all the flowers I liked were a bit on the pricey end. My goal was to spend no more than $25 and hopefully less. I ended up on the wedding aisle and discovered a good bit of it was marked 50% off including some pearl sprays, feather sticks, and fun, hot pink baubles. I also found the floral sprays that are only $1 - $3 each meant for bouquets. I selected my flowers from these. They were the perfect length and there were plenty of varying types and sizes to give my hat some real pizzazz. After leaving the bridal aisle with a much more concrete plan in mind I then grabbed a roll of pink glitter tulle. Still not sure about how to form a base for my hat I hit the craft foam and felt aisle in search of something that might work when I found a blank dolls hat made from the very material that derby hats are made from, sinamay! It would make for a perfect base but, it was a boring tan color. So, I headed to the paint aisle and grabbed a bottle of hot pink acrylic paint. Knowing I already had felt and a pink headband at home I headed to the checkout ready to get started! The best part is I only spent $23!! And, that was without the floral items being on sale! When I arrived home, I first painted the hat. It took a matter of minutes and the boring tan became a vibrant pink. After letting it dry, I began to play around with placement of the items on my hat. I also had to snip the flowers off of the stems to be able to do this. I also made some gathered tulle pieces by cutting a strip of tulle and bunching it in the middle and then stapling it in the center. If you look online there's a much nicer (and more time consuming) way of accomplishing this but, it requires sewing and I try to avoid that all costs. This worked just fine. Once I had a good idea of placement, I began to adhere the largest pieces first as a base to work from. I added the details as I went to make it balanced. To add the wired details I simply poked them through the hat and twisted them together underneath to be sure they didn't budge.
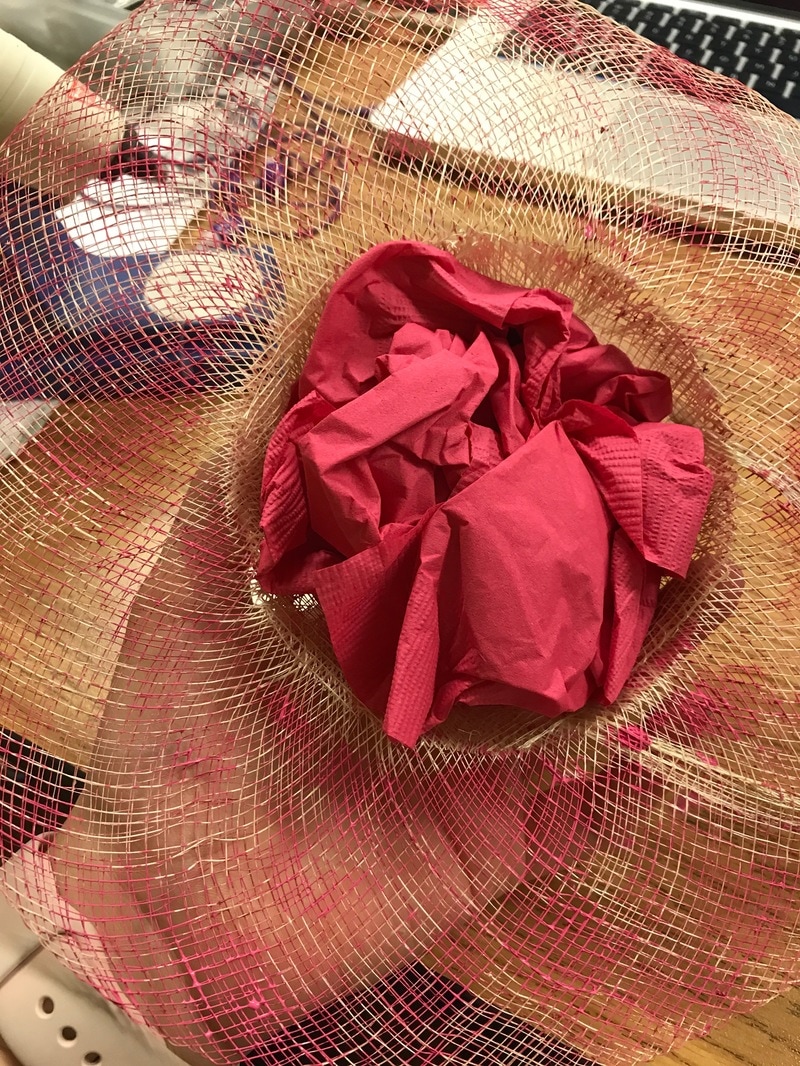
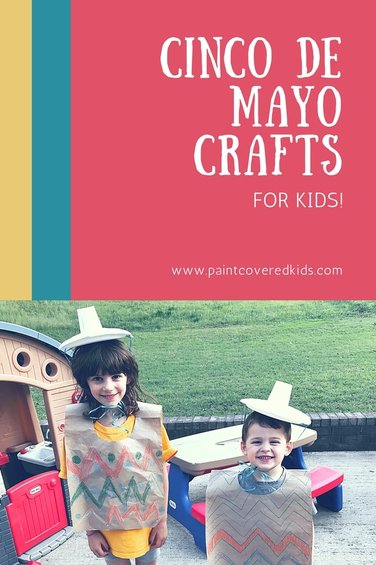
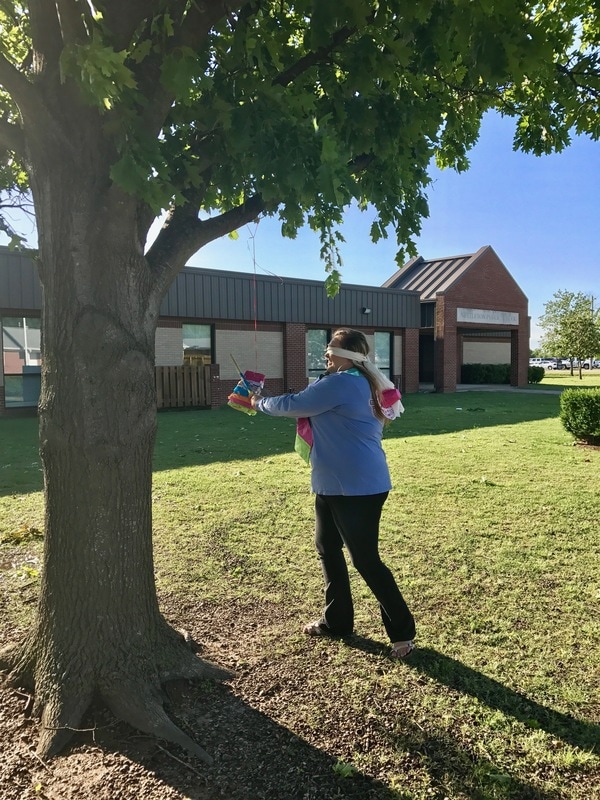
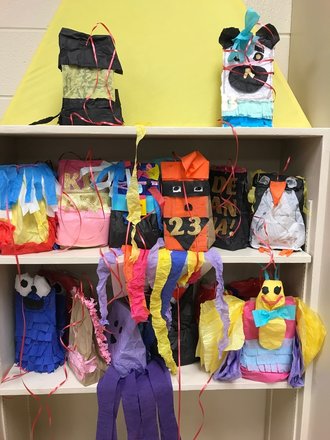
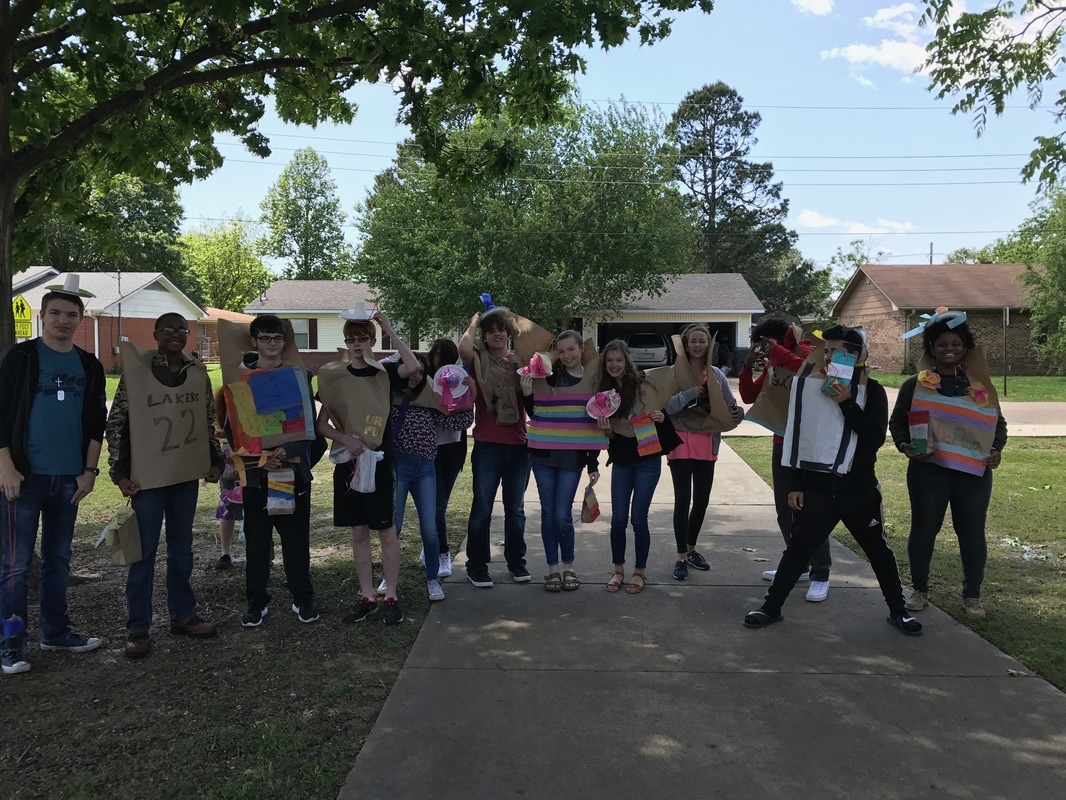
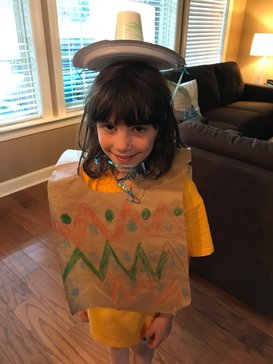
After getting it all glued (I used hot glue) and wired on. I stuffed the hat with pink napkins I happened to already have. You could stuff it with whatever you like. Then I cut a circle of hot pink felt and glued it over the hat base. After that, I glued my headband to the felt circle and cut an identical circle, snipping two slits in it for the headband ends to pass through. Then I slid the second circle over the headband and glued it down as well. Overall, I probably spent about an hour on this project but, it was really worth it! At the party, every woman I spoke with said they loved my hat and several said it was their favorite at the event. I had a great time making and wearing it and I encourage you to get crafty and make your own if you ever attend a party where such a hat is encouraged! As a Spanish teacher, I always spend the week of Cinco de Mayo teaching my students about the holiday and allowing them to make piñatas. This year instead of paper maché we made paper bag piñatas. They were incredibly easy and gave us more time to learn about Mexican culture and make more crafts. We discussed the history of the sarapé (you might also know it as a poncho) and the sombrero. Then we made some for ourselves to wear during our fiesta! My students, who are ages 15-18 loved the activities and left with a better understanding of the holiday. I also brought the crafts and knowledge home for my kids who also loved them! If you are one of those people that likes to throw the term "cultural appropriation" around in regards to Americans wearing sombreros on Cinco de Mayo, I have an opinion I'd like to share with you. Sombreros and sarapés are a part of Mexican history. During the Battle of Puebla (The event that Cinco de Mayo celebrates.) Mexicans actually did wear sombreros and sarapés. Of course they are not part of the general attire now but, we, as Americans don't walk around in Pilgrim garb anymore either. However, we are not offended at Thanksgiving when children dress up like pilgrims. I think that if we teach our children how to respect others culture while learning about it that there is no harm in enjoying that culture. The act of making these items, putting time, effort and care into a project based on the culture of someone else can actually help you understand and appreciate that culture more. Just as with everything, be respectful and develop an understanding of the culture. Don't just steal it and mock it with stereotypical behavior. If we are always worrying about offending someone by even bringing up the items labelled as "stereotypical" in someone's culture then we may never be able to become comfortable with them or understand them. Opening up the conversation and allowing children to explore and investigate is the only way for them to learn. Ok, now, if you don't agree then you can stop reading since you probably think I'm a horrible person for making these crafts. Otherwise, keep on to learn how to make the crafts as well as get links to the information I used to teach my students about the holiday and Mexican culture. Paper Bag Piñata You will need: - paper bag - stapler - string/ribbon - hole punch - glue - tissue paper and/or streamers - candy 1. Fill your bag with candy (not too much!) Then fold down the top and staple. 2. Decorate! Use whatever you like! My students got pretty creative and made things varying from a penguin to an emoji! 3. Punch a hole in the top and string it. 4. Bust it! With my students, we hung it in a tree outside of the school. For my kids I just held it out for them. You can also blind fold and spin the hitter for extra fun and cultural appropriateness. If you want to learn about the art of making piñatas in Mexico you can watch this video. Paper Sarapé You will need: - brown craft paper - tissue paper and/or streamers - glue - crayons - scissors 1. Cut a piece of craft paper that is the appropriate width for your torso. 2. Fold in half and cut a half circle. (This will be the neck hole.) 3. Decorate! Some students made a themed sarapé others simply decorated with streamers and tissue paper. Some even added paper flowers. My children used crayons to draw a pattern and color it in. If you want to learn about the history of the sarapé you can read about it here. Paper Plate Sombrero
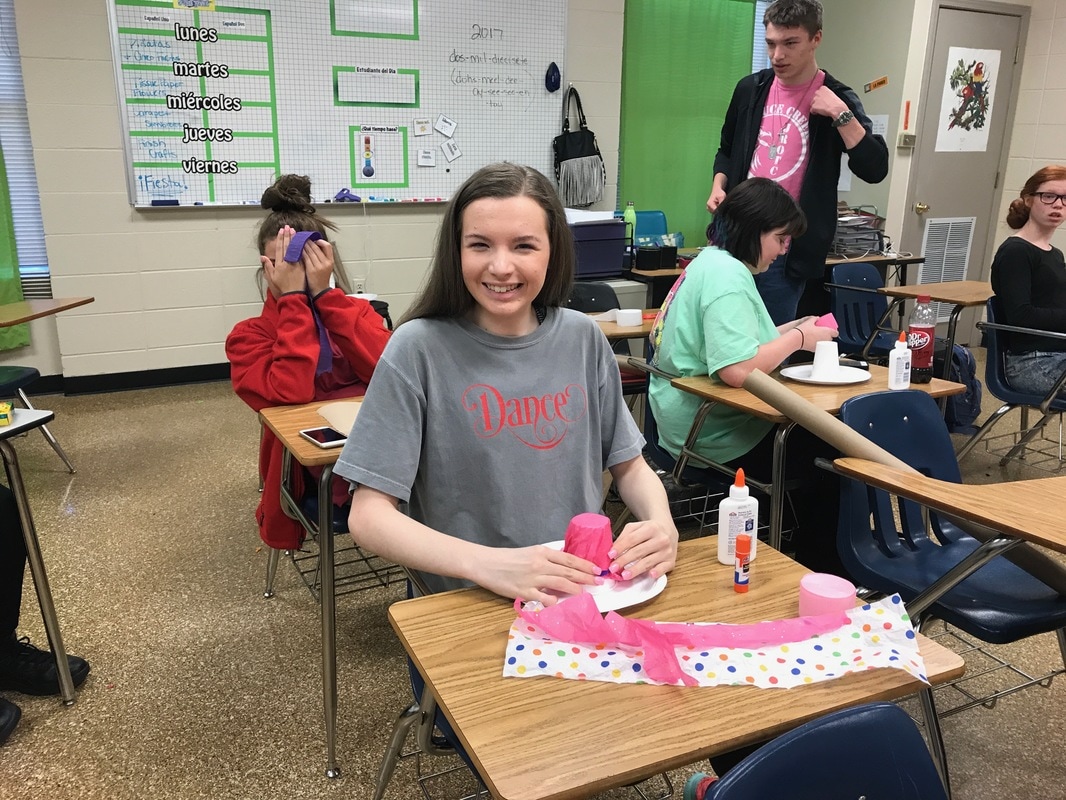
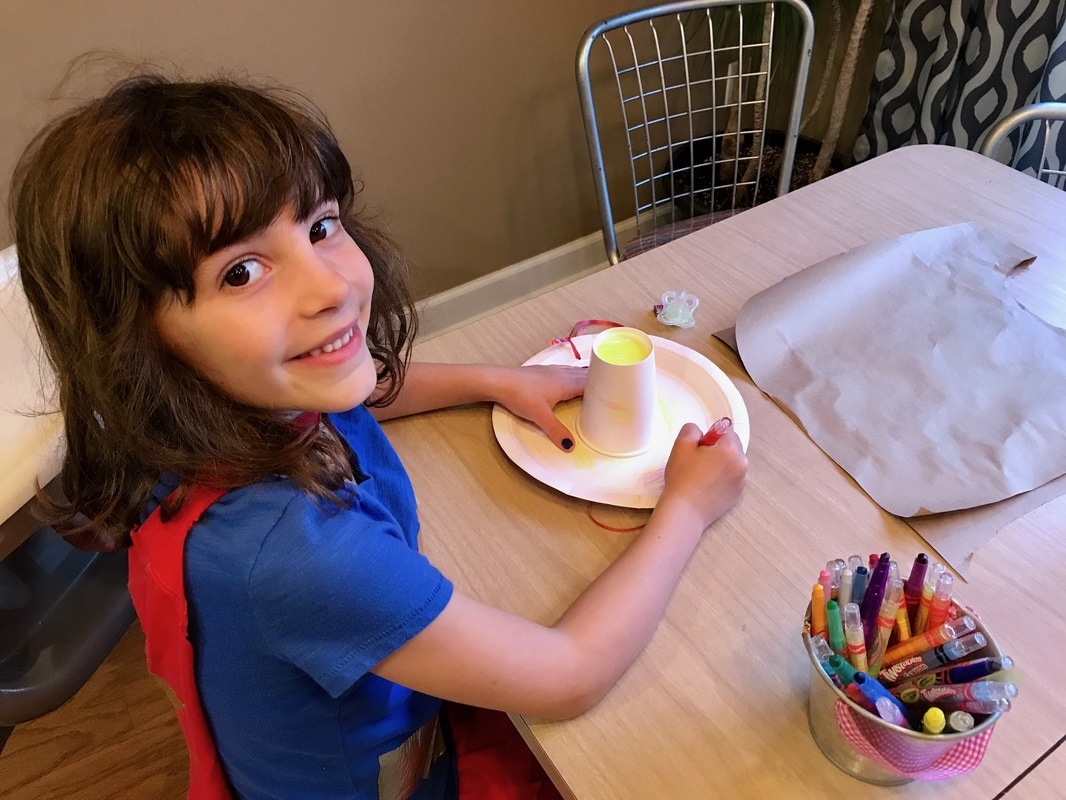
You will need: - paper plate (I used white to make it easier to decorate but you can use colored ones too.) - paper cup - hot glue - string/ribbon - hole punch - streamers and/or tissue paper, ribbon etc. 1. Hot glue the cup to the plate. The lip of the cup will be glued to the top, center of the plate. 2. Decorate! Some students had streamers dangling down. Others made paper flowers or covered it in streamers and tissue paper. 3. Punch hole in either side and add a string. If you would like to learn about the history of the sombrero click here. Thanks for visiting! |
meet rachelRachel is a mother of three, elementary Spanish teacher and part-time blogger who loves crafting, creating fun and engaging activities for her children and students and hanging with her friends and family. She blogs about what she's doing and her interests at any given time which vary. She's a little OCD and always looking for her next project. Her husband calls it, "focusing her crazy", but she just calls it fun. Archives
December 2022
Categories
All
|







 RSS Feed


