|
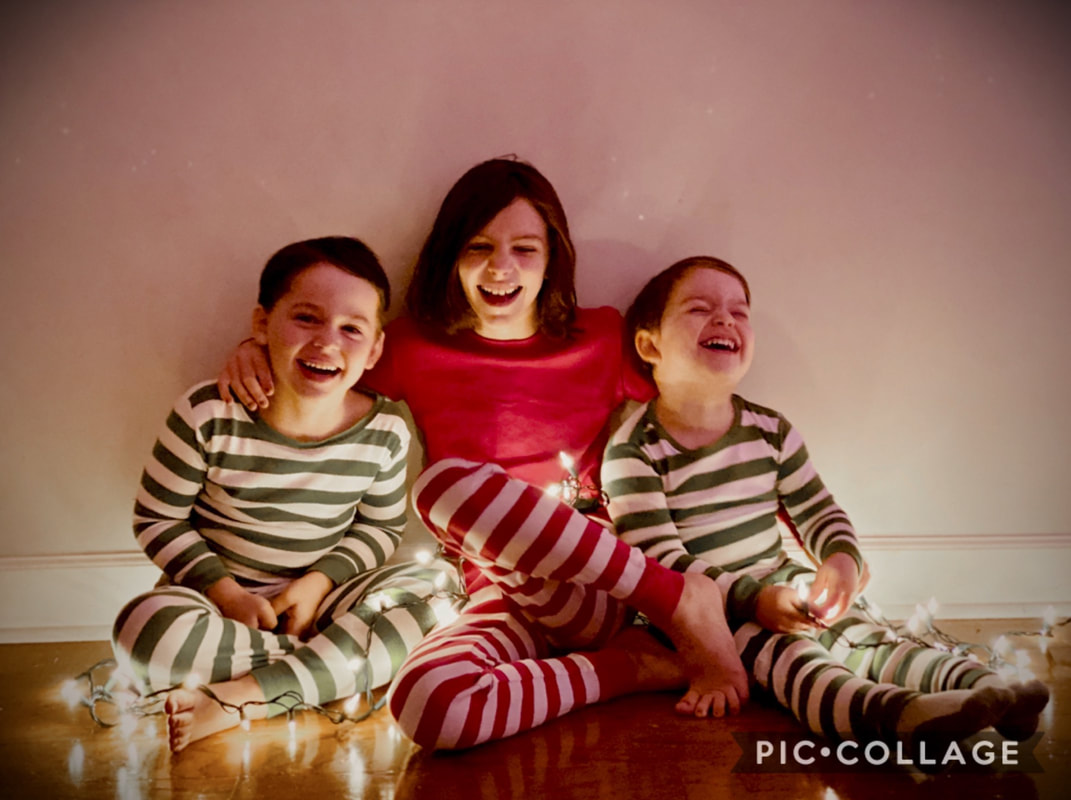
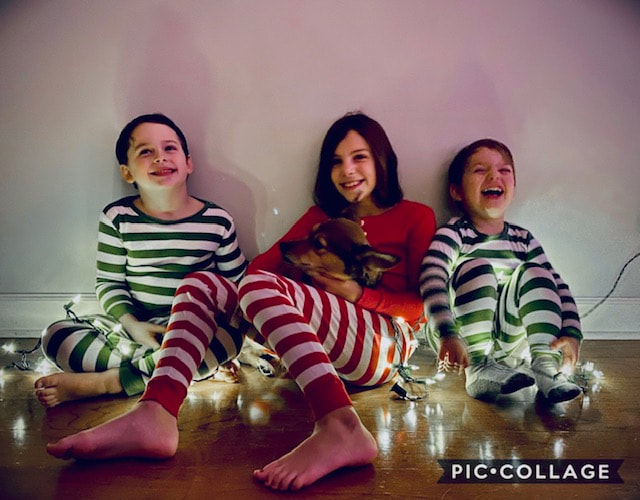
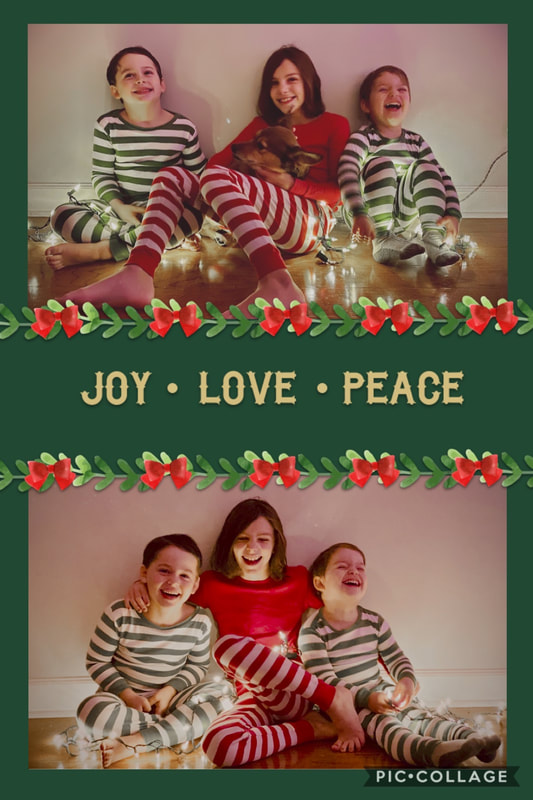
Taking a cute Christmas photo doesn't have to cost an arm and a leg! Grab some matching pj's or outfits and give them some Christmas lights and voila! It may have taken my husband and I shouting things like "poopy face" and about 100 photos to make this magic happen but, I think it was worth it. After a quick run through a photo editor I ended up with some adorable and FREE Christmas pics that capture my crazy trio pretty perfectly.
0 Comments
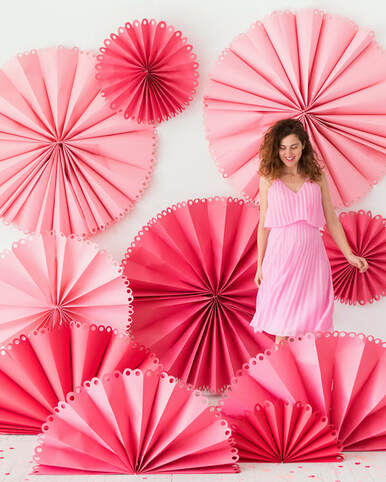
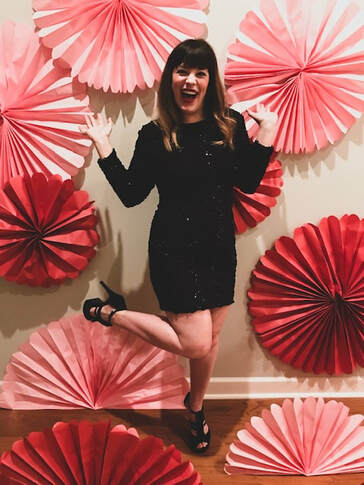
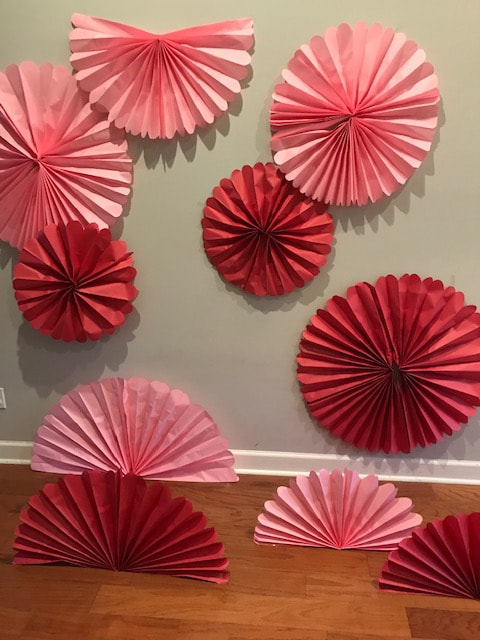
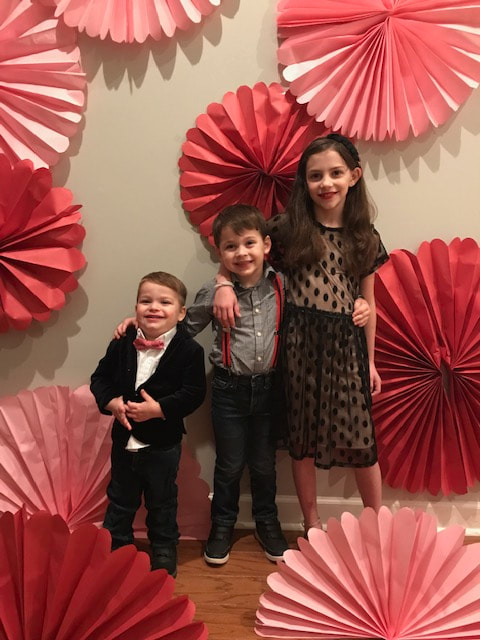
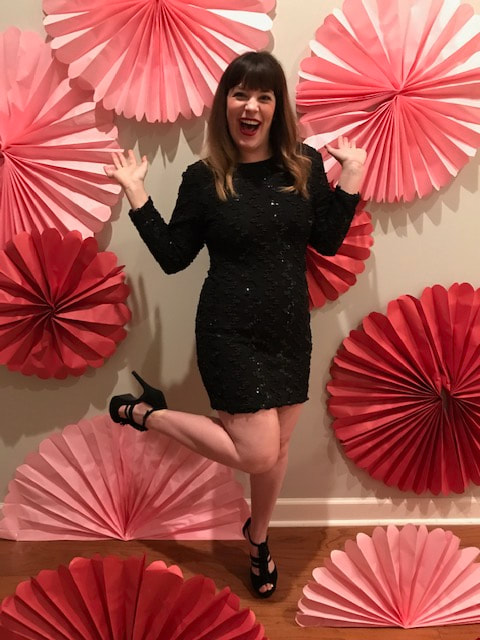
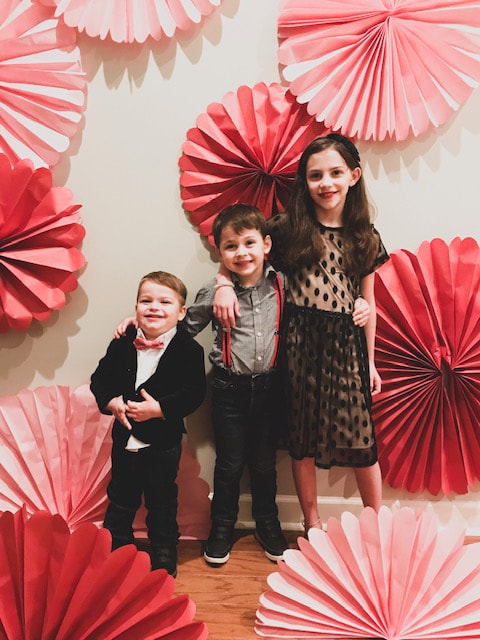
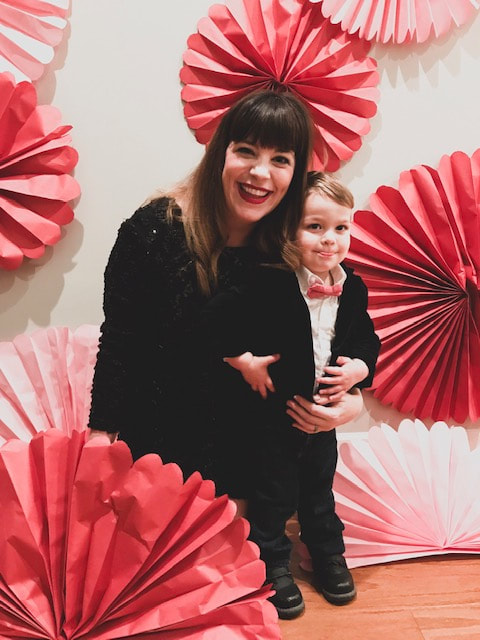
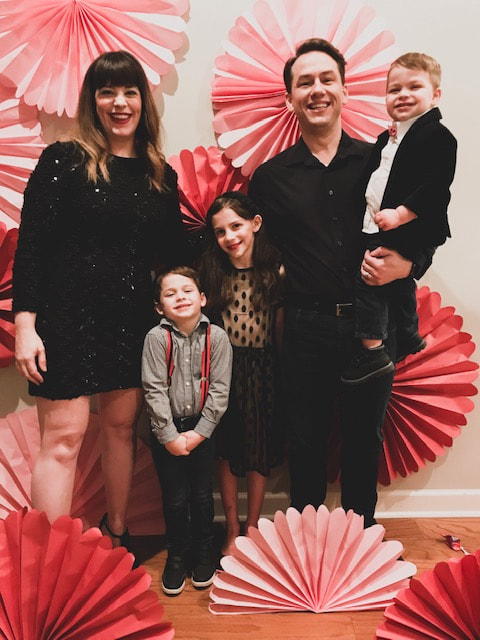
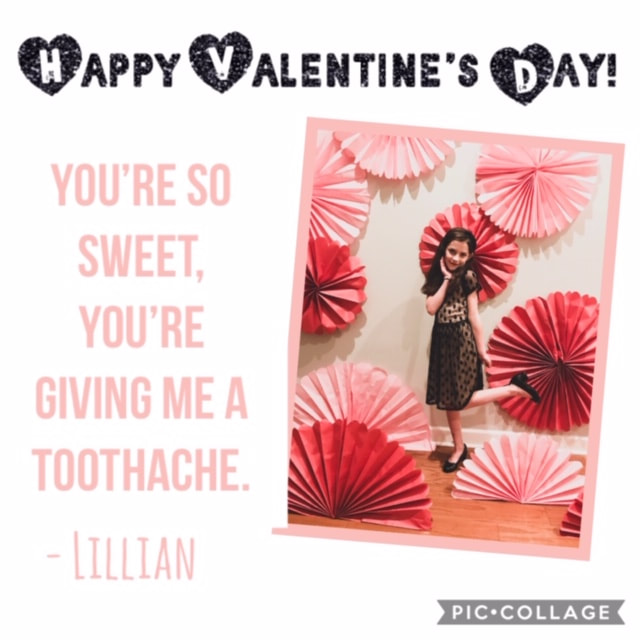
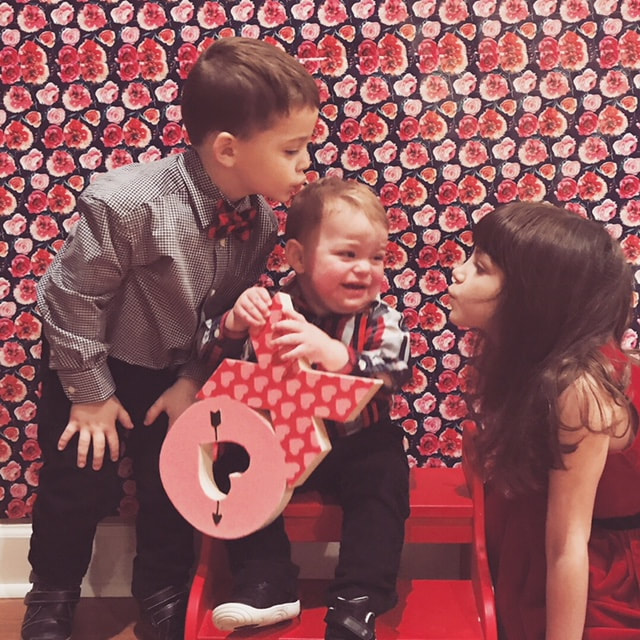
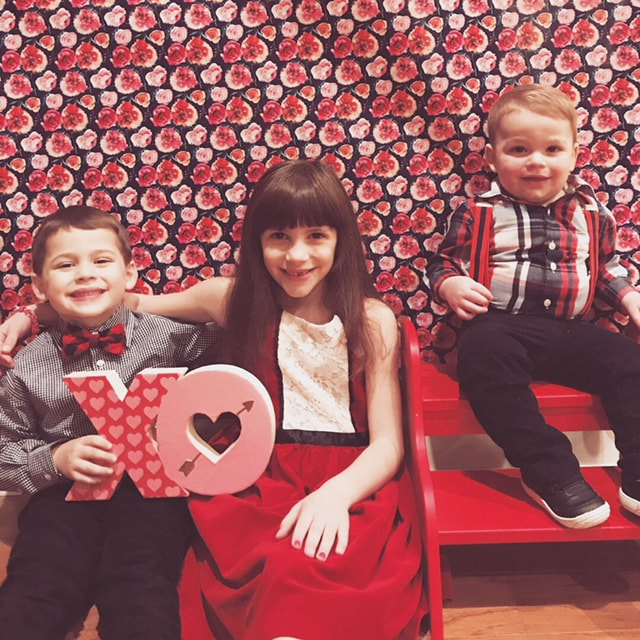
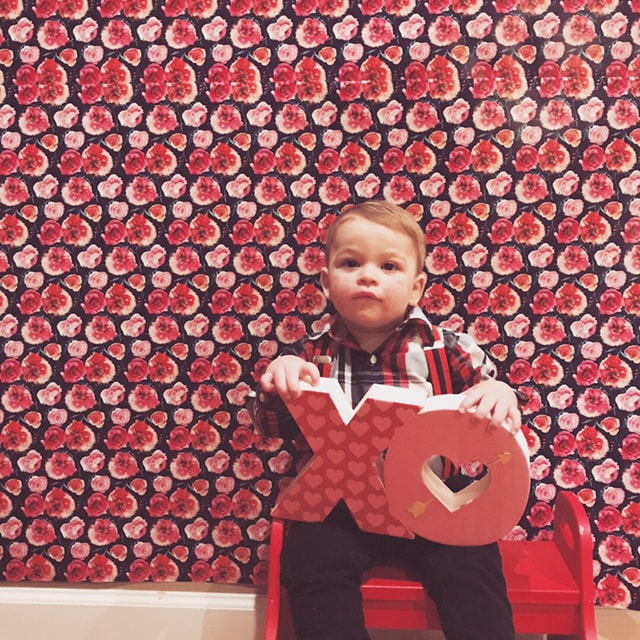
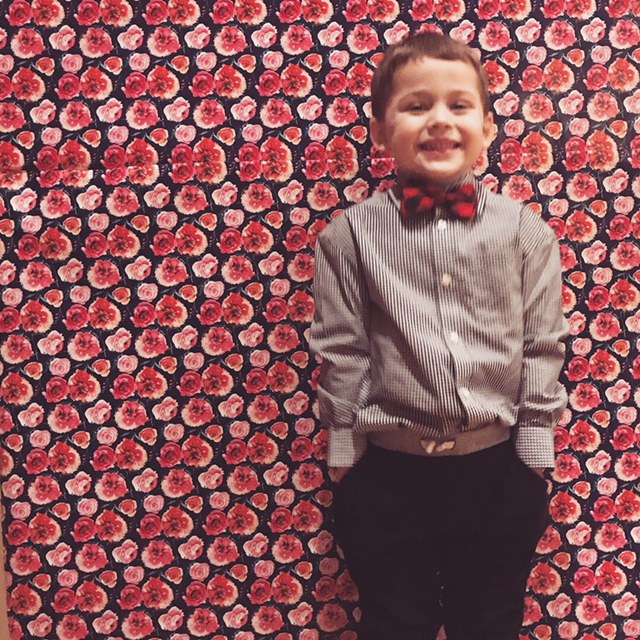
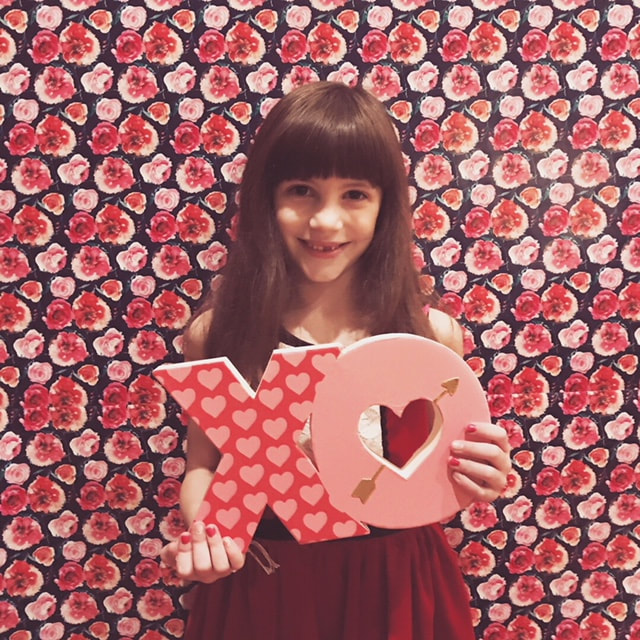
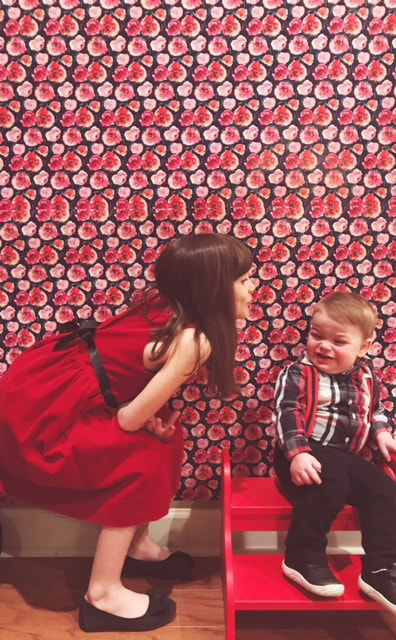
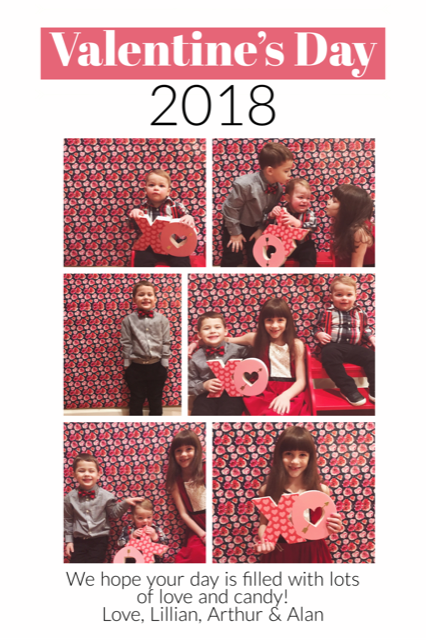
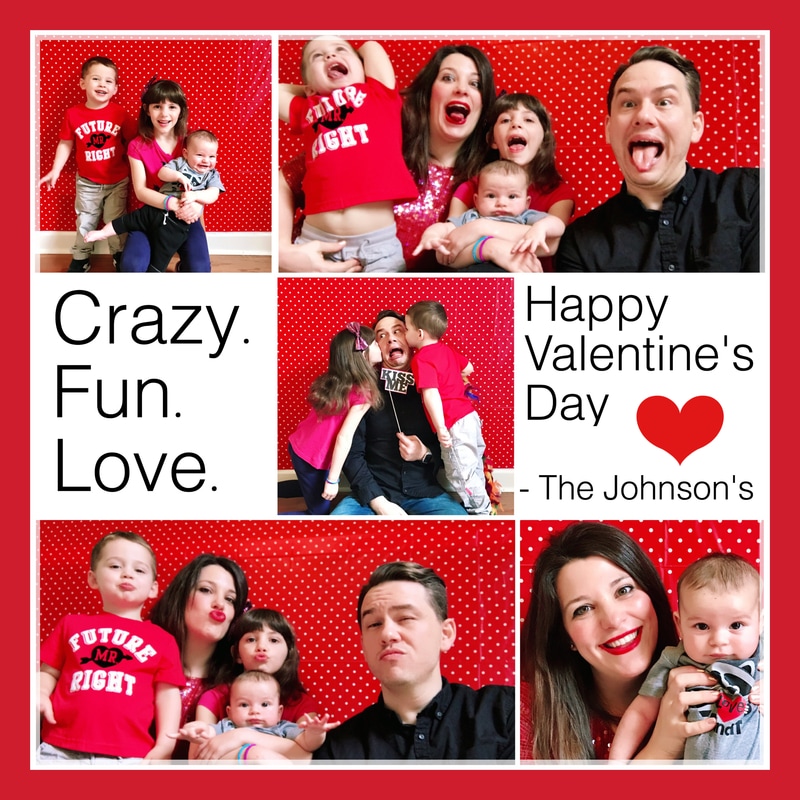
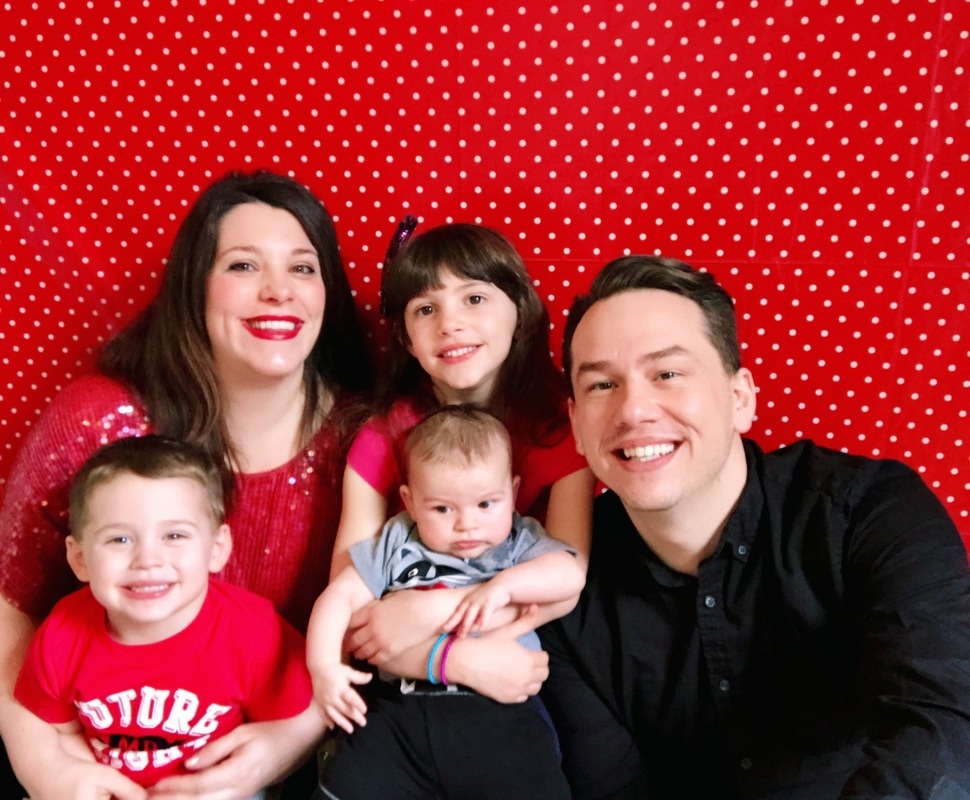
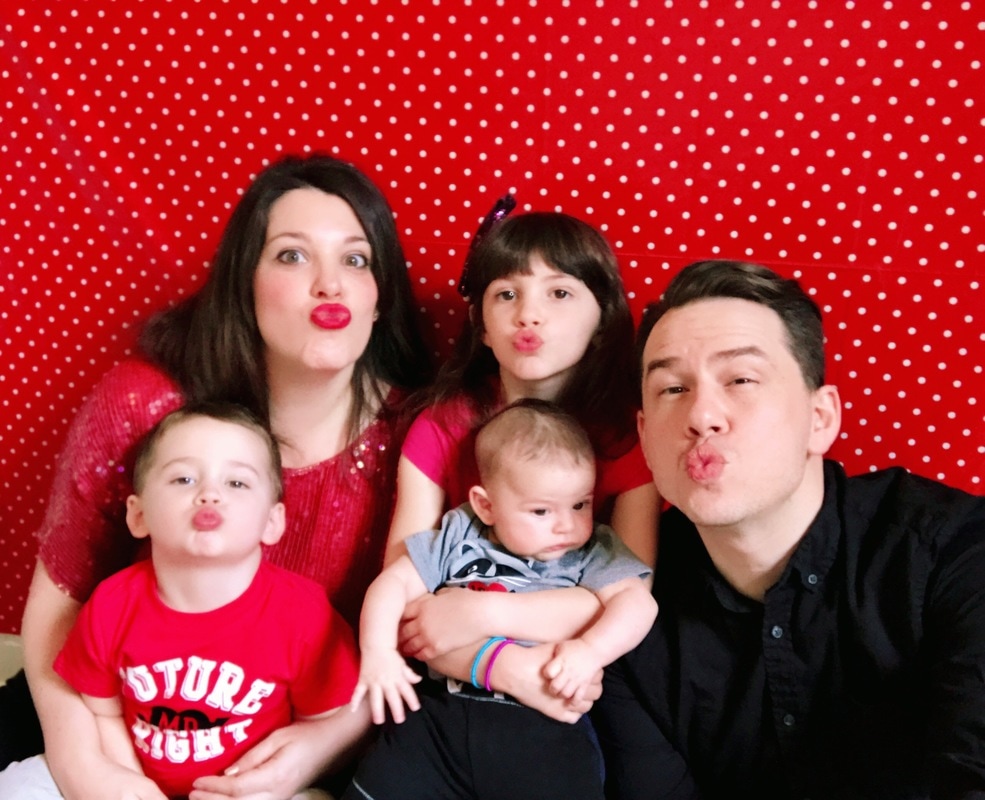
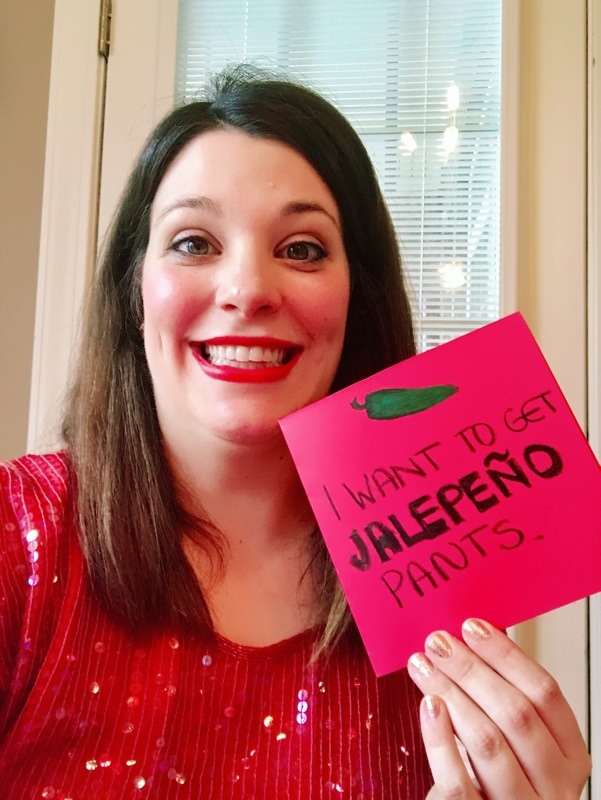
I generally conduct a mini photo session in my living room for Valentine's Day each year. In the past I've shared those tips which include using a table cloth or wrapping paper as a back drop. This year I got inspired by a fun backdrop at Oh Joy! and had to re-create it! It was ridiculously easy to set up and even though I don't have the fancy lighting used in the original I think they turned out adorable! To create the fans I simple followed basic directions and created an accordion fold on large pieces of butcher paper. Then I stapled them in the middle, cut the edges to be round and stapled the middle edges together. You can use this tutorial to help you out. It is for mini fans but is closest to what I did except I didn't use glue and instead used staples. Once I created a bunch of different sized fans, I simply taped them to the floor and walls to create the backdrop area. It couldn't have been quicker or easier! I definitely spent more time taking and editing the photos. The Images below are before editing. After running the images through a bunch of filters and apps I ended up with the images below. I also made valentine message images for fun. Happy Valentine's Day!
With three kids taking adorable photos can get a bit hard. But, I managed to scrape together a few great ones using my awesome trick of pretty wrapping paper for a background. I dressed the kids in some adorable clothes, bribed them with the promise of candy at the end of the ordeal and quickly captured their adorable little faces with my phone camera before anyone had a meltdown. I even managed without anyone making silly faces or sounds behind me this time! After selecting my favorites and running them through my favorite photo filter app, Rookie Camera, I ended up with photos that I really like and only cost me some time, a little sanity and $4 for the wrapping paper. Enjoy! Since I was not looking photo ready during our session, I left the wrapping paper up and captured a few more photos the next day too.
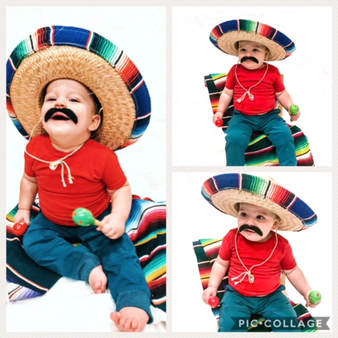
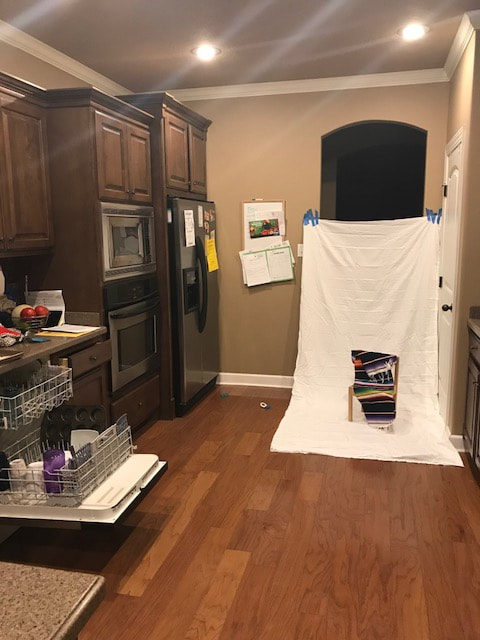
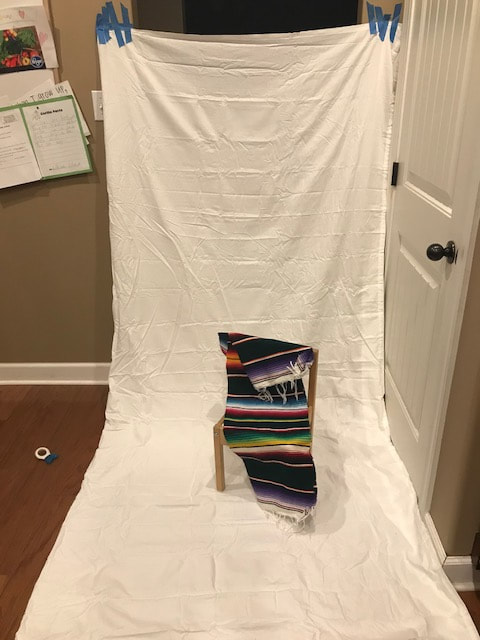
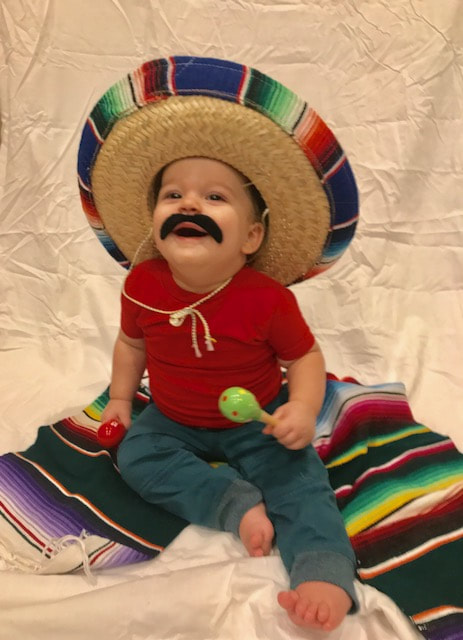
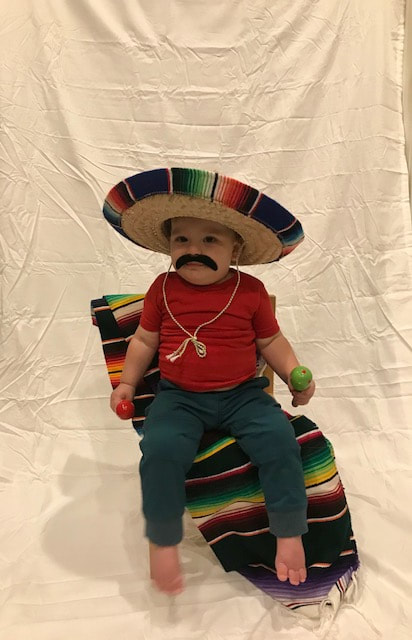
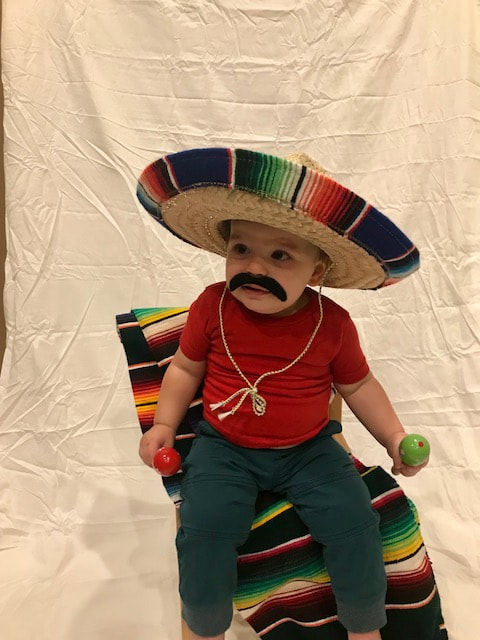
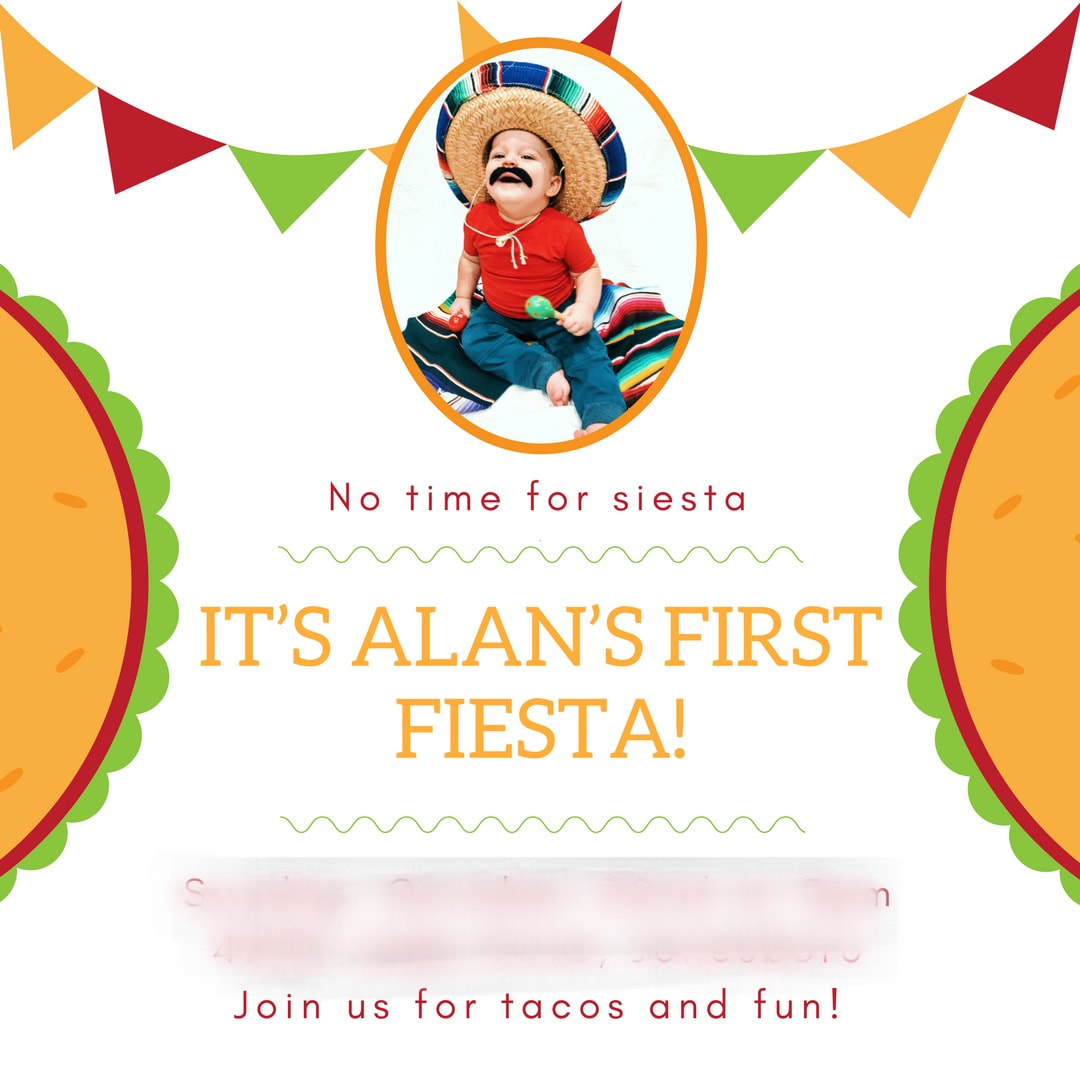
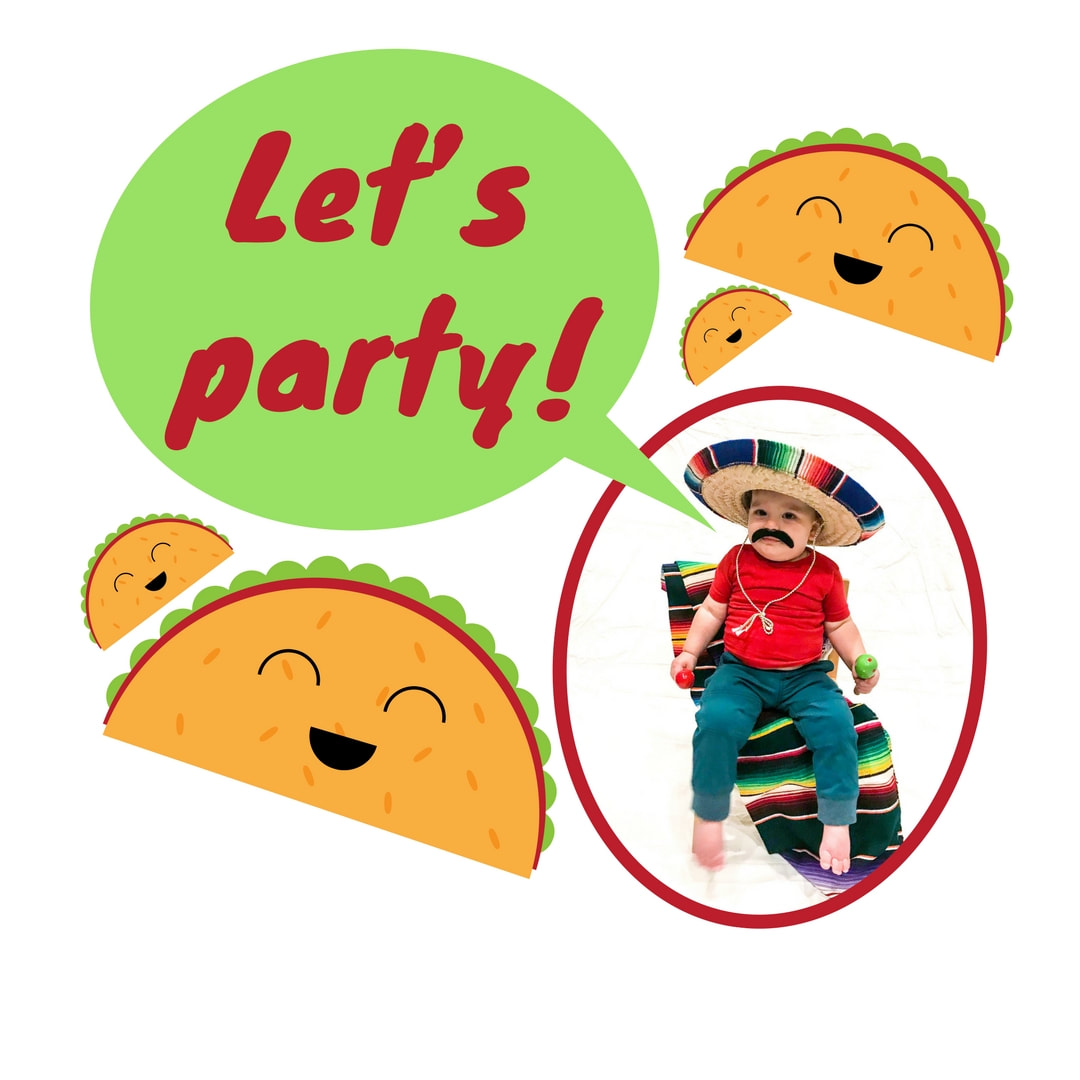
In preparation for Alan's fiesta themed birthday party we had a bit of fun with photos! It was a simple set up and I think the results are extremely awesome. We took them last minute on a weeknight in the kitchen! All I did was tape a white sheet up over one of the walkways into the space and then added a kid sized chair and sarape. Then added Alan with a kid sized sombrero, sticky mustache and a few tiny wooden maracas. I was honestly amazed that he didn't try to take the mustache off. Probably because his hands were full of maraca and he was most likely confused about what was going on. lol. After running them through a few editing apps and filters I came out with my adorable pics but, they didn't look great right out of the gate. Editing is a must! After editing them up a bit I headed over to canva.com and created some invitations for his party. After saving the images I created on canva (for free) I created an invitation at Walgreens online and had them mailed to my house! I was super happy with how they came out! Now it's time to get to party planning!
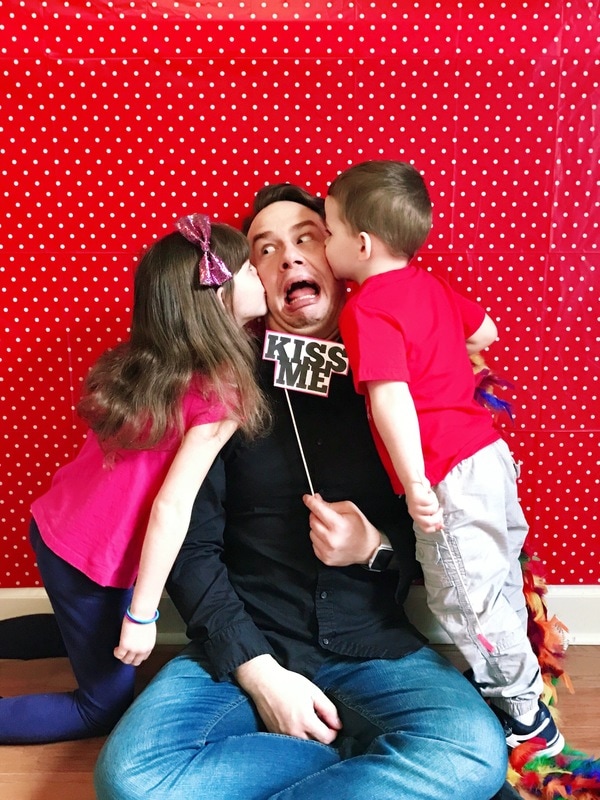
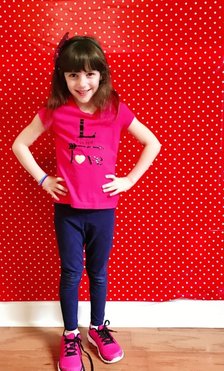
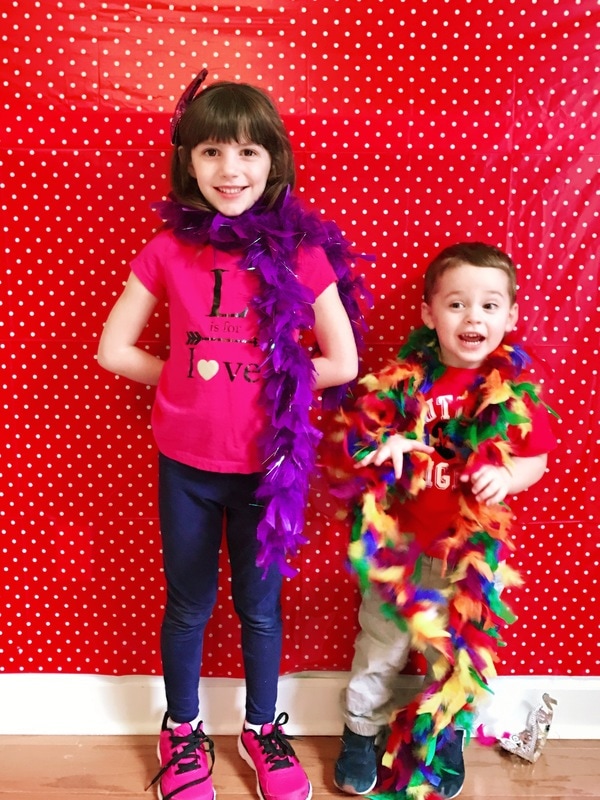
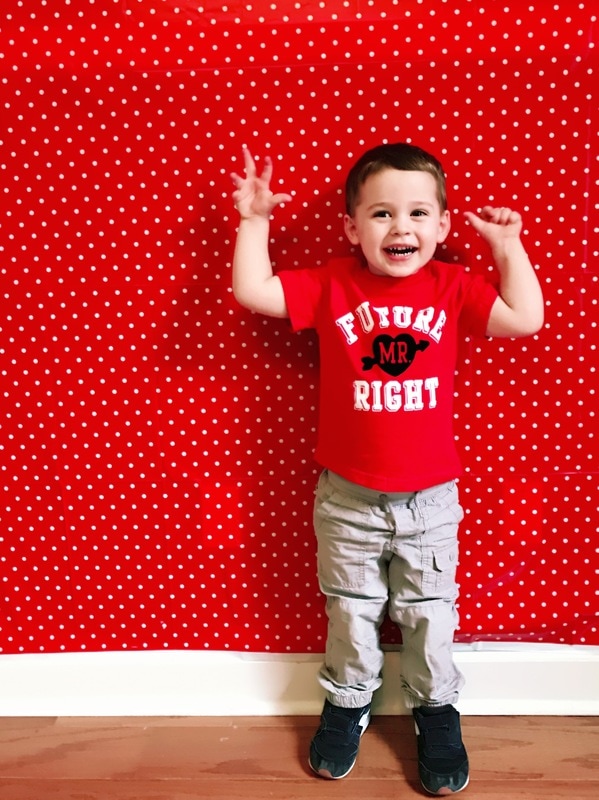
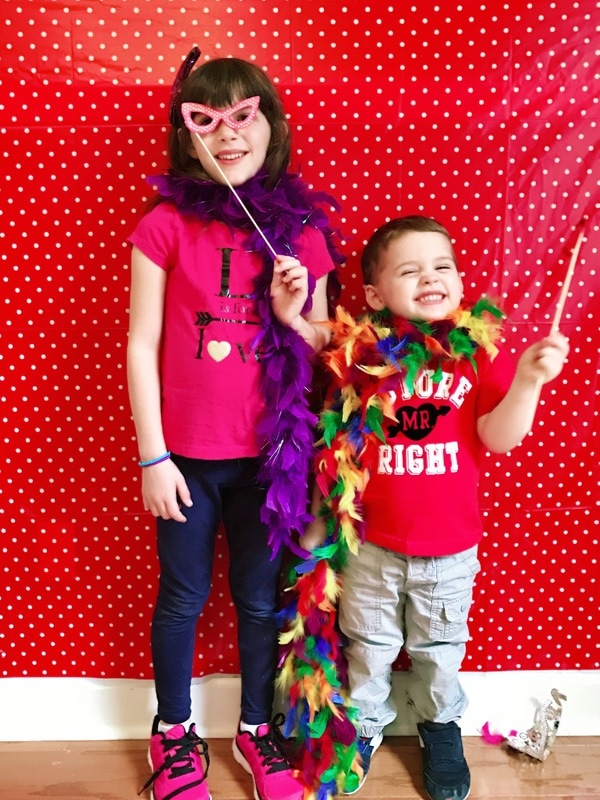
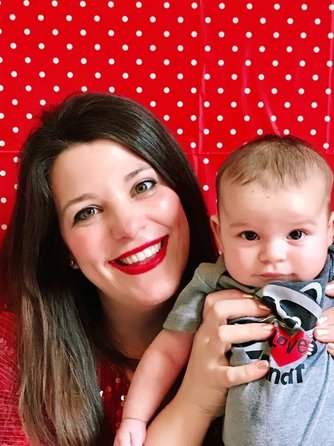
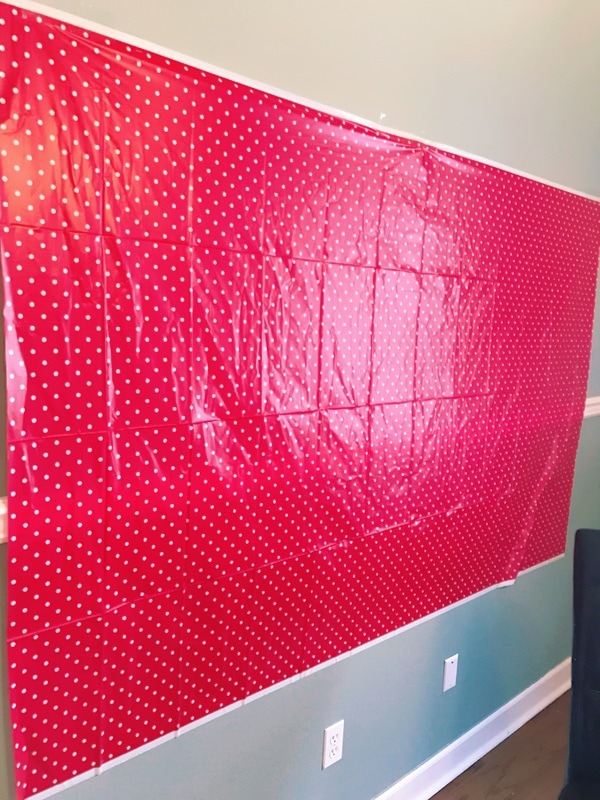
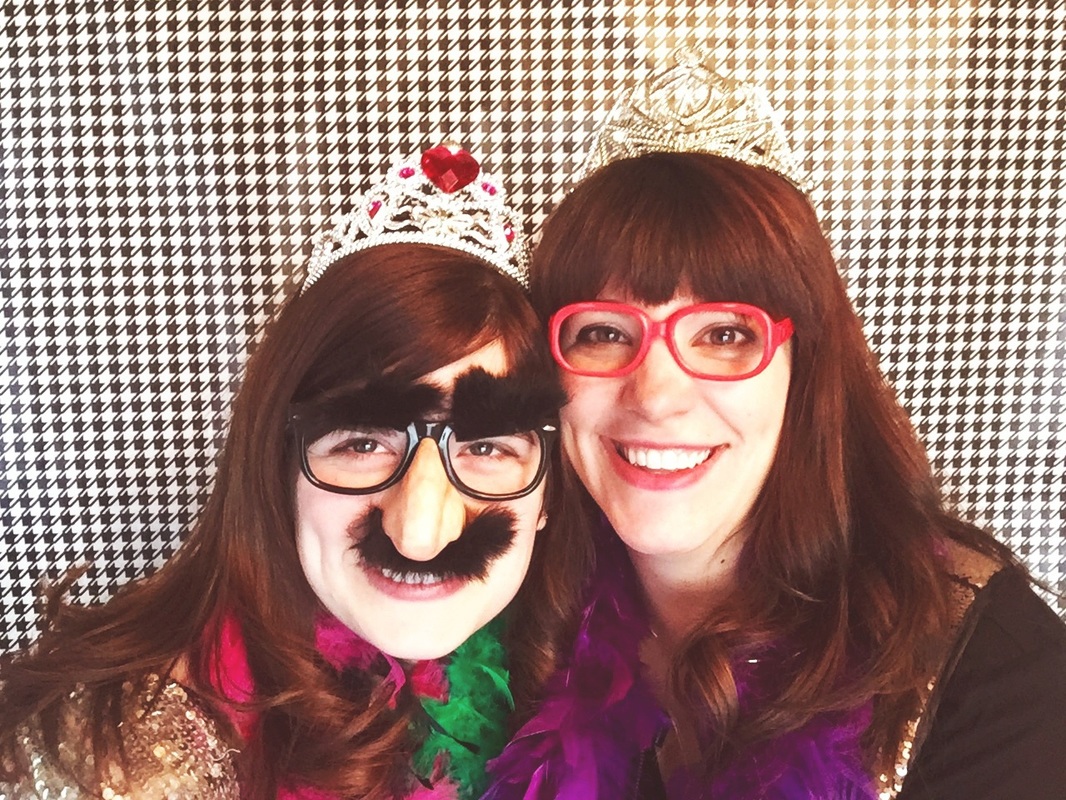
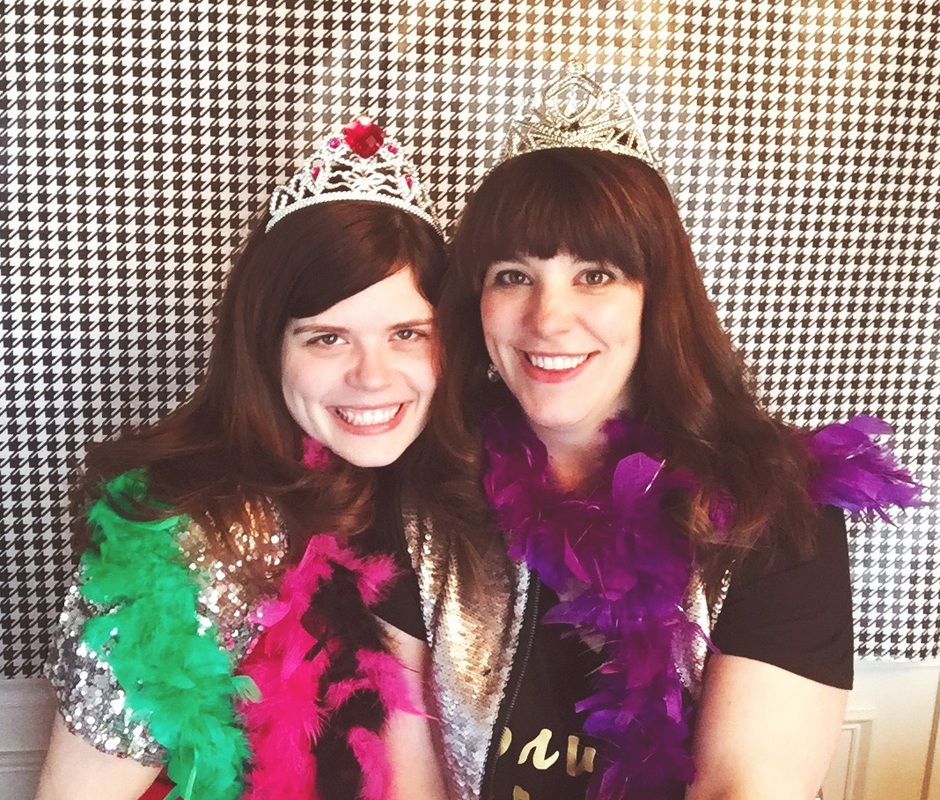
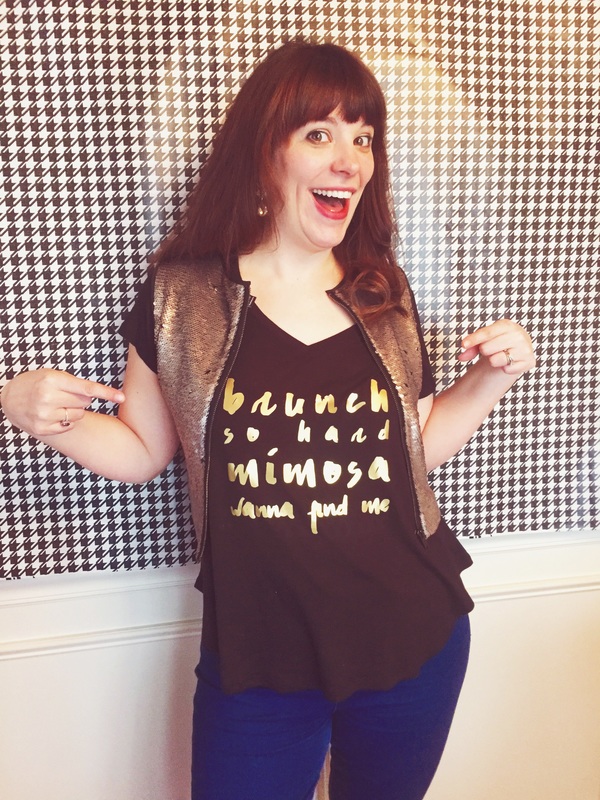
After hosting a Galentine's Day Brunch I used the photo booth and props I set up to snap a few fun pics with my family. The beauty of the photo backdrop is that I used a plastic table cloth taped to the wall! That's it! Tape the cloth at the appropriate height and snap away! The key here is to tape it width wise and not long wise on the wall. You need a good amount of width to keep the backdrop in the entire frame. For my party I had it taped higher on the wall and then lowered it to be touching the floor for my kids. It meant that my husband and I had to squat or sit on the ground for our family shoot but I think the pics turned out pretty ok for only spending a few moments taking them. So yeah! A couple of dollars for a plastic table cloth and you can have a pretty great photo backdrop! Throw in some props and even a selfie stick and you can create some great pics for next to nothing and have more time for play!
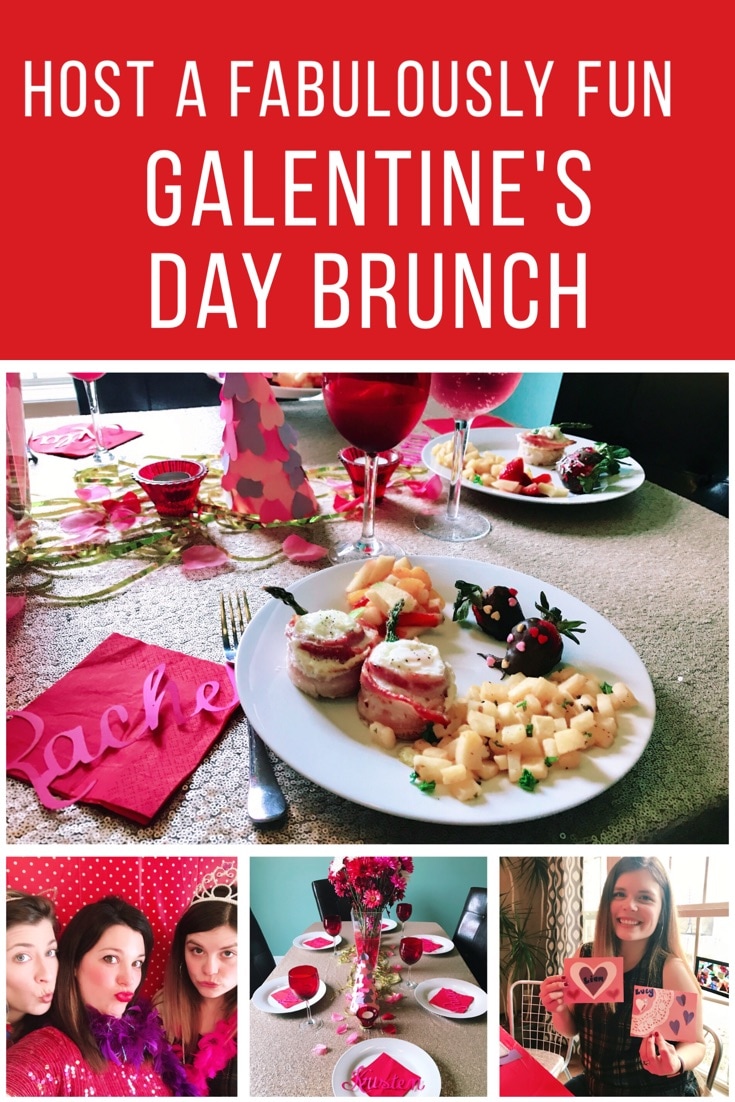
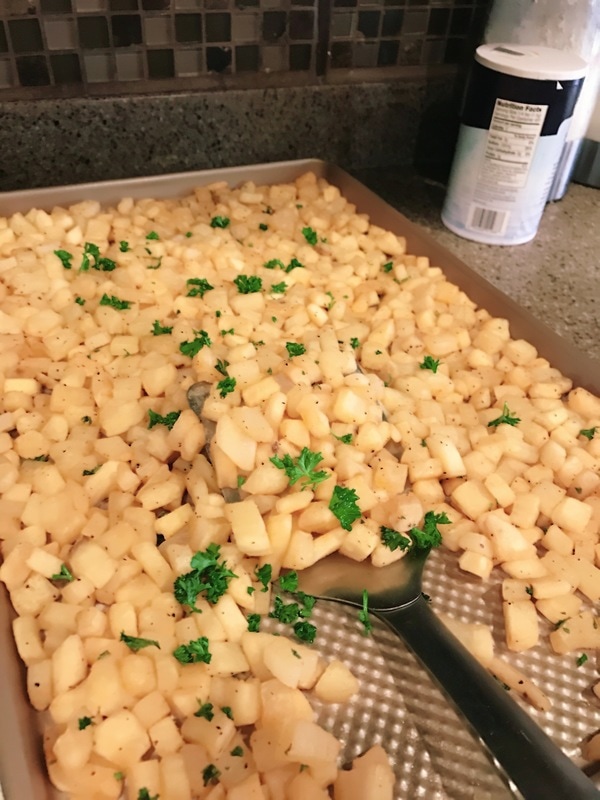
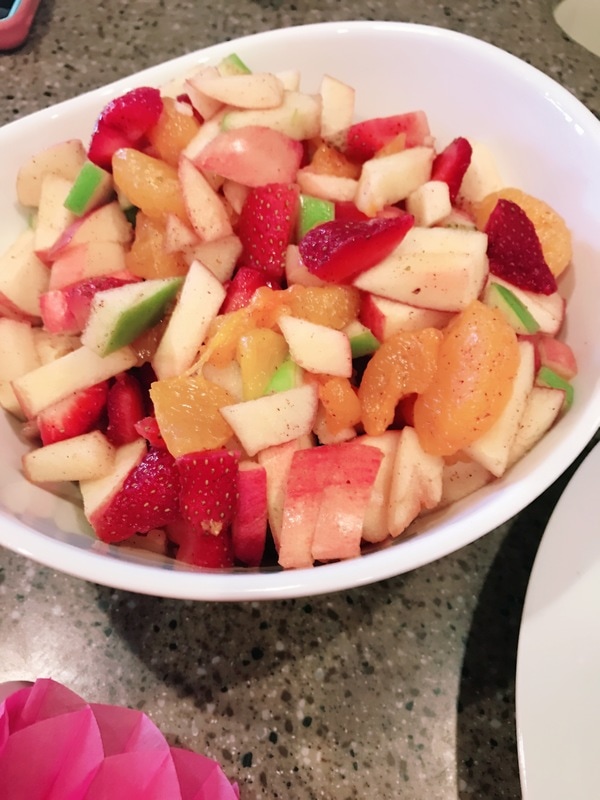
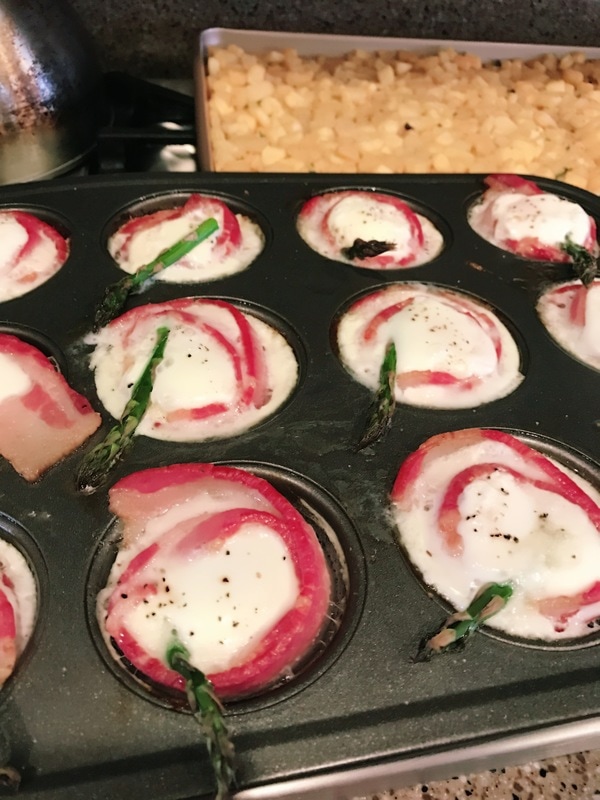
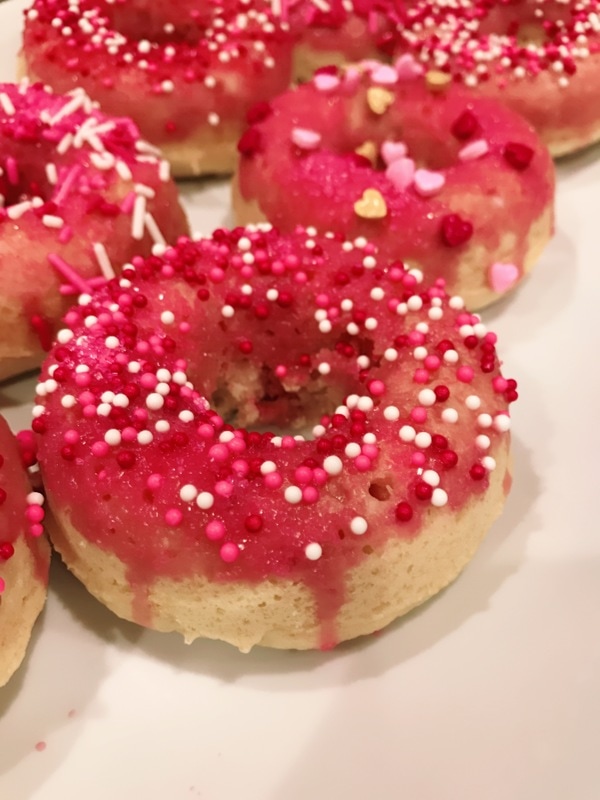
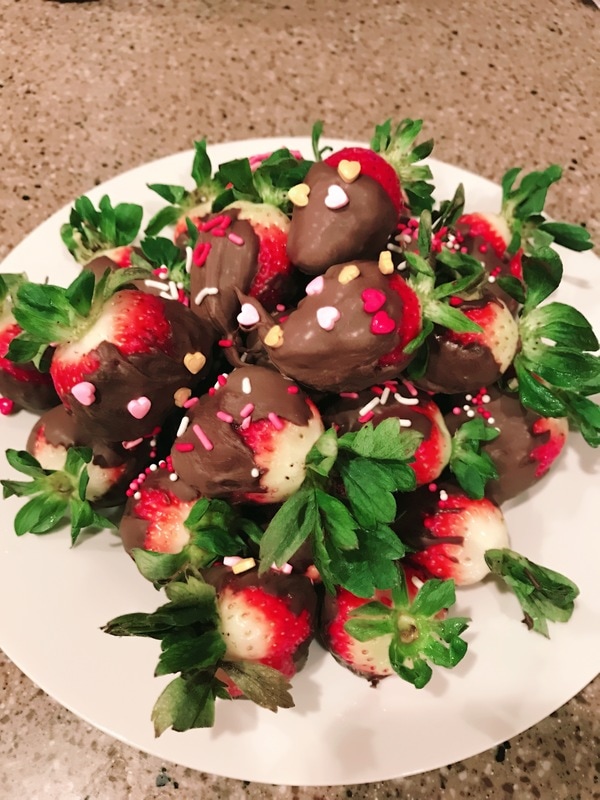
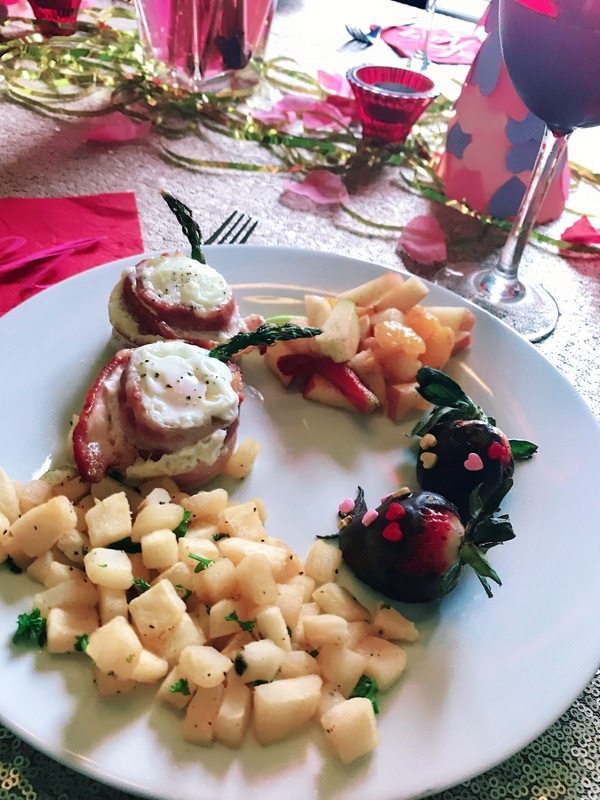
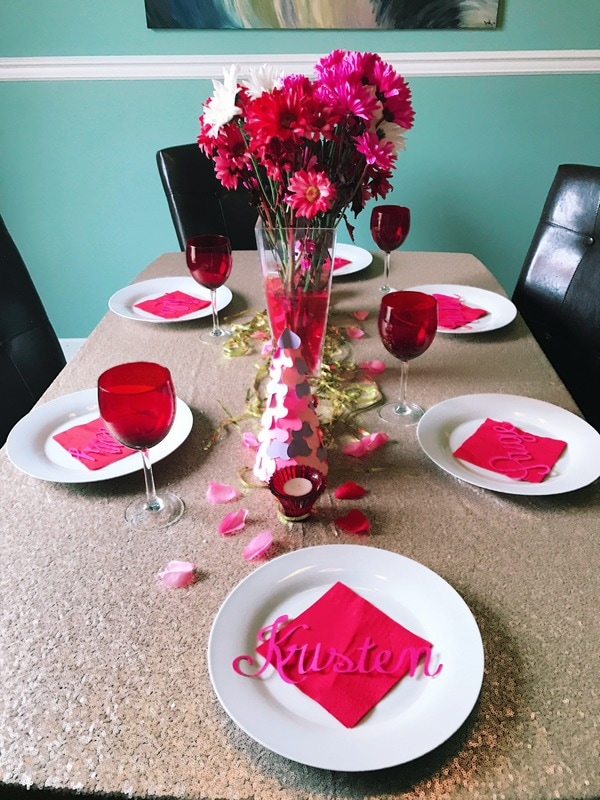
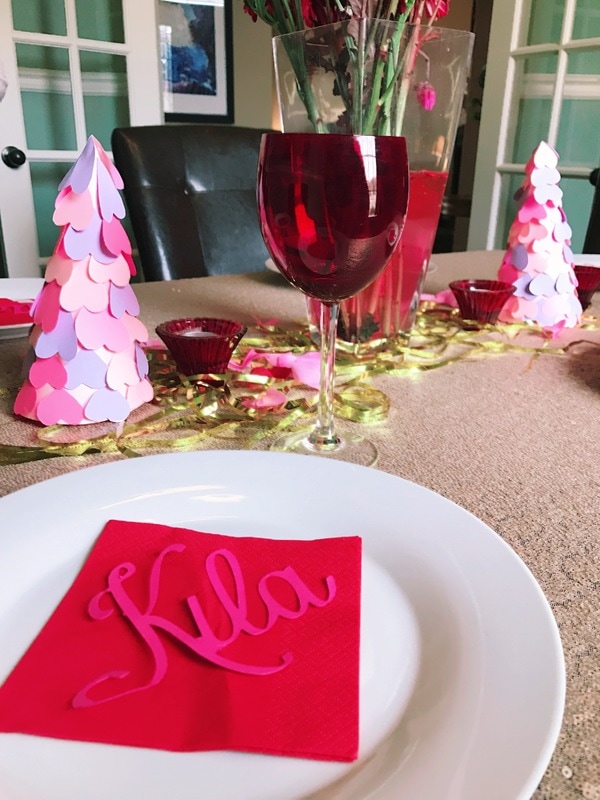
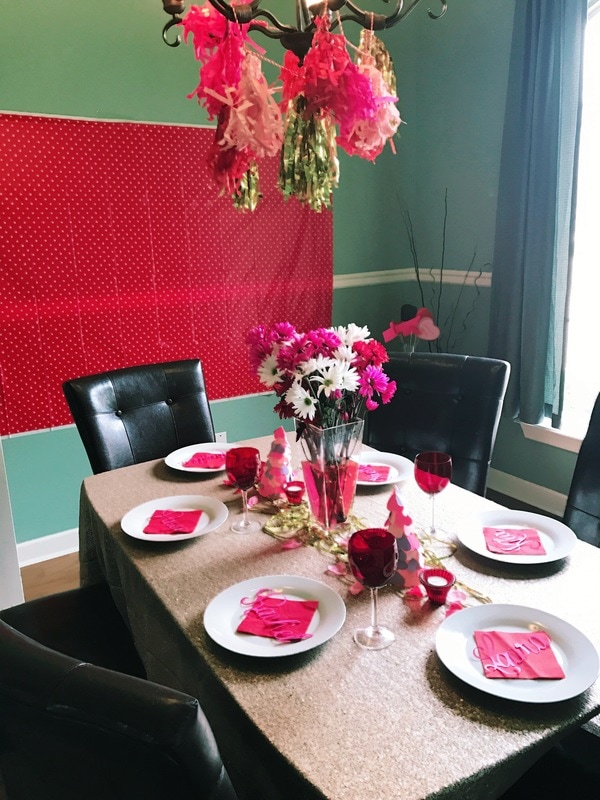
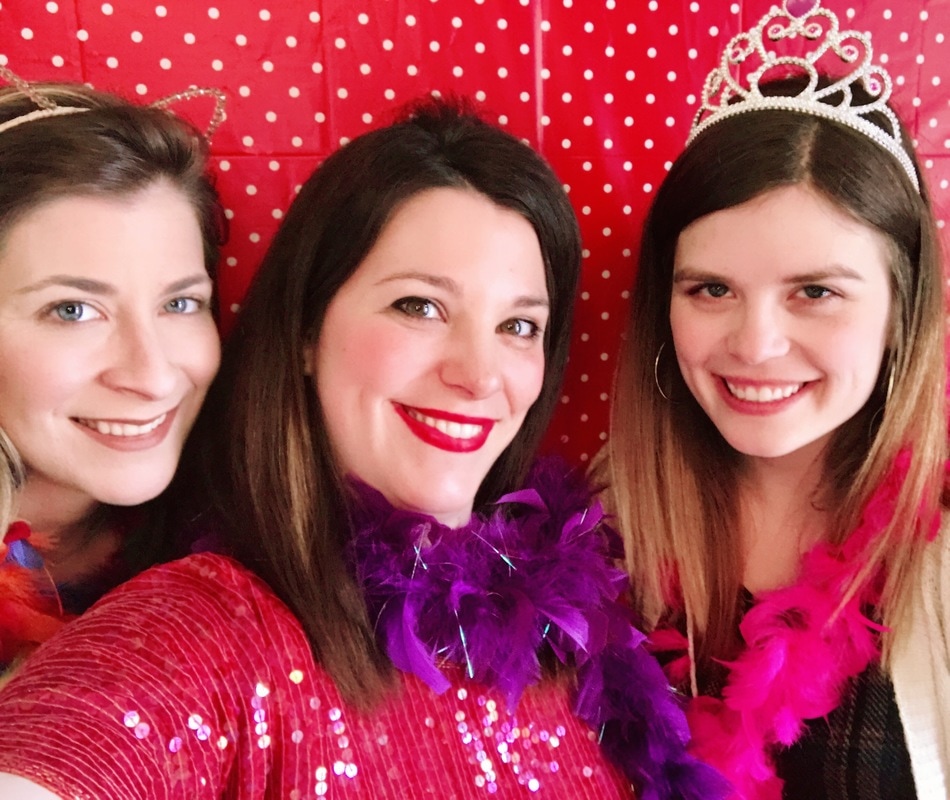
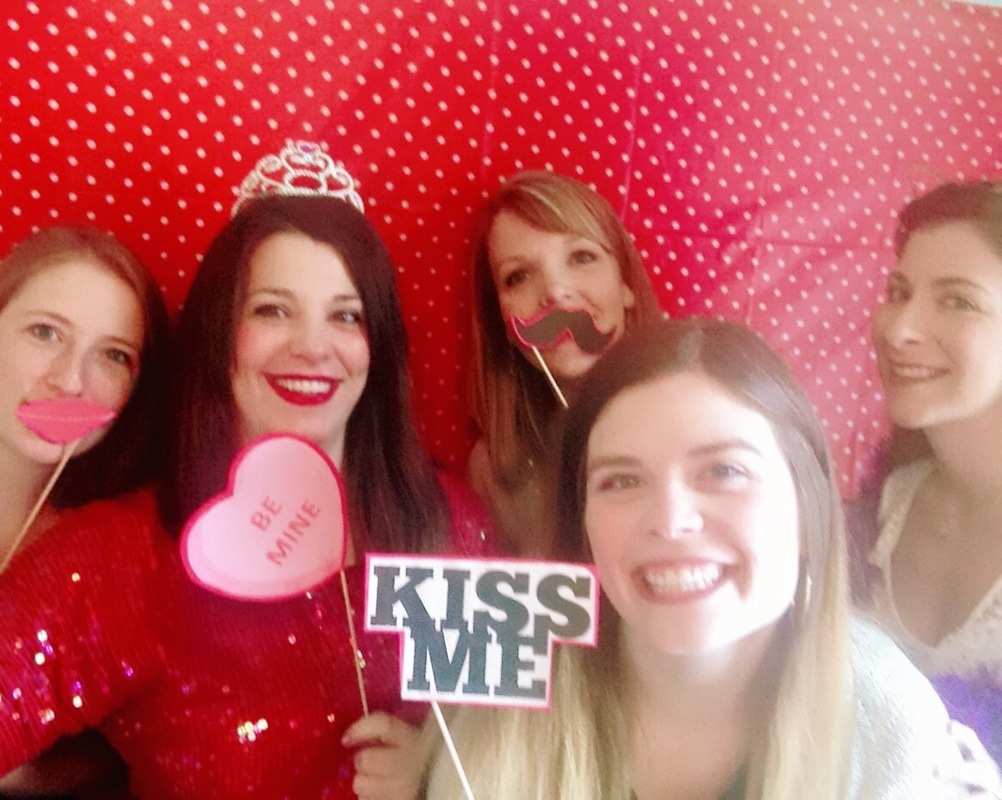
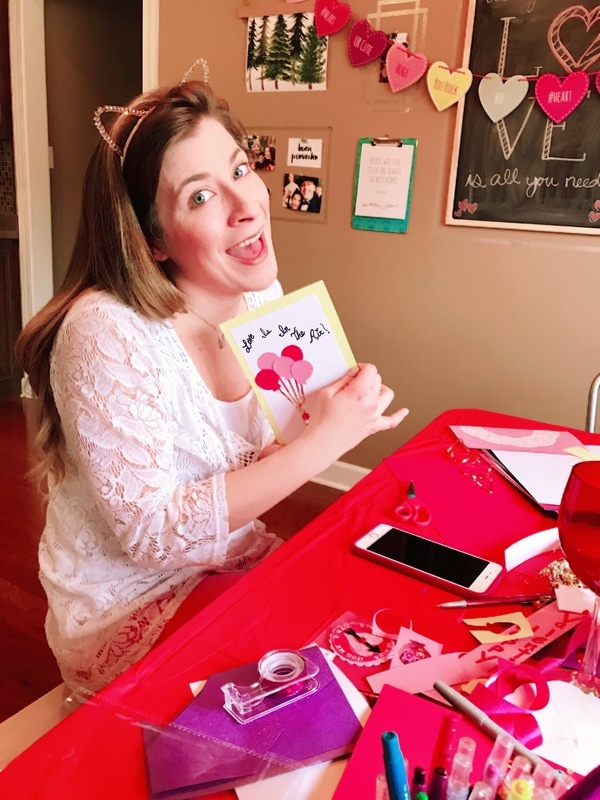
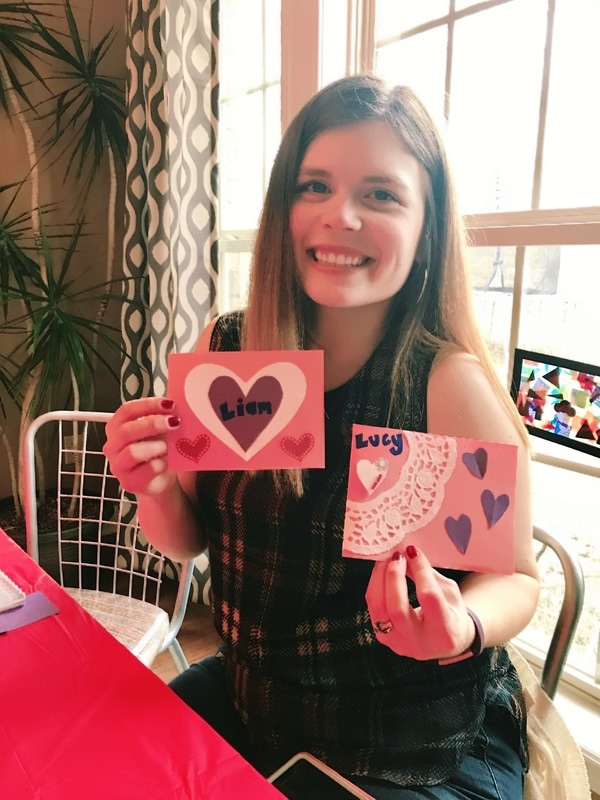
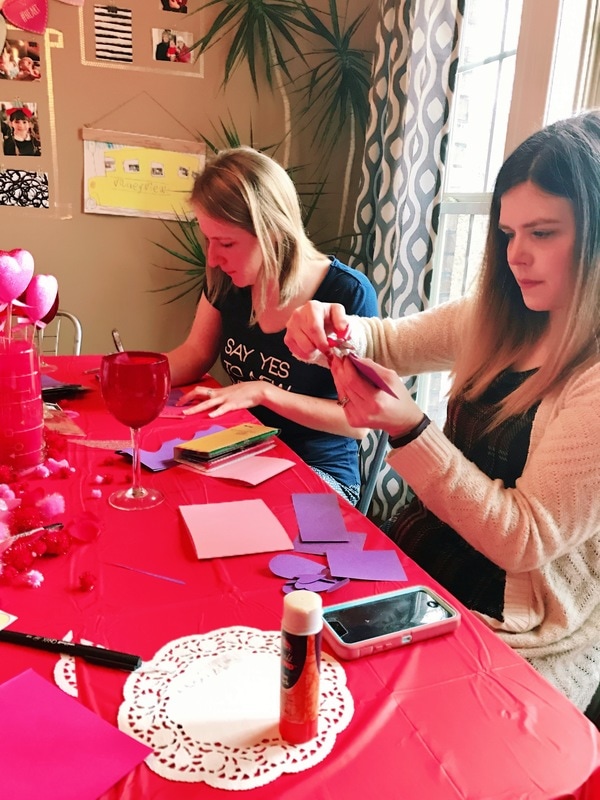
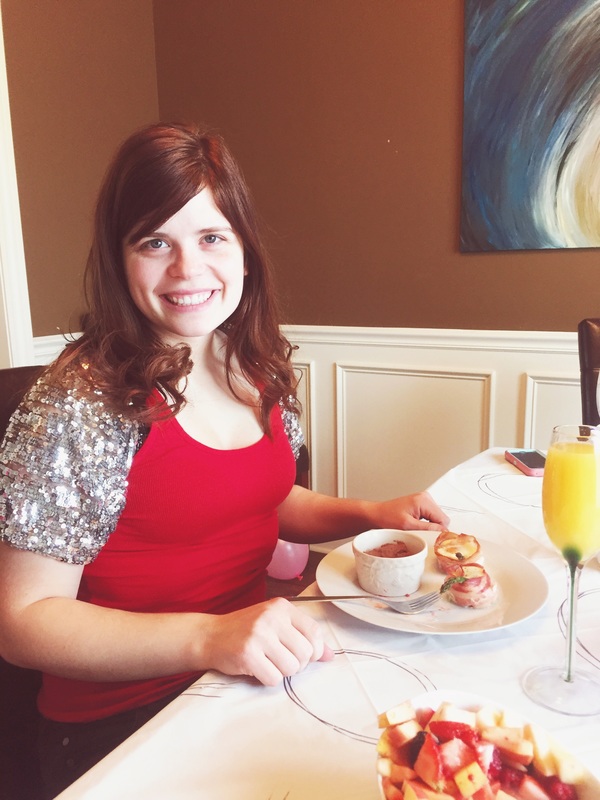
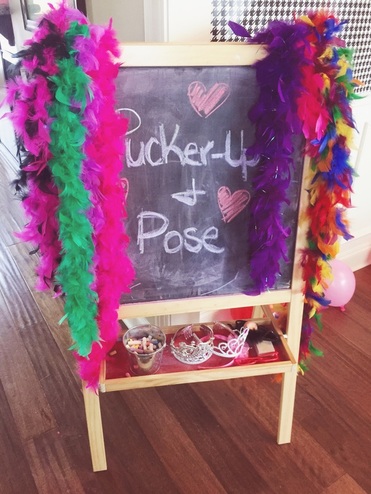
Who doesn't love a good excuse for day drinking and getting dressed up?! Ever since the invention of Galentine's Day by our friends at "Parks and Rec" we now have a perfect reason to listen to the Spice Girls, eat yummy food and day drink! I hosted a Galentine's Day party this weekend with a few of my closest friends and you can too! It doesn't take much to have a fun time with the girls. Simply select a few food items, throw together a photo booth for next to nothing and provide supplies for creating Valentine's. The Menu: I decided to make paleo egg cups, breakfast potatoes, vanilla baked donuts, chocolate covered strawberries and a fruit salad. I also had the choice of a raspberry champagne or mango champagne floats (inspired by the raspberry ones using white bubbly and mango sorbet). It was all relatively easy and everyone enjoyed it! The Decor: I've been looking for an excuse to purchase a gold sequin tablecloth forever and finally had a perfect excuse! I got it for only $17 on amazon and I'll be able to use it for a million other things in the future. I also picked up some Valentine's flowers at Kroger. Then I sprinkled some fake flower petals and some golden confetti on the table with some red candle holders for the center. My co-host also made a few paper heart cone trees that I added. I purchased a fringe banner and dangled it around the chandelier above the table and that completed the table decor. For the photo booth I taped a plastic red and white polka dot table cloth on the wall width wise for the background and then printed off these free Photo Booth props and hotglued them to skewer sticks. I also added a few feather boas and some tiaras to the dress up table for extra fun. Activities: I created a Galentine's playlist to listen to while we visited and got crafty. Then I set up a Valentine making table with colored paper, scissors, glue, stickers, pom pom balls and more for us to create Valentine's for our loved ones. It was a fun excuse to hang with my favorite ladies and I think everyone enjoyed the festivities. Good luck with your party planning and let me know if you use any of my ideas!
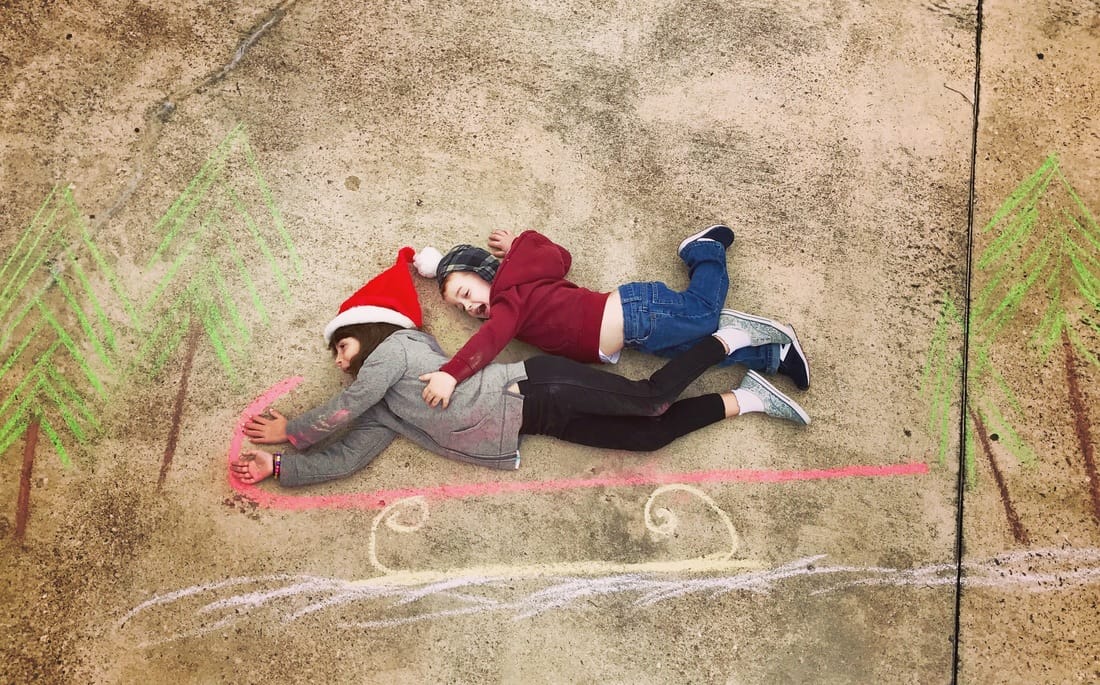
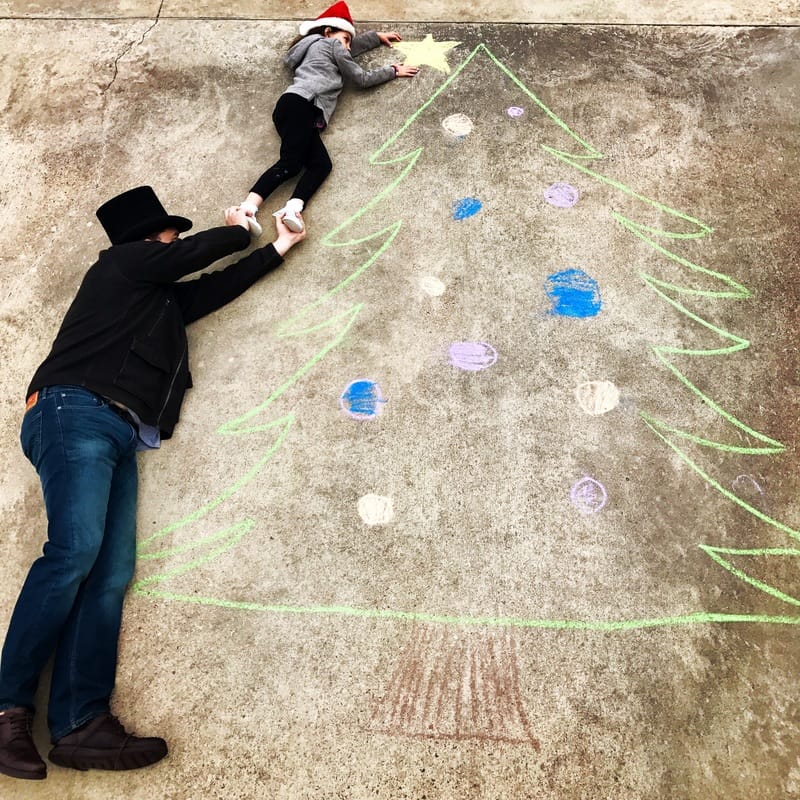
I'm always looking for something fun to do with the kids. I stumbled upon the fun idea of using chalk to create scenes and then take photos with the scenes as a backdrop. So, I straight up copied this from someone else but, I thought I'd share my photos and experience.
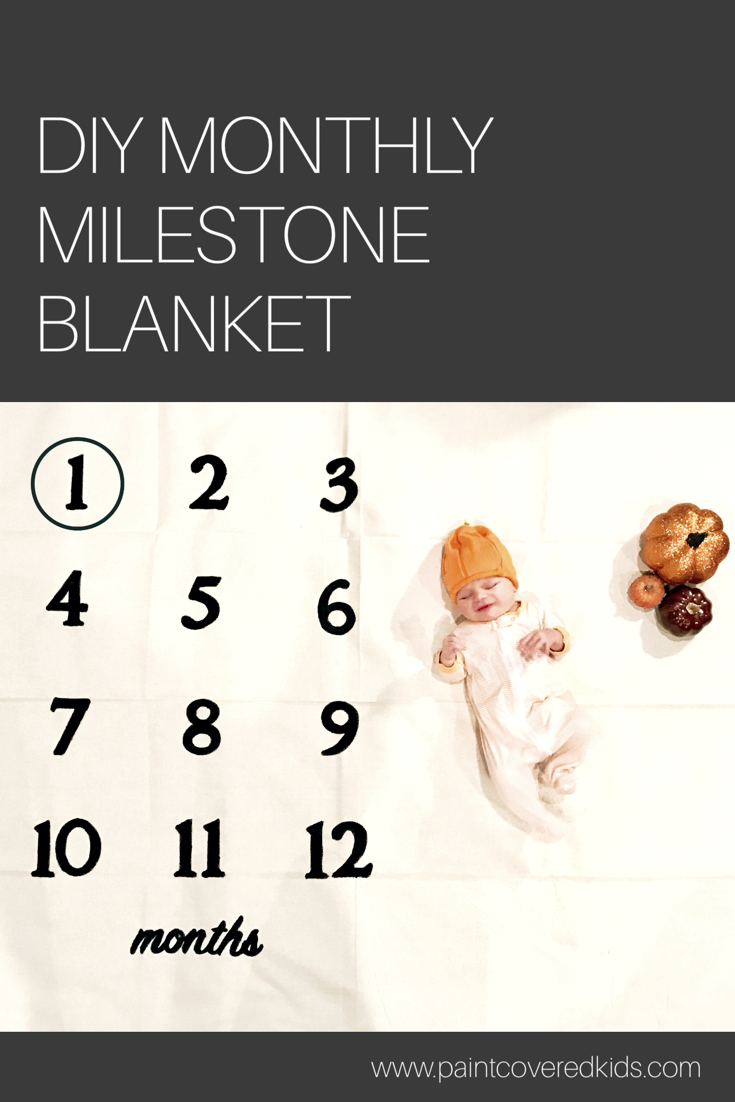
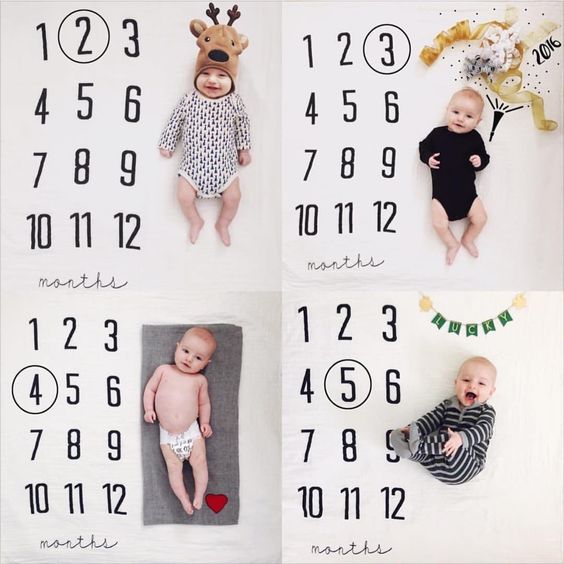
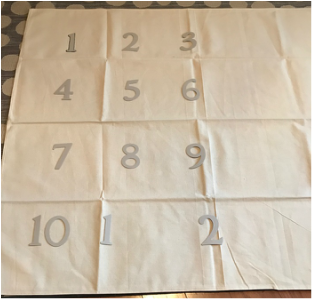
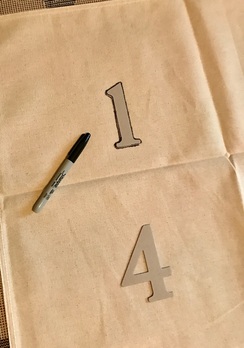
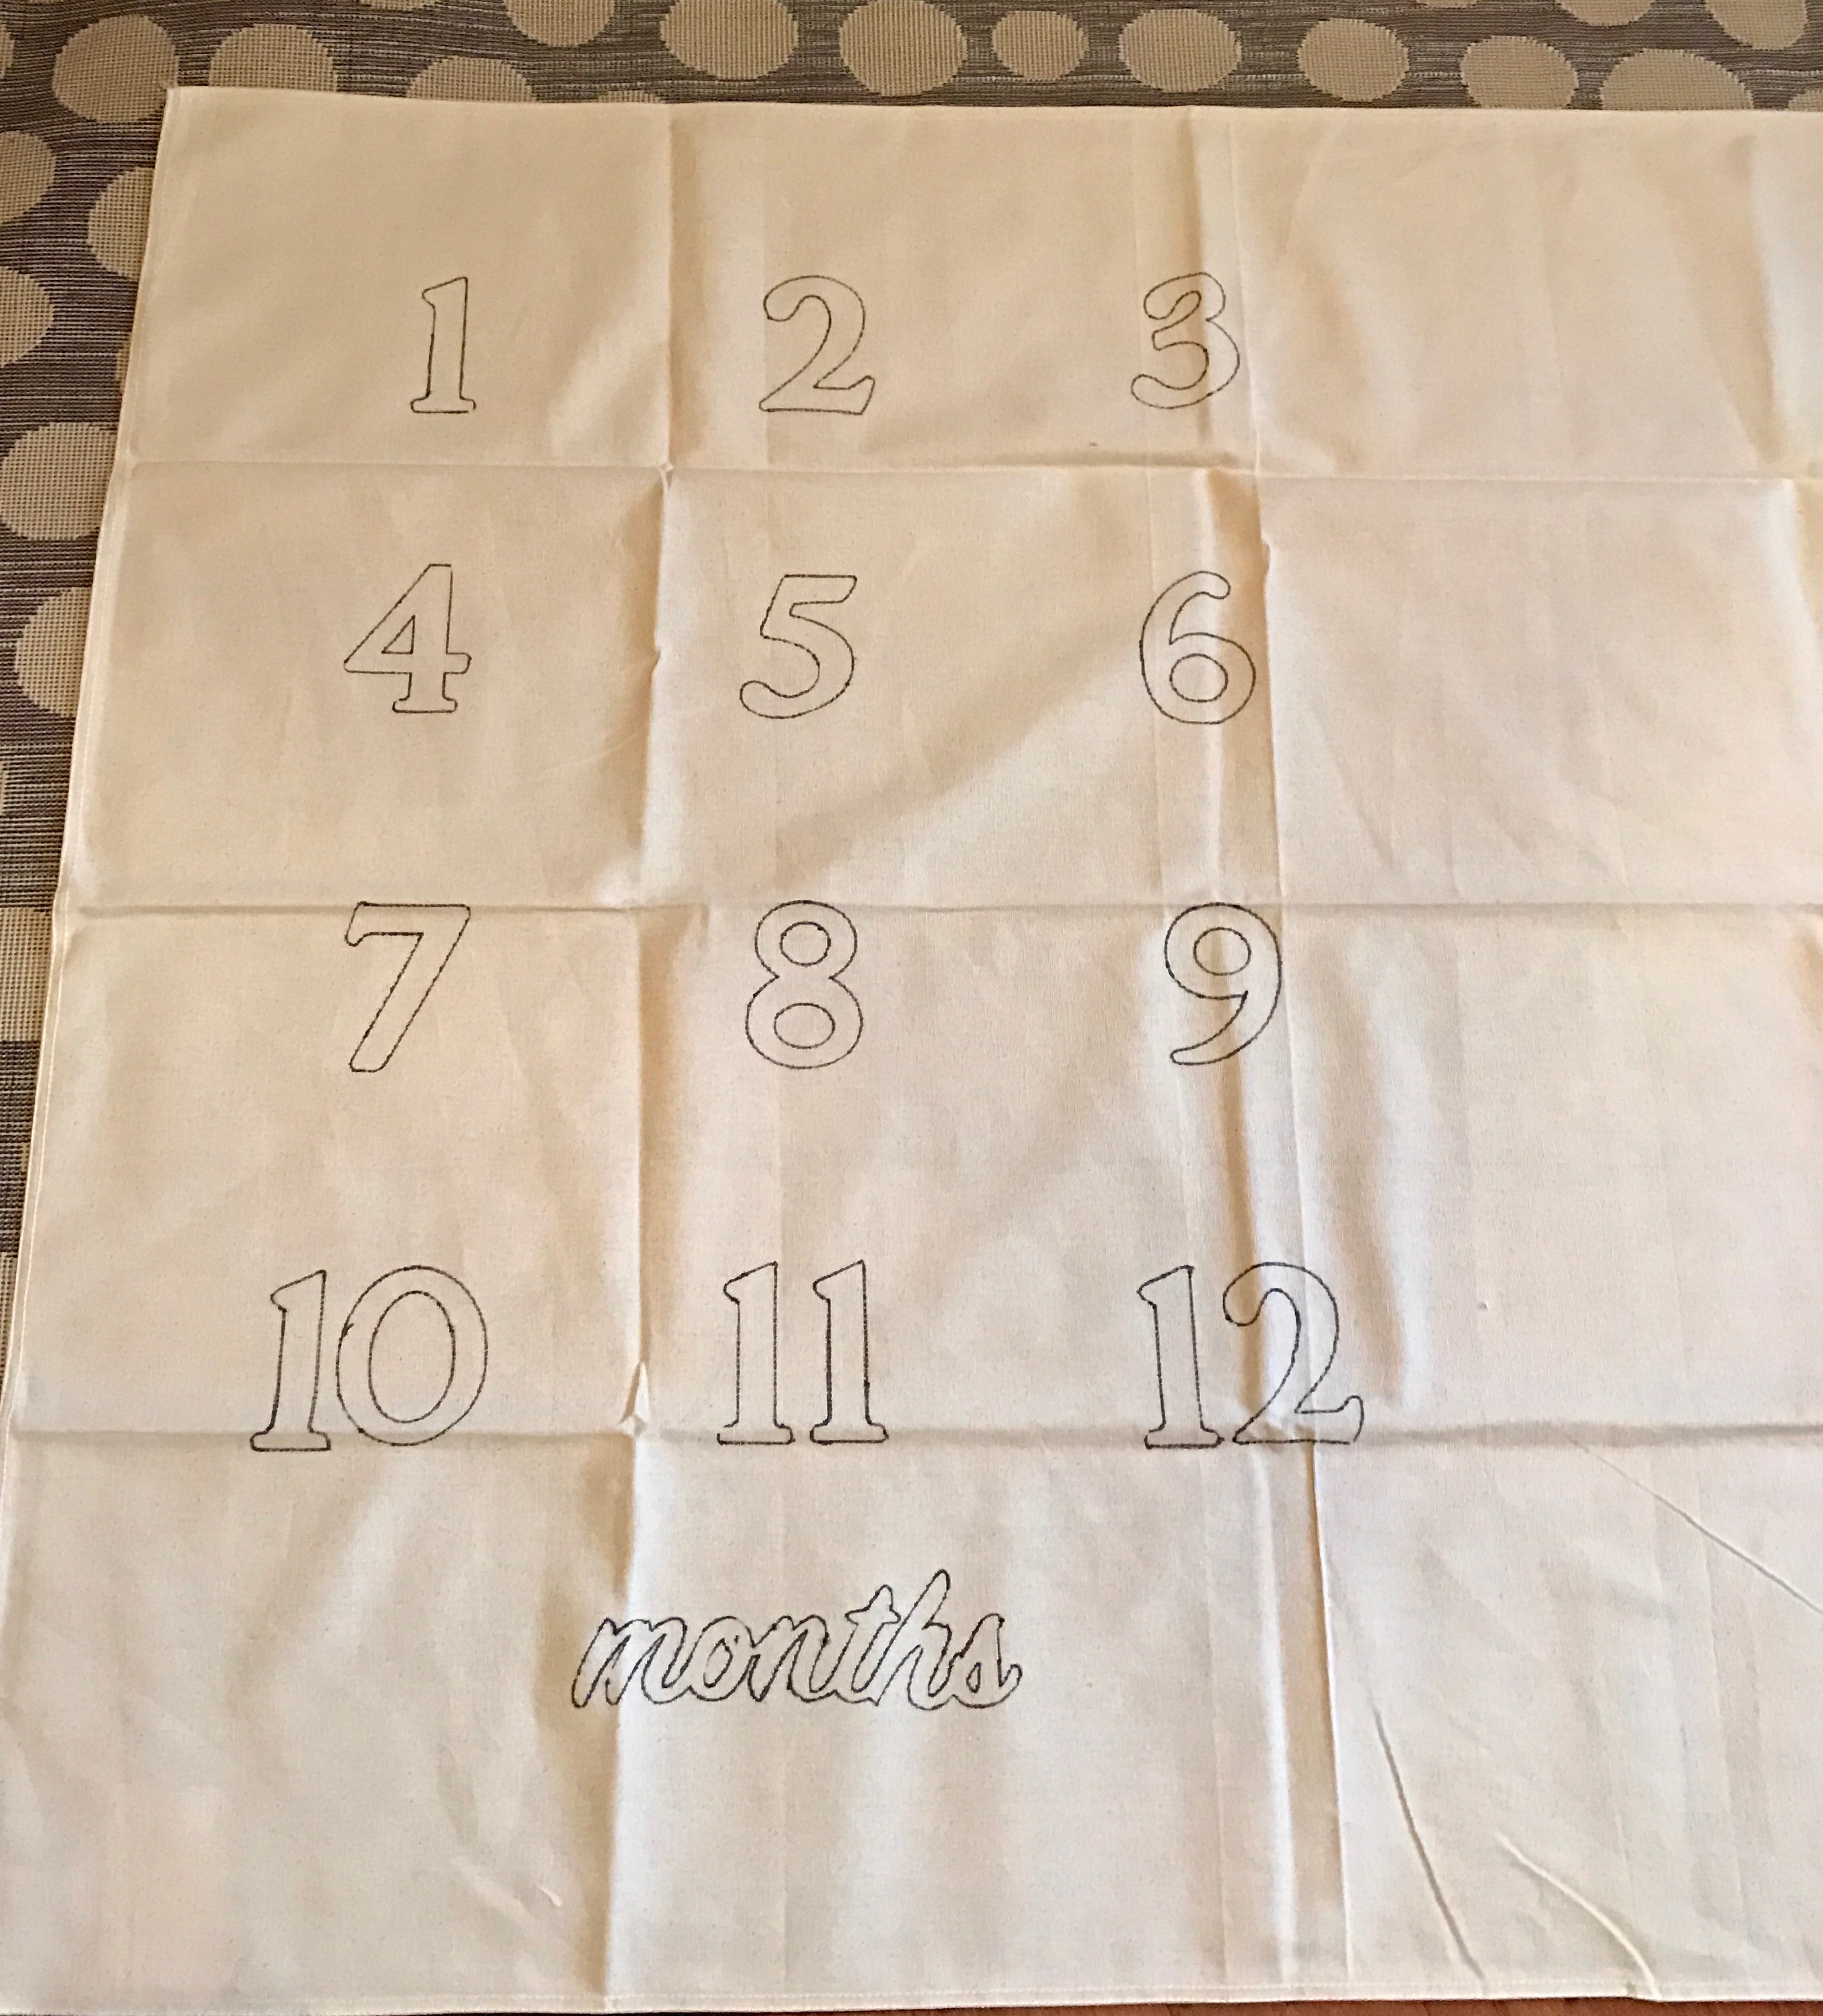
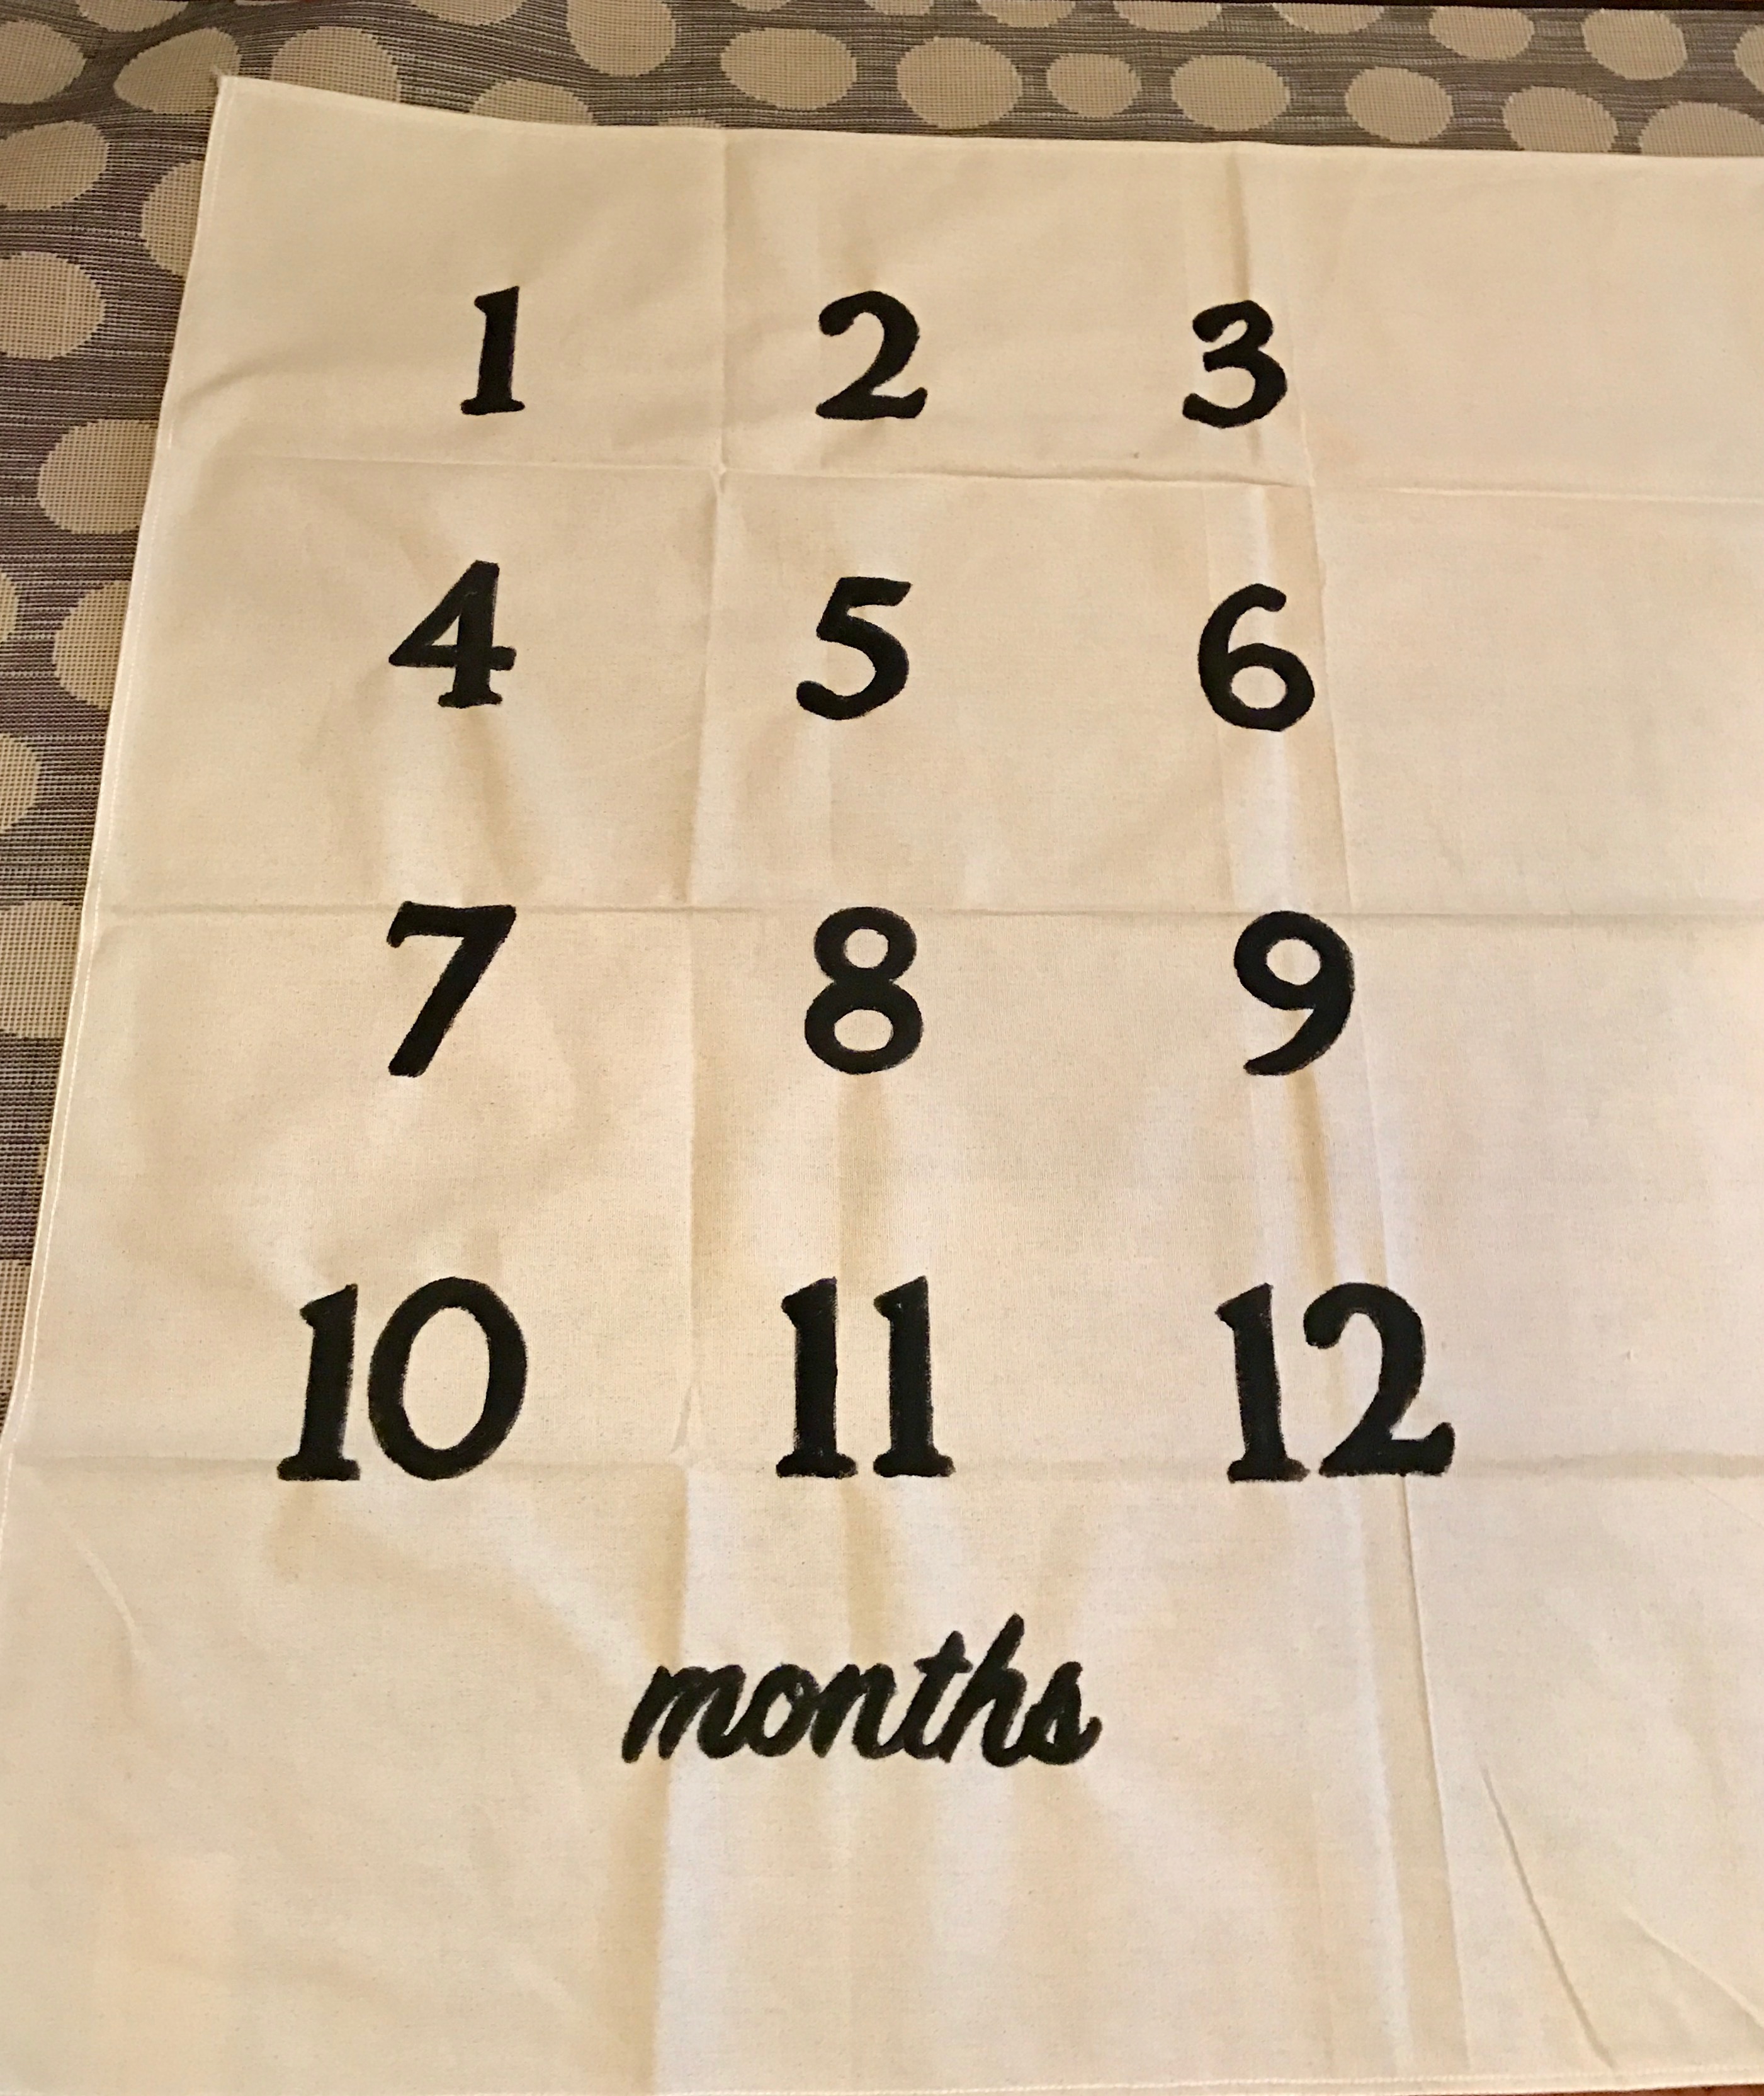
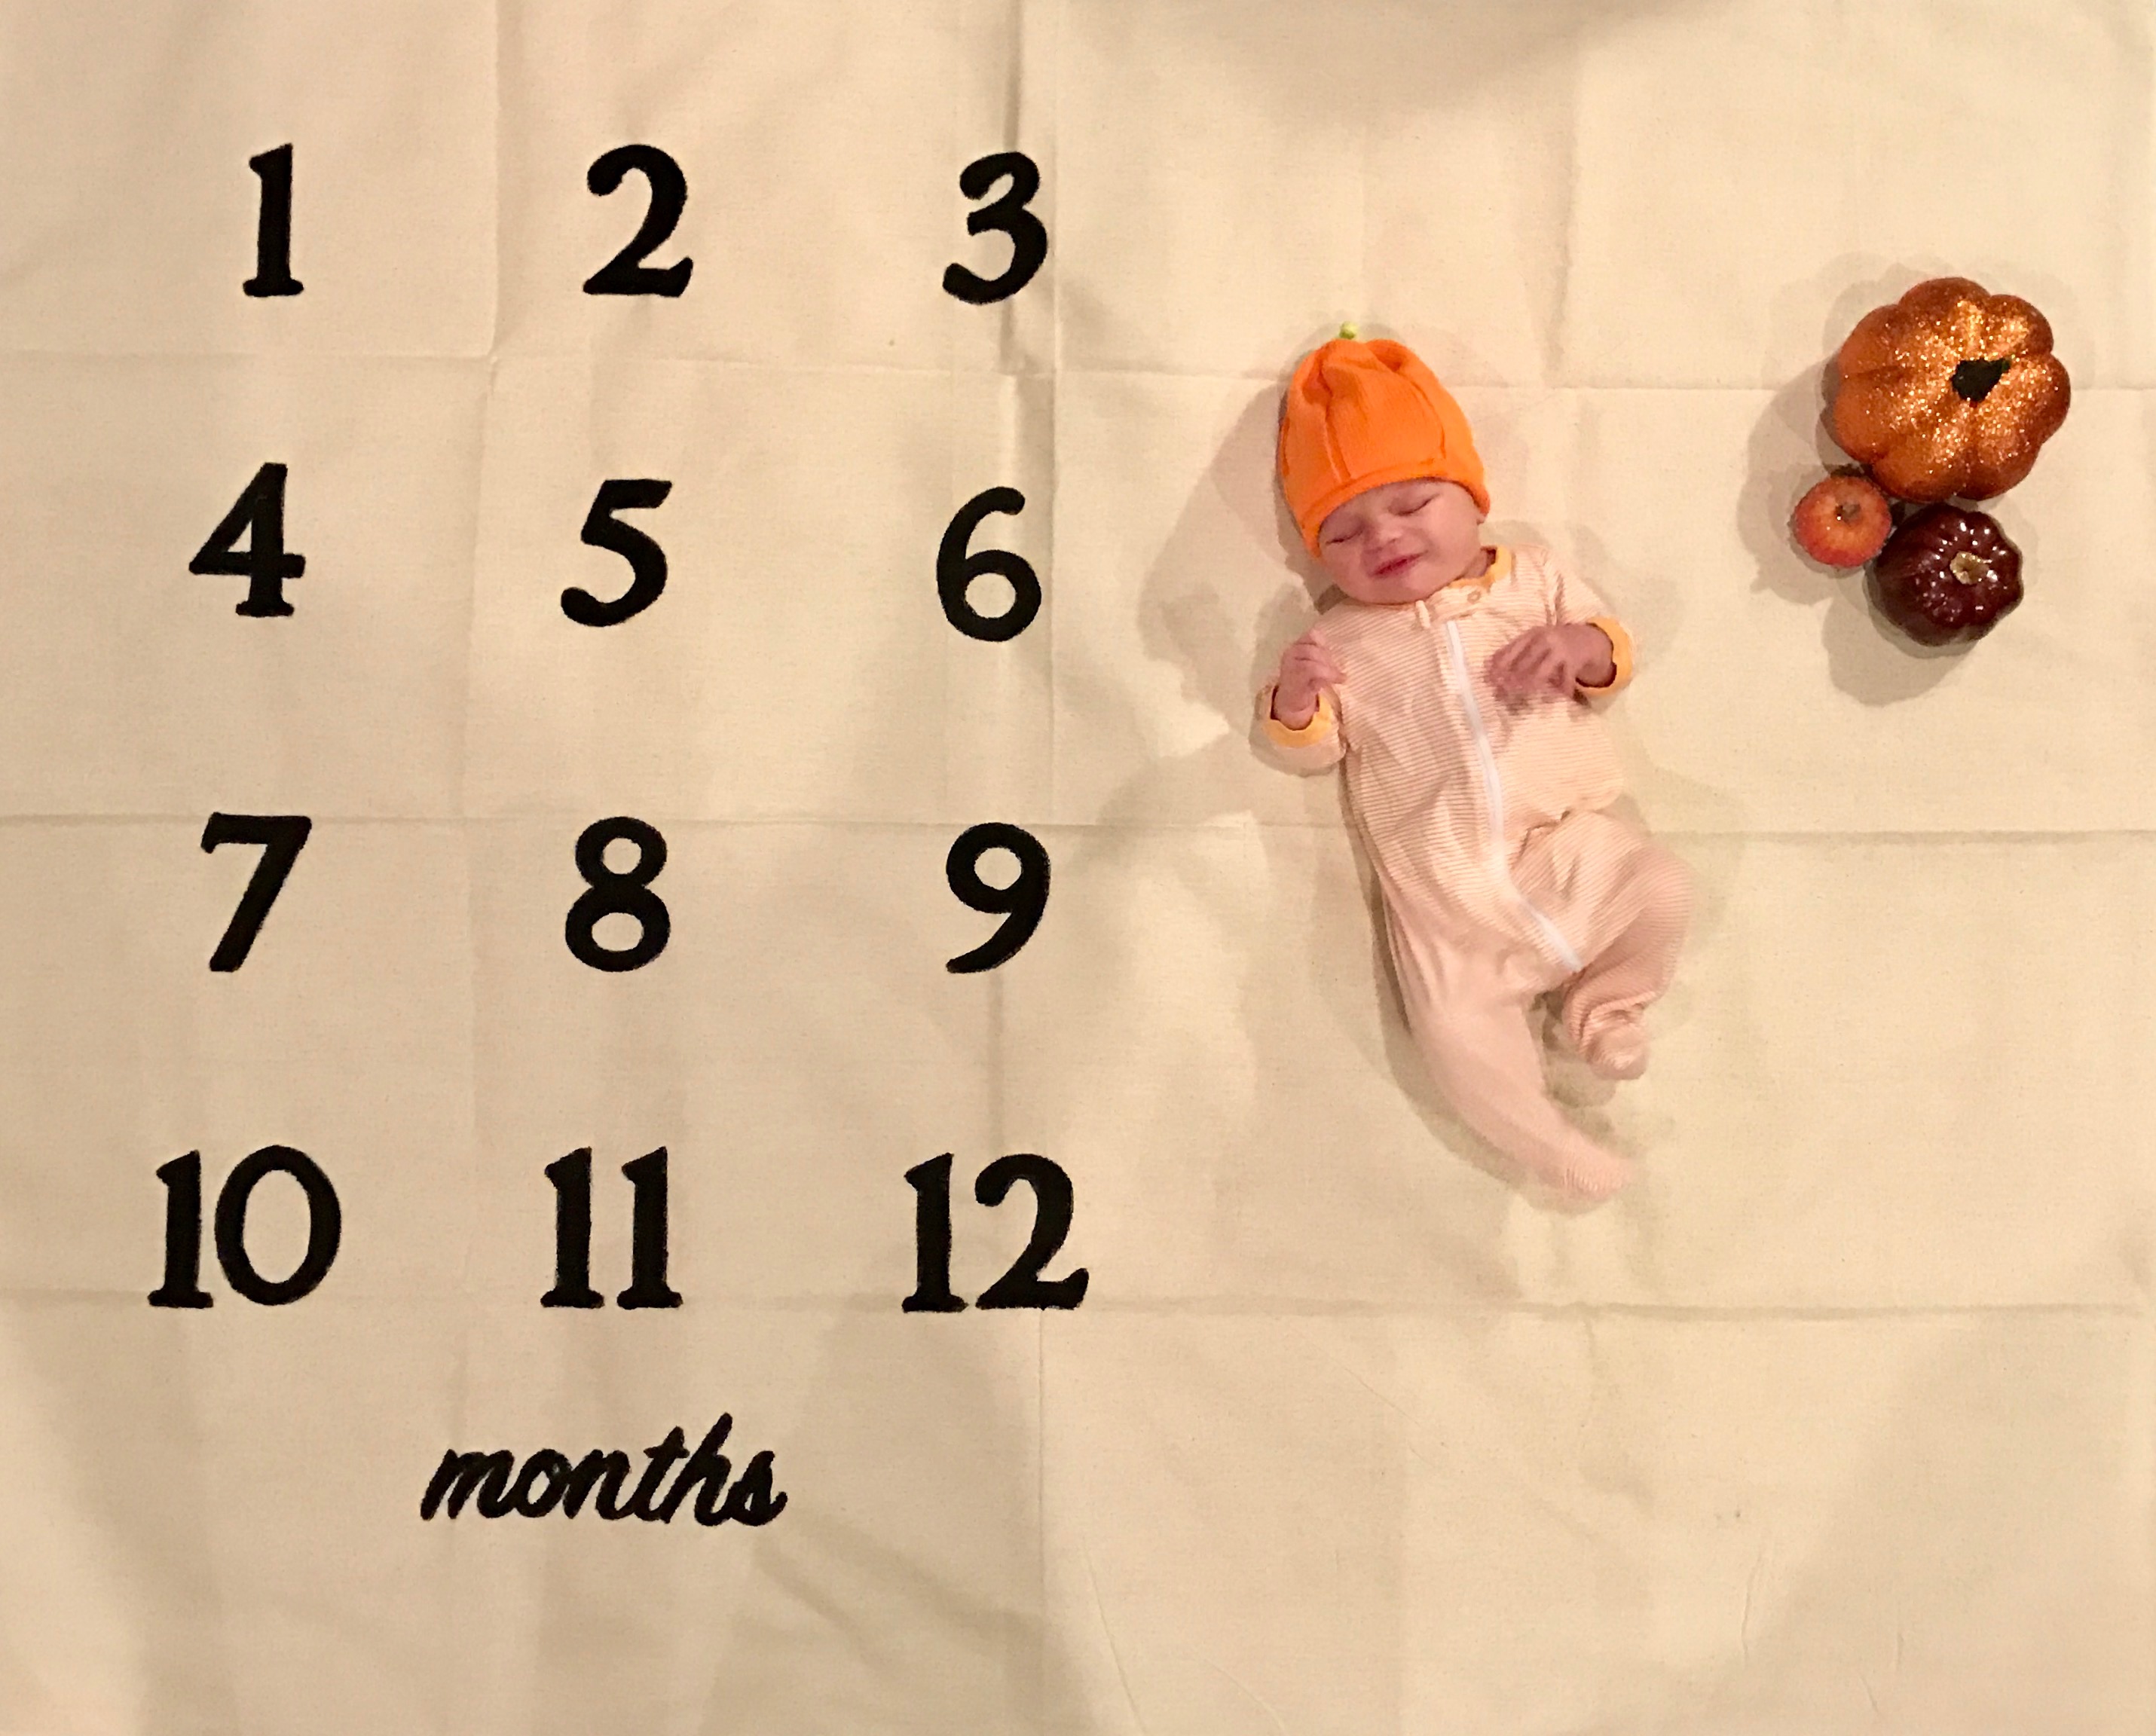
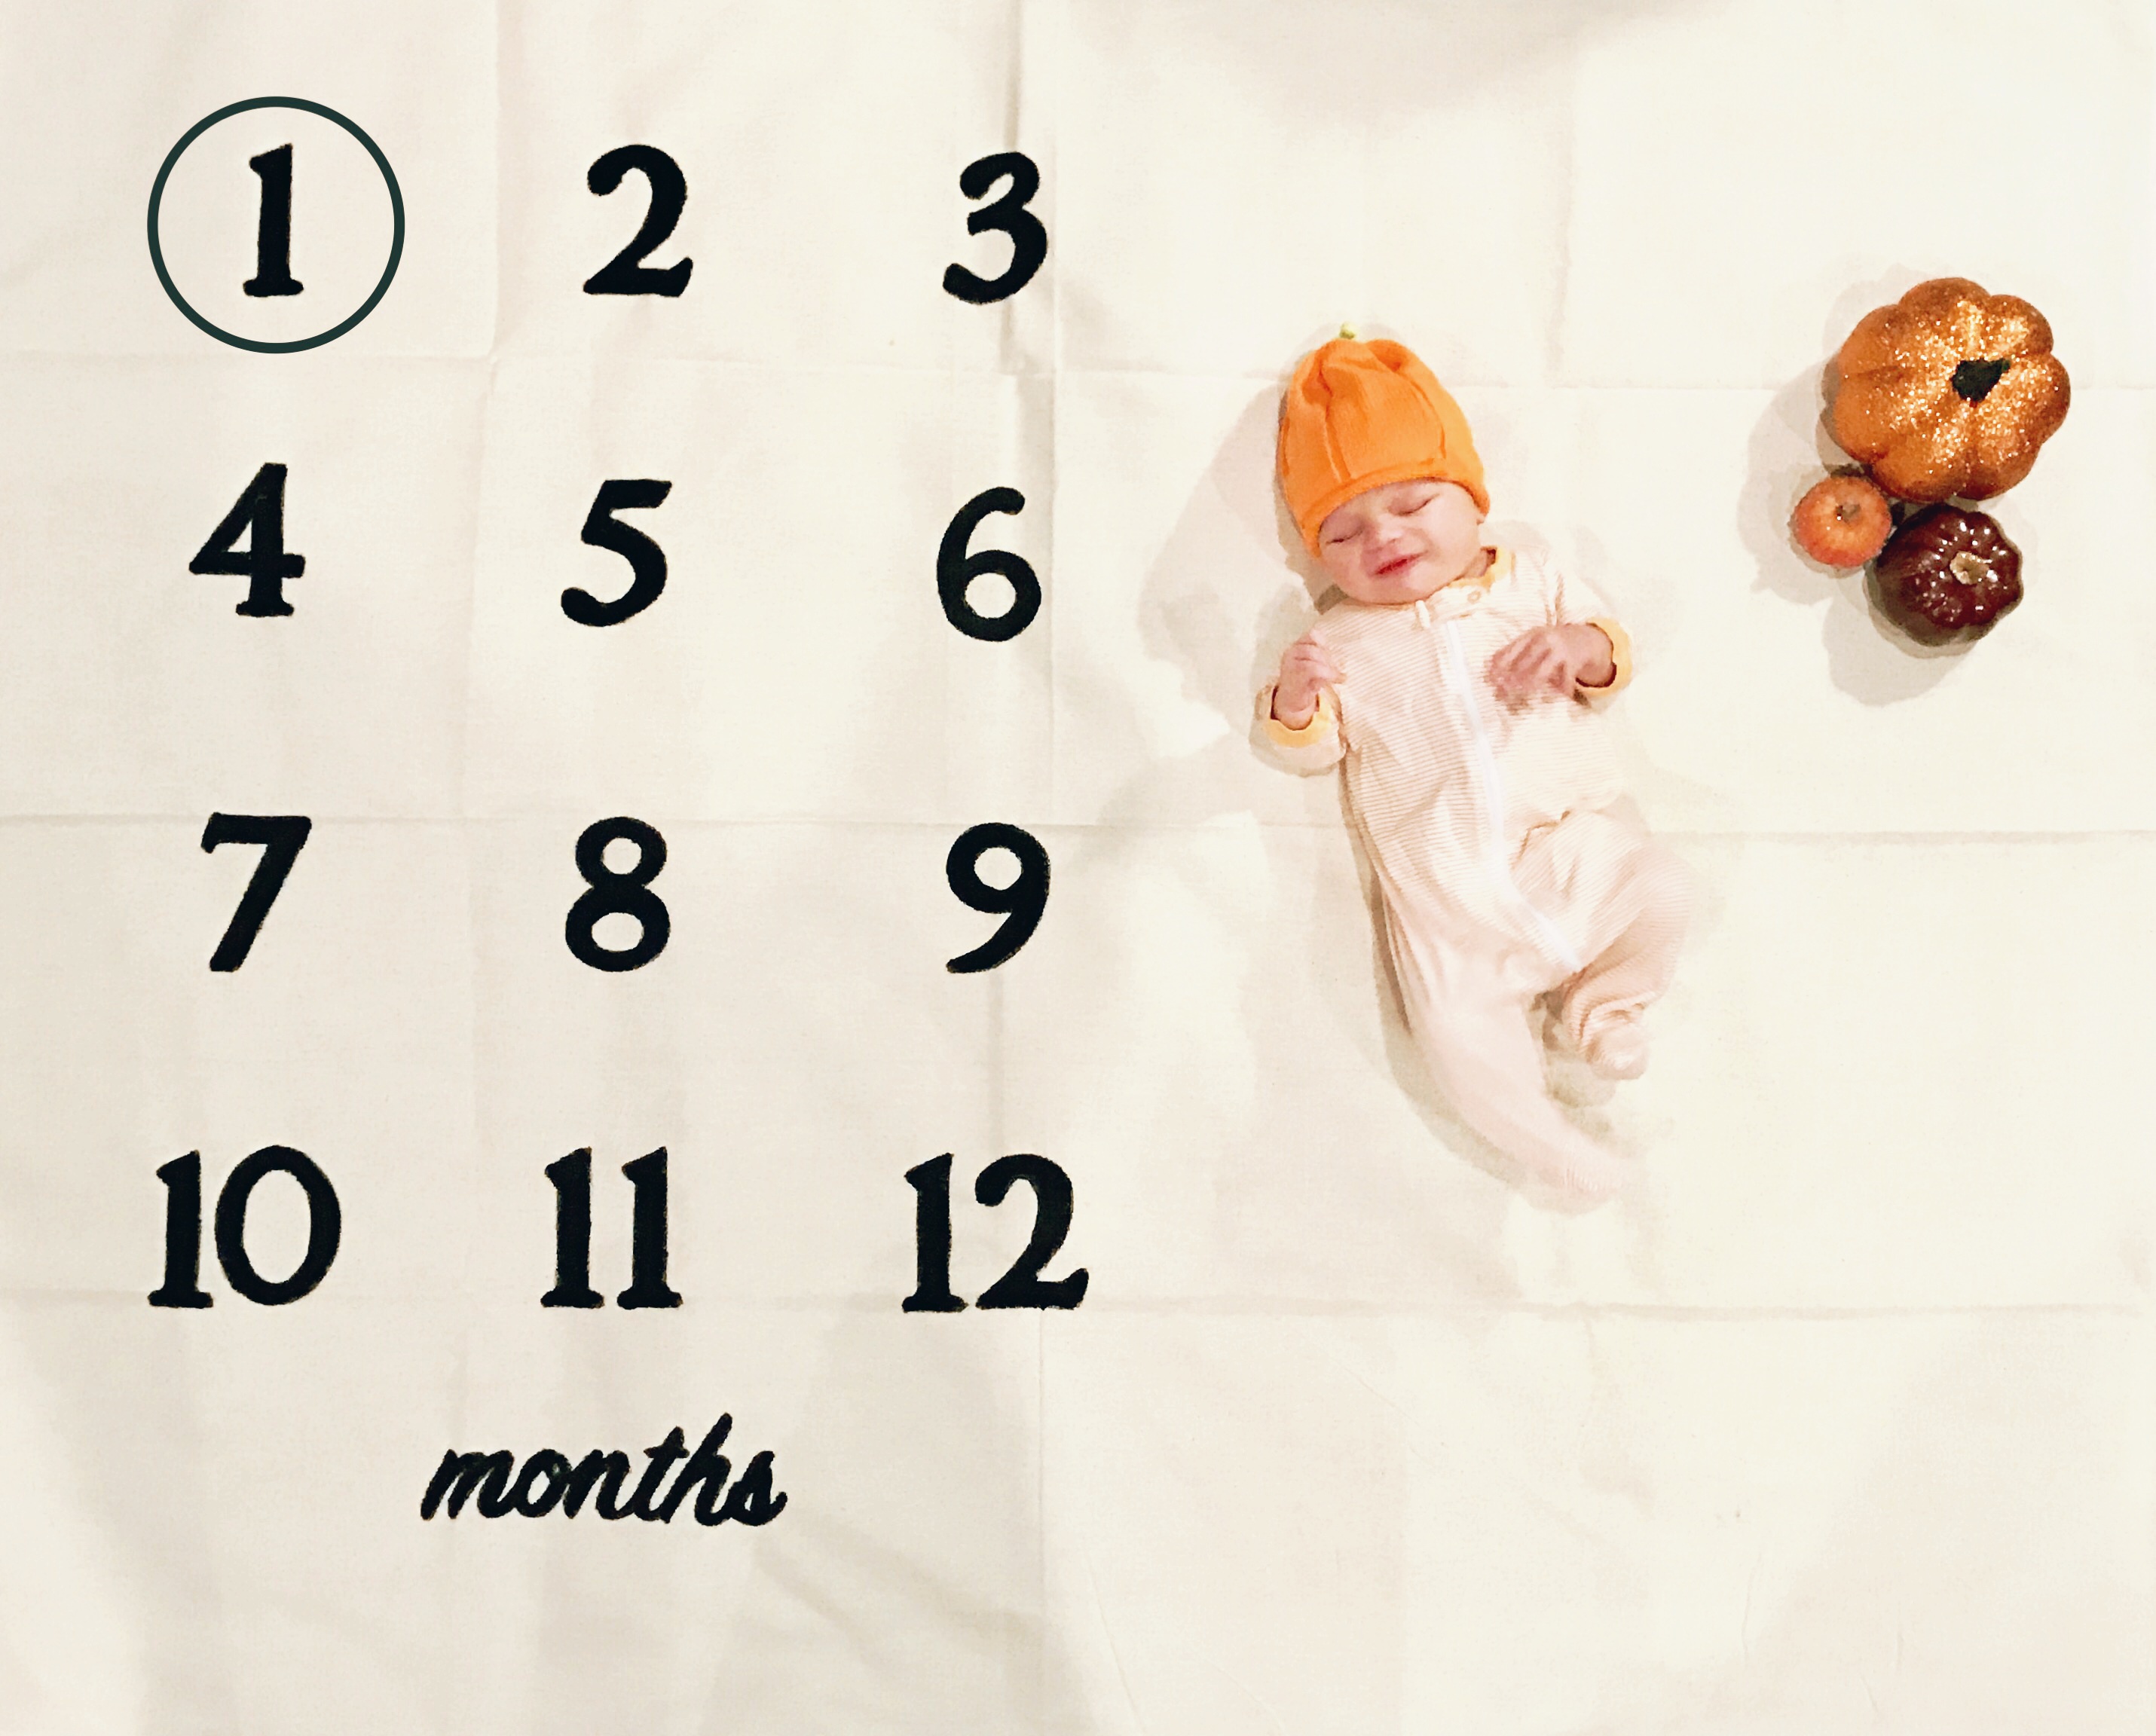
Drawing the scenes took very little time and the kids were eager to help. I grabbed a ladder and climbed to the top in order to take the pics and didn't really do much editing at all other than cropping them afterwards. It was very quick, easy and cheap. The kids had fun participating and we'll always have the fun photos to look back on! My son just turned one month old and I new I wanted a different kind of monthly photo from what I did with my first son. He's already going to get all of his hand-me-downs, I can at least give him an original monthly photo. So, I headed to pinterest to get some inspiration and found this adorable idea. It's a blanket you can buy the monthly milestone blanket for $33 at Etsy here. But, I thought, "I can definitely make that for waaaaaaaay cheaper.", and set about planning how to make that happen. I decided to use a canvas drop cloth as my "blanket". The smallest one I found at my local Harbor Freight was 4x12 so I had to cut it down a bit to make it a more appropriate size. It was easy to just use the fold lines and I wasn't too particular on measuring. After cutting it down I laid out my numbers. To make the numbers I was going to buy some number stencils but then couldn't find any. Instead, I used some chipboard numbers I found for $2.99 and traced around them. It was probably better anyway because it was way easier to see how everything laid out on my drop cloth. Once I figured out my spacing, I got a sharpie and traced around the edges of each number. After I had traced around each number, I grabbed some black acrylic paint and a paintbrush and filled in the tracings. Don't worry if it doesn't look perfect you won't be able to tell when you take the photo. For the "months" I ended up printing out the word using a microsoft powerpoint slide and then cut it out and stenciled around it and filled it in with black paint as well. Voila! Done! My son turned one month on Thanksgiving Day so I decided to put a few pumpkins next to him on the canvas and placed a pumpkin hat on his head. When I took the picture I stood on top of an ottoman and took it from a direct downward angle. My husband helped with keeping him somewhat happy and I just snapped away. Once I had a decent one I cropped and enhanced it and then ran it through my favorite photo editor Rookie Cam to lighten it up a bit. I intend to iron the fold lines out before the next photo I take because I didn't love having them in the photo. I also added a digital circle to the number one to indicate the month. You can do it digitally like me or you can find a picture frame and remove the glass and back to frame the number each month. The digital was easier for me since I was editing it anyway. I used the app "Phonto" to add the circle. I plan on doing other adorable things for the theme of each month similar to the idea that inspired this DIY. So, for about $15 (more than half the price to buy the inspiration) I ended up with this adorable milestone "blanket" and will get to give my son some really great photos to look back on. I hope it inspires you to make your own for either yourself or a friend. It would make a great gift!
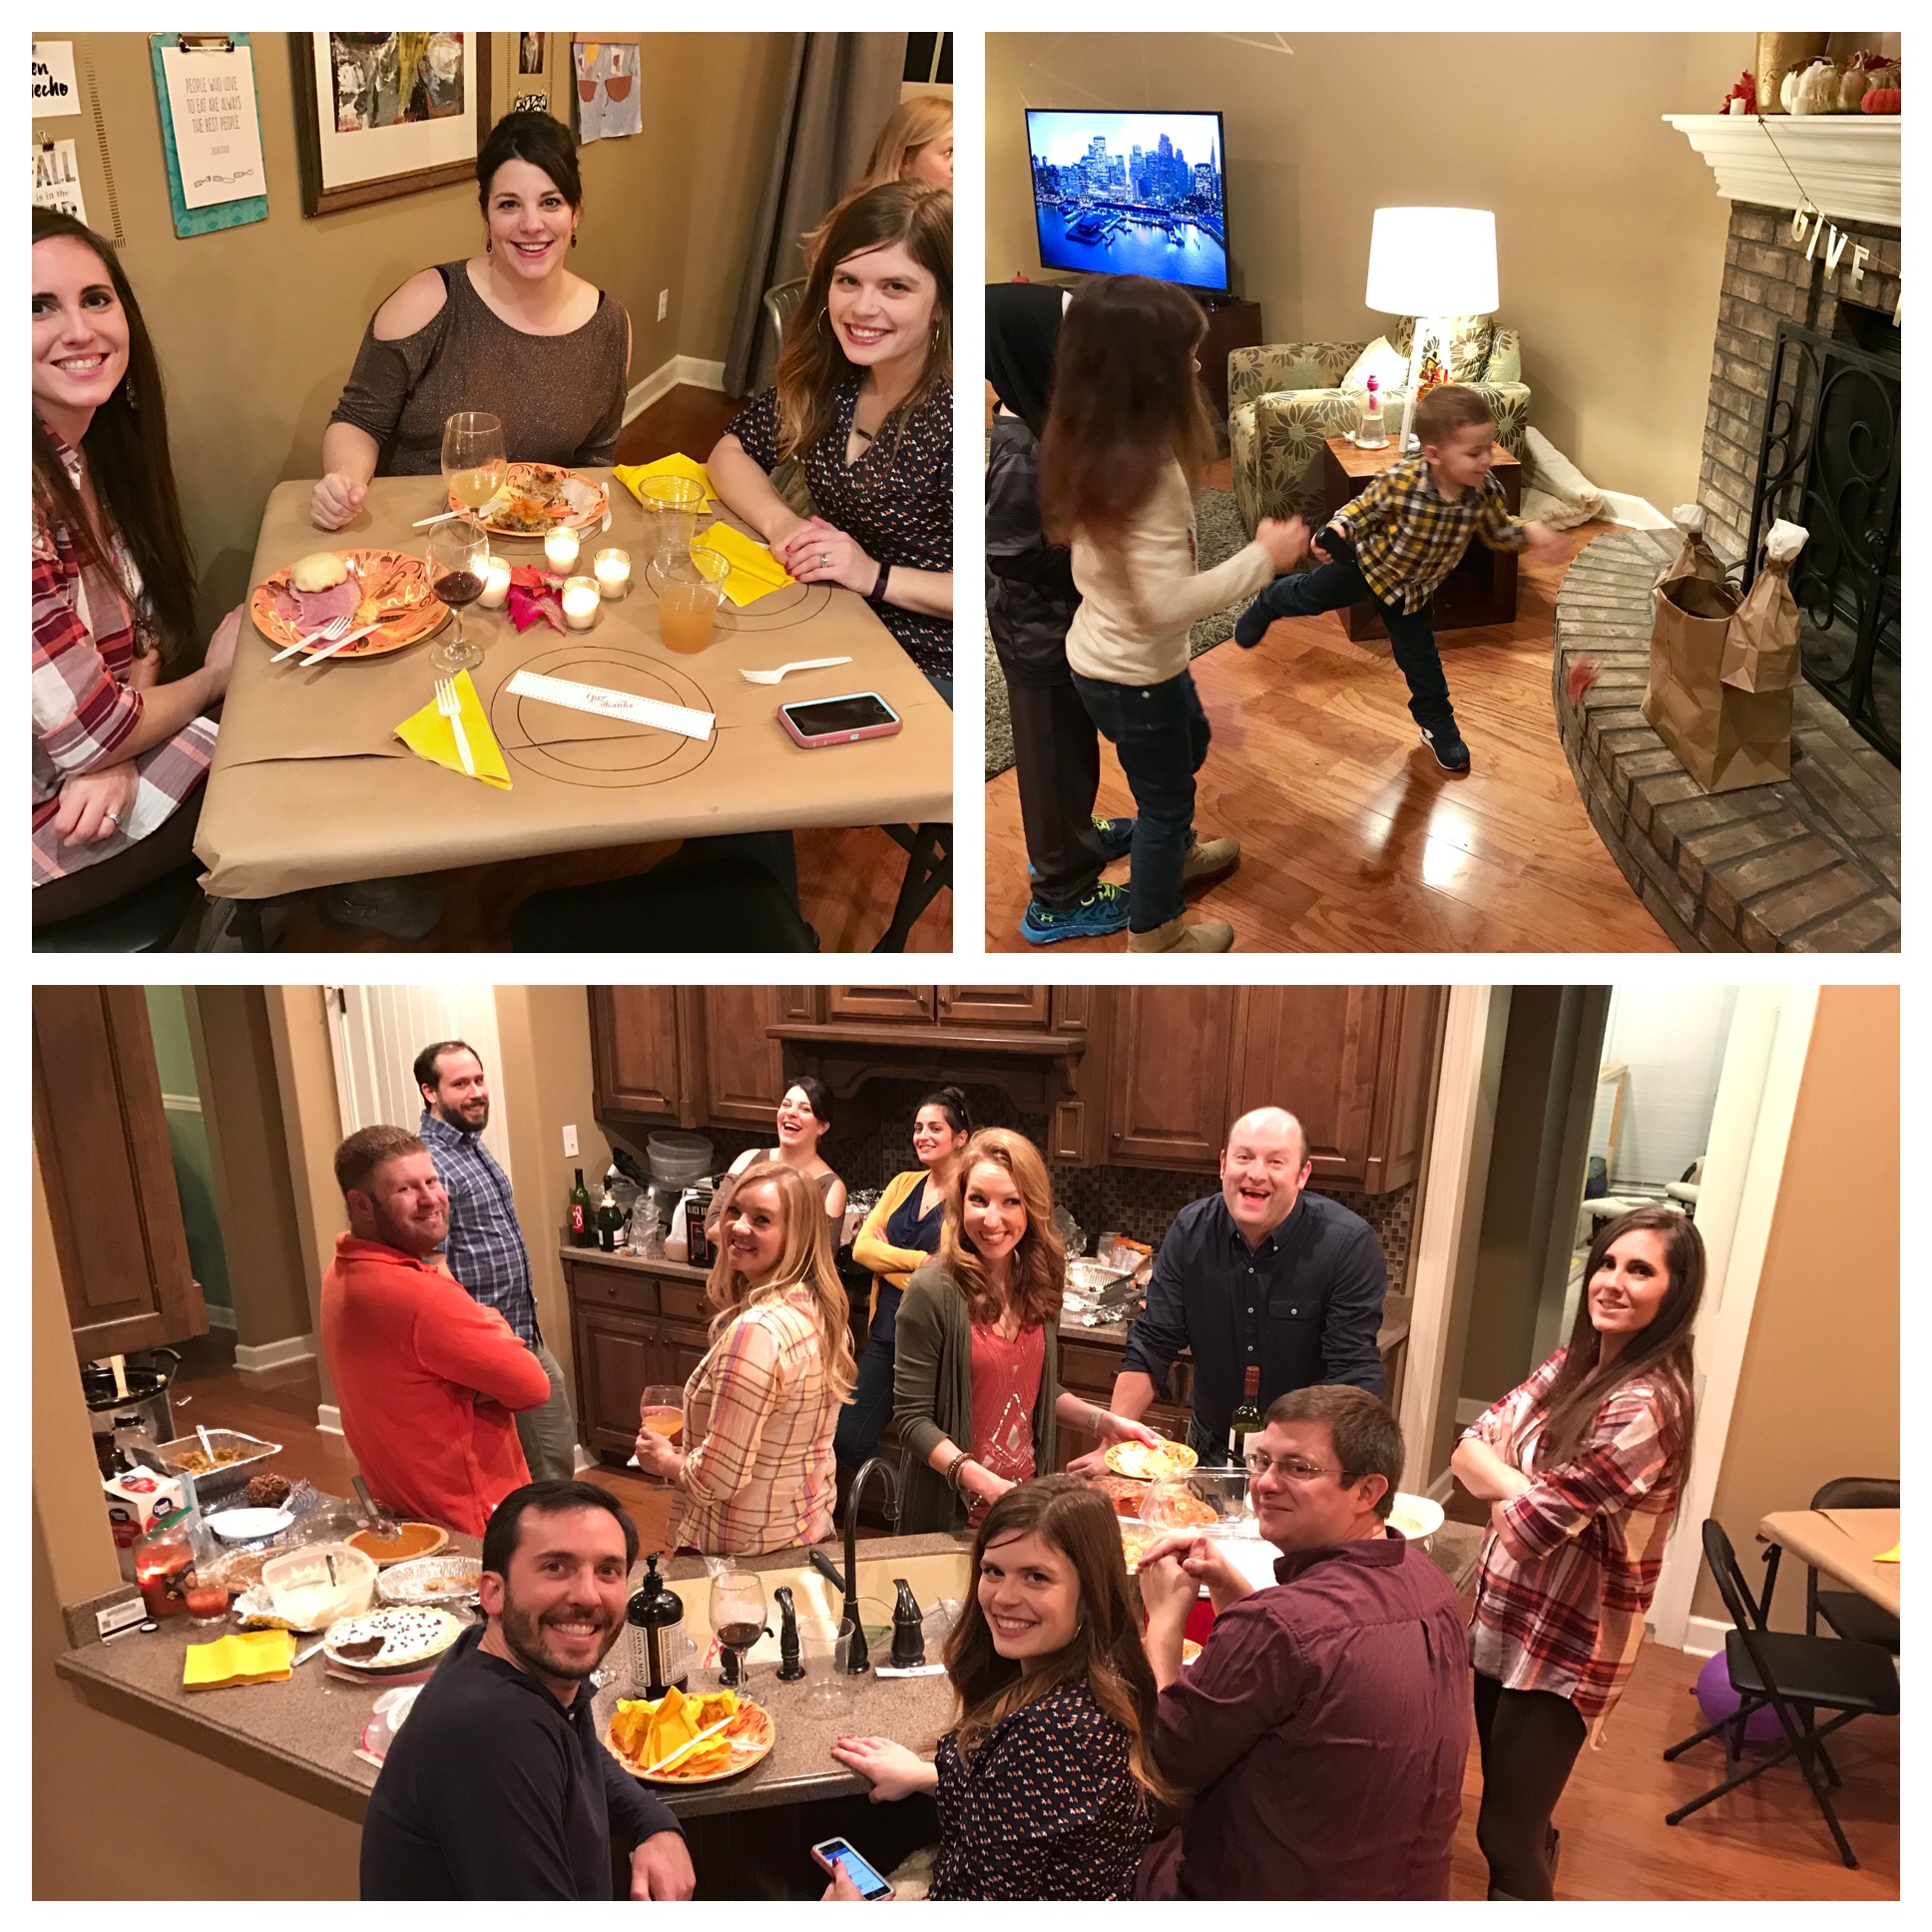
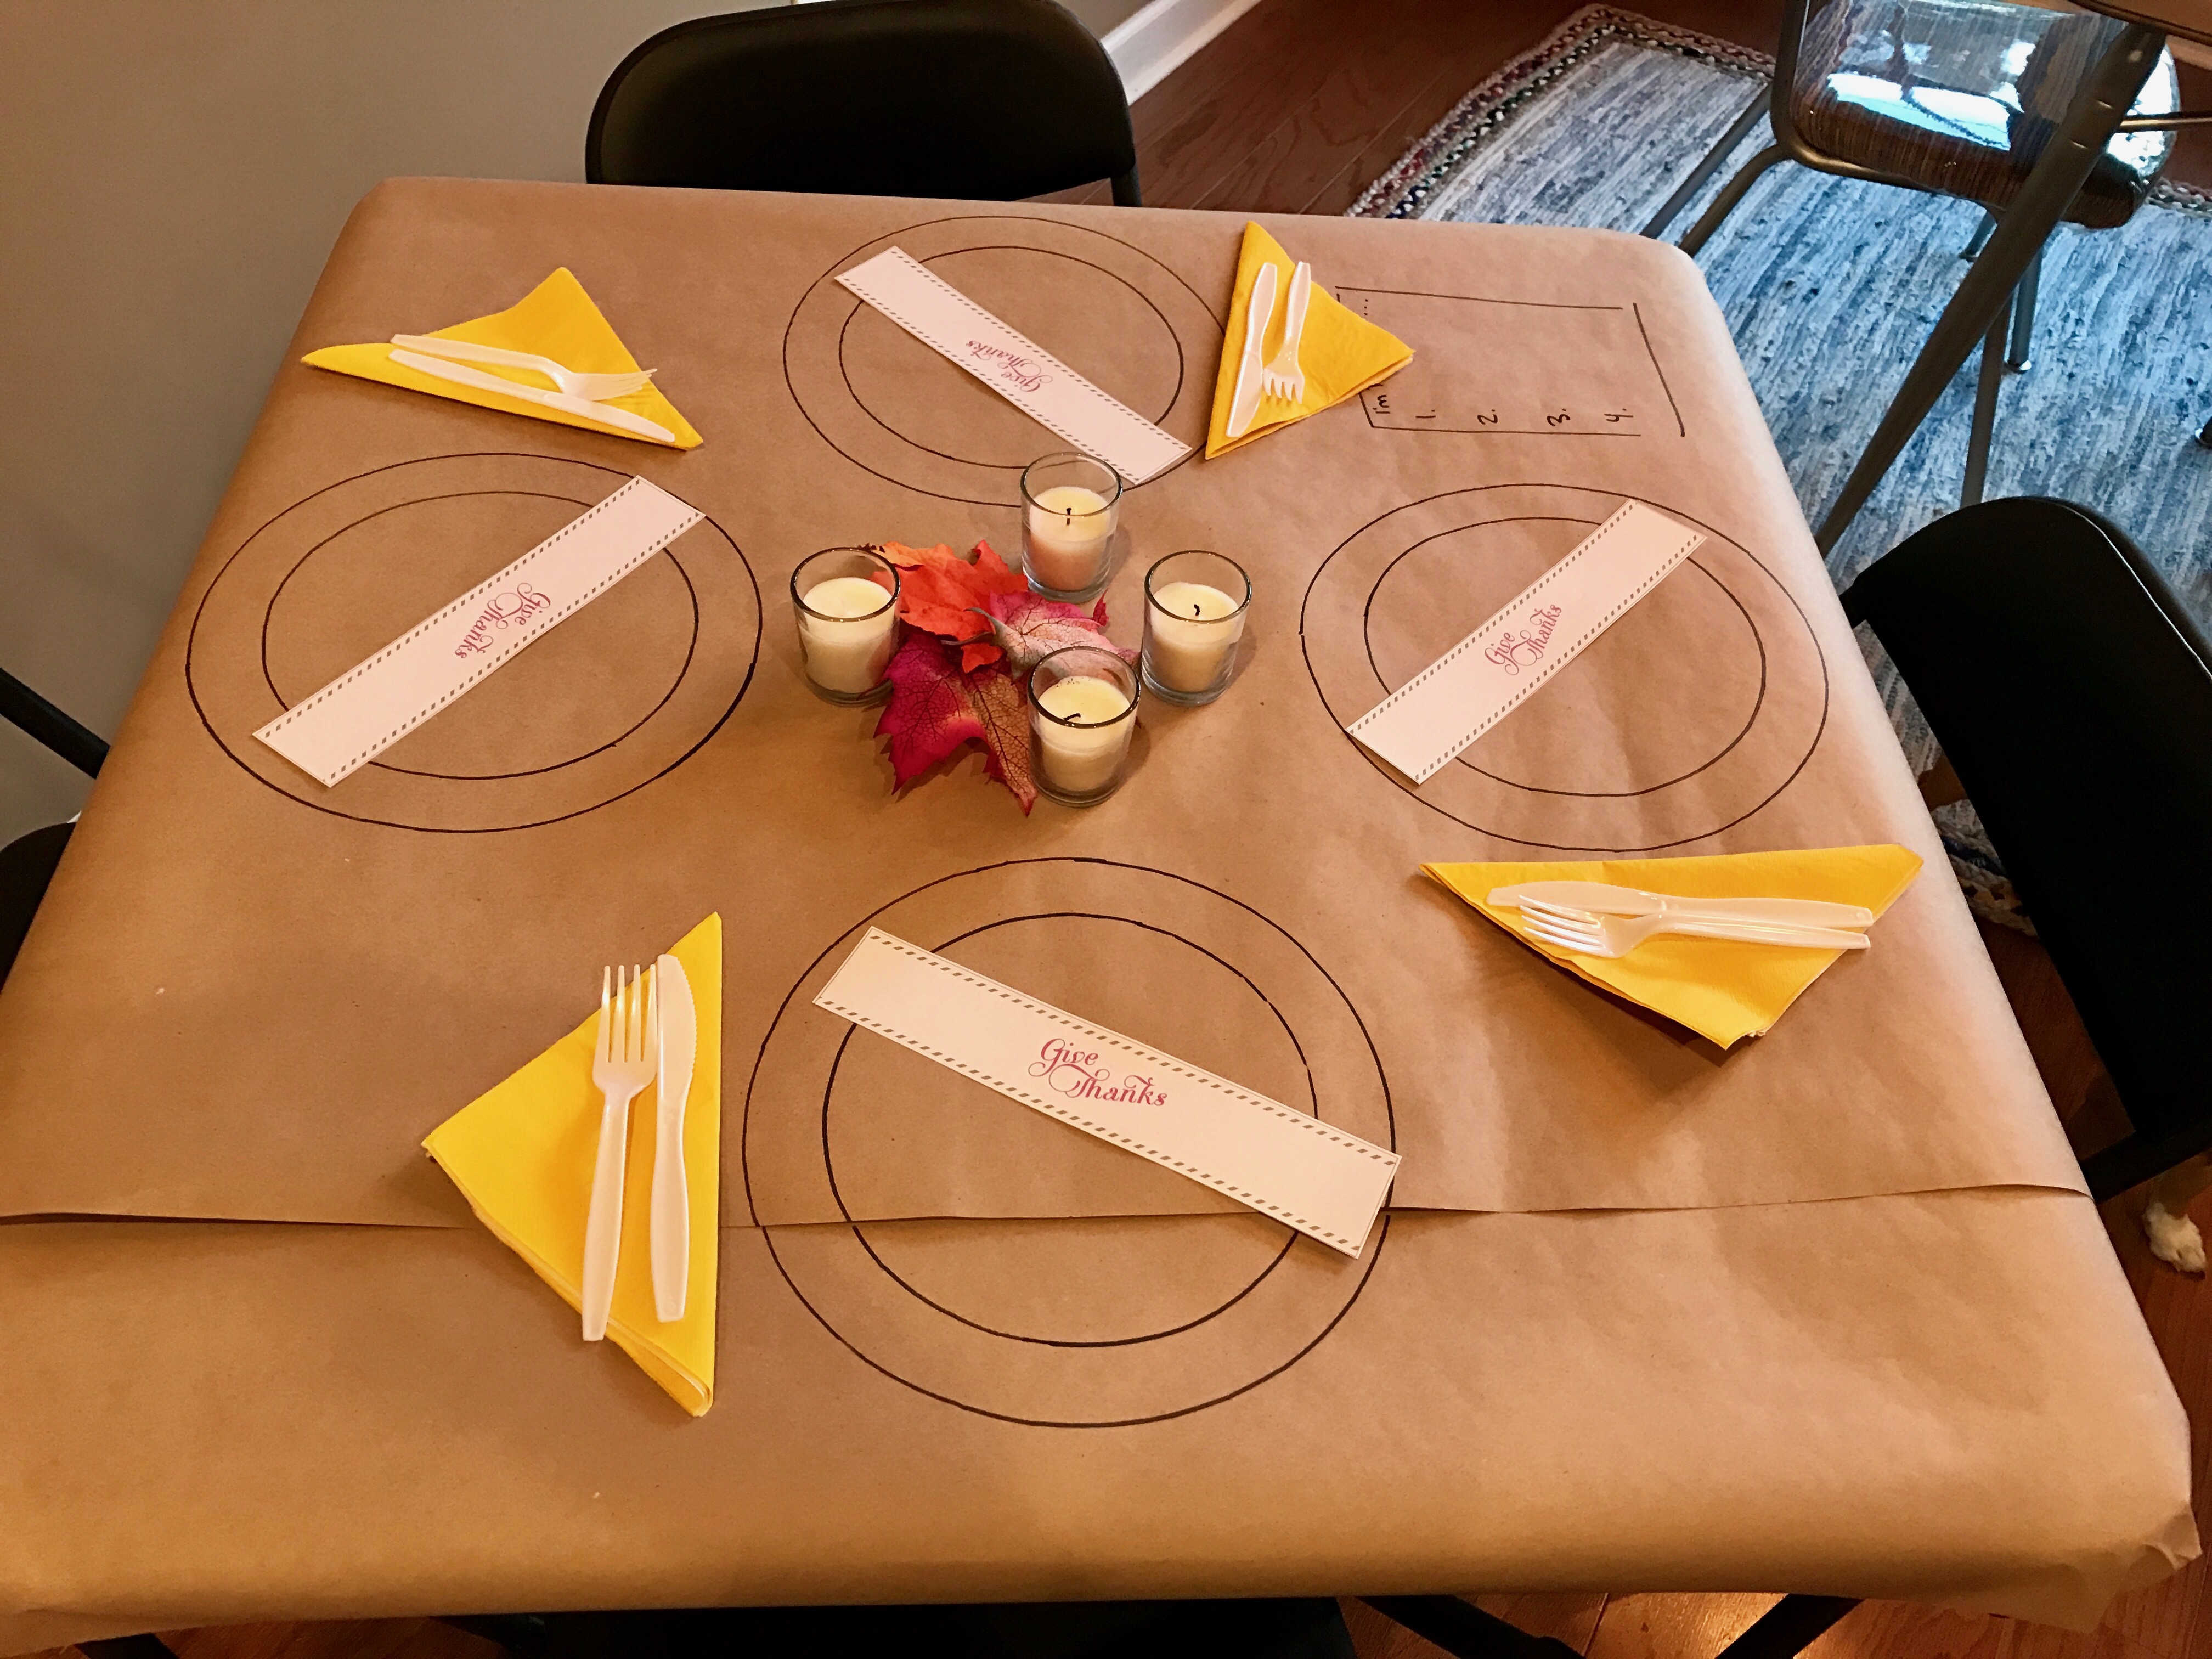
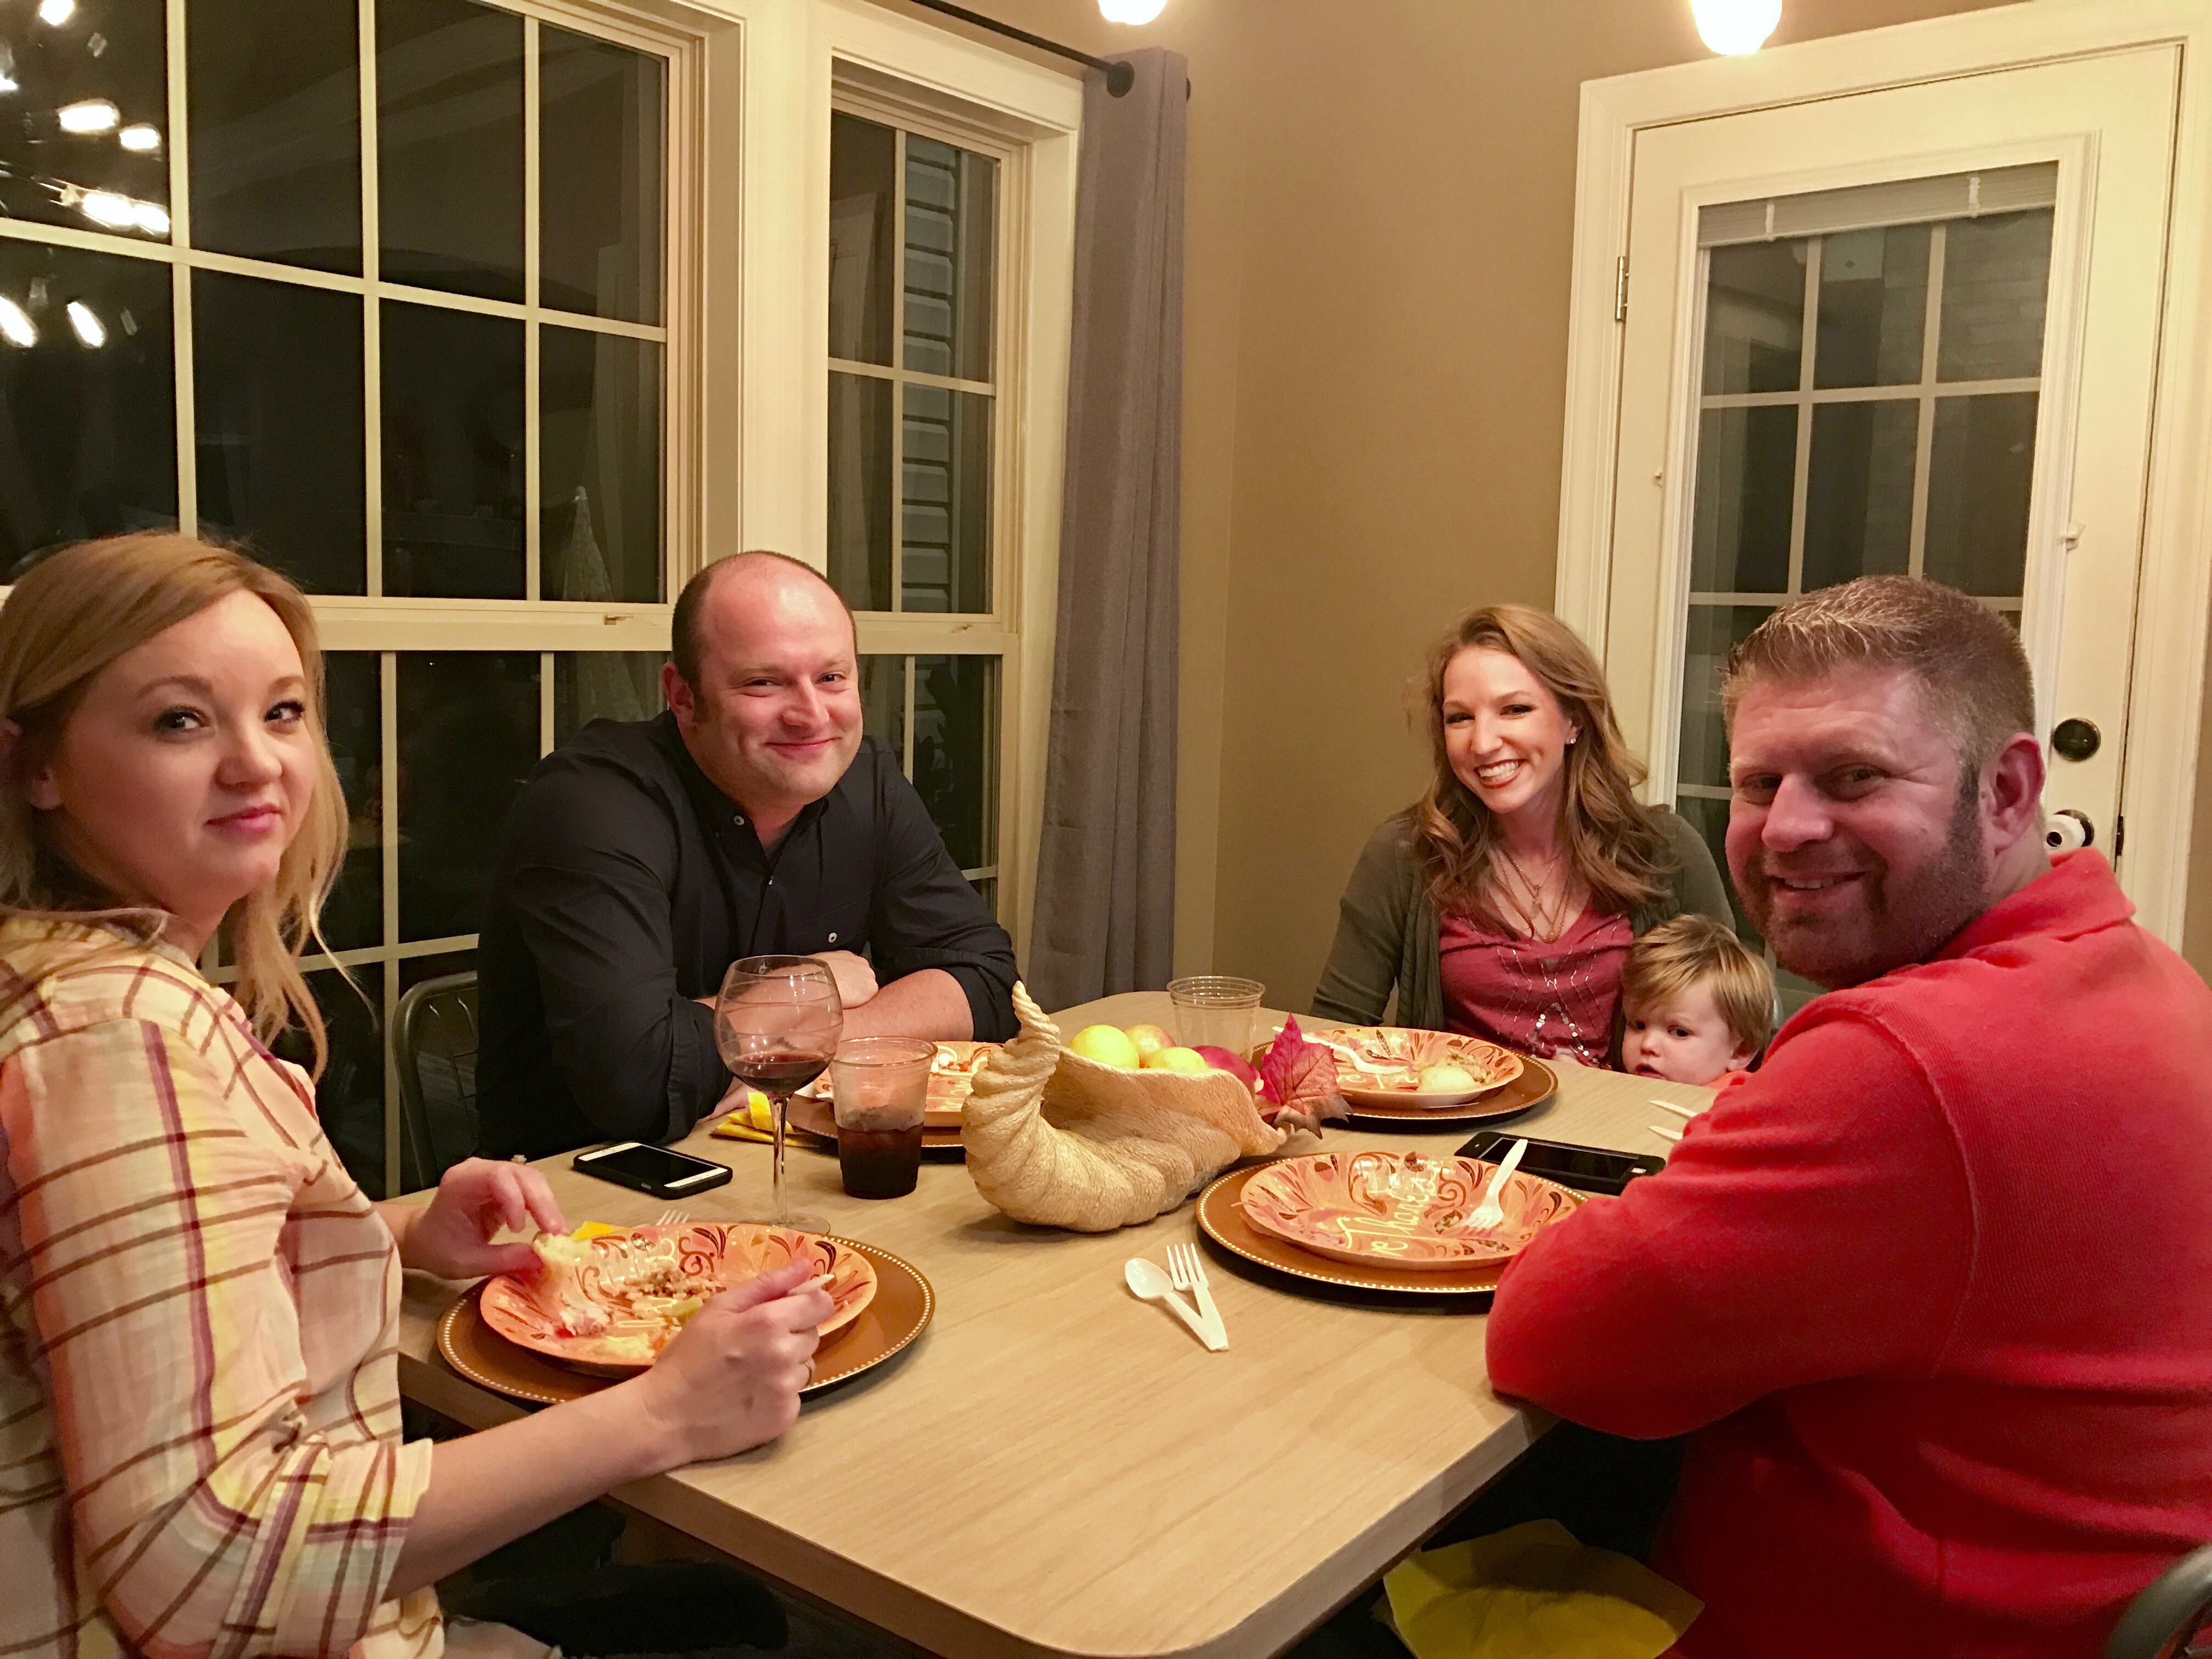
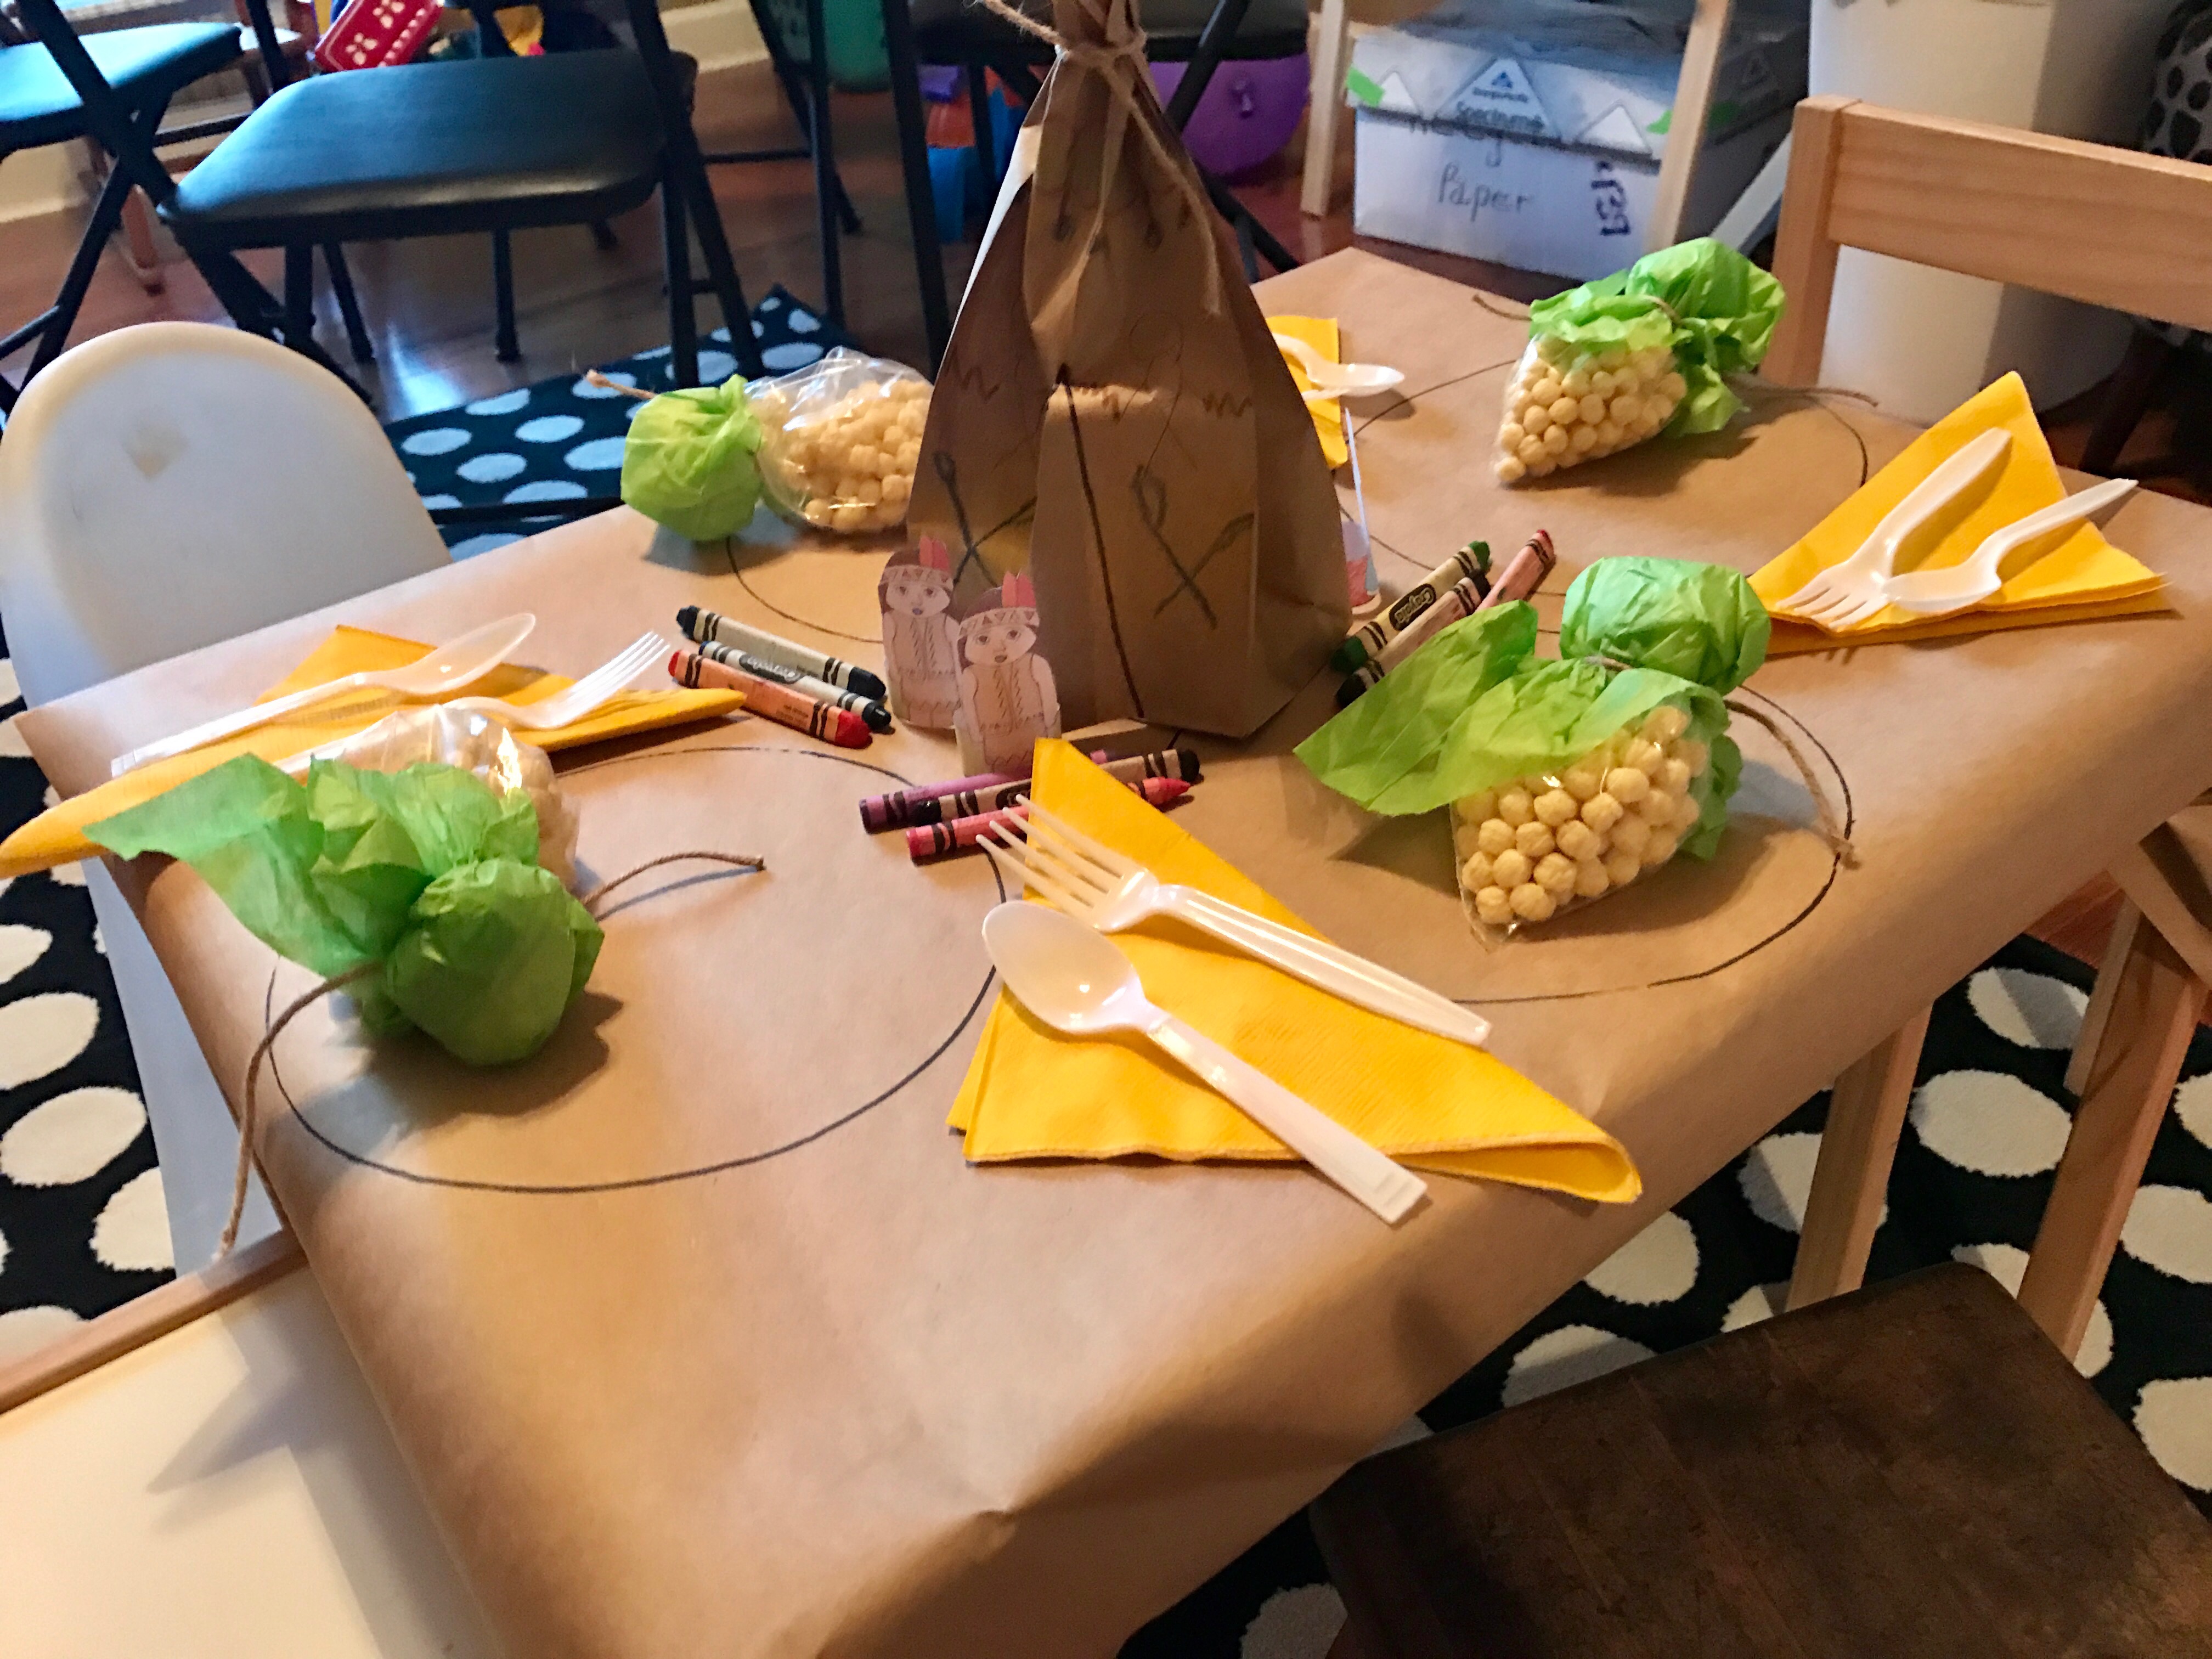
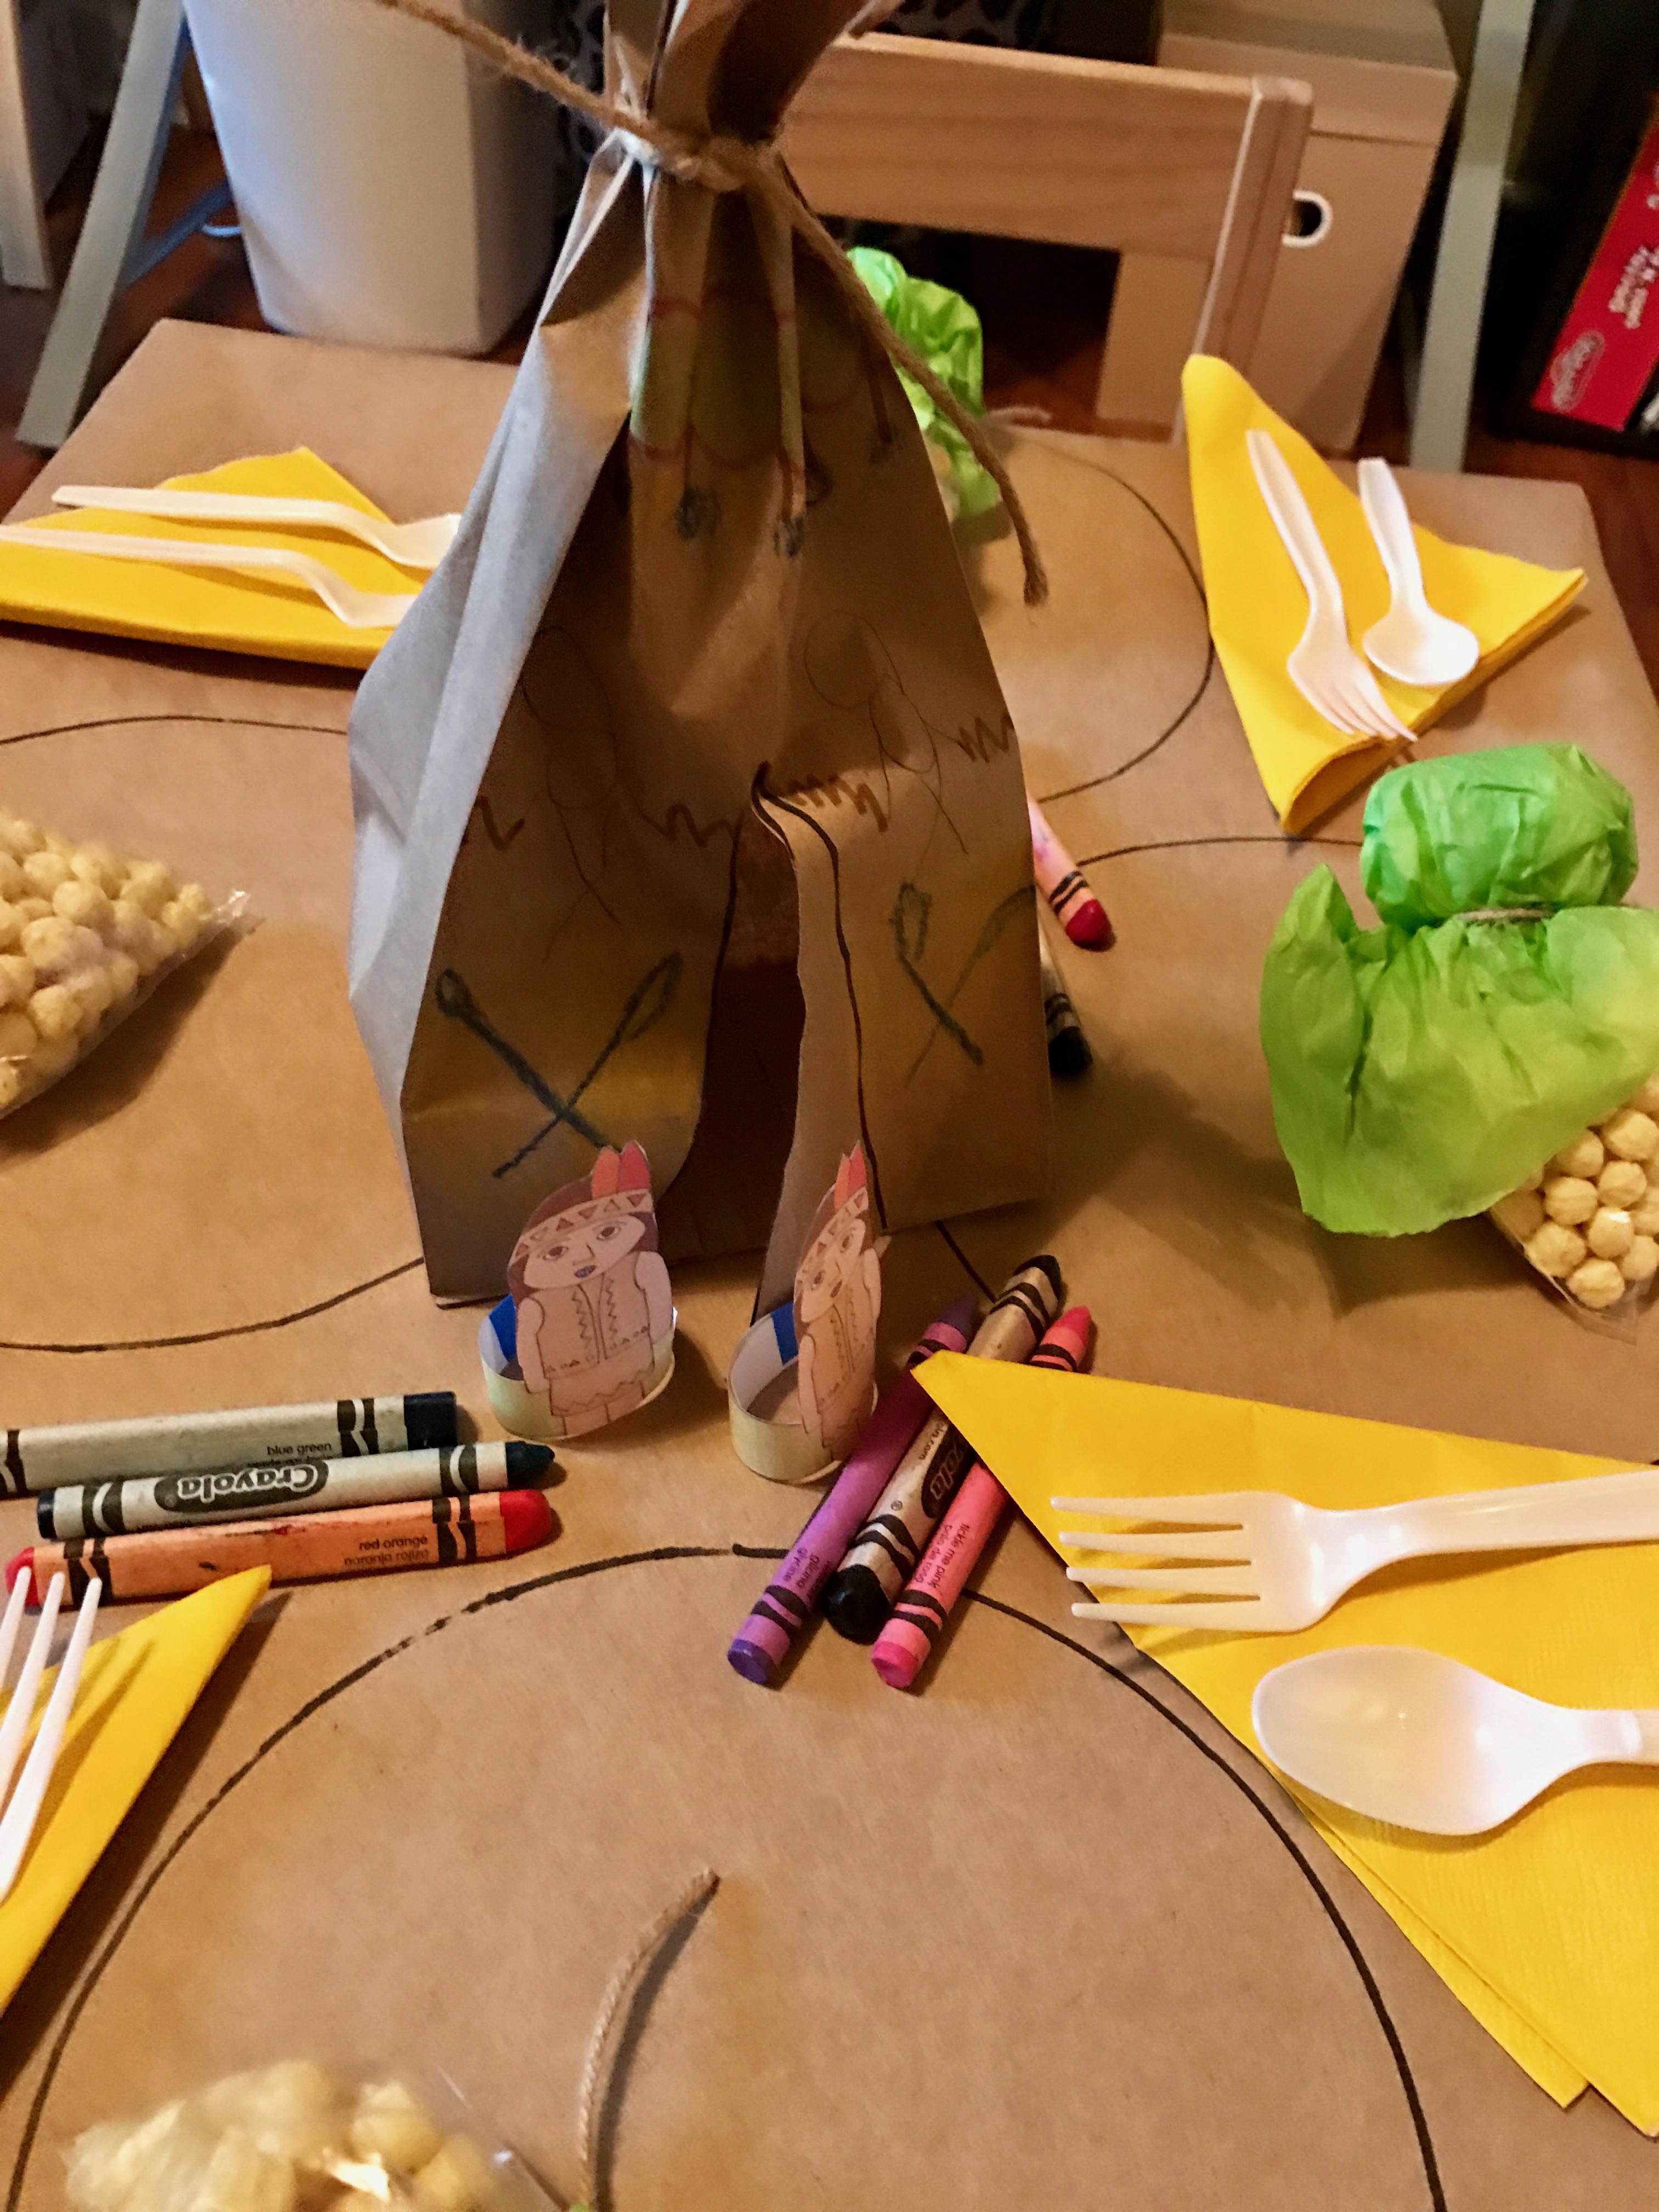
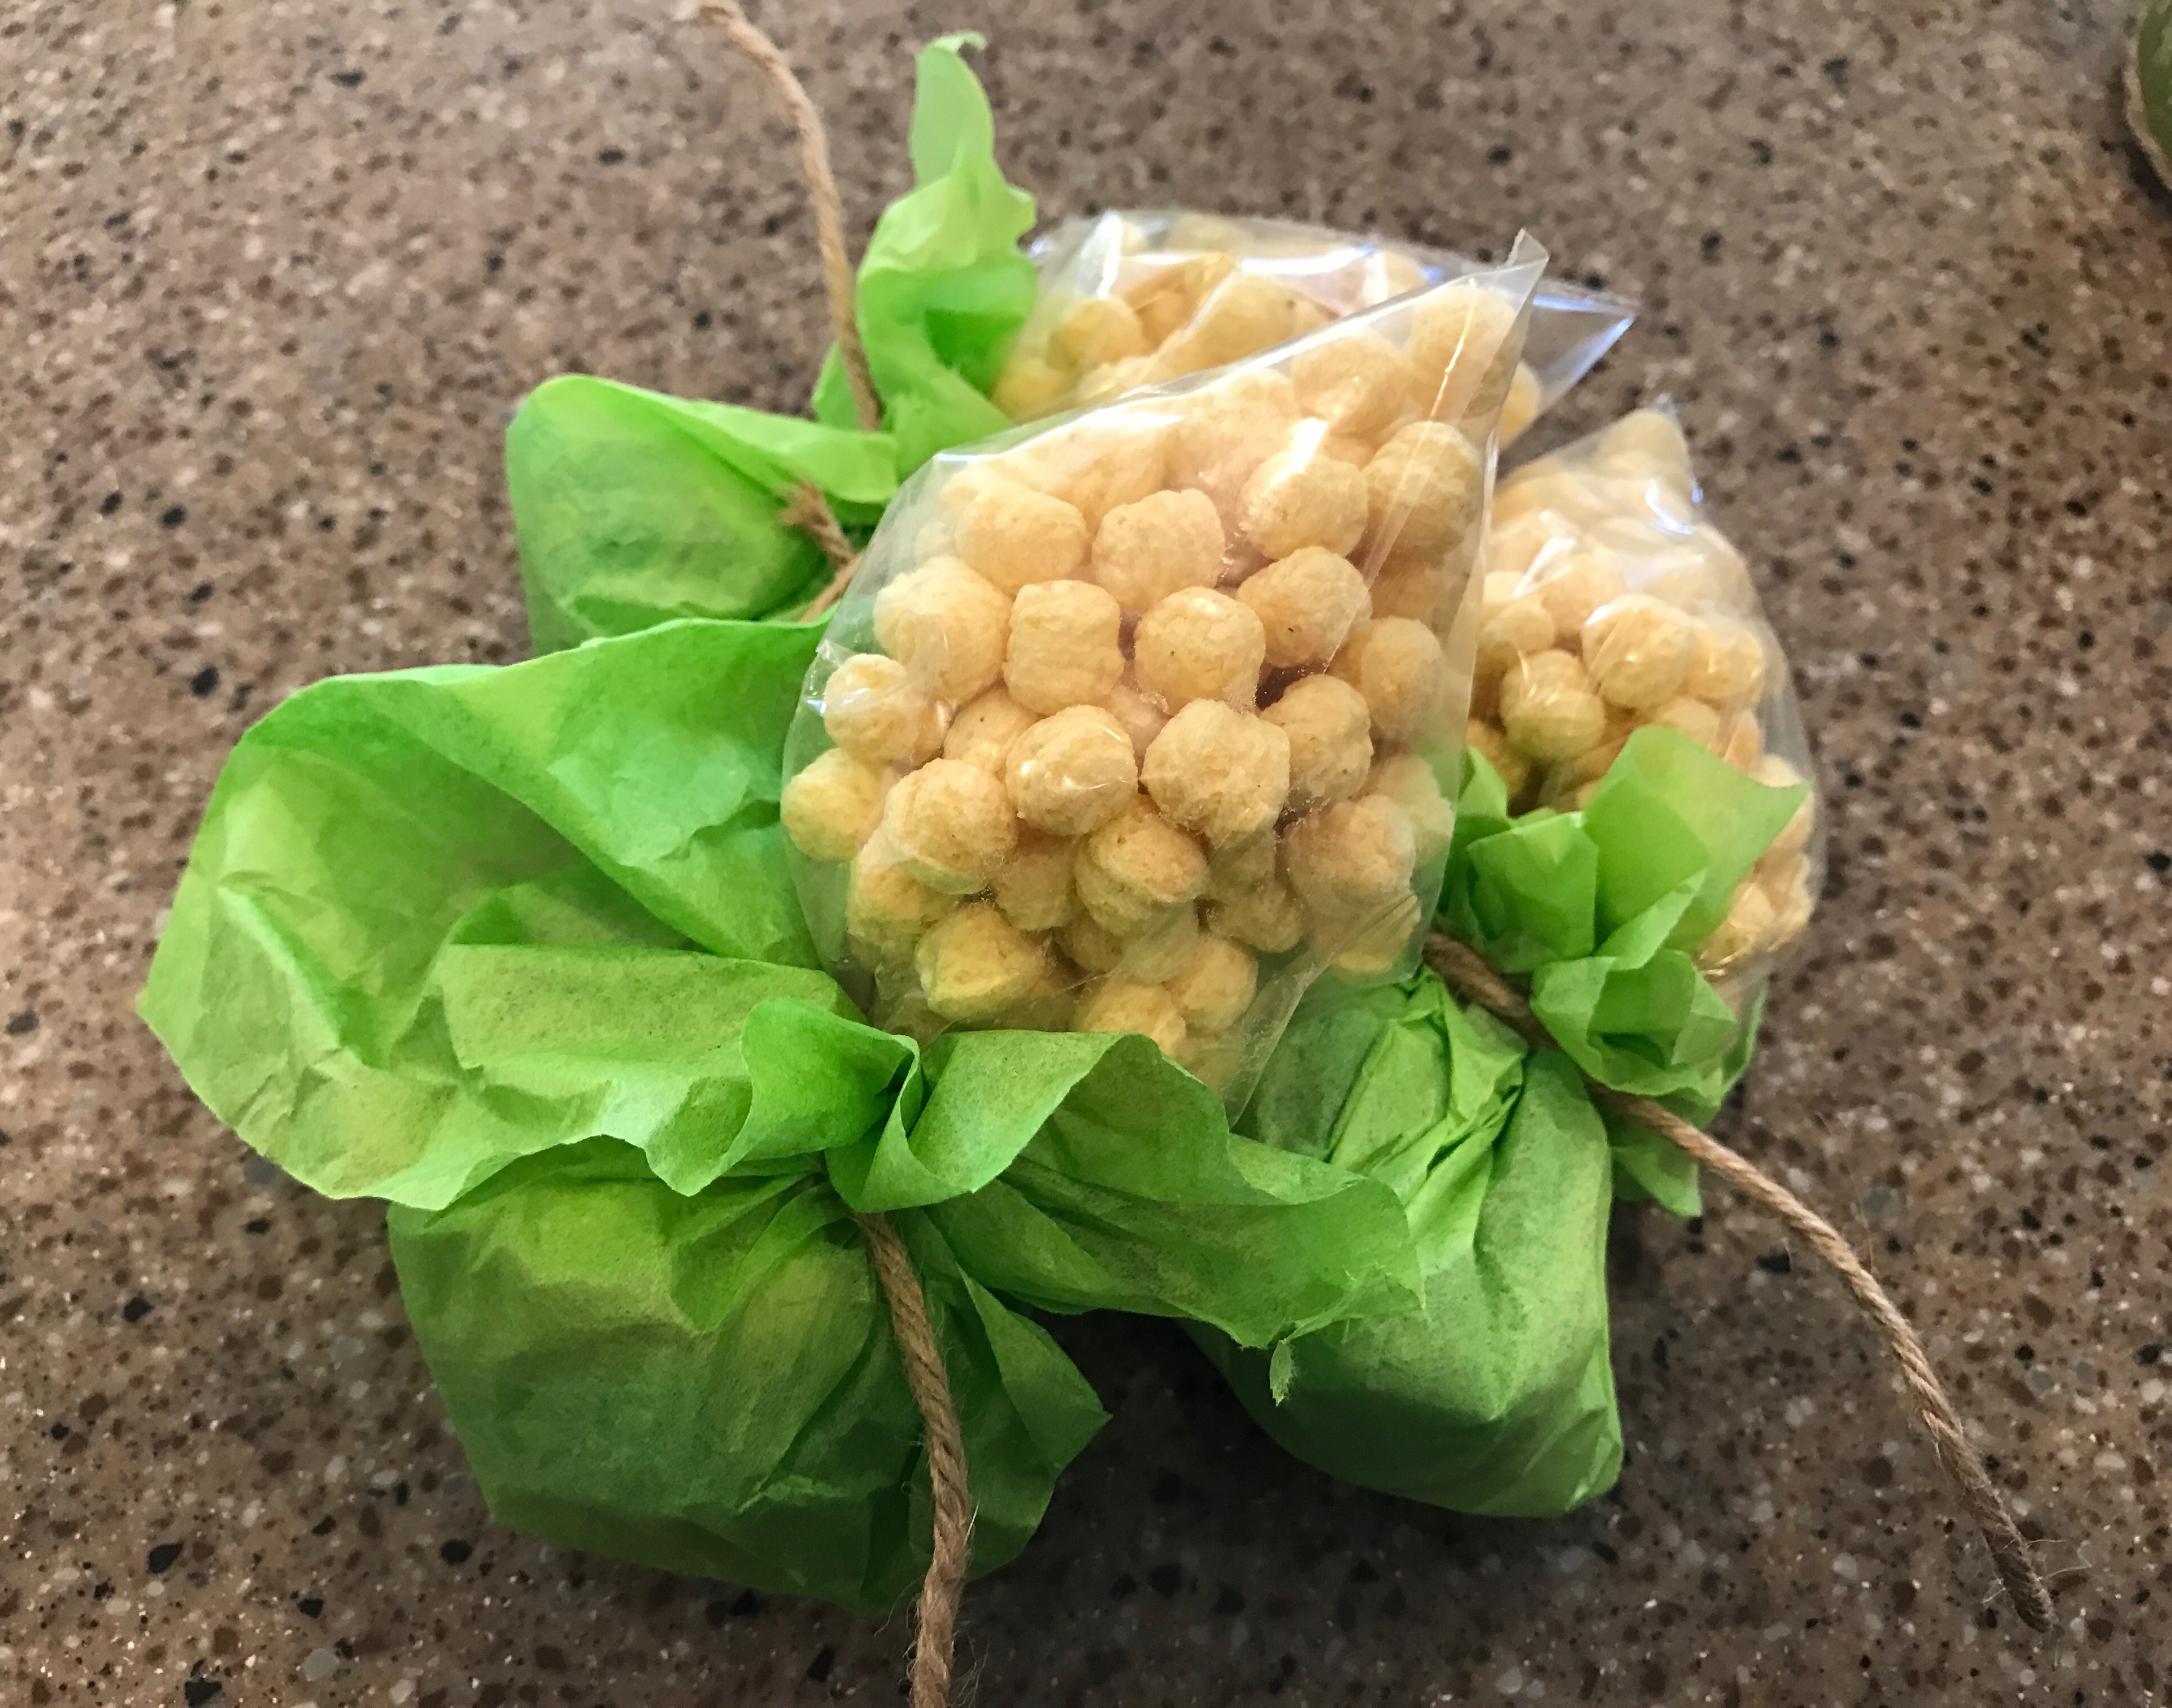
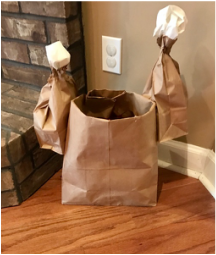
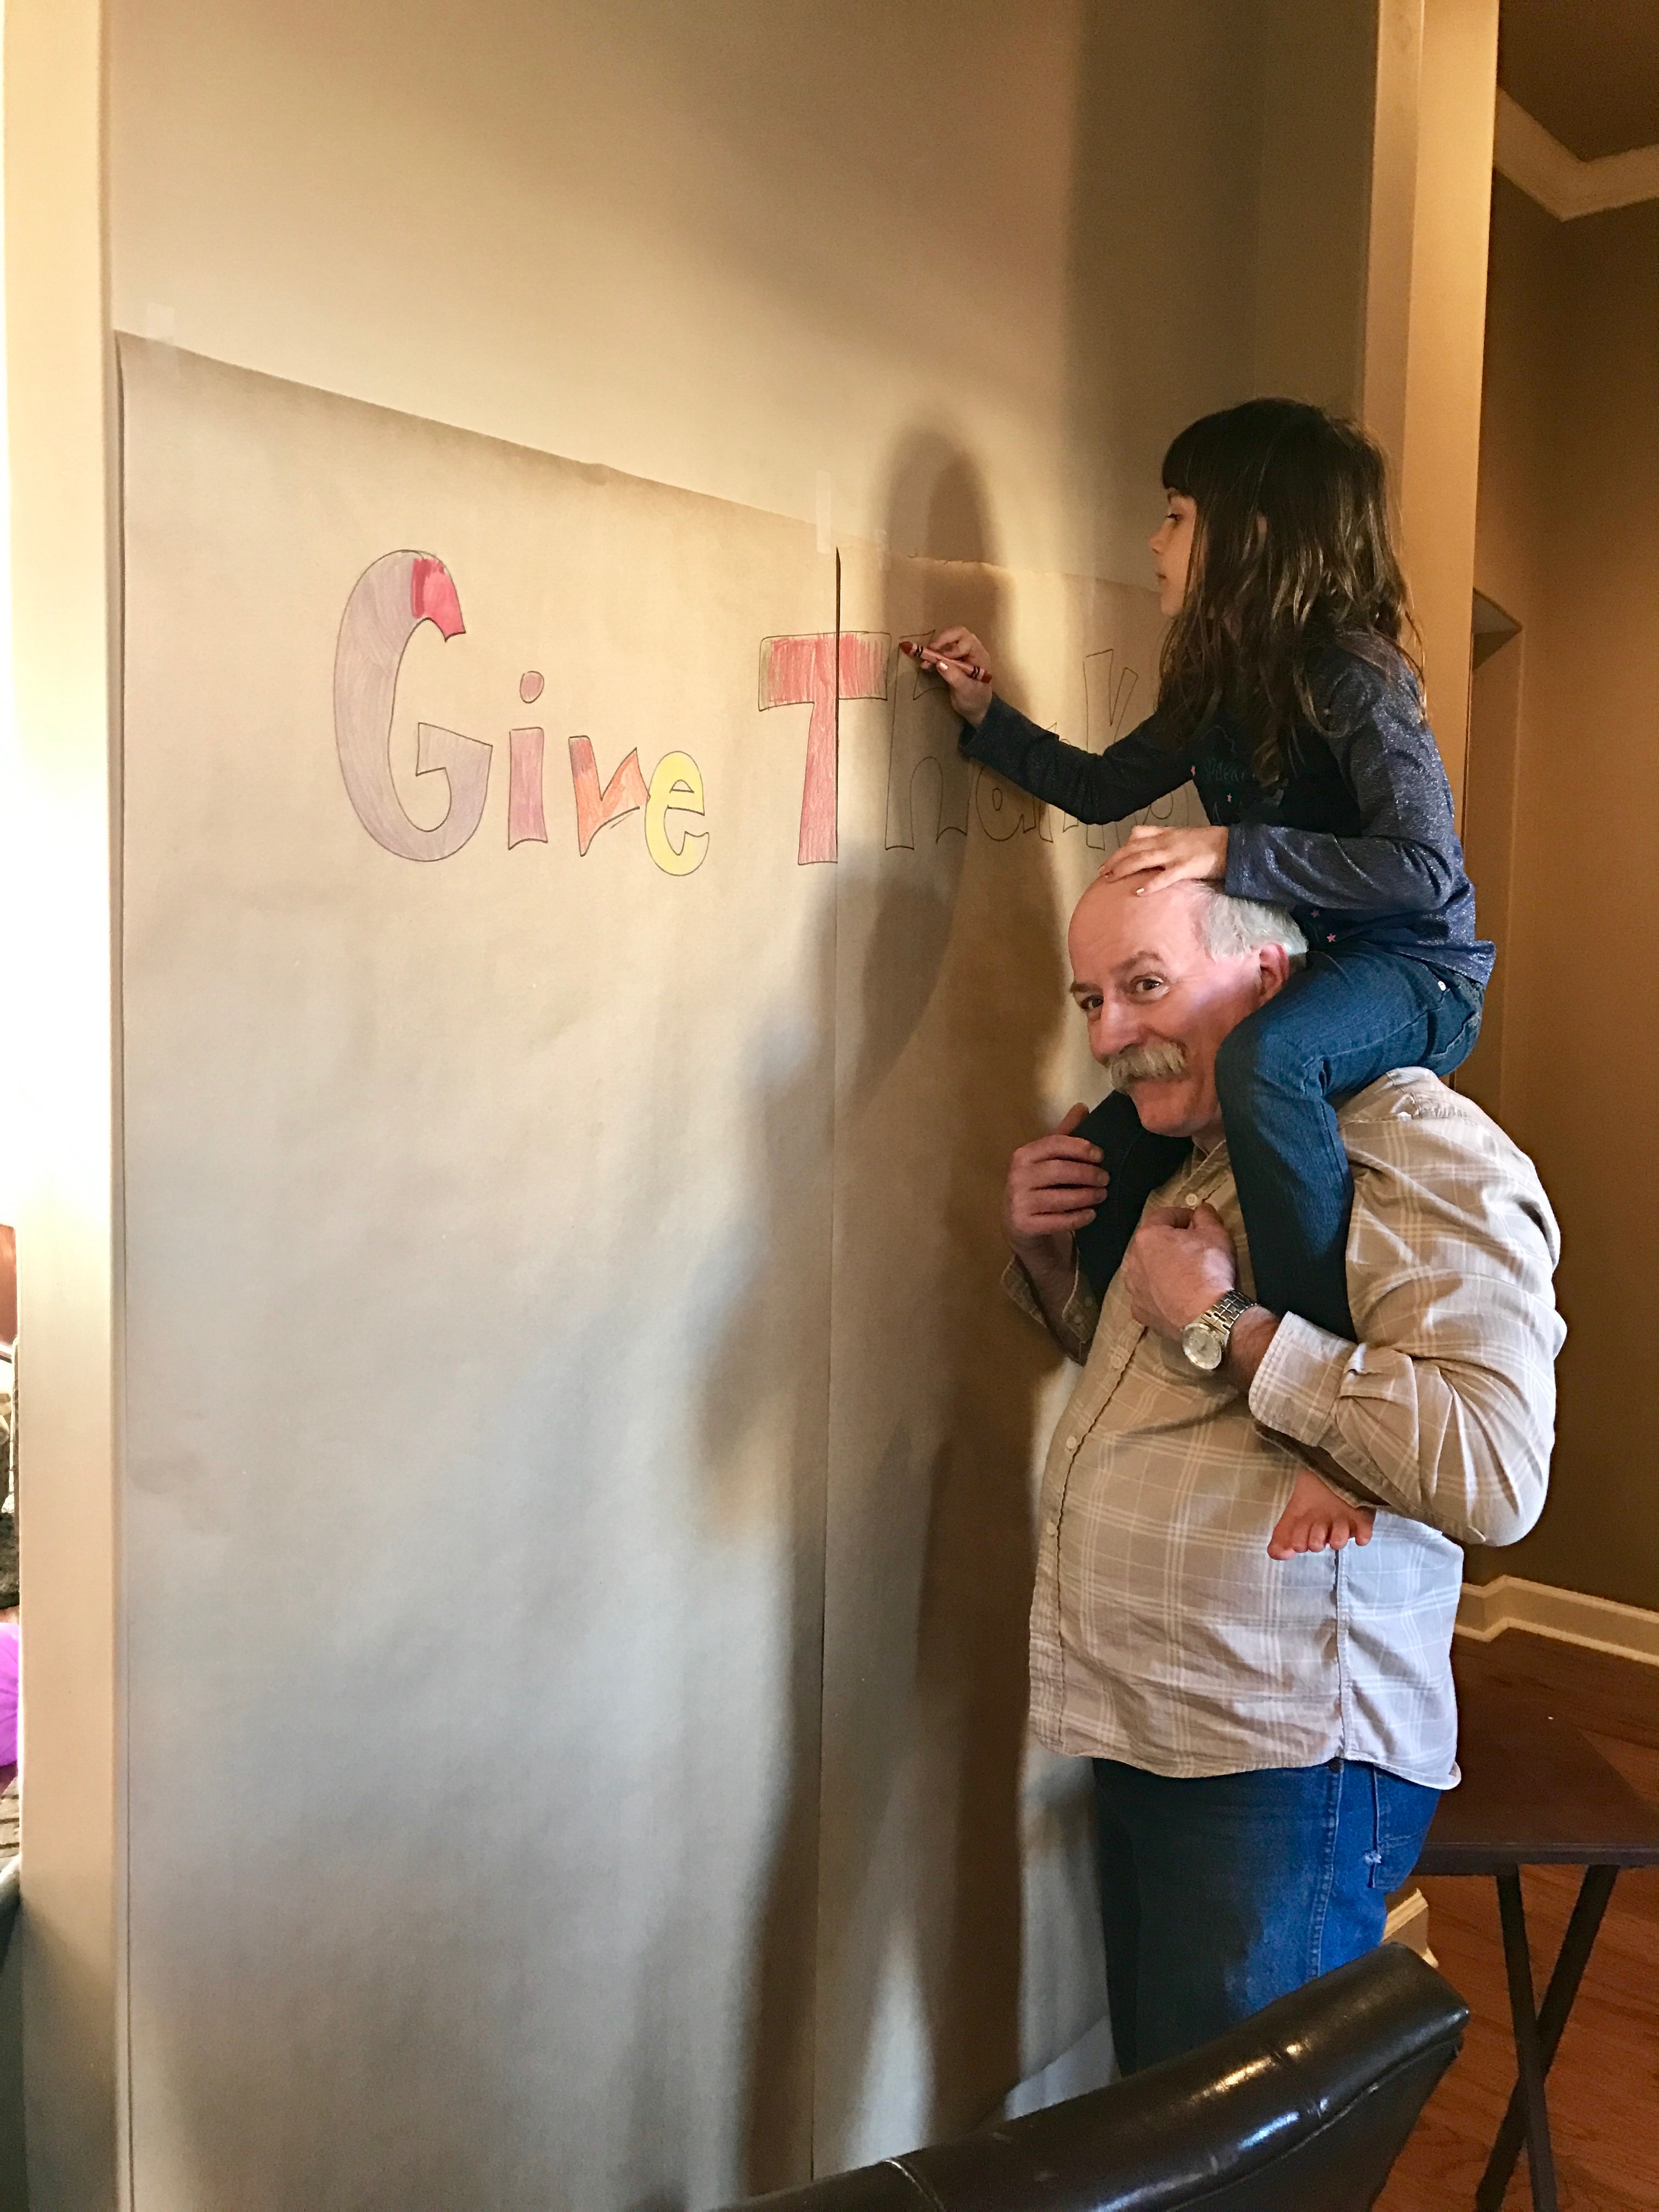
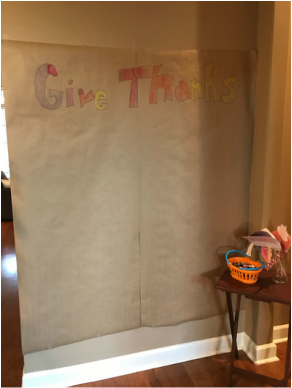
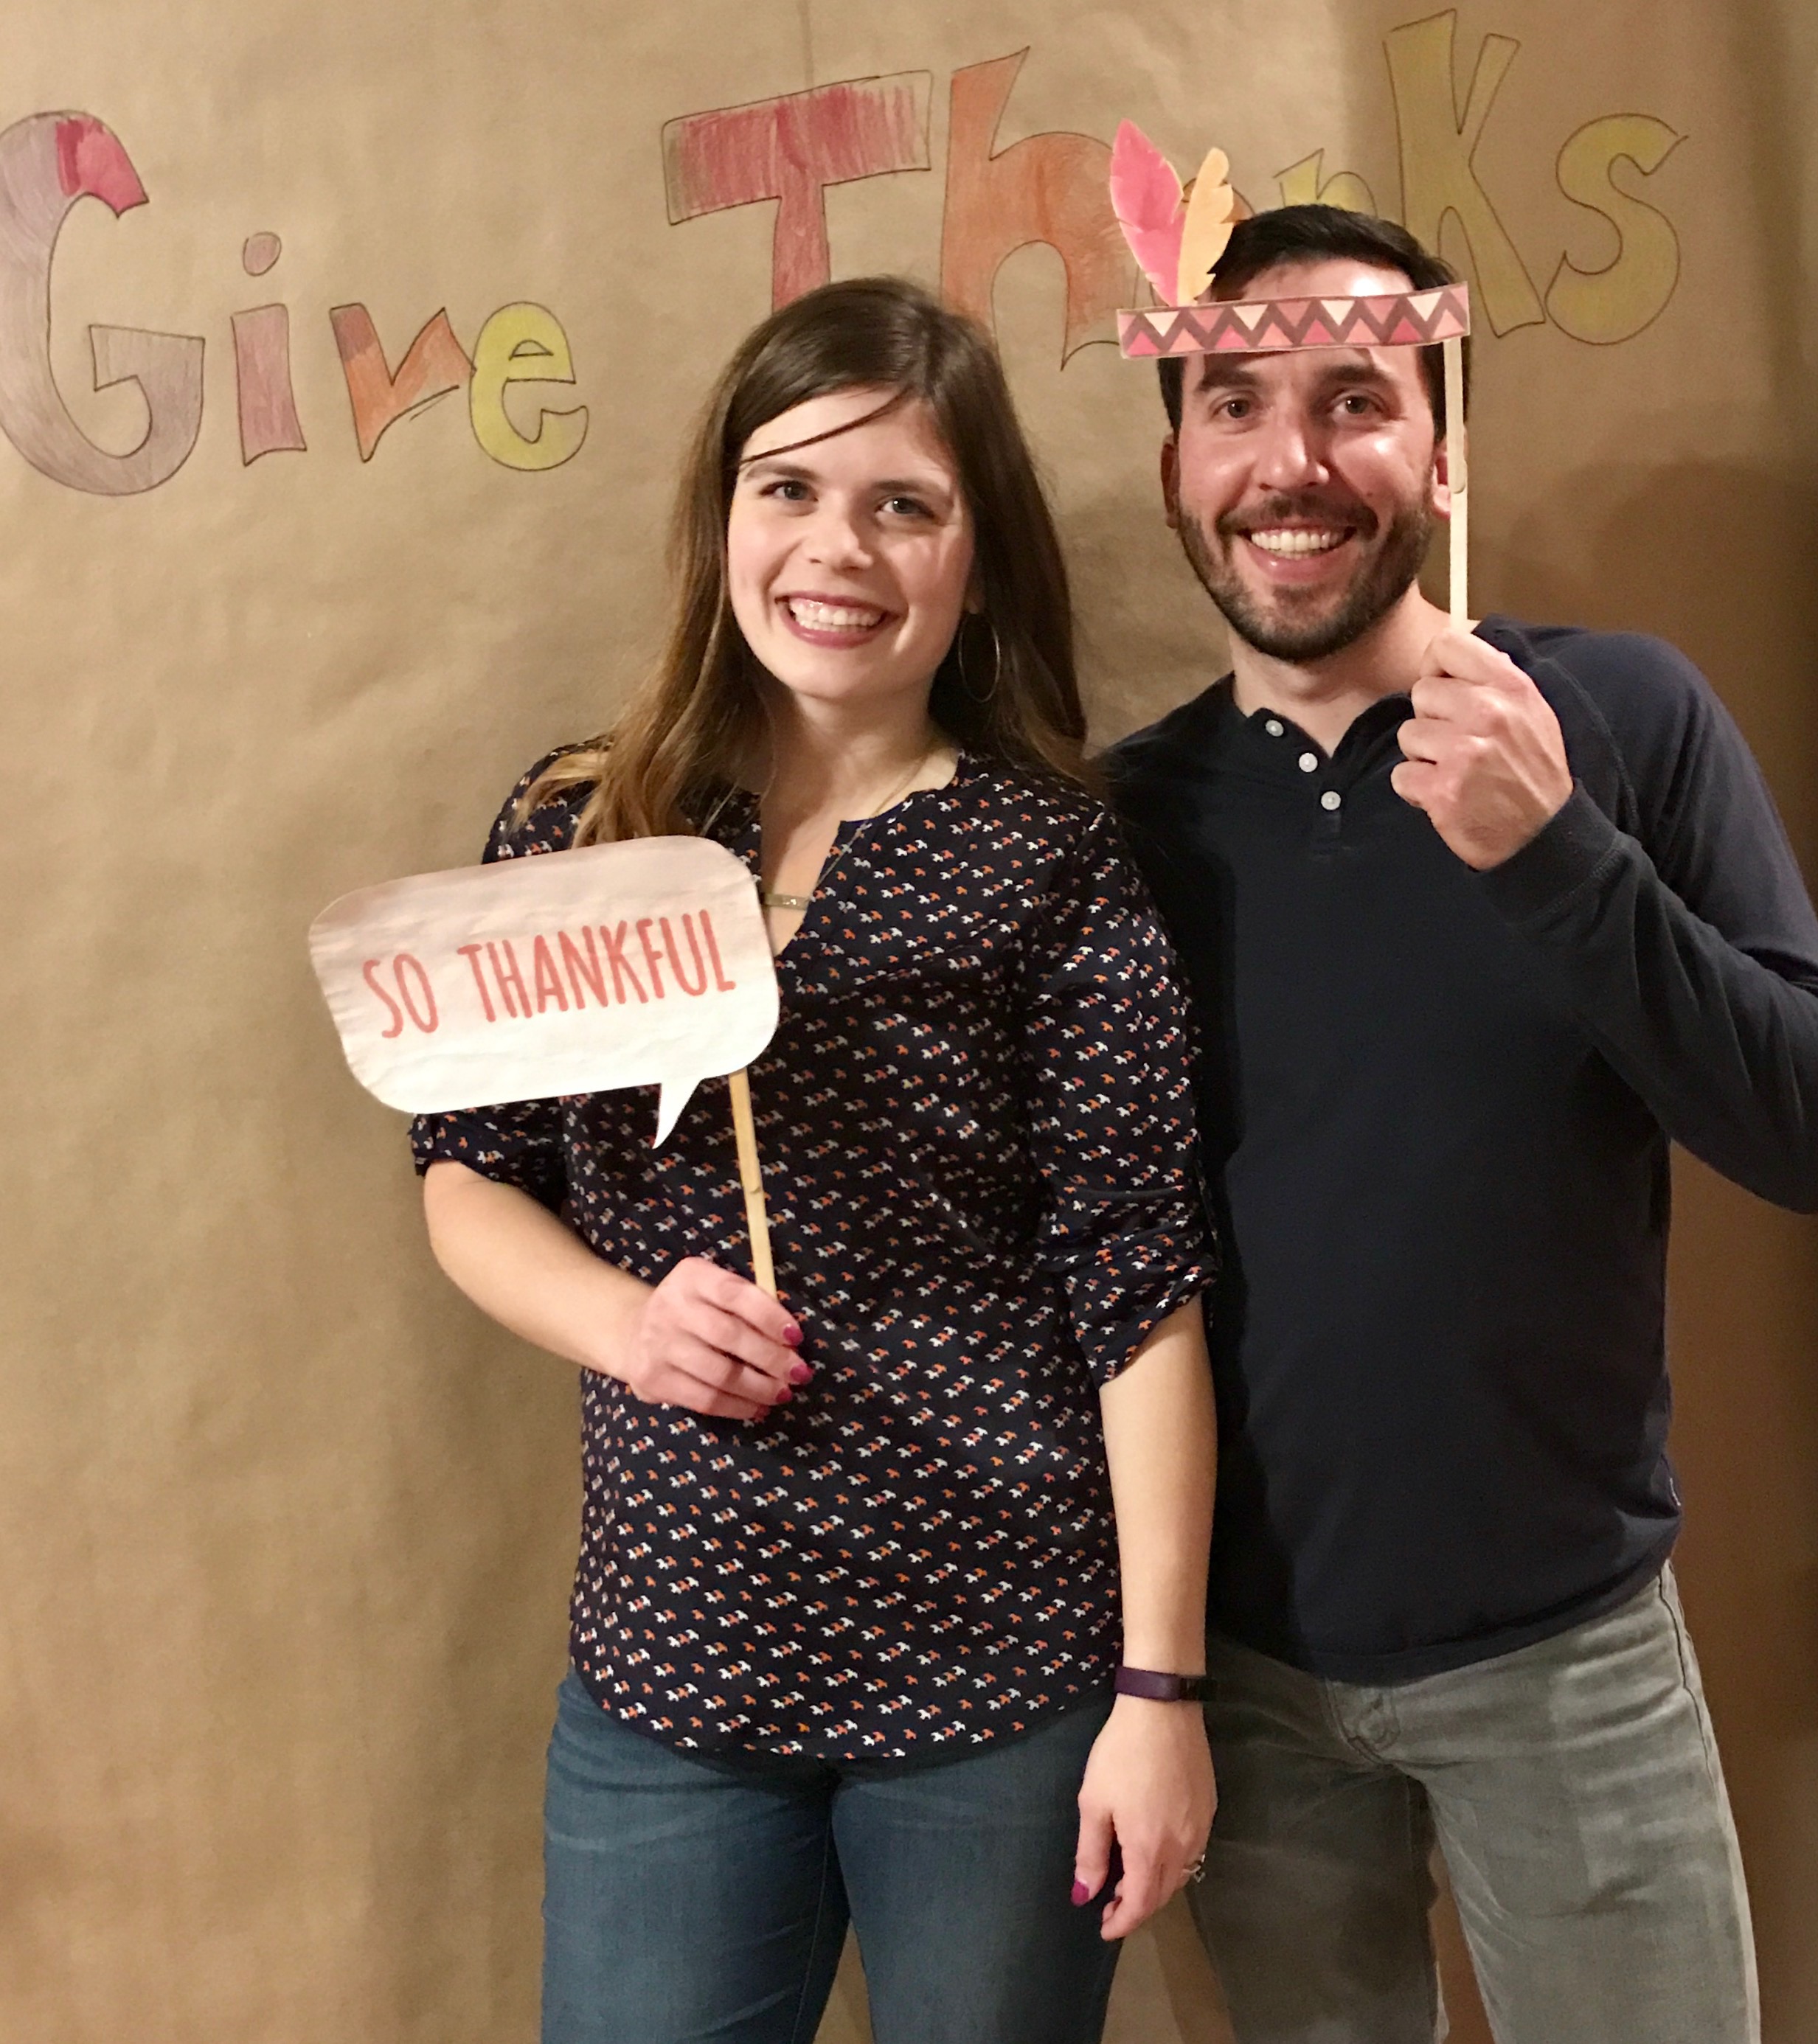
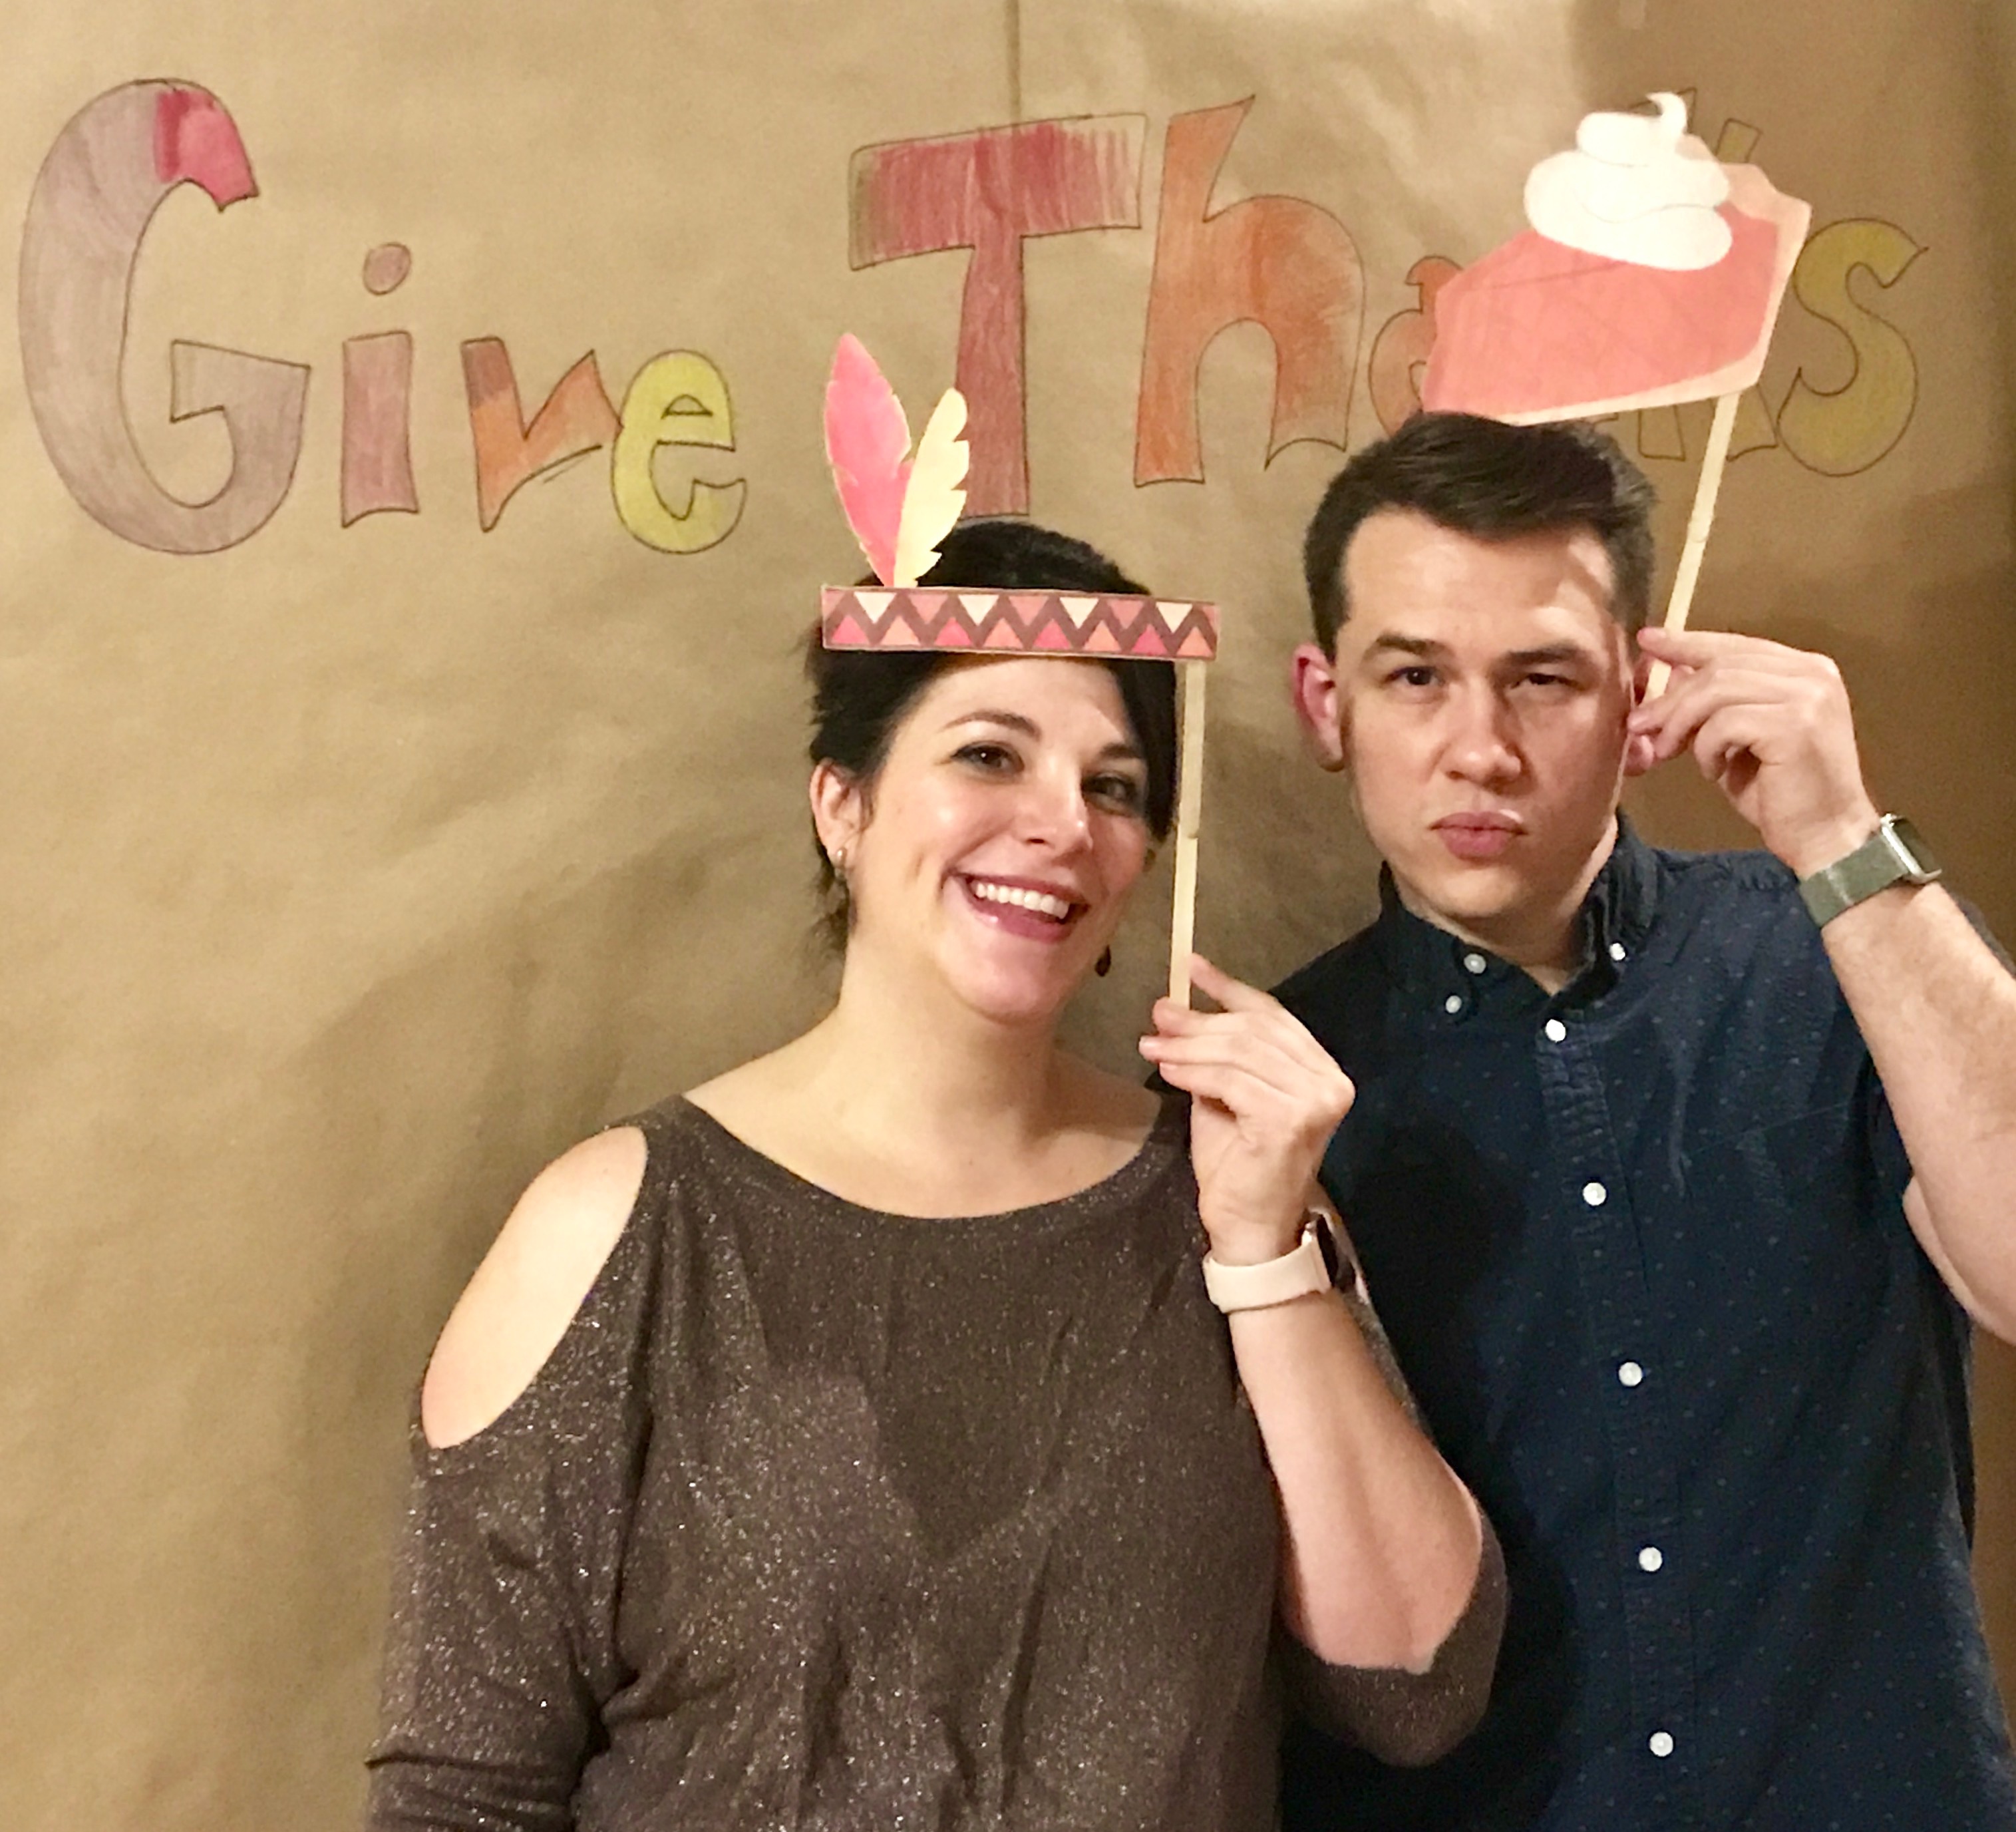
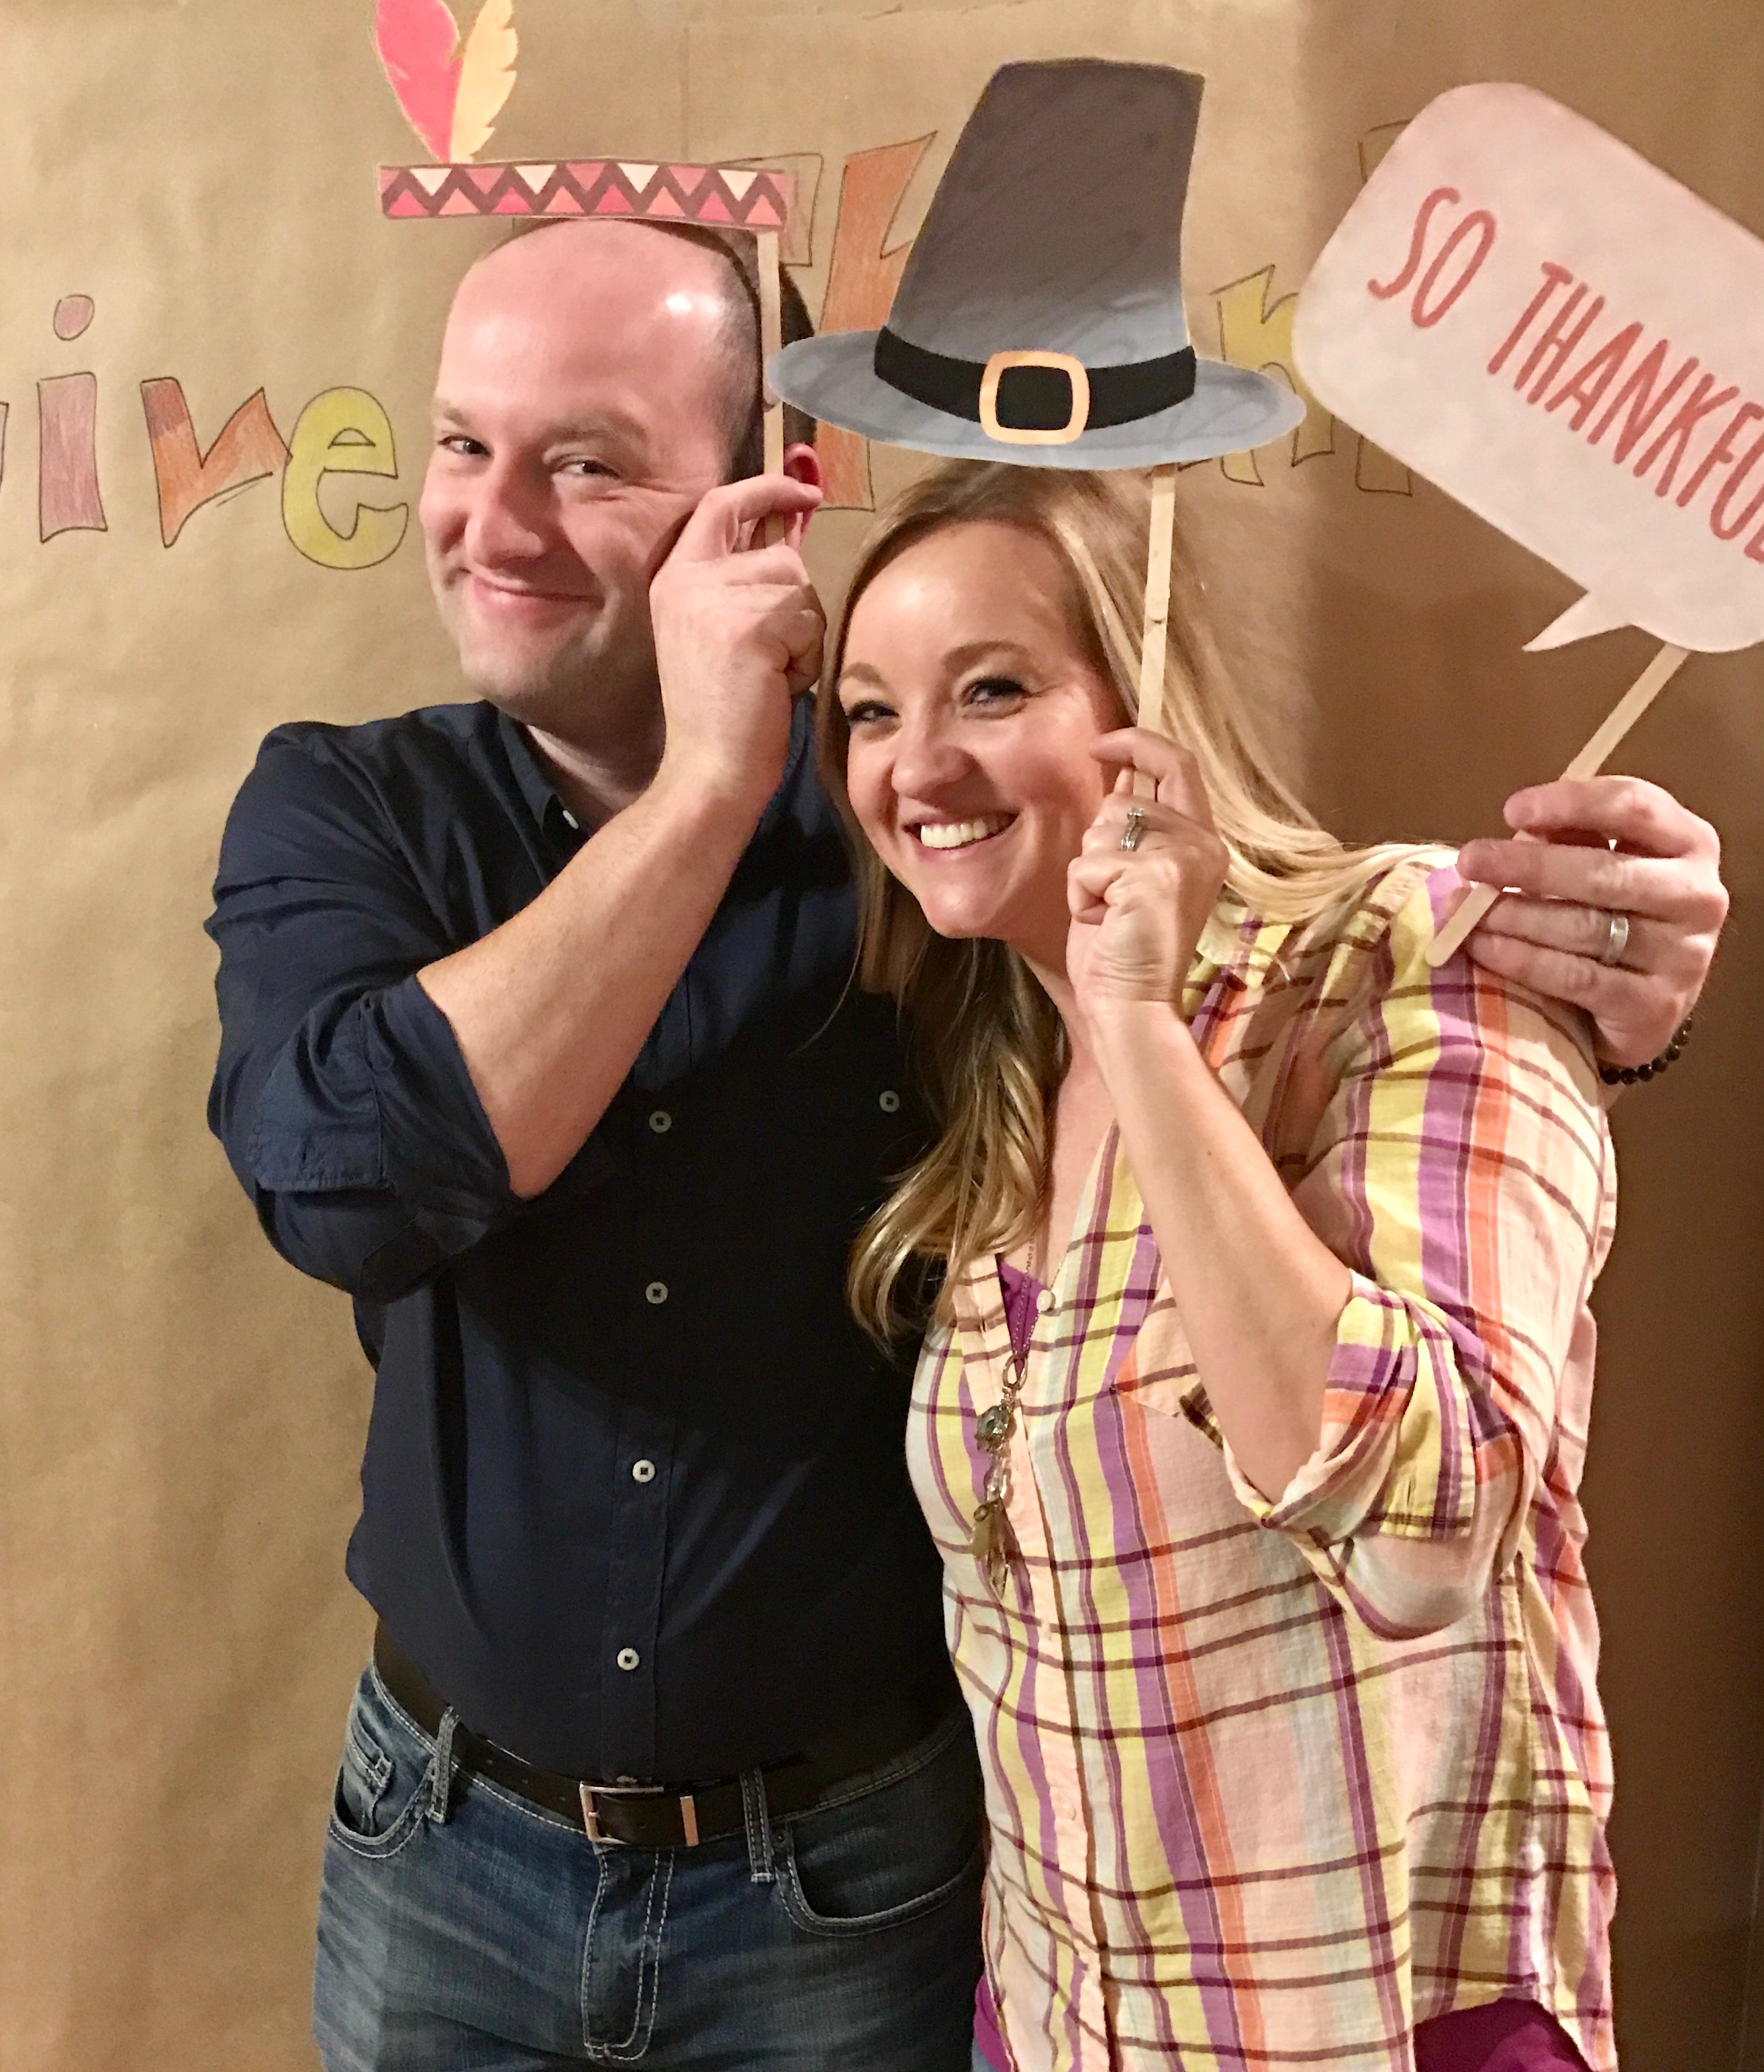
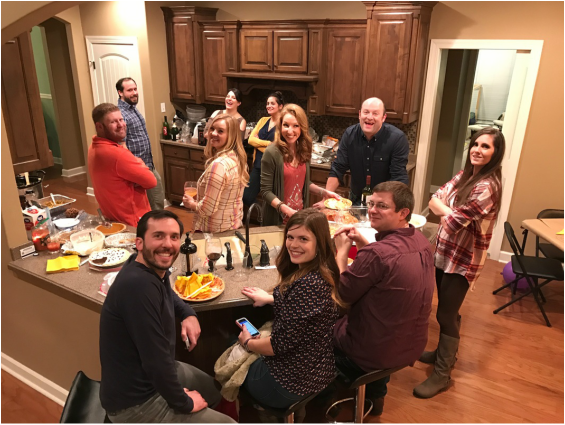
When my husband and I first got married we had several college friends who didn't have anyone to celebrate Thanksgiving with. So, we started hosting a Thanksgiving dinner on Wednesday evening to give those friends a Thanksgiving experience. When we started hosting this ten years ago we cooked everything but it was only for about six people and we didn't have any children. Now, most of our friends have somewhere to go for Thanksgiving so we've moved the event to the Saturday before Thanksgiving and we invite many more people so it's more of a potluck scenario where we cook the turkey and a few sides. By the way, if you want a fool proof turkey recipe you should try Alton Brown's Good Eats Roast Turkey. It's the recipe we've used every year and it always yields a delicious, juicy and flavorful turkey. Out of the several Thanksgivings we attend it is definitely our favorite. There is such great energy with all of our friends and their kids. It truly feels like an extended family. This year we got to host it at our new house which made the event even more awesome than ever before because we had more space for everyone including the 10 rowdy kids! With the layout of our new home, the dining room and breakfast nook were both large enough to add an additional table which allowed us to visit in larger groups while eating that in previous years. The house also has a room that is towards the back end of the house and I set that room up as the kids room giving the adults a little distance from the ruckus that they created. For table decorations I used brown butcher paper to cover our folding tables and then drew place settings with a sharpie. Then I added some white votives and faux fall leaves to the center. I printed out some free napkin rings but they were too big for the paper napkins and plastic silverware I was using so we just laid them across the drawn place setting and put the napkin and silverware on the side. I had a tablecloth and centerpiece on the main dining table and placed golden chargers at each setting with he same napkin ring/decorative paper strip, napkin and silverware and used a ceramic cornucopia filled with fruit for the breakfast nook table. For the kids tables I copied the adult tables by using craft paper and faux place settings but for the center I placed paper bag teepees made by my daughter and paper finger puppet pilgrims and indians. I also put a snack bag of Kix cereal that was dressed up to look like corn on the cob at each setting. To entertain the kids I provided indian headdresses for them to color and wear and crayons at the center of the tables. I also made a "Stuff the Turkey" game by following this tutorial which entertained the kids for at least a few minutes. Stuff the turkey was also a quick craft and I only needed a large paper bag, two small paper bags, white tissue paper (I ended up using white paper towels), several sheets of colored paper (for stuffing), a hot glue gun and a stapler. I followed directions found here.
We had a ton of food and a really great time! We even had a small break at around 8:30 for parents to take kids home and put them to bed. Then we reconvened for more adult time while sitters stayed with the sleeping children. It was pretty fun! Hopefully this event will continue to grow and be as much fun year after year. Enjoy the ideas and have a great Thanksgiving!
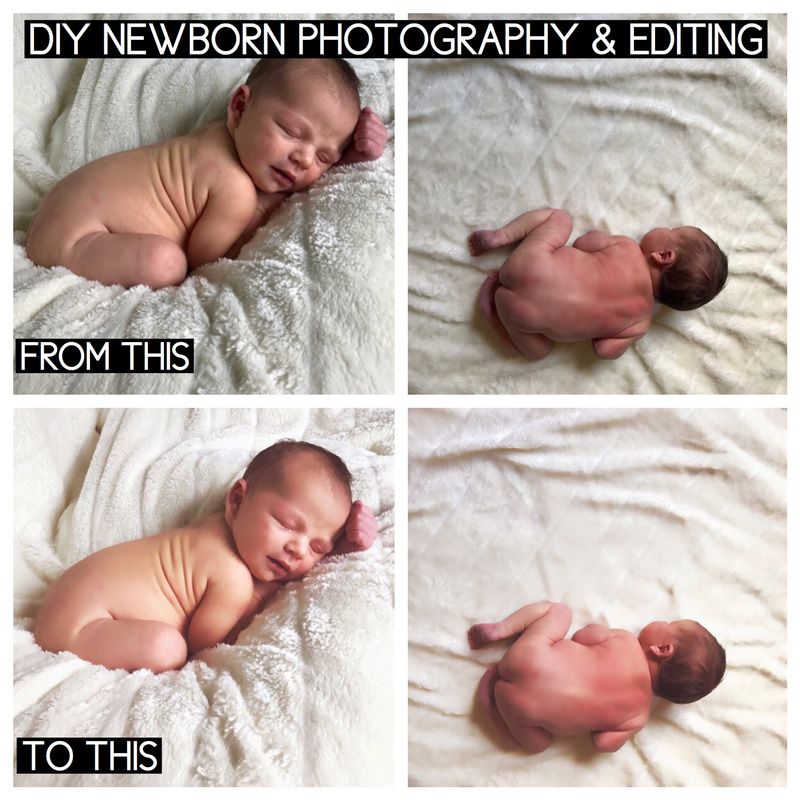
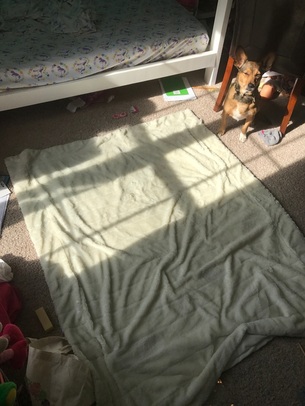
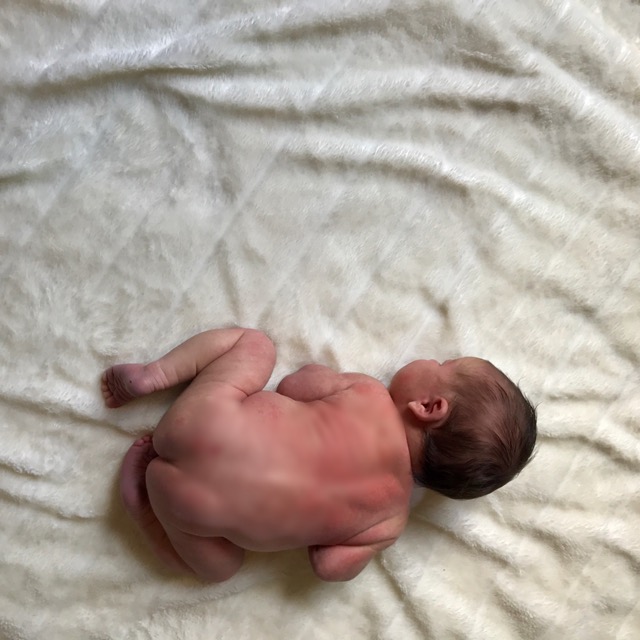
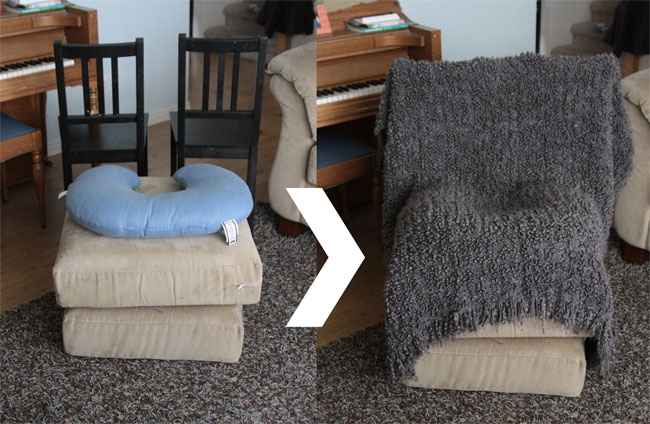
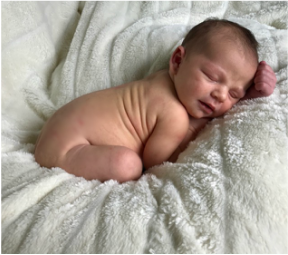
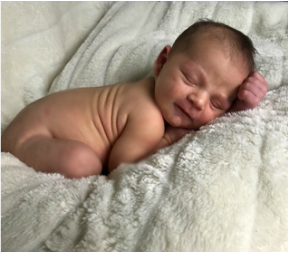
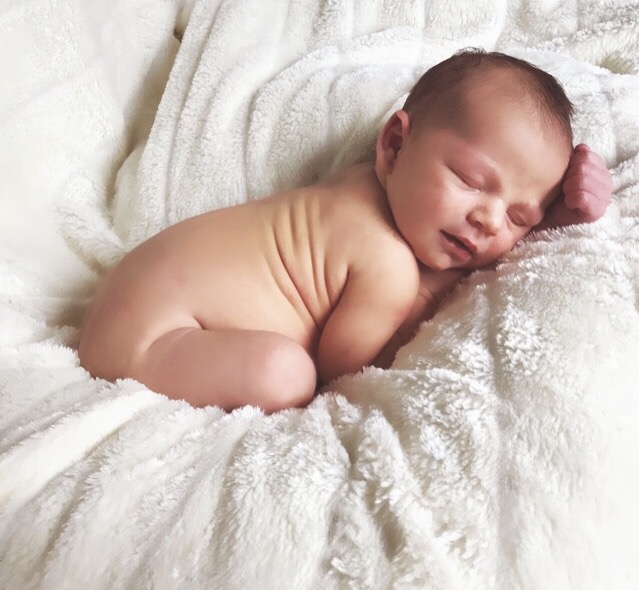
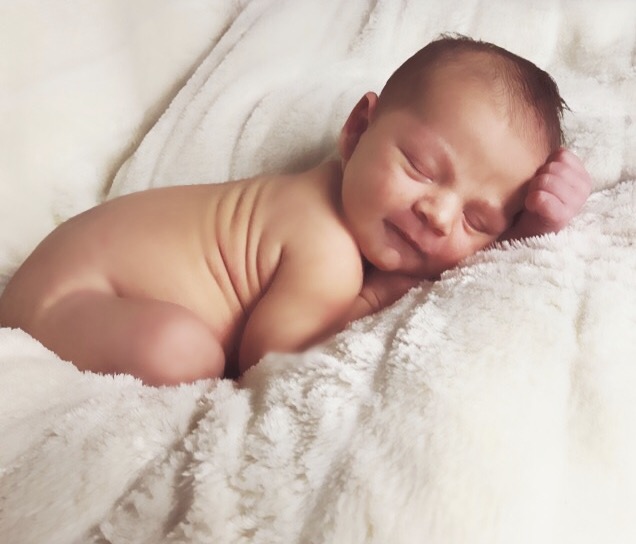
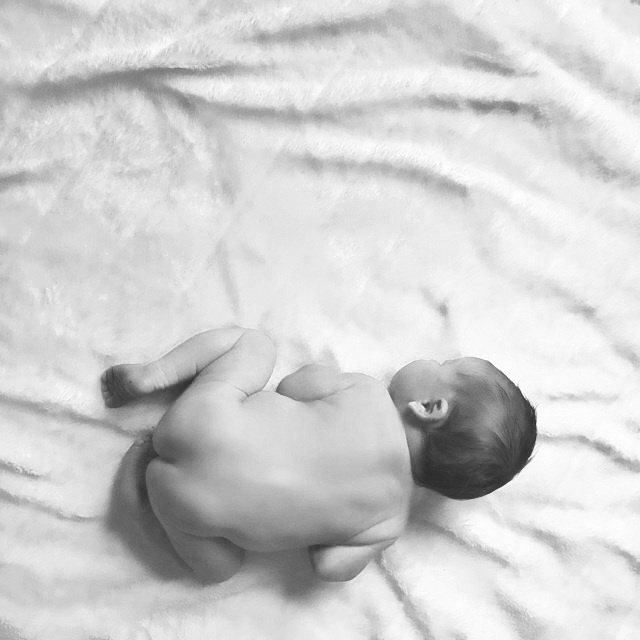
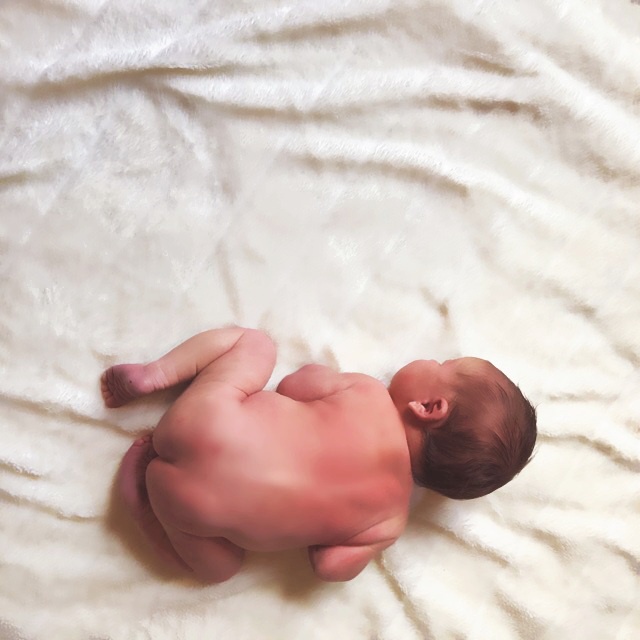
Having just had a baby I decided that I would try my hand at some newborn photography. I headed to Pinterest for some inspiration and formed an idea for my photography attempt. First I hunted down the best natural light in my house which ended up being my daughter's room. Unfortunately, my daughter's room was a disaster! Seeing as how I was only a week out from having major surgery I was not about to clean it. So, I used my foot to shove things around to give myself some space. Then, I gathered a white faux fur blanket, my boppy pillow, an ottoman and some chairs. I had barely enough space to set it up around the mess that was my daughters room but it worked ok. Now it was time to add the baby. While he was normally sleeping at any other point during any other day, he decided to be awake for this momentous occasion so that was less than ideal. He was unhappy with many of the positions I attempted but we finally landed on one he was ok with. I managed to snap a few shots before he peed and attempted a poo. I realized before he managed it though so, crisis averted. After doing my best with the boppy pillow set up I placed the blanket on the floor for an overhead shot. He didn't want to be still and after a few shots he spit-up all over the blanket. That's when I called it quits. Above you can see the blanket on the floor scenario and the best unedited photo that I managed to snap. I didn't think to get a picture of the set up with the ottoman, boppy pillow, blanket and chair set-up and was too exhausted afterwards to re-do it just for a photo but, the example below from It's Always Autumn is basically what I did. And, the two decent photos I captured are beneath the set-up photo. Once I had my three viable photos captured I began to edit them. I generally only use my phone for photo editing and this was no different. I used my favorite photo editing app, Rookie Cam, and ran the photos through a few different filters. After a little editing, I ended up with these! I would love to have captured a few more but, I'm really pleased with what I did capture. Hopefully you'll find my tips and the re-telling of my experience helpful in your own attempt at newborn photography. Just remember that lighting is one of the most important things along with good editing. Finding inspiration for poses is as easy as going on pinterest and that you can create some great photos in the midst of a very messy 6 year olds bedroom. Good luck and let me know if you have any success!
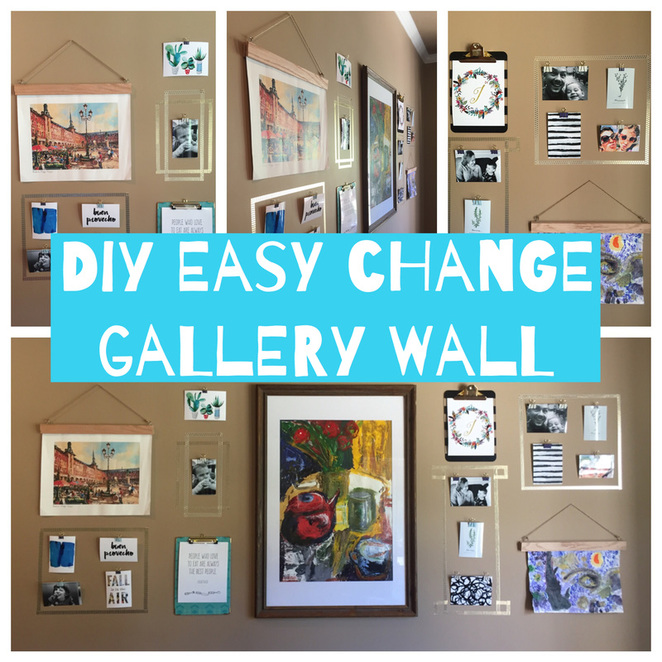
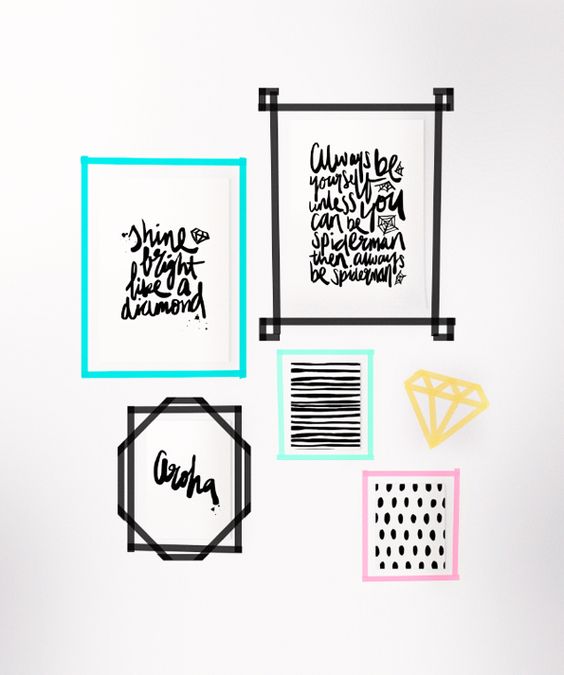
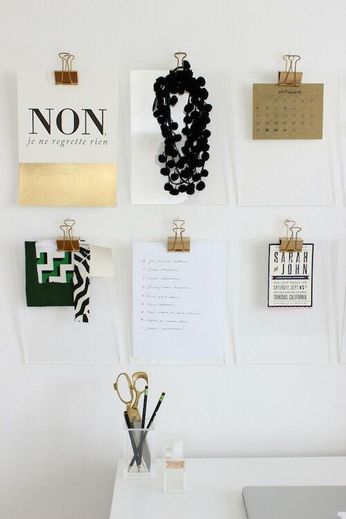
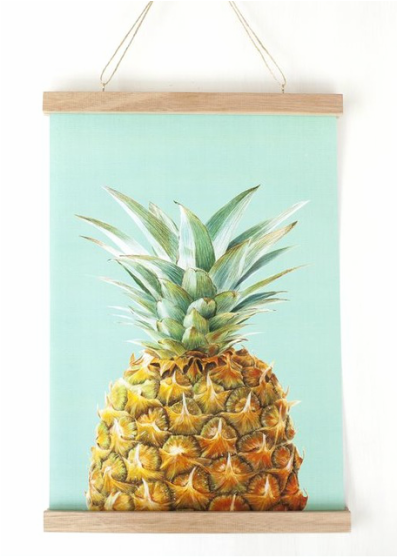
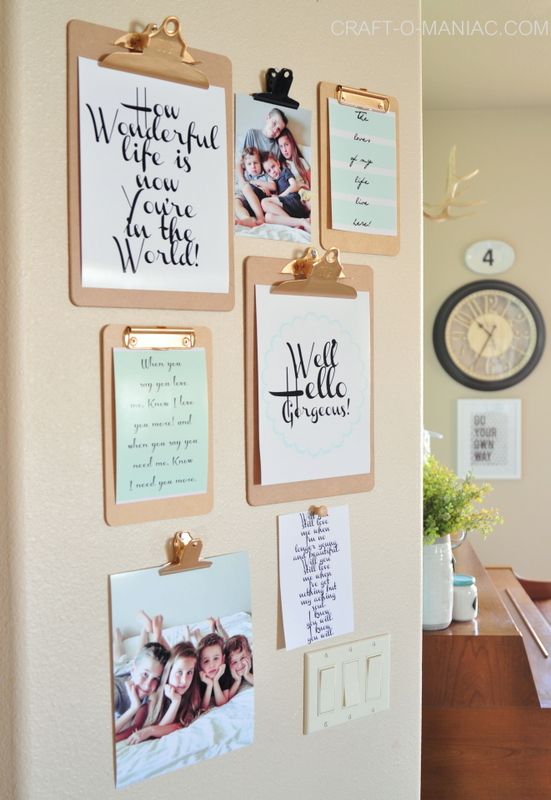
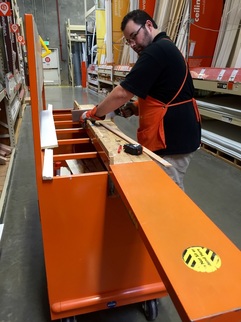
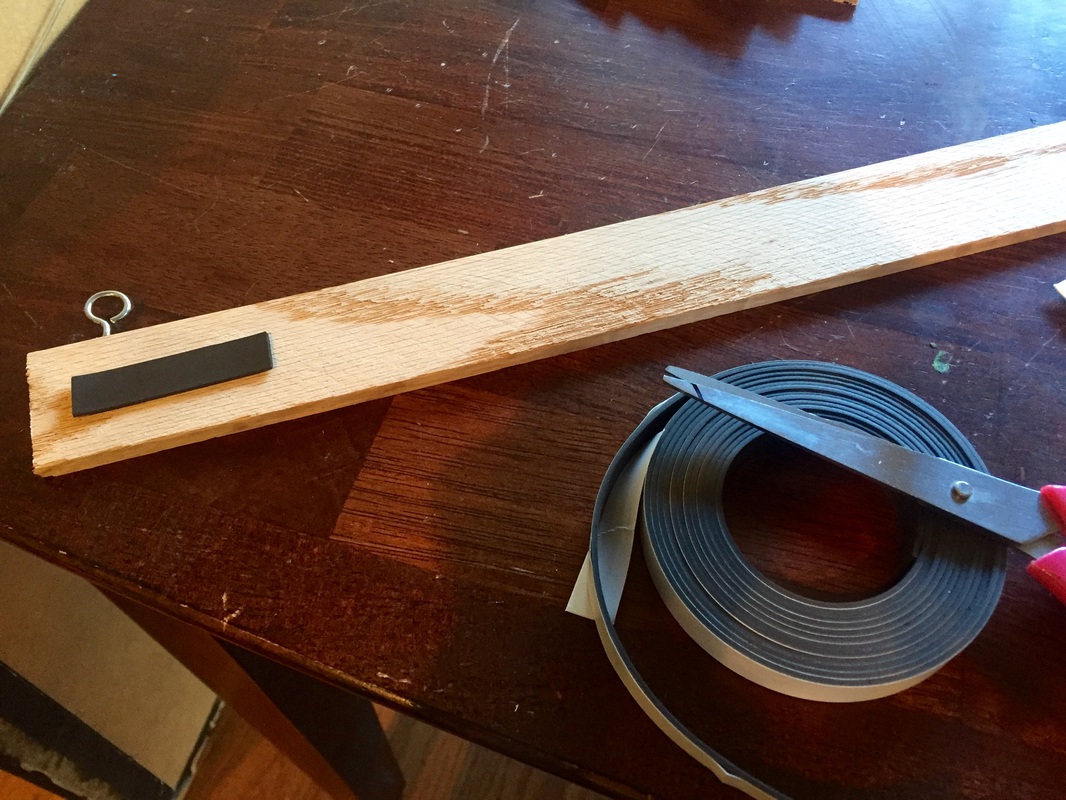
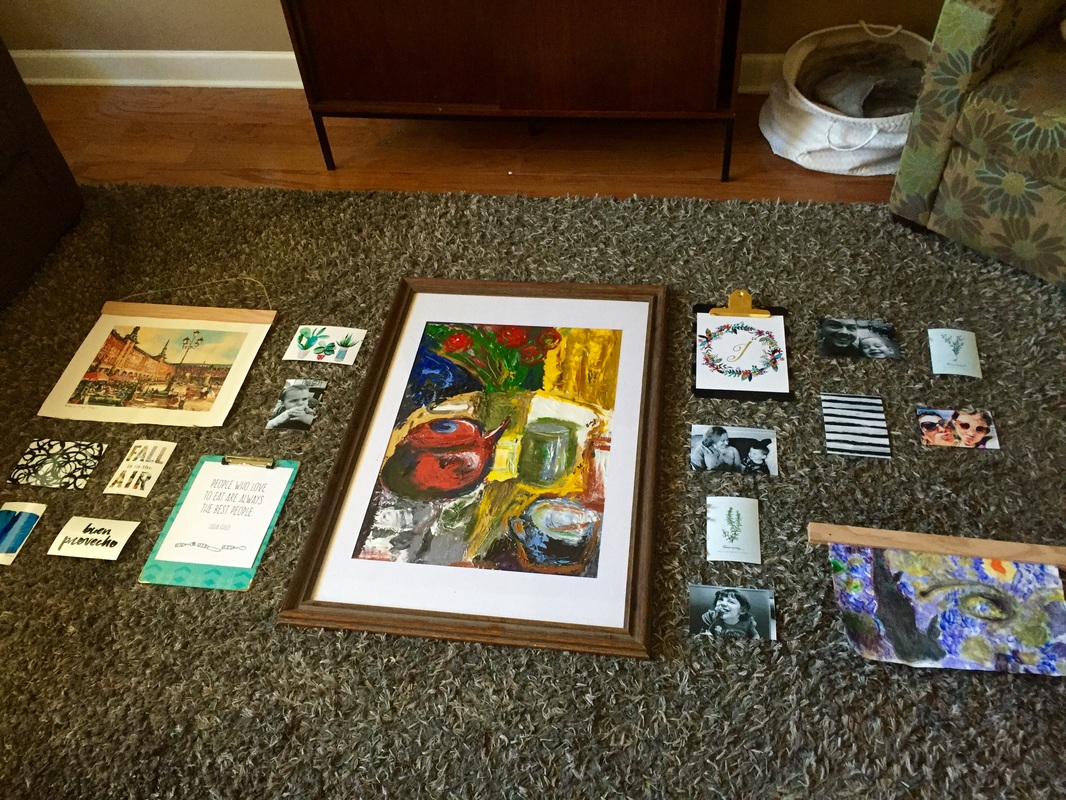
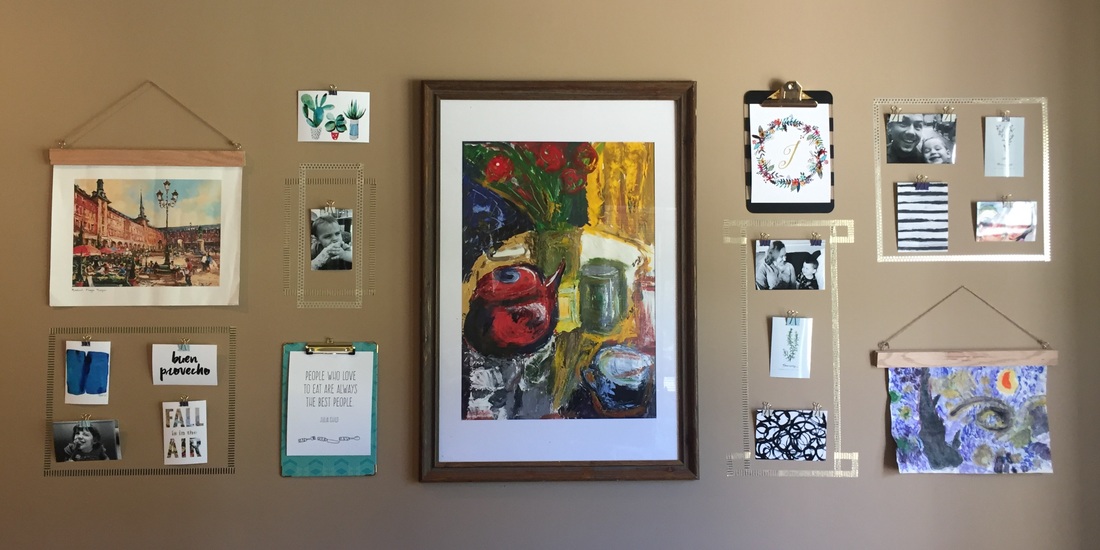
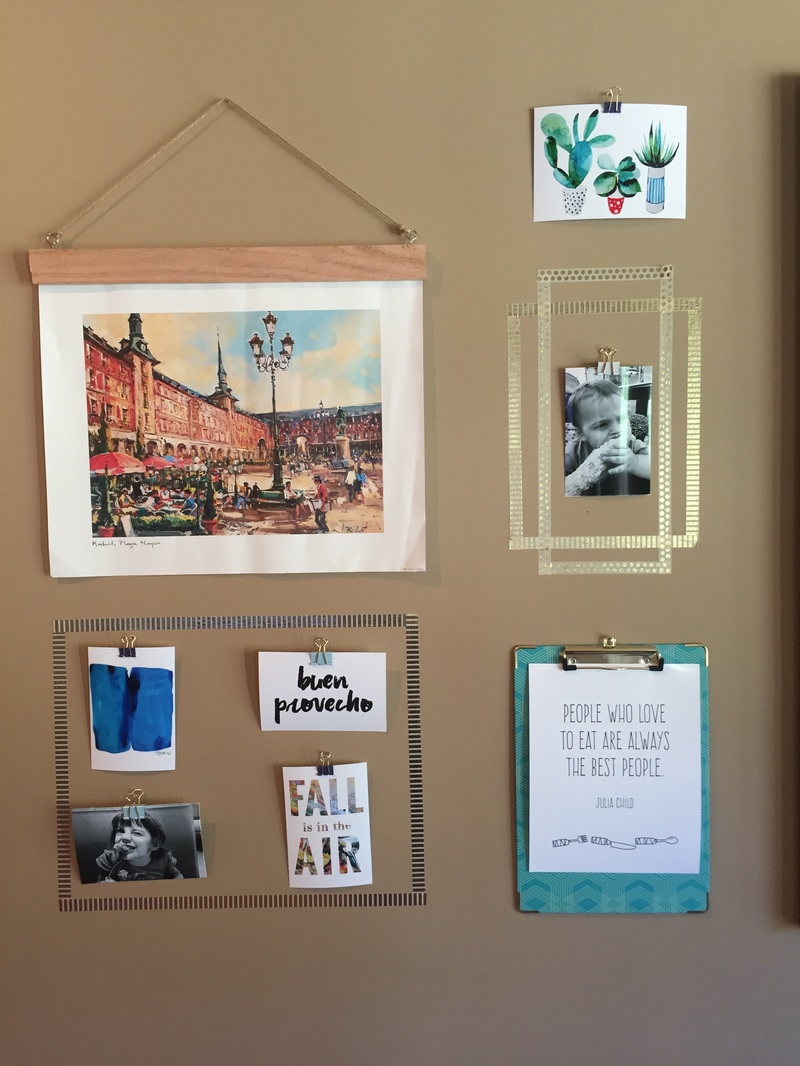
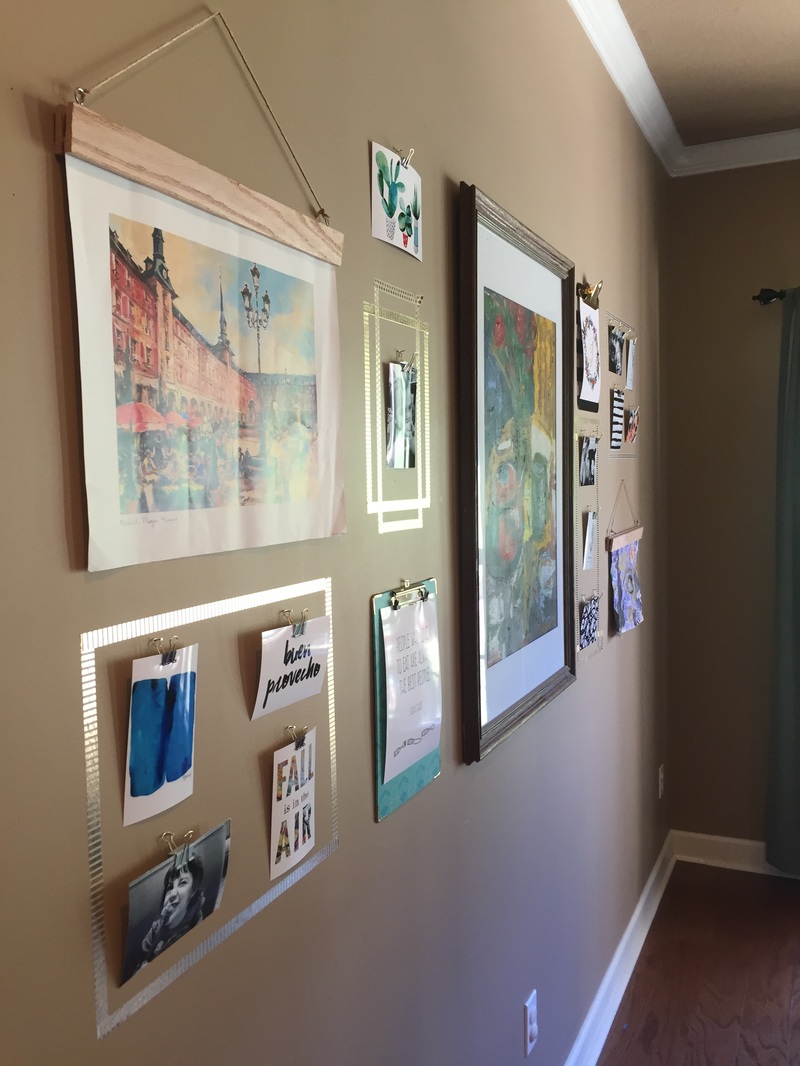
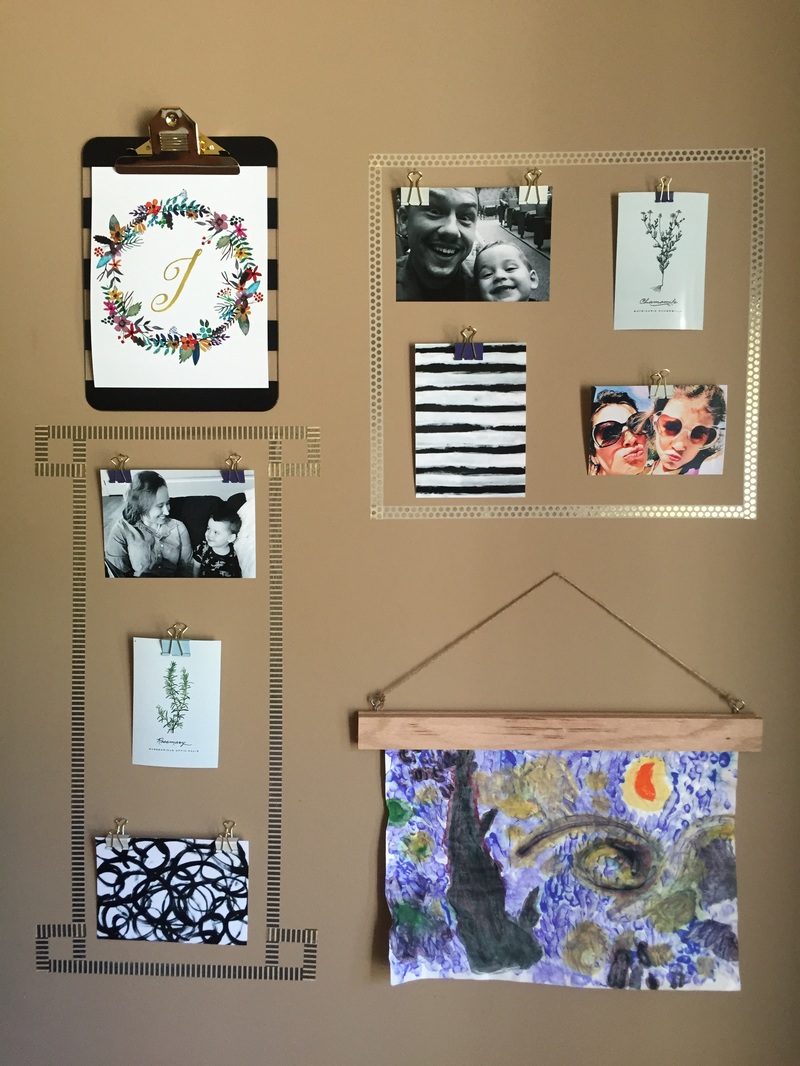
I don't know about you guys but, I get bored with the same decor and often feel the urge to change accessories, pillows, art and even re-arrange furniture much to my husband's chagrin. So, now that we're in a new house everything is fair game and I have the opportunity to think about my propensity to change decor often. With that in mind, I decided that I wanted an easier way to rotate out my art without having to take down, open and re-hang frames. I began researching and found plenty of great ideas for hanging art without frames. After getting some ideas, I headed to Target, Hobby Lobby and Home Depot with a shopping list in hand. The goal was to create my own magnetic wooden hangers, utilize washi tape for creating faux frames and round it out with some clipboards, binder clips and nails. I managed to find a cute turquoise clipboard for $8, a container of varying sizes of blue and gold binder clips for $5 and a two-pack of gold patterned washi tape for $3 all at Target! At Hobby Lobby I found another clipboard, this one was black and clear stripes with gold hardware for $4 and grabbed the magnets I would need for my frame project for $3. At Home Depot, I found something called hobby boards in the wood section for a little under $2 made out of oak. But, they were too long for my purposes and asked a very HD employee to cut them for me. I also grabbed a roll of twine for hanging. I was so ecstatic to find everything on my list without having to compromise! That almost never happens. My other chore was to decide what exactly I wanted to put on the wall! I scoured my own images as well as free printables from the internet. I chose a few that were food/eating related because it was going on my breakfast nook wall but, I also kept color and pattern in mind and chose a few colorful and graphic art prints. There are literally hundreds of free printables for gallery walls and you can peruse them all at your leisure. Just give Pinterest a search. Once I made my selections, I ordered prints from Walgreens and picked them up. I could have printed them at home but wanted a little higher quality look. I only spent about $20 bucks and now I have prints that are a bit more sturdy. When I change them out I'll just keep a folder of the ones I'm tired of and can always reintroduce them if I want. Once I had everything I needed I headed home and started by laying out all of my prints to form a plan before I made any holes in the wall. I also grabbed a few other pieces of art that I already had including a painting by my lovely sister-in-law, a print we purchased from a street artist in Spain and a painting of "Starry Night" done by my daughter. Once I laid it all out I got to work. First, I hung the only framed piece that acted as the anchor for the whole wall and made sure it was centered. After that I simply worked my way out and eyeballed it. Measuring tapes have their place and time but for me, this was not it. If you're uncomfortable with that idea you're welcome to use a measuring tape. I guess I was a bit lazy about it honestly. I would just make sure I thought it looked "about right" and use crude measurement with my hand and fingers. I did use a pencil to mark where I wanted a nail before going at it though. :) I also varied the use of my binder clips in regards to color and size but tried to keep it symmetrical from one side to the other. To enhance certain image groups and add more character I "framed" pictures or groups with washi tape. This was actually the most time consuming part. After about an hour I had this! I love it and am so glad I took the chance and made it happen! I hope I've inspired you to get creative and create your own!
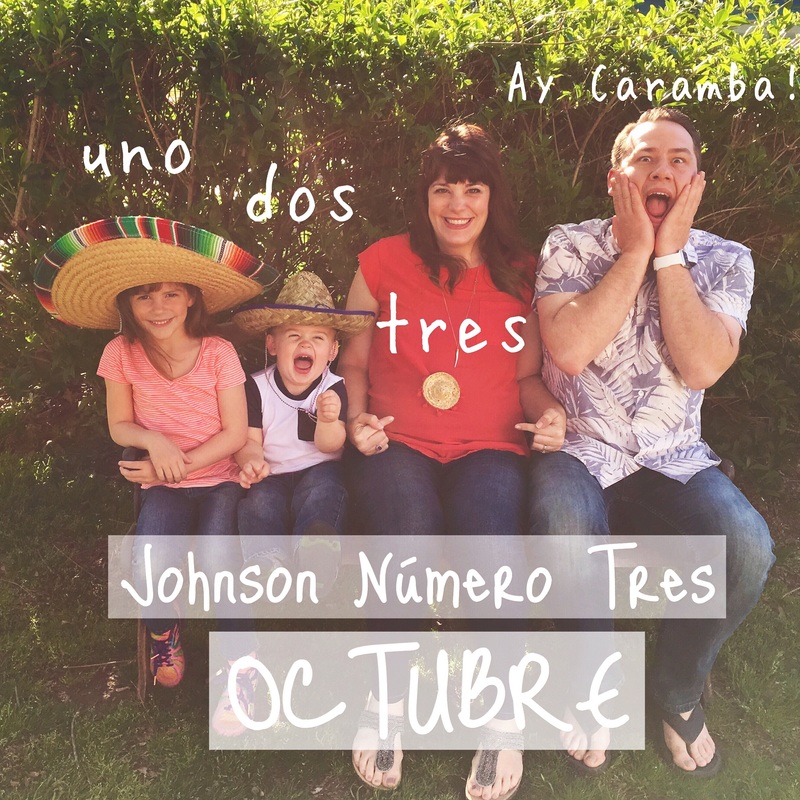
I'm finally ready to let you in on a secret I've been keeping since Valentine's Day! Can you figure it out? That's right! We're expecting number three! I represent as a Spanish teacher and made the announcement en Español. It was really funny watching people analyze the photo for understanding and then seeing their realization and excited face. I even used it with my classes to make the announcement and prefaced it by saying they were going to analyze a photo for meaning. We're really excited and can't wait!
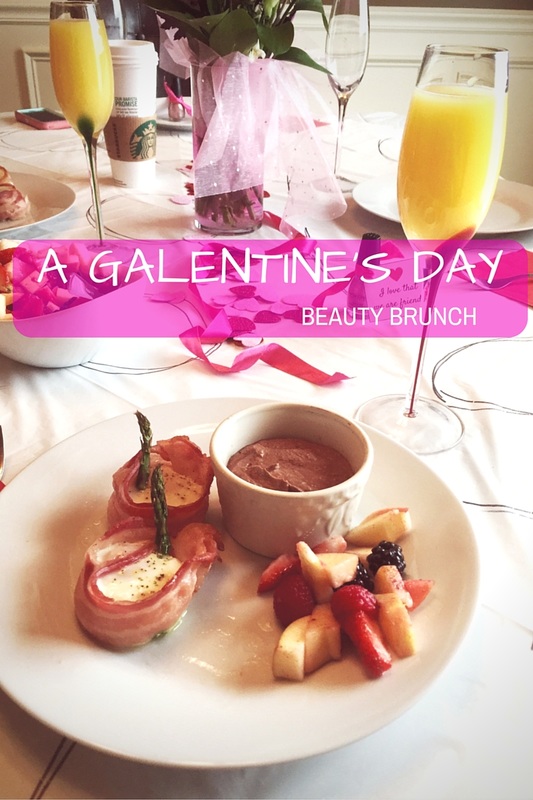
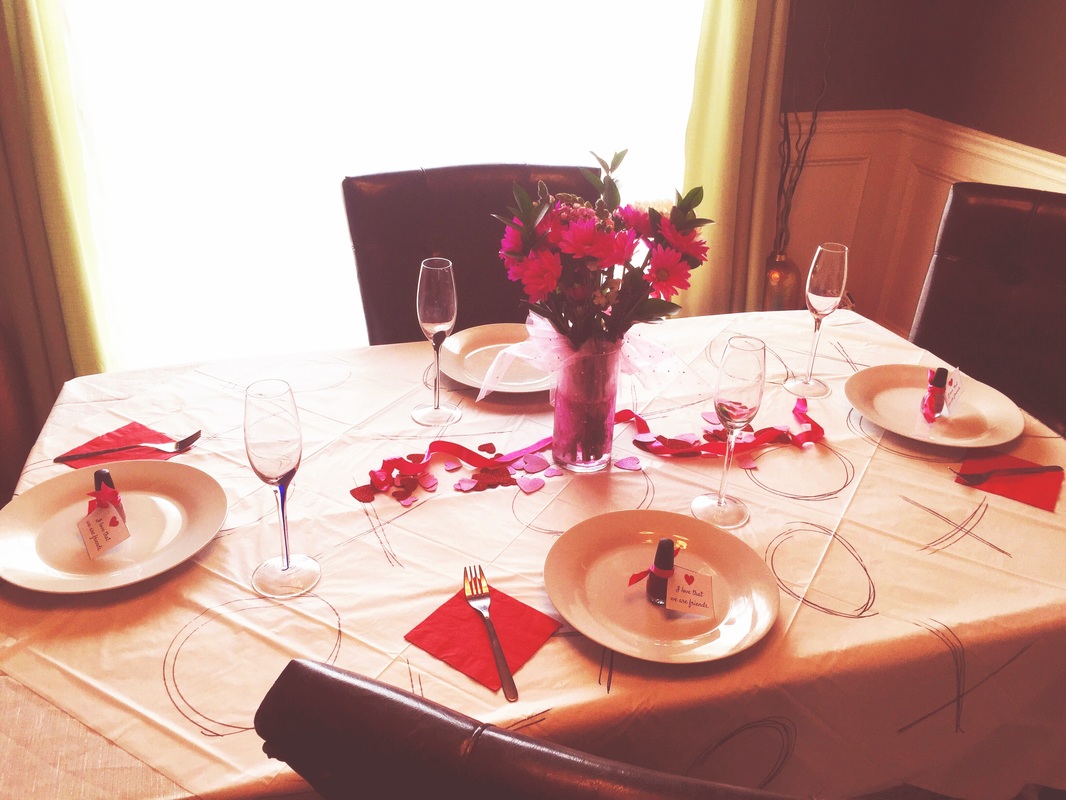
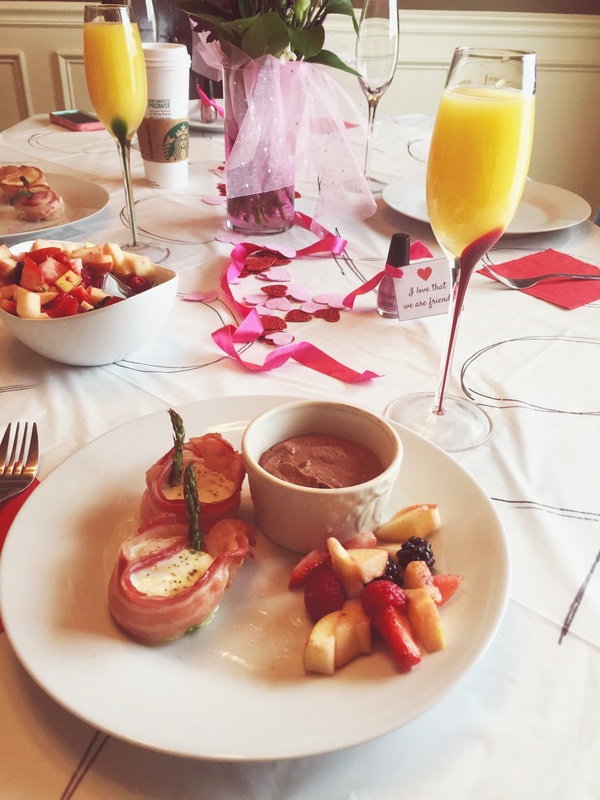
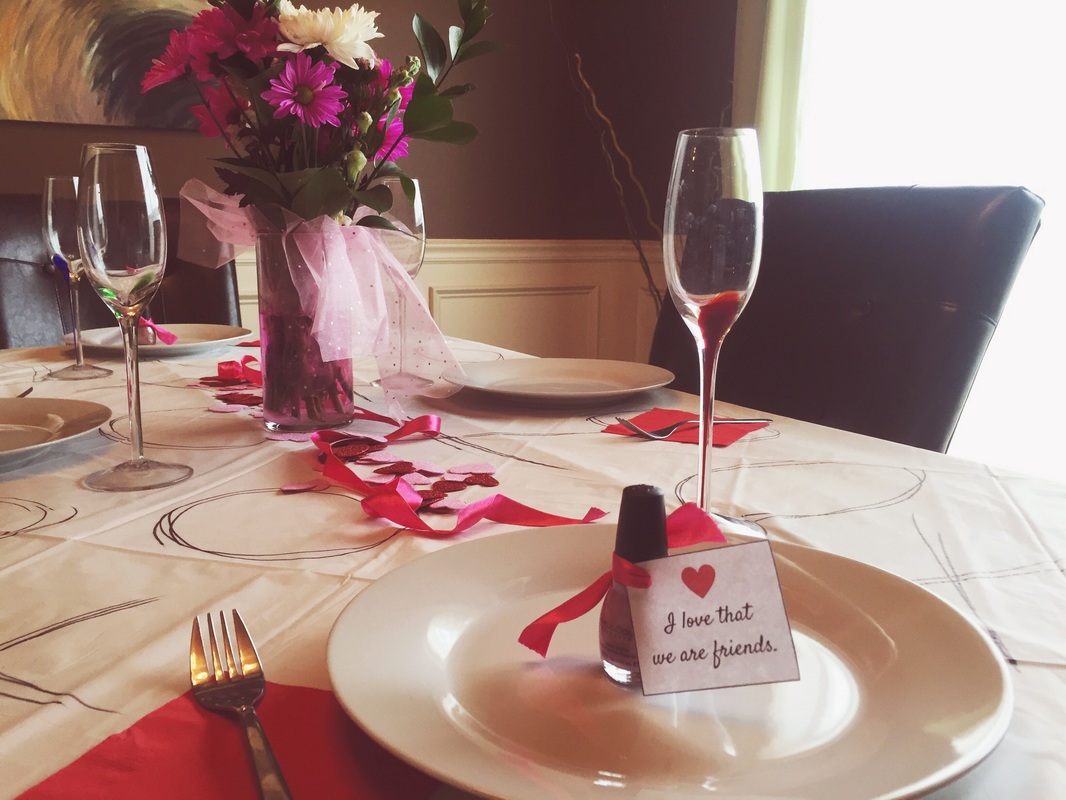
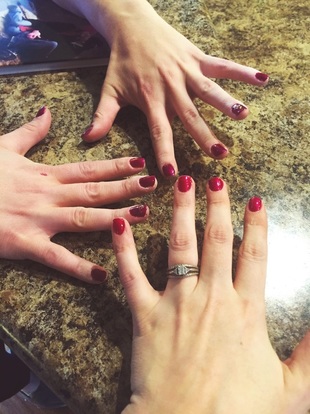
Just in case you're curious, I used my favorite text on photo app, Phonto, to create the image with text. Then I ran it through a filter and voila! We had a lovely time at the Galentine's day party even though several people had to miss it for last minute reasons (sick kid, no babysitter etc.) my friend Kila and I still had a blast hanging out and enjoying yummy food! I followed through with the plan I created in my first post and made whole30 approved recipes including bacon wrapped egg cups, fruit salad and chocolate mousse with the optional mimosa (I used sparkling water to stay whole30). It was all really good and my friend couldn't believe that it was all whole30 compliant! Let me tell you, those egg cups are amaze-balls! I actually ate four! I spent very little time creating the decorations but I think they definitely set the mood and were pretty. I copied the idea for a xoxo table cloth but used a $1 plastic table cloth and a sharpie instead of white fabric and paint. It was very thin so I laid it on top of a glittery cream colored fabric tablecloth I already own. I used my white dishes and simple champagne flutes and placed a fork on top of a red paper napkin at each setting. In the center of each plate a placed a nail polish with a cute tag that I created tied on with pink ribbon. In the center of the table I placed a bouquet of grocery store flowers in a clear vase and a sprinkling of pink and red glitter heart stickers from the dollar store as well as the remaining pink ribbon. I think it turned out very pretty and elegant. And it cost a grand total of $12 for decorations (the flowers were $10). I also set up a photo area with the same wrapping paper I used for the Valentine's photo shoot with my kids. It's is just so versatile! I taped it to the wall width wise at waist height. Then I raided my daughter's room for feather boas and tiaras as well as her art easel for the sign. We took selfies with my hand dandy selfie stick! You can get them at most stores for about $5.
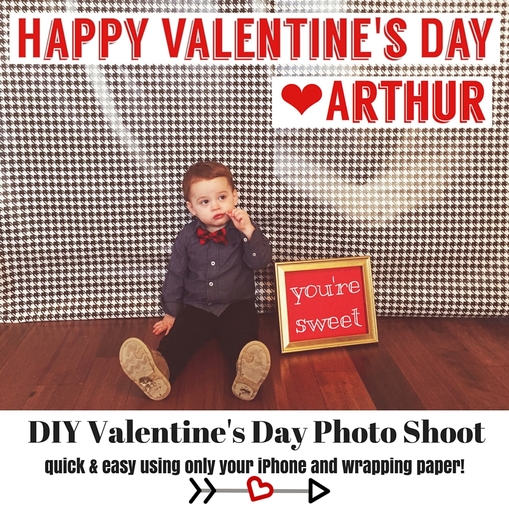
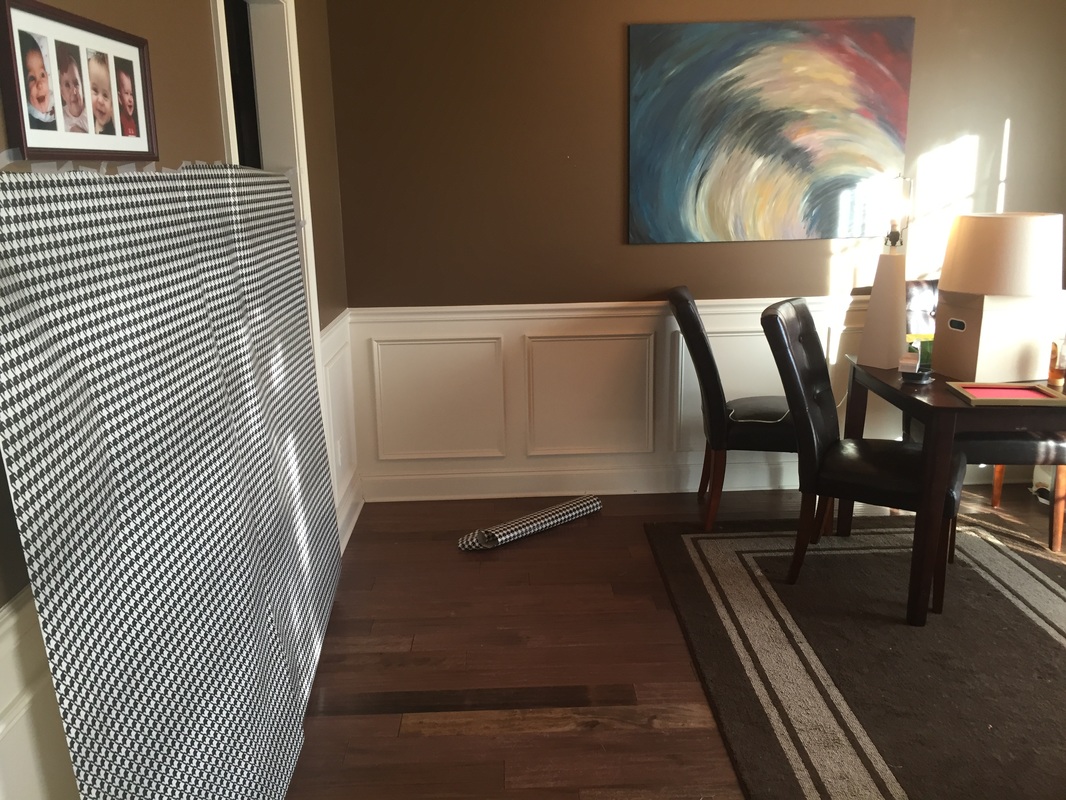
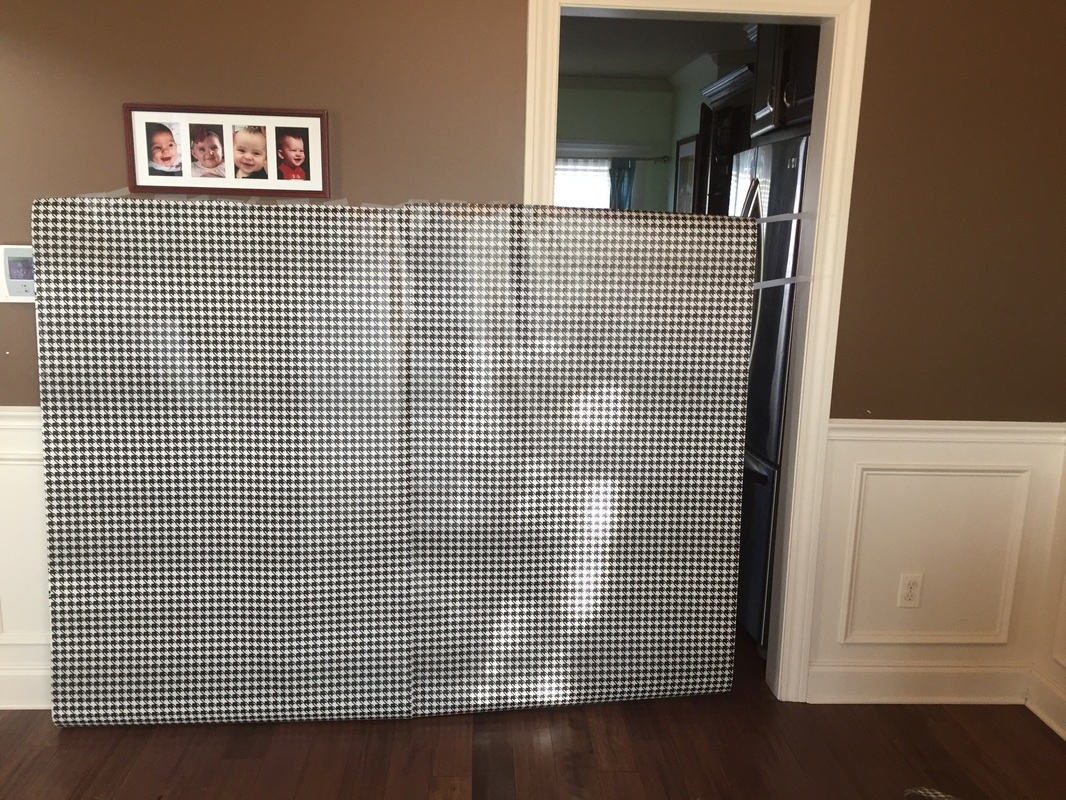
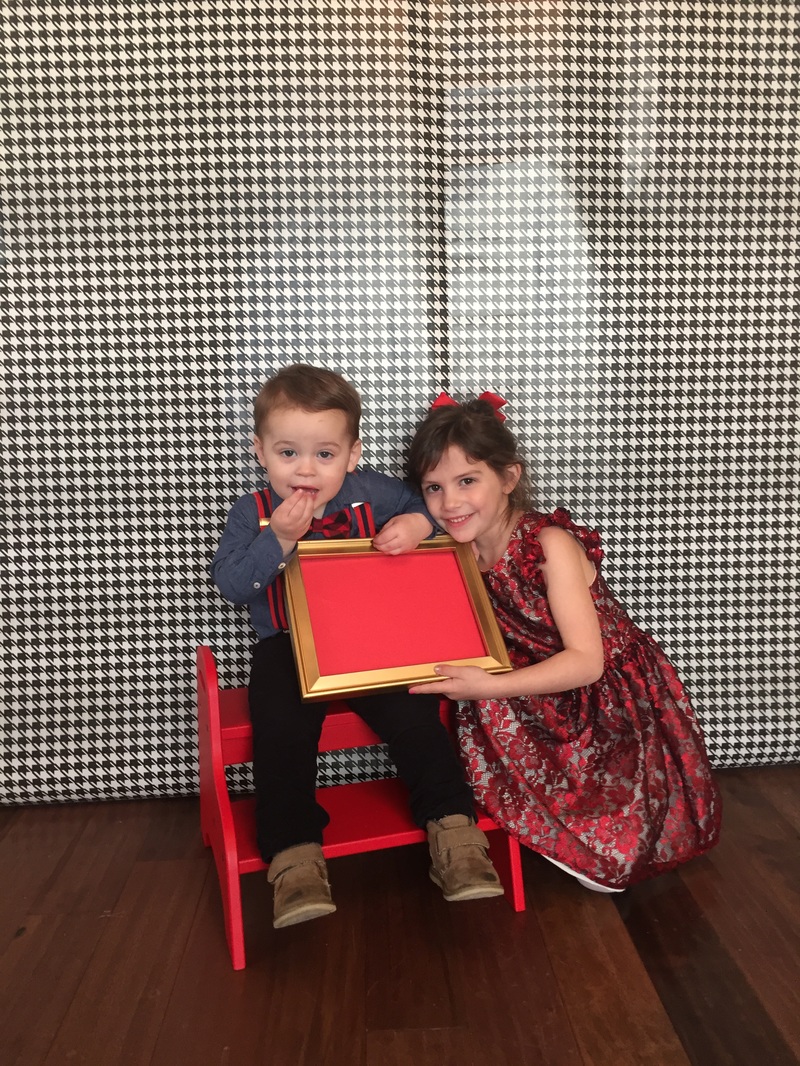
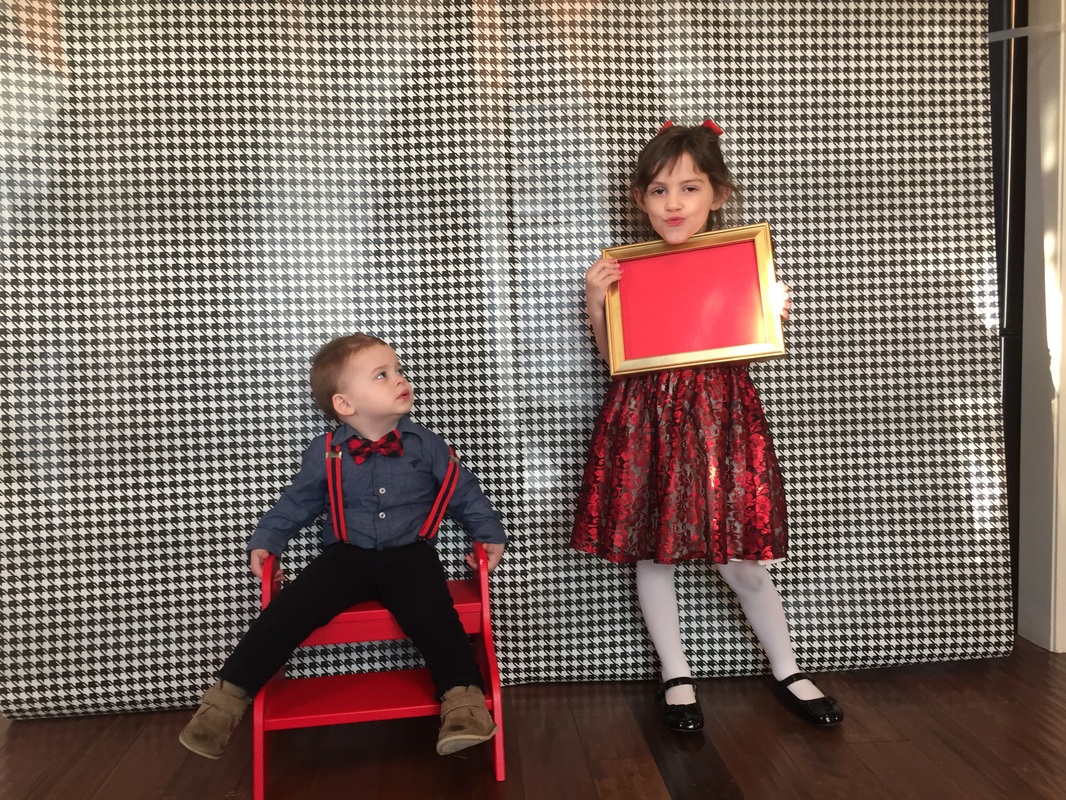
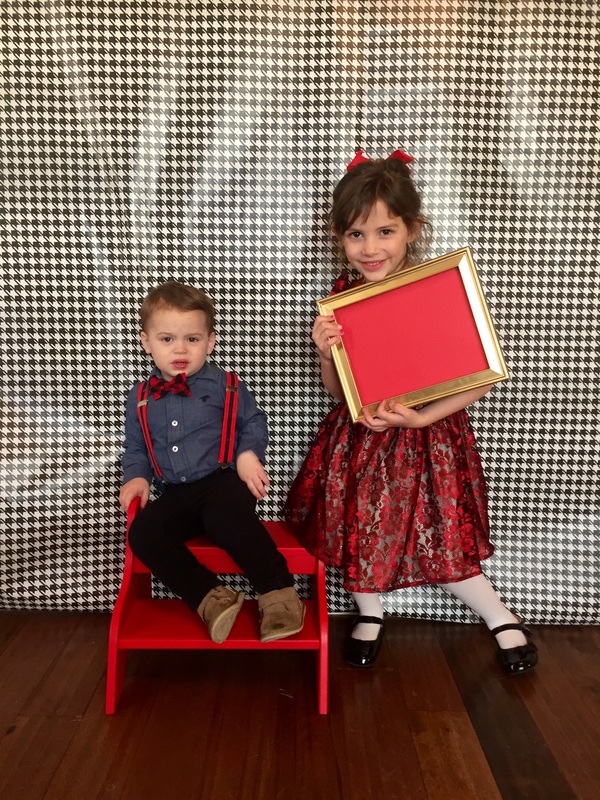
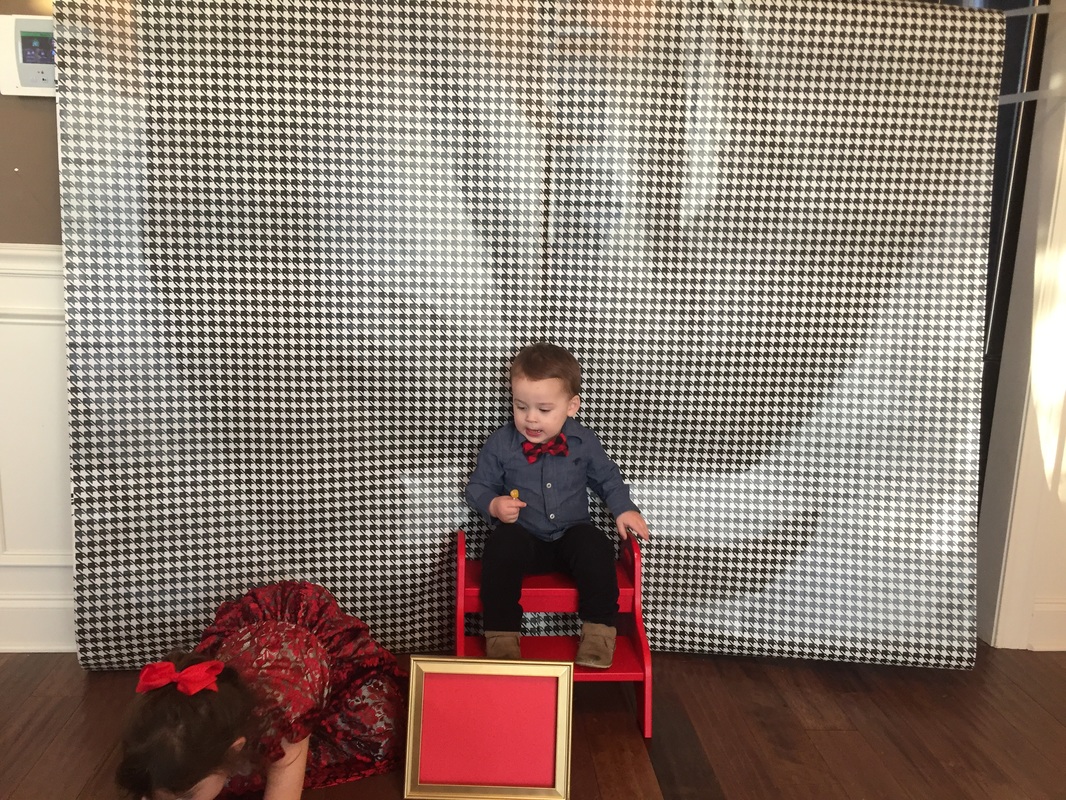
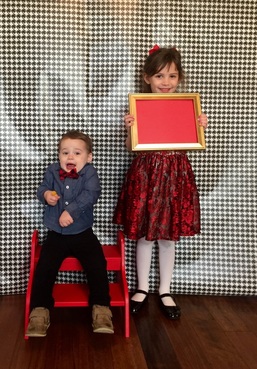
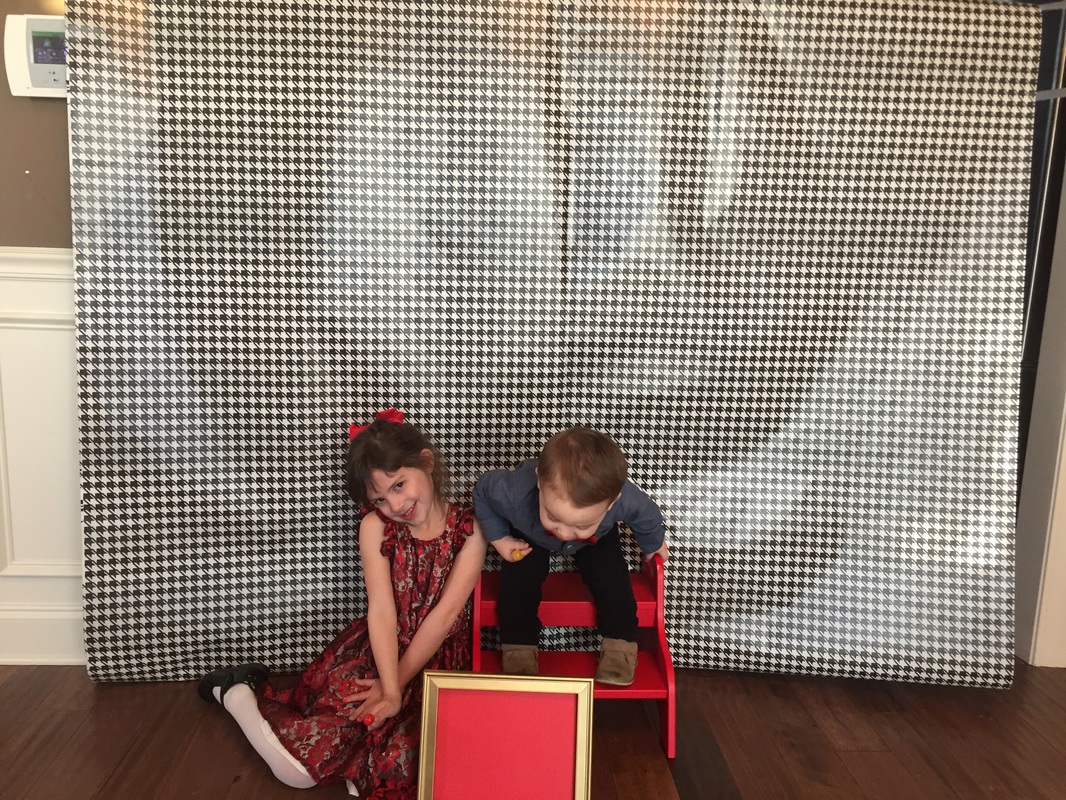
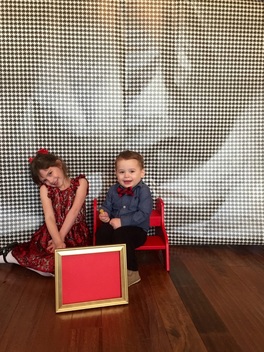
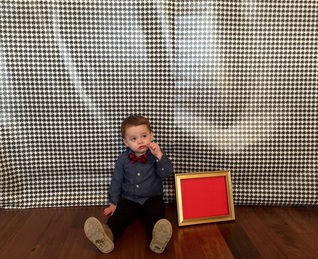
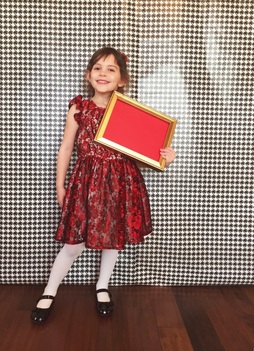
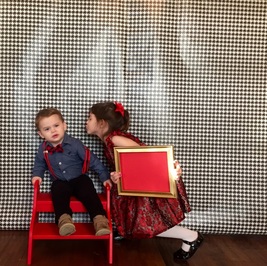
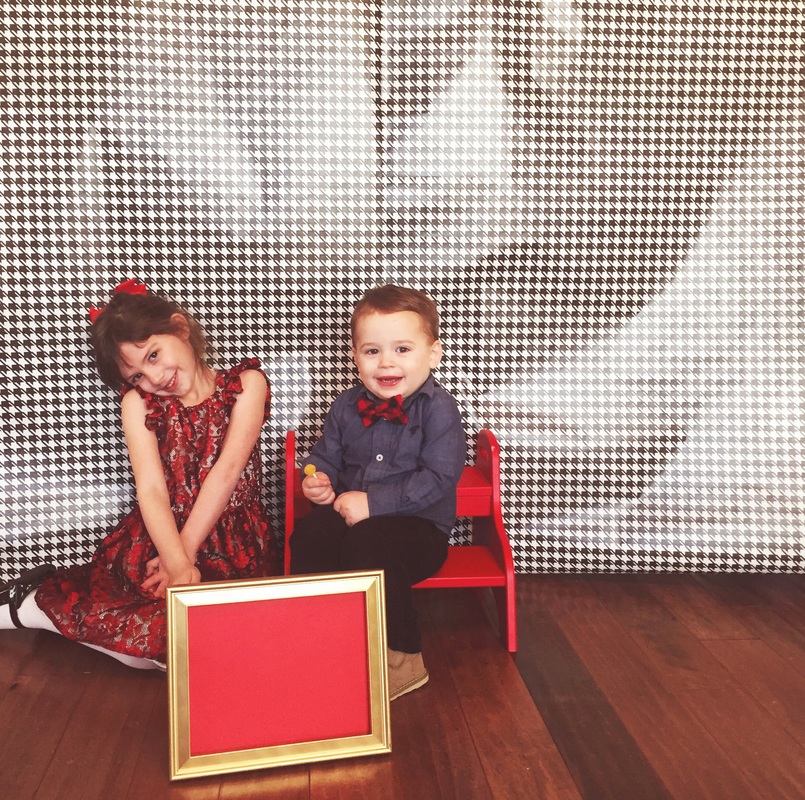
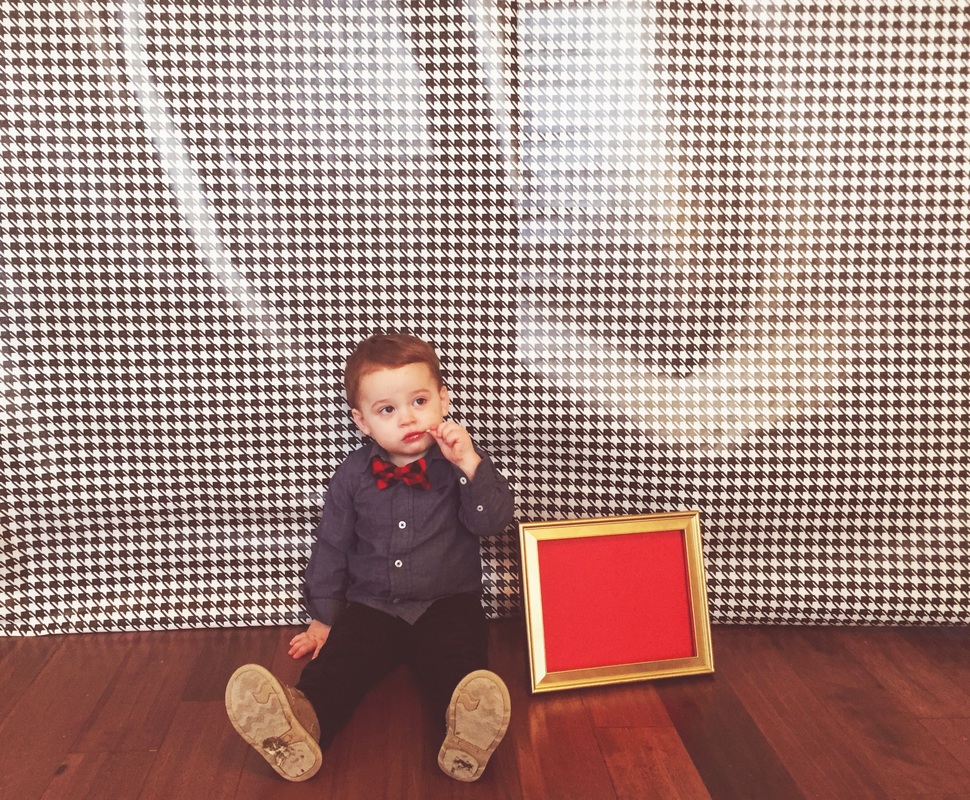
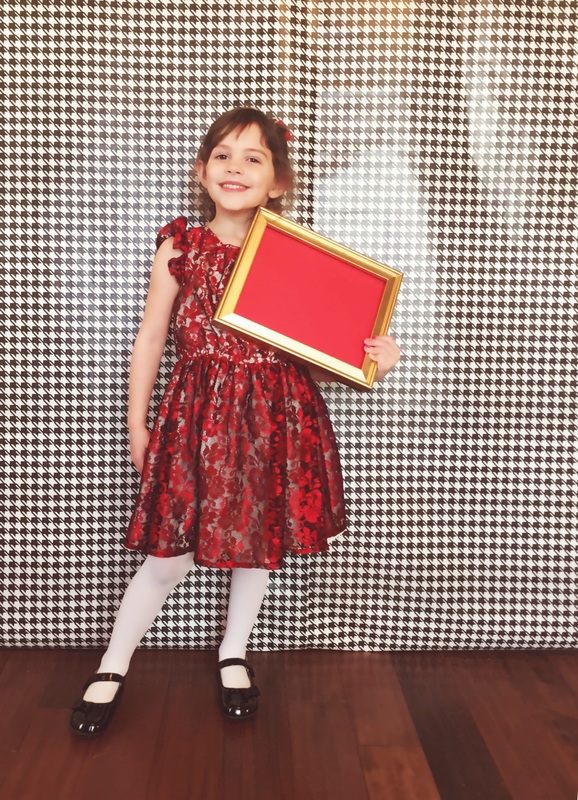
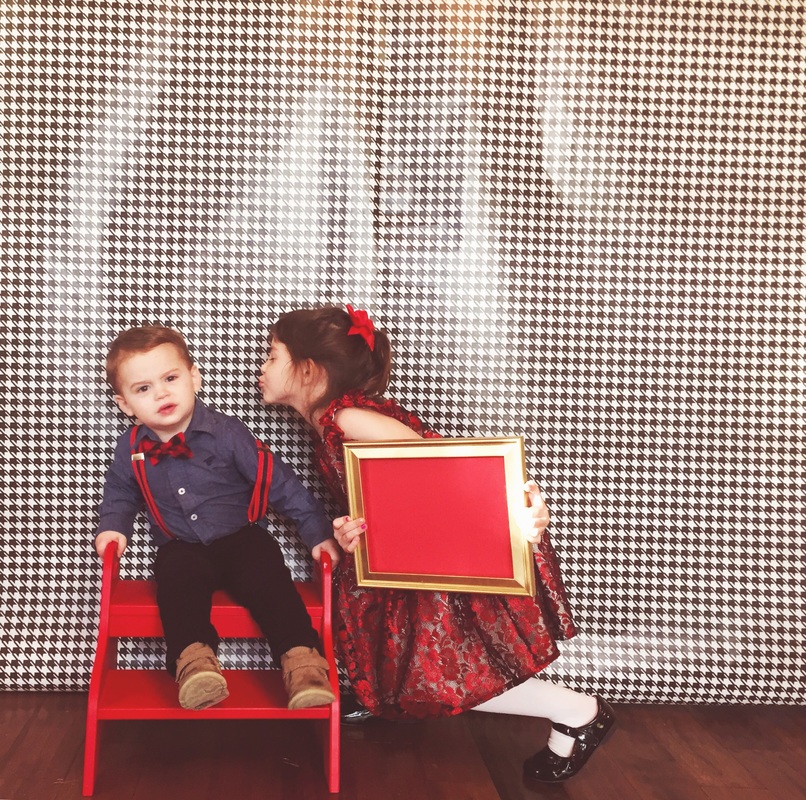
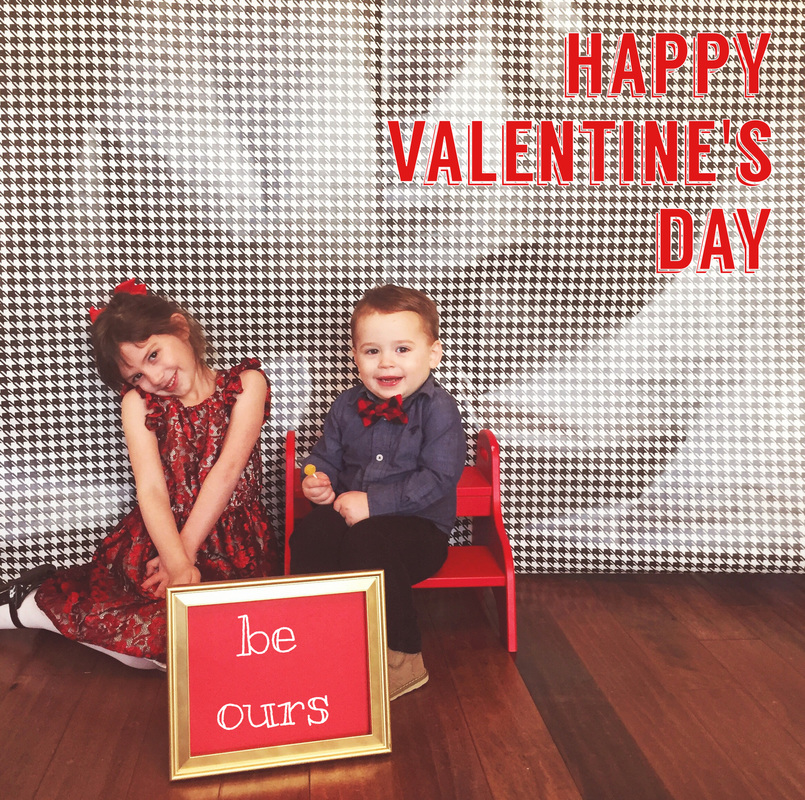
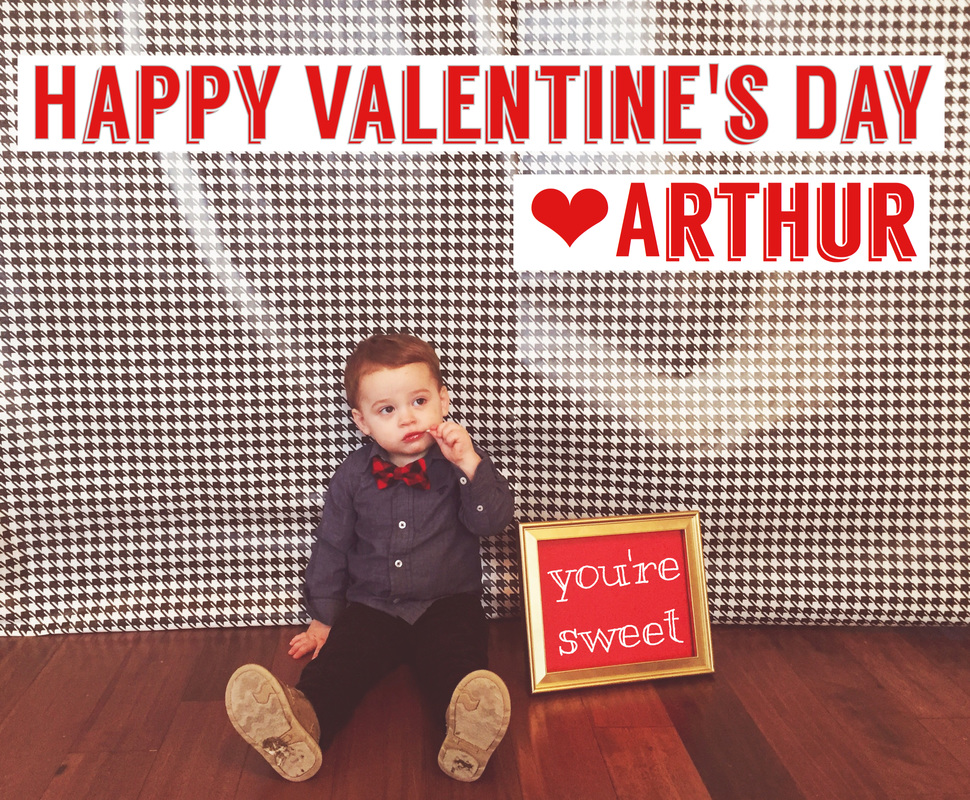
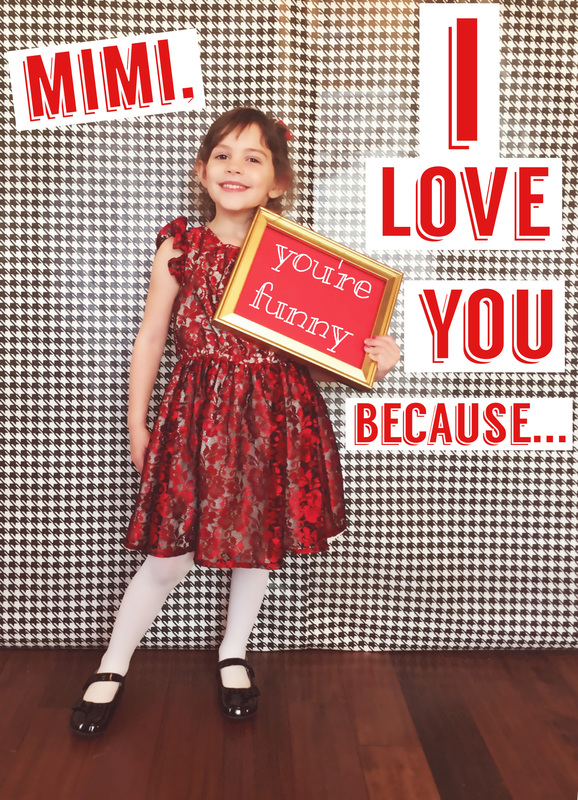
On Saturday I decided that I would like to take some Valentine's Day themed photos of the kids. I had not planned for this and realized that if I didn't do it then that it wouldn't be done in time. (I know myself and a photo shoot with cranky kids after a full day of work does not sound like fun.) So, cursing my lack of preparation I analyzed my craft closet for something I could use as a backdrop and maybe even a few props. Luckily, I had a roll of black and white houndstooth wrapping paper that would look great as a backdrop. (It's actually Christmas wrapping paper I picked up on clearance. I doubt that it will make it to Christmas next year though. I've already wrapped two presents and used a large portion for this project.) Then, I took a frame I already own that is gold and took out the photo, replacing it with a sheet of red paper. I decided to augment the photos with a text on photo app that I'll detail in a bit so, the paper could be blank. Then, I simply unrolled the wrapping paper at about 5 ft. up on the wall to the floor. I created two connected panels that looked like one wide panel when photographed by matching the prints to each other. I did all of this in my dining room and had to move my table to the side to give myself room for photographing. I also set up a lamp without its shade to add additional light. Once I got my "studio" set up. I ransacked the kids closets for cute outfits. Luckily, I managed to find some things that would look cute together and that were clean! I got the kids dressed, bribed them with candy and went to work capturing the perfect shots. Most weren't so great and, inevitably, when one was cooperating the other most definitely was not. But, after about 15 minutes and a sucker later, I ended up with a few I thought I could work with. Once I had my best photos selected and favorited on my phone. I did a few quick edits using the phone's built-in camera editor. I cropped, enhanced and adjusted the light on each photo to get these results. After using the built-in editor to it's fullest, I opened my favorite photo editing app, Rookie Cam, it's free and amaze-balls! Anyway, I applied two different filters to each photo. First I applied "baby skin" from the "clean portrait" section. Then I applied "delight" from "clean portrait" as well but, adjusted the intensity to about half. Once I was happy with the images I was ready to add text to each photo. I used Phonto to achieve this. It is also free and is super easy to use. I chose cute phrases for the frame that went with each picture. For the photo of my daughter by herself, I decided to make individualized valentine photos for our favorite people. Once I created the text layout on the photo, I just saved each individualized version and then edited the text for the next person. It didn't take very long and will make everyone feel extra special. Plus, Lilly got to help me by telling me why she loved each person. I just made one version of Arthur. He can't tell me his reasons for loving people yet. Maybe I can make individualized ones for him next year. I am really happy with my results and it only took me about an hour (probably less) to create this magic! I hope I've inspired you to pull out some wrapping paper and grab a few adorable pics! Have fun and Happy Valentine's Day!
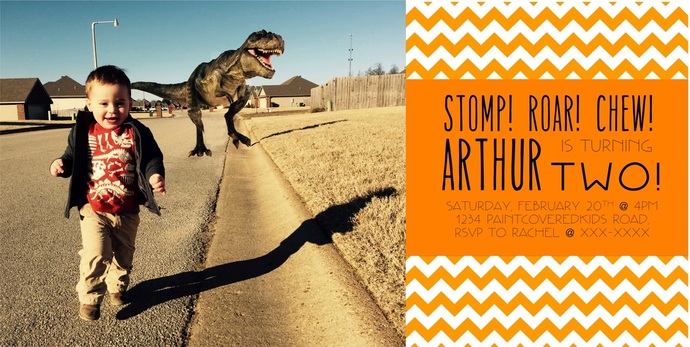
My son will be turning 2 in February so it's time to start planning for his party! We decided on a dinosaur theme because he loves dinosaurs and it's freakin' adorable when you ask him, "What does a dinosaur say?", because he roars at you. He also started saying "Dinosaur" which is equally cute.
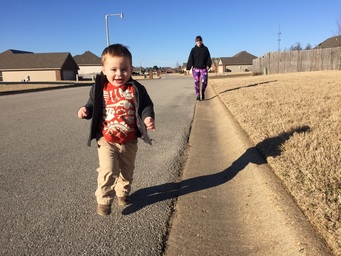
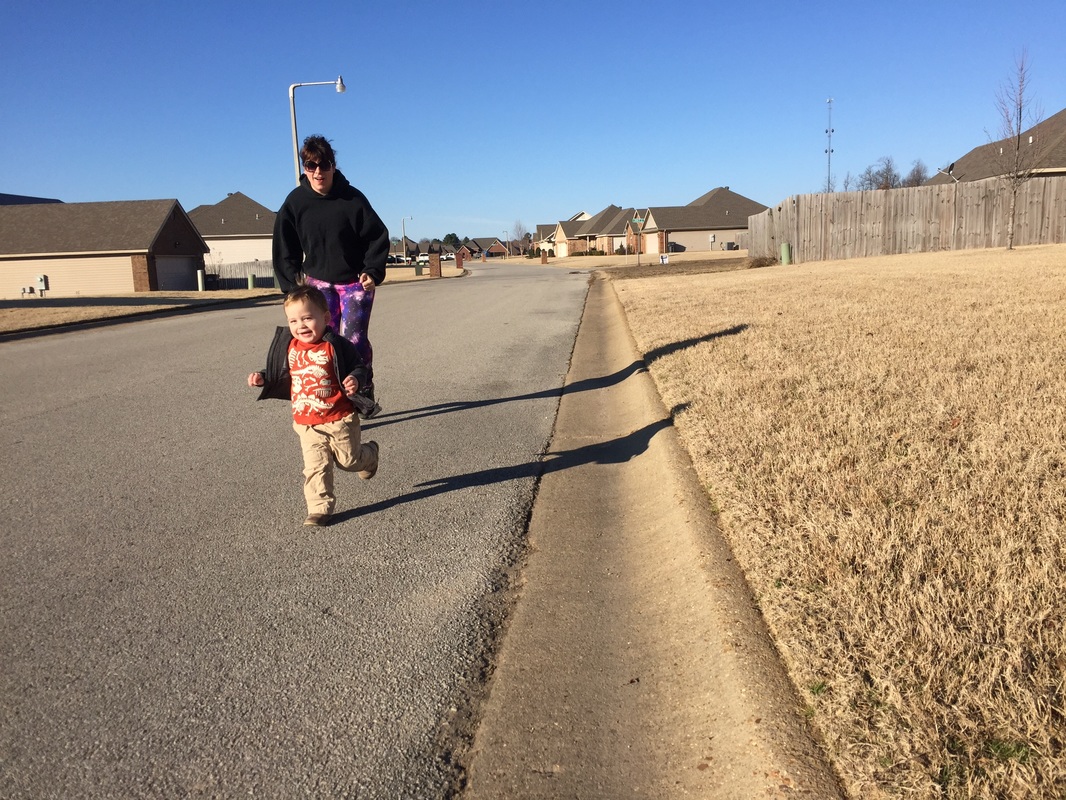
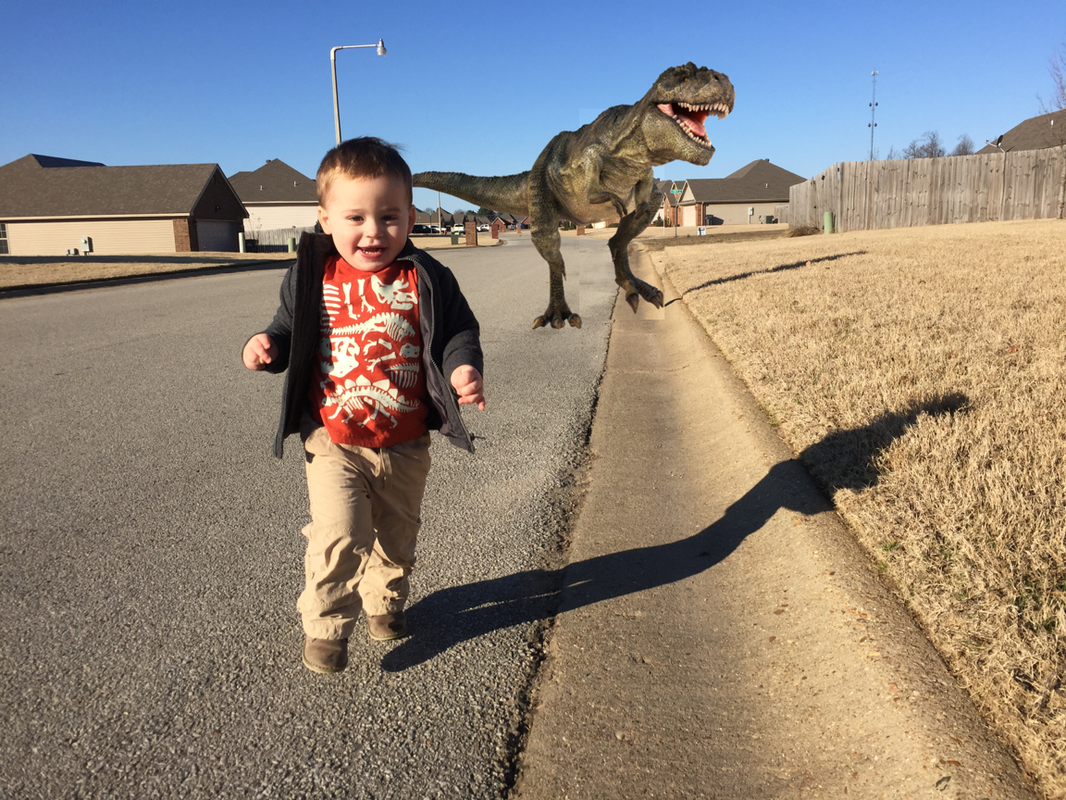
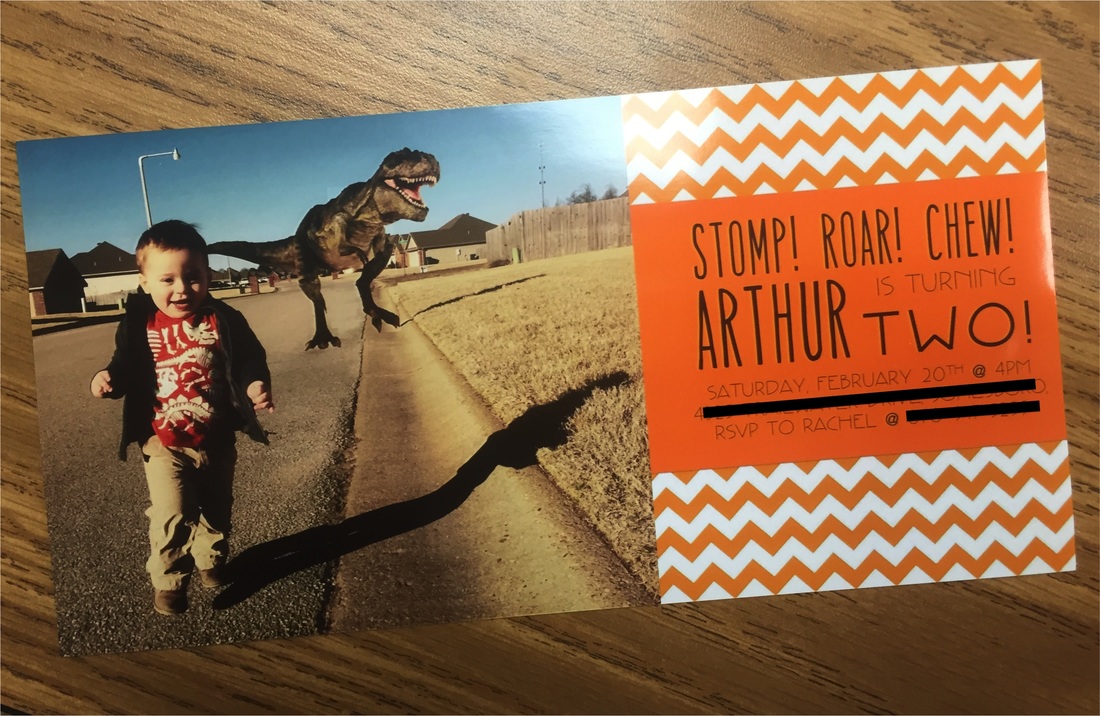
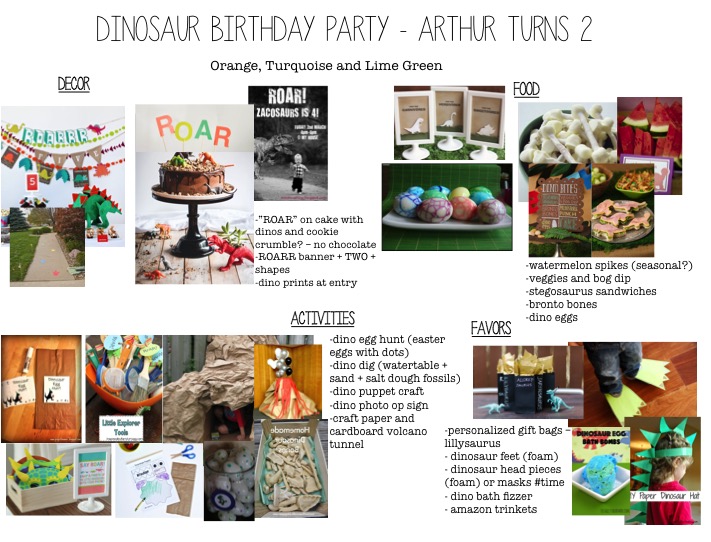
The first thing we did was head outside to snap our starting pic. As you can see below, in the original photo I'm the "dinosaur" growling and chasing him towards my husband who was snapping the picture. Please ignore my hideousness, those galaxy exercise pants may have been a mistake. We used an iPhone 6 Plus to take the picture so, you don't have to have a big, fancy camera to get great results! Just be sure to stay far enough behind your child in the shot so you can be photo shopped out. Unlike the photo to the right. However, make sure you get a photo of the same location and same time of day that hasn't got anyone in the back ground so you can use the clean background when editing yourself out. Once we captured the perfect photo we uploaded it to our computer and used pixelmator for mac to cut my picture out. If you don't have a mac you can use paint.net to do something similar. We did this by replacing that portion of the picture with a piece cut from a different picture of the same background that did not contain my person. Once we had a clean background, we found an image of a dinosaur that looked real, sized it into the shot and created a shadow for it using my shadow as a reference. (In the shot with me, my shadow was almost a strait line so it was pretty easy to create the shadow for the dino by using my shadow. In the edited photo with the dinosaur you can see that the dino doesn't quite fit with the lighting so we decided to add a filter to make everything blend a little better. Once we finished with the photo I opened up a powerpoint slide (I'm sure you could use many different programs to do this but, I am good with powerpoint and I get great results. My husband makes fun of me for using powerpoint but, if it ain't broke, don't fix it.) In my slide, I make the size huge! This can be done by editing the page layout settings. If you don't do this you may end up with an image that is too small and grainy to use. Once you've enlarged your powerpoint slide presentation, add your photo to the slide. Then I found some free paper downloads at teacherspayteachers and used a chevron printed paper as the background for my party info. I then created an orange rectangle on the top of the chevron. After that it was simply a matter of manipulating text boxes to fit my content. After you've created something you're happy with, select all of your elements at once and group them. Then save that grouping as a picture. Now you can order cards! I ordered mine from Walgreens and just got the blank photo card. I also had a 40% off coupon so, for 40 invitations with envelopes, I paid about $25! Cheap, custom and cute! I like to make a plan for every party so that I can visualize what I need to do as well as weed out the pinterest "yes's" from the pinterest "no's" on the party board. Because, let's face it, you can get a little pin happy and end up pinning about 15 versions of a cake or decor and you are not going to manage to get everything done. So, I created my plan and put it below for you're viewing pleasure. I'll be making more posts about party planning between now and the day unless I forget and in that case you'll see one big post afterwards. Either way you'll get to see what I create. Yay!
|
meet rachelRachel is a mother of three, elementary Spanish teacher and part-time blogger who loves crafting, creating fun and engaging activities for her children and students and hanging with her friends and family. She blogs about what she's doing and her interests at any given time which vary. She's a little OCD and always looking for her next project. Her husband calls it, "focusing her crazy", but she just calls it fun. Archives
June 2023
Categories
All
|
||||||||||||

















 RSS Feed


