
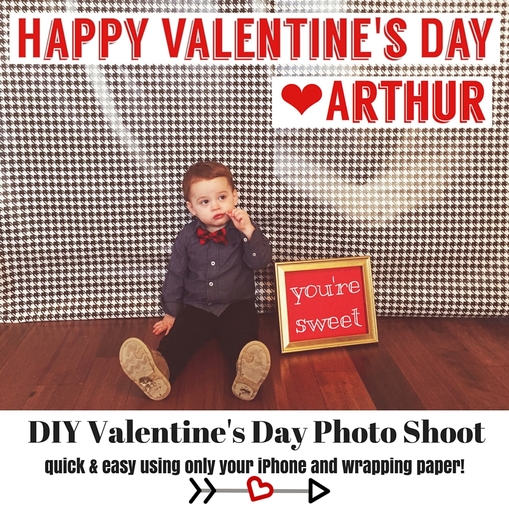
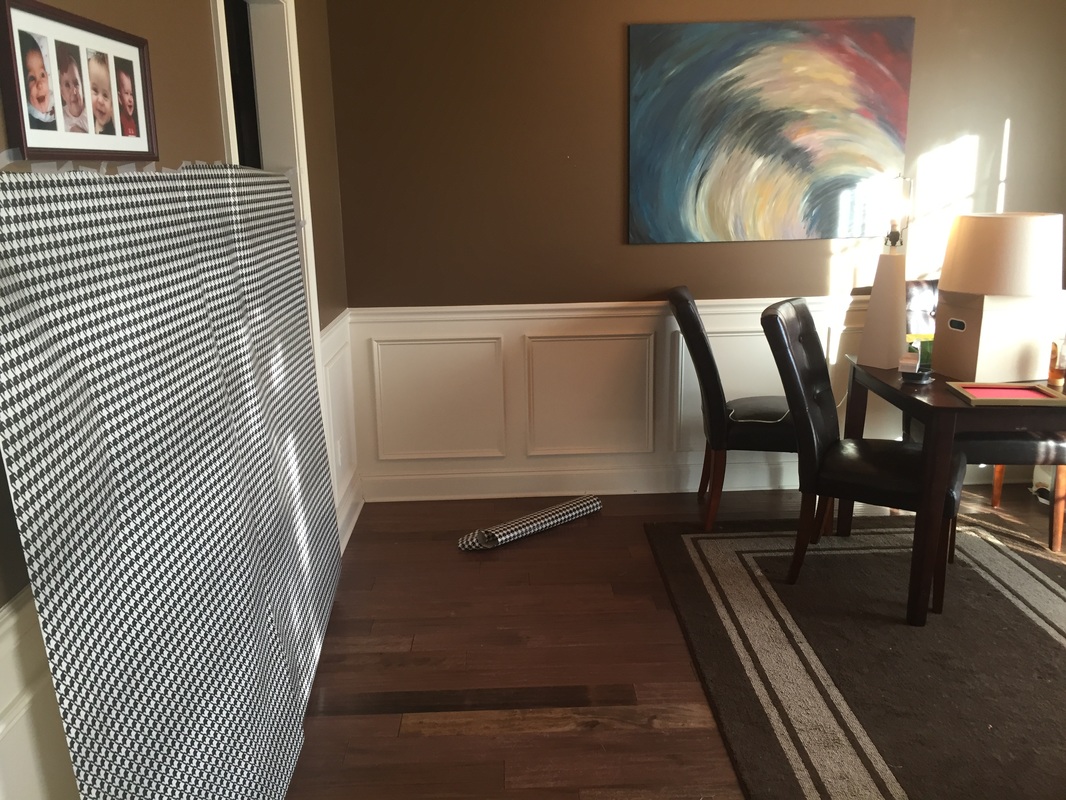
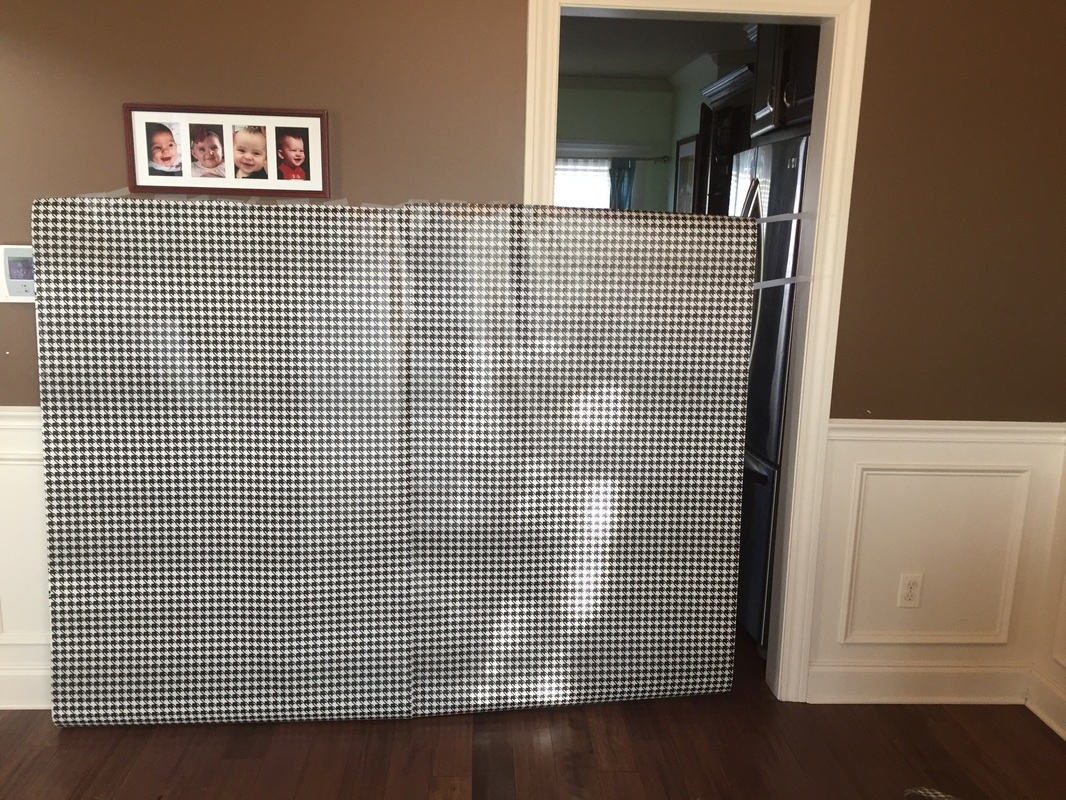
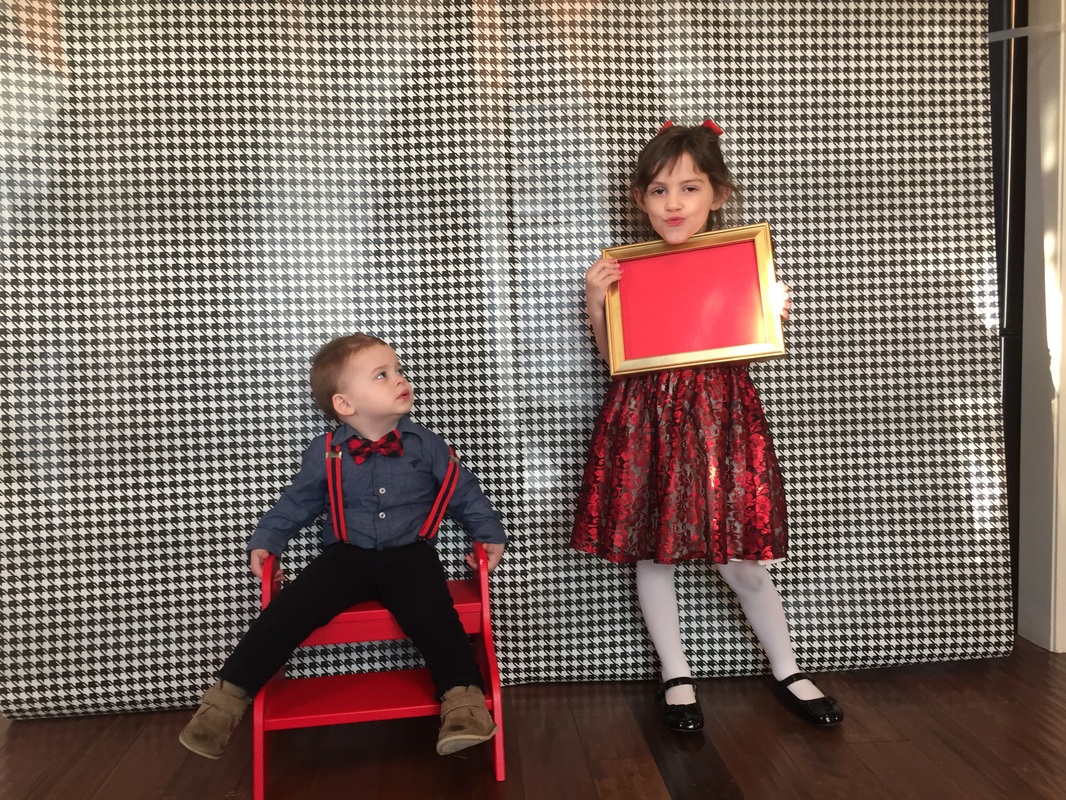
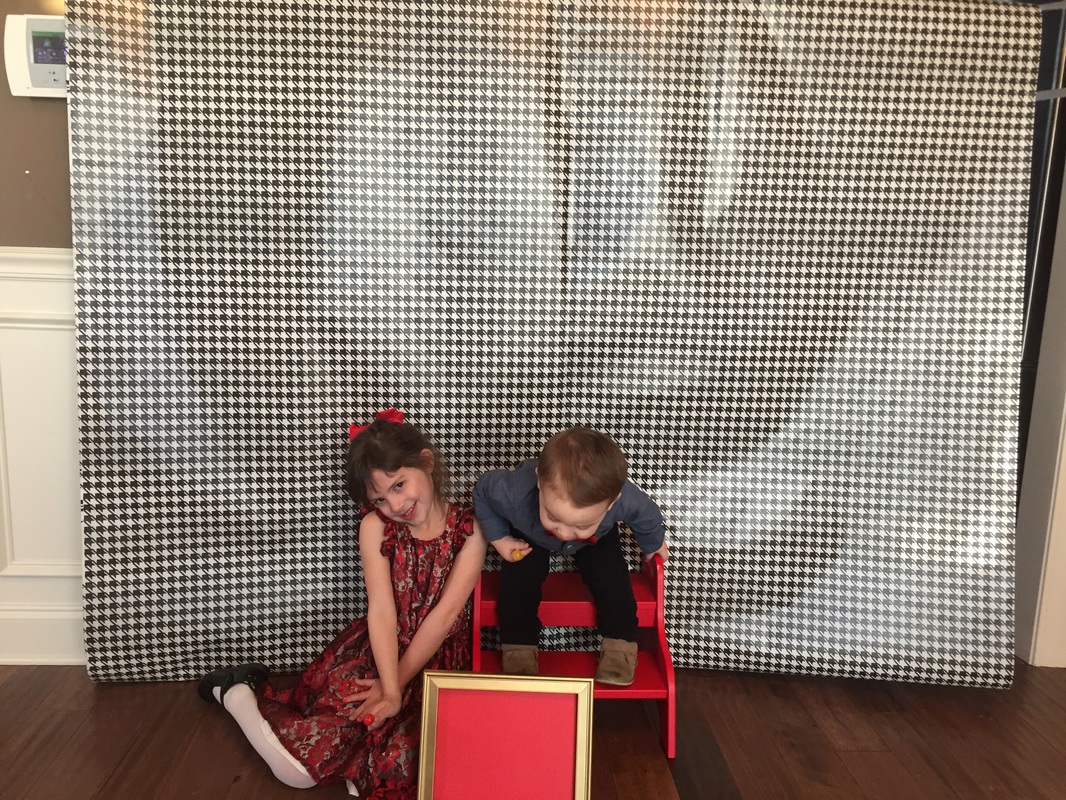
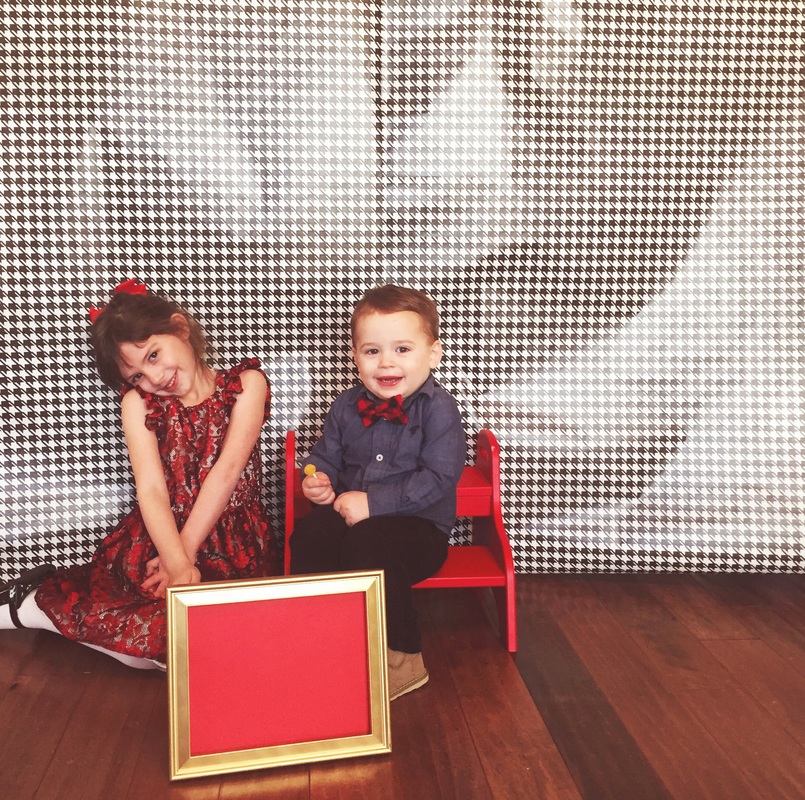
On Saturday I decided that I would like to take some Valentine's Day themed photos of the kids. I had not planned for this and realized that if I didn't do it then that it wouldn't be done in time. (I know myself and a photo shoot with cranky kids after a full day of work does not sound like fun.) So, cursing my lack of preparation I analyzed my craft closet for something I could use as a backdrop and maybe even a few props. Luckily, I had a roll of black and white houndstooth wrapping paper that would look great as a backdrop. (It's actually Christmas wrapping paper I picked up on clearance. I doubt that it will make it to Christmas next year though. I've already wrapped two presents and used a large portion for this project.) Then, I took a frame I already own that is gold and took out the photo, replacing it with a sheet of red paper. I decided to augment the photos with a text on photo app that I'll detail in a bit so, the paper could be blank. Then, I simply unrolled the wrapping paper at about 5 ft. up on the wall to the floor. I created two connected panels that looked like one wide panel when photographed by matching the prints to each other. I did all of this in my dining room and had to move my table to the side to give myself room for photographing. I also set up a lamp without its shade to add additional light.
 |  |
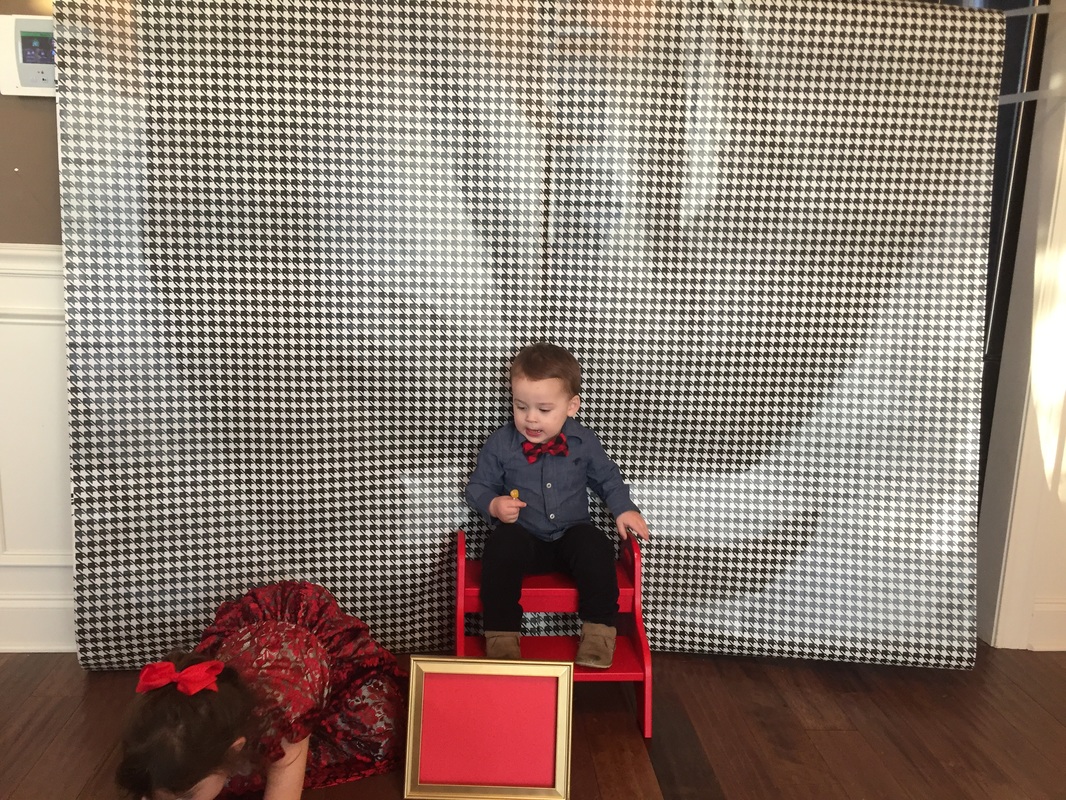
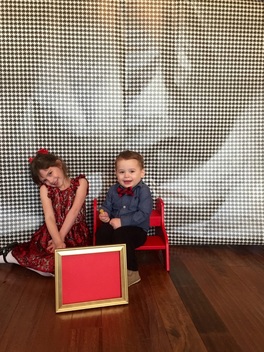
Once I got my "studio" set up. I ransacked the kids closets for cute outfits. Luckily, I managed to find some things that would look cute together and that were clean! I got the kids dressed, bribed them with candy and went to work capturing the perfect shots. Most weren't so great and, inevitably, when one was cooperating the other most definitely was not.
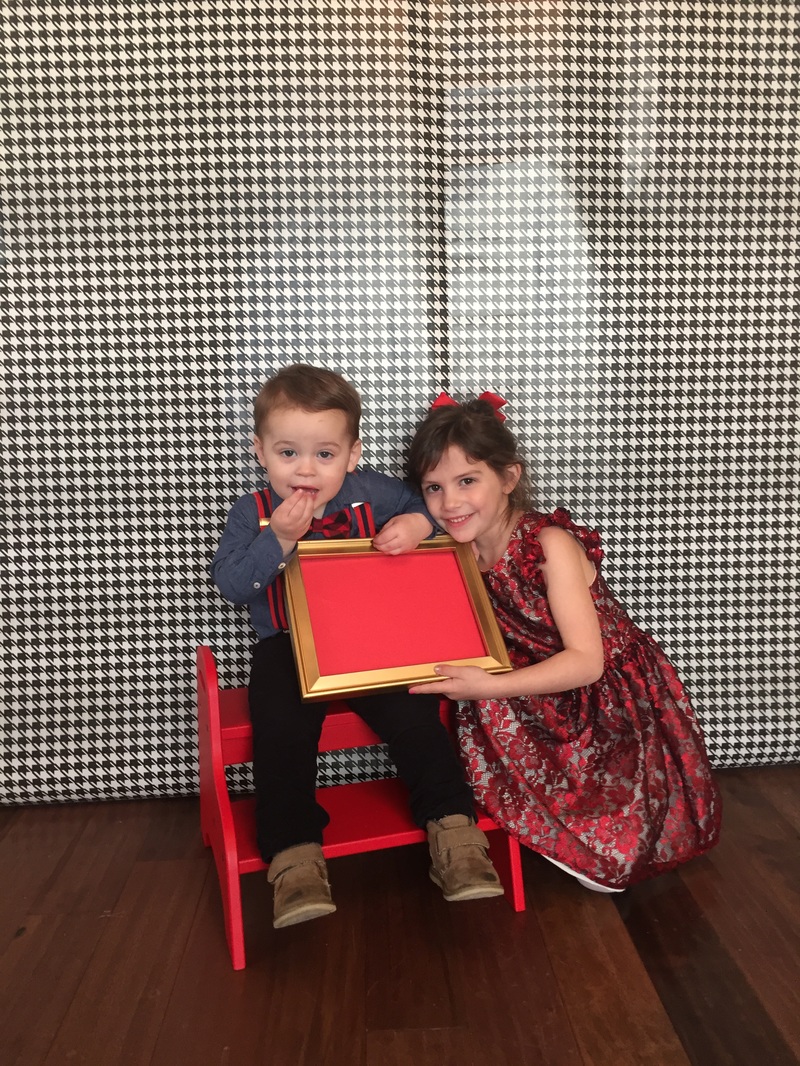  | 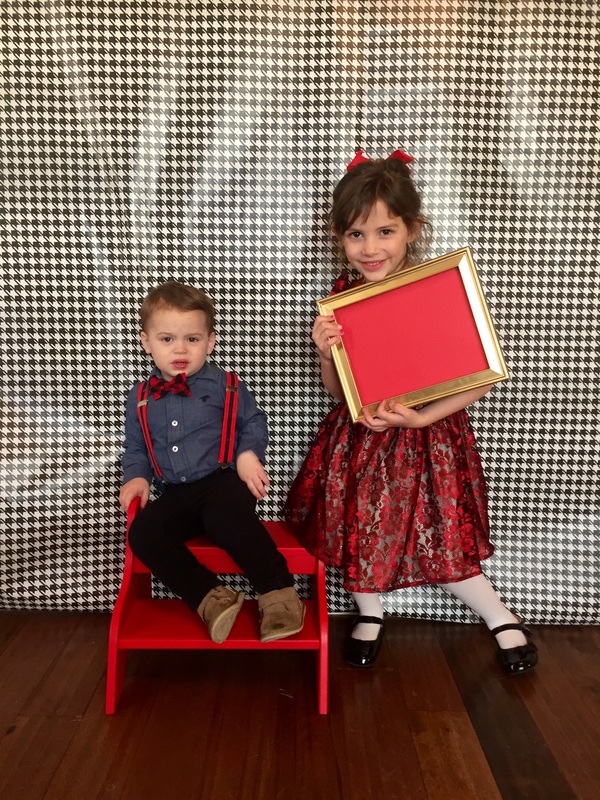  |   |
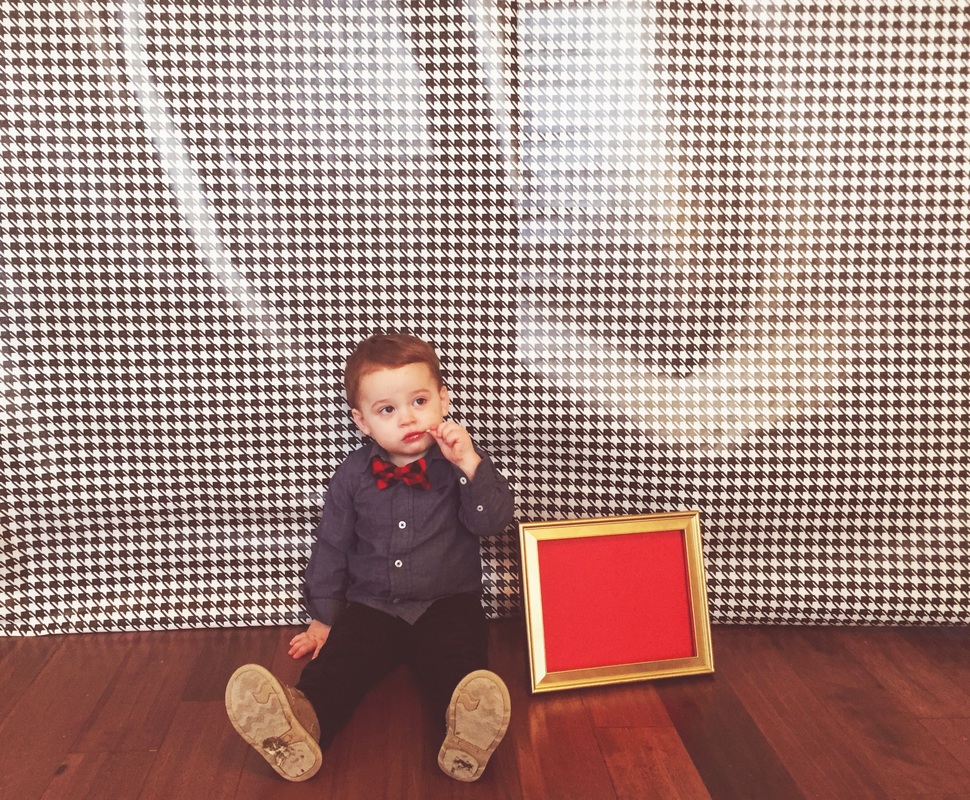
But, after about 15 minutes and a sucker later, I ended up with a few I thought I could work with. Once I had my best photos selected and favorited on my phone. I did a few quick edits using the phone's built-in camera editor. I cropped, enhanced and adjusted the light on each photo to get these results.
 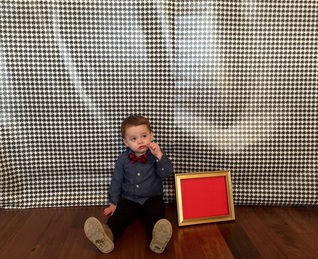 |   |
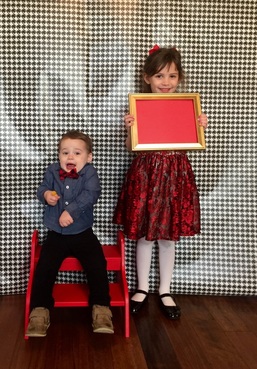
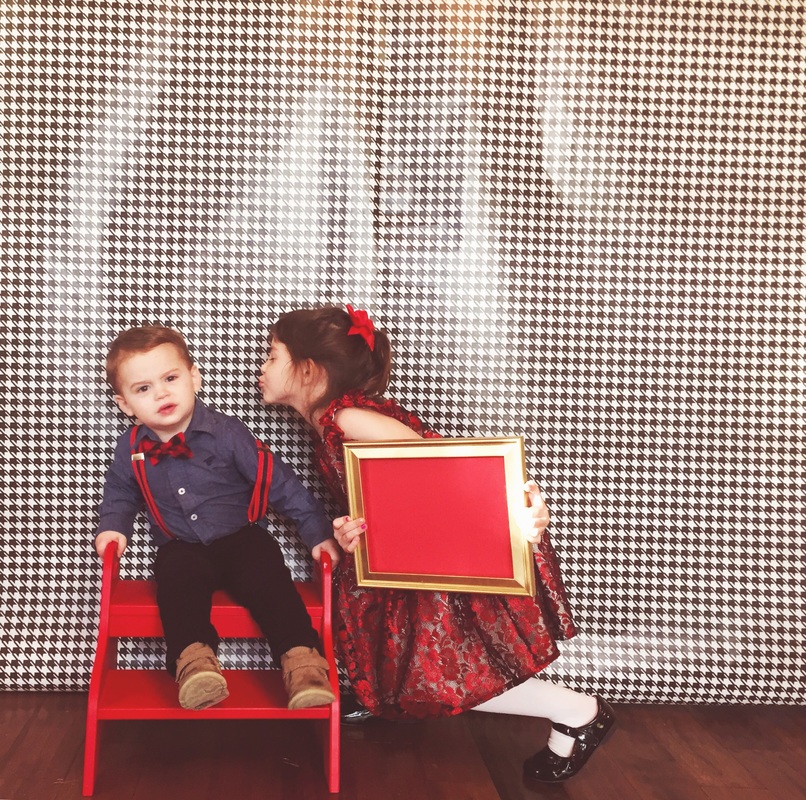
After using the built-in editor to it's fullest, I opened my favorite photo editing app, Rookie Cam, it's free and amaze-balls! Anyway, I applied two different filters to each photo. First I applied "baby skin" from the "clean portrait" section. Then I applied "delight" from "clean portrait" as well but, adjusted the intensity to about half.
  | 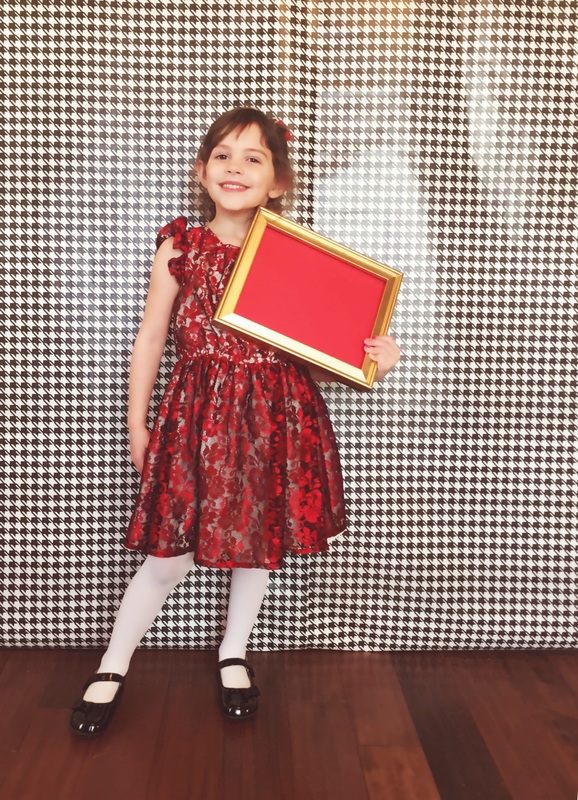  |
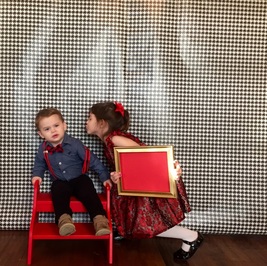
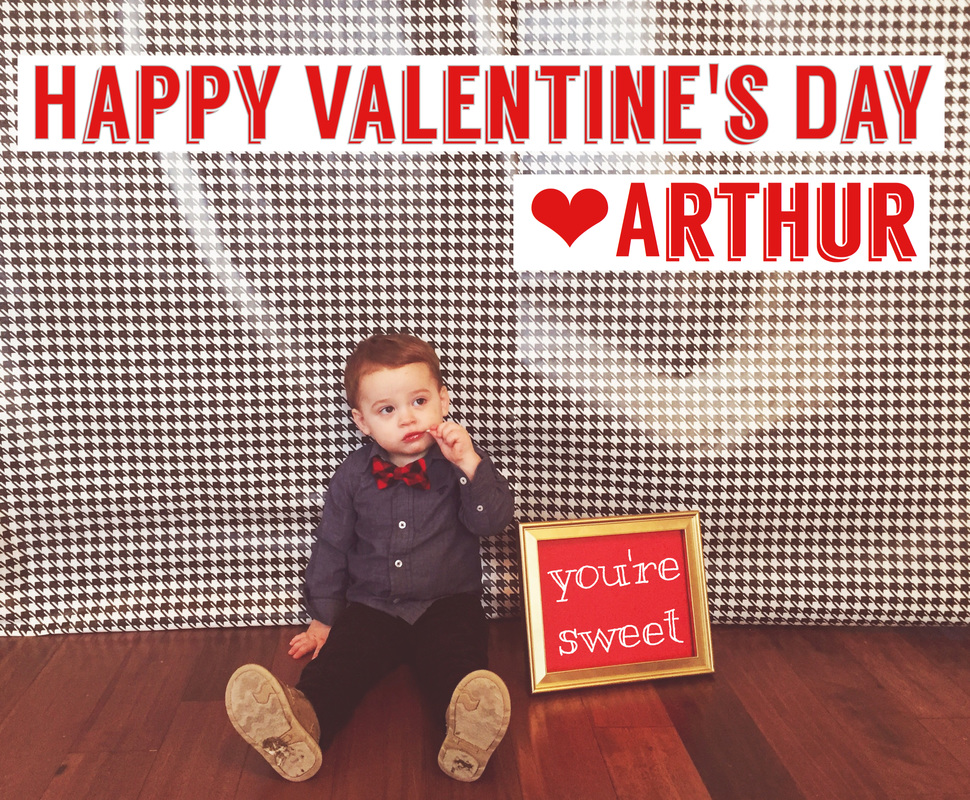
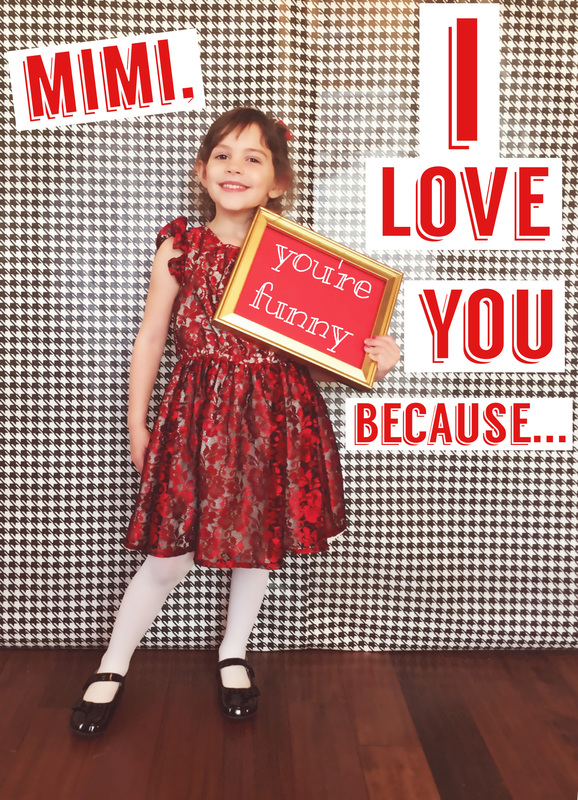
Once I was happy with the images I was ready to add text to each photo. I used Phonto to achieve this. It is also free and is super easy to use. I chose cute phrases for the frame that went with each picture. For the photo of my daughter by herself, I decided to make individualized valentine photos for our favorite people. Once I created the text layout on the photo, I just saved each individualized version and then edited the text for the next person. It didn't take very long and will make everyone feel extra special. Plus, Lilly got to help me by telling me why she loved each person. I just made one version of Arthur. He can't tell me his reasons for loving people yet. Maybe I can make individualized ones for him next year.
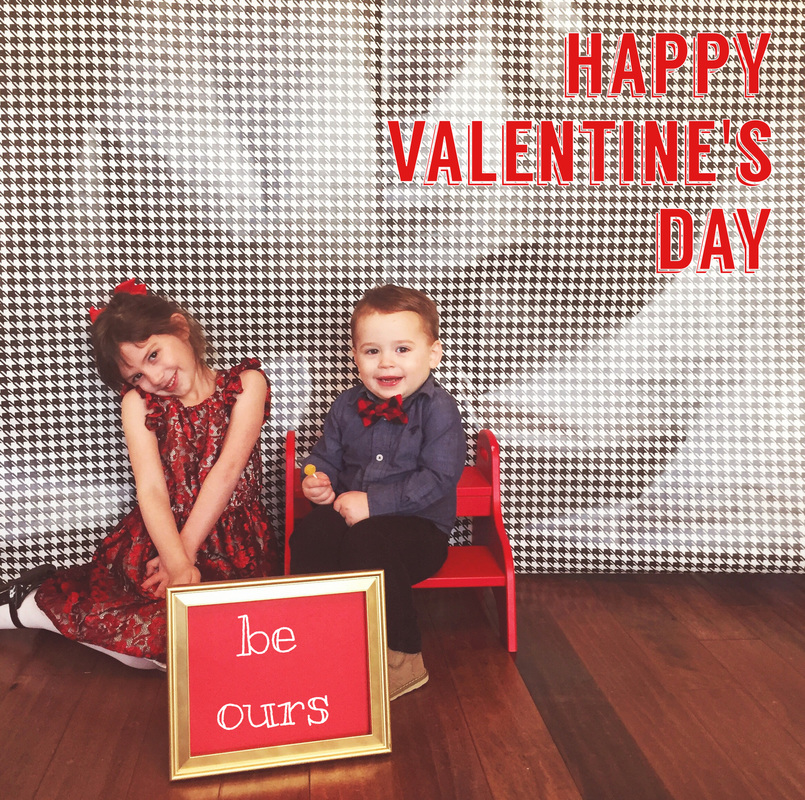  |   |
I am really happy with my results and it only took me about an hour (probably less) to create this magic! I hope I've inspired you to pull out some wrapping paper and grab a few adorable pics! Have fun and Happy Valentine's Day!

 RSS Feed
