
We had a blast on our "trip" to Italy! We had fun with a dramatic play pizza shop, learned about opera, drew like Michelangelo and made some yummy Italian food!
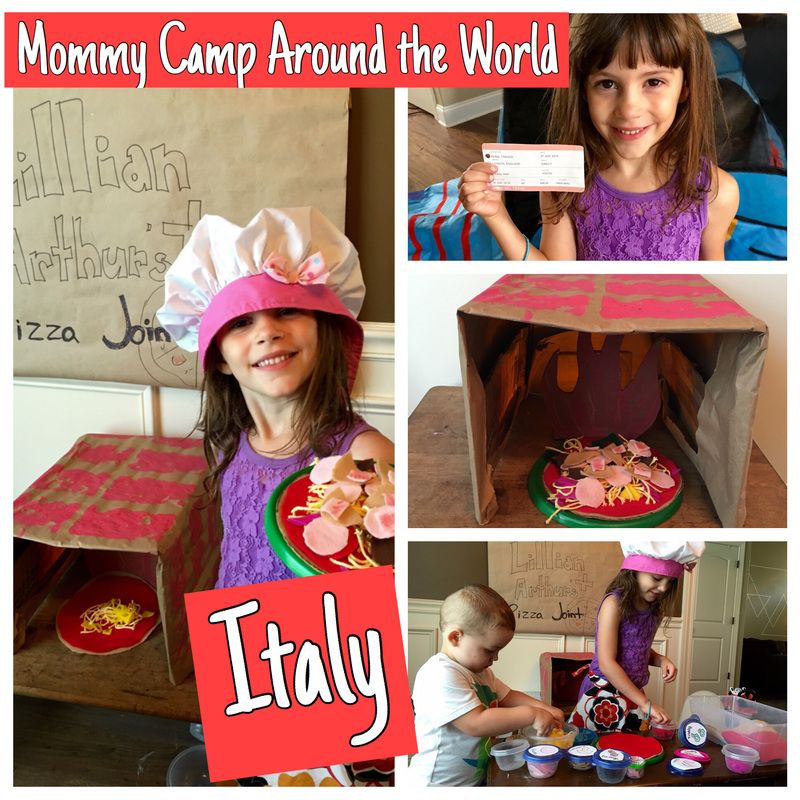
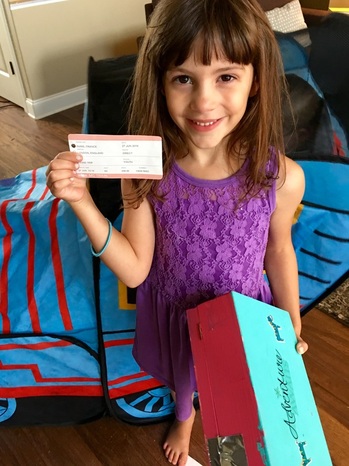
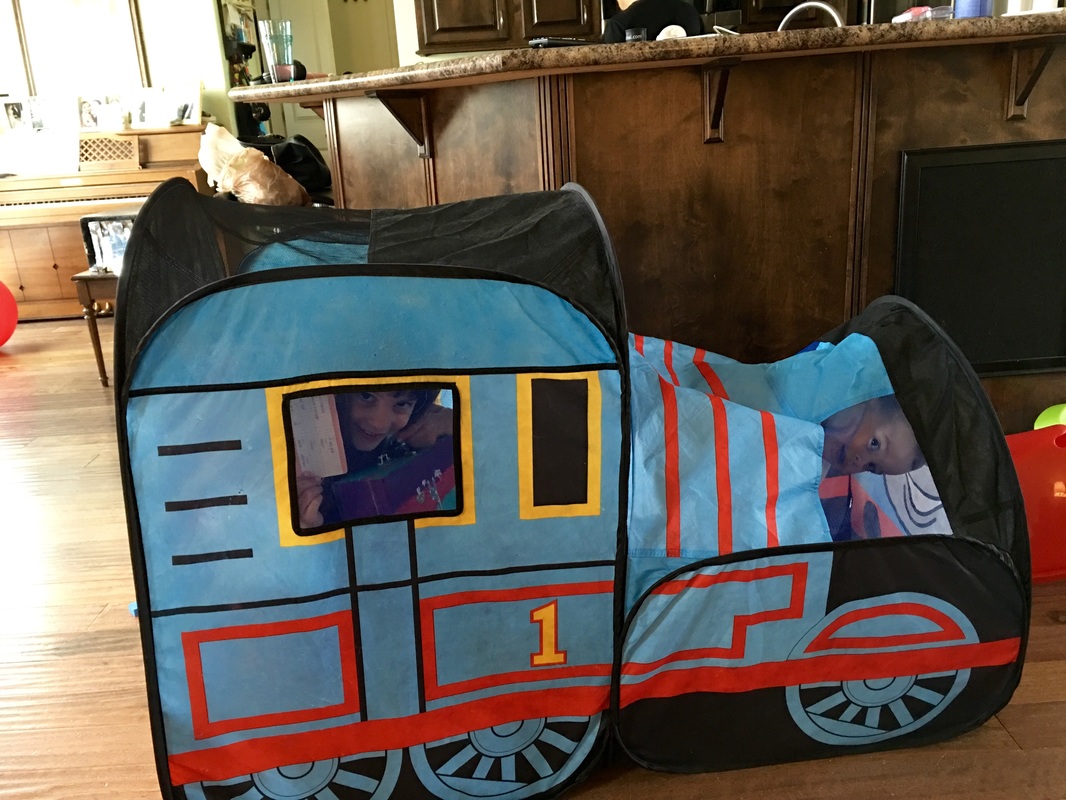
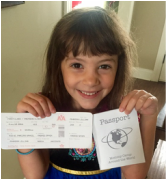
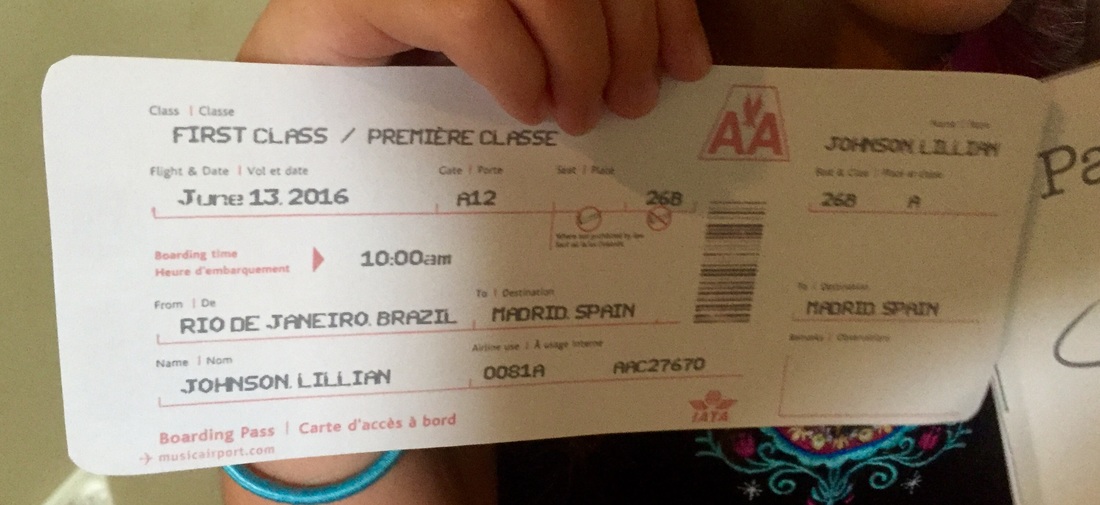
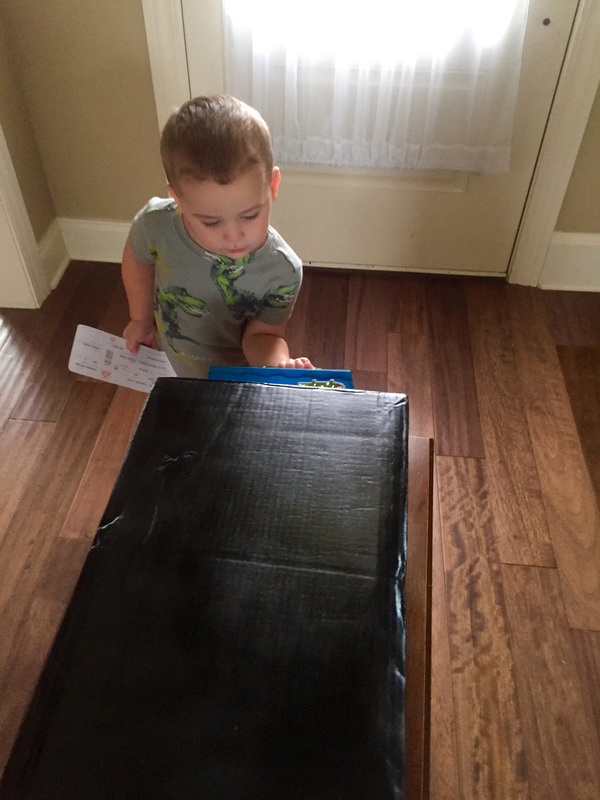
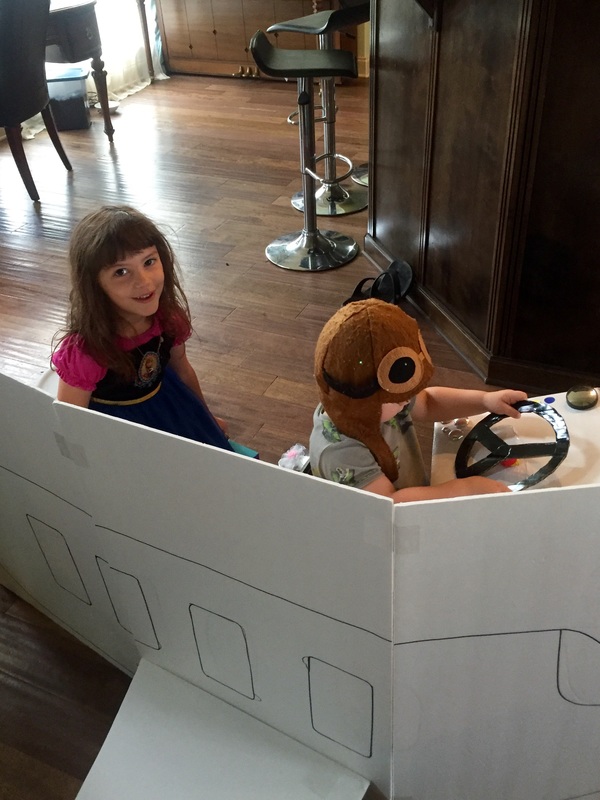
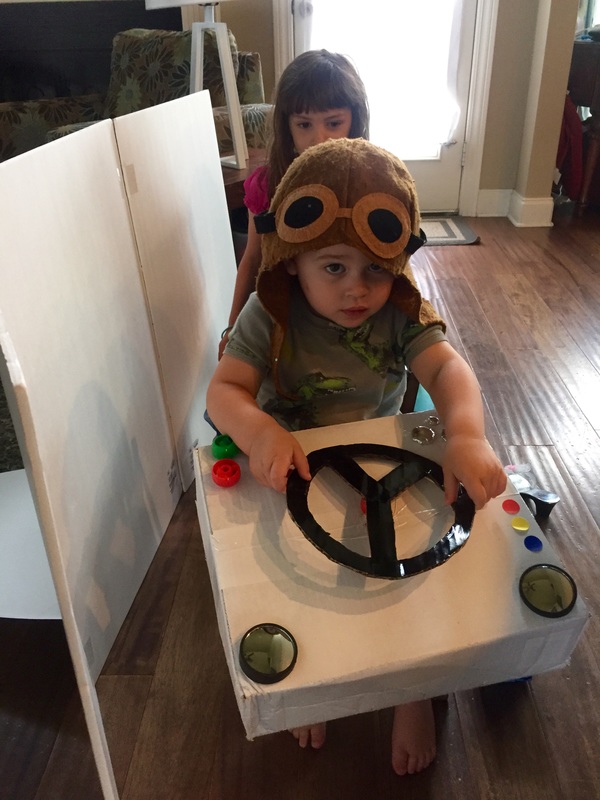
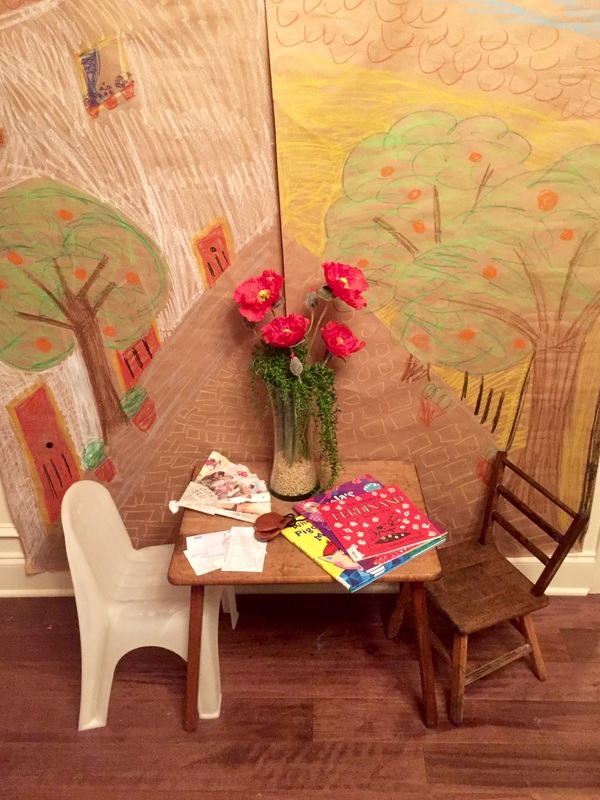
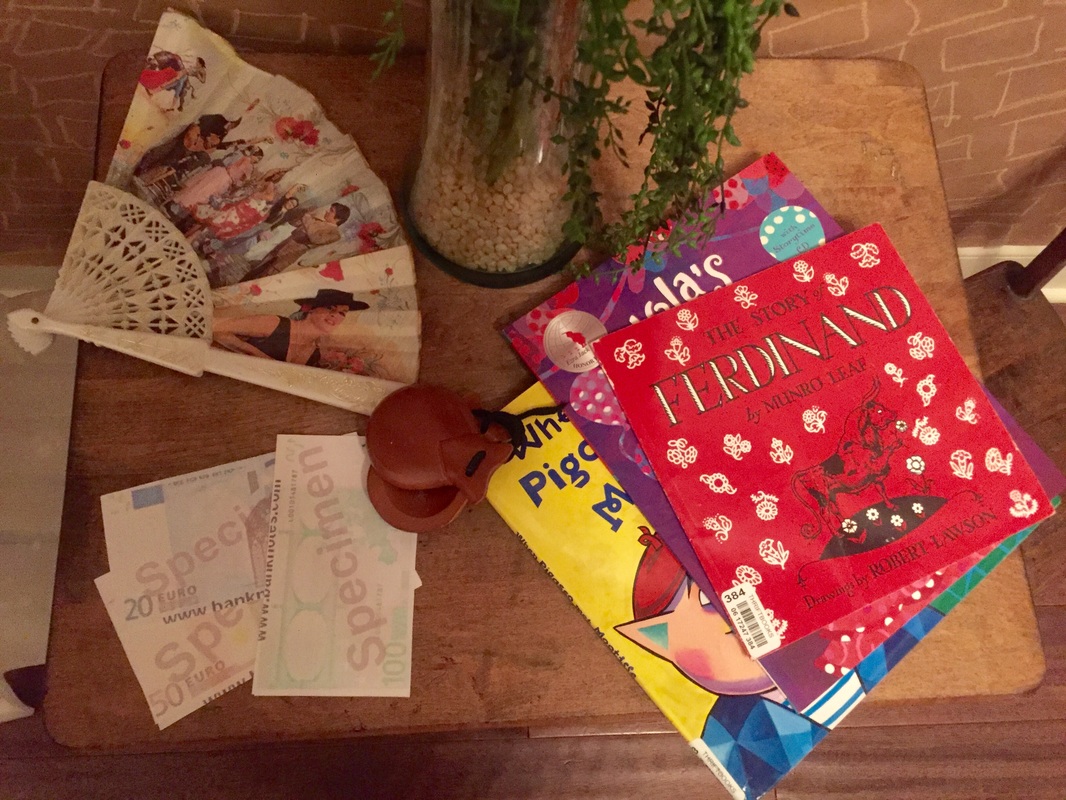
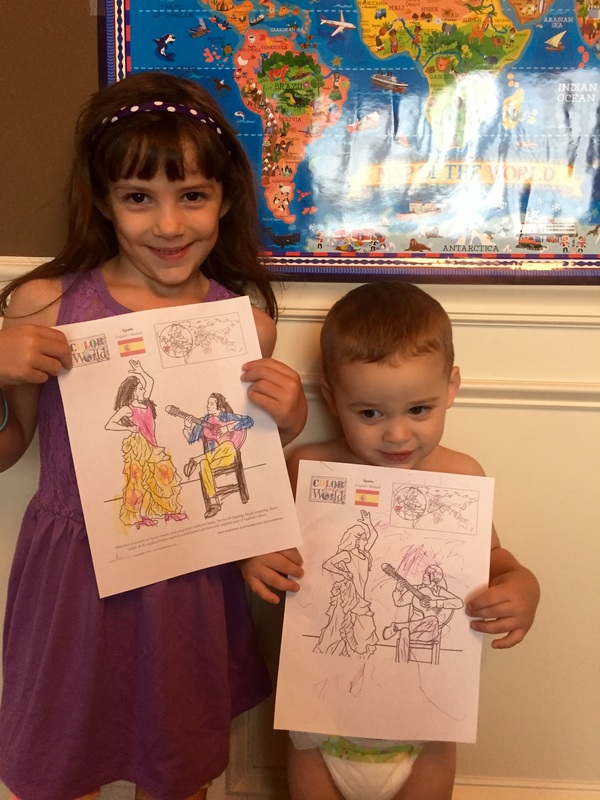
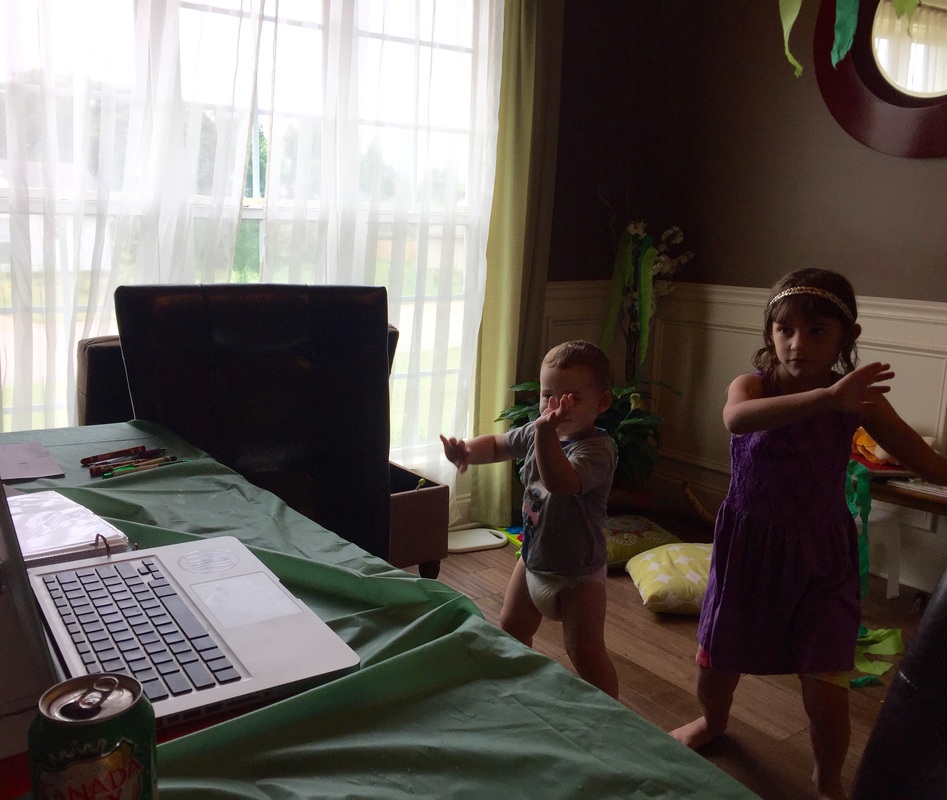
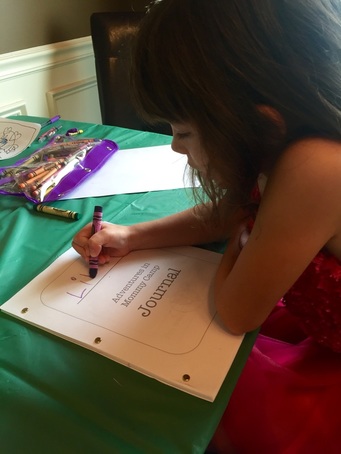
Just like the previous weeks, we had to get to Italy first! This week we discussed train travel and I used a train tent that we already had as our transportation. They were both issued train tickets (you can find your own printable train tickets here), grabbed their suitcases and boarded the train! We also looked at the map and discussed how far away Barcelona, Spain and Venice, Italy are and why we decided to take the train instead of fly.
 |  |
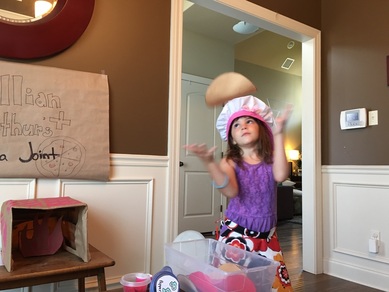
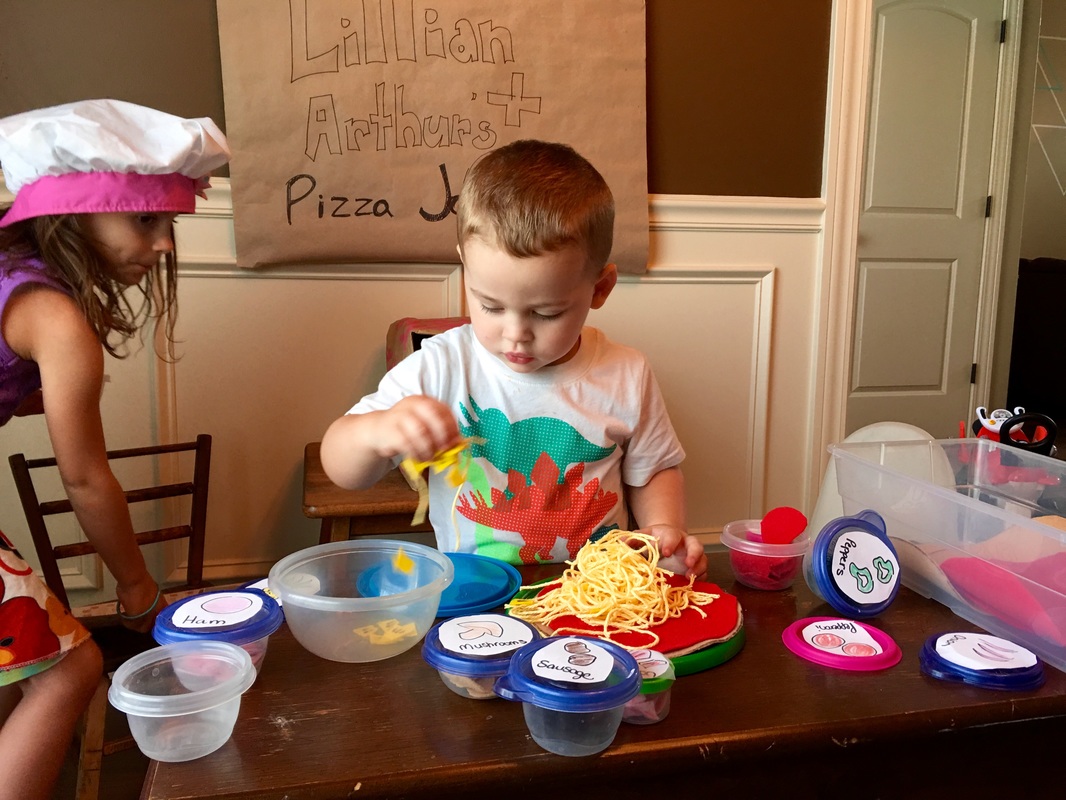
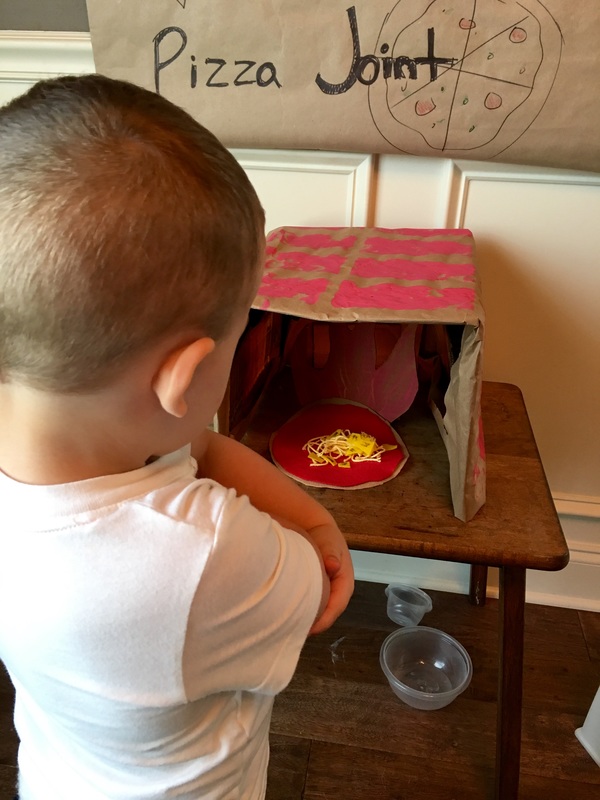
Once we "arrived" in Italy we started with a dramatic play pizza kitchen. I created a pizza oven and pizza using a cardboard box, brown craft paper, paint, a sponge, felt and an electric tea light. To make the oven I folded one side of the box in on itself and cut out the bottom. Then I wrapped it in brown paper and used a sponge and red paint to make faux bricks. For the fire element, I used a piece of the box that I cut out and drew a flame shape and painted it. Then I hot-glued it to a longer strip of cardboard and glued it to the inside on the bottom of the box. Then I placed an electric tea light behind the flame. I think the effect was really great and it only took about 15 minutes to make!
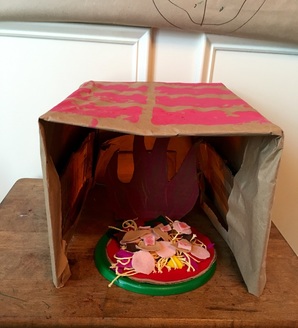 |  |
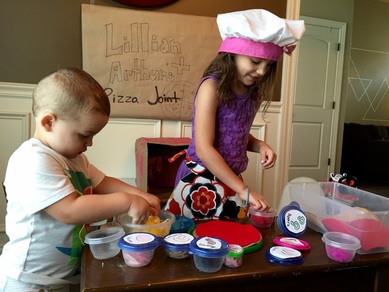
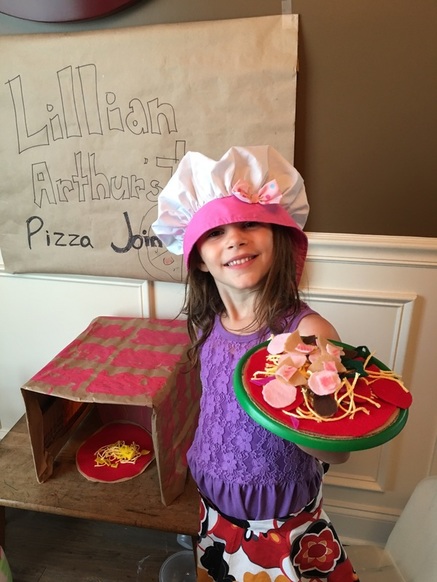
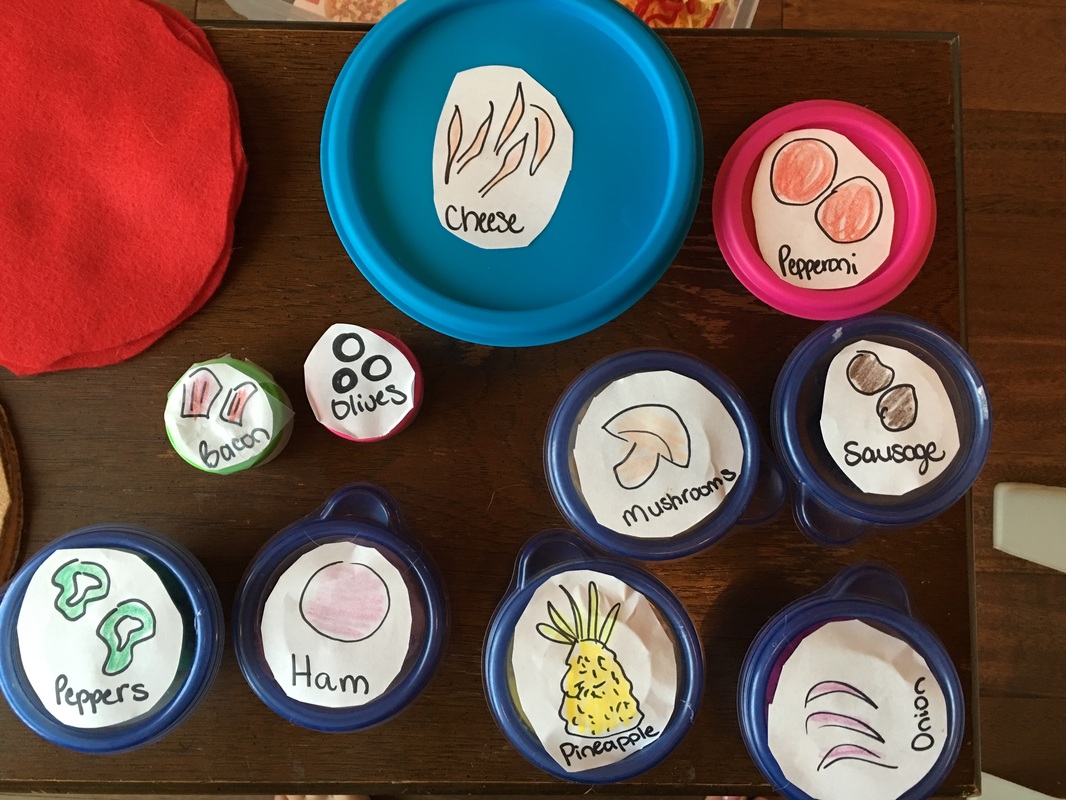
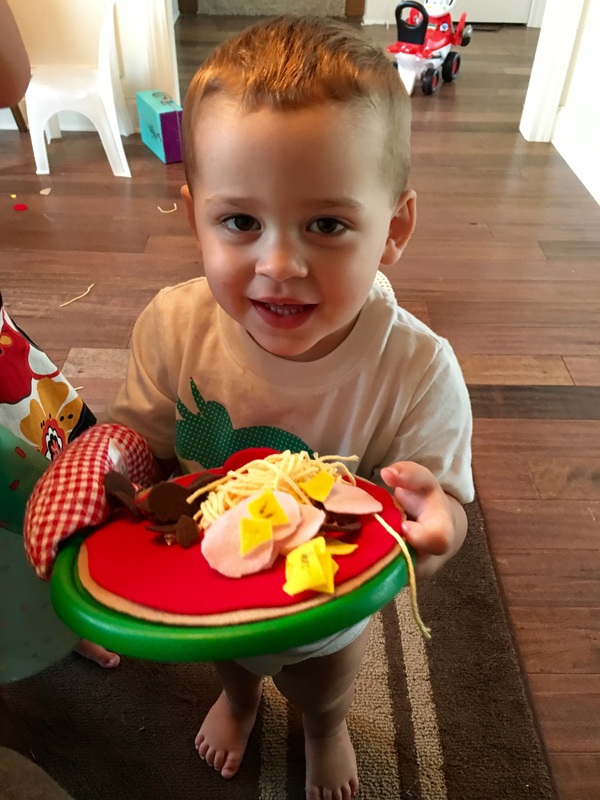
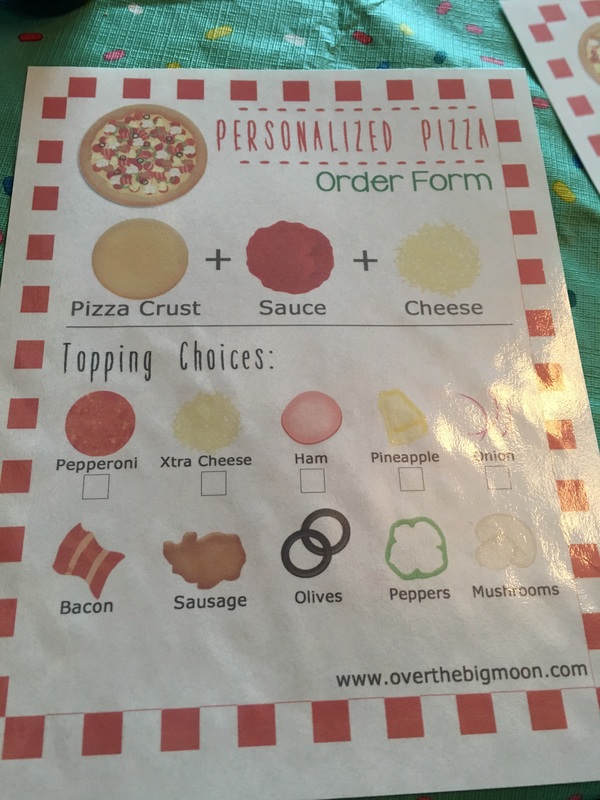
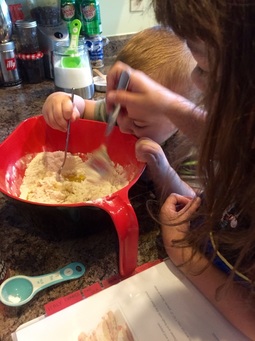
For the pizza I took various pieces and colors of felt and cut out shapes to look like different toppings, crust and sauce. I used tan cut into a circle to create the crust and red cut into a circle for the sauce. The toppings I made matched the order form that I found here for free! For the pineapple I cut yellow felt into semi triangles and added a few lines to make it look segmented. For the purple onion I cut crescent shapes out of purple felt. For pepperoni I cut smaller circles out of red and did the same for ham but used pink. I used black circles without centers for black olives, pink with red lines cut into rectangles for bacon and green squiggle circle shapes without centers for green bell pepper. For the cheese I used cream colored yarn cut into 3 inch pieces. I also made spaghetti and sauce using cream yarn for noodles and red for sauce. I grabbed a few containers and quickly drew labels for the lids to store each topping. Then collected a few plates, bowls, utensils, aprons and a chef's hat from the play kitchen, made a quick sign stating "Arthur and Lillian's Pizza Joint" out of craft paper and, Voila! Dramatic play pizza kitchen! This was a major hit! They played for hours off and on throughout the week and the best part is that now it is a permanent addition to their current play kitchen so, they'll get to continue enjoying it!
  |  |
  |  |  |  |
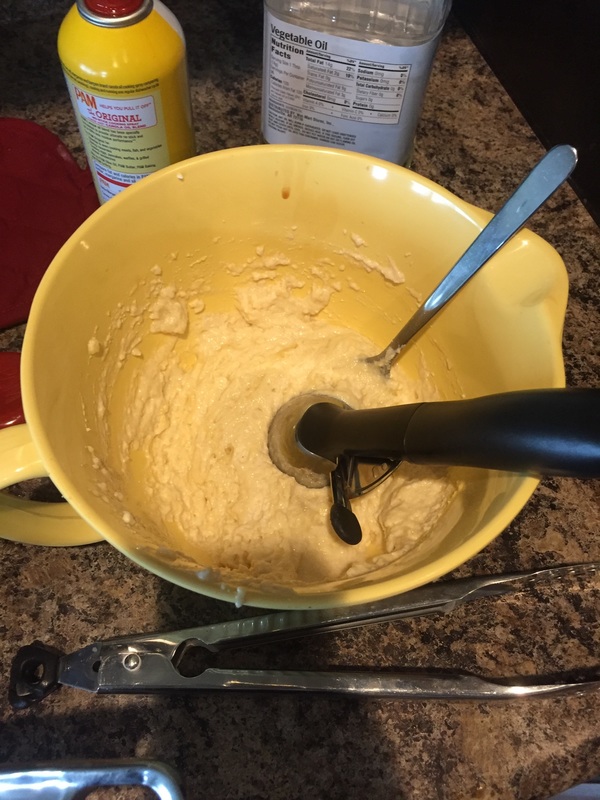
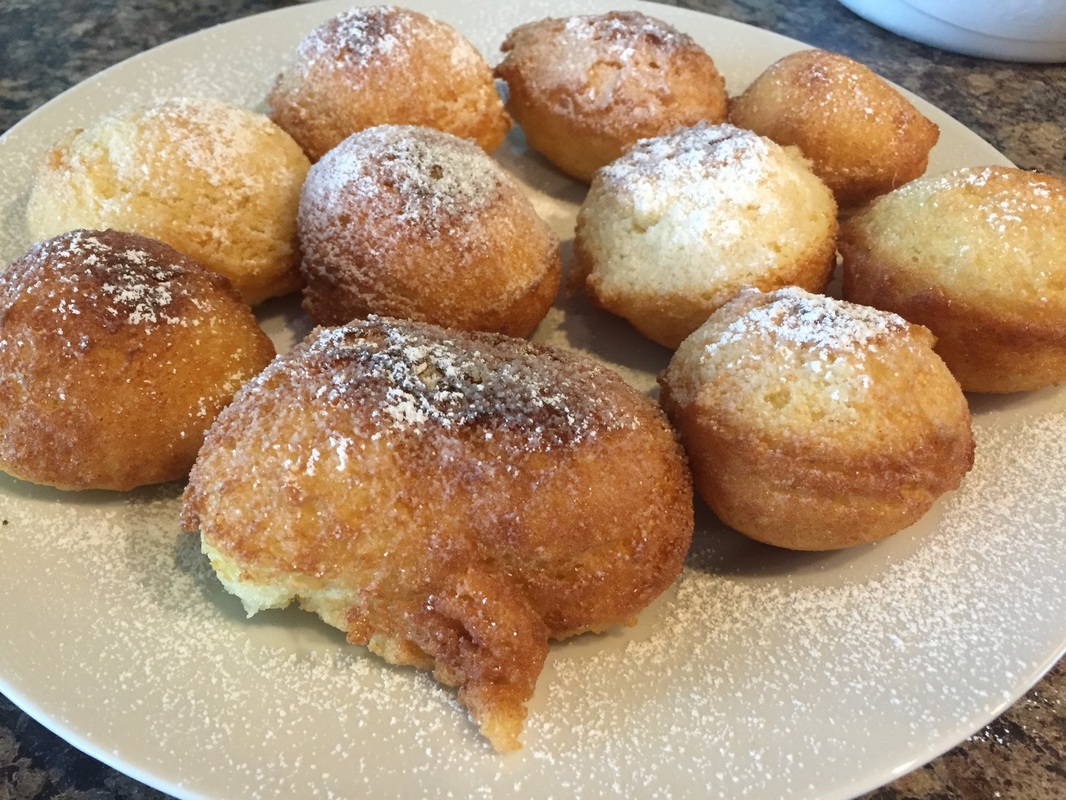
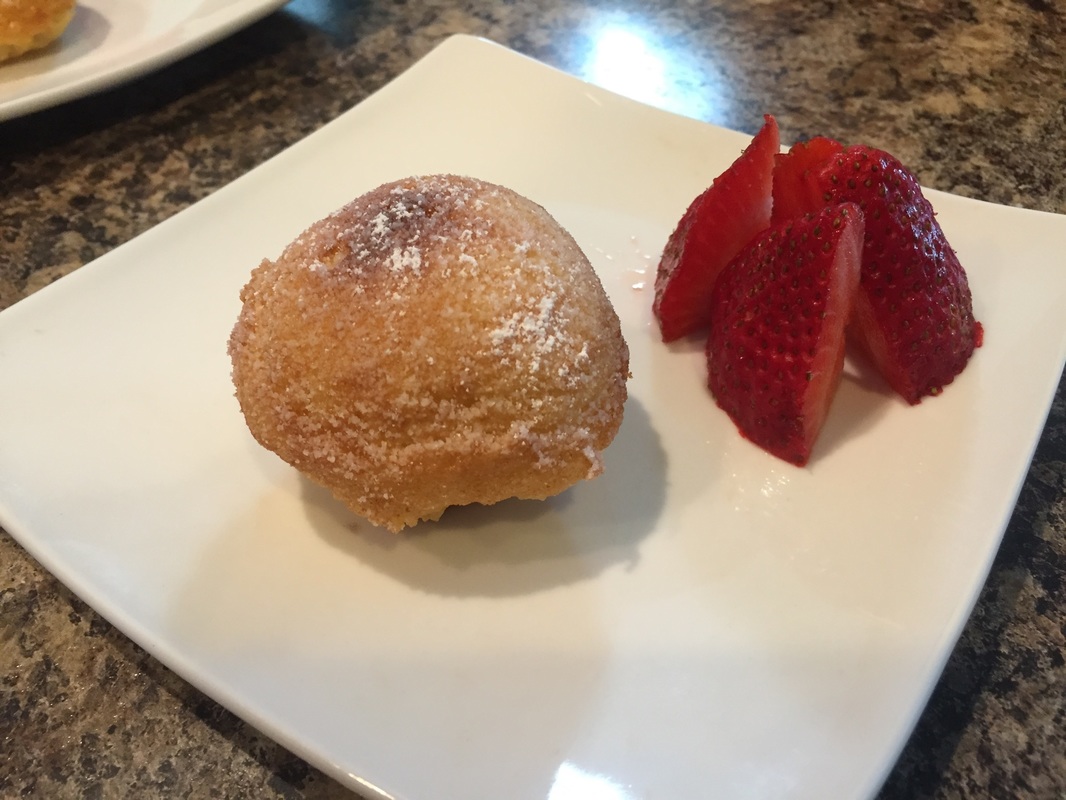
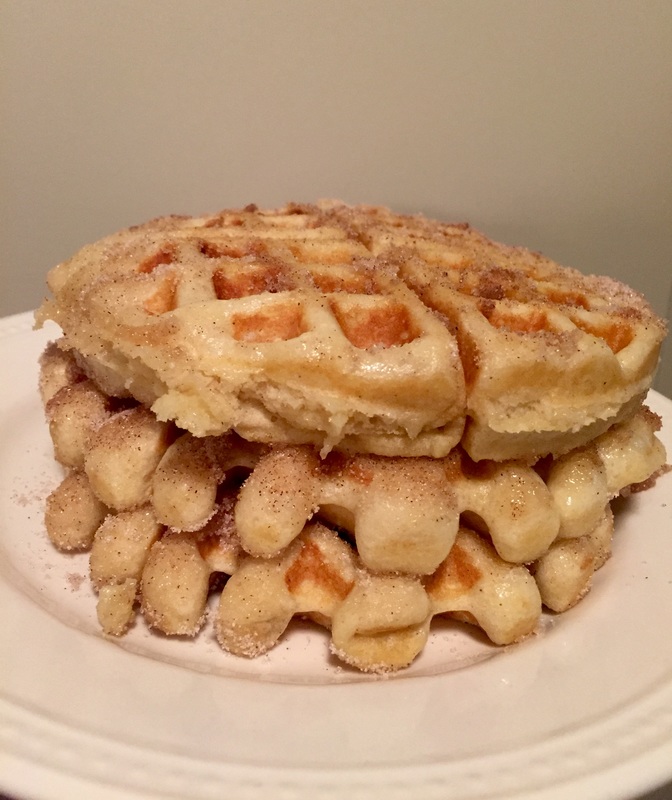
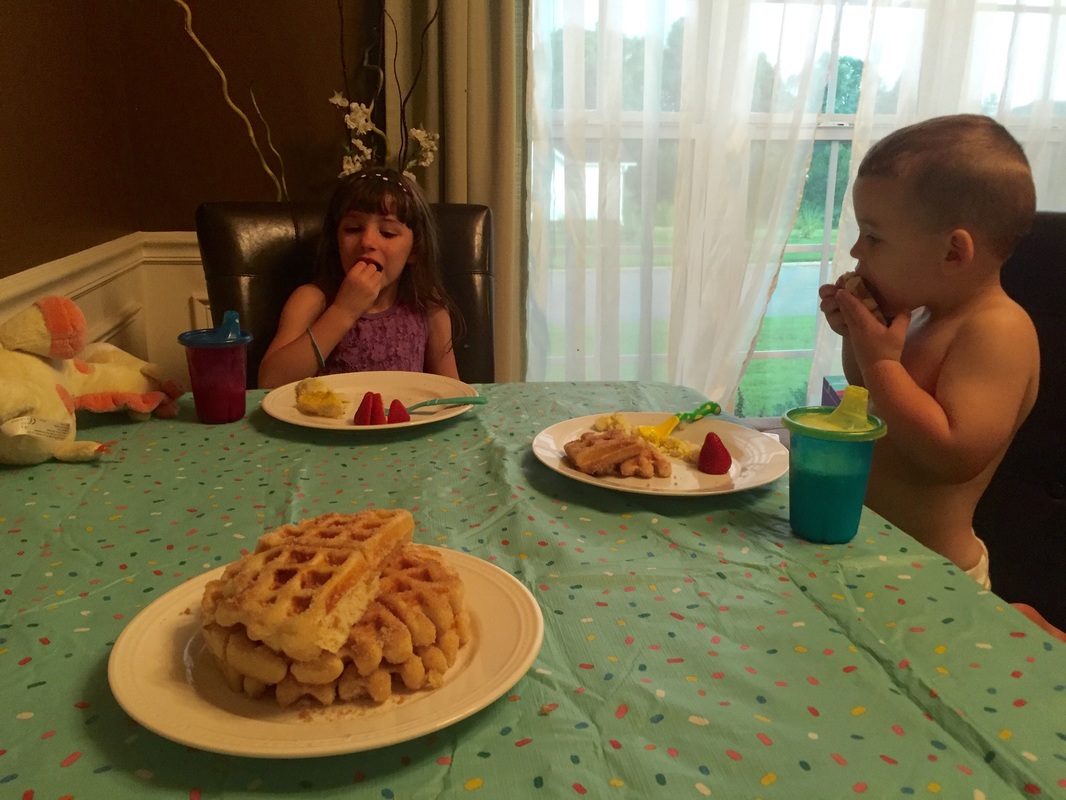
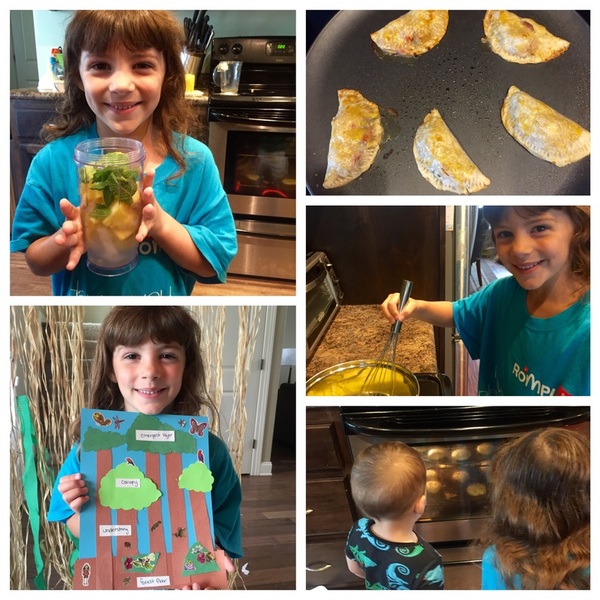
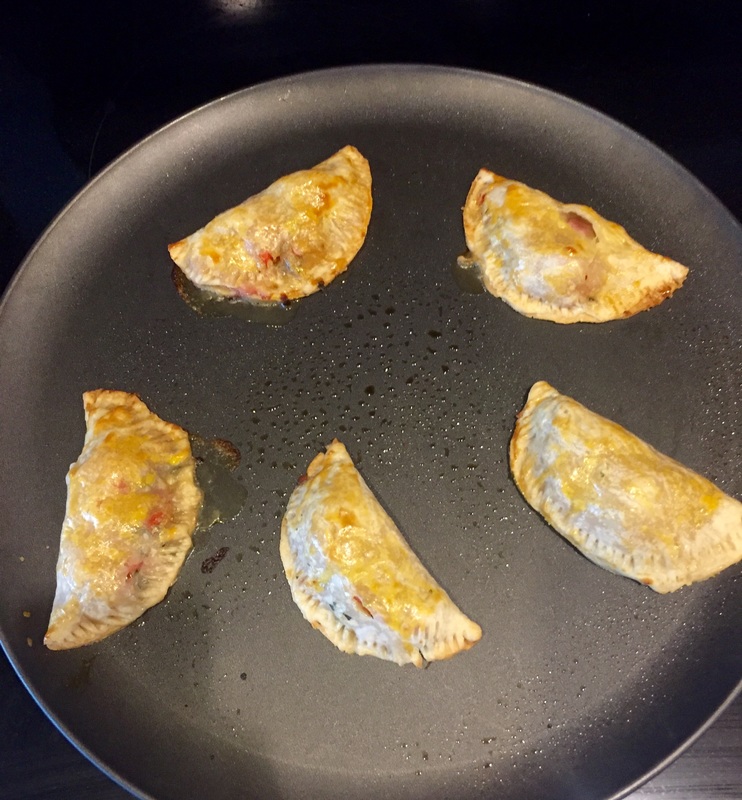
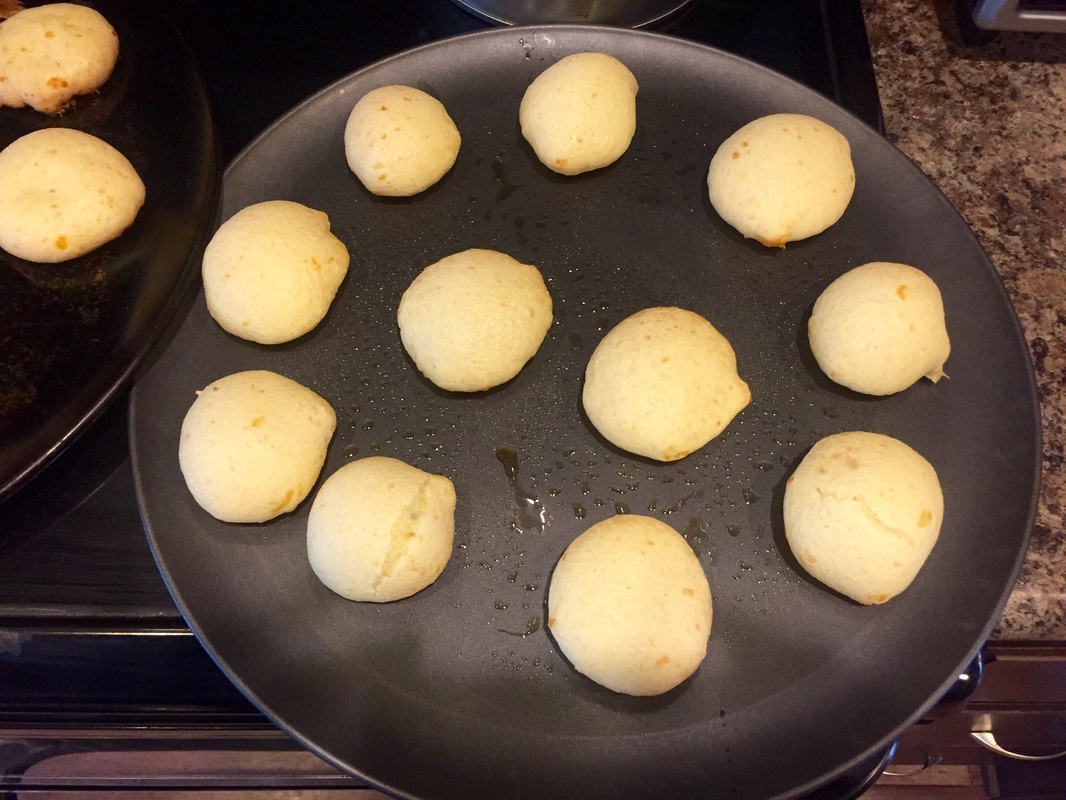
For breakfast one day I made zepoli which are kind of like donuts but actually a little more nutritious as they contain ricotta cheese. It may not seem like a big deal to you but, I actually fried something! I usually avoid it like the plague. However, I decided these sounded so yummy that I would go for it. I thought they were fantastic and actually easy but the kids weren't as enthusiastic. I think they're crazy. Lillian ate one and Arthur just licked the powdered sugar off before declaring they were "ucky". Ugh! Seriously?! Kids! Whatever, more for me! (I actually had a playdate with a friend and let her try them. She thought they were awesome too. So, I'm not crazy, just my kids.) You can find the recipe in the MC recipe book here.
 |  |   |
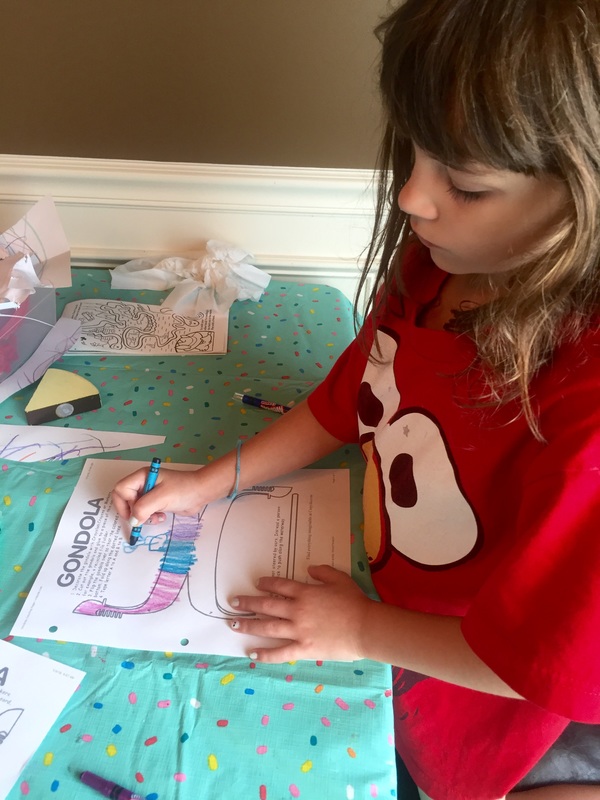
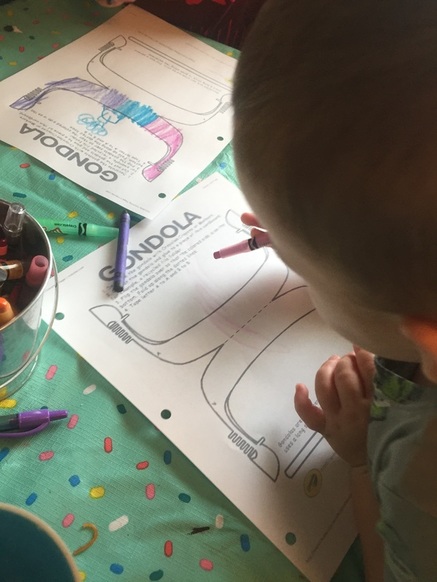
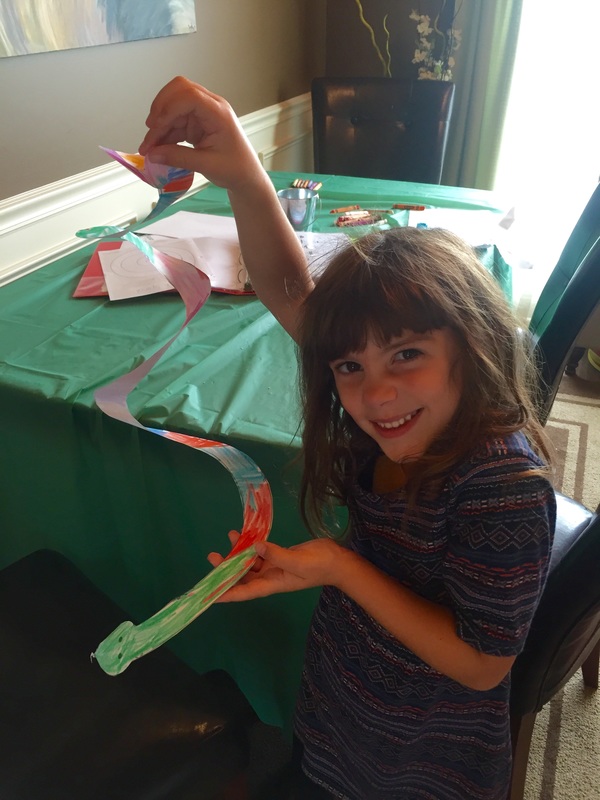
To finish out the day we discussed the city of Venice by watching a this video, making a gondola craft using this free printable and reading the book "Olivia Goes to Venice" and "This is Venice". Both were big hits and were read multiple times throughout the week.
 |  |
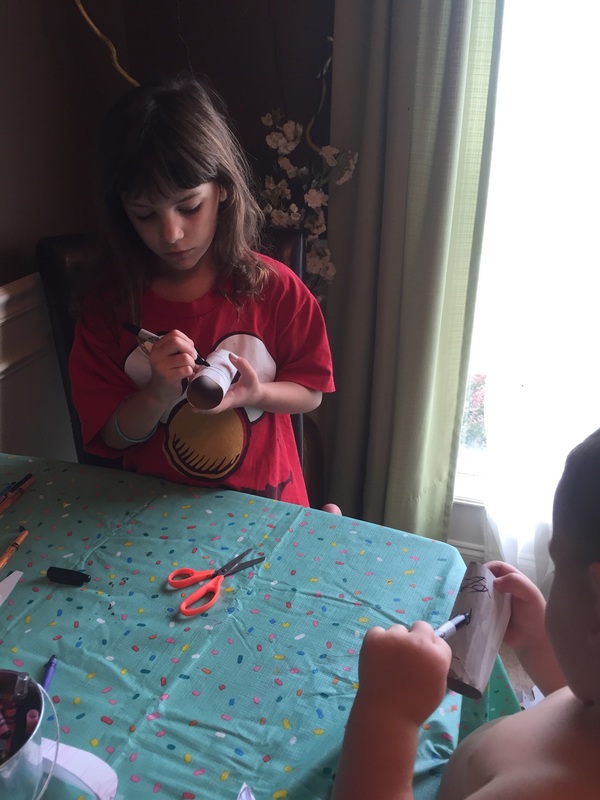
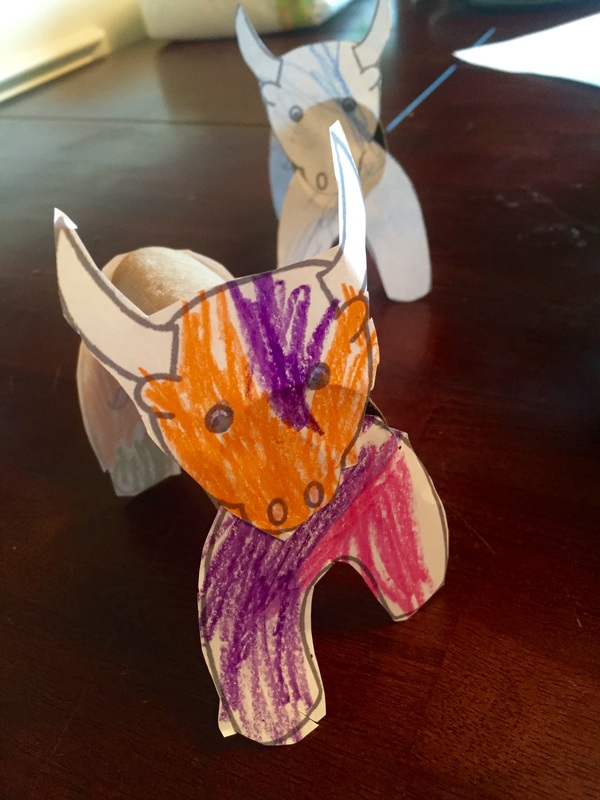
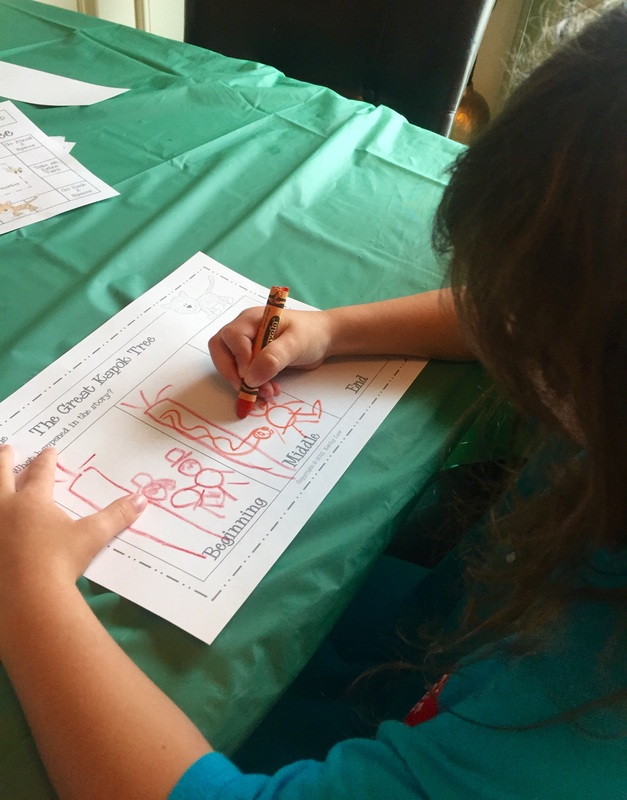
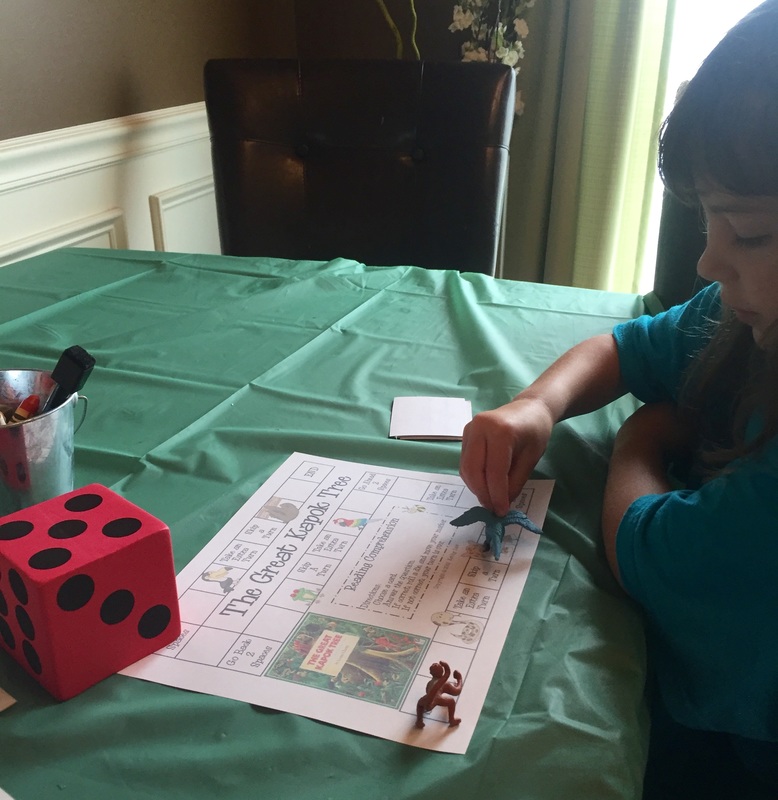
After learning about Venice, we discussed the city of Pisa and the Leaning Tower of Pisa. We watched this video and then we made a craft version for ourselves using an empty toilet paper roll, white paint, paper, black marker and green crayon. Surprisingly, they really enjoyed this simple craft and were very proud of their creations. To make them lean, I cut an small portion from the bottom of the roll at an angle and taped it to the paper.
 |  |  |
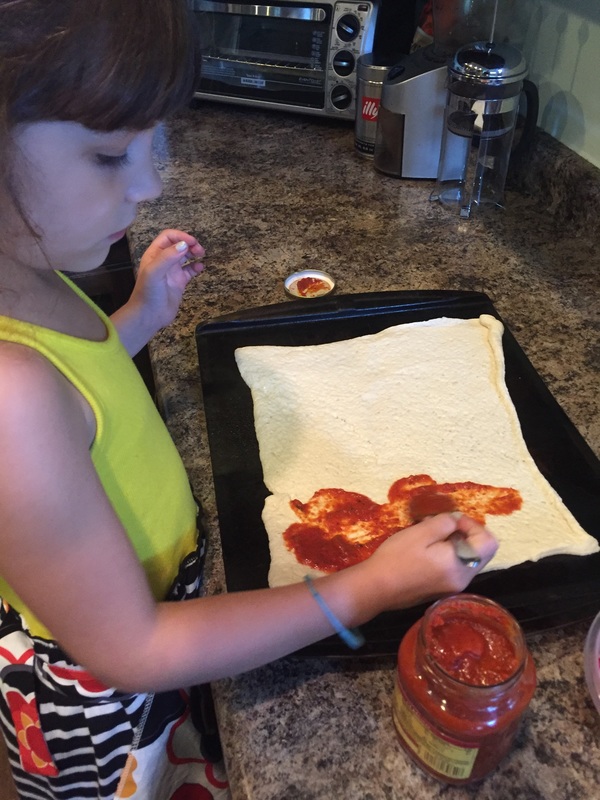
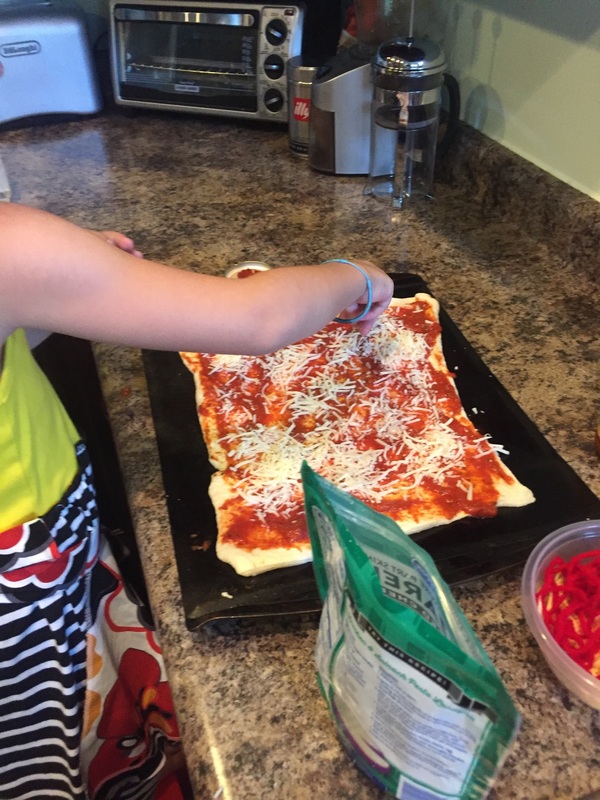
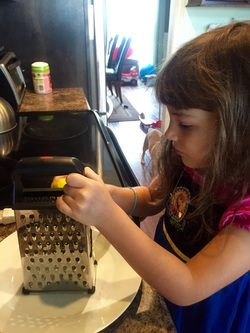
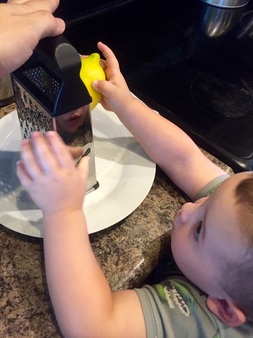
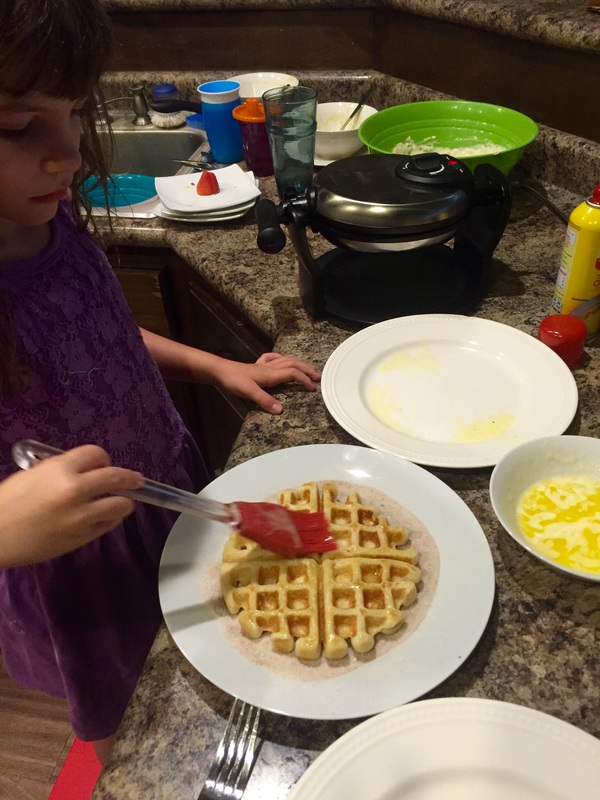
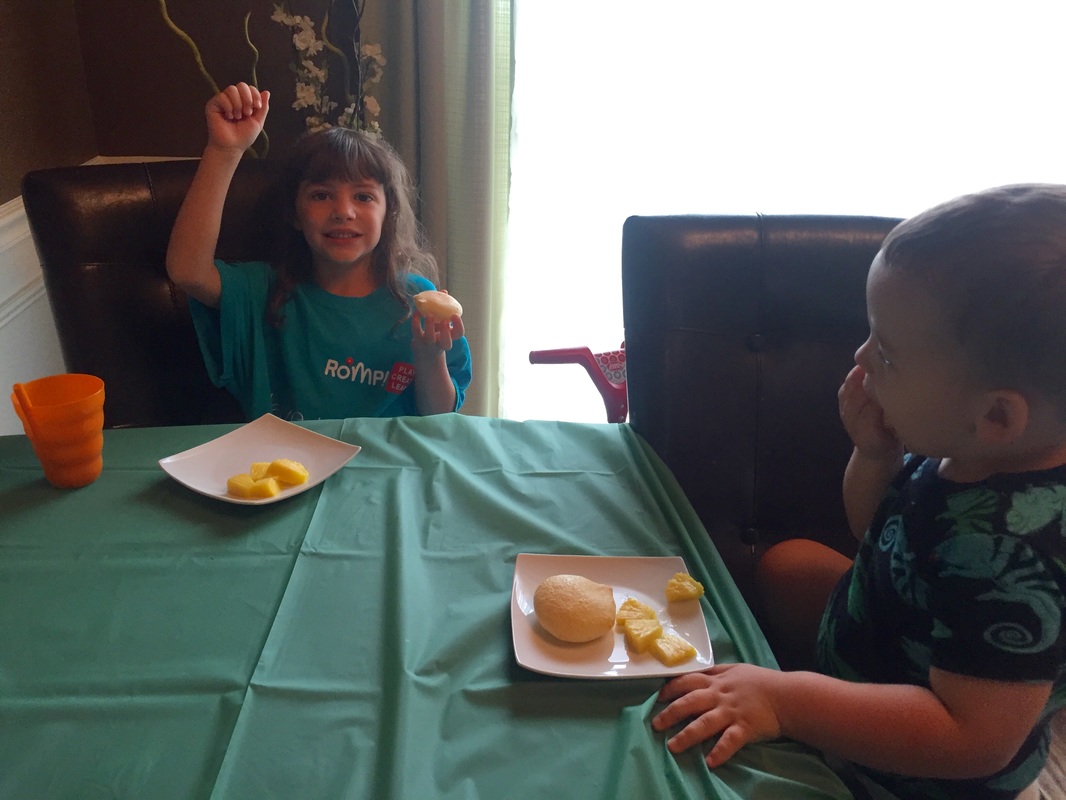
For lunch we made our own pizza. It was pretty simple using pre-made pillsbury pizza crust, a jar of pizza sauce, fresh and shredded mozzarella, pepperoni and I added basil from our garden and black olives to my portion. Yum!
 |  |
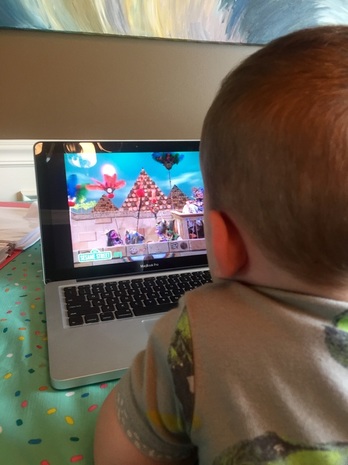
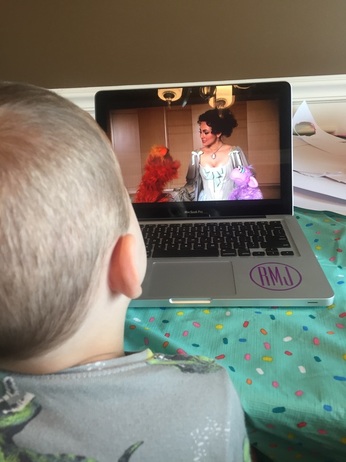
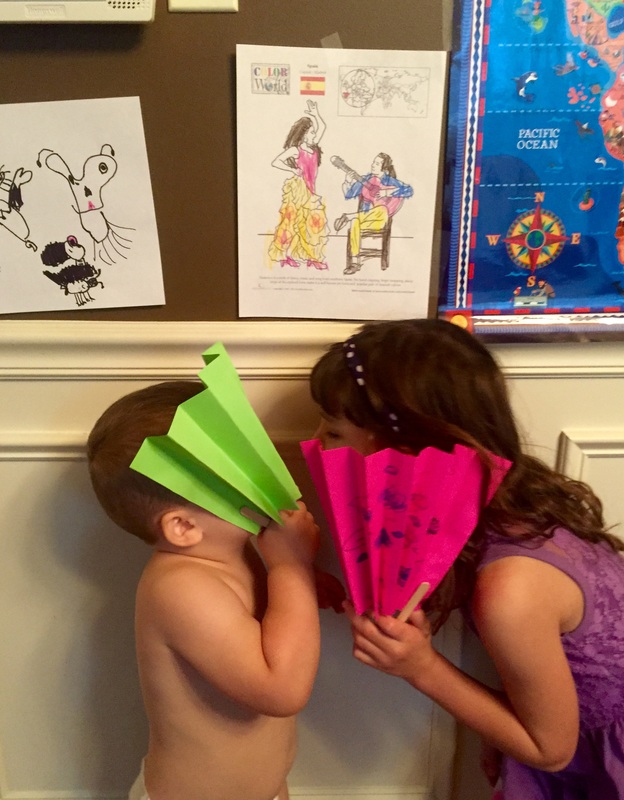
Our next focus was on opera since it's a pretty big deal in Italy. We watched quite a few videos on youtube to get a good idea of what it is including the following: "What is Opera", "Sesame Street: People in Your Neighborhood Opera Singer", "Sesame Street: Marilyn Sings C is for Cookie"and "Zoom: A Soup Opera" Once we had a good idea of what opera was, we watched "Mozart's Magic Flute: An animated plot summary" to learn about a popular opera story line and then watched these segments from a performance of that opera: "Metropolitan Opera: The Magic Flute" and "Erika Miklosa: Queen of the Night". I actually thought I had really worn out the opera thing and that they were both totally over it but, Lilly said she would like to watch a whole opera in real life and at various points throughout the day I caught her singing about her actions in an operatic style. Including a point when she sang, "Arthur has a poopy!" in a very dramatic, Queen of the Night manner. It was pretty hilarious and let me know that she got something out of the whole lesson.
 |  |
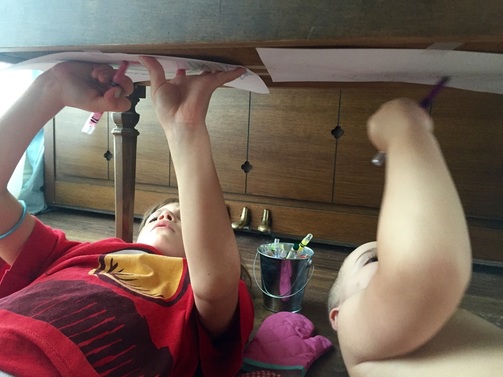
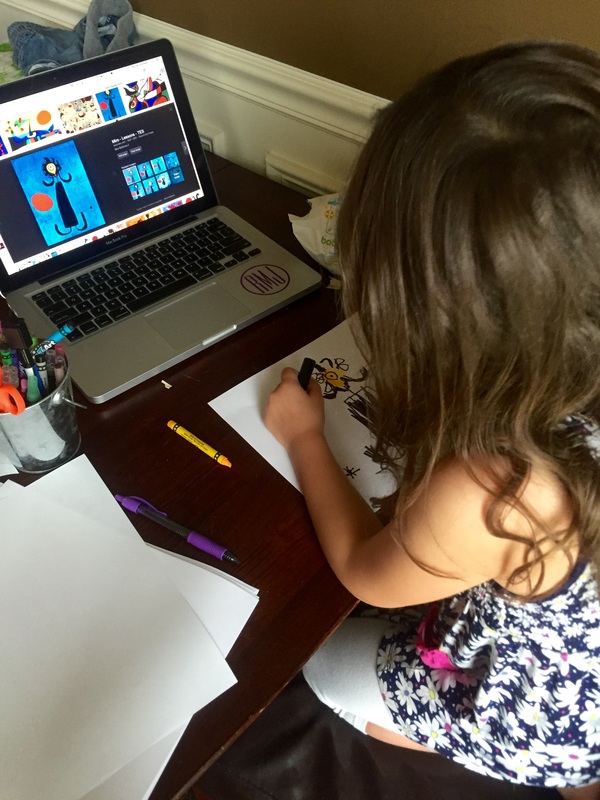
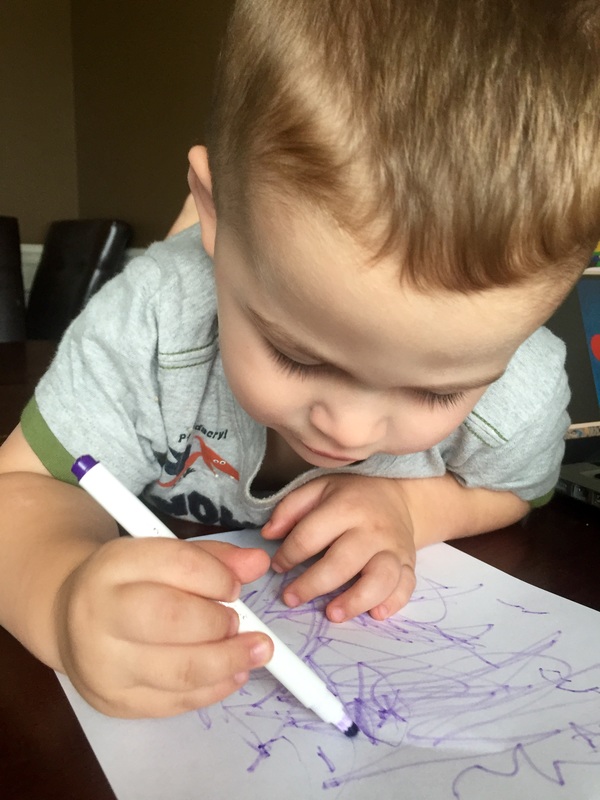
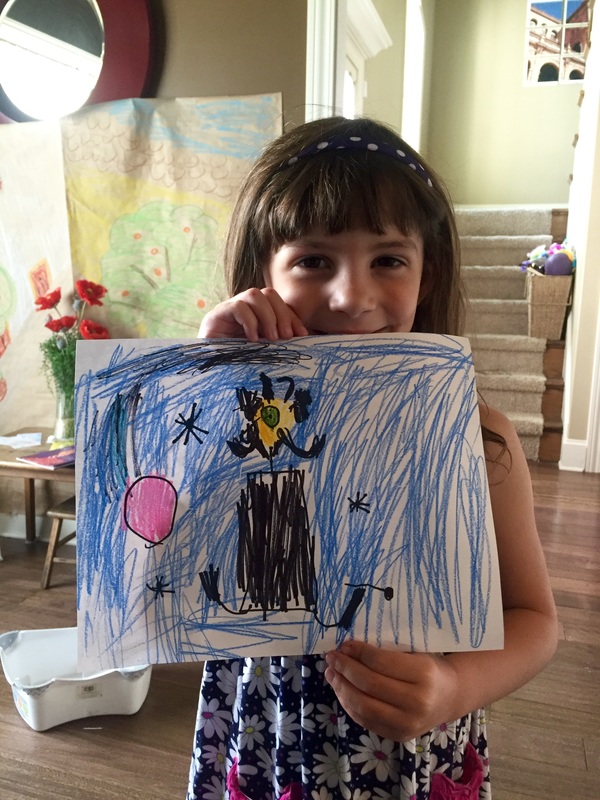
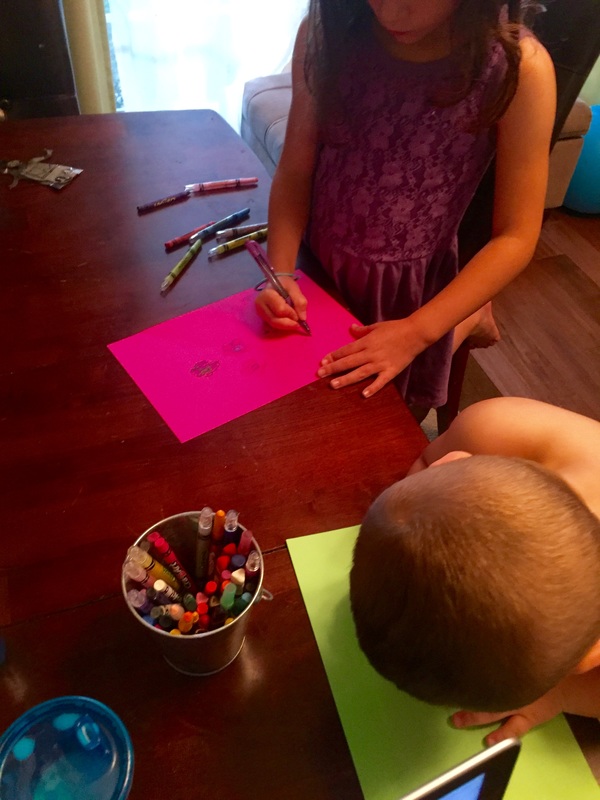
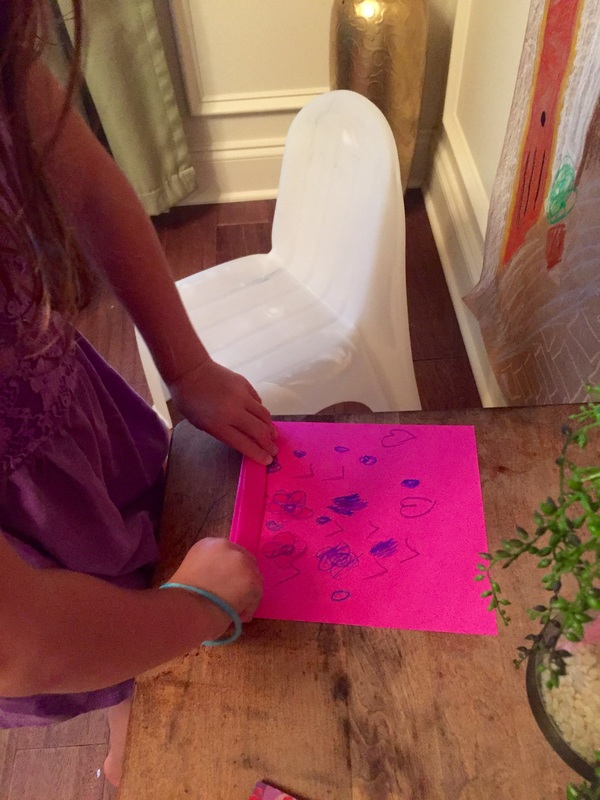
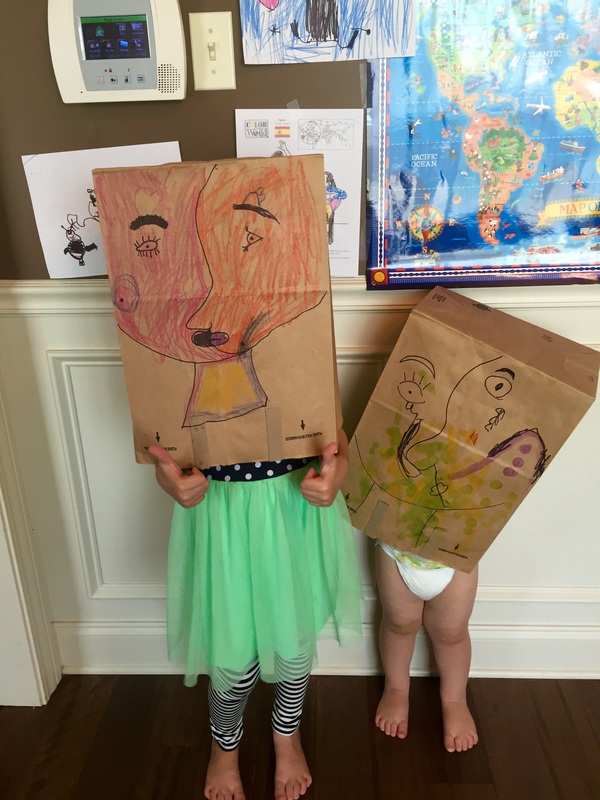
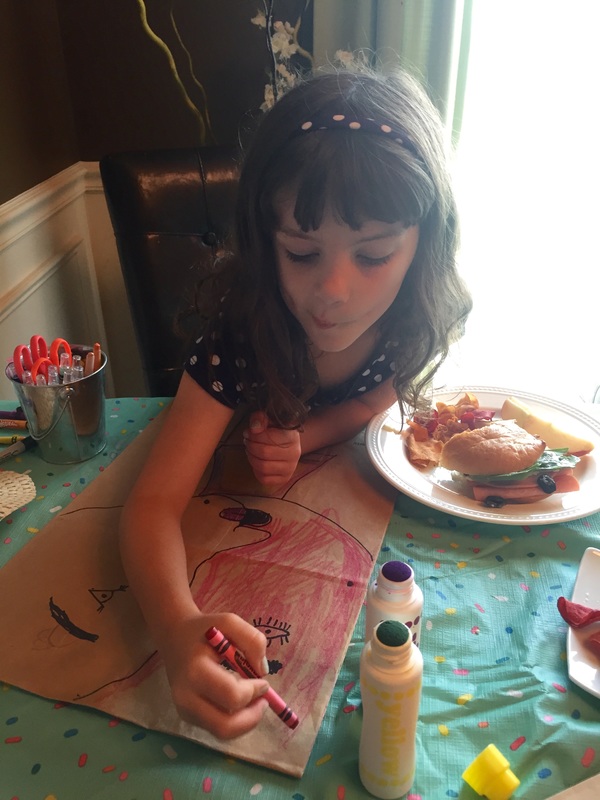
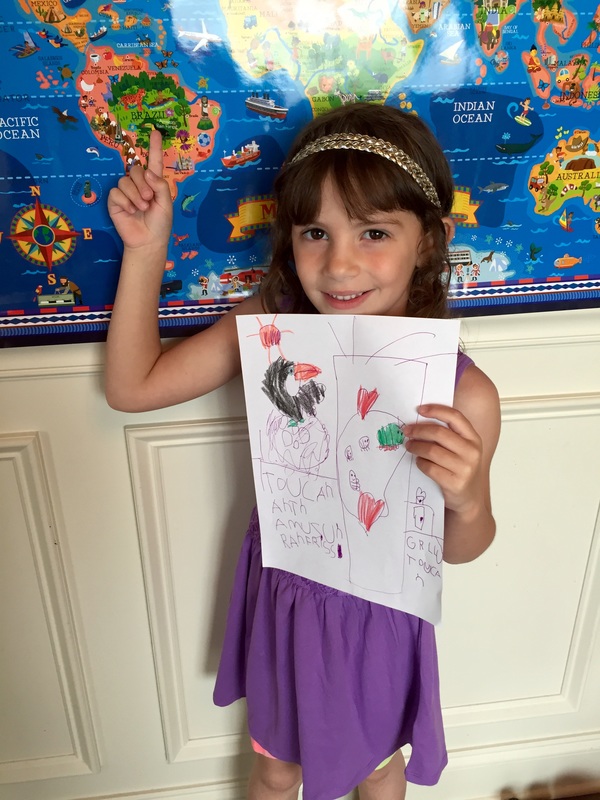
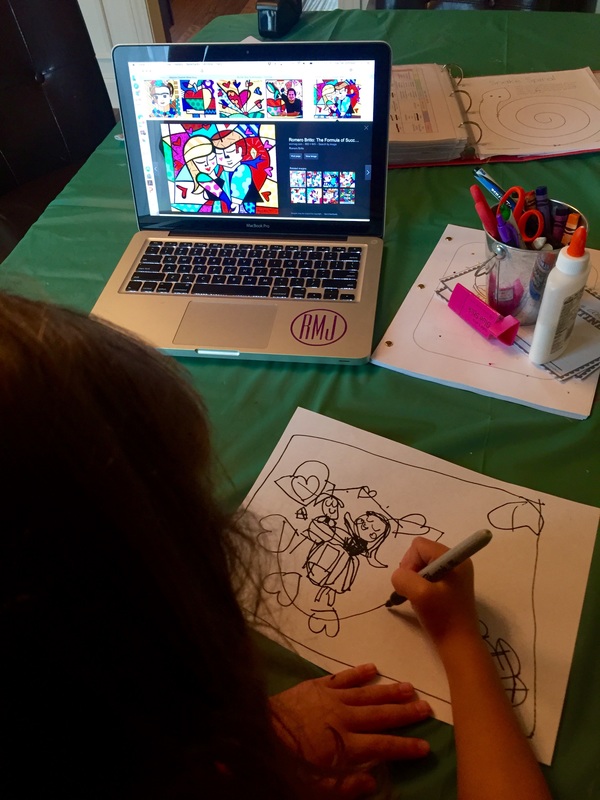
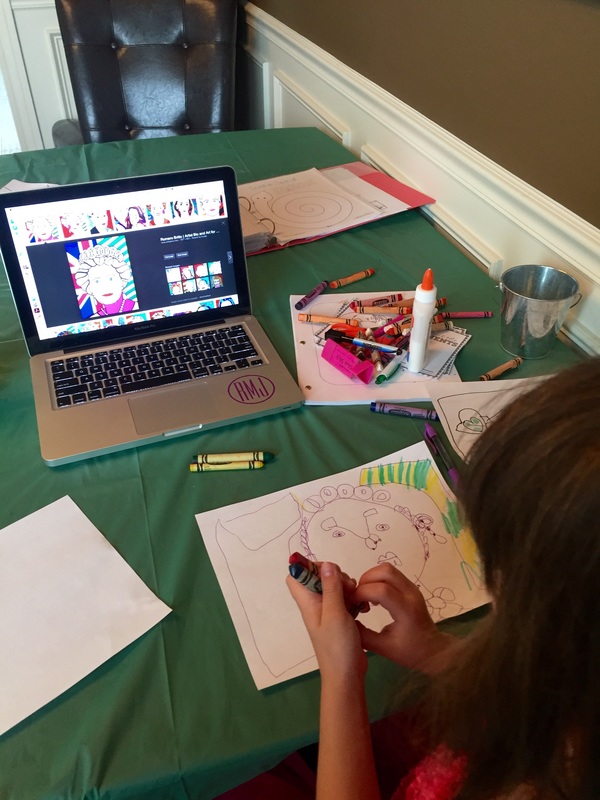
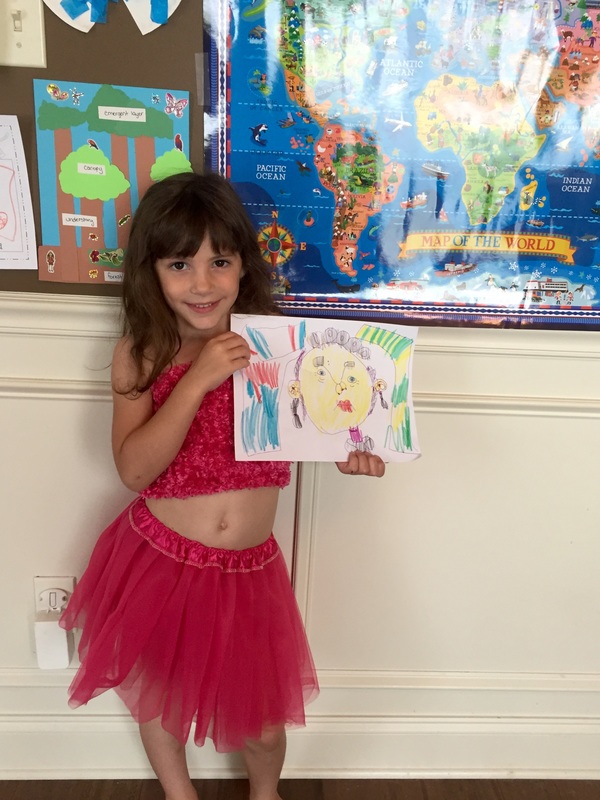
After learning about opera we discussed Michelangelo and watched this video about him. Then we practiced creating art like he did when he painted the Sistine Chapel after looking at pictures of the ceiling located there. I taped paper to the underside of our piano bench and gave them a bucket of crayons. At first they weren't really into it but in the end they each created multiple masterpieces and spent about 30 minutes or more drawing. I call that a win!
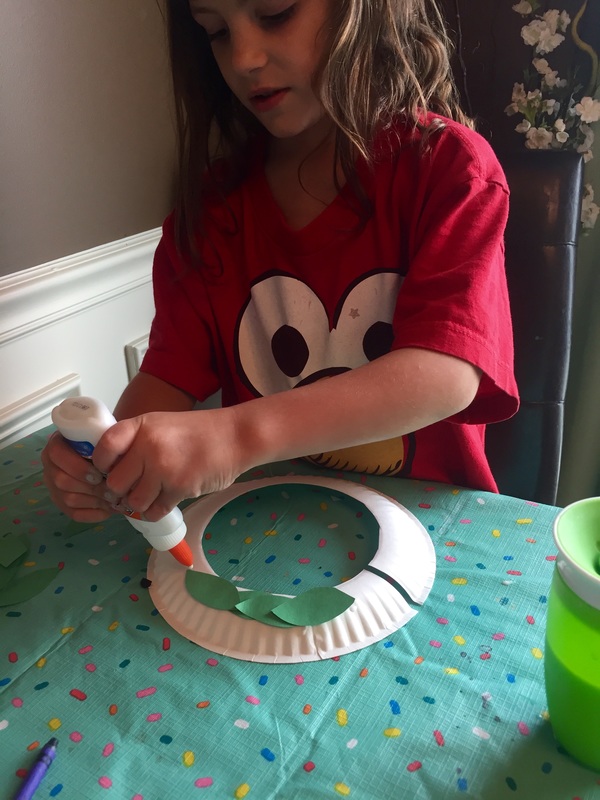
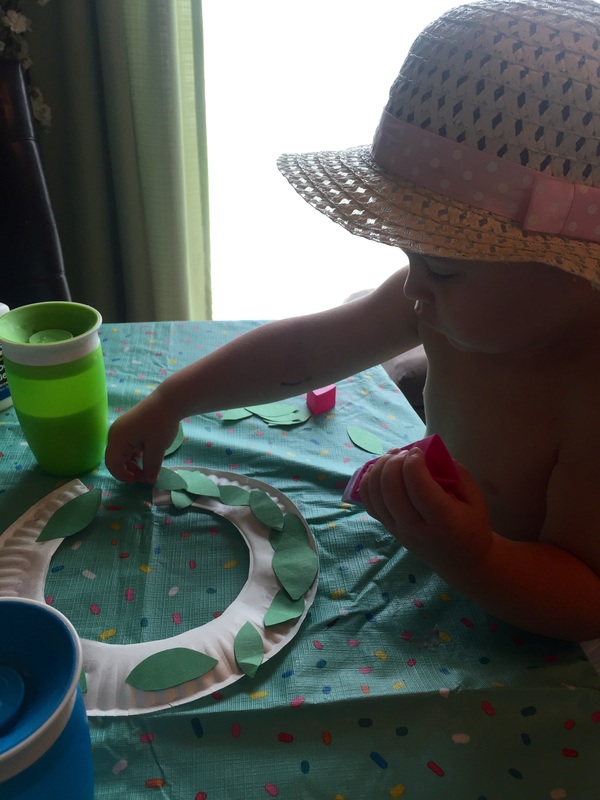
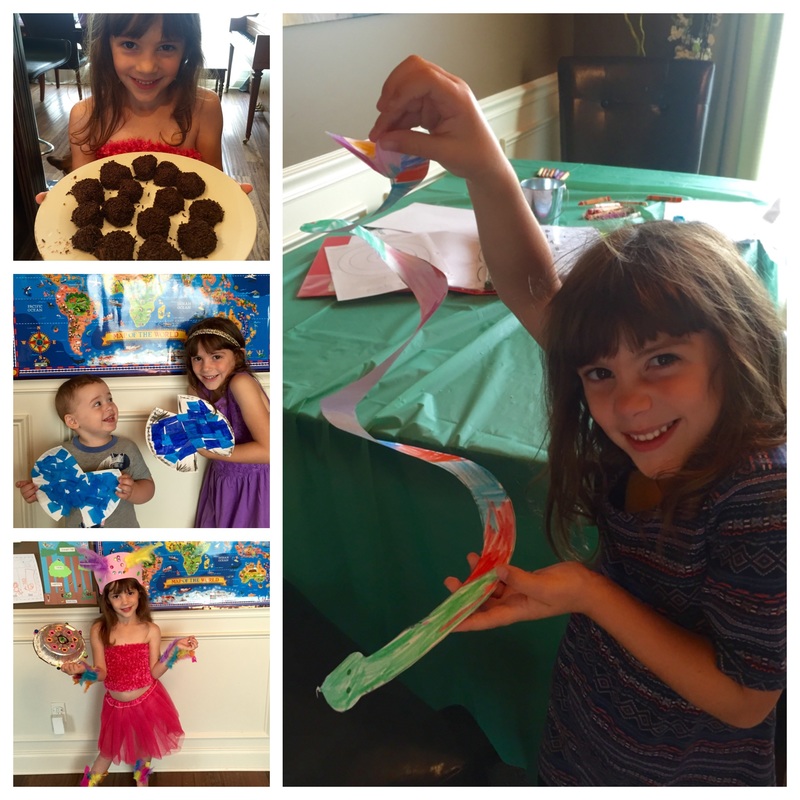
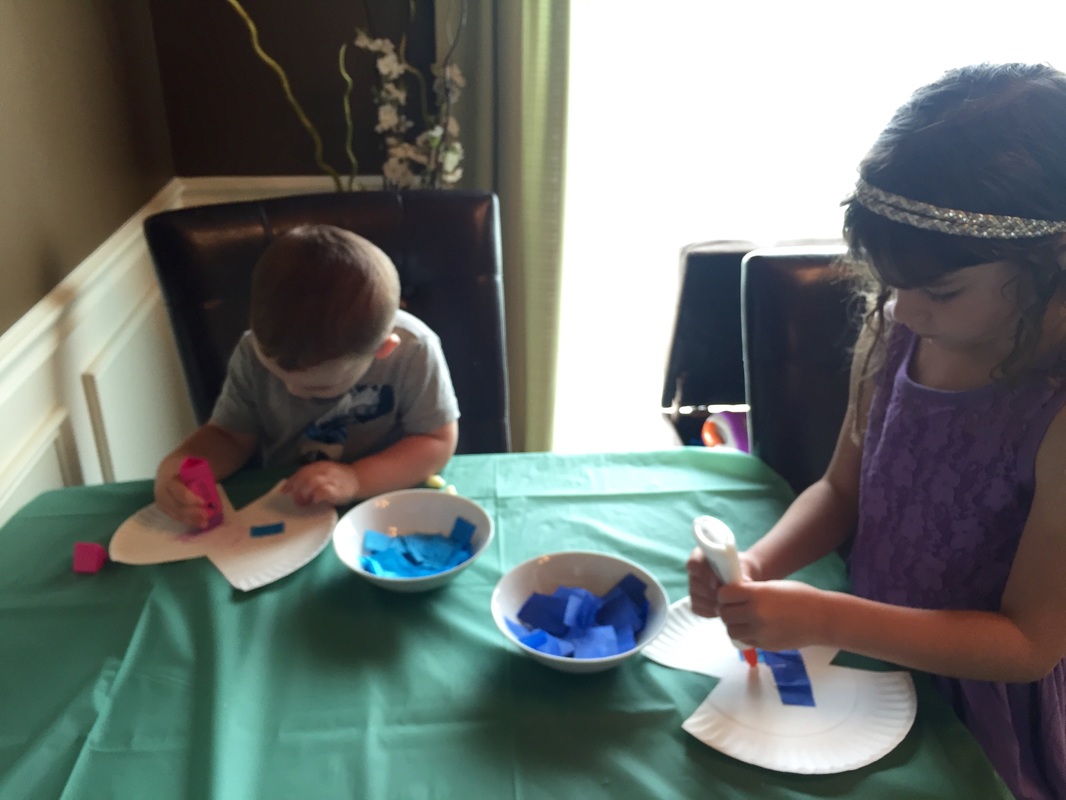
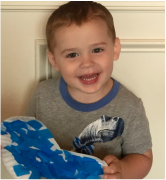
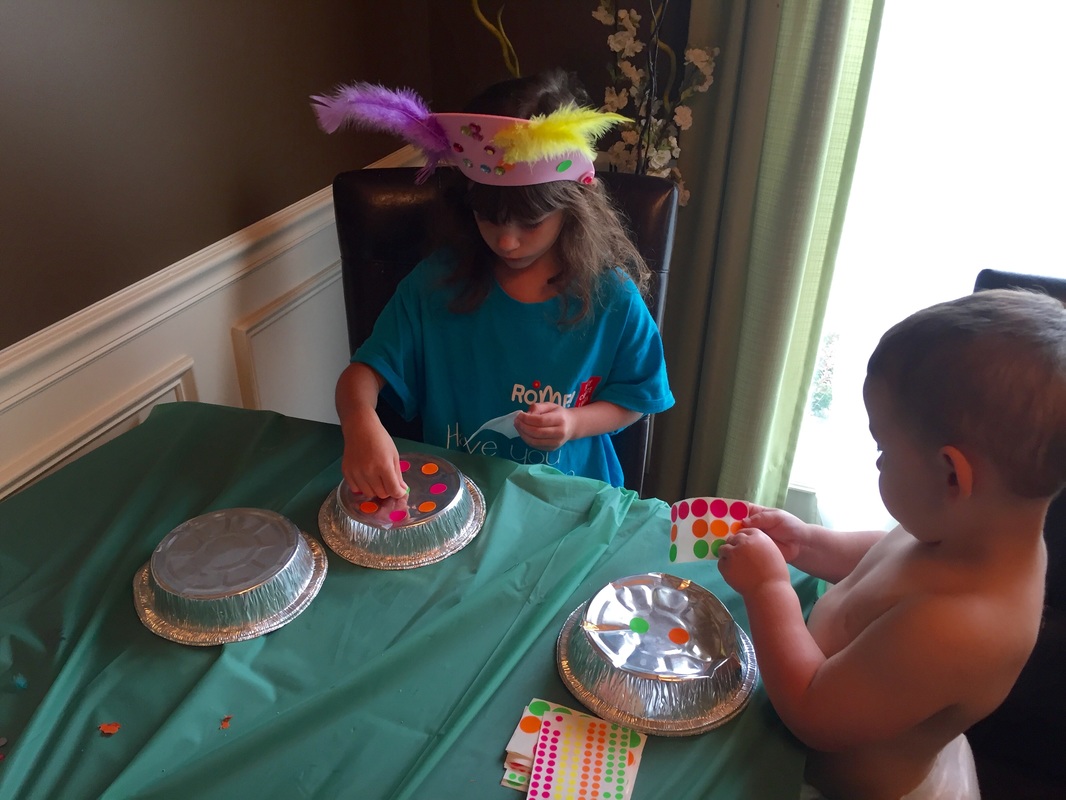
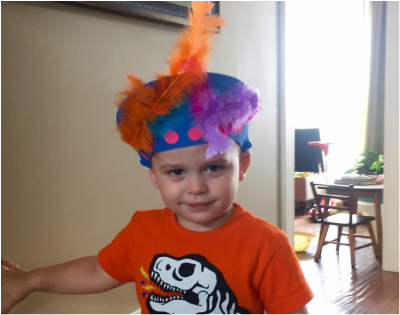
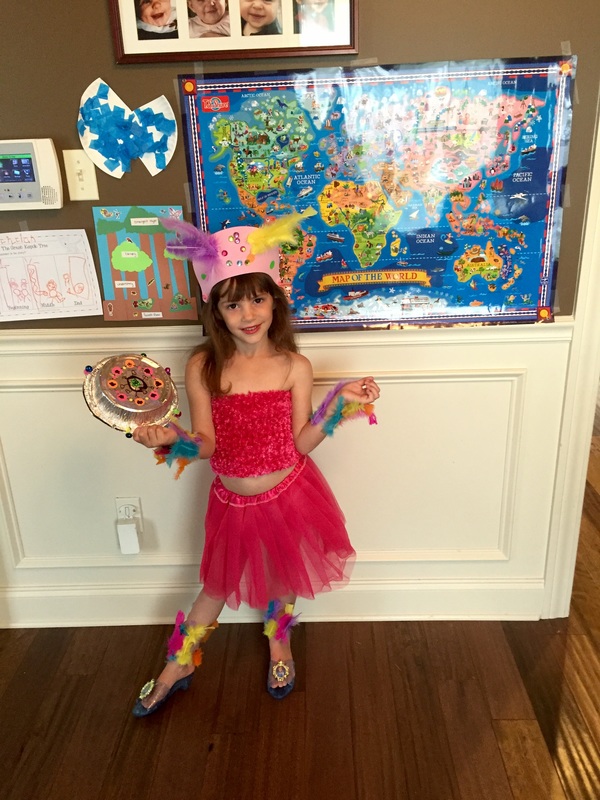
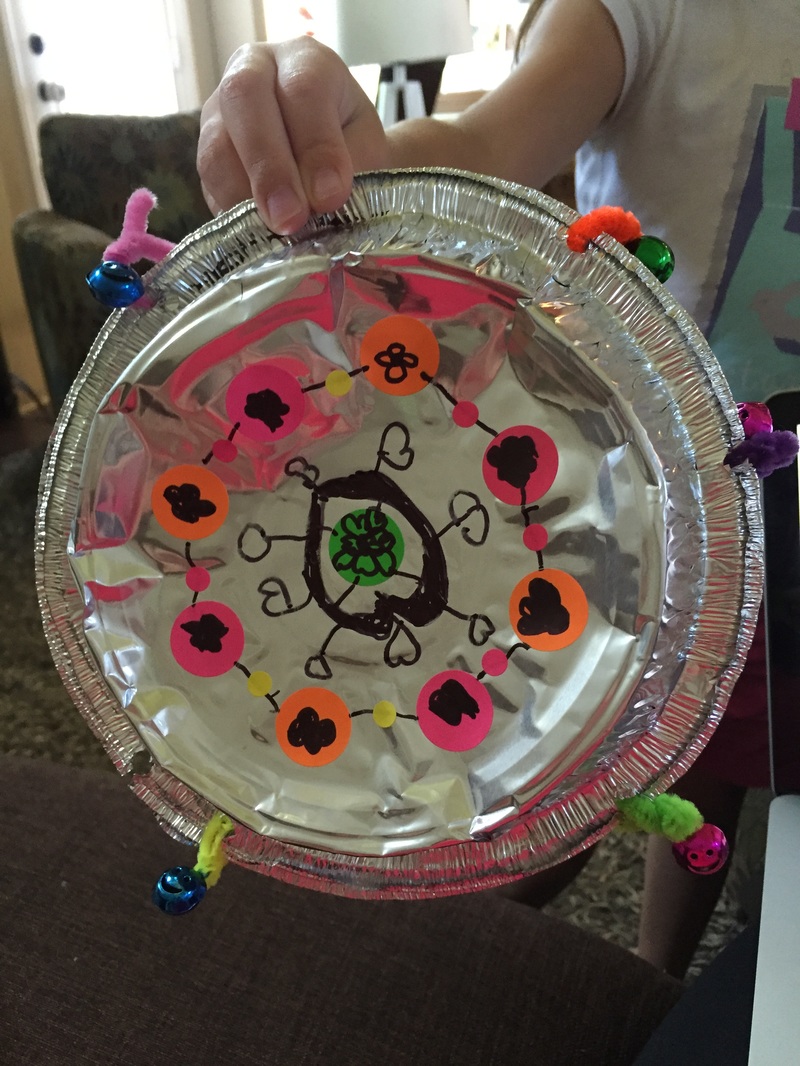
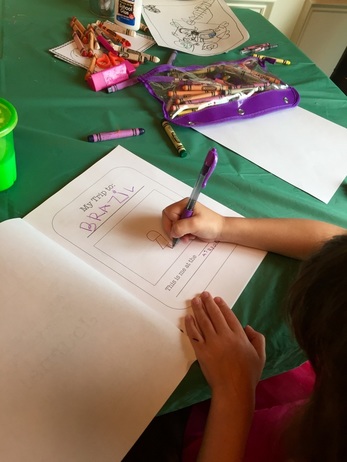
We finished the week by creating laurel crowns using paper plates, glue and green construction paper. I prepped the plates by cutting the center out and cut out leaf shapes from the green paper. We discussed how in ancient Italy, they were often given to scholars upon completion of schooling and, since we finished learning about Italy they got to wear them! I was super impressed with Arthur and his focus on this craft. He spent at least 30 minutes and actually completed the crown. He did insist on looking fabulous with Lillian's sun hat while working which made it even more adorable. It even looked pretty ok for a two year old! I was, however, unable to capture a good photo as the apple sauce was more important at the time. Lilly was into though.
 |  |  |
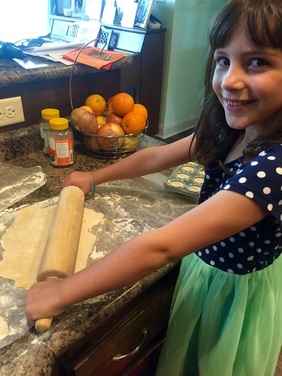
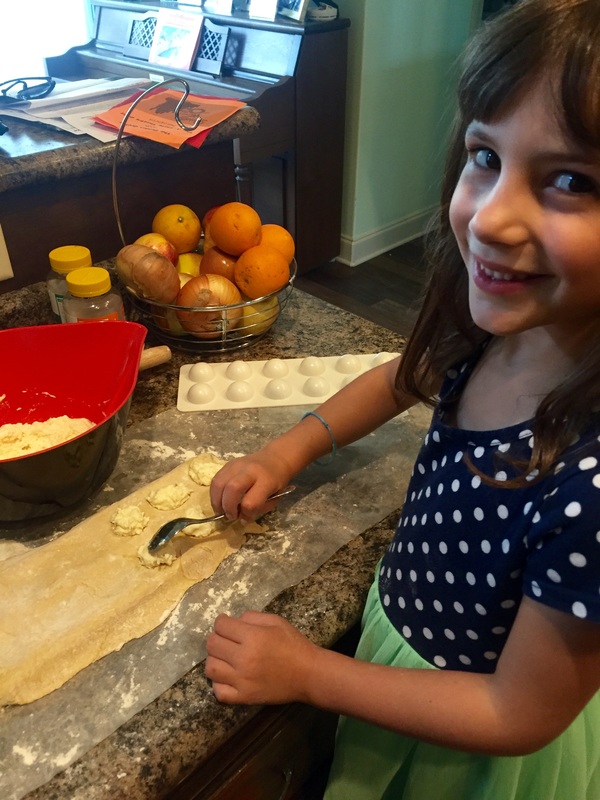
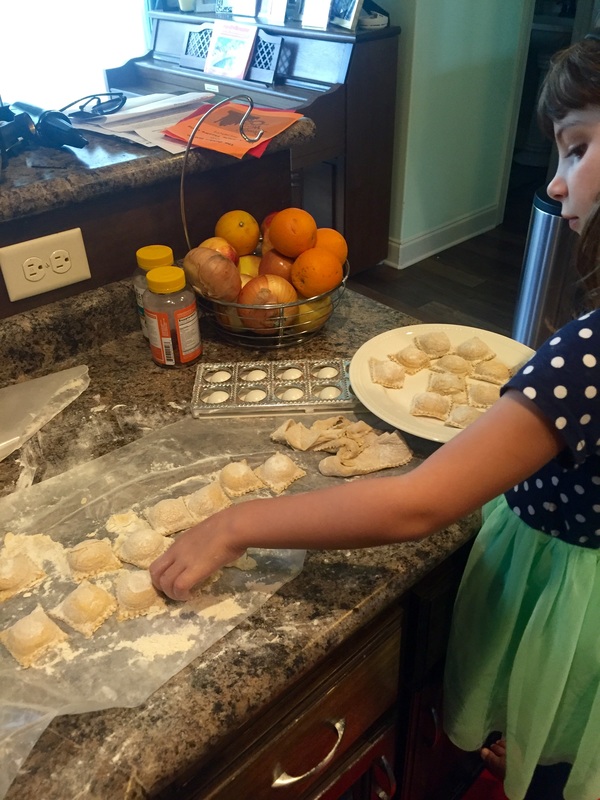
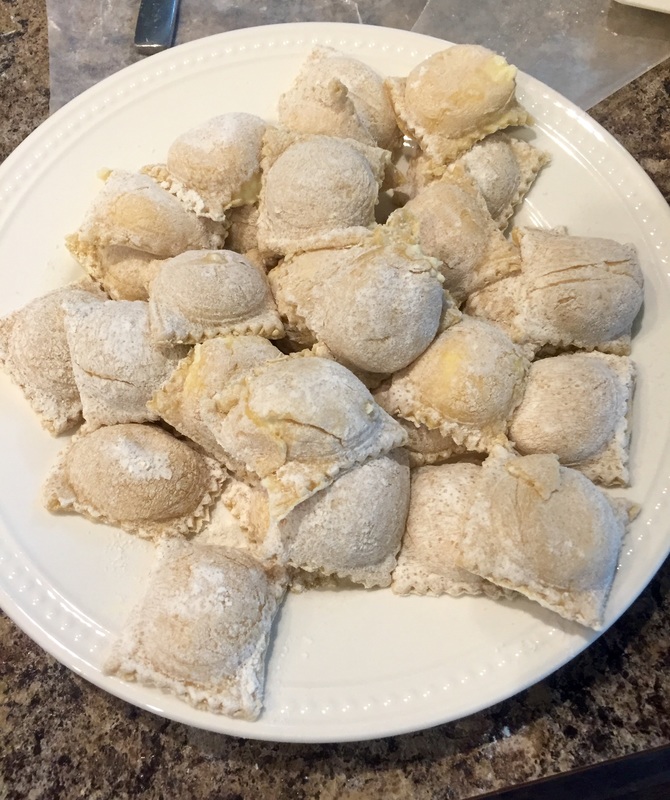
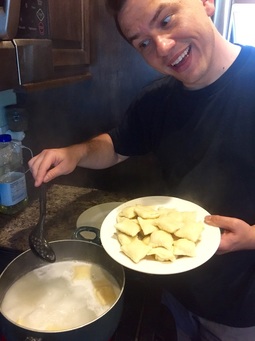
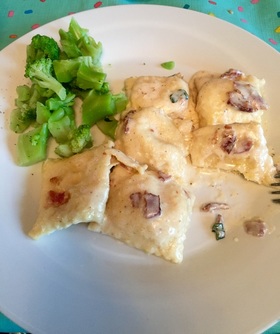
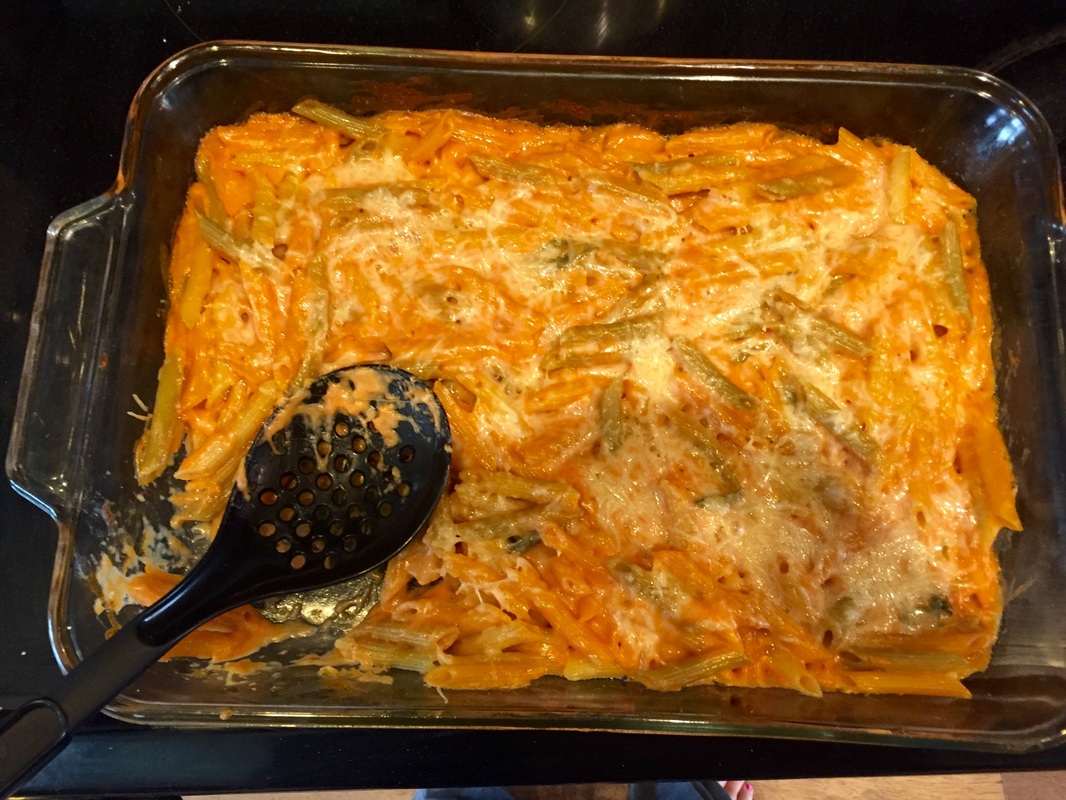
We wrapped up the week by making ravioli from scratch. I purchased this handy ravioli press, we made the dough and mixed up the filling and boom! Ravioli! We made a bacon, basil, cream sauce to go with them and boy was it delicious! You can get the recipe from the MC Recipe book here. I also made the Roman Apple Cake recipe found in the book. It was ok, but not my favorite. It may fave been because I ran out of flour and had to use coconut flour instead.
 |  |  |
 |  |  |
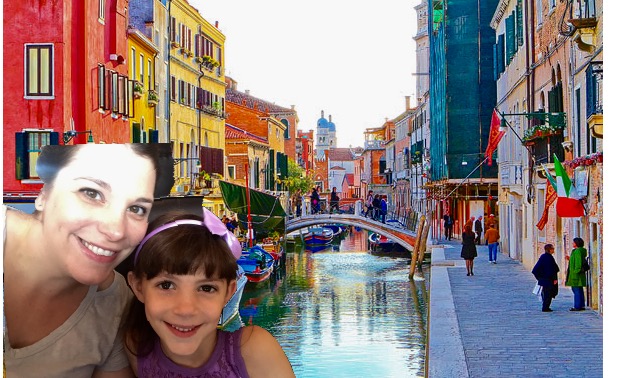
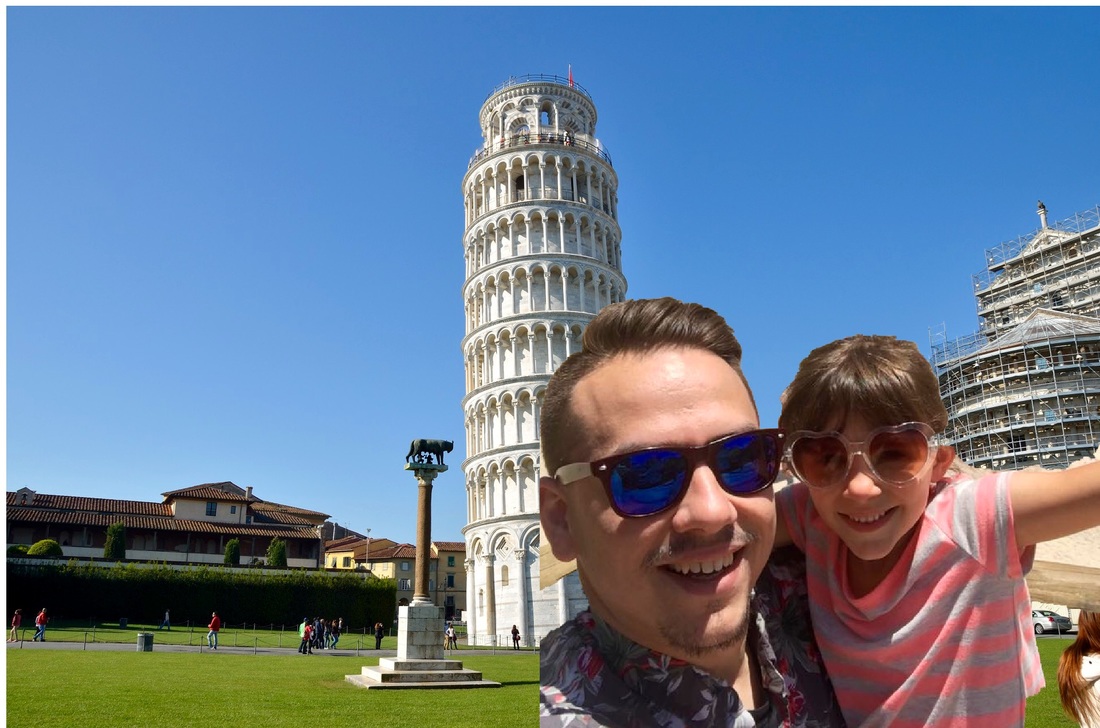
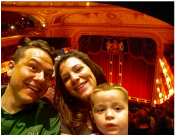
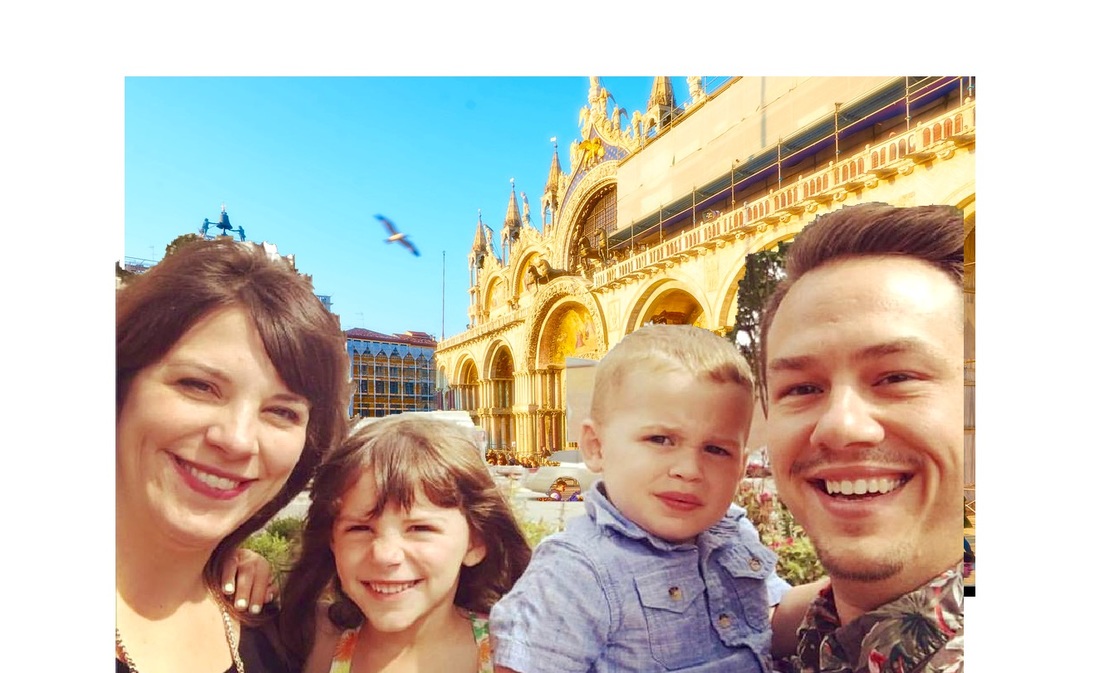
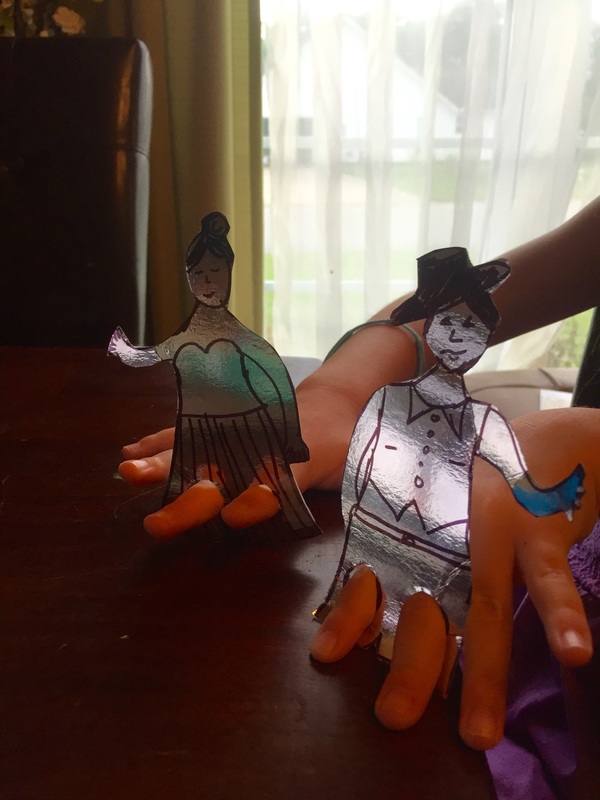
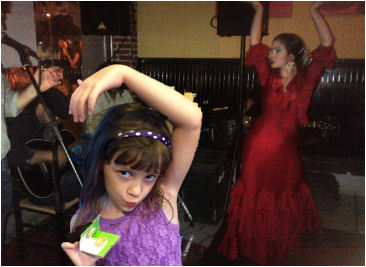
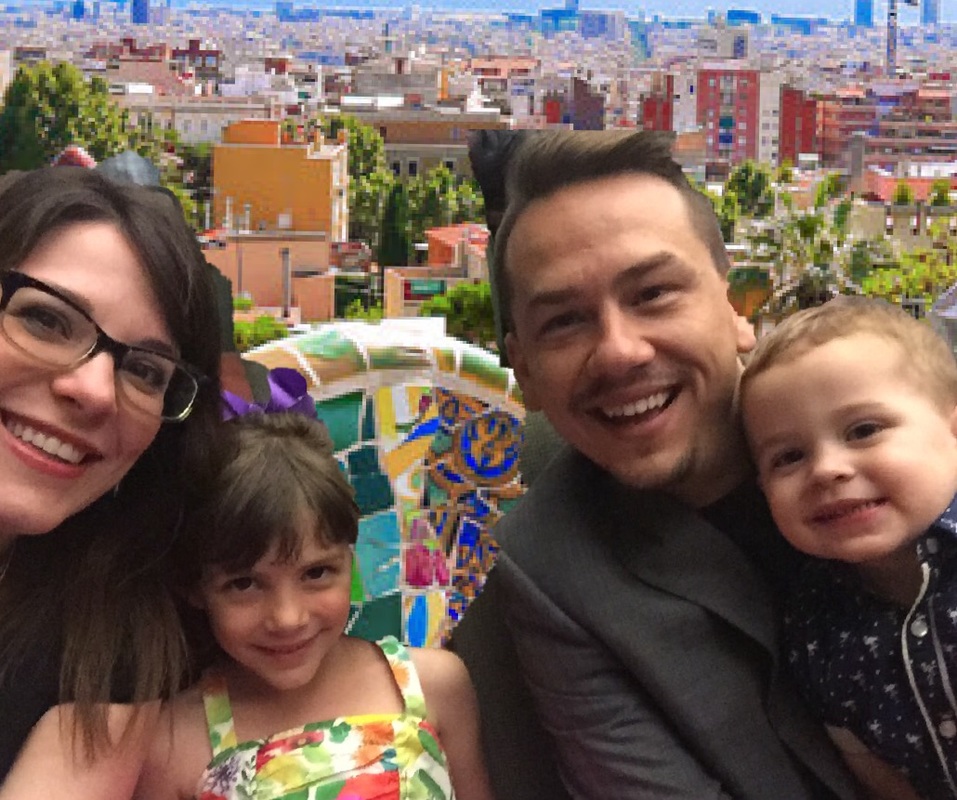
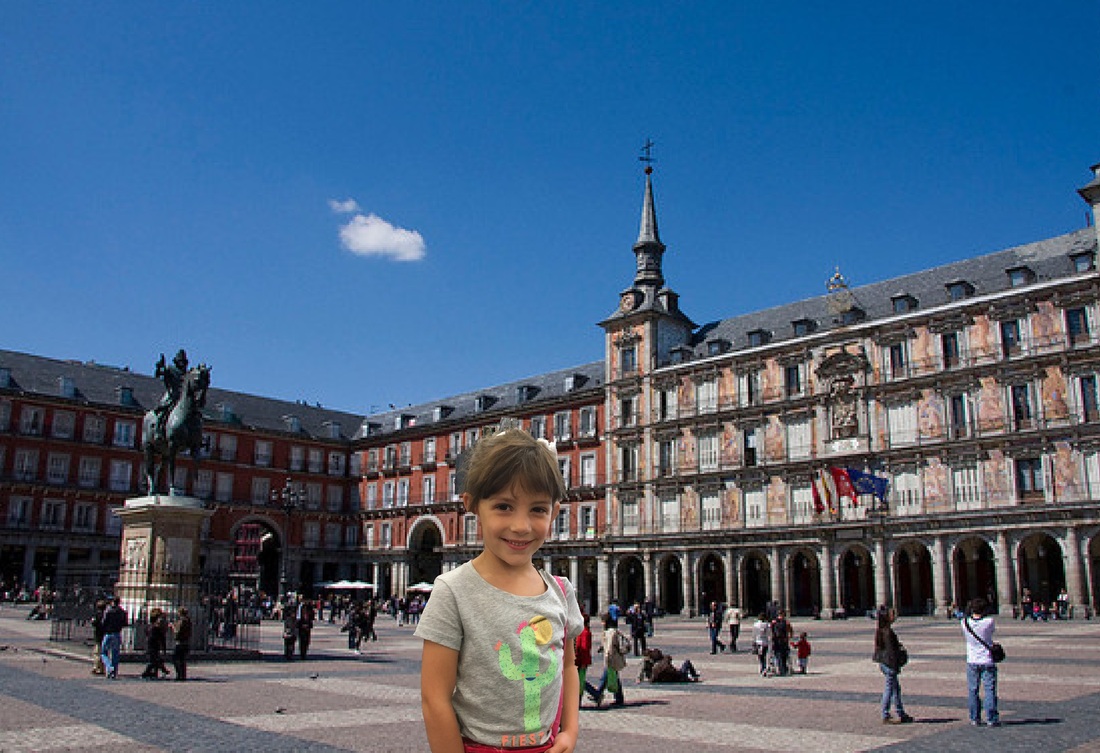
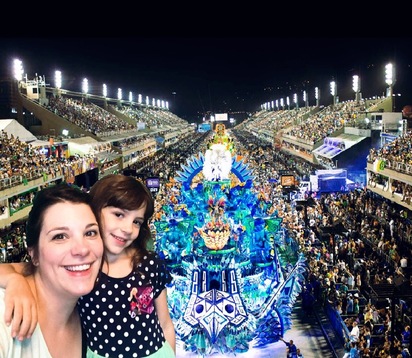
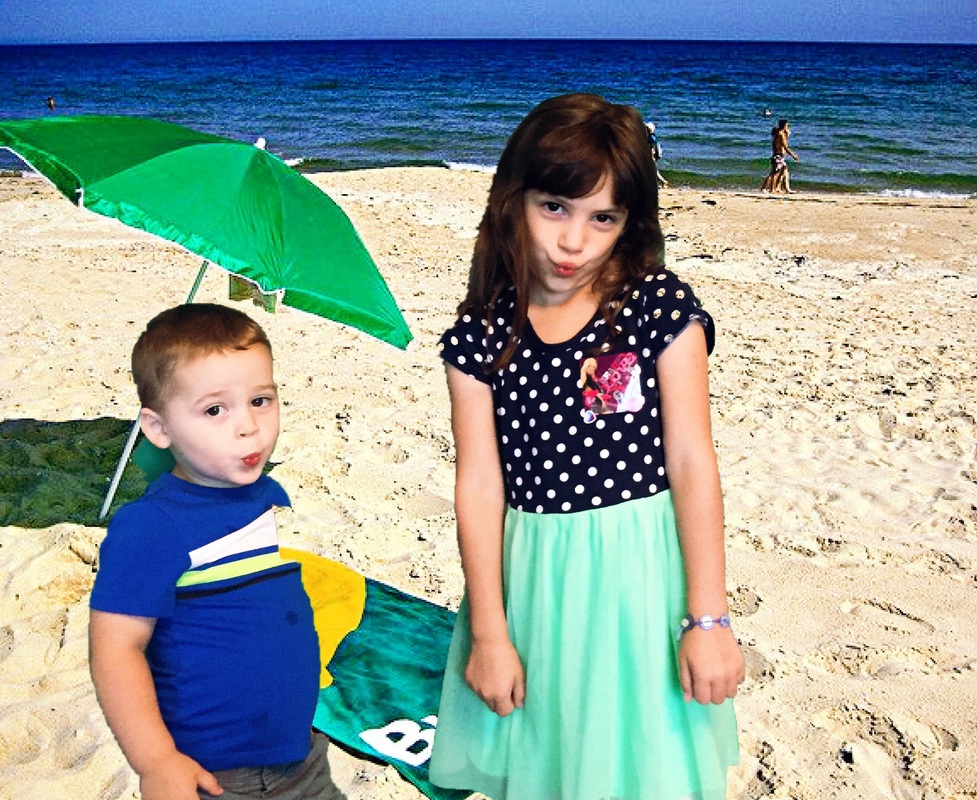
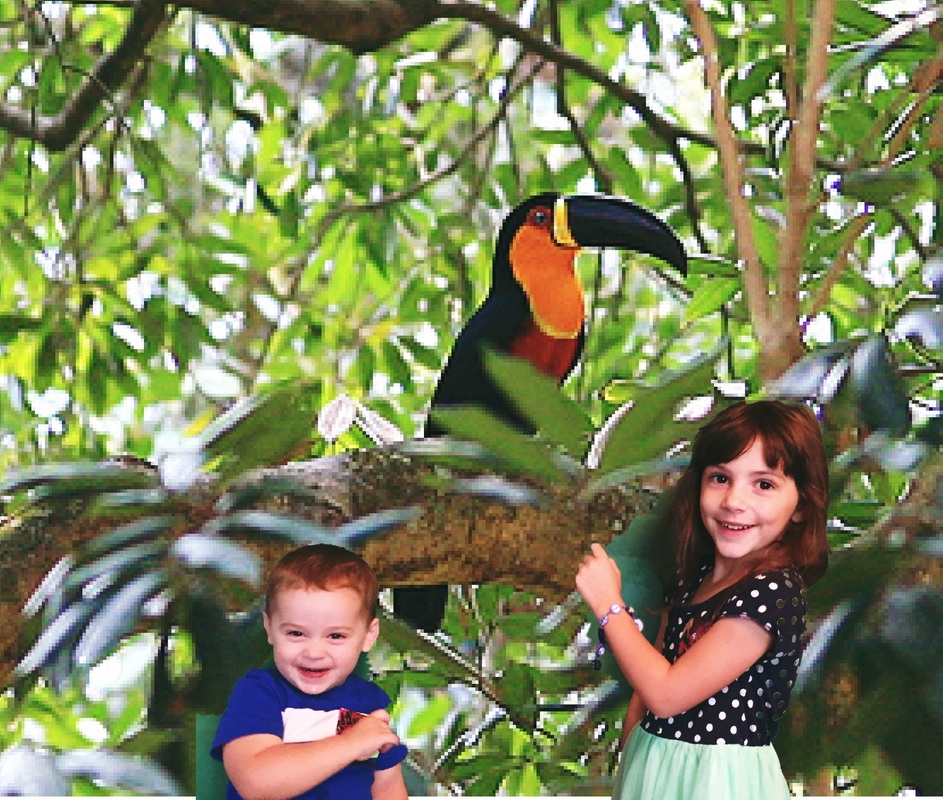
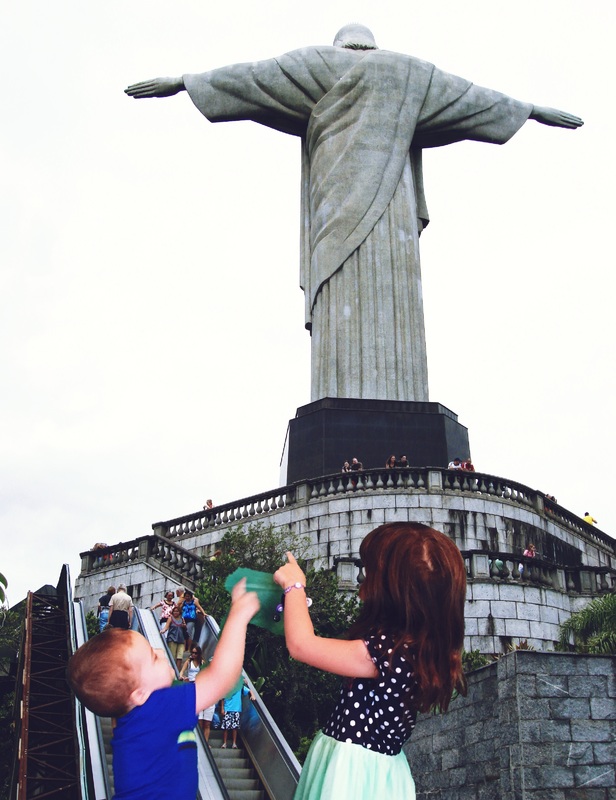
Finally, here are my horrible photo shopped pics from our "trip" to Italy. So silly!
 |  |  |  |
It was a fun week and I'm ready for our next country, France! See you soon!


 RSS Feed
