
I am sure you know how difficult travelling with kids can be. However, I truly feel that it is worth all of the stress and hard work and science backs me up on this. According to this article, taking your kids on vacation can enhance their executive functions and overall intelligence, help support their exploratory urge and can essentially refuel your family's affection for one another!
So, now that we've discussed how it can benefit your kids, let's talk about ways to make it not be a total shit show for you! Because, let's face it, going anywhere with kids can be a nightmare.
When I begin to plan a trip the biggest thing I can recommend is RESEARCH! Go to the internet and ask it some questions. Here are a few of the ones I always check on.
-What restaurants are kid friendly, offer kid discounts or even have a play area?
-What activities should you do? How much do they cost? What are the operating hours? Are there discount days?
-What is the driving distance from your hotel to the various activities you plan on doing?
After doing some preliminary research I begin to form my plan. First, I plan the trip there. We have not taken a trip requiring a flight with ours yet (mostly due to the extreme cost that involves) so, I have to do a good amount of planning for the drive.
Kids can't sit in the car for too long without a stop for play or pee or whatever. I usually use this site to find the halfway point between my start and end locations. Once I've found it, I will try to pick a good spot for us to stop somewhere around that spot, preferably a place that gives kids the opportunity to play.
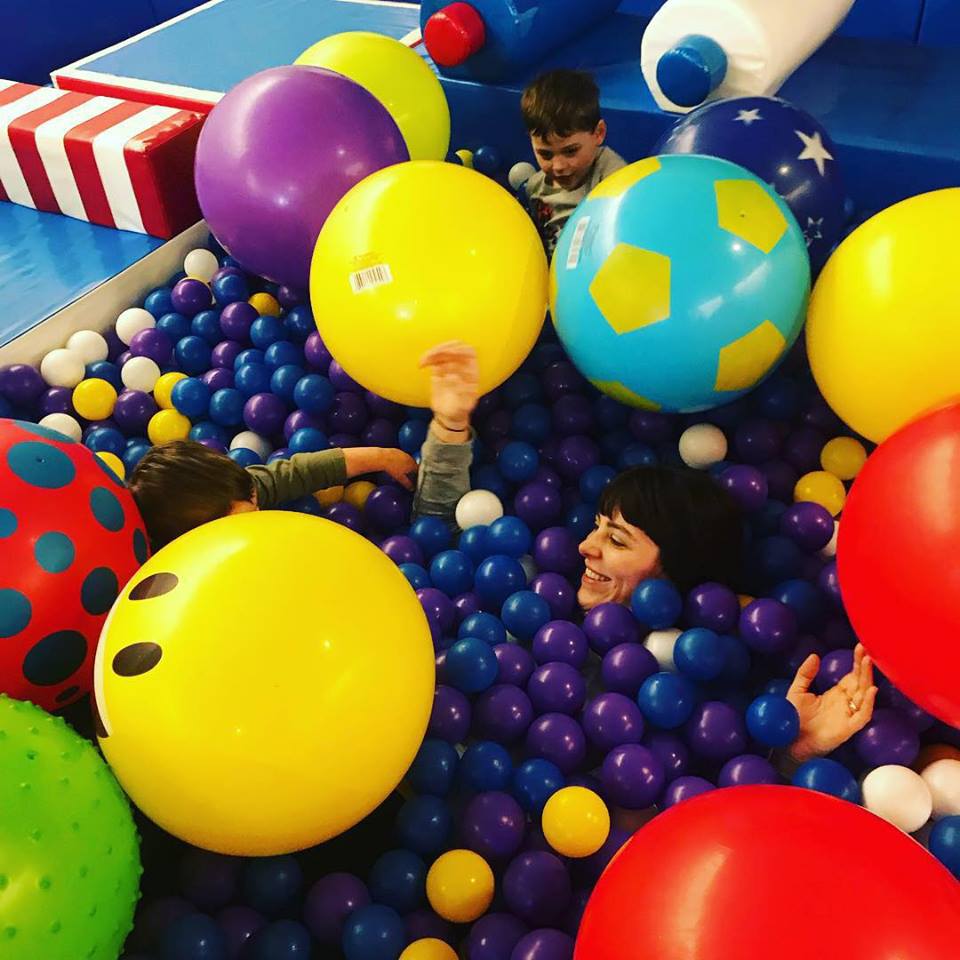
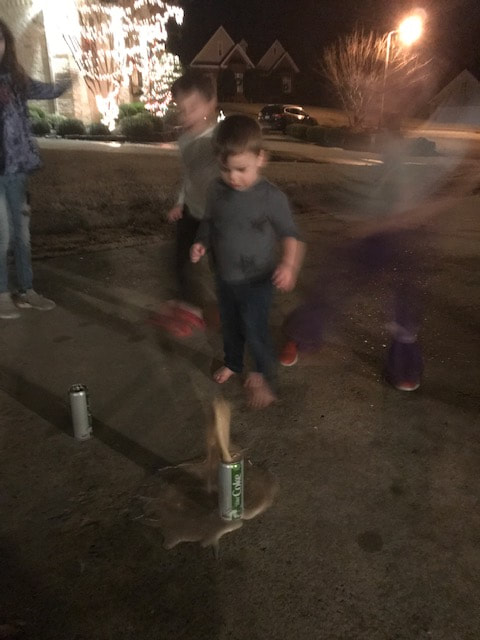
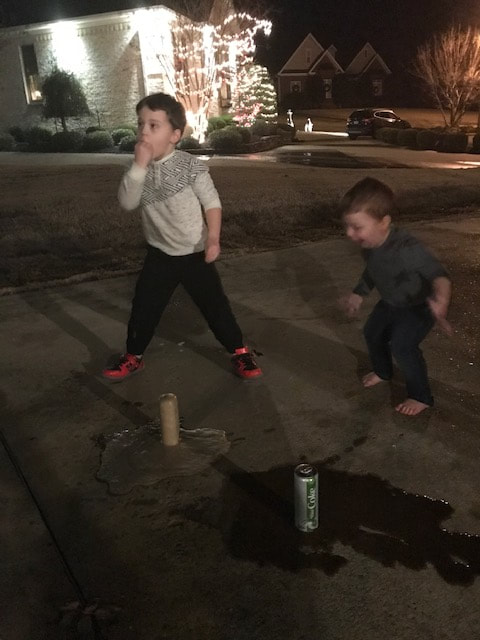
For example, we recently went on a quick weekend trip to Huntsville, AL to visit the Space and Rocket Center. We live in Jonesboro, AR so halfway was a pretty small town. I started looking at a larger area not too far off and found a great indoor play center with a Red Robin close by! Winning! So, we ate and then played for a few hours. The play place was super cute AND offered free coffee for parents. They even had a giant ball pit that ALL of us enjoyed.
So, now that we've discussed how it can benefit your kids, let's talk about ways to make it not be a total shit show for you! Because, let's face it, going anywhere with kids can be a nightmare.
When I begin to plan a trip the biggest thing I can recommend is RESEARCH! Go to the internet and ask it some questions. Here are a few of the ones I always check on.
-What restaurants are kid friendly, offer kid discounts or even have a play area?
-What activities should you do? How much do they cost? What are the operating hours? Are there discount days?
-What is the driving distance from your hotel to the various activities you plan on doing?
After doing some preliminary research I begin to form my plan. First, I plan the trip there. We have not taken a trip requiring a flight with ours yet (mostly due to the extreme cost that involves) so, I have to do a good amount of planning for the drive.
Kids can't sit in the car for too long without a stop for play or pee or whatever. I usually use this site to find the halfway point between my start and end locations. Once I've found it, I will try to pick a good spot for us to stop somewhere around that spot, preferably a place that gives kids the opportunity to play.
For example, we recently went on a quick weekend trip to Huntsville, AL to visit the Space and Rocket Center. We live in Jonesboro, AR so halfway was a pretty small town. I started looking at a larger area not too far off and found a great indoor play center with a Red Robin close by! Winning! So, we ate and then played for a few hours. The play place was super cute AND offered free coffee for parents. They even had a giant ball pit that ALL of us enjoyed.
 | 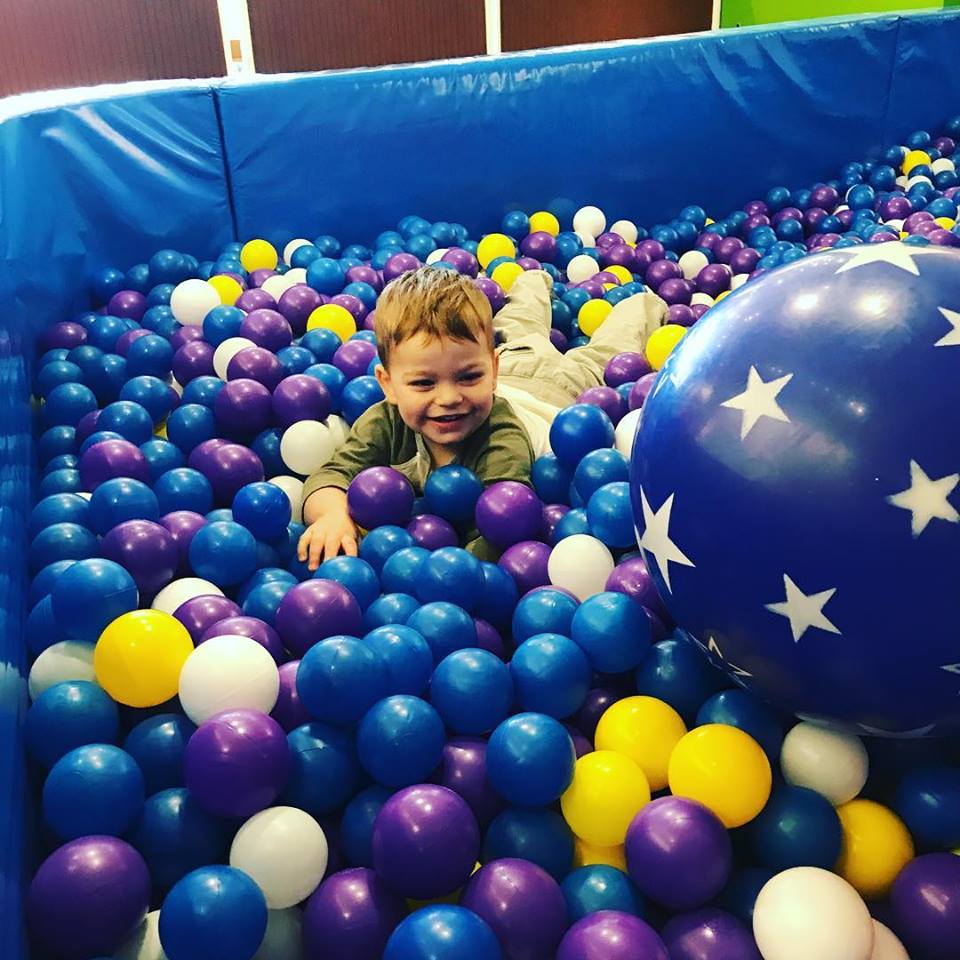 | 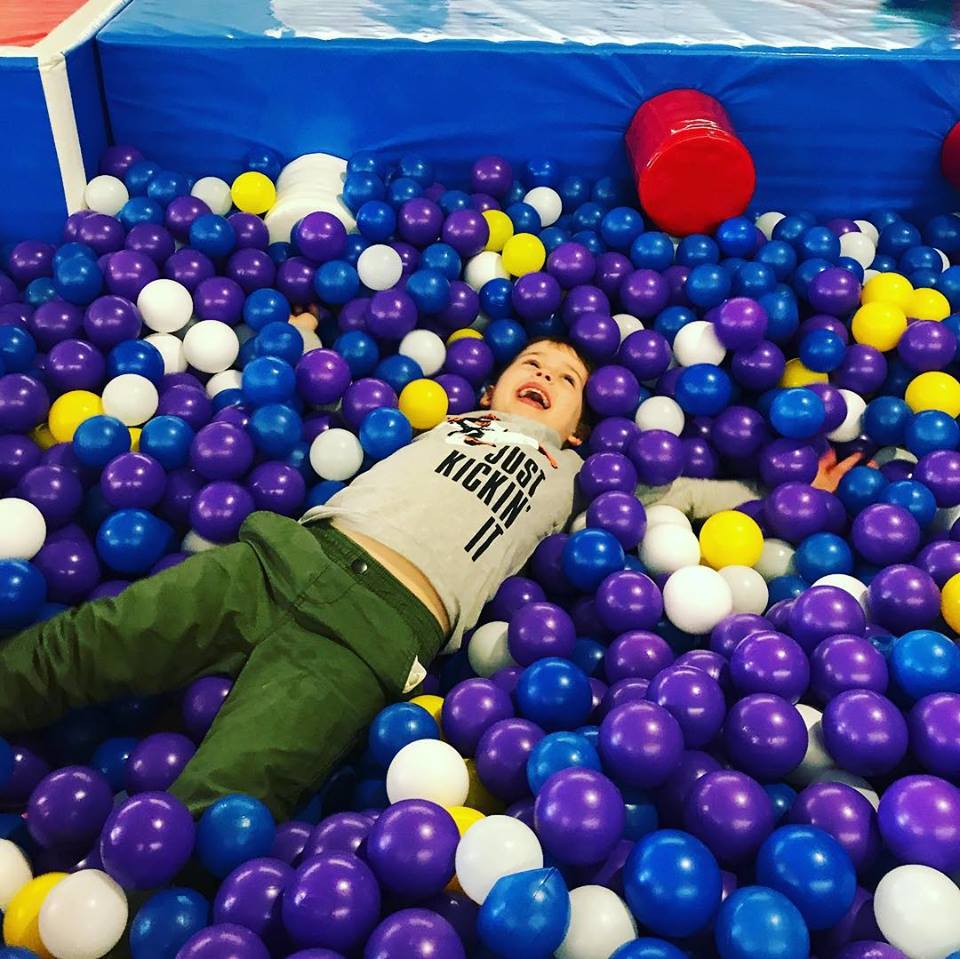 |  |
They were all really worn out and slept for the majority of the remaining 3 hour drive. The key is not to be in a rush. Take your time getting to your destination. It makes the drive there PART of the vacation! Also, this is important for the return trip too. You can repeat the same activities you did the first time or mix it up but, unless you are driving through the night, you should probably plan to have a fun stop in the middle.
Once I've planned the driving, I pick the hotel. I am very picky about hotels and generally want a suite that has a separate bedroom but, I'm also cheap AF. I am a Hilton Honors member which gets me some perks and discounts so, I generally stay at one of the Hilton affiliated hotels. I really like Homewood Suites. They have a free breakfast that is yummy, the hotels are usually very updated if not new and their suites include a full kitchen. Also, they usually have a pool. You should choose what your priorities are and go from there. I like to look at reviews and customer images on Tripadvisor when deciding between hotels.
After picking the hotel I get into all the details and actually create an itinerary for each day. Now, just because I have a plan does not mean that I stick to it hell or highwater. I leave it as an option but change based on how the day goes. I will often put some alternative activities or options on my list for the day just in case things don't go as planned.
I know it sounds super OCD of me to have it all planned but, with kids, it really does make it SOOO much better. When we went on our first family trip with an itinerary my husband scoffed and thought I was crazy but, because it was so informative (time to get from hotel to restaurant, addresses, business hours and cost) it made it easier for us to make decisions about our day and unplanned events didn't throw us for a loop.
For example, when we went to St. Louis for a week last summer, the first night we were there my son began to complain of a pain in his leg. Upon inspection, we found that it was hot, hard and red. Not good. So, we dosed him with some tylenol. (You should ALWAYS bring tylenol/motrin you'd be surprised how often you need it.) Then, the first thing the next morning we took him to an urgent care clinic nearby. Because I had planned so well and we knew what our plan was supposed to be along with hours and distance, it didn't mess with our day at all. He got treated and we went about our day.
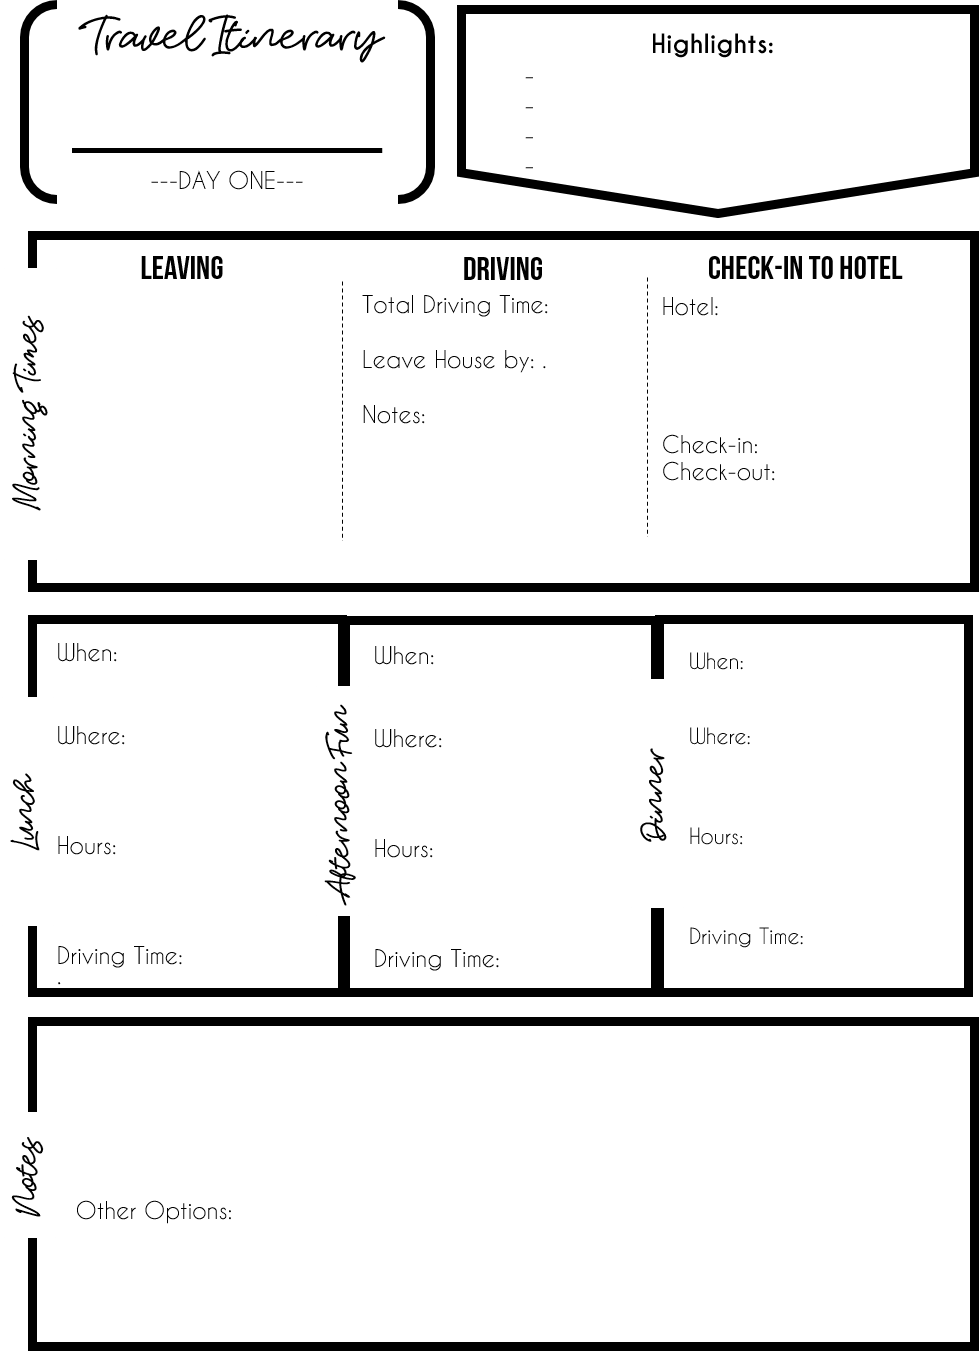
Now, how do I keep up with all of this info? If you are picturing a jumbled up mess of papers and post-its to keep up with all of this info you'd be wrong. I created a doc to edit and use with each trip. It is graphically pleasing, well-organized and FREE for you to download! Just click one of the images below to download the free file!
Once I've planned the driving, I pick the hotel. I am very picky about hotels and generally want a suite that has a separate bedroom but, I'm also cheap AF. I am a Hilton Honors member which gets me some perks and discounts so, I generally stay at one of the Hilton affiliated hotels. I really like Homewood Suites. They have a free breakfast that is yummy, the hotels are usually very updated if not new and their suites include a full kitchen. Also, they usually have a pool. You should choose what your priorities are and go from there. I like to look at reviews and customer images on Tripadvisor when deciding between hotels.
After picking the hotel I get into all the details and actually create an itinerary for each day. Now, just because I have a plan does not mean that I stick to it hell or highwater. I leave it as an option but change based on how the day goes. I will often put some alternative activities or options on my list for the day just in case things don't go as planned.
I know it sounds super OCD of me to have it all planned but, with kids, it really does make it SOOO much better. When we went on our first family trip with an itinerary my husband scoffed and thought I was crazy but, because it was so informative (time to get from hotel to restaurant, addresses, business hours and cost) it made it easier for us to make decisions about our day and unplanned events didn't throw us for a loop.
For example, when we went to St. Louis for a week last summer, the first night we were there my son began to complain of a pain in his leg. Upon inspection, we found that it was hot, hard and red. Not good. So, we dosed him with some tylenol. (You should ALWAYS bring tylenol/motrin you'd be surprised how often you need it.) Then, the first thing the next morning we took him to an urgent care clinic nearby. Because I had planned so well and we knew what our plan was supposed to be along with hours and distance, it didn't mess with our day at all. He got treated and we went about our day.
Now, how do I keep up with all of this info? If you are picturing a jumbled up mess of papers and post-its to keep up with all of this info you'd be wrong. I created a doc to edit and use with each trip. It is graphically pleasing, well-organized and FREE for you to download! Just click one of the images below to download the free file!
 |  |
I hope that my tips are helpful and give you the tools you need to plan an awesome family trip! Let me know how it goes and if you have any tips for me! I'm always eager to learn something new!
Thanks for visiting!
Thanks for visiting!


 RSS Feed
