
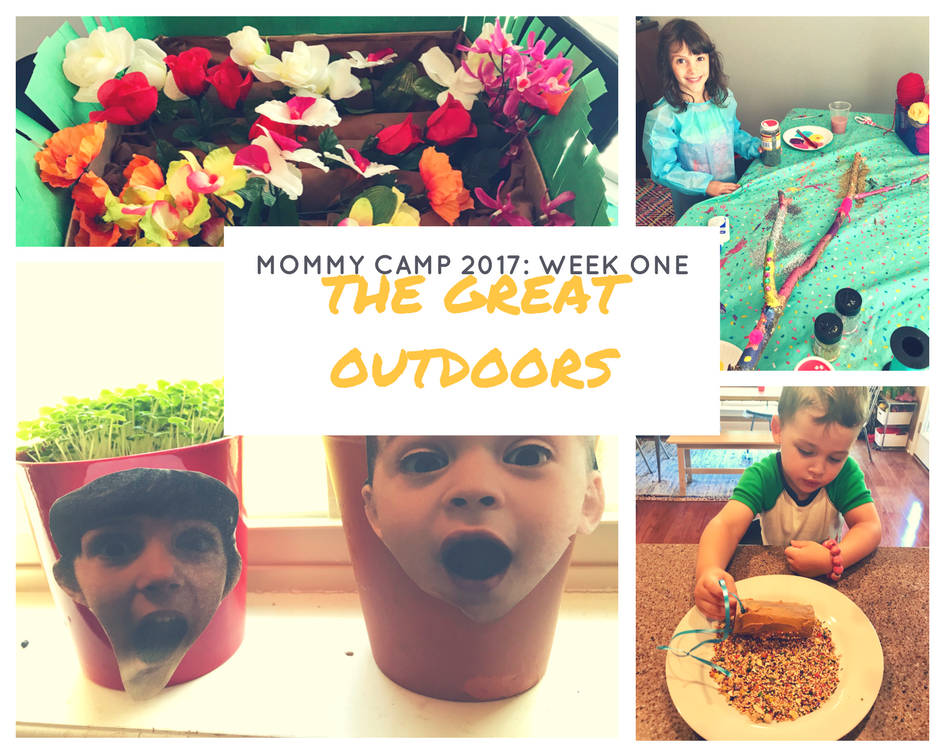
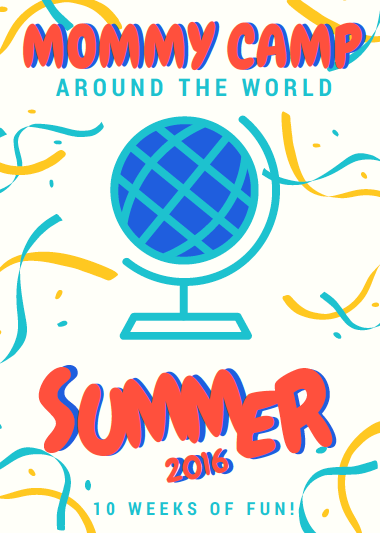
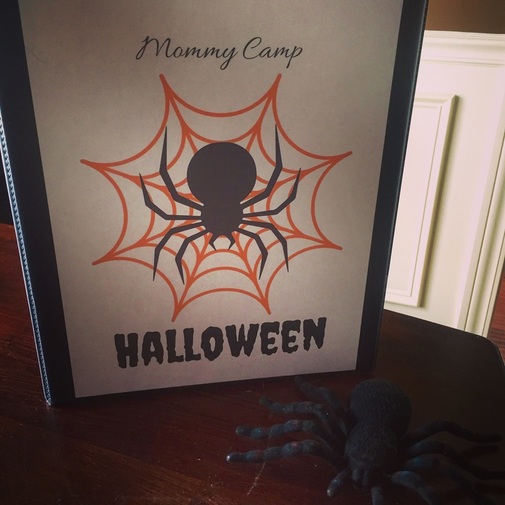
Mommy Camp is off to a great start with our first week all about the great outdoors! You can download all of my lessons and materials by clicking the image below.
Dramatic Play
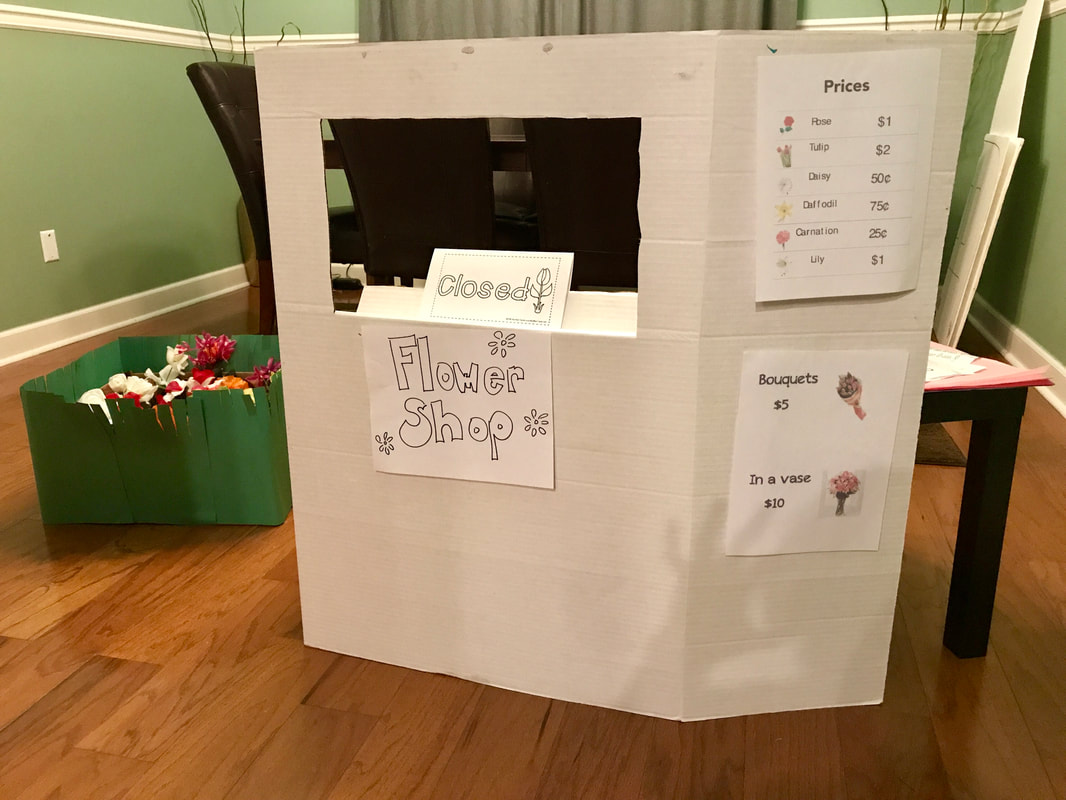
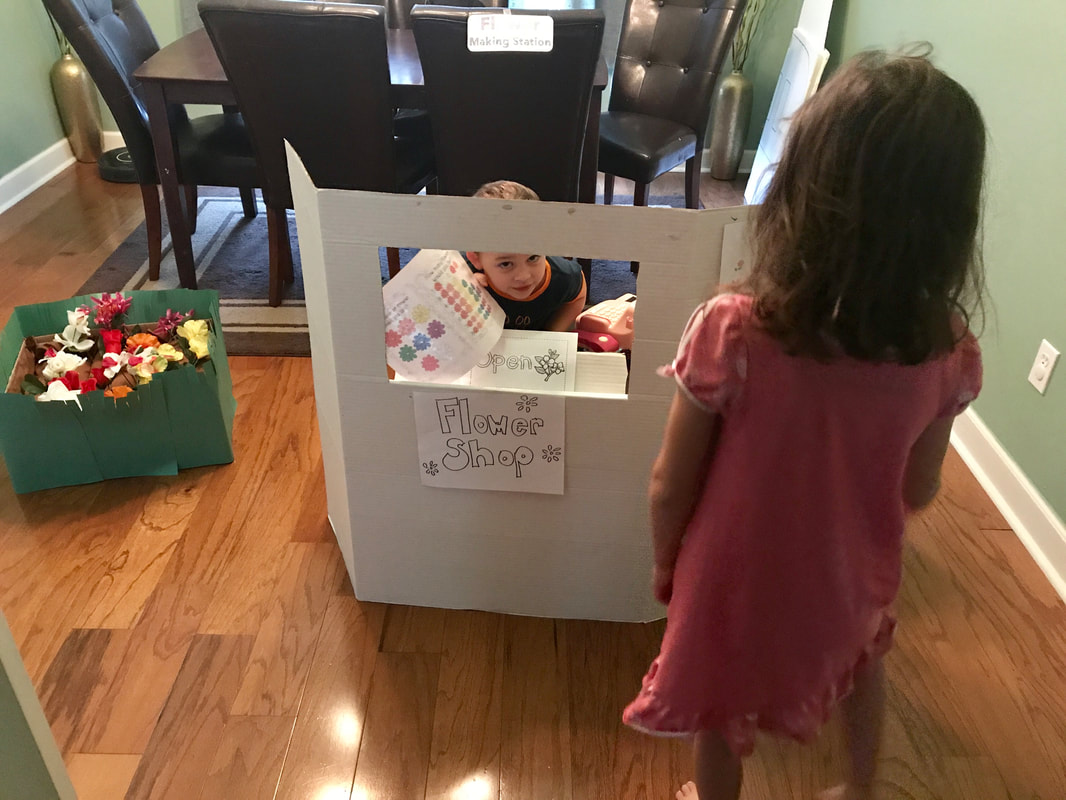
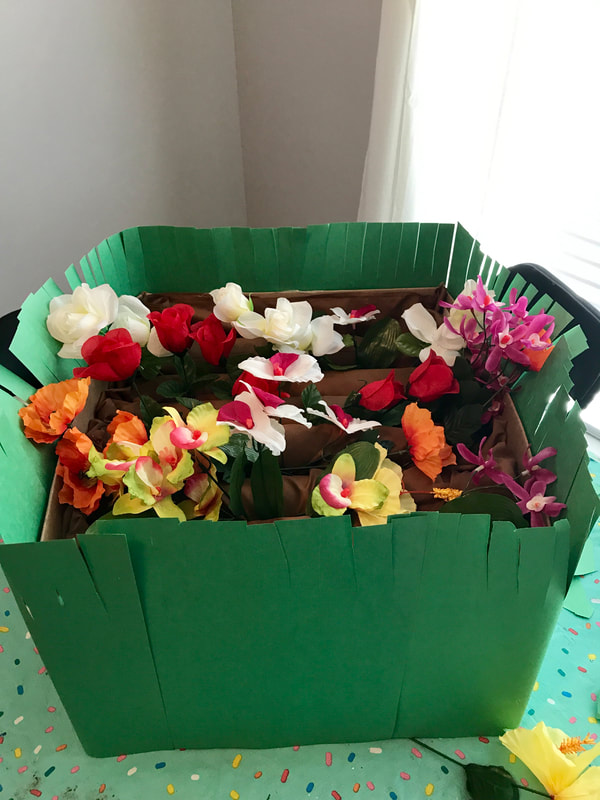
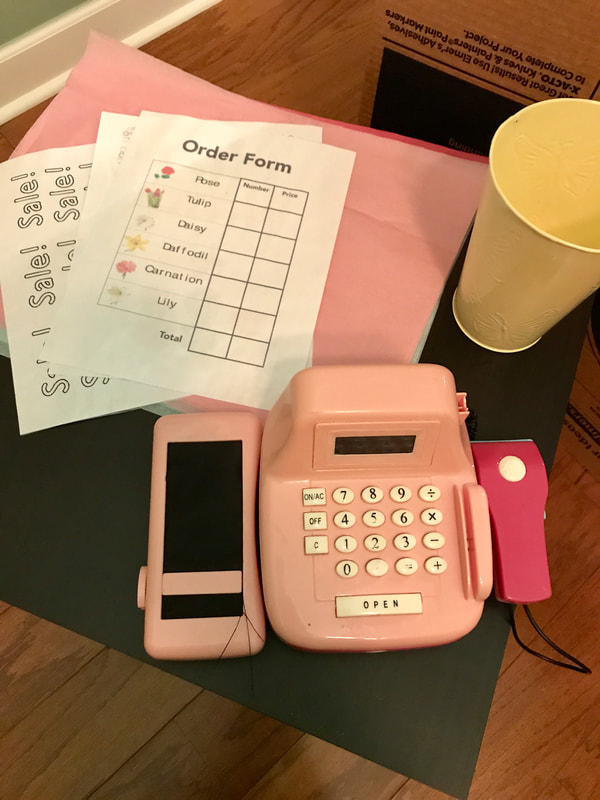
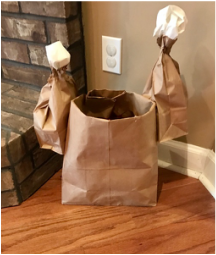
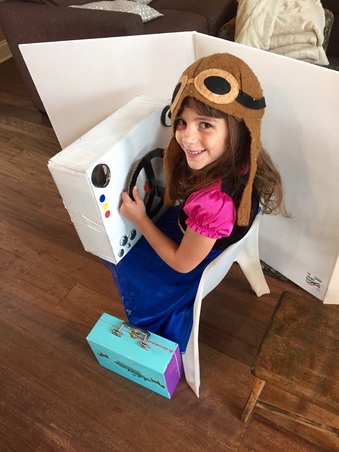
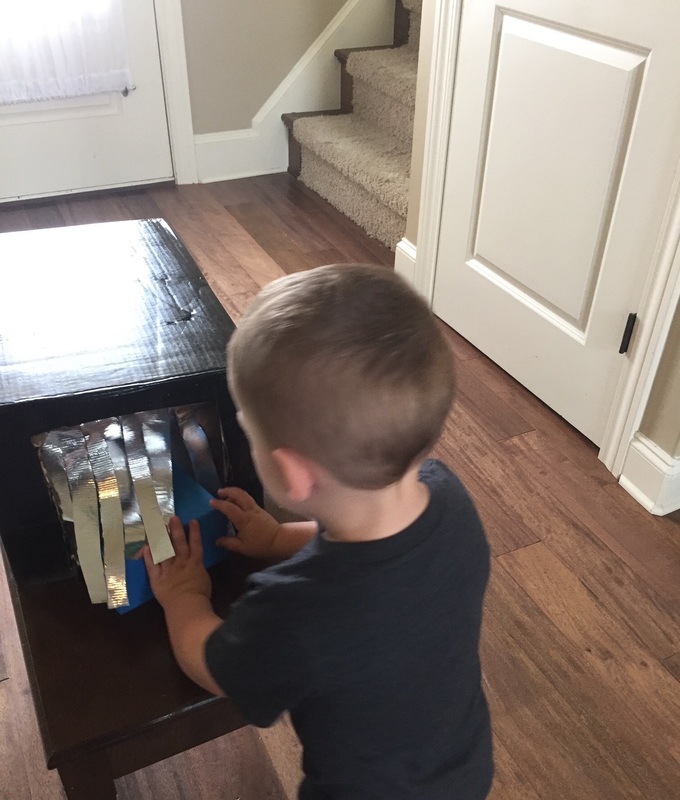
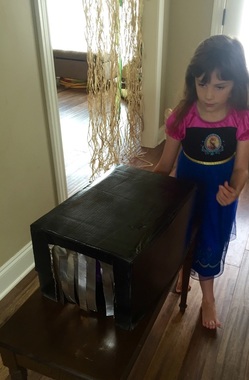
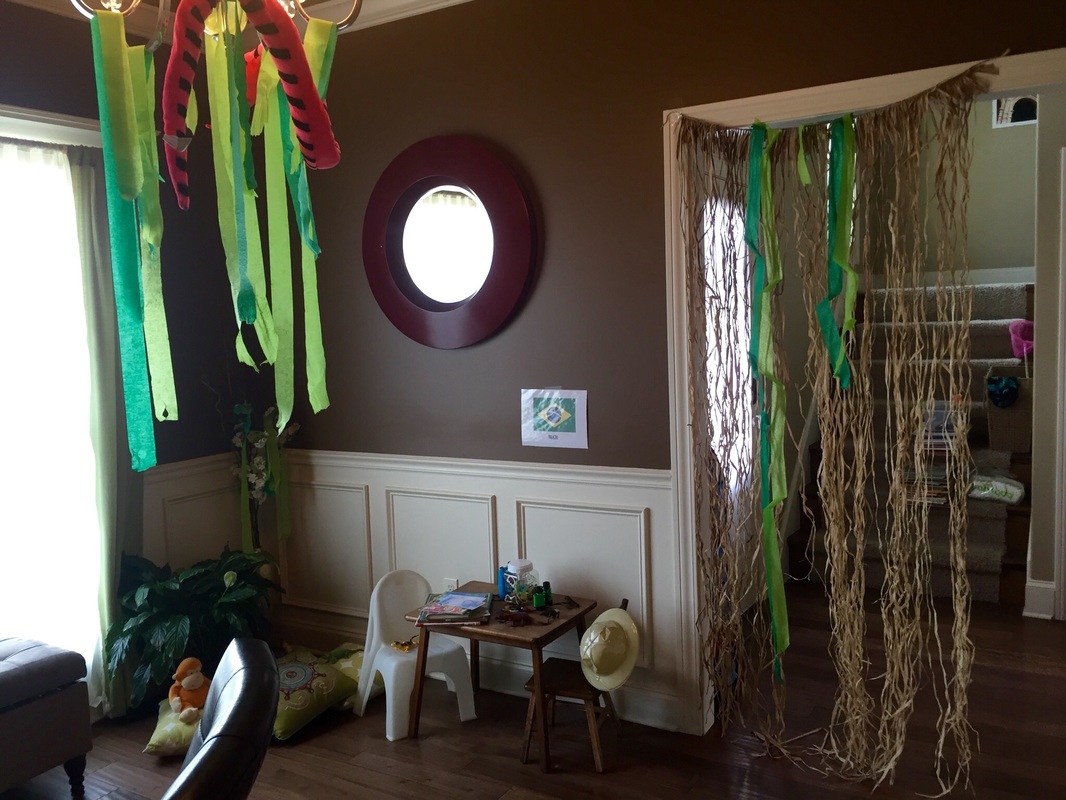
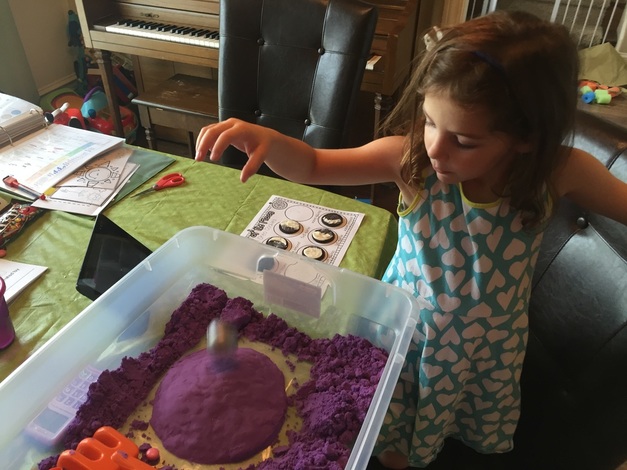
The dramatic play area was a pretend flower shop and garden. I created the "garden" using a cardboard box, brown fabric, pool tubes, hot glue and fake flowers. I gave them a few signs I printed out, a toy cash register and pulled out my market stand diy from a few years ago to complete the set-up. They always have fun pretending to sell things so this was a definite hit.
 |  |
 |  |
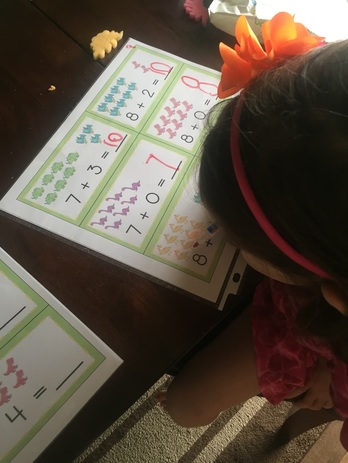
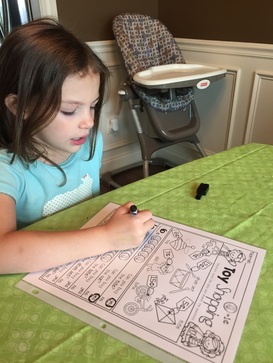
day one: worms, dirt & rocks
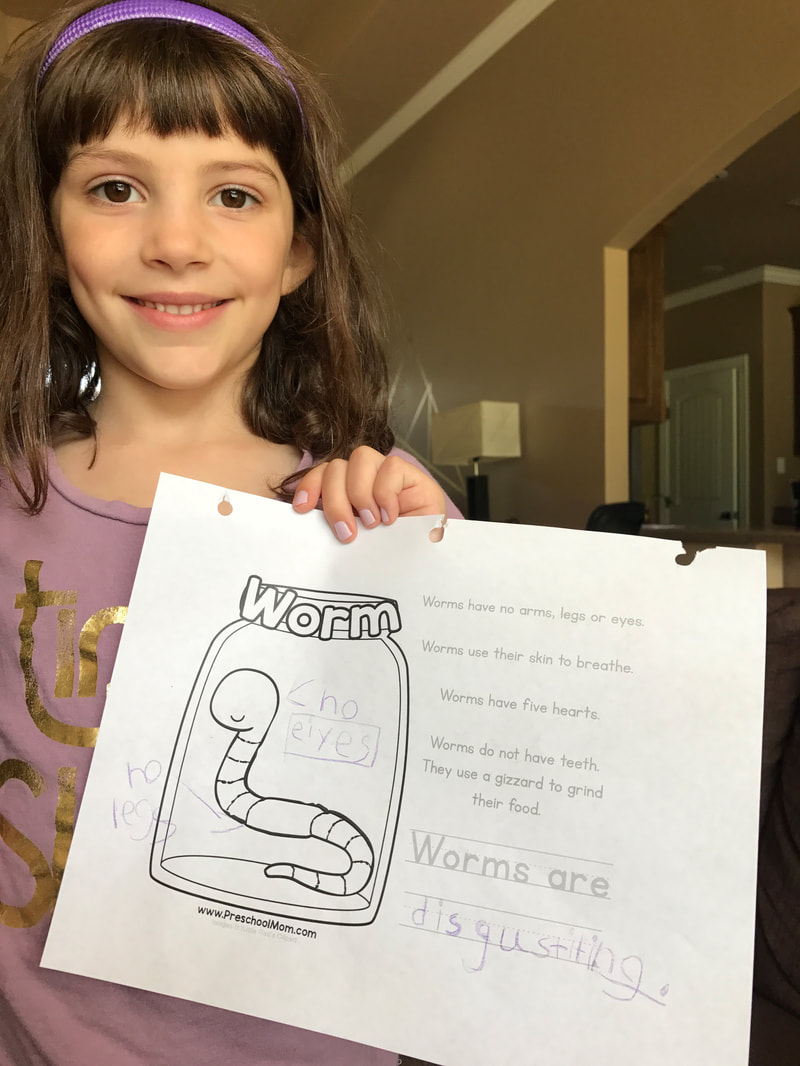
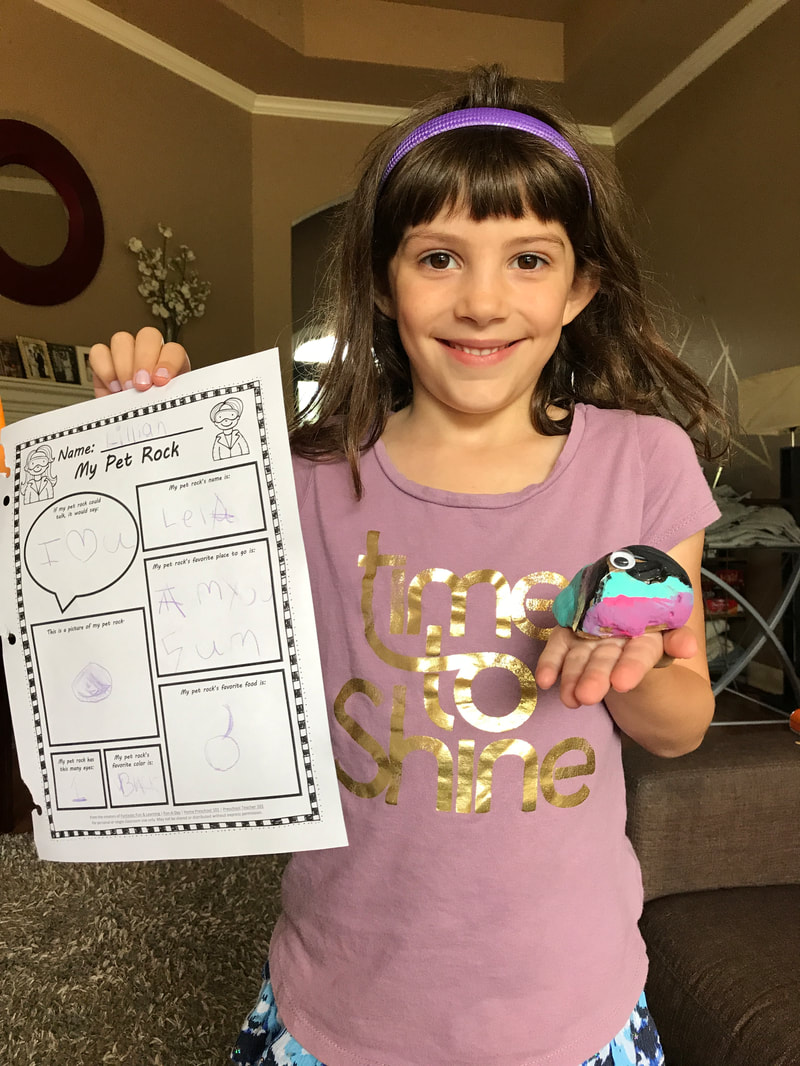
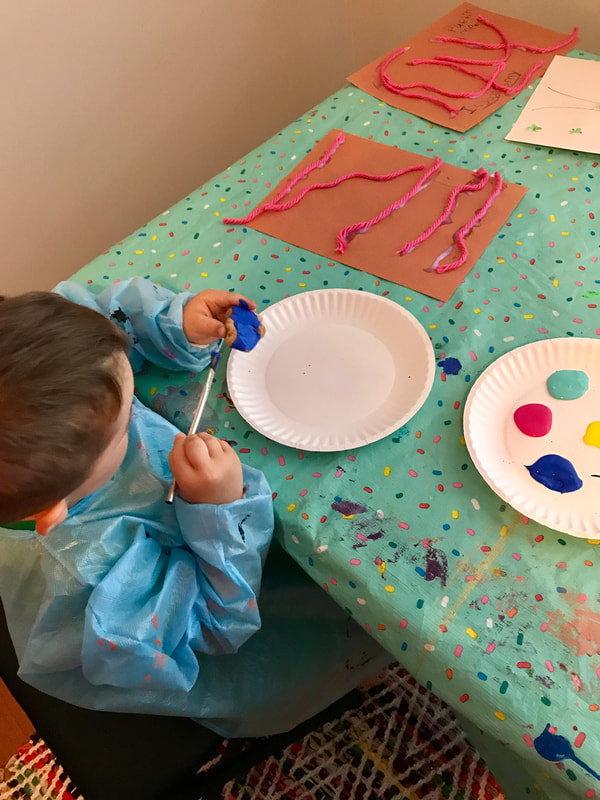
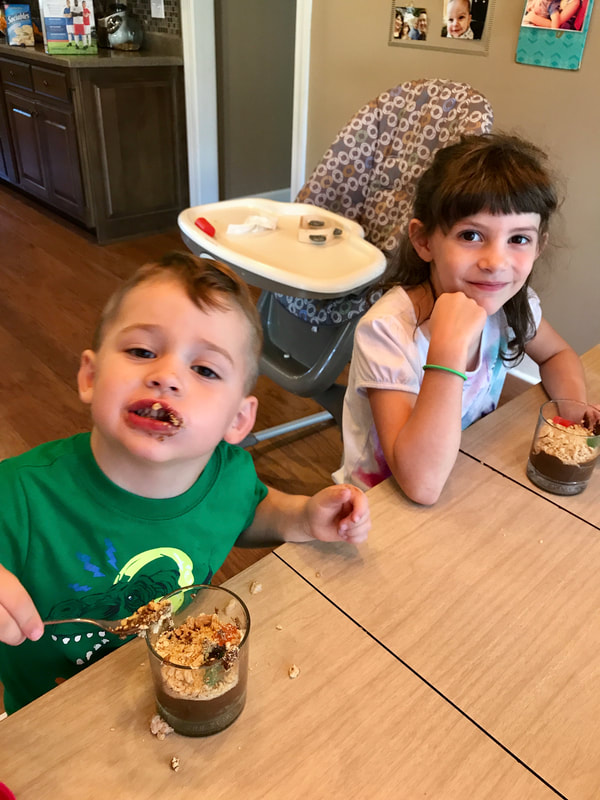
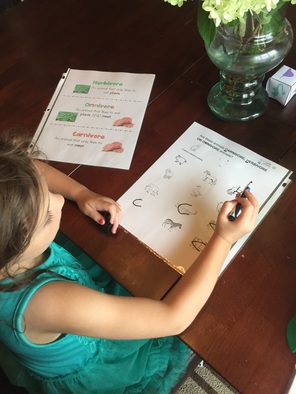
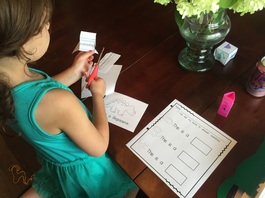
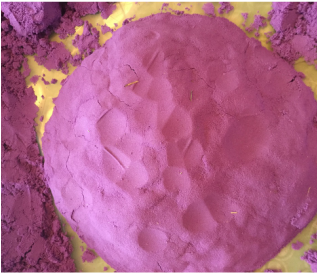
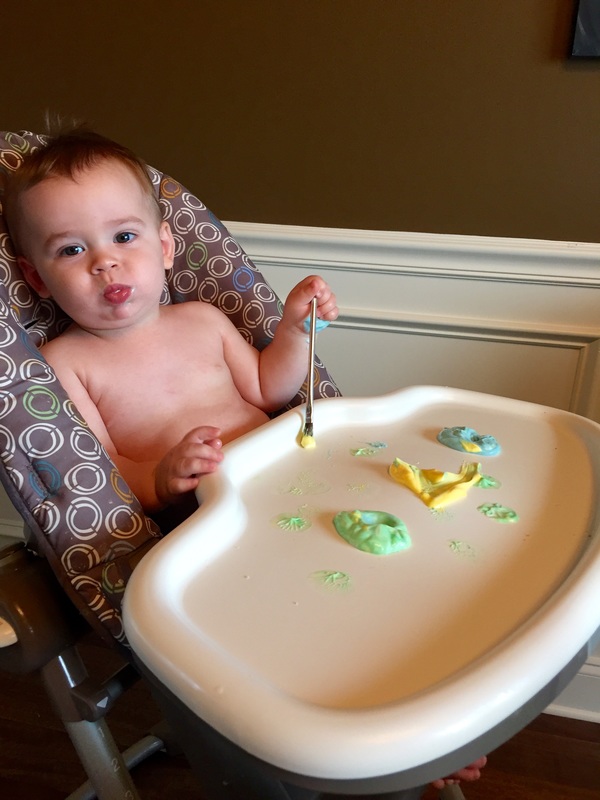
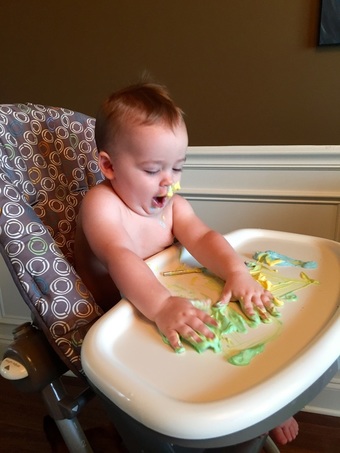
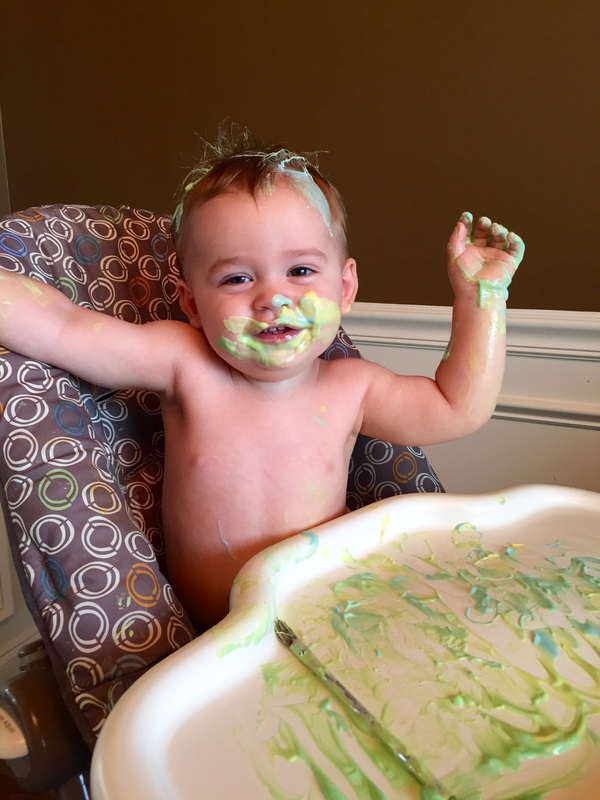
I had some lofty goals for this day and not all of them came to fruition. Originally we were going to create a vermicompost bin but, I couldn't find any worms locally! By the time I realized the worms wouldn't get here in time if ordered online so, we skipped a bunch of worm themed things. We did watch a few videos, complete a few worksheets and do a bit of art though. We also headed outside to find a rock to use for creating our very own pet rock. We rounded out the day with some dirt jell-o pudding cups!
 |  |
 |  |  |
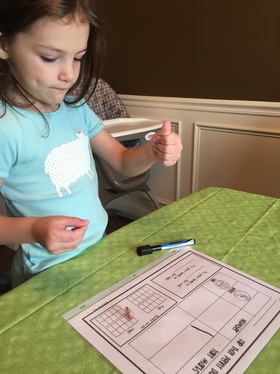
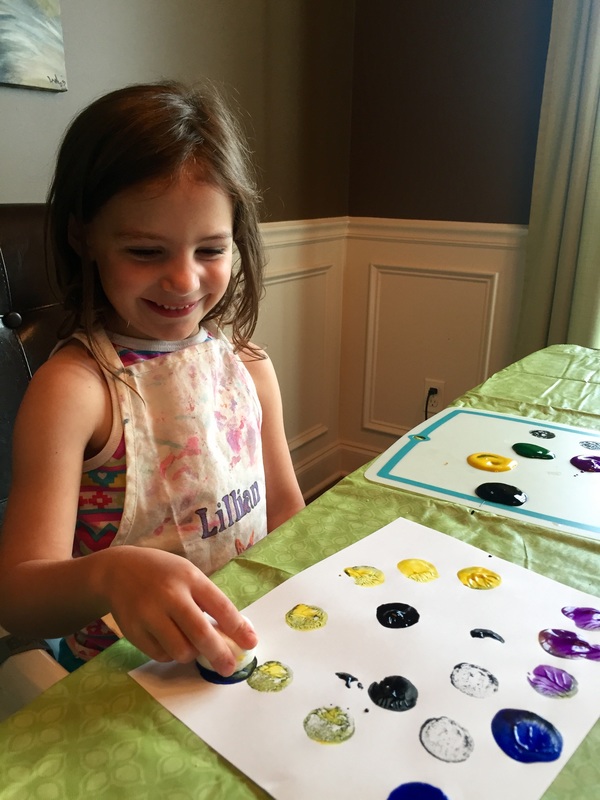
day two: seeds
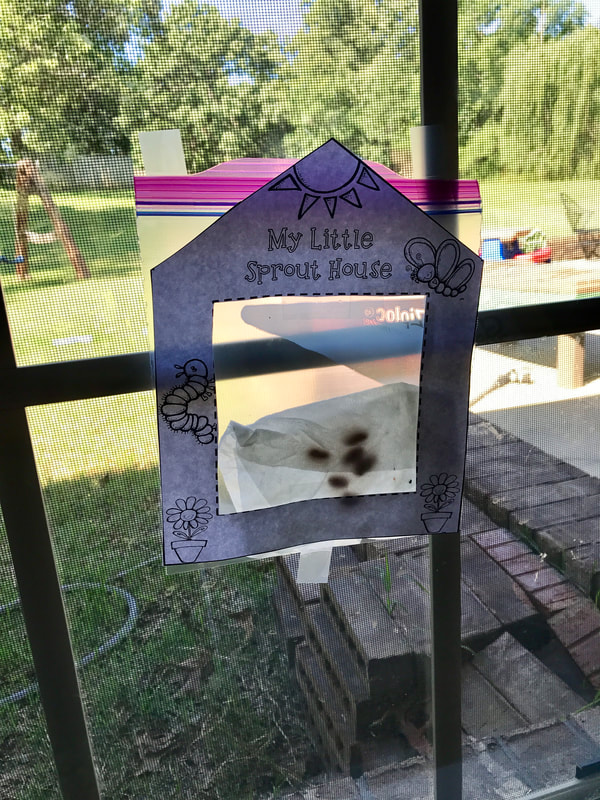
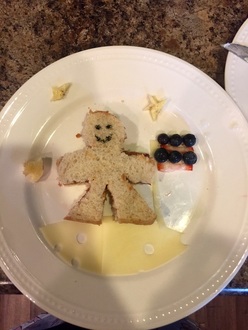
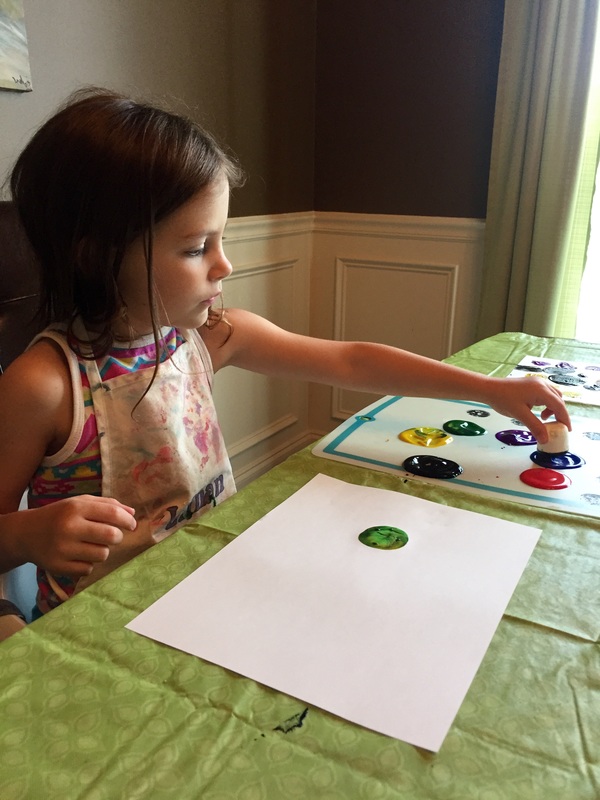
We learned about seeds purpose by watching videos and reading a book. Then we explored them by dissecting some bell peppers and creating seed art. We also began sprouting some beans and created our own chia head pots! We wrapped up the day by creating some bird feeders using toilet paper tubes, peanut butter, string and bird seed and making poppy seed ham sliders and sesame seed candy. Neither of the kids were interested in eating either one so that was phenomenal.
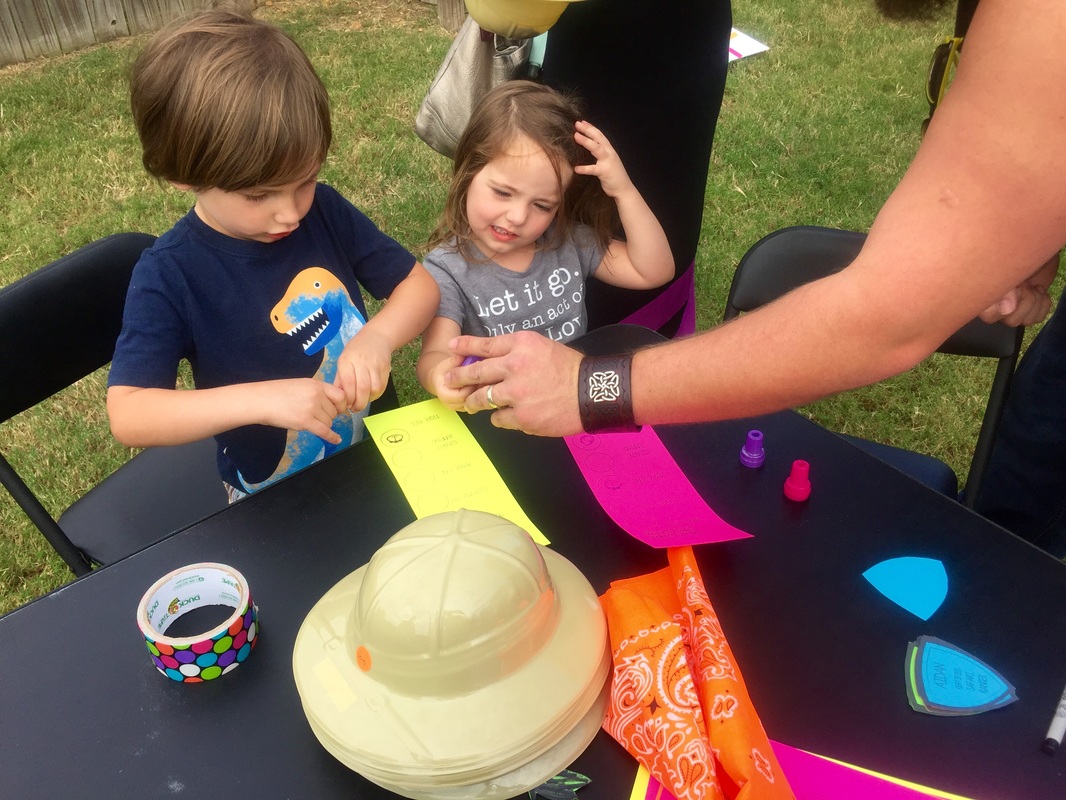
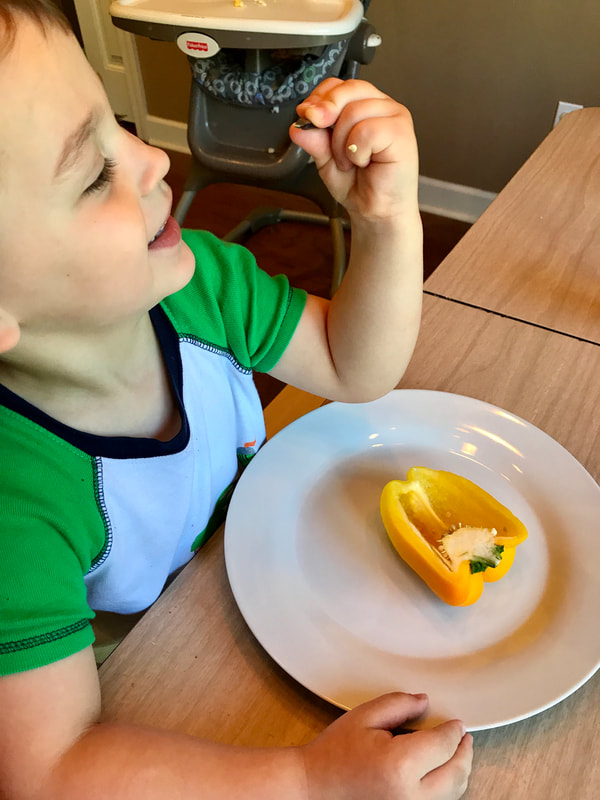 They were tasked with removing all of the pepper seeds with tweezers. They were entertained for at least 20 minutes! | 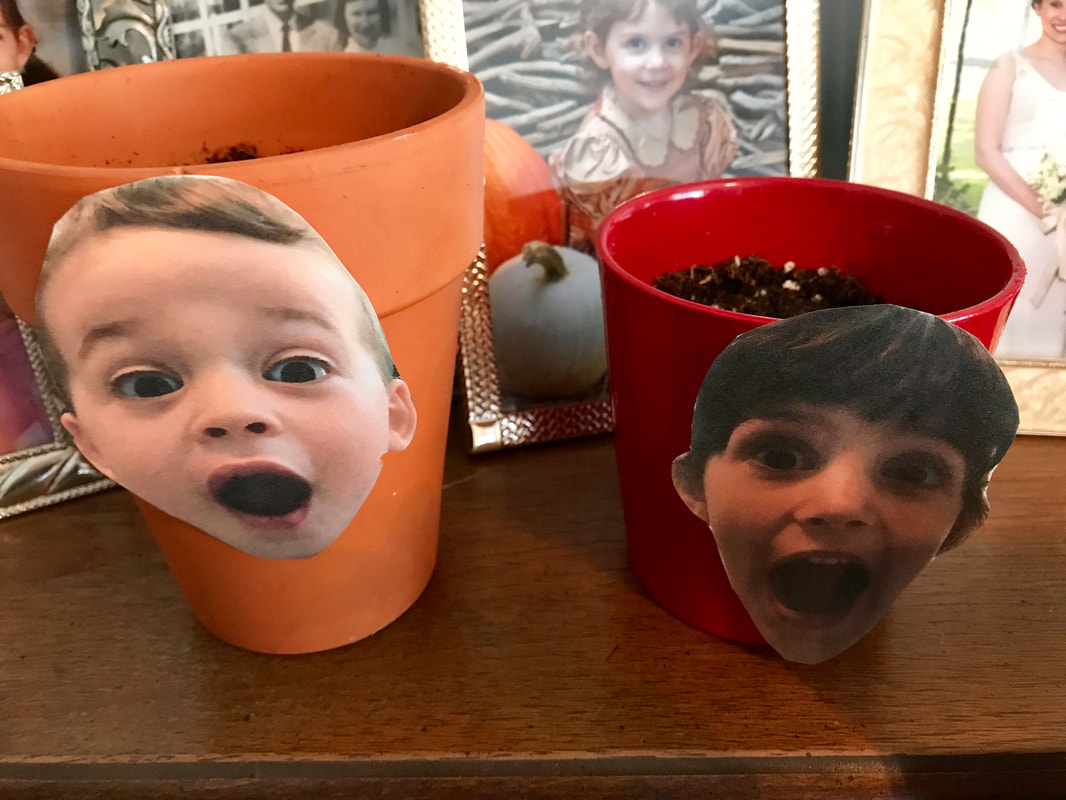 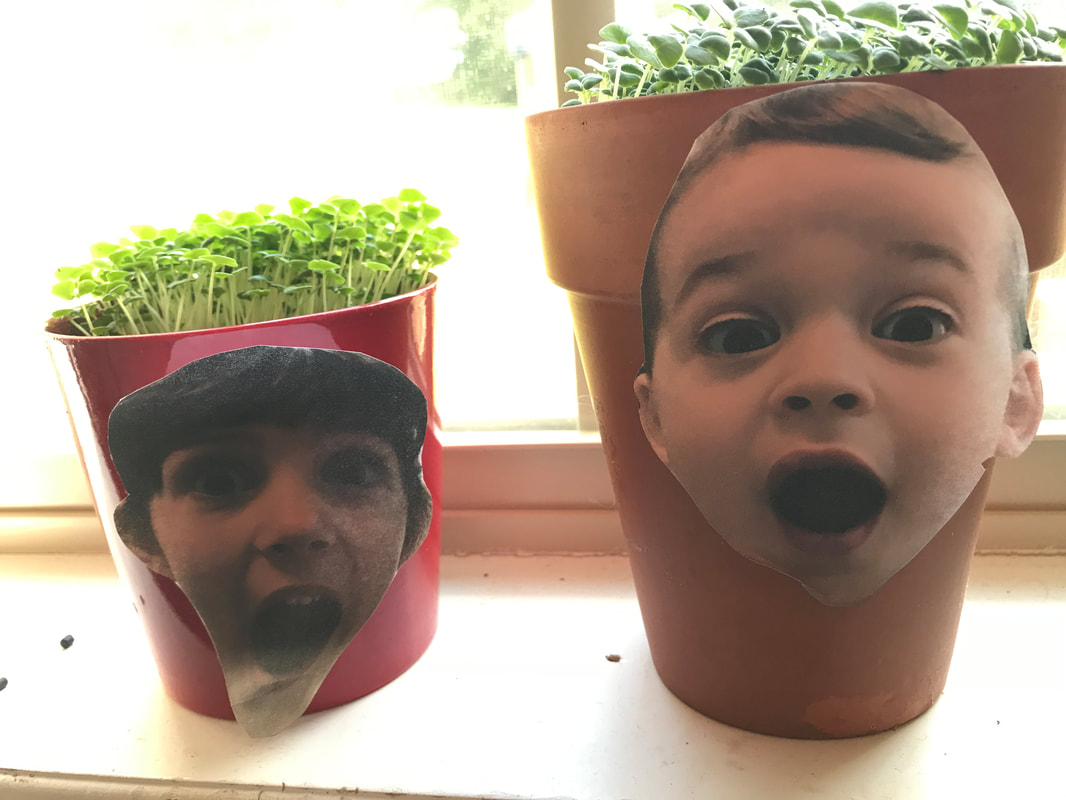 |  TP roll + peanut butter + birdseed = super easy bird feeder! |
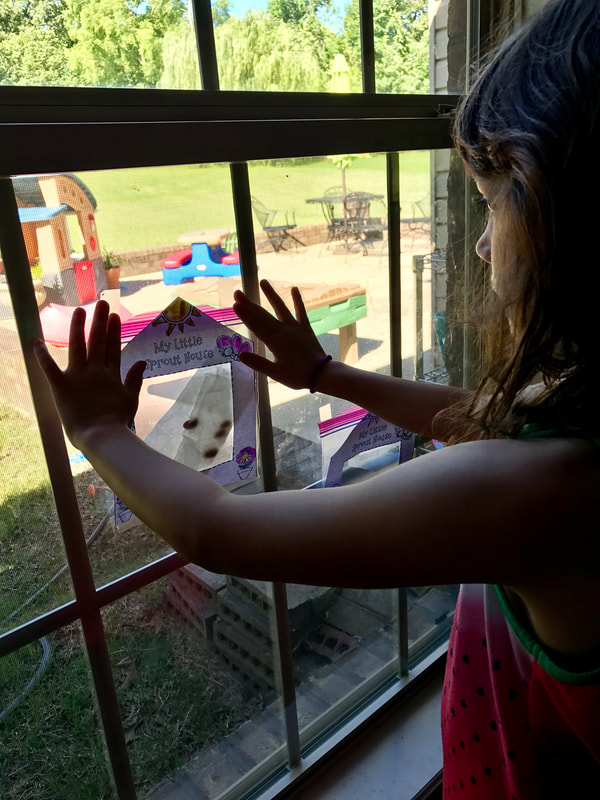
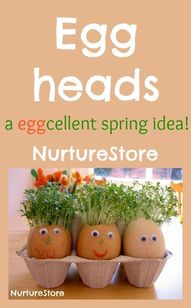
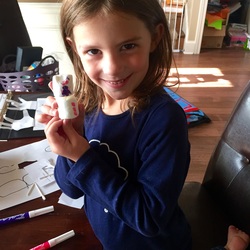
The chia head activity was super easy. I took a picture of each of them and printed it out. I taped the photos to the front of the pots and we sprinkled chia seeds onto soil, watered and put in the sun. They had grown this much in only one day!
 |  |
 | 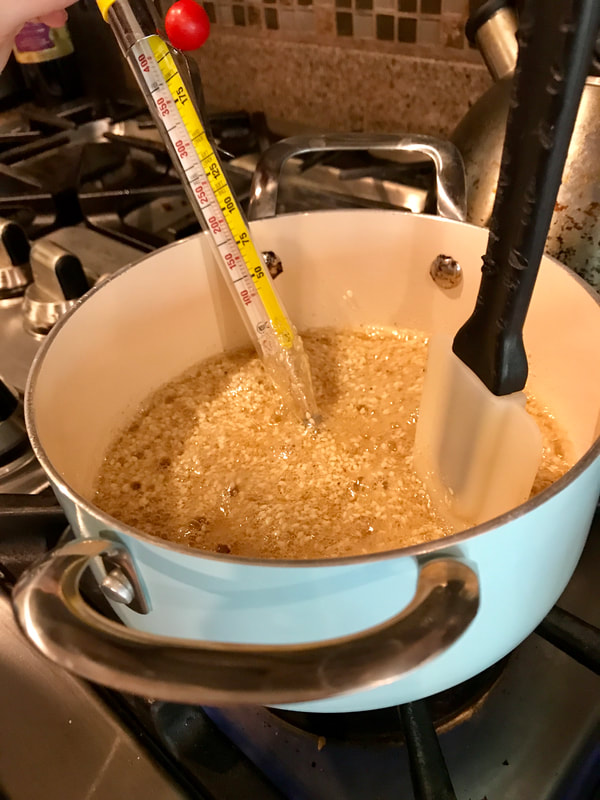 Making sesame seed candy that no one will eat. It was worthwhile. | 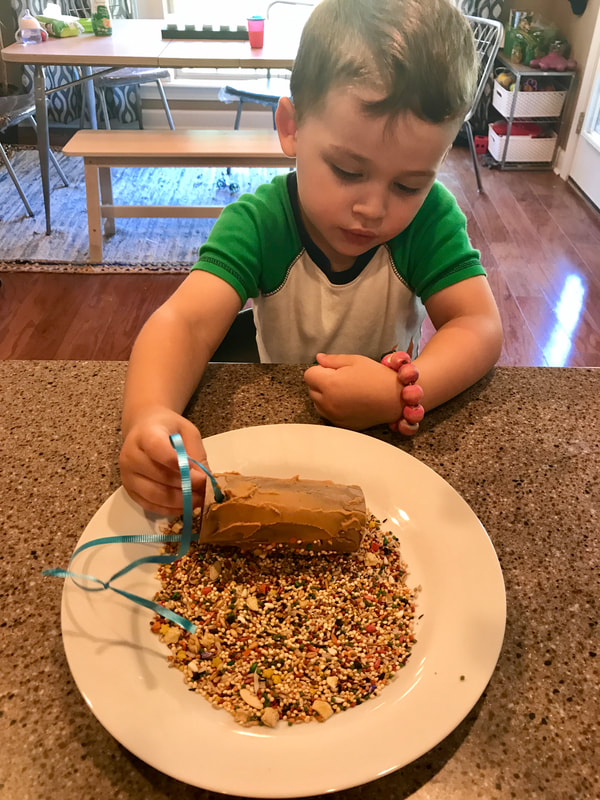 |
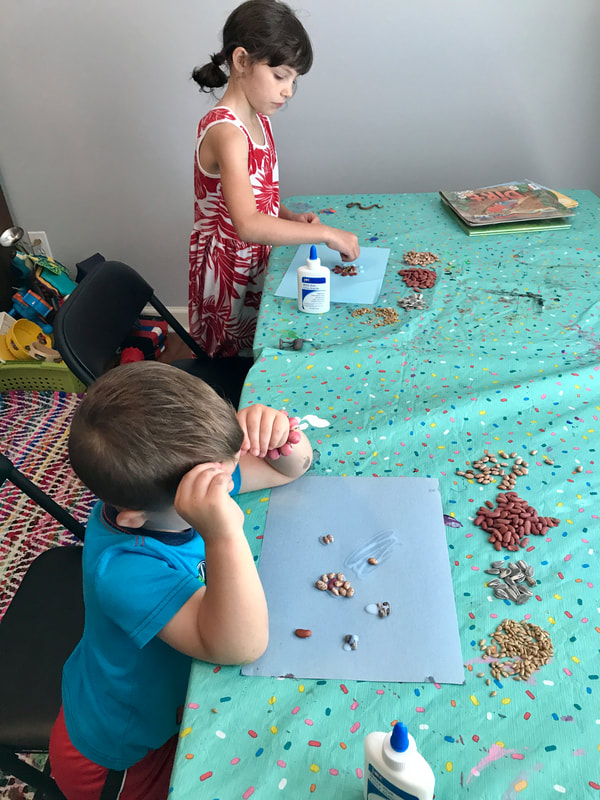
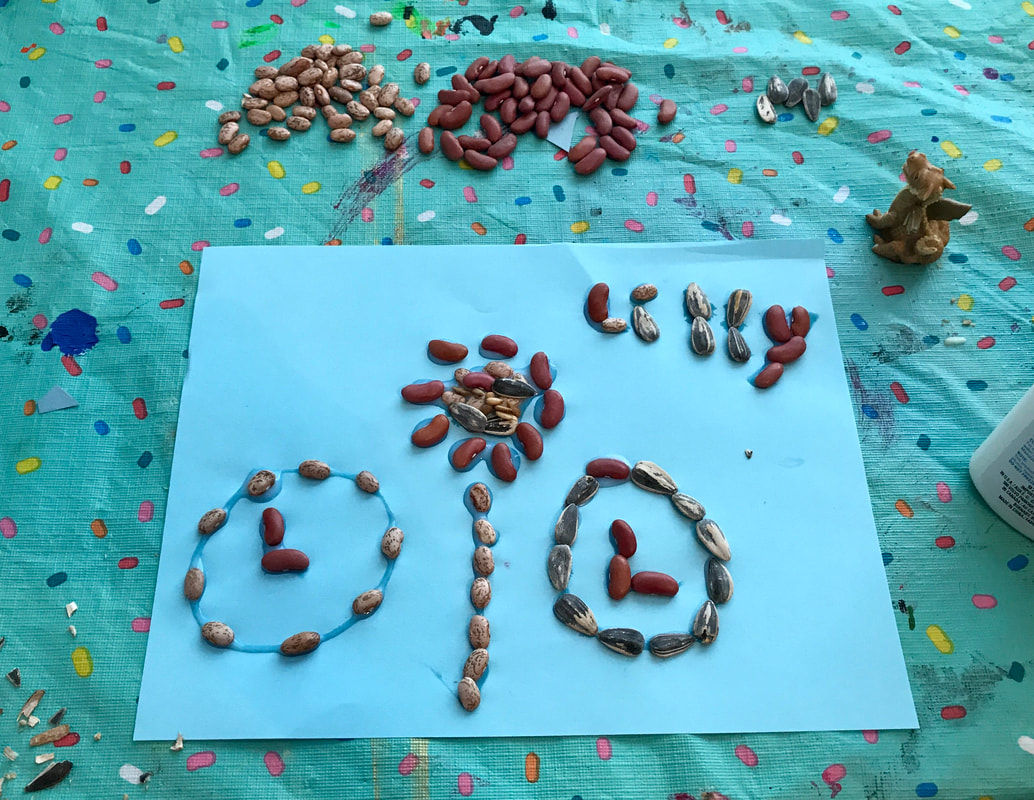 Glue and dried seeds/beans to create some art! |  My delicious poppy seed Hawaiian sliders. My husband and I ended up eating the whole pan. The kids did not help. |
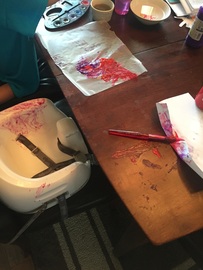
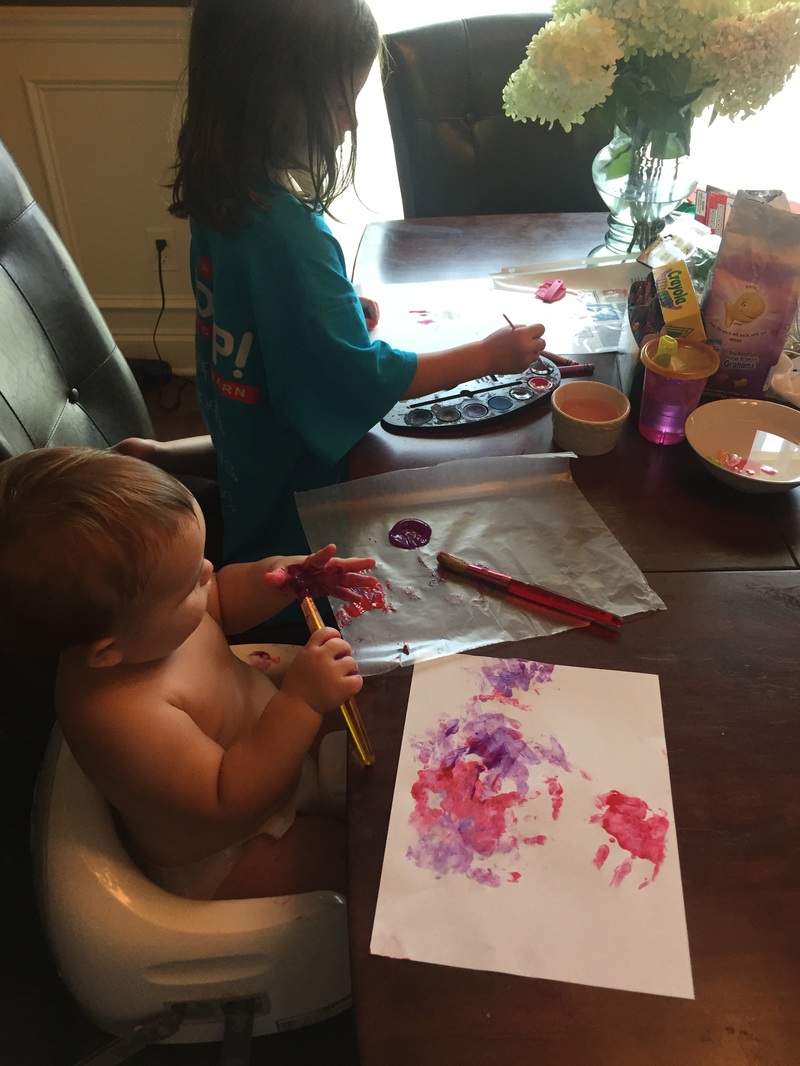
day three: flowers
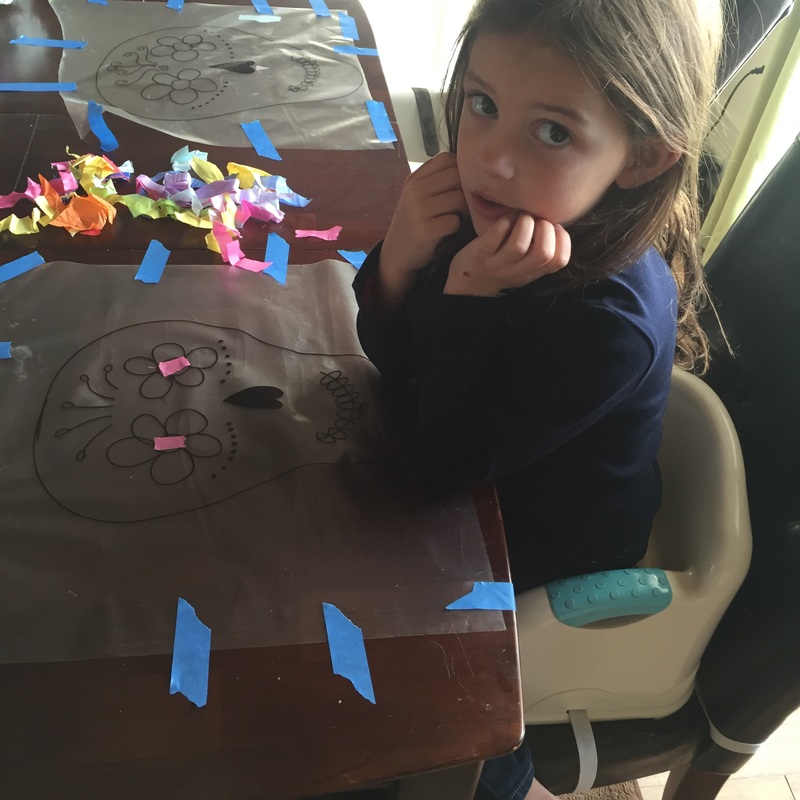
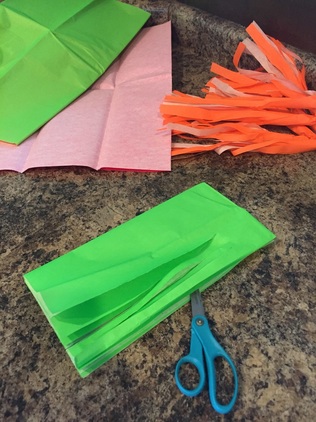
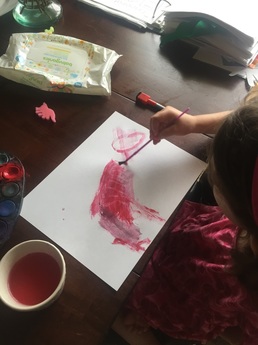
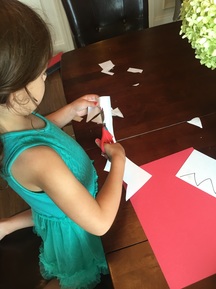
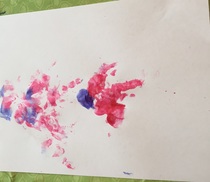
We learned about how flowers grow by watching a video and reading a book. Then we experimented with flowers and how they drink water, created Georgia O'Keefe inspired paintings and learned how to make tissue paper flowers for our dramatic play flower shop!
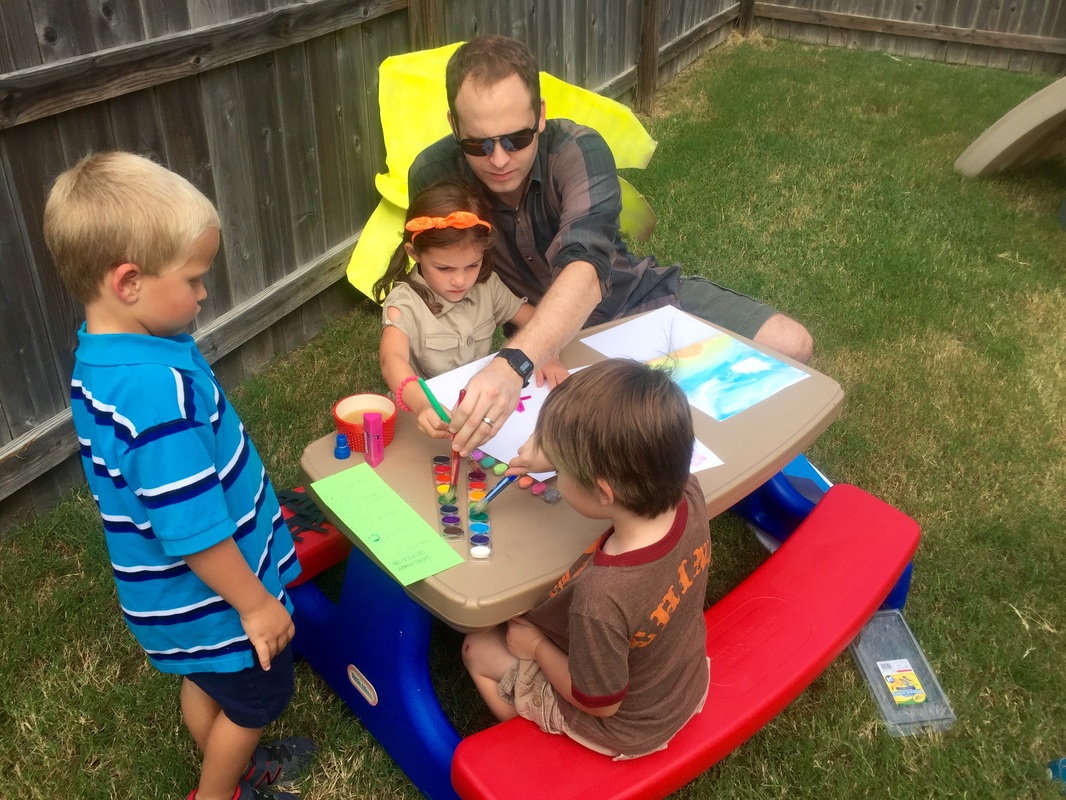
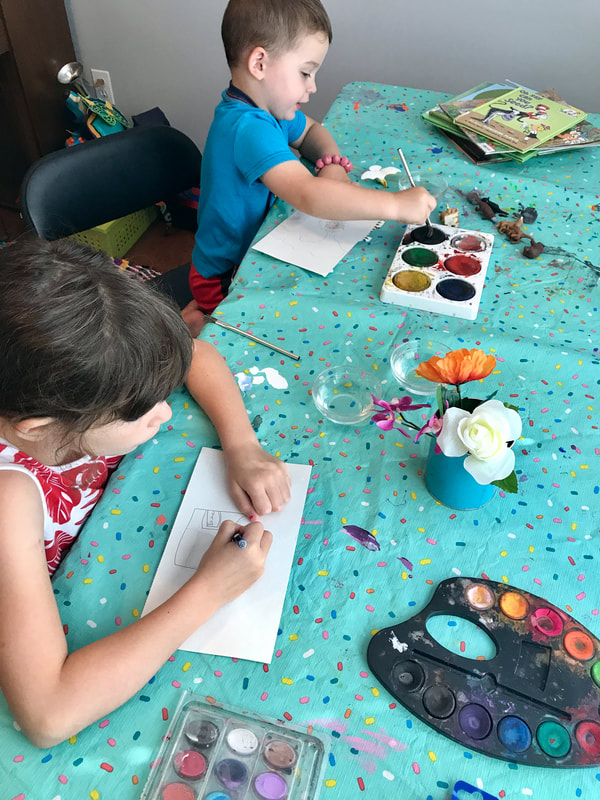 Painting a still life of flowers. | 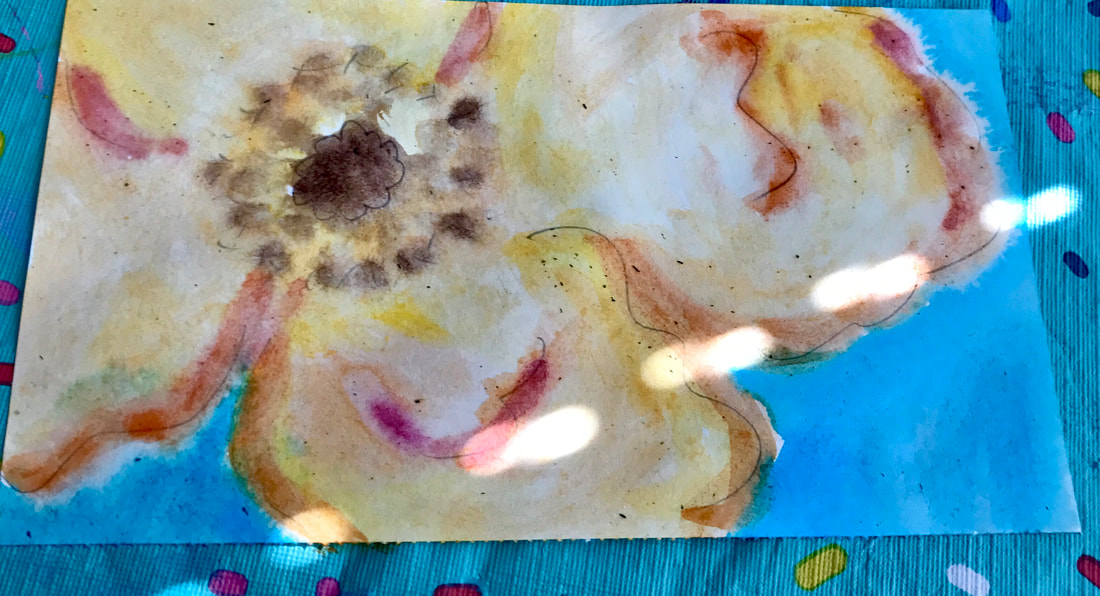 My O'Keefe inspired watercolor flower. 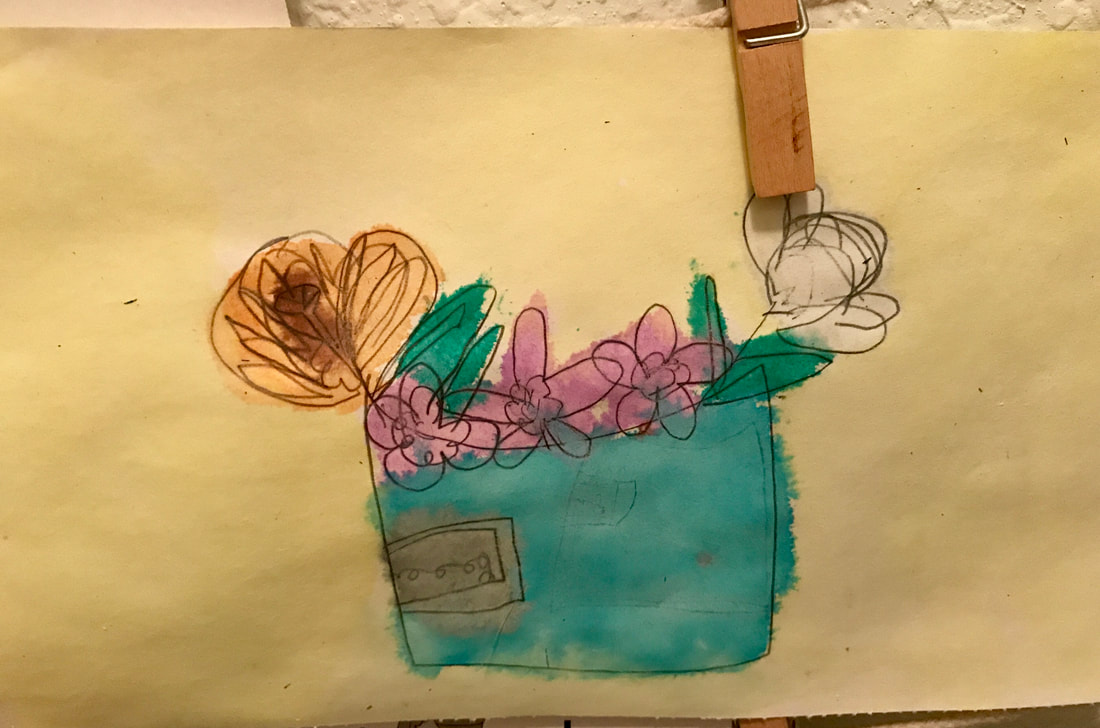 I encouraged Lilly to draw it large like Georgia O'Keefe. She didn't want to. But, I was impressed with her still life! |
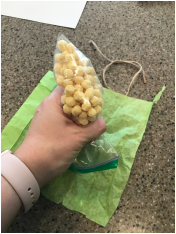
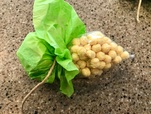
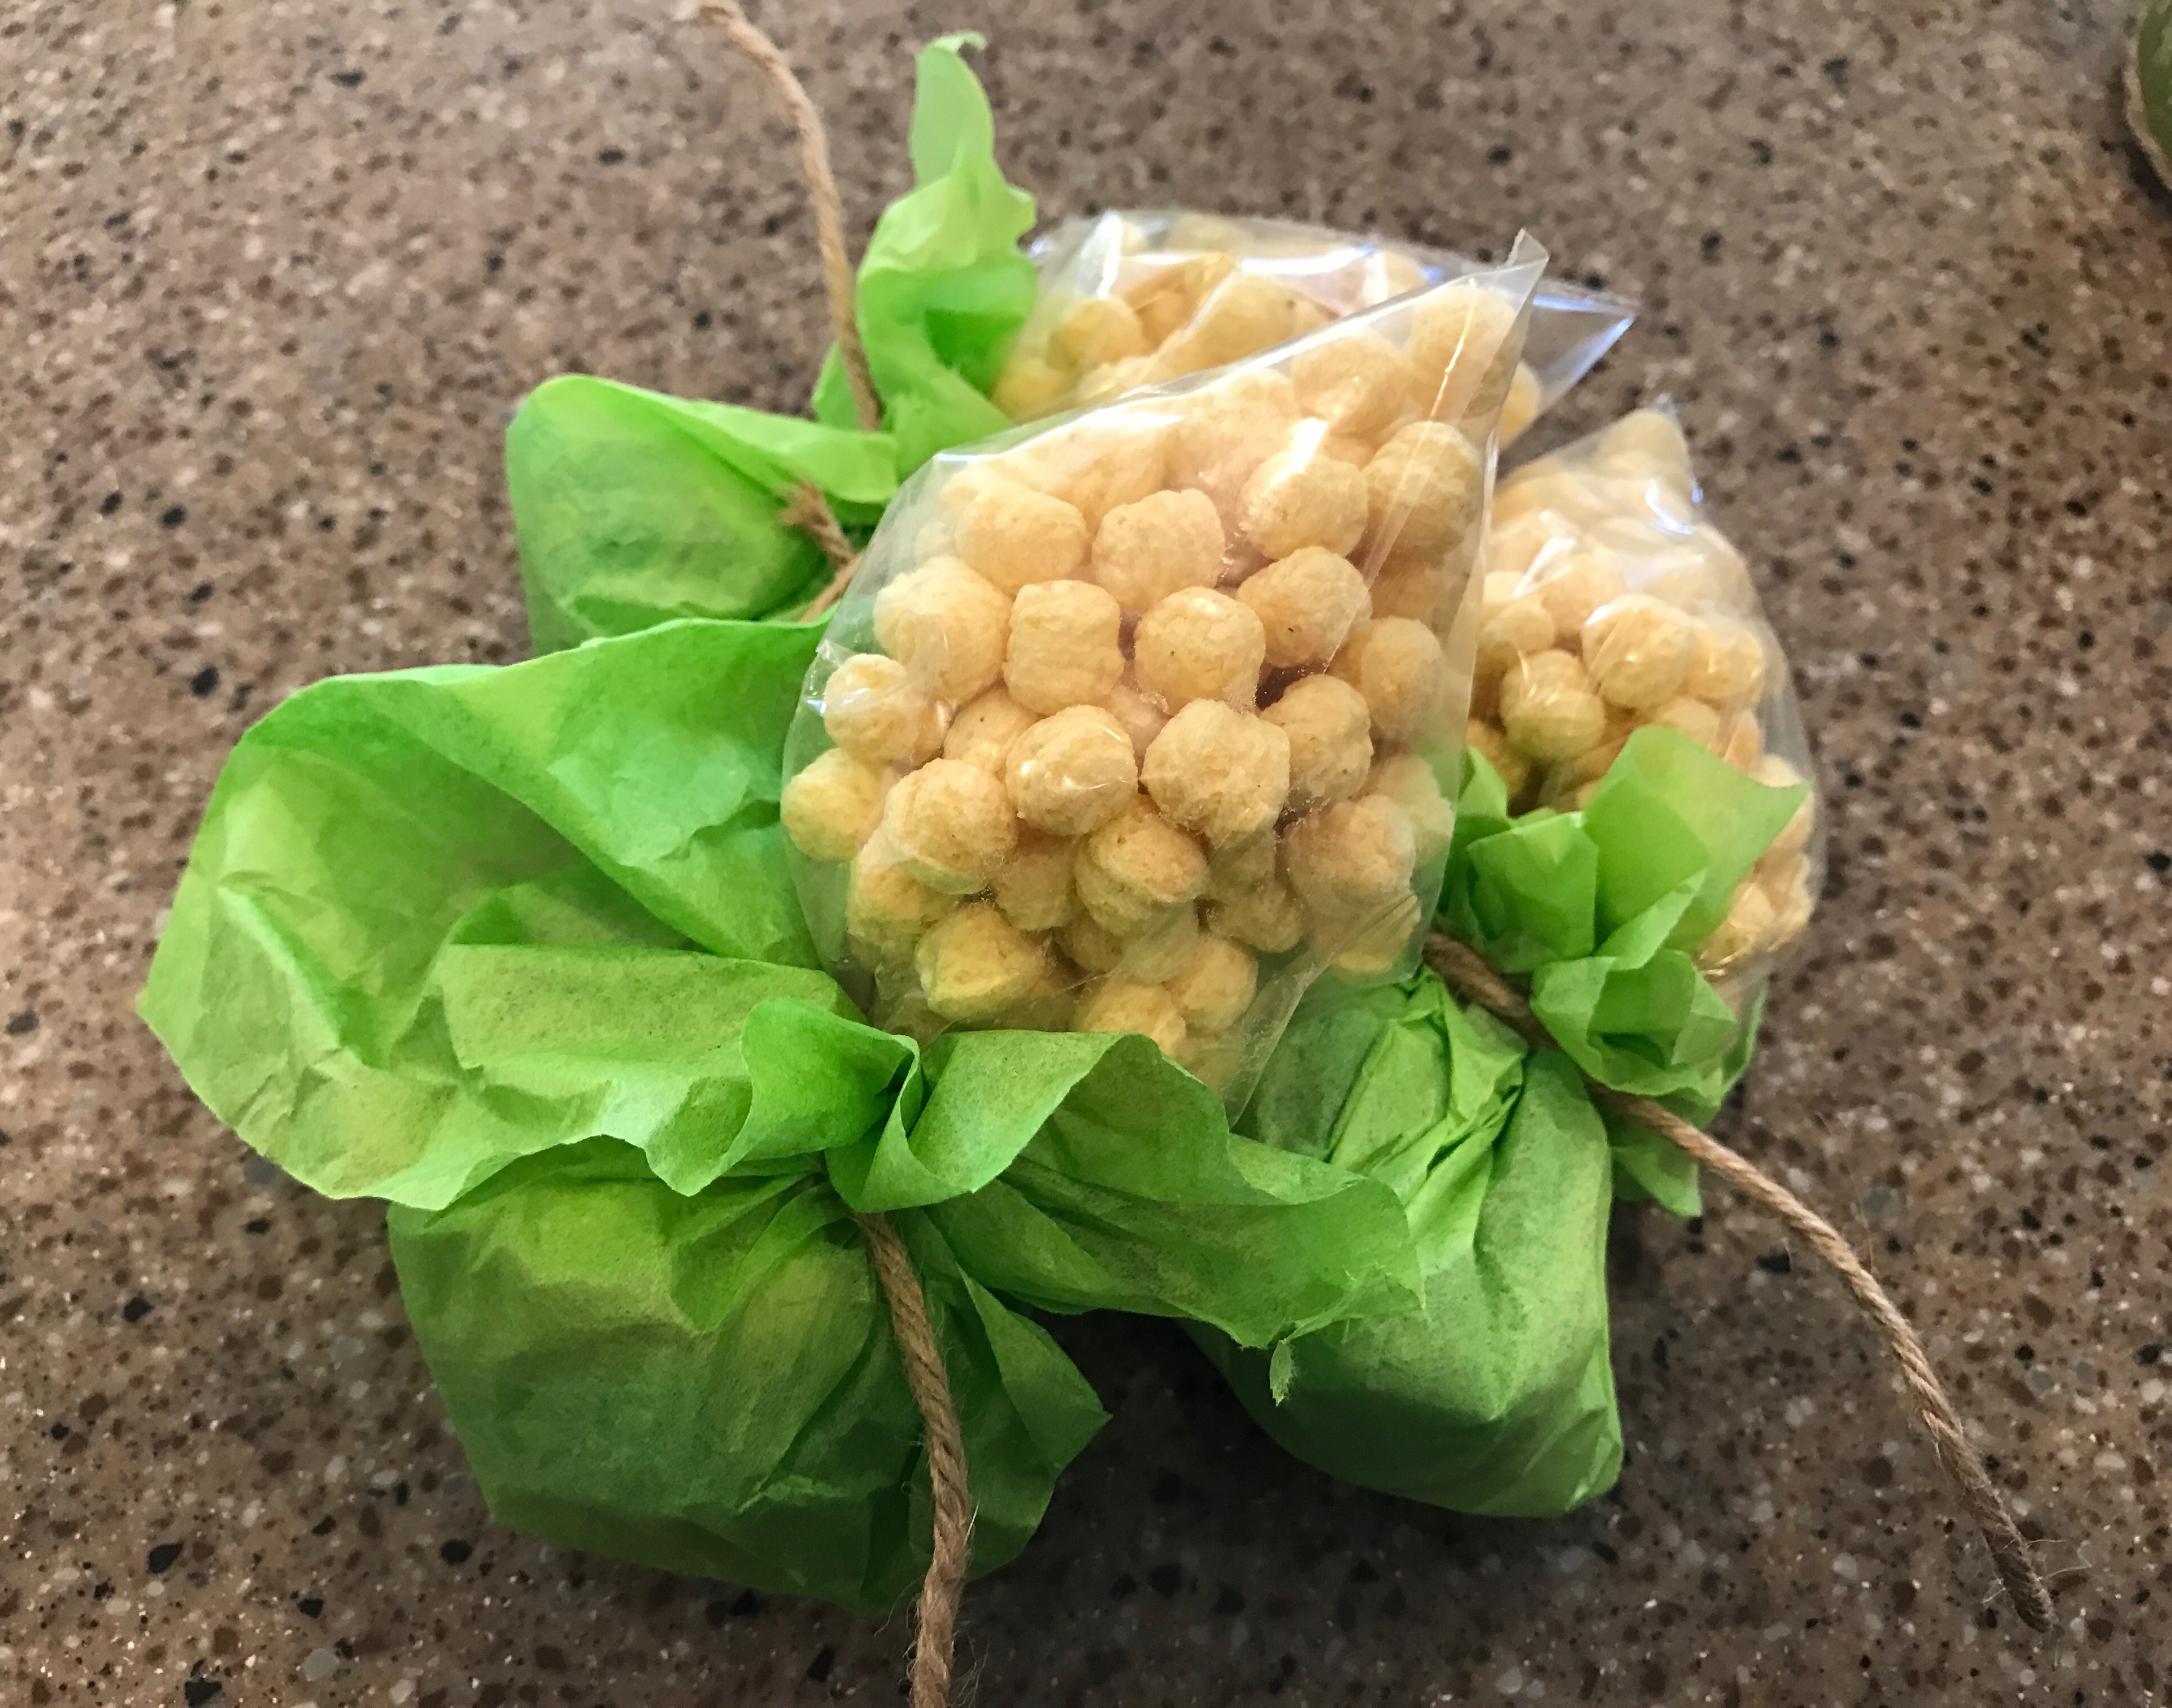
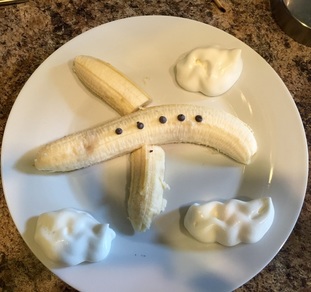
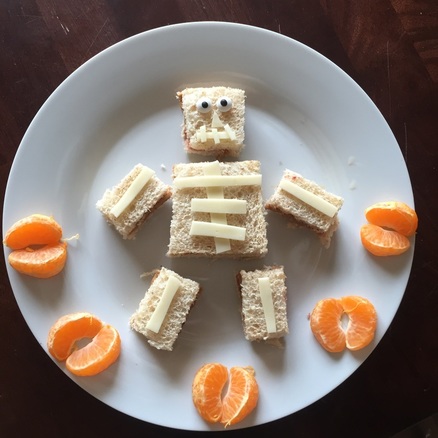
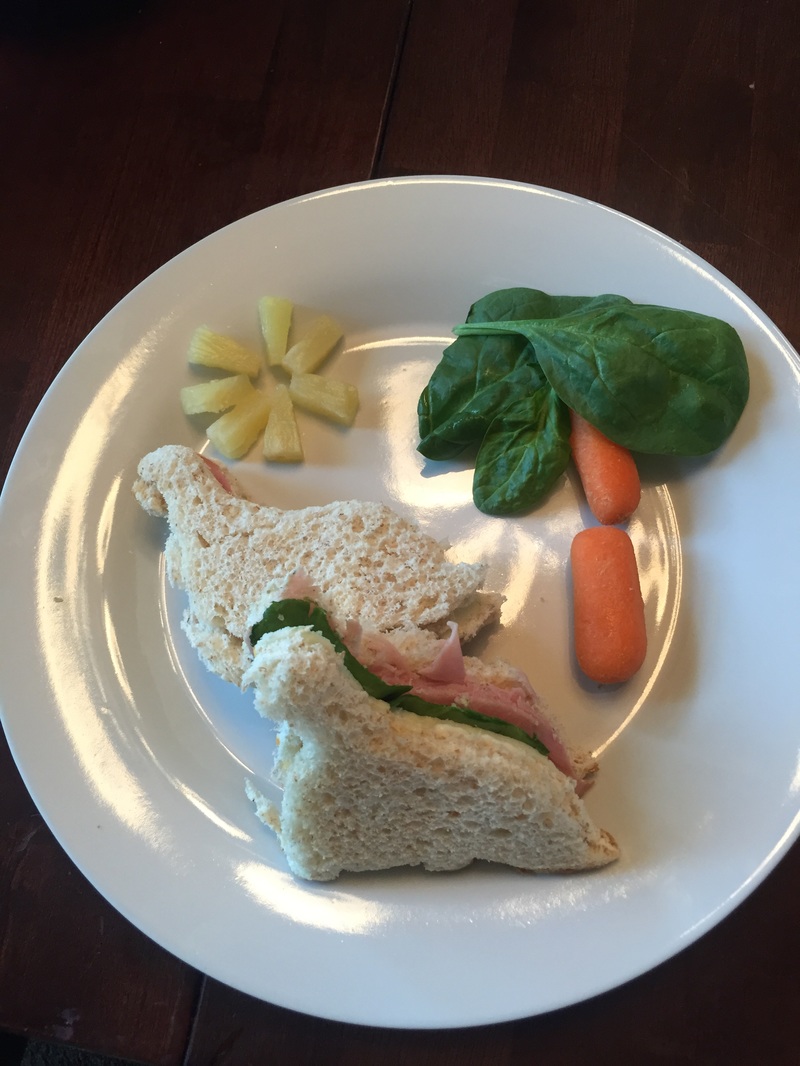
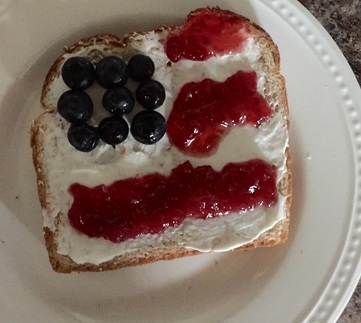
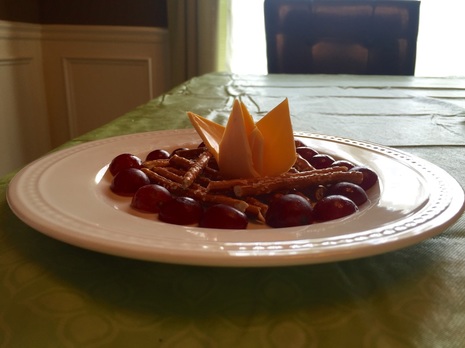
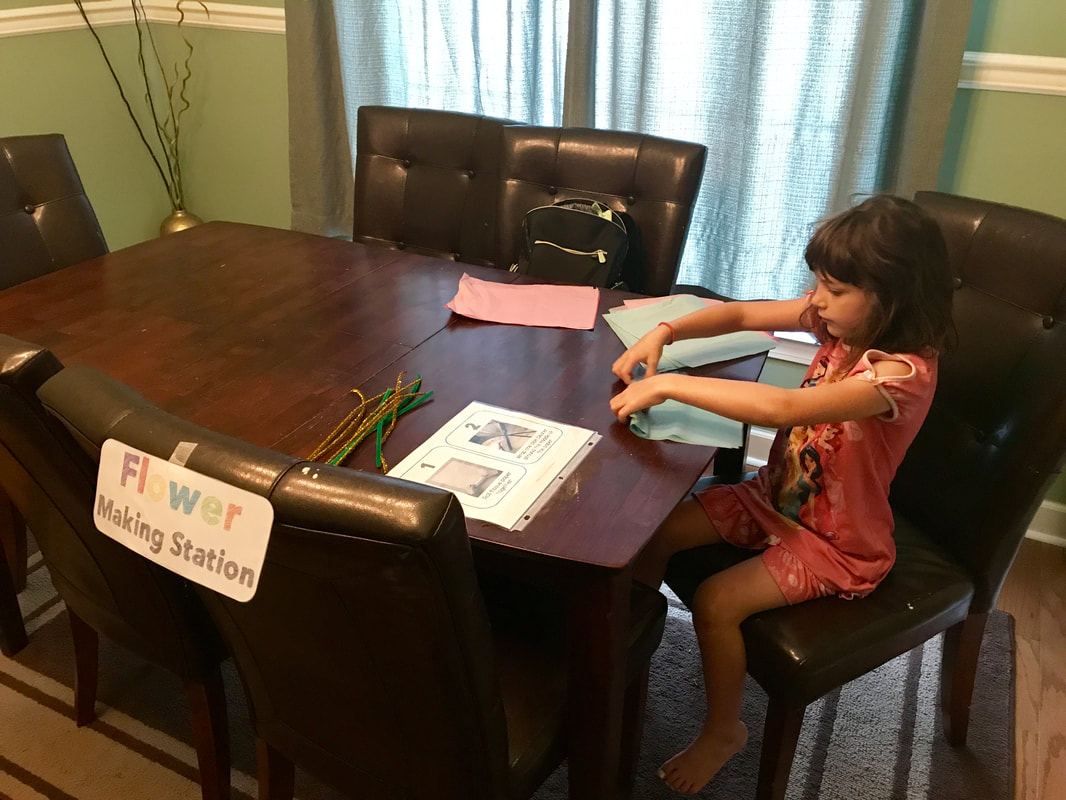 Making paper flowers. | 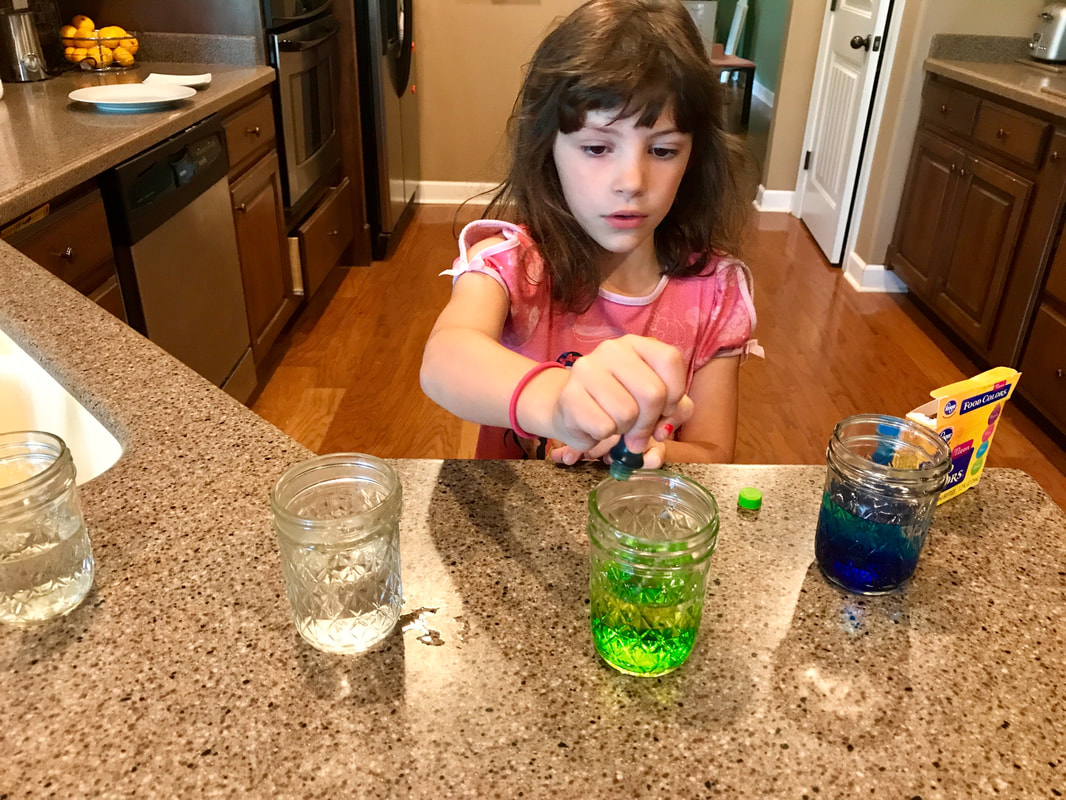 Experimenting with flowers and how they absorb water. I forgot to get an after pic but we ended up with some colored carnations. |  Flower snack! |
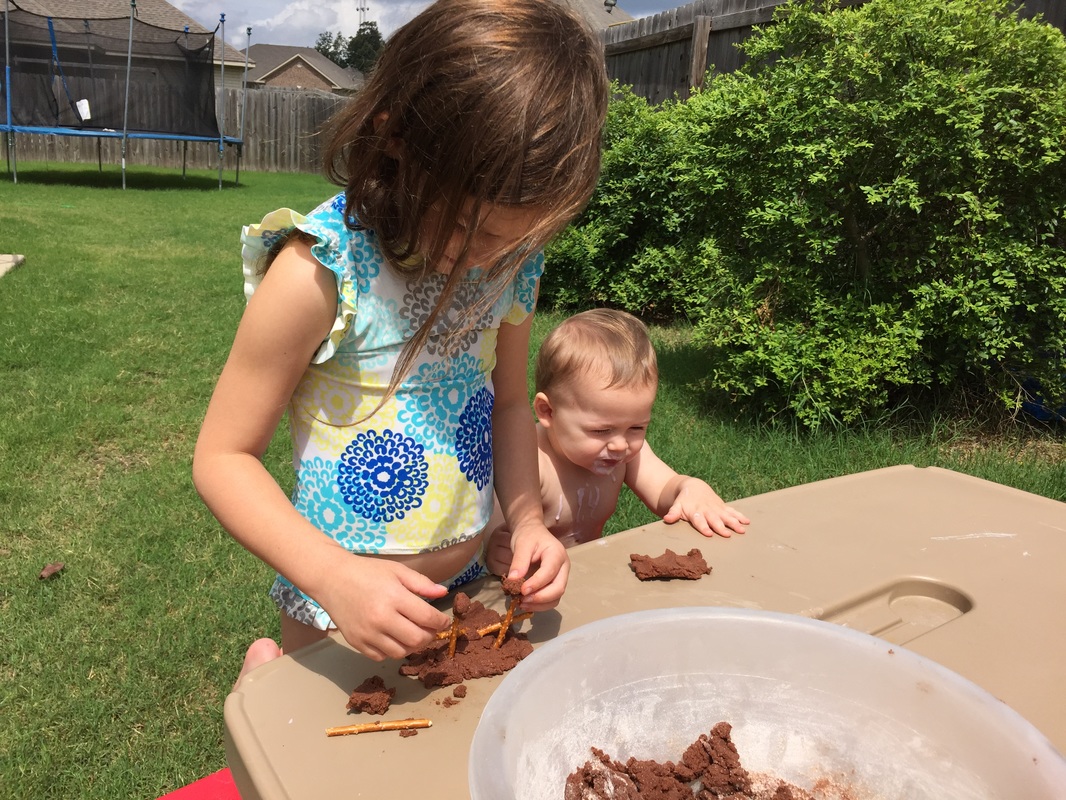
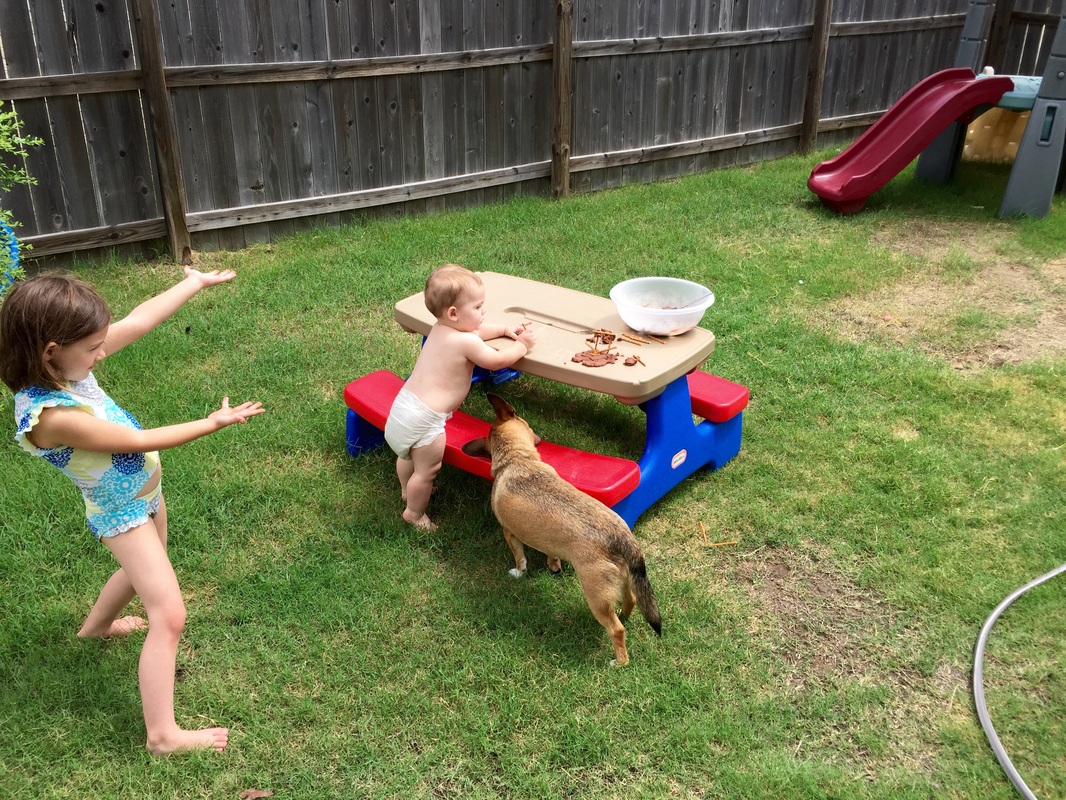
day four: trees
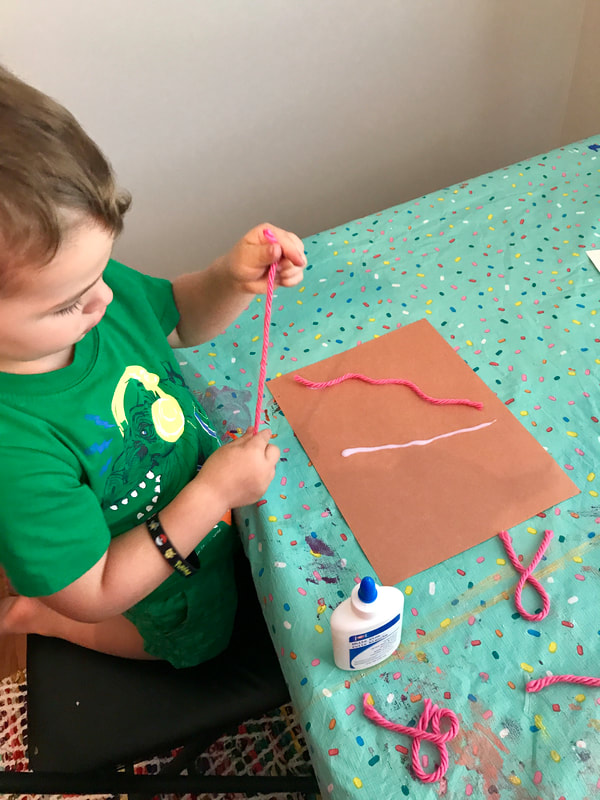
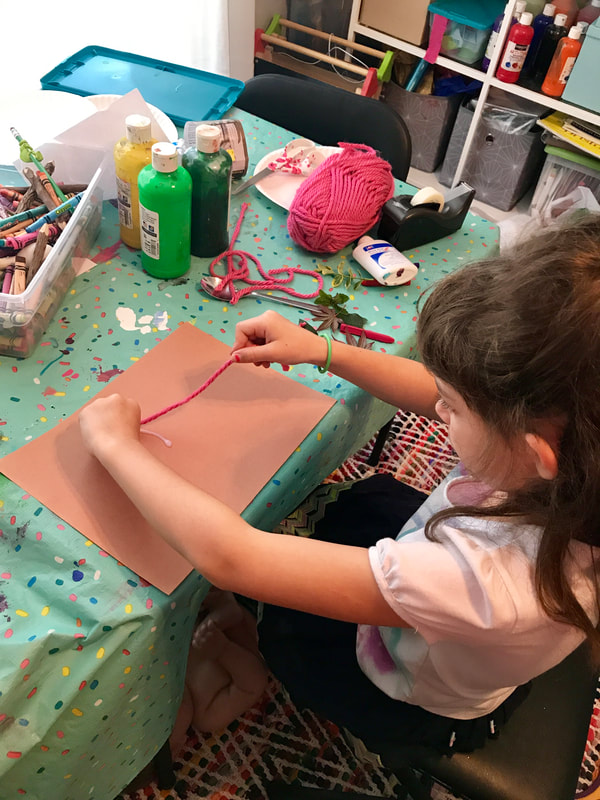
We learned about how trees grow by watching a video and reading a book. Then we headed out side to collect a tree limb for some process art, made fruity rainbow yogurt bark and painted some q-tip trees.
 I drew a tree trunk and then gave each a wad of q-tips rubber banded together. Dip in paint and dap to create leaves! | 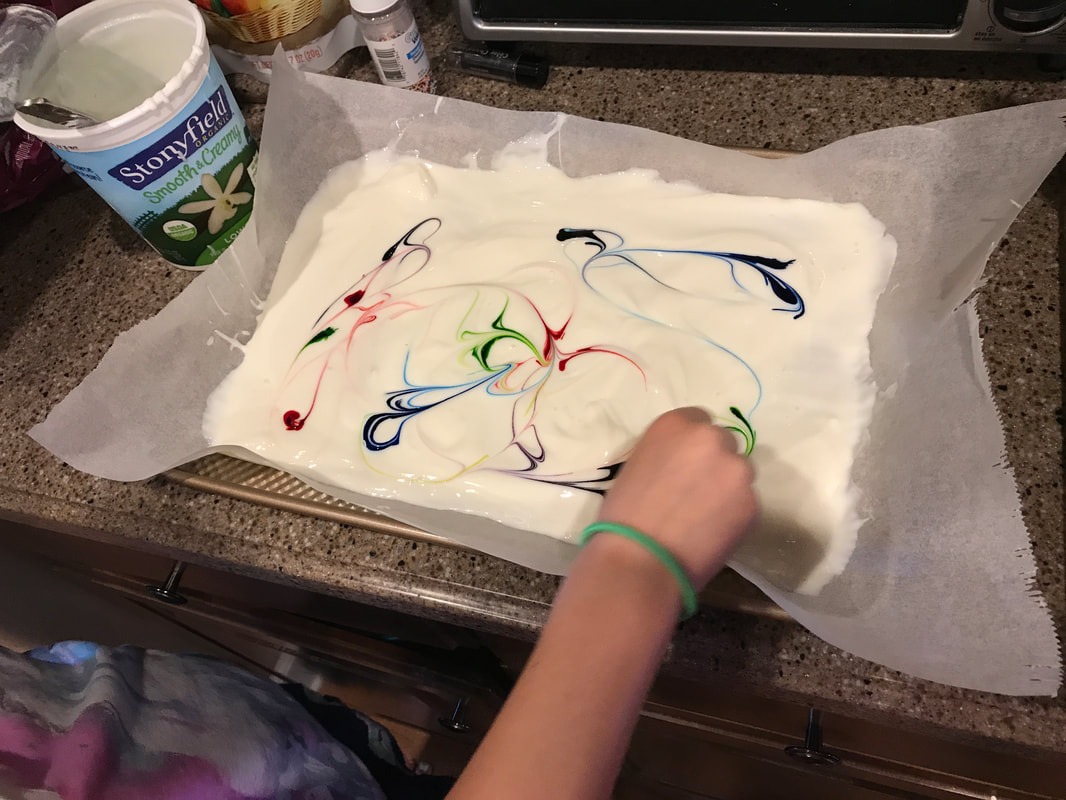 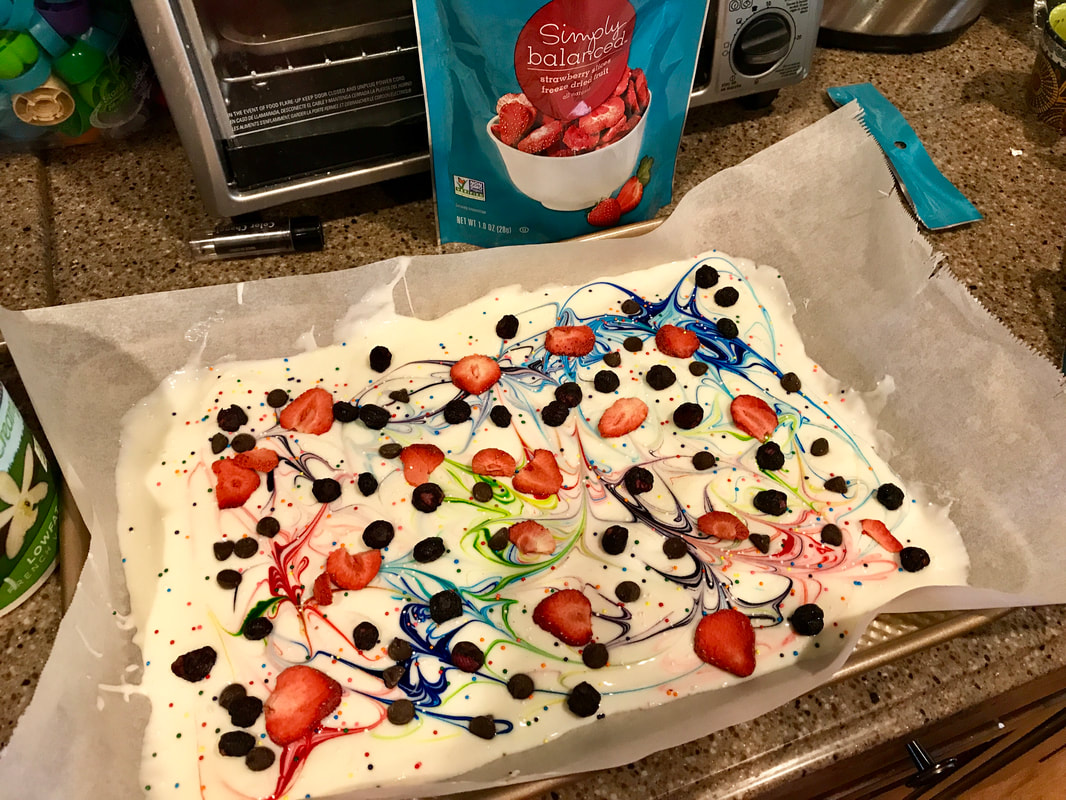 Greek yogurt, food coloring, dried fruit and sprinkles, then freeze and a yummy treat is made! | 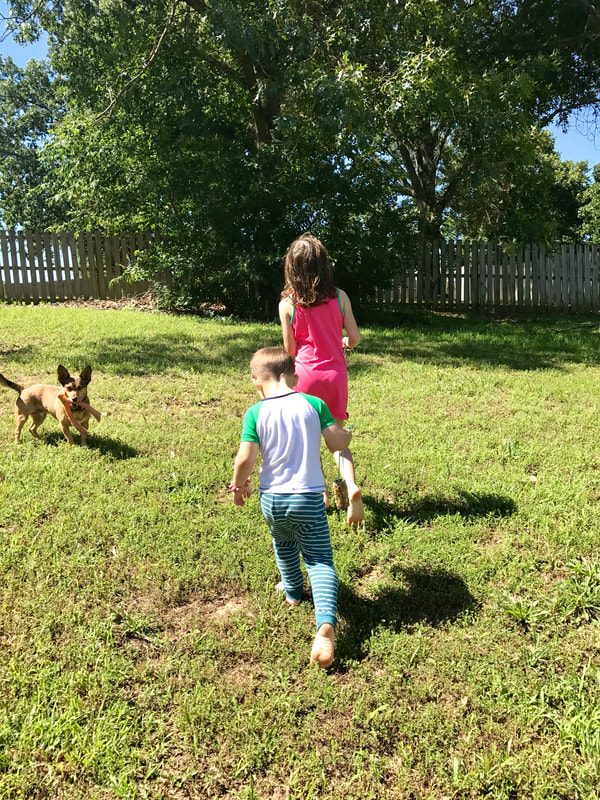 Hiking into the yard to find a tree branch. |
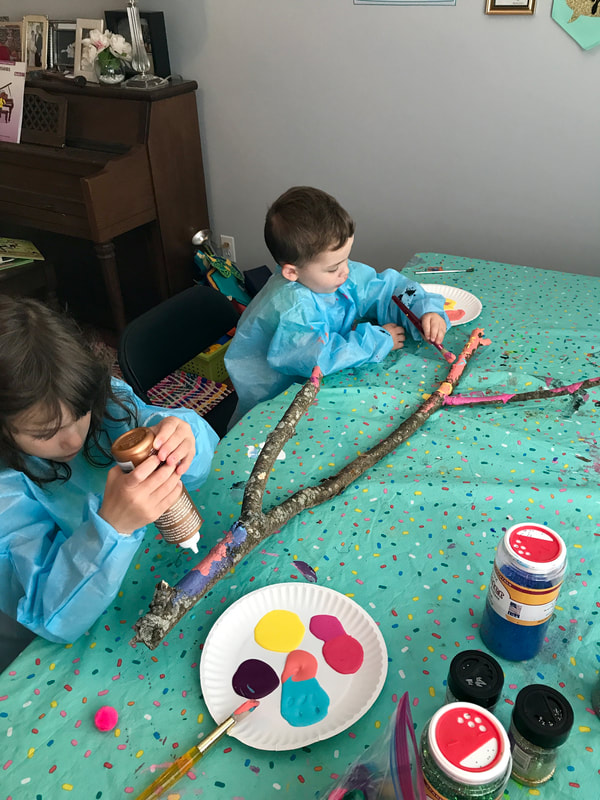 | 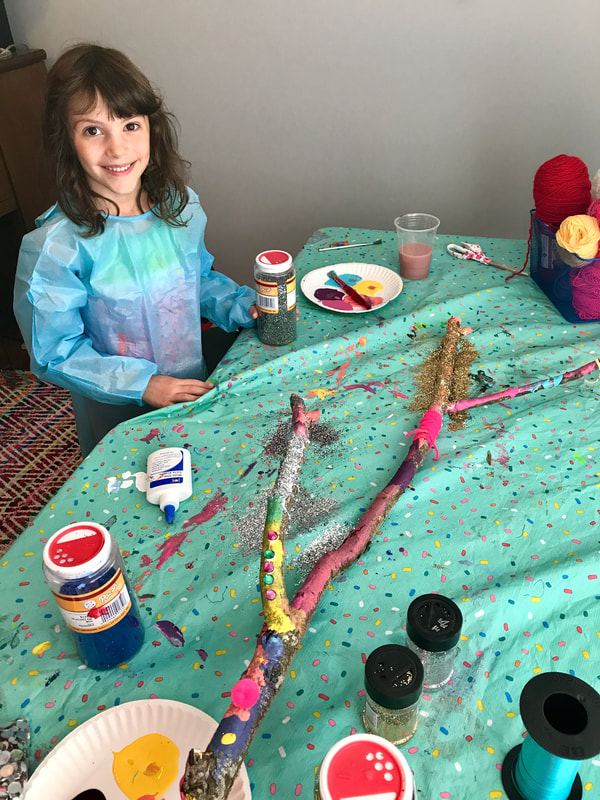 |
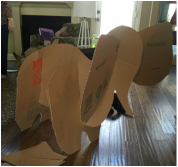
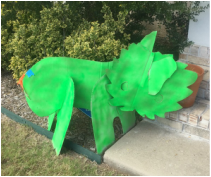
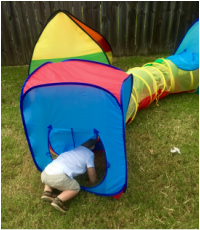
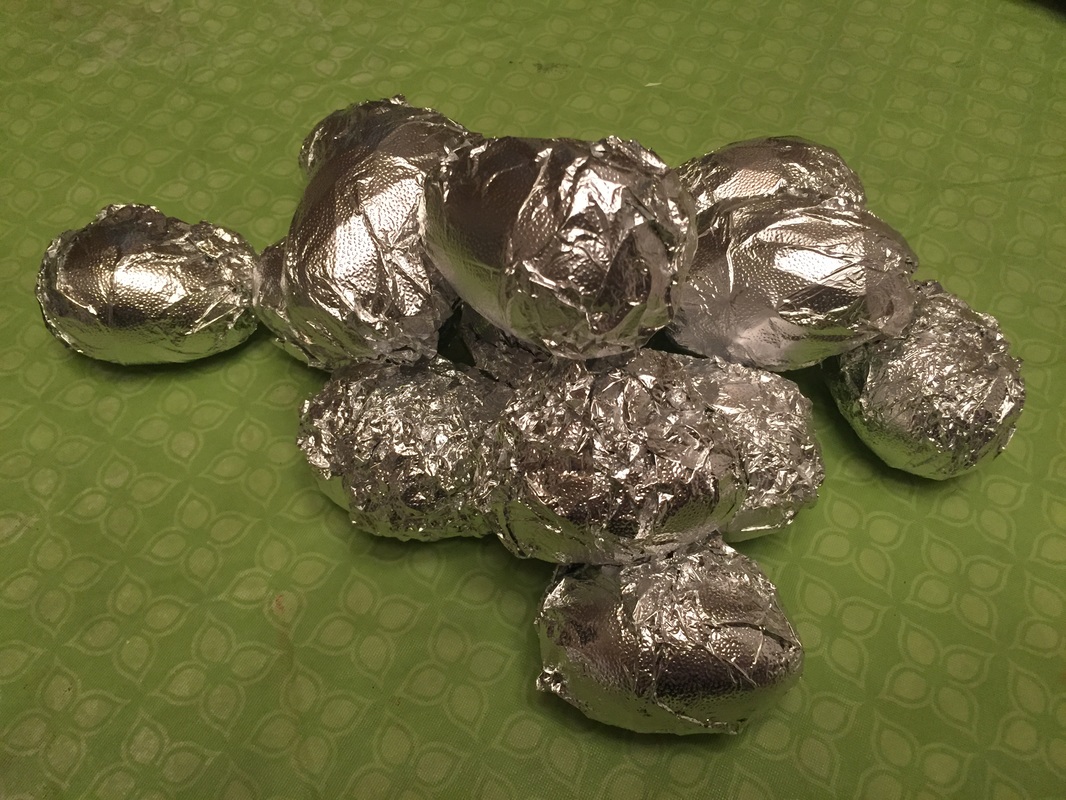
Process art is where there are basically no rules and creativity reigns. I presented them with a bunch of options and they decorated the tree branch however they wanted. It turned out great and is now a focal point in my craft room and sits on top of the piano.
day five: leaves
We learned about how leaves get water by watching a video. Then we headed outside to collect a few. We attempted to make prints and rubbings but didn't have a lot of luck. I'm not sure what went wrong. But, we were tired at the end of the week and not much got done with the leaves day. Ooops.
I hope you enjoyed learning about our week! Check back soon for more recaps of each week of Mommy Camp!
I hope you enjoyed learning about our week! Check back soon for more recaps of each week of Mommy Camp!


 RSS Feed
