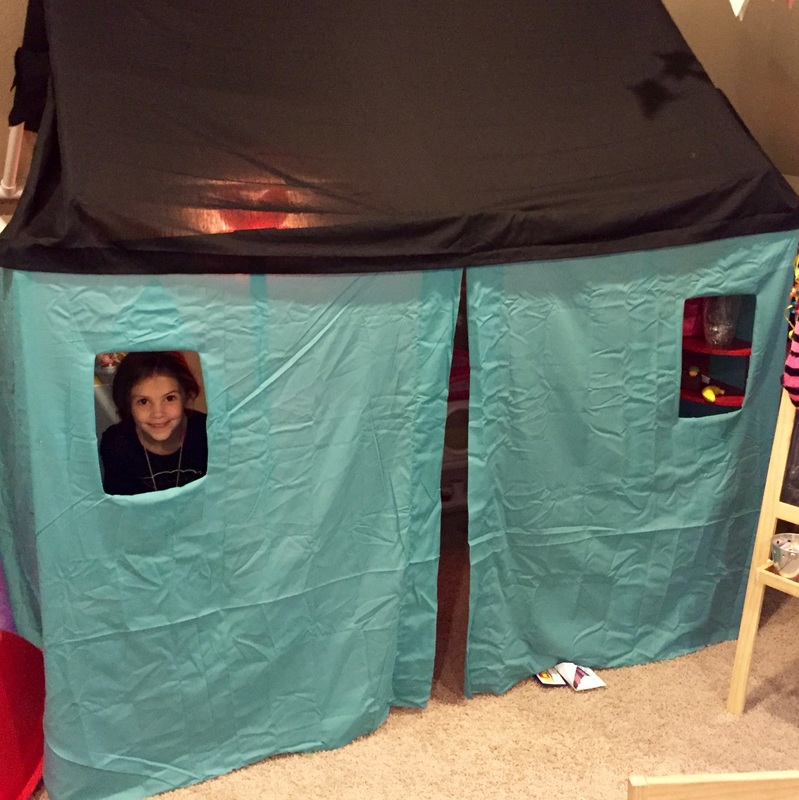
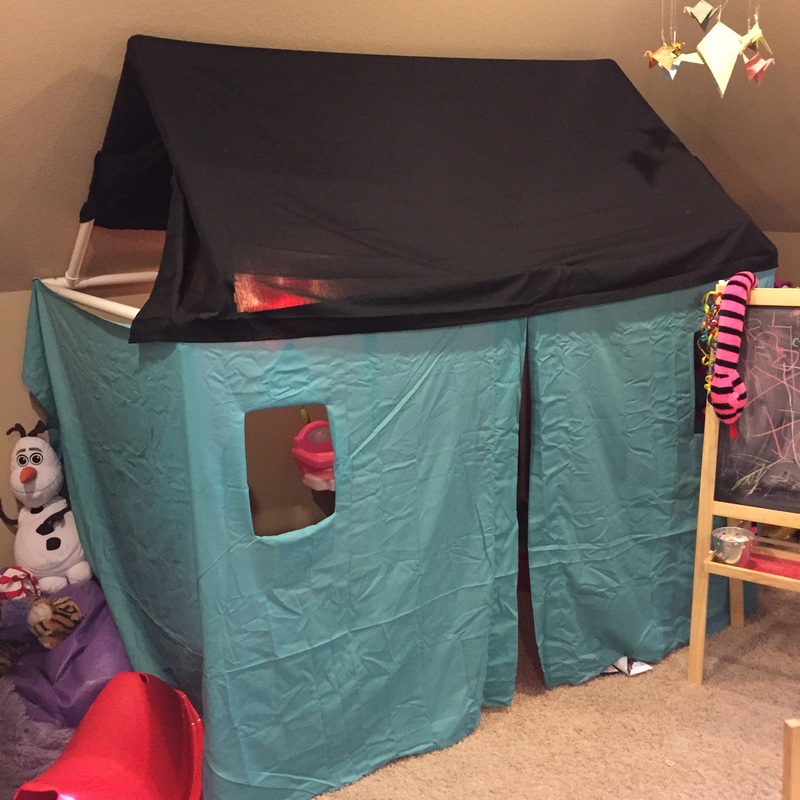
Step One: Design
I was working with a room that has slanted ceilings and, therefore, limitations in regards to height. So I measured my space and decided what the footprint of the playhouse would be. You are welcome to use my plan. It would work for any space that is big enough. Keep in mind that the connectors add about 1/2 an inch to the length of any section. So, my playhouse measures a little under 7 ft wide, 4 ft tall and the roof angle and another 2 ft or so tall for the roof so a bit more than 6 ft tall.
I was able to fit a play kitchen, half of a slide (the other half comes out of the side), a child-sized table and chair, a doll crib and a bookcase inside.
When designing it is important to make a note of how much pvc you will need. In my pinterest searching I found numerous posts that said the store would cut the pvc for you. I did not find this to be true and it caused me some frustration in that I had to add up the amount of pvc I needed in 10ft. increments while standing in the store. My design needs 9, 10ft poles.
Step Two: Purchase Materials
It only took me a second to find the materials I was searching for. You will also need a PVC pipe cutter. I got mine for about $11 and it worked like a charm. I dreaded the fact that I had to cut them myself but it was super simple and took no time at all! Below is my materials list.
PVC Playhouse Cut List/Shopping List
If you find a place that will cut it for you great! If not you'll need to cut it yourself with a PVC pipe cutter. It's actually really easy!
You Cut:
- 9, 10ft long, 1inch pipe
- 6, 3 joint connectors
- 10, t-joint connectors
- 4, 45 degree angle joints
The Cut List:
4 - 1ft
4 - 4 ft
3 - 6ft
8 - 3ft
1 - 5.5 ft
4 - 2ft
4 - 1 inch
Step Three: Make Cuts (If you got them to do it for you then skip this step!)
Cutting the pipe was very easy. I just measured and marked with a sharpie and then cut each section. I recommend labelling each pipe with it's length so you save time when constructing later. The cut lengths are above.
*You may need to adjust the cuts a little depending on how perfectly they are cut and how easily they slide into the connectors once constructed. I adjusted mine a bit and had no issues. just pull the pipe out cut a bit and reattach. :)
Step Four: Construct
When I put mine together I found having the measuring tape, sharpie and PVC cutter nearby was helpful for any minor adjustments needed.
1. Form your base by attaching the front bottom first. You will attach one 3ft pole to two 1 ft poles using t connectors with the 3ft in the middle. Then attach a three joint connector to the end of each 1ft pole. Continue forming the base and attach two 4 ft. pole to each horizontal connector coming from the 1ft poles. Then attach another 3 joint connector to the end of those poles and finish with a 6ft pole in between the two new 3 joint connectors. This should form your rectangular base.
2. Begin adding the vertical poles. Place one 3ft pole in each vertical 3 joint hole as well as one 3ft pole in each of the two t joint holes at the front. Attach a t joint connector to the top of each of the middle poles at the front and attach a 3 joint connector to the top of each corner pole.
3. Modify your two remaining 1 ft poles by making a cut 1 inch in on both. Attach the 1 inch piece to the front corner joints and attach a t joint connector to that with the t joint connector middle hole facing up. This will connect to the roof.
4. Attach the other top 4 ft pole on either side and the 5.5 ft pole on the back. For the 5.5 ft pole you need to cut 1 inch off of each end and copy the same steps that you followed for the front 1 ft bars in order to form the roof attachment.
5. Place the 1 inch pieces in the top of each upward facing t connector. Then attach the 45 degree angle joints to each one.
6. Attach the 2 ft poles to each 45 degree angle joint and attach your remaining two 3 joint connectors between the 2 ft poles from the front and back. This will form the roof angles.
7. Attach the final 6 ft pole between the two 3 joint connectors at the apex of the roof.
Step Five: Creating a Cover
I found colorful sheets that matched the room at Walmart for $4.98 each (in a twin size) and chose to use them as my fabric. To attach I measured each section I wanted to cover and then cut a rectangle/square to fit the area. Then I sewed a piece of velcro to the sheet and hot glued the opposing velcro to the pole where I wanted them to attach. I also decided where to add windows and cut them out before attaching.
I plan on sprucing it up more with felt accents like shingles and other things to make it look more house like. I'll sew those on by hand so I can wash it if necessary.


 RSS Feed


