DIY Paper Bag Camping Vest
Materials:
- paper bag
- scissors
- glue
- pen
- stickers (optional but fun)
Directions:
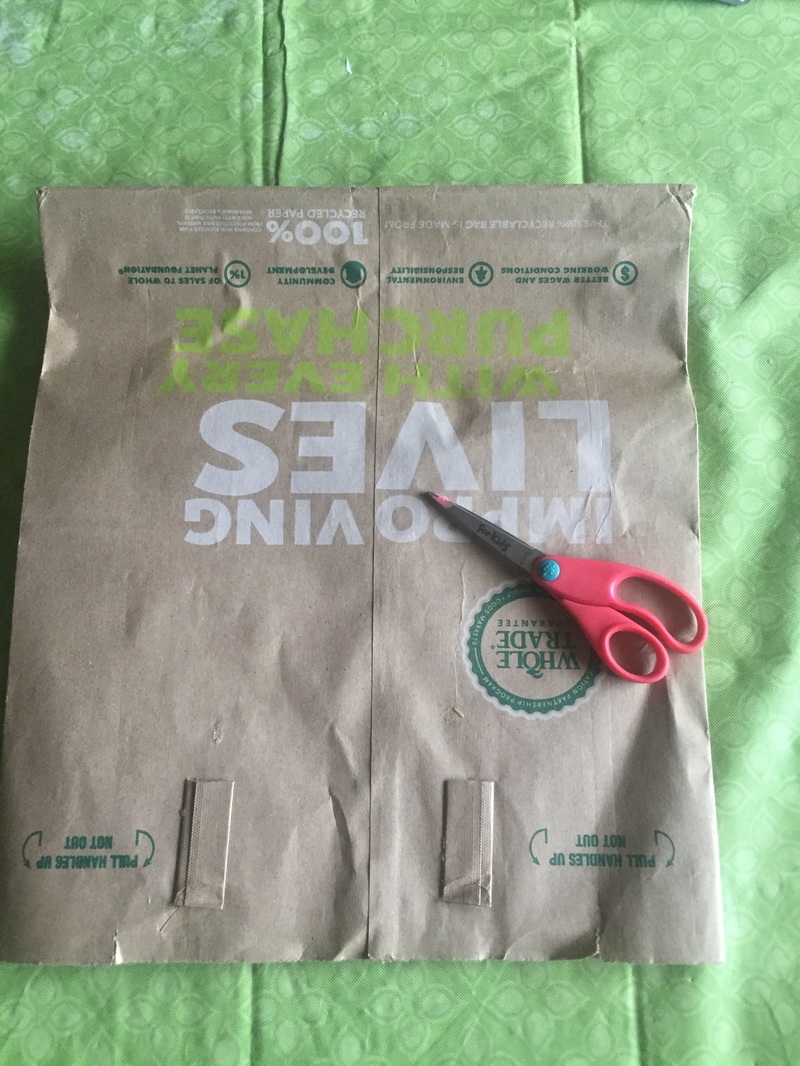
1. Cut the handles off of your bag.
2. Place the bag with the open end down and draw a v at the top (bottom part of the bag)
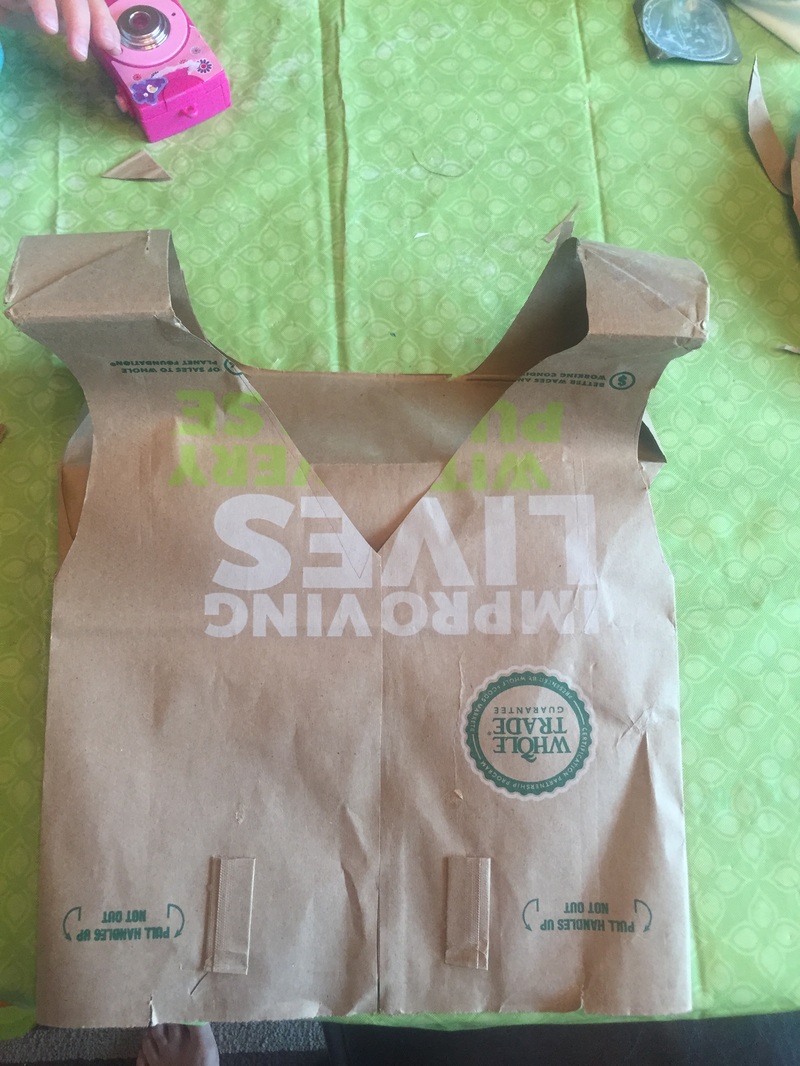
3. Then cut from the bottom (top/open part of bag) up the middle seam to your v and cut out the v as well.
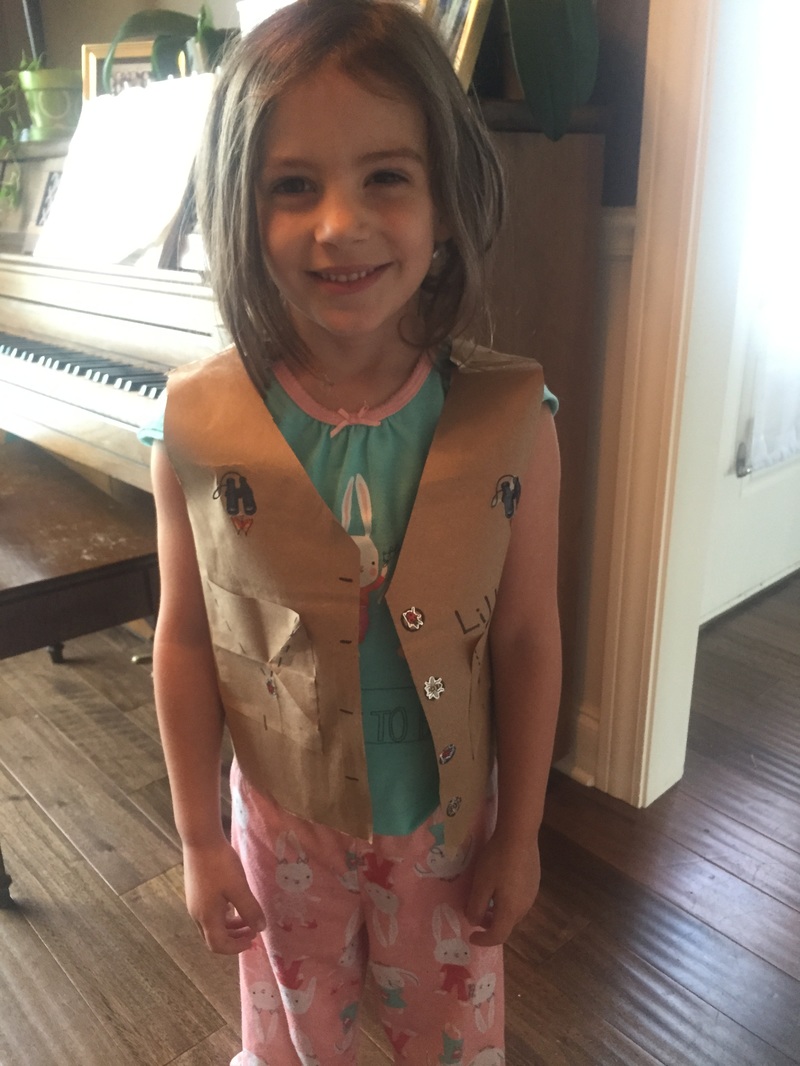
4. Then cut out armpit holes and a little of the top back for wearing. (I actually had to take mine in on the sides and shoulders by cutting out excess length/width and taping the vest back together so it would fit my four year old. But you might not need to.)
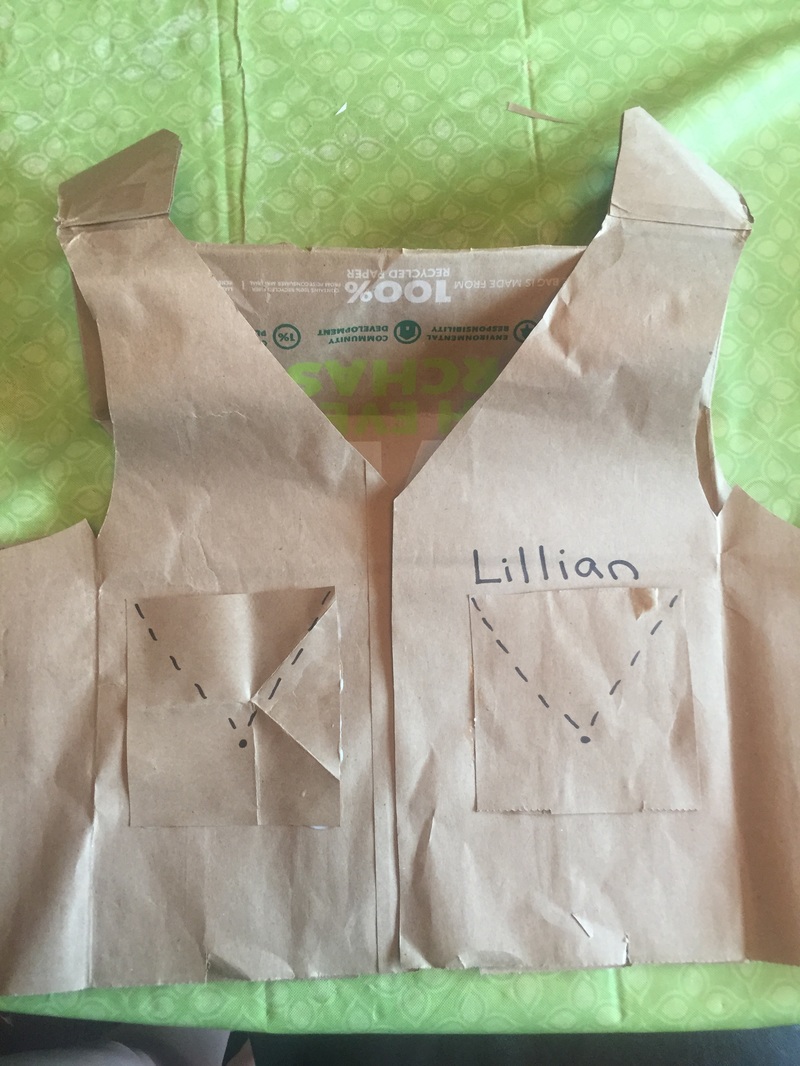
5. Using the scrap leftovers, create squares for pockets and glue them onto the front of the vest. I also drew faux pocket flaps with a sharpie and wrote her name above the left pocket and added "buttons" down the front.
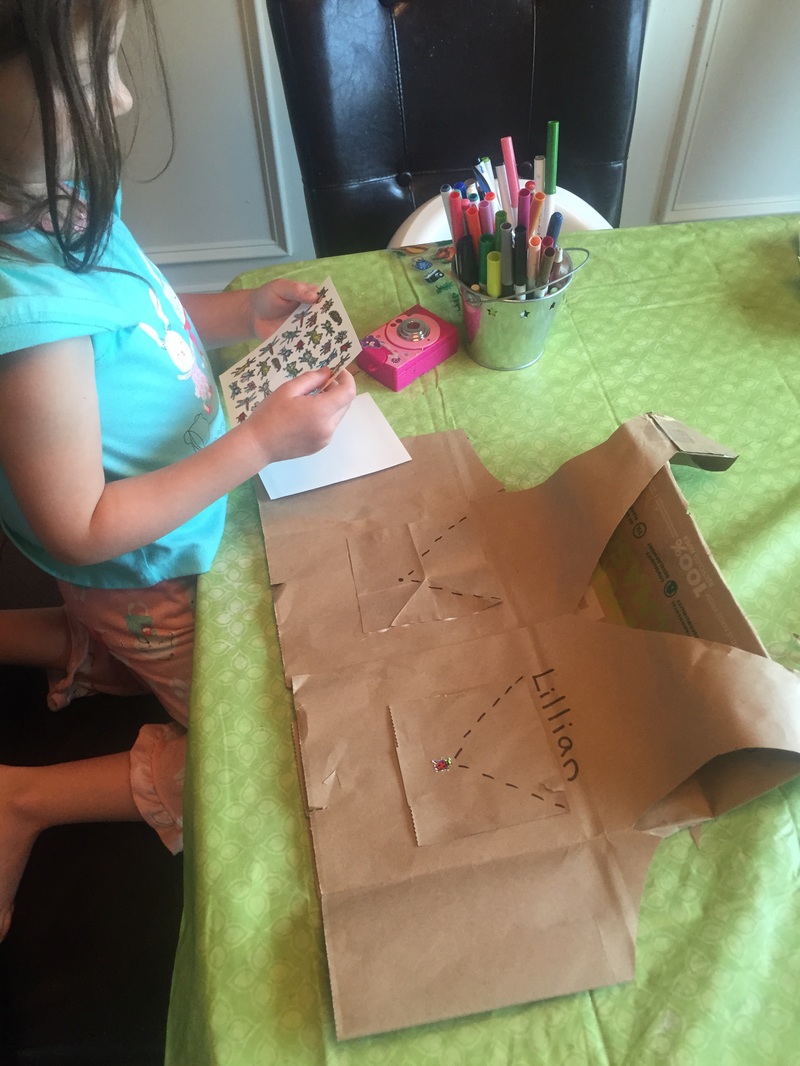
6. Then I gave it to my daughter along with fun camping and bug themed stickers to decorate.
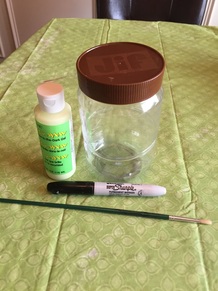
Materials:
- glow in the dark paint
- small tipped paintbrush
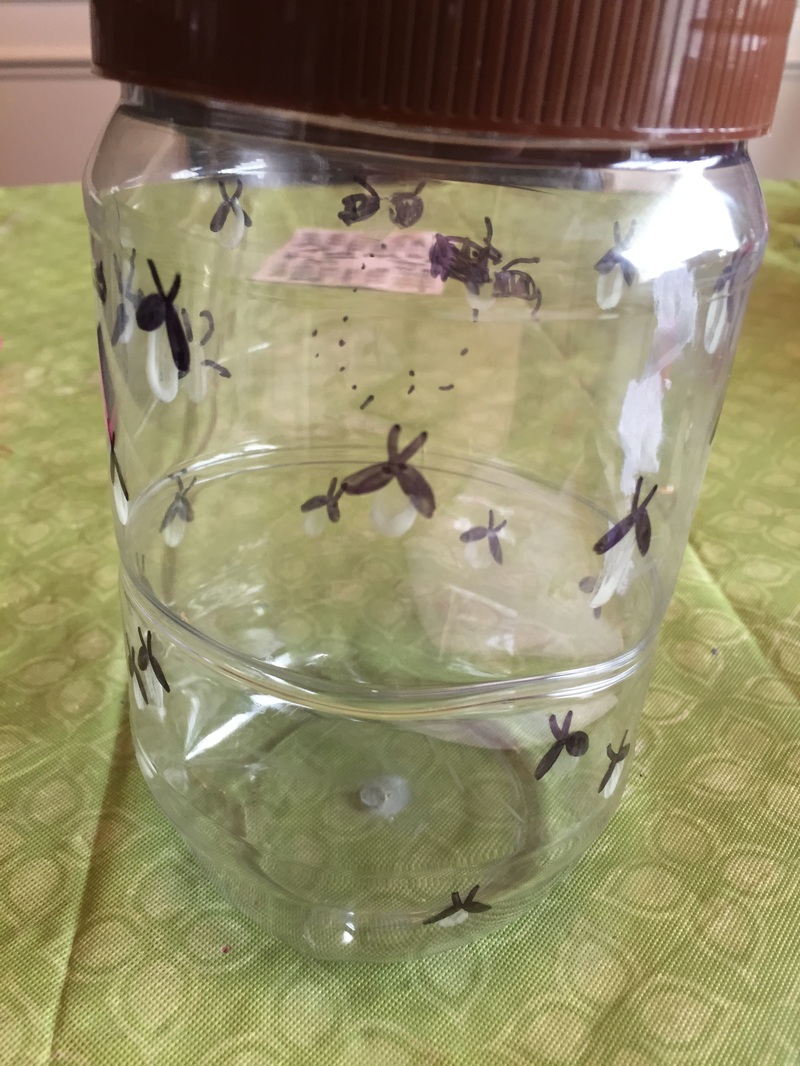
- clean jar (we used a large plastic peanut butter jar)
- sharpie
Directions:
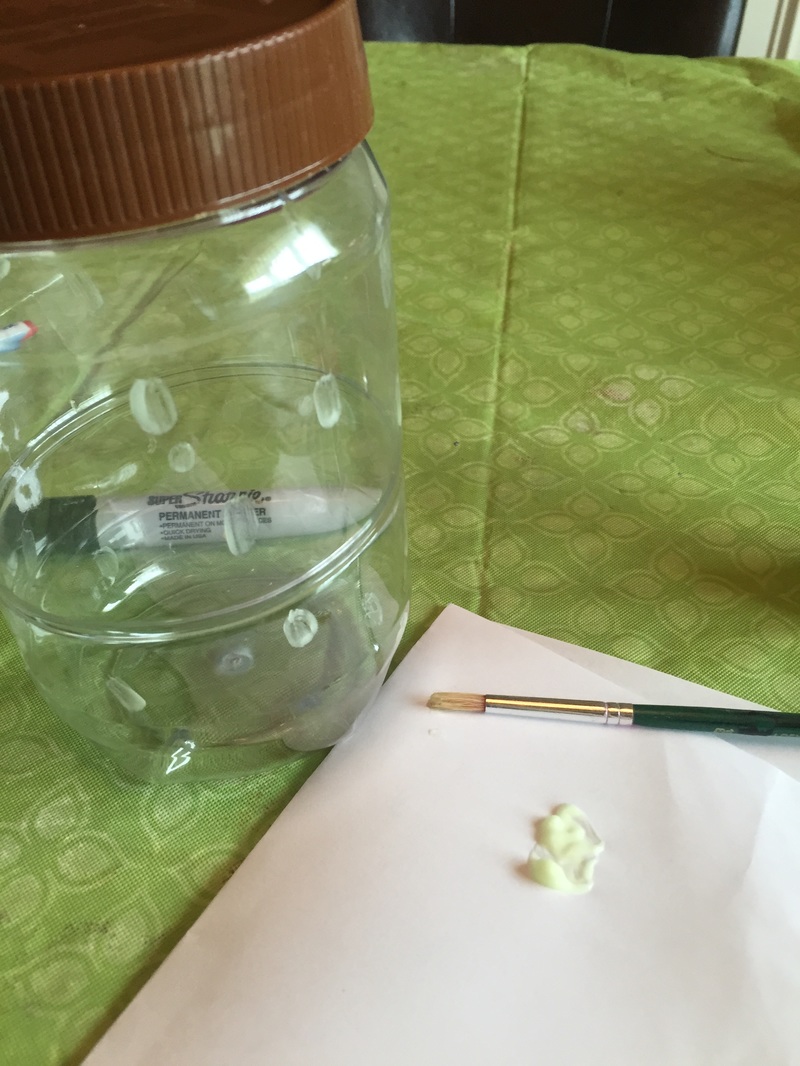
1. Paint small lines/ovals on the inside of the jar in various locations.
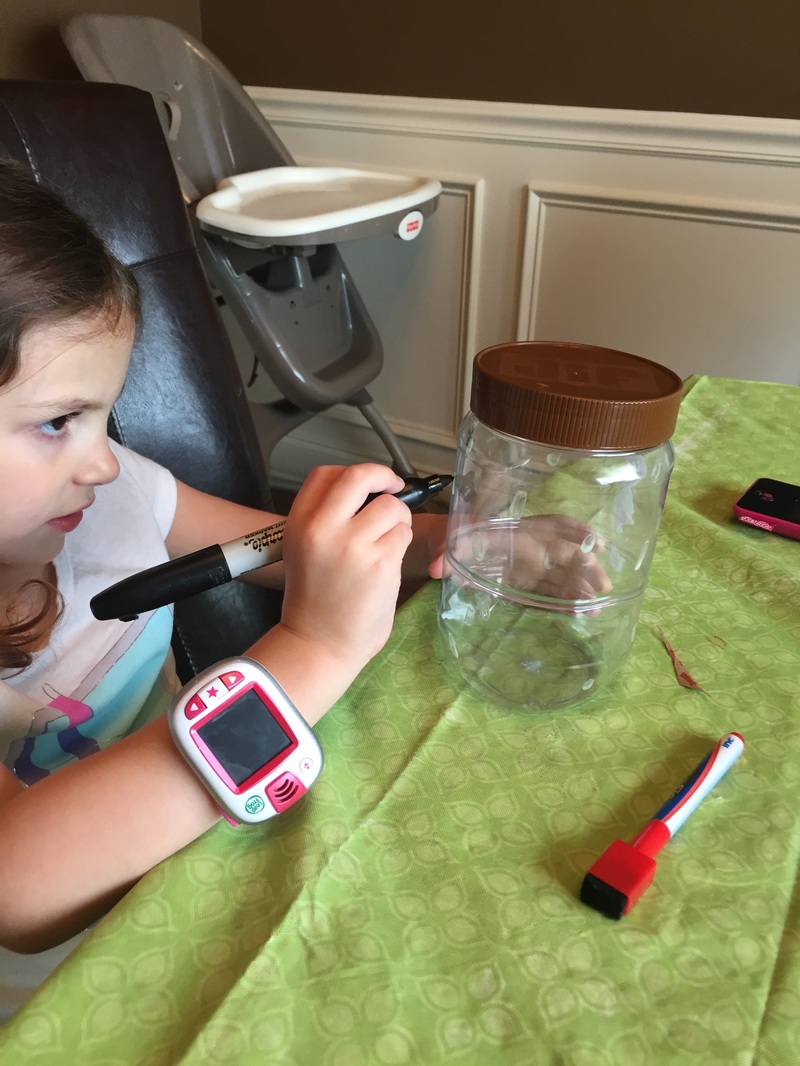
2. Using the sharpie, add lines/wings and lines/antennae to each paint spot on the outside of the jar. (I allowed my 4 year old to help with this step.)
3. Expose the jar to light for a bit and then have fun in the dark!



 RSS Feed


