|
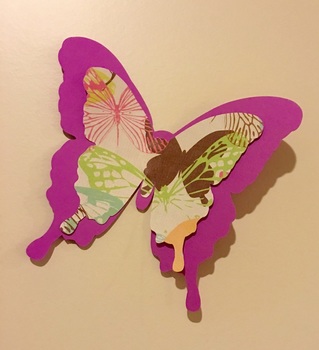
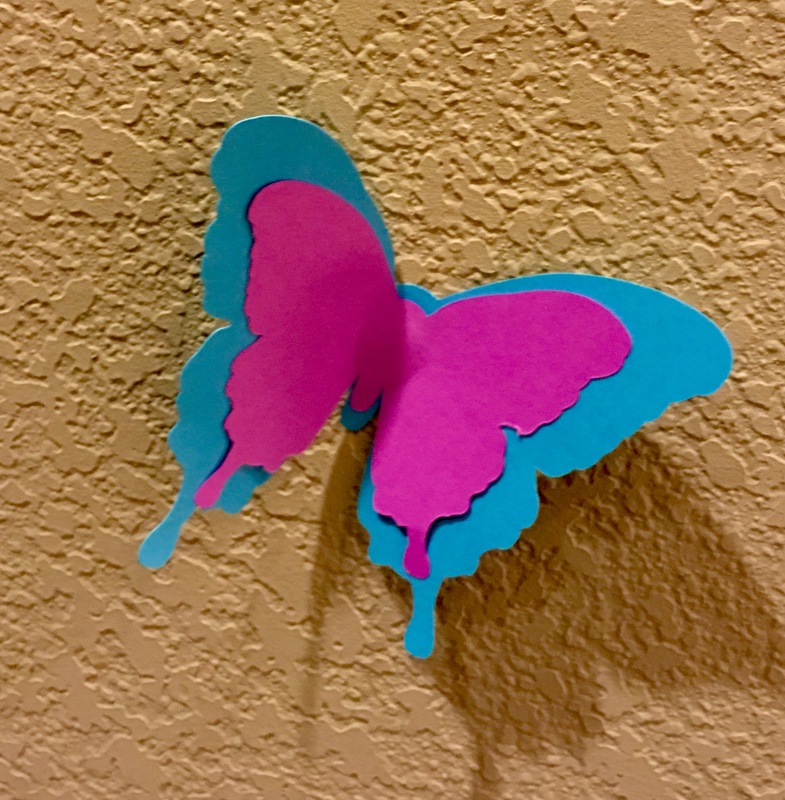
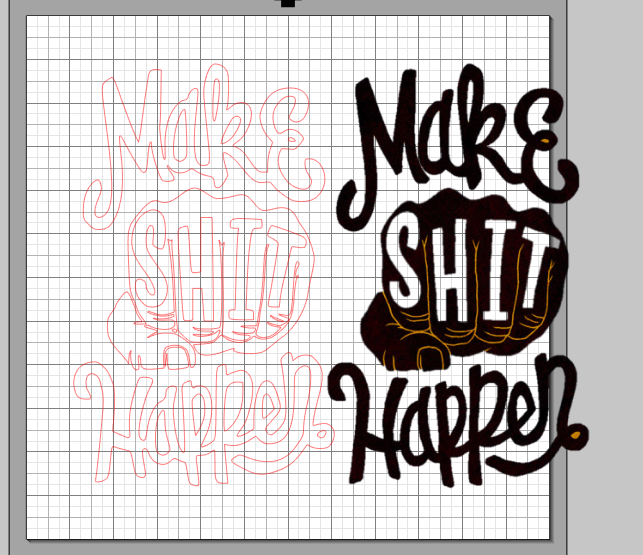
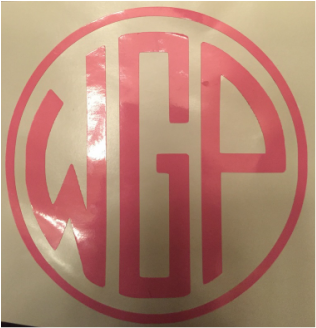
My awesome husband got me a Silhouette Cameo 2 for Christmas this year! It was a major surprise and I am super excited. I've used it a few times to practice and make sure I have some idea as to how to use it and I would like to share the first few projects I have accomplished. For my first attempt I decided to make my daughter some paper butterflies to stick on her walls. The cut file was free and I had scrap paper so it didn't matter if I messed up. I used the free butterfly cut file and made two different sizes of butterflies on my silhouette studio page. Then I placed paper on my cutting mat and loaded it into the cameo. After checking to make sure the settings were correct, I sent it to the machine. They turned out great! I repeated the process using a different paper and then layered the smaller butterflies on top of the larger butterflies and used stick tac to adhere them to the walls. It was super easy and my daughter thinks they are great! Success! For my second project I chose to make a gift for a good friend who was about to have a birthday. He runs his own marketing business and is very energetic and positive with a good sense of humor. I found a really great art print and decided to make my own version using gold poster board and black craft paper. I saved the image and then used it to create a cut file within silhouette studio by importing the image. Once I had my cut lines correct I loaded the poster board and sent the cut to the machine. After it was cut I glued it in the center of a piece of black card stock and framed it! It went very quickly and he loved it! Success again! I think I'm getting the hang of this. (I will say that I thought the paper setting should have been on card stock for the poster board. However, I was very wrong which resulted in the machine freaking out and cutting the edge of my mat! For future reference, you should set it at glitter card stock if you want to cut poster board.) I was in such a hurry to get it made before the party that I completely forgot to snap a picture! It looked really awesome though. :( For my final projects I ventured into he land of vinyl. (I had to wait until my order arrived.) I purchased my vinyl from amazon and I think I got a pretty good deal. I started my making a monogram for my friend. She plans on putting it on a tumbler. I used this site to generate a free monogram. Then I placed the monogram into powerpoint, added a thick dark circle around the edge and saved both parts as one image. Then I dropped into silhouette studio and added my cut lines. It was very quick and she loves the result. My other vinyl project is still in the works but, I plan on making some organization labels for my children's rooms. I'll let you know how that goes in my next post!
3 Comments
2/7/2016 01:56:28 am
This is really a nice and informative, containing all information and also has a great impact on the new technology. Thanks for sharing it ....
Reply
Rachel @ Paint Covered Kids
2/7/2016 09:09:09 am
I'm glad you found the information helpful! Thanks for visiting!
Reply
1/18/2024 10:30:08 am
Thank you very much for writing such an interesting article on this topic. This has really made me think and I hope to read more.
Reply
Leave a Reply. |
meet rachelRachel is a mother of three, elementary Spanish teacher and part-time blogger who loves crafting, creating fun and engaging activities for her children and students and hanging with her friends and family. She blogs about what she's doing and her interests at any given time which vary. She's a little OCD and always looking for her next project. Her husband calls it, "focusing her crazy", but she just calls it fun. Archives
June 2023
Categories
All
|


 RSS Feed


