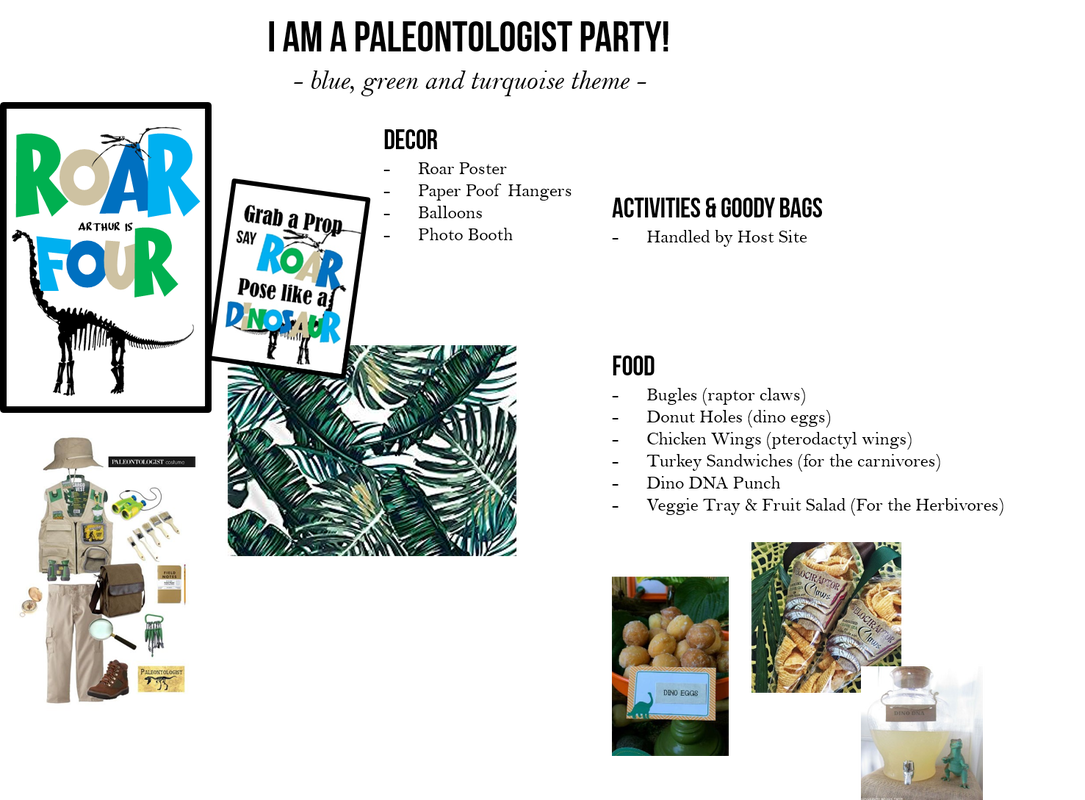
As always though, I made a party planning board you can check out below.
|
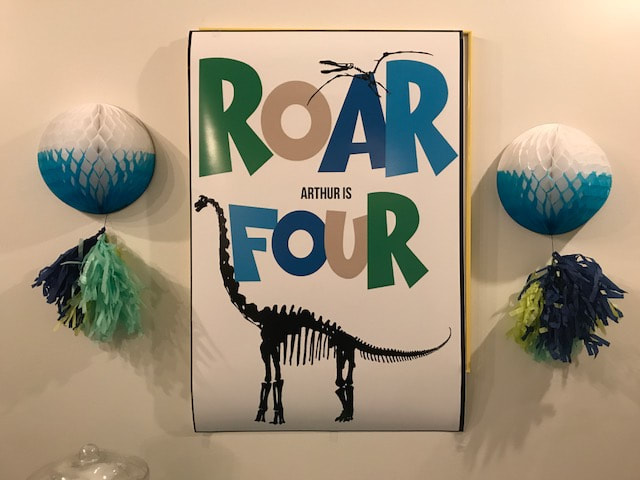
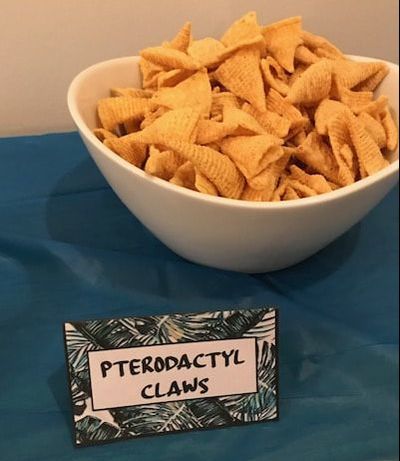
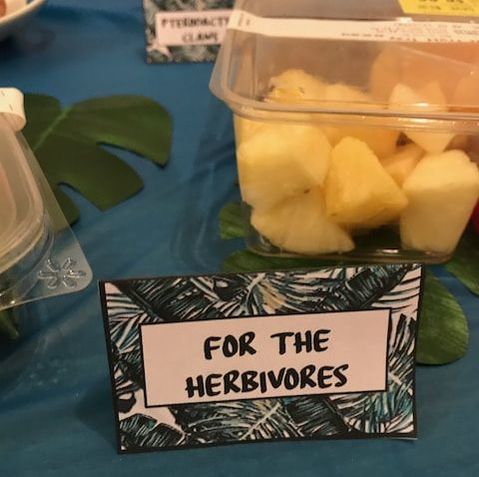
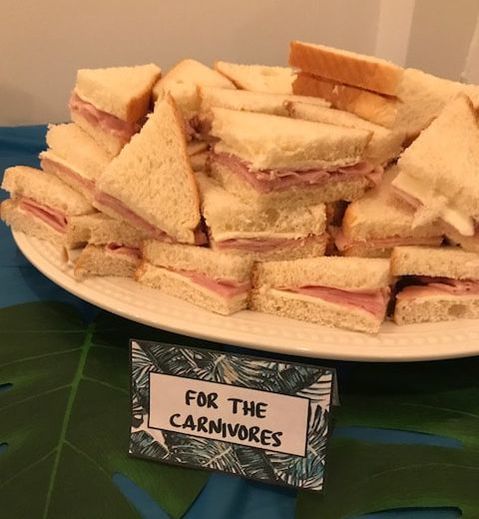
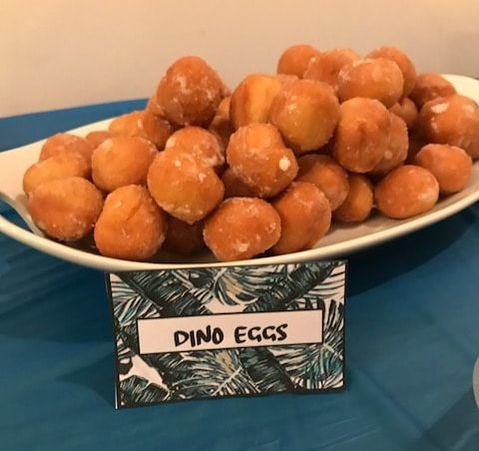
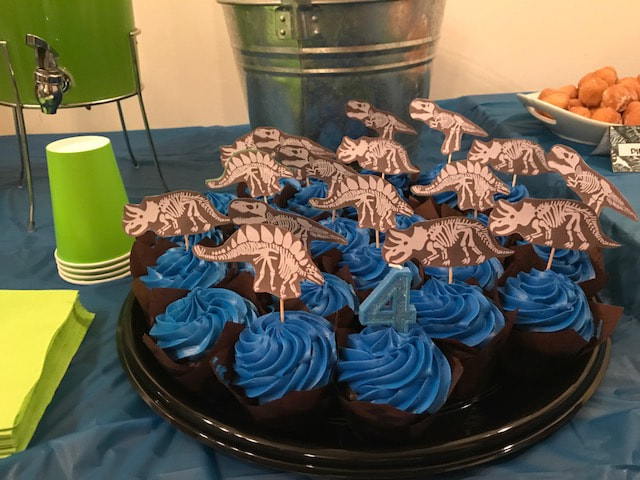
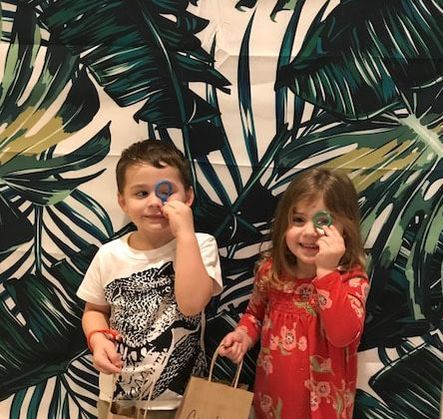
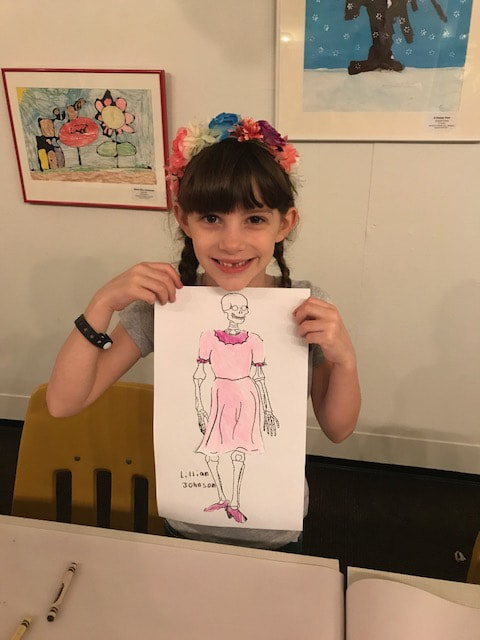
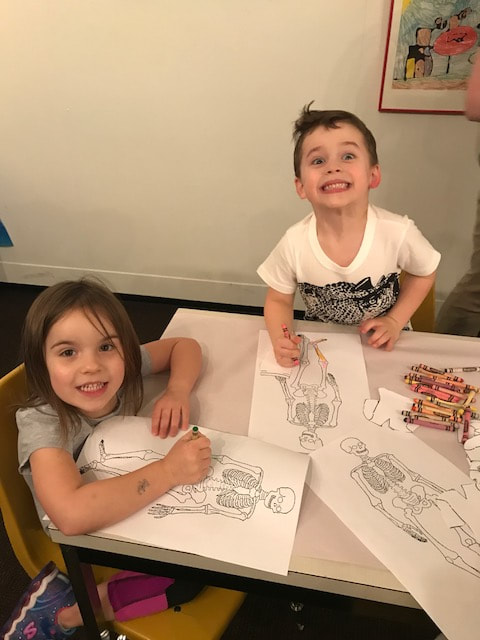
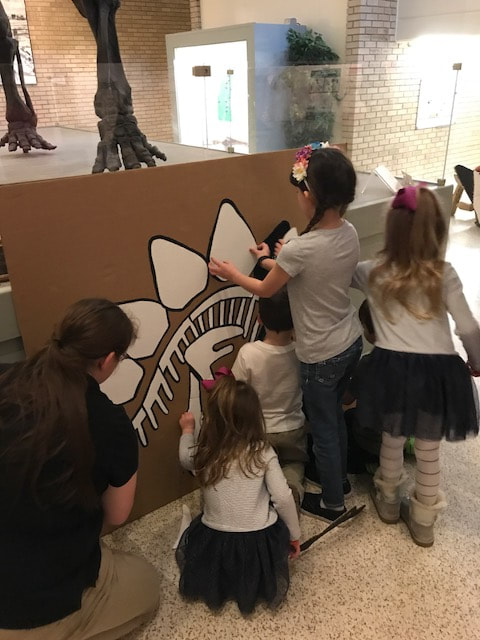
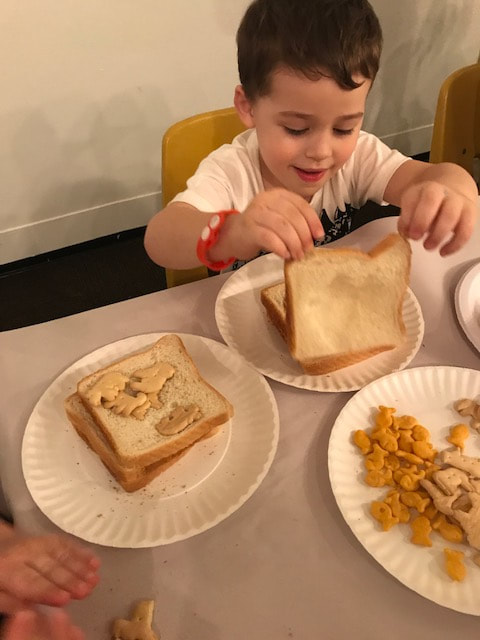
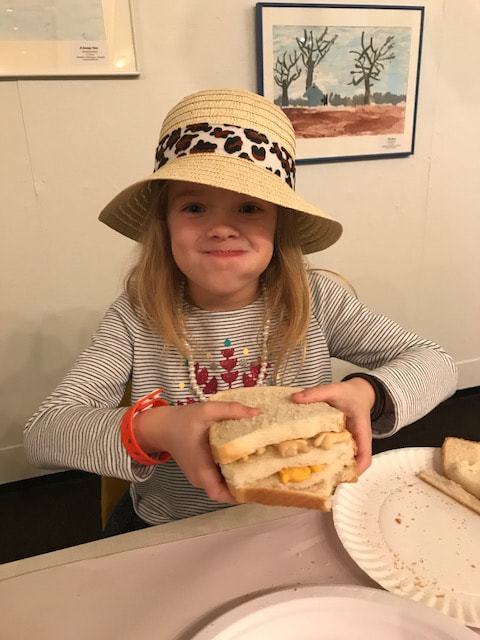
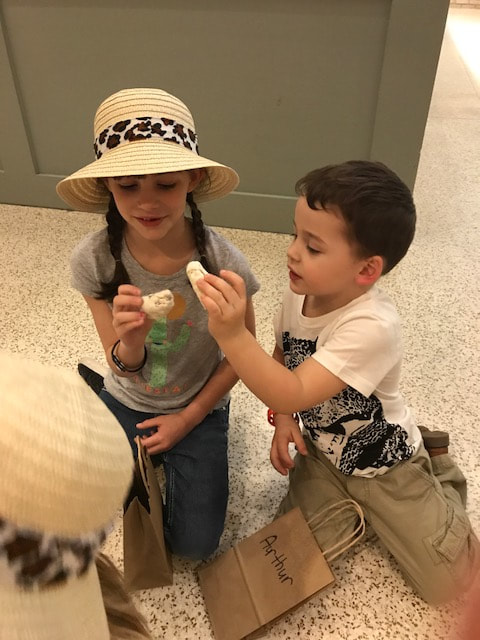
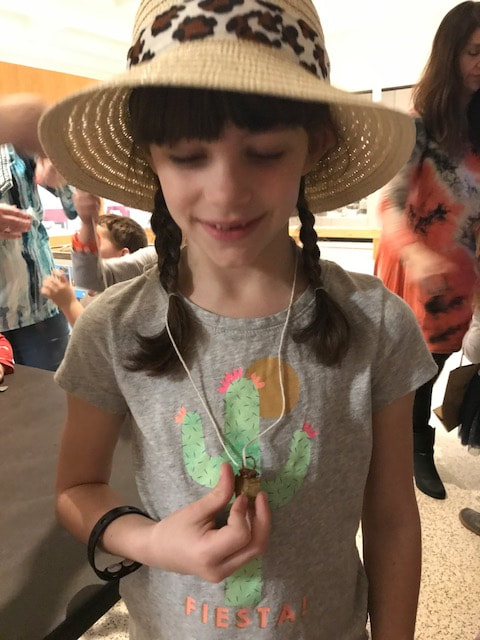
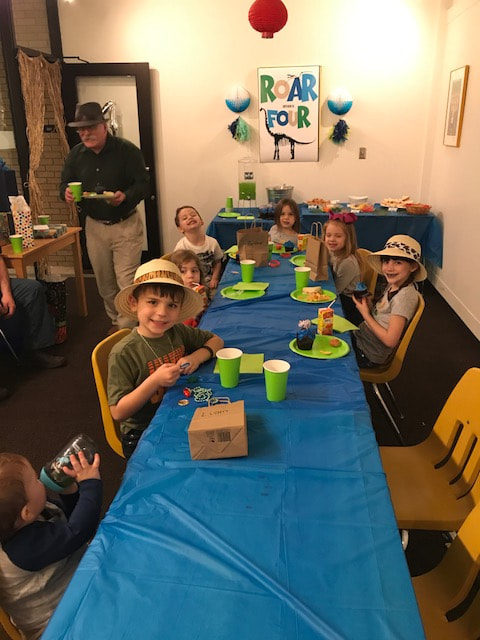
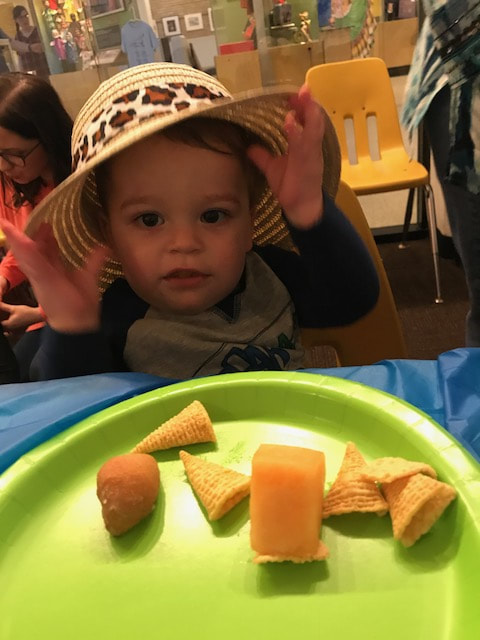
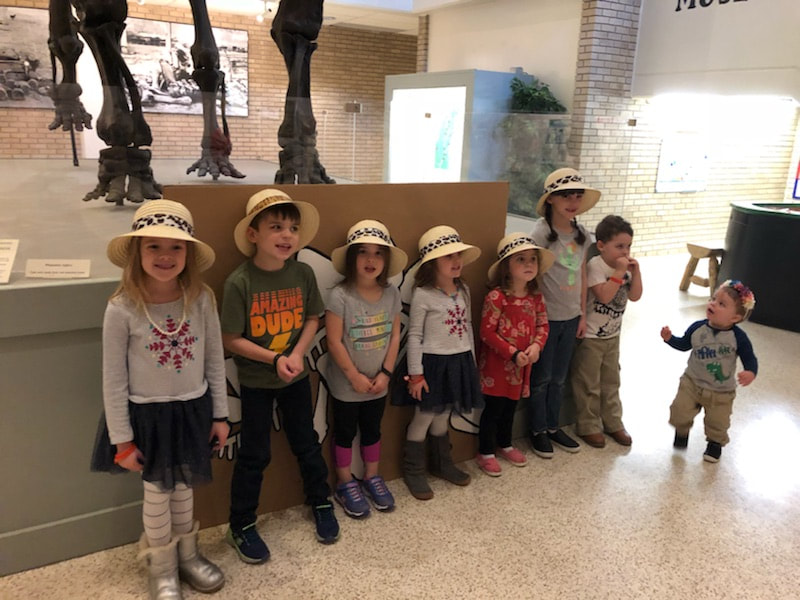
My son turned 4 last week and we had a very fun party at a local museum. I took it a little easier on myself than usual by letting the museum take over some of the party planning in regards to activities but did dress it up a bit with a photo booth area and themed food. As always though, I made a party planning board you can check out below. Easy, transportable food options, a fun photo backdrop and a paleontologist outfit for the birthday boy were all I had to plan for this time with the museum taking care of goody bags, activities and cake! I designed this poster on my computer using powerpoint and then sent it to be printed at my local Walgreens. For a grand total of about $10 (I also had a coupon). I had this great centerpiece for the food wall. I found the paper decorations in the discount bin at Target for a couple of dollars each. Since it wasn't at my home and I had to transport all of our food I went pretty simple. The party was also at 2 so a full meal wasn't necessarily expected by guests. We had turkey sandwiches, doughnut holes, fruit and veggies and bugle chips. I also brought a punch. The venue provided the cupcakes and I added the cupcake toppers. I used powerpoint again to create the food labels. I just took a picture of the photo backdrop and then layed a text box with a white background over the rectangle image of the photo backdrop and printed them out. Super easy. I bought the photo backdrop on Amazon. It is a tapestry/wall hanging and only cost $11! I'm sure I'll find another use for it in the future and because it is fabric it will still look great after each use! The museum had a great plan for the party with a several paleontology themed activities. First, the drew clothes on skeletons while guests arrived. Then, they searched for "dino bones" to complete a large puzzle. After that, they learned about how fossils are formed by making a fossil sandwich filled with layers gummy worms, gold fish and pretzels that they then mashed down to create fossils in the soft, white bread. After the fossil sandwich and discussion on fossils, they went on a scavenger hunt that had a really fun story element and found dino eggs, arrowheads and buried treasure! It was a really great party and I think everyone had a great time. It was definitely nice for me to take a break from all of the crazy party planning I tend to get myself into. Thanks for visiting!
0 Comments
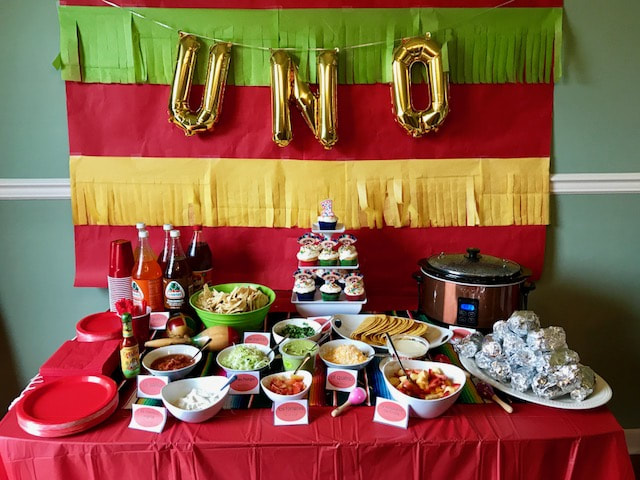
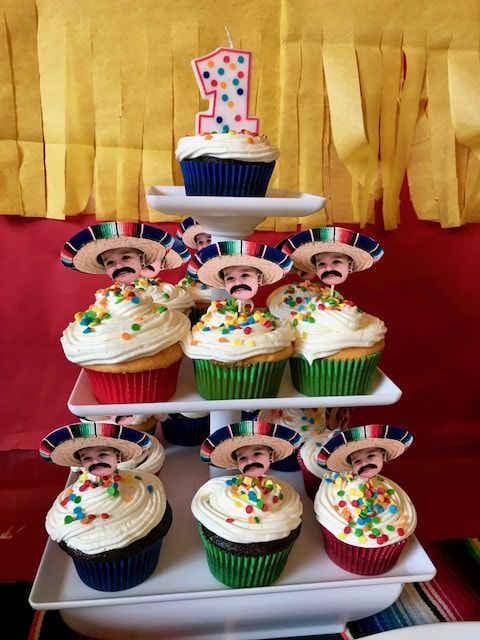
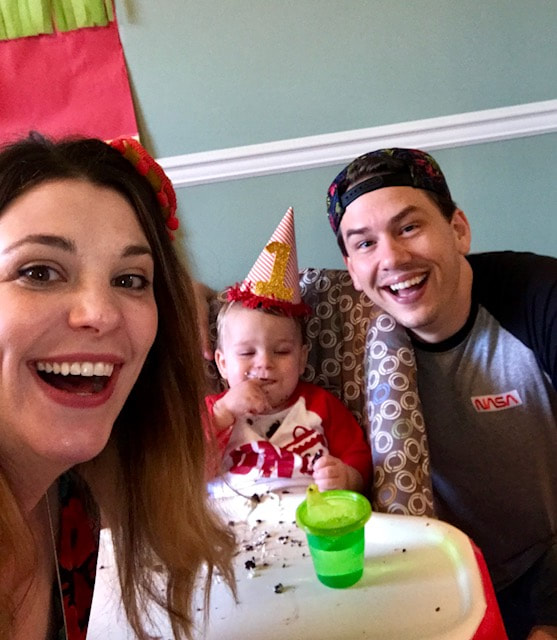
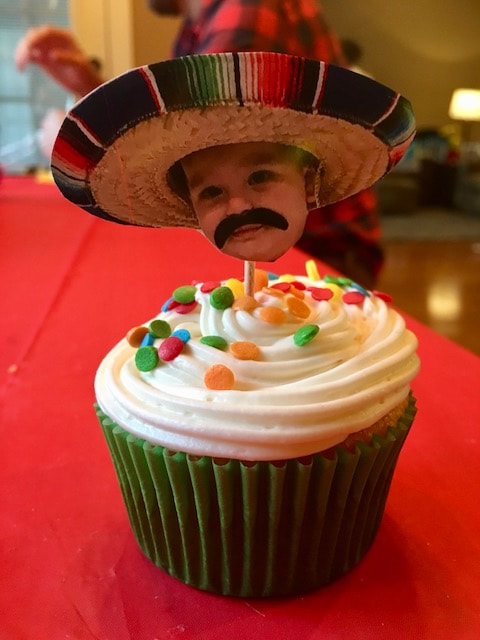
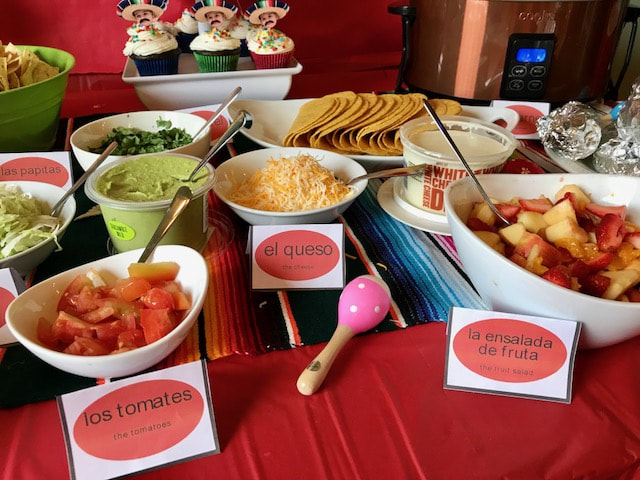
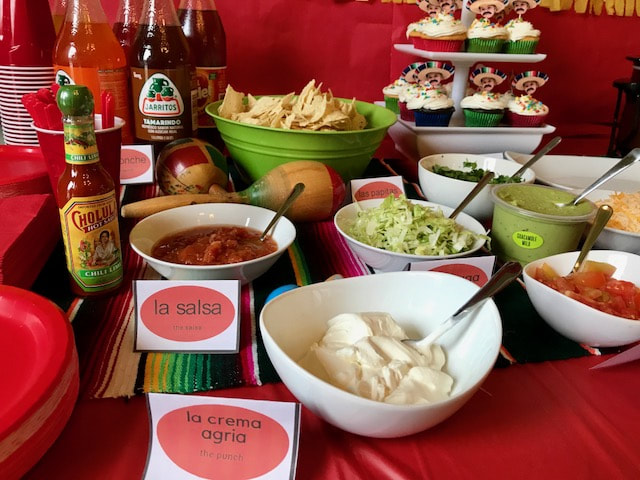
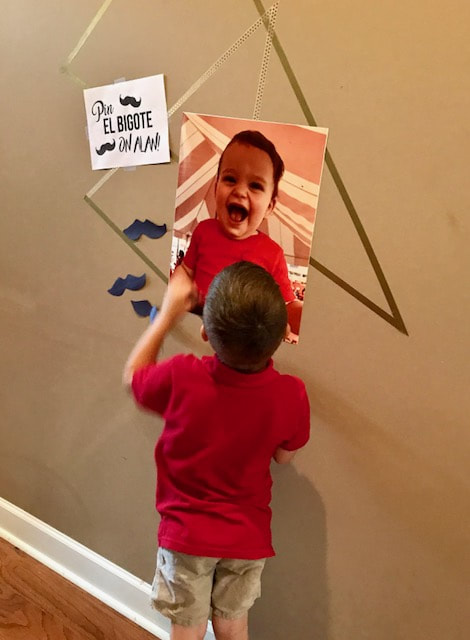
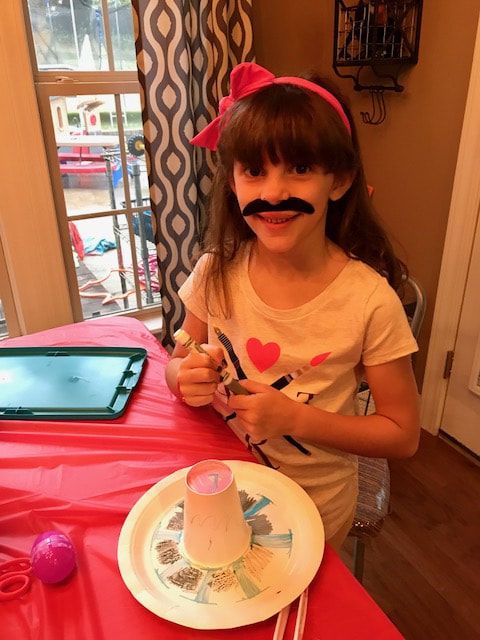
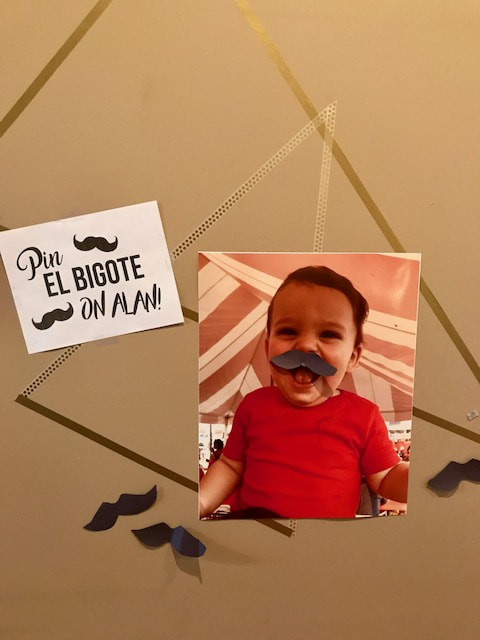
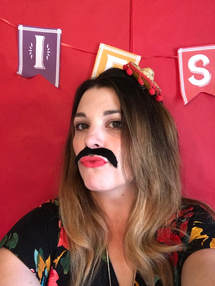
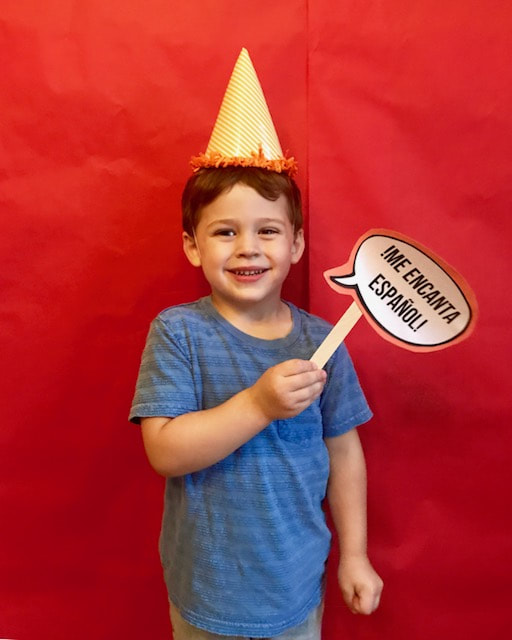
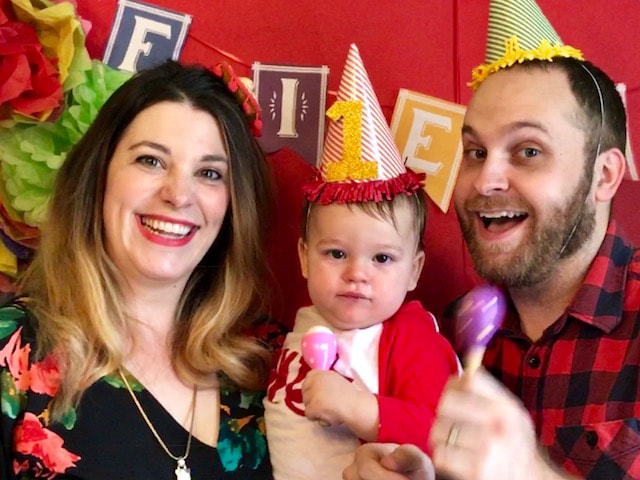
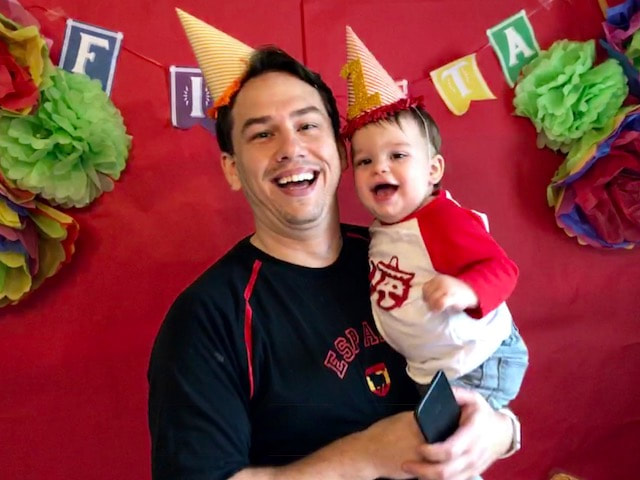
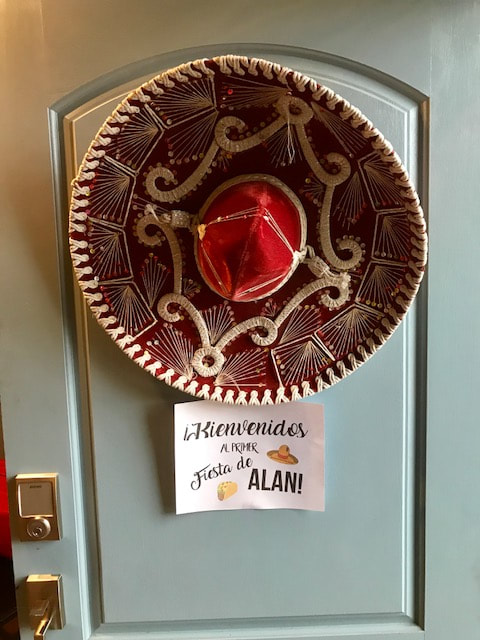
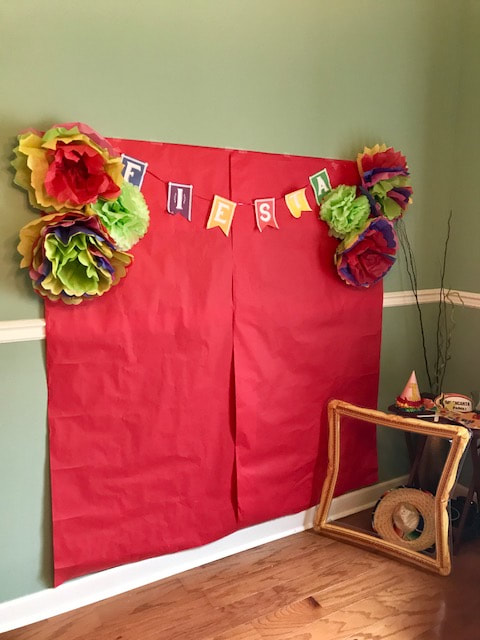
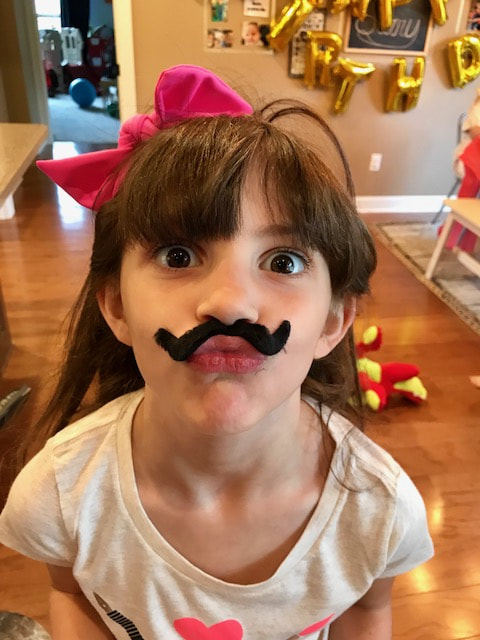
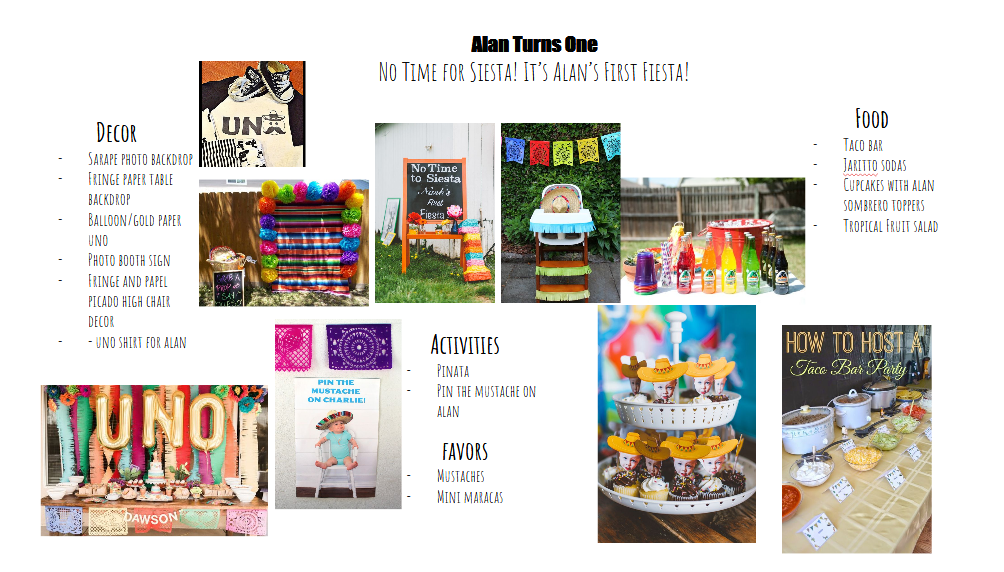
Alan had a fantastic fiesta themed first birthday party...two months ago! I'm sorry for the extremely late posting! I have been so busy recently with work and kids and holidays that I haven't had any spare time for hobbies. But, I'm finally getting a minute now that the semester tests are nearing their end and I have mostly prepared my lessons for the next semester. Take a look at all of the fun that was had a few months ago celebrating Alan. The party food was a taco bar with all of the fixin's. I made cupcakes (from a box mix) but made them extra cute with swirly icing, sprinkles and Alan heads. We also had corn on the cob and chips with salsa and queso. I also printed out labels in Spanish and English for all of the food. To make the cupcake toppers I took one of the photos from our fiesta themed photo shoot and sent it to Walgreens as wallet sized prints. Then I cut his head out and hot glued it to a toothpick. For fun activities, we had a create a maraca and/or sombrero station and a pin the mustache on Alan. I just printed a photo of Alan into a poster sized print at Walgreens and cut out some mustaches from black construction paper. I also had a fun photo booth for selfies and such. For the rest of the decorations I kept it pretty simple and posted Spanish labels on various items in the house and hung a large sombrero and printed sign on the door. Also, Alan's shirt was made using my silhouette cameo machine. I created the design and cut it into stencil material. Then I used red acrylic paint to paint the design onto the shirt. It is way easier and cheaper than vinyl plus, I think it lasts longer and looks way more legit. For his party hat I used a store bought hat from Target and added the glittery one with craft foam. Easy and cheap!
Guests left with their crafts, some sticky mustaches and mini wooden maracas. It was a fun, colorful and festive party that was a blast to plan. Alan's first birthday is fast approaching! We're planning on having a pretty low-key event with a few friends and family but, I have to make it awesome! It's going to be fiesta themed and freakin' adorable. Because we won't have many kids I've only planned a few activities but, the focus is going to be on food! We're going to have a taco bar!! Alan loves tacos so it is definitely appropriate. Check out the party plan and don't forget to come back when I post the deets!
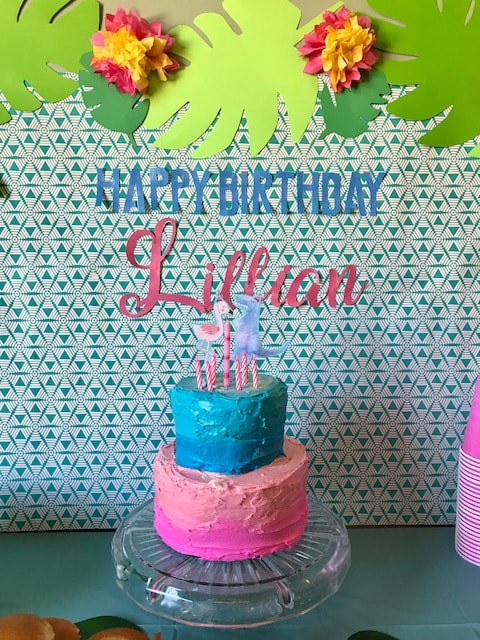
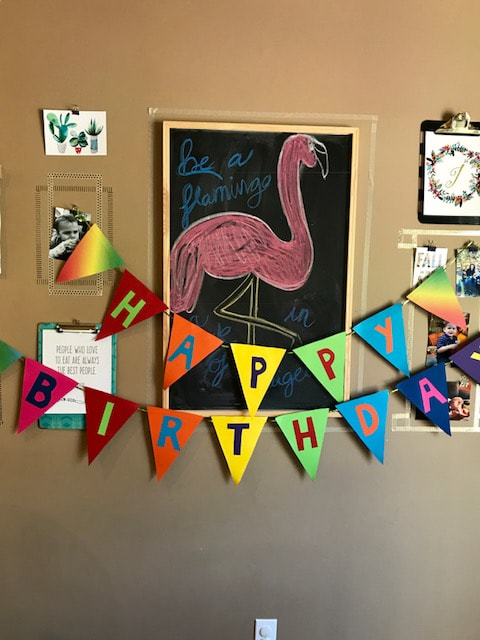
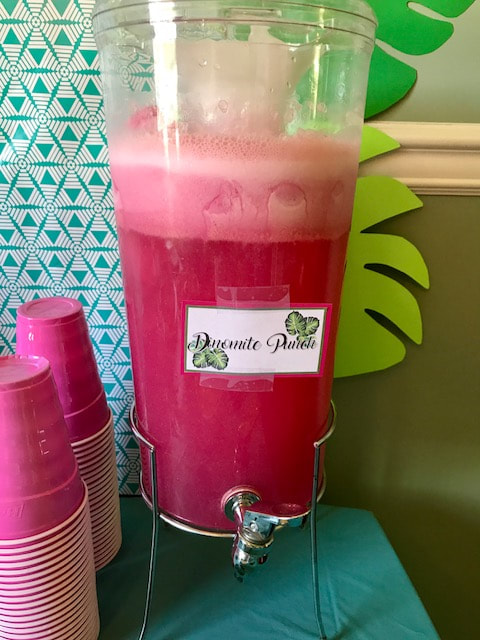
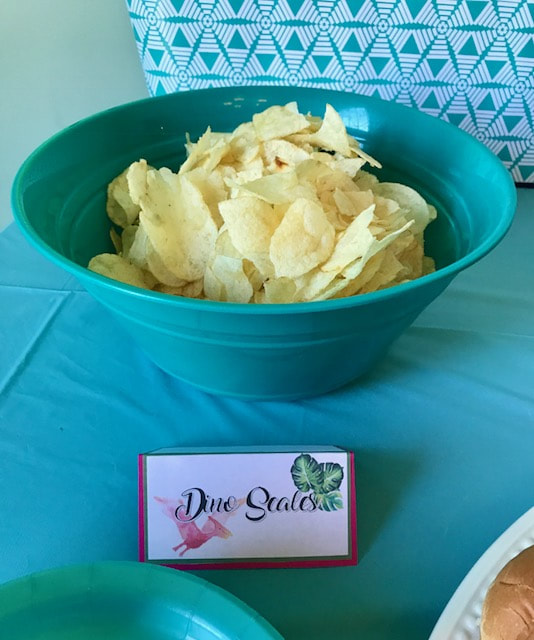
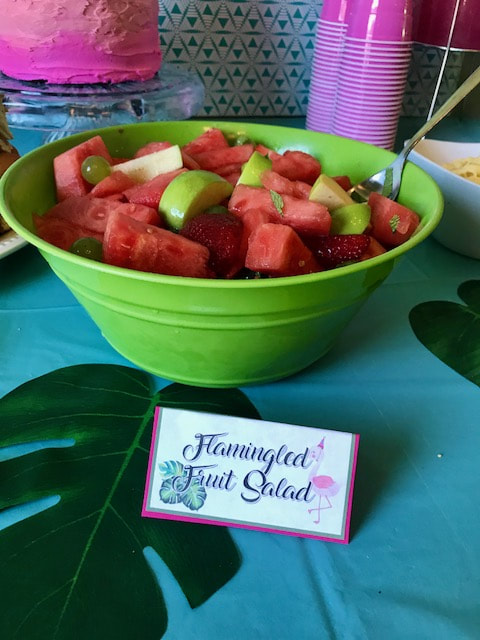
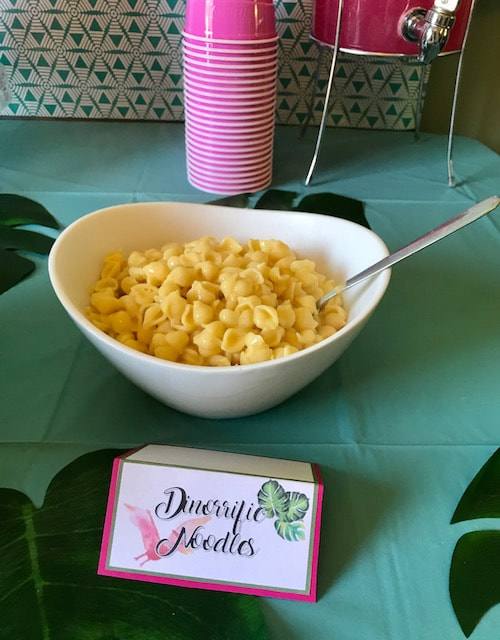
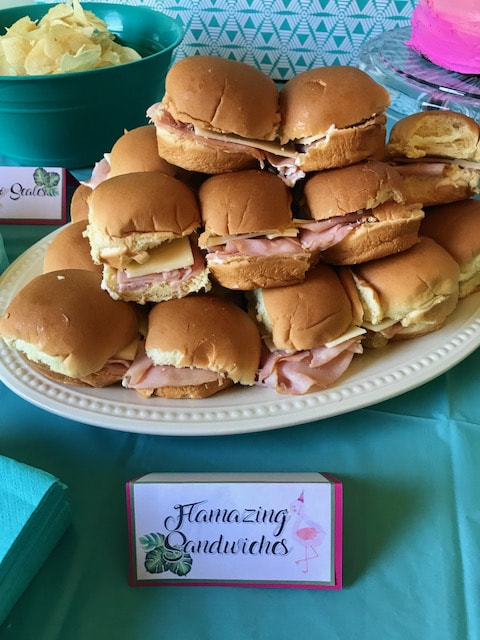
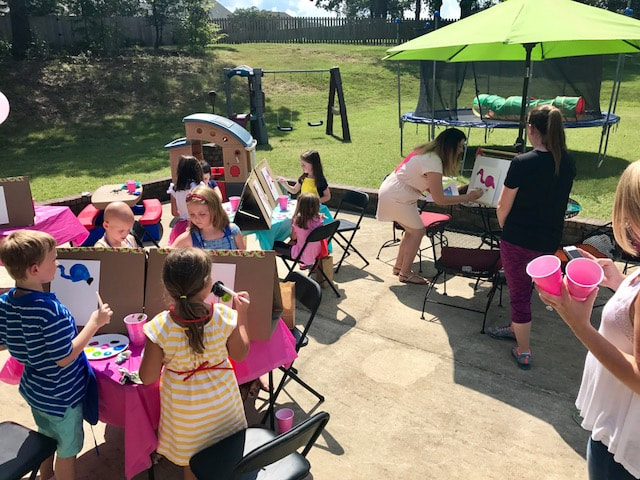
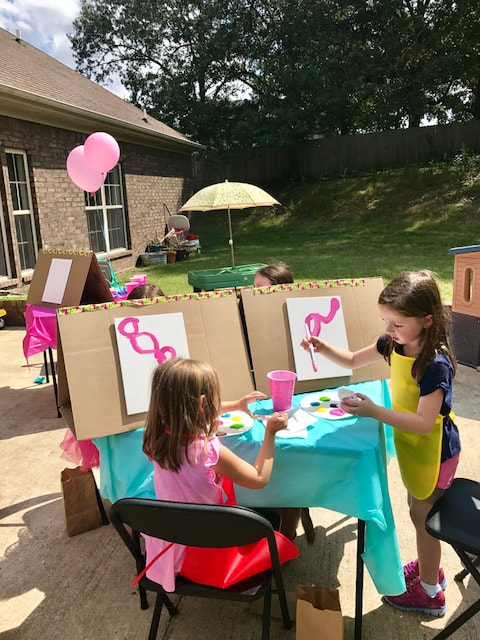
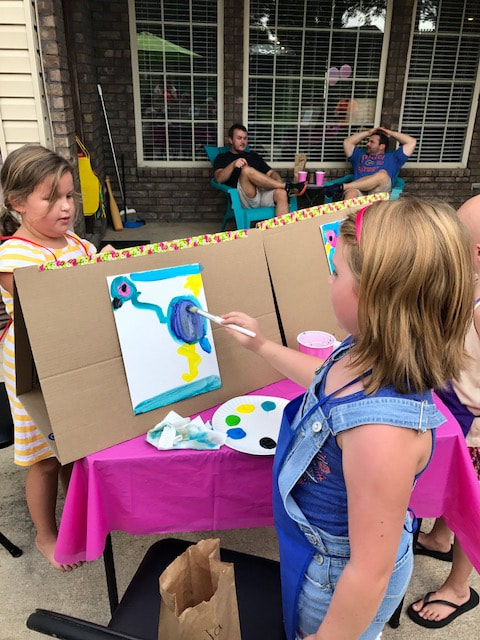
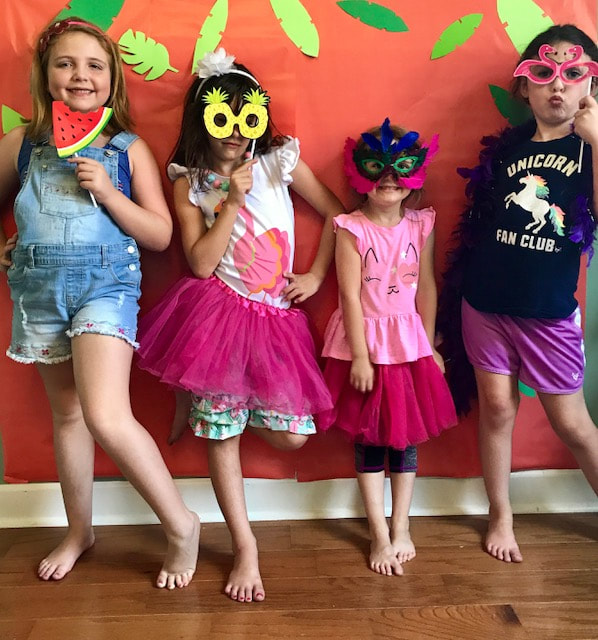
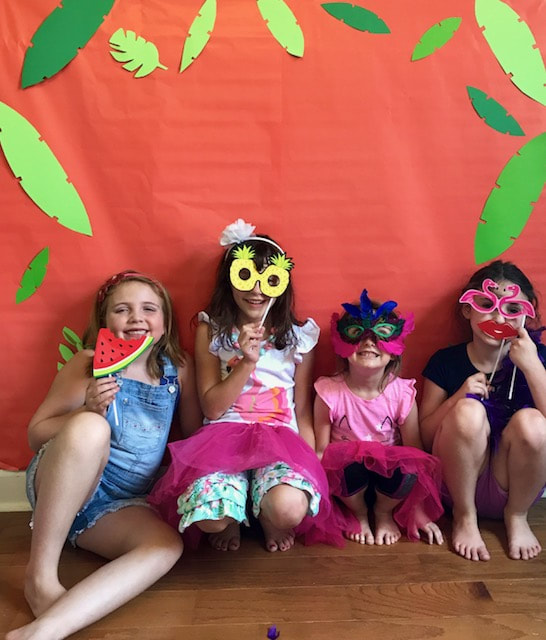
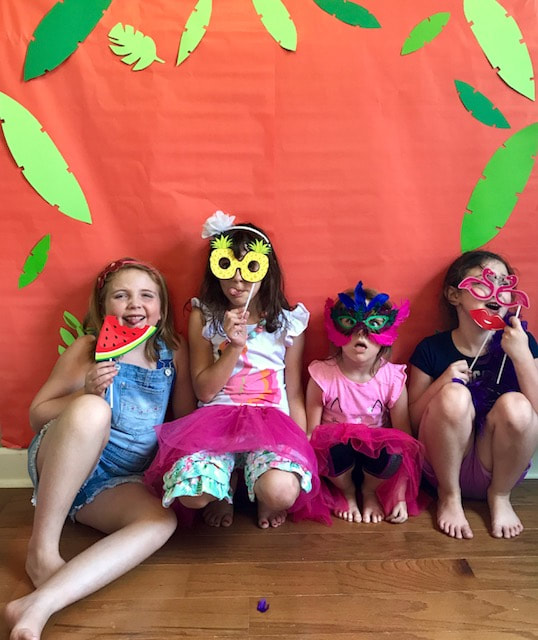
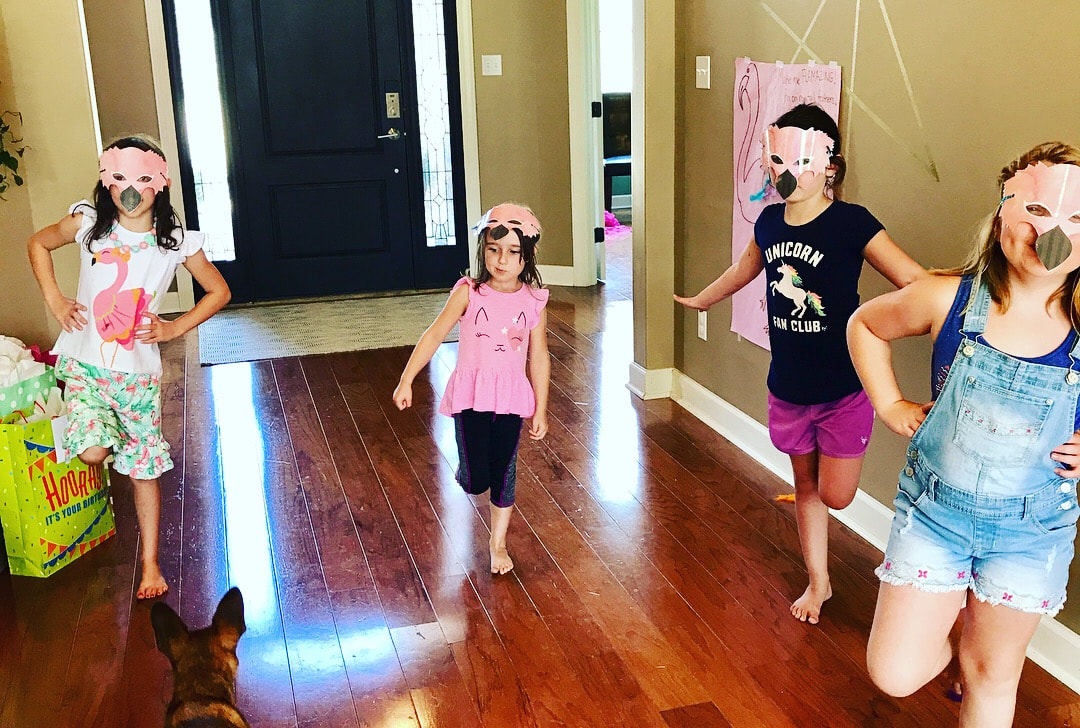
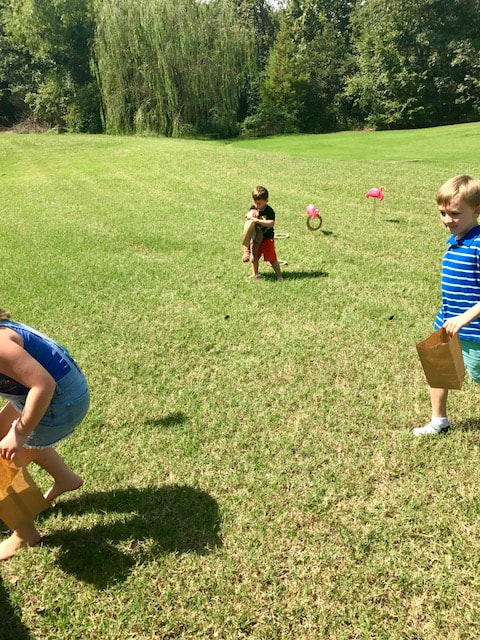
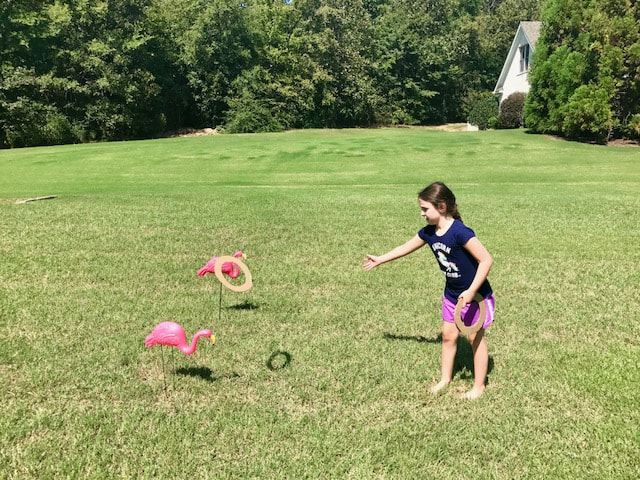
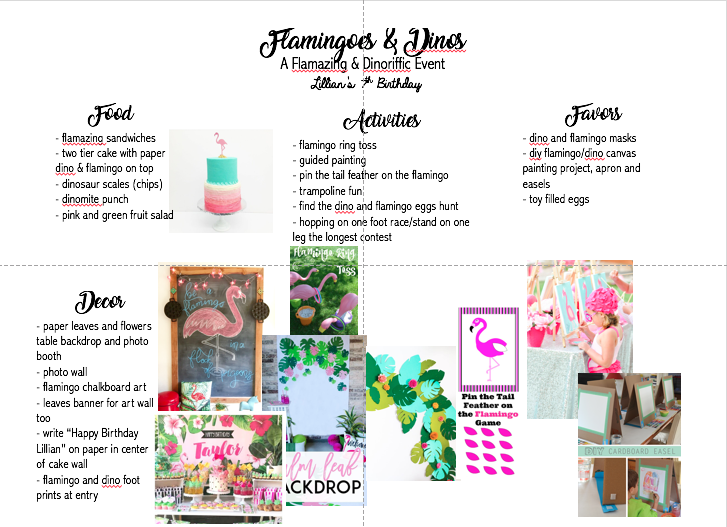
I'm also planning on a 1 year photo shoot that is going to be adorbs so stay tuned for that too. We celebrated my daughter's 7th birthday this past weekend and it went off without a hitch! I even managed to make a cake that was not an epic fail like previous years! Check out all of the details, activities and fun below! The theme was Flamingos and Dinos with a focus on the flamingo. The cake was one hundred percent boxed mixes in both devil's food and confetti and canned icing but, I made it look extra by making it a tier with ombre icing. I made the two paper figures on top by printing out a dino and flamingo image from the internet and backing it with colored paper and then taping it to a skewer. The rest of the food was simple but yummy with dino scales (chips), flamazing ham and cheese sandwiches, flamingled fruit salad, dinorriffic noodles and dinotastic punch. For activities, we played flamingo ring toss, had a dino and flamingo egg hunt, did a guided flamingo painting, pinned the tail feather on the flamingo and had a competition to see who could stand on one leg the longest. We also had a tropical themed photo wall area. For the art activity, I created cardboard easels by cutting out one side of a small packing box and creating a triangle. Then I used duct tape to tape along the cut edge. Then I taped the canvases onto the sides. You can see how I made them here. I ordered kid aprons online for each kid to wear and bought a pack of big paint brushes as well. The paint was liquid tempera purchased at Hobby Lobby and I put the paint on paper plates. The kids all got to take their aprons, paint brush and art home as party favors. The photo booth props were something I planned on making and then I found a pre-made set in the party aisle at Wal-Mart on clearance for .99 cents! So, I just used that. It even had flamingo glasses! Perfect! I also supplemented with some items from our dress-up collection including tutu's, masks, tiaras and feather boas. In addition to the art themed favors, kids also took home a flamingo or dino mask. The girls above are wearing them while competing in the one-legged standing competition. In the background you can see the pin the tail feather game I made. Somehow it did not get photographed! I just drew a flamingo on some pink paper and game the kids colored feathers with tape to tape onto the bird. They enjoyed it! I found free mask printables, backed them with construction paper and then laminated them. Then I hole punched them and added ribbon for tying. They actually took a lot of time but were essentially free and I think they looked awesome! I purchased pre-filled eggs online one set was regular eggs but the other were dino eggs! I had some other adults hide them while I corralled all of the kids inside and handed them paper bags with their names on them. Then we let them loose! I think the party was a success and all of the guests had fun. I didn't feel too rushed the day of but I'm sure that was mostly due to staying up until one the night before. Now I have to get planning on my son's 1st birthday coming up in October! Thanks for visiting!
It's been a busy past few weeks at my new job and it has kept me from posting for awhile. But, I've been getting ready for my daughter's seventh birthday which is coming up this weekend! Eeeek! I hope I'm able to get everything done in time! I'm currently cutting out about a bajillion paper tropical leaves for decor along with 20+ Dino and flamingo masks for tiny people to wear.
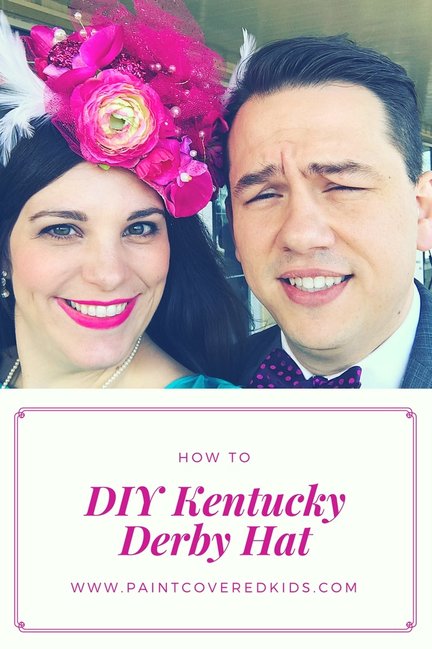
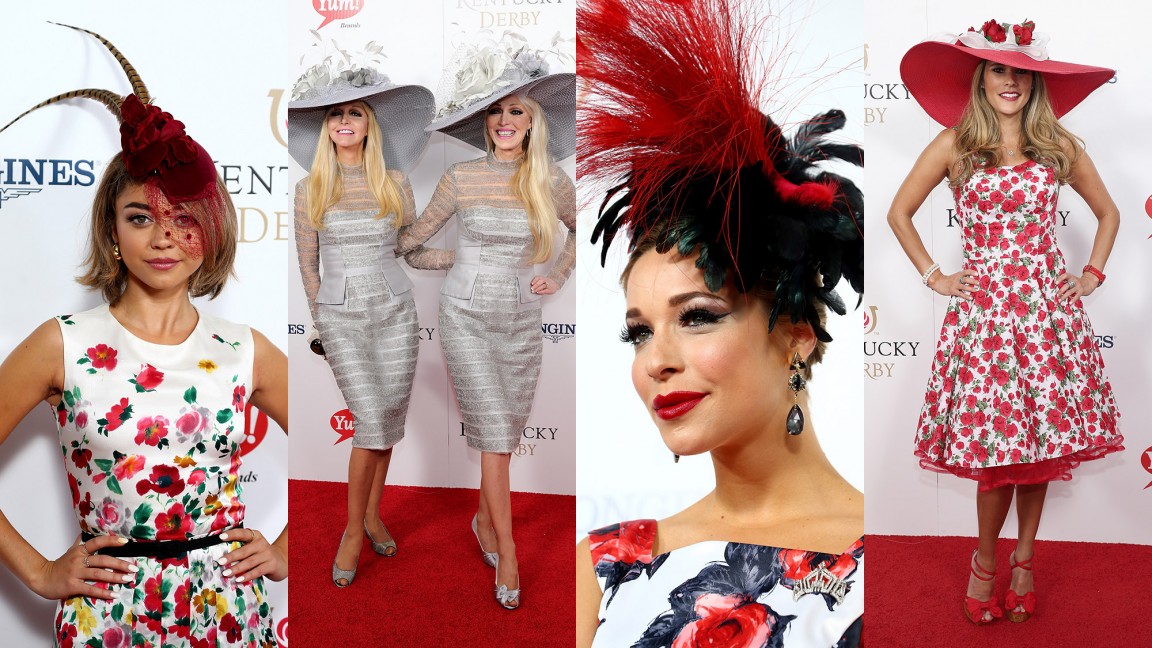
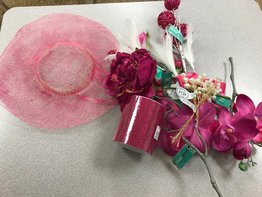
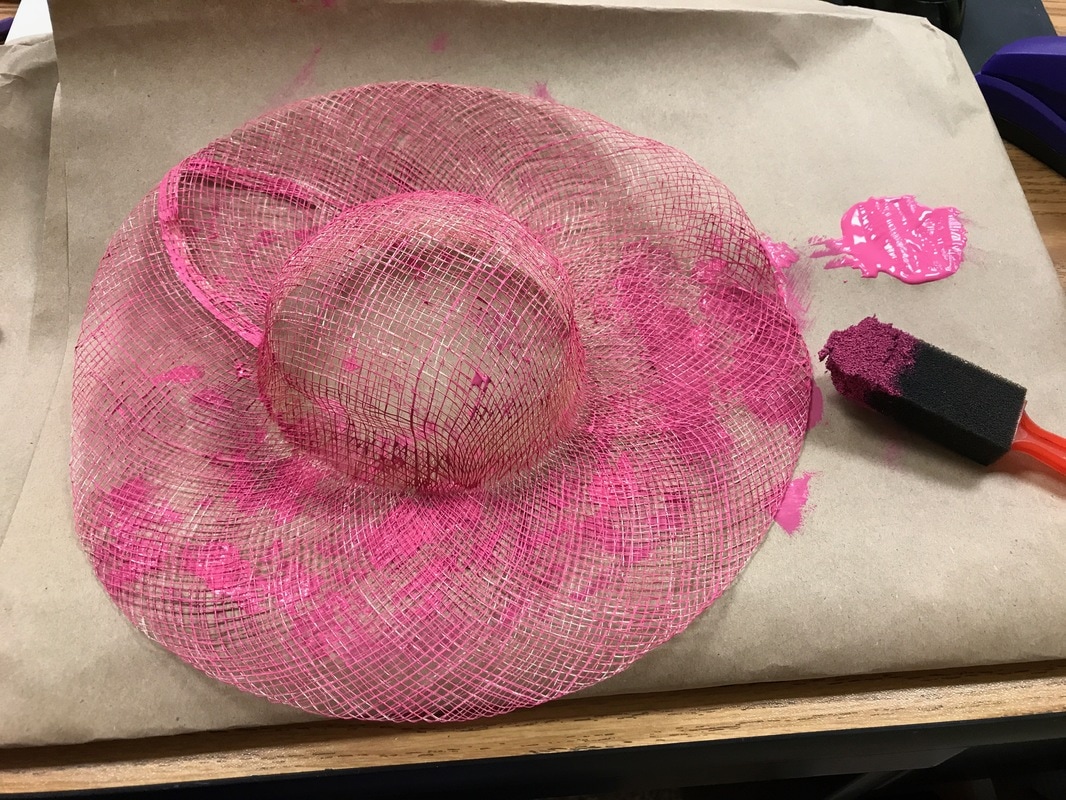
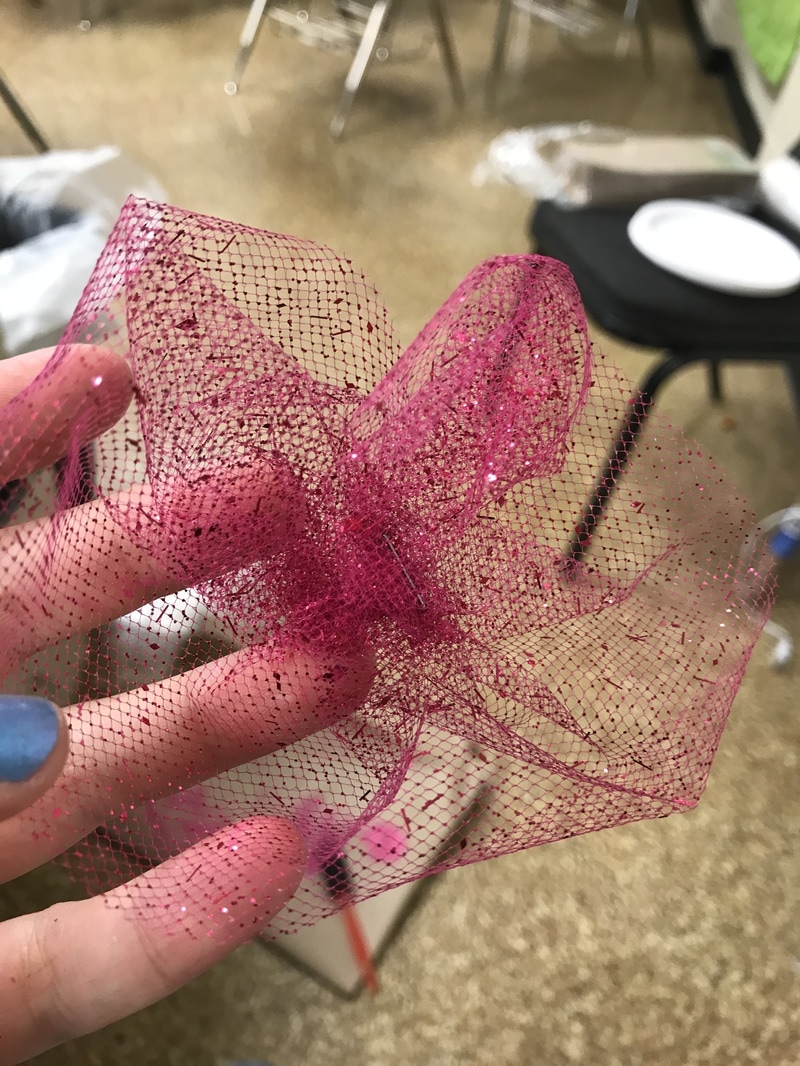
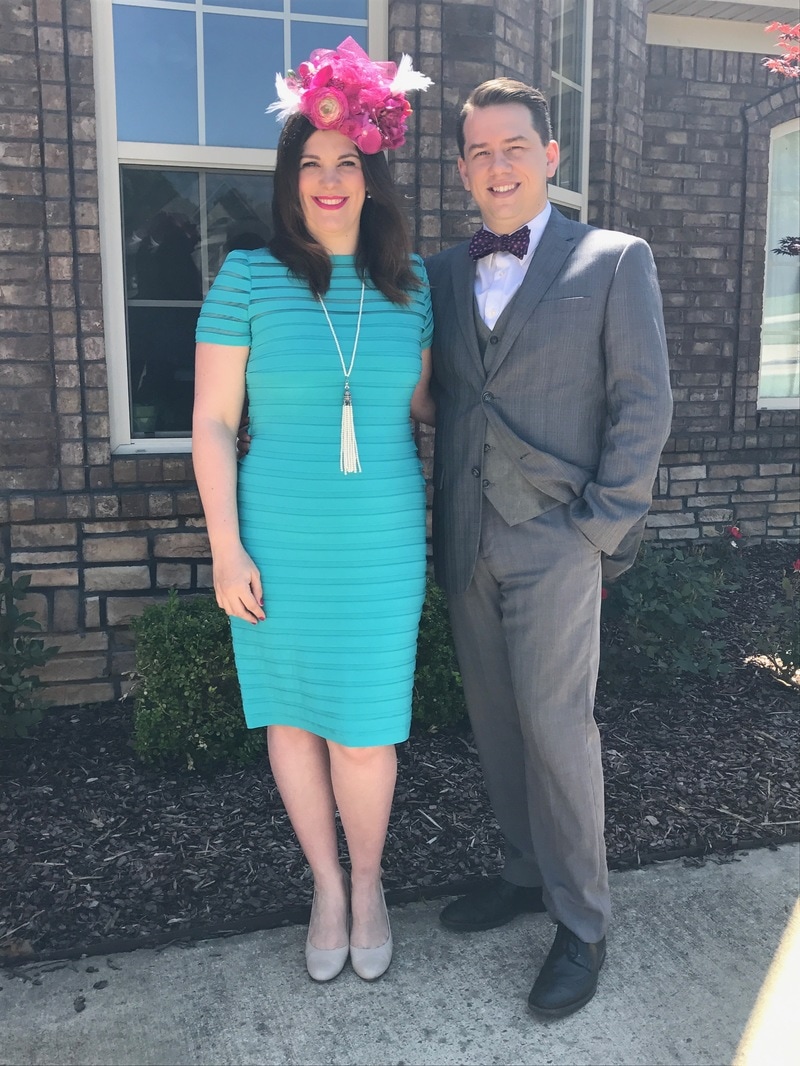
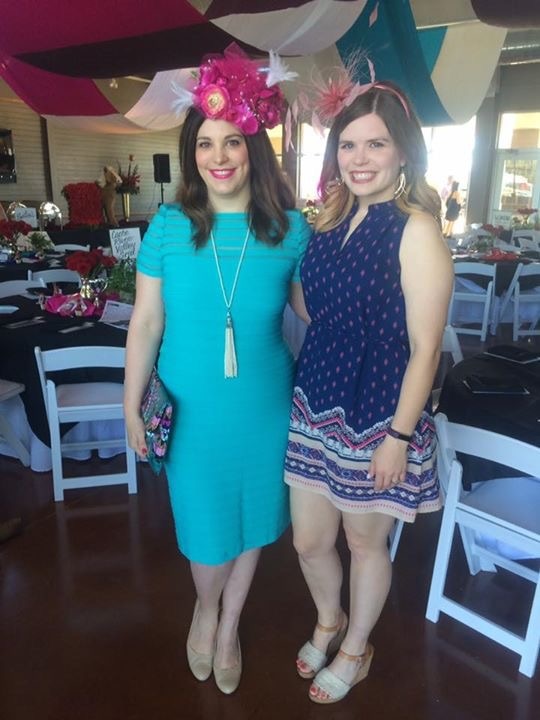
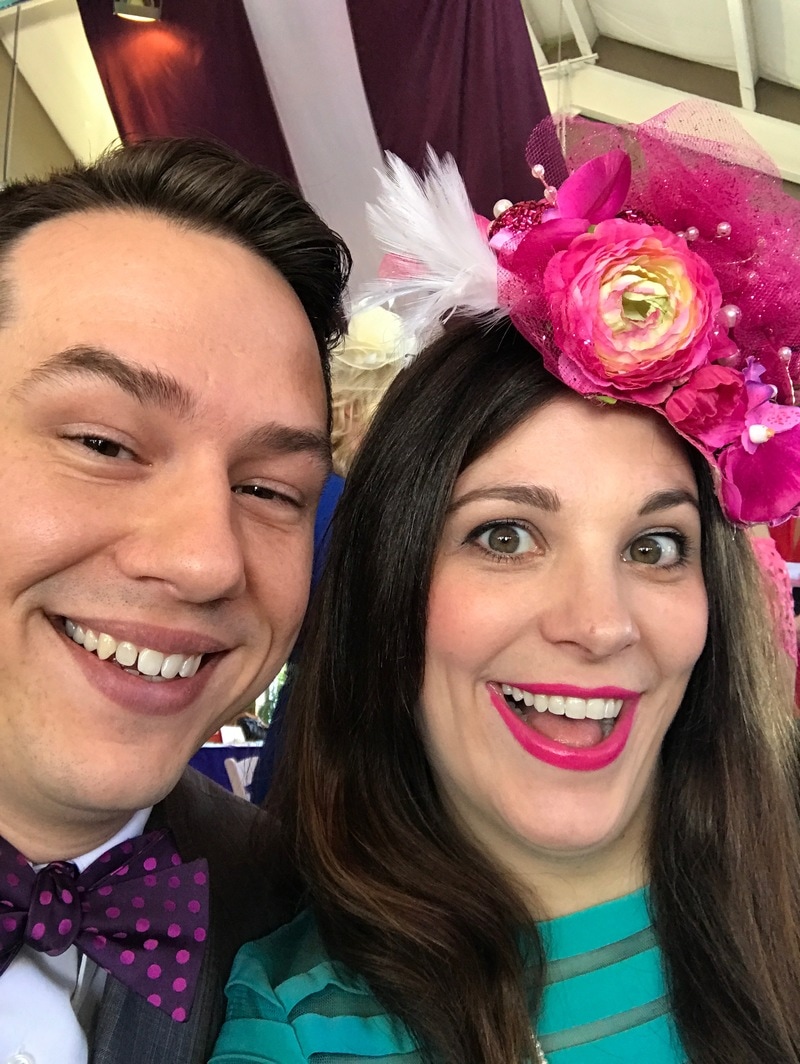
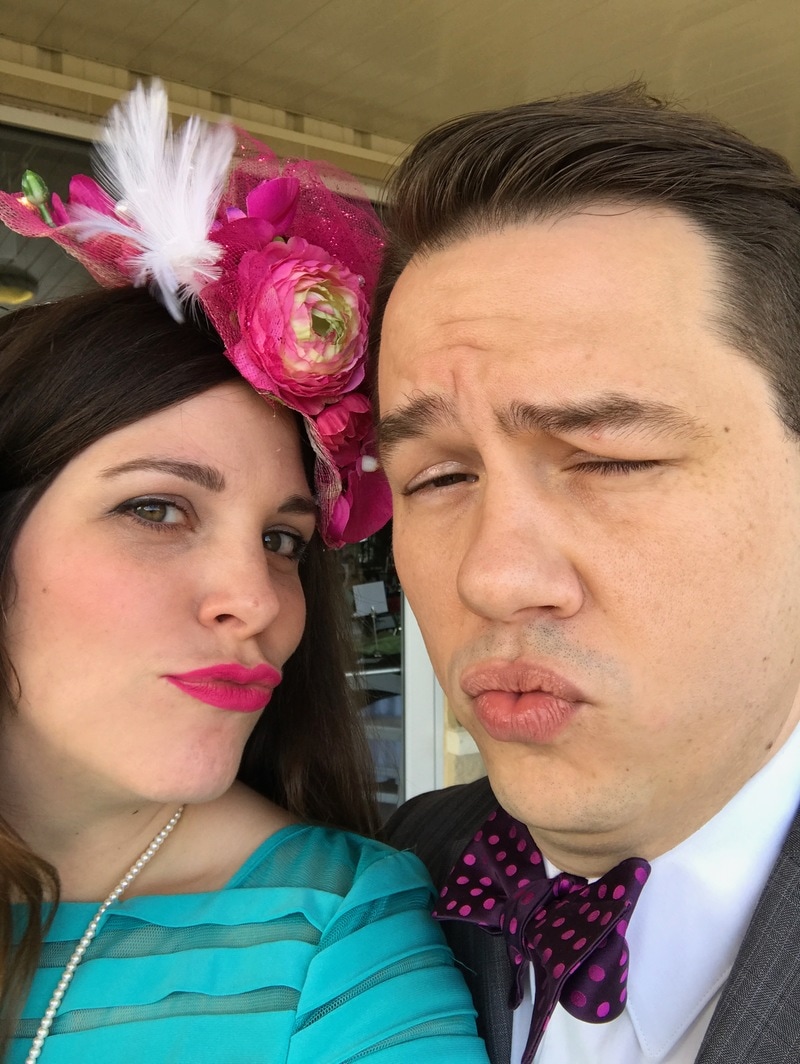
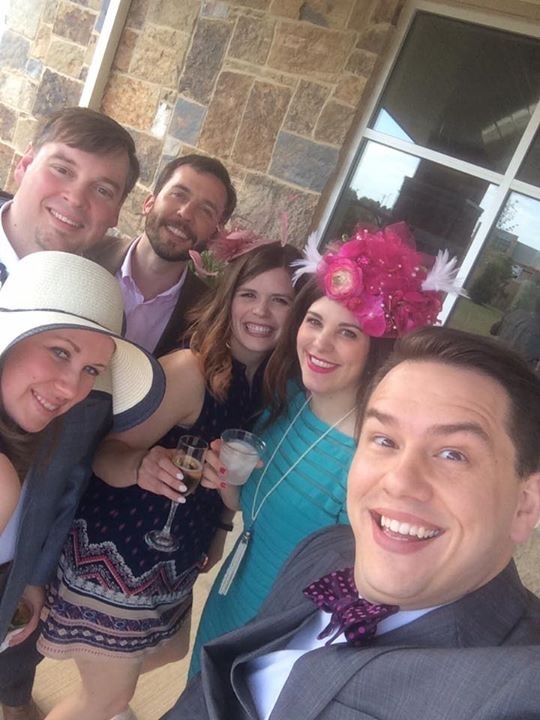
The party is going to be mostly flamingo with a touch of dinosaur to accommodate little boys who might not love the idea of pink birds. We'll have a Dino and Flamingo egg hunt, games revolving around one leg and a guided painting activity for kids to paint their own masterpiece! I'm excited to see how it'll turn out and I hope you are too! You can see my inspiration board below and check back next week for the end result! Last weekend I was invited to attend a fundraiser for Arkansas Children's Hospital that was Kentucky Derby themed. Being the crazy person I am and not knowing anything about the Kentucky Derby (or horse races for that matter), I of course hit the internet hard learning about the event. In my research I discovered that the hats are one of the biggest deals at the derby. Each year women show up with crazier and crazier hats with the goal of begin the most outrageous but in a still attractive and super bourgeois kind of style. It's all about the hat. So, I decided to go all in on my hat and set about deciding what kind I would be wearing. I chose to go with a floral theme in hot pink tones and headed for Hobby Lobby. Still not quite sure about how I would be making the hat, I rolled up and down the isles looking for inspiration. I ended up picking the week that the floral stems were not 50% off so that was pretty unfortunate as all the flowers I liked were a bit on the pricey end. My goal was to spend no more than $25 and hopefully less. I ended up on the wedding aisle and discovered a good bit of it was marked 50% off including some pearl sprays, feather sticks, and fun, hot pink baubles. I also found the floral sprays that are only $1 - $3 each meant for bouquets. I selected my flowers from these. They were the perfect length and there were plenty of varying types and sizes to give my hat some real pizzazz. After leaving the bridal aisle with a much more concrete plan in mind I then grabbed a roll of pink glitter tulle. Still not sure about how to form a base for my hat I hit the craft foam and felt aisle in search of something that might work when I found a blank dolls hat made from the very material that derby hats are made from, sinamay! It would make for a perfect base but, it was a boring tan color. So, I headed to the paint aisle and grabbed a bottle of hot pink acrylic paint. Knowing I already had felt and a pink headband at home I headed to the checkout ready to get started! The best part is I only spent $23!! And, that was without the floral items being on sale! When I arrived home, I first painted the hat. It took a matter of minutes and the boring tan became a vibrant pink. After letting it dry, I began to play around with placement of the items on my hat. I also had to snip the flowers off of the stems to be able to do this. I also made some gathered tulle pieces by cutting a strip of tulle and bunching it in the middle and then stapling it in the center. If you look online there's a much nicer (and more time consuming) way of accomplishing this but, it requires sewing and I try to avoid that all costs. This worked just fine. Once I had a good idea of placement, I began to adhere the largest pieces first as a base to work from. I added the details as I went to make it balanced. To add the wired details I simply poked them through the hat and twisted them together underneath to be sure they didn't budge.
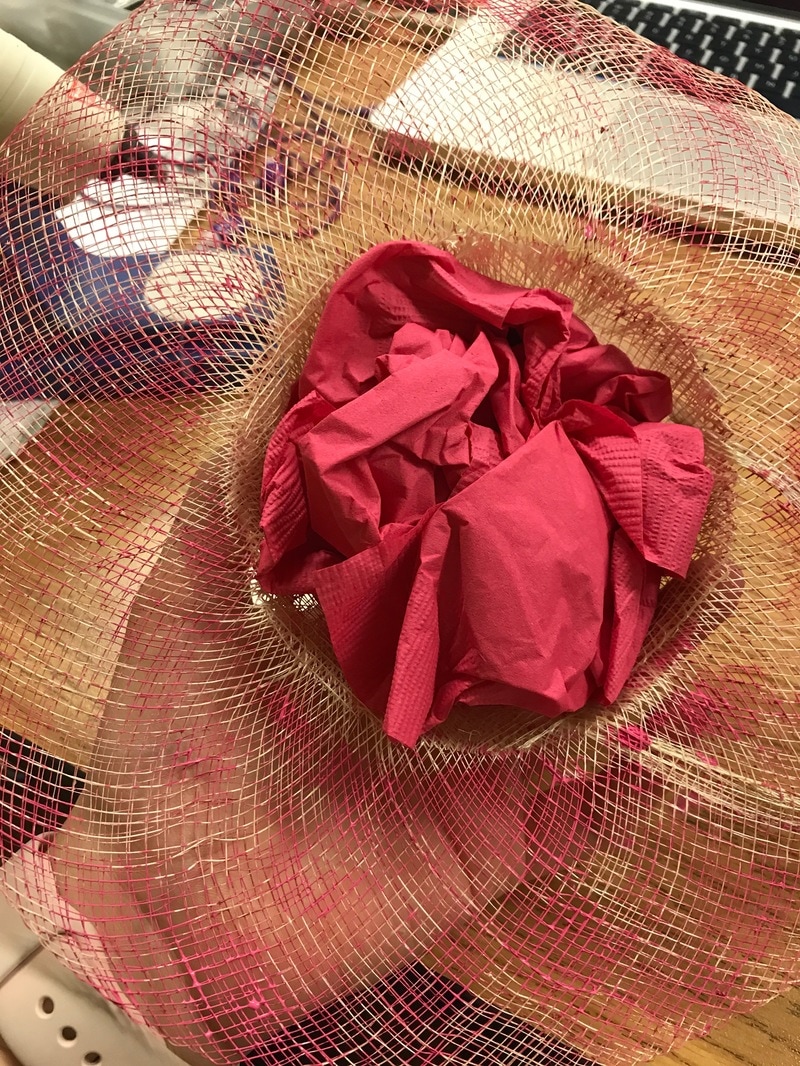
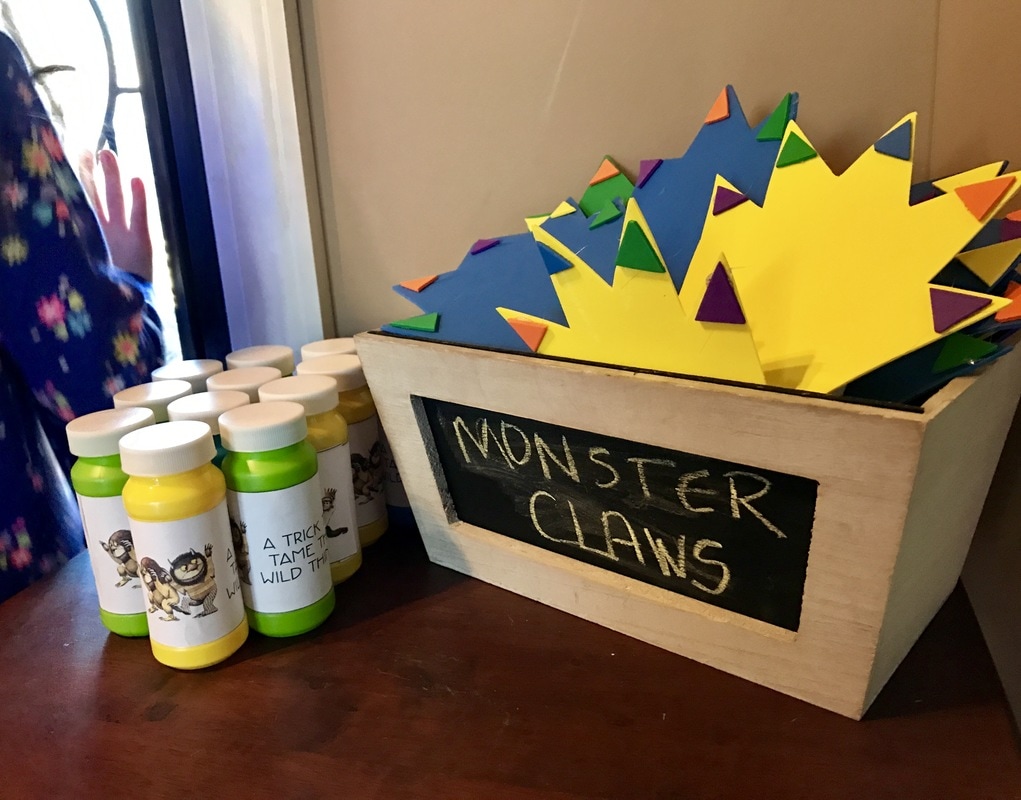
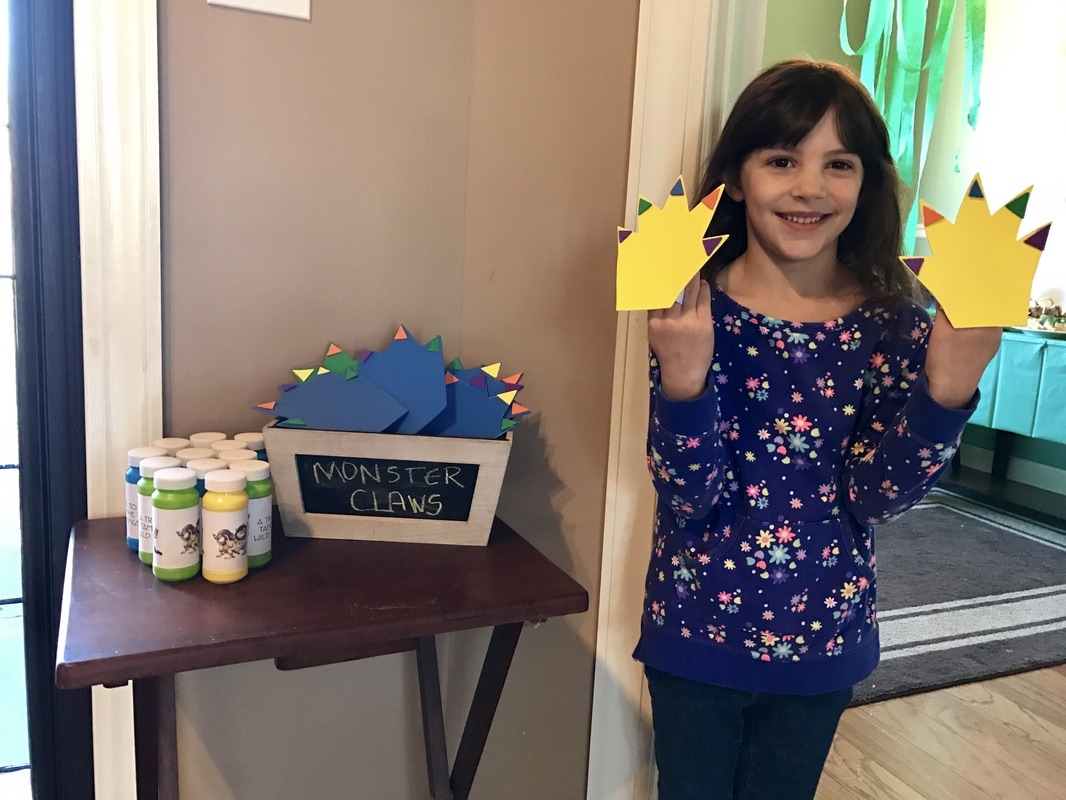
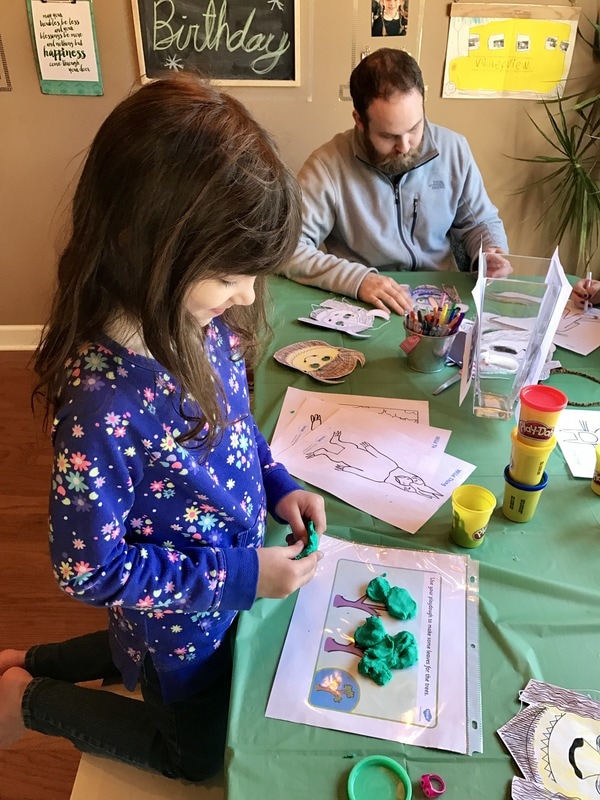
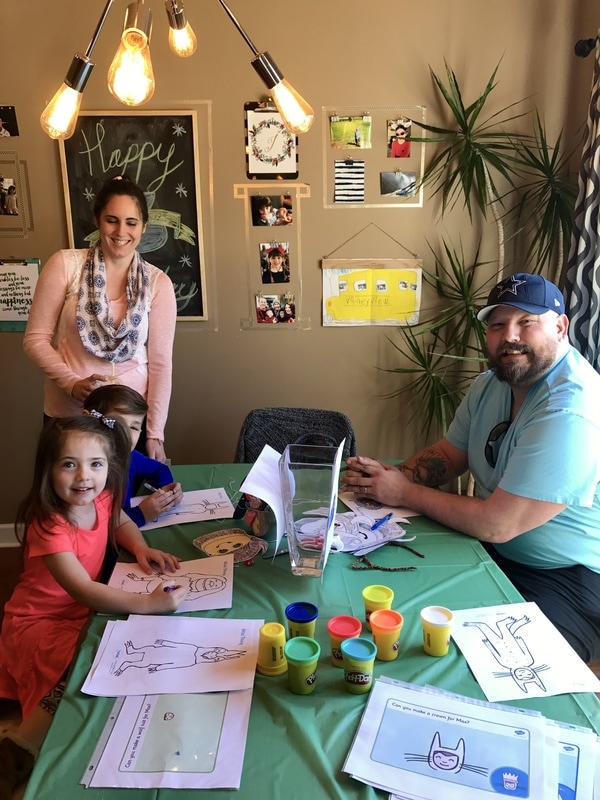
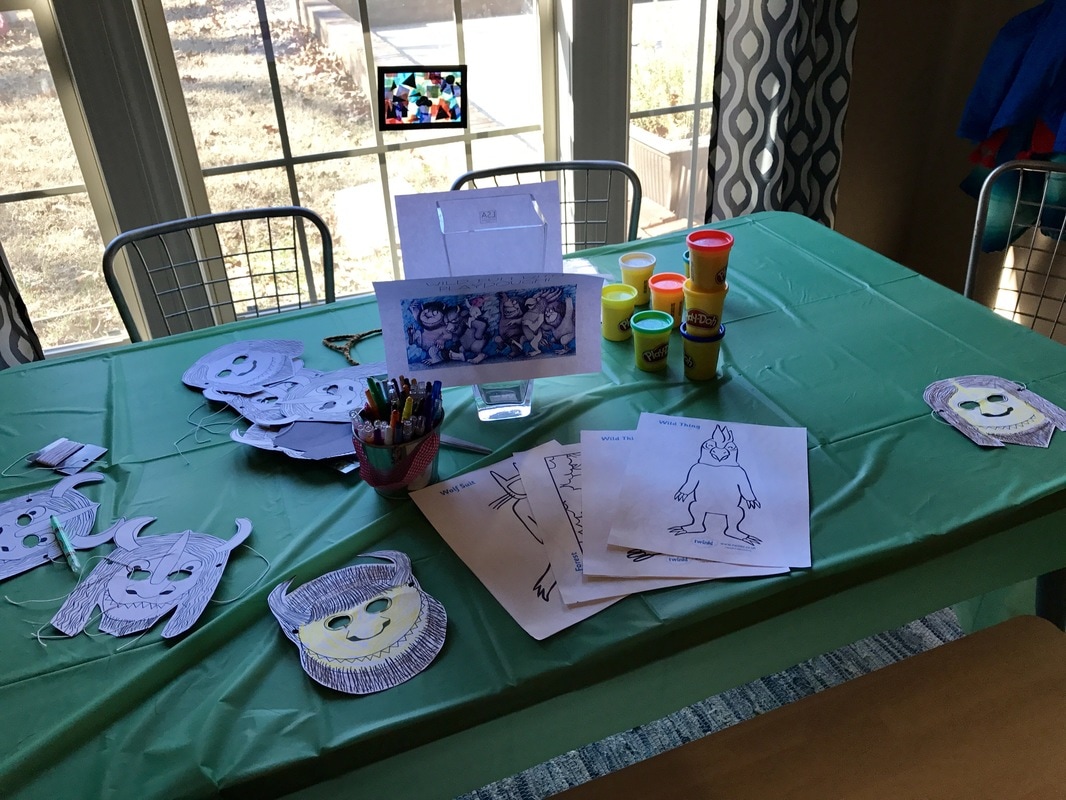
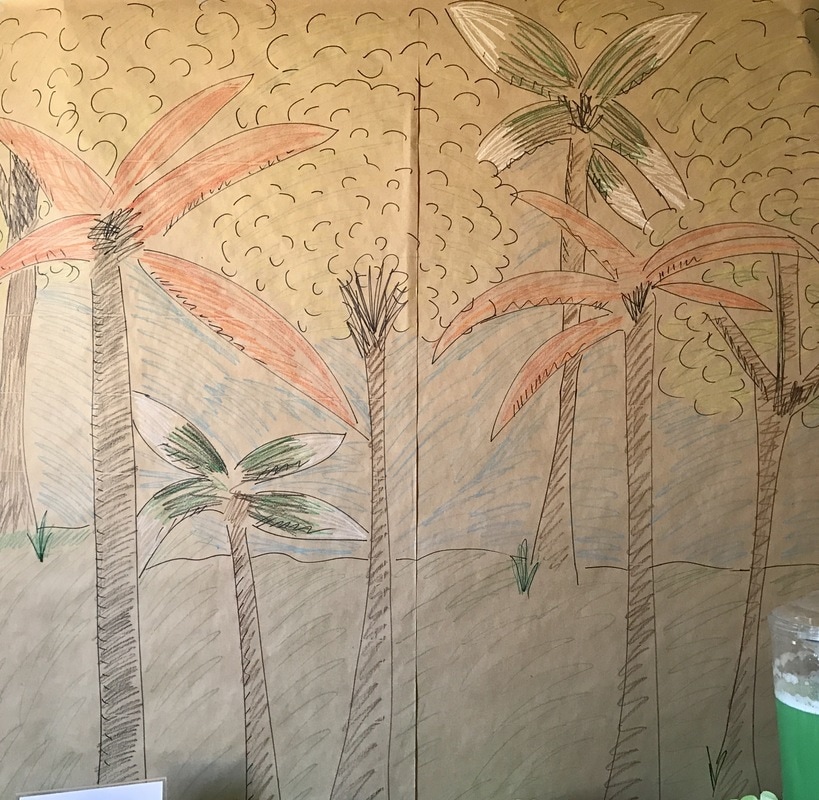
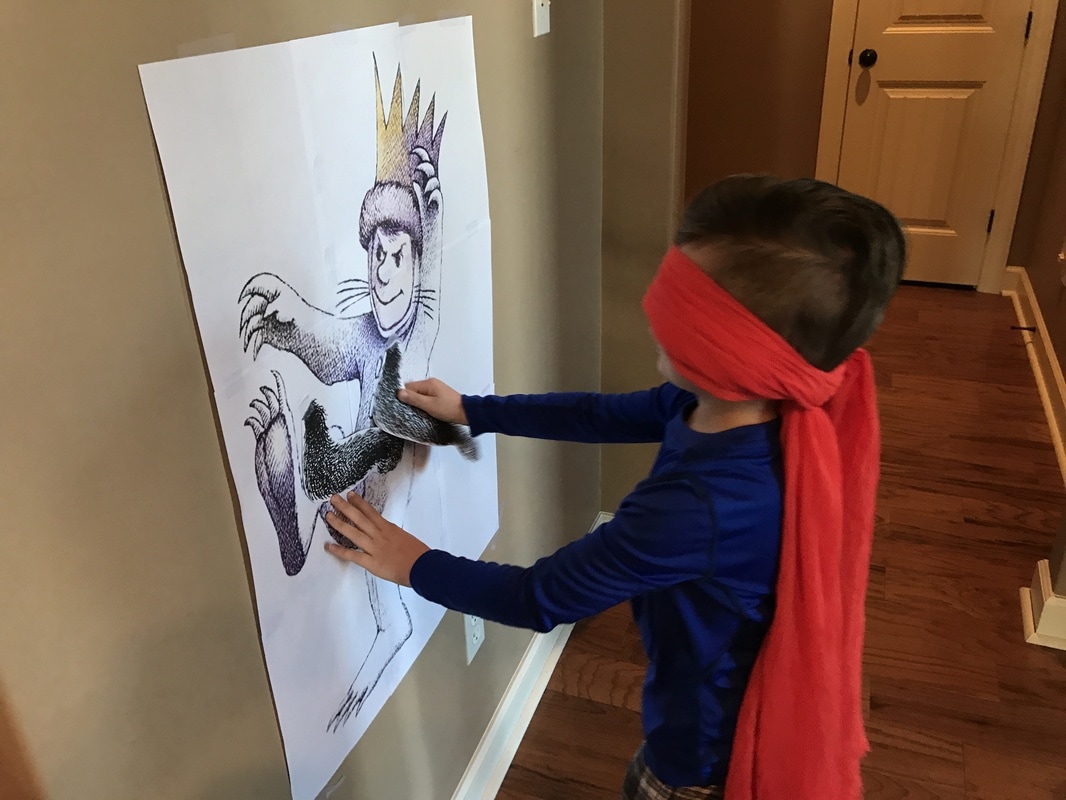
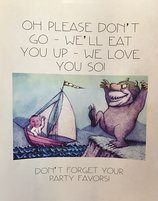
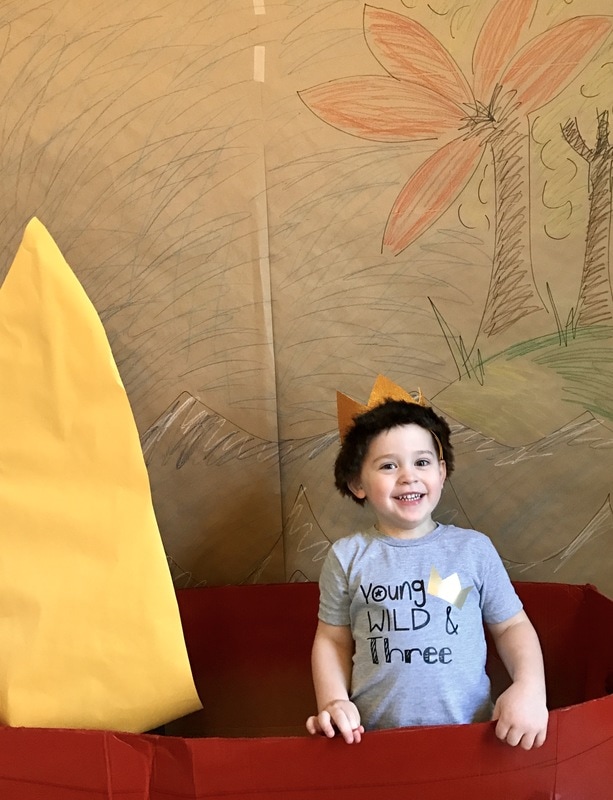
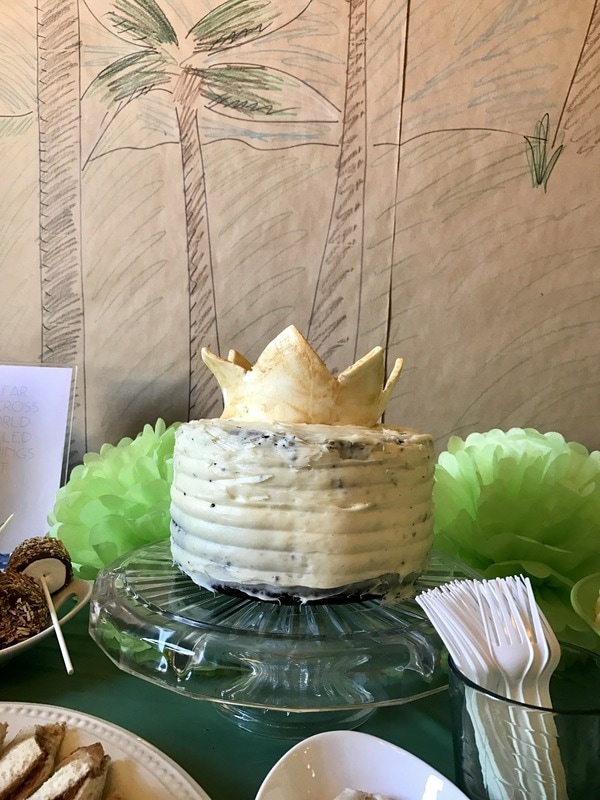
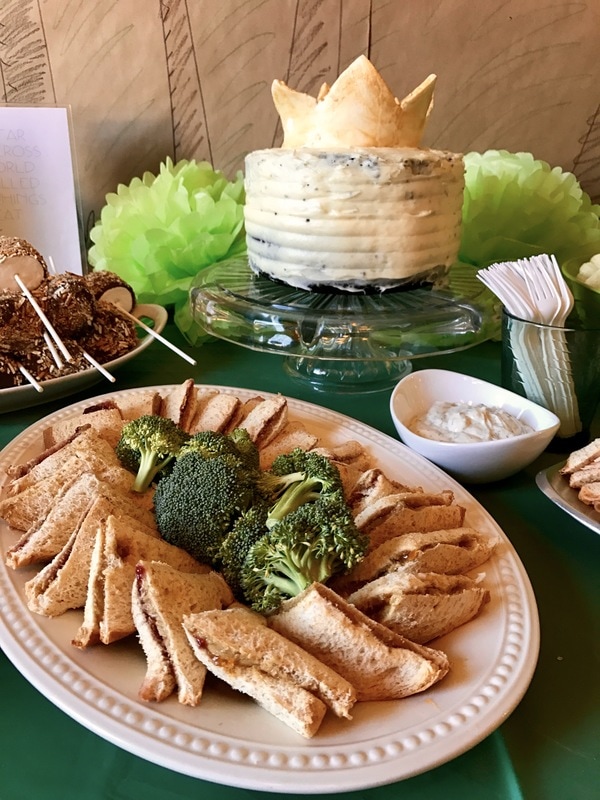
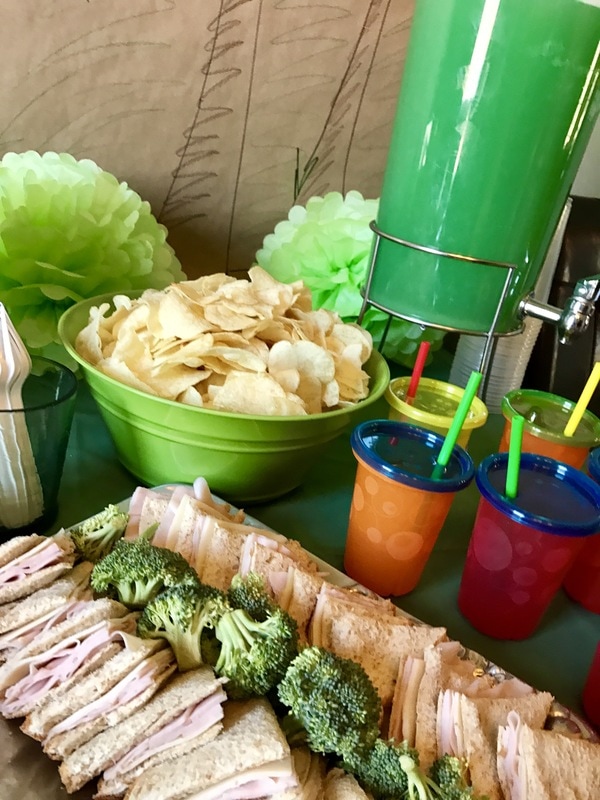
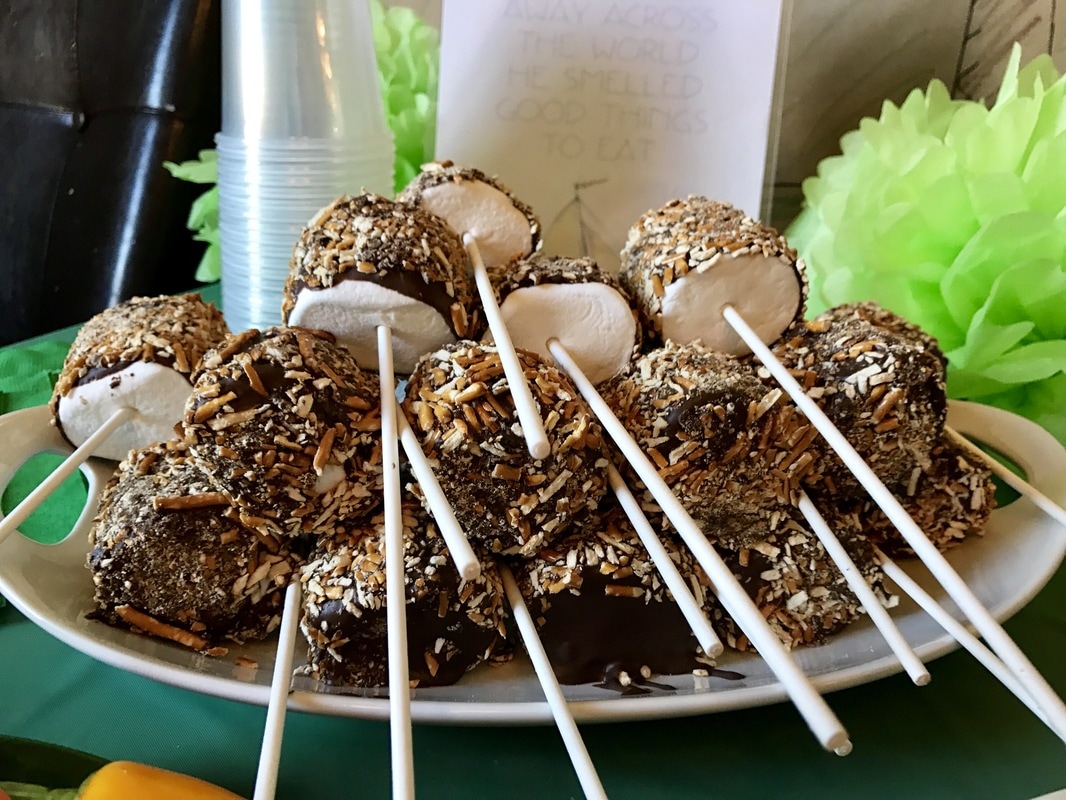
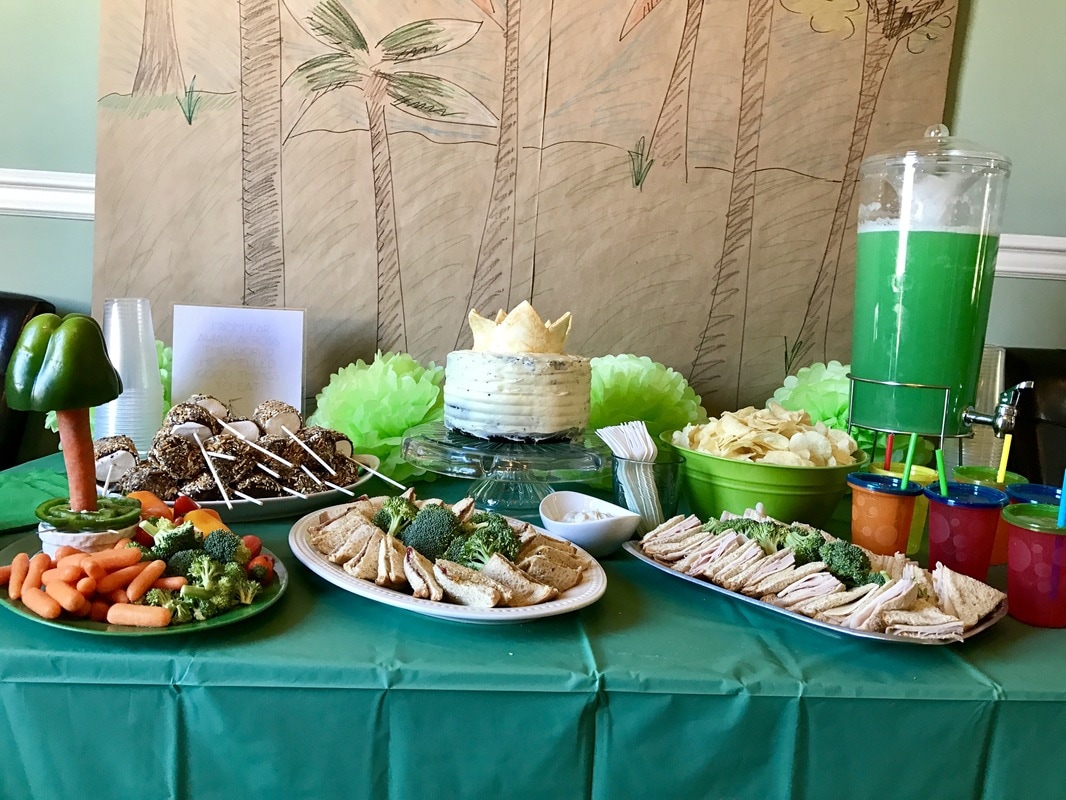
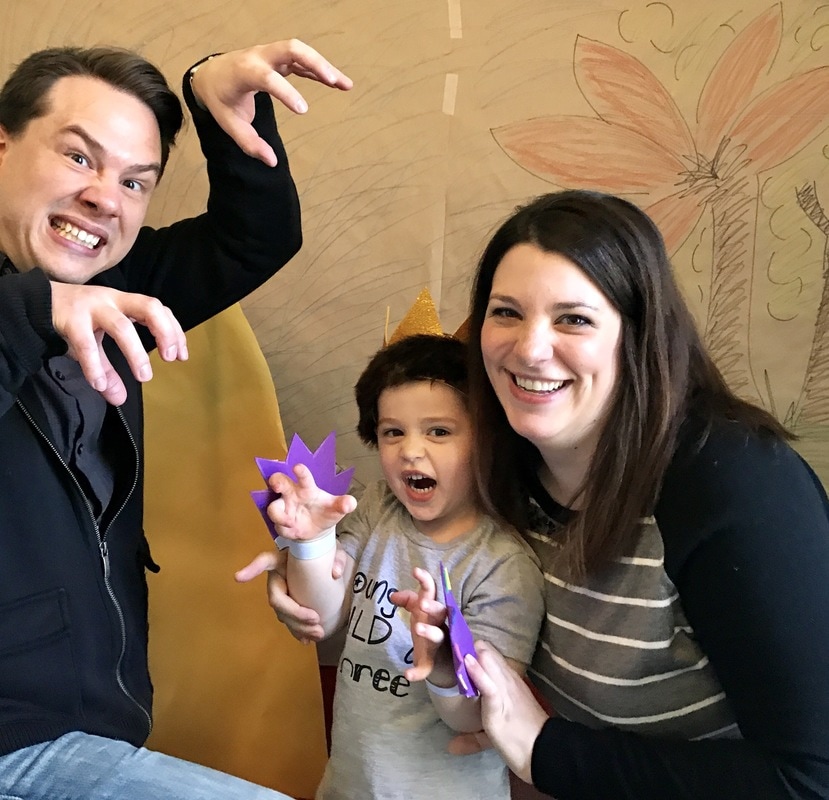
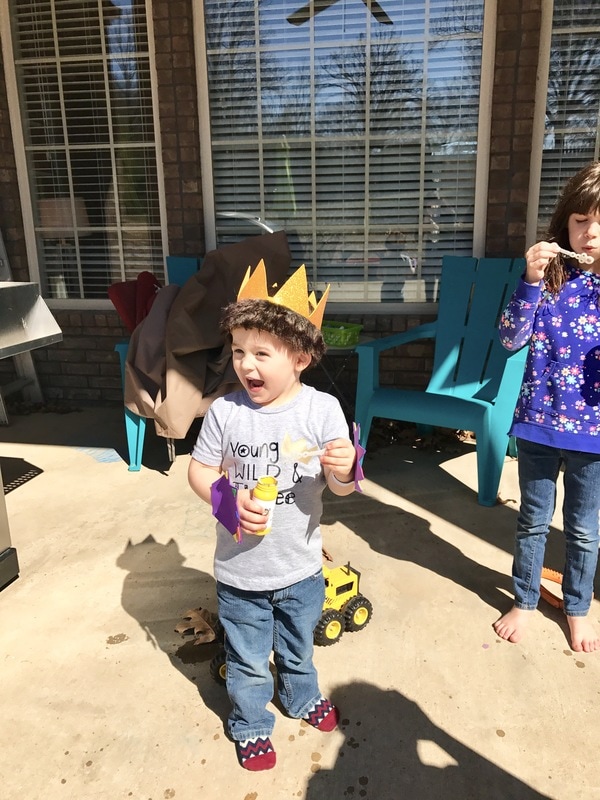
After getting it all glued (I used hot glue) and wired on. I stuffed the hat with pink napkins I happened to already have. You could stuff it with whatever you like. Then I cut a circle of hot pink felt and glued it over the hat base. After that, I glued my headband to the felt circle and cut an identical circle, snipping two slits in it for the headband ends to pass through. Then I slid the second circle over the headband and glued it down as well. Overall, I probably spent about an hour on this project but, it was really worth it! At the party, every woman I spoke with said they loved my hat and several said it was their favorite at the event. I had a great time making and wearing it and I encourage you to get crafty and make your own if you ever attend a party where such a hat is encouraged! Last weekend we celebrated my son's third birthday with a "Where the Wild Things Are" themed party. I created a few things inspired by Pinterest to make it extra fun and we all had a great time. Check out my party! I created monster claws for all of our guests using craft foam, hot glue and elastic bands. They were simple, cheap and a big hit. Guests also left with bubbles from the dollar store that I applied a custom label to as well as diy monster masks that they were able to color. For activities I had the coloring masks as well as coloring sheets, a play dough station with wild things themed play dough mats, pin the tail on Max and we also set up a bouncy house in the garage. I also created a Photo Booth area with a boat. For the backdrop I sketched a sea scene on two pieces of butcher paper taped together. I also created a few signs with Arthur's face on Max's for extra fun. For food we made sandwiches with the intent of making them crown shaped which didn't happen. But, I did manage to make a boat out of watermelon, bake a cake with a fondant crown and create a veggie plate with carrot and pepper trees as well as make some chocolate and pretzel covered marshmallows on a stick (with help from my family). We also had punch and chips. There was almost no food leftover which is always a good sign. I also added a few tissue poms and sketched a backdrop to look similar to the forest from the book. It was a fun time and I was really happy with how everything turned out. I hope you found some inspiration! Thanks for visiting!
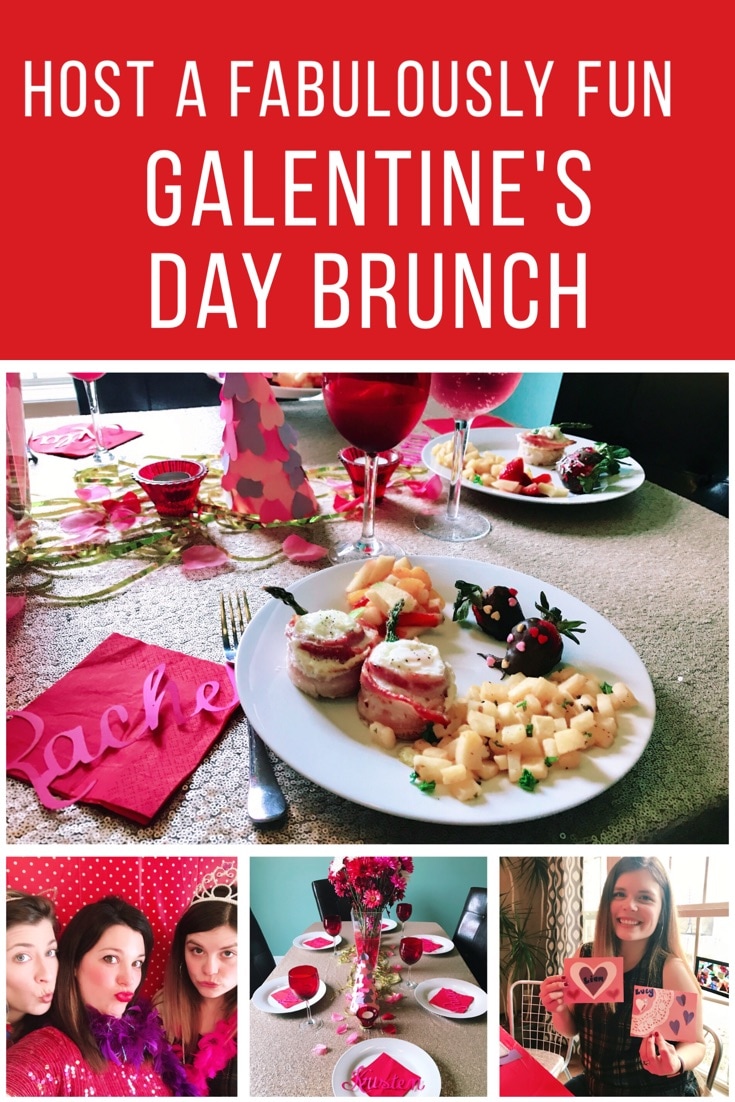
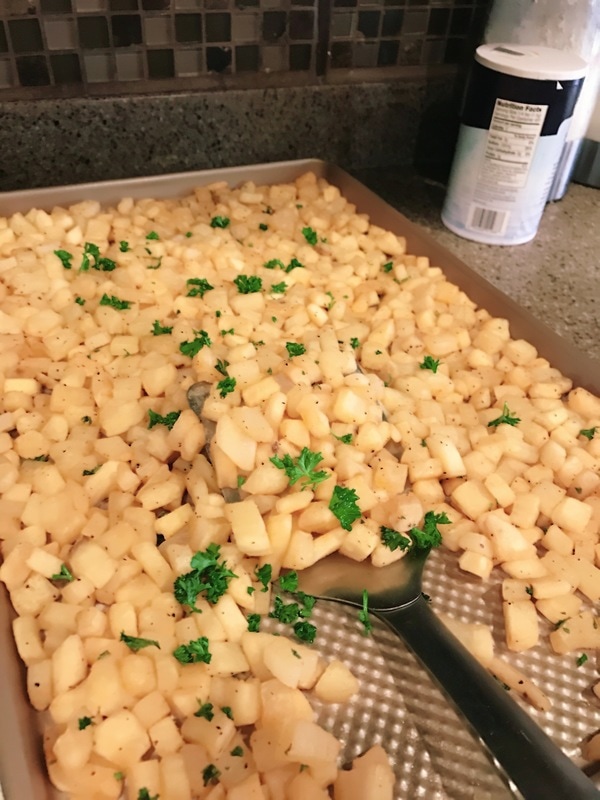
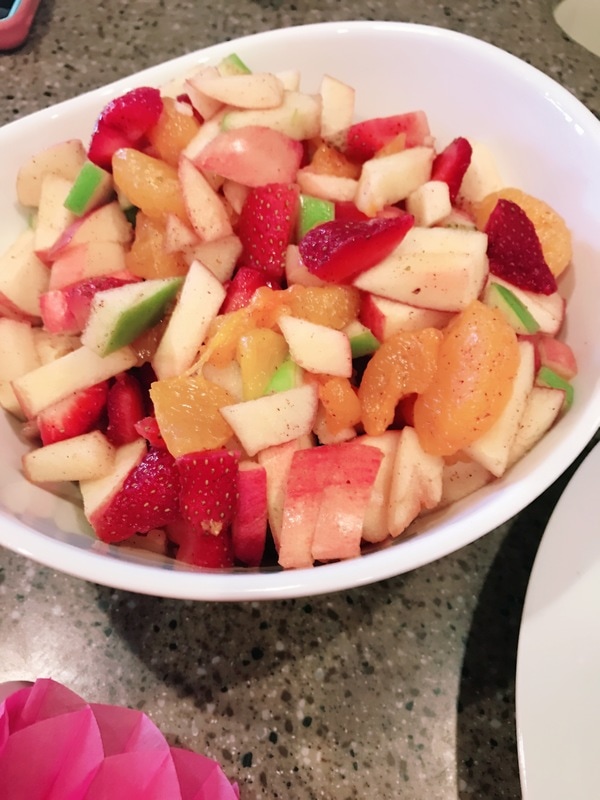
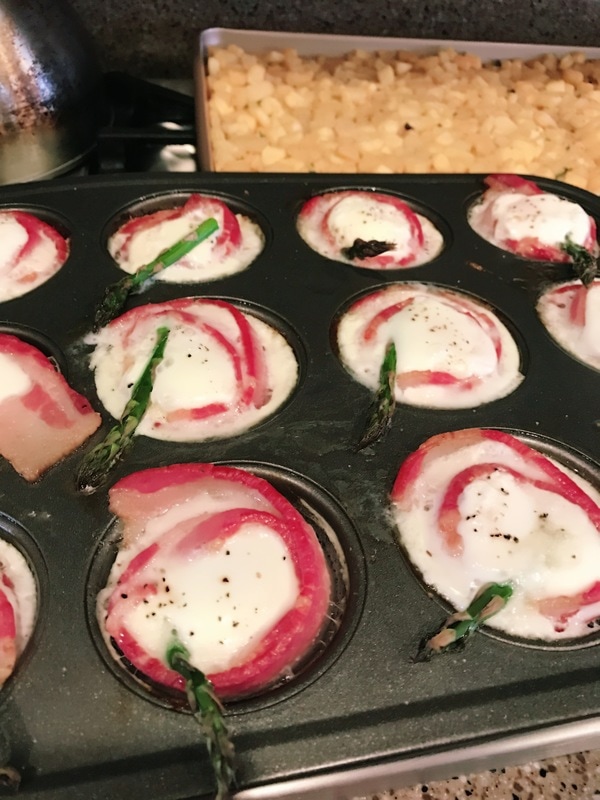
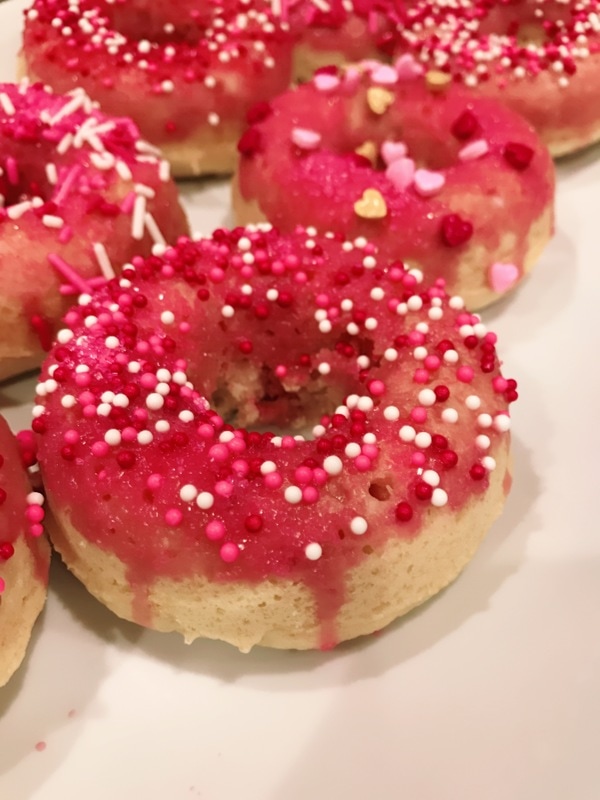
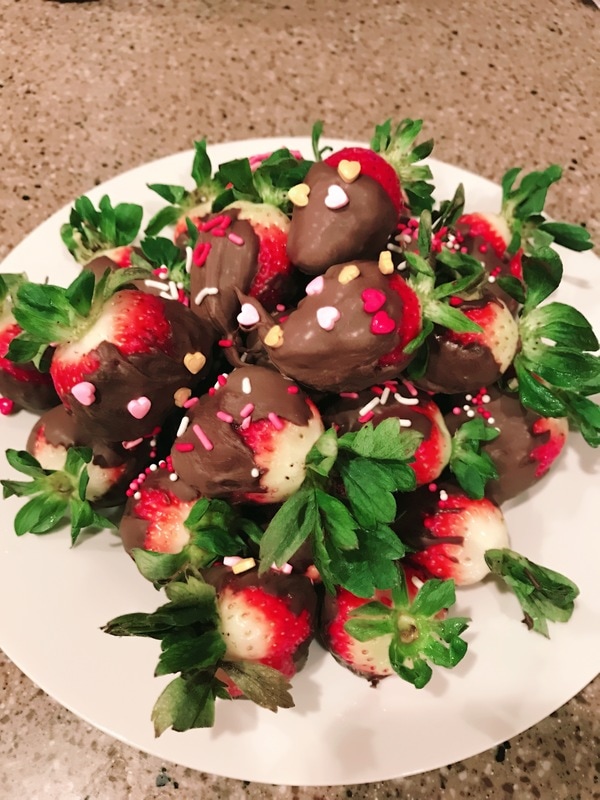
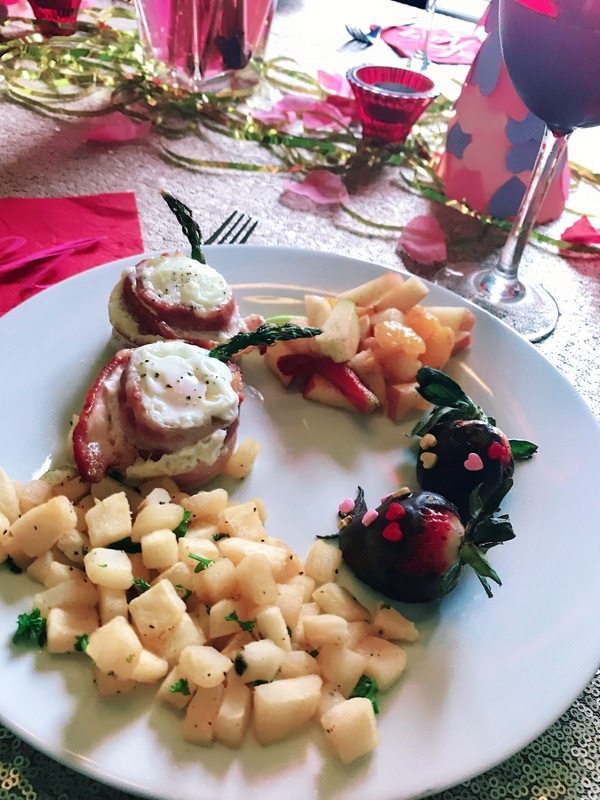
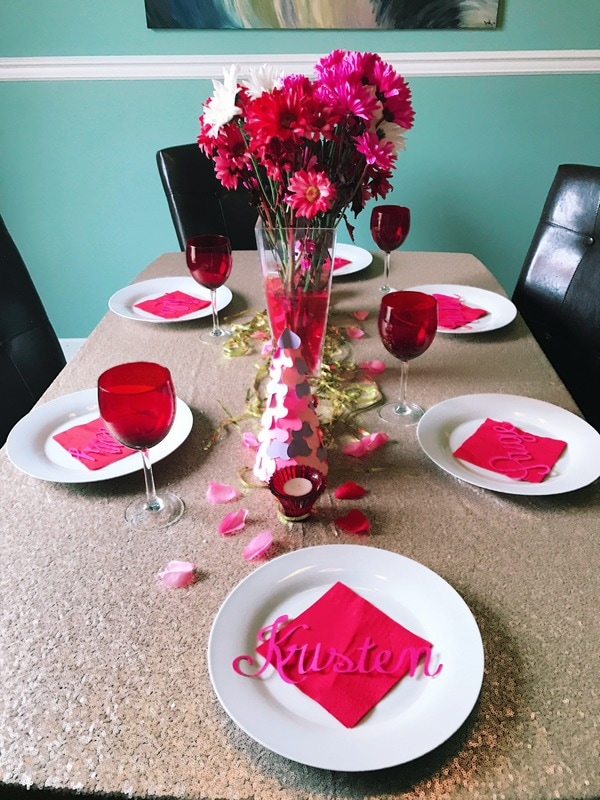
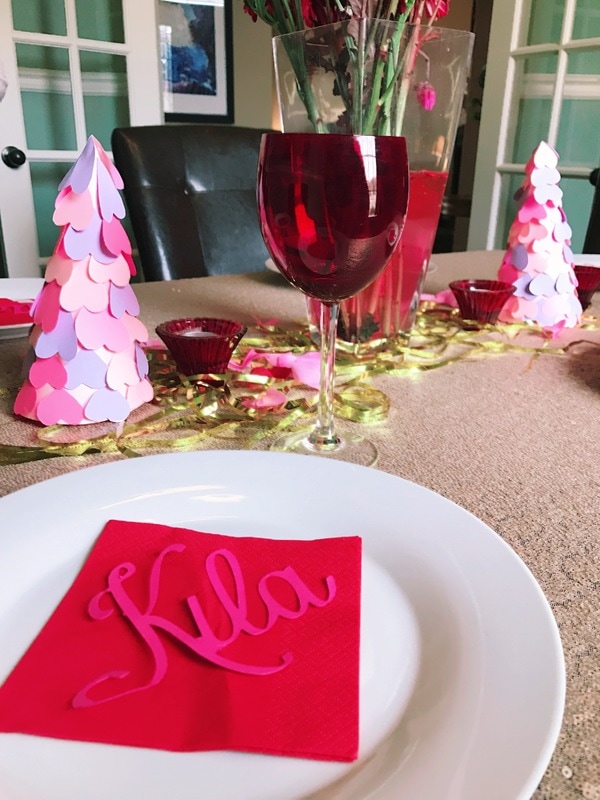
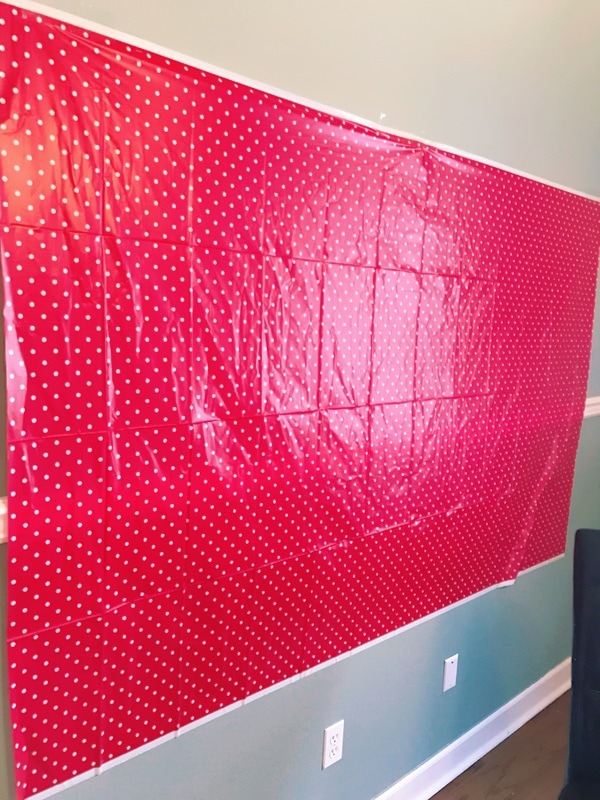
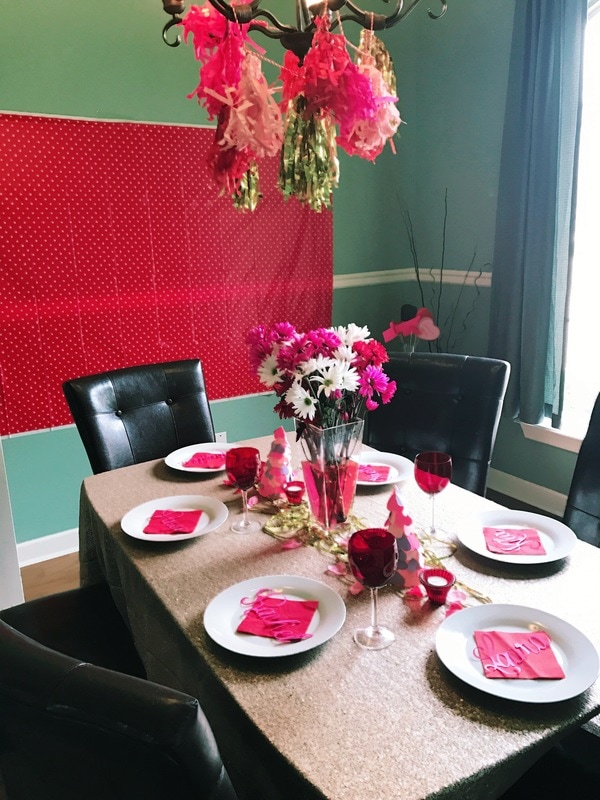
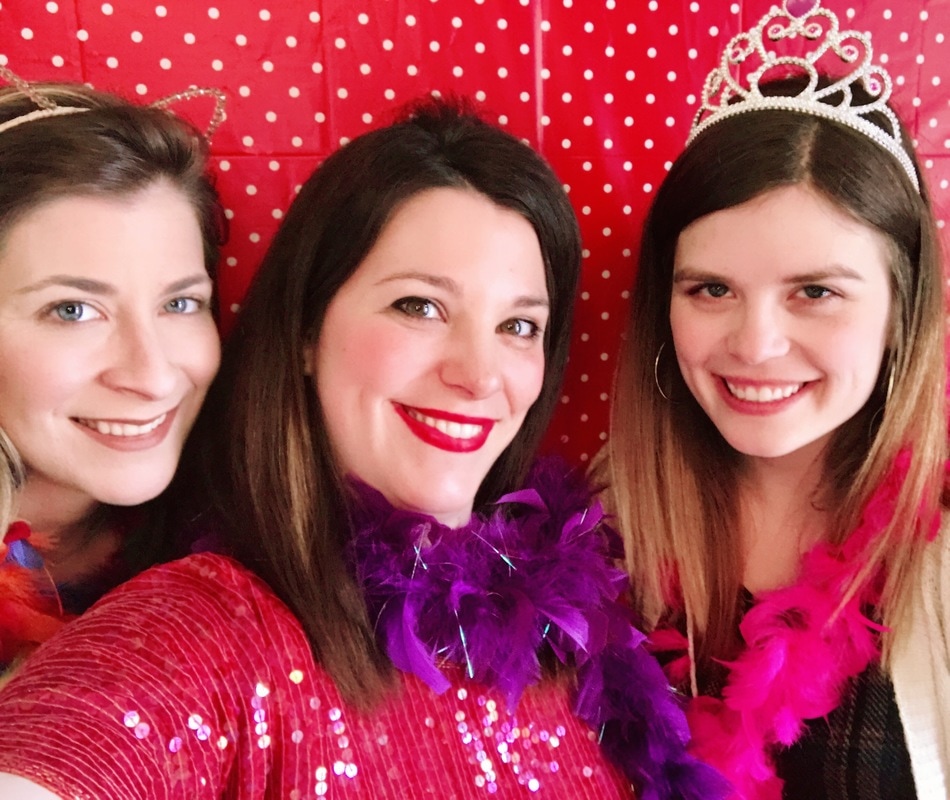
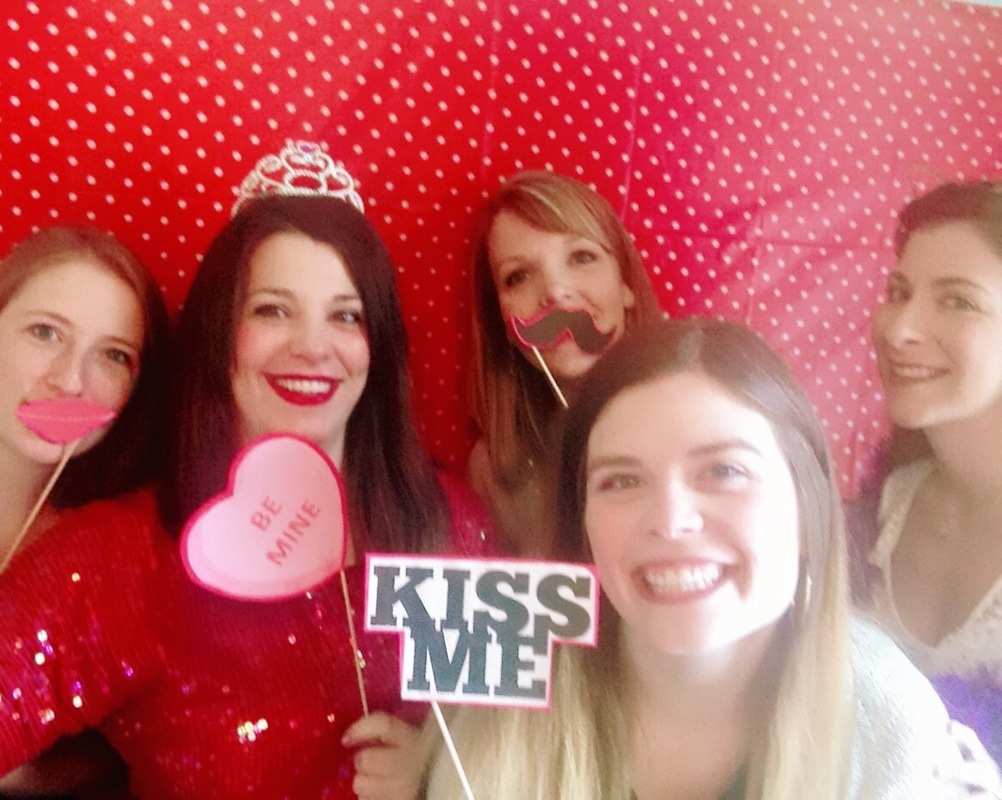
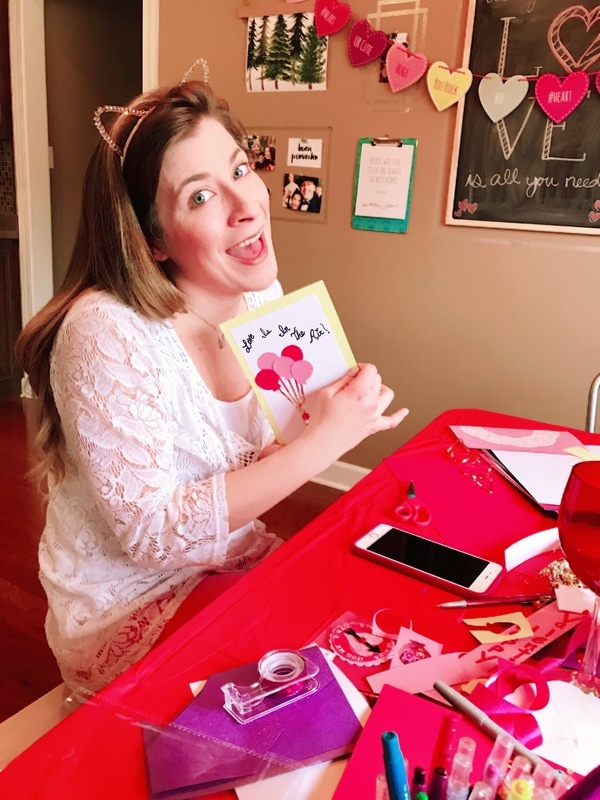
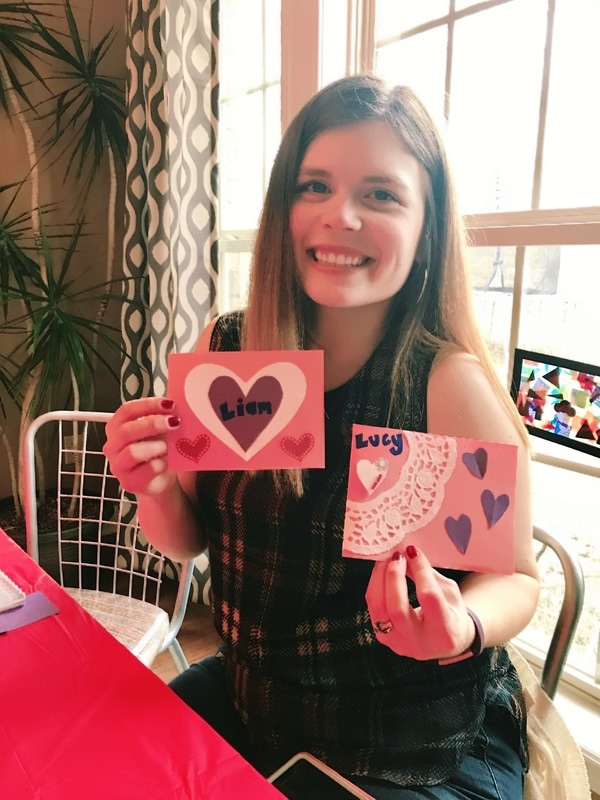
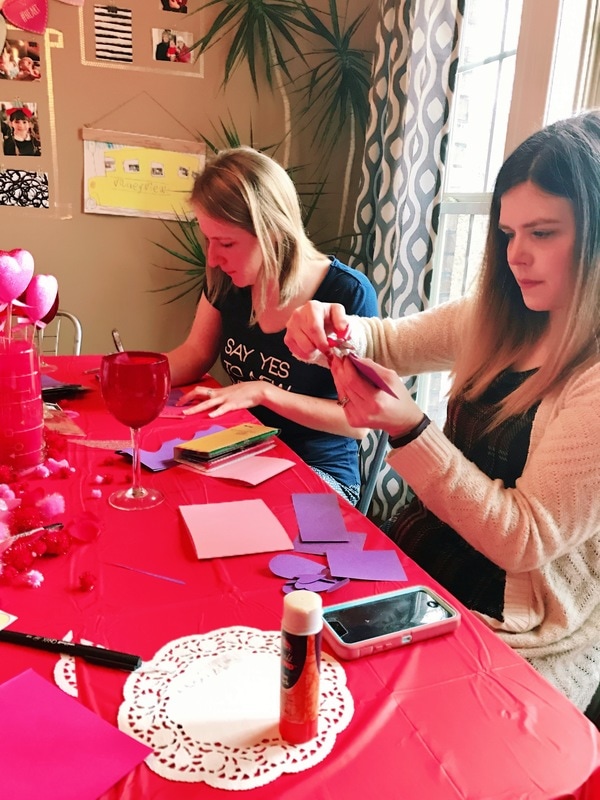
Who doesn't love a good excuse for day drinking and getting dressed up?! Ever since the invention of Galentine's Day by our friends at "Parks and Rec" we now have a perfect reason to listen to the Spice Girls, eat yummy food and day drink! I hosted a Galentine's Day party this weekend with a few of my closest friends and you can too! It doesn't take much to have a fun time with the girls. Simply select a few food items, throw together a photo booth for next to nothing and provide supplies for creating Valentine's. The Menu: I decided to make paleo egg cups, breakfast potatoes, vanilla baked donuts, chocolate covered strawberries and a fruit salad. I also had the choice of a raspberry champagne or mango champagne floats (inspired by the raspberry ones using white bubbly and mango sorbet). It was all relatively easy and everyone enjoyed it! The Decor: I've been looking for an excuse to purchase a gold sequin tablecloth forever and finally had a perfect excuse! I got it for only $17 on amazon and I'll be able to use it for a million other things in the future. I also picked up some Valentine's flowers at Kroger. Then I sprinkled some fake flower petals and some golden confetti on the table with some red candle holders for the center. My co-host also made a few paper heart cone trees that I added. I purchased a fringe banner and dangled it around the chandelier above the table and that completed the table decor. For the photo booth I taped a plastic red and white polka dot table cloth on the wall width wise for the background and then printed off these free Photo Booth props and hotglued them to skewer sticks. I also added a few feather boas and some tiaras to the dress up table for extra fun. Activities: I created a Galentine's playlist to listen to while we visited and got crafty. Then I set up a Valentine making table with colored paper, scissors, glue, stickers, pom pom balls and more for us to create Valentine's for our loved ones. It was a fun excuse to hang with my favorite ladies and I think everyone enjoyed the festivities. Good luck with your party planning and let me know if you use any of my ideas!
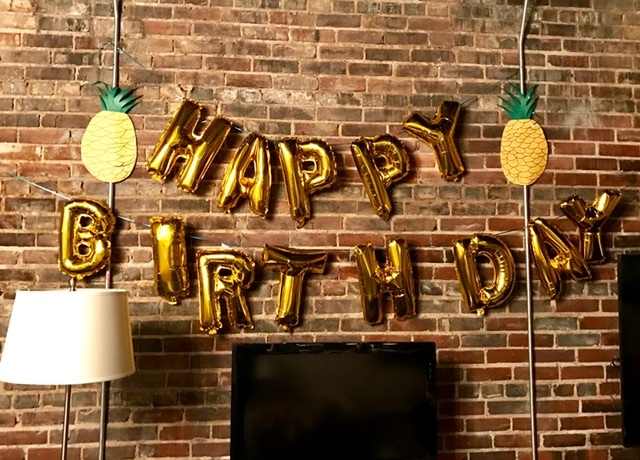
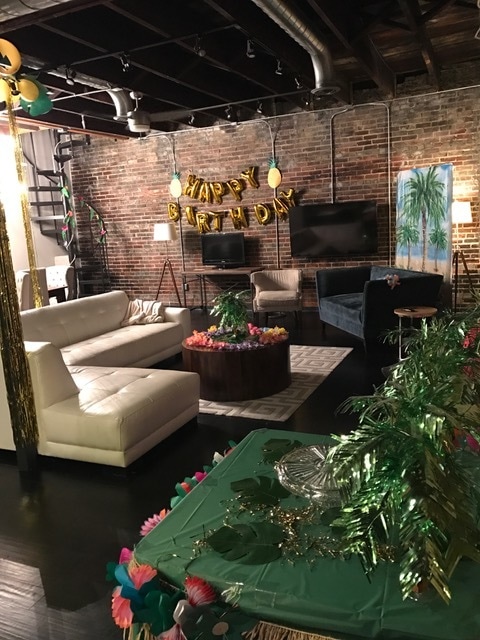
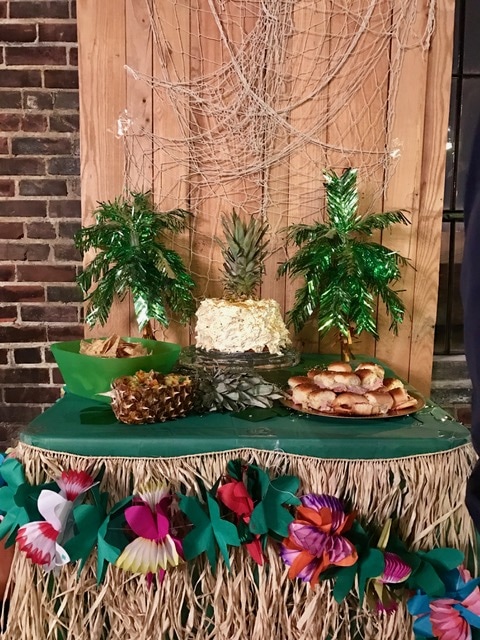
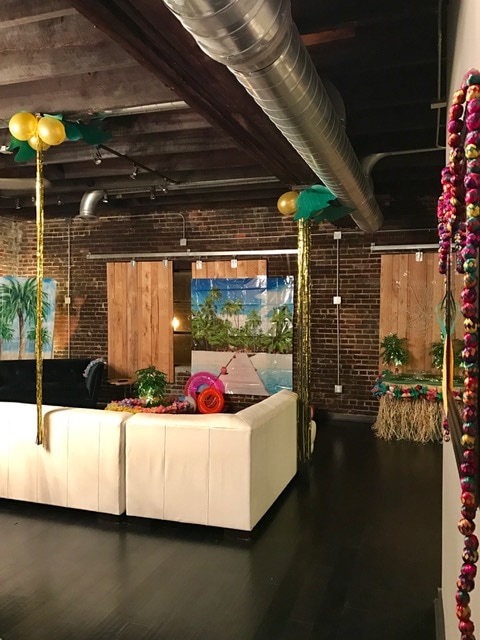
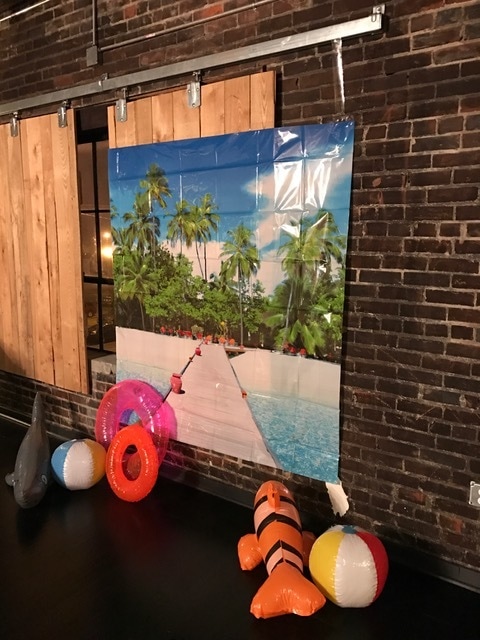
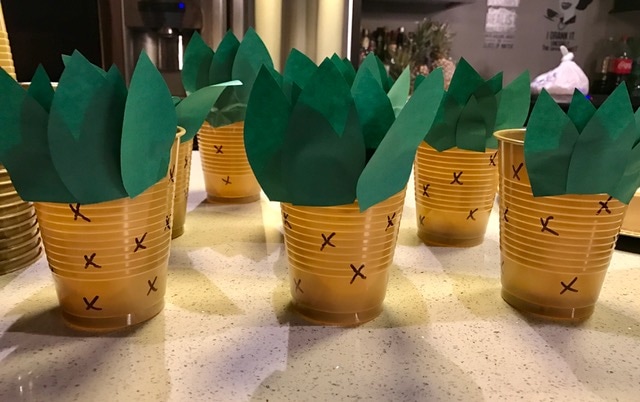
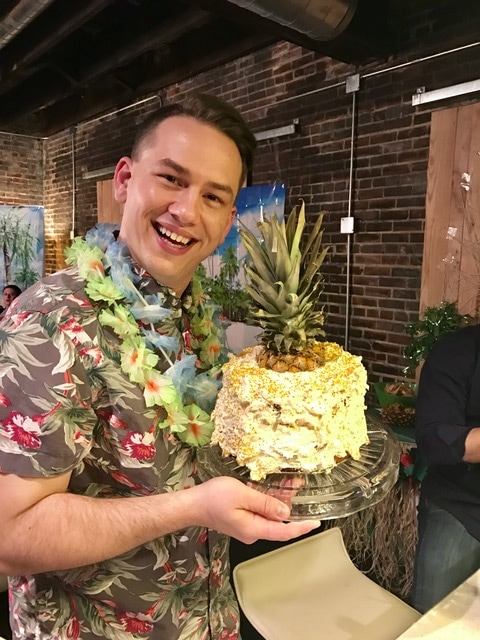
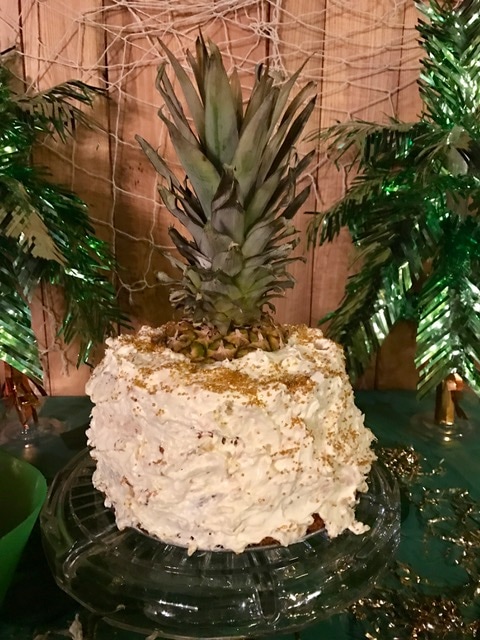
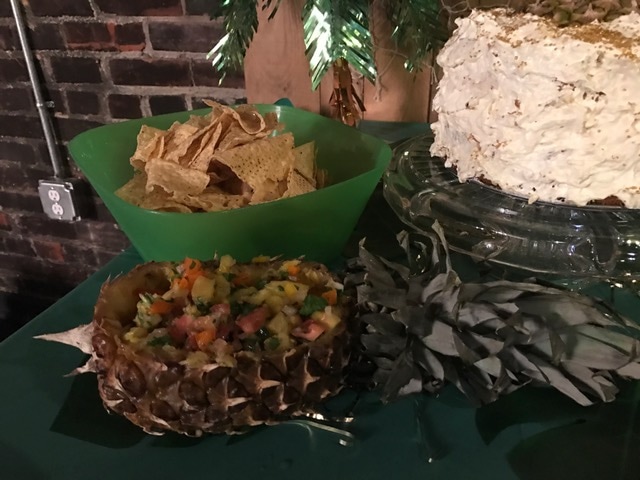
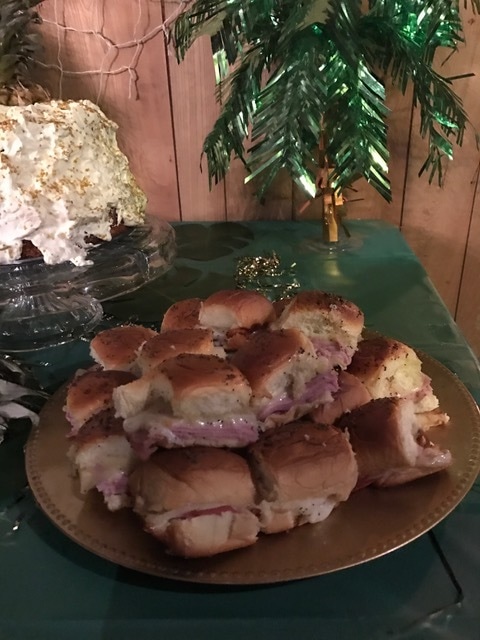
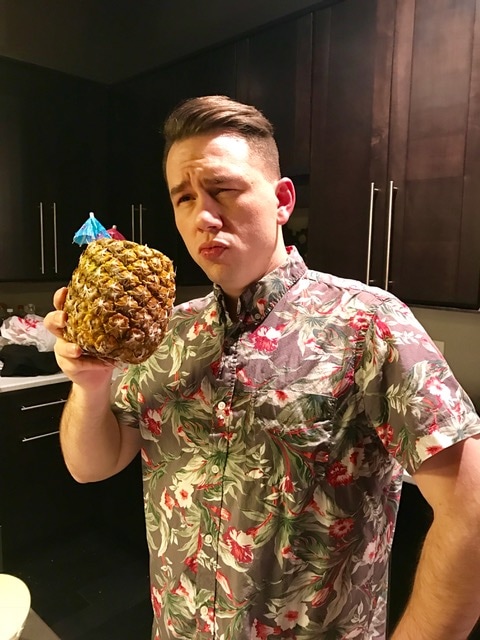
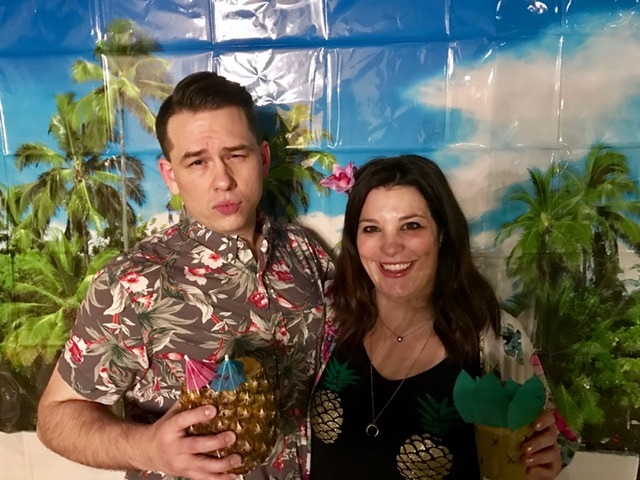
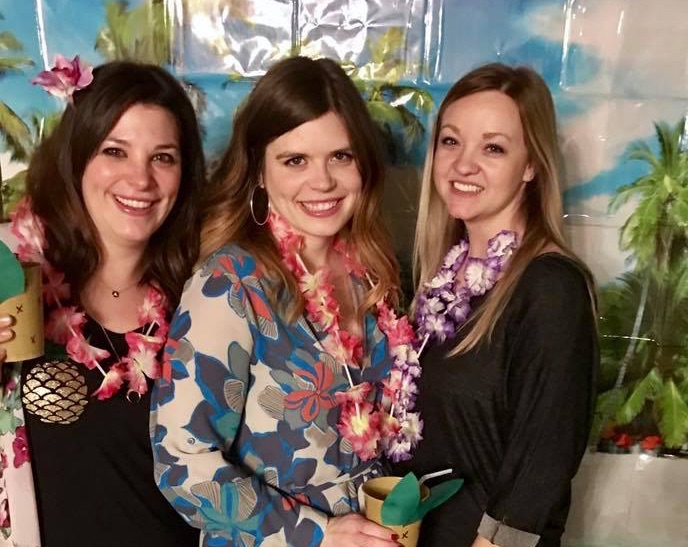
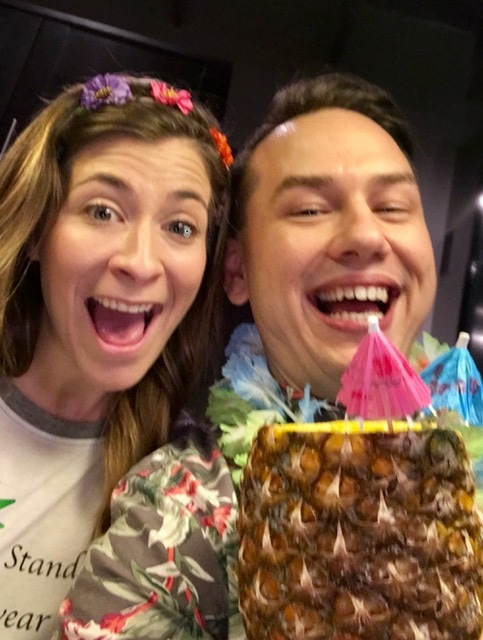
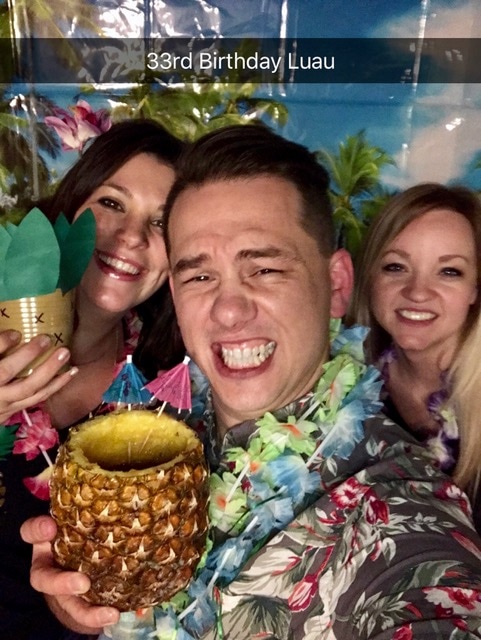
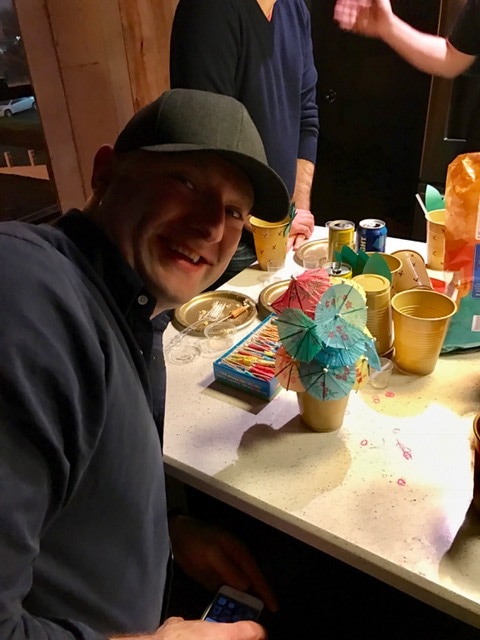
For the past few years we haven't done anything big for my husband's birthday and he wanted to celebrate a little bigger this year so, I sat down and put my party planning skills to work for his 33rd birthday! We decided to go with a luau theme which made the party planning really fun and super versatile. Since his birthday is in January it was also kind of unique and funny since it is definitely not luau weather outside! Since it is an adults only party I didn't do nearly as much as I would for a kid party. We can entertain ourselves and don't need crafts or games. I did however want to have a few yummy things to eat and some festive decor. I got some inspiration from pinterest and made myself a planning board. I decided to go with gold, yellow and green as the main party colors but accented with a bunch of fun tropical colors too. I purchased some lei's, drink umbrellas, gold cups and plates, a photo backdrop, a flower garland, some fake palm leaves, some birthday balloons and a golden fringe curtain for decorations from Amazon and finished it up using some craft paper and tape. My friend Paige also helped with planning and contributed some fun blow-up fish and beach balls as well as a few fake palm trees and nets to add even more ambiance. We spent about four hours putting it all together the night before and ended up with a really fun, vibrant party where the guests could enjoy themselves. For the food I wanted a few easy but delicious tropical themed things. I decided to make a pineapple cake, pineapple salsa and Hawaiian baked sandwiches. I also had all of the ingredients for guests to make a rum punch. The cake was an easy recipe that used a yellow box cake mix as a base. After adding the required ingredients for the mix as well as 1/2 cup sour cream and an 8oz can of crushed pineapple, you baked until done. I made two cakes and stacked them on top of each other with icing in between. Once it cooled I iced it with icing made up of a container of cool whip, a package of vanilla pudding (powder only) and a 20oz can of pineapple. After icing, I chopped the top of off a pineapple and centered it on the cake. Then I sprinkled it with some gold sprinkles. It was a big hit and I will definitely be making this cake again luau or not. It was delicious!
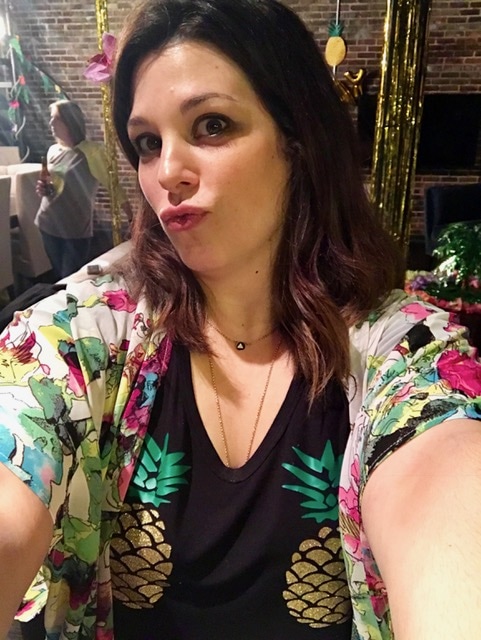
Everyone had a great time and loved the decorations and the food! My first adult party planning was a success! I purchased an amazing gizmo that cores and slices pineapple in a matter of seconds and used it to hollow out a pineapple in order to create a pineapple cup for the birthday boy. I don't know why I didn't already own this nifty gadget. It is seriously amazing! Since it was a luau theme that relied heavily on pineapples I decided to make a shirt with my silhouette. However, I ended up running out of time and my party planning partner did it for me using her silhouette. She used gold glitter for the pineapple body and green for the leaves. So, I ended up with a super fun pineapple booby shirt! Hopefully you enjoyed and were inspired by my luau party! Thanks for visiting!
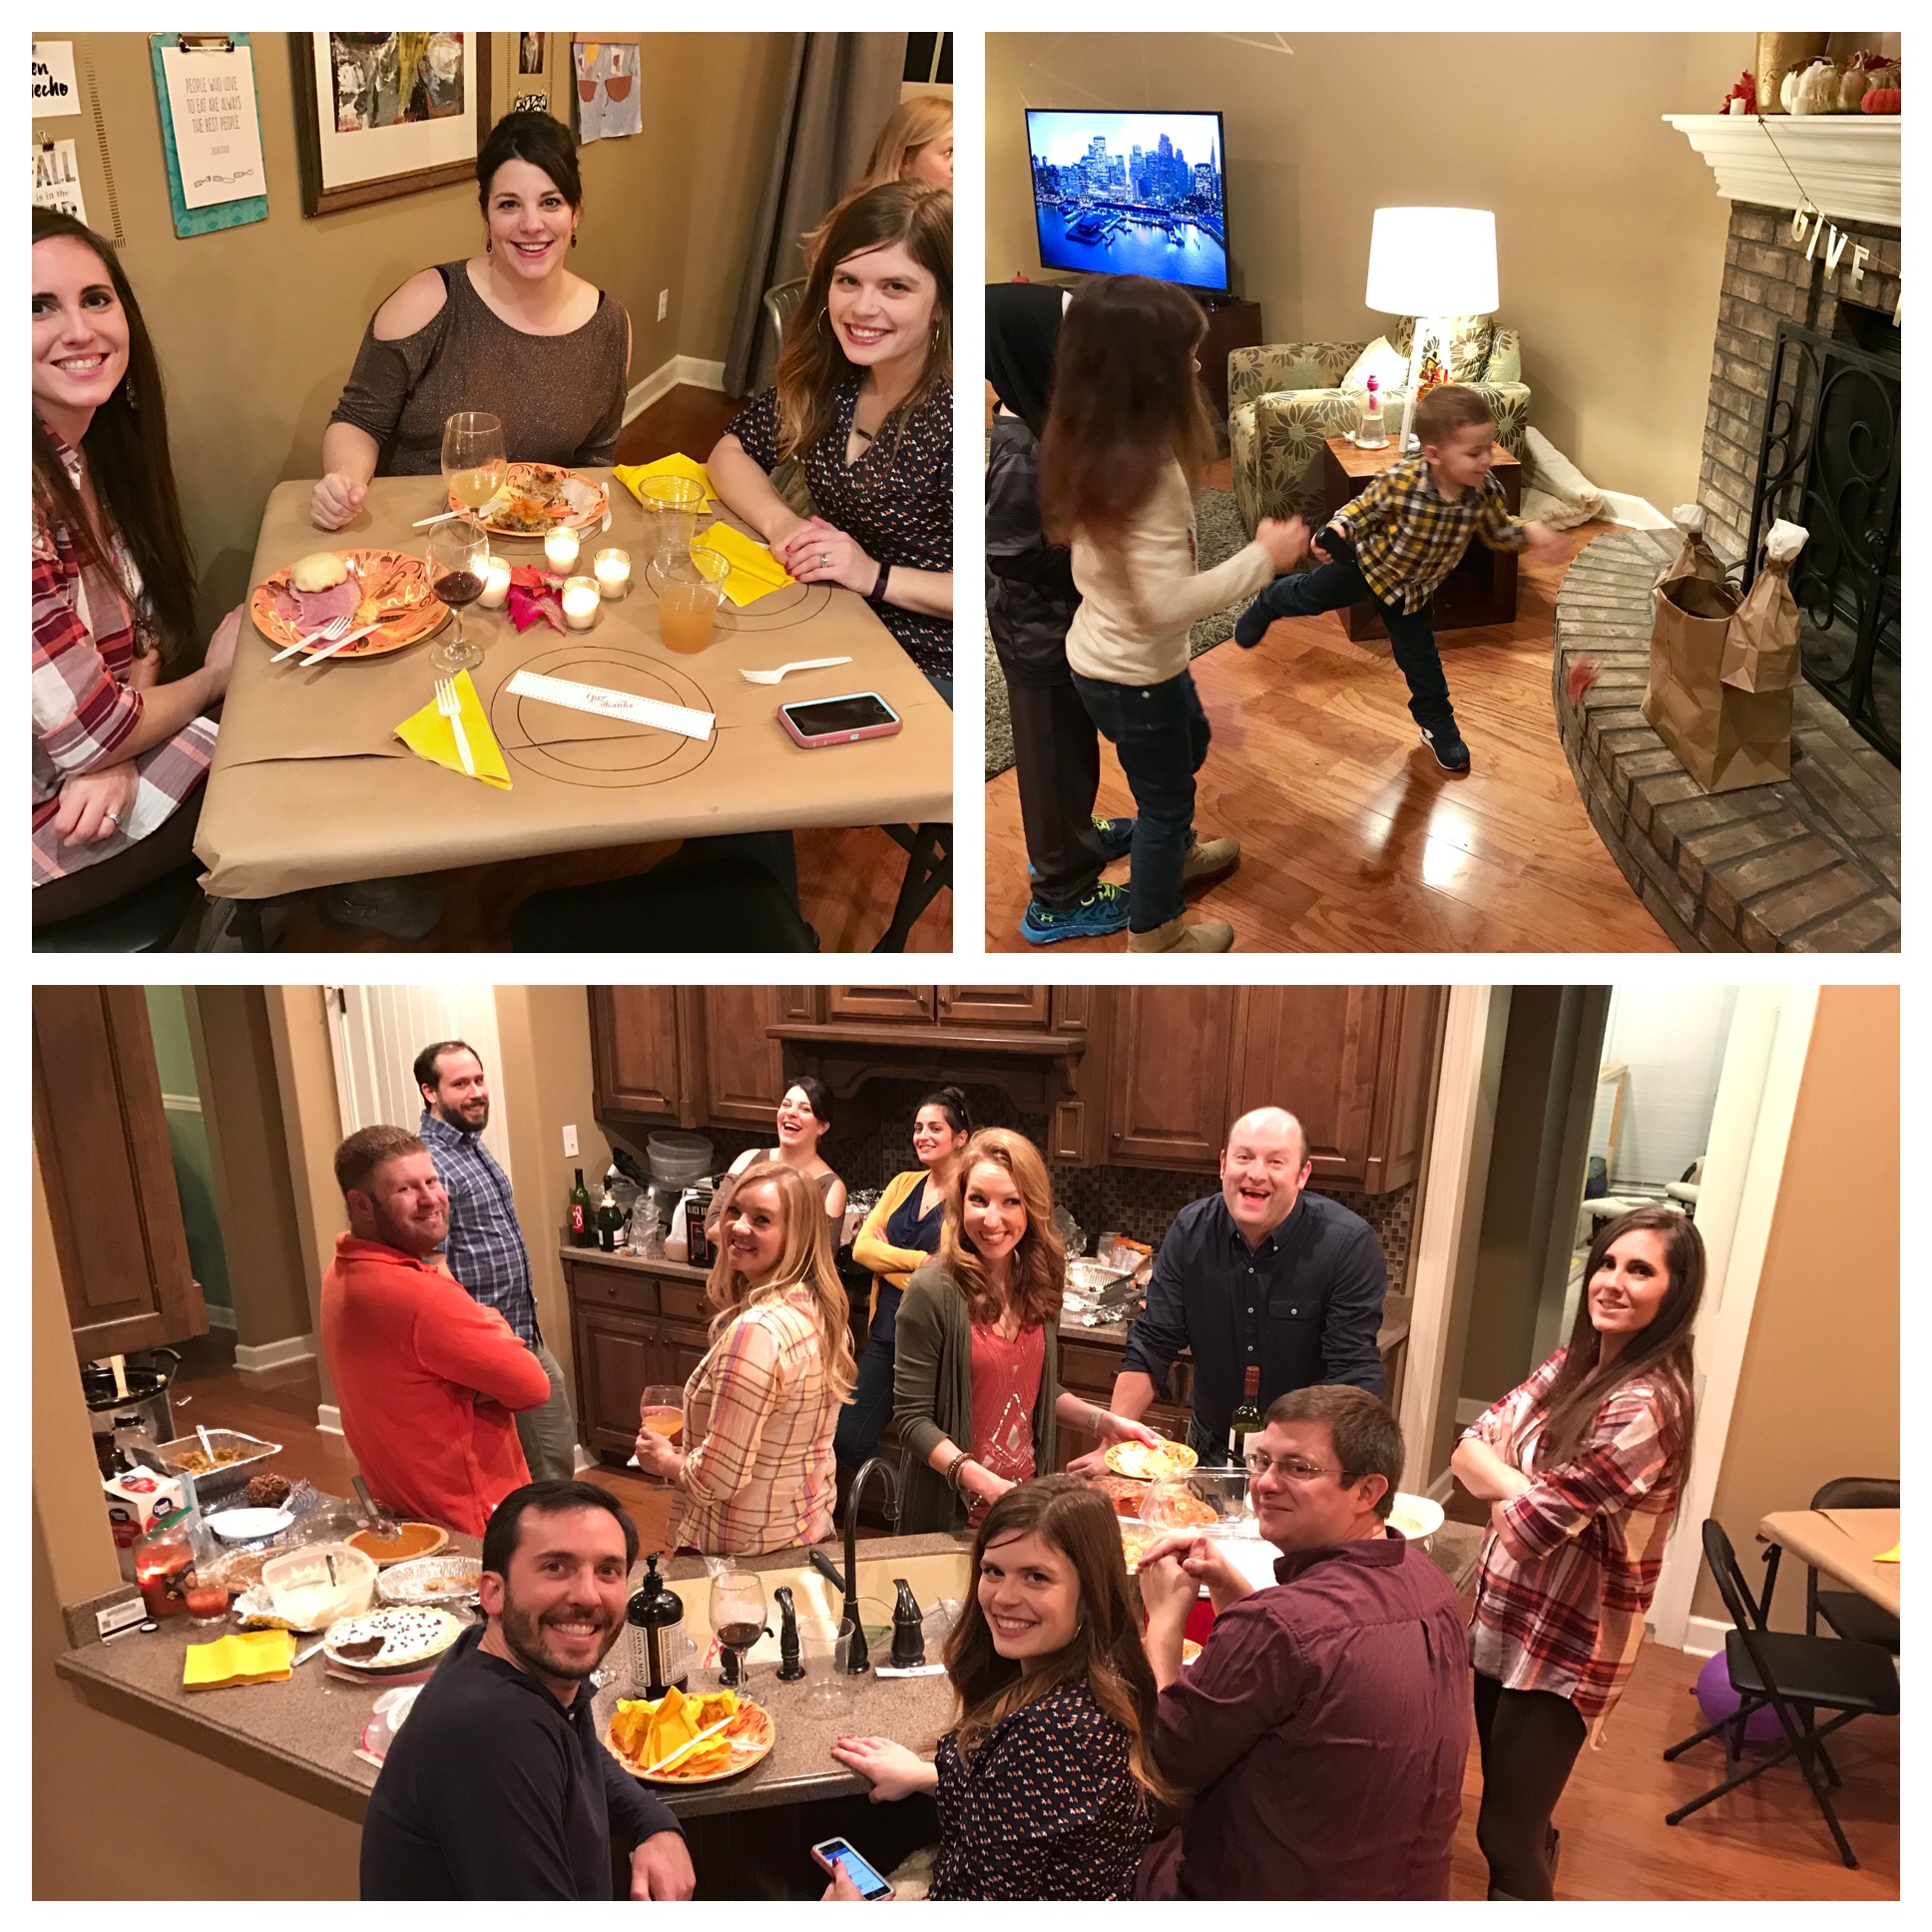
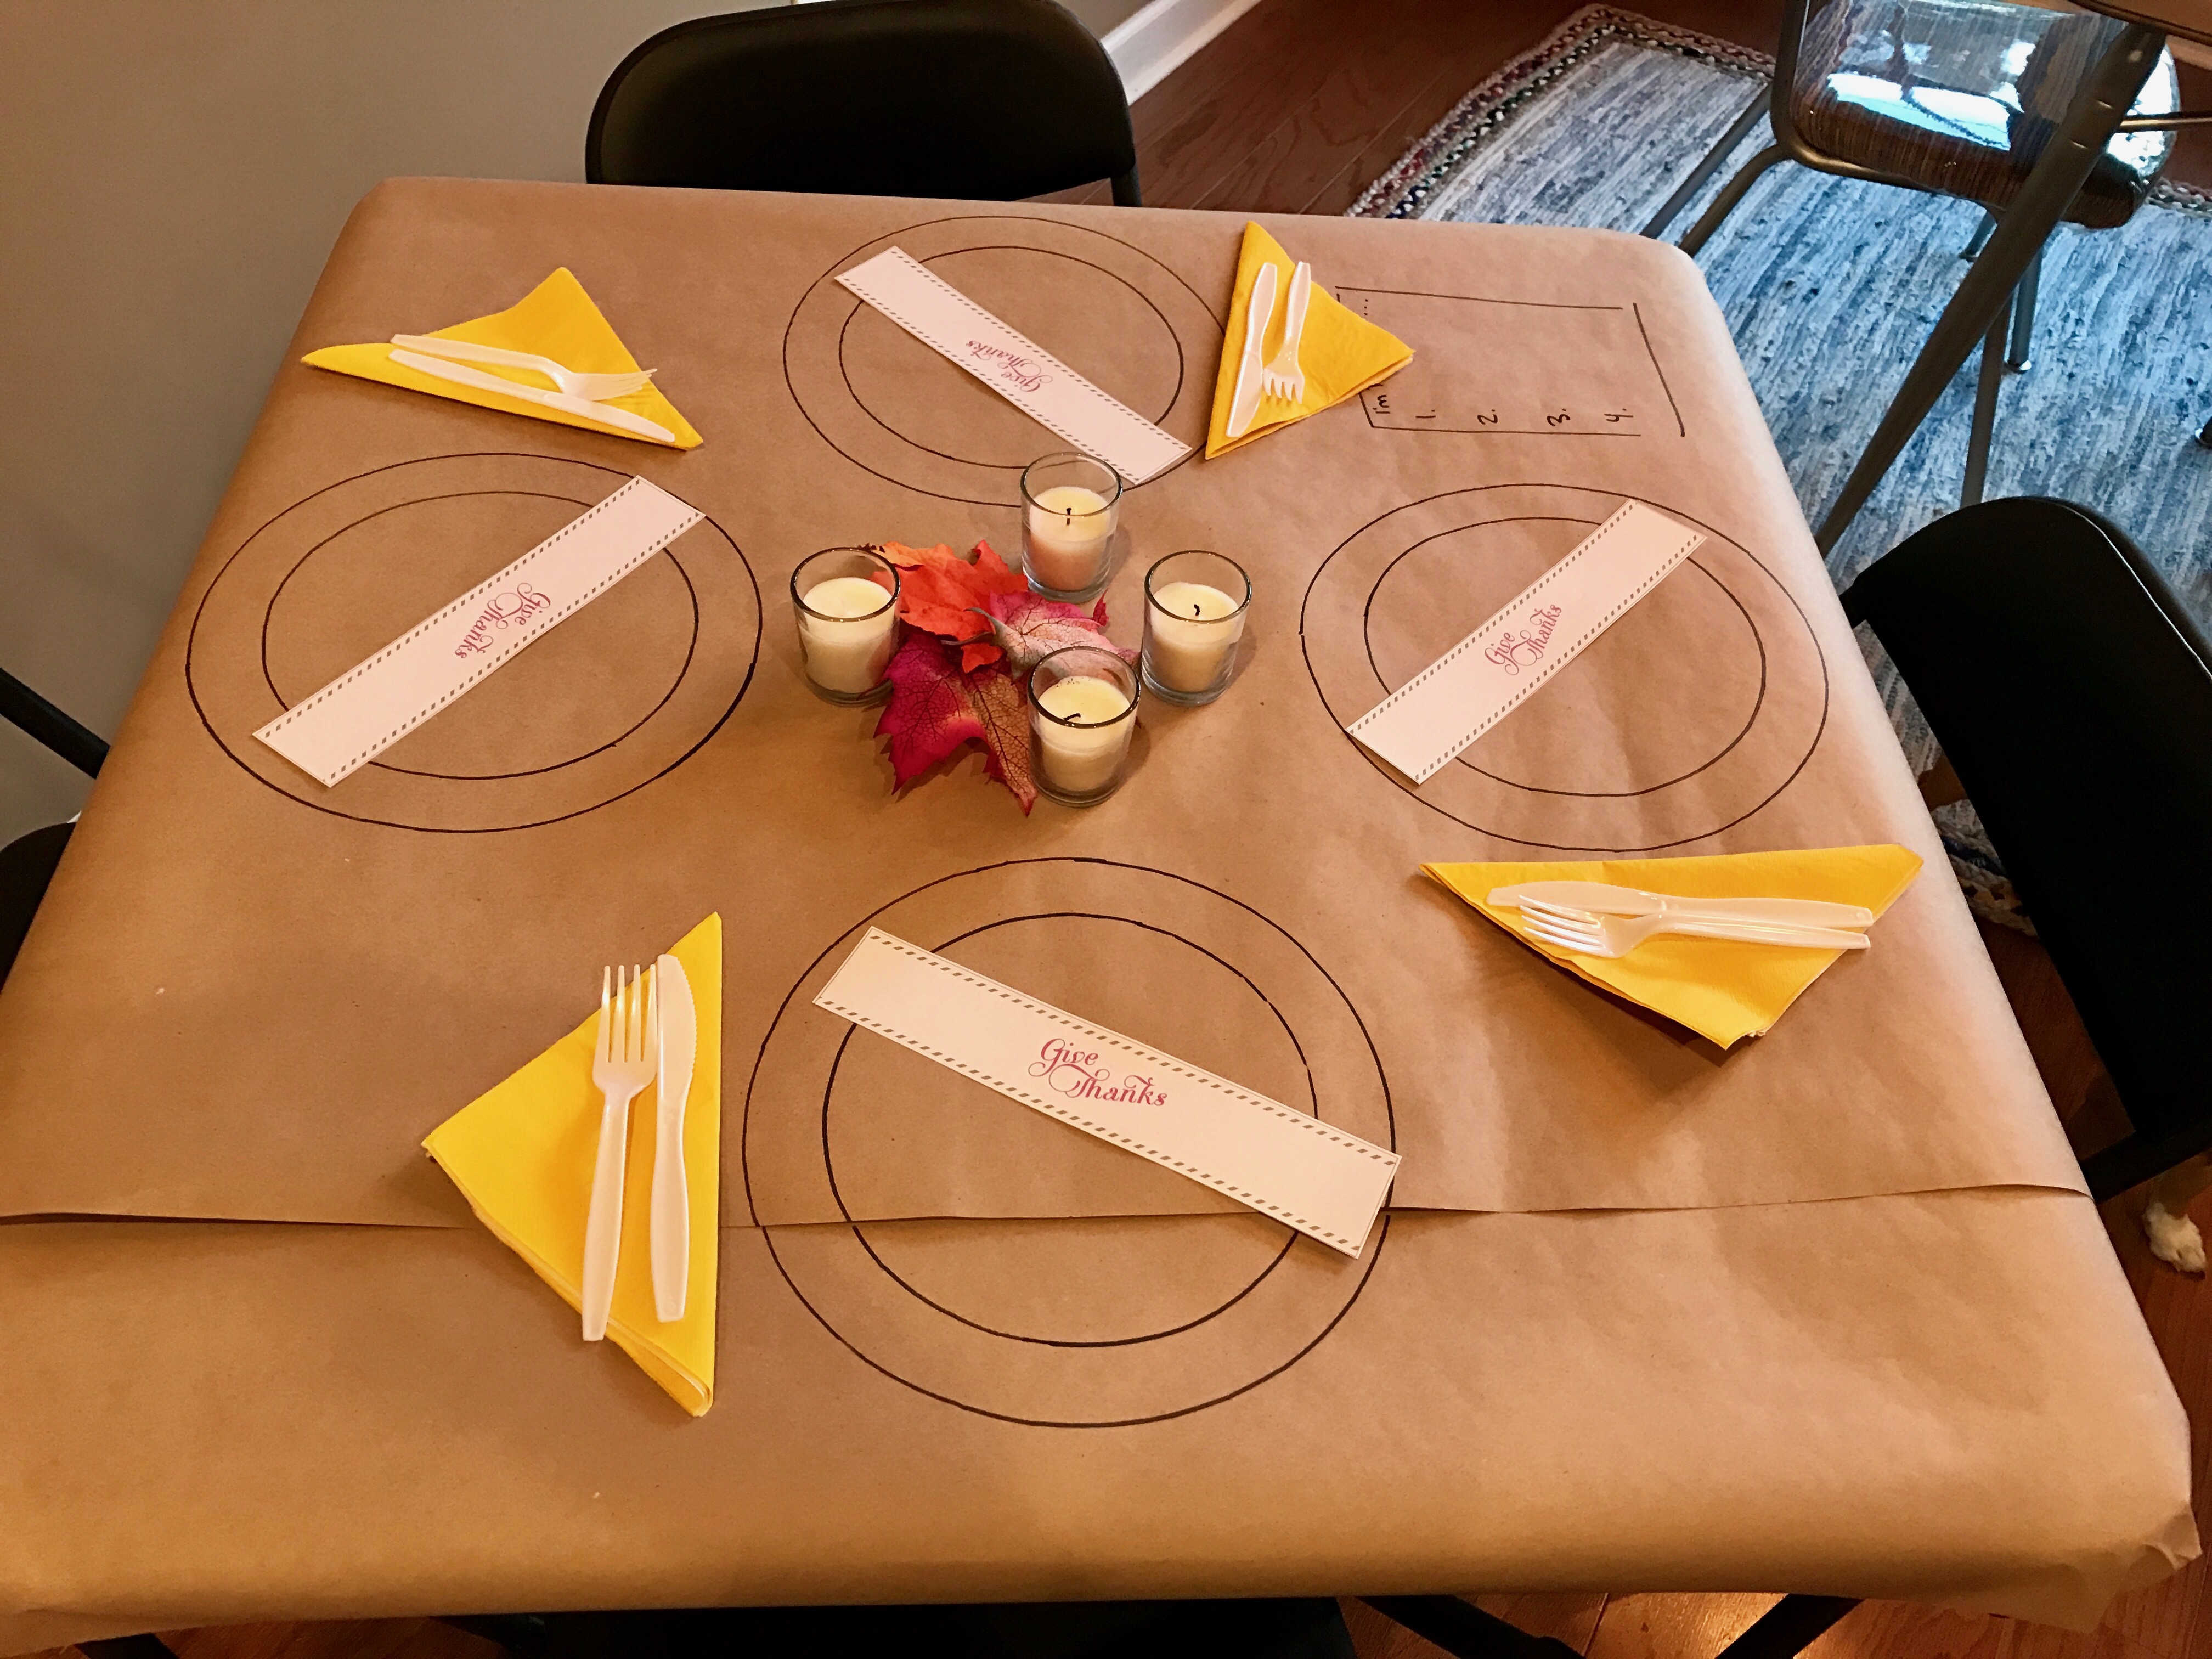
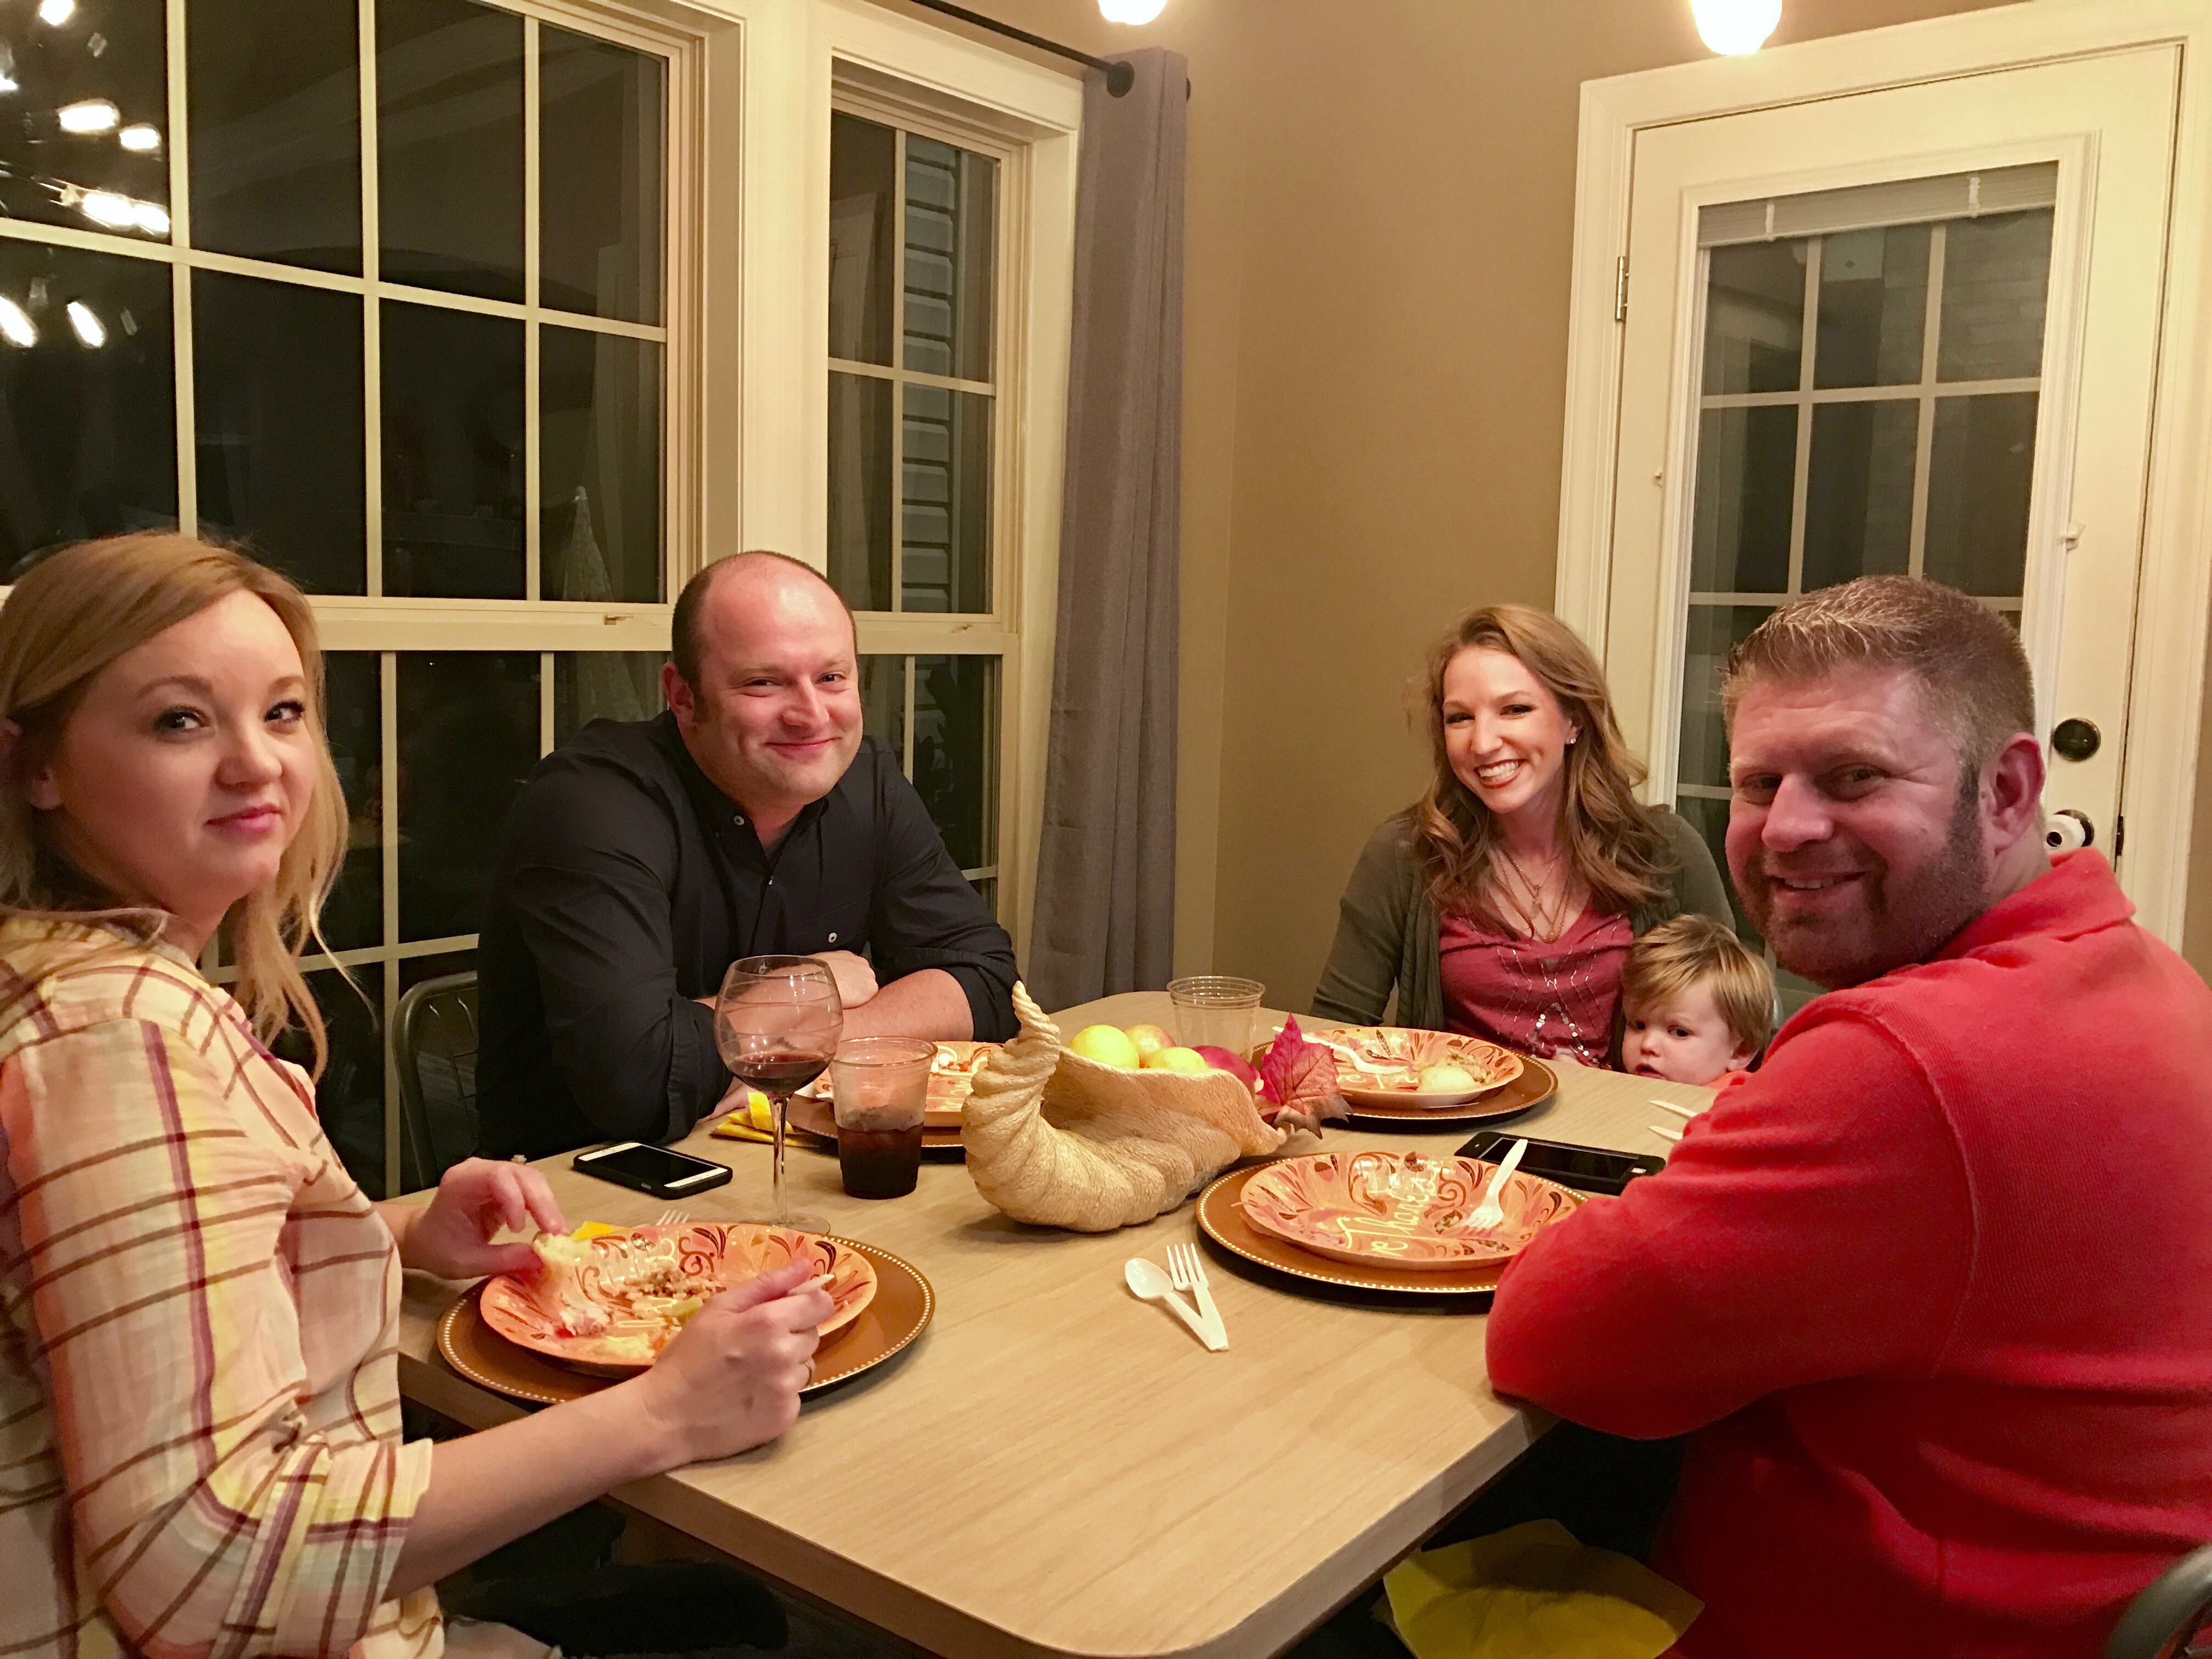
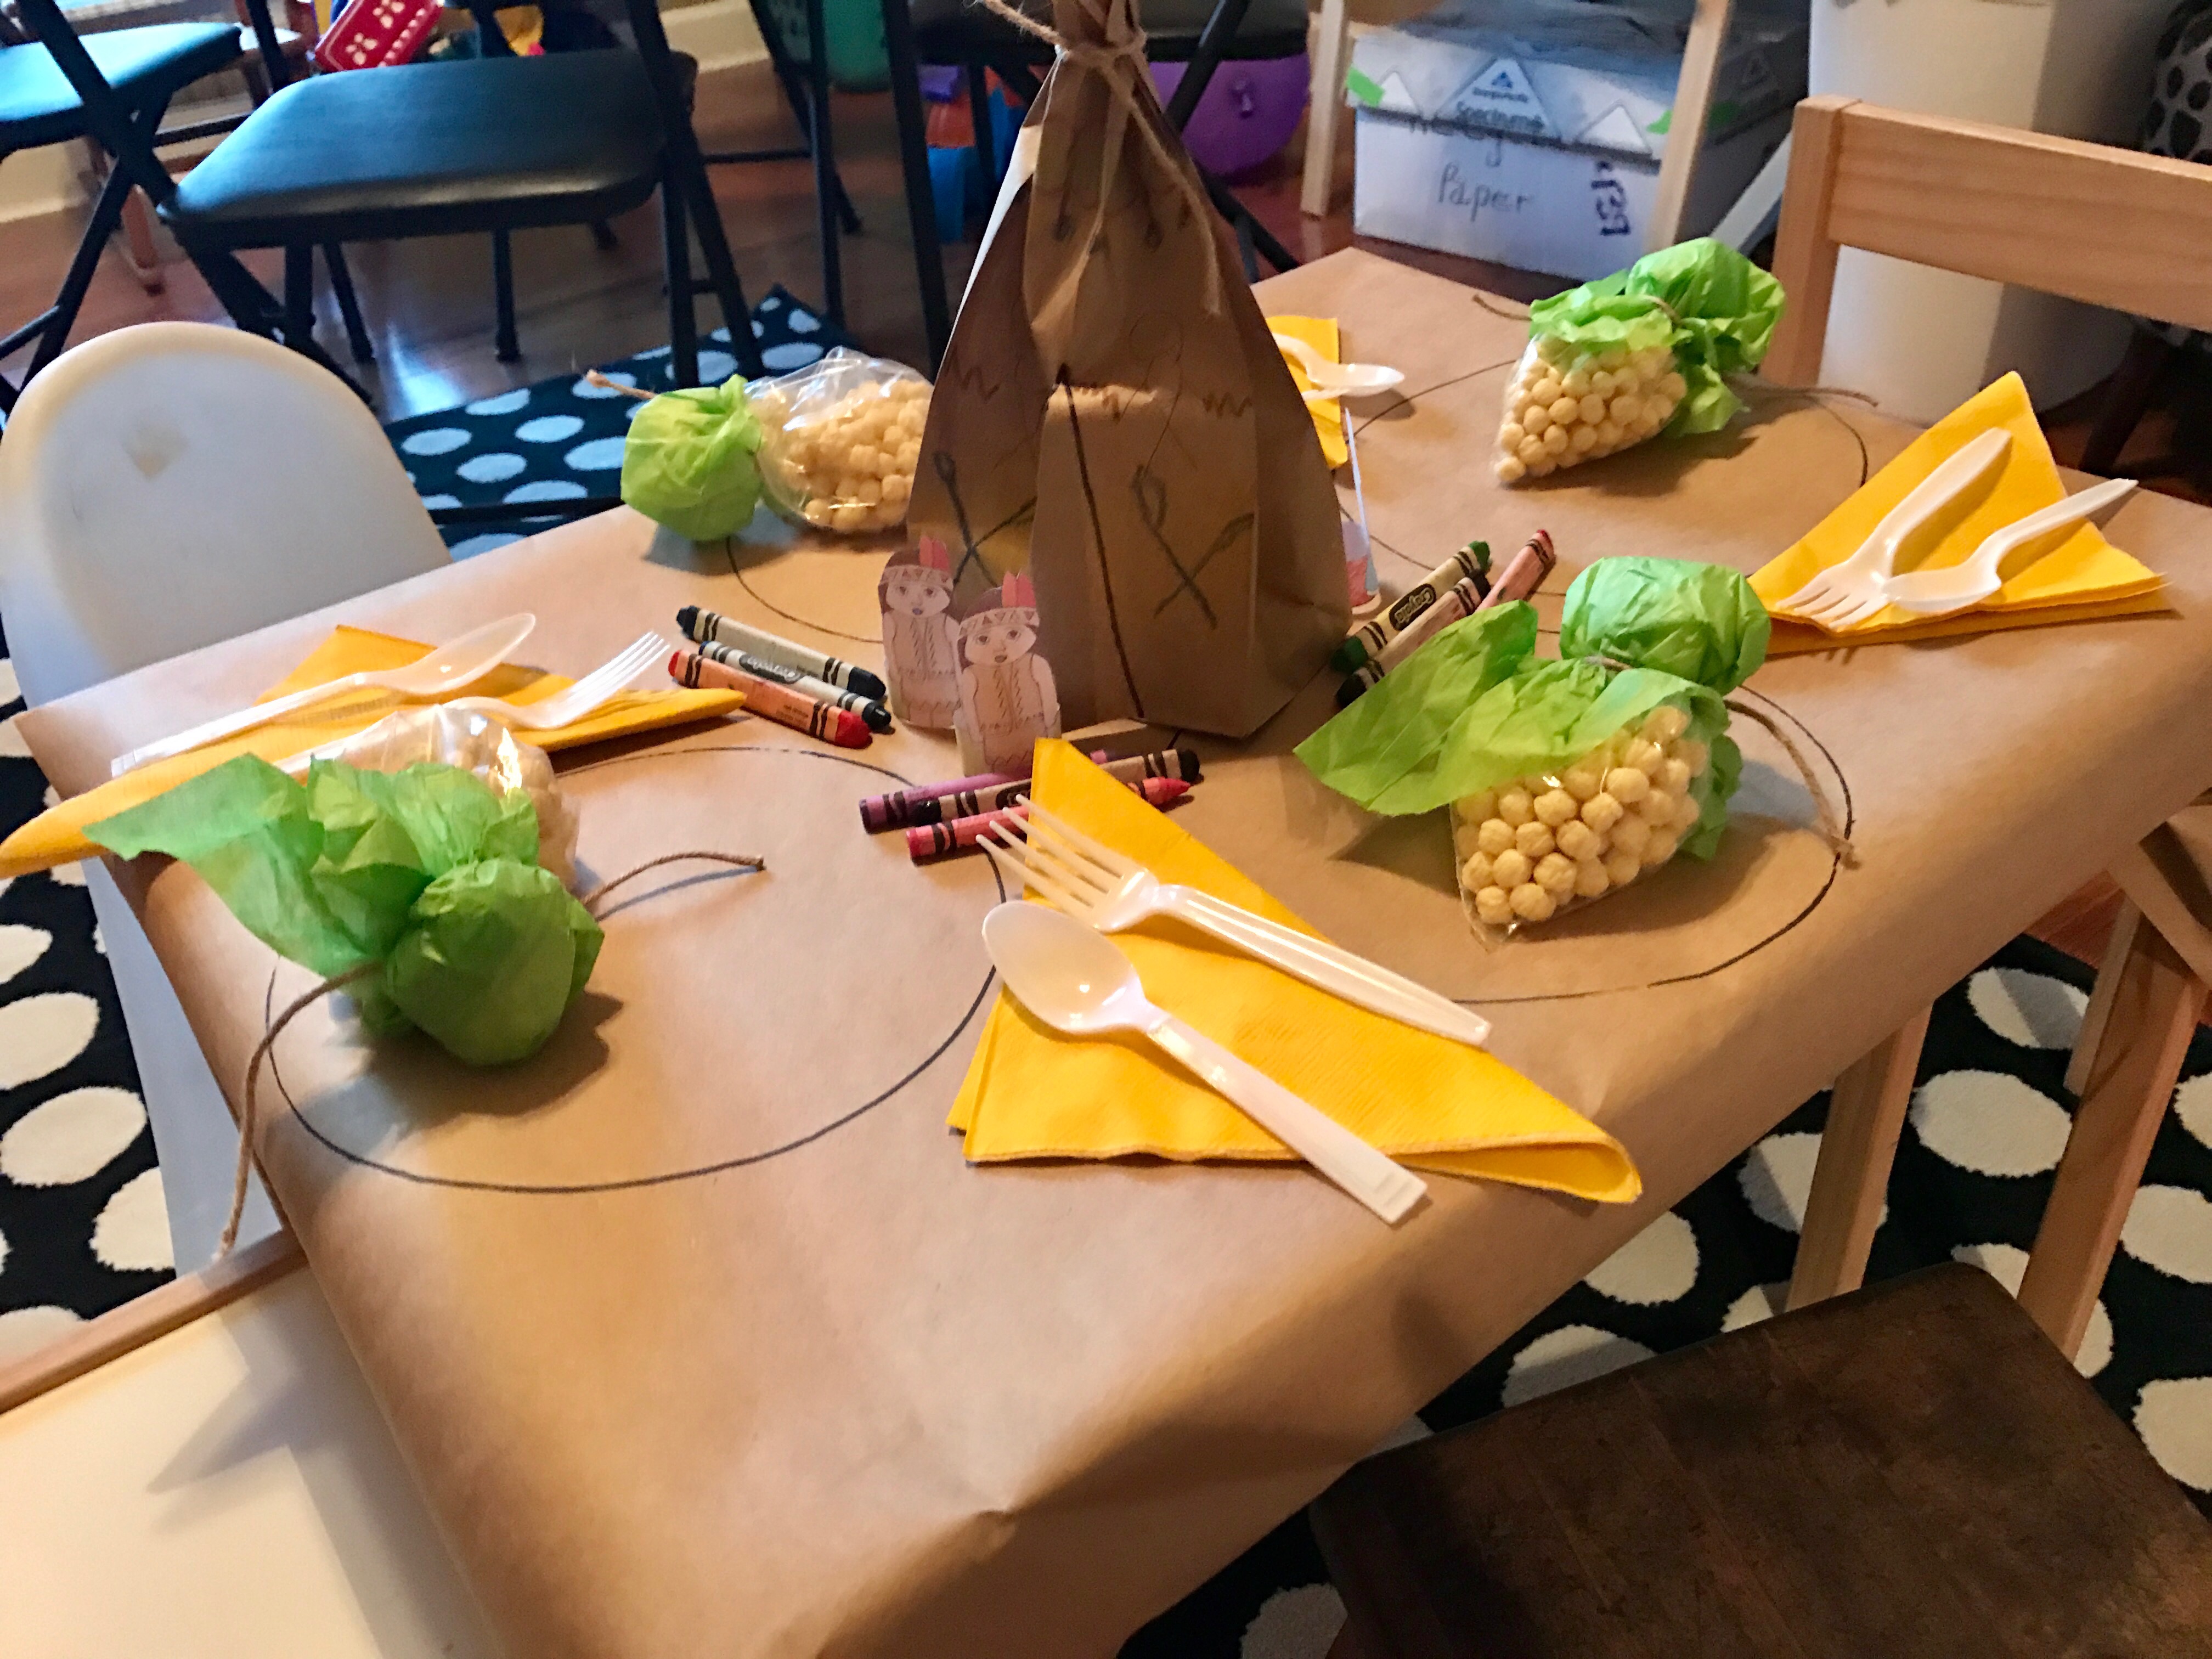
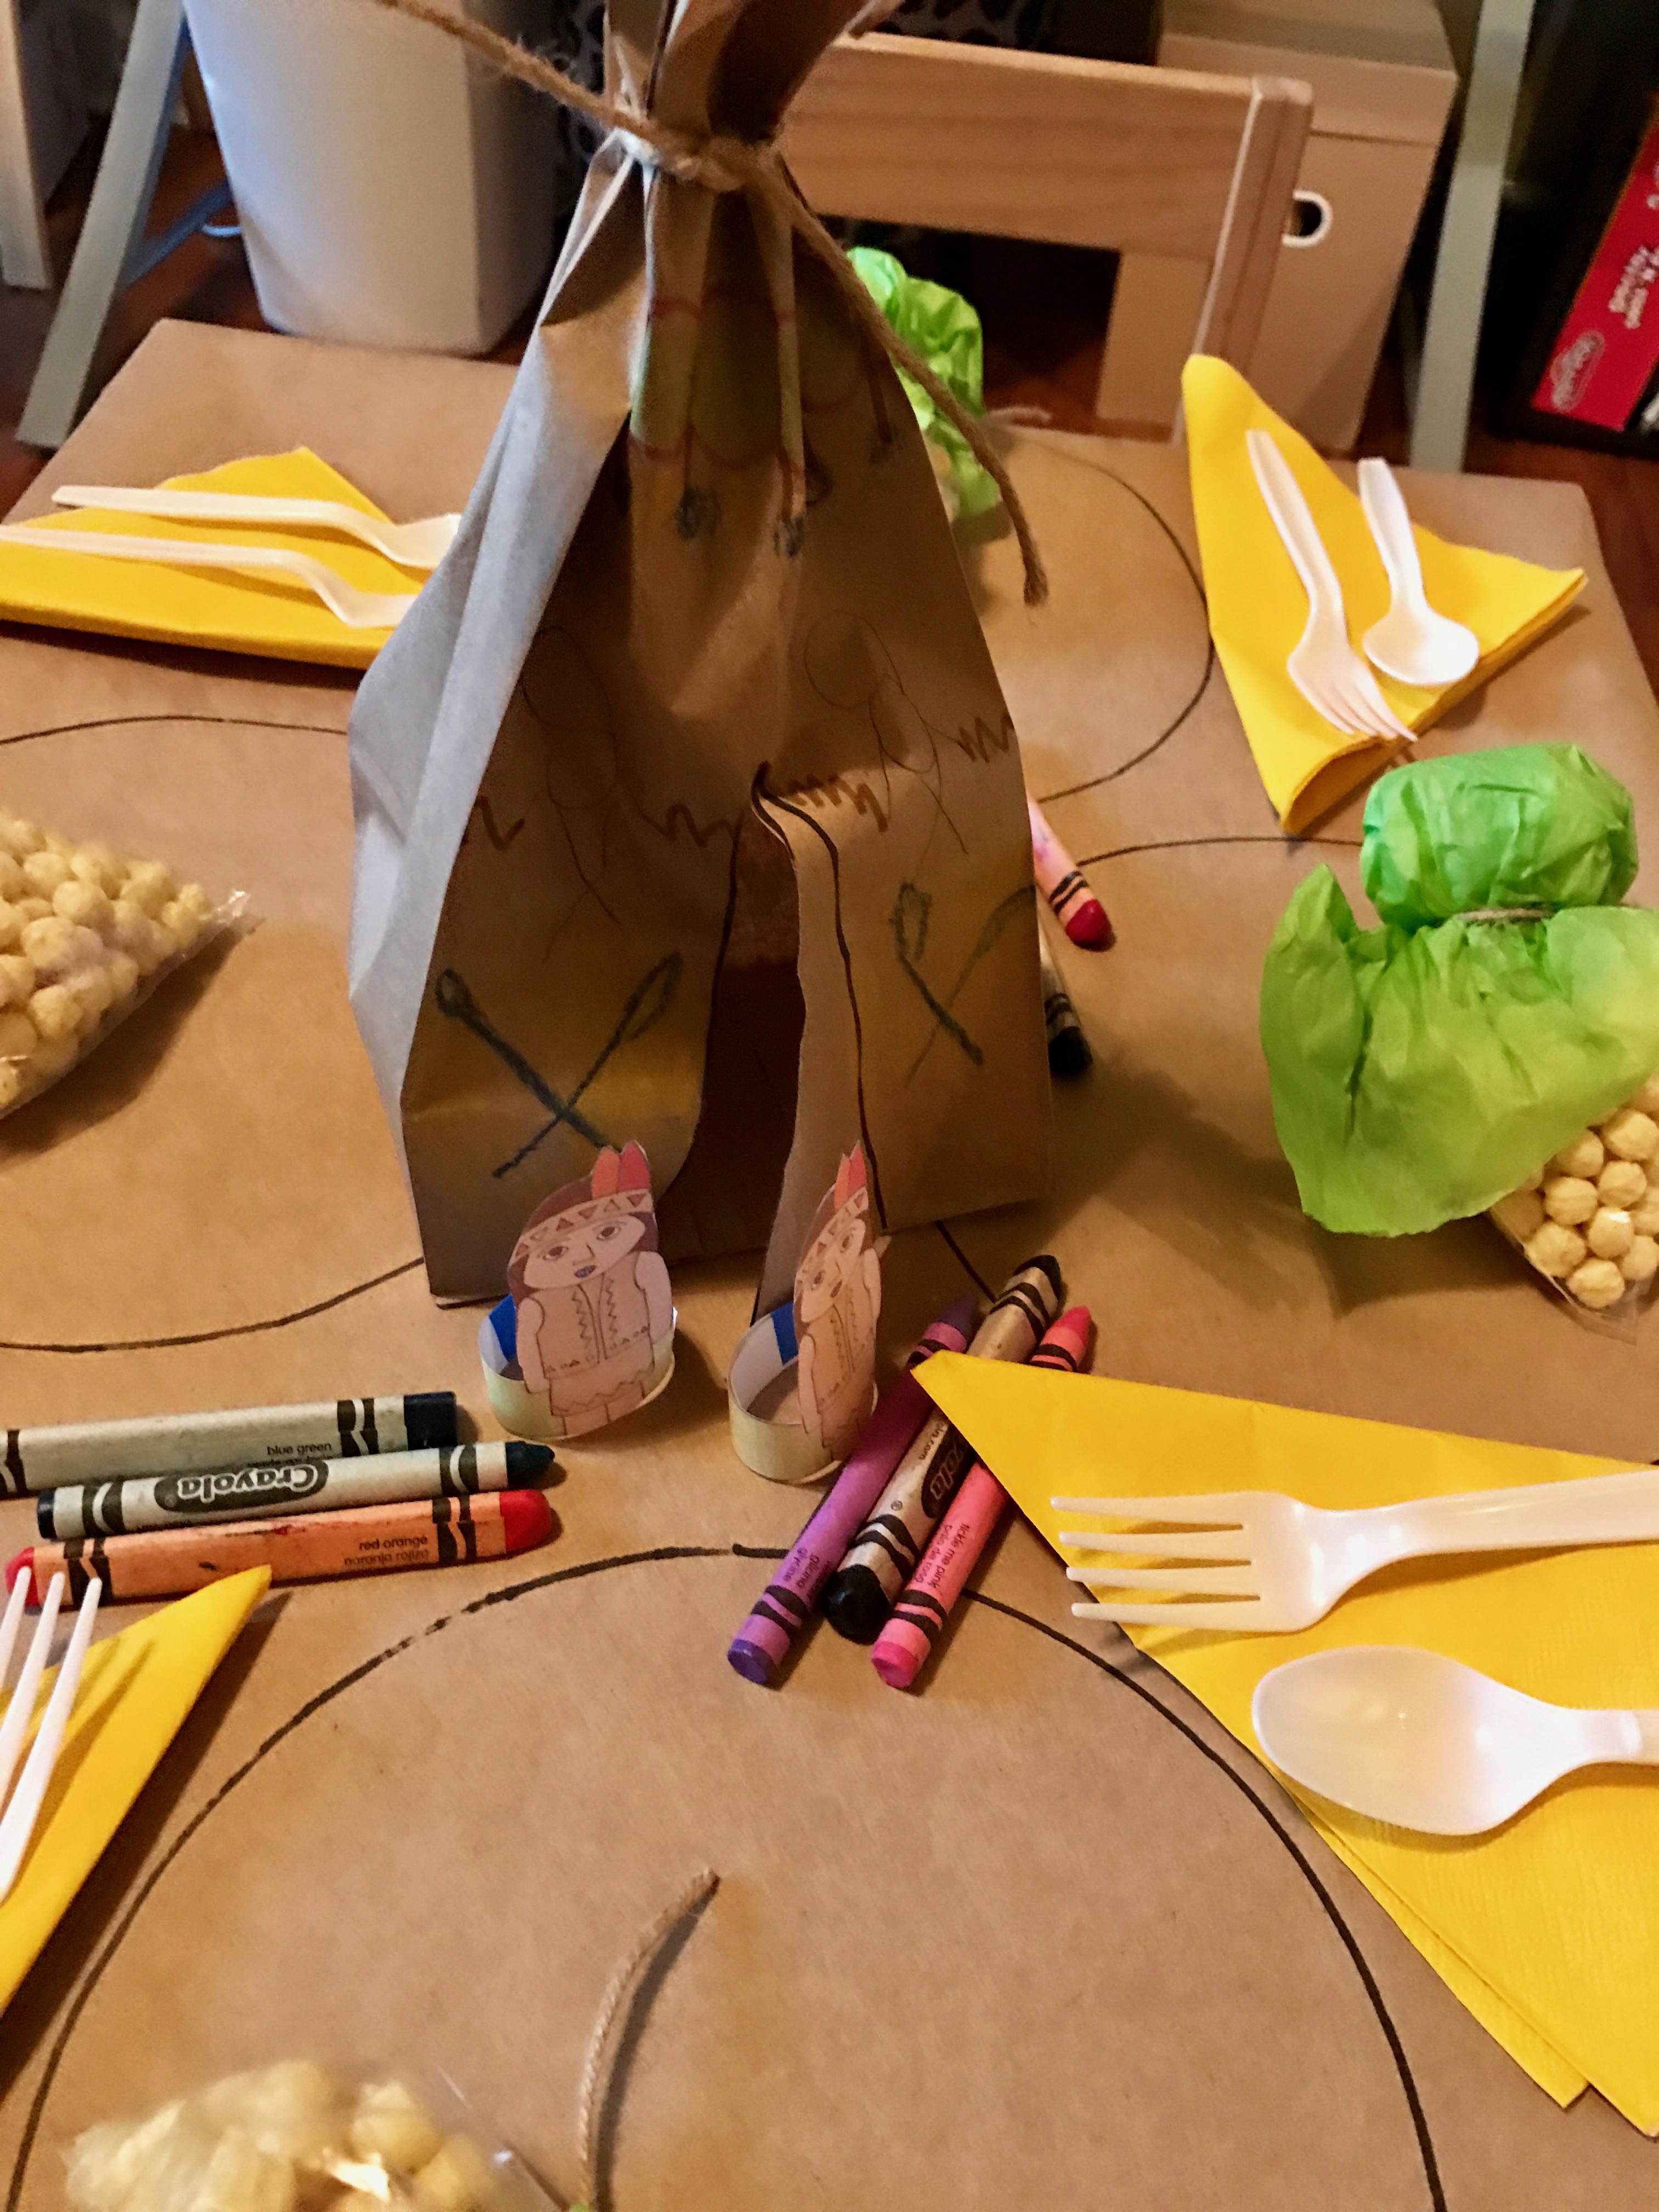
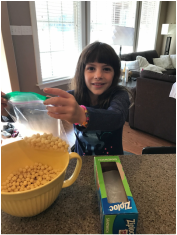
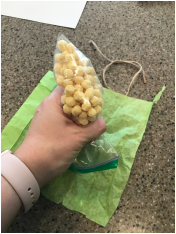
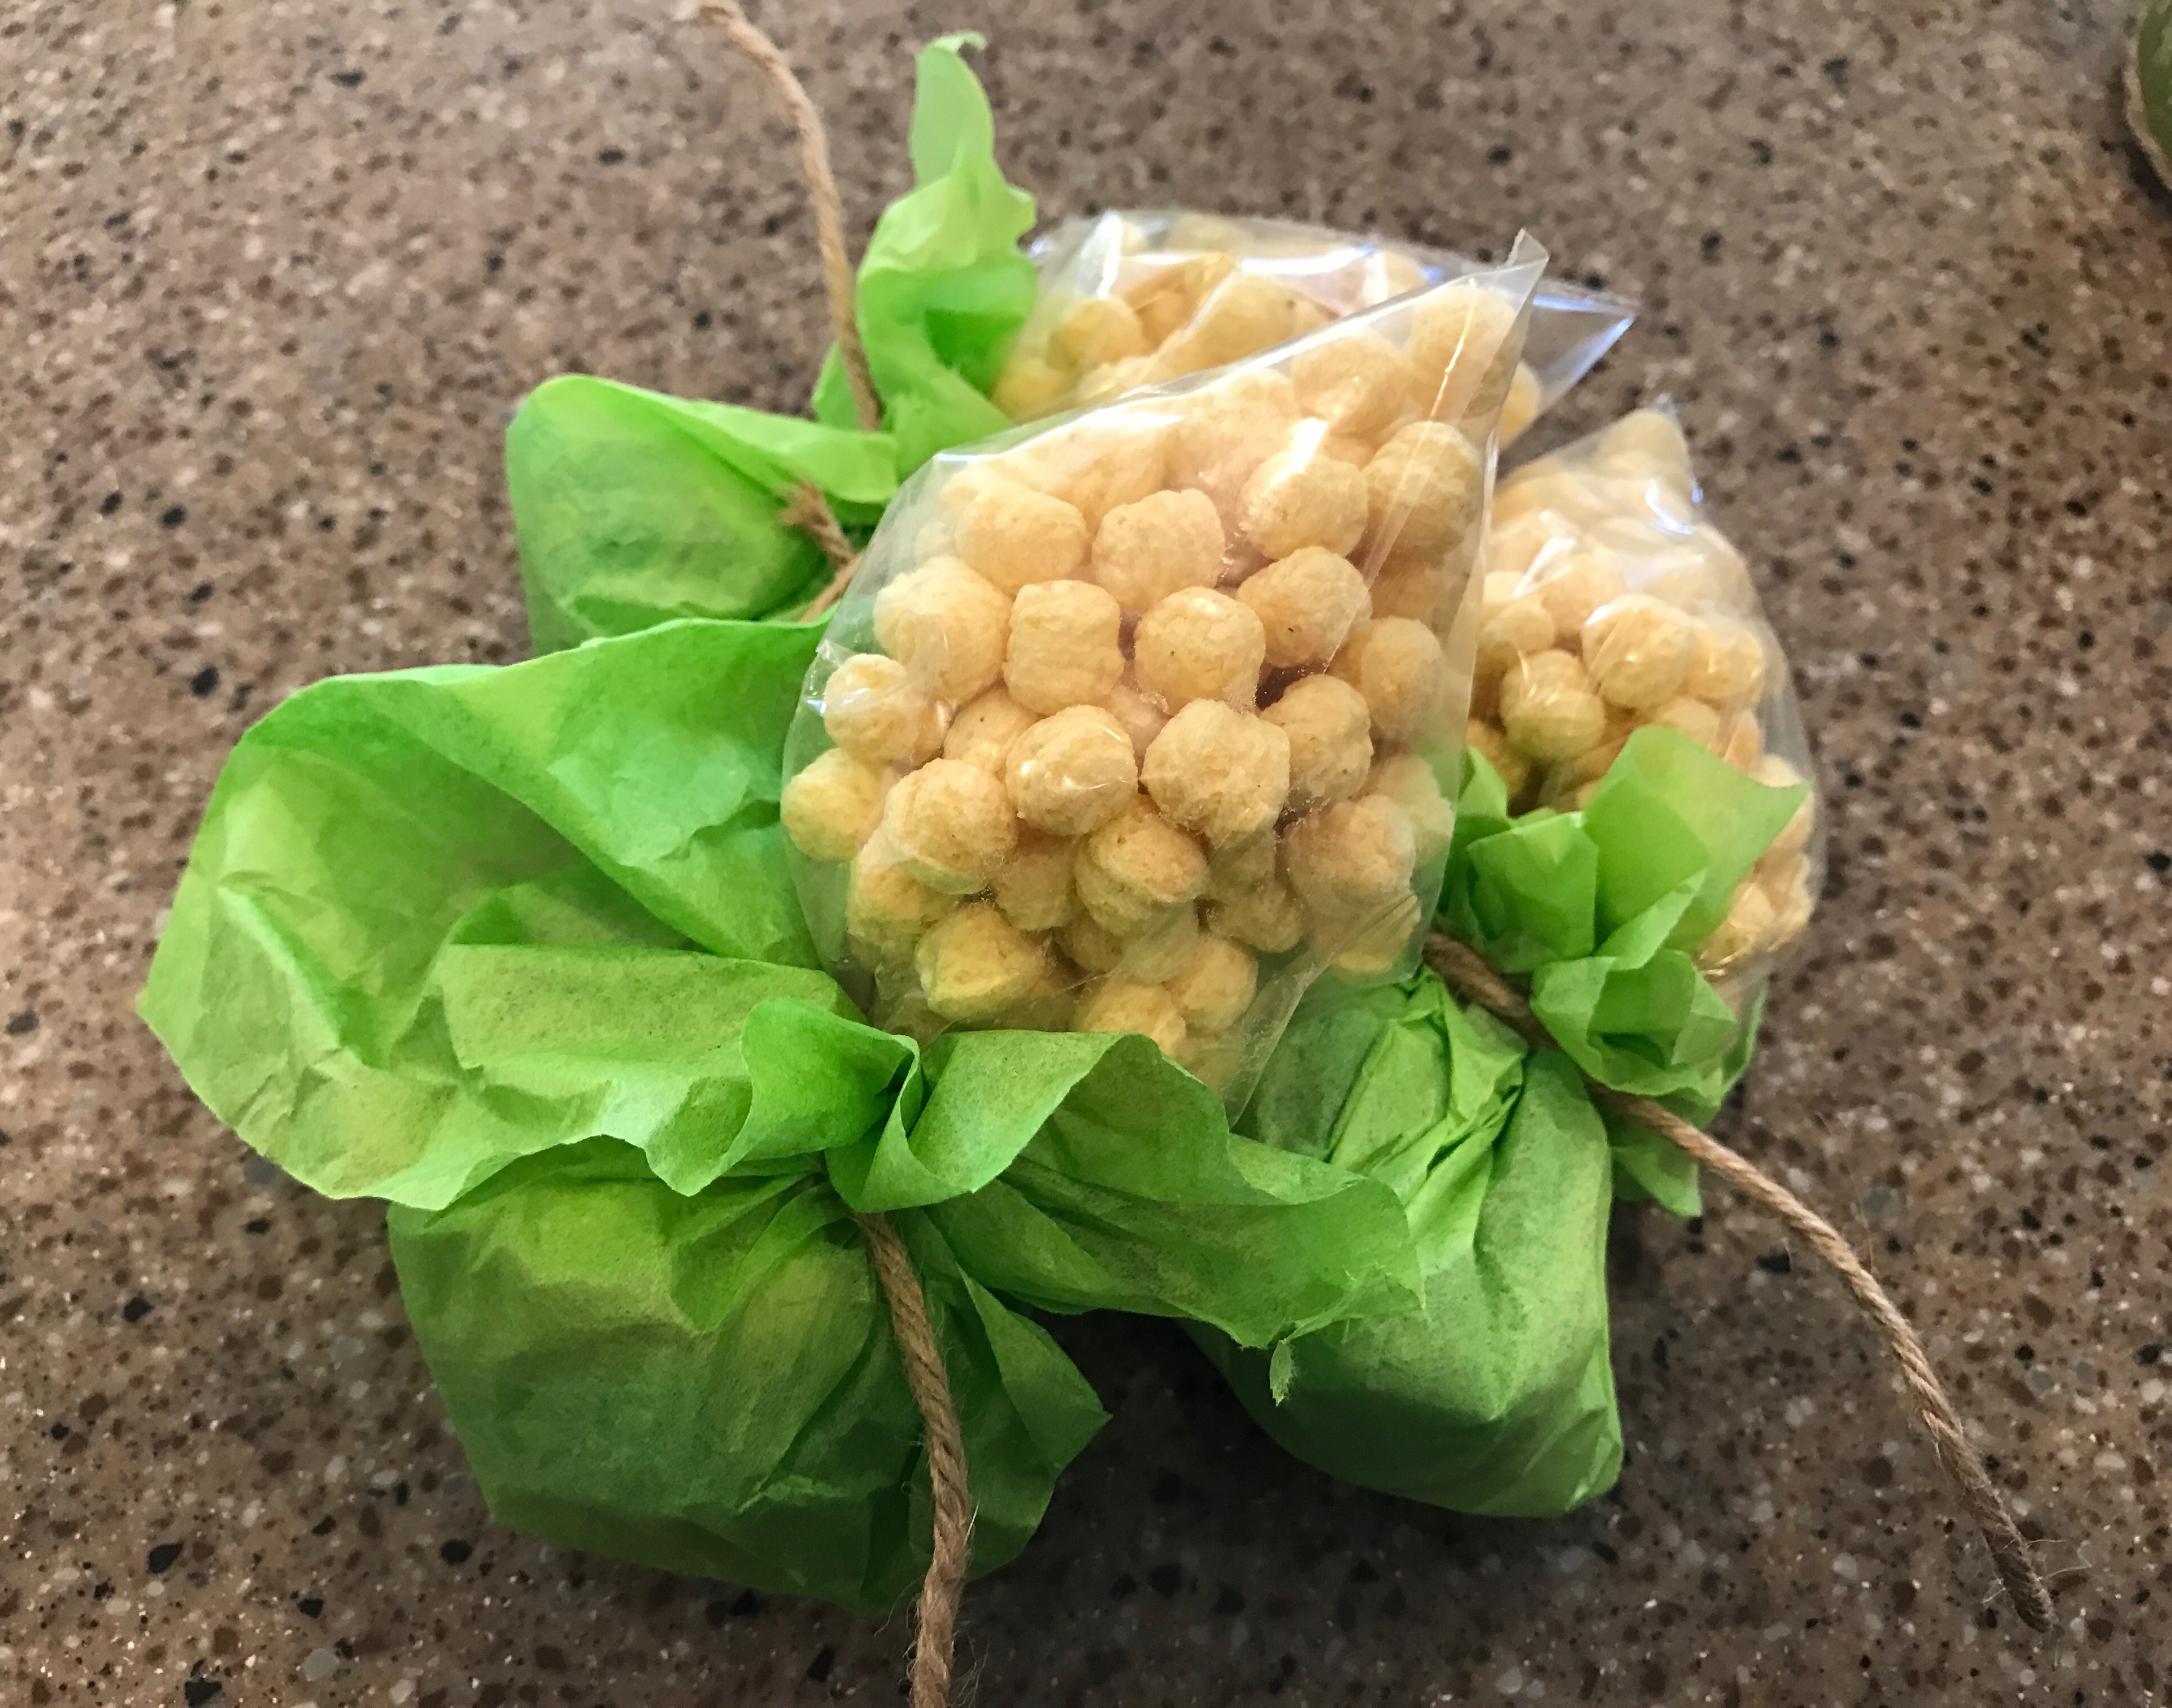
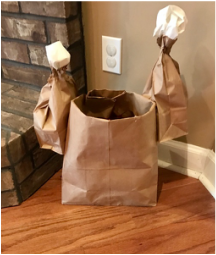
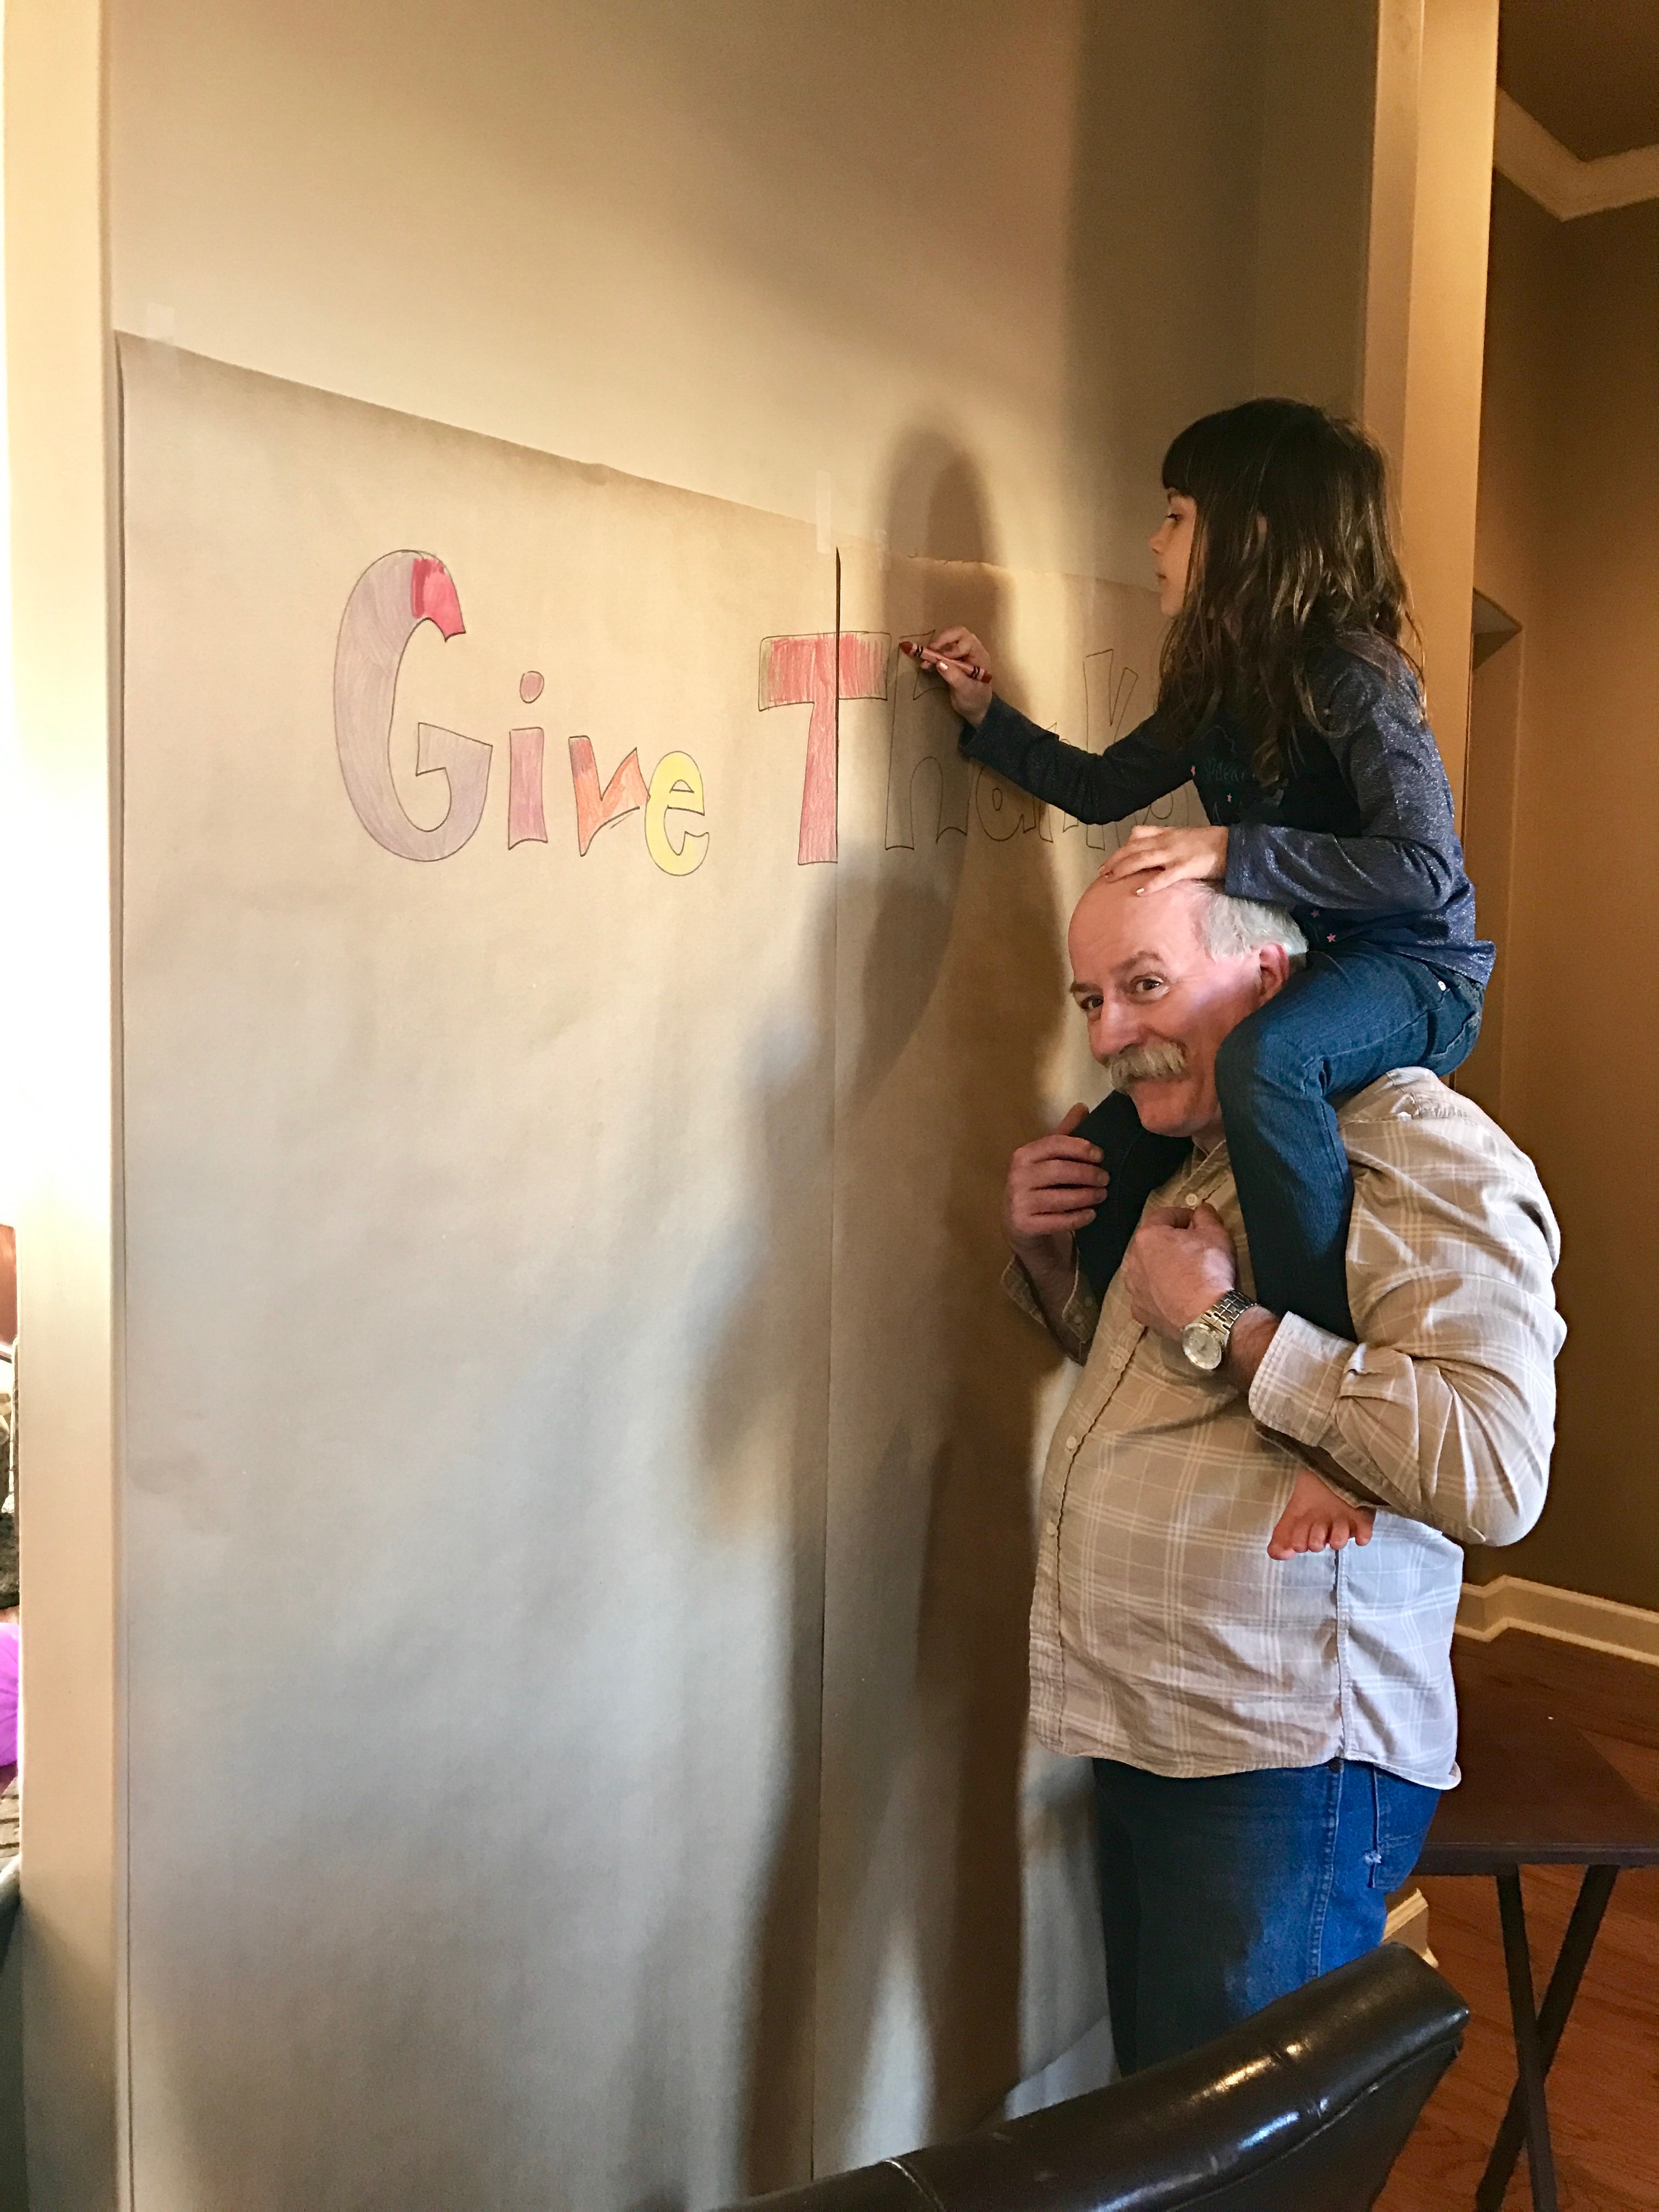
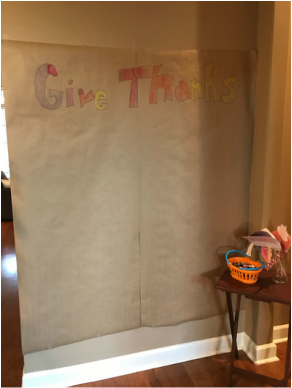
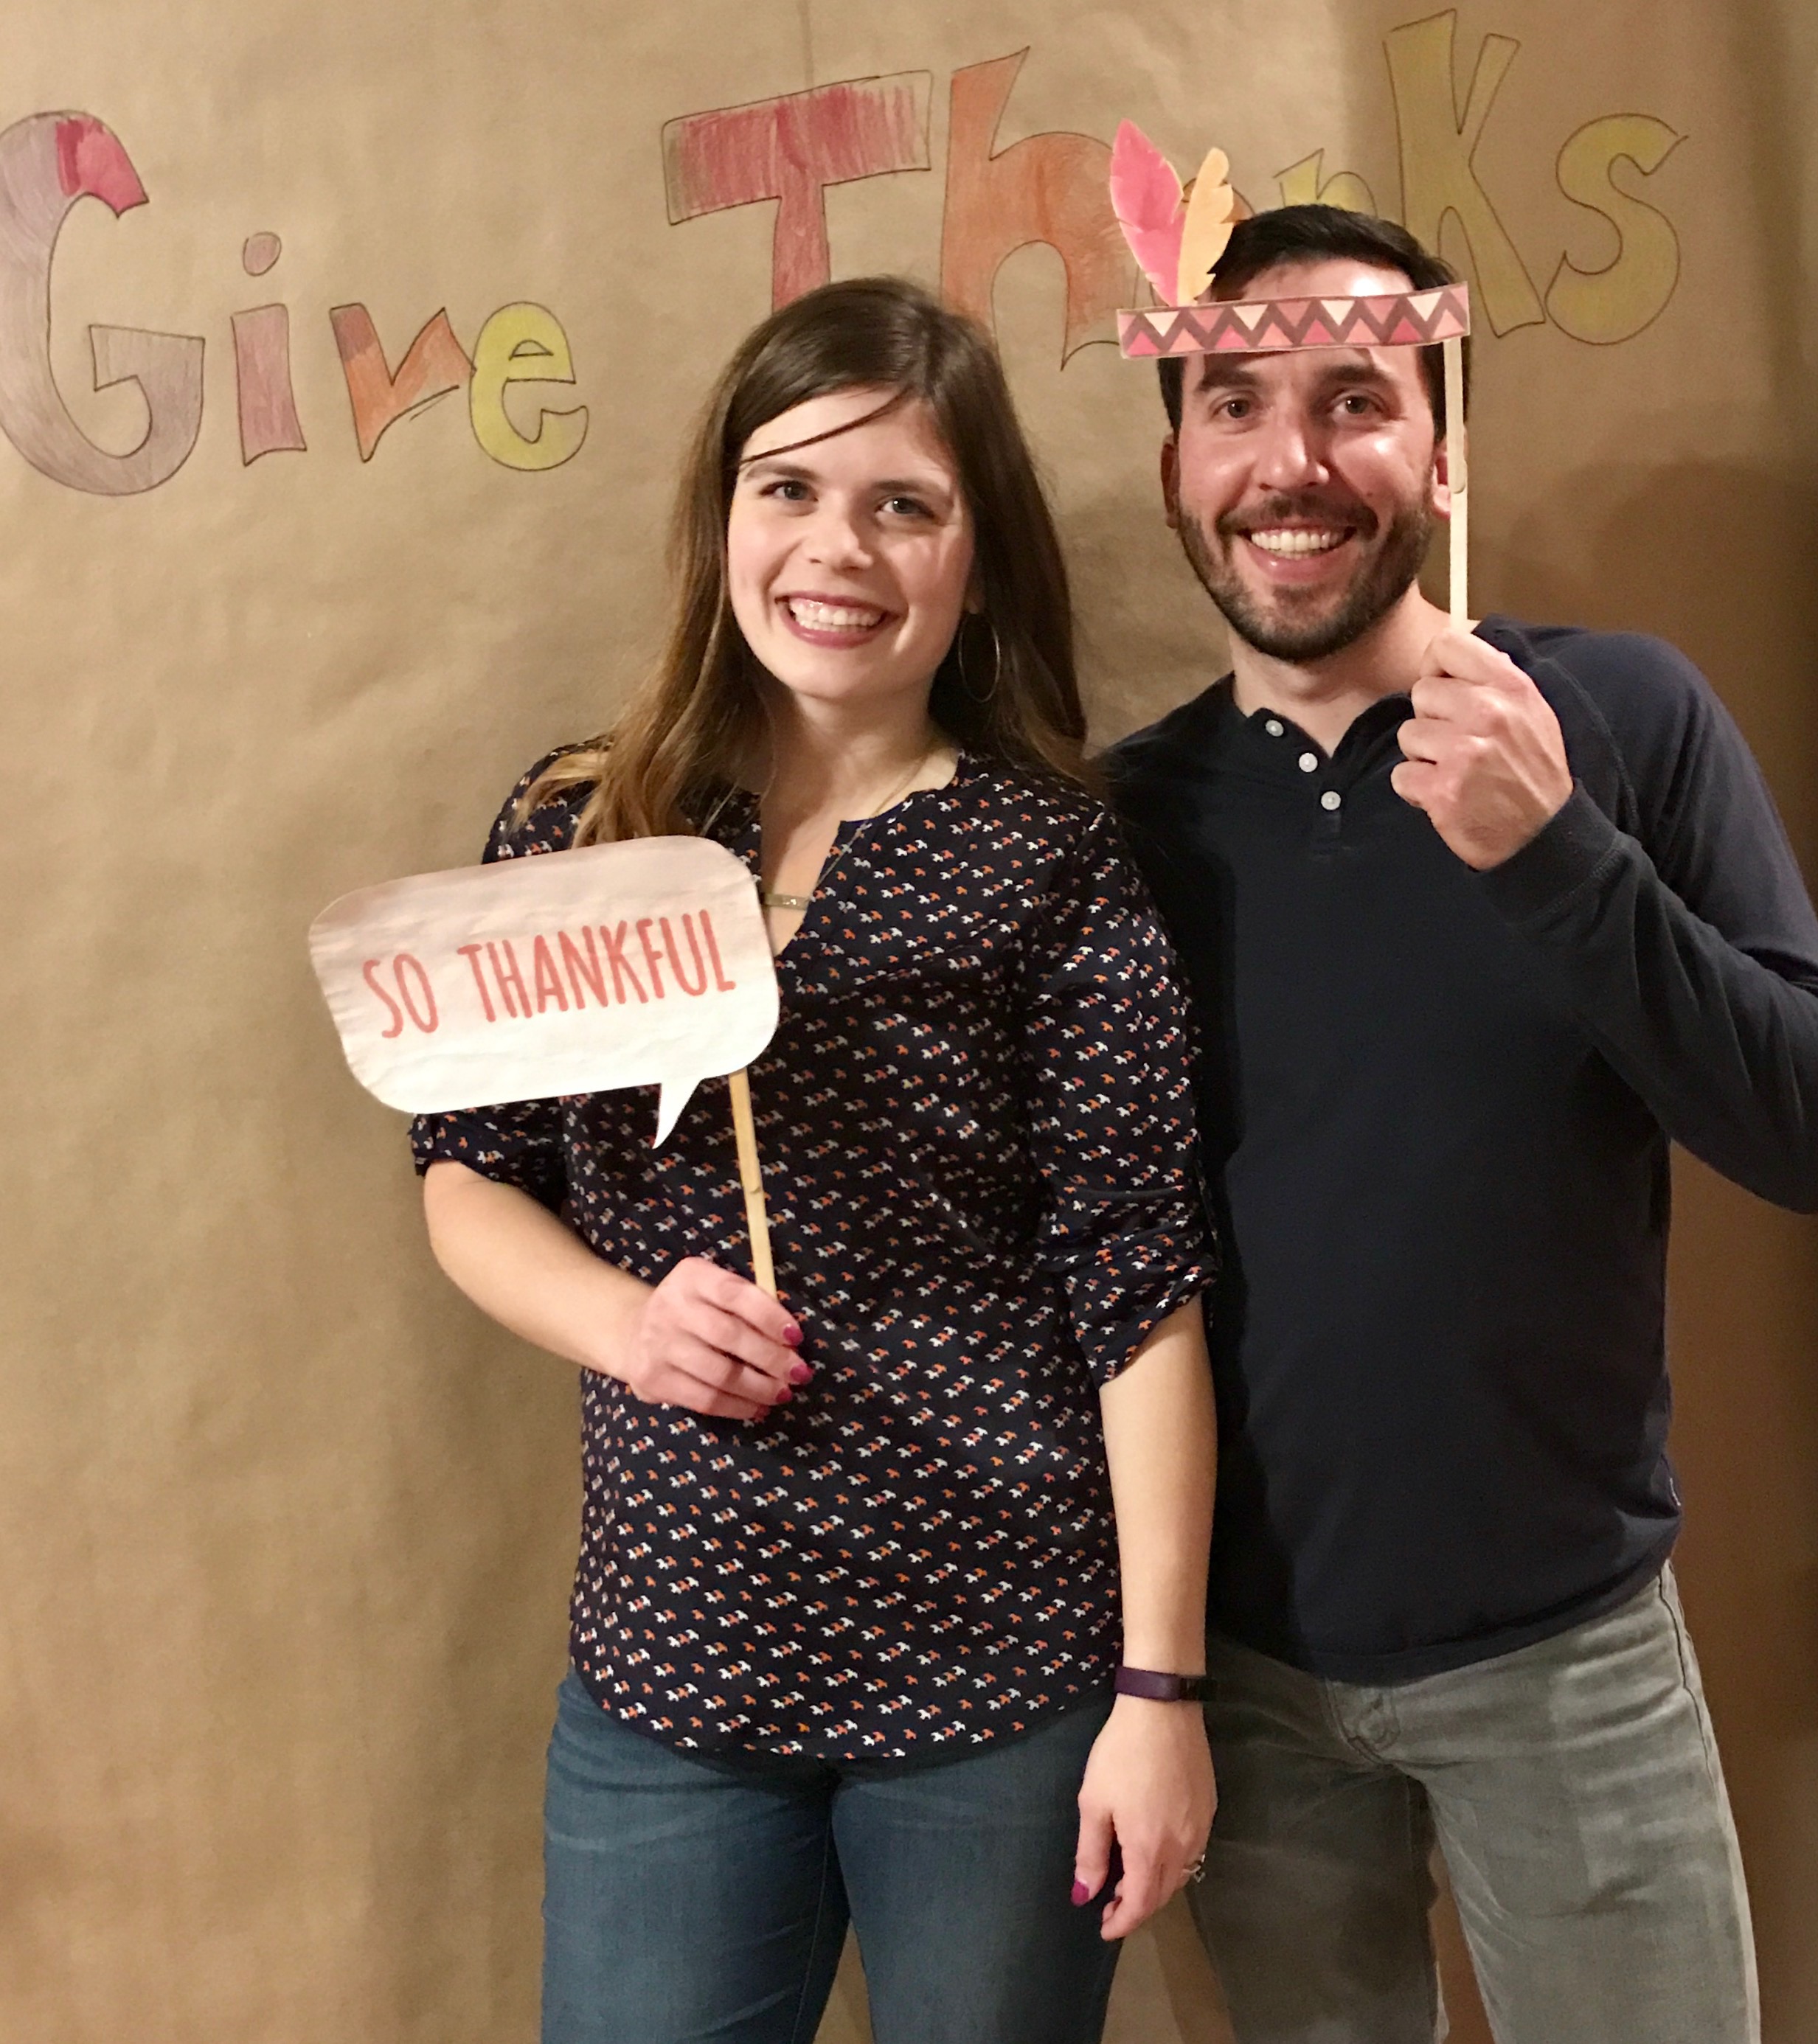
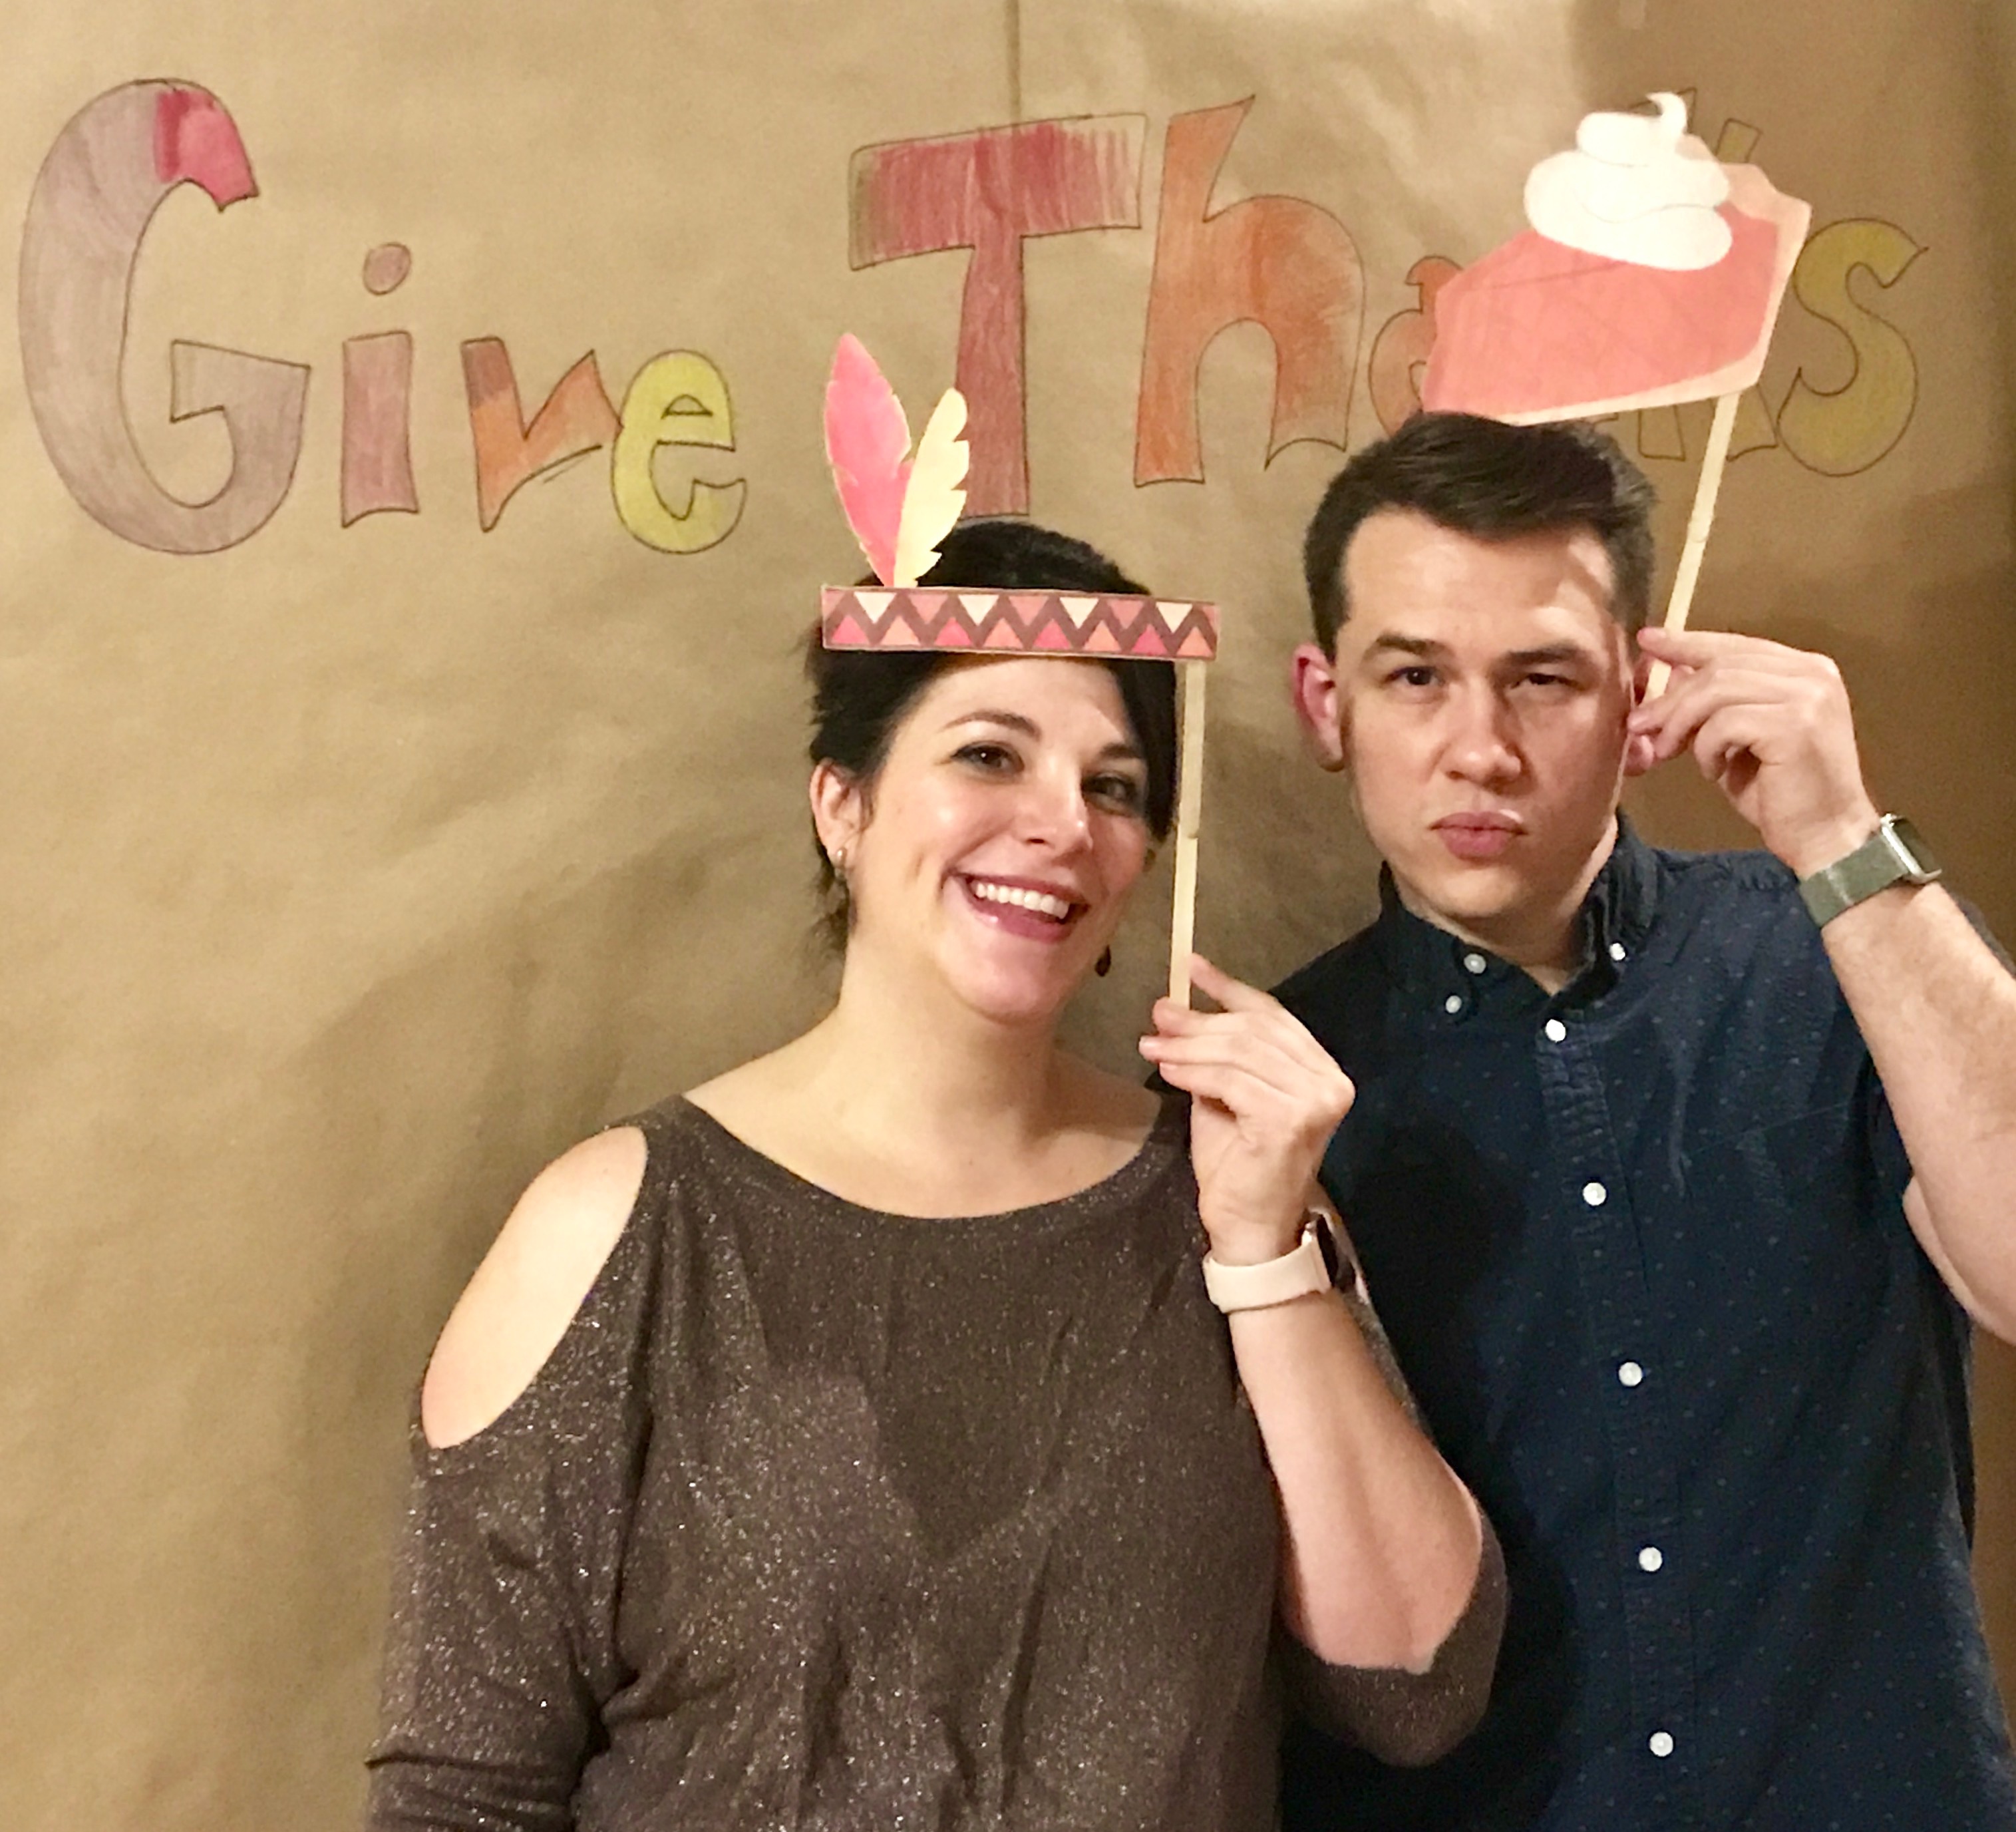
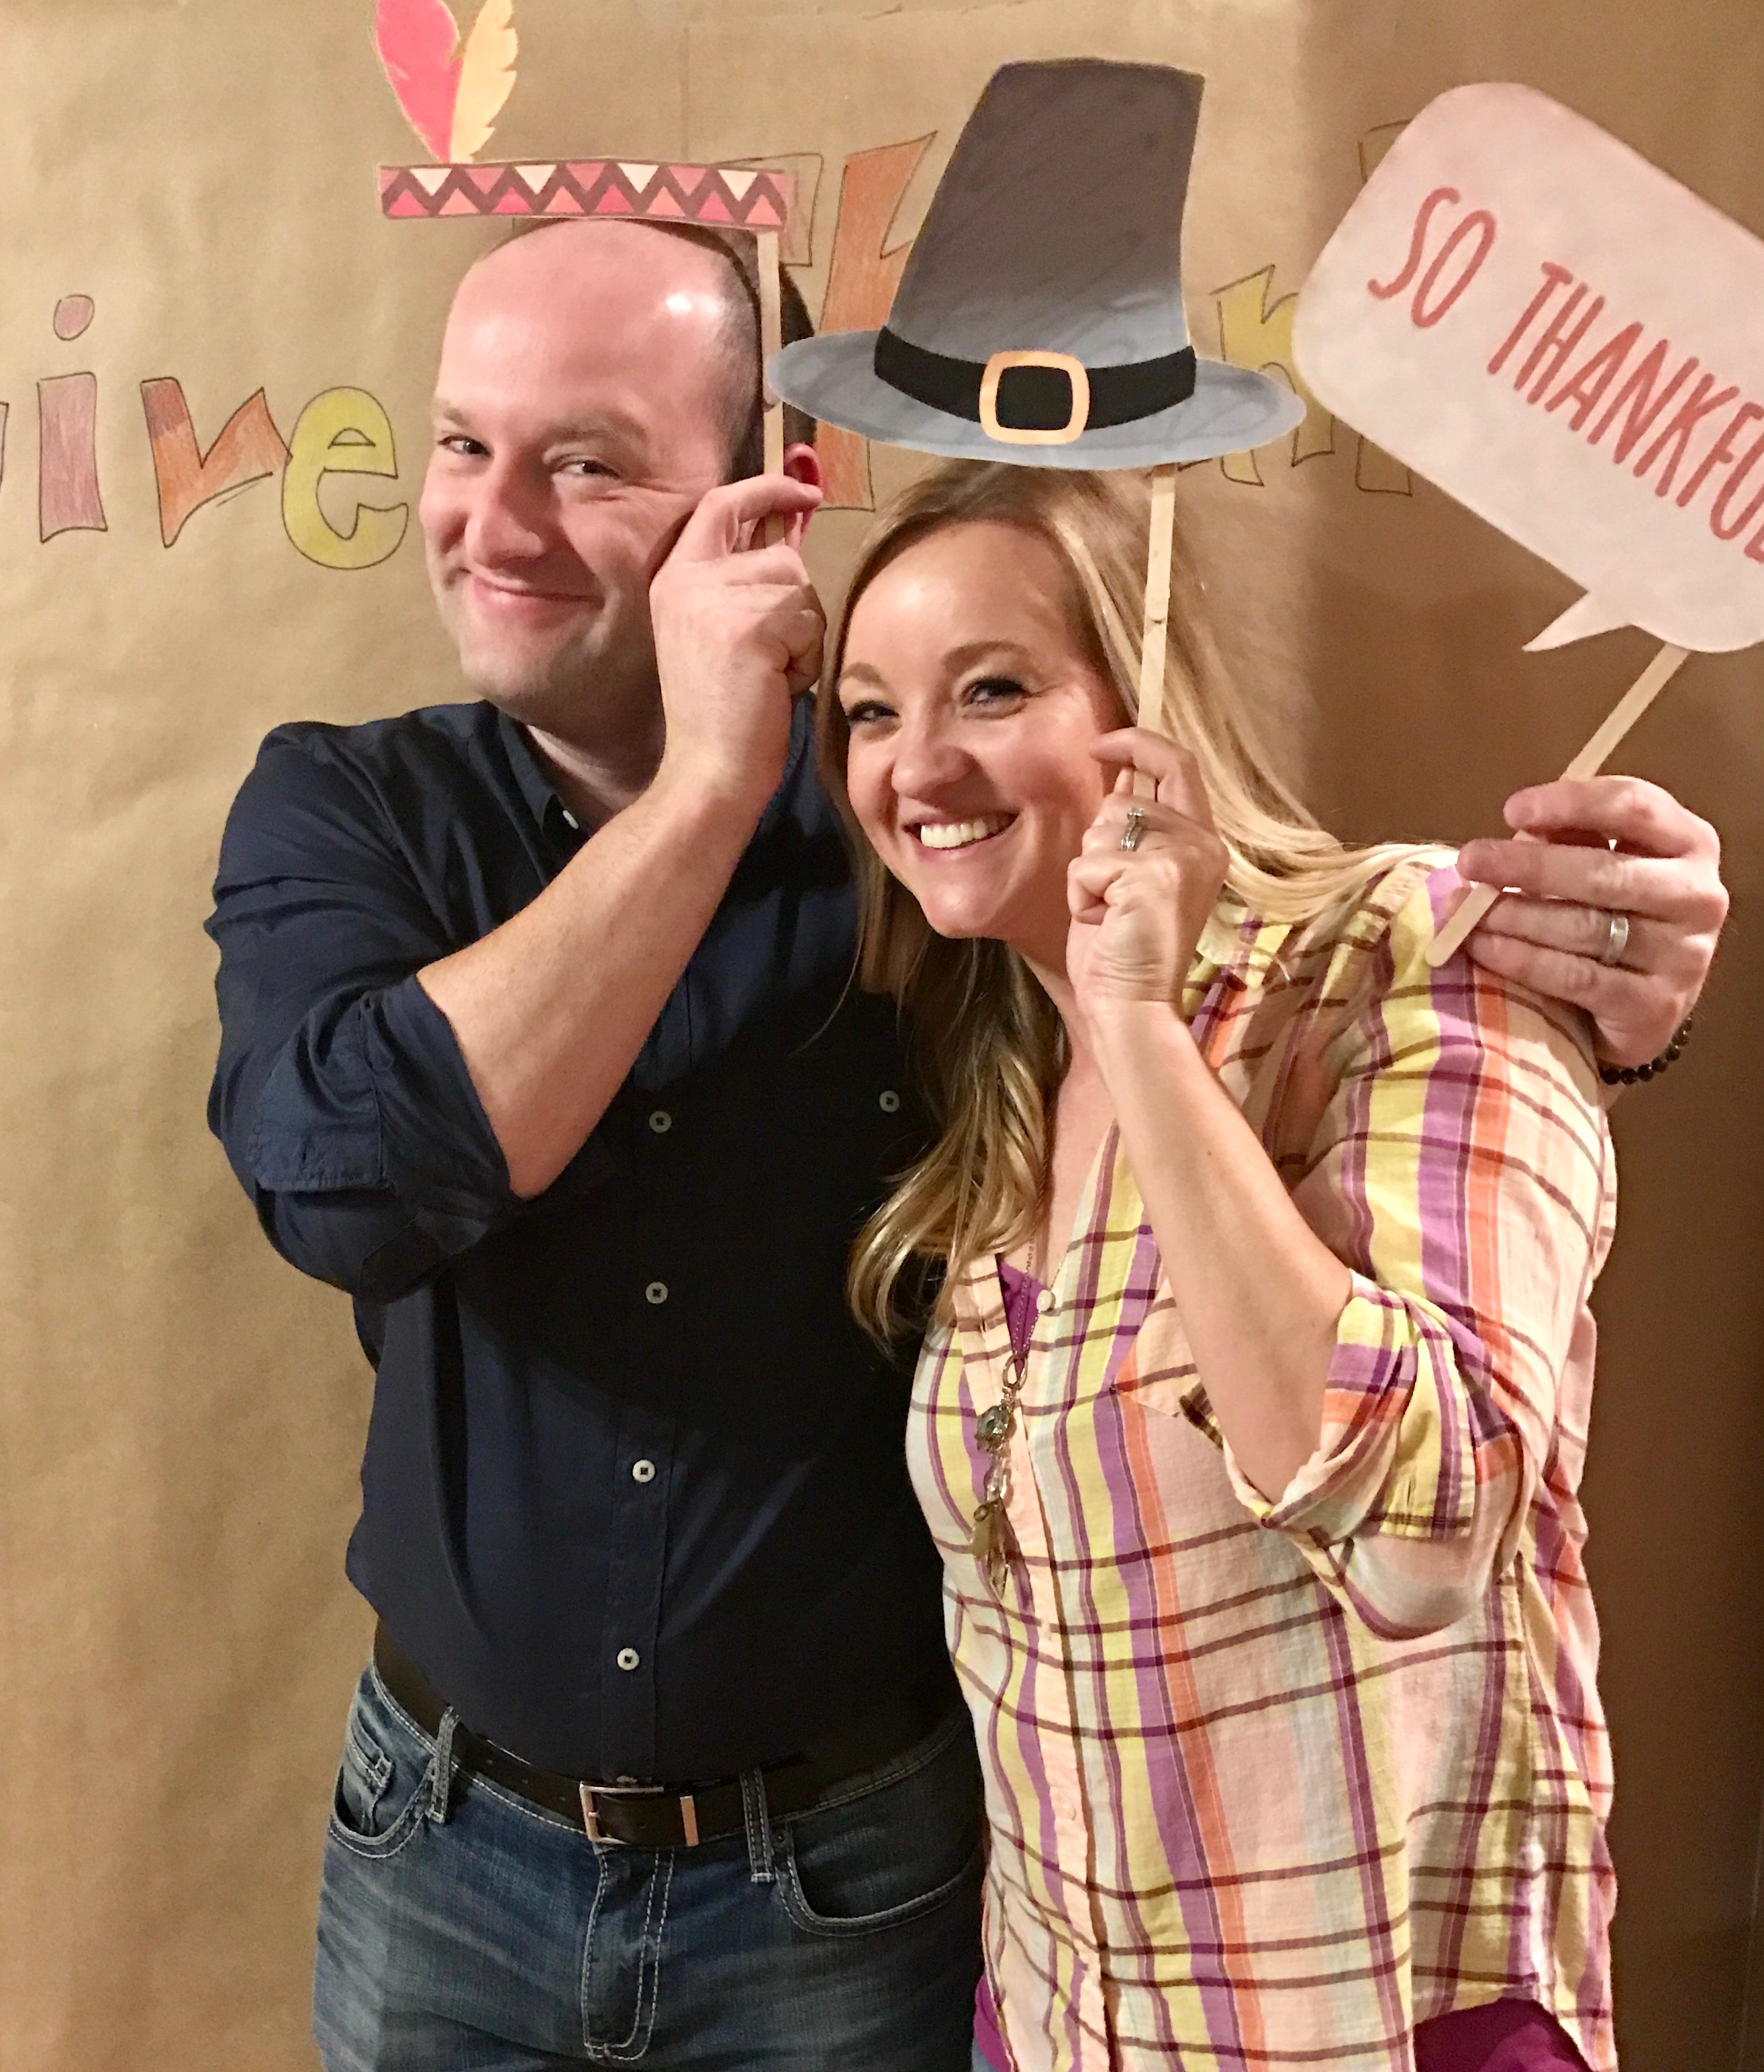
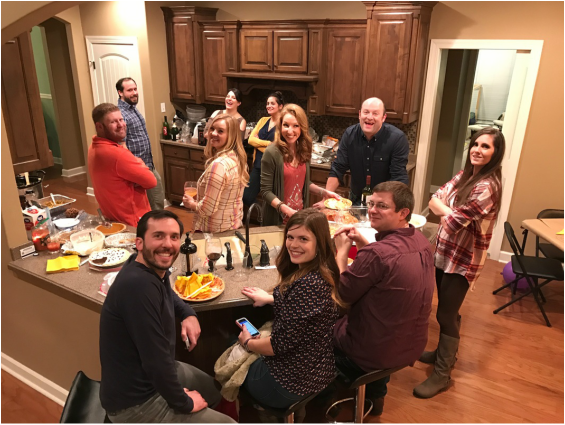
When my husband and I first got married we had several college friends who didn't have anyone to celebrate Thanksgiving with. So, we started hosting a Thanksgiving dinner on Wednesday evening to give those friends a Thanksgiving experience. When we started hosting this ten years ago we cooked everything but it was only for about six people and we didn't have any children. Now, most of our friends have somewhere to go for Thanksgiving so we've moved the event to the Saturday before Thanksgiving and we invite many more people so it's more of a potluck scenario where we cook the turkey and a few sides. By the way, if you want a fool proof turkey recipe you should try Alton Brown's Good Eats Roast Turkey. It's the recipe we've used every year and it always yields a delicious, juicy and flavorful turkey. Out of the several Thanksgivings we attend it is definitely our favorite. There is such great energy with all of our friends and their kids. It truly feels like an extended family. This year we got to host it at our new house which made the event even more awesome than ever before because we had more space for everyone including the 10 rowdy kids! With the layout of our new home, the dining room and breakfast nook were both large enough to add an additional table which allowed us to visit in larger groups while eating that in previous years. The house also has a room that is towards the back end of the house and I set that room up as the kids room giving the adults a little distance from the ruckus that they created. For table decorations I used brown butcher paper to cover our folding tables and then drew place settings with a sharpie. Then I added some white votives and faux fall leaves to the center. I printed out some free napkin rings but they were too big for the paper napkins and plastic silverware I was using so we just laid them across the drawn place setting and put the napkin and silverware on the side. I had a tablecloth and centerpiece on the main dining table and placed golden chargers at each setting with he same napkin ring/decorative paper strip, napkin and silverware and used a ceramic cornucopia filled with fruit for the breakfast nook table. For the kids tables I copied the adult tables by using craft paper and faux place settings but for the center I placed paper bag teepees made by my daughter and paper finger puppet pilgrims and indians. I also put a snack bag of Kix cereal that was dressed up to look like corn on the cob at each setting. To entertain the kids I provided indian headdresses for them to color and wear and crayons at the center of the tables. I also made a "Stuff the Turkey" game by following this tutorial which entertained the kids for at least a few minutes. Stuff the turkey was also a quick craft and I only needed a large paper bag, two small paper bags, white tissue paper (I ended up using white paper towels), several sheets of colored paper (for stuffing), a hot glue gun and a stapler. I followed directions found here.
We had a ton of food and a really great time! We even had a small break at around 8:30 for parents to take kids home and put them to bed. Then we reconvened for more adult time while sitters stayed with the sleeping children. It was pretty fun! Hopefully this event will continue to grow and be as much fun year after year. Enjoy the ideas and have a great Thanksgiving!
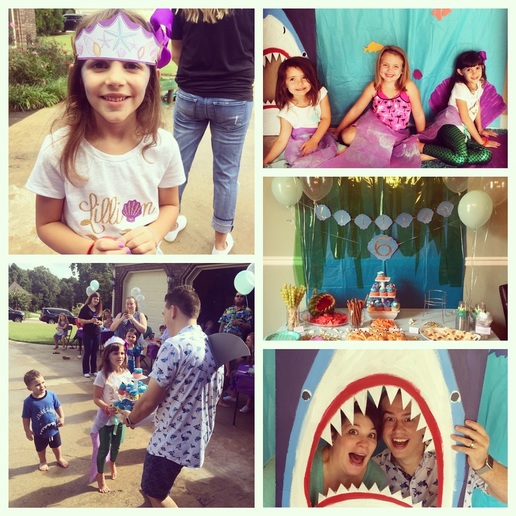
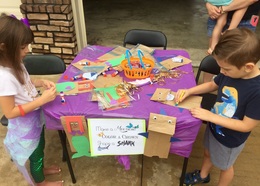
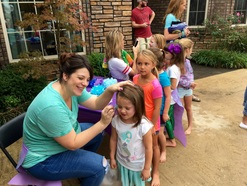
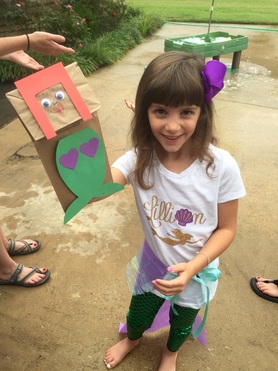
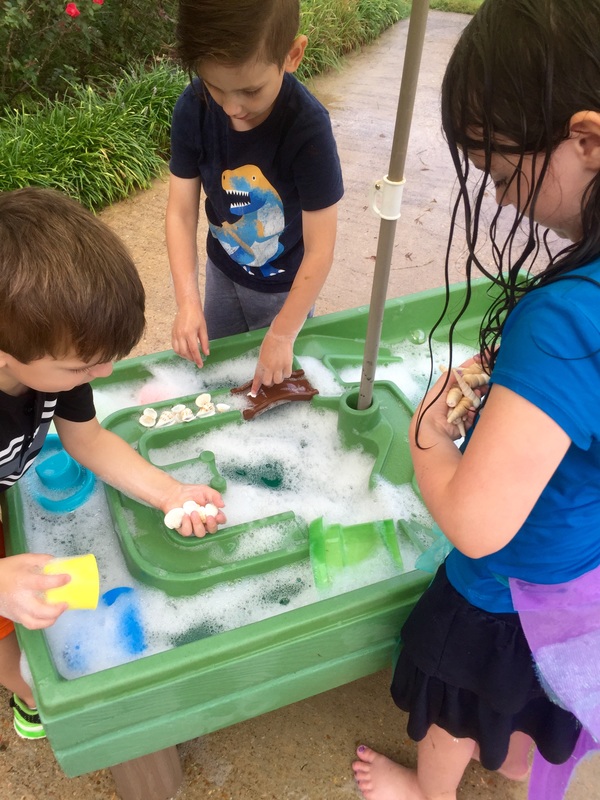
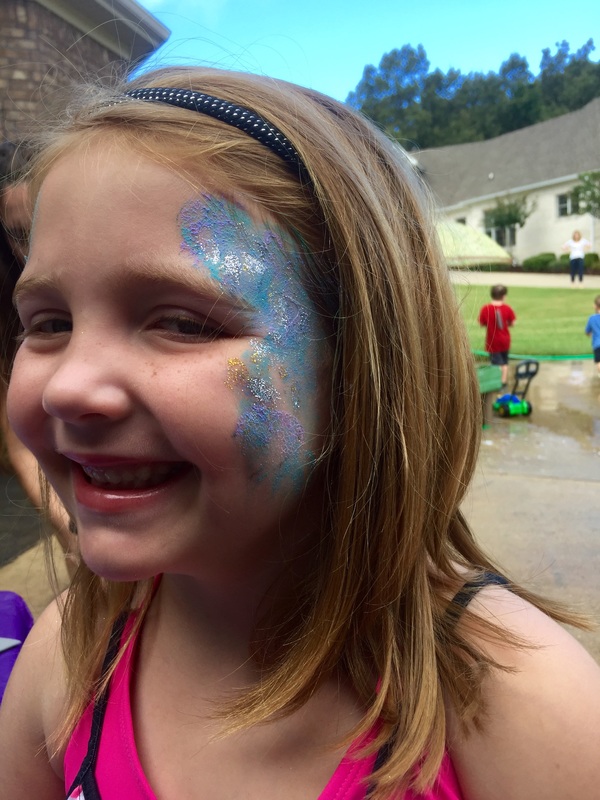
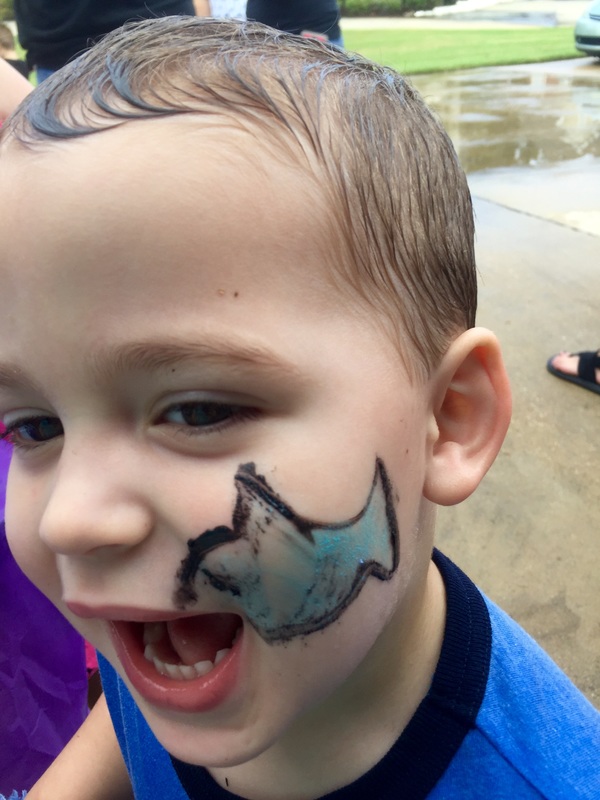
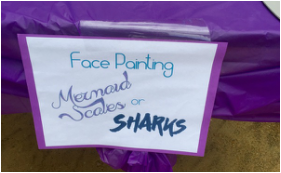
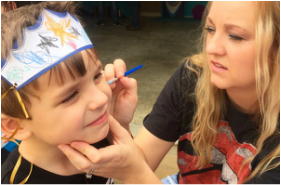
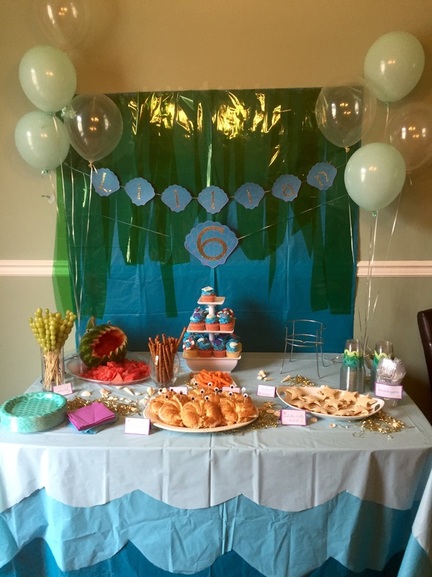
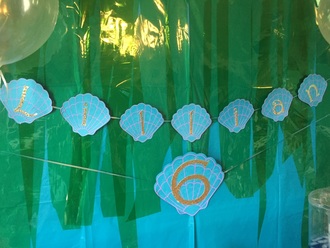
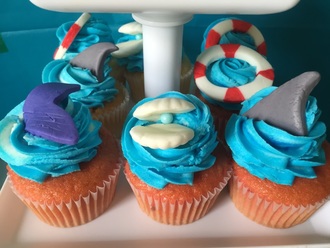
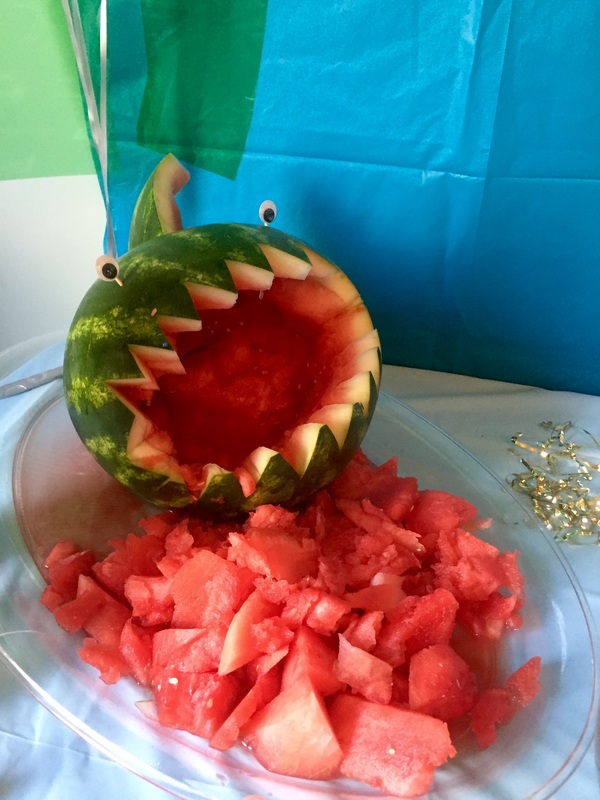
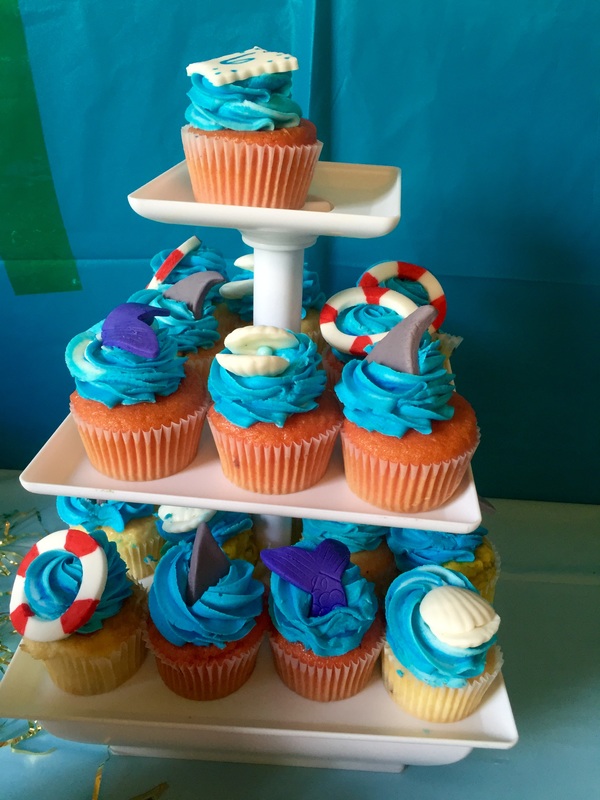
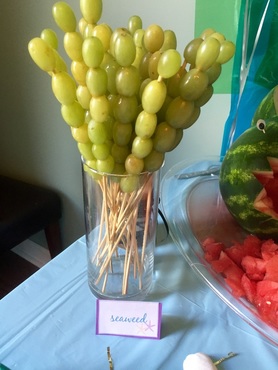
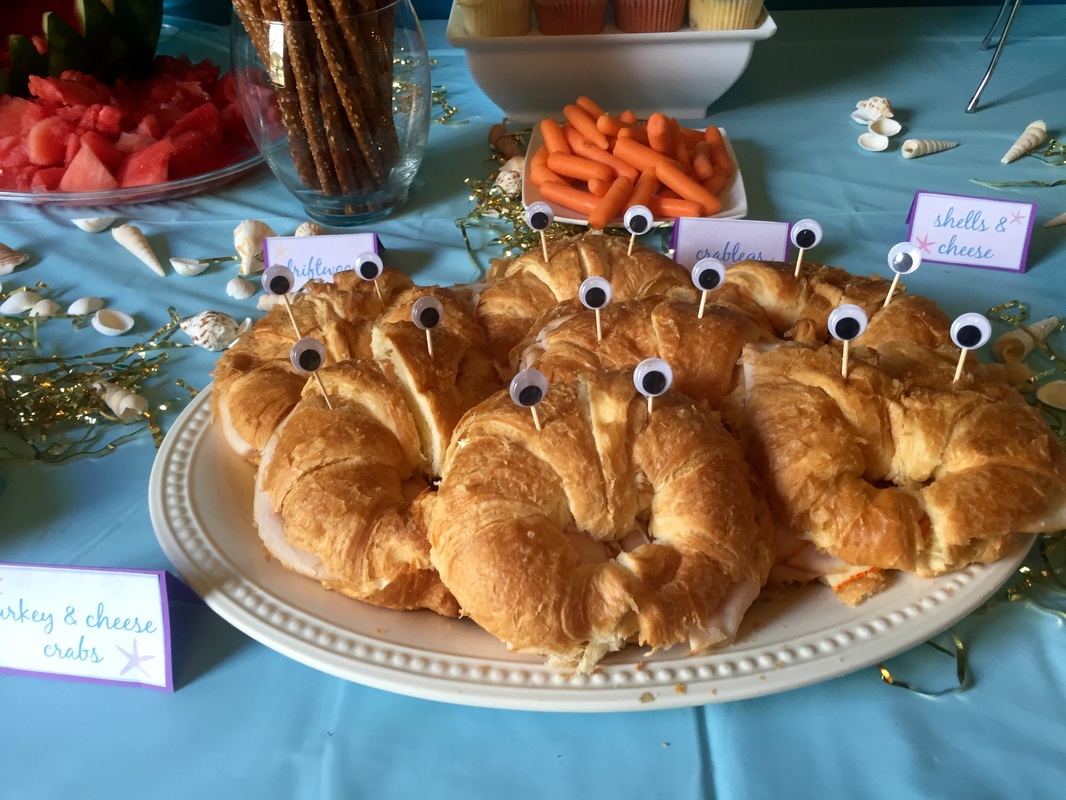
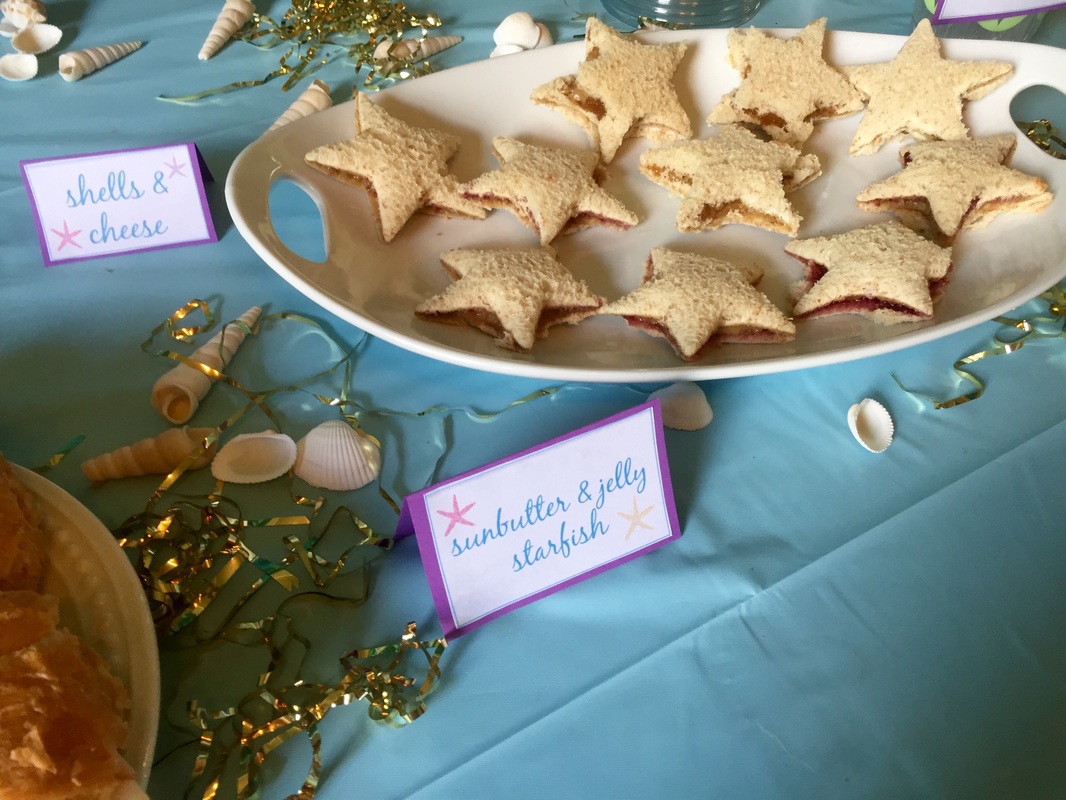
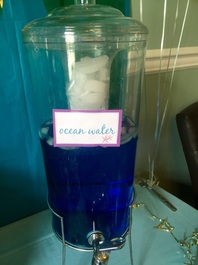
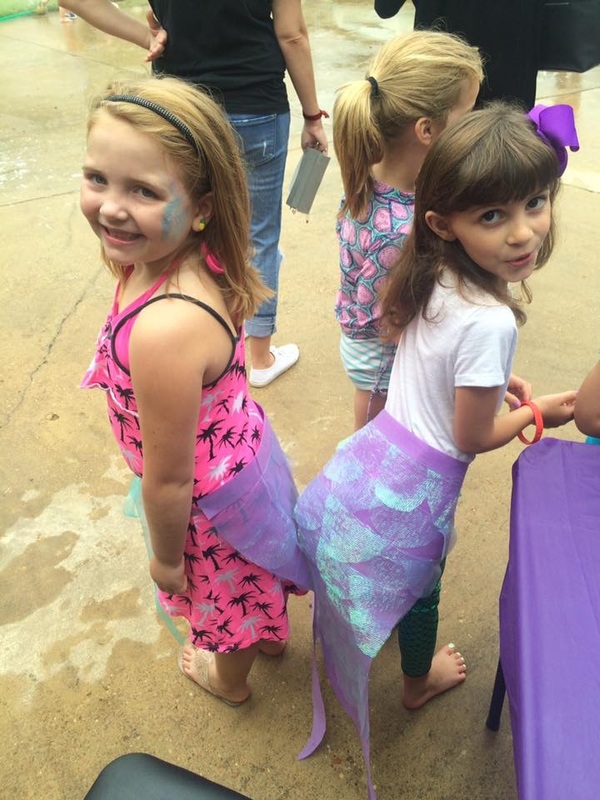
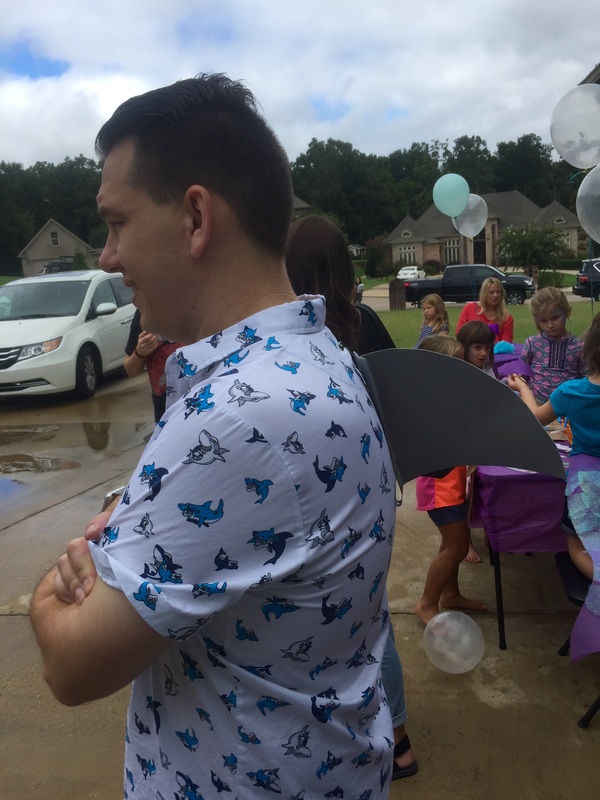
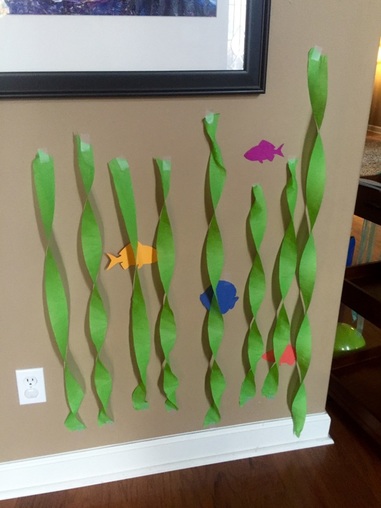
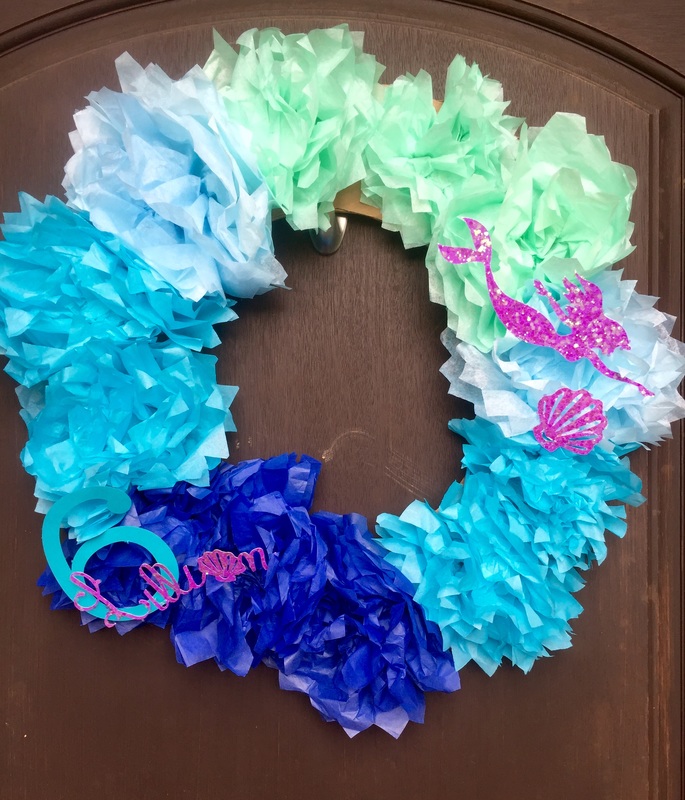
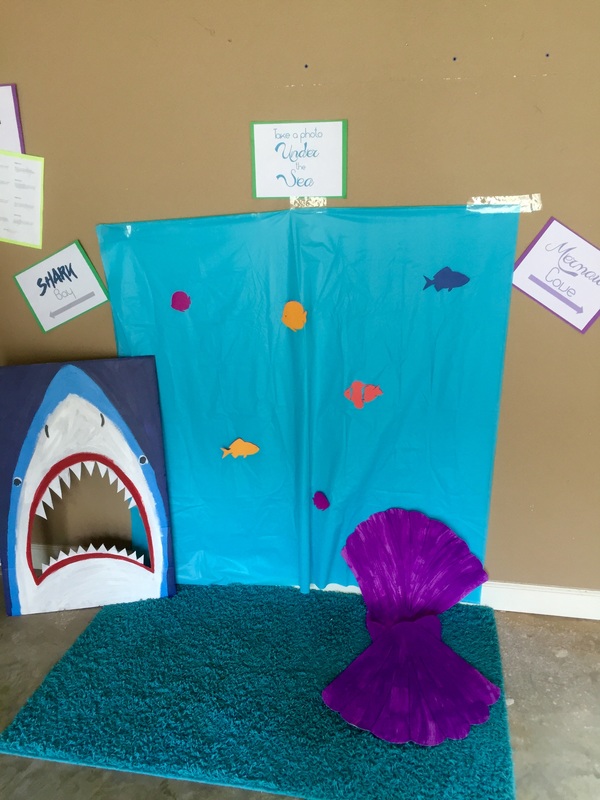
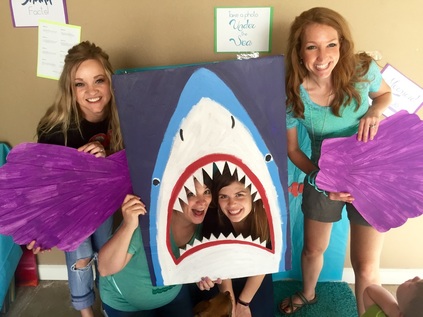
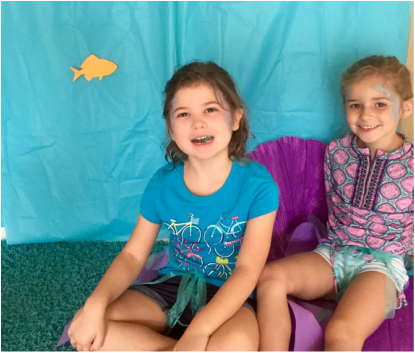
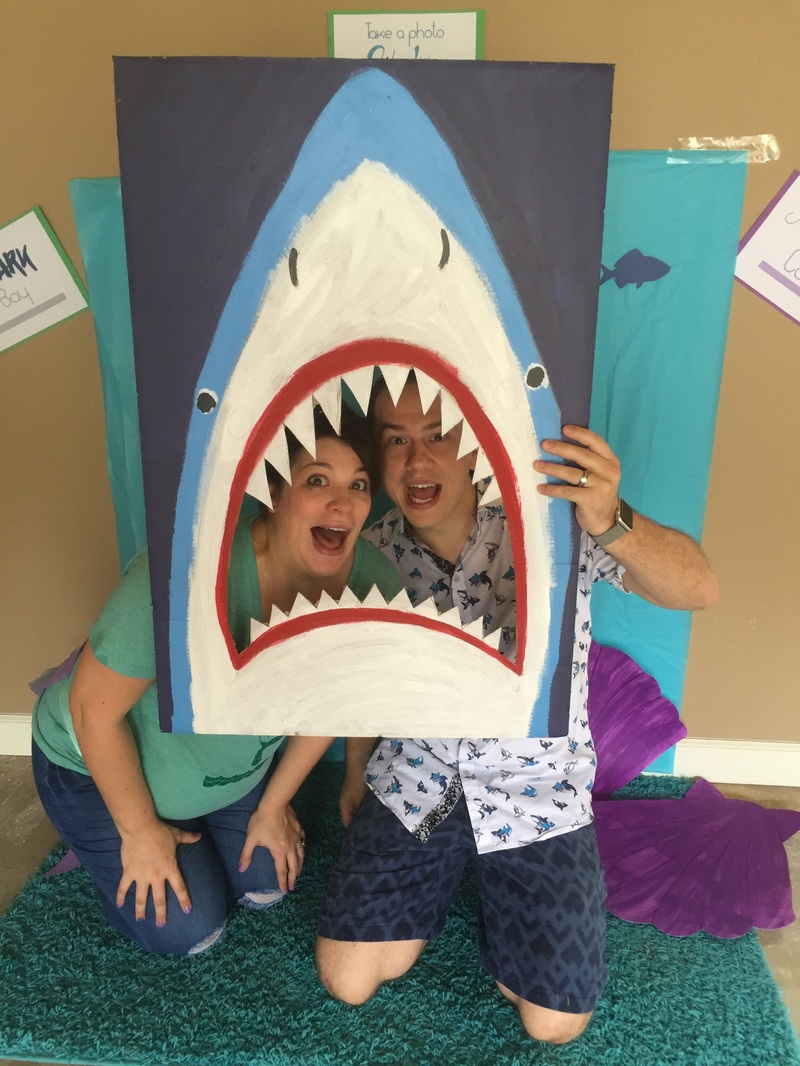
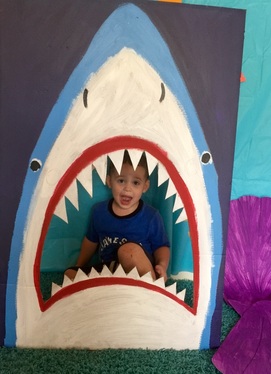
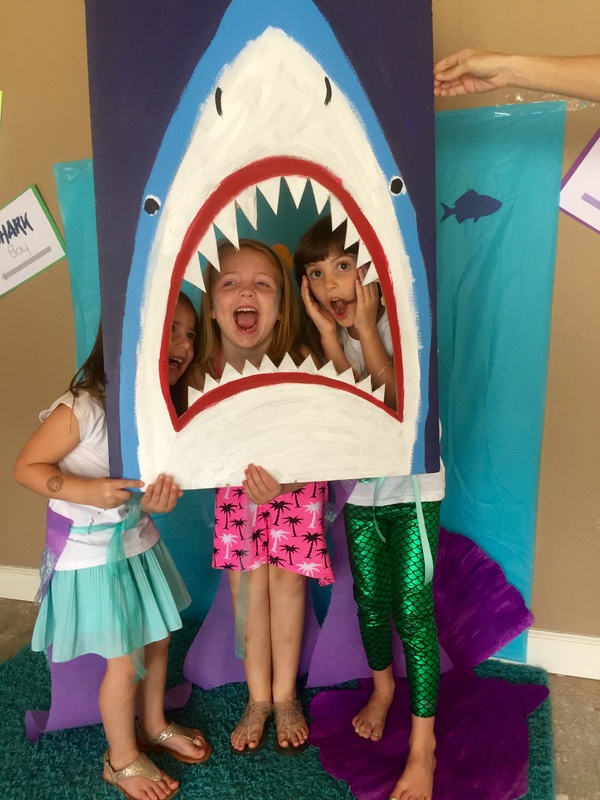
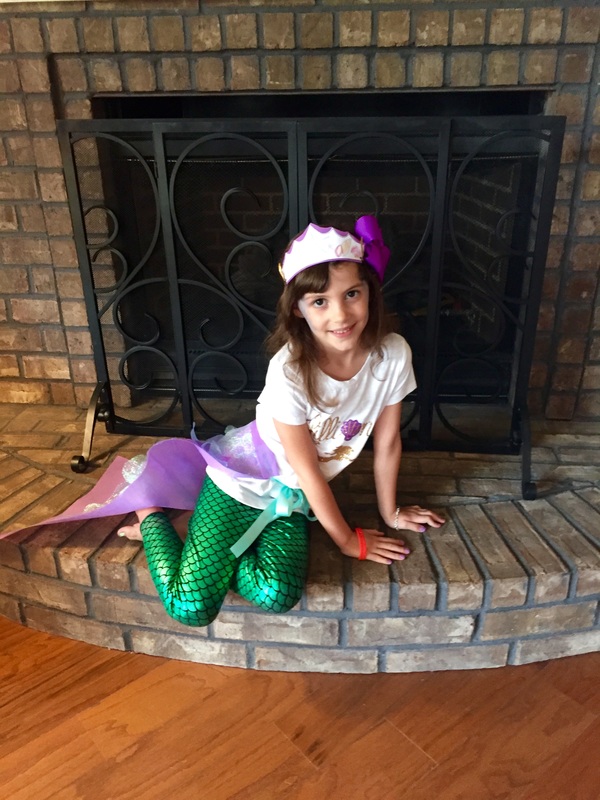
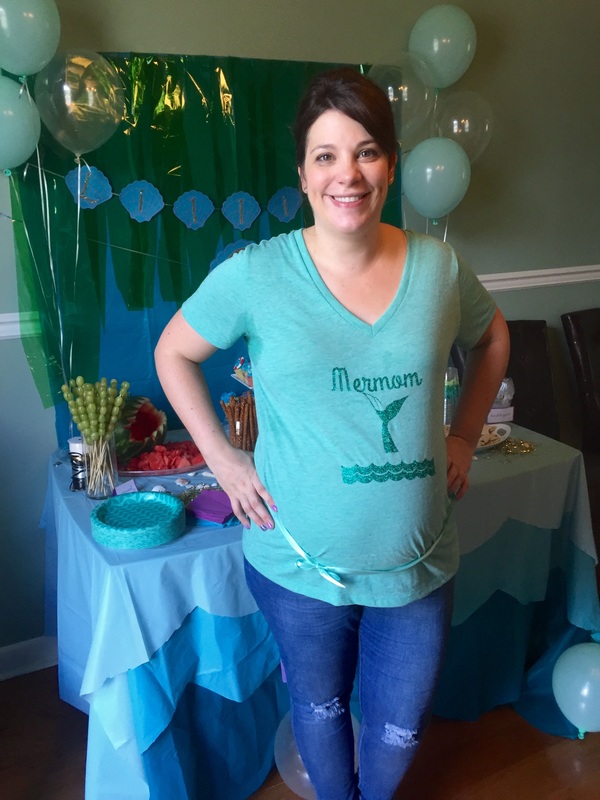
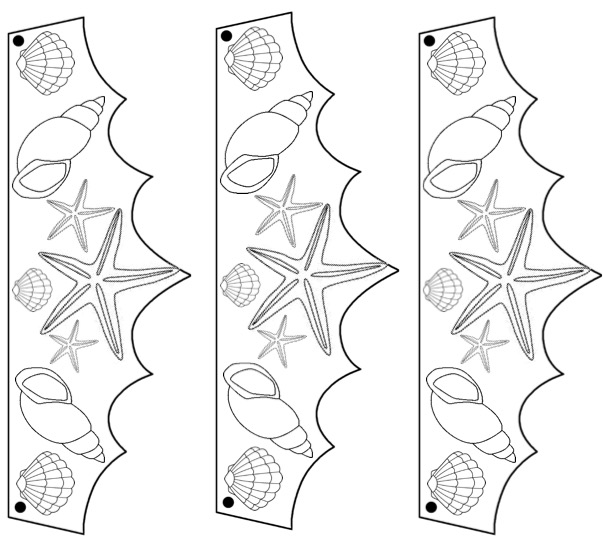
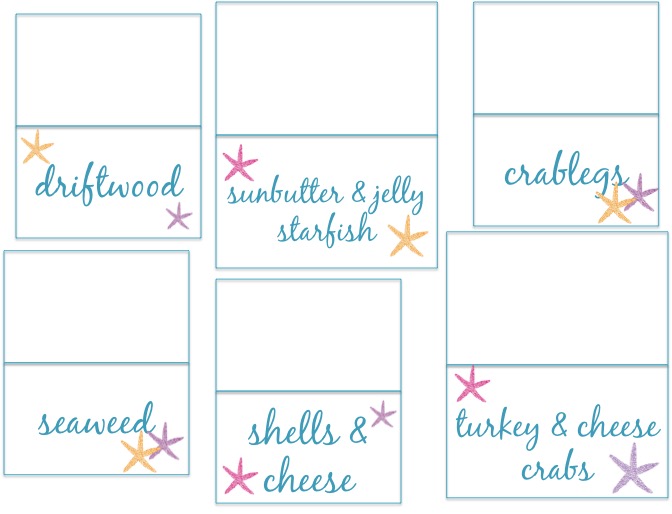
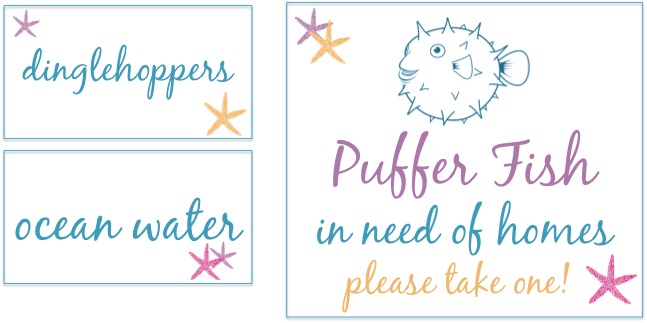
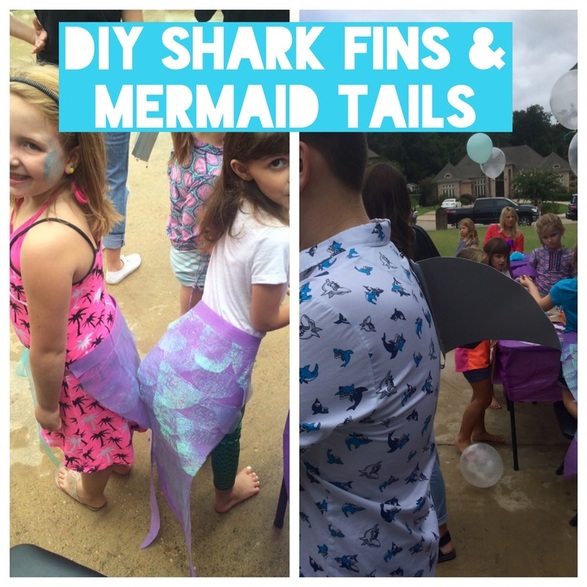
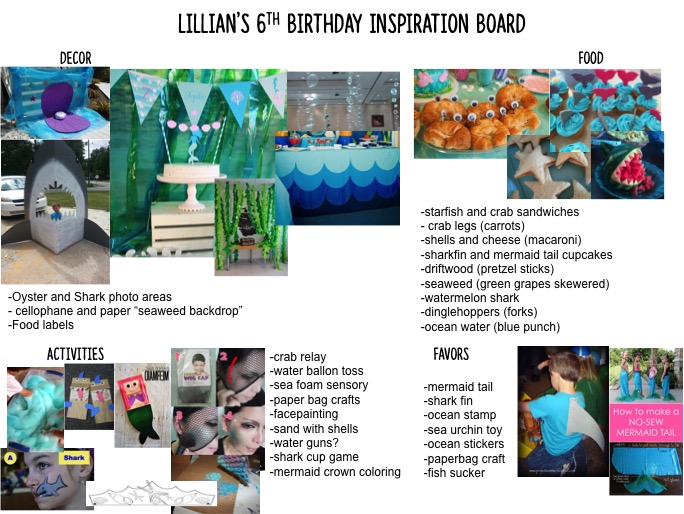
We had a fun but busy weekend filled with birthday celebration! We held Lillian's 6th birthday party at our house and I think it was a great success! Check out all of the adorableness and visit the other blog posts to see how some of the items were made and to find some free printables! We planned for an outside party but the weather was very iffy all week long. On Friday evening the forecast predicted an 80% chance of thunderstorms at 10am, the time the party was to begin. So, we cleaned up the garage (Remember, we just moved into our new house a month ago.) which was no small task and set up tables, chairs and activity areas inside it. We set up the food table, gifts and party favor areas inside in the dining room and entryway of the house. But, by 9:00 am the next day it was clear that the weather would cooperate and we enjoyed blue skies and not too hot temperatures! So, we moved the tables and activity areas outside and set up the water sprinkler for extra watery fun. As far as other activities, I left the photo area in the garage and we set up a water table filled with soapy blue and green bubbles and a sign stating "Sea Foam Sensory Play". I also hid a bunch of seashells under the bubbles for kids to find and collect. It was a big hit and rather entertaining to see the kids with their handfuls of shells. We also had a face painting table where kids could get mermaid scales or sharks, an arts and crafts table where they could make a paper bag mermaid or shark puppet as well as color mermaid crowns and I had several games planned. But, we only managed one because the kids were so happy with the other activities and just playing with each other. I created labels (You can download the labels at the end of the post.) for the food but went with easy and quick to prepare items to keep my sanity. I ordered cupcakes from my favorite local bakery in strawberry, s'mores and lemon blackberry flavors with blue icing and fondant mermaid tails, shark fins, clam shells and life preservers. They turned out really cute and were delicious. The riskiest food I went with was a watermelon shark. I hacked away at a watermelon to make a shark and then stuck some googly eyes on it. I had directions but they were way too time intensive and with only 20 minutes before guests were to arrive and still unshowered, I decided to wing it. We also had shells and cheese, skewered grapes or "seaweed", pretzel sticks or "driftwood", baby carrots or "crab legs", a knock-off sonic ocean water, sunbutter and jelly sandwiches shaped like stars for "starfish" and turkey and cheese croissant crabs with googly eyes. It was all completely devoured and looked pretty adorable. For the backdrop I taped a blue tablecloth to the wall and then taped green cellophane cut into wiggly strips on top to create the illusion of seaweed. I topped it off with some clear and pale turquoise balloons and a birthday banner I made with my silhouette machine. I sprinkled the table with some golden confetti strips and seashells. The table was covered with three different colors of blue table cloth to create an ombre that I quickly cut scallops out of the base of each cloth. I did that at a very late hour the night before and wasn't too particular about making it perfect. I didn't even get on my knees but simply bent over and hoped for the best and it turned out fine so don't stress about perfect scallops. It isn't worth the worry. For party favors, kids got a shark fin or mermaid tail handmade by moi and on their way out grabbed a bopper balloon toy. The tails and fins were big hits and I had several moms tell me that their kids refused to take them off long after the party had ended. You can see how I made them in this post. I had a few other small decorations including seaweed and fish taped to the base of the walls inside and I made wreath for the front door using only cardboard, tissue paper and craft paper that turned out really cute and was basically $1! It was made around 11:30 the night before and I completely forgot to take pictures of the process but I can lay it out for you pretty simply. 1. Take some cardboard and cut a donut shape out of it in the size of a wreath. My circle was by no means perfect but it doesn't matter as long as it is close. 2. Make some tissue paper flowers in the colors of your choosing. You can use this tutorial from Pinterest. I went with varying colors of blue. 3. Hot glue the flowers to the cardboard donut shape. 4. I created a few embellishments using glitter card stock and my silhouette machine and simply hot glued them on top of a few of the flowers. 5. Hang and admire! The final touch to the party was the photo area. I always like to have a photo area and I was especially proud of this one because I free-handed the shark and was really impressed with myself. To create the photo area I taped a blue table cloth to the wall and then added a few fish leftover from the seaweed/fish wall decor. Then I grabbed a big piece of cardboard and drew and painted the shark after cutting out his mouth. To create the clam shells I drew two clam shells onto two pieces of poster board and then painted them and added sharpie for the detail. Since I set it up in the garage I realized the floor was somewhat dirty and grabbed a blue rug we had in the playroom and layed it down in front. I also created a few fun signs and hung them above the photo area. (You can download my signs at the bottom of this post.) For my final act of craftiness I made iron-on cut outs with my silhouette machine to create custom t-shirts for me and Lillian. I was going to create ones for all four of us and then I found the "jawsome" shirt for $3 on Amazon for Arthur and the cool button up shark one for Derek so I didn't make theirs. I also managed to reuse Lillians fish scale leggings from last year's Ariel halloween costume. If you're curious about how I made our awesome Ariel and Ursula costumes from last year check them out here and here! I hope my party ideas spark some inspiration for you and that you enjoyed reading about our adventure under the sea. If you want to download the printables I created for the party you can find them below! Thanks for visiting! Download the pdf of the signs shown above by clicking the pdf file below.
Download the pdf below to get the food labels, mermaid crowns and gift tags.
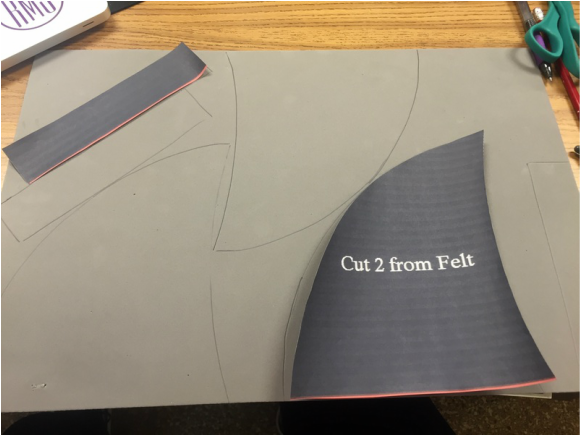
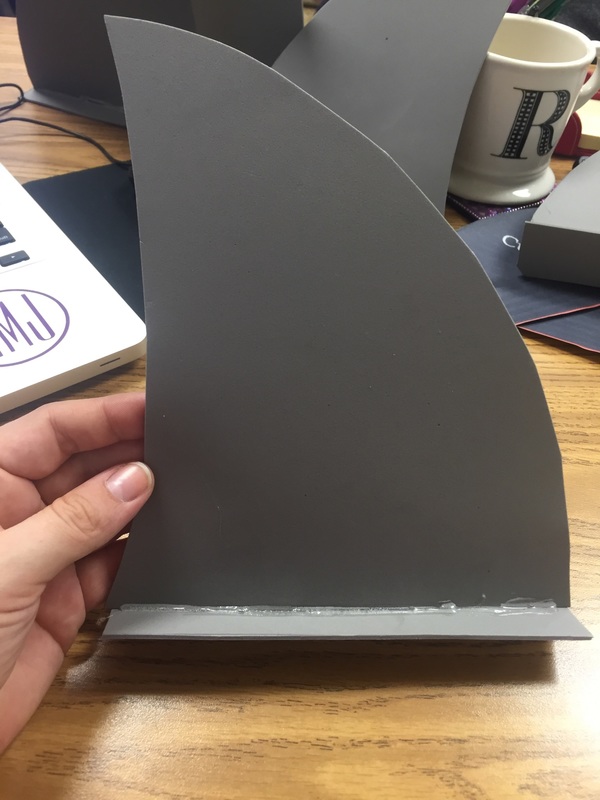
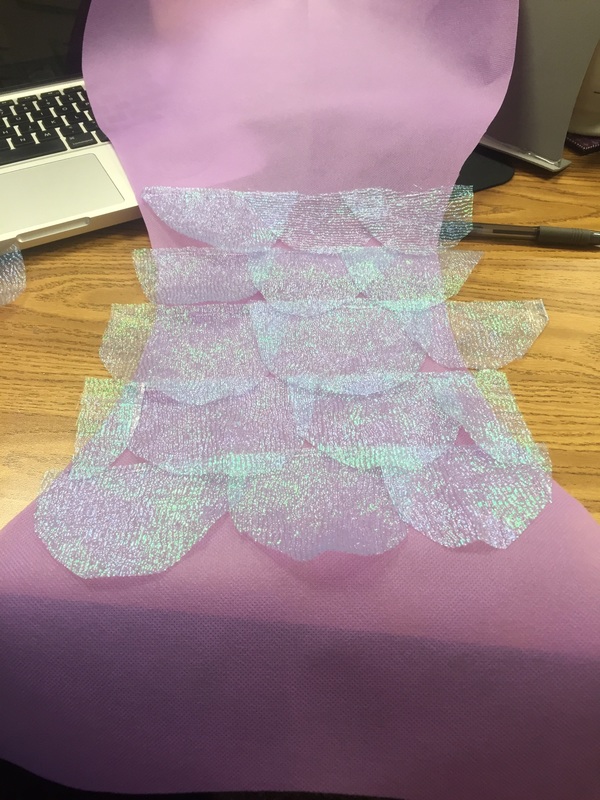
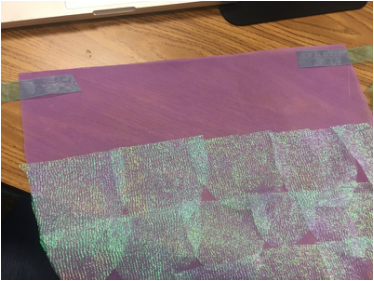
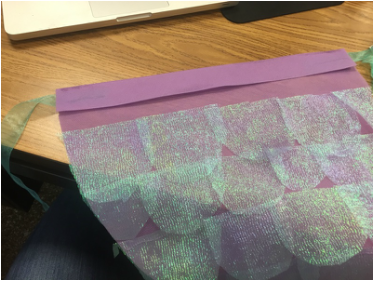
I know kids love to play dress-up so, I always incorporate an element of that when I throw a birthday party. For my daughter's mermaid/shark themed party this year I created mermaid tails and shark fins for each party guest to take home and wear for the party. They were a big hit with everyone, including the adults and only took about 2 hours and $20 to make! DIY Shark Fin You will need: - gray craft foam (I was able to fit three shark fins on one piece for .88 and I made 12 just to be safe.) - hot glue and glue gun - free template (courtesy of itsthelife.typepad.com) - large safety pins
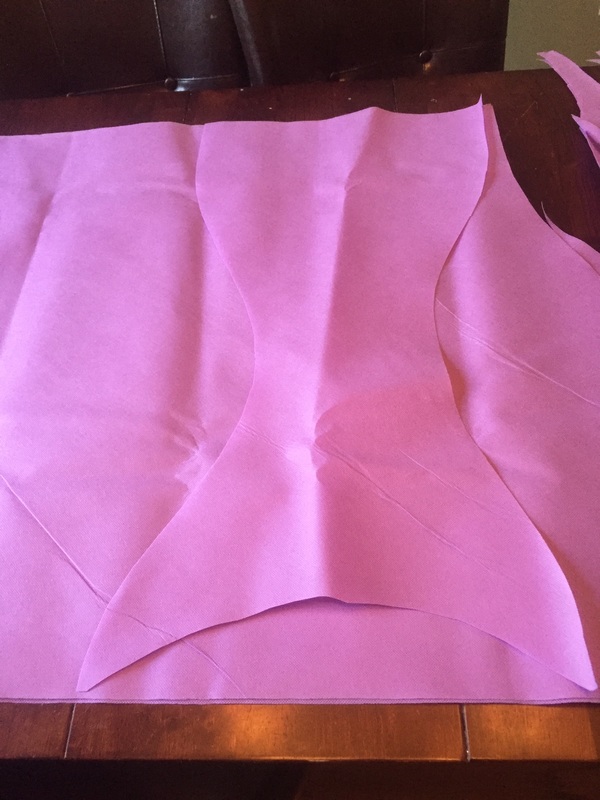
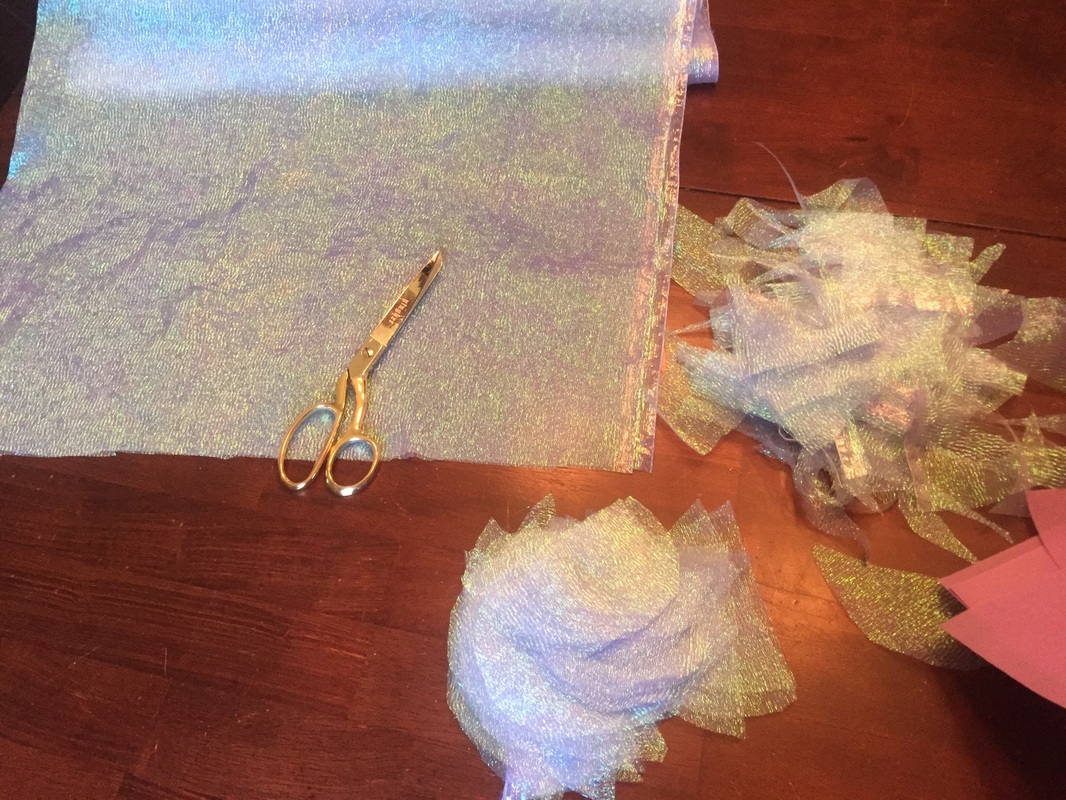
DIY Mermaid Tails You will need: - about 4 yards cheap, stiff material (I cannot remember what this stuff is called but it is only $4 per yard and has a stiffness to it. I believe it is used for putting under things and at hobby lobby they have it displayed being used to make a pretend cape.) - about 3 yards iridescent sheer material (This stuff is a bit more at $6 per yard but it is important.) - 1 30ft. spool of ribbon (I chose a sheer turquoise.)
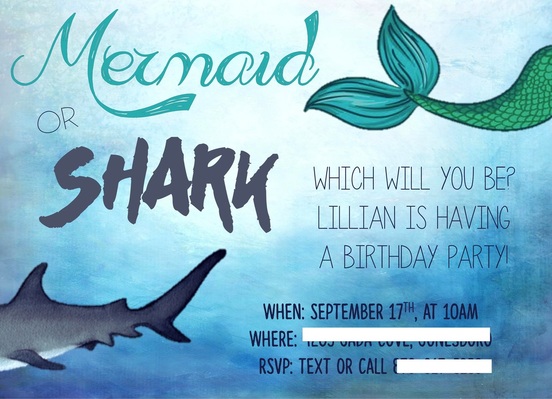
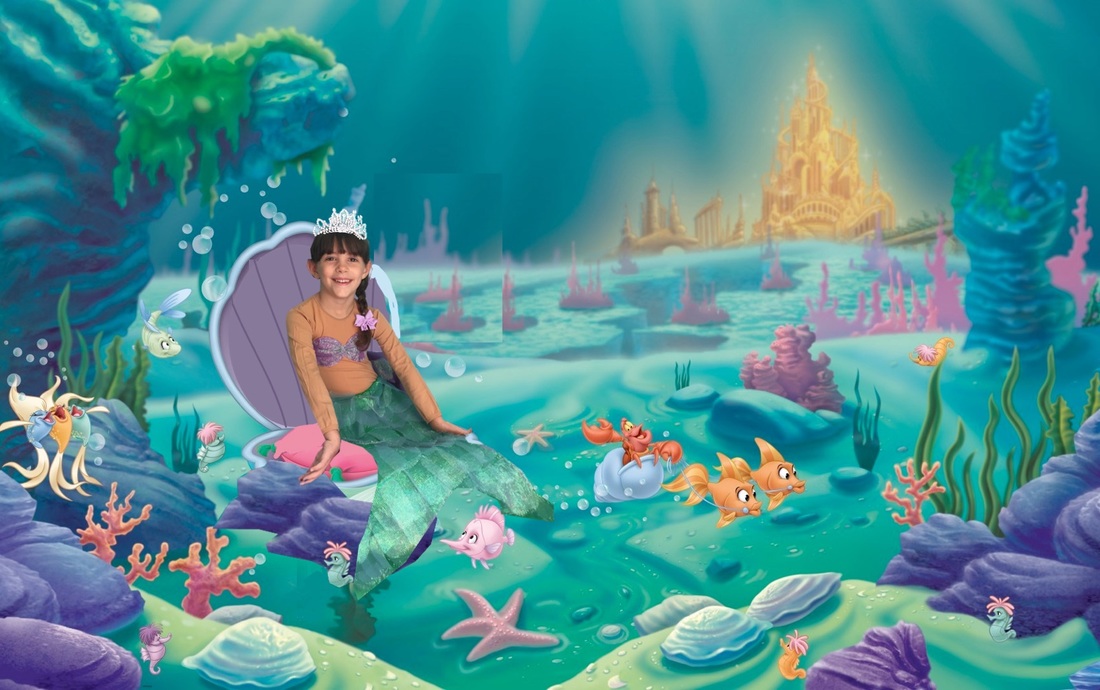
We've been a bit crazy with moving into a new house while I'm 7months pregnant and my husband has a recently dislocated shoulder. So, when I realized that my daughter's 6th birthday was less than a month away I quickly kicked into planning mode and created some invites. She has been begging for a mermaid themed party for months so that was one decision that I didn't have to make but, I decided to make the theme more inclusive for all genders by making it a mermaid or shark theme. For the invite I created the front using powerpoint and then we had a mini photo session over the weekend and photoshopped a picture of Lilly as a mermaid for the backside of the invite with a few more party details. After creating the invite I got to making my plan. I find that making a planning or inspiration board helps me to better organize my list of to-do's as well as visualize the party as a whole. When I don't make a planning board I often forget something really cool or realize that I didn't do something important at the very last minute and then find myself scrambling to get it done. You can take a look at my board below. Now that the planning is done I have to get busy crafting and creating! I'll try to post updates throughout the crafting process but will definitely make a birthday completion post so check back soon!
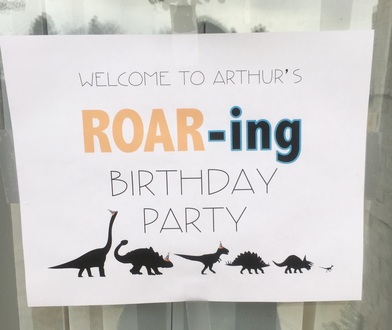
My son just turned two and while he doesn't say much, one thing he loves to say is "ROAR"! So, it was only fitting that he have a dinosaur themed birthday party this year. I had a lot of fun preparing for this party and I hope you find some inspiration!
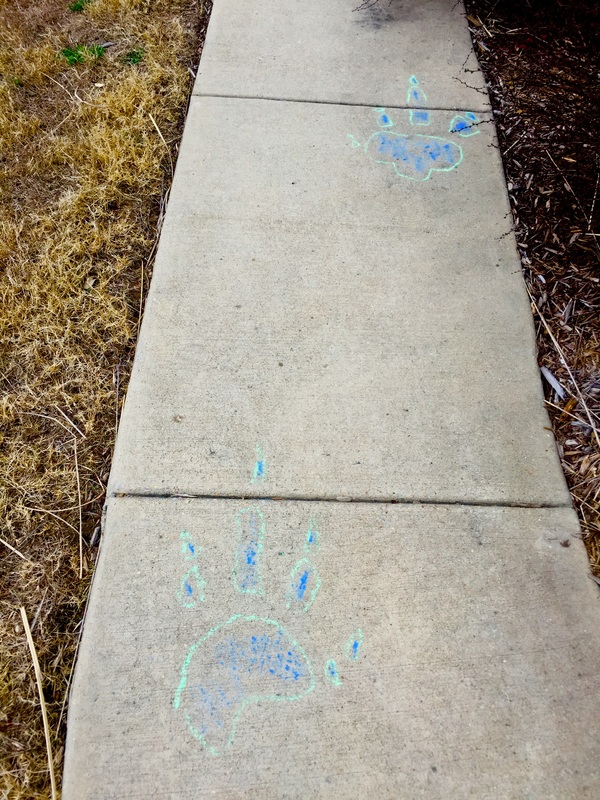
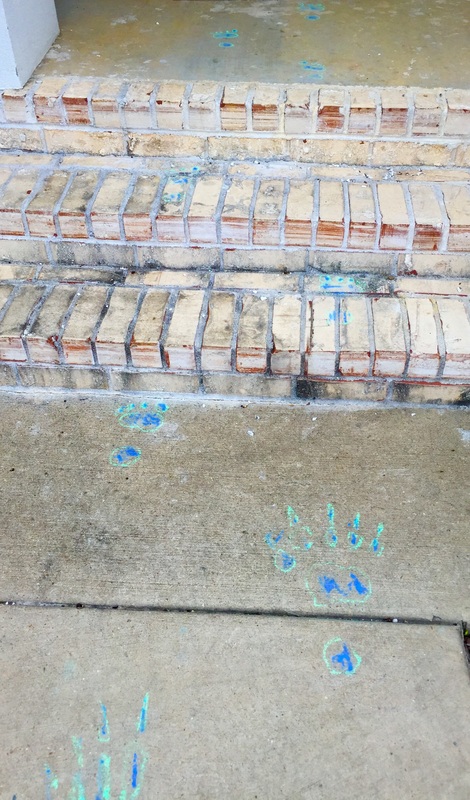
When guests arrived they saw gigantic dino footprints down our front sidewalk to our door. I had my brother draw them because he's a graphic designer and I figured he'd have fun with it. He did. He decided that he wanted to morph the dinosaur prints into tiny Arthur prints as they got closer to the door. It was stinking adorable.
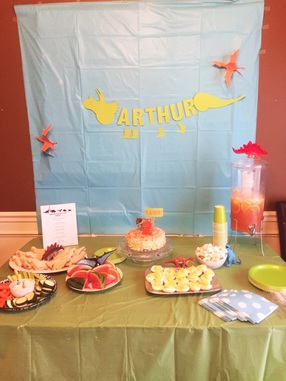
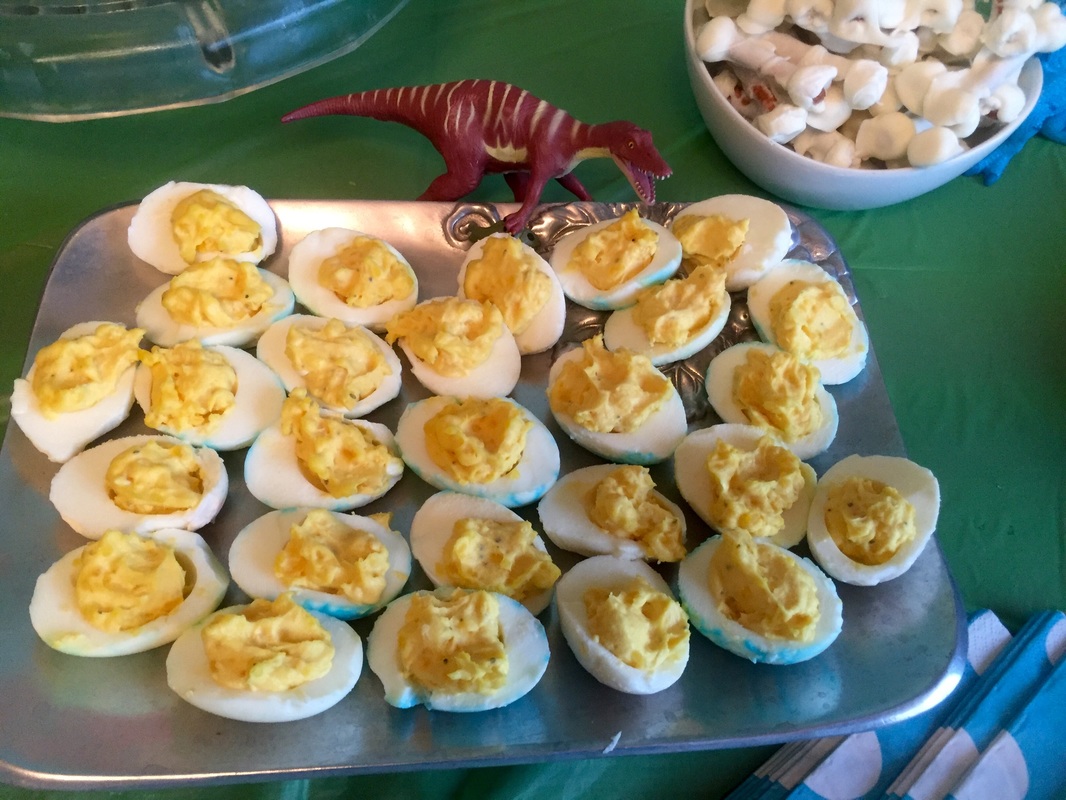
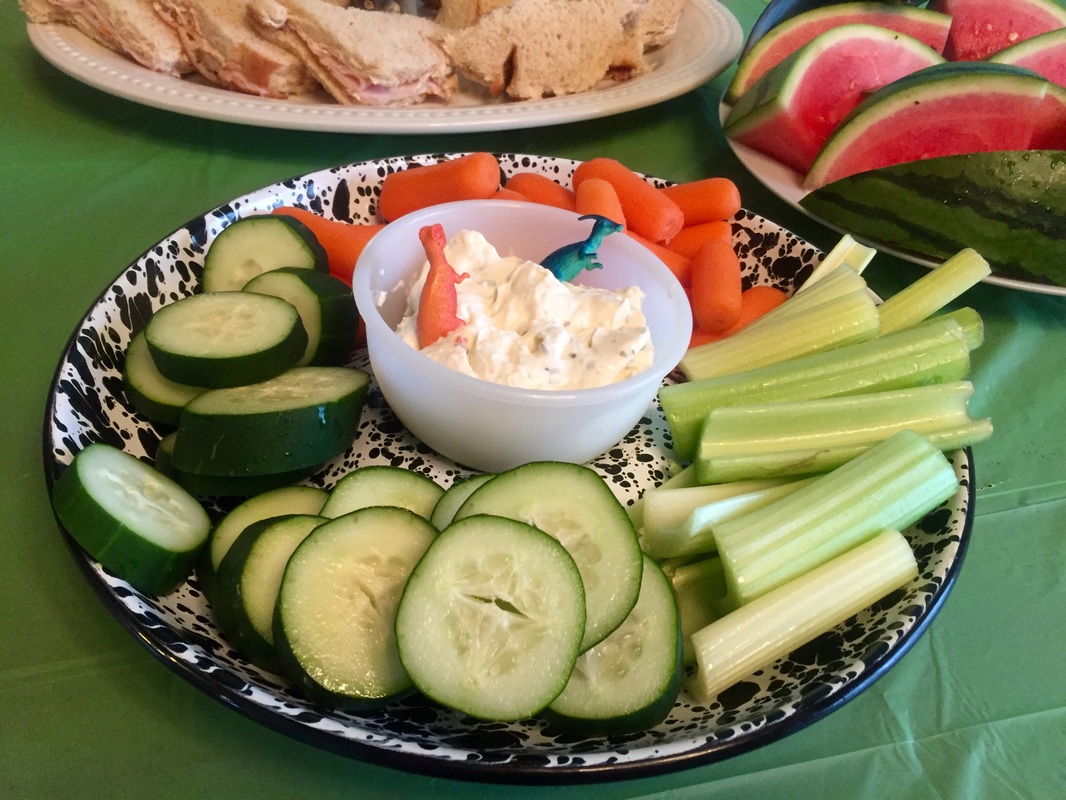
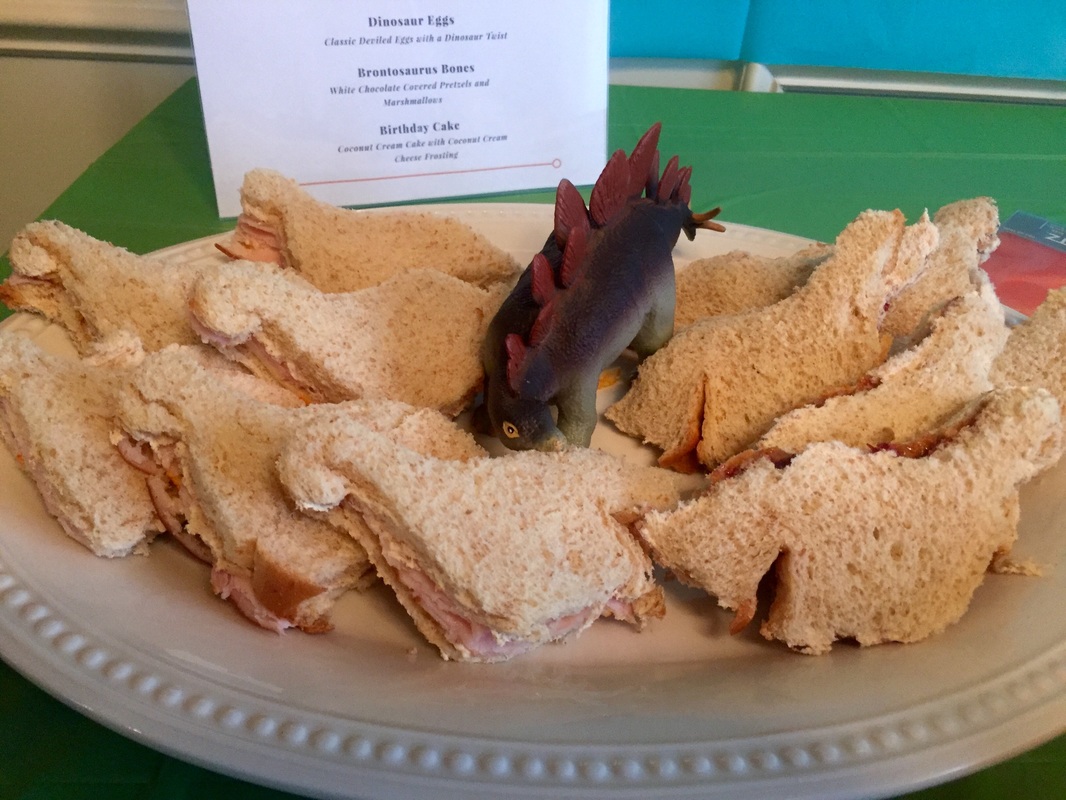
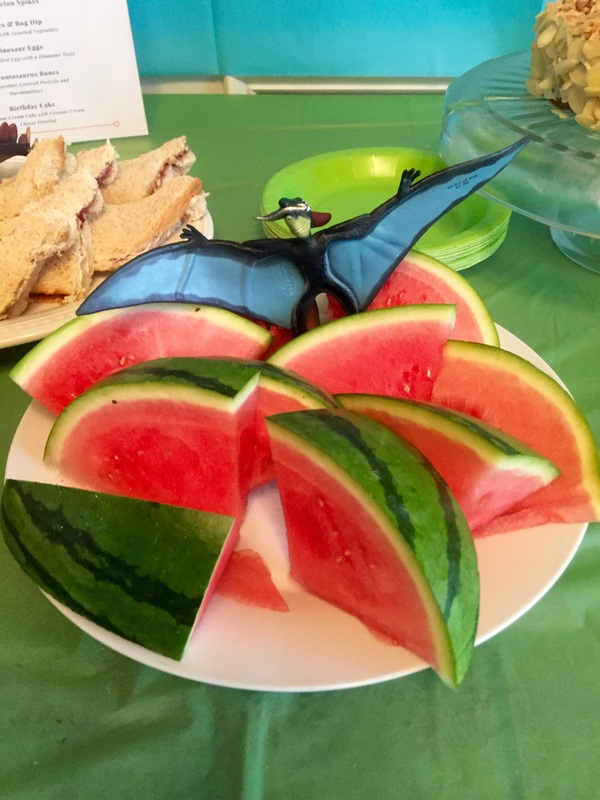
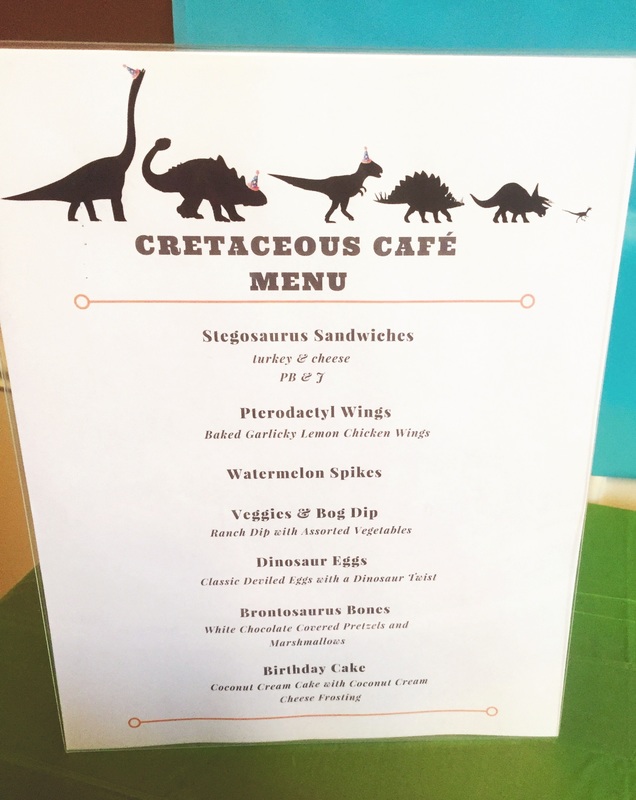
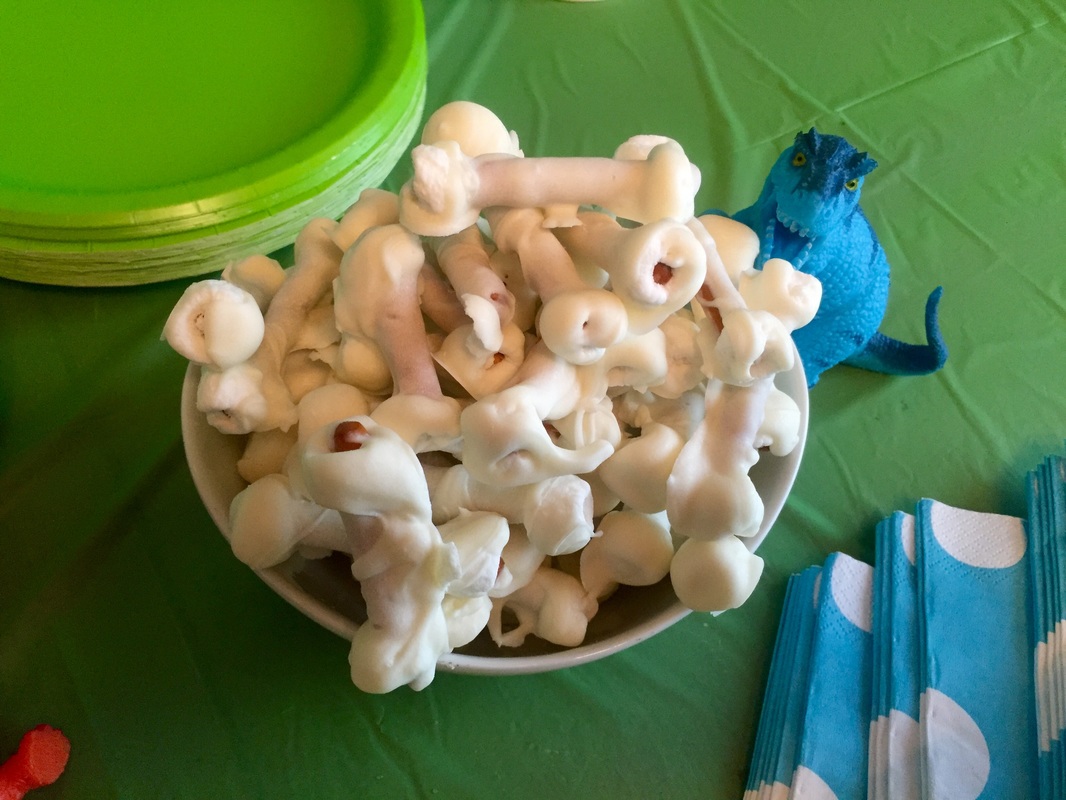
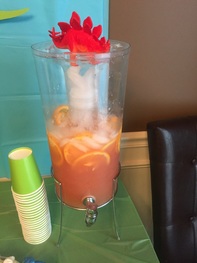
I used my silhouette to create the Arthur banner (it slipped and went a little crooked in this photo. Oops) as well as the 3D pterodactyls. I used plastic dinosaurs to make the food items fun and created a cute menu using canva.com. The "dinosaur eggs" were supposed to look super cute and have colored outsides but, the peeling process was a disaster and many looked slightly ragged. They tasted good though.
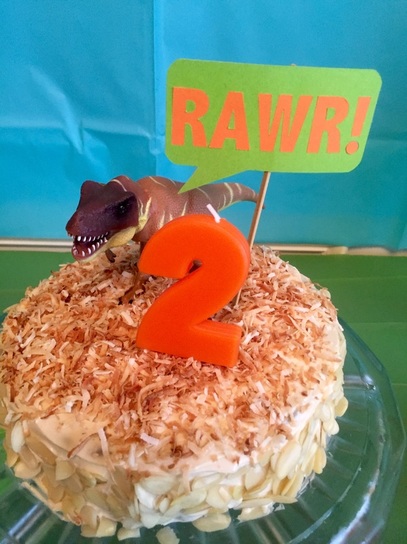
I made the cake using this paleo coconut cake recipe. It was soooooo good! Everyone enjoyed it! i added toasted coconut to the top and slivered almonds around the sides to make it a little prettier. Then I added a dinosaur and a speech bubble that said "RAWR" for the dino. I think it turned out pretty great!
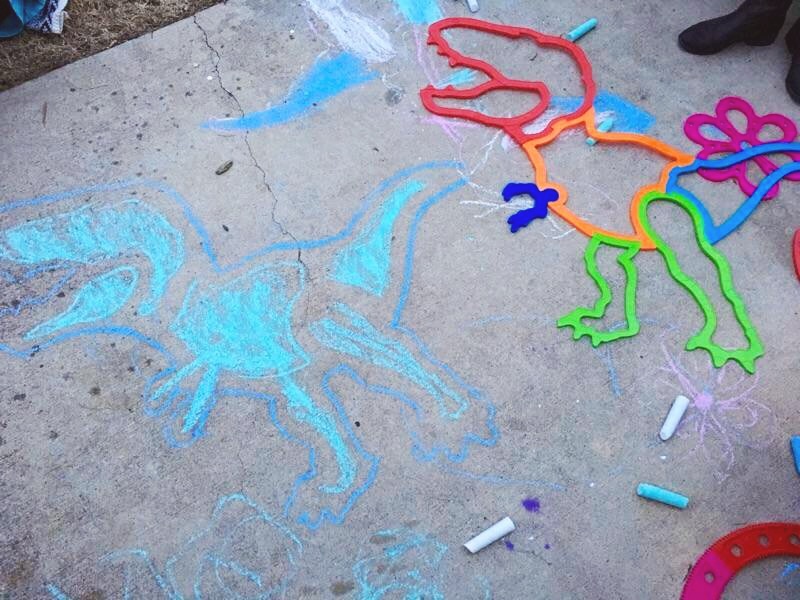
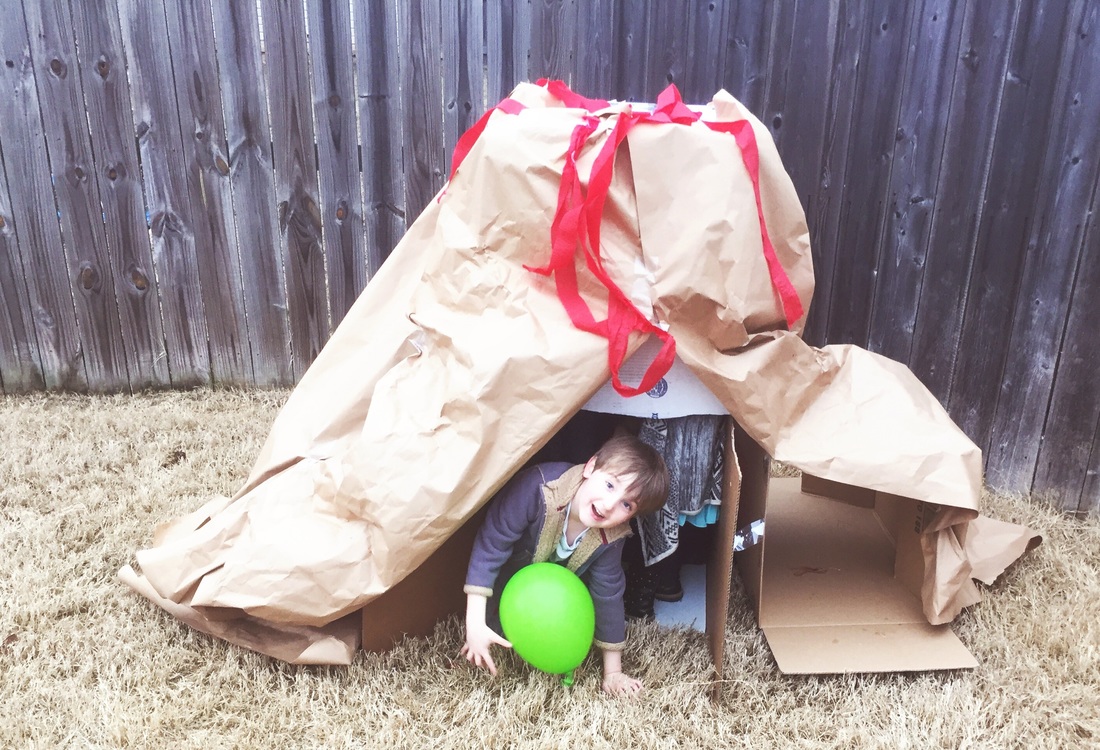
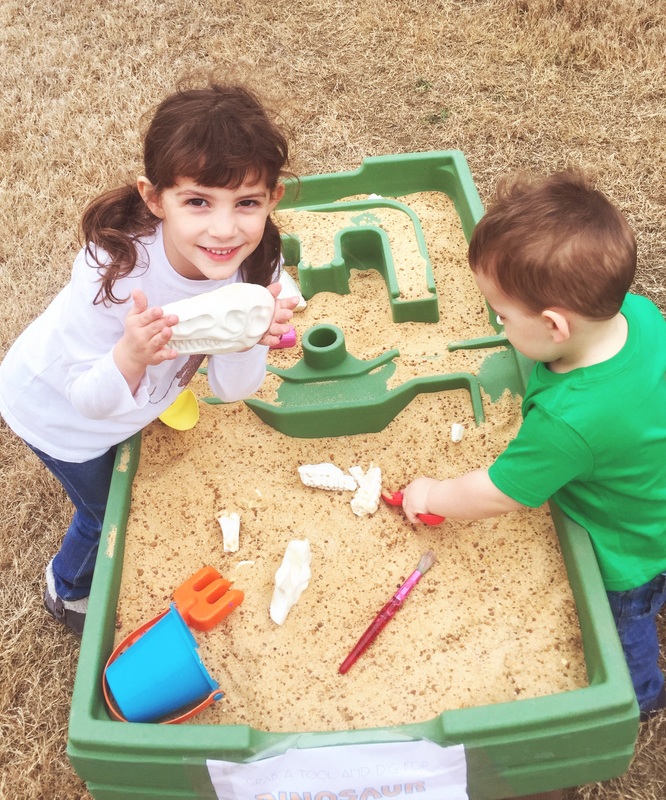
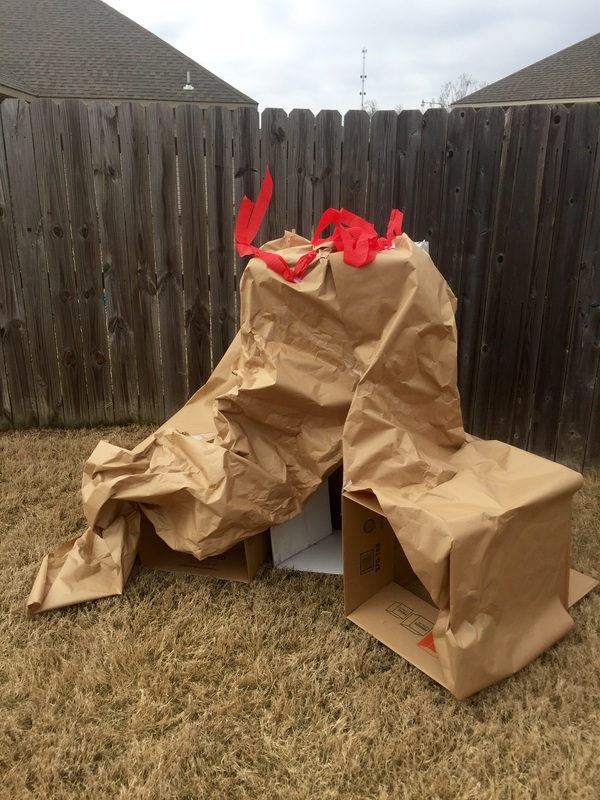
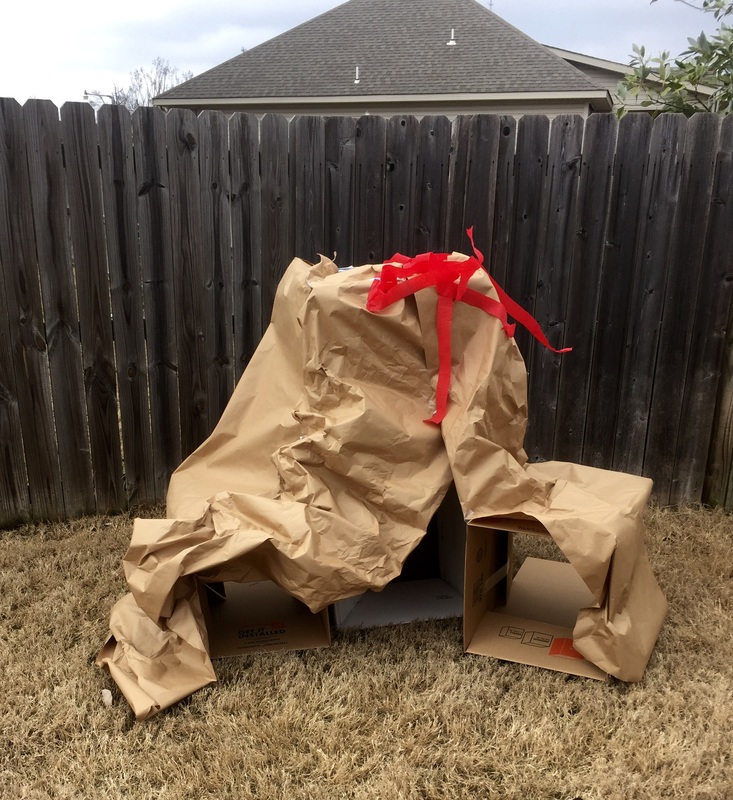
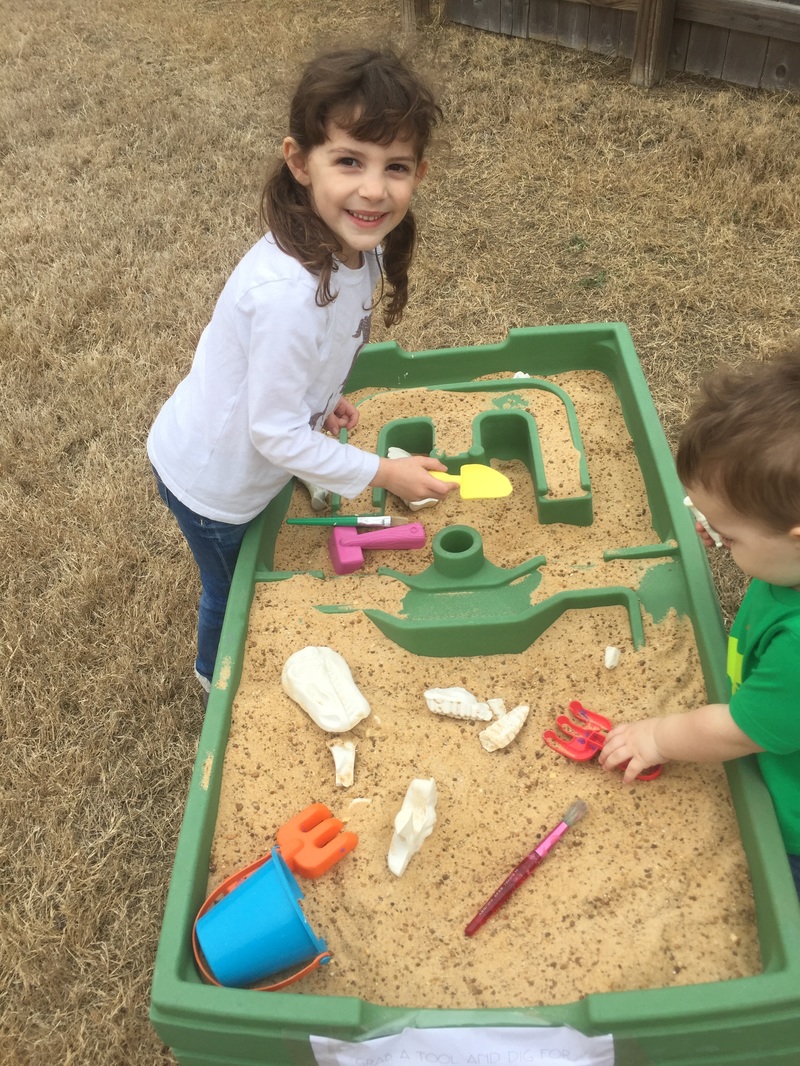
For fun, the kids had a dino fossil dig area and a cardboard "volcano" for pretend play. We were really lucky to have 60 degree weather in February so we had all of the fun in the backyard. The kids also had the opportunity to jump on the trampoline, swing and play in the playhouse. Once gifts were opened, they also had fun with some really cool chalk stencil sets that were gifted (My mother-in-law said she got them at Wal-Mart.).
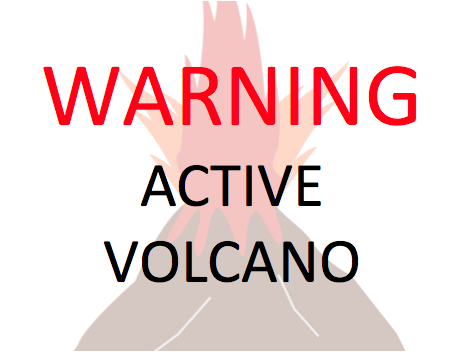
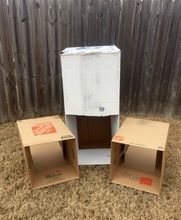
I made the volcano with three cardboard boxes, brown craft paper, red streamers, a knife and some tape. I cut a big opening at the bottom of the biggest, center box and then folded the sides in on the smaller boxes but left them open on both ends to create tunnels. Then I taped all three boxes together and covered them with crinkled paper and streamers at the top. I taped the sign to the swing set which was in front of the volcano. The kids actually played quite a bit with it and it only cost about three dollars!
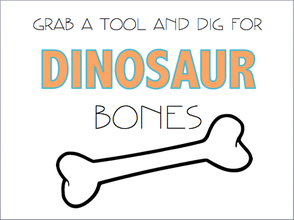
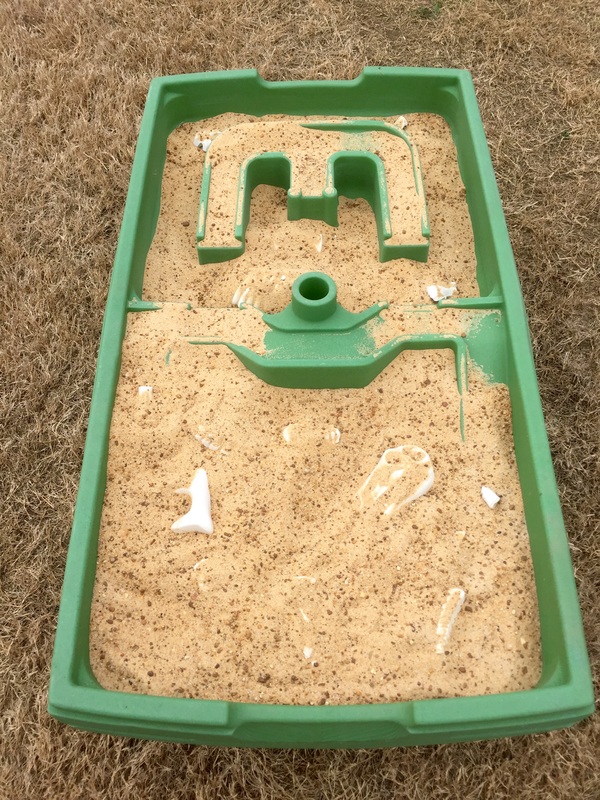
The dig site was a water table we already had filled with play sand and plaster of paris dino bones. I bought the molds from amazon and made the bones the night before. They popped out pretty easily and looked really great! Then I threw in a few sand tools like a shovel and a bucket and a few chunky paint brushes for dusting the fossils and taped a sign to the side. This was a big hit with everyone!
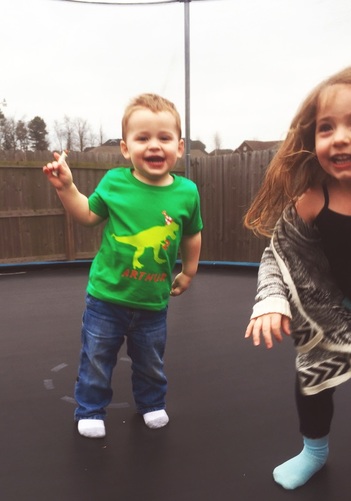
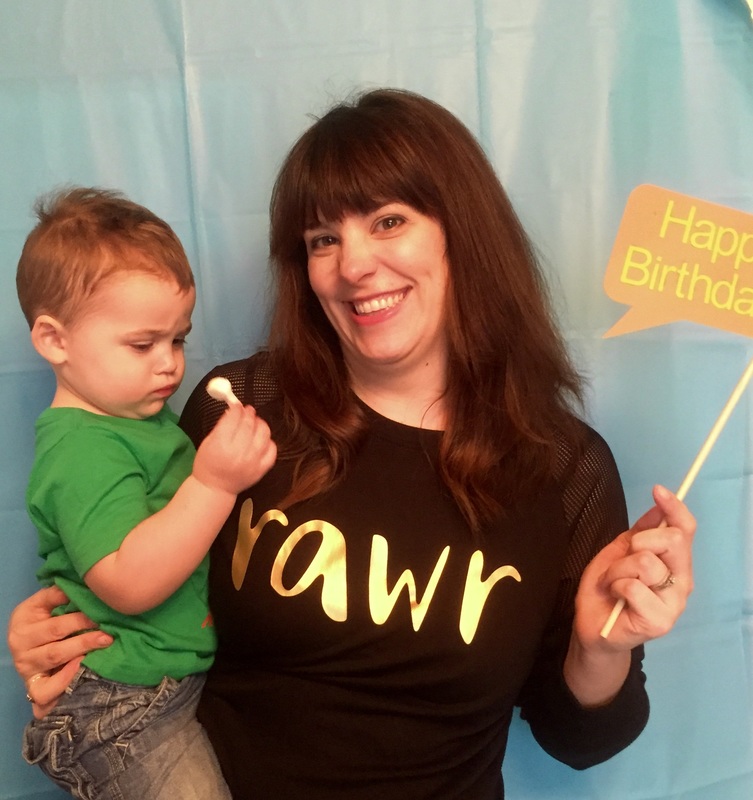
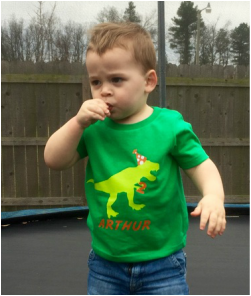
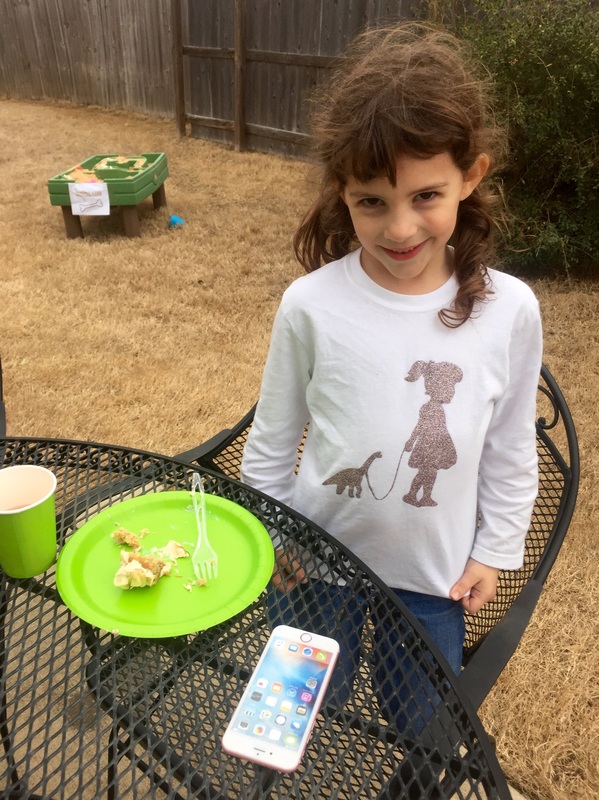
I made all four of us adorable dino themed shirts too. Lilly had a girl walking a pet dinosaur in glitter, Arthur had a t-rex holding the number two and wearing a party hat, I had a shirt that said "RAWR" and Derek had a dinosir, a t-rex with a top hat, bow tie and monocle. I didn't manage to snap a pic of Derek with his shirt and Arthur was NOT into photos so these are the best I could do. I created all of them using my silhouette and iron-on vinyl.
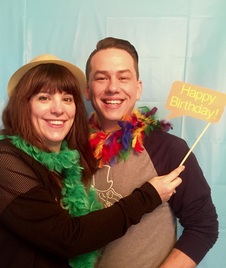
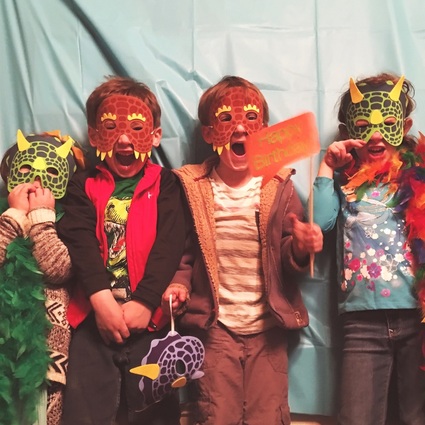
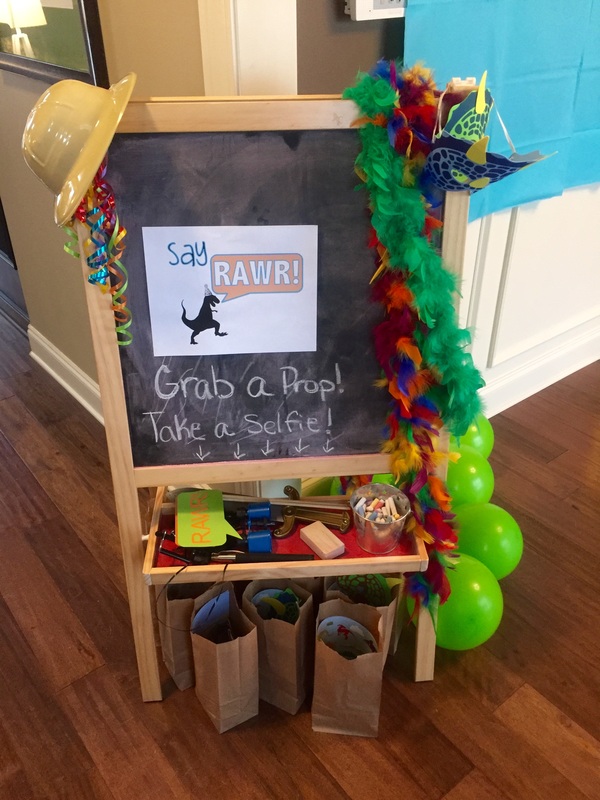
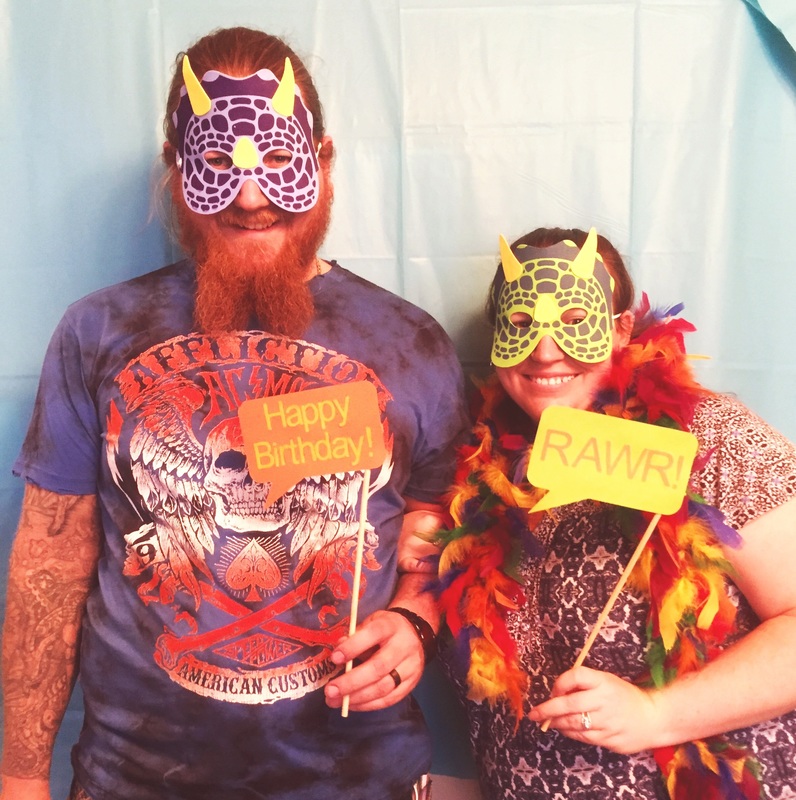
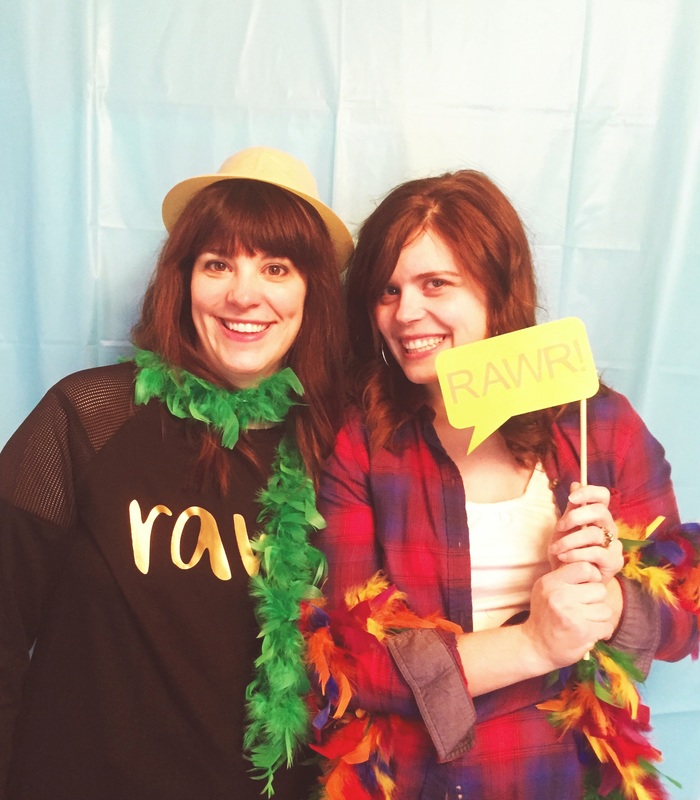
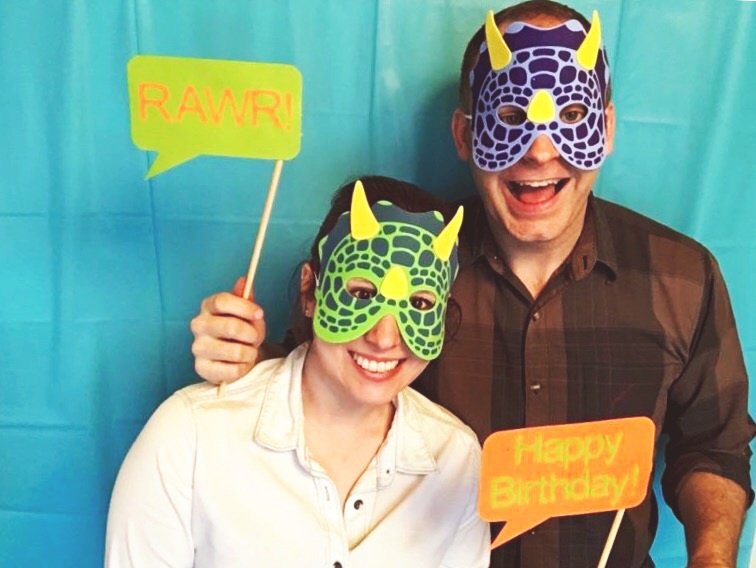
We also had a photo booth area set up. I hung a plastic table cloth on the wall and provided a few props and a selfie-stick to encourage guests to take a pic. We got some pretty cute ones. I made the signs with my silhouette and craft. Threw in some feather boas, dino masks and a safari hat for good measure. The kids all got to take home goodie bags with mini dinosaurs, masks and a craft activity from amazon that was dinosaur themed.
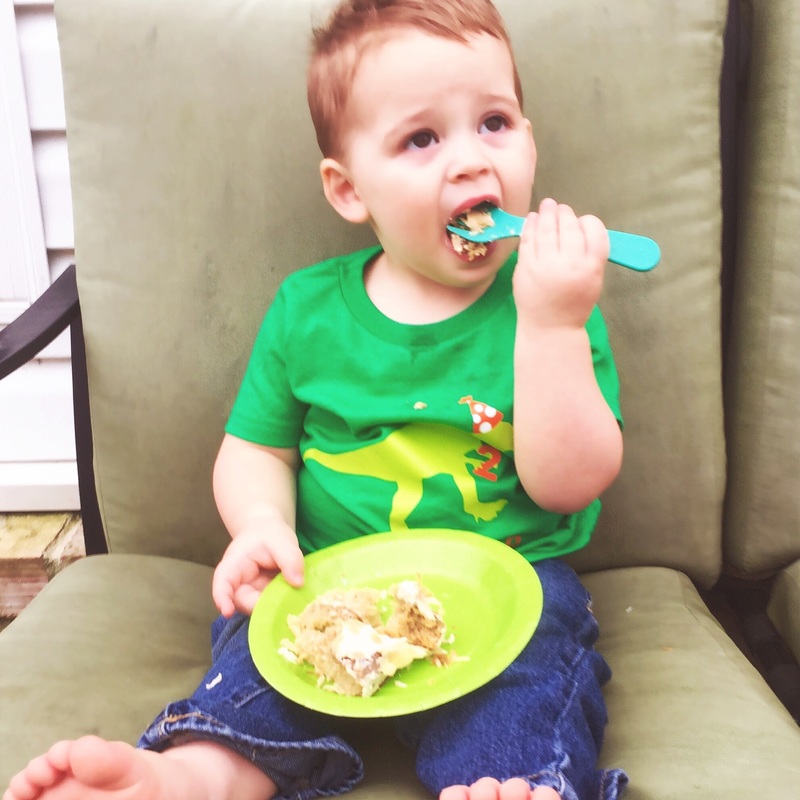
Arthur had a good time and really enjoyed the watermelon and cake. The adults were able to visit because the kids were having so much fun and no one got hurt or threw up. I call it a success!
Oh, and when Arthur went to blow out the candle, he started as soon as it was lit...across the room. It was adorable to watch him blowing at the candle for the entirety of the Happy Birthday Song.
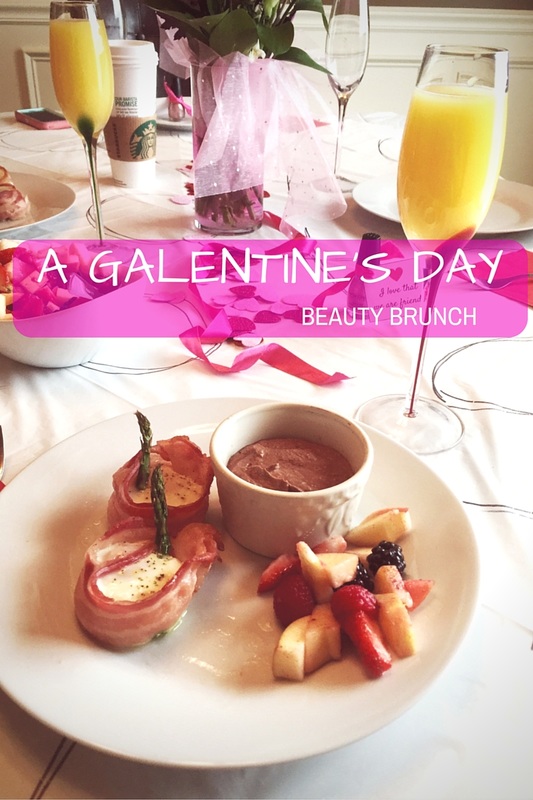
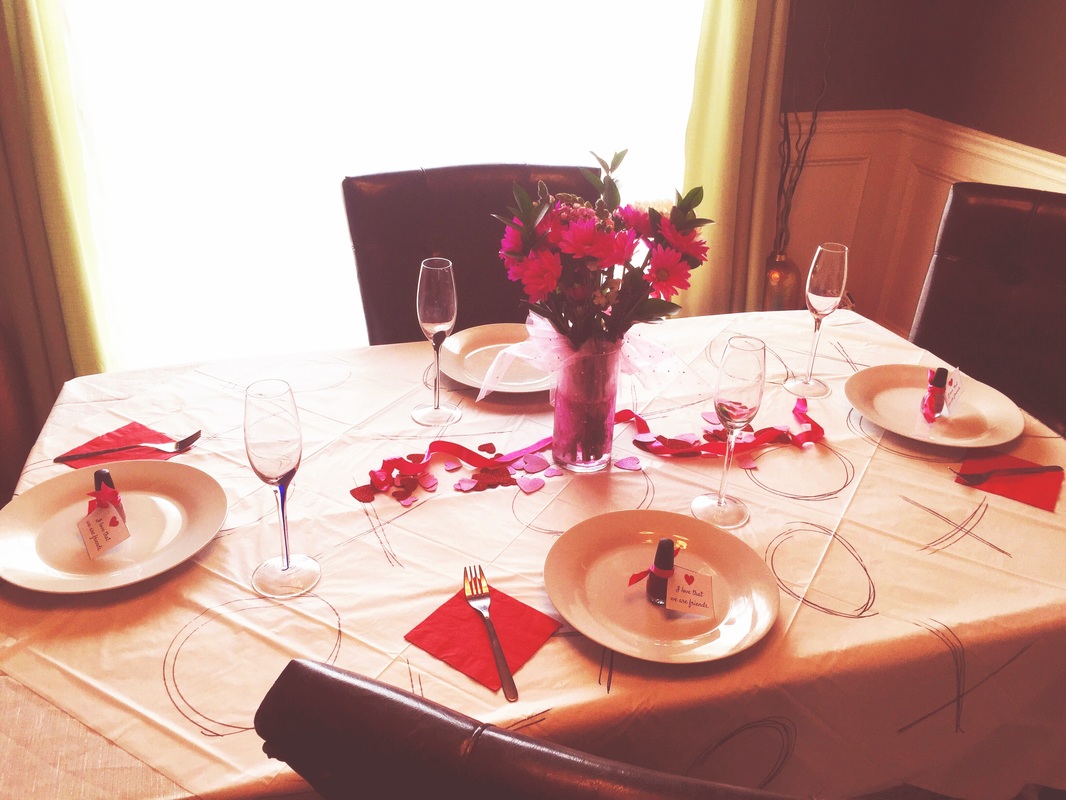
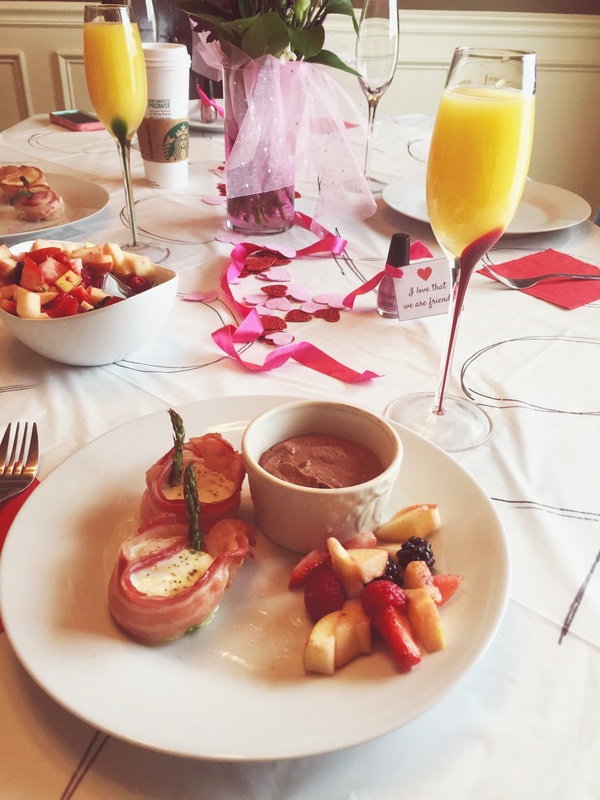
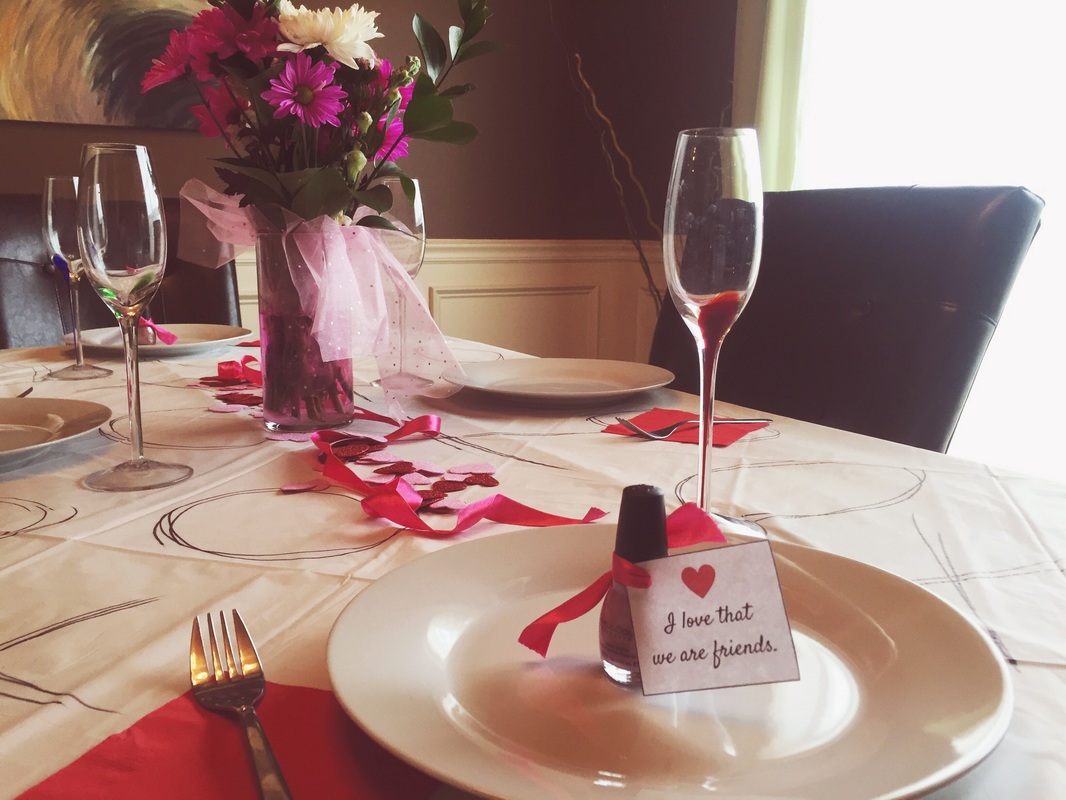
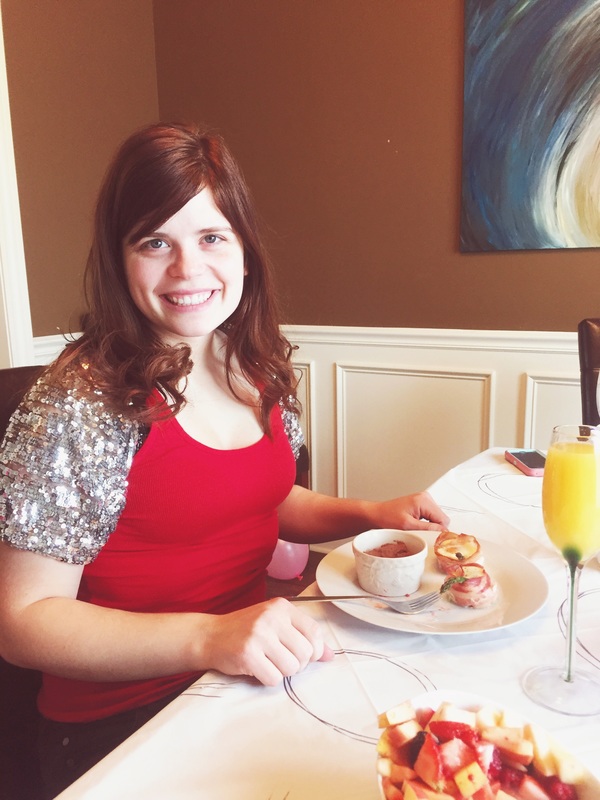
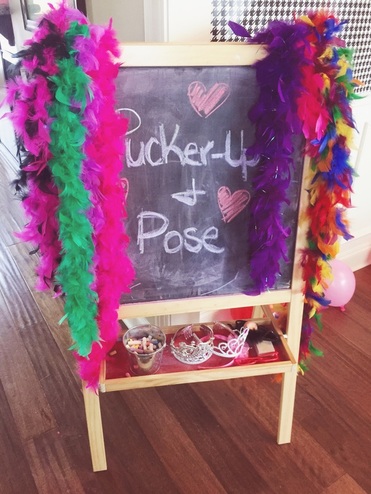
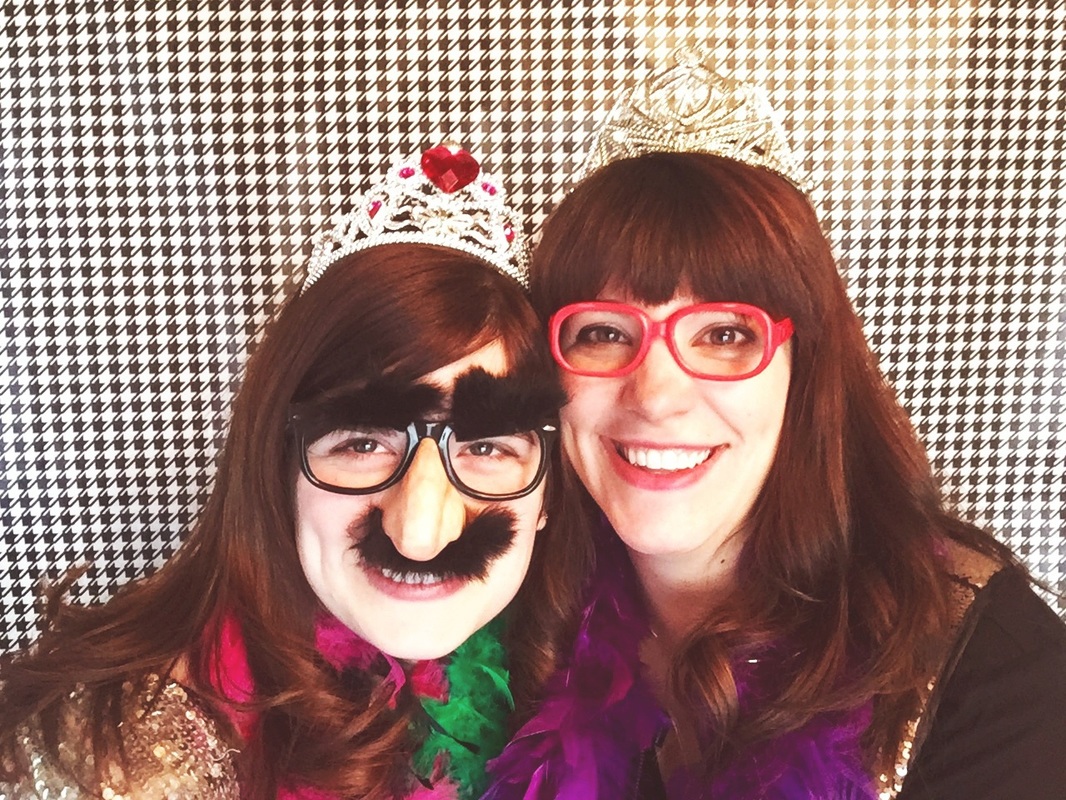
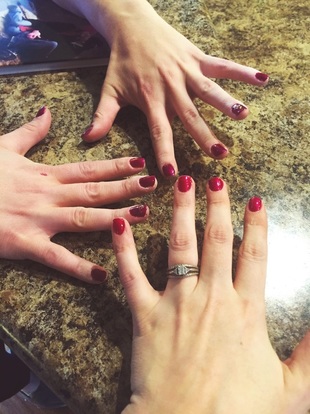
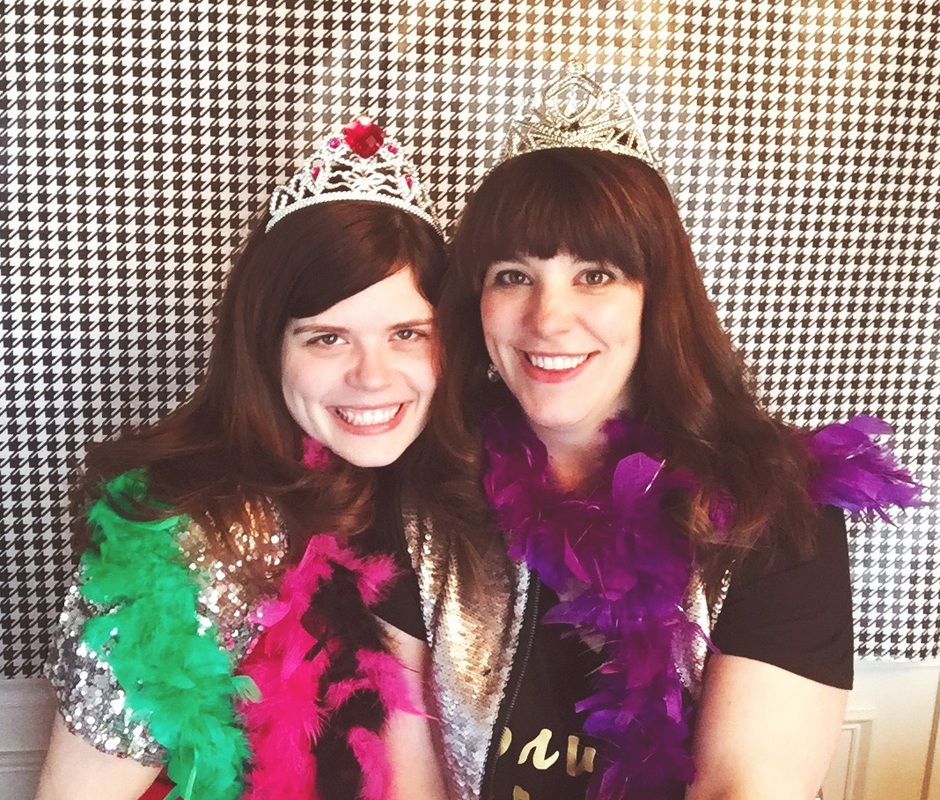
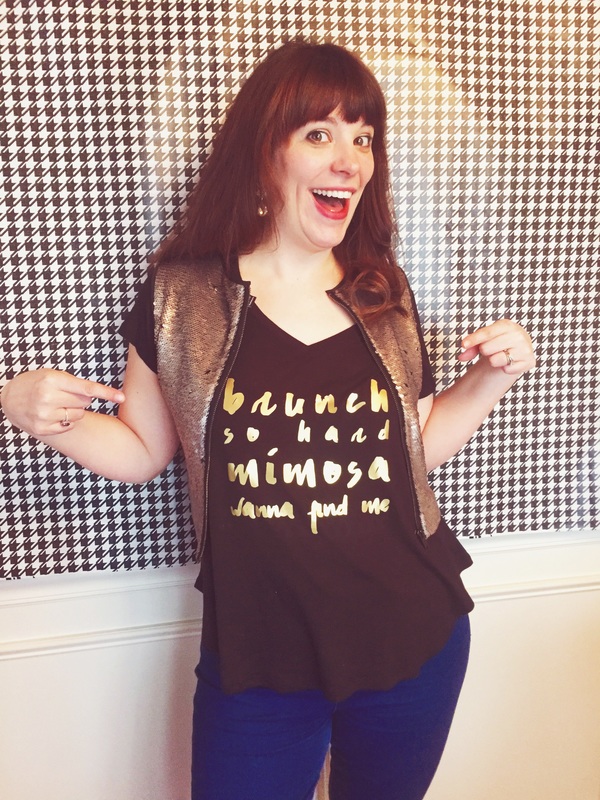
We had a lovely time at the Galentine's day party even though several people had to miss it for last minute reasons (sick kid, no babysitter etc.) my friend Kila and I still had a blast hanging out and enjoying yummy food! I followed through with the plan I created in my first post and made whole30 approved recipes including bacon wrapped egg cups, fruit salad and chocolate mousse with the optional mimosa (I used sparkling water to stay whole30). It was all really good and my friend couldn't believe that it was all whole30 compliant! Let me tell you, those egg cups are amaze-balls! I actually ate four! I spent very little time creating the decorations but I think they definitely set the mood and were pretty. I copied the idea for a xoxo table cloth but used a $1 plastic table cloth and a sharpie instead of white fabric and paint. It was very thin so I laid it on top of a glittery cream colored fabric tablecloth I already own. I used my white dishes and simple champagne flutes and placed a fork on top of a red paper napkin at each setting. In the center of each plate a placed a nail polish with a cute tag that I created tied on with pink ribbon. In the center of the table I placed a bouquet of grocery store flowers in a clear vase and a sprinkling of pink and red glitter heart stickers from the dollar store as well as the remaining pink ribbon. I think it turned out very pretty and elegant. And it cost a grand total of $12 for decorations (the flowers were $10). I also set up a photo area with the same wrapping paper I used for the Valentine's photo shoot with my kids. It's is just so versatile! I taped it to the wall width wise at waist height. Then I raided my daughter's room for feather boas and tiaras as well as her art easel for the sign. We took selfies with my hand dandy selfie stick! You can get them at most stores for about $5.
|
meet rachelRachel is a mother of three, elementary Spanish teacher and part-time blogger who loves crafting, creating fun and engaging activities for her children and students and hanging with her friends and family. She blogs about what she's doing and her interests at any given time which vary. She's a little OCD and always looking for her next project. Her husband calls it, "focusing her crazy", but she just calls it fun. Archives
December 2022
Categories
All
|
|||||||||||||||||||||||||||||||









 RSS Feed


