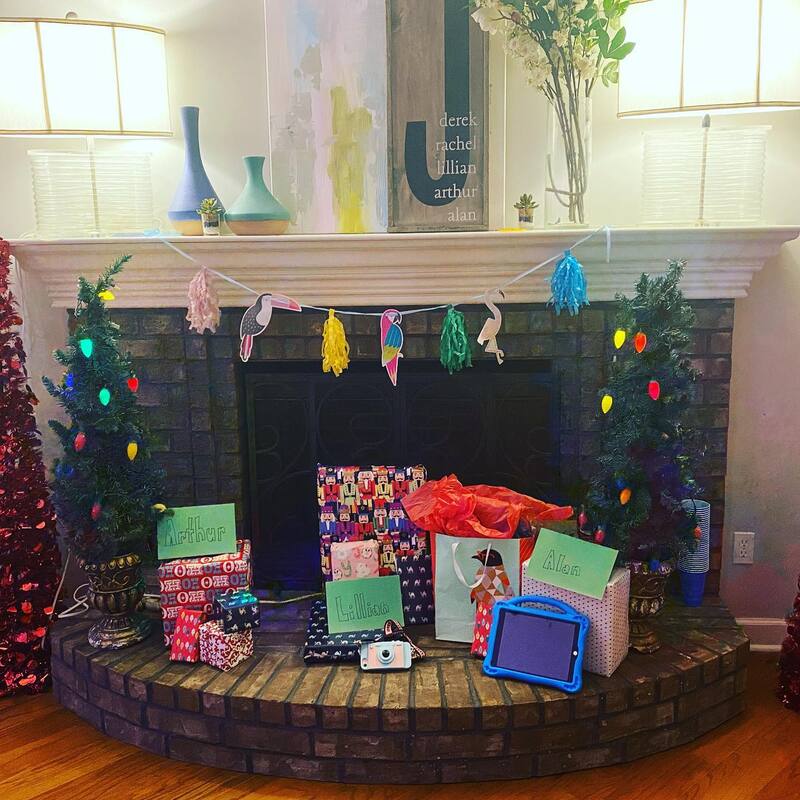
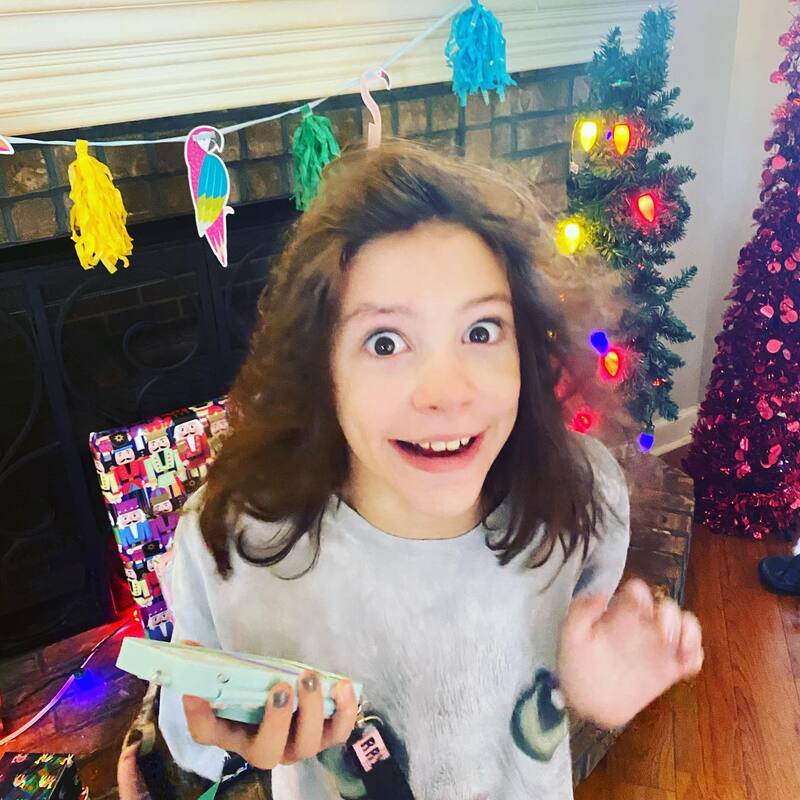
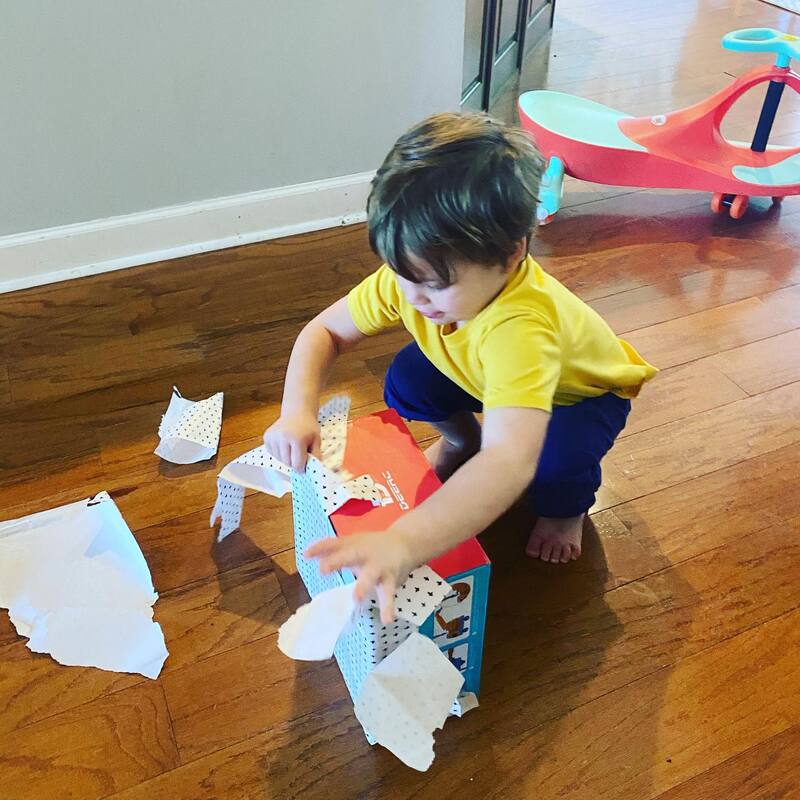
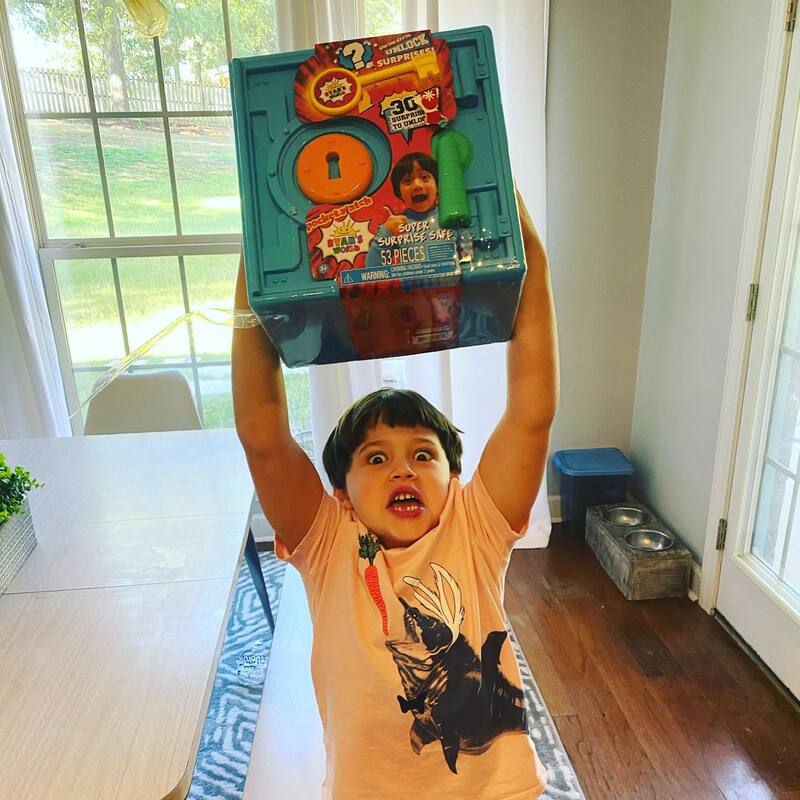
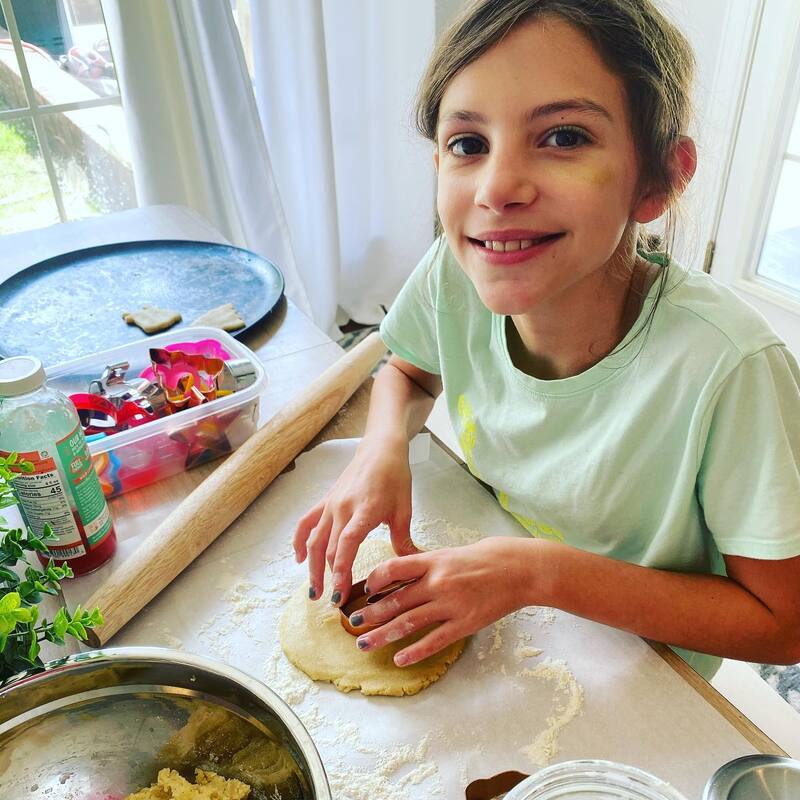
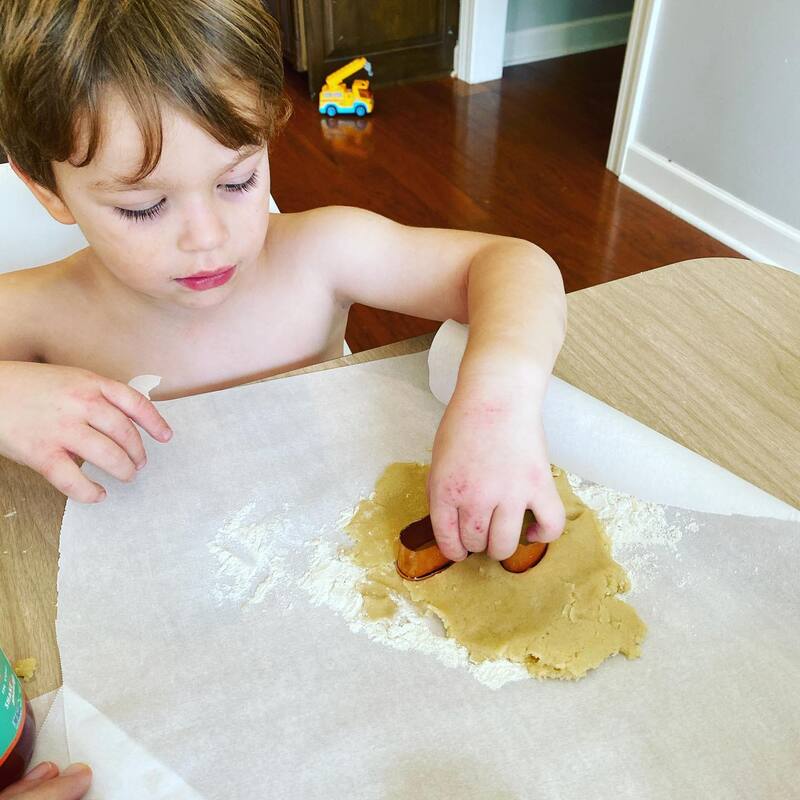
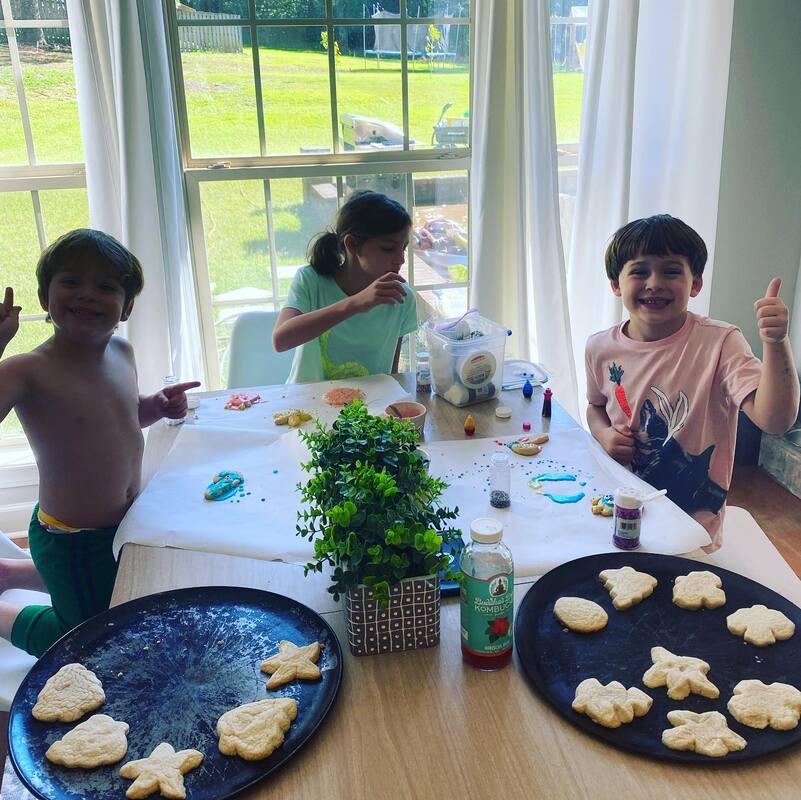
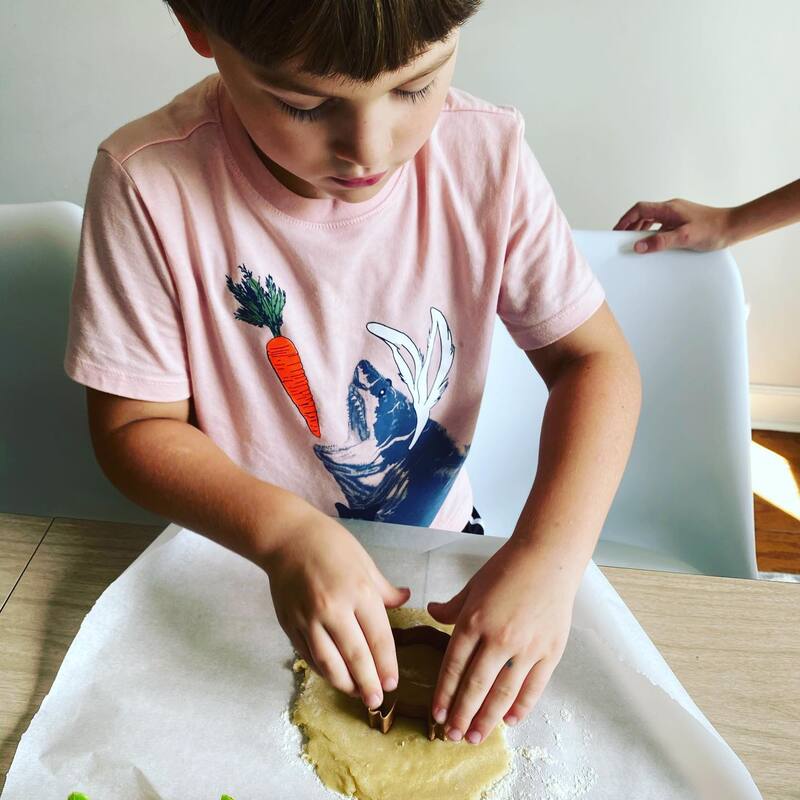
With all of the crazy things going on this year we decided to lift our spirits and celebrate Christmas in July! We bought our kids a few gifts each and after putting them to bed got to work. We put up a few christmas decorations and wrapped the presents in christmas paper for them to discover in the morning. Then, we spent the next day like we would Christmas complete with baking cookies, watching our favorite movie, "Elf", playing with our toys and ordering Chinese food for dinner. It was a great surprise and definitely a bright spot in an otherwise dark time.
0 Comments
Every year for the past 8 years or so I have created a summer mommy camp. This year has been different. I usually work on it in my classroom at school over the course of several weeks when I have a little free time. I have not been in my classroom due to Covid-19 and have instead been at home with my three kids unable to go anywhere with them. It's been a lot. But, after struggling through the acceptance that this is the way it'll be for the forseeable future, I was able to get over my upset and get to work.
My 6 year old just finished Kindergarten and still struggles to read so I've been working with him to become a reader. My 3 year old doesn't know much of anything so I've been working with him on his alphabet. My 9 year old loves reading and is one of those kids you would view as a natural learner. She loves learning new things and devours any book given to her. She is actually Mommy Camp's biggest fan and was sad when she thought we wouldn't have one this year. When deciding on the theme I chose reading to help encourage my boys and continue with the hard work that we've already put into the cause. So, this summer's theme is "Let's Read!" I've created 8 weeks of lessons using "The Magic Treehouse" book series as the foundation. Each week we will read one of the books starting with the first in the series and continuing in order. If you have never heard of this series you will love it! They are about two kids who travel back in time and have an adventure so, they teach history along with the story. Just like all of my previous MC's I have included sensory, art, math, science and dramatic play activities but for this one have put a lot of focus on the reading portion. Because my three kids have very different levels of understanding, I have broken down the reading activities into three categories: Pre-Reader, Beginning Reader and Experienced Reader. My plan is to do the sensory, art, math and science activities together and then differentiate during the reading by giving them each different activities catered to their level. I will probably do this one-on-one so they can have my full attention and help. I will try to post updates each week as we move through the plans so you can see what we've done. In the plans, I have given so many resources and activities that it is unlikely that we will do every activity each week. But, we aren't doing anything else so we might actually manage it! It's organized in a pick and choose format so you can select the activities that best fit your children and time allotment. I hope you enjoy the lessons and that you are doing well during these terrible times. You can download the PDF by clicking the image below. The school has closed for at least two weeks. You have kids to keep from going stir crazy. You need to not lose your mind. Disney+ and Netflix can only keep them entertained for so long. What are you going to do?!
Don't worry! I got you! I've compiled a list of 50 different activities for your kids to do ranging from science, art, outside, quiet time and sensory! There's something for everyone and most of them are low or no prep! Links are included for activities needing more explanation and printables are linked as well! Let's do our best to slow the spread of this virus and help protect our elderly and immunocompromised friends and family. With this list, your kids will look back on this time as fun and exciting and you won't wish you could forget all about it! Enjoy and stay healthy and safe! You can download the activity list by clicking the image above or the link below! My middle child just turned 6 and we celebrated with his current obsession, Pokemon! Check out the activities and party decor below! The weather cooperated and was warm enough to have activities outside. So, I set up the food table on our back porch. I purchased the backdrop on Amazon and used a cheap plastic table cloth for the table. I made the cake with a gluten free box mix and died vanilla icing yellow. I also made the pikachu cake head and tail with yellow scrapbooking paper and markers. For food, I made labels using Canva and served pokeball fruit, jigglypuff puffs, pikachu peeps, caterpie gummies, and pikachu pizza (not pictured) which was just homemade pizza, nothing fancy. For drinks we had mana and health kool-aids. I made the boys matching Pokemon trainer shirts. Lillian didn't want that so she just had the blank shirt. I made myself a Pokemom shirt and used my silhouette to do all of them by making a stencil and painting with acrylic paint. My husband could have dressed up in his costume from Halloween but wasn't feeling it so he donned a Psyduck sticker instead. But, I've shared what he could have worn if he was cooler above along with a link to our Halloween costume post here. I planned TONS of activities to keep the kids entertained since it was at our home and not a jumpy place like most parties nowadays. We had a pokeball toss game, pin the tail on Pikachu, hatch a pokemon, pokemon trainer certificates, create a pokeball, catch all the pokemon stickers balloon pop and a pokemon scavenger hunt! You can download all the things I made for the party by clicking the button below! We also made fizzing pokemon eggs using baking soda and water paste with food coloring. We made little eggs with a tiny pokemon inside and provided eyedroppers and vinegar for kids to "hatch" their pokemon. It was BY FAR the most popular activity. For party favors I found huge red and clear plastic ball containers at Walmart and filled them with some colorful tissue paper, a pokemon card, some tiny pokemon figures, a bouncy ball, a pokemon character mask, and some pokemon gummies. To make them look like pokeballs I used black electrical tape and a center circle that I simply printed out and cut. They looked really cool and the kids thought they were awesome! I hope you enjoyed taking a look at our party! We had fun and it went pretty smoothly. I was even able to be fully dressed and make-up and hair done BEFORE guests arrived which almost never happens. So, I call that a win!
Thanks for visiting! I don't know about you but, I conduct most of my Christmas shopping online. With three kids it's just too hard to find the time to get it all done any other way. So, while standing in my craft room surrounded by empty boxes I decided to make use of them! I quickly searched Pinterest for some tips and managed to find an easy tutorial for creating a cardboard box house with just scissors and tape. I whipped together three, one for each kid because otherwise a fight was sure to happen, and plopped them in the entry-way of our home with a container of markers. It is now one week later and the cardboard village has had a few modifications but, the kids have been devoting a TON of their time in creating their own little homes. There have been a few times when I've found the little one with scissors trying to conduct a little home improvement like his older siblings which was a bit scary but, I swear, these kids LOVE these things. It was a fab idea and I don't even mind the mess because they are all so quiet while updating and modifying their spaces with pillows, blankets and books. It's been great!
Taking a cute Christmas photo doesn't have to cost an arm and a leg! Grab some matching pj's or outfits and give them some Christmas lights and voila! It may have taken my husband and I shouting things like "poopy face" and about 100 photos to make this magic happen but, I think it was worth it. After a quick run through a photo editor I ended up with some adorable and FREE Christmas pics that capture my crazy trio pretty perfectly.
I always try to throw together a few themed activities depending on the time of year. This year I brought back a popular activity from last year, Pumpkin Destruction! I just gave the kids some pumpkins, water, small hammers, golf tees and paint and let 'em at it. They loved breaking the pumpkins open and exploring the insides or, if they are less into destruction, simply painting them and washing them over and over again. It kept them entertained for at least an hour. There was quite a mess afterwards but, that wasn't a big deal since they did it outside.
Halloween is one of my favorite holidays! Every year I make a good majority of our costumes because I like the craft factor and knowing that no one will have the same costume as me. Sometimes we go with a family theme like last year when we went as characters from "The Greatest Showman" and sometimes we mix it up with some of us going together and others not. This year, Arthur wanted to go as Pikachu so we put the boys in matching costumes as Pikachu, Pichu and Ash. I didn't really love the Pikachu costumes you could buy and decided to make my own. So, I purchased yellow pants and sweat shirts for the base. Then I got stiff yellow, black and brown felt and cut out ear and tail shapes. I used elastic waistband material to attach the tails to and glued the ears to black plastic headband blanks. Then I drew on a little black nose and red cheeks and voila! I thought they were super adorable. Plus, the clothing items can be worn again and again. Ash was even easier. I ordered a blue hoodie and an Ash hat from Amazon along with a pair of green gloves. I cut off the fingertips of the gloves and we had an Ash. Easy. As for my and Lillian, she wanted to go as a witch, but not a cute one. So, we went as the Wicked Witch of the West and Glinda the Good! I happened to have a Glinda costume that I found at Goodwill several years ago so the majority of my costume was ready to go! I simply made a crown using pink glitter craft foam and gems. I also made a wand by purchasing a pre-made wand and painting it pink and adding gems. I also bought a red wig to complete the look. For Lillian, I purchased all of her costume and didn't actually make anything. But, I did paint her green. I purchased all of her items from Amazon. We also went to a pre-Halloween event but didn't want to ruin our costumes so we threw together a few more. Did I mention I love Halloween? I happen to be pretty ok at facepainting and Alan wanted to wear his Spiderman costume. So, I gave him a quick facepainted mask. Arthur wanted to be creepy and decided being covered in spiders fit the bill. So, I drew little spiders all over him. Lillian already had a vampire costume and chose to wear that with a bit of lipstick. I found a fun pic of Lisa Frank style leopard face paint and did my best to recreate it. And Derek went as the Brawny Man. Hope you had a fun Halloween!
My son Alan and daughter, Lillian, have birthdays one month apart from each other. This causes me great strife when trying to plan a party. Last year I threw one for Lilly turning 8 and my husband and I took the day off to take Alan, turning 2, to the zoo with just us. But, I feel like it's a bit unfair for him not to get a party too. So, this year, I am combining them into one! I chose a donut theme because they both love them and it is somewhat gender neutral. I've decided to have it at a local fitness center pool but will still have several fun touches like a donut hole bar, pool games and diy donut slime for party favors. I can't wait to show you the cuteness after the party this weekend but, until then, check out my party plan and adorable invites I created with canva.com below!
Back to school is a crazy, busy time! I did manage to pull it together (by staying up until 1am) and craft custom t-shirts for my crew's first day back as well as gifts for my teacher peeps! Check it out! I used my silhouette machine to make stencils for the tshirts. I used the same stencil for all of the shirts but took out the middle and added the different grades. I love making stencils because I can reuse them unlike vinyl which is definitely a time saver. Once the stencil is made you just need the tshirt, (I get mine from Wal-Mart and Target), and acrylic paint in your choice of color. I used the same stencil technique for my teacher bags. One stencil made ALL of the bags! I grabbed the totes at Wal-Mart for 3 for $6. Many of my friends were trying to improve their health and weight so I honored their efforts and made low carb chocolate zucchinni muffins. They were AMAZING and no one could believe they were diet friendly! I paired that with a low calorie frap and voila! Adorable gifts to let my friends know I care! I lucked out and got a huge furniture upgrade for my room this year which called for a total re-do on decor. So, I made a bitmoji door greeting, used my silhouette to create a custom door sign and "hola" greeting, added curtains and many more things to make my room it's best version of itself. I love my new class and am definitely ready to kick-off the greatest school year ever!
So....I kind of dropped off the blog for the entire summer. I've been enjoying life. Three kids keeps me quite busy and I just didn't feel like stressing out about making posts. Mommy Camp kind of happened and kind of fell through the cracks. As my kids are getting older, they have varying interests and we are pulled in many directions. The addition of swim lessons to our already busy summer schedule kept our summer days pretty full with all sorts of classic summer fun. That being said, we did get to some of the plans I made for Mommy Camp this summer and although we didn't finish, I'm not upset. I'm happy that I can provide a classic kind of summer for my kids. A summer full of too much sun, television, late bedtimes, friends and food. They got a little learning thrown in there and we visited our favorite place, the local library, at least once per week. I'm not going to detail all of our MC adventures below but I will give you a taste of the fun we had. We kicked off MC with great fanfare and began learning about our place in the world. We looked at a map and identified where we are in relation to Spanish-speaking countries. And played with some map manipulatives. We also discussed basic Spanish greetings by watching some cute videos and completing some activities. Additionally, we prepared for our "trips" by decorating wooden boxes for our suitcases and receiving our "passports". After preparing for our "trip" we got to take an adventure to Mexico. They presented their "passports" and "tickets" and boarded the "plane". They took turns flying us there. Upon arrival they played with a dramatic play taco station and practiced a little Spanish food and restaurant vocabulary. The rest of the Mexico week focused on greetings and introductions. We played with some name recognition using a baking soda and vinegar discovery activity and name completion blocks for the toddler. The bigger kids focused on practicing specific phrases like, "Me llamo...", "Hola.", "Mucho gusto." and "Buenas Noches.", after watching a video and reading some books. Arthur, my 5 year old, was especially interested in the phrases for good night and good morning and continues to this day to use them most days. After that I went on a business trip for professional development for a full week and the summer MC plans kind of deteriorated from there. We did manage to complete a bit of the content about Costa Rica focusing on animals but summer kind of ran away from me after that. For Costa Rica animals we had some sensory fun with animals and globe shaving cream. We also focused on our names and played with baking soda and vinegar name discovery for the toddler. The big finale to summer was an actual trip to Mexico via cruise. We all enjoyed the relaxation, tacos and sunshine. They held an iguana, swam in the ocean, made new friends who spoke no English at a lazy little beach far from the tourist spots, had fun in a clear kayak and ate fresh mango. I Again, apologies for my inability to follow through this summer. The lessons are fab and will definitely treat you well should you choose to use them. Maybe I can continue on with them next summer!
We had an eventful 4th full of pool time, sunshine, delicious food and, of course, fireworks! We also managed a few craftivities so check out our fun below! We started out with making some festive t-shirts. These were super easy and looked adorbs! After the t-shirt craft we braved the heat to decorate our driveway with some patriotic stars. I mixed corn starch, water and food coloring in plastic squirt bottles to create washable sidewalk chalk paint and cut star shapes (kind of) out of leftover cardboard for stencils. I also supplied the kids with some paint brushes to help spread the paint around. They looked pretty fun and washed away with the first rain. After spending the morning swimming with friends, we hosted our neighbors and had some delicious food! I found a fabulous recipe for barbecue grilled chicken that we used. We also made a watermelon and arugula salad and Mexican street corn. Yum! I also had the great idea to make a layered drink in red, white and blue for both adults and a kid version. They were both an epic fail. But, my patriotic berry trifle did not disappoint! We finished out the evening with a few less clothes (it was ridiculously hot), fireworks and friends. It was a great 4th!
I was running a bit behind this year on creating the summer MC but, I've finally finished! I am going to attempt to teach my kids Spanish this summer. Plus, I'm borrowing an idea from a previous MC and where we pretended to travel to various countries. This summer we will be "flying" to various Spanish-speaking countries to learn about their culture while we learn the language. The around the world MC was one of my favorites so, I'm hoping this one will also be a success.
Even though I am a Spanish teacher I have not taught my children Spanish and, to be honest, I feel like a bit of a loser for it. So, I'm going to try to remedy that this summer. The problem I've been dealing with is that my husband is not fluent so we don't use Spanish at home. I think this is my best planned MC yet and I think we are going to have a ton of fun while learning. Plus, we're going on a cruise to Mexico at the end of the summer so my kids will get a real opportunity to use what they've learned. I hope you find my lessons fun and educational. Be sure to check back each week while I share our weekly adventures and don't be afraid to share yours too! You can download the entire MC for FREE by just clicking the image below! It includes all of my lessons, a bunch of dramatic play printables I created and links to all of the other printables and activities! Plus, I am including my printable passport and passport stamps below for you to download as well! Enjoy! I am sooooooo ready for Spring Break and it is finally here! I have literally just finished making a MC for Spring. (Seriously, it's 4:40 on the Friday of the first day of break and I am still at work! Why?!) So, I'm not going to write any more about it. It is fabulous and full of science, math, reading, sensory, food ideas, video links and crafts for your littles. And it's FREE as always. So, enjoy and have a great time! I'll post our fun once we've had it! To download, just click the image below.
We held Arthur's 5th birthday party this weekend so I finally got to put all of my hard work on decor and planning into action. You can check out the party plan I created in this post. I was really happy with how everything turned out and it seemed like everyone had a great time! For the food I did pretty easy and quick stuff like chips and pre-packaged sweets but, I made puny labels to make everything seem way more impressive which you can print out at the original planning post. We made hotdogs and wrapped them in aluminum foil for quick grabbing and I made the cake using good ole' Duncan Hines box mix and icing but, it was super yummy with double fudge cake and marshmallow icing. To fancy it up a bit I made green slime to pour over the cake. It was easy to make using lime jell-o and tonic water (it would have glowed under a black light). For the backdrop I cut out building shapes from black paper and glued them to a white paper. Then I free-handed a ghost and red "no" symbol and glued it all down. It was quick, easy and cheap but made a nice statement. For the table I put down a black plastic tablecloth and then cut slime shapes out of a green plastic table cloth and draped it across the front. I also set up a photo booth area with fun props I made and you can print out on my original planning post. I free handed a giant marshmallow man and city scene on white butcher paper and colored it. Then I cut it out and pasted it onto black paper to make it pop. I was most proud of the goody boxes. I purchased popcorn boxes and cut and taped them to create a shape like the ghost trap. Then, I MADE a ghost trap printable (I was going to use a free printable I found but I realized it was for a much smaller box and it didn't work.) Once the printable was made, I printed, cut and taped 25 to the already cut and taped ghost trap popcorn boxes. It took quite a bit of time but aren't they fabulous?! To complete the magic, I put green tissue paper inside each one and topped them off with the treats which are equally fab. For the treats inside, I purchased silly string and created a portable proton stream label which can be found in the original planning post. I purchased mini, glow-in-the-dark slimes on amazon and taped ectoplasm labels to them. Additionally, kids got a green twisty sucker and a velcro wallet. Why a wallet you ask? Well, I made custom ghostbuster ID badges for all of the kids! I even laminated them. They are legit! You can find the editable ID badge document and the printable ghost trap box below by clicking on the images. I also made Arthur a custom Ghostbuster shirt that turned out pretty cute. I created a cut file for my Silhouette machine. I used stencil material for cutting and then used acrylic paint to fill in the stencil on a shirt. I feel like the party was a great success and everyone had fun! I hope you found some inspiration for your next party!
|
meet rachelRachel is a mother of three, elementary Spanish teacher and part-time blogger who loves crafting, creating fun and engaging activities for her children and students and hanging with her friends and family. She blogs about what she's doing and her interests at any given time which vary. She's a little OCD and always looking for her next project. Her husband calls it, "focusing her crazy", but she just calls it fun. Archives
June 2023
Categories
All
|