
Wow! I've been ridiculously busy with all sorts of things that have kept me from posting for a bit. We listed our home for sale and sold it within two weeks! We then had to find ourselves a new home that met the needs of our growing family. We've been dealing with all of the technicalities involved with selling and buying homes along with packing and planning. Oh, and my husband dislocated his shoulder being a big kid with our son. He decided to head down a tube slide on his belly and the end result was a hefty bill, pain meds and three doctors who worked for forty-five minutes to put everything back where it belongs. So now, we're quite a pair with him having only one functional arm and me being almost 7 months pregnant. But, we've hired a moving company and are actually moving in today!
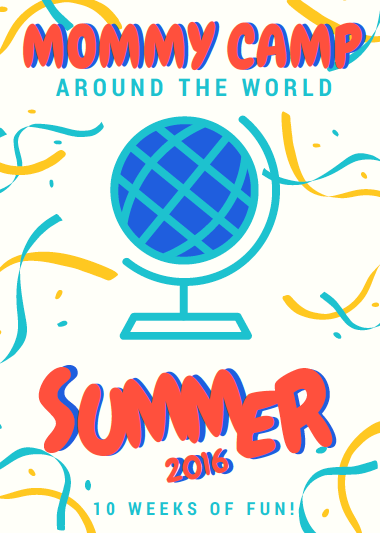
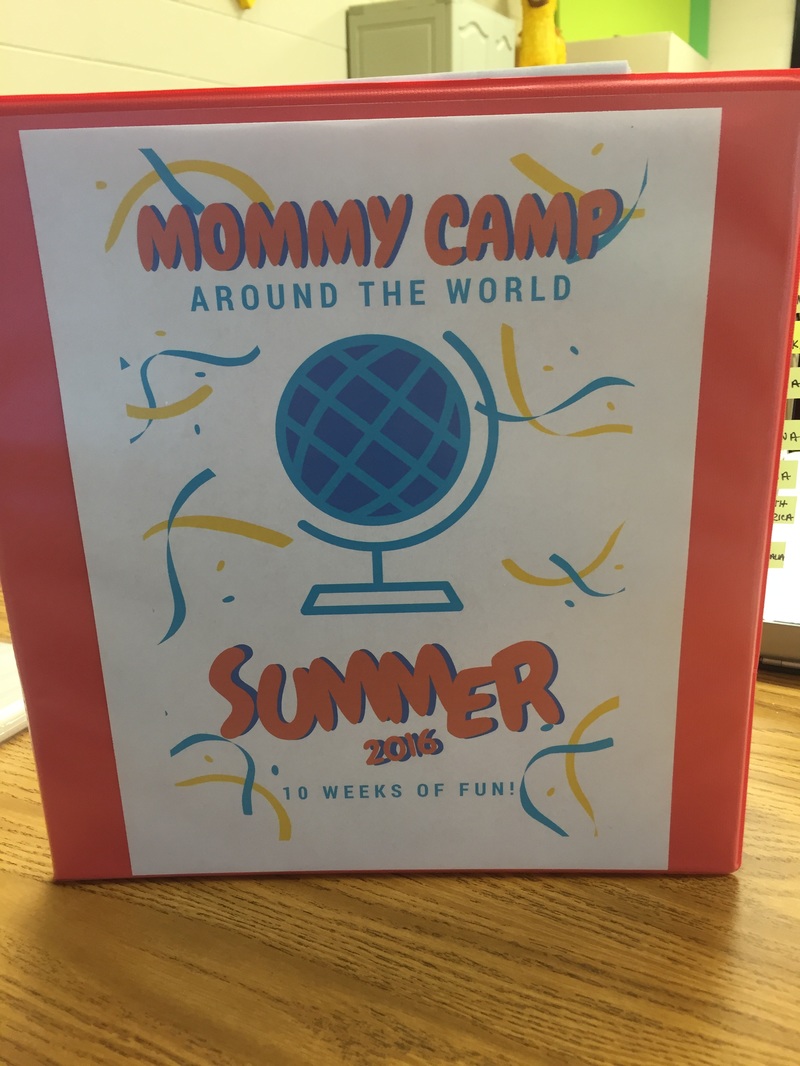
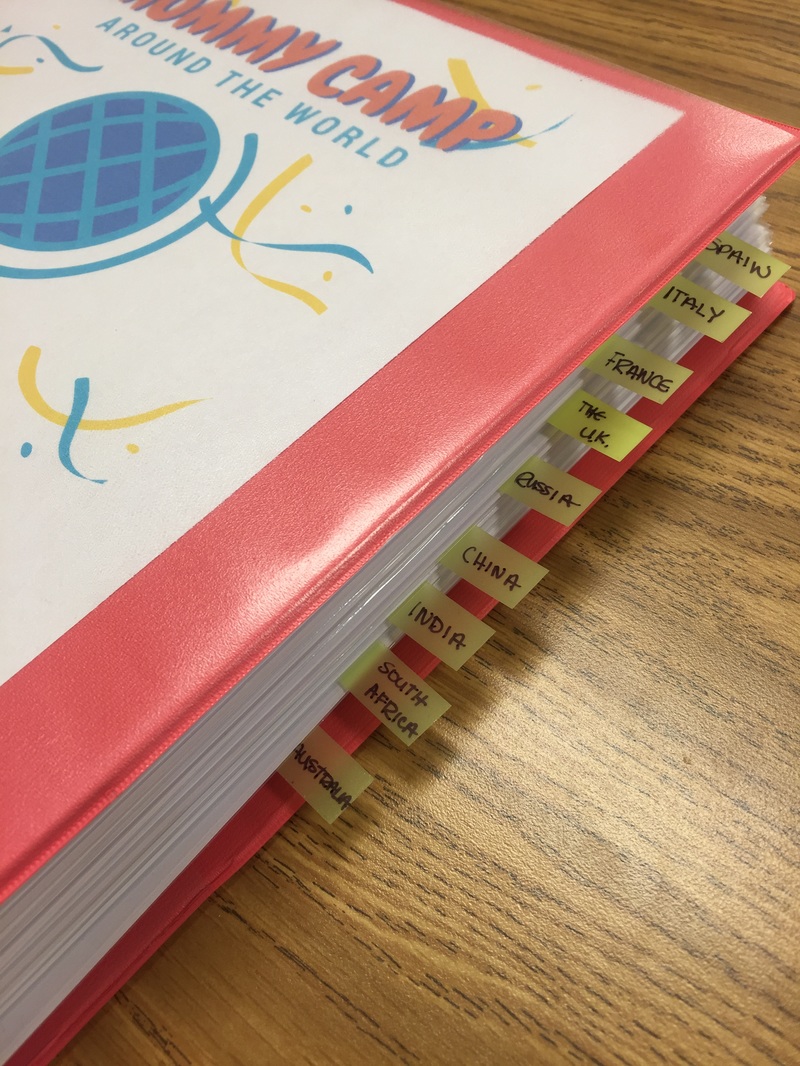
Between all of those things going on, I did manage to complete two weeks of Mommy Camp but have unfortunately fallen behind my goal and will probably not make it to the last few countries for a bit. But, in the rest of this post you can find out about all of the fun we had learning about The U.K.!
Between all of those things going on, I did manage to complete two weeks of Mommy Camp but have unfortunately fallen behind my goal and will probably not make it to the last few countries for a bit. But, in the rest of this post you can find out about all of the fun we had learning about The U.K.!
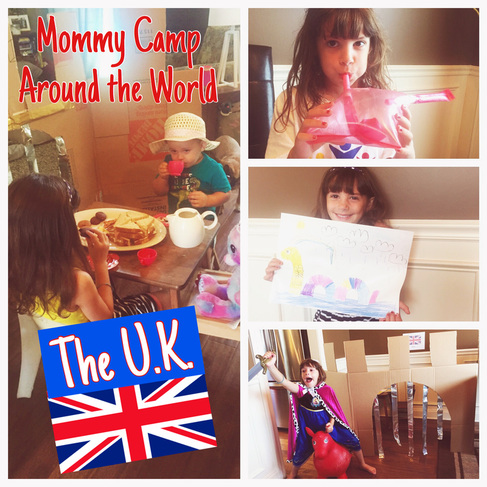
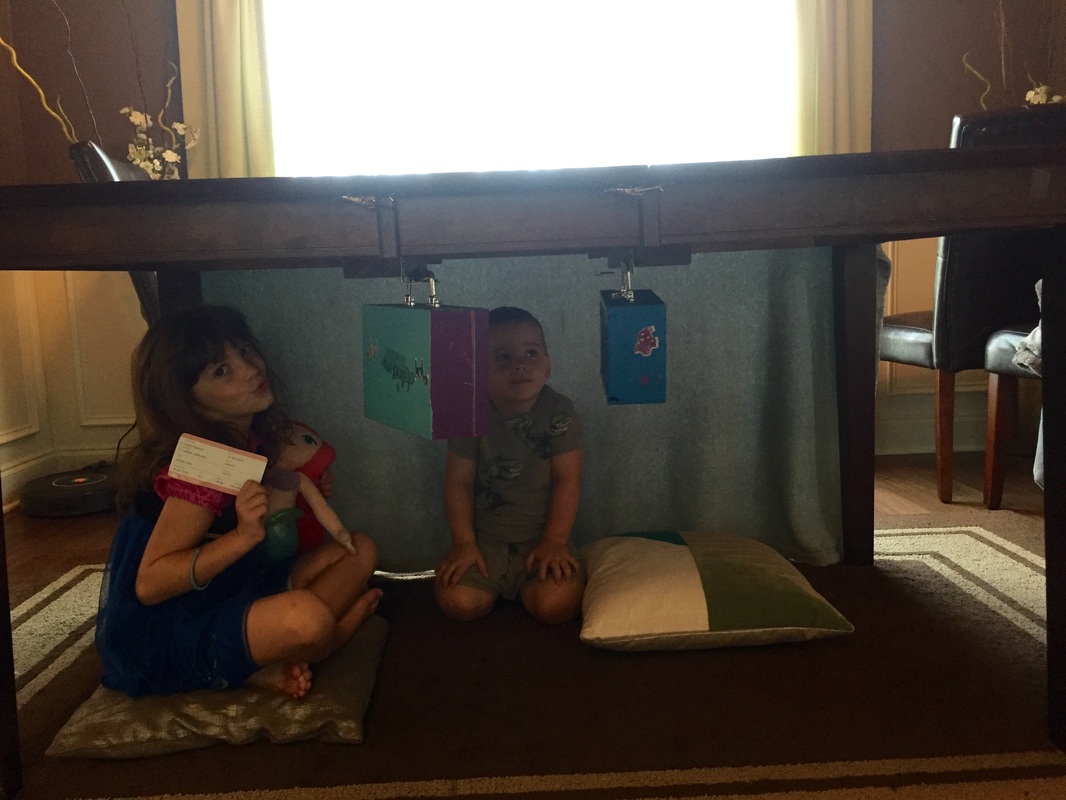
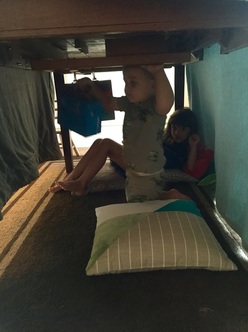
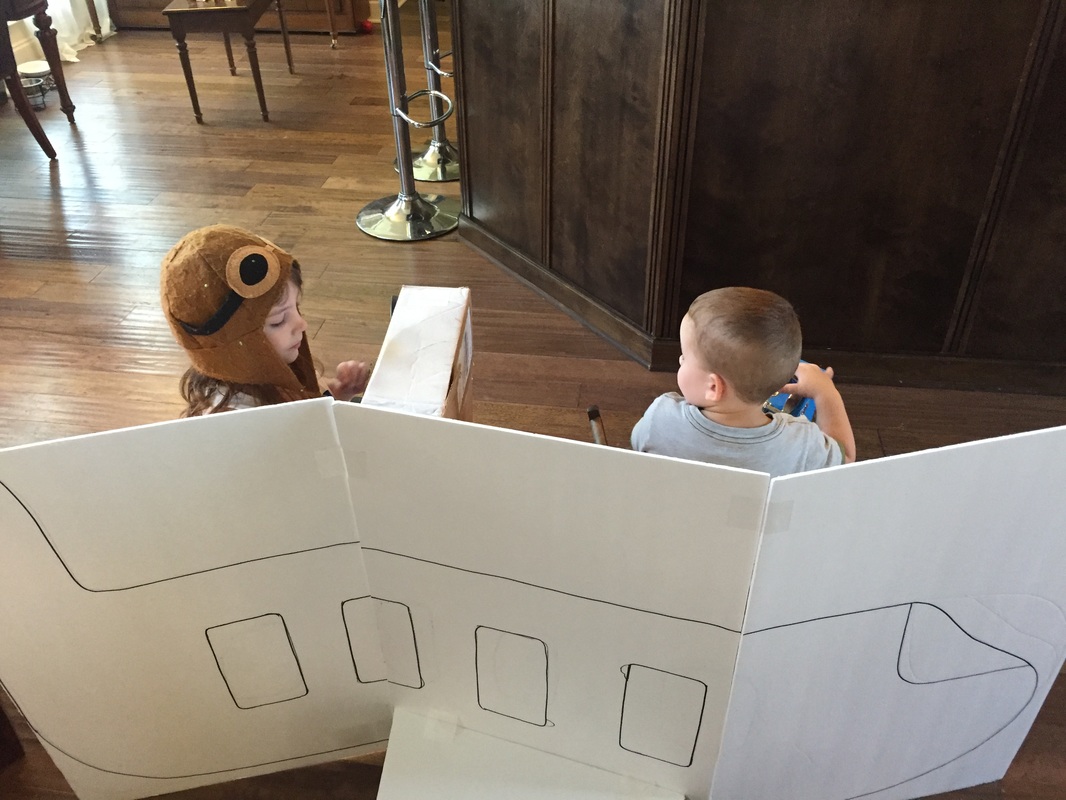
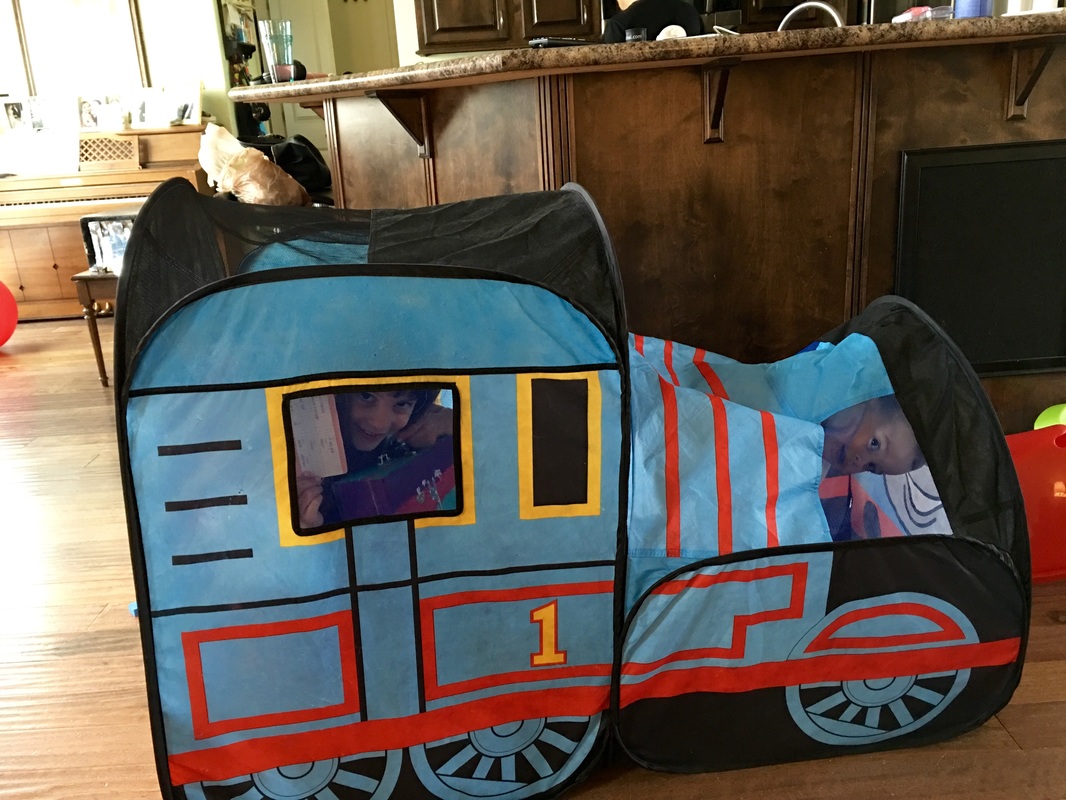
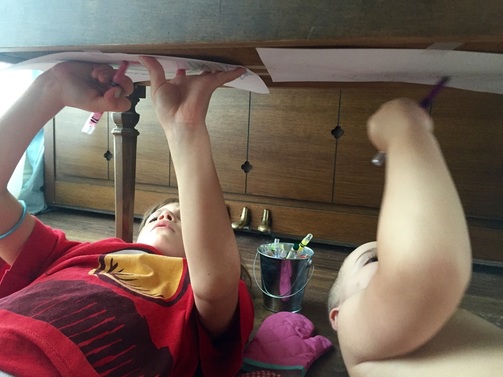
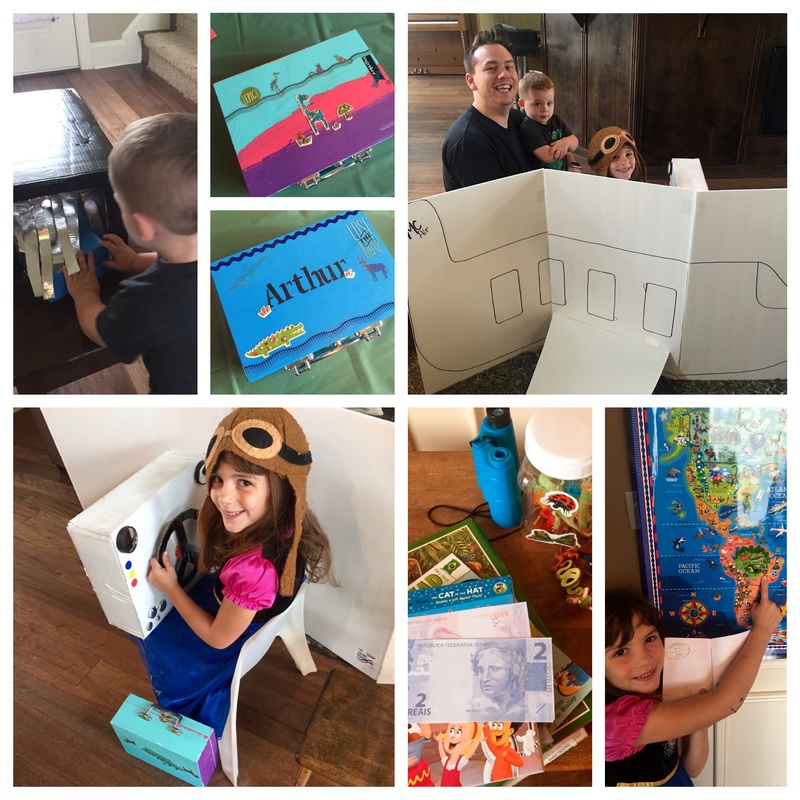
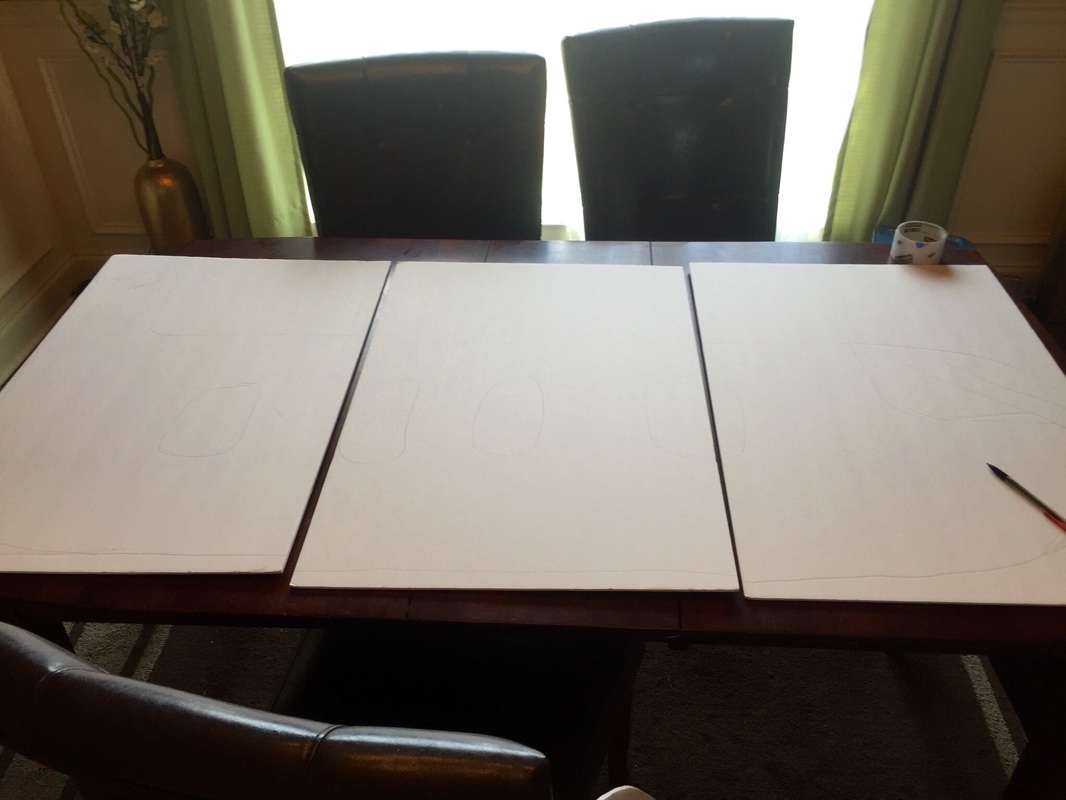
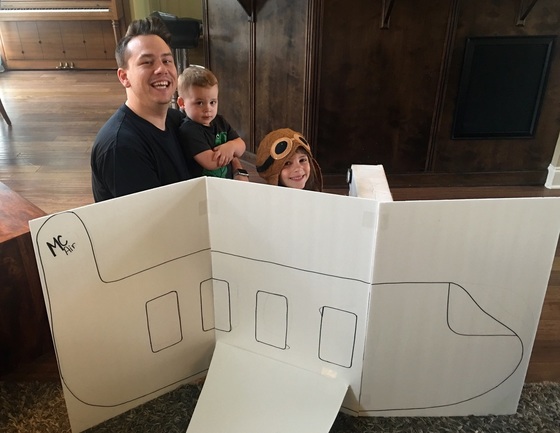
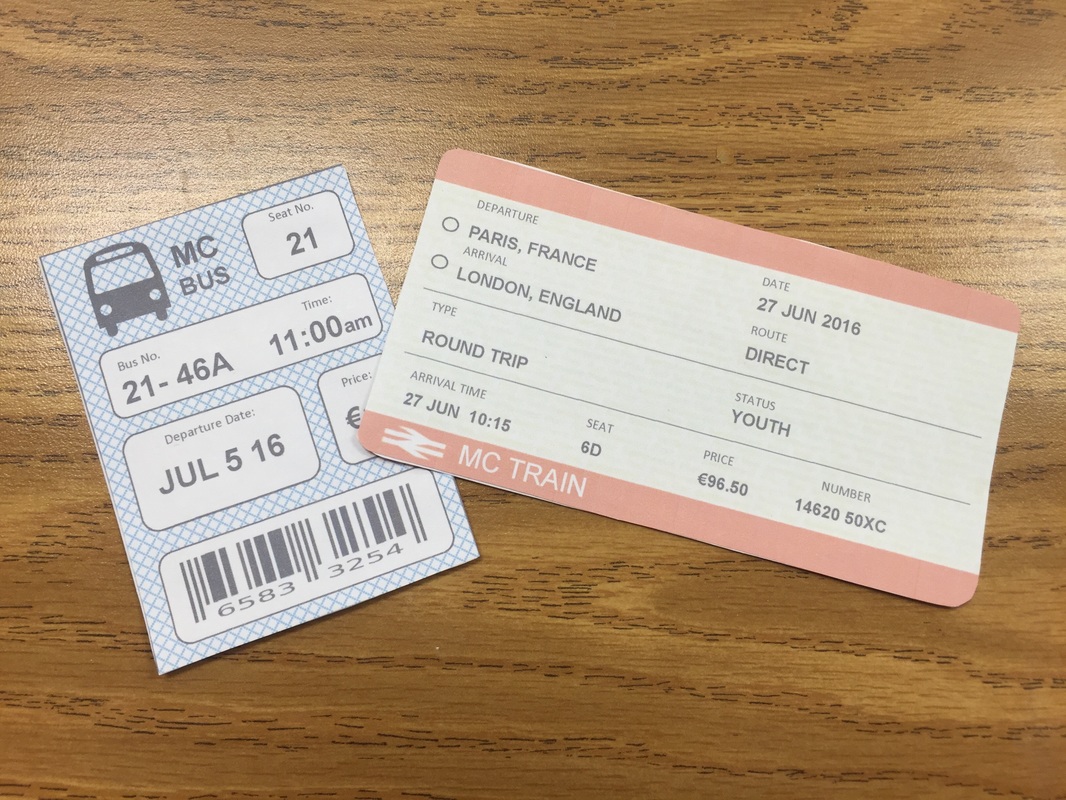
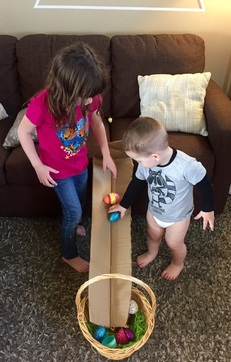
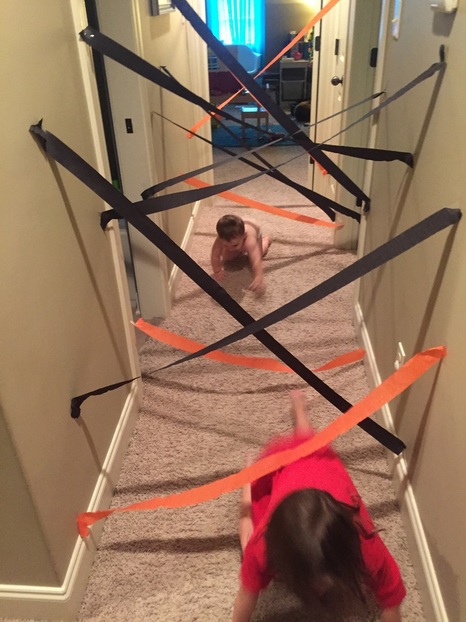
We kicked off the U.K. on the week of the 4th of July which I thought fit nicely in regards to gaining our independence. After a very fun evening with friends, fireworks and ribs, we began our week with a trip in the chunnel, the underground and water tunnel connecting France to Great Britain. To simulate the Chunnel, I covered our dining table with a blanket and had them board the Chunnel and take a ride under the water. Being clever kids they even devised a way to store their luggage in the "overhead compartment" using the clamps for extending the leaf of the table. We also watched a bit of the show Modern Marvels about the building of the chunnel and a few videos of people riding it.
 |  |
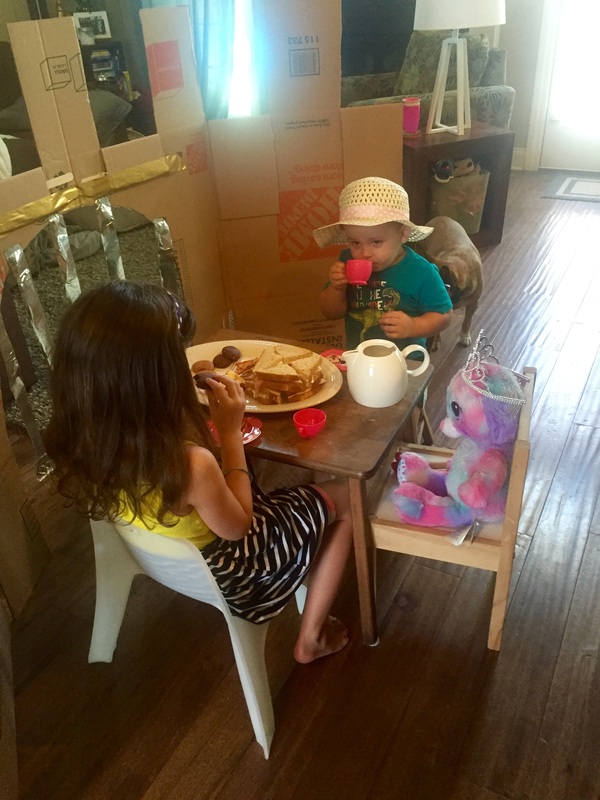
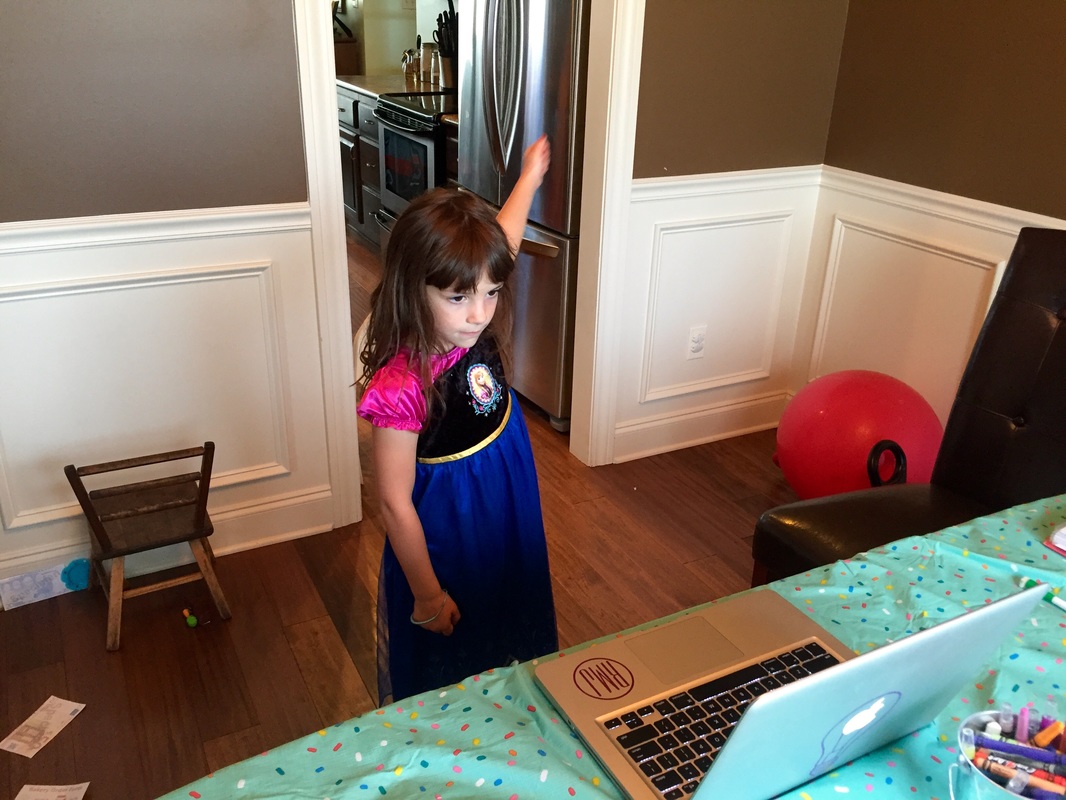
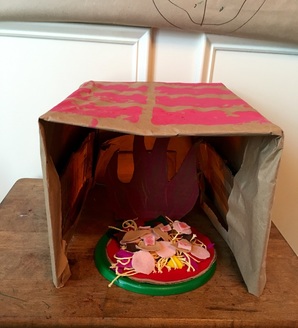
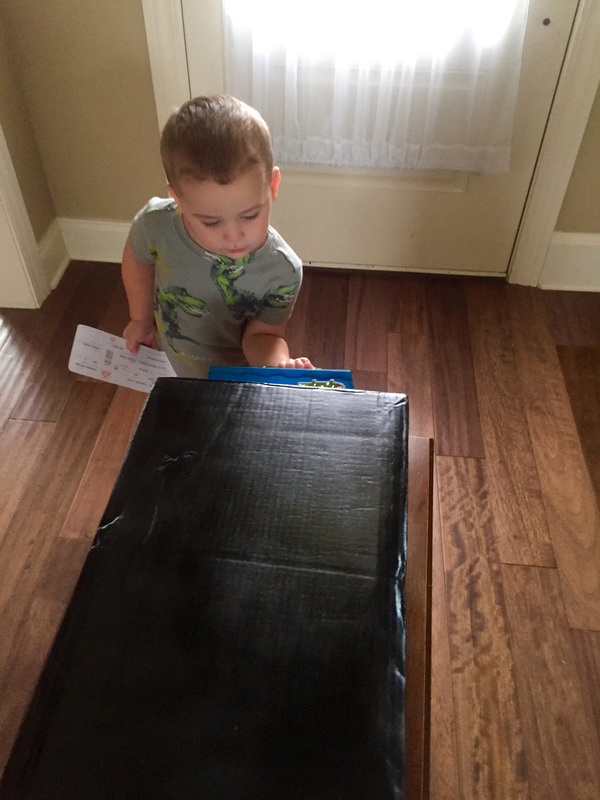
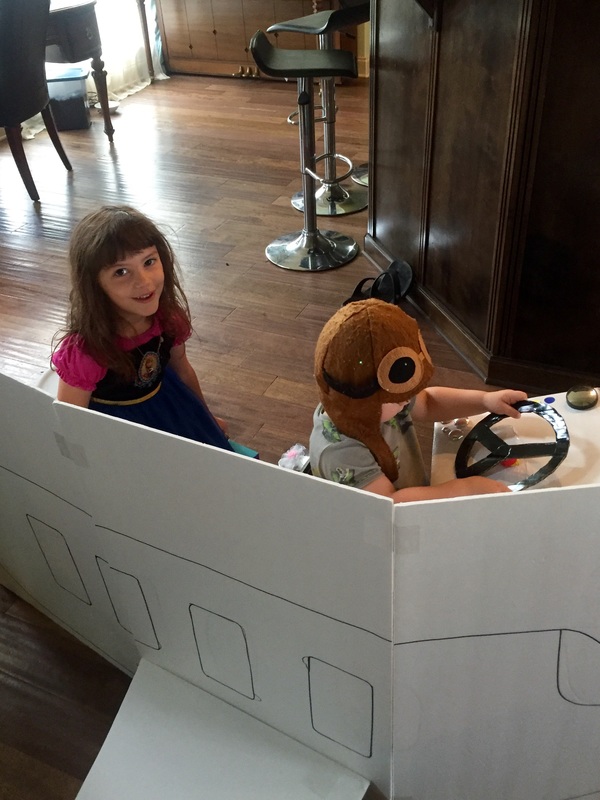
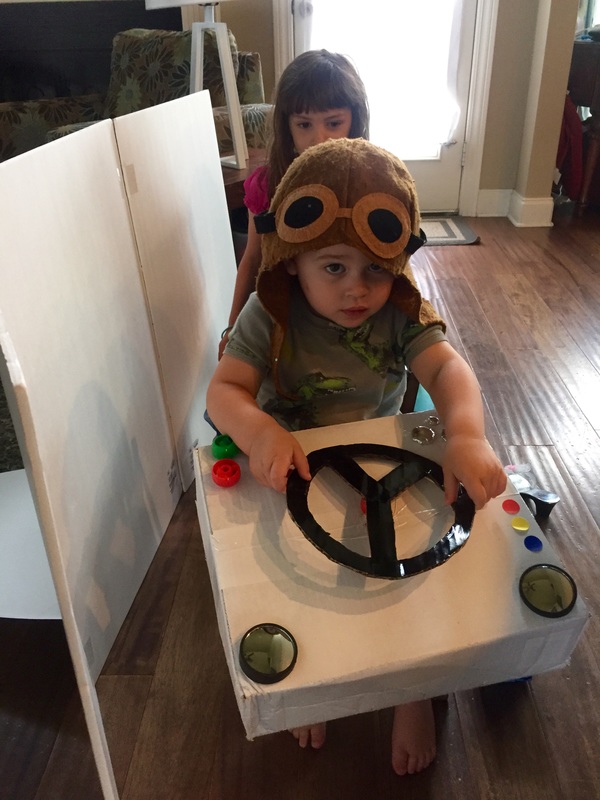
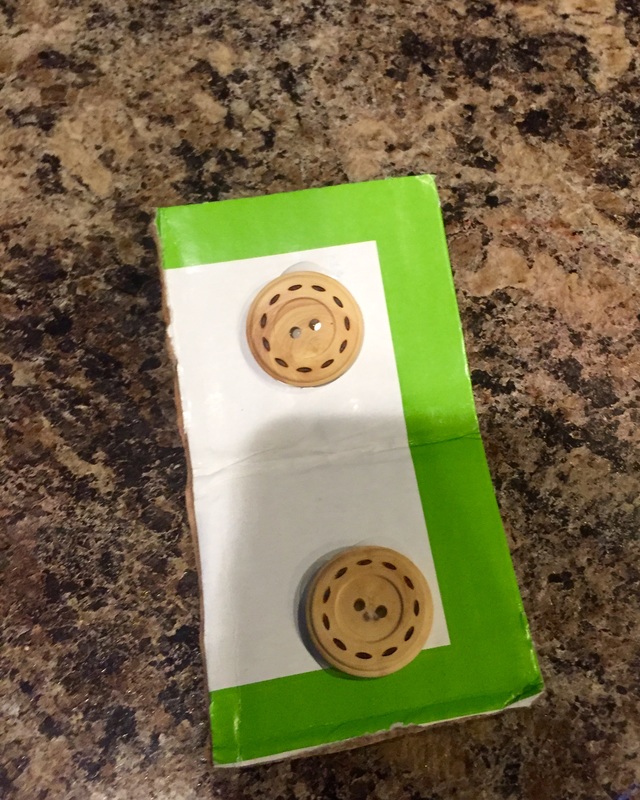
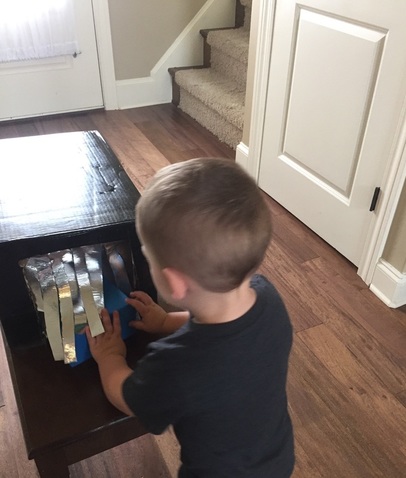
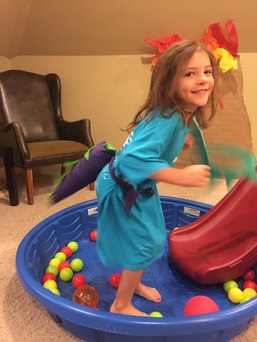
Upon arrival, the kids had a blast playing in a diy cardboard castle that I managed to whip up in only 15 minutes! I was really pleased with the result and am excited to share it with you!
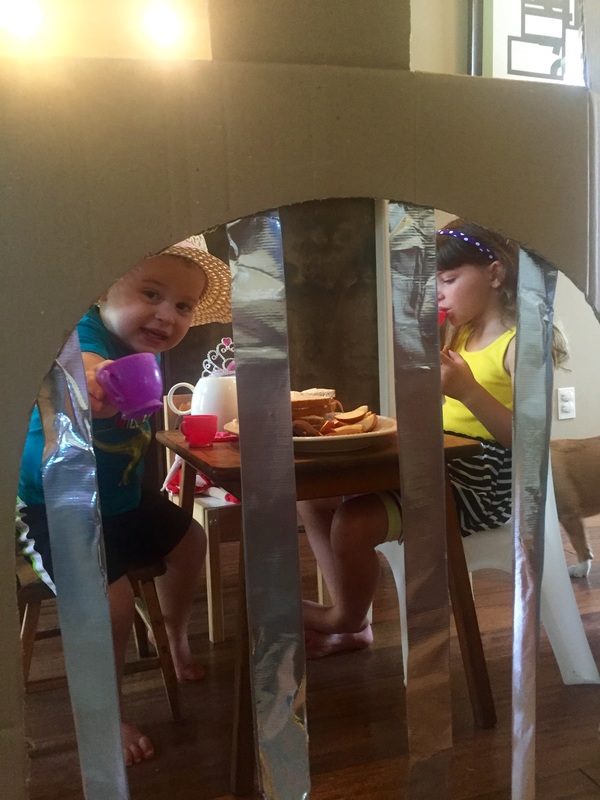
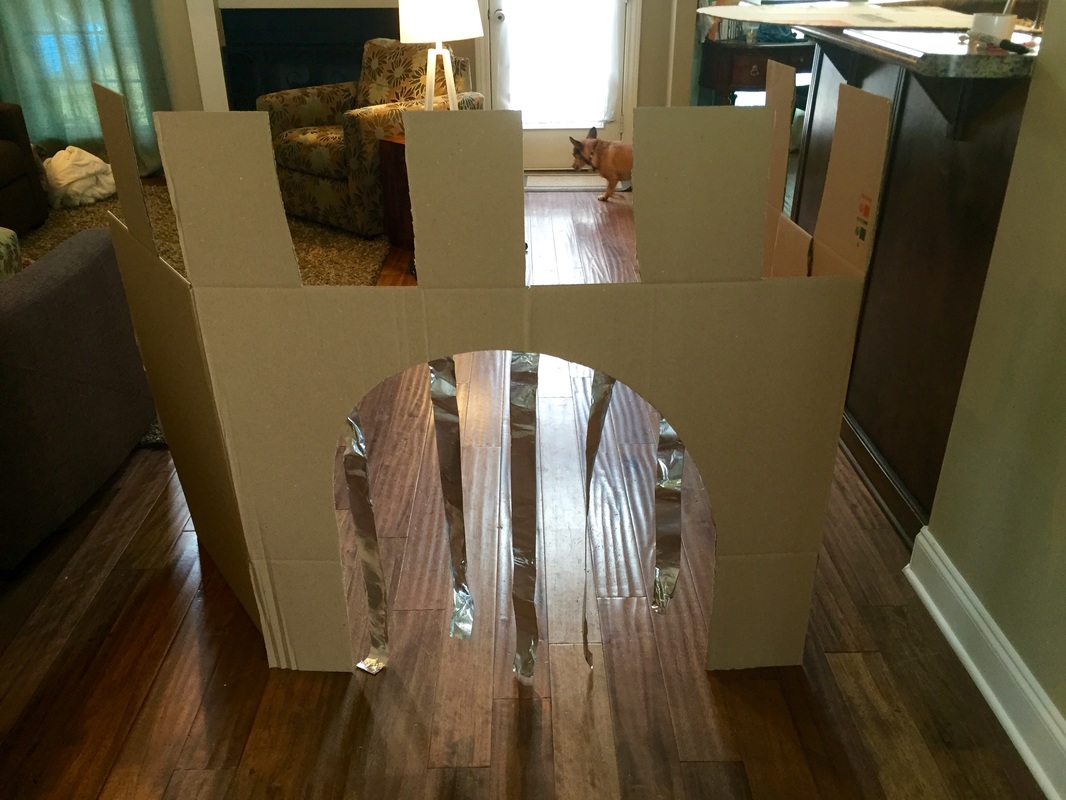 15 min. DIY Cardboard Castle! | 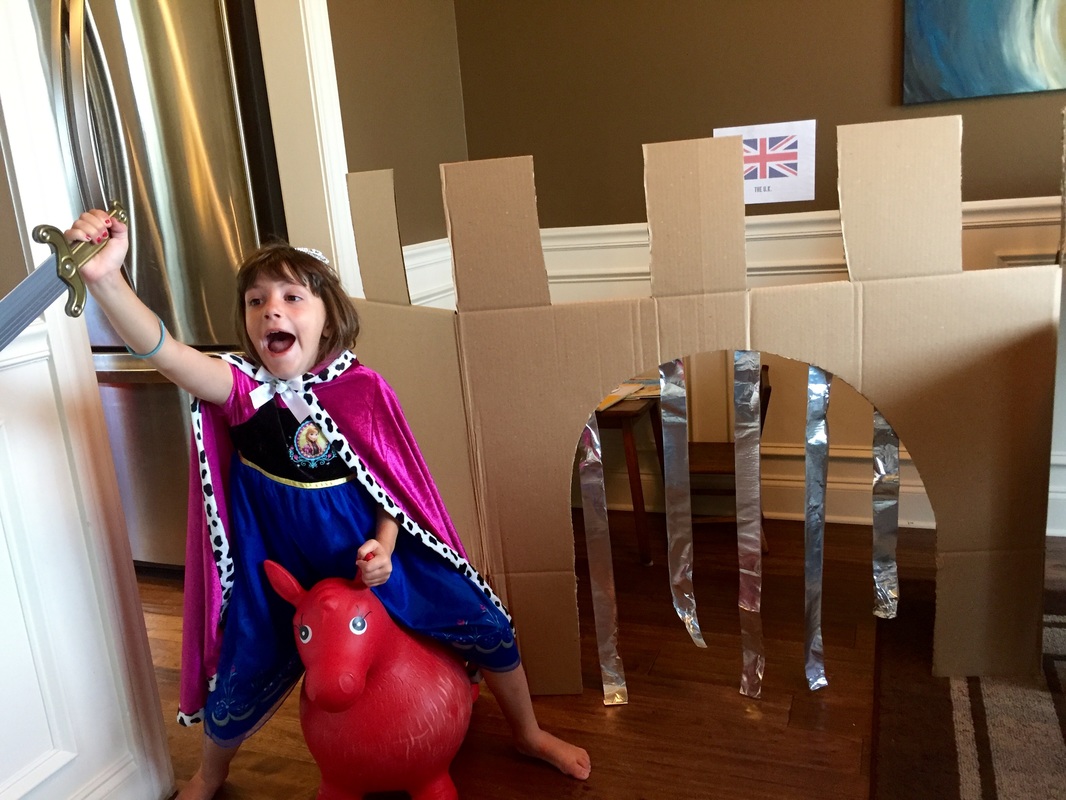 |
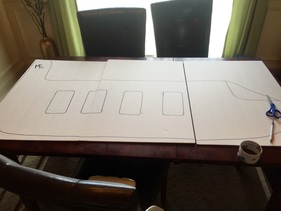
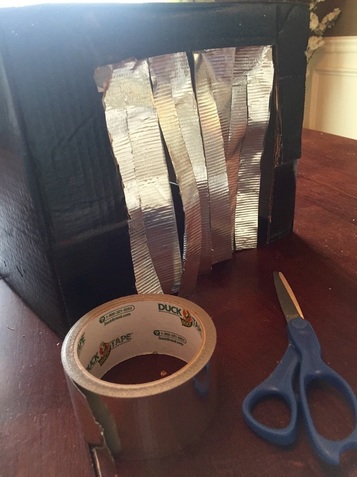
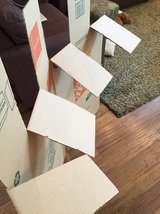 After cutting one fold of the box rendering it flat, make slits from the top of the box and fold them over to create the classic castle shape. | 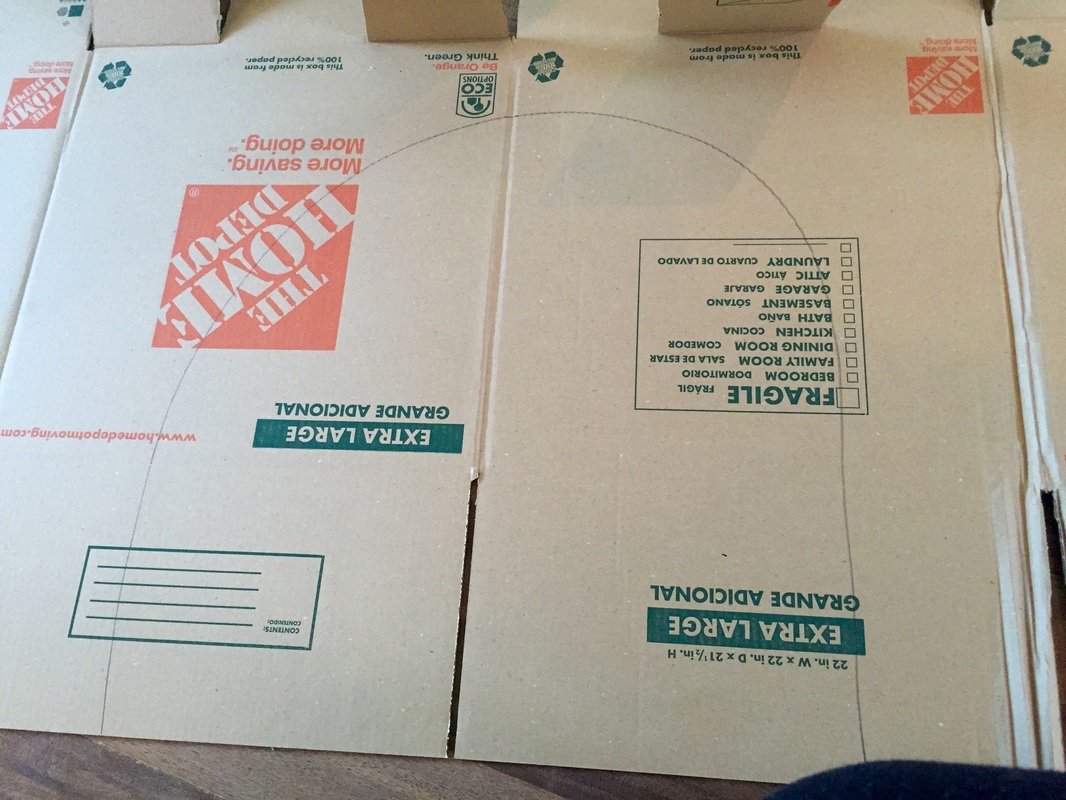 Draw your arch and then cut it out to create the entry. | 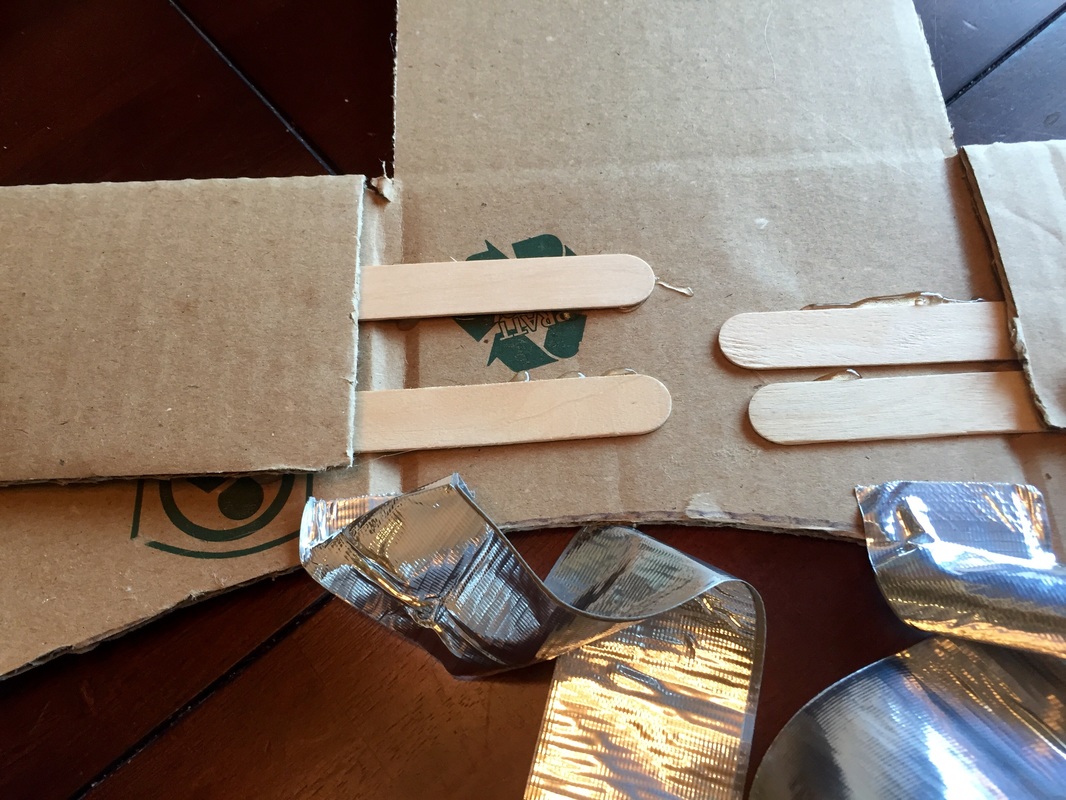 Reinforce joints with popsicle sticks and hot glue. Then add silver duct tape that is taped to itself to create two non-sticky sides to the entryway. |
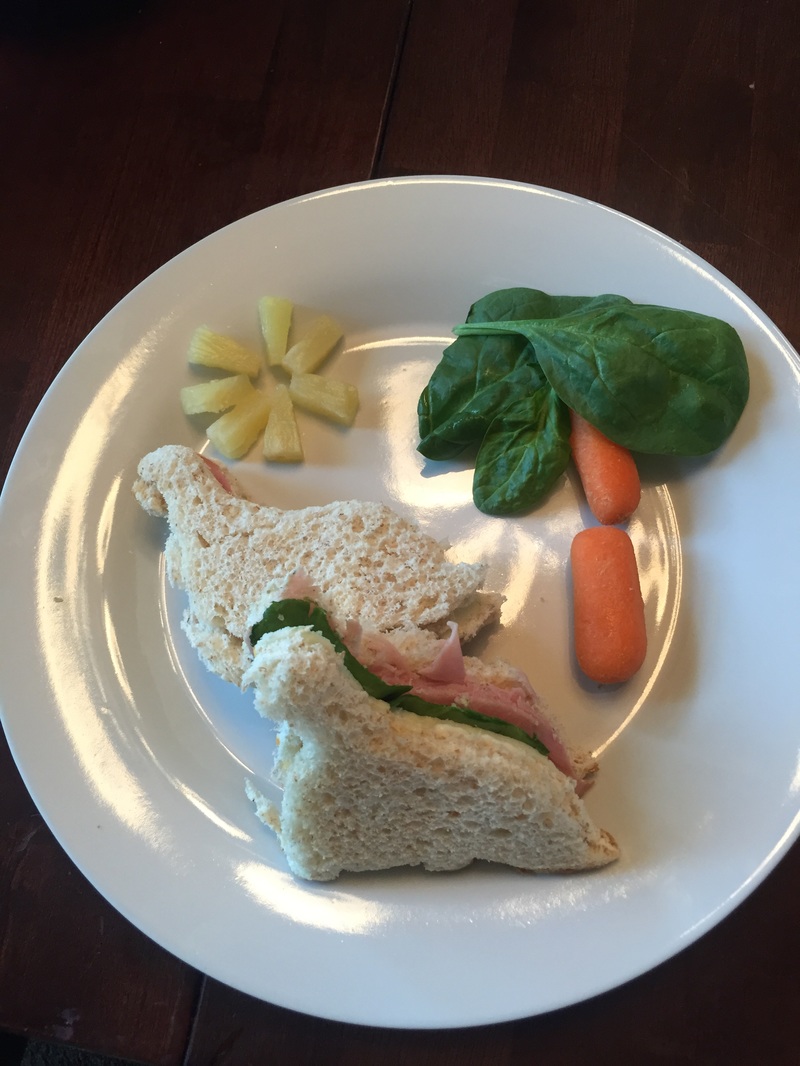
To create the diy cardboard castle all you need is a large box (I purchased a new one from home depot for about $2.), some scissors and/or an exacto knife, some silver duct tape and large popsicle sticks. To begin, I cut one fold of the box all the way down so that it was no longer a box but instead, a large flat piece of cardboard. Then, I cut about four inch sections down from the top to the first fold all the way across and folded down every other one to denote the stone structure found at the top of many castles. I used hot glue (you could just use duct tape) to secure the folded flaps. Then I drew an arch shape across the center part of my cardboard and cut it out to create the entrance. Afterwards I realized that cutting the entrance compromised the stability and had to reinforce sections with popsicle sticks to make it sturdy enough to stand on its' own. I then took the silver duct tape and taped the sticky sides of two pieces together to create a metallic looking hanging gate at the arch entrance. That's it! It stands on its own, folds flat and the kids love it! I placed it near a corner to create a closed feel and added some prince/princess dramatic play items, table and chairs and tea set to complete the play area. Later that day I even made cucumber sandwiches and we had afternoon tea inside the castle. It was pretty awesome and definitely kept both kids busy for a while.
 |  |
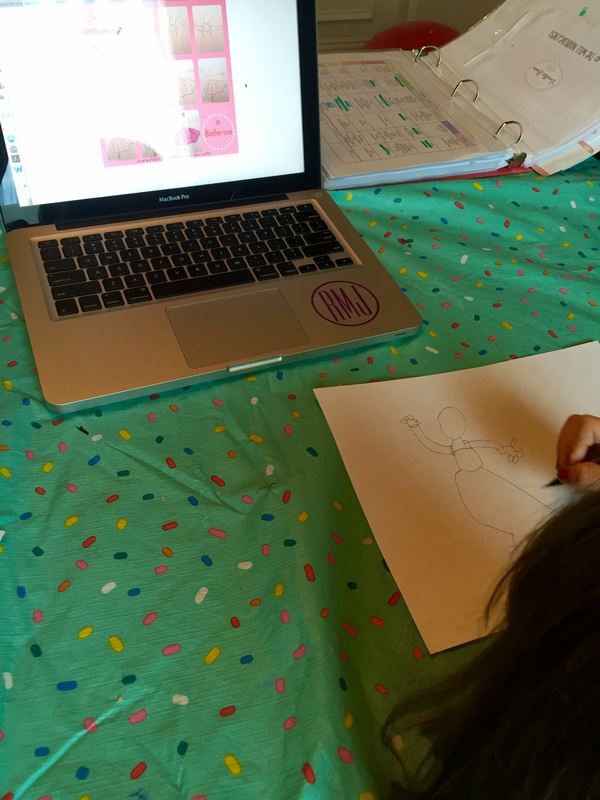
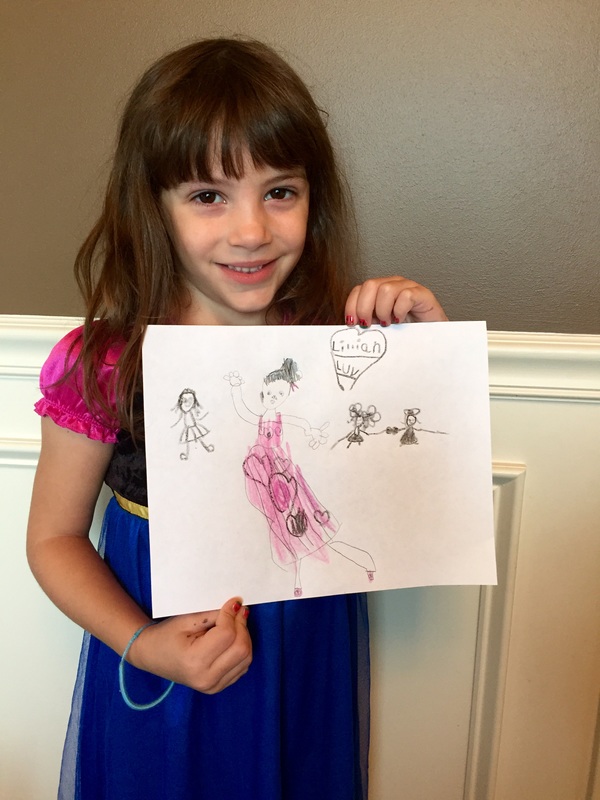
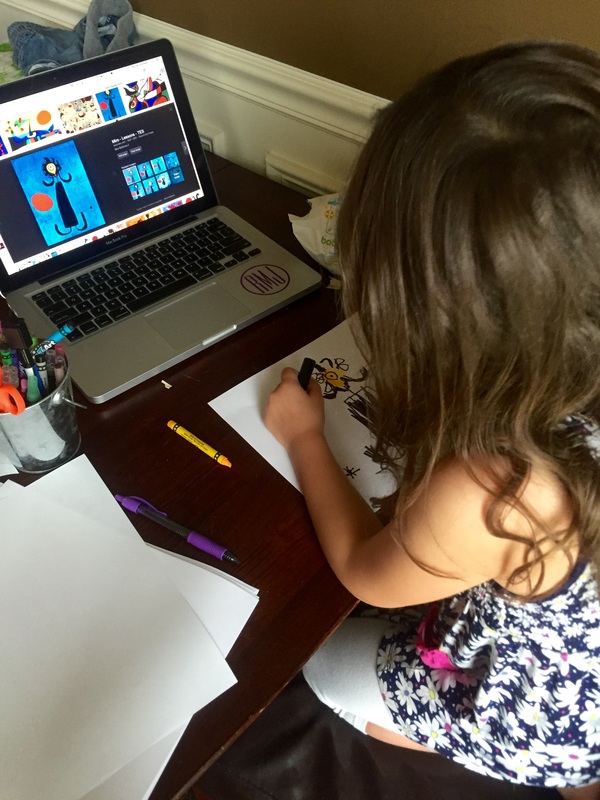
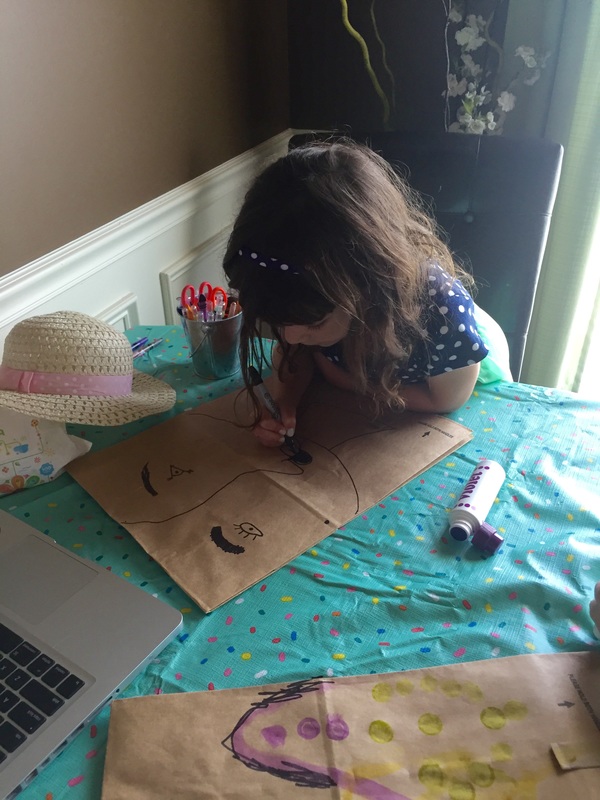
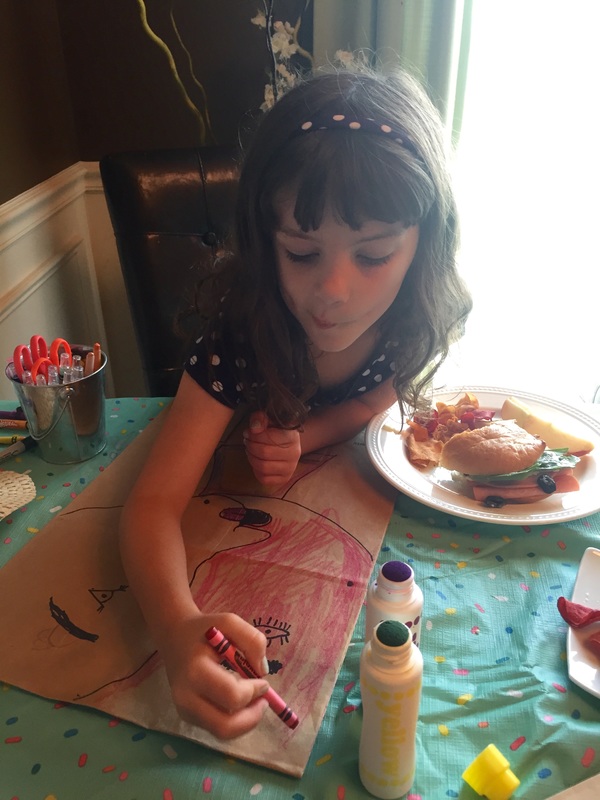
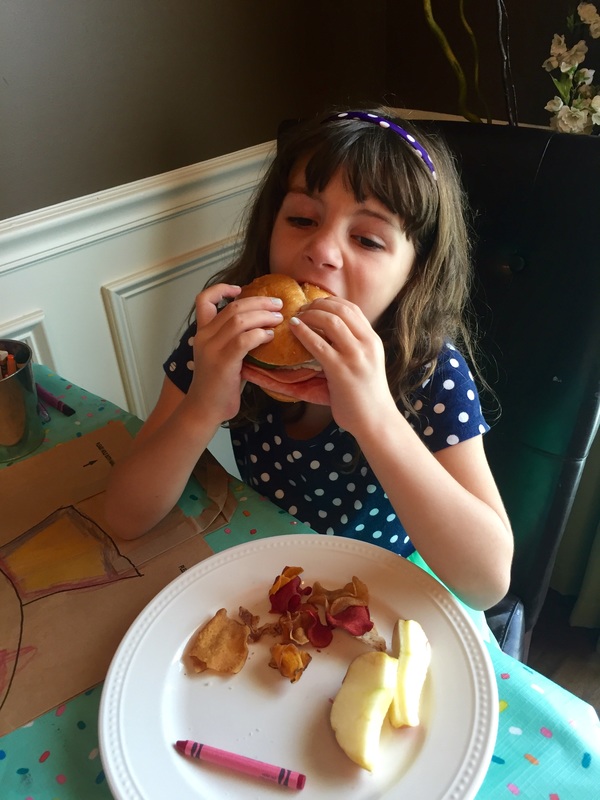
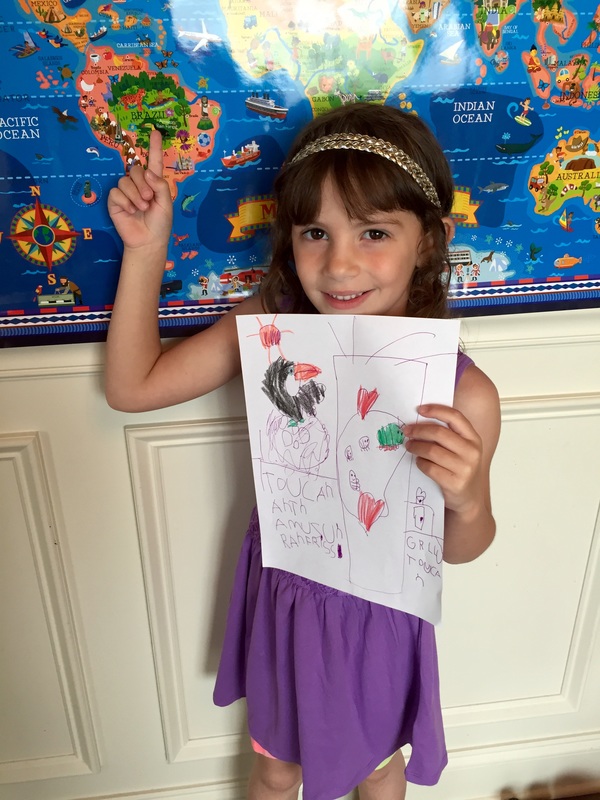
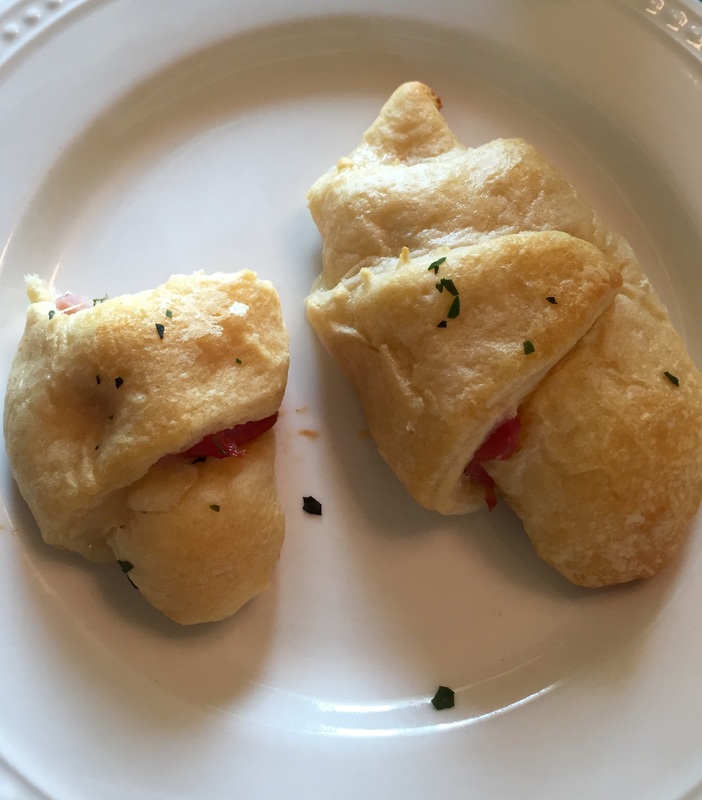
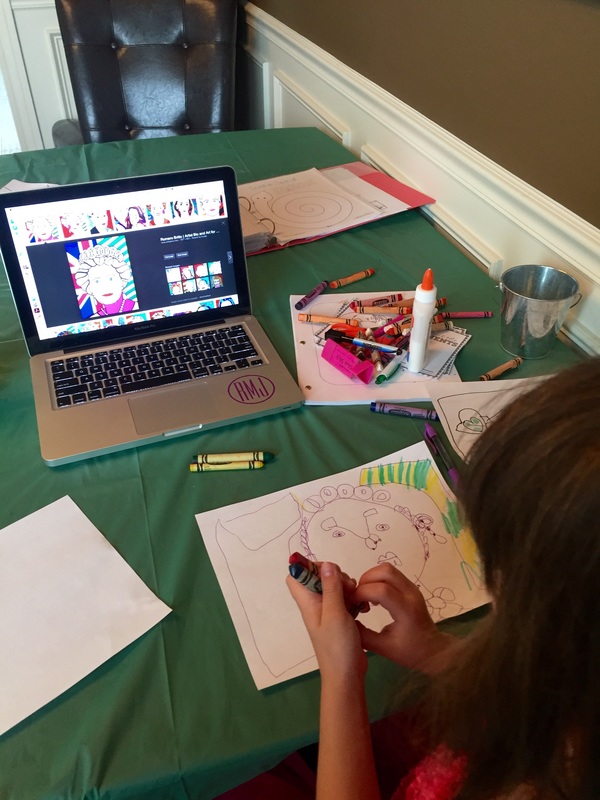
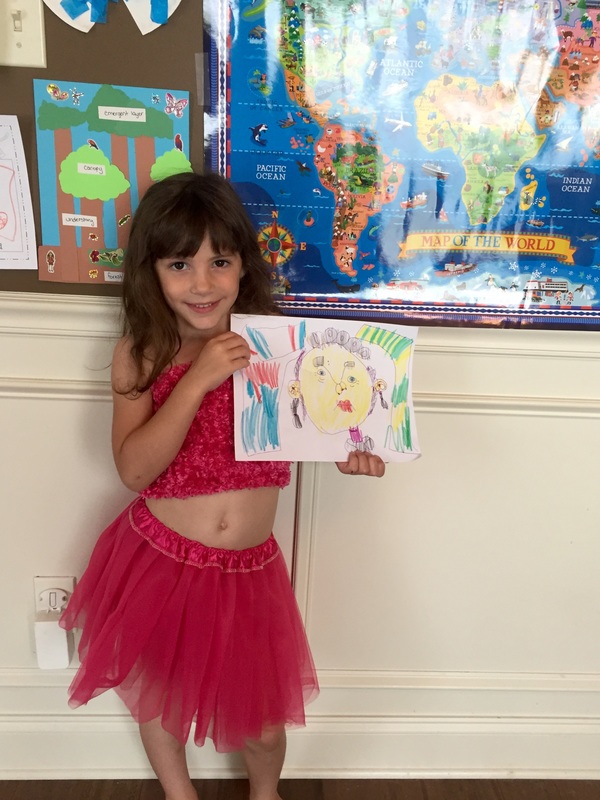
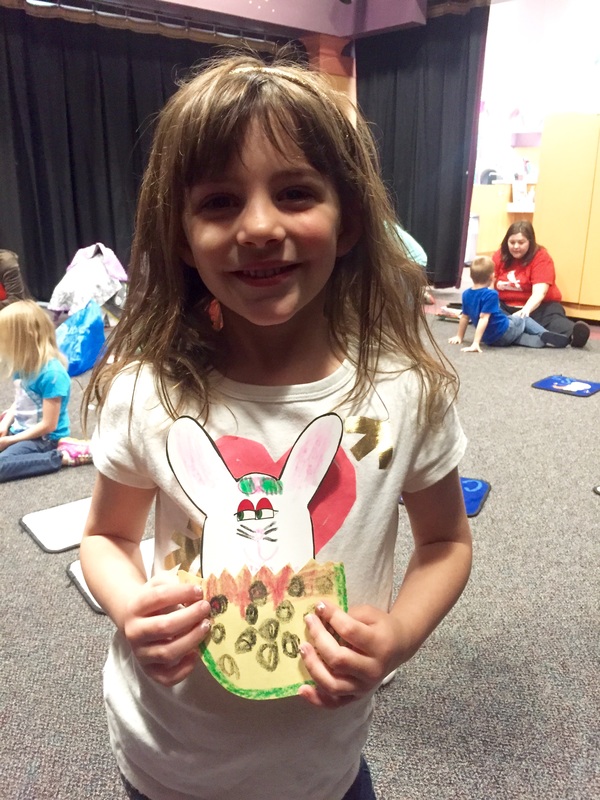
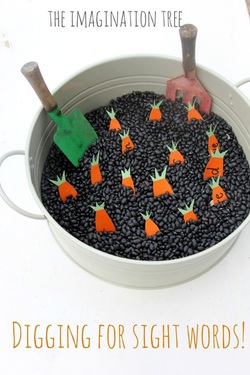
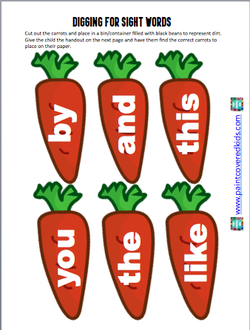
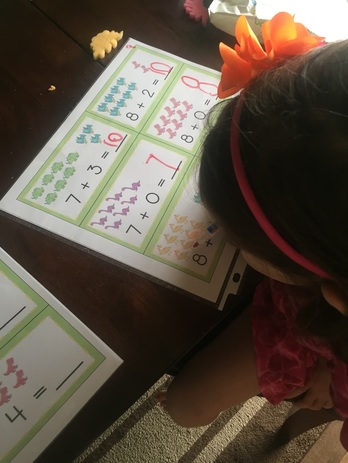
Because the U.K. is comprised of multiple, distinct places like Scotland, Ireland and Great Britain, we focused on a different one each day. We started with Great Britain by discussing the role of a king and queen and watching a short video about visiting London and read the book "Katie in London". We also listened to The Beatles for a while and I did a small reading activity using the lyrics from the classic song, "Here Comes the Sun" to analyze and find sight words.We also talked about double decker buses and completed a bus craft. After that we learned about Big Ben by watching this great video and drawing a picture. We ended the day with some fish and chips!
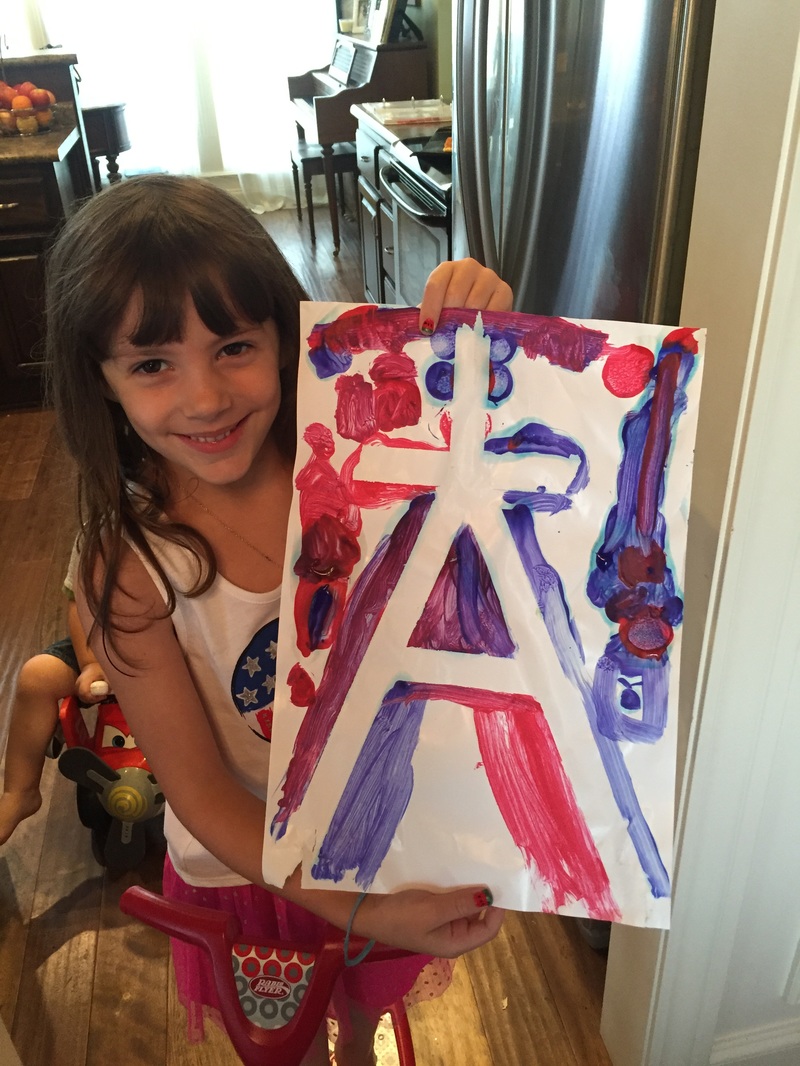
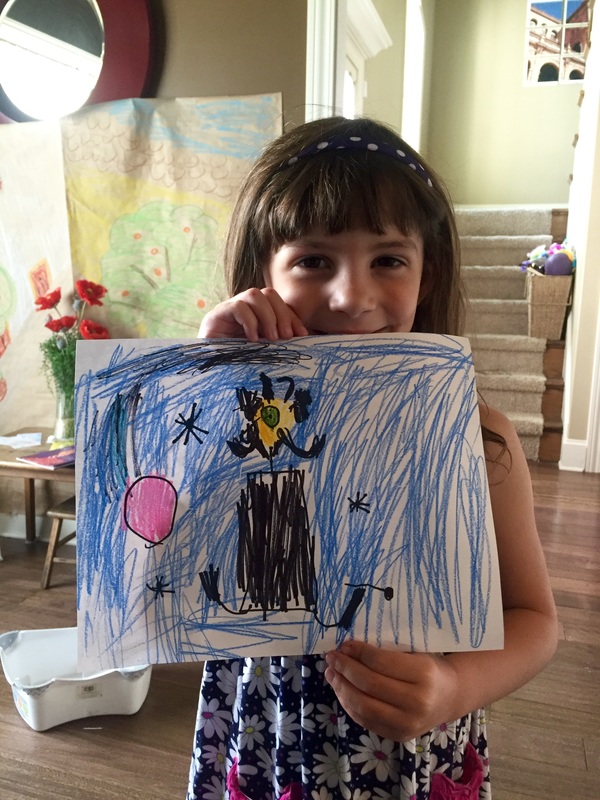
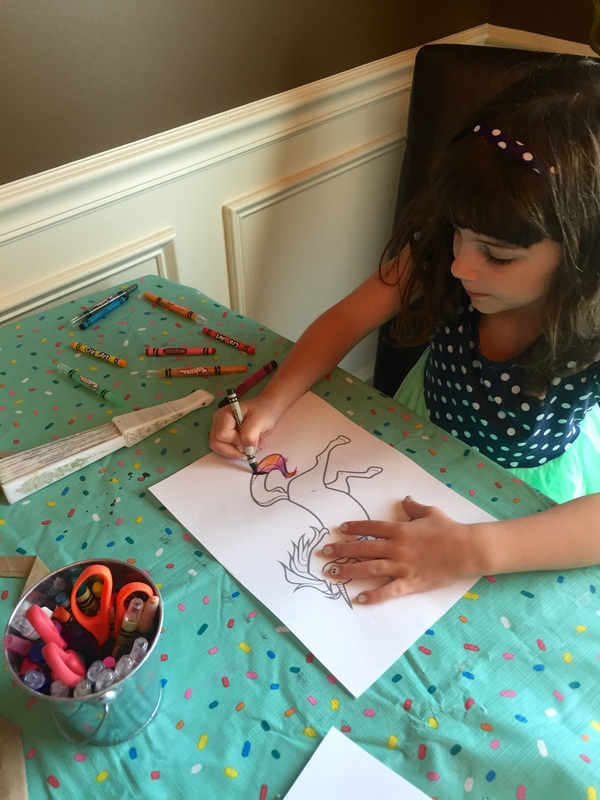
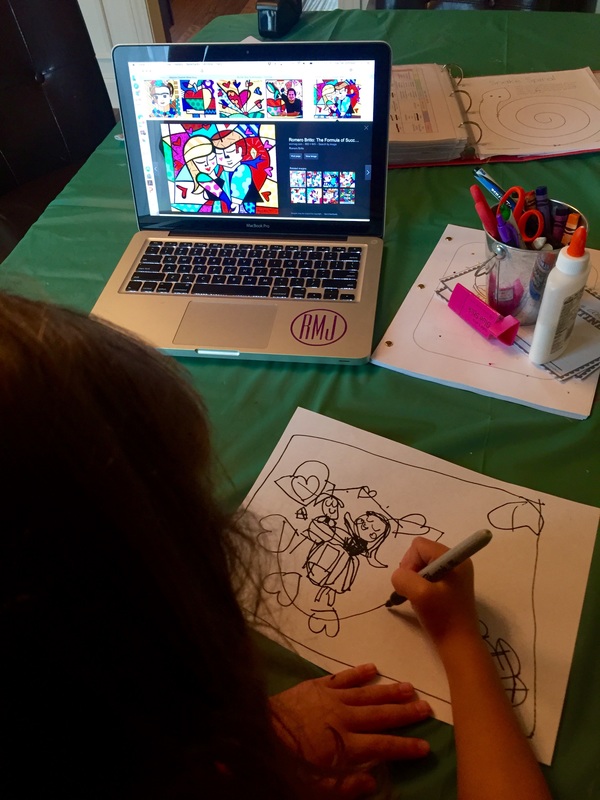
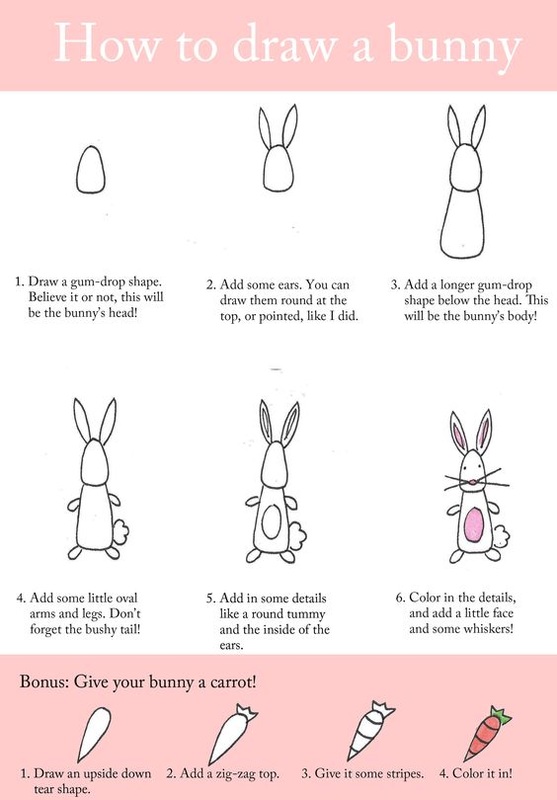
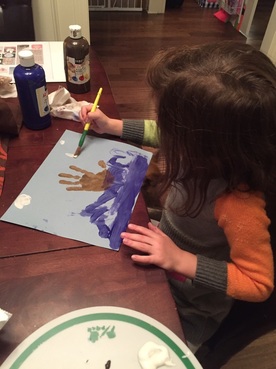
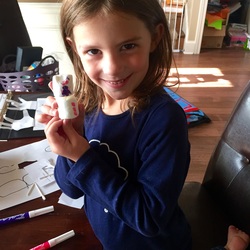
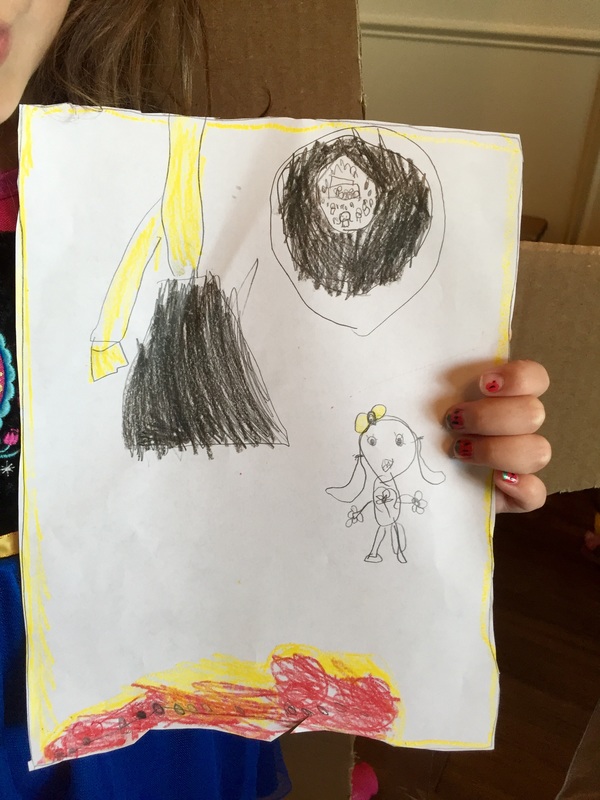 Lillian's depiction of Big Ben. I provided her with a "How to Draw" sheet of the whole tower but she wanted to make her own version of just the bell after watching the video. | 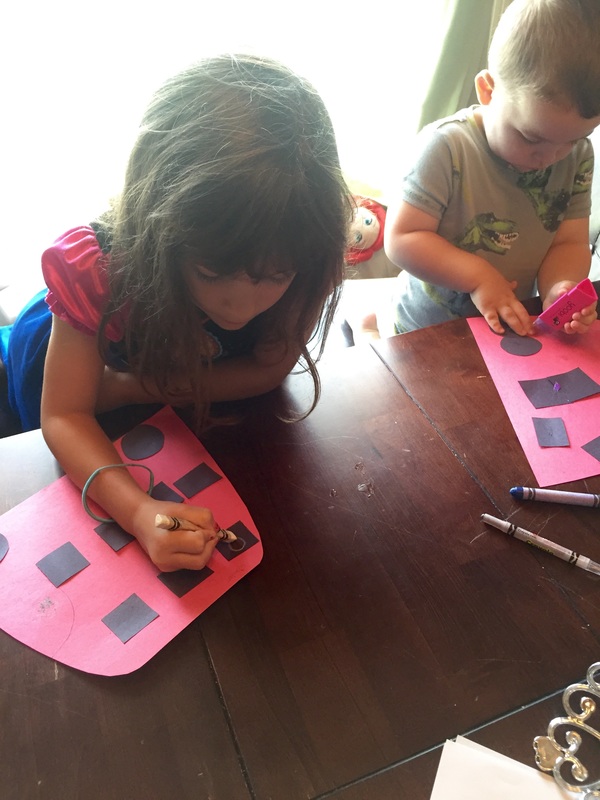 Crafting double decker buses. | 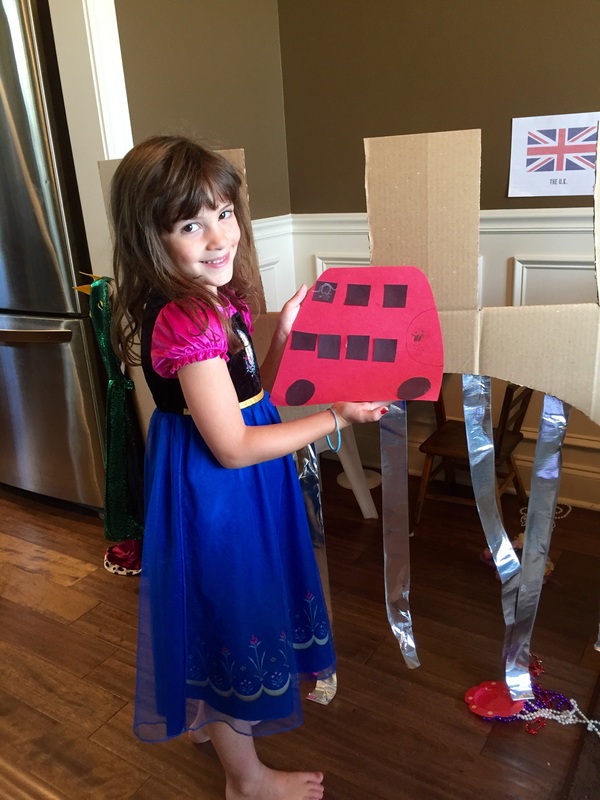 |
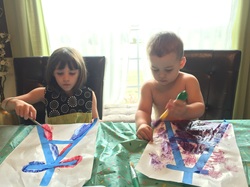
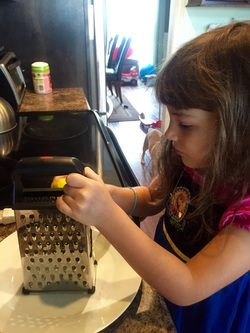
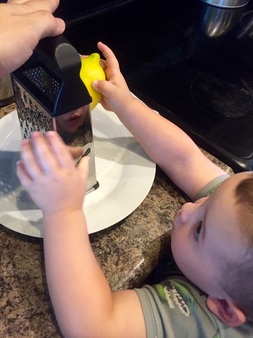
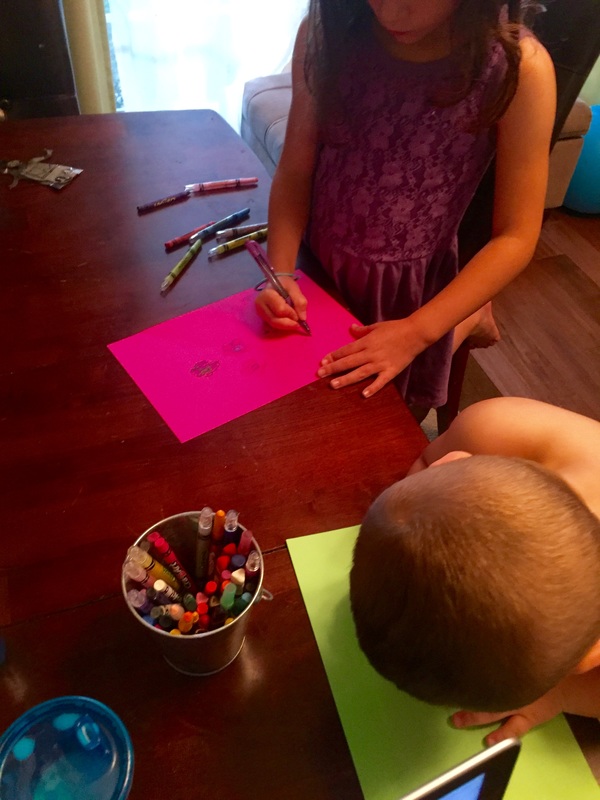
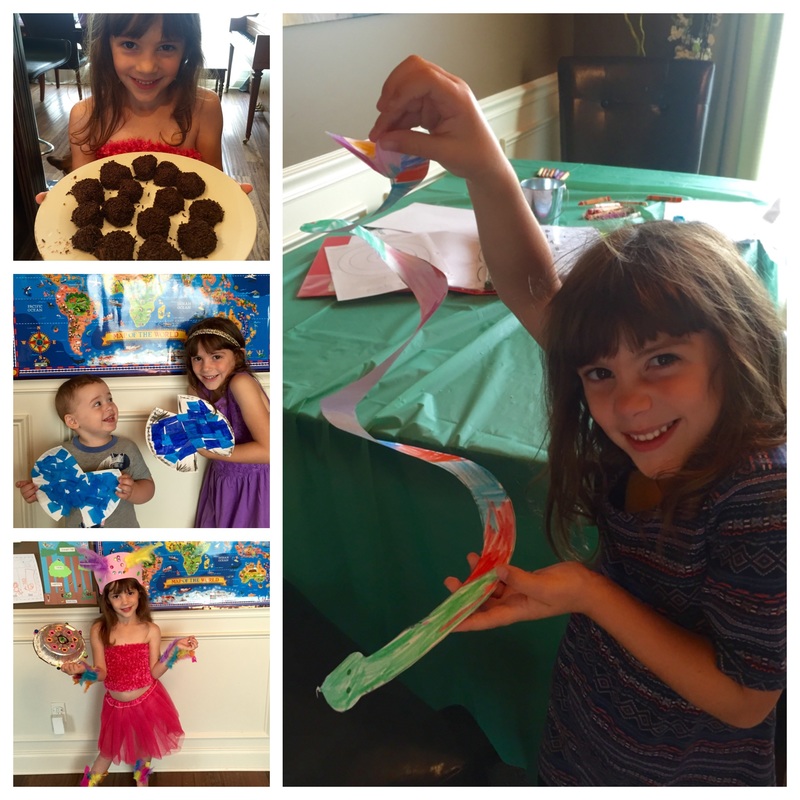
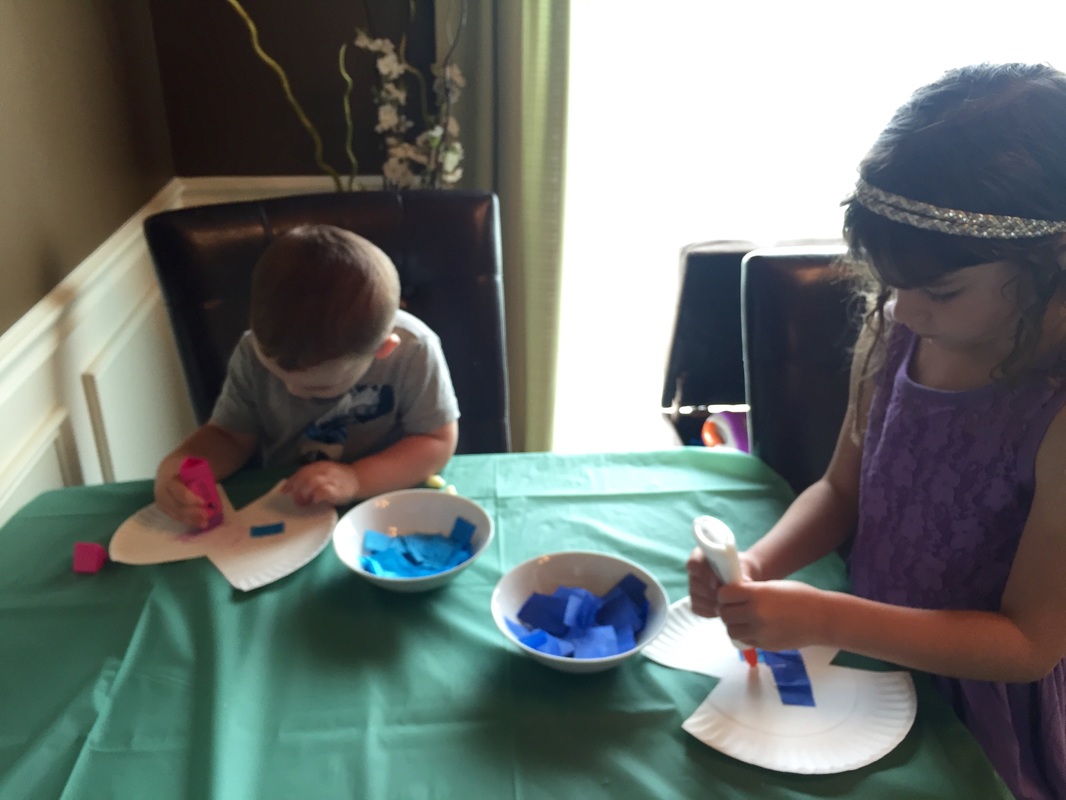
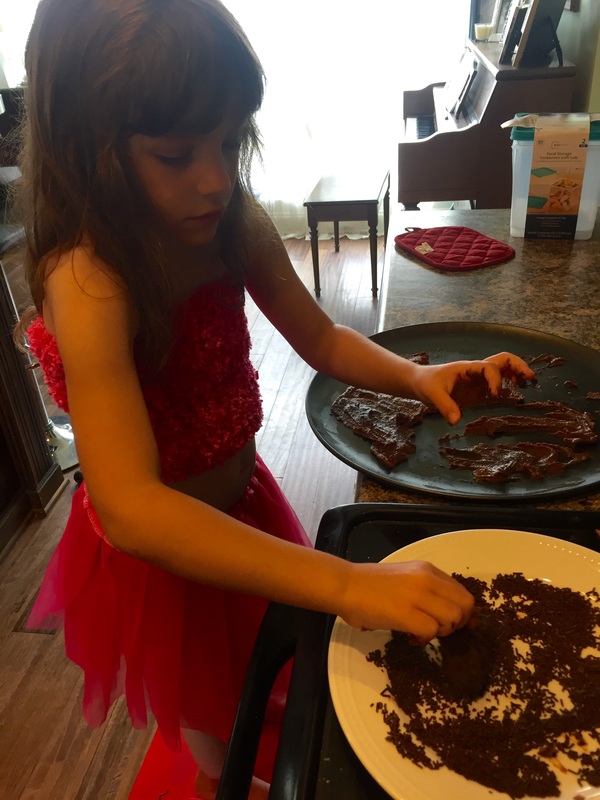
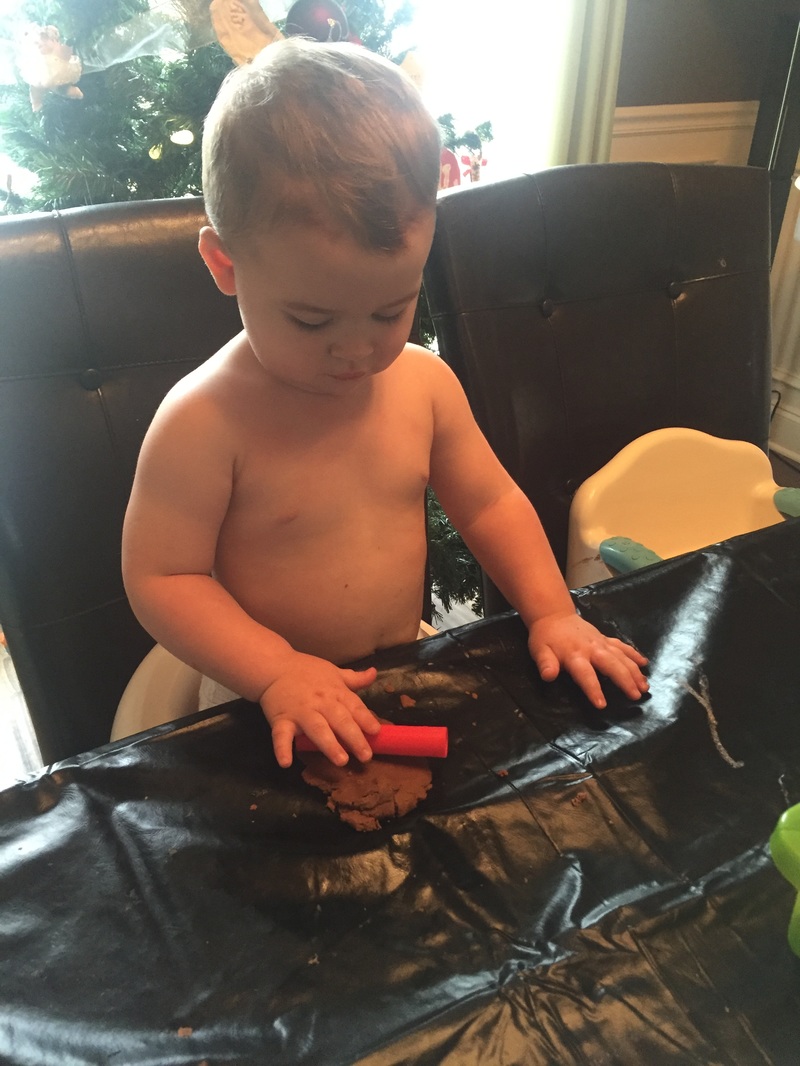
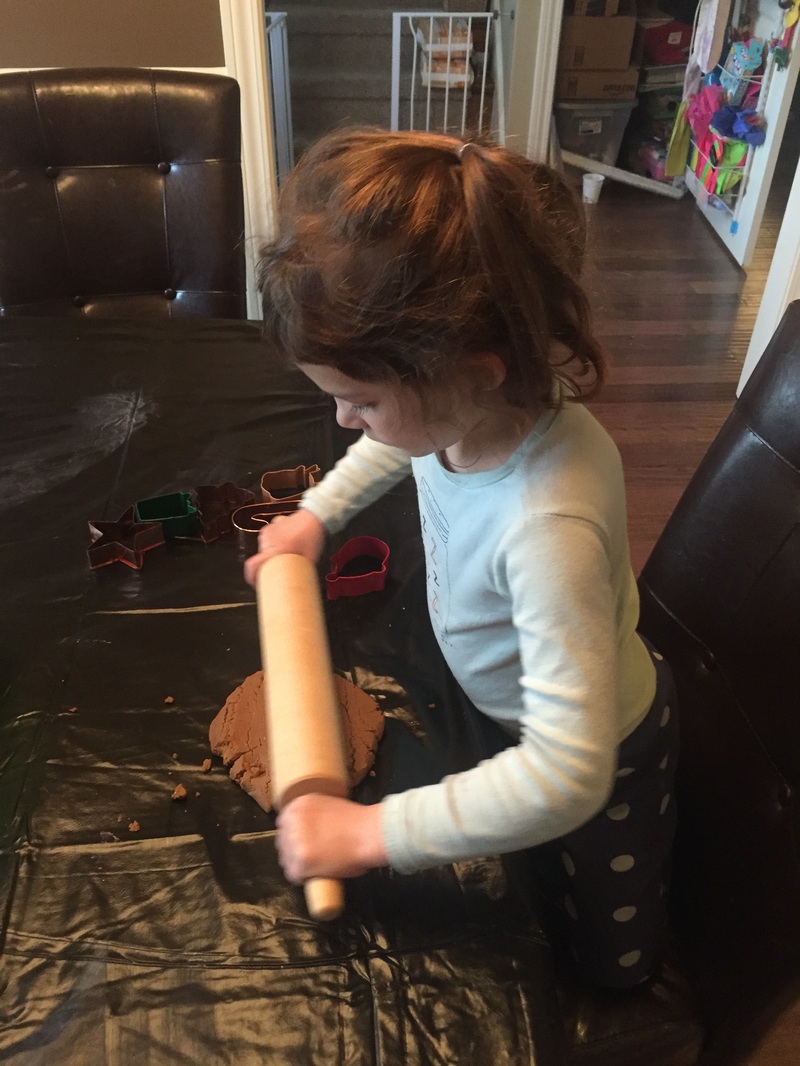
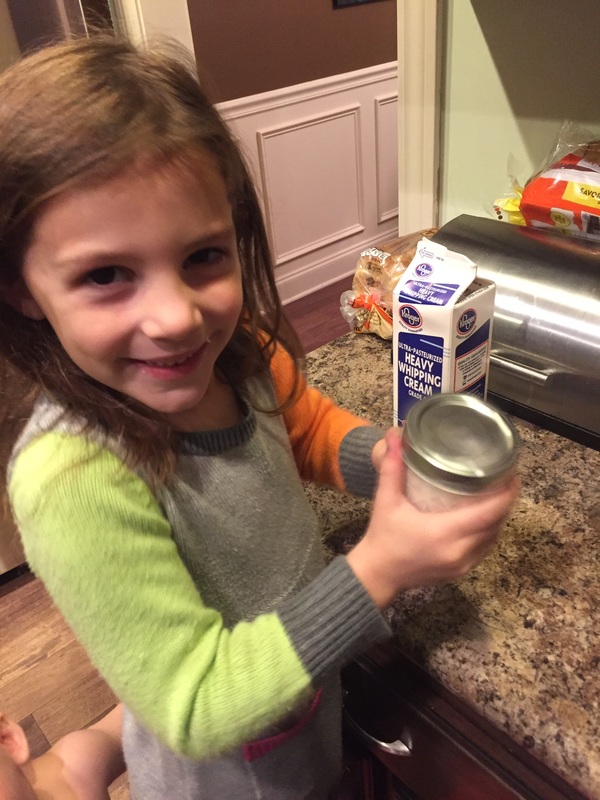
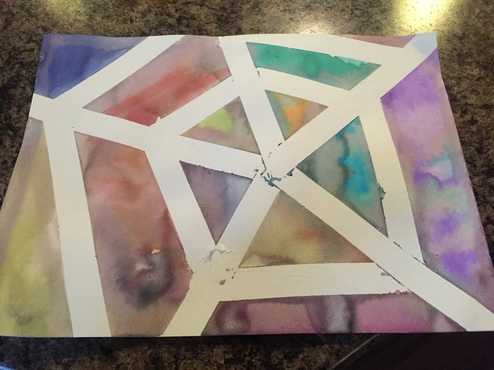
After learning about Great Britain we journeyed to Scotland by watching this video and reading about castles in the book "Castle Life". After reading about and looking at castles, we drew our own using black construction paper and white crayon. Then we listened to some bagpipe music and created our own bagpipes using a ziplock bag, tape and party blowers. To make them you cut the tip off of each end of the bag, insert one party blower in each corner (one blower in and one blower out) and taped them to seal it. These were a huge hit but didn't stand the test of time and were quickly destroyed.
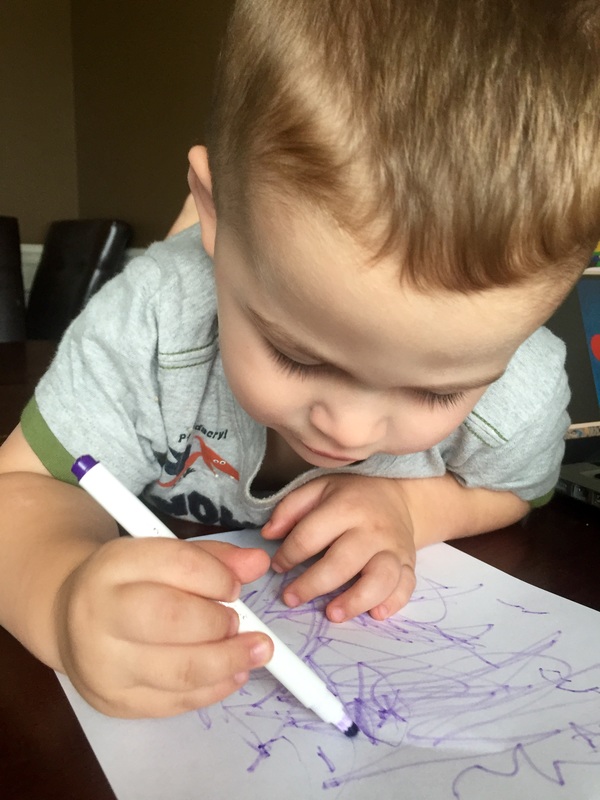
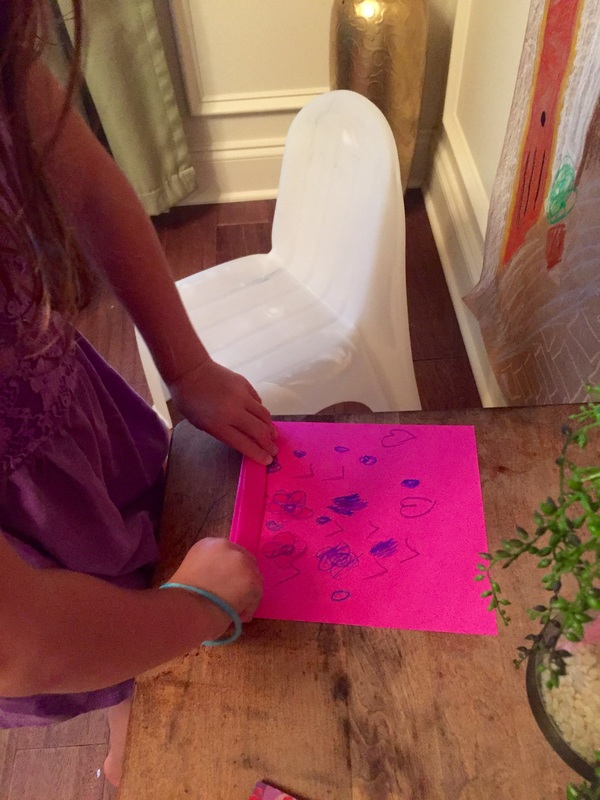
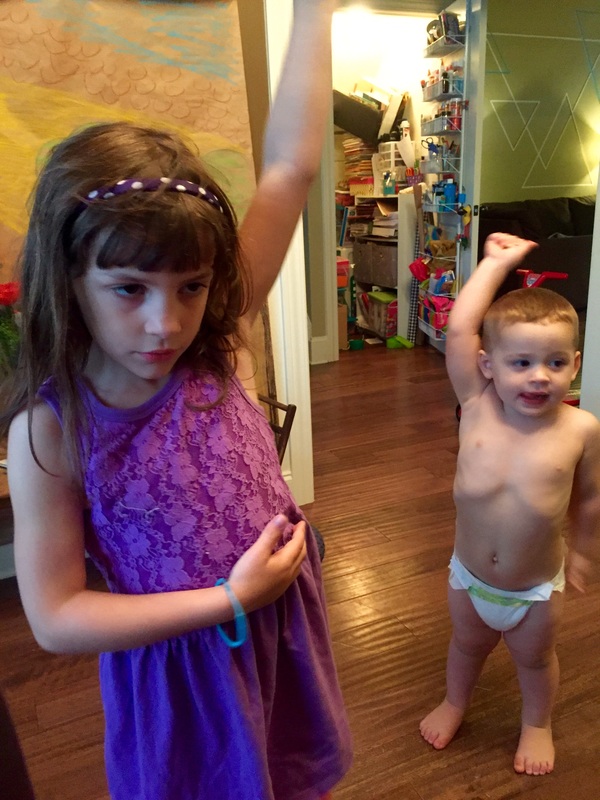
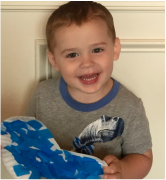
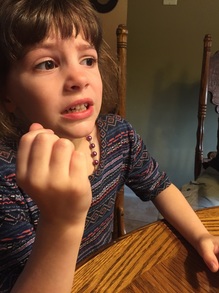
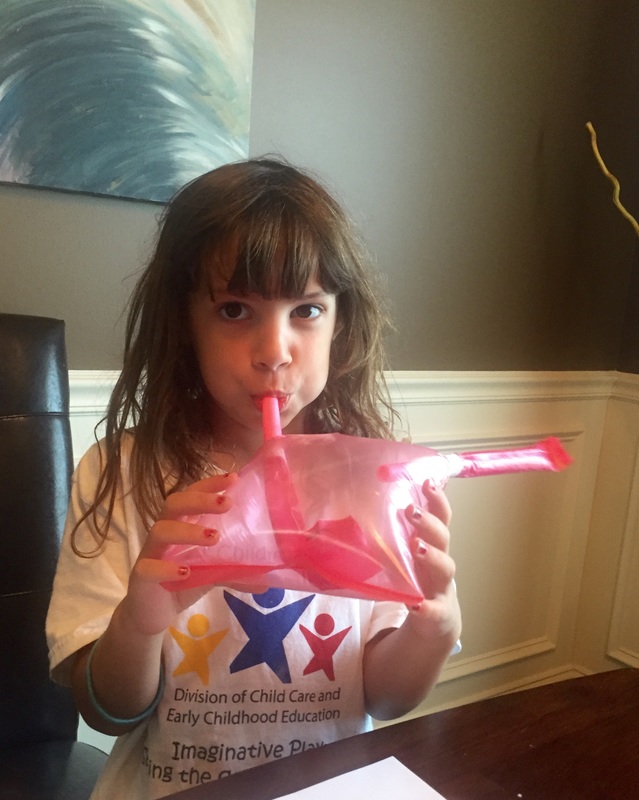 Lillian with her bagpipe. | 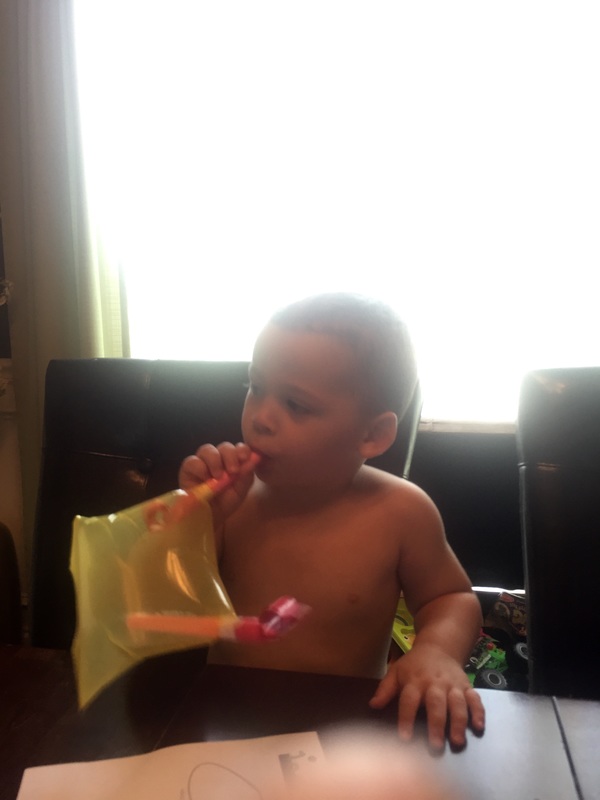 Arthur with his bagpipe. | 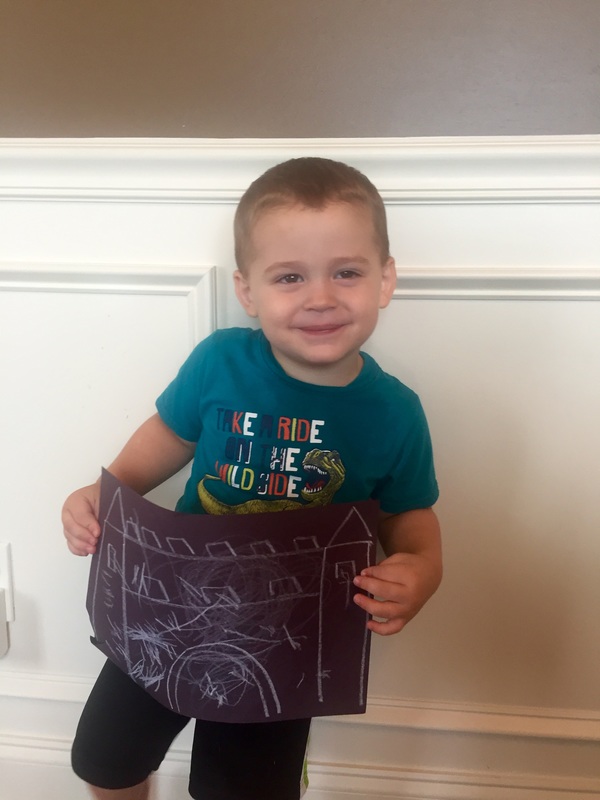 Arthur was really proud of his "castle" otherwise known as scribbles. But, whatever works. | 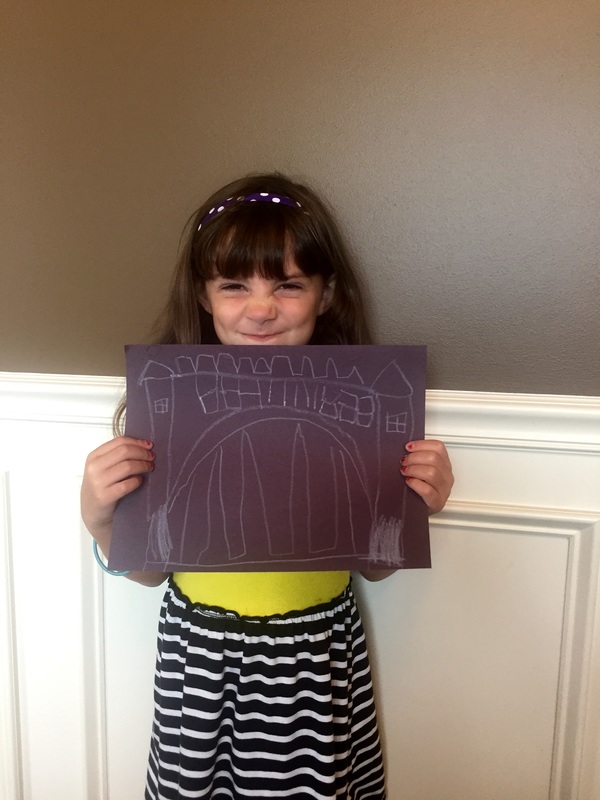 Lilly wasn't very pleased with her castle. Hence the yuck face. |
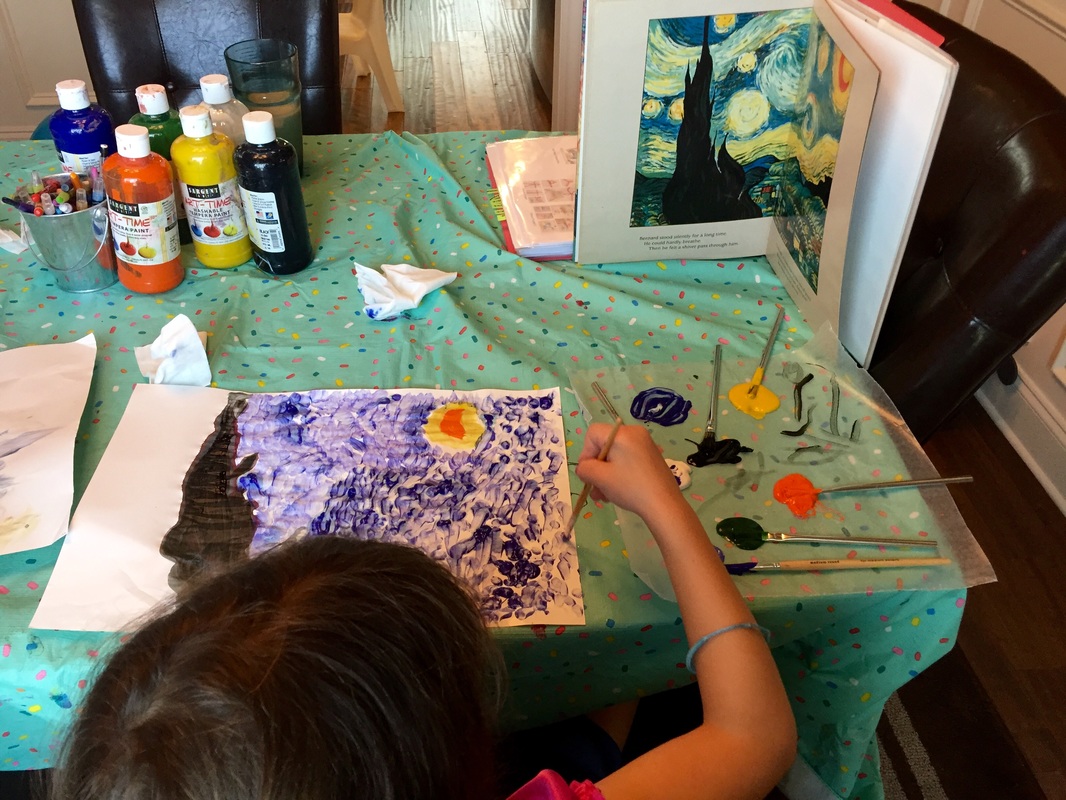
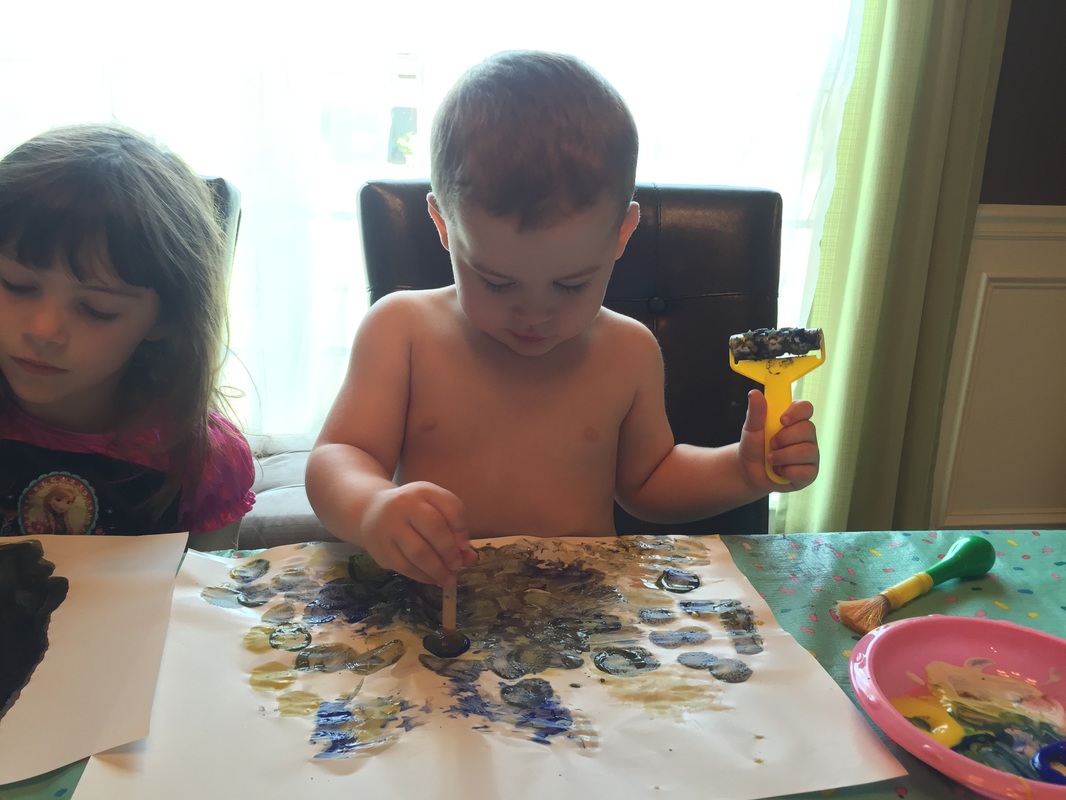
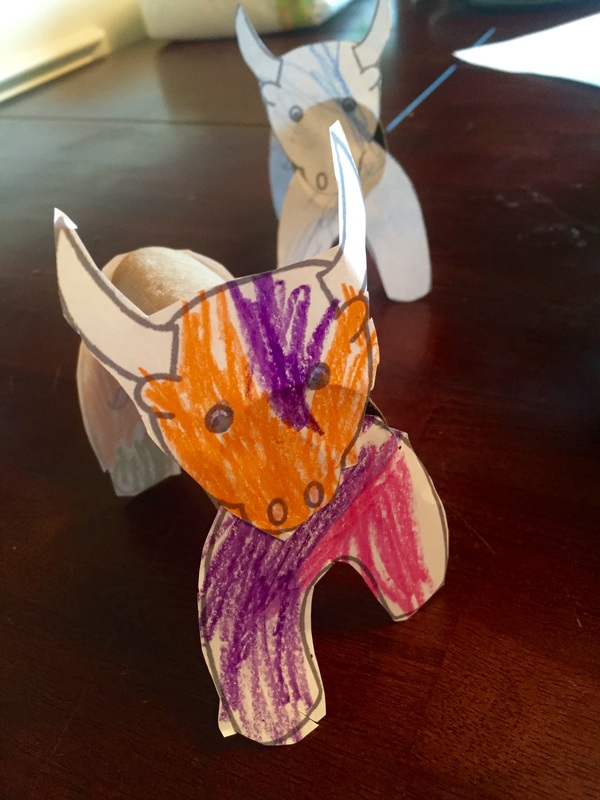
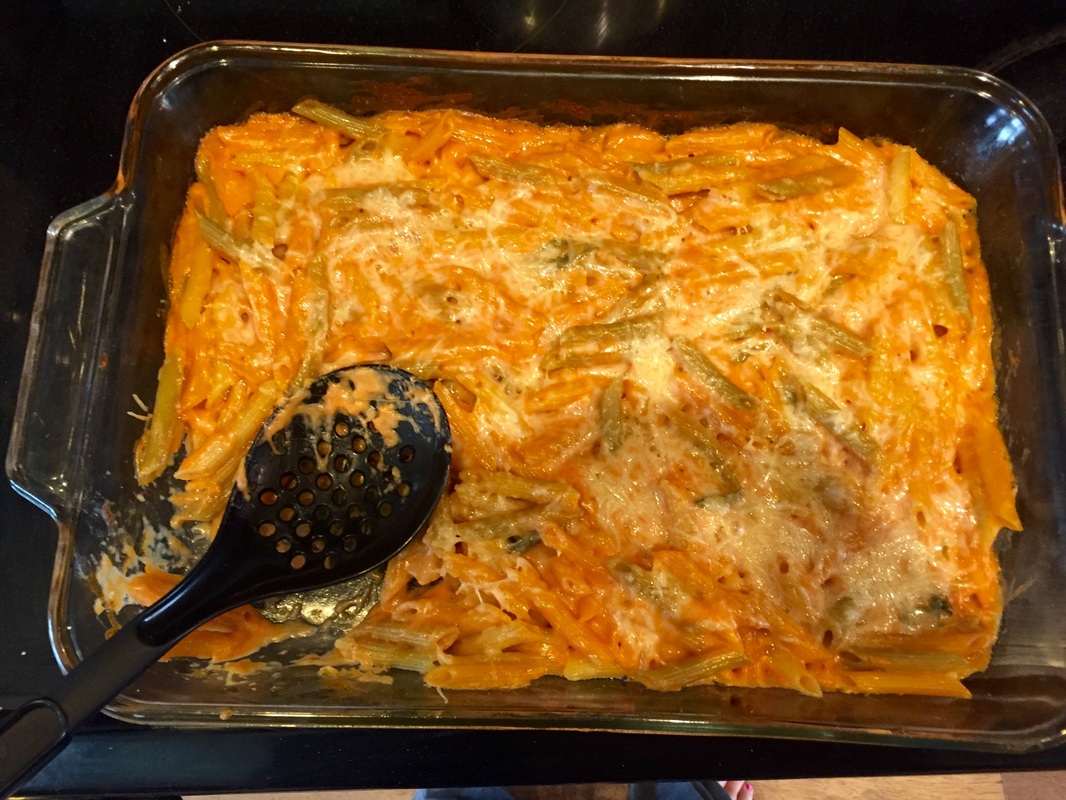
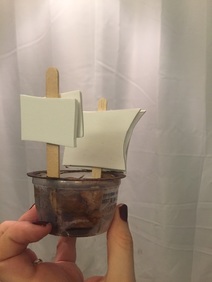
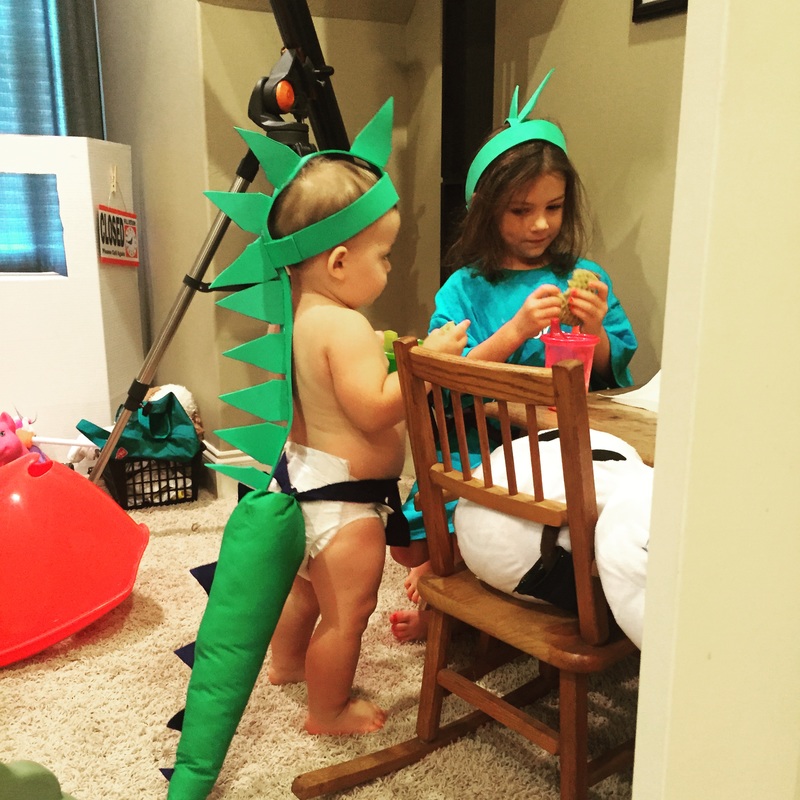
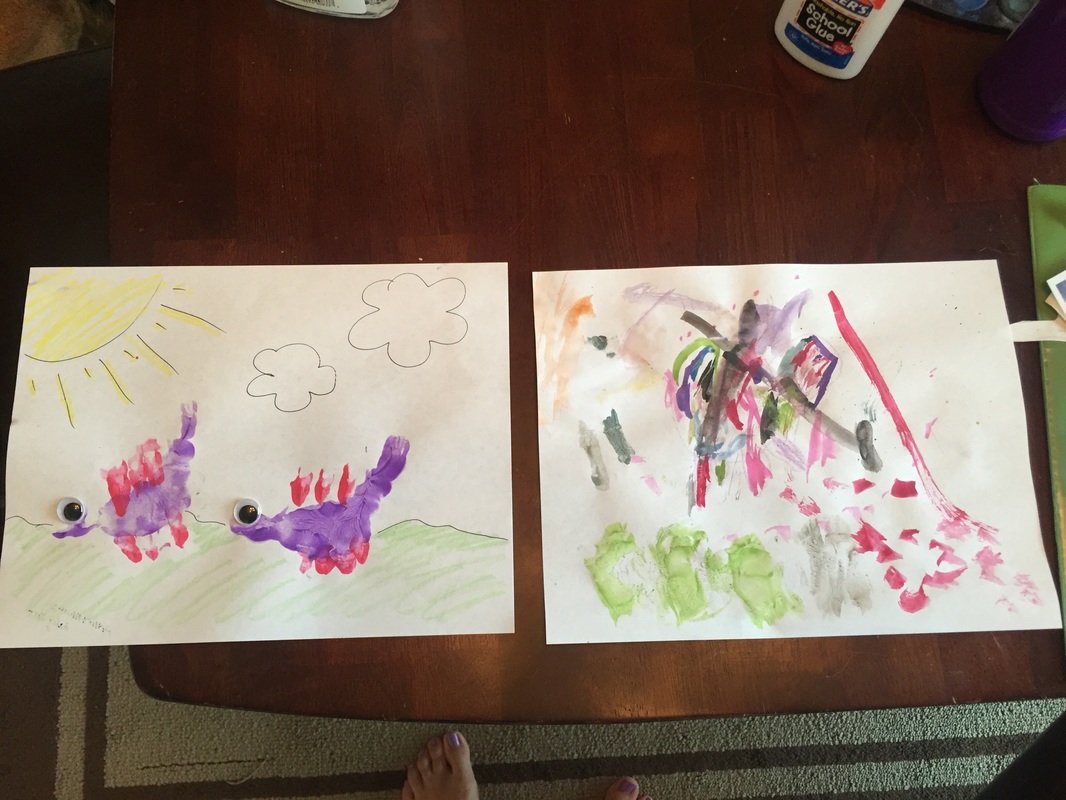
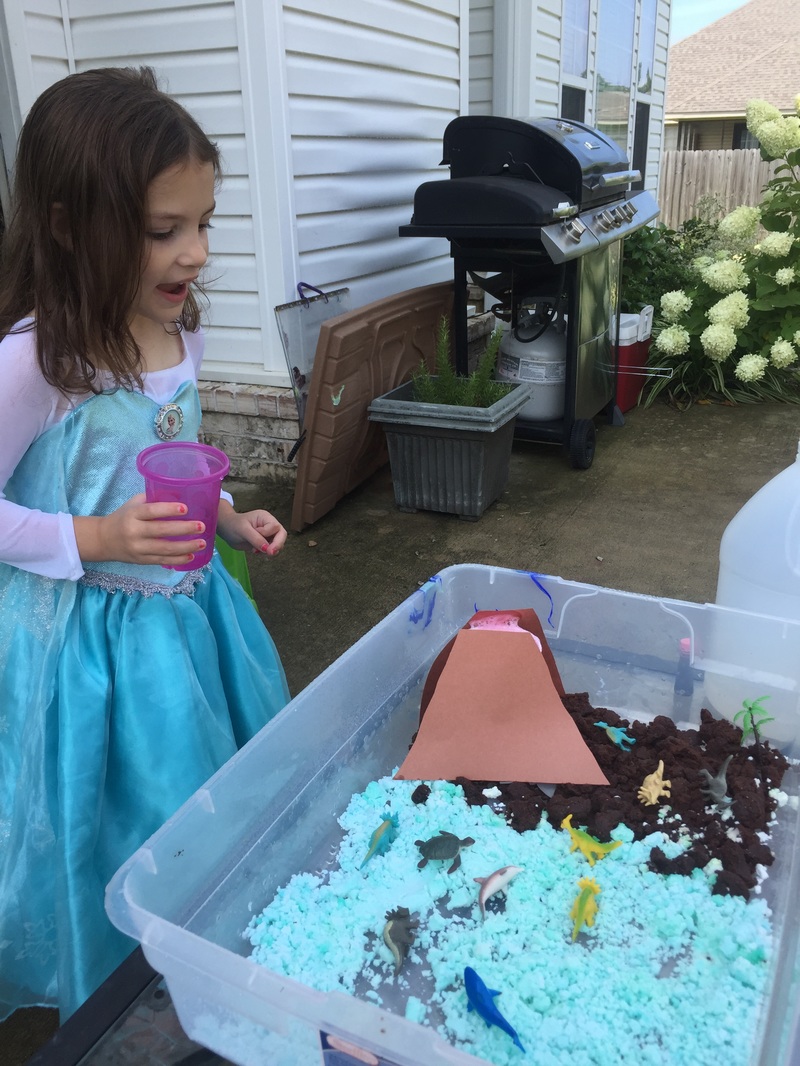
After the bagpipes we learned about the legend of the loch ness monster and watched this cute video after reading the book "Nessie the Loch Ness Monster". Then we created our own Nessie's with this free printable. For dinner I made shepard's pie. The kids wouldn't touch it but my husband and I were both pretty pleased.
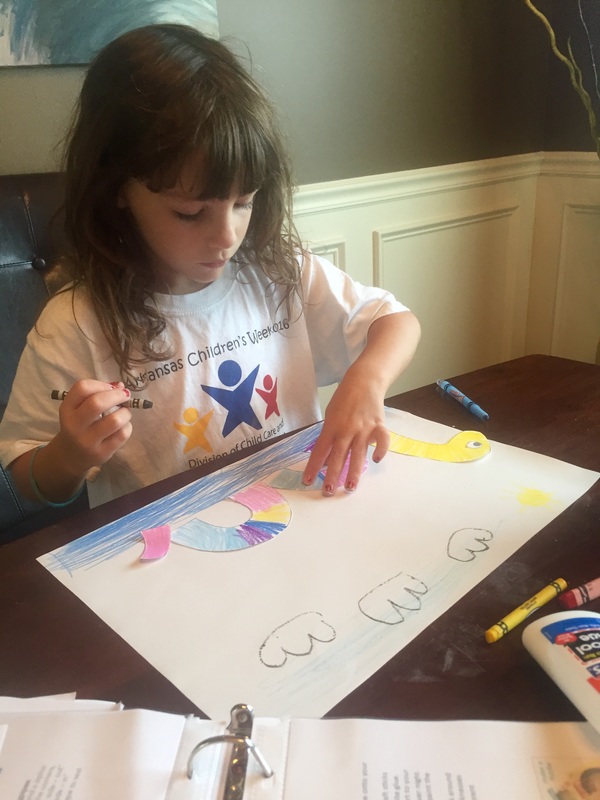 | 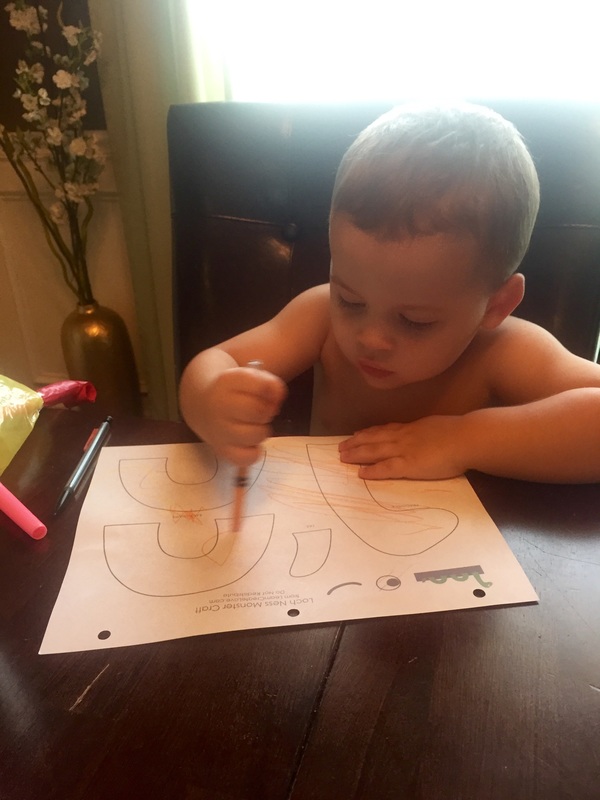 | 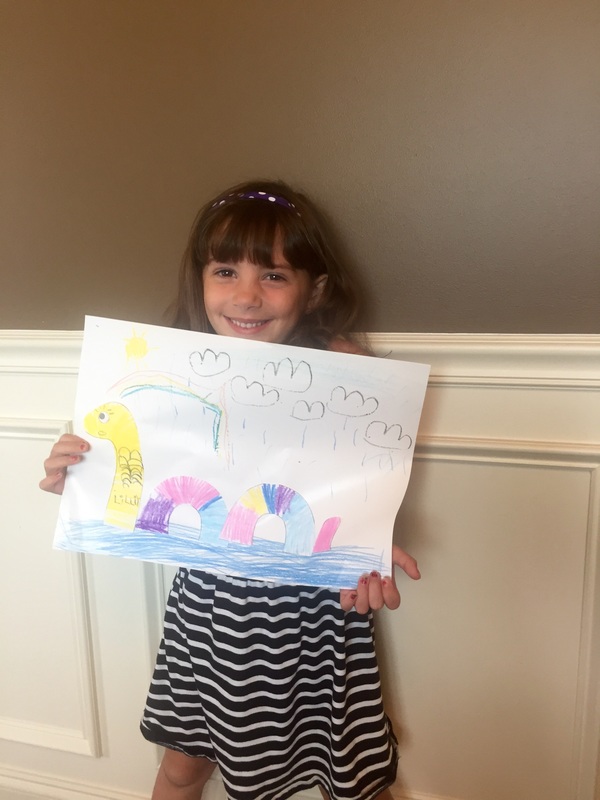 |
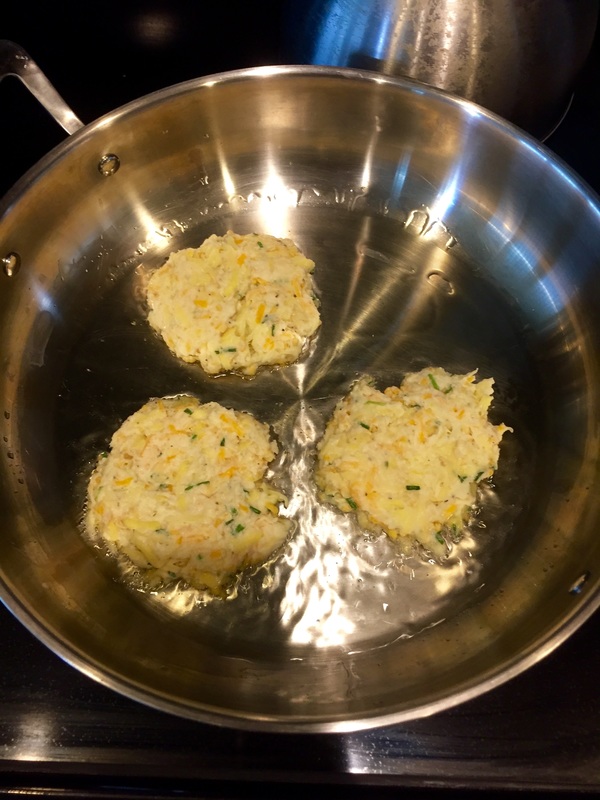
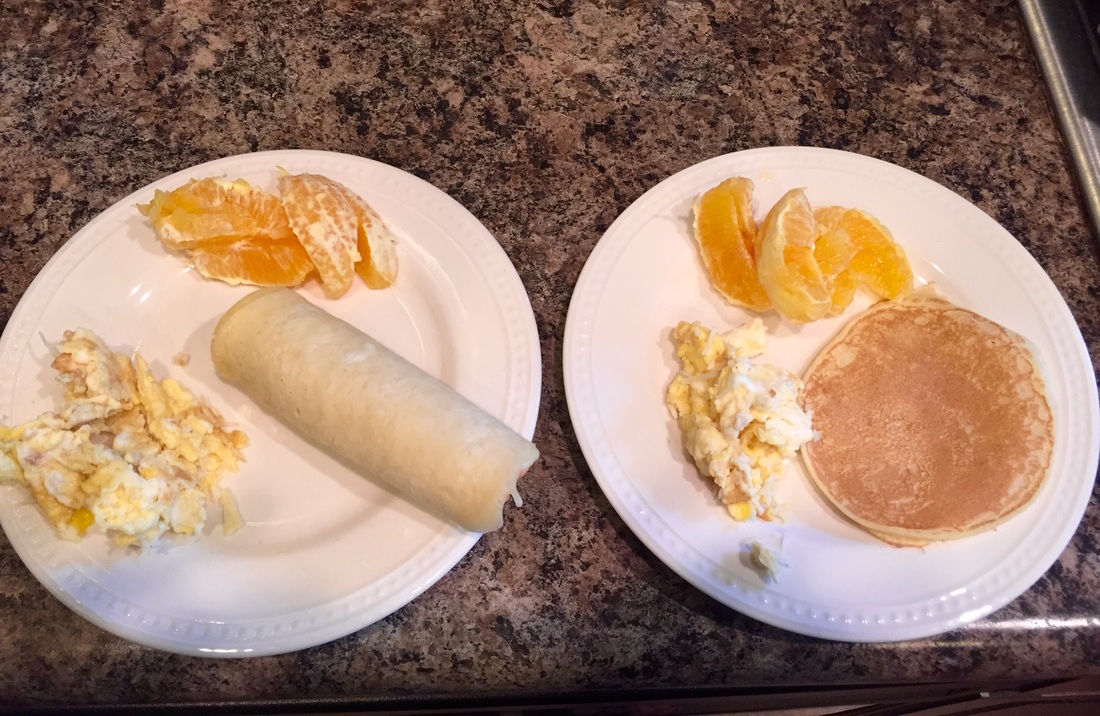
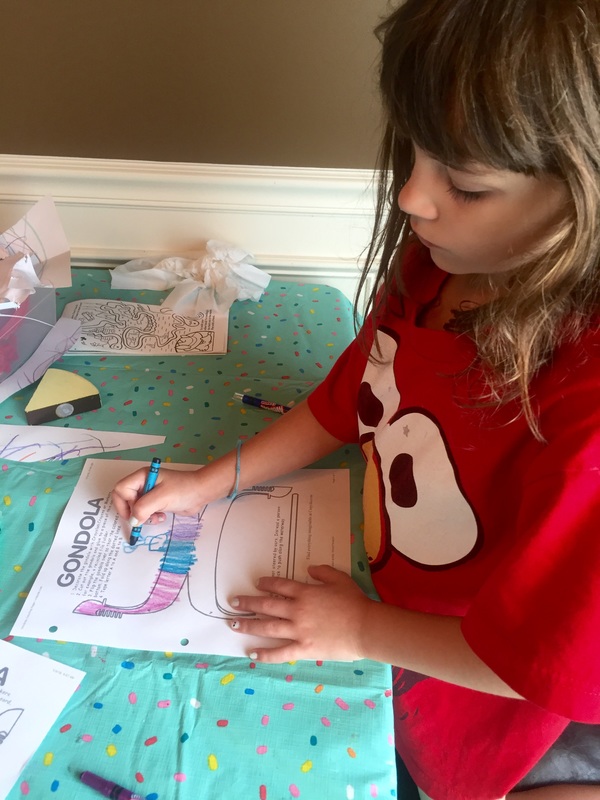
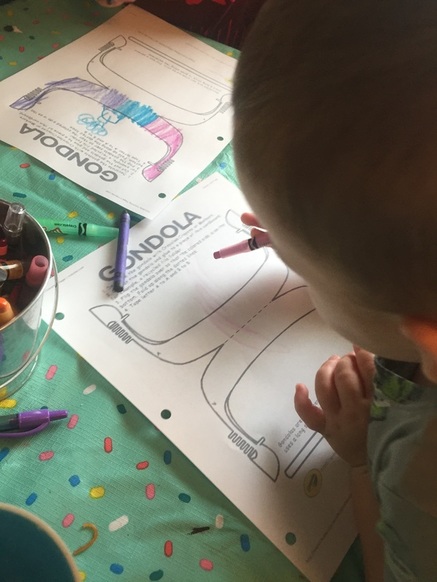
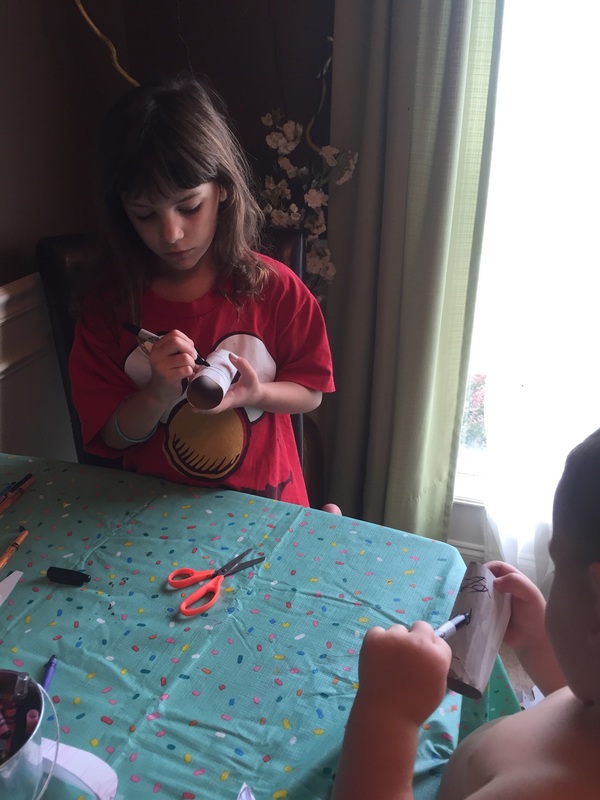
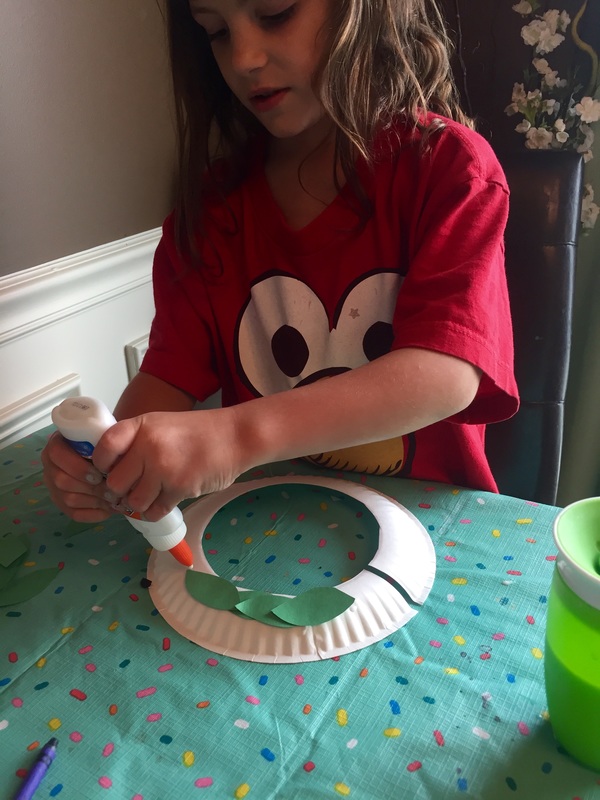
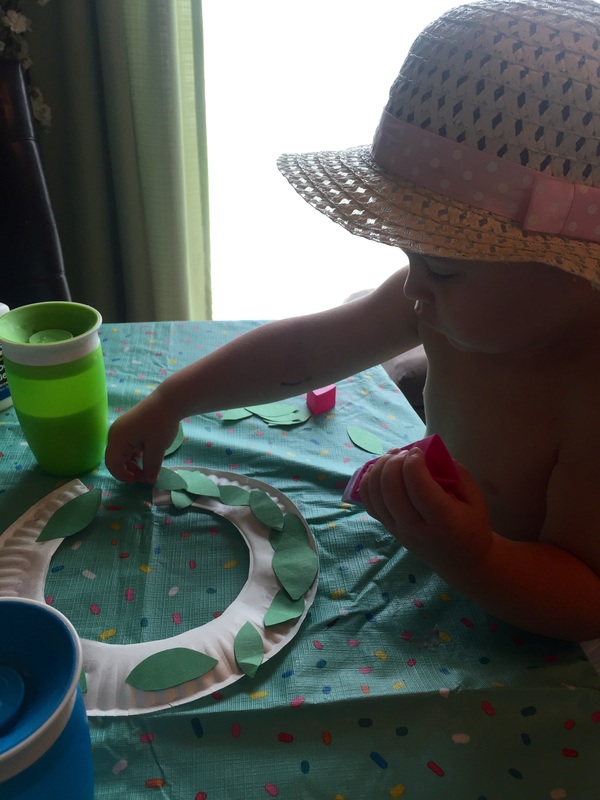
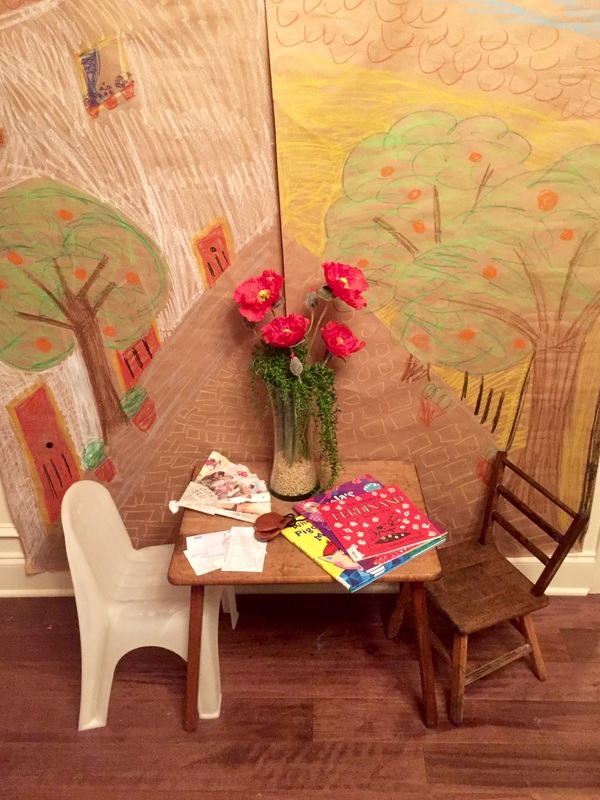
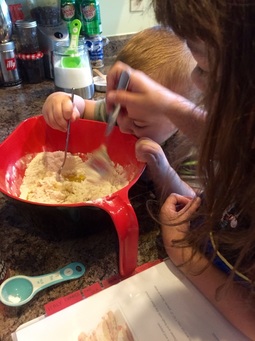
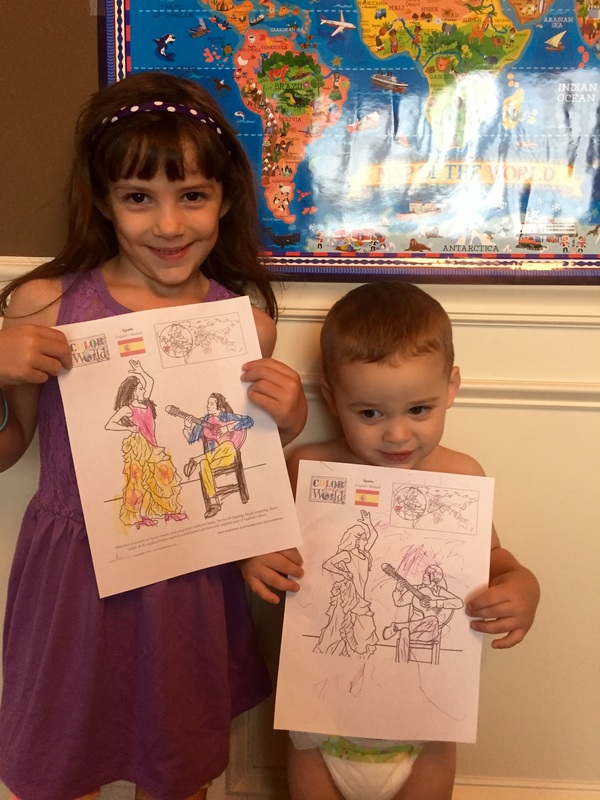
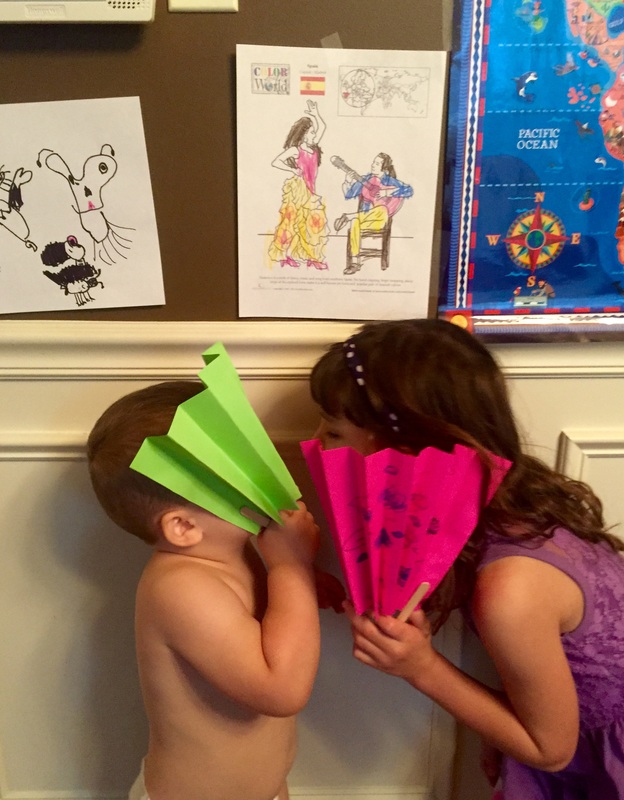
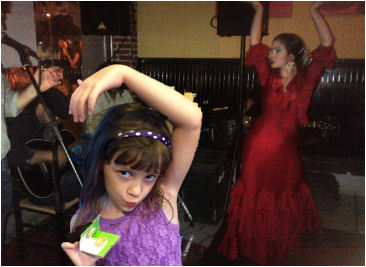
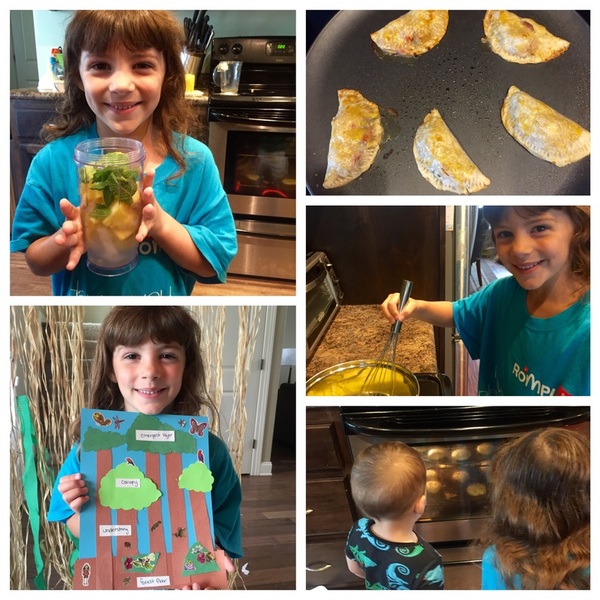
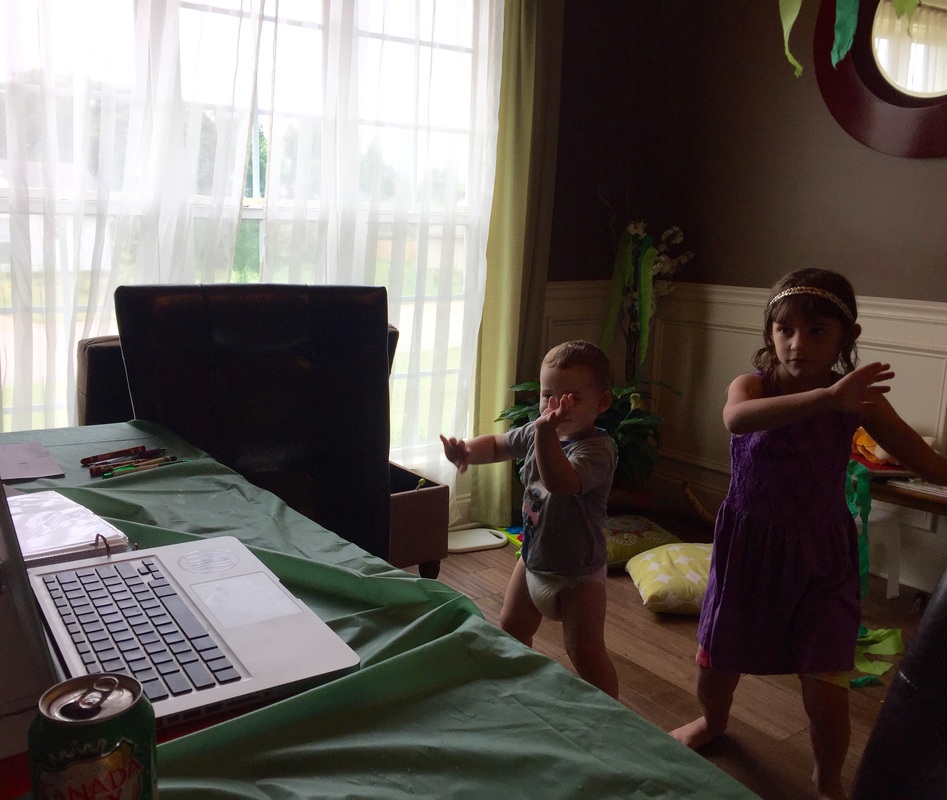
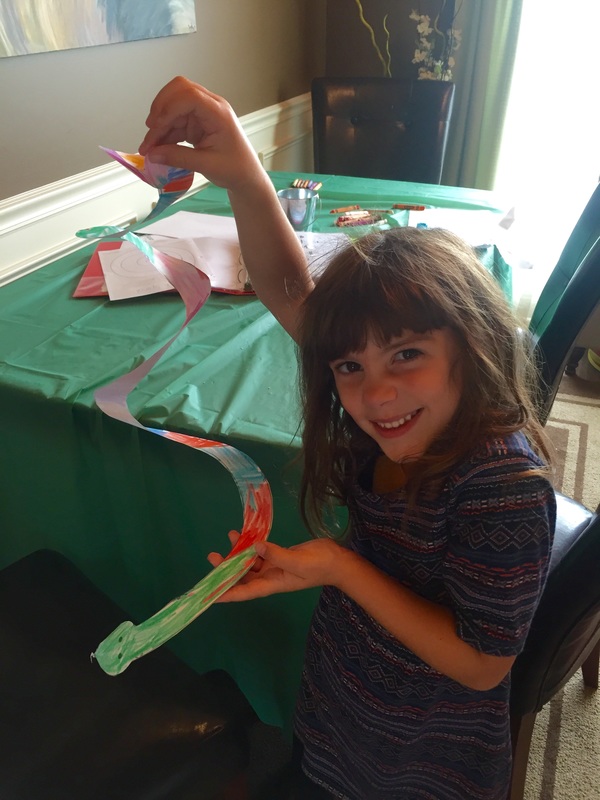
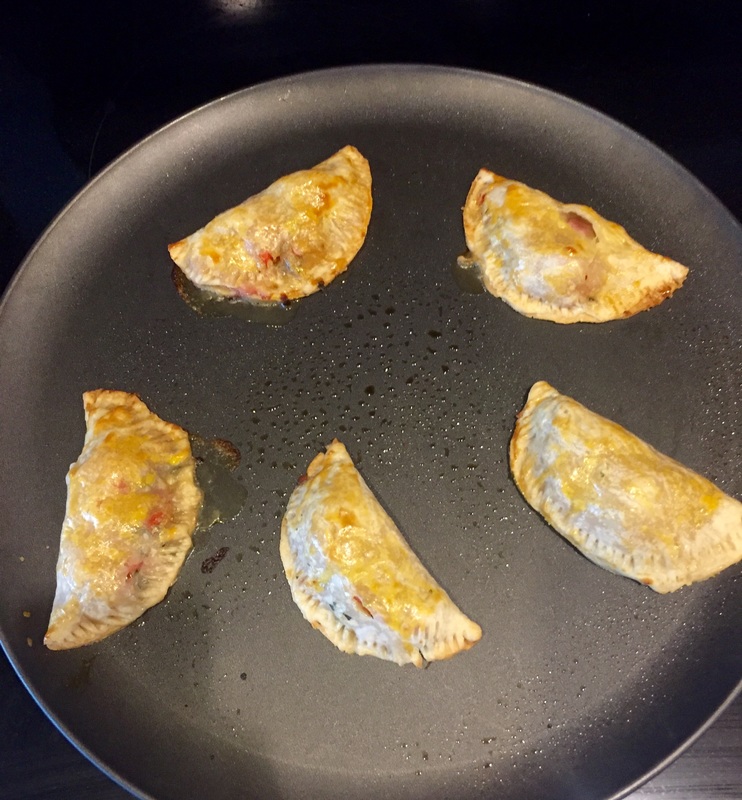
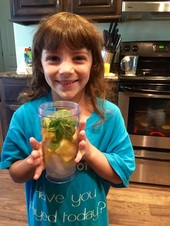
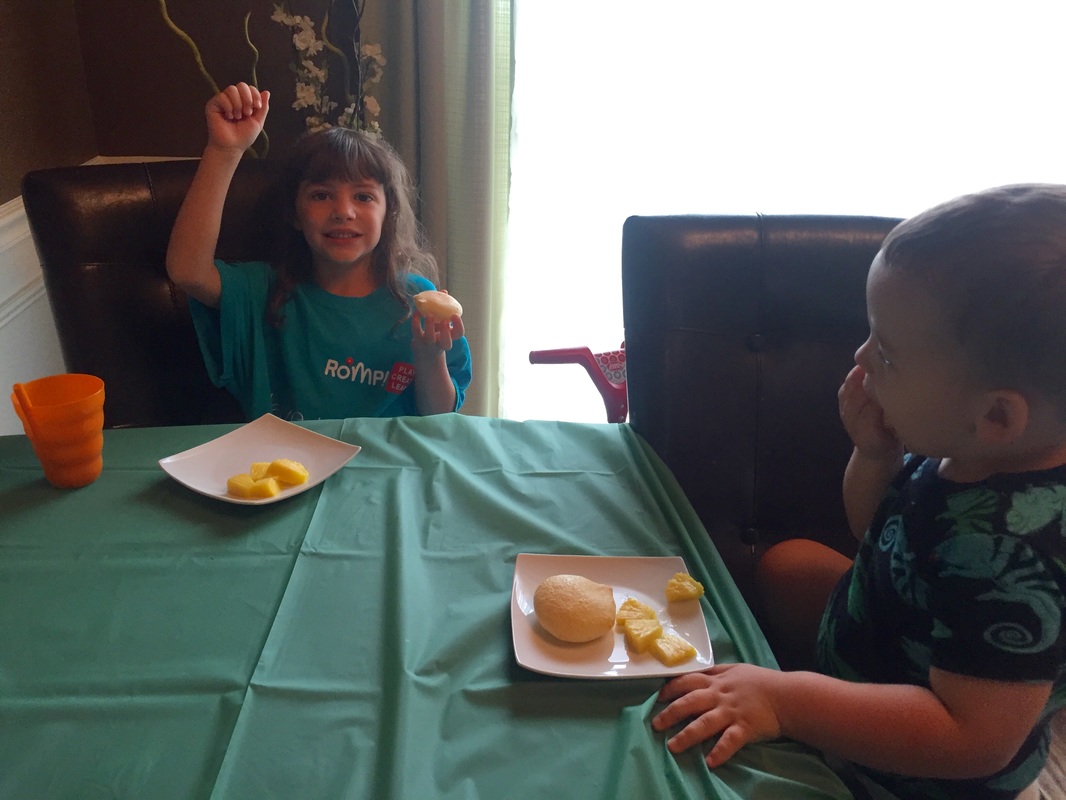
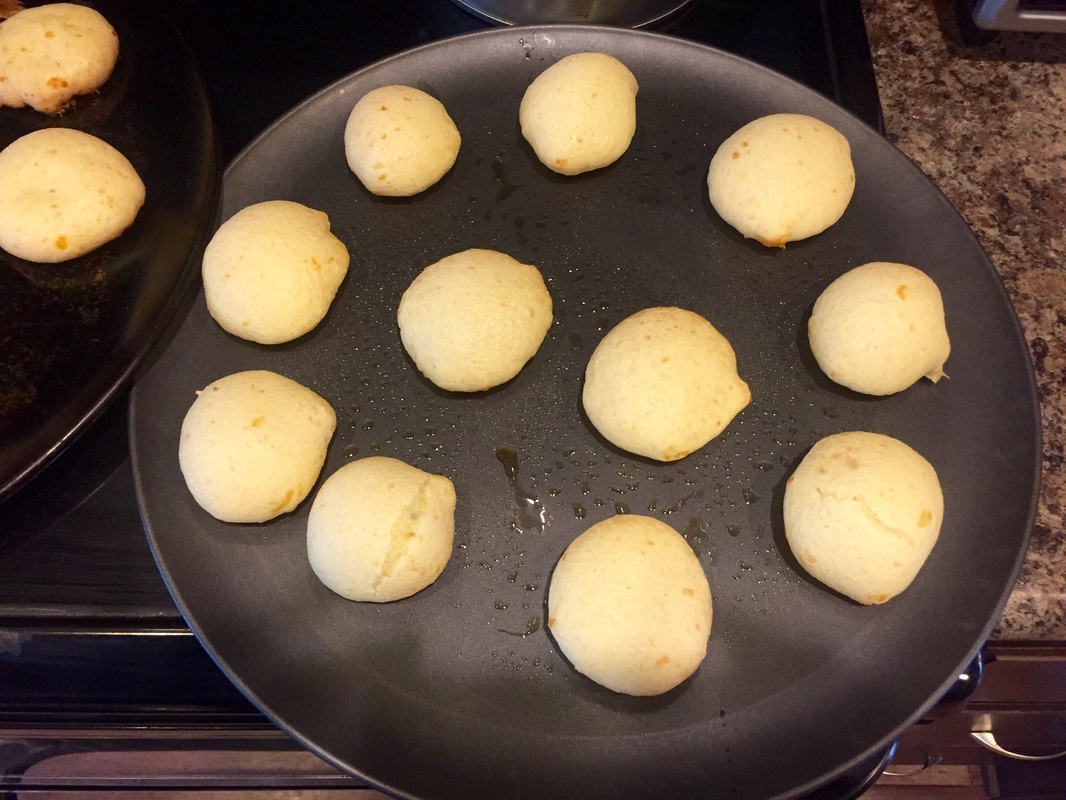
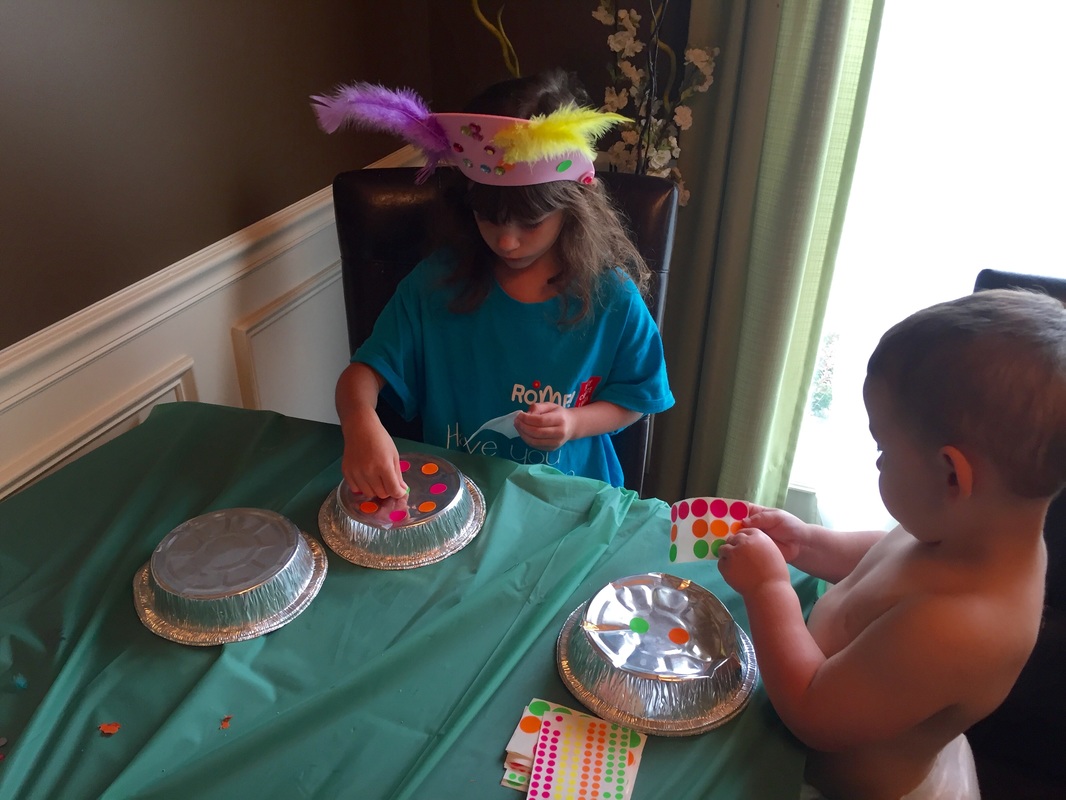
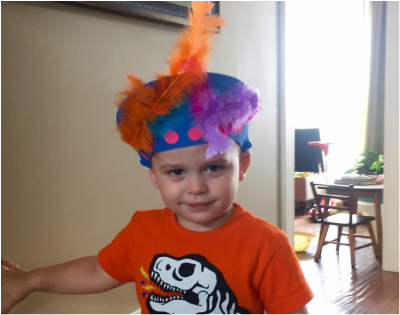
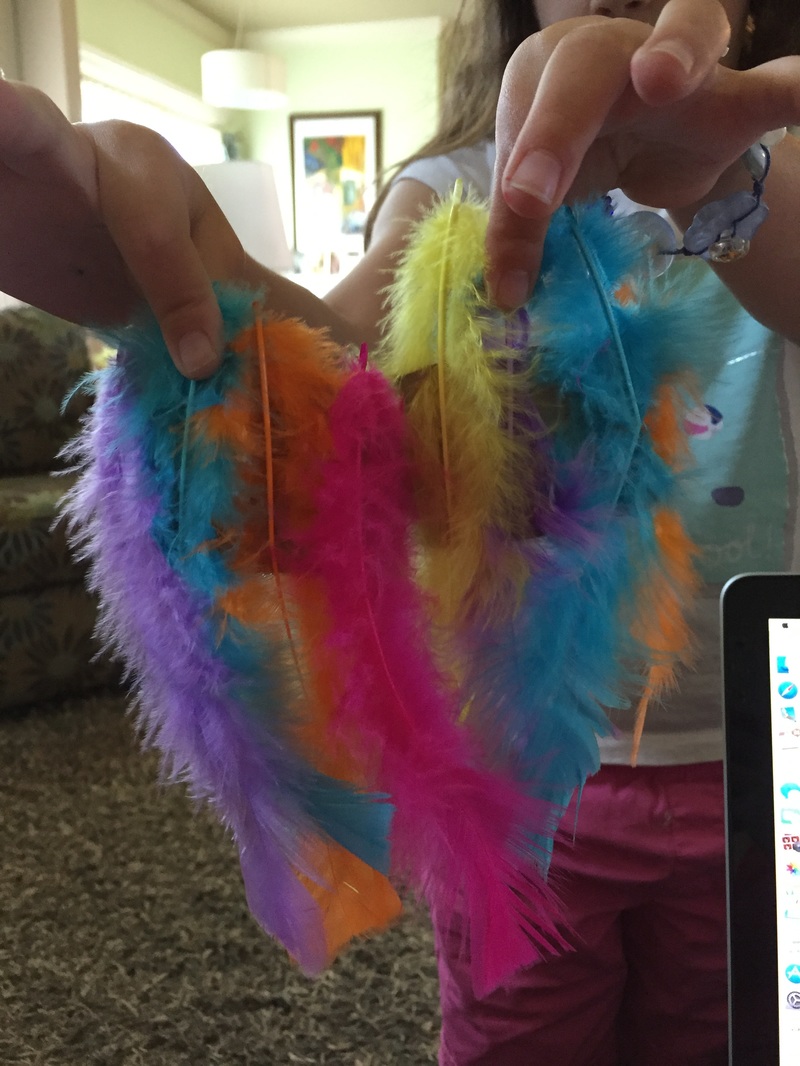
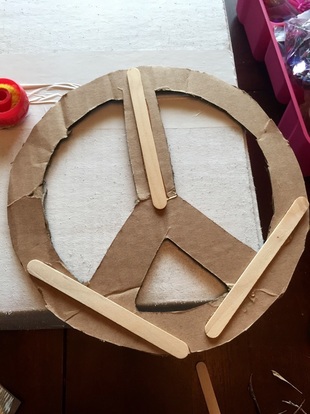
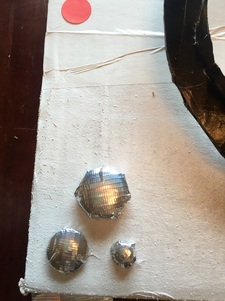
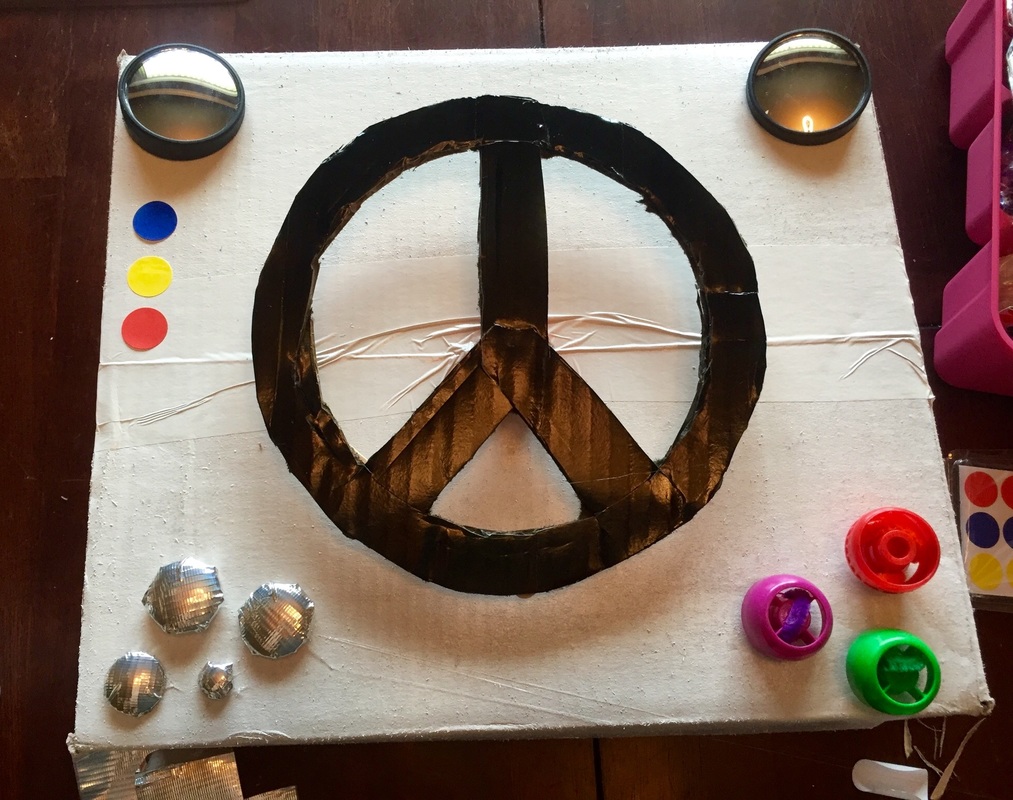
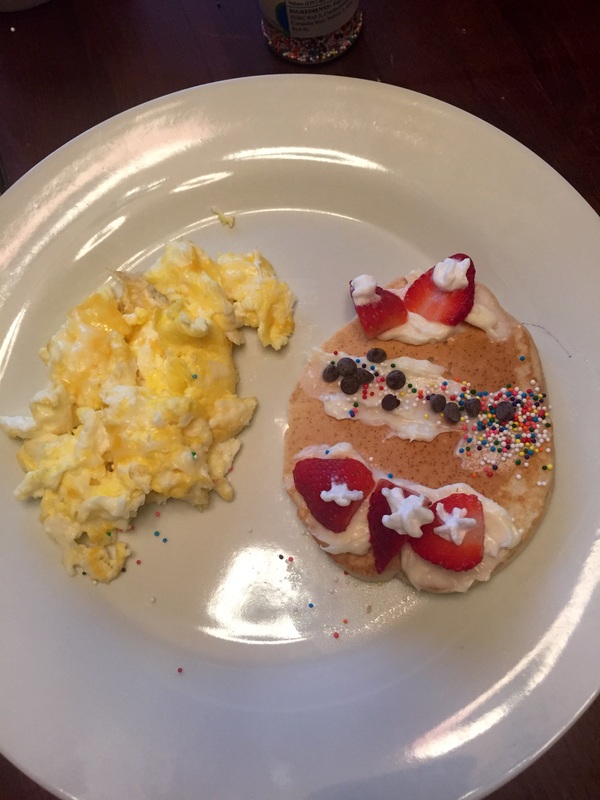
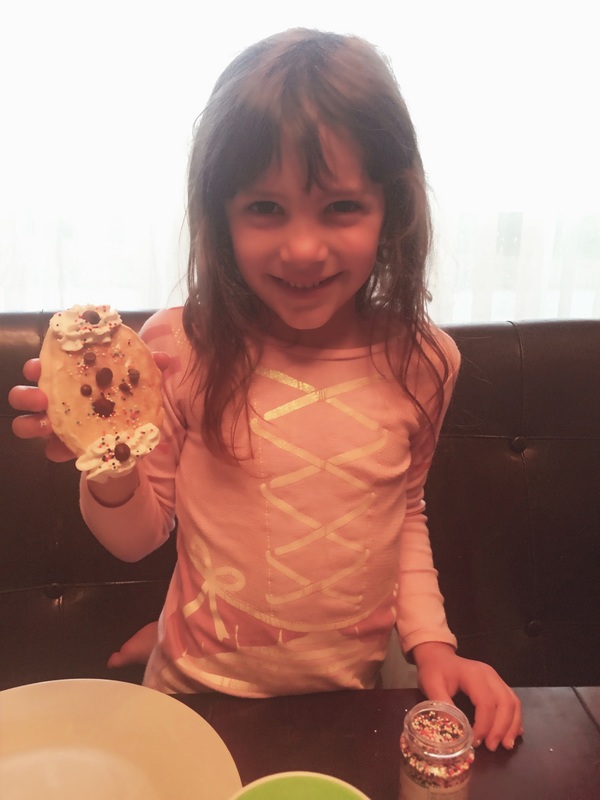
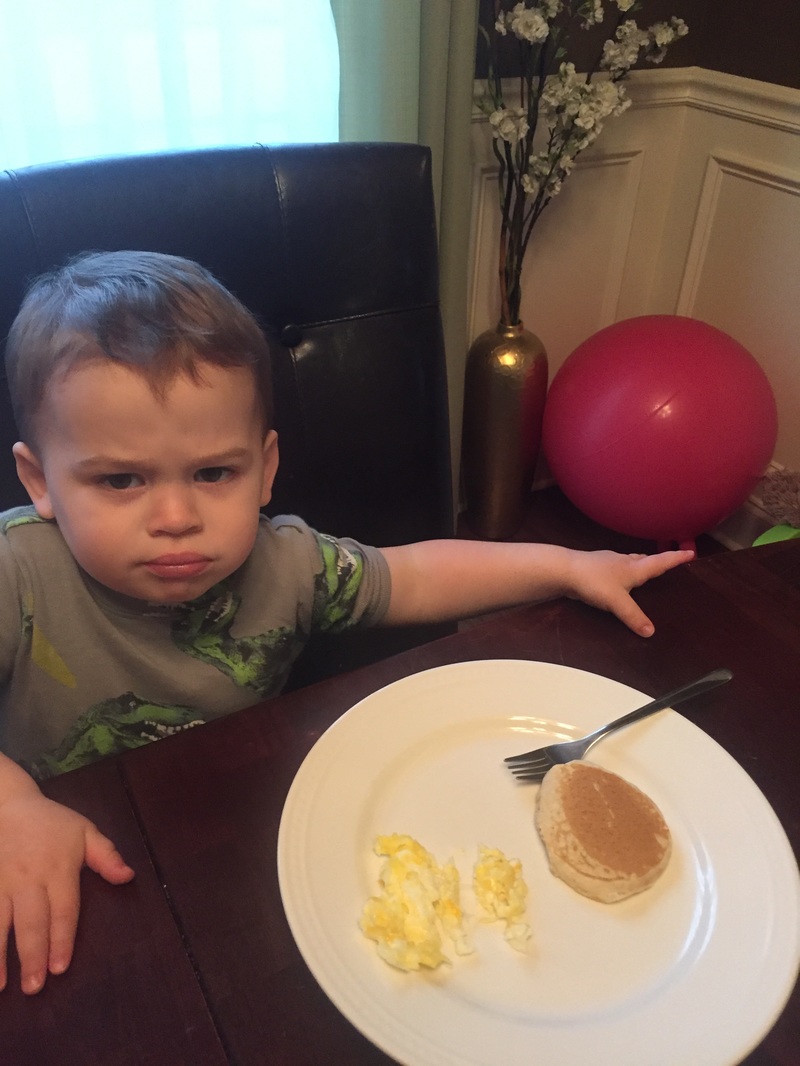
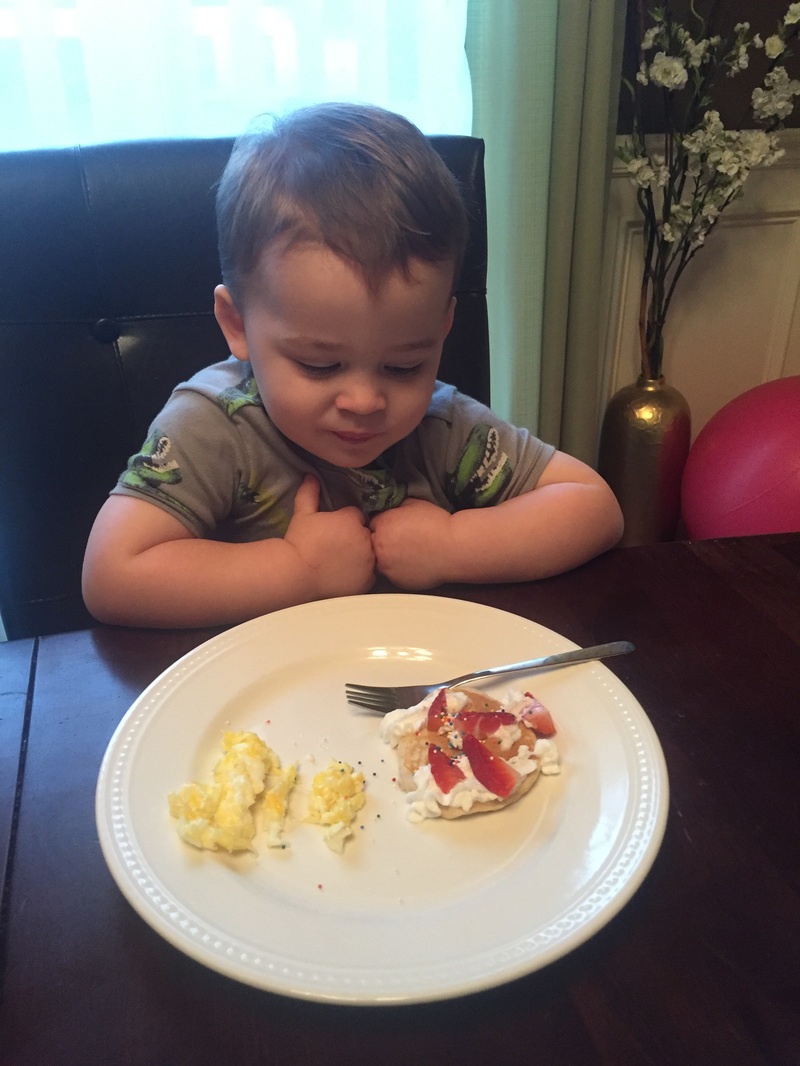
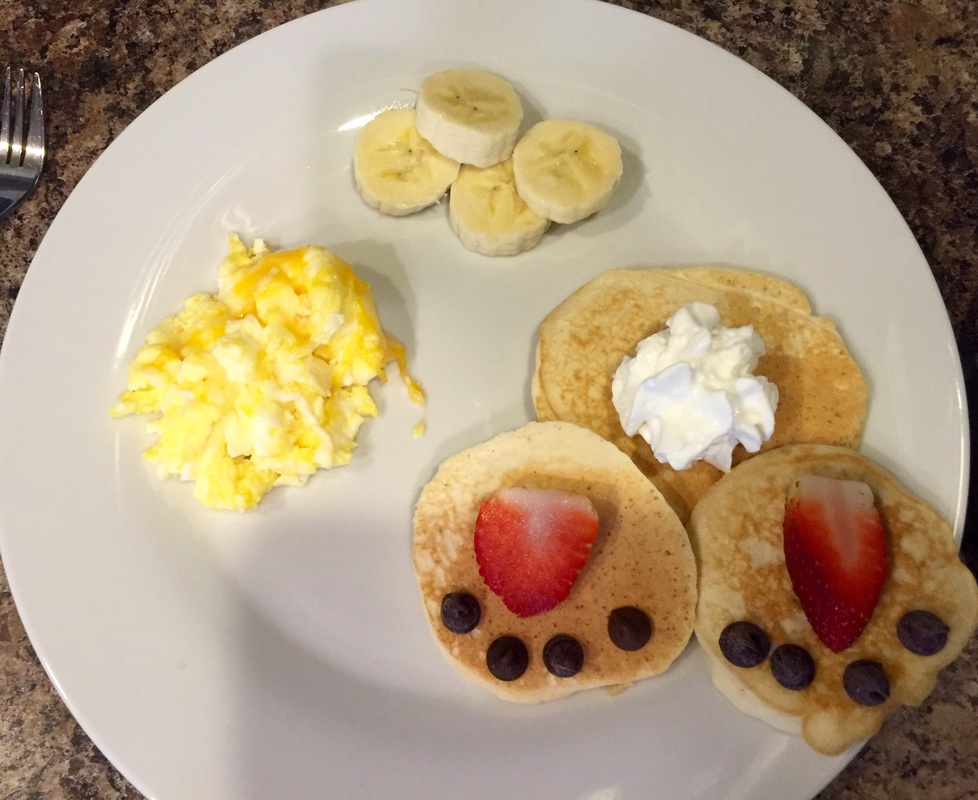
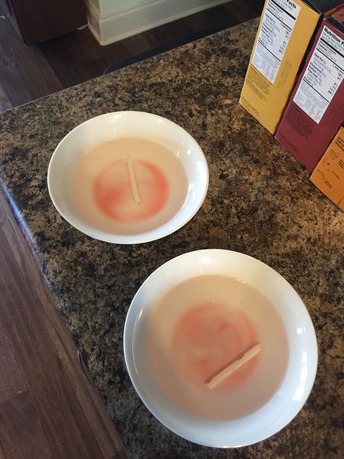
We ended the week discussing Ireland. (I had plans for Wales but there wasn't much and the kids were not interested in the few activities I had so, fail.) We read an Irish folk tale called "Finn Maccoul and His Fearless Wife" and I made potato pancakes for breakfast. As usual, the kids had zero interest in eating them but my husband and I thought they were delish. After breakfast we watched some Irish dancing and a tutorial on a few basic steps. Then we made Irish harps out of cardboard, duct tape, and stretchy string. (It called for rubber bands which I thought I had. I was wrong and had to come up with a substitution.)
 | 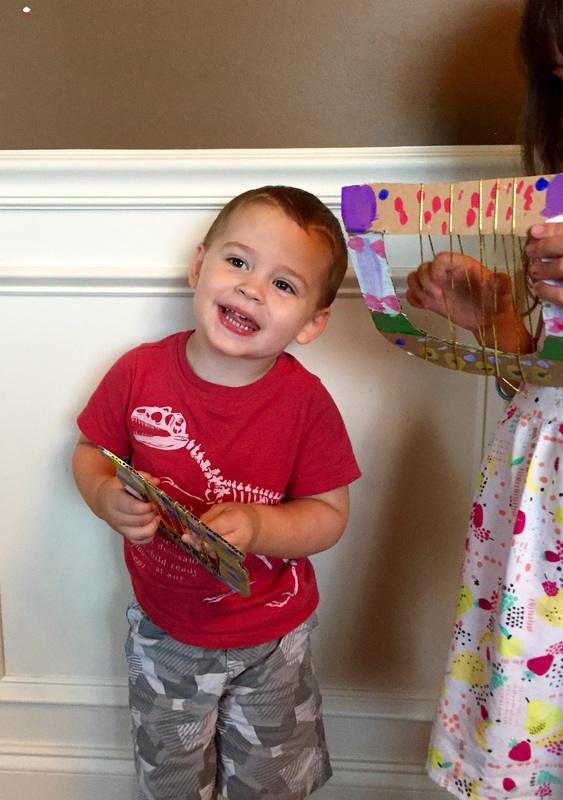 | 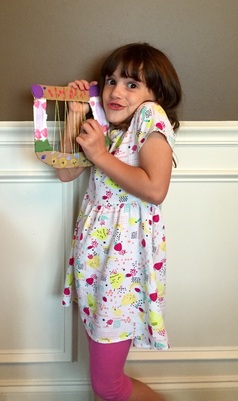 |
It was a fun week and I hope you found something inspirational to do with your kiddos!


 RSS Feed
