|
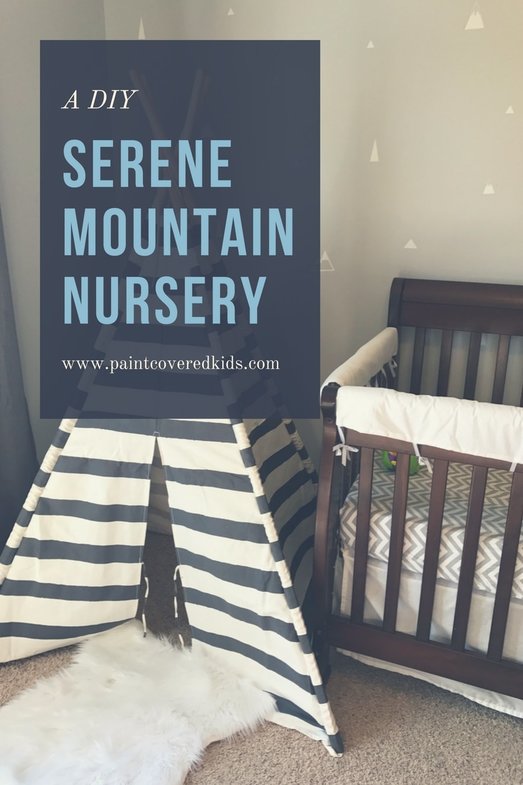
My son was born in October and I have only recently finished his nursery. I figured I didn't need to rush since he is still sleeping in a bassinet beside me. Plus, we waited to find out what we were having and let it be a surprise on the big day! So, I didn't want to decorate until I knew the gender. Once I began planning, I decided on a mountain theme and am really pleased with how it turned out! 
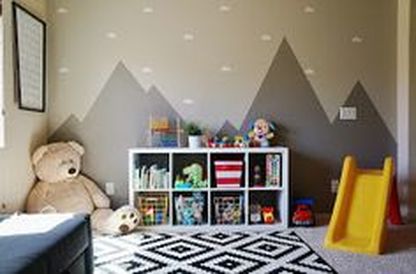
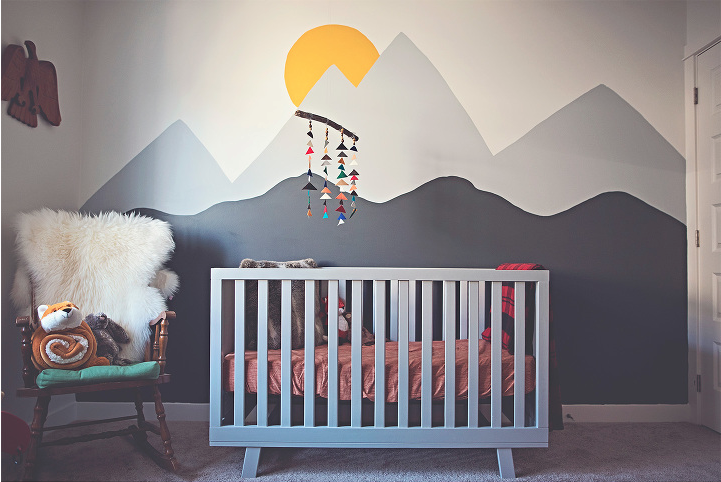
To begin I turned to Pinterest for inspiration, of course, and decided the mountain theme would be perfect. Originally I planned on painting a mountain mural similar to the ones below but, my husband was not a fan of the idea and, after painting the bedroom gray along with two other bedrooms and a bathroom, I was kind of over painting. 
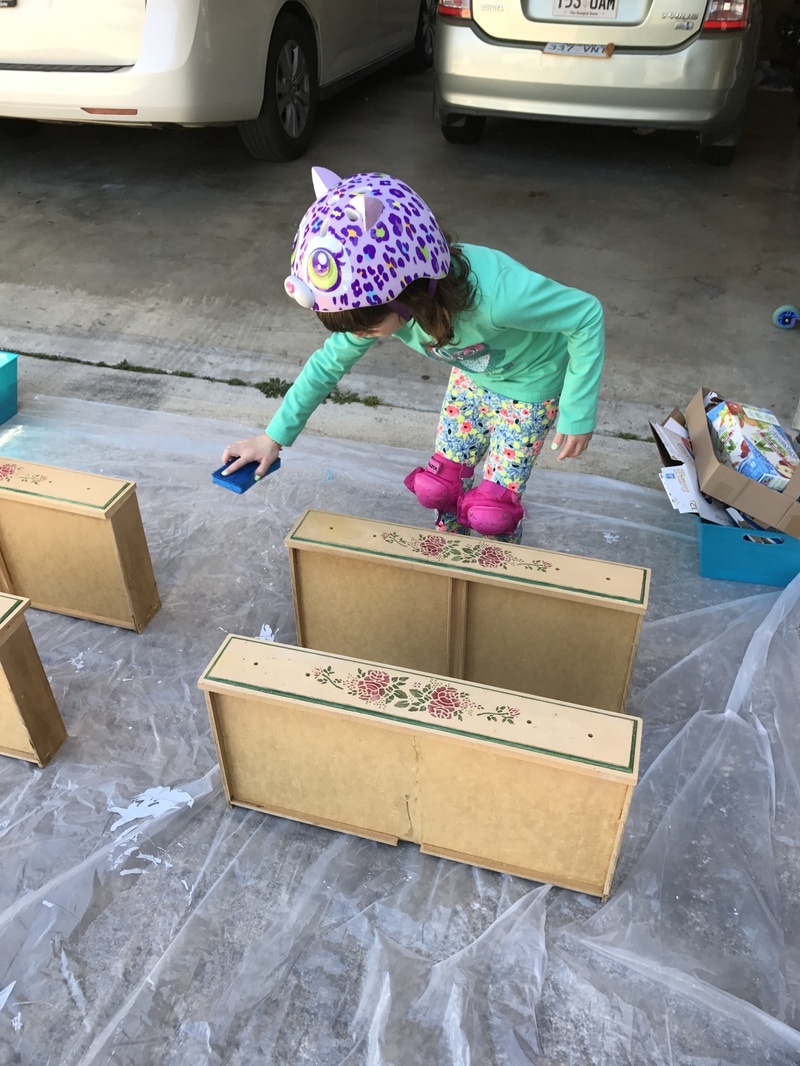
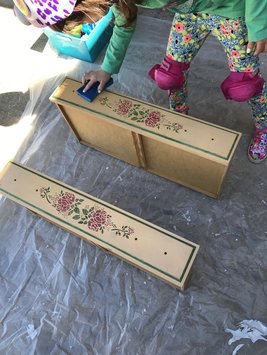
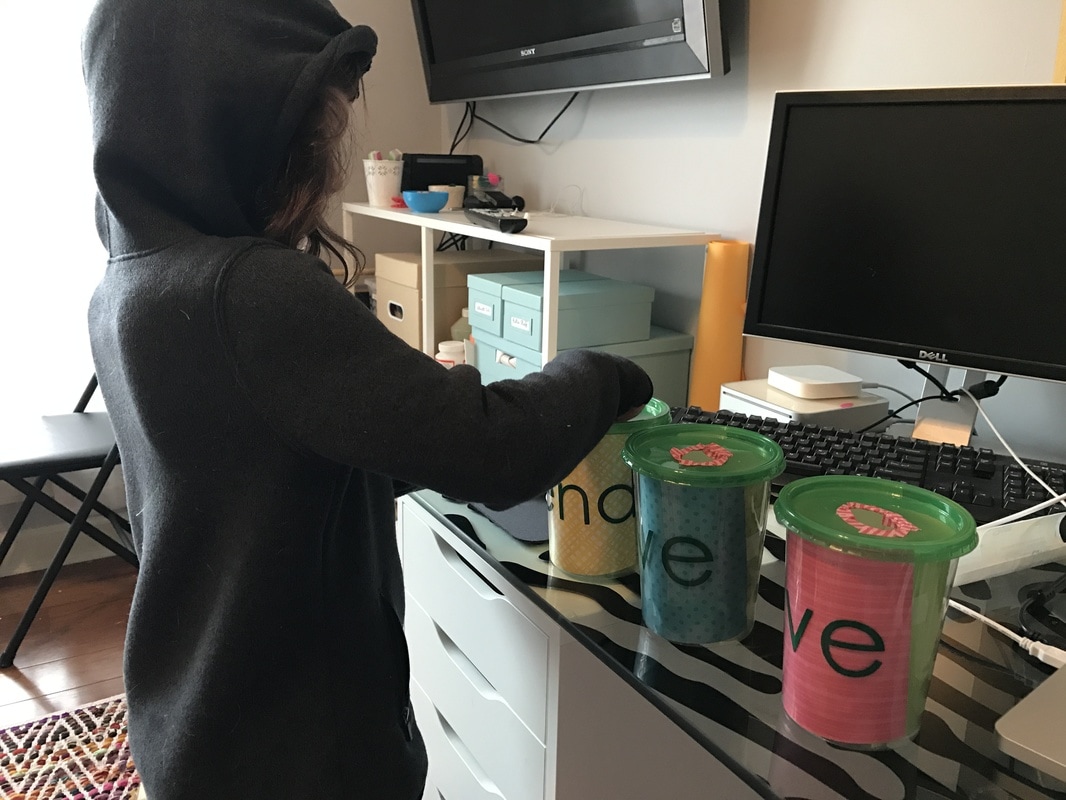
I went on a painting spree in our new home and took both of the boys bedrooms (they share a bath jack and jill style) from a seriously bright turquoise hue to a much more subdued and versatile gray from Sherwin Williams called "Evening Shadow". It has a tendency to lean toward the blue end of the gray scale but, from my experience, works well with any colors you throw at it. I also painted my office this color. It is almost complete and I will post about it soon! In addition to painting those three rooms, I also painted the jack and jill bathrooms, taking them from flamingo pink (I know right?! All THREE of our bathrooms were painted this color when we moved in!) to a blue gray from Sherwin Williams called "Rarified Air" and my daughter's bedroom went from boring taupe to a lovely light (almost white) purple shade called "Silver Peony".
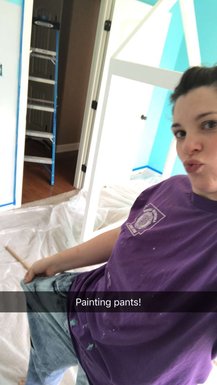
 
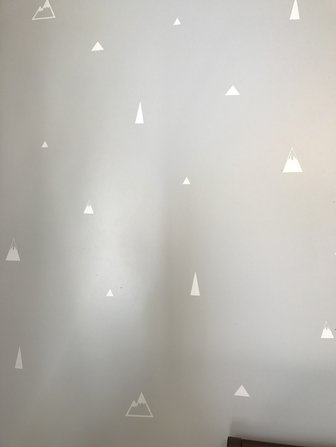
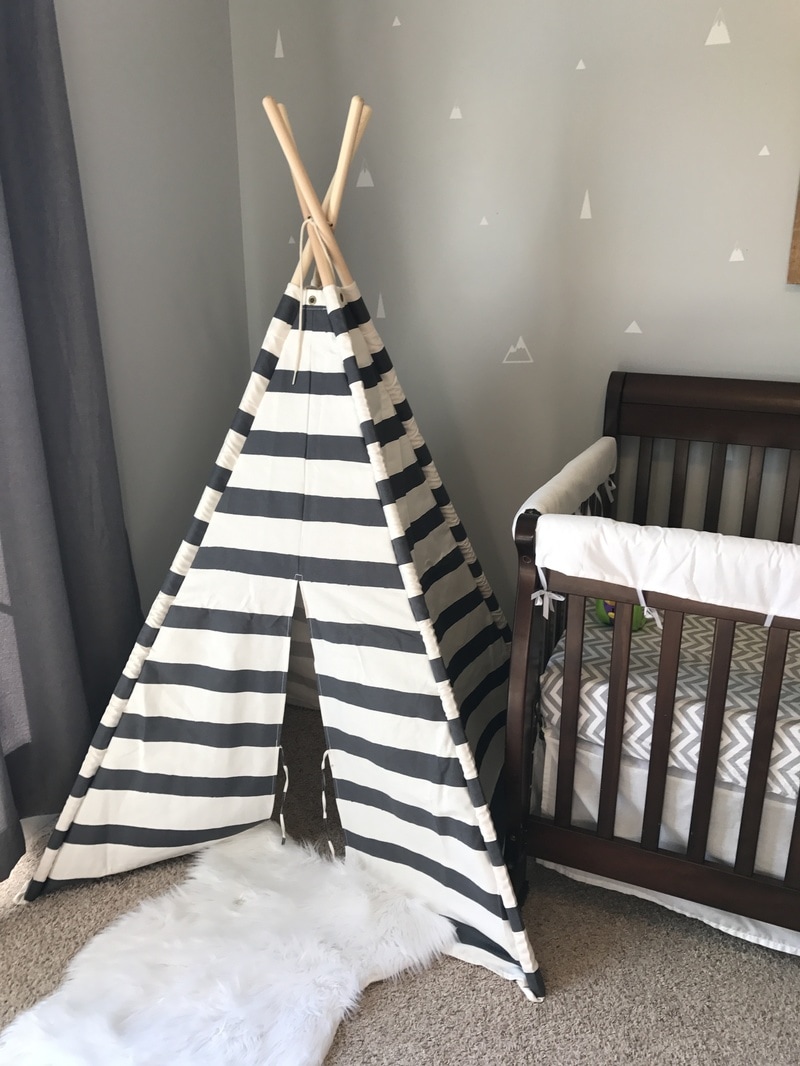
So instead, I decided to create faux wallpaper using my silhouette machine and white vinyl. I found a few mountain shaped silhouettes and paired them with various triangle shapes, sent them through my machine and then applied them randomly on the main nursery wall. It took very little time and I love the result! In fact, if you want to create your own faux wallpaper using vinyl and a silhouette machine, you can download my file! Sweet! 
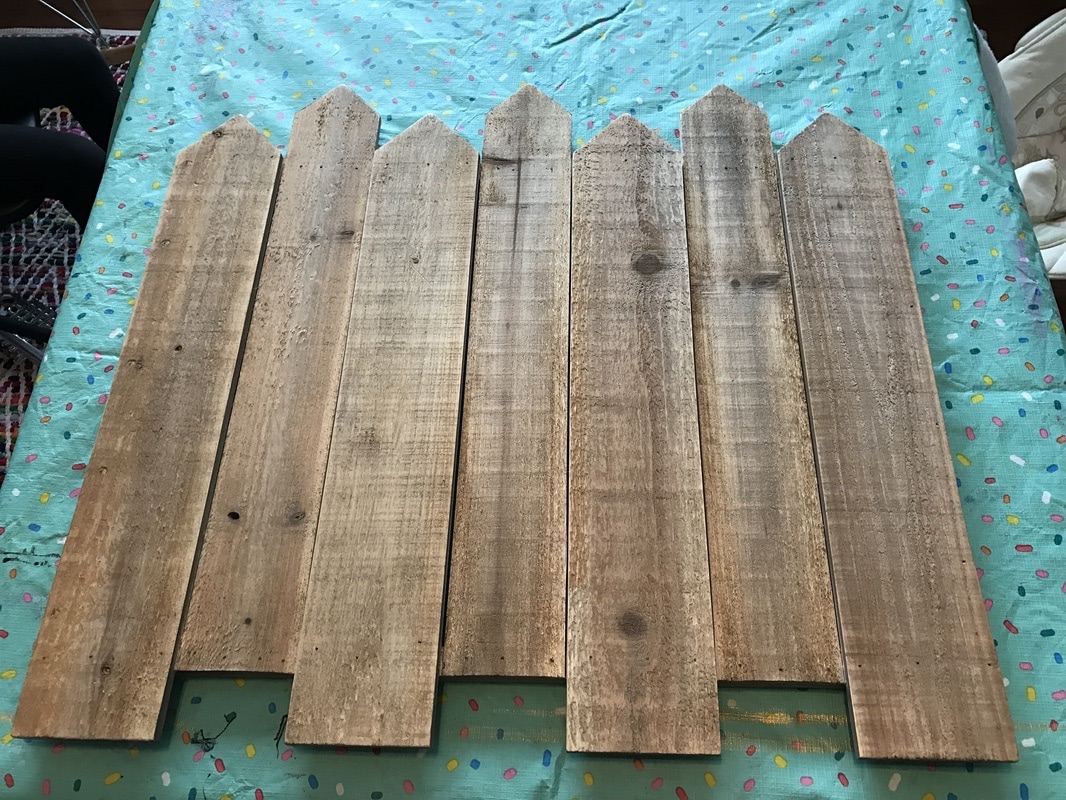
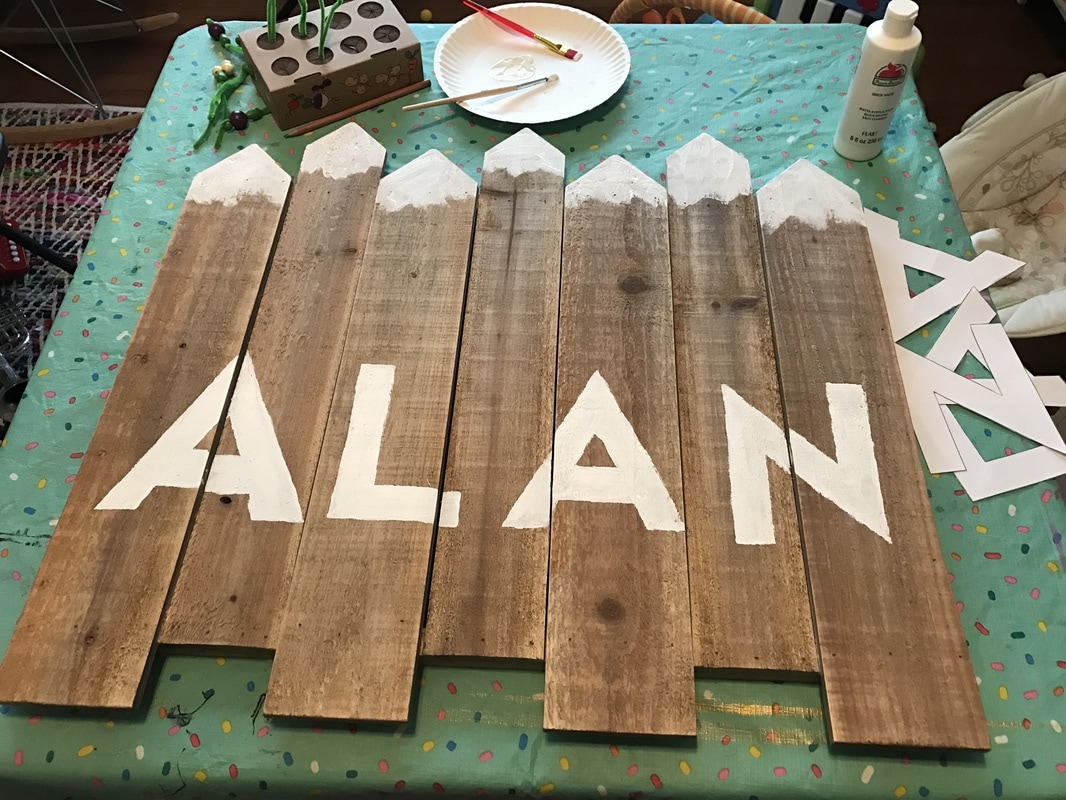
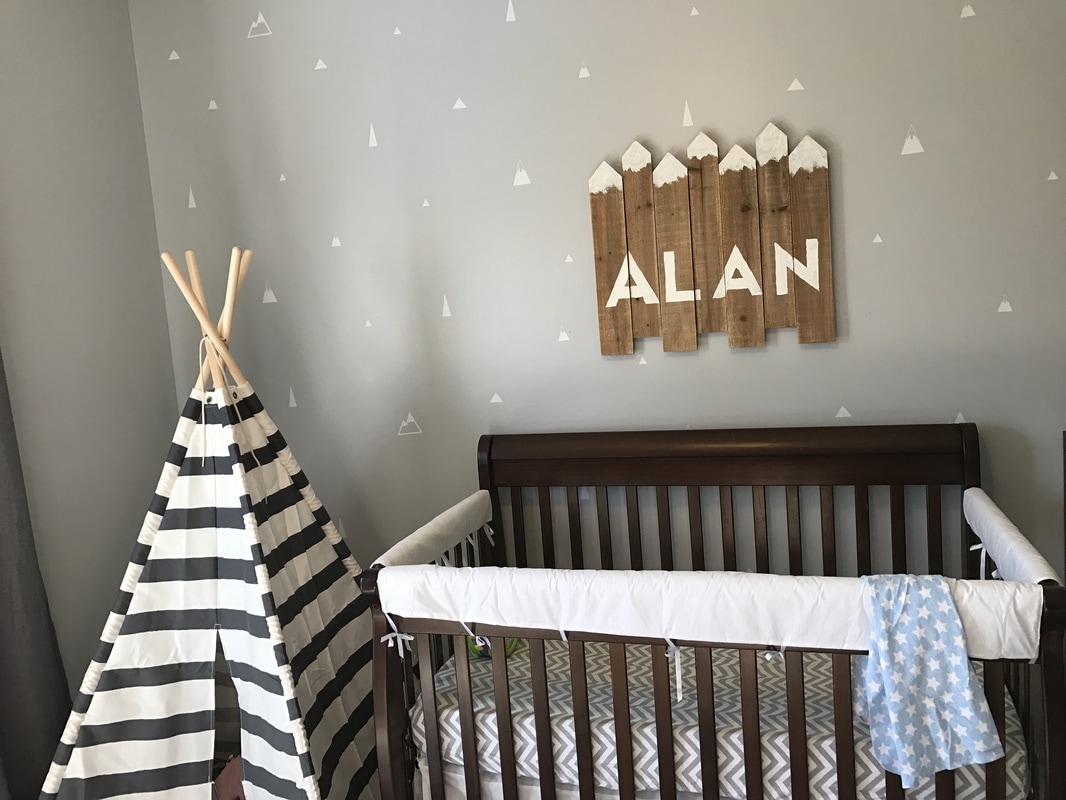
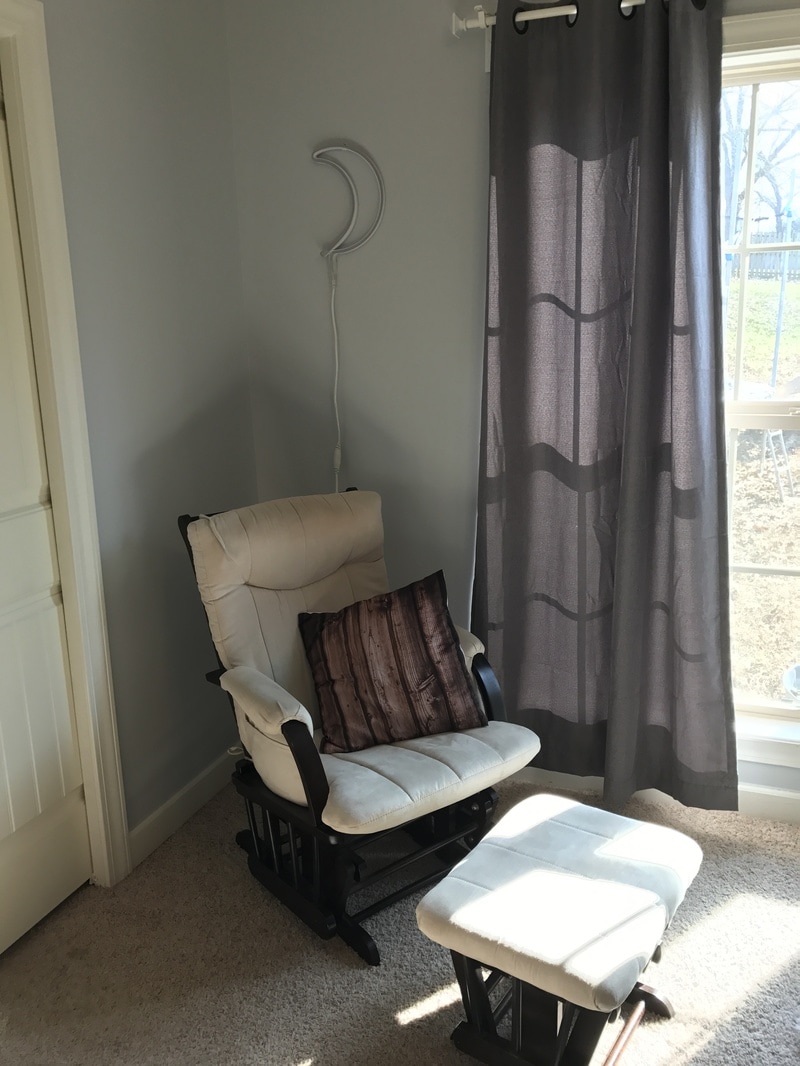
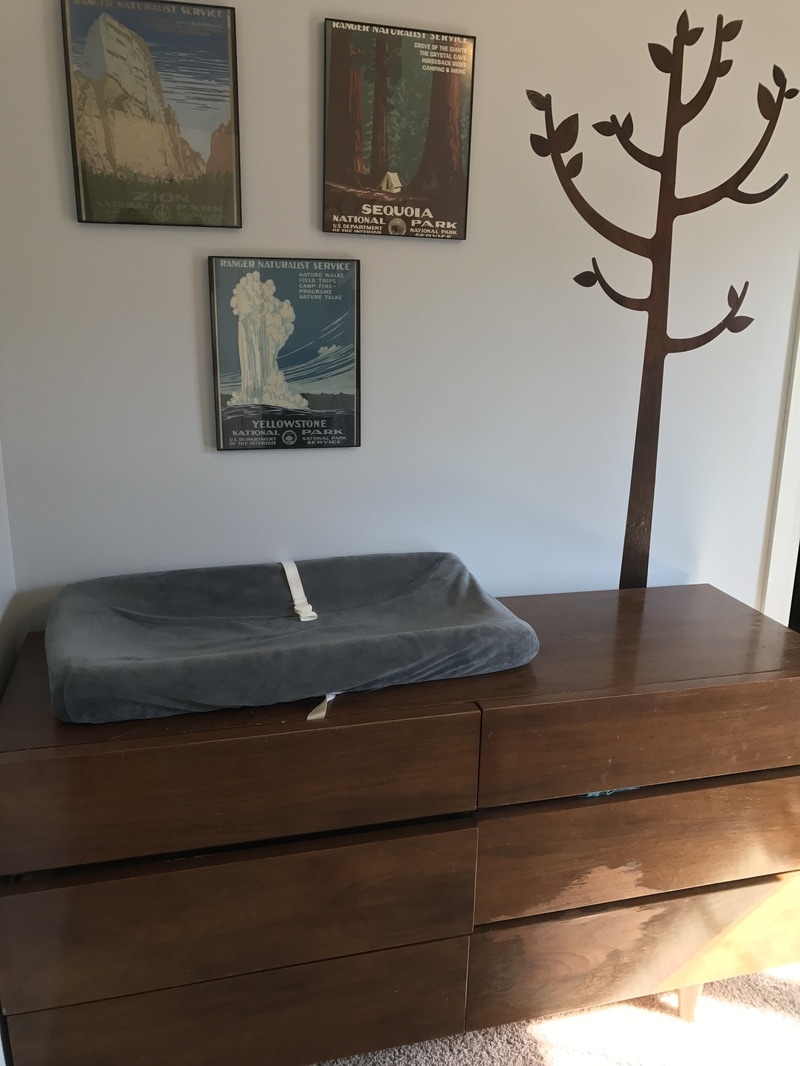
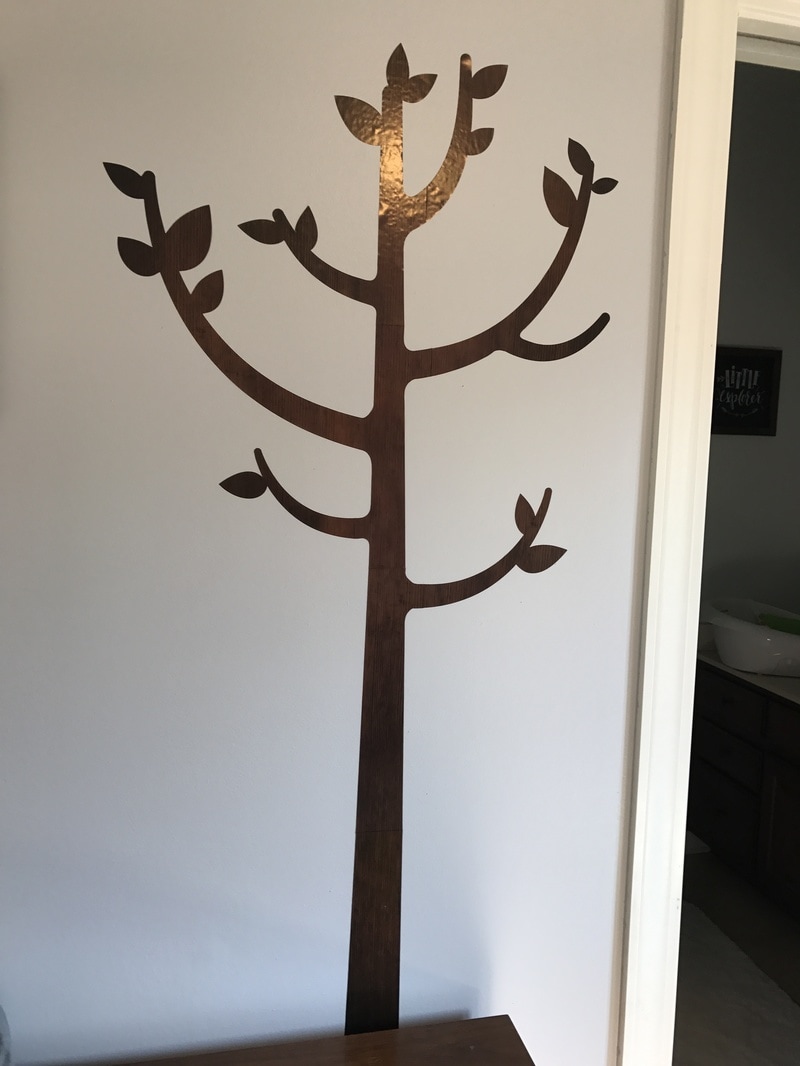
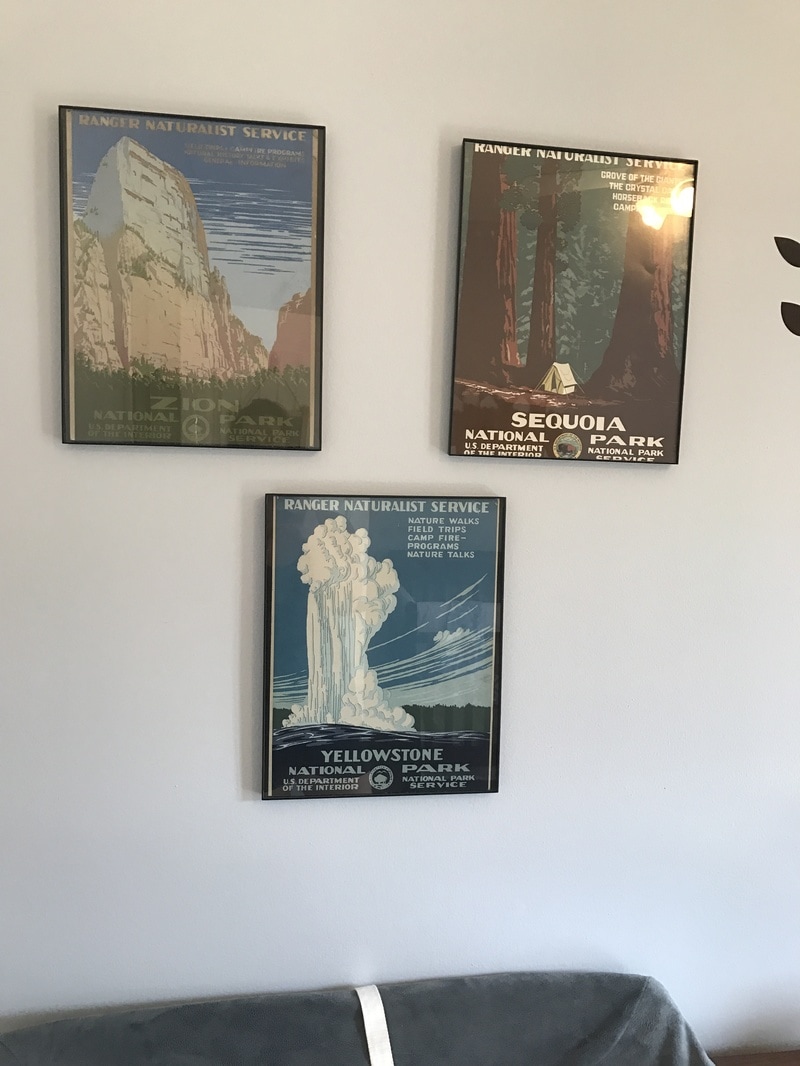
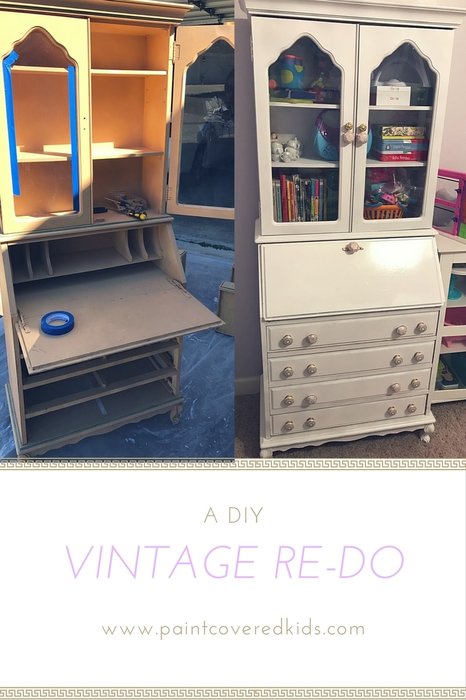
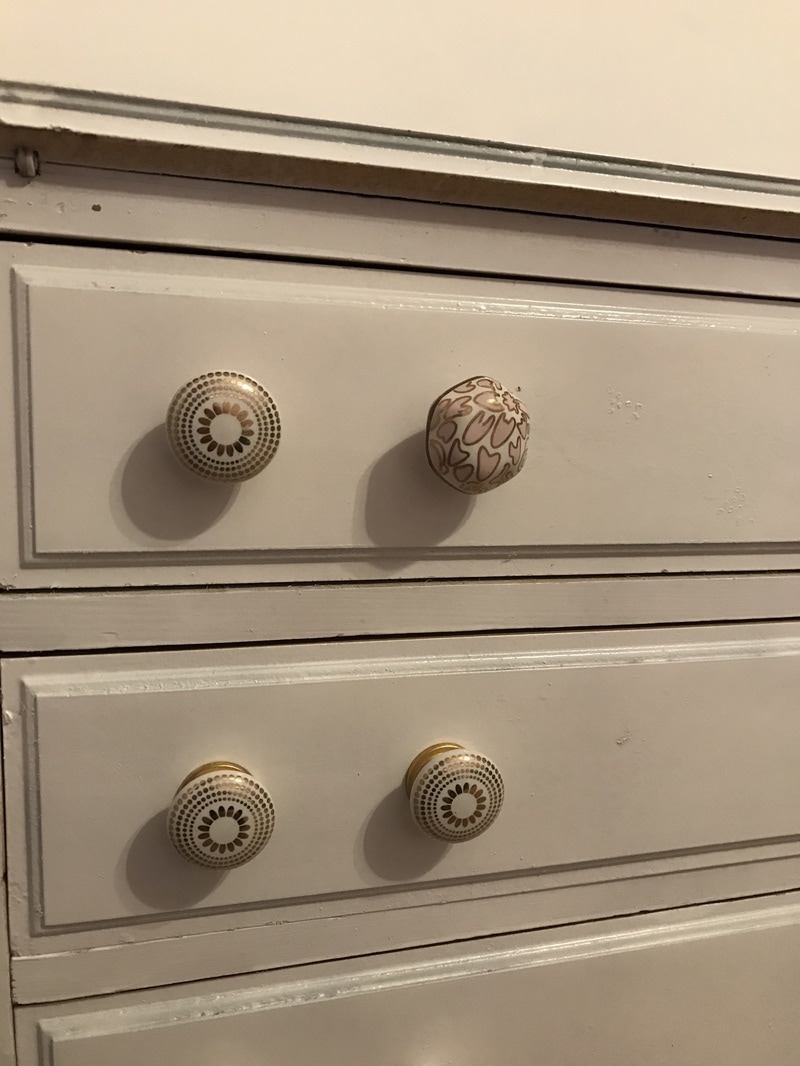
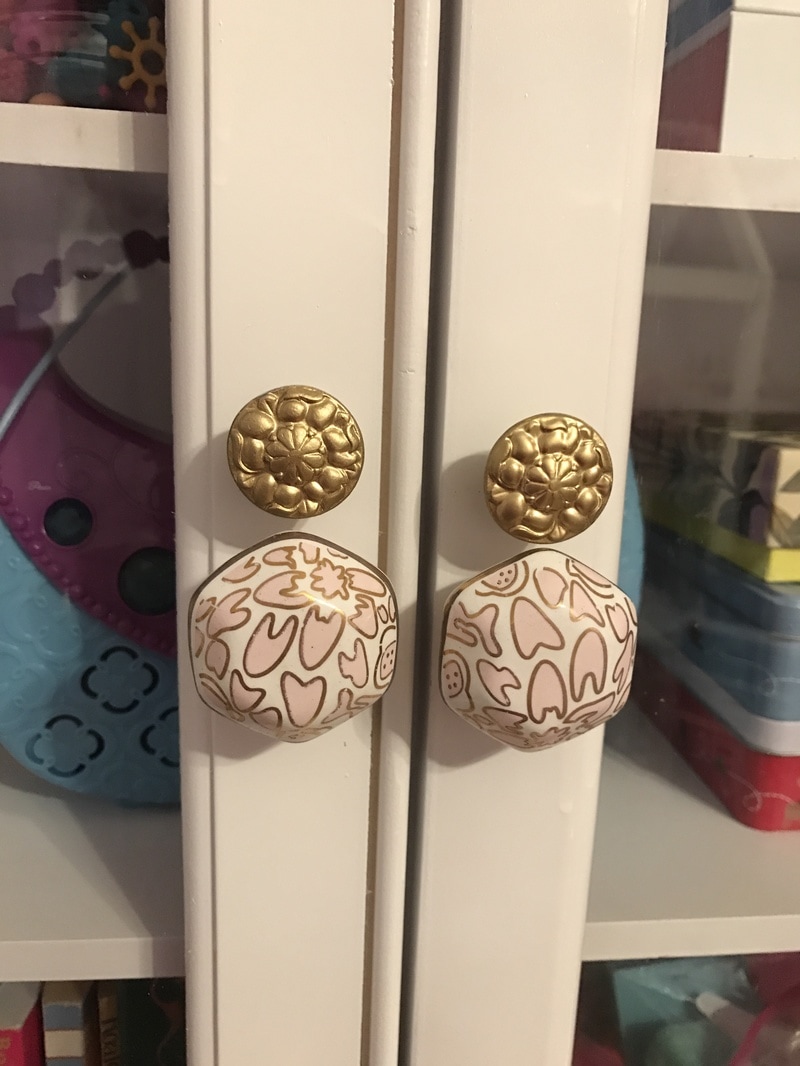
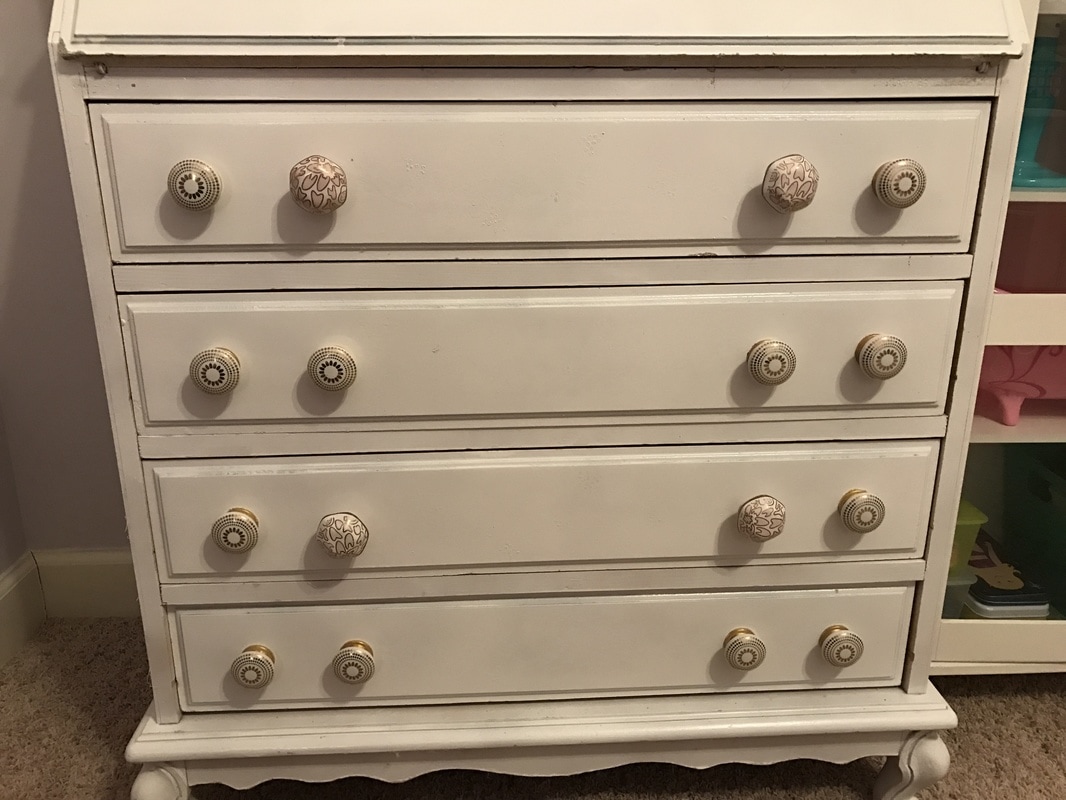
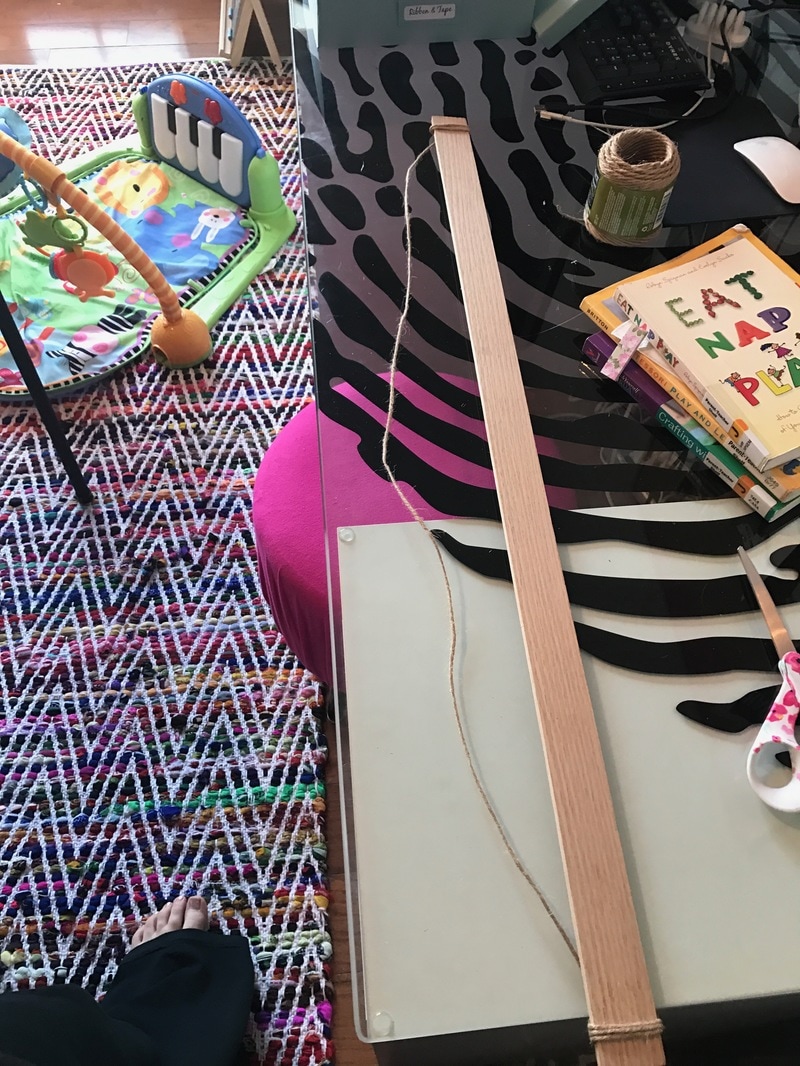
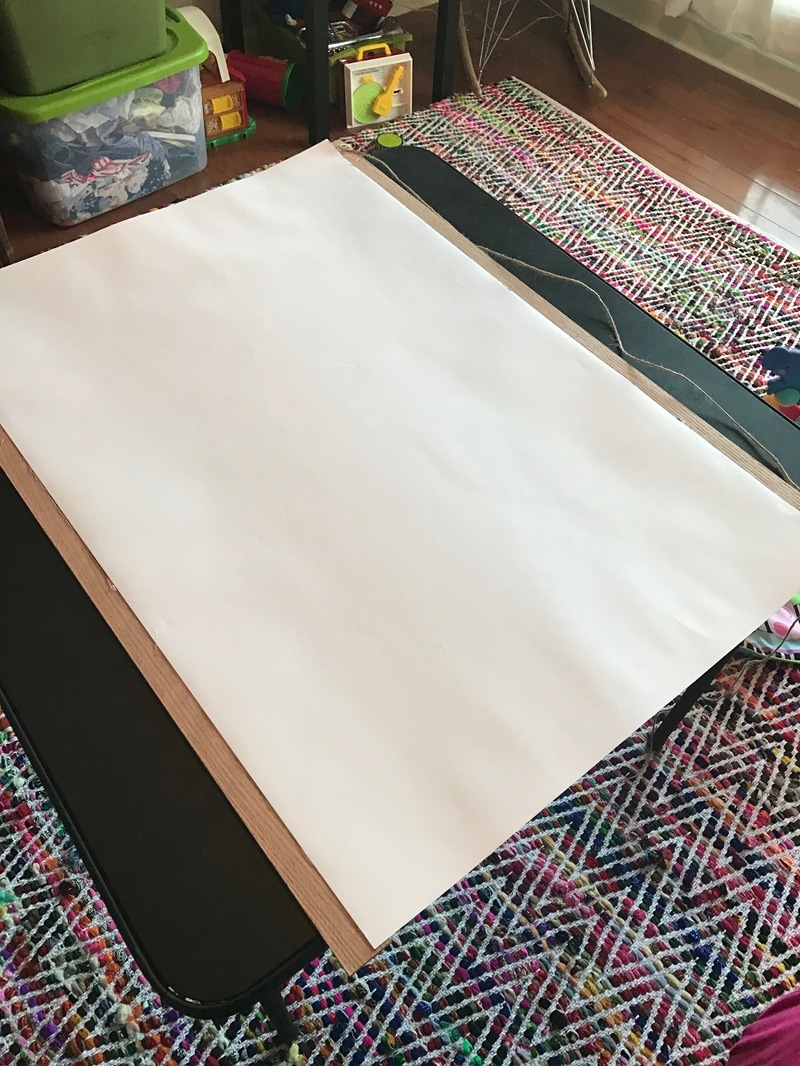
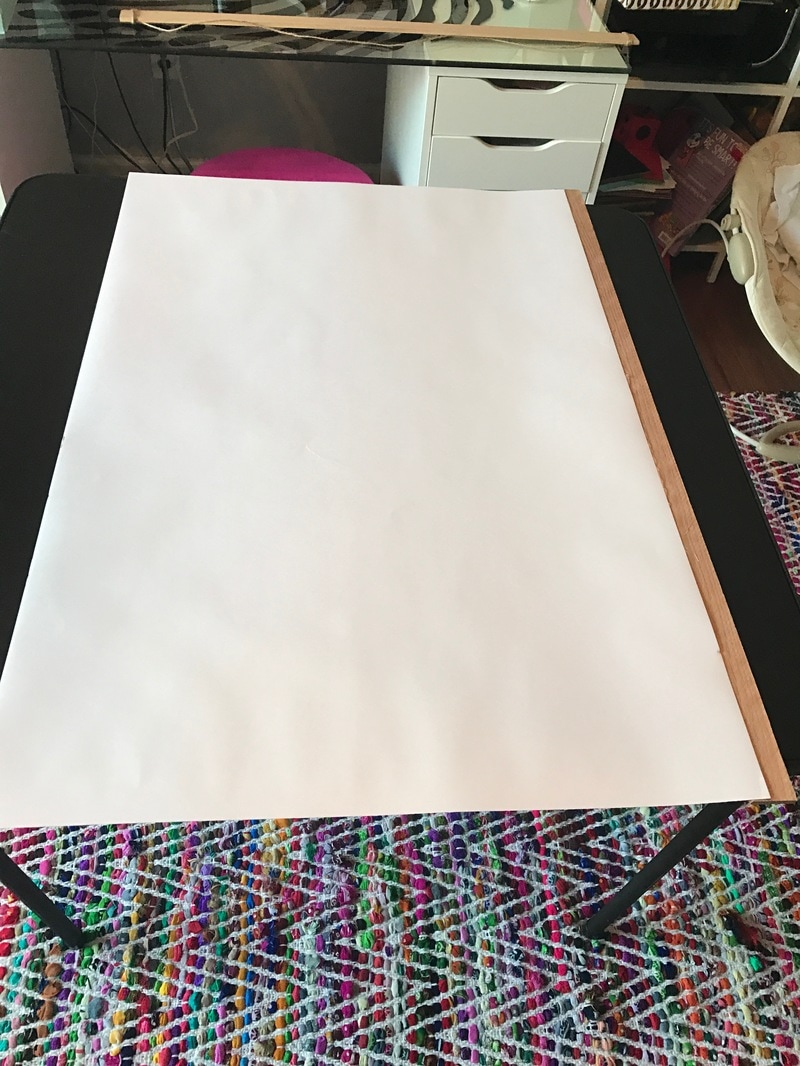
After applying the vinyl, I made the name sign for above the crib by purchasing the blank sign at Hobby Lobby for $20 and painting the tops to look like snow covered mountains. Then I created a stencil using letters printed out from my computer and then cut and traced on top of the wood. It was also a quick project but makes a big impact. To finish the room, I added a gray and white striped teepee from Hobby Lobby for $45 (I used the 40% off coupon) and white faux fur rug. The crib is the same one from my other two children but I added white teething covers to lighten it and to cover the destruction left behind from my first son. I hung gray room darkening curtains on a white arrow shaped curtain rod from Ikea. The rocking chair is also a hand me down from the other two kids and the pillow cover was also a clearance Hobby Lobby find for $3. The dresser is a vintage piece from my grandfather. I found an awesome LED moon light on super clearance at Target for $15 and created the national park prints by sending free original images, found online here, to Walgreens for printing and then framed them in $5 frames from Hobby Lobby where I also found the wall vinyl tree. It has the ability to hang hooks on the branches but I haven't gotten around to it yet. 
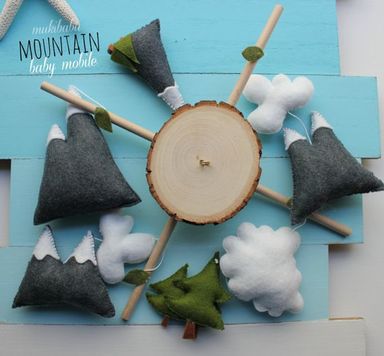
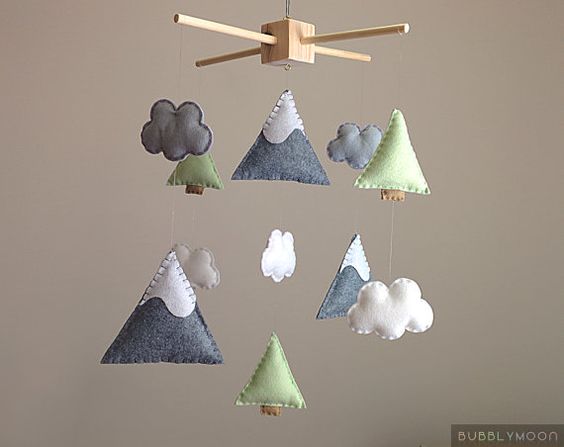
I only have one remaining project to complete for the room which is a mobile. I plan on making a mountain and tree one like the ones below. I've purchased all of the materials but haven't had the time to get it made. I'll definitely post about it when it's complete. I'm also on the lookout for a cool lamp but haven't found one I like yet. I'm sure there will be a few changes and additions once Alan gets moved into his new room but for now it is a lovely place to sit and relax while rocking him. If you're interested in checking out my inspiration board on Pinterest, you can see it here!
0 Comments
My Mom and Stepdad recently brought me an old piece of furniture from my childhood bedroom for my daughter to have. The piece was actually my Mom's first piece of not hand-me-down furniture that she actually picked out as a young girl. When she gave it to me she painted it in an antique style with rose detailing but, for my daughter I wanted to bring it back to the original white. It had lost a couple pieces of hardware over the years so I also planned on replacing the knobs and pulls. I decided to spray paint it because, honestly, I'm lazy and just didn't want to use a brush. However, I wish I had just done it with a brush, it would have looked better and I'm not sure the spray paint saved me much time. I also have the classic crampy hand from spraying too. After wiping it down, removing the old hardware, taping the glass doors and painting it white, I headed out for some knobs and pulls. I went to Home Depot and found absolutely nothing worthwhile. (I didn't think I would, but I hated not to give it a chance.) Then, I remembered seeing vintage styled knobs at T.J. Maxx for super cheap the week before. I popped over there and found some that would be perfect. The piece, however, used pulls and knobs and there were no pulls. I knew this was a problem but after a quick consultation with my sister-in-law to get her opinion, we agreed that putting knobs in each of the two holes meant for a pull would look great. T.J. Maxx didn't have enough of any one knob for the whole piece though so, I chose two complimentary but different knobs and decided to strategically mix them.
The other hiccup was that the piece had these weird plate pieces that created another hole only about half of an inch from the knob holes on the glass doors and fold down desktop and I only had two of the three plates I needed. Obviously, I wasn't going to find a replacement plate so I had to get creative. I decided to keep one plate for the drop down desk and spray painted it gold. Then I used of the new knobs instead of the original. For the doors I used new knobs and then spray painted two of the old ones (I only had two) gold to match the plate on the desktop and put them in the weird plate holes. I feel like it looks just the right amount of whimsical and purposeful. My daughter is excited to have it and it really helped with her room organization.
It was a quick and easy project that my daughter and I are both excited about. I'll update later to let you know how everything goes. My daughter started expressing interest in earning money for doing things around the house so, before I jumped into the idea I decided to read up on the suggestions from people who might know a little more than me. I checked out my local library and grabbed a few titles that seemed helpful. After reading a bit of each, I decided that I would introduce a guaranteed weekly allowance that was not dependent on chores. That being said, she still has to finish the chores she has always done as a requirement for being a member of the family. I decided to give her $6 per week. The books I read suggested the number of dollars equal the age of the child with a raise each birthday. I also created three jars for her allowance: spend, save and give. She can choose how much to put into each jar but she must put some in each every week. The idea is that they learn the value of saving for something big and helping others while still having a little spending money on the regular. When I decided to make the jars I didn't want them to be breakable. My three year old son enjoys messing with everything that belongs to his big sister and I didn't want to run the risk of broken glass everywhere. So, I found a package of three food storage containers at the Dollar Tree. I cut a hole in the top of each and lined the jagged plastic with colorful washi tape. Then I taped colorful paper on the inside of each container and, using my Silhouette Cameo, I created vinyl letter labels.
Last weekend we celebrated my son's third birthday with a "Where the Wild Things Are" themed party. I created a few things inspired by Pinterest to make it extra fun and we all had a great time. Check out my party! I created monster claws for all of our guests using craft foam, hot glue and elastic bands. They were simple, cheap and a big hit. Guests also left with bubbles from the dollar store that I applied a custom label to as well as diy monster masks that they were able to color. For activities I had the coloring masks as well as coloring sheets, a play dough station with wild things themed play dough mats, pin the tail on Max and we also set up a bouncy house in the garage. I also created a Photo Booth area with a boat. For the backdrop I sketched a sea scene on two pieces of butcher paper taped together. I also created a few signs with Arthur's face on Max's for extra fun. For food we made sandwiches with the intent of making them crown shaped which didn't happen. But, I did manage to make a boat out of watermelon, bake a cake with a fondant crown and create a veggie plate with carrot and pepper trees as well as make some chocolate and pretzel covered marshmallows on a stick (with help from my family). We also had punch and chips. There was almost no food leftover which is always a good sign. I also added a few tissue poms and sketched a backdrop to look similar to the forest from the book. It was a fun time and I was really happy with how everything turned out. I hope you found some inspiration! Thanks for visiting!
I don't know if you feel the same way but, framing art can be expensive! So, when it I needed to put art up in my sons room I looked into ways to get it up for waaaaaay cheaper! A quick trip to the hardware store, a glue gun, some twine and your print are all you'll need to whip up a cheap hanging method that also looks pretty cool! Inspired by my gallery wall hanging frames, I set out to get a similar but more permanent look. The prints I used were made at Walgreens for less than $10 each and could easily be reprinted so, I didn't have a problem with permanently adhering them to a frame. I grabbed two "hobby boards" for around $3 each from Home Depot and hot glued the print to the boards at the top and bottom. I recommend measuring and drawing a line down the board on the side you plan on gluing so it is even. Then, I wrapped twine around the top board creating a string to hang from a nail on the wall. It only took a few minutes and I love the result! Plus, if my son knocks it in the future there isn't any glass so I don't have to worry about potential danger. I'm pleased and will probably use this method again. So easy! Hopefully you're inspired to think of new ways to hang your art! Enjoy!
I was looking for some cute and simple flower arrangements to give a nice spring feel to my home but, everywhere I looked they were way out of my price range. So, I decided to get crafty and make them myself. However, when I visited my local craft store I left discouraged about the cost there as well. But, when I visited my local Dollar Tree I found exactly what I was looking for and only spent a fraction of what I would have elsewhere. Check out how I did it! You will need:
- Several bunches of the most realistic looking flowers at your dollar store. I chose some soft pink flowers that look like a peony and an azalea had a baby. They weren't overly colorful and they looked light and airy. - Short, glass vessel. I selected the round bubble like ones. They have a simple and expensive feel but are still just $1. - 1 bag of white rocks. - Sharp scissors for cutting the flower stems Once you have all of your items, simple cut the flowers into varying lengths that cause the flowers to sit at the top edges of the glass vase. Fill the vase with your white rocks and then arrange the flowers. The biggest note I can give is to make sure you put plenty of flowers in your vase. if it is not filled fully it will not look quite right. Who doesn't love a good excuse for day drinking and getting dressed up?! Ever since the invention of Galentine's Day by our friends at "Parks and Rec" we now have a perfect reason to listen to the Spice Girls, eat yummy food and day drink! I hosted a Galentine's Day party this weekend with a few of my closest friends and you can too! It doesn't take much to have a fun time with the girls. Simply select a few food items, throw together a photo booth for next to nothing and provide supplies for creating Valentine's. The Menu: I decided to make paleo egg cups, breakfast potatoes, vanilla baked donuts, chocolate covered strawberries and a fruit salad. I also had the choice of a raspberry champagne or mango champagne floats (inspired by the raspberry ones using white bubbly and mango sorbet). It was all relatively easy and everyone enjoyed it! The Decor: I've been looking for an excuse to purchase a gold sequin tablecloth forever and finally had a perfect excuse! I got it for only $17 on amazon and I'll be able to use it for a million other things in the future. I also picked up some Valentine's flowers at Kroger. Then I sprinkled some fake flower petals and some golden confetti on the table with some red candle holders for the center. My co-host also made a few paper heart cone trees that I added. I purchased a fringe banner and dangled it around the chandelier above the table and that completed the table decor. For the photo booth I taped a plastic red and white polka dot table cloth on the wall width wise for the background and then printed off these free Photo Booth props and hotglued them to skewer sticks. I also added a few feather boas and some tiaras to the dress up table for extra fun. Activities: I created a Galentine's playlist to listen to while we visited and got crafty. Then I set up a Valentine making table with colored paper, scissors, glue, stickers, pom pom balls and more for us to create Valentine's for our loved ones. It was a fun excuse to hang with my favorite ladies and I think everyone enjoyed the festivities. Good luck with your party planning and let me know if you use any of my ideas!
I'm always trying to get the most bang for my buck and save as much as possible when redecorating our new home. So, for my office I began browsing pinterest for inspiration and came across a fantastic tutorial to create 3D origami art. I figured that paper was cheap so in the worst case scenario I wouldn't be out much money if the project ended up being a fail. I selected papers that matched the color scheme for my room, pulled out my paper cutter, ruler and pencil and got to work! I followed the tutorial exactly and then configured them in my own way on a piece of white poster board. Once I figured out the arrangement I liked, I used hot glue to adhere them to the white poster board. After that, I cut it out of the poster board and got glued it to a piece of gold poster board. Then I stuck it on the wall using poster stickers. Once I got it up there I felt it needed a little something extra and added some black and white washi tape to frame it. I LOVE how it turned out and only spent about 30 minutes making it! It really pops on the wall and I adore the paper choices I made. I love it so much I may make some similar art for other rooms in my house.
I've slowly been checking off my to-do list since moving into our new home this fall and this week I took on my office/craft room! It's not finished yet so you'll have to wait for that post a bit longer. But, I can definitely share with you a few of the projects I've been working including a super easy and fun cork board that I've hung in my office. You will need:- framed cork board - paint (I used gold and hot pink) - paintbrush - clothespins - washi tape (I used black and white striped, metallic pink and a gold pattern) - thumbtacks - hot glue and hot glue gun - painter's tape Directions:1. Decide on your design. I chose to tape a gold triangle off in the bottom right corner and a pink in the top right. Then I added gold dots along the edge of the pink triangle and a few pink triangles on the edge of the golden one. I also painted the top and bottom parts of the frame pink and the sides gold. I used painter's tape to create a straight line for both triangles. I used a piece of paper to outline my triangles with a pencil and then filled them in with pink paint. 2. While your board dries, gather the rest of your supplies to create the fun clothespins. Apply washi tape to the front of each clothespin. Then use your hot glue gun to apply a push pin to the opposite side of each clothespin. 3. Put it to use! I found some cute free printables for my board and added a pic of my husband and I. I'm sure it will soon be covered with all of my goals and to-do's but for now it looks very neat and pretty. The prints I used are "Eat, Sleep, Craft, Repeat" from The Plaid Palette , a 2017 floral calendar from The Cottage Market, and "Happiness is a warm glue gun" from Man Made DIY. I'm really happy with my result and hope you enjoy it! Thanks for visiting!
For the past few years we haven't done anything big for my husband's birthday and he wanted to celebrate a little bigger this year so, I sat down and put my party planning skills to work for his 33rd birthday! We decided to go with a luau theme which made the party planning really fun and super versatile. Since his birthday is in January it was also kind of unique and funny since it is definitely not luau weather outside! Since it is an adults only party I didn't do nearly as much as I would for a kid party. We can entertain ourselves and don't need crafts or games. I did however want to have a few yummy things to eat and some festive decor. I got some inspiration from pinterest and made myself a planning board. I decided to go with gold, yellow and green as the main party colors but accented with a bunch of fun tropical colors too. I purchased some lei's, drink umbrellas, gold cups and plates, a photo backdrop, a flower garland, some fake palm leaves, some birthday balloons and a golden fringe curtain for decorations from Amazon and finished it up using some craft paper and tape. My friend Paige also helped with planning and contributed some fun blow-up fish and beach balls as well as a few fake palm trees and nets to add even more ambiance. We spent about four hours putting it all together the night before and ended up with a really fun, vibrant party where the guests could enjoy themselves. For the food I wanted a few easy but delicious tropical themed things. I decided to make a pineapple cake, pineapple salsa and Hawaiian baked sandwiches. I also had all of the ingredients for guests to make a rum punch. The cake was an easy recipe that used a yellow box cake mix as a base. After adding the required ingredients for the mix as well as 1/2 cup sour cream and an 8oz can of crushed pineapple, you baked until done. I made two cakes and stacked them on top of each other with icing in between. Once it cooled I iced it with icing made up of a container of cool whip, a package of vanilla pudding (powder only) and a 20oz can of pineapple. After icing, I chopped the top of off a pineapple and centered it on the cake. Then I sprinkled it with some gold sprinkles. It was a big hit and I will definitely be making this cake again luau or not. It was delicious!
Everyone had a great time and loved the decorations and the food! My first adult party planning was a success! I purchased an amazing gizmo that cores and slices pineapple in a matter of seconds and used it to hollow out a pineapple in order to create a pineapple cup for the birthday boy. I don't know why I didn't already own this nifty gadget. It is seriously amazing! Since it was a luau theme that relied heavily on pineapples I decided to make a shirt with my silhouette. However, I ended up running out of time and my party planning partner did it for me using her silhouette. She used gold glitter for the pineapple body and green for the leaves. So, I ended up with a super fun pineapple booby shirt! Hopefully you enjoyed and were inspired by my luau party! Thanks for visiting!
I'm always looking for something fun to do with the kids. I stumbled upon the fun idea of using chalk to create scenes and then take photos with the scenes as a backdrop. So, I straight up copied this from someone else but, I thought I'd share my photos and experience.
Drawing the scenes took very little time and the kids were eager to help. I grabbed a ladder and climbed to the top in order to take the pics and didn't really do much editing at all other than cropping them afterwards. It was very quick, easy and cheap. The kids had fun participating and we'll always have the fun photos to look back on! If you loved my DIY Easy-Change Gallery Wall I thought you might like to see what changes I've made for the Christmas season. (I changed pics and art for Thanksgiving too but didn't post about it.) I decided that a Christmas countdown would be fun and started brainstorming ways to incorporate that into my gallery wall. I decided to buy a chalkboard from Hobby Lobby for 14.99 (I used the 40% off coupon though and got it for about $9!) Then I switched the chalkboard for the framed art that I had anchoring the wall display. I sketched a tree shape out of numbers inside boxes and it was done! I also swapped photos and art for ones with a Christmas theme using some free printables I found on Pinterest and family photos from years past. I love it and still love my easy-change gallery wall. It's so fun to change it with each season!
This year I decided to decorate my mantle with a woodland/tree theme. I figured I could easily find different types of trees to make it look rich and diverse. I started with two pre-lit white trees that I already owned and added a garland with gold ribbon and lights that already had as well. Target helped me take care of the rest. They ran a sale on the Saturday after black Friday where you could get $50 off of $100 spent in their Christmas department so I made sure to pick that day for my purchases. I selected two small bottle brush style trees for $3 each, a pair of mini bottle brush trees (they were actually ornaments and sold in a pair for $3), two slightly green trees with a burlap wrapped base and pinecones for $3 each and two larger threes with wooden bases, pinecones and faux ice/snow for $18 each. I also found two glittery deer ornaments that I felt would add nicely. Then I began arranging them on my mantle until I liked what I had. I ended up having a dead space in the middle and dug out a very old mini artificial tree and added lights and some gold pinecones. To finish, I added our star stocking hangers and the new stockings I purchased to which I added gold initials to each to denote the owner. Finally, I hung a banner that was meant to be a craft project from Target. I liked the letters because they were a two tone metallic and I felt it would go really well but, I am super disappointed with them. The string included with the kit was horrible so I used twine instead and the letters aren't a very sturdy material so they may not make it to next year. The basic idea when shopping for your mantle is to make sure that you get at least 4 different types of trees in varying sizes and get at least two of each different tree. Keep it simple and don't go for trees that are decorated and instead opt for simple, life-like looking trees. You also don't want to overcrowd the mantle and want to group the items in a natural way with some space between them but not perfectly spaced. You really just have to play with it until you like what you have. I rearranged mine a couple times and for a bit wondered if I hadn't made a mistake with my "genius idea" but I finally got an arrangement I love.
I think my favorite thing about my new mantle is that I can leave it up after christmas if I want. I'll just remove the stockings. It's not overtly Christmassy but still gives a warm and holiday feel. I just love it and I hope you love it too! My son just turned one month old and I new I wanted a different kind of monthly photo from what I did with my first son. He's already going to get all of his hand-me-downs, I can at least give him an original monthly photo. So, I headed to pinterest to get some inspiration and found this adorable idea. It's a blanket you can buy the monthly milestone blanket for $33 at Etsy here. But, I thought, "I can definitely make that for waaaaaaaay cheaper.", and set about planning how to make that happen. I decided to use a canvas drop cloth as my "blanket". The smallest one I found at my local Harbor Freight was 4x12 so I had to cut it down a bit to make it a more appropriate size. It was easy to just use the fold lines and I wasn't too particular on measuring. After cutting it down I laid out my numbers. To make the numbers I was going to buy some number stencils but then couldn't find any. Instead, I used some chipboard numbers I found for $2.99 and traced around them. It was probably better anyway because it was way easier to see how everything laid out on my drop cloth. Once I figured out my spacing, I got a sharpie and traced around the edges of each number. After I had traced around each number, I grabbed some black acrylic paint and a paintbrush and filled in the tracings. Don't worry if it doesn't look perfect you won't be able to tell when you take the photo. For the "months" I ended up printing out the word using a microsoft powerpoint slide and then cut it out and stenciled around it and filled it in with black paint as well. Voila! Done! My son turned one month on Thanksgiving Day so I decided to put a few pumpkins next to him on the canvas and placed a pumpkin hat on his head. When I took the picture I stood on top of an ottoman and took it from a direct downward angle. My husband helped with keeping him somewhat happy and I just snapped away. Once I had a decent one I cropped and enhanced it and then ran it through my favorite photo editor Rookie Cam to lighten it up a bit. I intend to iron the fold lines out before the next photo I take because I didn't love having them in the photo. I also added a digital circle to the number one to indicate the month. You can do it digitally like me or you can find a picture frame and remove the glass and back to frame the number each month. The digital was easier for me since I was editing it anyway. I used the app "Phonto" to add the circle. I plan on doing other adorable things for the theme of each month similar to the idea that inspired this DIY. So, for about $15 (more than half the price to buy the inspiration) I ended up with this adorable milestone "blanket" and will get to give my son some really great photos to look back on. I hope it inspires you to make your own for either yourself or a friend. It would make a great gift!
When my husband and I first got married we had several college friends who didn't have anyone to celebrate Thanksgiving with. So, we started hosting a Thanksgiving dinner on Wednesday evening to give those friends a Thanksgiving experience. When we started hosting this ten years ago we cooked everything but it was only for about six people and we didn't have any children. Now, most of our friends have somewhere to go for Thanksgiving so we've moved the event to the Saturday before Thanksgiving and we invite many more people so it's more of a potluck scenario where we cook the turkey and a few sides. By the way, if you want a fool proof turkey recipe you should try Alton Brown's Good Eats Roast Turkey. It's the recipe we've used every year and it always yields a delicious, juicy and flavorful turkey. Out of the several Thanksgivings we attend it is definitely our favorite. There is such great energy with all of our friends and their kids. It truly feels like an extended family. This year we got to host it at our new house which made the event even more awesome than ever before because we had more space for everyone including the 10 rowdy kids! With the layout of our new home, the dining room and breakfast nook were both large enough to add an additional table which allowed us to visit in larger groups while eating that in previous years. The house also has a room that is towards the back end of the house and I set that room up as the kids room giving the adults a little distance from the ruckus that they created. For table decorations I used brown butcher paper to cover our folding tables and then drew place settings with a sharpie. Then I added some white votives and faux fall leaves to the center. I printed out some free napkin rings but they were too big for the paper napkins and plastic silverware I was using so we just laid them across the drawn place setting and put the napkin and silverware on the side. I had a tablecloth and centerpiece on the main dining table and placed golden chargers at each setting with he same napkin ring/decorative paper strip, napkin and silverware and used a ceramic cornucopia filled with fruit for the breakfast nook table. For the kids tables I copied the adult tables by using craft paper and faux place settings but for the center I placed paper bag teepees made by my daughter and paper finger puppet pilgrims and indians. I also put a snack bag of Kix cereal that was dressed up to look like corn on the cob at each setting. To entertain the kids I provided indian headdresses for them to color and wear and crayons at the center of the tables. I also made a "Stuff the Turkey" game by following this tutorial which entertained the kids for at least a few minutes. Stuff the turkey was also a quick craft and I only needed a large paper bag, two small paper bags, white tissue paper (I ended up using white paper towels), several sheets of colored paper (for stuffing), a hot glue gun and a stapler. I followed directions found here.
We had a ton of food and a really great time! We even had a small break at around 8:30 for parents to take kids home and put them to bed. Then we reconvened for more adult time while sitters stayed with the sleeping children. It was pretty fun! Hopefully this event will continue to grow and be as much fun year after year. Enjoy the ideas and have a great Thanksgiving!
|
meet rachelRachel is a mother of three, elementary Spanish teacher and part-time blogger who loves crafting, creating fun and engaging activities for her children and students and hanging with her friends and family. She blogs about what she's doing and her interests at any given time which vary. She's a little OCD and always looking for her next project. Her husband calls it, "focusing her crazy", but she just calls it fun. Archives
December 2022
Categories
All
|