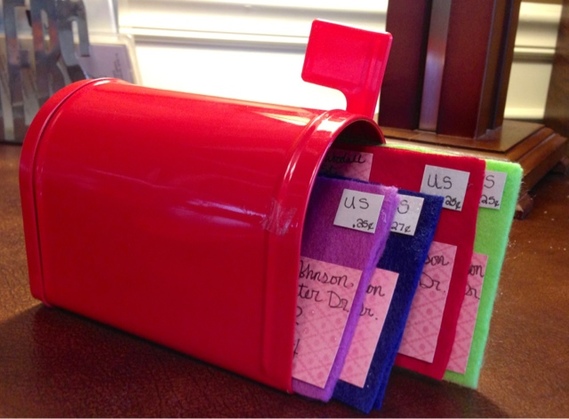
You will need:
- various colors of felt
- pretty and sturdy scrapbook paper
- pen
- hot glue
- very thick and sturdy paper (I used a piece of junk mail that was mailed without an envelope)
First I had to decide what size the letters should be. After that I cut out two identically sized pieces of felt from each color. Then I cut a piece of paper from the thick junk mail to fit in between the two pieces of felt. This makes the letters sturdier and feel more real. I guess you don't have to do this but I think it added to quality. Once I had all of my starting pieces I simply hot glued them together sandwich style with the paper in between the two felt pieces.
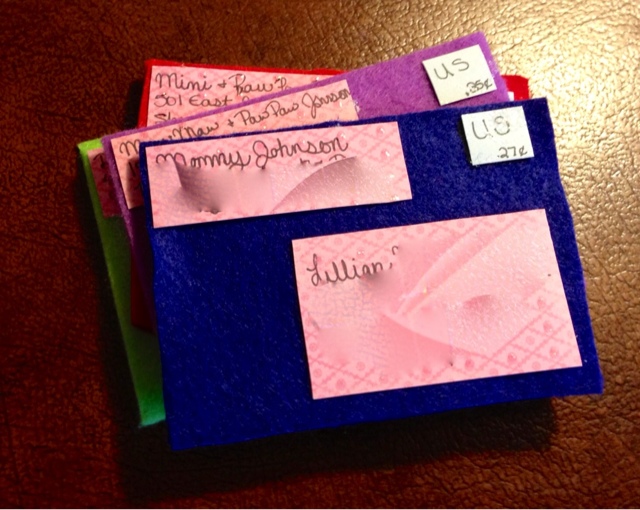
After creating the base for my letter I experimented with using more felt for the address labels and stamps, but the ink blurred and it didn't look very good so I abandoned that. It would work if you wanted to embroider the felt but I'm too lazy for that. So, I realized that I would have to use paper. I dug around in my scrapbook drawers for some pretty paper that was also a little thicker than your average paper. I found some pink and blue that had the bonus of some sparkles so it is more special. Then I simply cut out squares and rectangles for the addresses and the stamps. (I blurred the address on the top letter but you get the idea.)
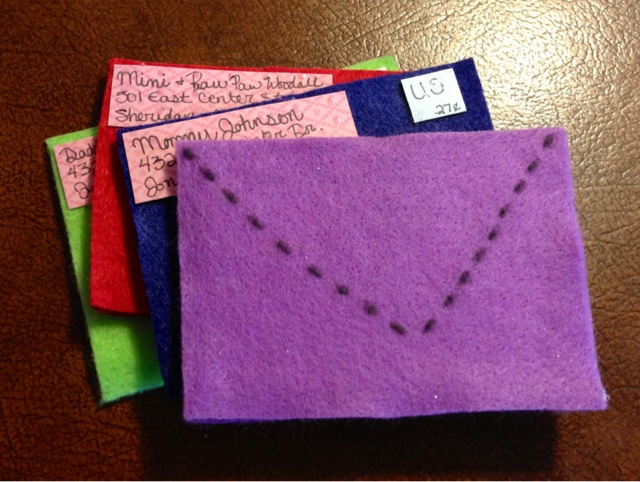
Finally, on the back of each letter I added some dash marks to denote the "envelope flap" that would normally be there. I used a fabric marker for this but you could probably use a sharpie and it work just as well.
So, there you have it! This was super easy and she really enjoys checking her mailbox and delivering mail. It took a little longer than I had planned because I had to re-think my original design but, that has been figured out for you and would take you considerably less time. Have fun!


 RSS Feed


