Before reading my directions, make note that I am using Windows 7. Things may be different in older and newer versions.
Find a quote that you like. Then open up a new microsoft powerpoint presentation. Once in powerpoint go to the "design" tab and then click on "page setup" (it can be found in the upper left hand corner of the screen). Now a box should open that allows you to set your preferences for the orientation and size of the page you are working on. I selected portrait for all of mine but if you plan on going with a wider poster that hangs horizontal then you want to choose that option. Then, change the size to at least 20x30. It depends on what size you want to print out. If you are printing a larger poster then make your dimensions larger.
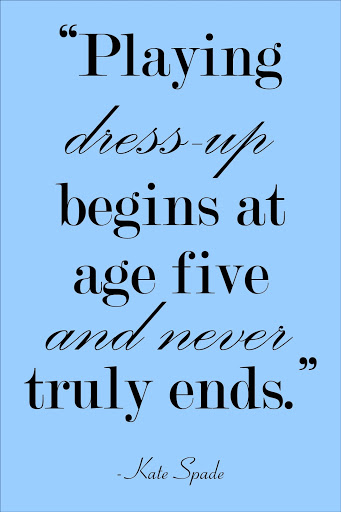
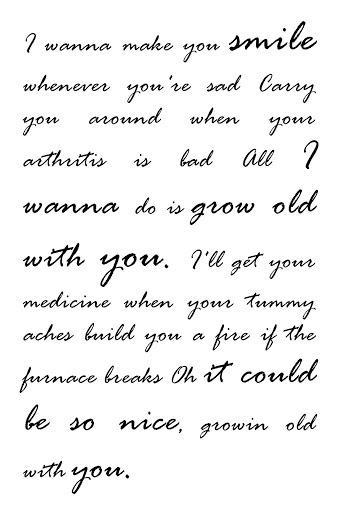
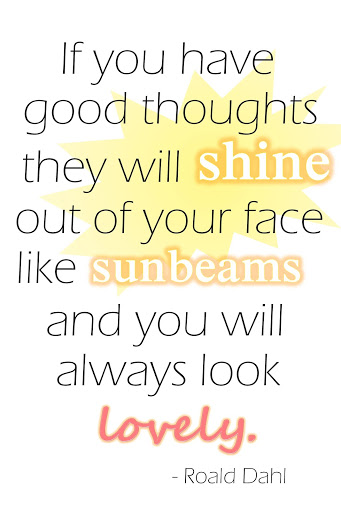
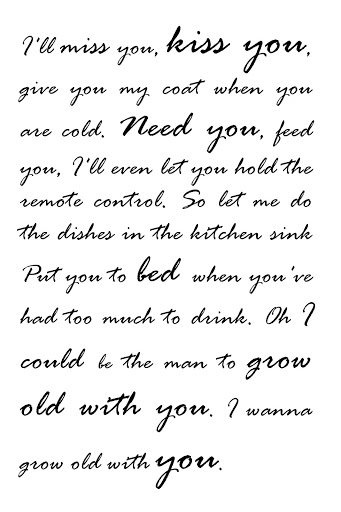
After modifying the design of my slide I simply began to add individual text boxes for each word or every few words in the quote that I liked. As I typed and created text boxes I played with different fonts for certain words as well as different sizes and colors. There is no limit to what you can create as long as you use your imagination and it doesn't take very long at all! I decided to make a cute poster for my closet that is a Kate Spade quote. I also made a poster using a Roald Dahl quote that I love and I plan on making a small 4x6 photo print of that for a frame on my night stand. Then I took a page out of Pinterest and used the song lyrics to our wedding song to make two large poster prints to hang in our bedroom in place of some crappy circle paint art that I made and have since grown tired of. All in all I spent $5 on the 11x14, .14 cents on the 4x6 and $11 on the 20x30 prints. (I had a coupon for 40% off all photo stuff at Walgreens!) I'll let you know how they turn out but I'm pretty excited to see the results.
I've included the files that I created and you're more than welcome to use them if you like! Enjoy!


 RSS Feed


