- bacon and egg cups with asparagus
- chocolate mousse
- sunshine fruit salad
- coffee & tea
- mimosas (I'm just going to add sparkling water to mine.)
Valentine's Day is less than a week away but I've decided I need a little one-on-one with my favorite gals so I'm hosting a Galentine's Brunch! I've sent out the invites to my best ladies and have made my plan. You can see what I plan on doing as well as access my invite on canva to create your own Galentine's Day Brunch! 
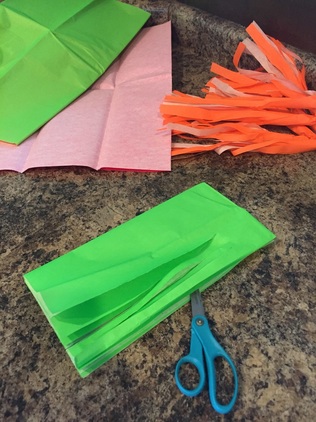
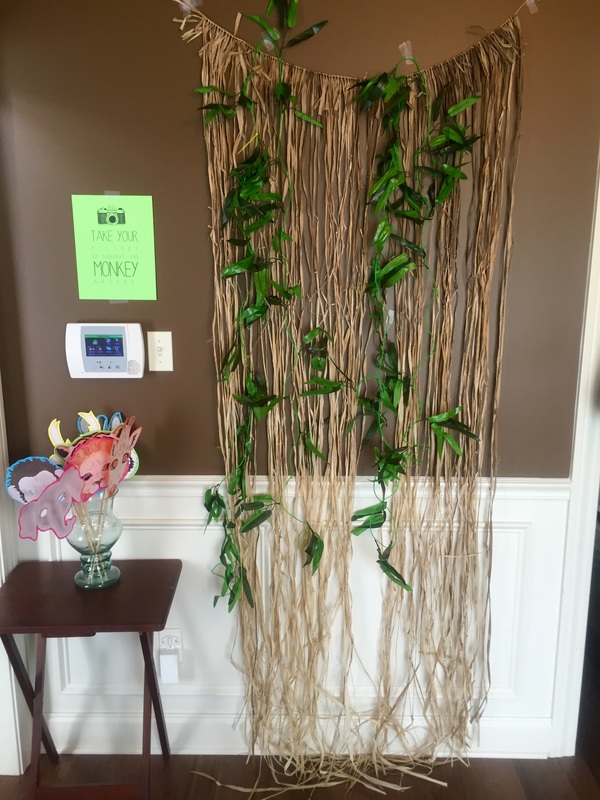
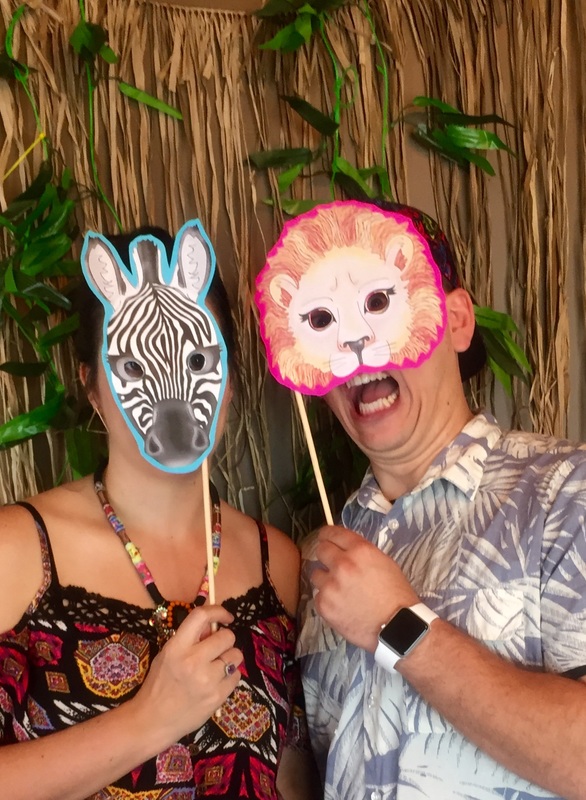
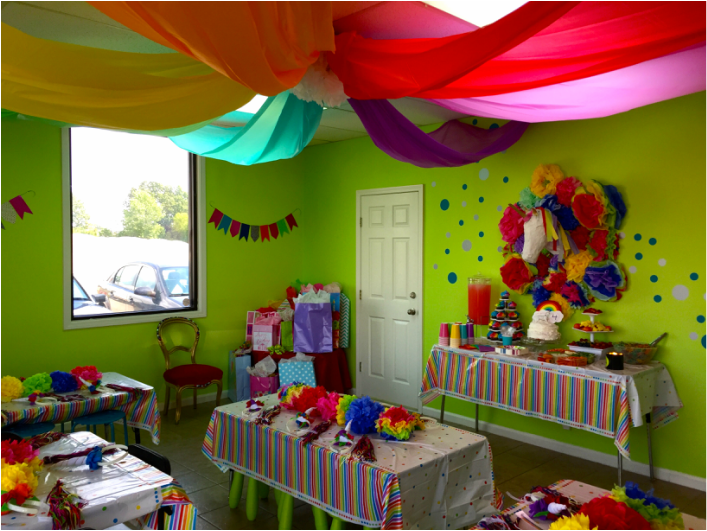
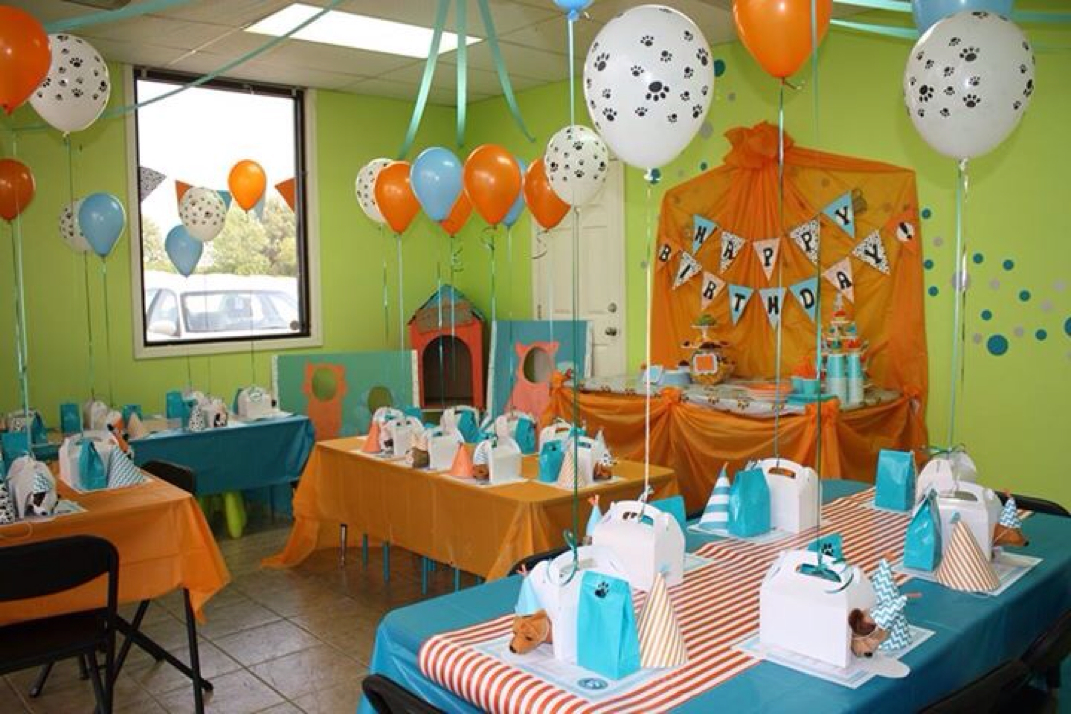
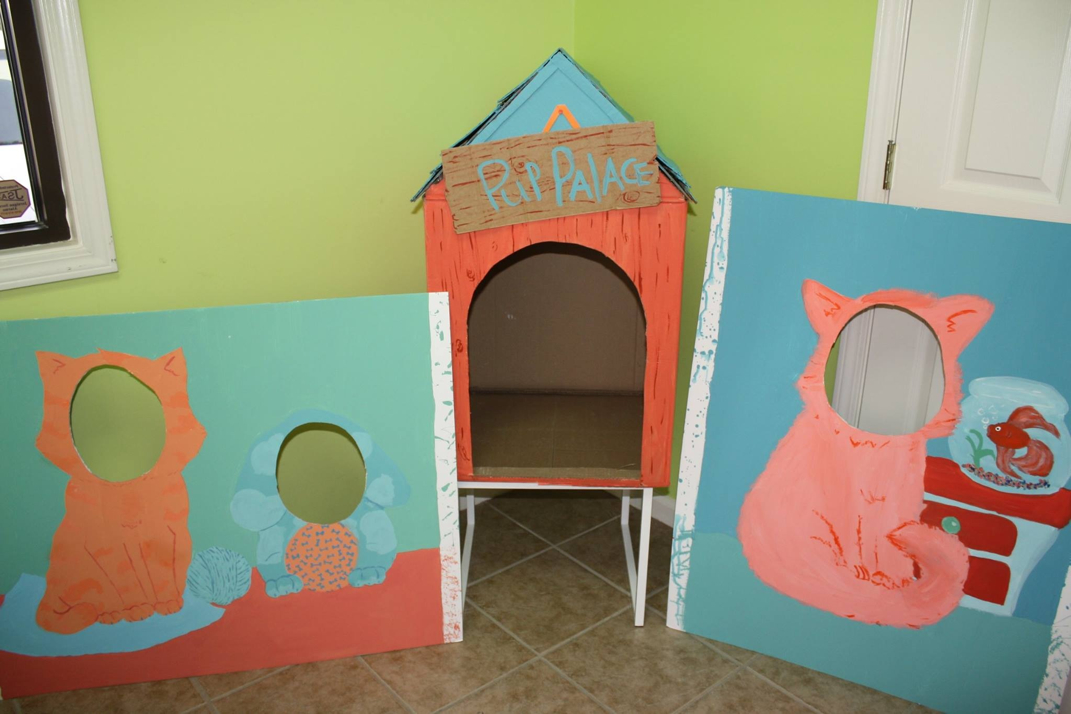
I'm planning on a small party with just a few close friends. This way I can make it extra special! I'm going to make a few simple decorations for the table including some tissue paper poofs, a table cloth, some sparkly items like confetti or glitter cardstock cut into xoxo or hearts and a photo area. I'm going for something like this party found on pop sugar. 
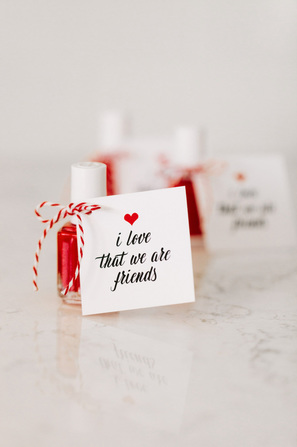
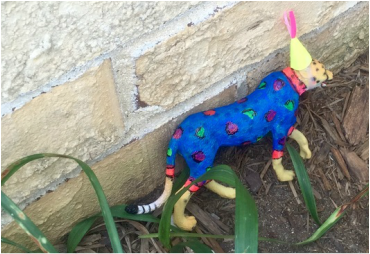
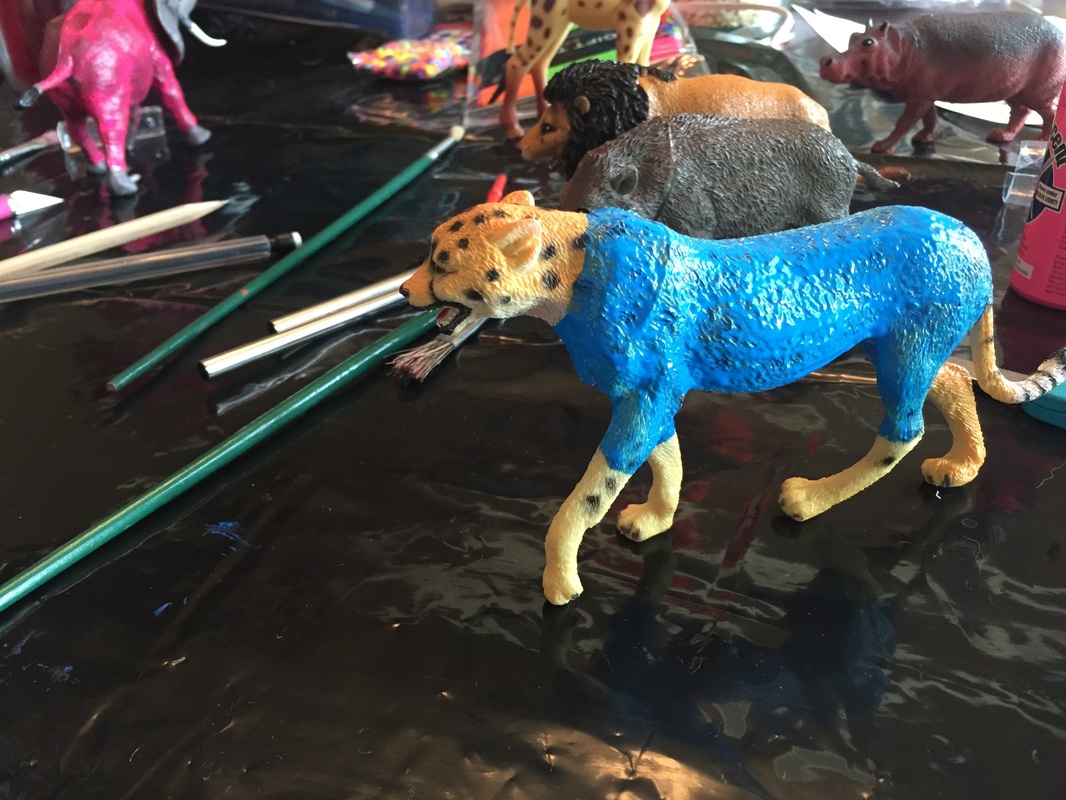
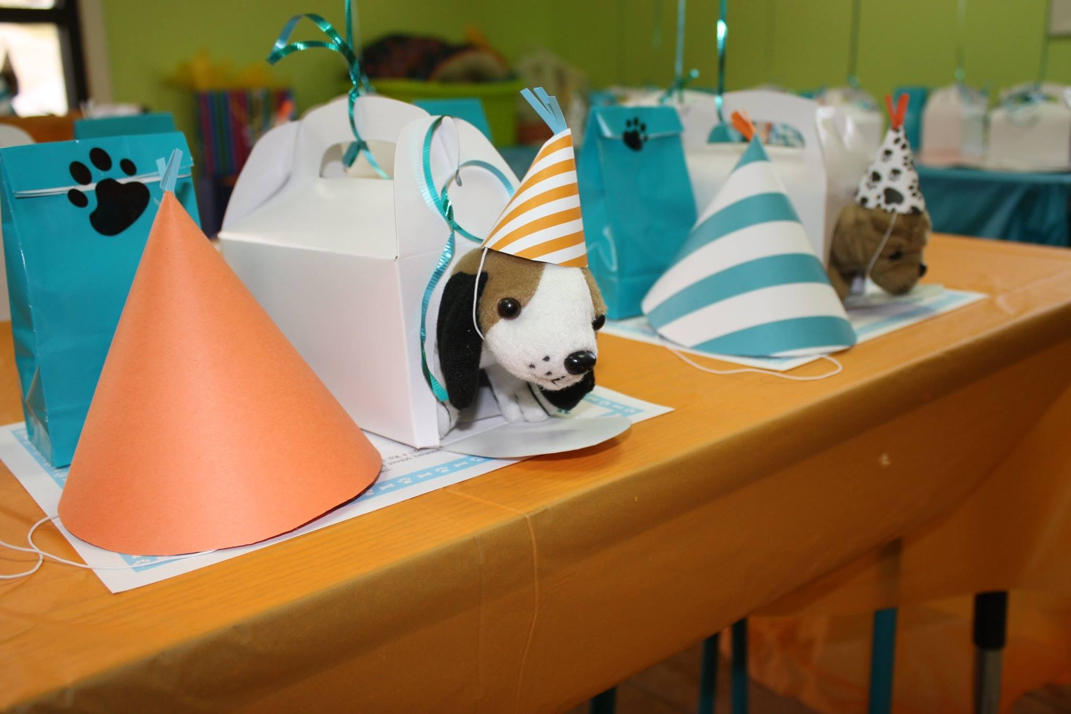
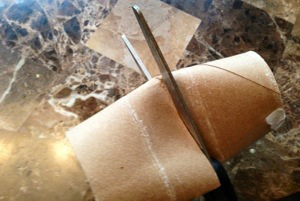
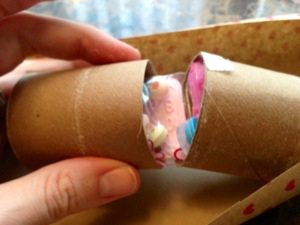
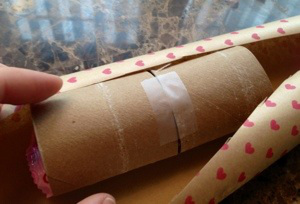
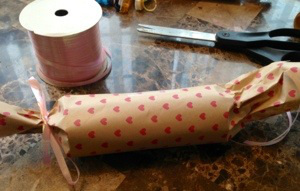
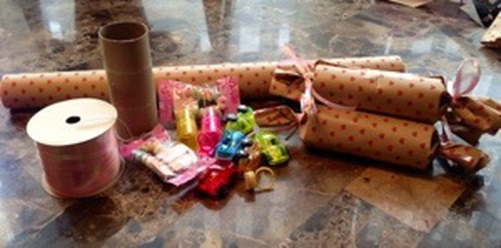
I also plan on placing a small gift at each place setting similar to the one below found at the tom kat studio. I even created my own version of their tag and you can print it here. Since I am currently doing the Whole 30 diet, I selected recipes that are whole 30 compliant but still feel luxurious and taste amazing. I'm planning on serving: - bacon and egg cups with asparagus - chocolate mousse - sunshine fruit salad - coffee & tea - mimosas (I'm just going to add sparkling water to mine.) I'm pretty excited about the party and will update with a new post as soon as it's over!
0 Comments
My son will be turning 2 in February so it's time to start planning for his party! We decided on a dinosaur theme because he loves dinosaurs and it's freakin' adorable when you ask him, "What does a dinosaur say?", because he roars at you. He also started saying "Dinosaur" which is equally cute.
The first thing we did was head outside to snap our starting pic. As you can see below, in the original photo I'm the "dinosaur" growling and chasing him towards my husband who was snapping the picture. Please ignore my hideousness, those galaxy exercise pants may have been a mistake. We used an iPhone 6 Plus to take the picture so, you don't have to have a big, fancy camera to get great results! Just be sure to stay far enough behind your child in the shot so you can be photo shopped out. Unlike the photo to the right. However, make sure you get a photo of the same location and same time of day that hasn't got anyone in the back ground so you can use the clean background when editing yourself out. Once we captured the perfect photo we uploaded it to our computer and used pixelmator for mac to cut my picture out. If you don't have a mac you can use paint.net to do something similar. We did this by replacing that portion of the picture with a piece cut from a different picture of the same background that did not contain my person. Once we had a clean background, we found an image of a dinosaur that looked real, sized it into the shot and created a shadow for it using my shadow as a reference. (In the shot with me, my shadow was almost a strait line so it was pretty easy to create the shadow for the dino by using my shadow. In the edited photo with the dinosaur you can see that the dino doesn't quite fit with the lighting so we decided to add a filter to make everything blend a little better. Once we finished with the photo I opened up a powerpoint slide (I'm sure you could use many different programs to do this but, I am good with powerpoint and I get great results. My husband makes fun of me for using powerpoint but, if it ain't broke, don't fix it.) In my slide, I make the size huge! This can be done by editing the page layout settings. If you don't do this you may end up with an image that is too small and grainy to use. Once you've enlarged your powerpoint slide presentation, add your photo to the slide. Then I found some free paper downloads at teacherspayteachers and used a chevron printed paper as the background for my party info. I then created an orange rectangle on the top of the chevron. After that it was simply a matter of manipulating text boxes to fit my content. After you've created something you're happy with, select all of your elements at once and group them. Then save that grouping as a picture. Now you can order cards! I ordered mine from Walgreens and just got the blank photo card. I also had a 40% off coupon so, for 40 invitations with envelopes, I paid about $25! Cheap, custom and cute! I like to make a plan for every party so that I can visualize what I need to do as well as weed out the pinterest "yes's" from the pinterest "no's" on the party board. Because, let's face it, you can get a little pin happy and end up pinning about 15 versions of a cake or decor and you are not going to manage to get everything done. So, I created my plan and put it below for you're viewing pleasure. I'll be making more posts about party planning between now and the day unless I forget and in that case you'll see one big post afterwards. Either way you'll get to see what I create. Yay!
Lilly decided that a safari themed party would be fun this year so I quickly pulled up Pinterest and made a plan. After pinning like crazy I narrowed down all of my ideas and created a party plan page to keep me organized (even though not everything got done). I also created an adorable birthday invitation in powerpoint and had it printed at Walgreens! I then made a shopping list and got to work! I made or modified a lot of things and purchased a few. Below are the items I made or modified and links to their inspirations or the directions I followed to create them. - neon tassel banner - burlap birthday banner (seen above party table) No directions here, I forgot to make a tutorial! But, I bought burlap pennant pieces from Hobby Lobby and printed out the name and number on neon paper. I then cut them out and hotglued them to the pennant pieces which I then hot glued to some twine to hang. It took maybe 10 minutes! - party animals I got the inspiration from the link above. I just bought some acrylic paint and began to paint the animals so they looked as if they were wearing brightly colored clothing. Then I made tiny party hats from neon paper and tissue paper. - 3D Giant Cardboard Animals I got the idea from the link above which has templates for mini animals but, I made mine significantly larger using packing boxes from Home Depot that I purchased for about $1 a piece. They were kind of a pain but did look pretty cool. After I sketched the parts on the boxes I cut them out using an exacto knife. Then I put them together and spray painted them with neon paint. - Safari Ranger Certification Activity and Badges I set up activities for the kids to complete and created a checklist sheet for them to take to each activity. Upon completion they received a stamp (found on amazon and also put in goodie bags) next to the activity on their sheet. When they finished all of them they were given their safari ranger badge which we taped onto their shirts. (I was going to make paper bag vests but couldn't find enough paper bags in time!) The activities were: Giraffe Jumping (trampoline), Zebra Zone (pin the tail on the zebra. I free handed a zebra on some poster board along with some neon paper tails and duct tape), Elephant Art (silhouette watercolor painting I have the silhouettes I used in the downloadable file), Tiger Toss (bean bag toss game which I made using this tutorial), Monkey Maze (a bunch of pop up tents put together with pop up tunnels connecting them). I made signs for each zone and printed them out on neon paper. All of my printables are available in the file at the end of this section. - Photo "Booth" I found a great site with free mask printables and used their animal ones for our photo booth props. I printed them out and then glued them onto neon paper to make them sturdy and to add a little pop around the edges. I then hot glued them to some wooden dowels. For the background I bought a grass doorway hanger from Hobby Lobby. (I think it was meant for luau parties but it worked for me.) I taped it to the wall and also hung a few strands of bamboo leaf garlands that I borrowed from a friend. The masks and sign are in the file you can download. :) I also made a sign for the front door to put guests in the mood upon arrival. - Watermelon Hippo & Other Food I found a great tutorial on the National Watermelon Board site for making a hippo out of a watermelon. It was actually really easy and only took about 15 minutes! I was REALLY proud of my hippo. I made a sign saying "Hungry Hippo" for it. It looked amazing! I also made crescent roll wrapped hotdogs that I called "serpent rolls", cut apples and peaches with a caramel dip lion face (kind of) labeled "lion's mane dip", blue kool aid labelled "watering hole", zebra cakes, and pasta salad labeled "python pasta". I decorated the table with the party animal figurines and purchased the cake from a local bakery. Lilly designed it and I placed the giraffe party animal on top with a sparkly orange #5 candle and it turned out perfectly for the party. I also bought a few wooden crates from hobby lobby for the table and placed the zebra cakes on them. I used blue plastic table cloths for on and behind the table and taped a grass table skirt to the edge of the table to finish it off. - Backyard Safari and Map I found a cute idea on pinterest to make a safari with a map and put my own twist on it. I created a map in powerpoint using shapes and text boxes of our backyard. I then put red "x's" to mark where the animals were hidden. I gave each child (and parent) a map after hiding the animals and had them go find them. We did this after the cake and presents and it was a perfect way to introduce the idea of going back to the backyard to play. It was also fun since they had all had the opportunity to receive their Safari Ranger Certification. My map is in the downloadable file (Not that it will necessarily be helpful to you unless you have an identical backyard which would be weird but, at least you can see what I created to give you guidance for your own.) -Goody Bags I ordered neon goody bags, safari animal suckers, animal stampers, animal print slap bracelets, binoculars and safari hats from amazon for the goody bags and placed them on a table with a cute sign that I made. I also used neon price stickers by placing them on the front of each hat and writing each child's name on the sticker to keep them from getting mixed up. It added some more neon and was practical. They were a hit! I think everyone had a really good time and several parents said their kid said it was the best birthday party they'd ever been to! I hope you get some inspiration and end up with a great party too! Here is the file with all of my printables for download! You'll find an "Expedition Supplies" printable that I ended up not using because I ran out of time and didn't get the paper bag piñata made. But, here is the inspiration so you can do it if you want to!
My business, ROMP! Indoor Play Center, hosts custom birthday parties where I get to really let my creative juices flow by planning elaborate parties and then having my staff make it all happen! It's really fun and we end up creating some truly beautiful things. This week we hosted a fairy themed party and it might be my favorite so far! The colors we used for this theme were purple and green with dashes of pink, tan and gold. We made paper flowers for the backdrop of the party table and birthday chair. We also created paper butterflies and fairies to hang in various locations around the room and two hanging photo props for fun photos made out of cardboard and gold spray paint. We also made our stools look like red toadstools and had a "grass" runner covered with flowers for each guest table. For the party food we created some adorable food labels and made "toadstools" with apples and marshmallows, pretzels were our "twigs" and we had "pixie dust" with pixie sticks. We also made hand cut butterflies for cupcake toppers, "pixie punch" and pizza. We added more tissue paper flowers and paper fairies to the party table backdrop and created a hand cut paper banner. The female party guests received flower crowns, fairy wings and ribbon wands and the boys received paper peter pan hats, handmade pan flutes, hooks for costuming fun and handmade cardboard swords. In addition to the fun costume goodies all of the children also received twig colored pencils, insect gliders, pixie sticks, a balloon and stickers. Guests also got to decorate their own fairy houses to take home as the craft! It all turned out so beautifully and the birthday girl was very pleased!
We decided to combine a racing theme with some snail stuff to create this fun party. The food table offered yummy treats like chocolate covered pretzels that looked like stop lights, a delicious fruit tray with cuties cut to look like snails, "spare tires" or chocolate covered donuts, turbo powered blue punch and pizza. For decorations we chose turbo colors of orange and turquoise with black and white accents. The tables were covered with orange table cloths and we placed black paper with painted white lines down the center of each to resemble roads.each guest received black and white goody bags filled with slug candy, glow in the dark slime, turbo stickers, mini trophies, racing flags, and pull-back cars. In addition to goody bags, each guest received a handmade snail shell and headband. The craft was for guests to create mosaic paper plate snails using tissue paper. It was a really fun party to plan for and made me really think outside of the box! Plus my staff kind of hated me for making them create all of those snail shells. It took a ton of craft paper!
Saturday we finally got to see all of the dragon craziness that we've created over the past month put together! It was so much fun! Here's what we did! We created a life-sized boat out of cardboard for the presents to sit as well as for any children who wanted a fun photo op. We also made shields out of cardboard cake platters, paint and gold duct tape and viking helmets out of cardboard, duct tape and foam board. The biggest hit were the fun dragon cut outs that our fantastic Assistant Manager, Beth, made out of foam board. Party guests not only got the super awesome shields and helmets, but also received goody bags filled with fake mustaches (they are supposed to be hairy vikings you know), stickers, candy, swords and battle-axes and plastic toy dragons. Their amazing craft activity was to decorate their own miniature viking boat. Each cardboard boat was handmade by our staff and they looked almost identical to our life sized boat. For food our party guests got to munch on pizza as well as a delicious tower of fruit, handmade pretzel and fondant battle axes and custom sheep marshmallows (in the movie the dragons ate sheep). And don't forget the yummy cupcakes from a local bakery and the custom tiered cake that the party mom brought. We were really excited about how our decorations turned out. We made a banner and viking boat facade for the food table as well as custom pennants for the walls and table cloths draped on the ceiling.
Owning a business that creates custom birthday parties has it's perks! This year I took full advantage and enlisted my staff's help in preparing for my daughter's 3rd birthday. We created a TON of tissue paper flowers, a paper maché unicorn head, colorful custom birthday pennants for decorating the walls, unicorn horn headbands, and yarn pony tails to bring her rainbow unicorn party to life! There are many different ways to create tissue paper flowers. Here is one that we used. The paper maché unicorn head took a little more effort but we loved the result! Check out the tutorial here. To finish out the party we ordered rainbow cupcakes from our exclusive bakery J&M Cakes. For the rest of the party food we had a rainbow fruit tower, a rainbow veggie tray, rainbow deviled eggs and rainbow buttered noodles. As an added bonus, I decided to bake a cake from scratch too so there was a cake with white icing and rainbow insides. We also made the rainbow and cloud cake topper. For a final flourish we used an array of rainbow colored table cloths to create a canopy effect on the ceiling.
My business hosts custom parties where we make everything and design a party for each birthday boy or girl. We just hosted our very first custom party and it was so much fun! So check it out! The generous birthday kids decided to collect donations for the humane society as their gifts which was the inspiration for the theme. The party was held for multiple children including a boy and a girl so we chose gender neutral colors, orange and turquoise. We used black and white accents including paw prints and various patterns in orange and turquoise to create birthday pennants and party hats. We also hung streamers on the ceiling and used an orange tablecloth to create a decorative backdrop over the food table and created puppy and kitty silhouette cupcake toppers out of paper. Upon arrival each child was given a pair of puppy ears to wear with their custom party hats. At each place setting we placed turquoise goody bags containing puppy and kitty stickers, a rubber puppy nose, paw print bracelets, a puppy sucker and finger puppets. At each seat guests also found mini stuffed animal puppies sitting inside a cardboard carrying case with a balloon attached. Finally, guests were able to "adopt" their stuffed animals with adoption certificates. All of our custom parties come with a craft activity. For this party we set out crayons, paint markers and stickers for children to decorate and personalize their puppy carriers. We also made a child-sized puppy house for children to play in and to take photos as well as two foam boards with head cut outs so party guests could pose as cats and dogs. It was so much fun to plan and everyone had a truly great time!
These cheap and easy to create party poppers will be a big hit with my daughter’s classmates. All you need to do is gather your materials and get started! You will need: – toilet paper rolls – candy and small toys/trinkets – tape – scissors – wrapping paper (as thin as you can get; don’t get the expensive stuff) – ribbon First, you cut each toilet paper roll in half. Second, you stuff it with your candy and toys. Third, tape the roll together (very little tape; you want it to be easy to pop open) and wrap it with your paper. Fourth, twist the ends of the paper together and tie it with a ribbon and your done!
My husbands work party was last night and I finally got to wear the ugly sweater dress that I made a few weeks ago. Let's just say that I was very popular. We arrived at the party and everyone thought it was awesome but the best part of the night was going to the parade. First of all, it was Lillian's first time at a parade and she thought it was awesome. (I'm sure the two little girls that were 8 and 4 holding her hands didn't hurt. Lilly loves attention from older girls!) But the other awesome part was that I was a bit of a celebrity. Almost every float that went by had women shouting that they loved my dress. Even the local news lady made a point to scream at me! Needless to say, I had a great time and the dress was totally worth the hour or so I spent making it. If you decide to get crafty and try to make a dress like mine post a pic so I can see how awesome you are!
I did quite a bit of crazy crafting for Lillian's birthday. So I'll just let you look at some photos and describe everything that warrants description under each of the photos. In the future I will document my late night crafting craziness while it is occurring but, since this blog is new and I wasn't prepared in advance, I obviously can't show you the "making of" photos...unless you have a time machine I can borrow. :) |
meet rachelRachel is a mother of three, elementary Spanish teacher and part-time blogger who loves crafting, creating fun and engaging activities for her children and students and hanging with her friends and family. She blogs about what she's doing and her interests at any given time which vary. She's a little OCD and always looking for her next project. Her husband calls it, "focusing her crazy", but she just calls it fun. Archives
December 2022
Categories
All
|