
We tried something a bit different this year and celebrated New Year's Eve at our house with our kids and a few friends. We did some fun, kid activities in the early evening and then celebrated "midnight" using a Netflix kid countdown. Once the kids were all in bed, we enjoyed adult time and celebrated the true midnight countdown while the children were all snoozing. So, I created a day of activities for kids and thought I'd share it with you! It includes food and snack ideas, games, crafts, science and art projects. I hope you enjoy! You can read about our fun and see all of the pics below!
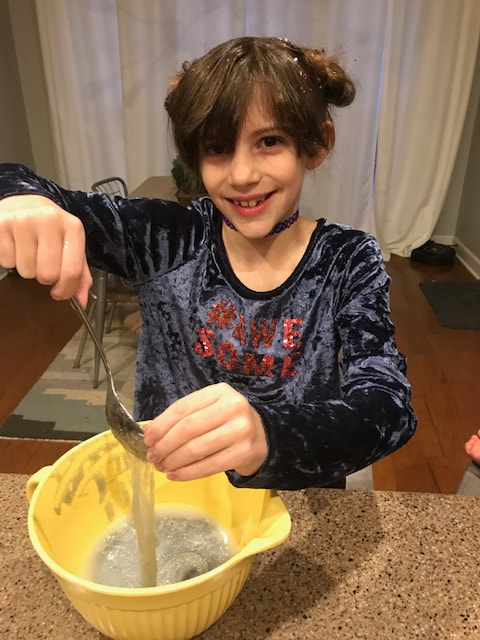
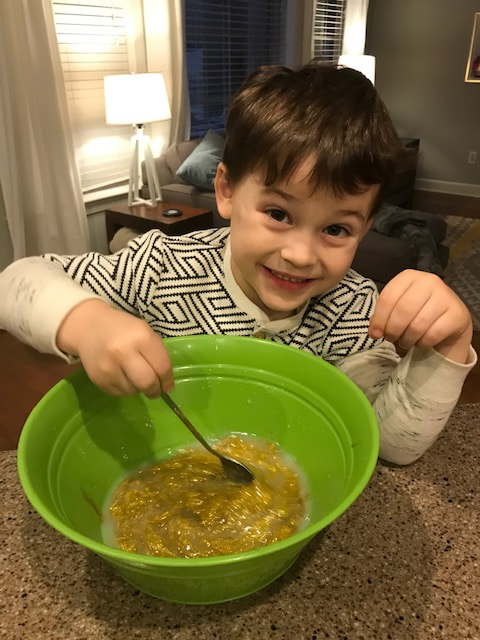
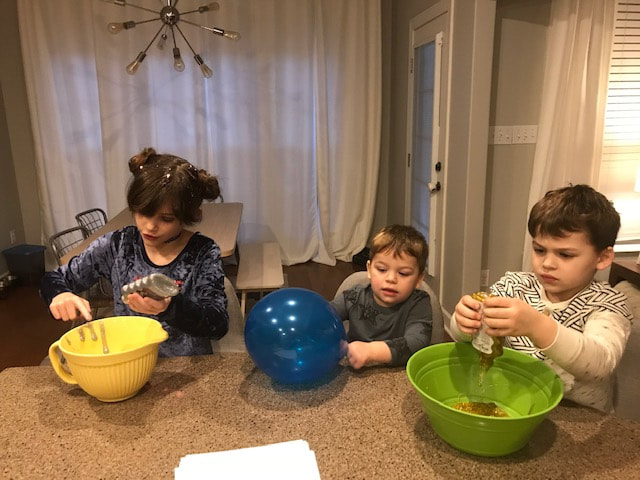
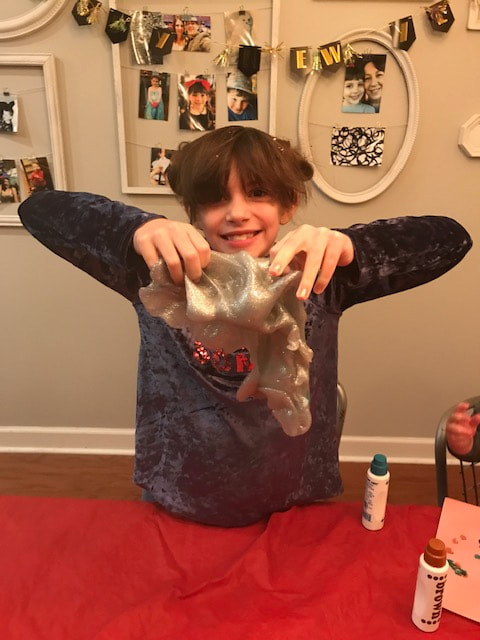
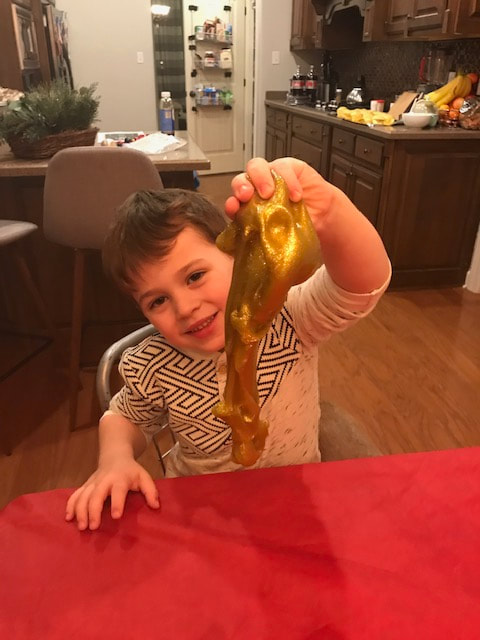
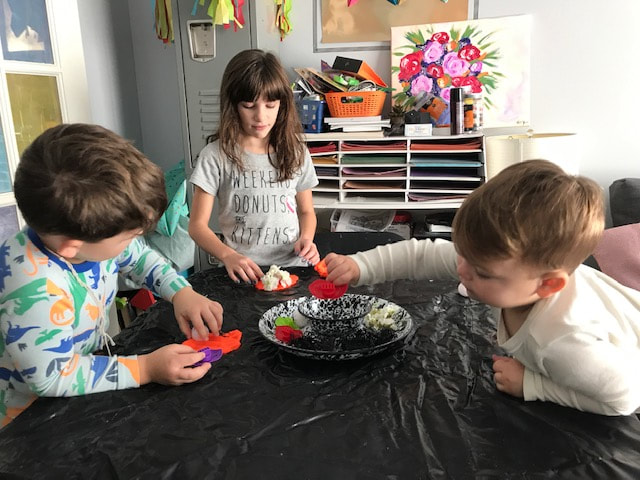
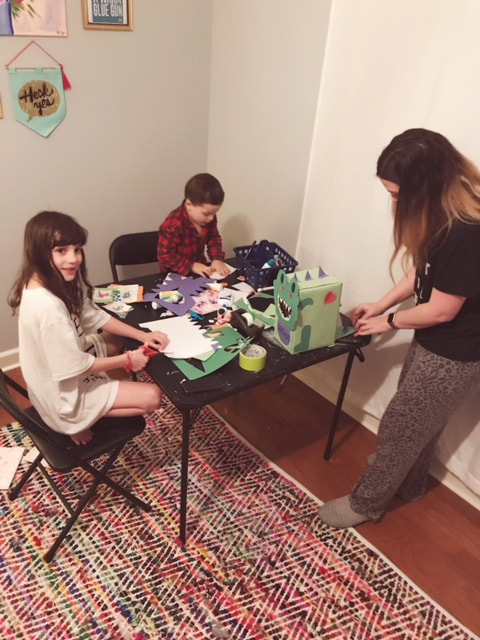
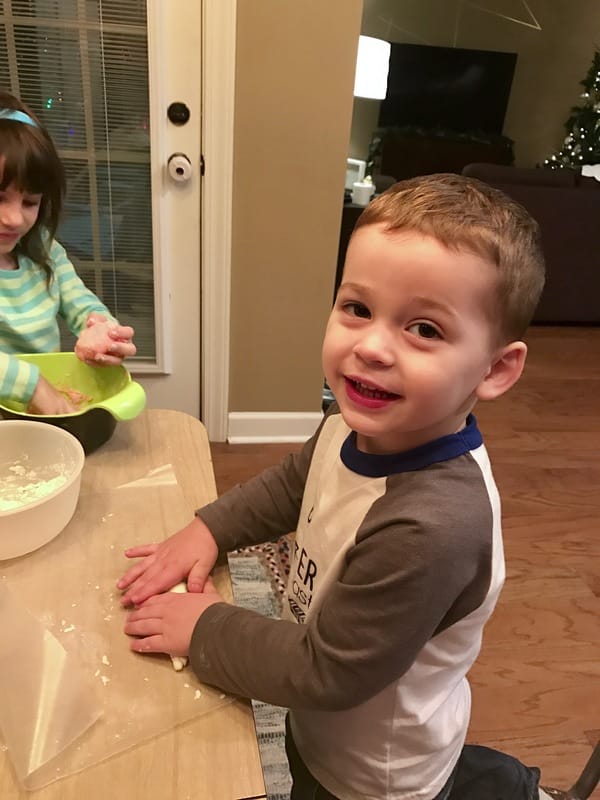
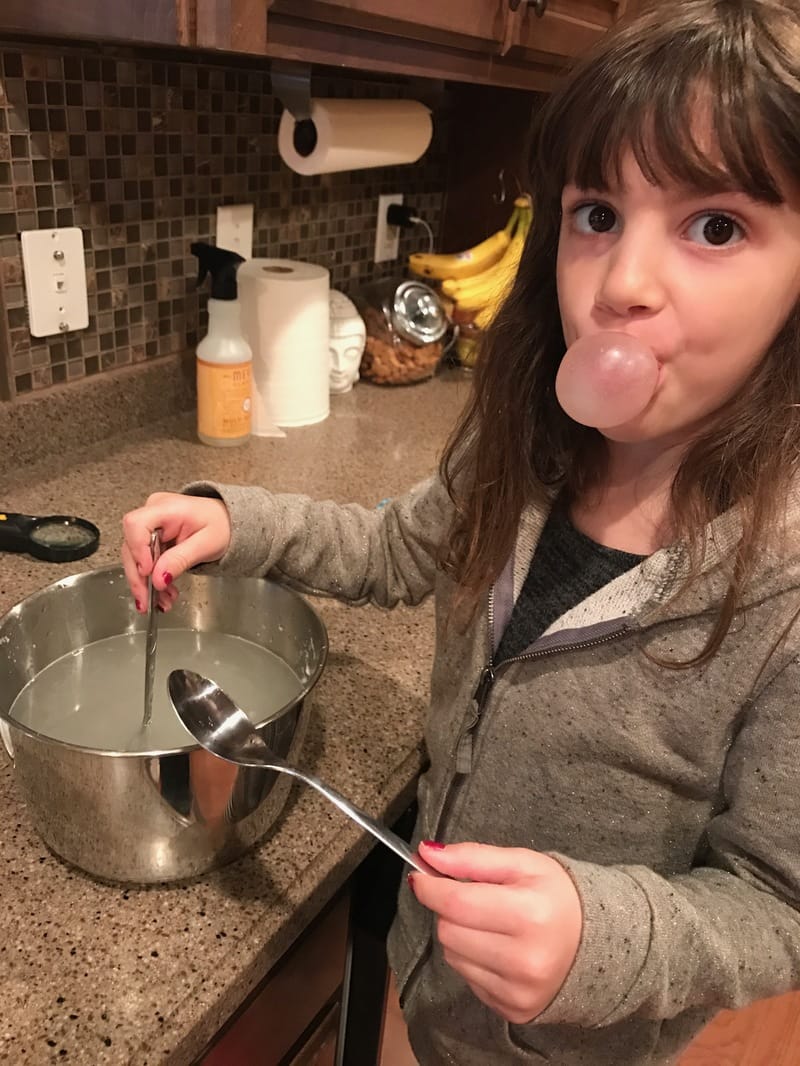
We kicked off the evening with making glitter slime, conducting fizzy, sparkly science experiments with baking soda, vinegar and glitter and making exploding soda with diet coke and mentos!
 | 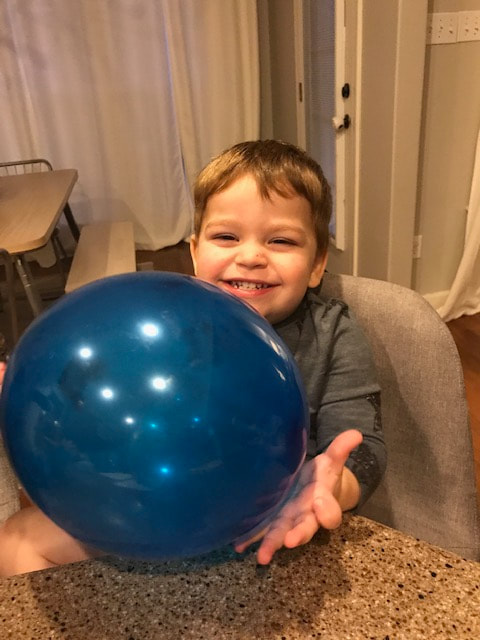 |  |
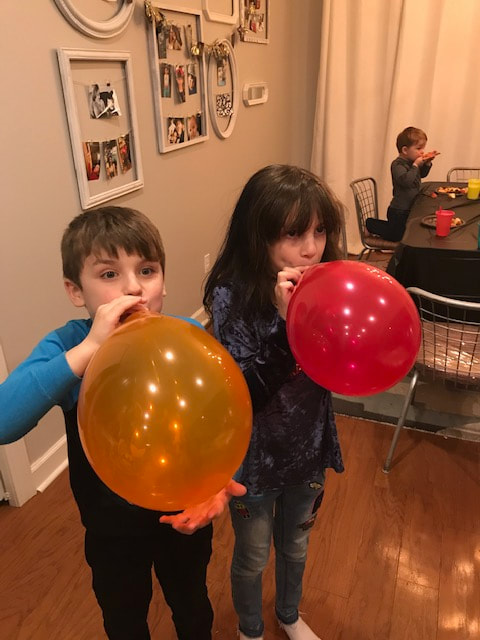
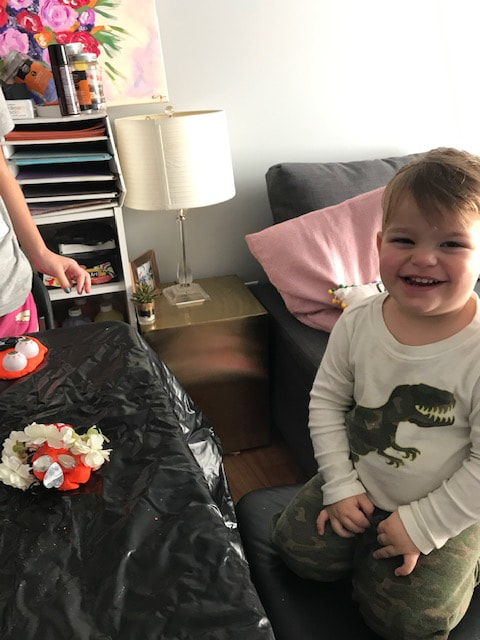
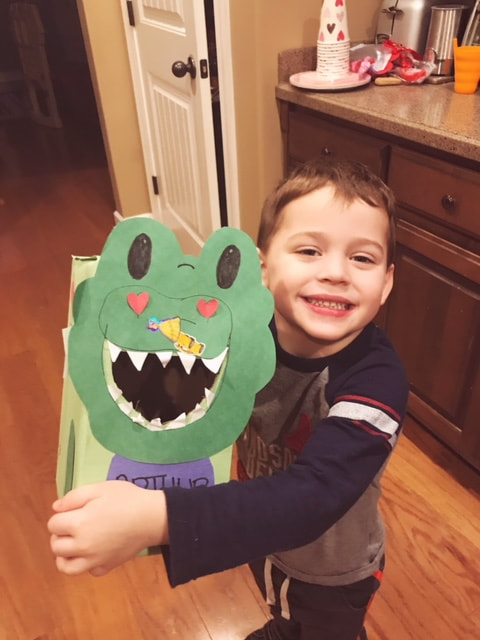
Alan didn't get in on the slime making but he did enjoy a balloon while his brother and sister mixed!
 |  |
 | 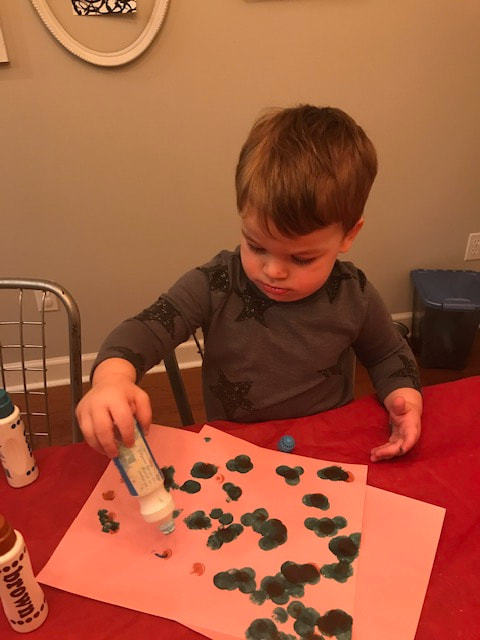 |  |
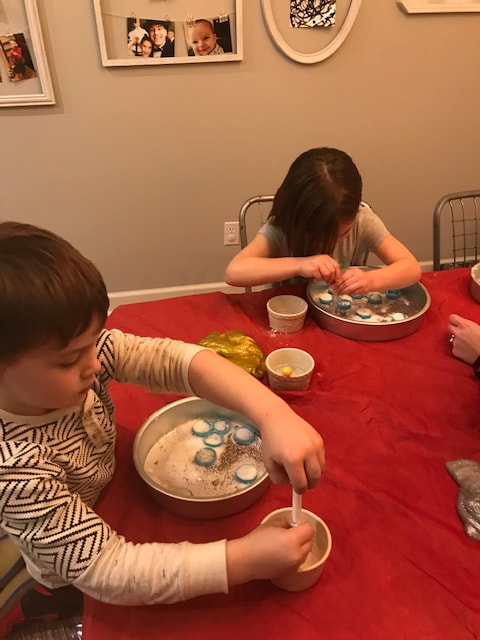
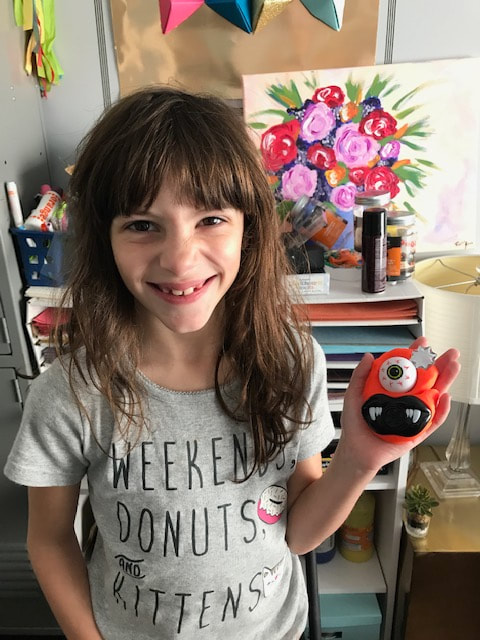
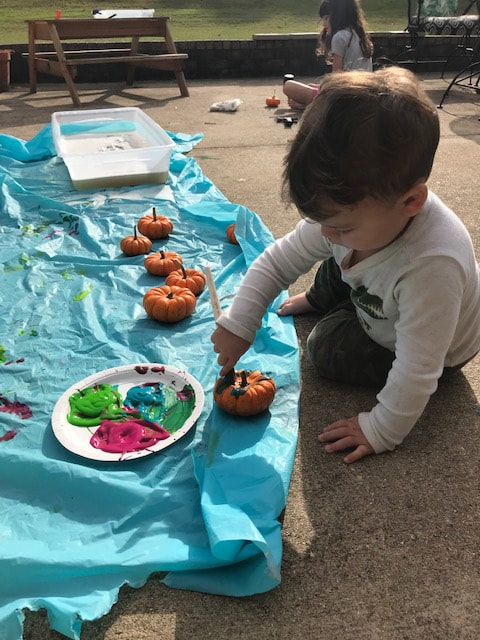
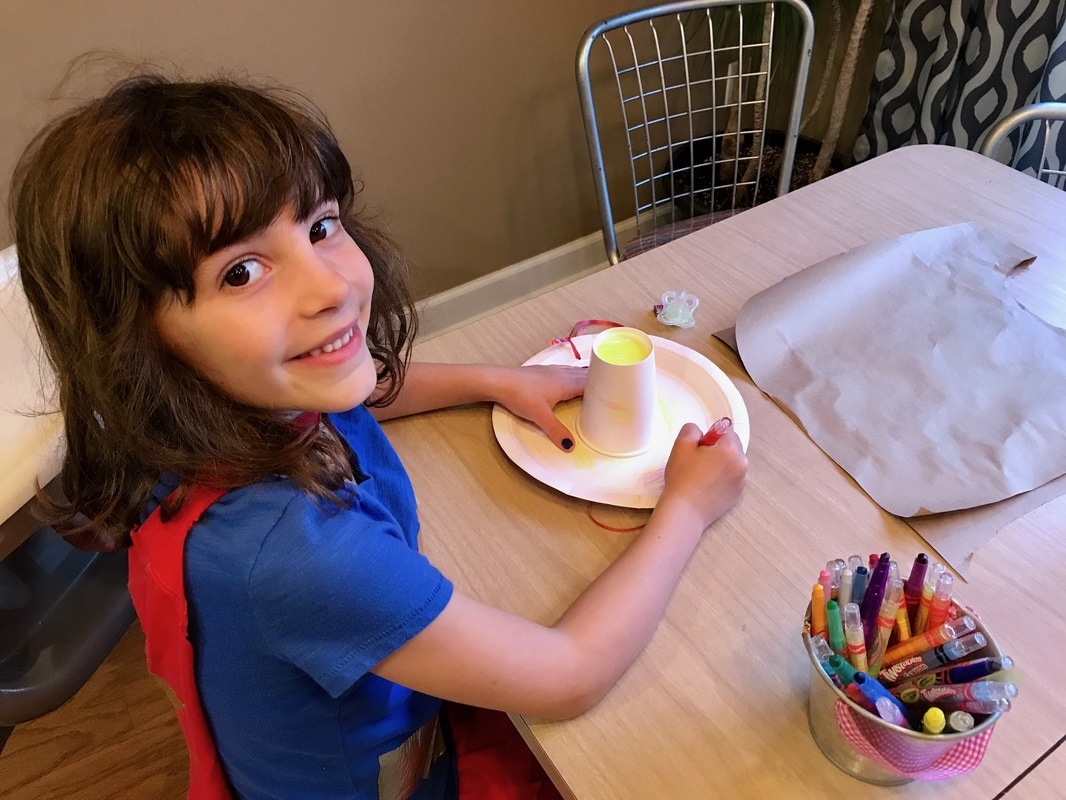
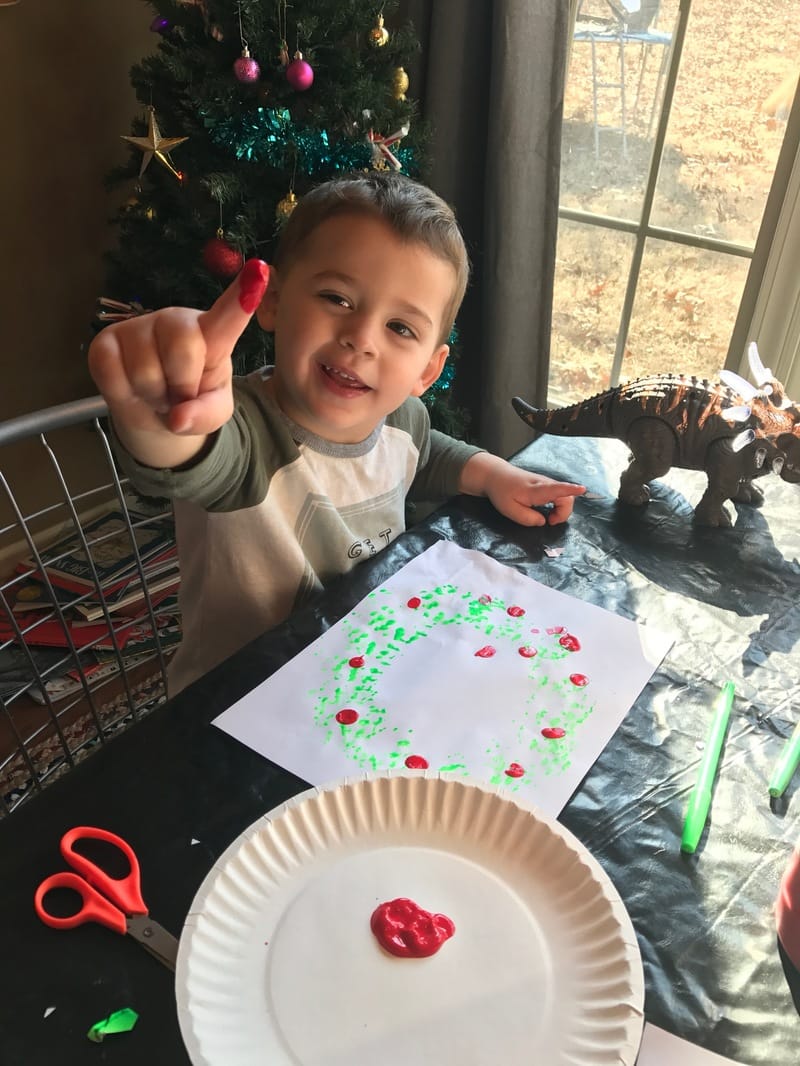
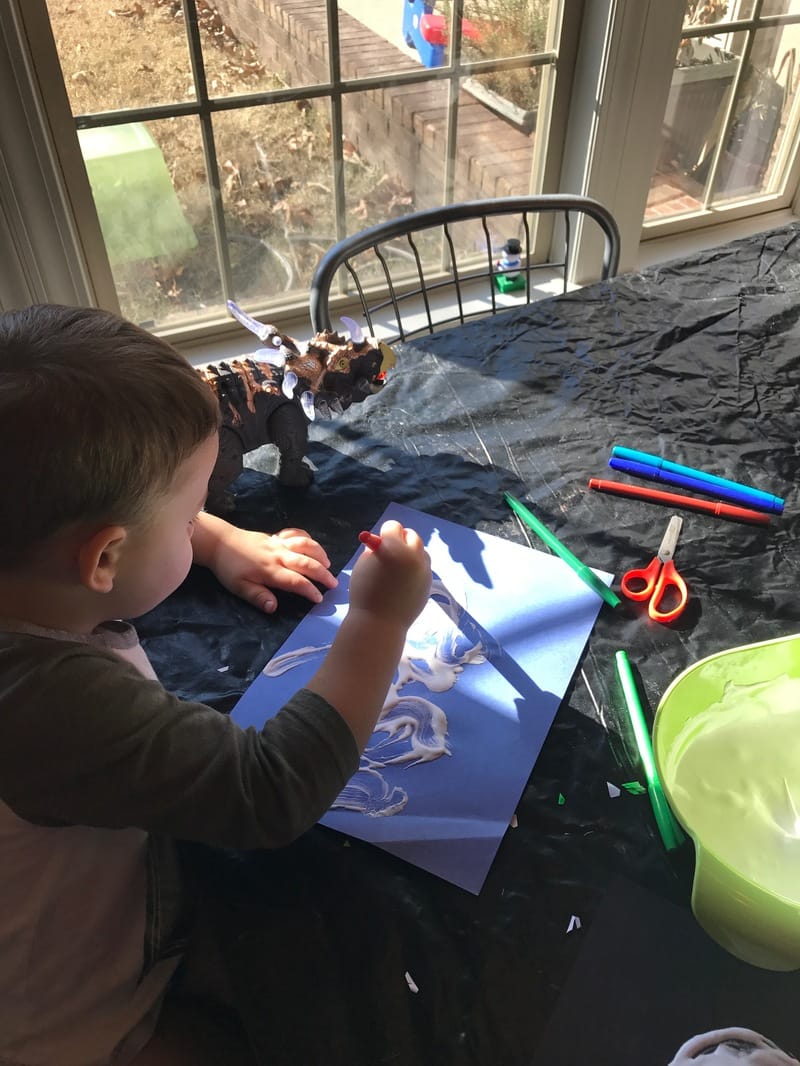
Once it was made, Alan had no interest in playing with the slime so he had fun with some dot markers instead.
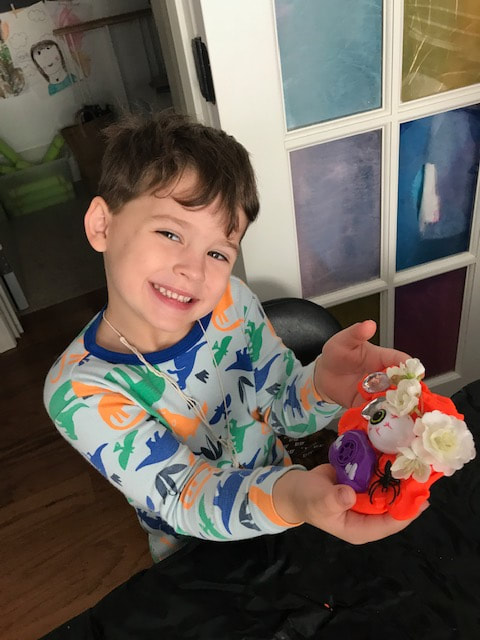
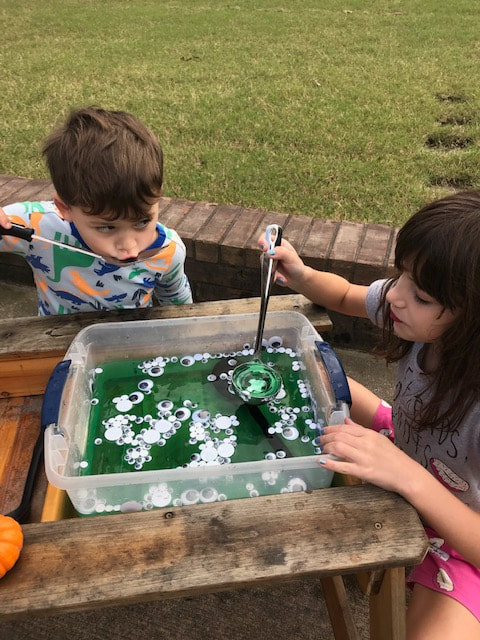
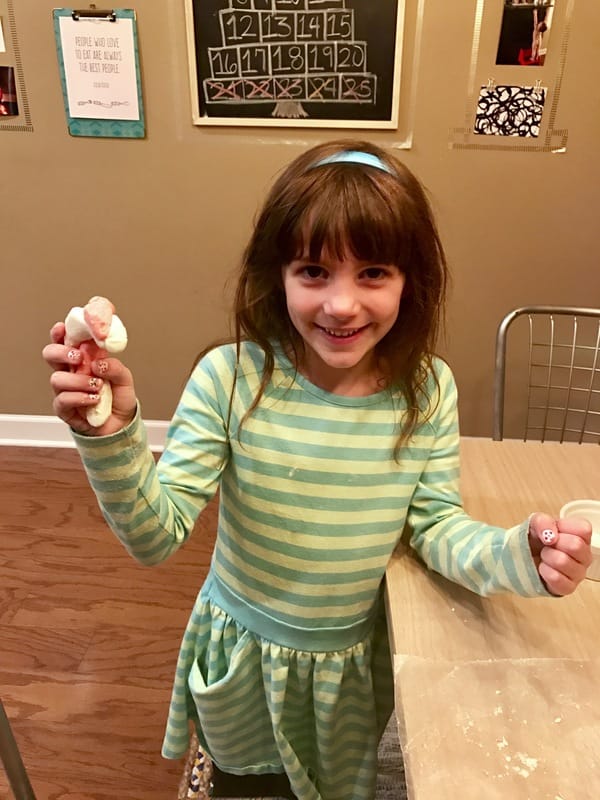
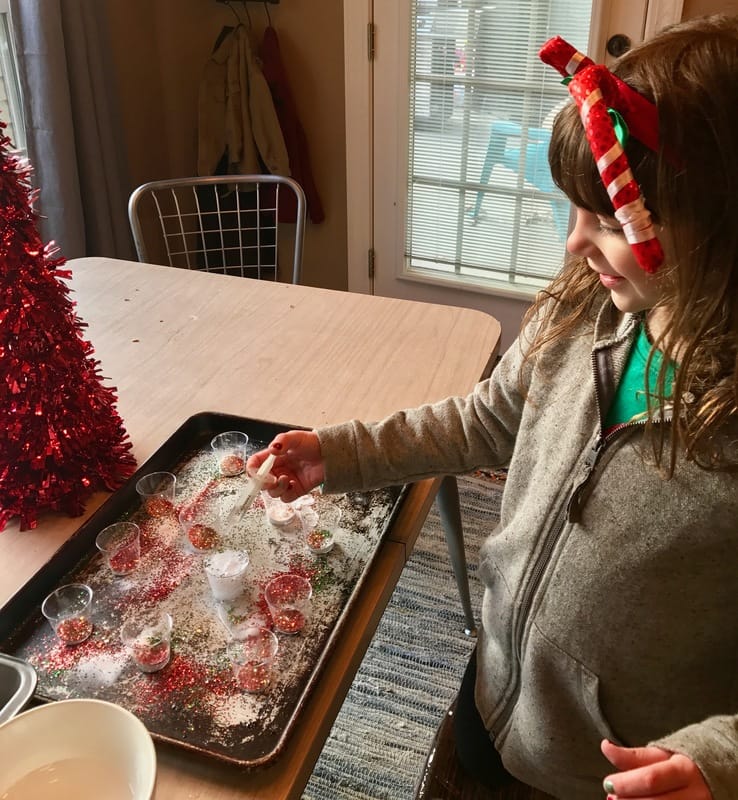
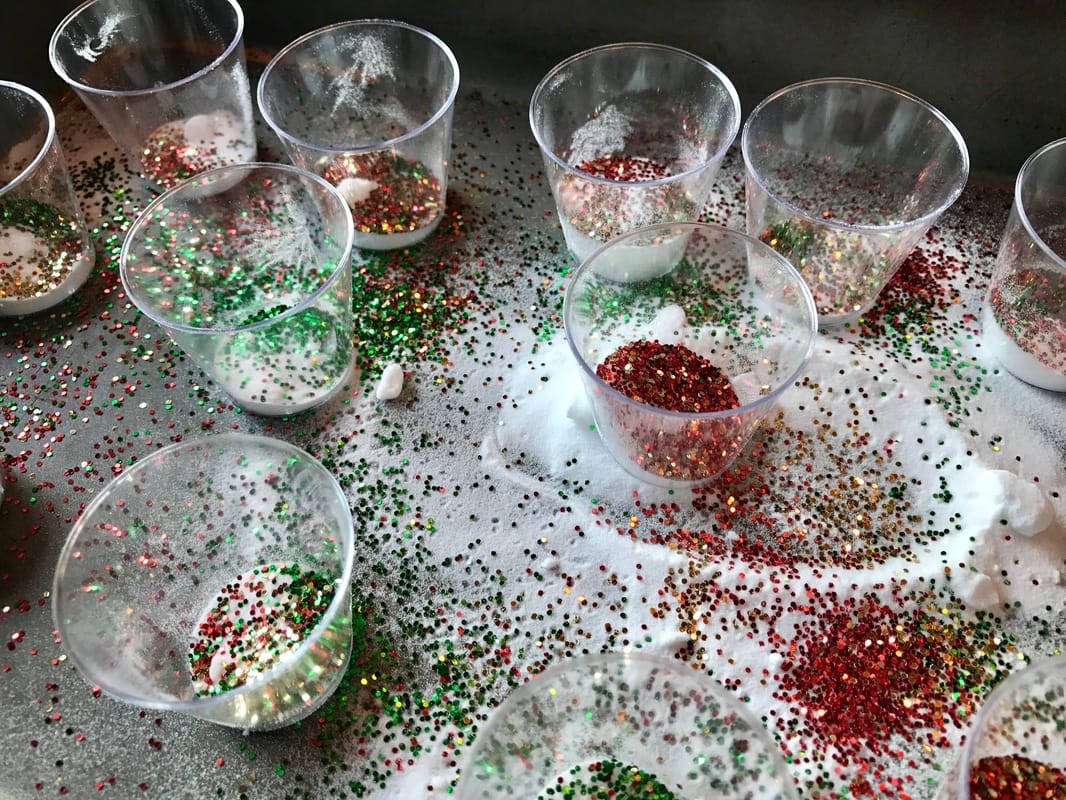
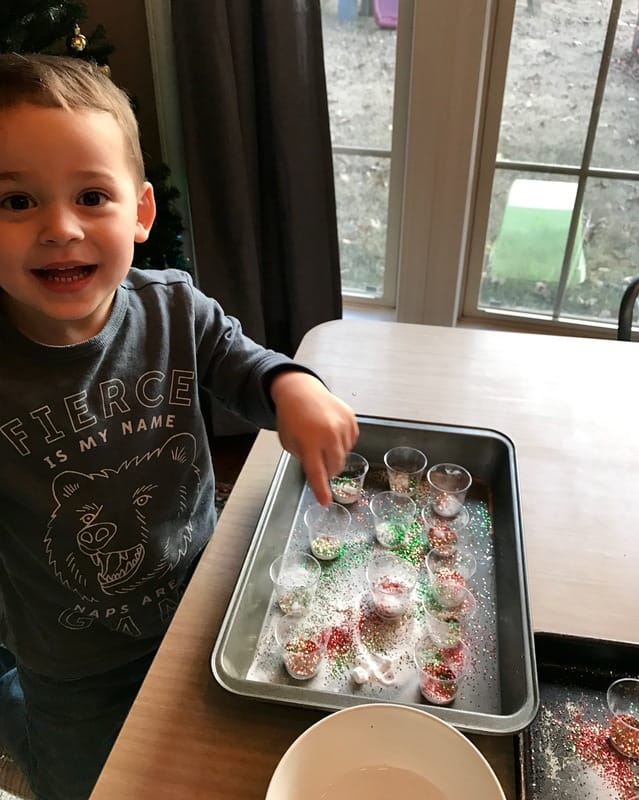
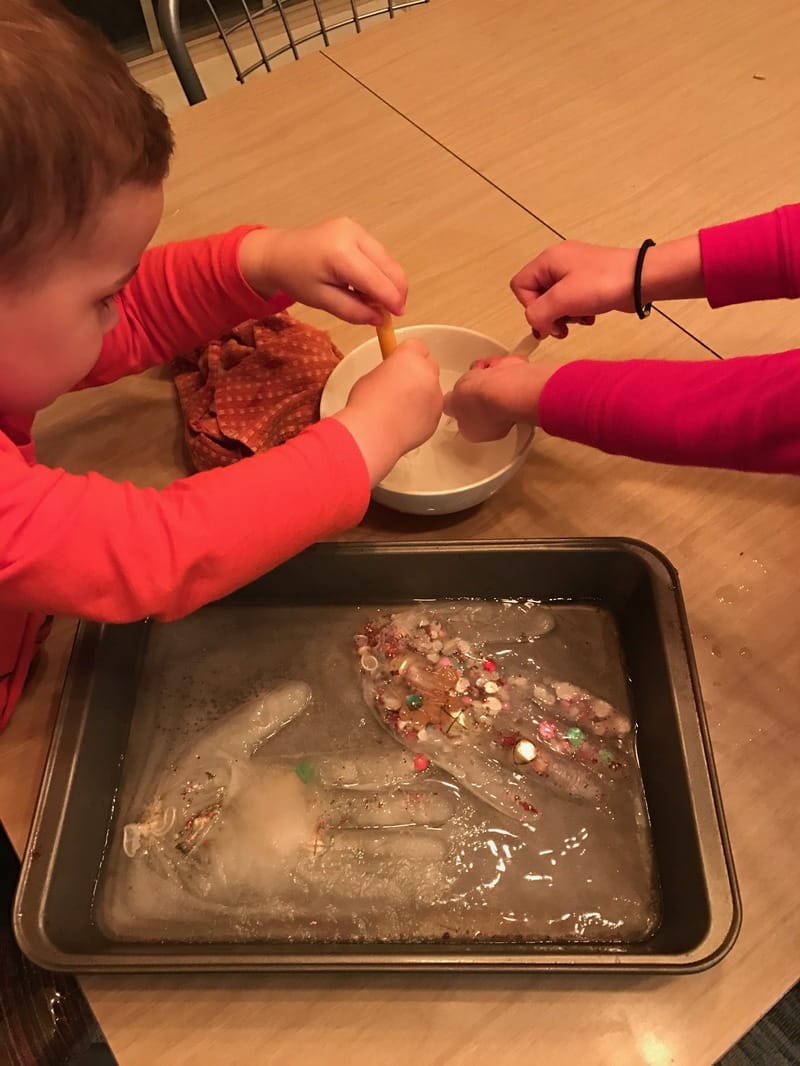
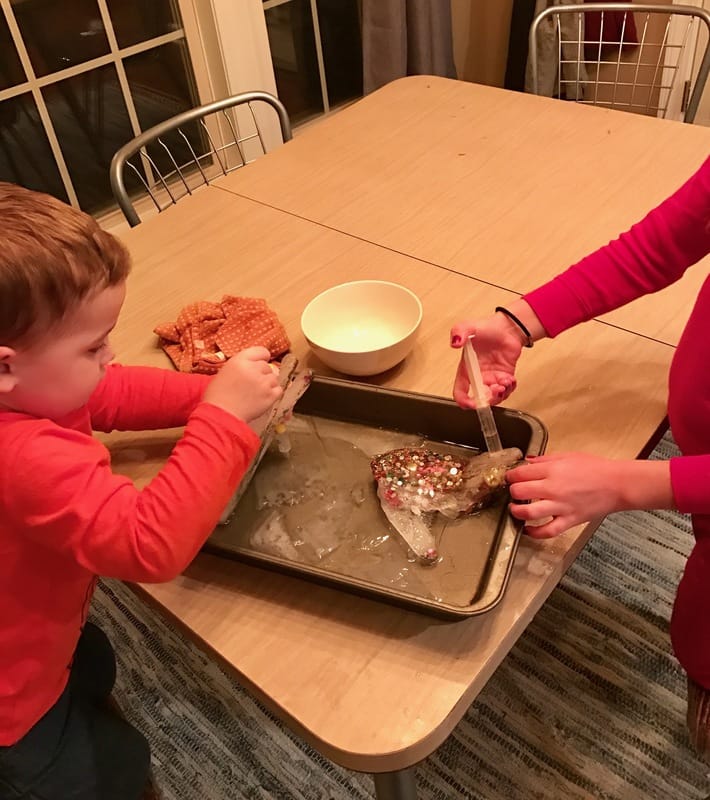
After we played with slime we broke out the fizzy science (always a favorite). I used clean milk storage container lids that I have been holding onto for ages to house the fizz mixture. I first poured glitter into the lids and then covered it with baking powder so you didn't know that it would be sparkly until you added the vinegar. Then, I gave the kids a pipette and bowl of vinegar and let them watch the reaction.
After we played with slime we broke out the fizzy science (always a favorite). I used clean milk storage container lids that I have been holding onto for ages to house the fizz mixture. I first poured glitter into the lids and then covered it with baking powder so you didn't know that it would be sparkly until you added the vinegar. Then, I gave the kids a pipette and bowl of vinegar and let them watch the reaction.
 |  |  |
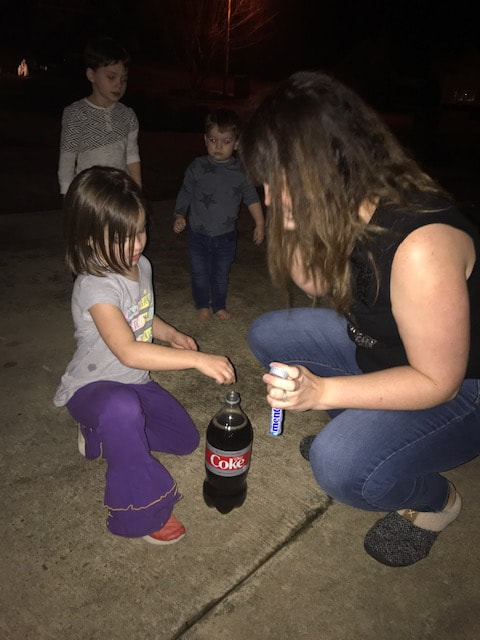
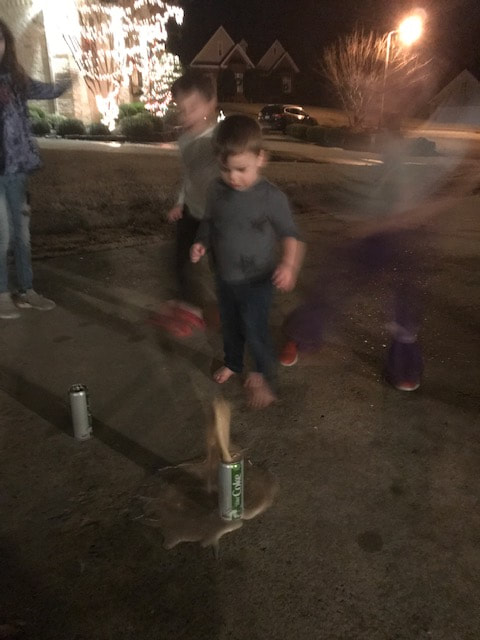
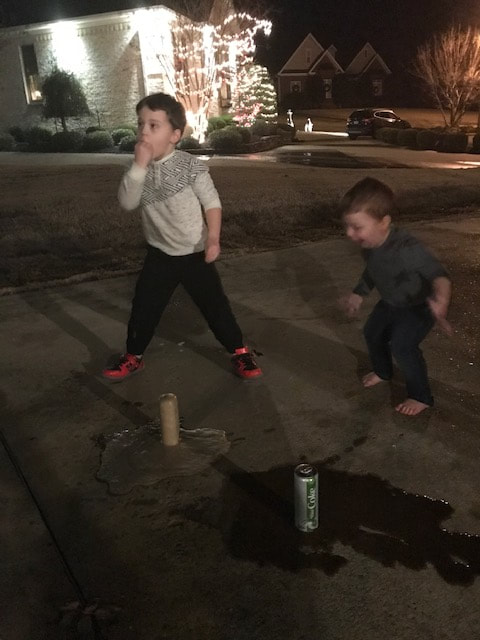
After fizzy science we headed outside for our soda "fireworks". Kids dropped a mento into a bottle of diet coke to see the fizzy explosion. It was a huge hit!
 |  |  |  |
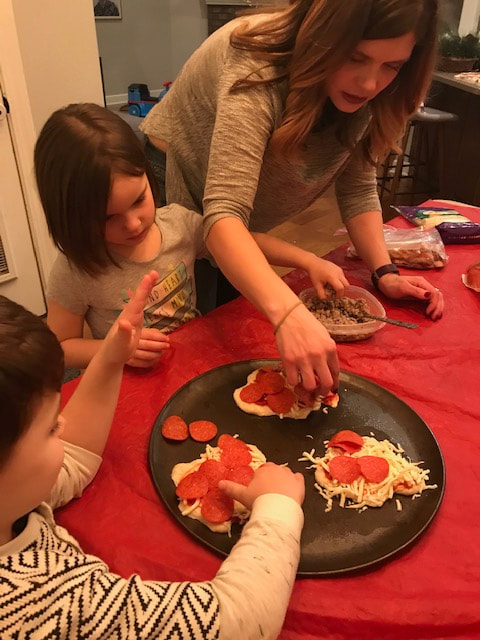
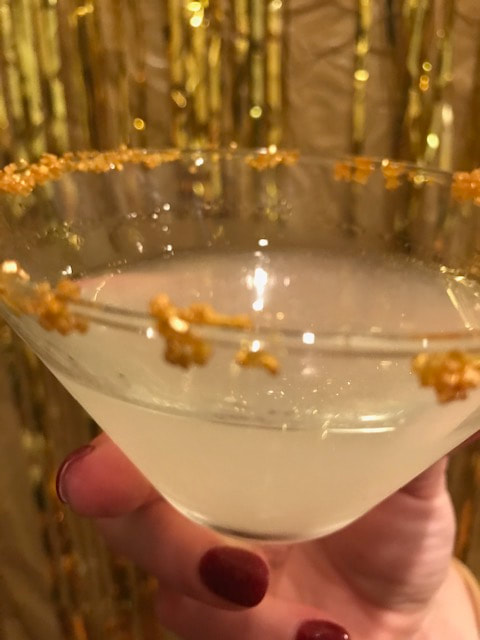
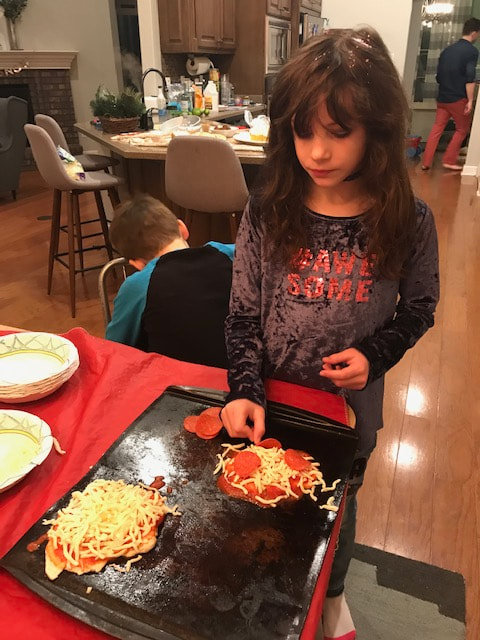
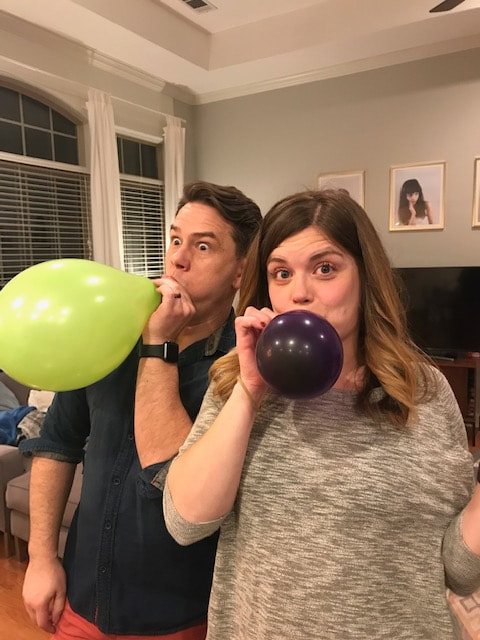
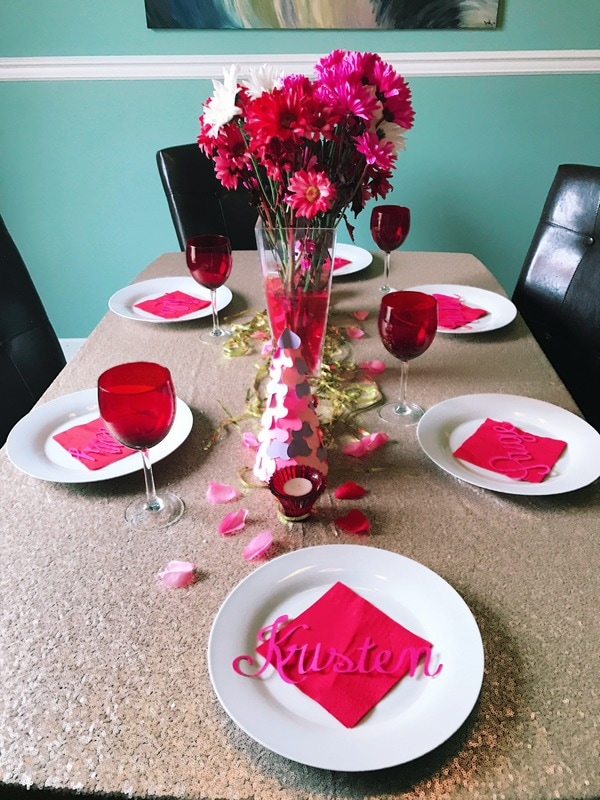
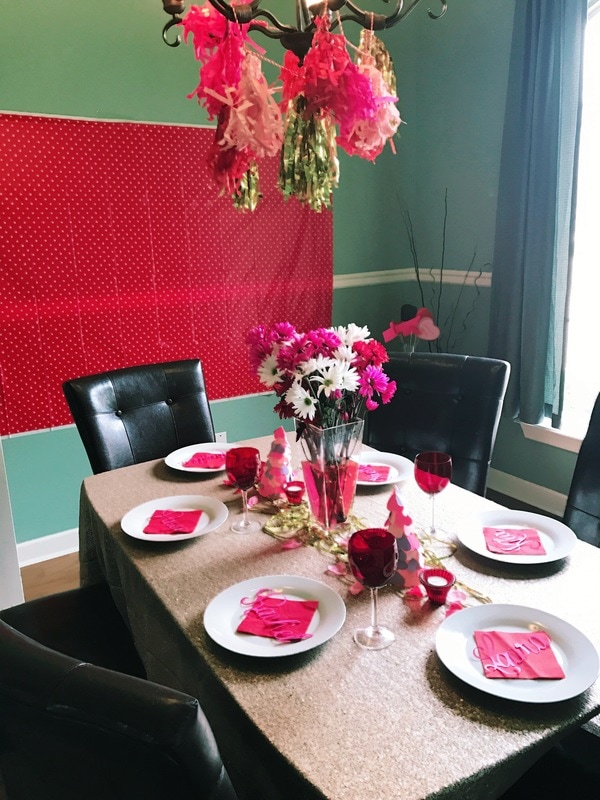
Everyone was ready to eat after all of the fun so we headed back inside to make pizzas! Originally, we were going to make them say "2019" but, by this point we (the parents) were maxed out on kids and such so we just let them make mini pizzas and made ourselves a big, adult pizza and a few fancy cocktails to recover. We used gold sprinkles to rim our martinis and the recipe was one of our favorites that we discovered on Halloween this year that you can find here (We didn't make them black this time but we did add the luster dust to make them extra fancy.) While the pizzas cooked and after we had a recover martini or two, we set up the balloon drop. Details can be found in the MC document but, basically, tape a few plastic table cloths together and hang it like a basket from the ceiling. Then fill it with balloons and pull it down when you're ready.
 |  |  |
 |  |
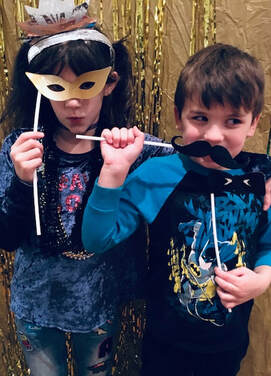
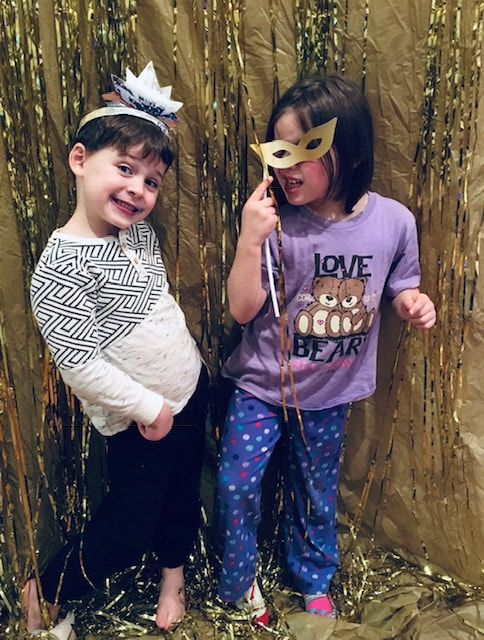
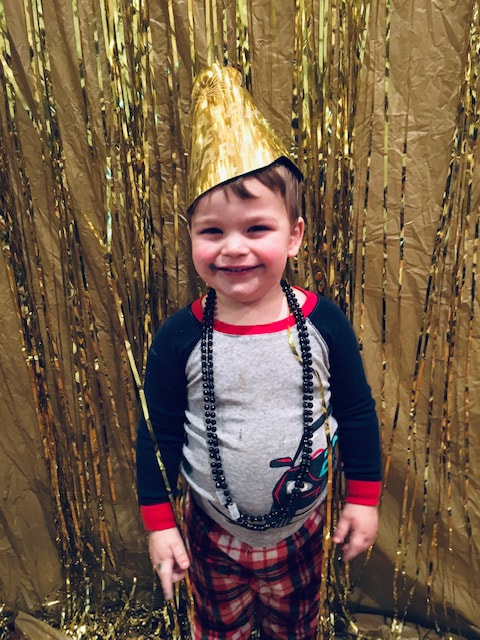
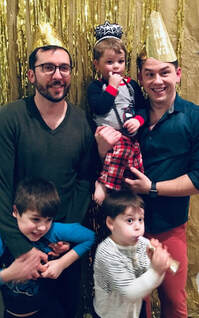
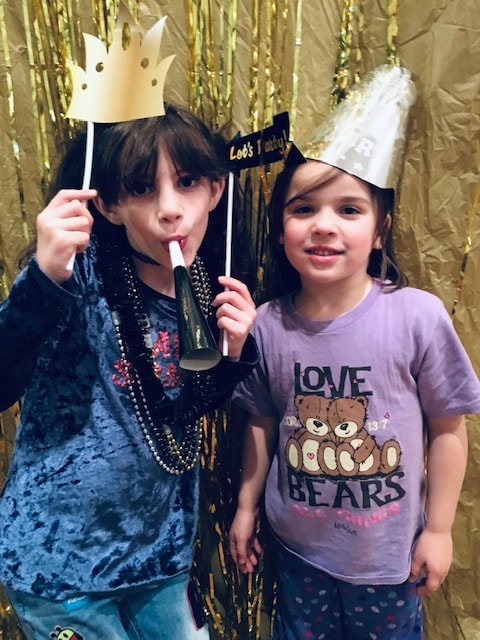
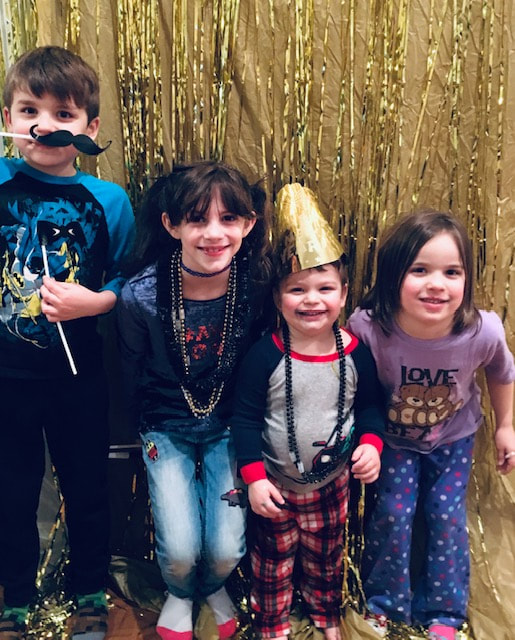
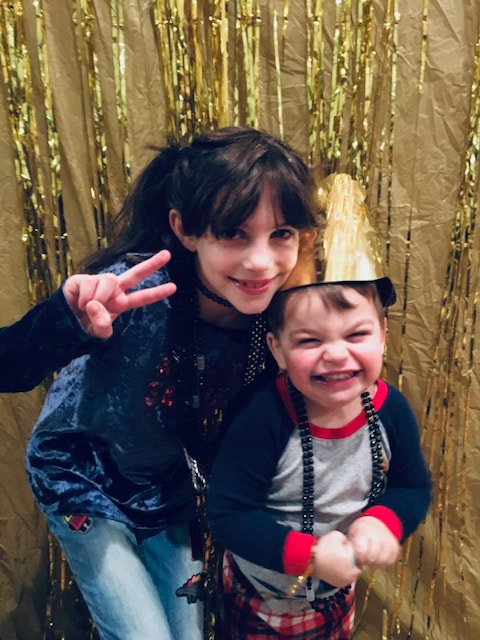
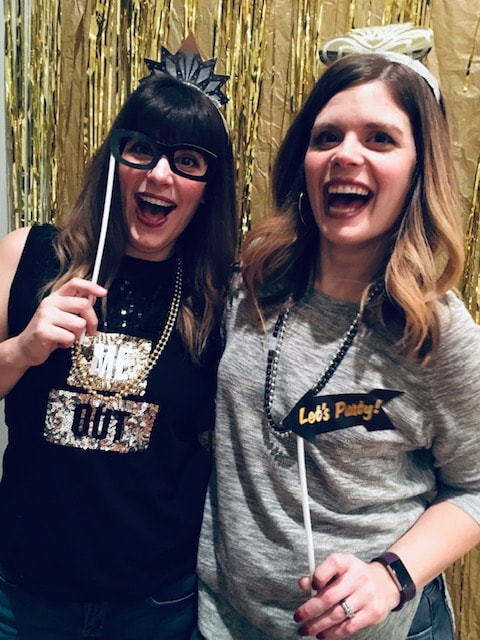
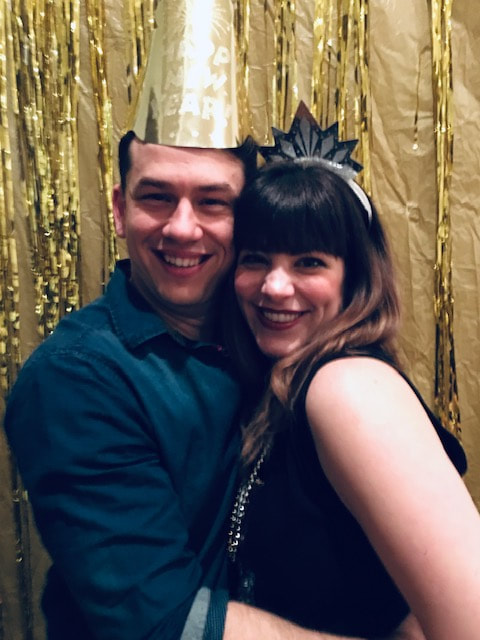
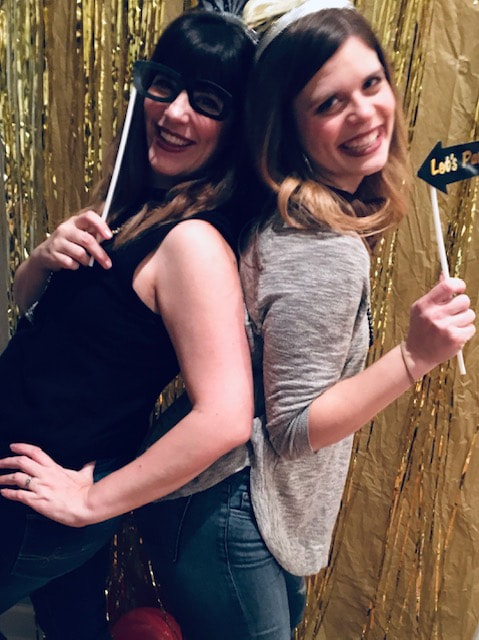
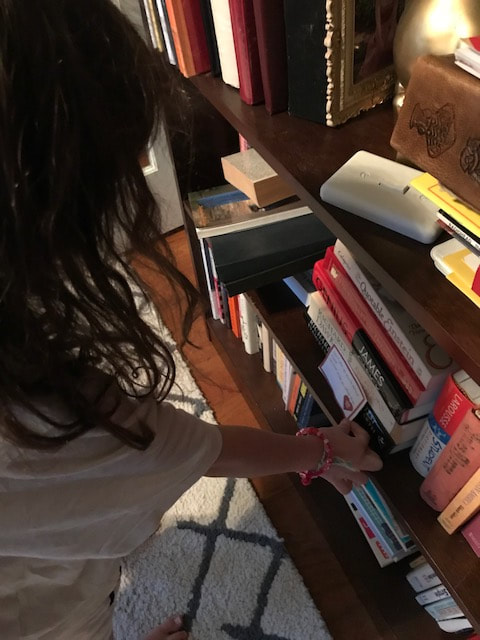
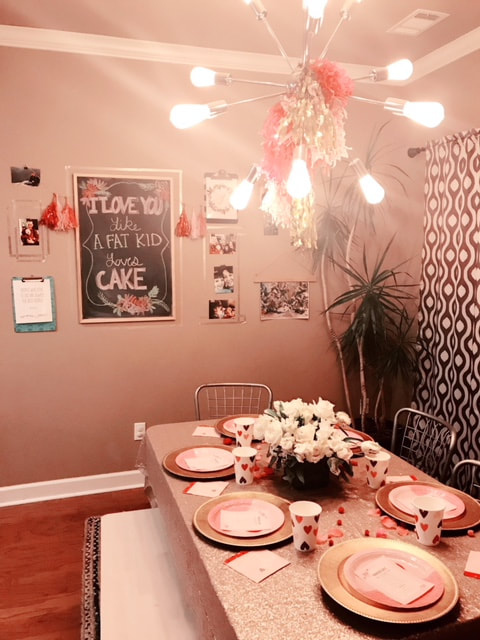
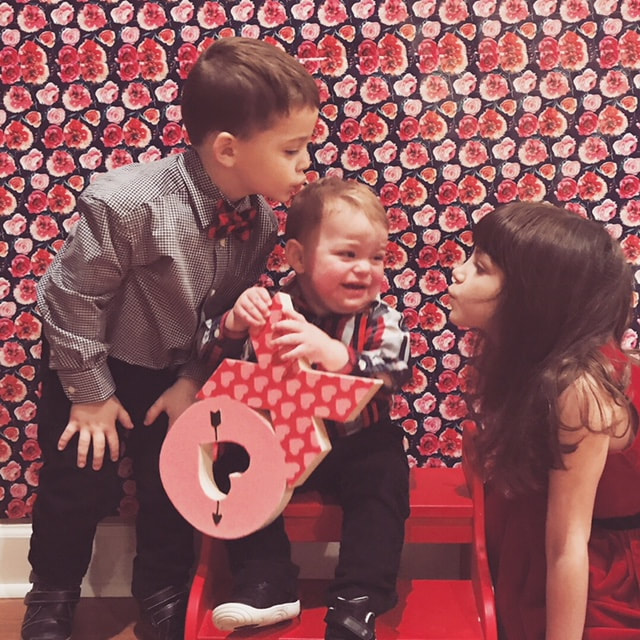
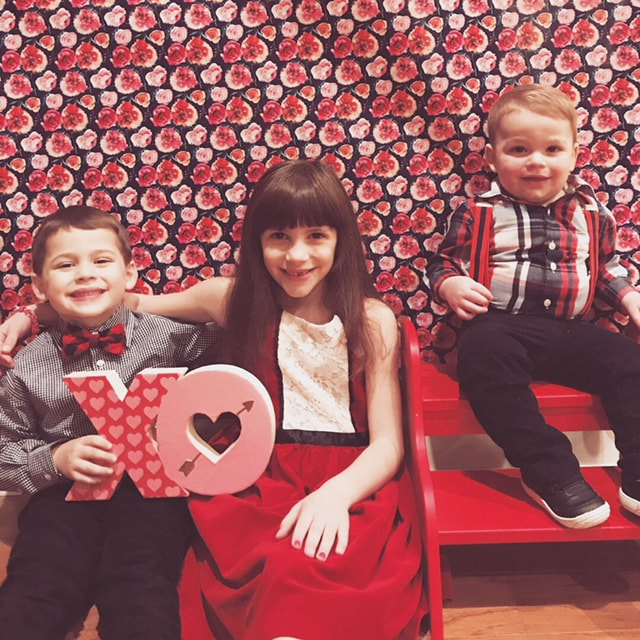
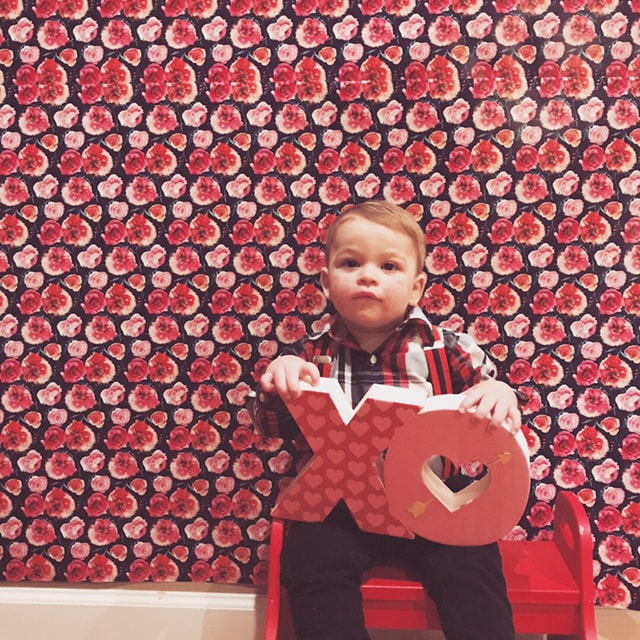
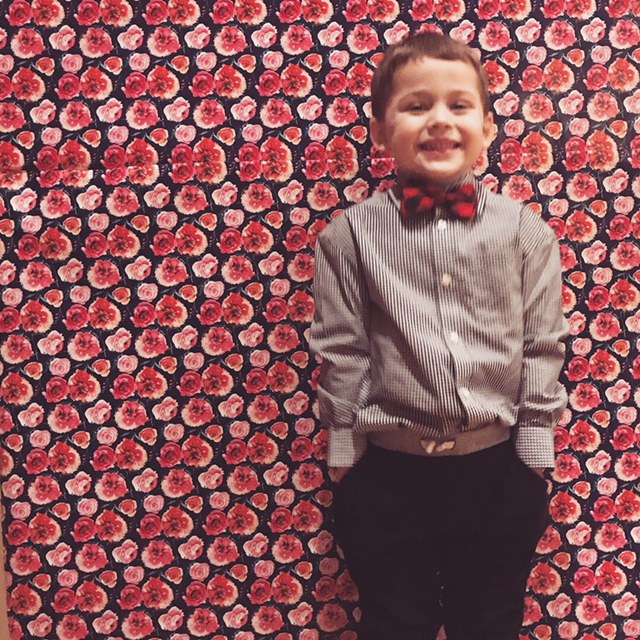
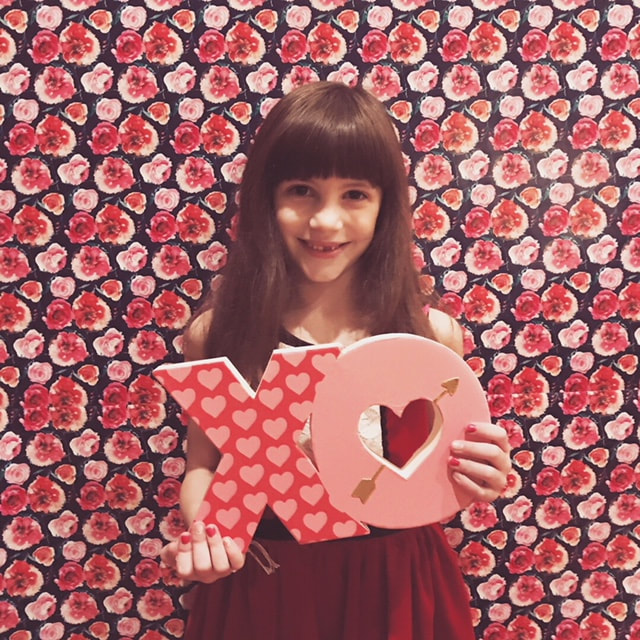
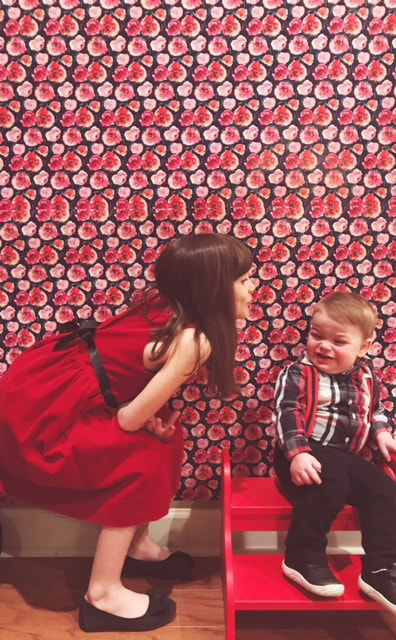
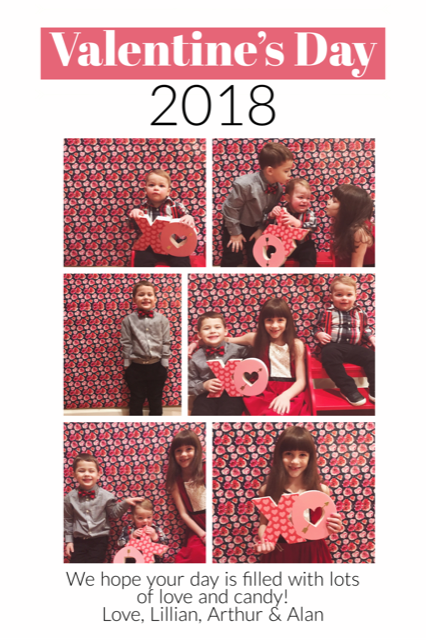
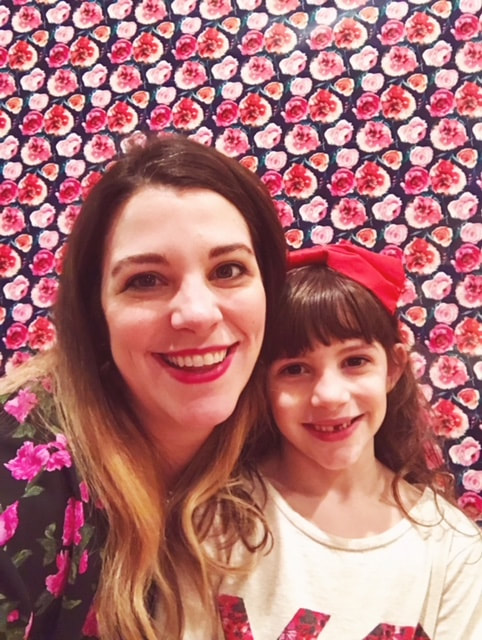
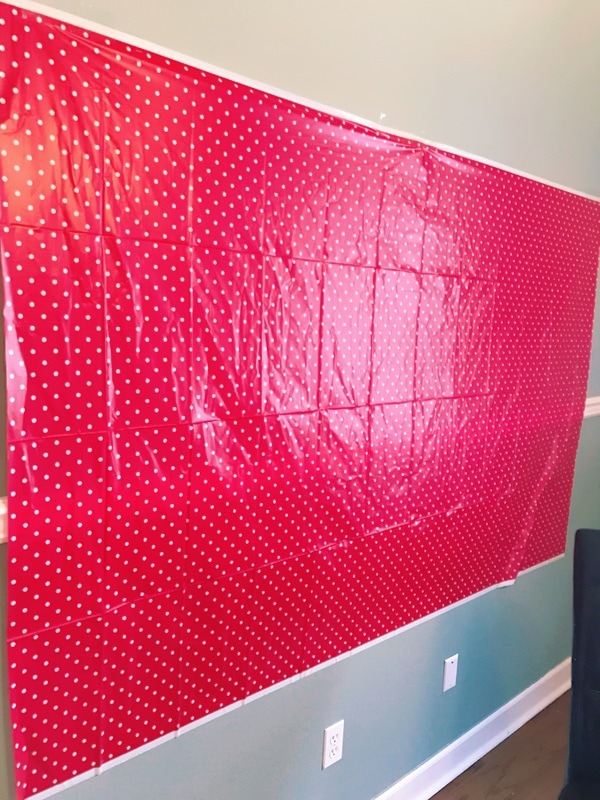
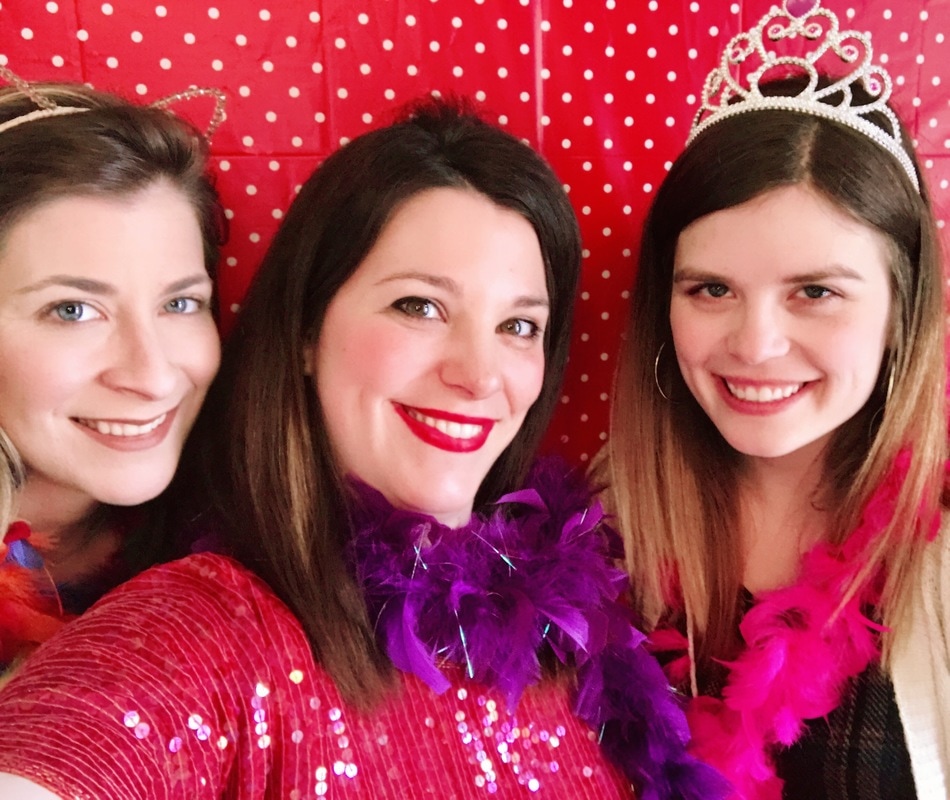
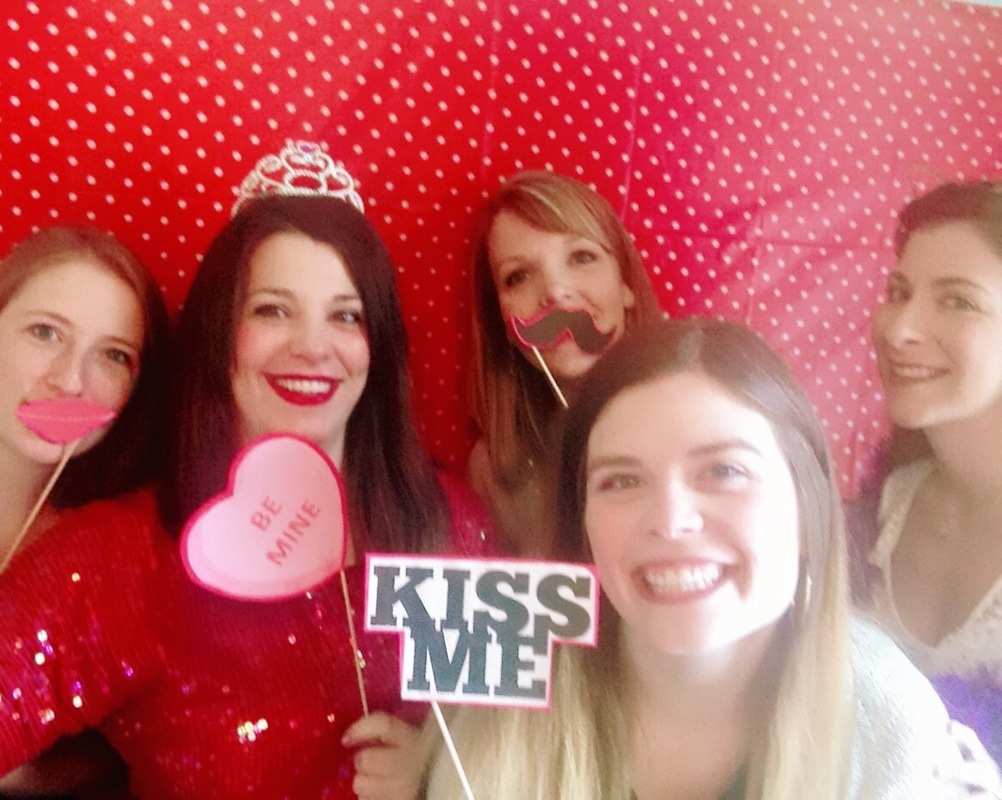
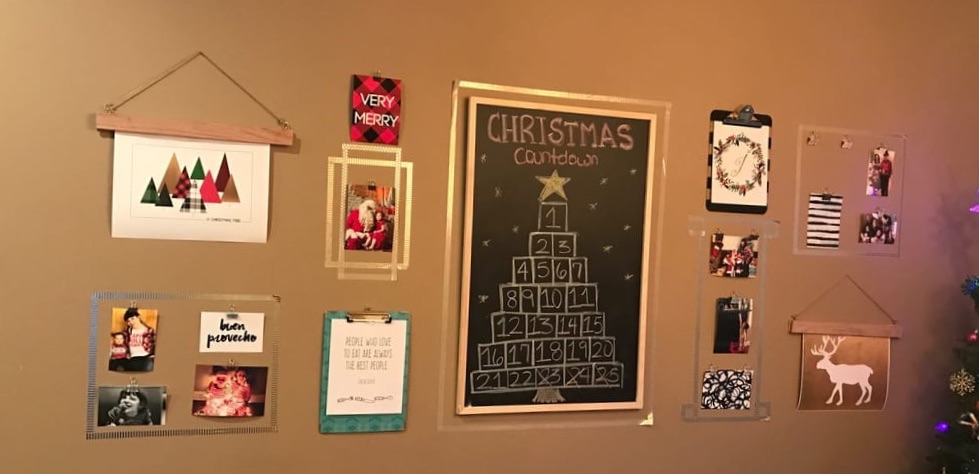
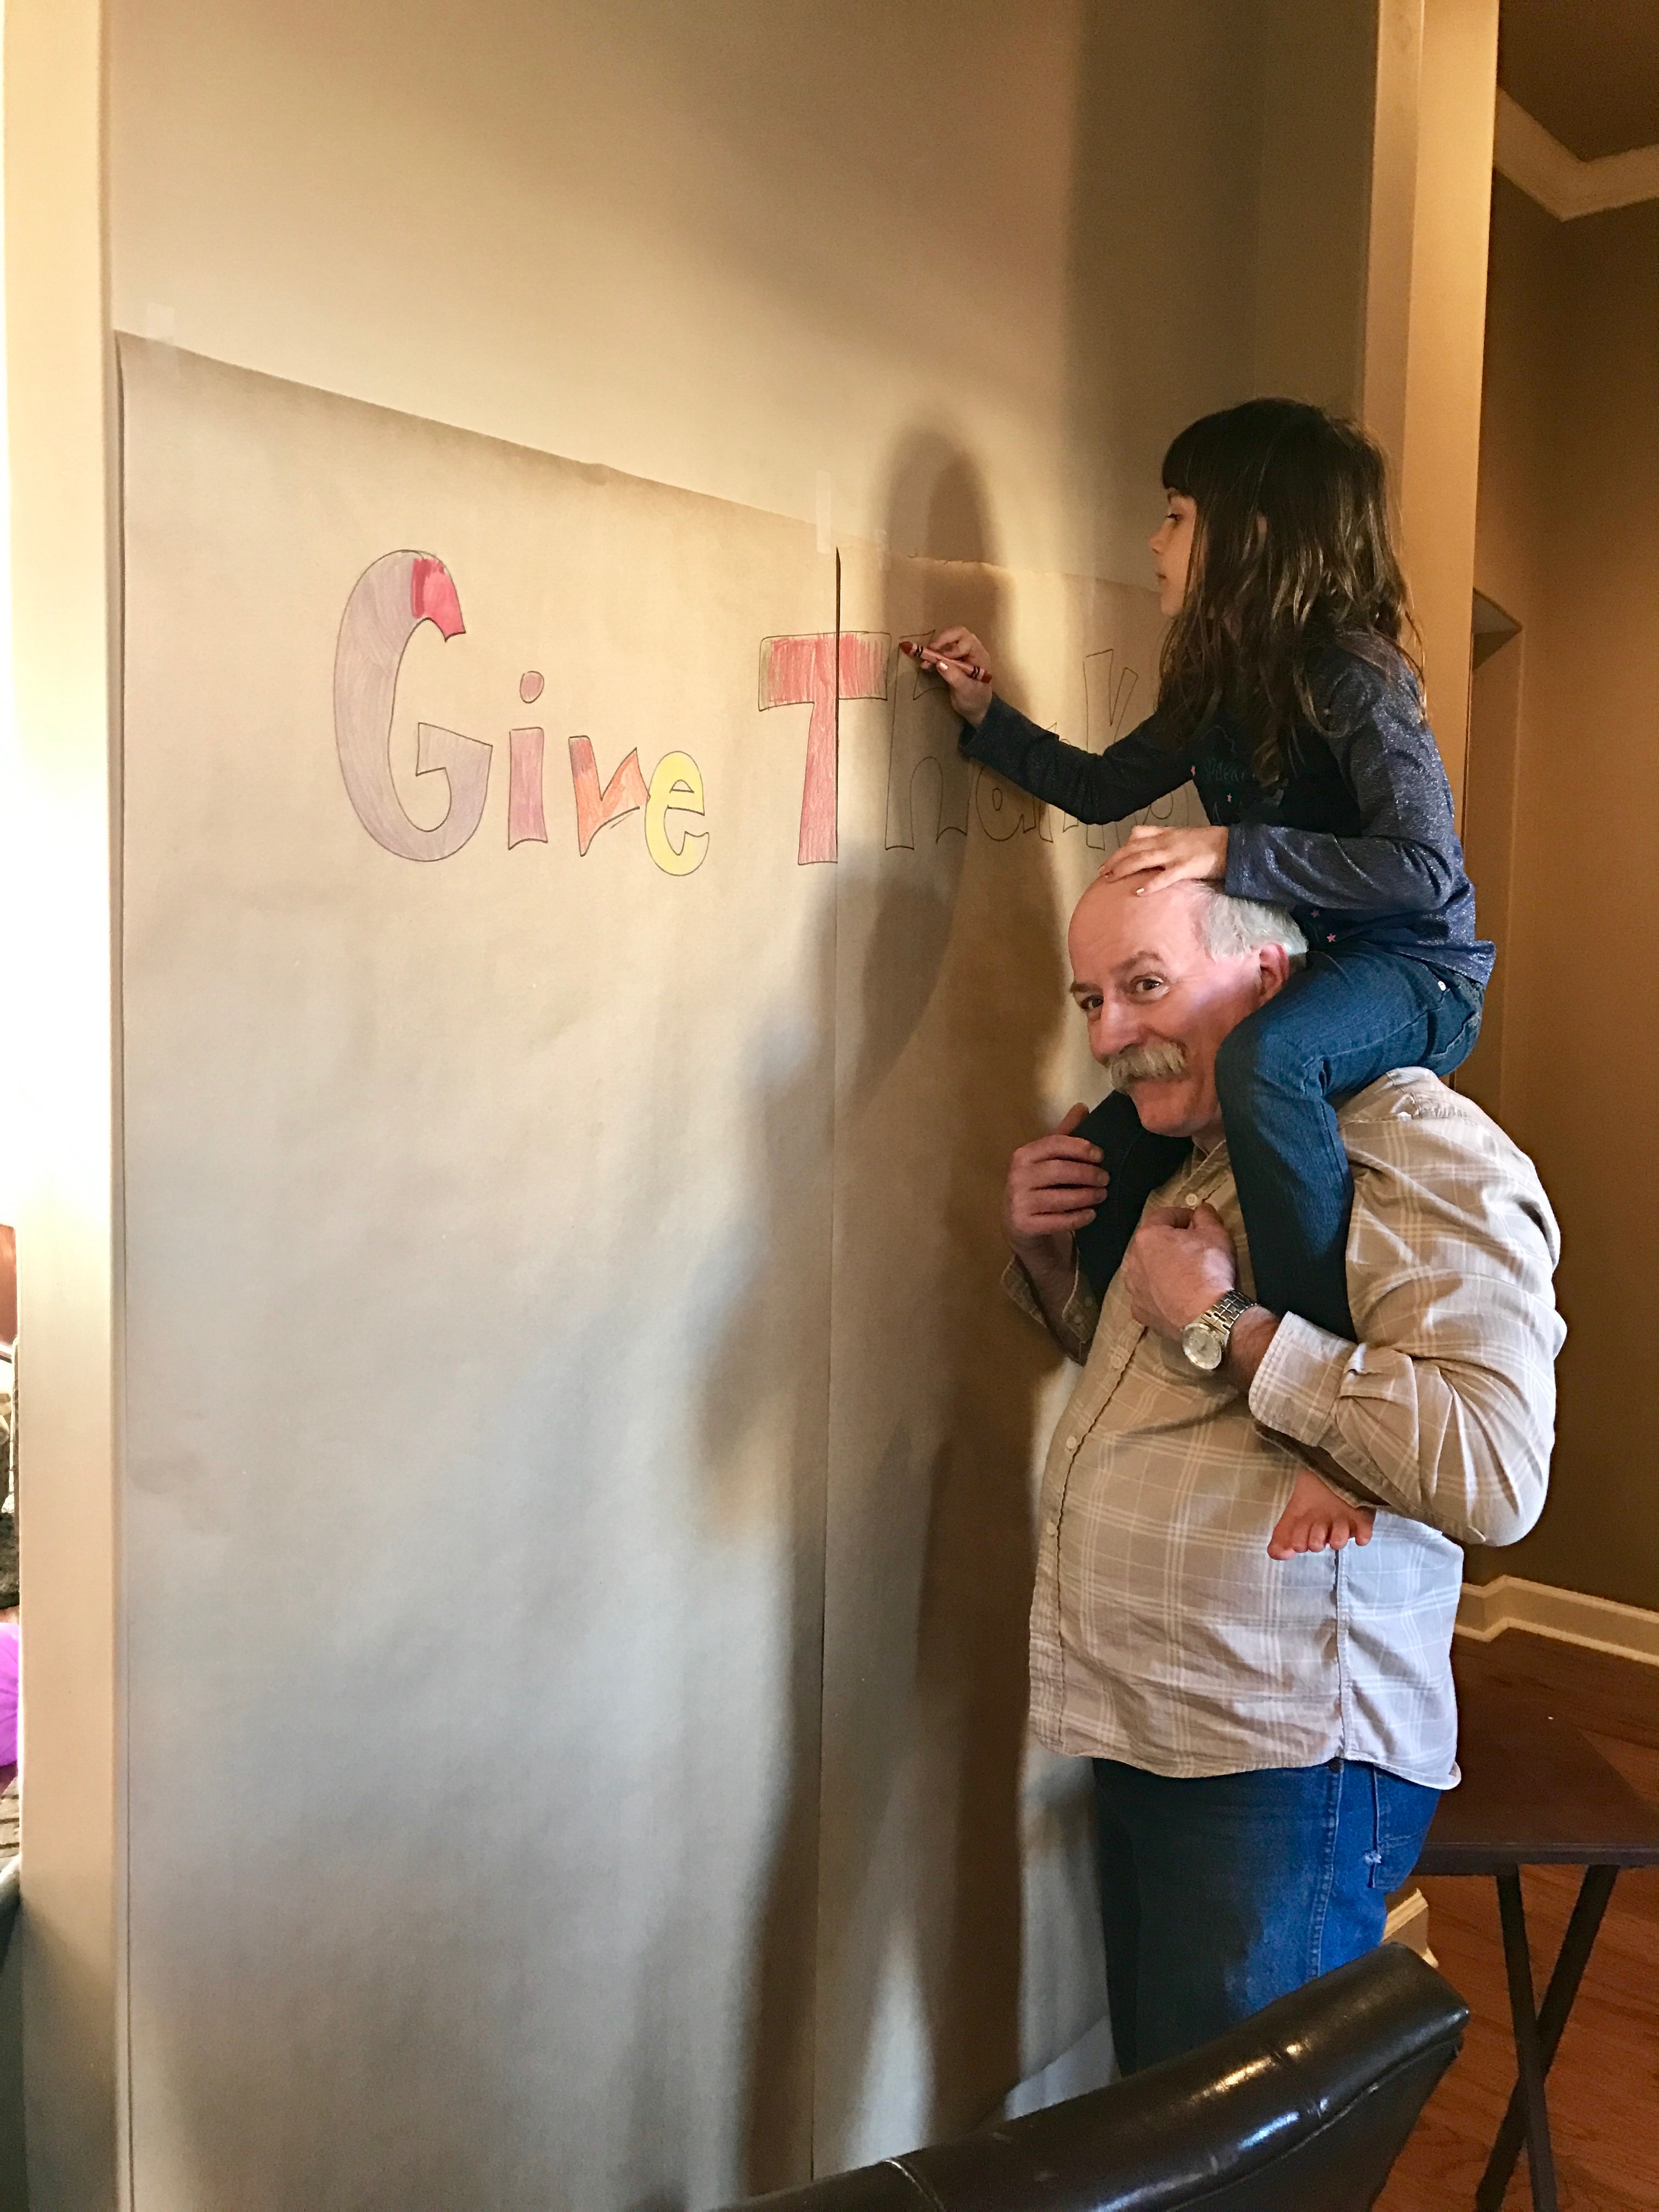
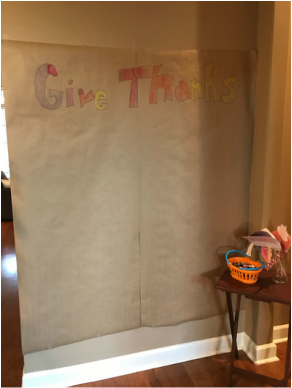
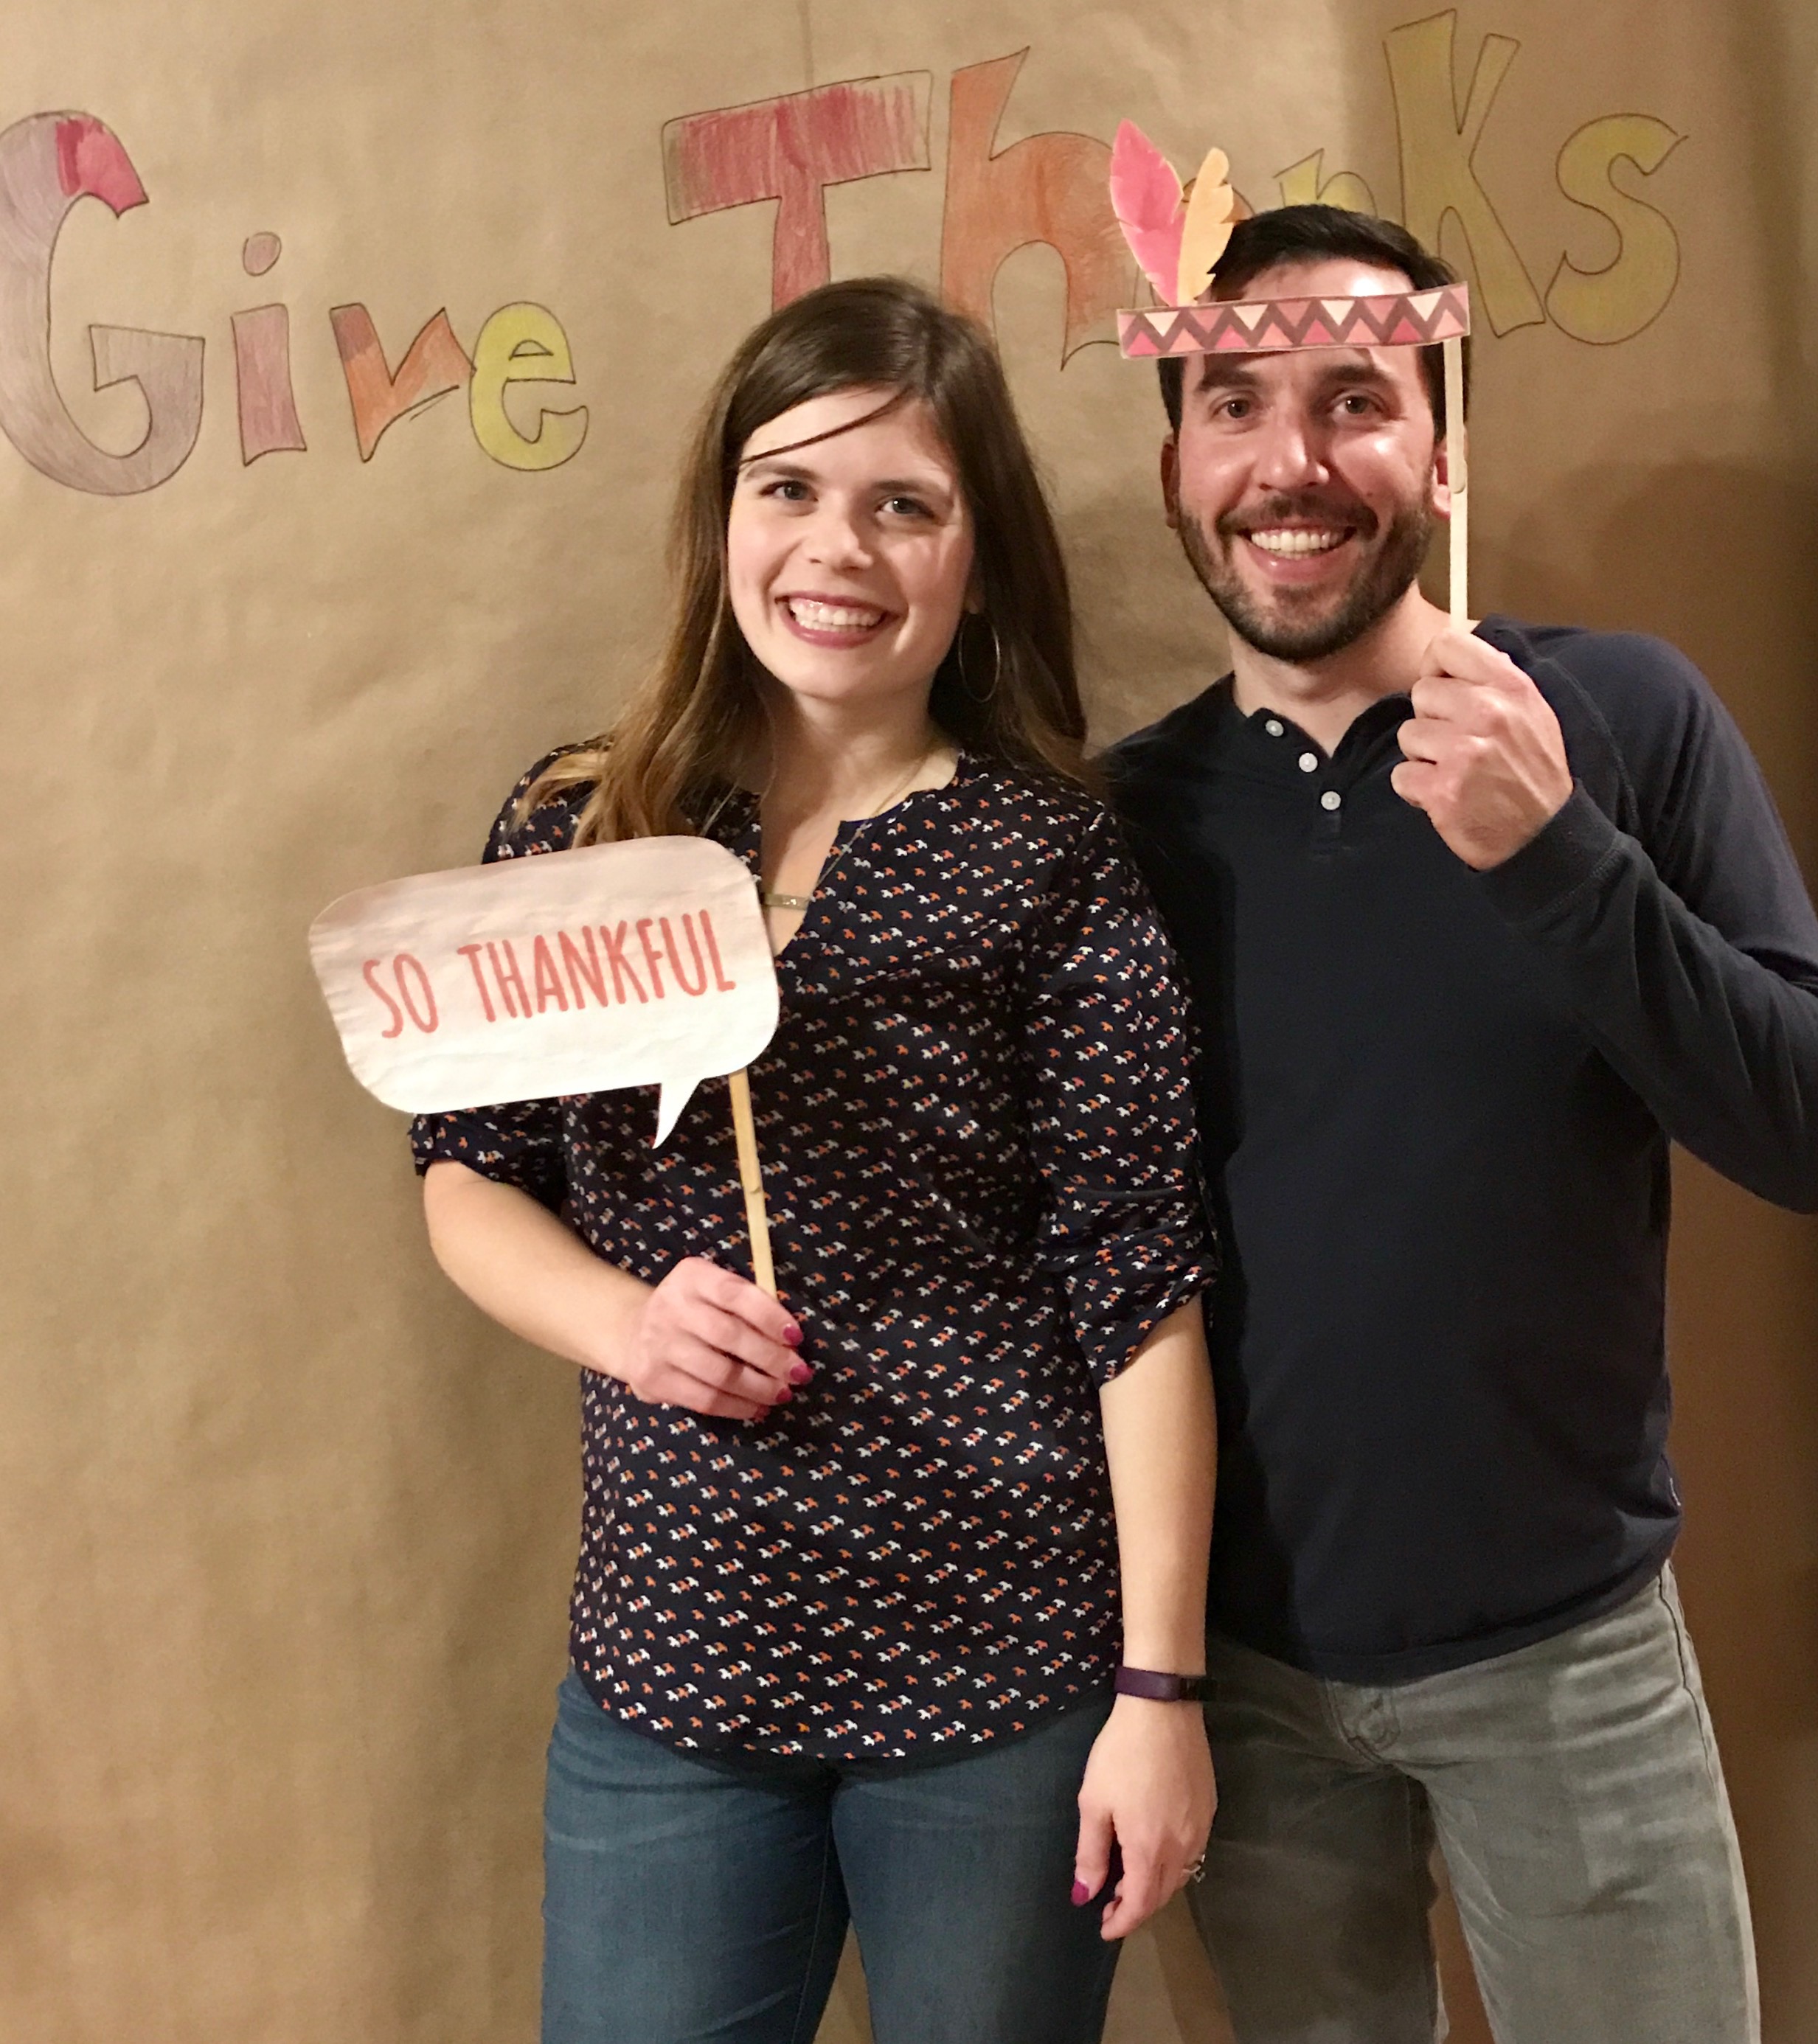
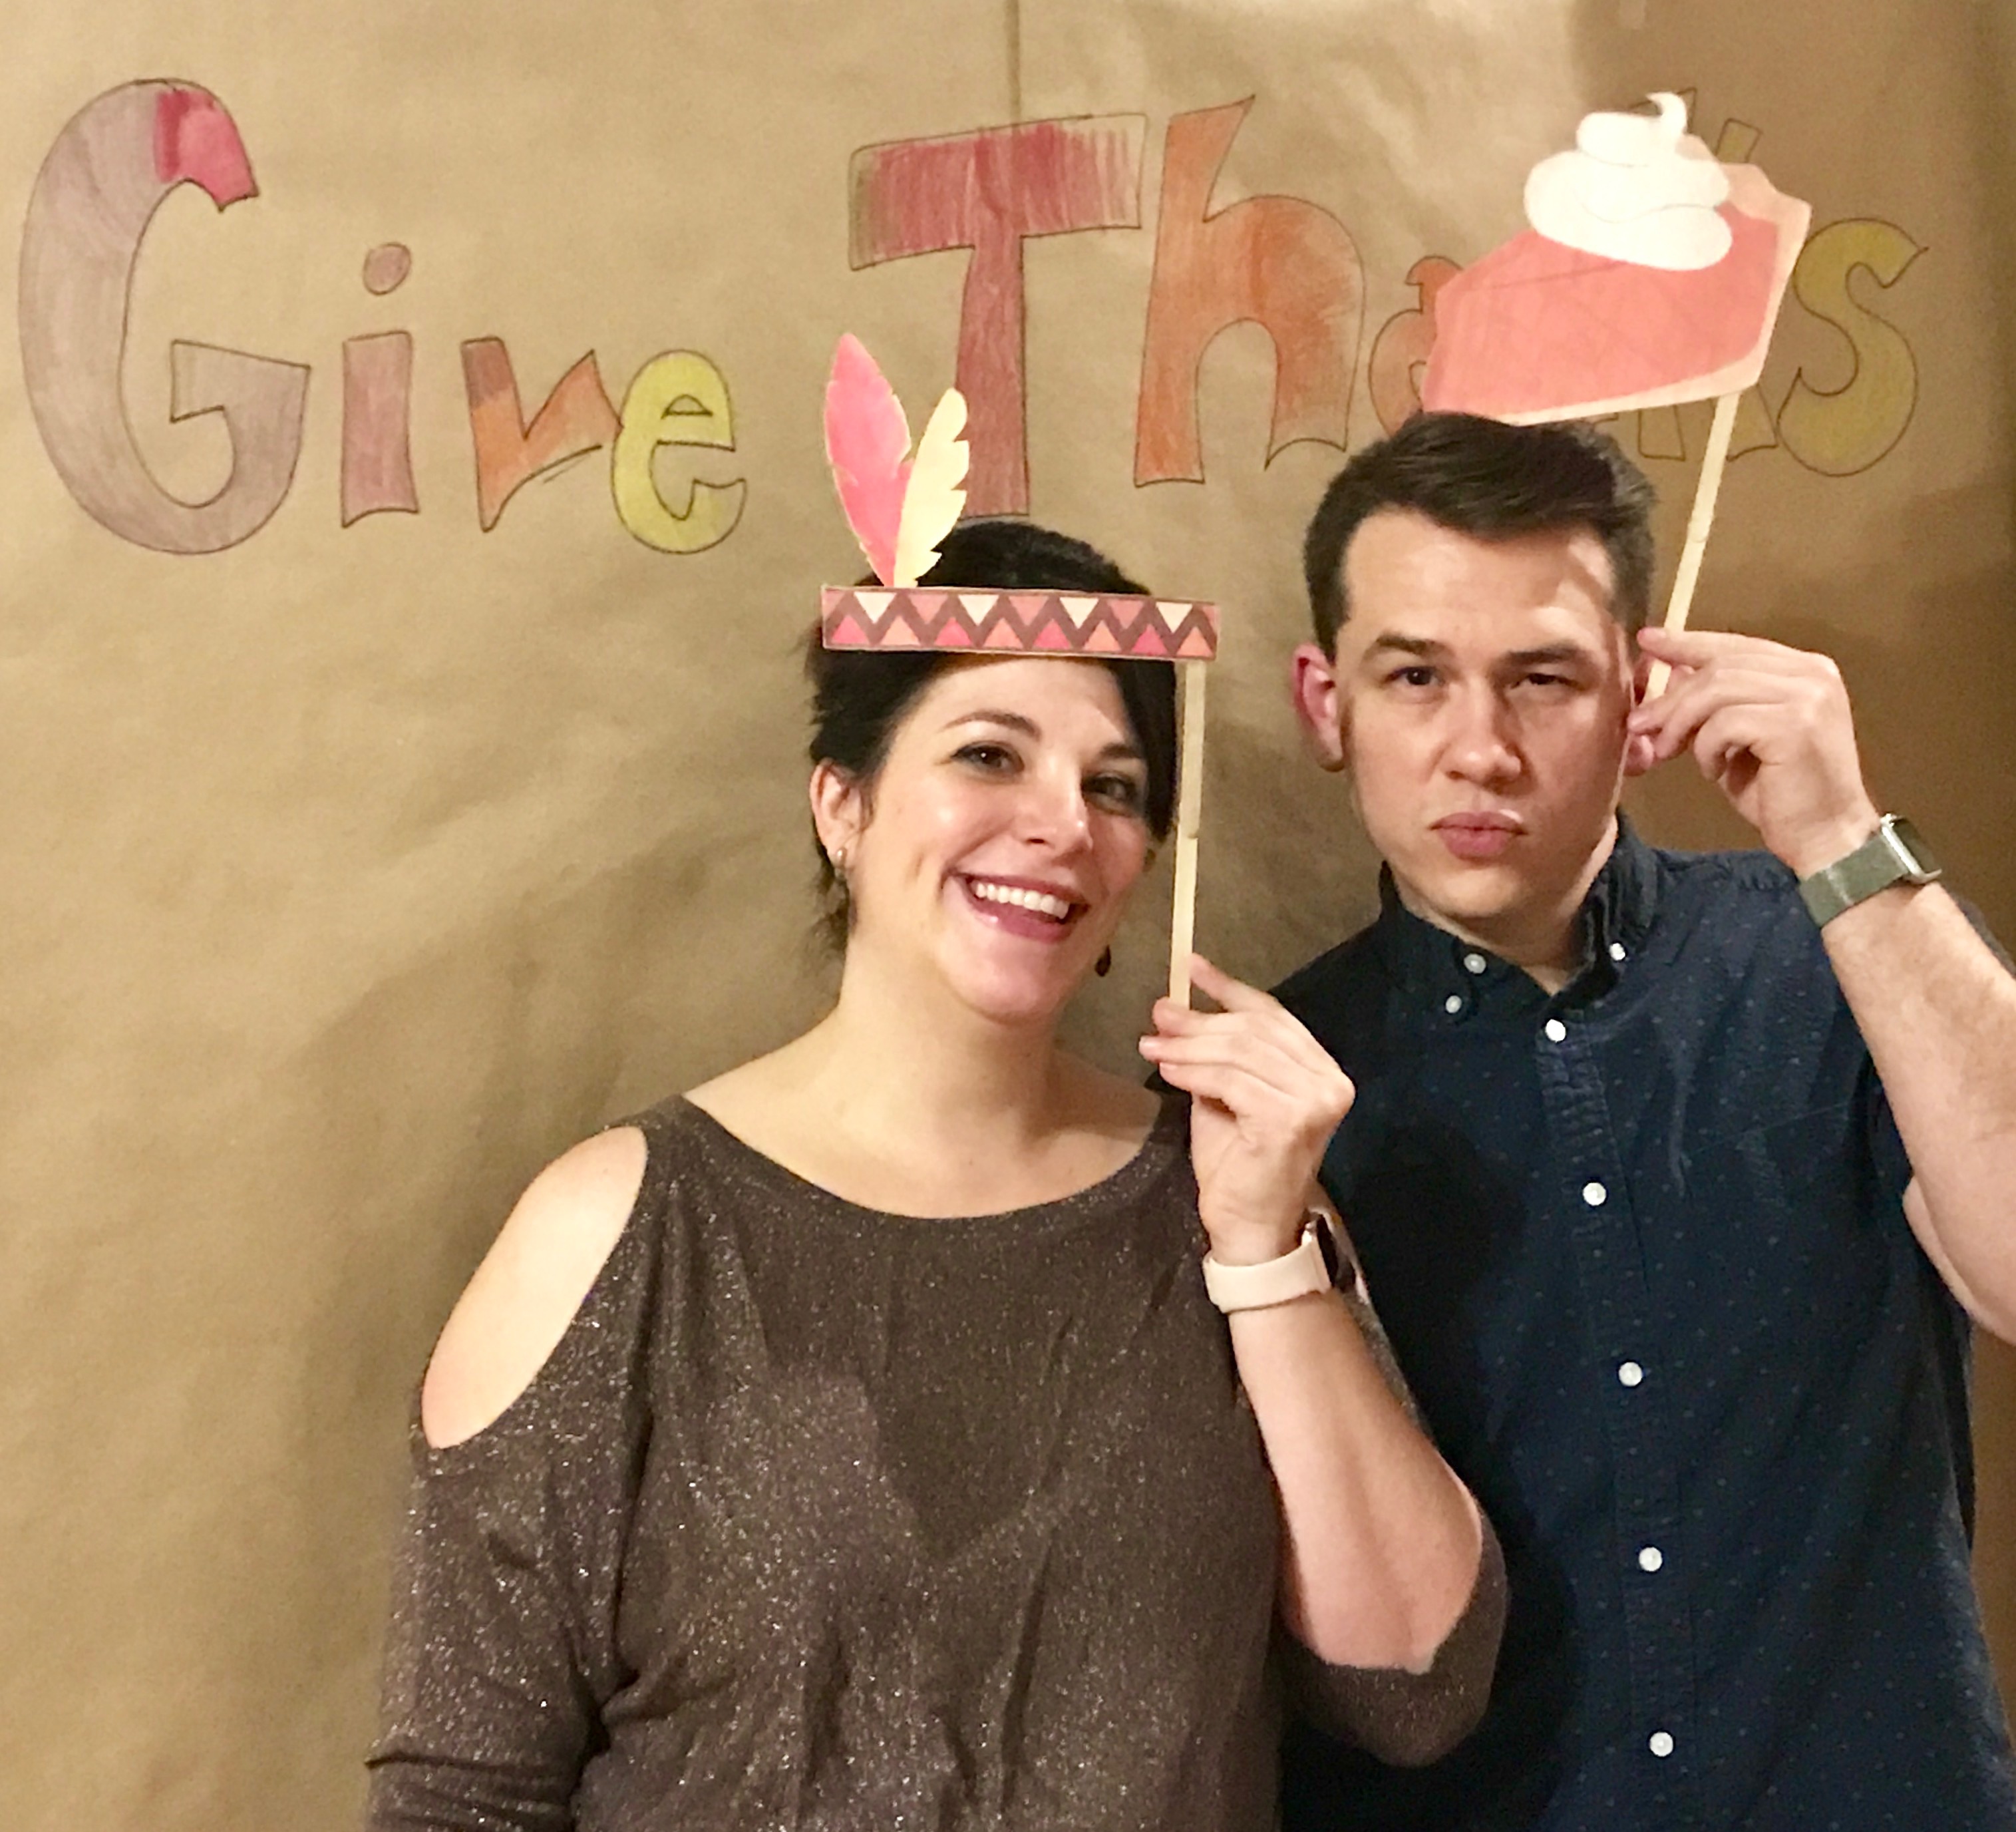
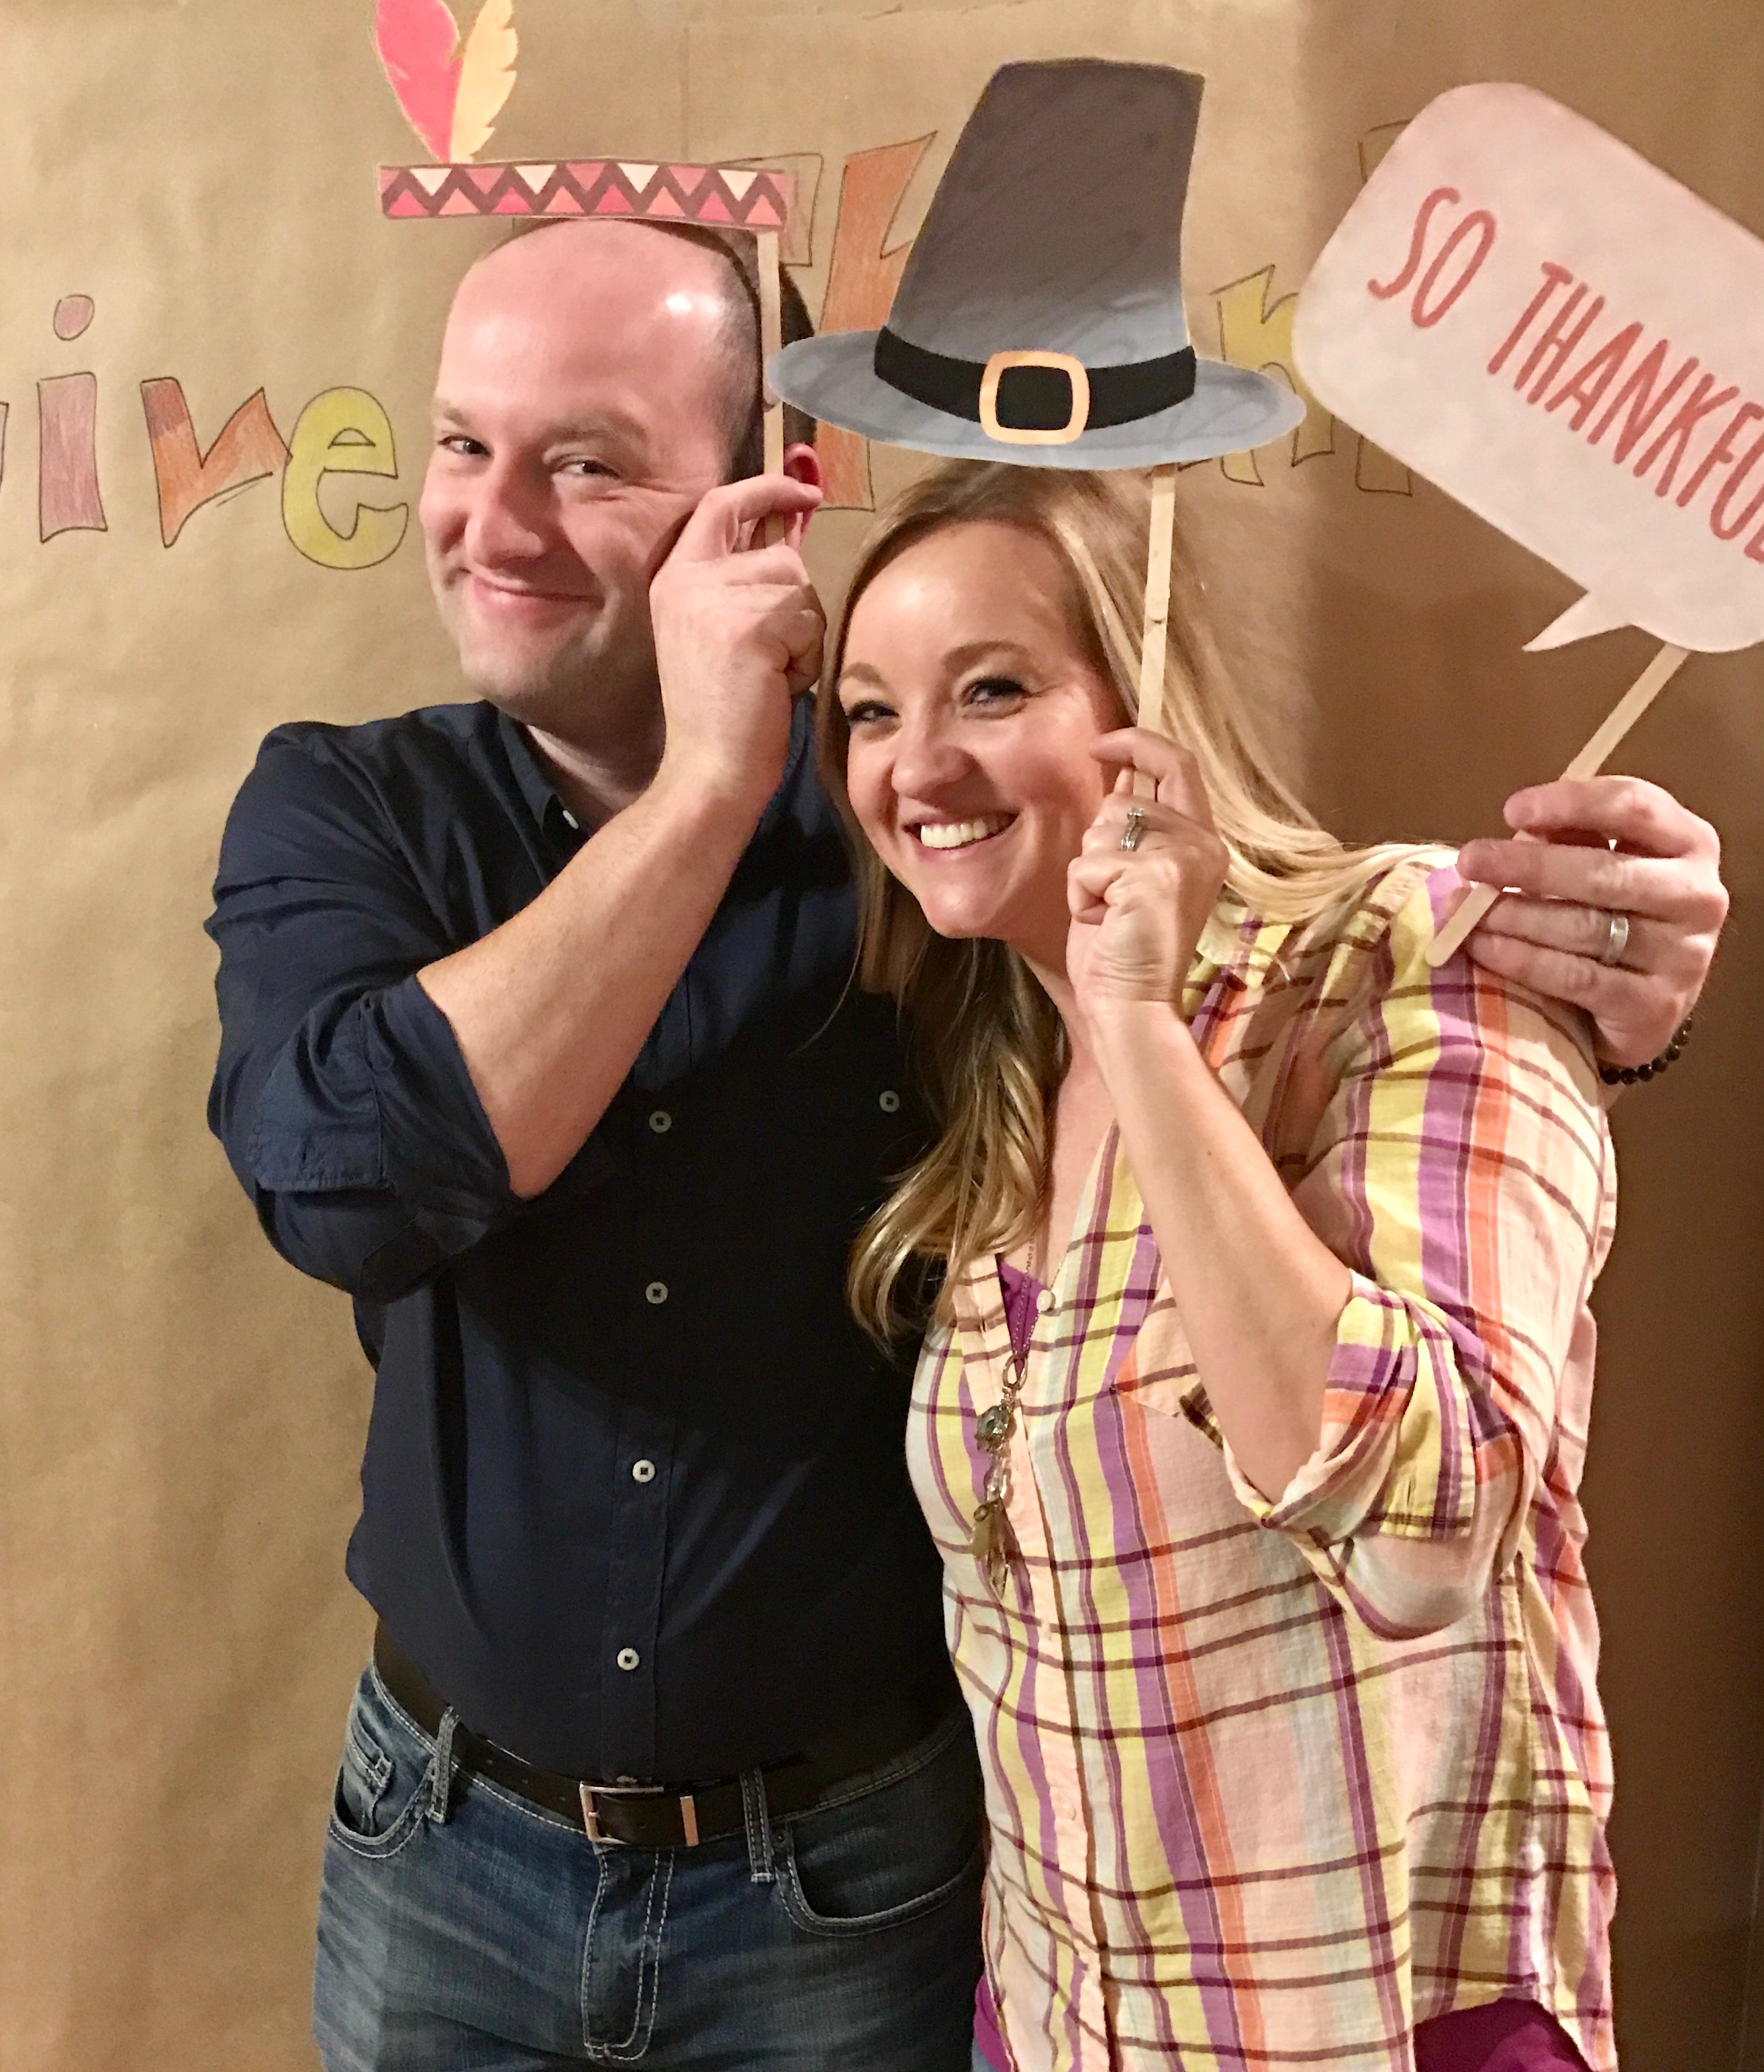
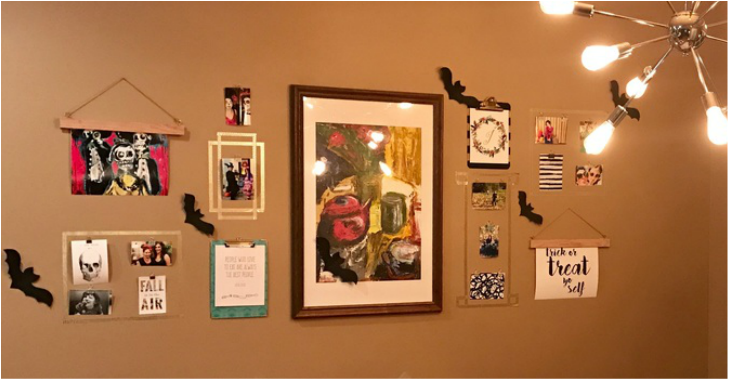
After dinner we had a bit of fun with the photo wall and conducted year in review interviews with all of the kids. This was a super fun activity that we intend to repeat every year. I created the photo wall with tape, a plastic, gold tablecloth and a gold fringe backdrop. I saved the props from last year (tossing anything that said 2018) which I purchased at Aldi.
 |  |  |
 |  |  |  |
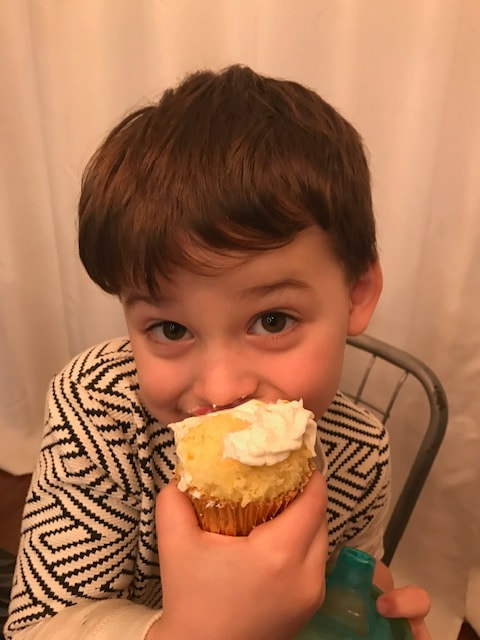
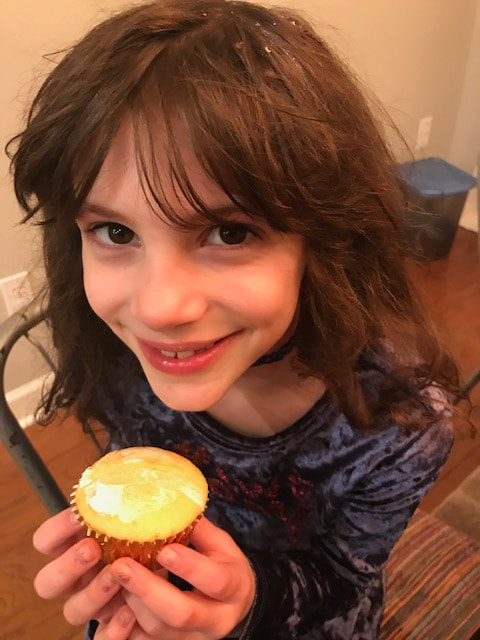
After the photo fun and interviews we enjoyed some festive cupcakes courtesy of Betty Crocker and a fancy icing tip. I'm all about easy but fabulous.
 | 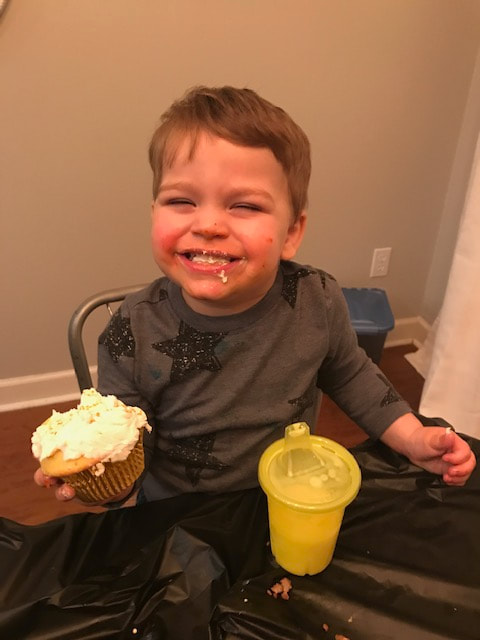 |  |  |
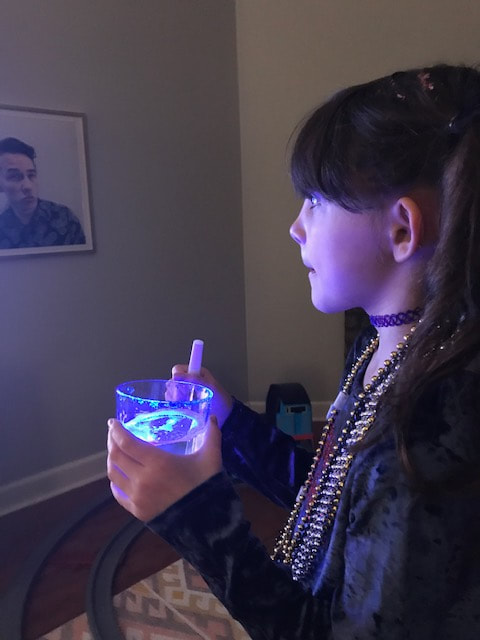
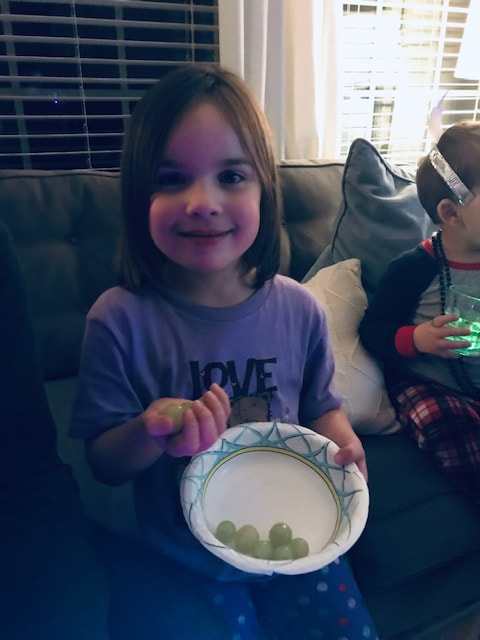
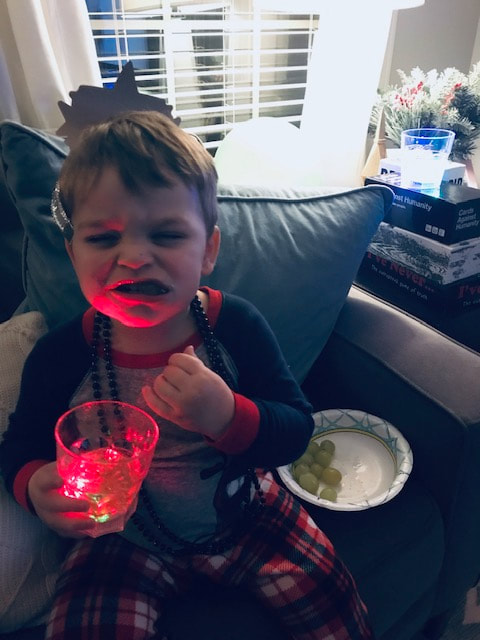
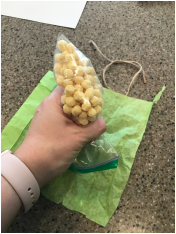
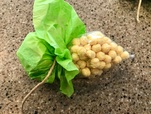
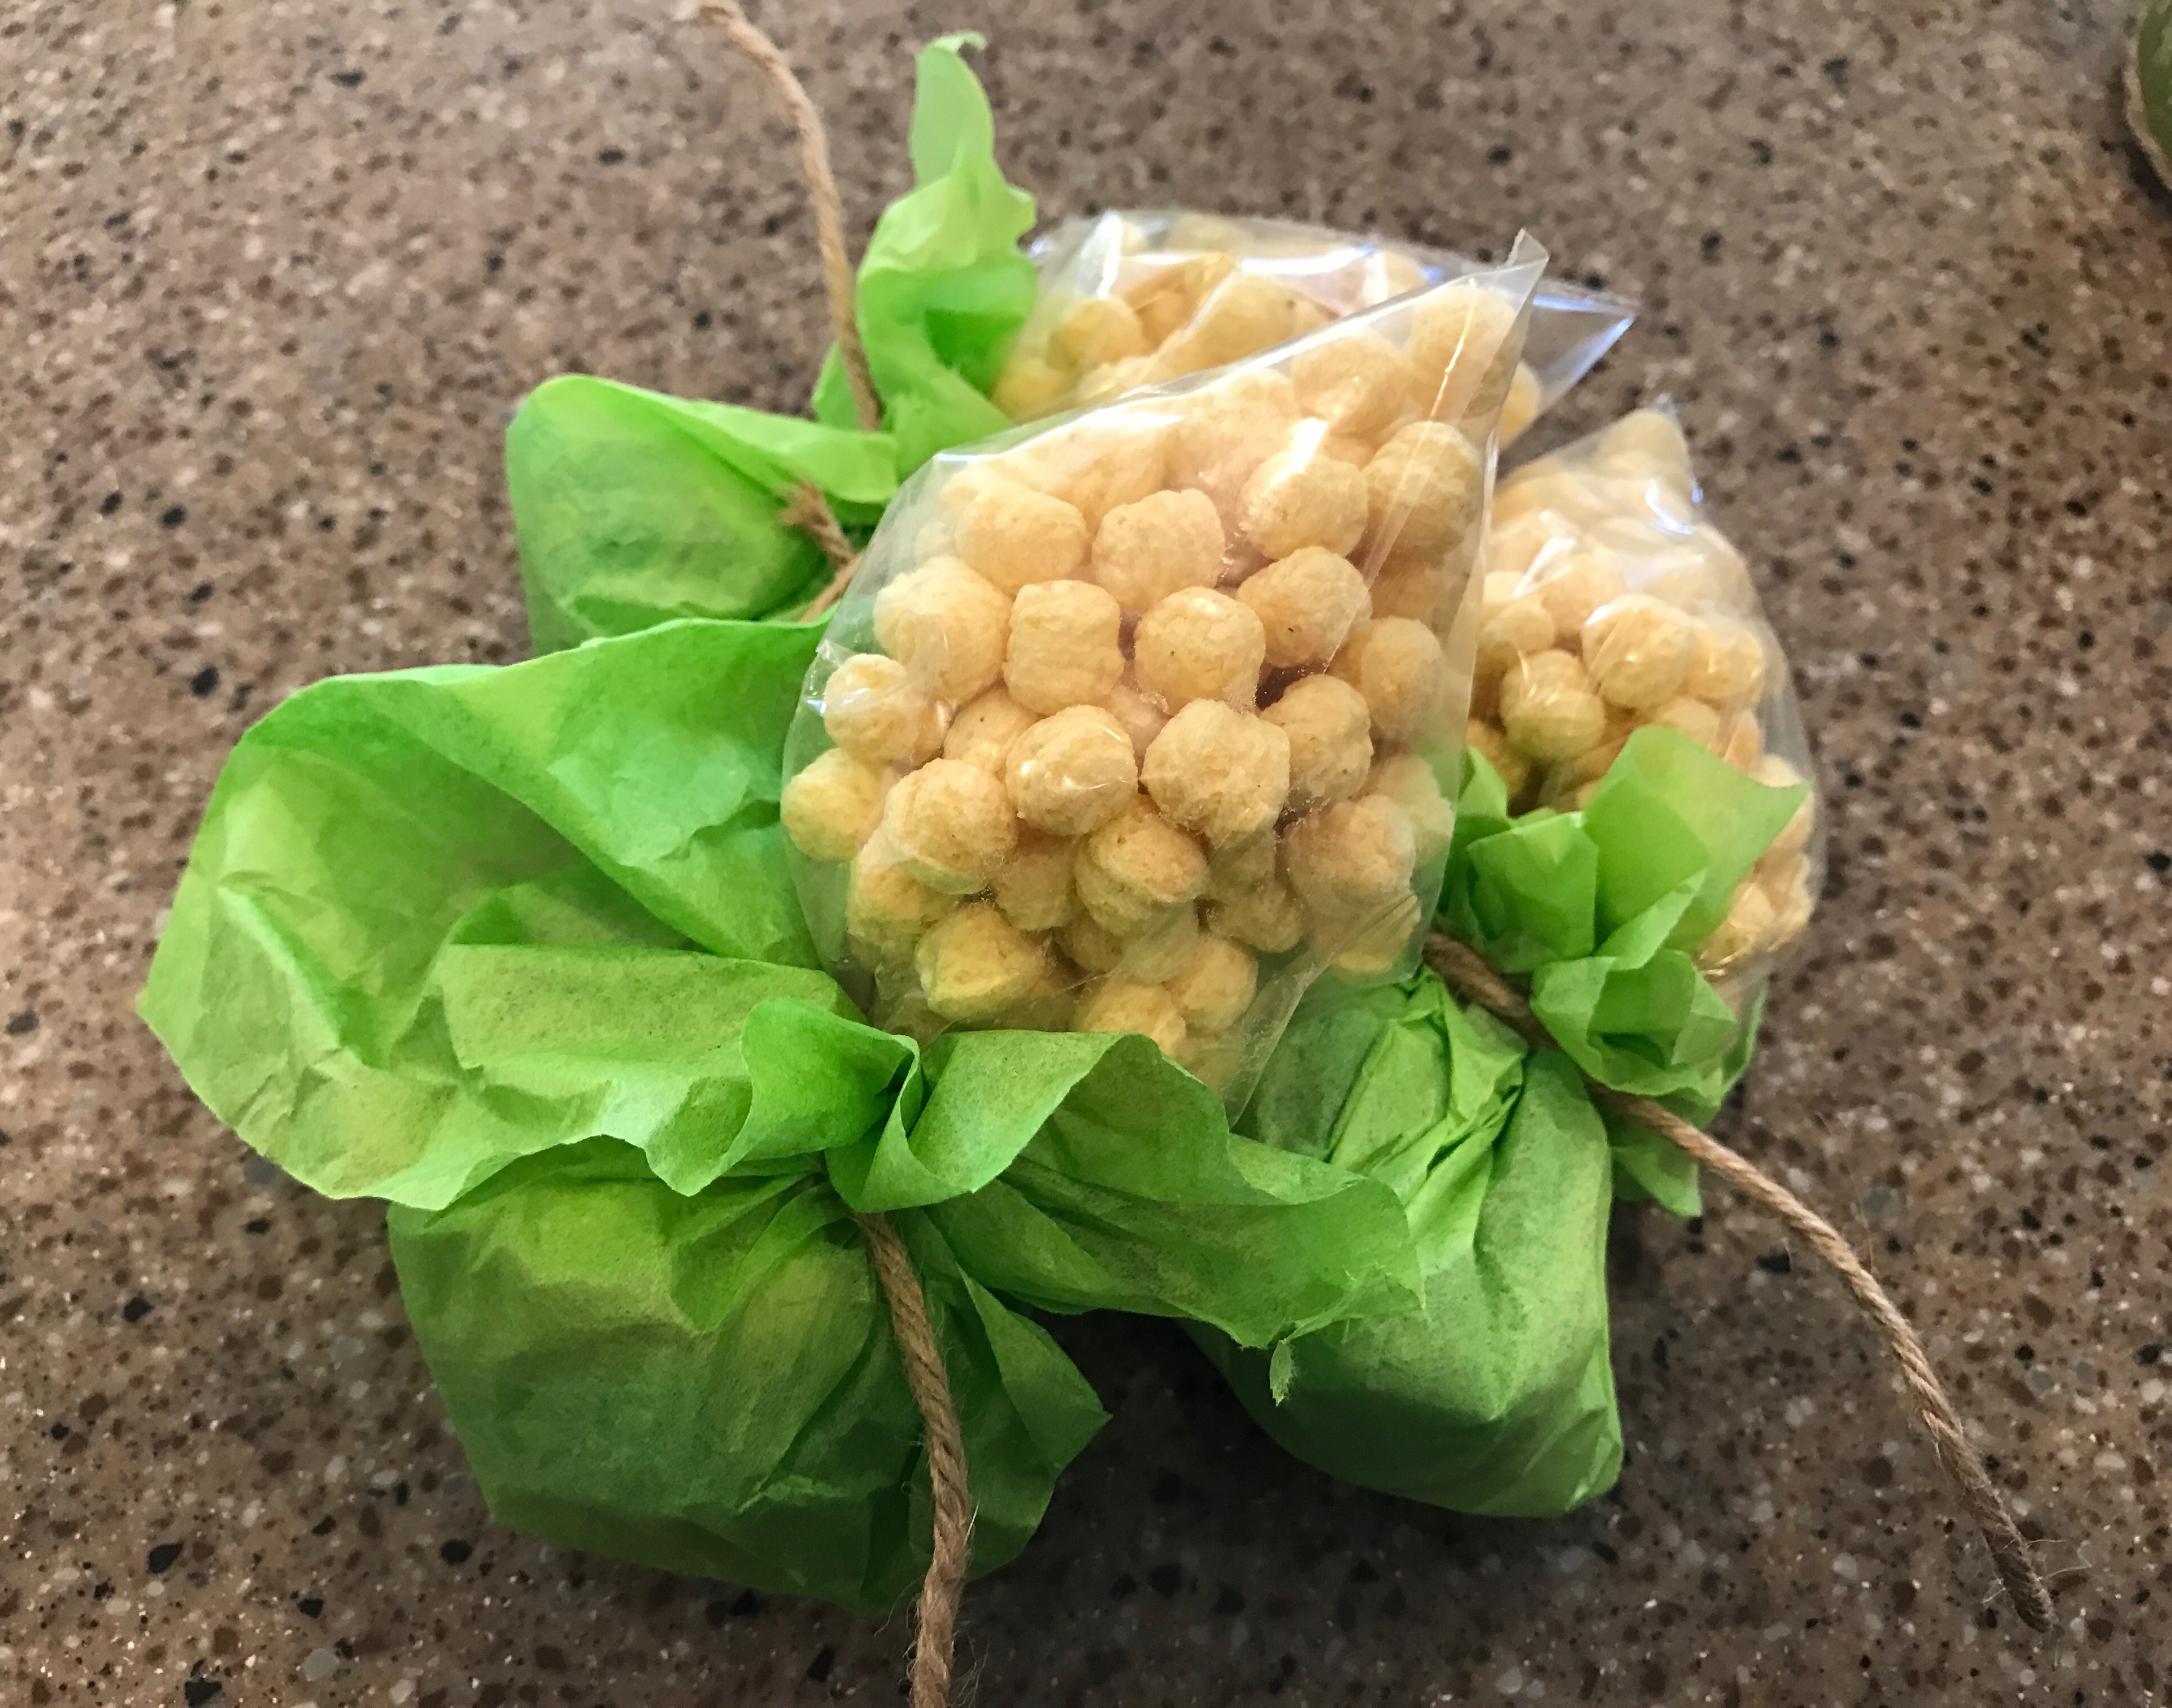
Then we realized that is was almost 9:30 and it was time to wrap up the kid portion of the evening. So, we found a Netflix countdown video, gave all of the kids light up cups (purchased at Aldi) with sparkly juice and handed out party crackers. We also participated in a Spanish tradition (since I'm a Spanish teacher and I think it's super fun.) where you try to fit as many green grapes in your mouth as the clock chimes to gain good fortune in the new year. So, all of the kids got a bowl of grapes too. I only got a video of the ball drop and am having an issue getting uploaded so, just know, they loved. It was great and worth the time to make. I also have very fun videos of them with party crackers. They were messy but very fun.
 |  |  |  |
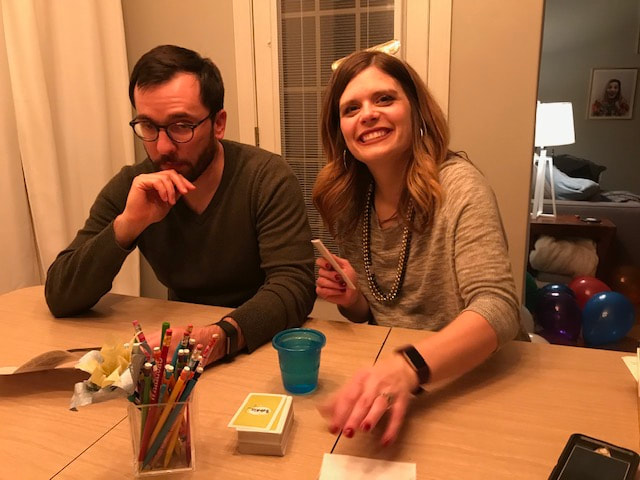
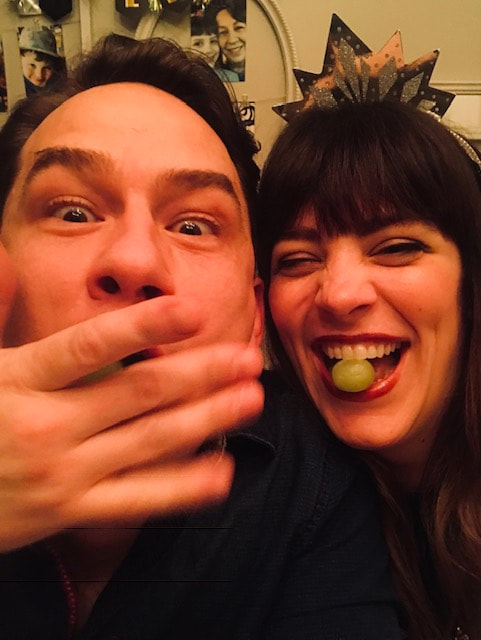
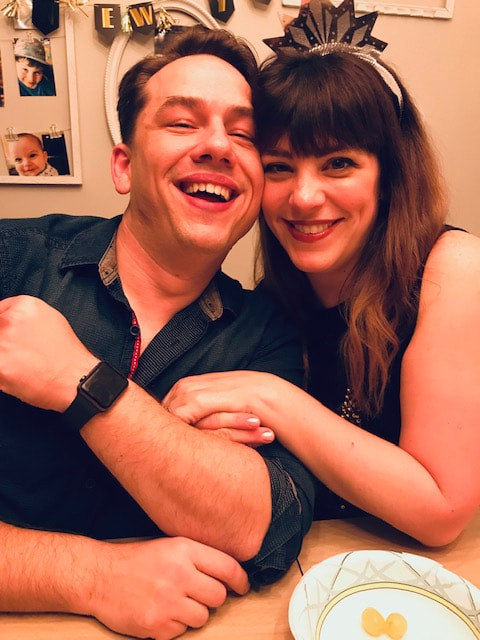
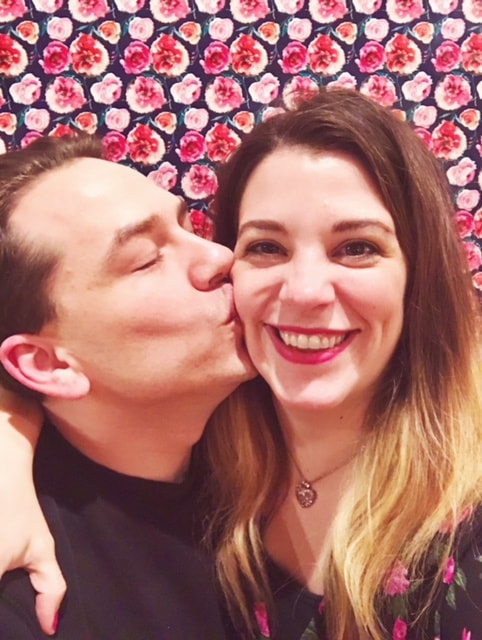
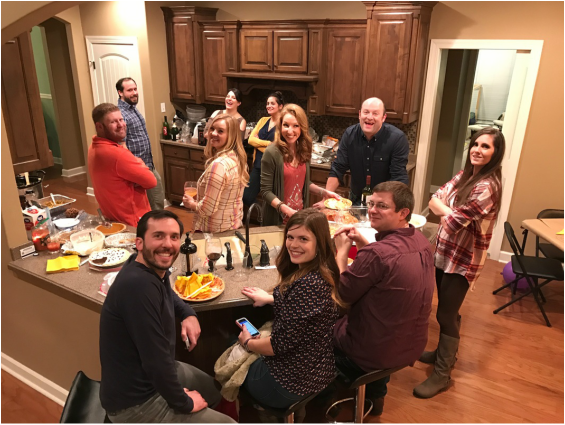
After we put the kids to bed (They got to have a sleepover so that made the evening even more awesome for them.) We took a few photos and then played card games until midnight. When we participated in eating grapes and, of course, enjoyed some champagne.
 |  |  |
 |  |
I hope you had a great New Year!


 RSS Feed
