
Each week of my mommy camp plans has a theme. Week one is a camping theme. For each week I plan on creating a dramatic play area. These areas will vary from a store to space to a volcano so get excited about that because I will be showing you exactly how and what I do!
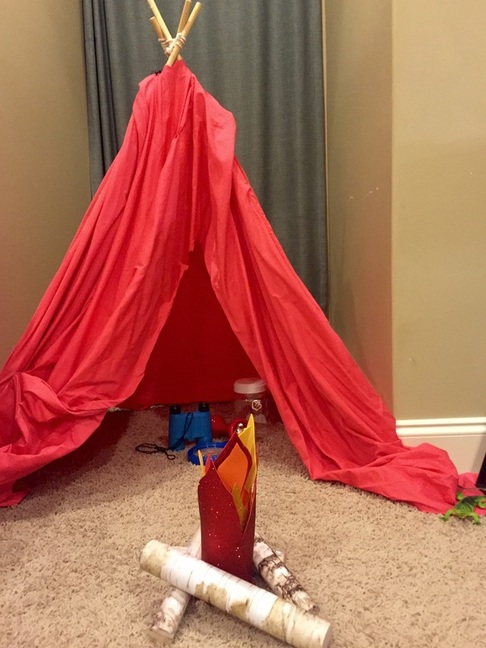
This week I set up an indoor campsite using a tent I made several years ago. It was an epic fail in that it was not easy, has some serious flaws in the looks department and is way too easy to knock down if the kid isn't careful. But, it does actually look pretty cute and is much more "camp" looking than our pop-up tent. I grabbed a few camping appropriate toys like binoculars, a magnifying glass, flashlight and bug jar and placed them inside the tent. I also hid bugs and lizards around the room for them to find and made a pretend campfire. You can see the tutorial for the campfire at my previous post.
This week I set up an indoor campsite using a tent I made several years ago. It was an epic fail in that it was not easy, has some serious flaws in the looks department and is way too easy to knock down if the kid isn't careful. But, it does actually look pretty cute and is much more "camp" looking than our pop-up tent. I grabbed a few camping appropriate toys like binoculars, a magnifying glass, flashlight and bug jar and placed them inside the tent. I also hid bugs and lizards around the room for them to find and made a pretend campfire. You can see the tutorial for the campfire at my previous post.
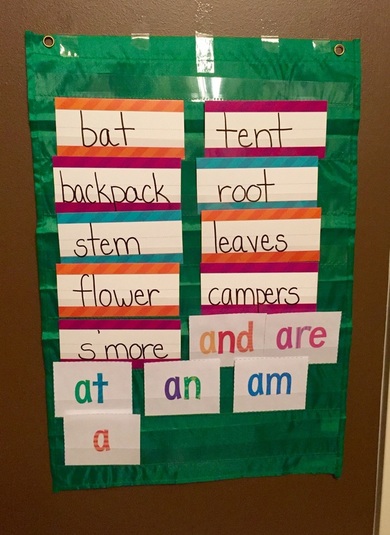
In addition to the dramatic play area, I used a word strip holder taped to the wall to be our word wall. For each week I chose 9 words and 6 sight words for us to focus on. The 9 words relate to the theme. I got word strip cards from the dollar store and cut them in half for the vocabulary. For the sight words I found a site that offers a ton of free printable and printed and laminated their sight word pages. They are alphabetical and very colorful.
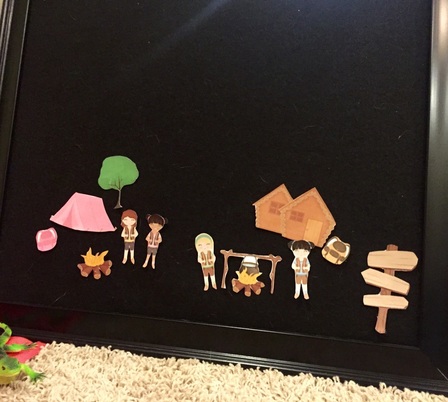
I've created felt board manipulatives for each week by finding relevant images from varying locations on the internet including some free ones from teacherspayteachers. I print the images out, laminate them and hot glue a small amount of velcro to the back. I also made my felt board several years ago using a picture frame, black felt and hot glue. You'll have to excuse the dog hair. It's shedding season.
This week was a little more simple than my plans for future weeks but I think it turned out pretty well.

 RSS Feed
