Paint Covered Kids
  • Blog
  • About
  • Contact
  • The Gallery
  • DIY
  • Mommy Camp
  • Freebies
  • Subscribe!
  • Blog
  • About
  • Contact
  • The Gallery
  • DIY
  • Mommy Camp
  • Freebies
  • Subscribe!
Paint Covered Kids

​

Mommy Camp - Thanksgiving

12/7/2015

1 Comment

 
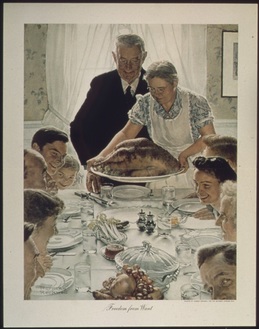
So....This is a little late but, we had a ton of fun with mommy camp for Thanksgiving! We did some experiments with corn, conducted an apple taste test, made a mini mayflower and did some painting! Check it out!
​
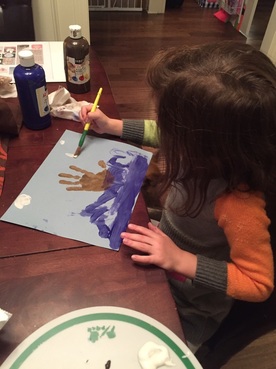
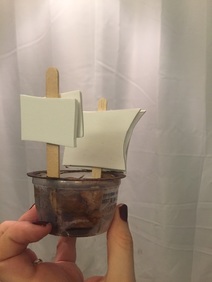
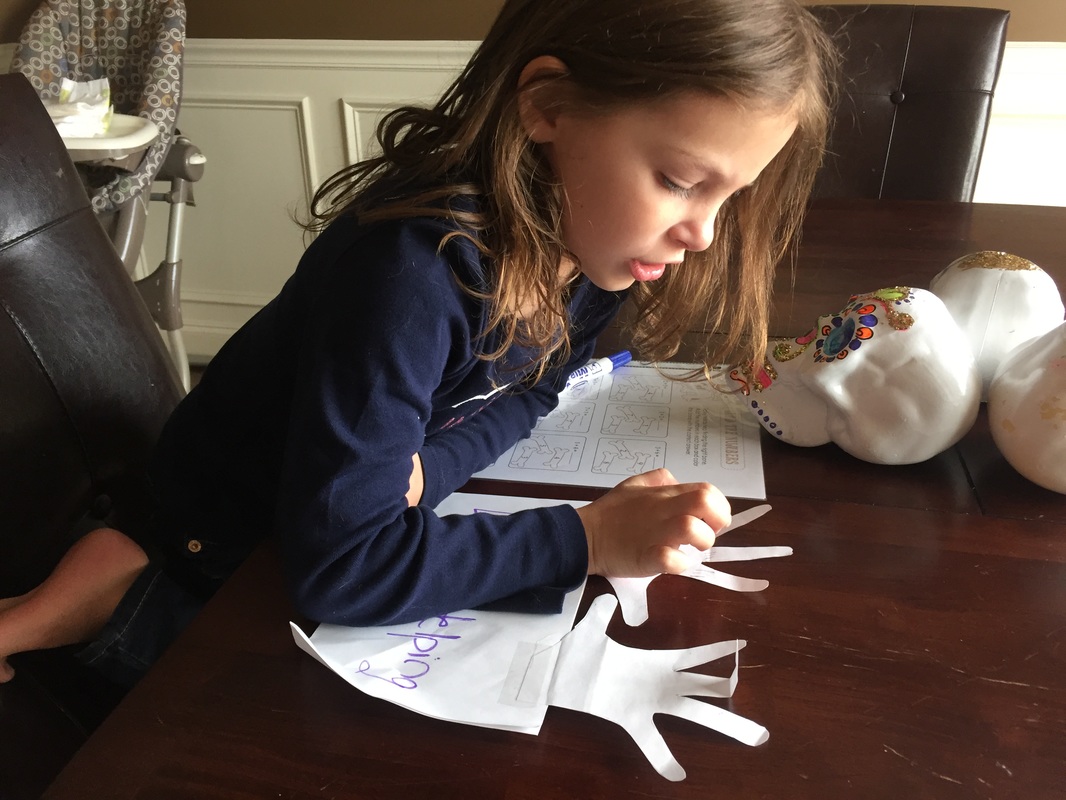
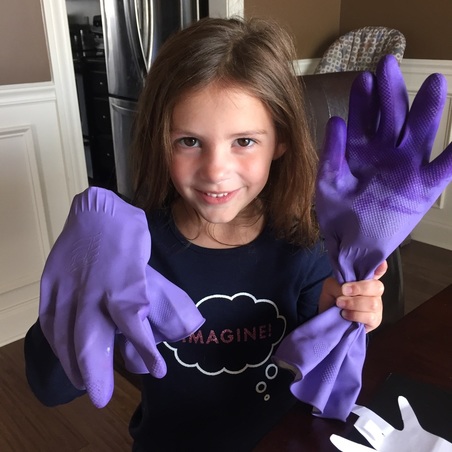
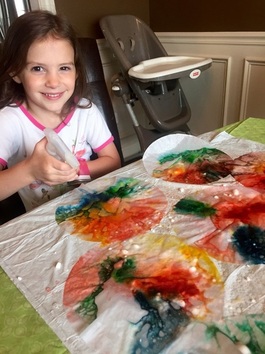
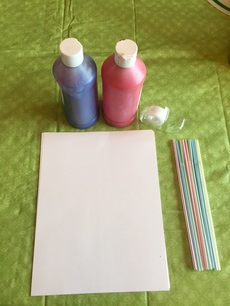
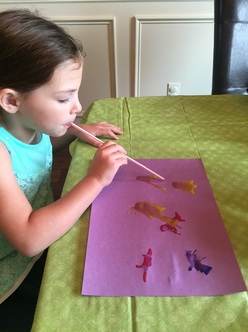
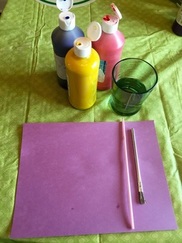
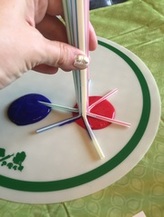
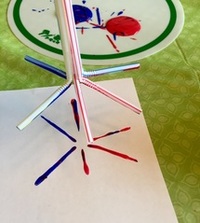
First we learned about the pilgrims and how they came to America. Then we made Mayflower handprint art and mini Mayflowers out of apple sauce cups inspired by this blog. However, our boats did not float. It was disappointing.
Picture
Picture
Picture
Picture
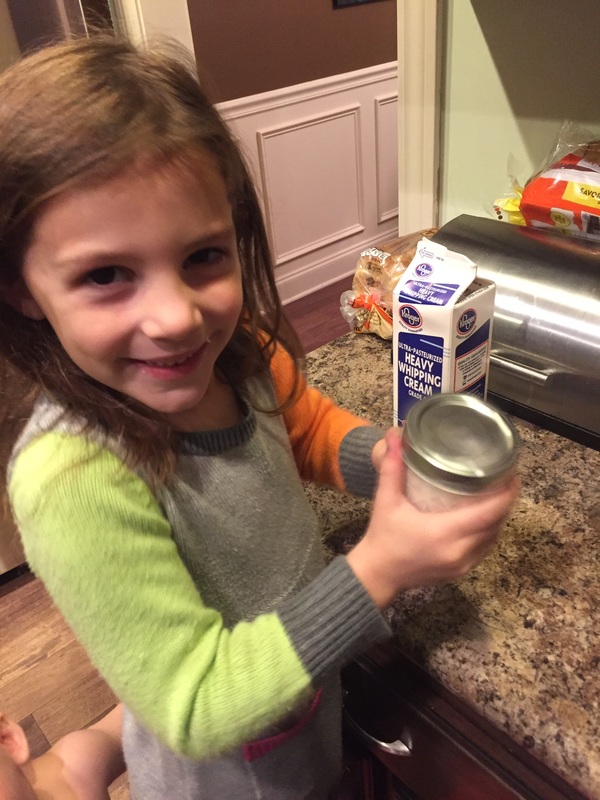
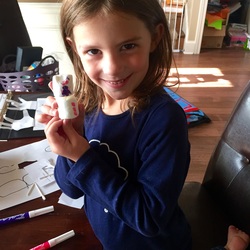
After we discussed the Mayflower and the pilgrims arrival, we learned about how they lived once they arrived and talked about the differences in how they lived then versus how we live today. I showed her this video about life as a pilgrim and she really enjoyed it even though it is a little long. I even had time to give her brother a bath while she watched it! Once she finished the video we made butter! I used the directions and printable labels found here. It was really easy and super delicious. We have made it many times since.

DIY Butter:
- heavy whipping cream
- lidded glass jar
- 1 marble
- sugar, salt, cinnamon, sugar (optional)
1. Fill jar 2/3 full with heavy whipping cream.
2. Add desired seasonings. (We added a little of each listed above to make cinnamon sugar butter. Yum!)
3. Add marble to jar.
4. Shake!
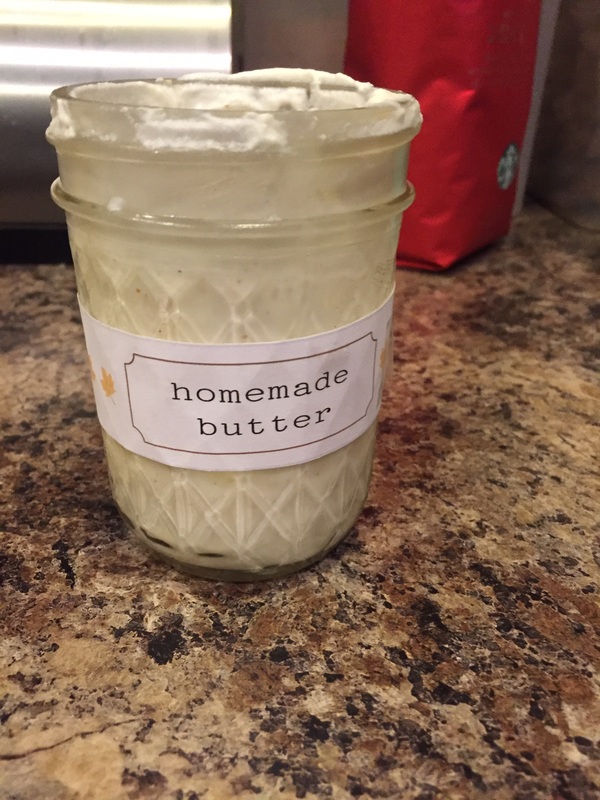
5. It only takes a few minutes and you will end up with a whipped cream consistency. Once you refrigerate it the consistency firms a little and is more like spreadable butter. Great for toast!
​
Picture
Picture
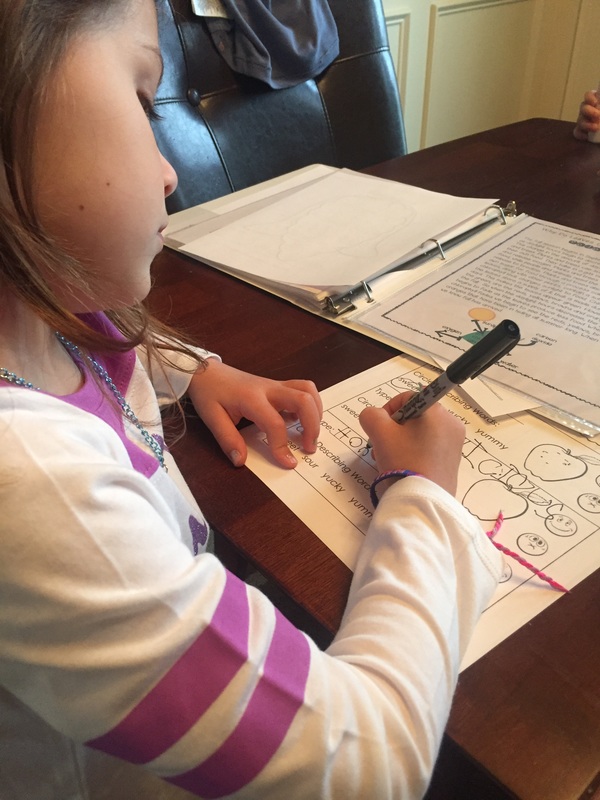
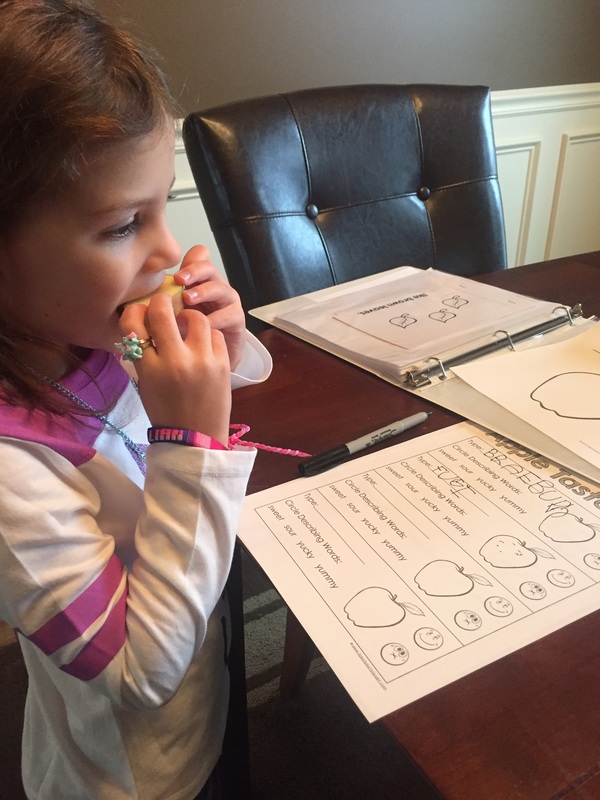
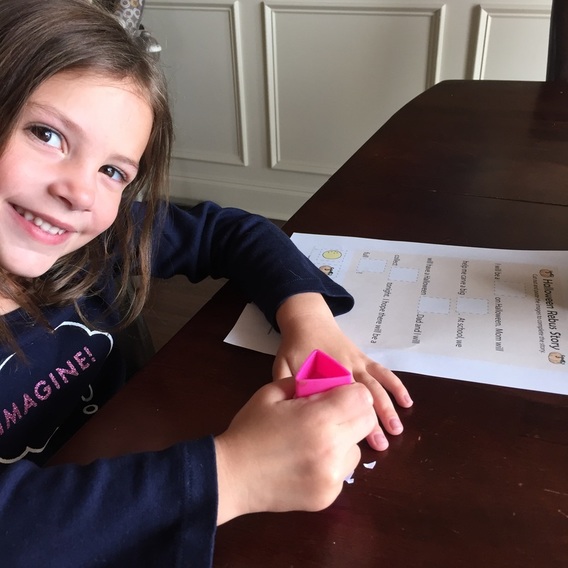
After learning about the Pilgrims and the reason for Thanksgiving we needed to make an apple pie, a classic dish for the holiday. So we first conducted an apple taste test. I found the free printables here. Lilly really enjoyed this activity and it was great for her to practice writing. Plus, I know which apples she will be most happy with.
Picture
Picture
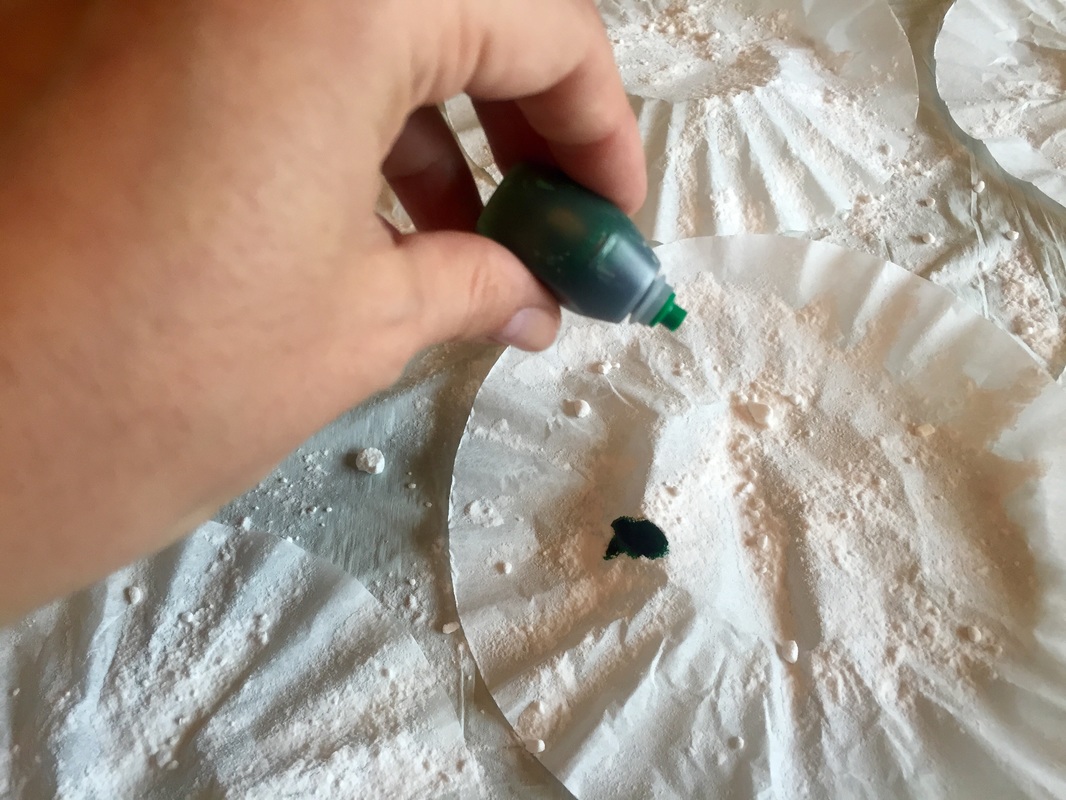
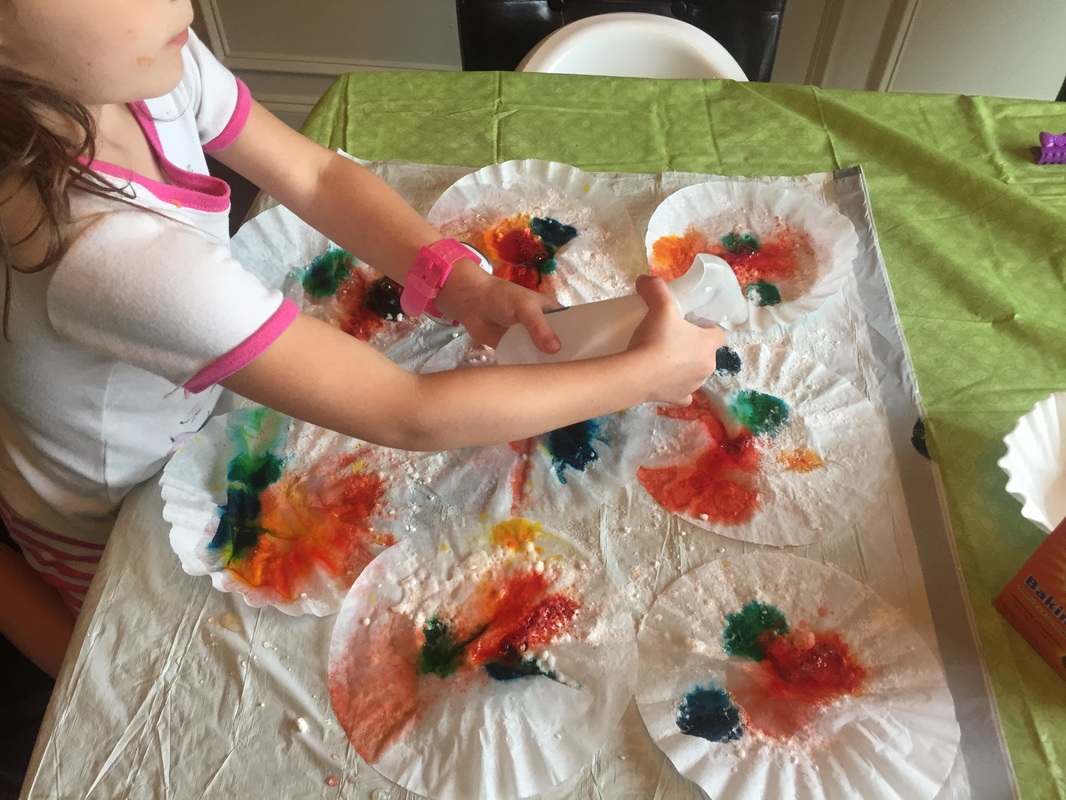
Popcorn was our next science activity! First we analyzed the unpeopled kernels and the popped ones and formed hypotheses on why they looked so different and also the reasons for their differences. Then we watched a super cool slow-mo video of a kernel popping and applied the information to our understanding of the differences between popped vs. un-popped. 
Picture
Picture
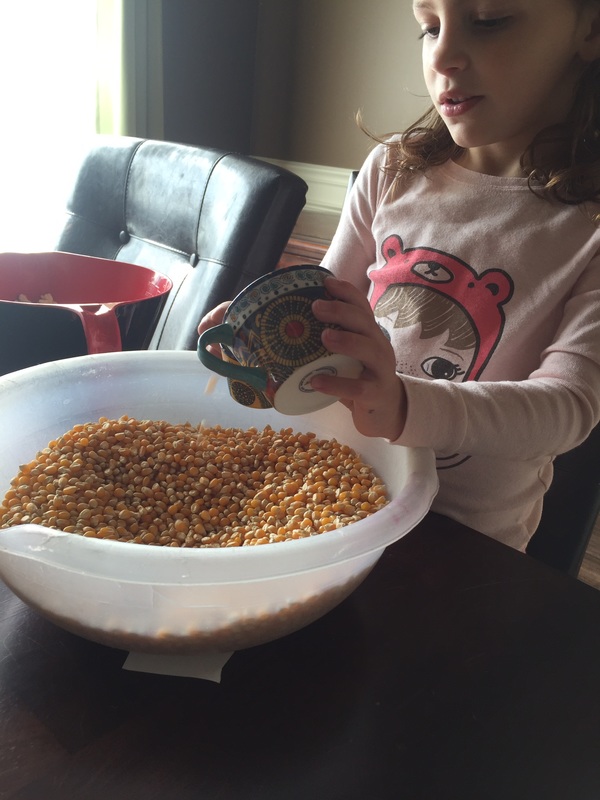
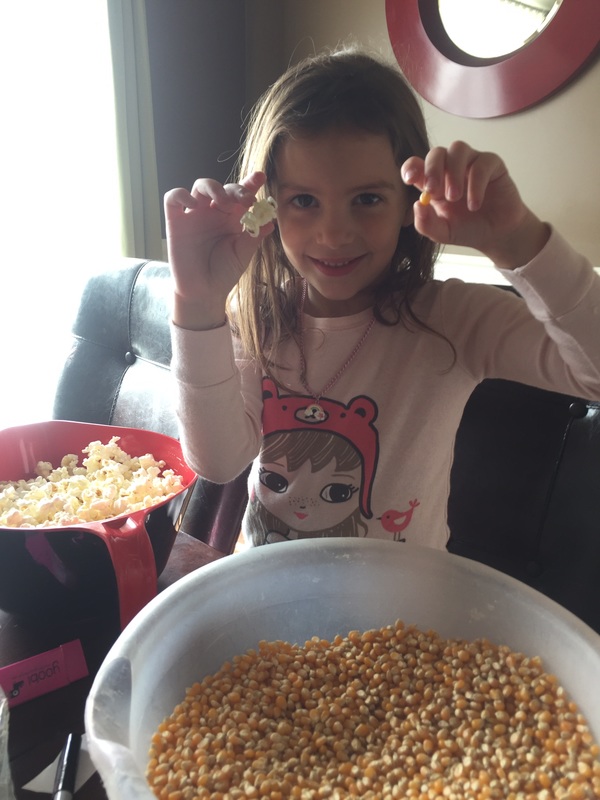
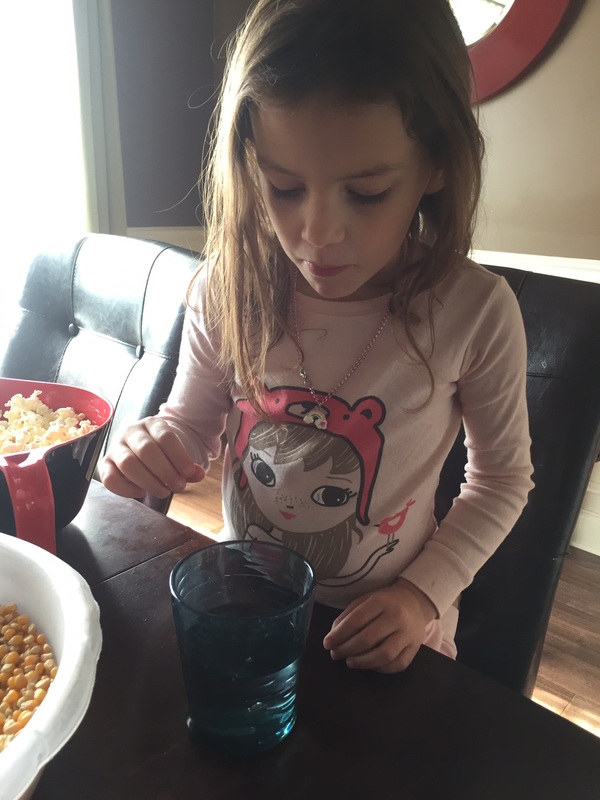
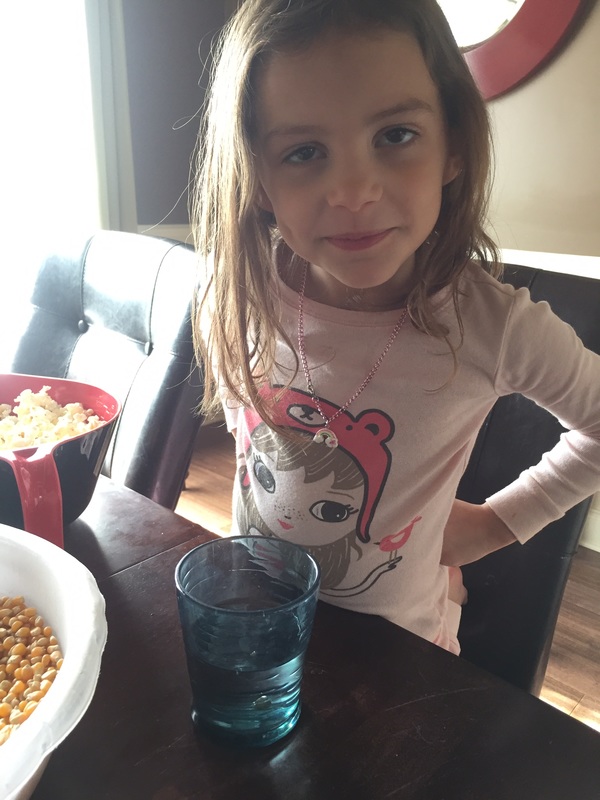
After that we formed a sink or float hypothesis about both versions and conducted our experiment. Lilly was upset that she was incorrect about which would float and which would sink as seen in the below photos. We finished up by simply playing with the kernels. I gave them funnels and cups and mini shovel toys and both of them had a blast. We did this part outside btw. Arthur cannot be trusted with anything that could potentially make a disastrous mess. 
Picture
Picture
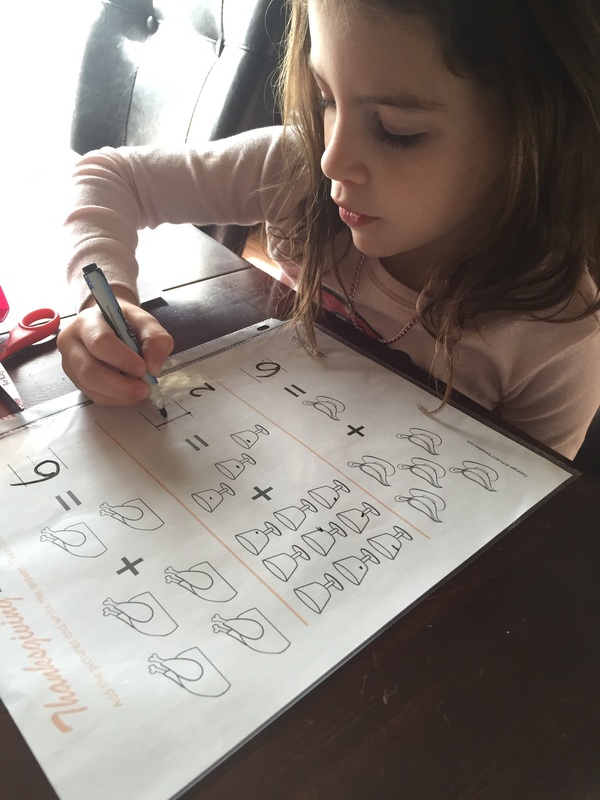
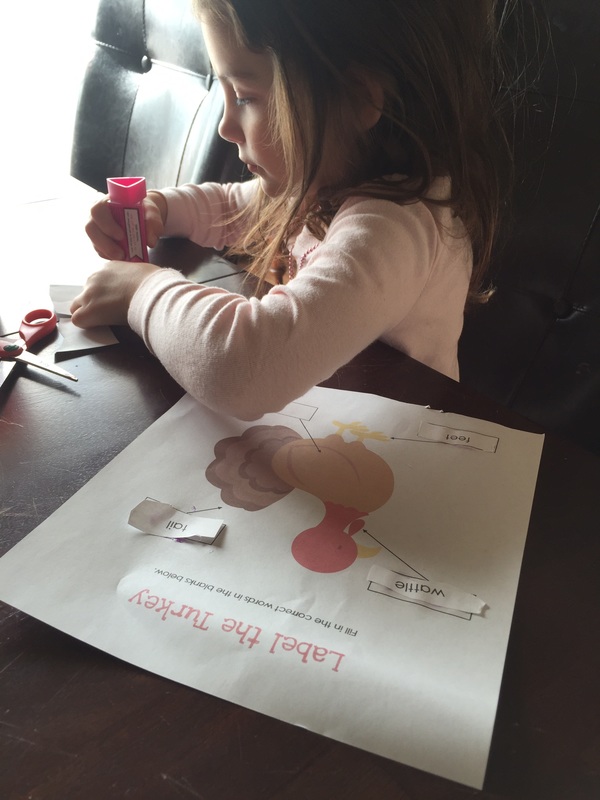
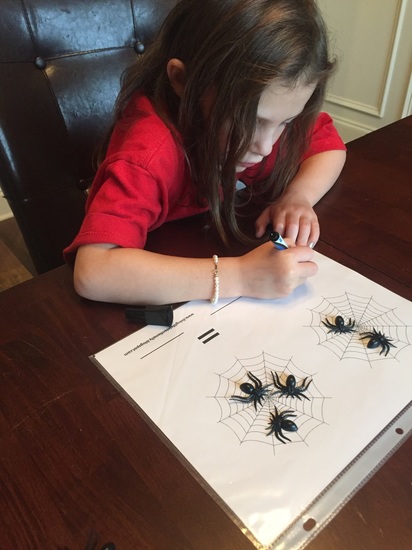
We, of course, did a few math and reading worksheets that had a Thanksgiving theme. I found both at education.com. They have great worksheets for free!
Picture
Picture
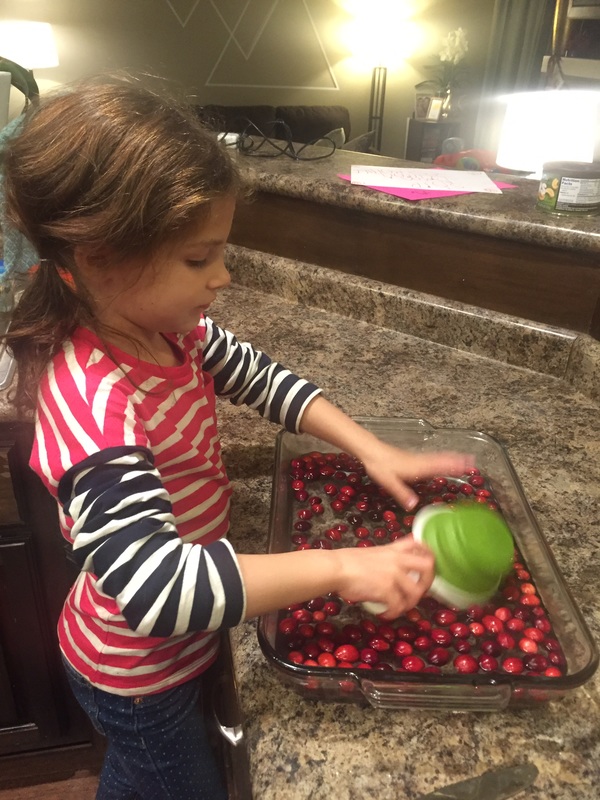
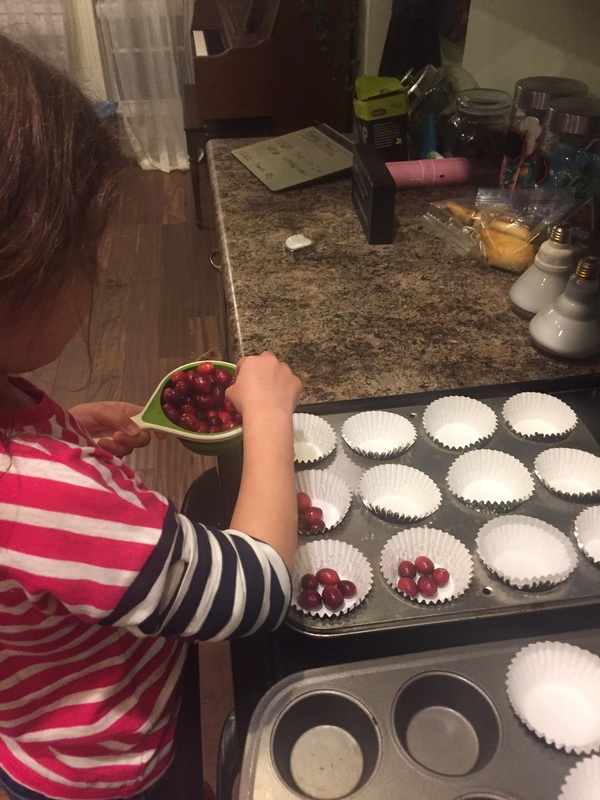
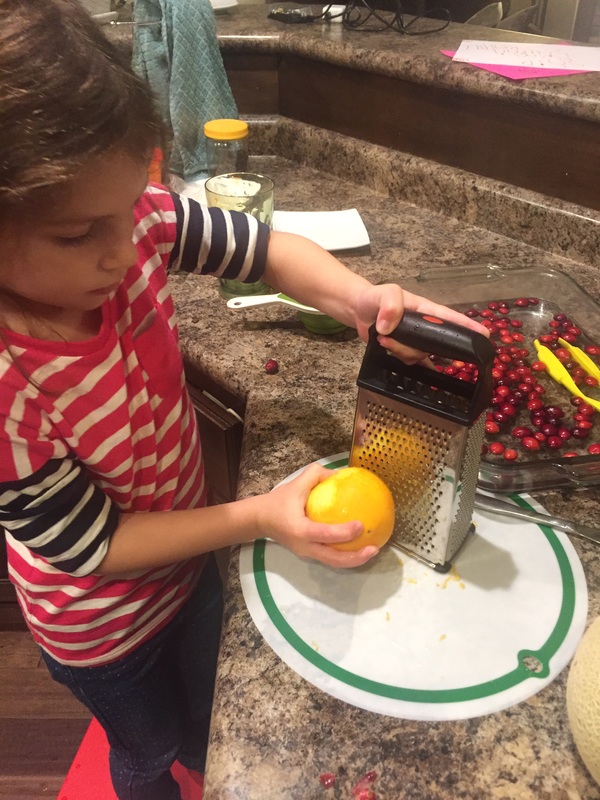
We learned about corn and apples so we HAD to learn about cranberries! We started out by talking about cranberries and if we liked them. We looked at one and cut it open. I even got her to try a raw one. She wasn't a fan. Then we watched a video about how cranberries are grown. After that, I made her a mini cranberry bog in a dish pan inspired by this blog and let her manipulate the cranberries for a bit. Finally, we made cranberry muffins and she helped by grating the orange and counting the cranberries for each muffin. We decided 6 was a good number.
Picture
Picture
Picture
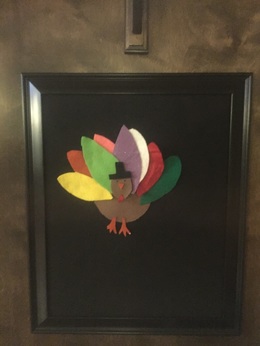
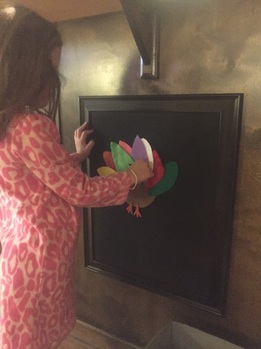
I also made a quick felt turkey for our felt board. They had fun with it and it only took a few minutes to cut out a bunch of different colored feathers, a round body, head and top hat. I did hot glue the beak, hat and feet on so they wouldn't get lost.
Picture
Picture
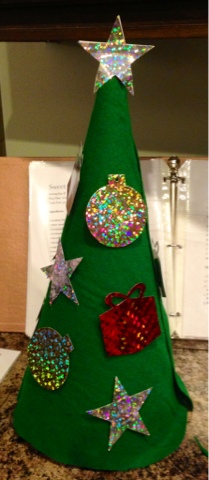
I had a few other activities that we just didn't get to but I'll save them for next year! Now it's time for Mommy Camp - Christmas!
1 Comment

One Holiday at a Time: Keeping Thanksgiving Alive

11/4/2015

0 Comments

 
Picture
Photo Credit: "Freedom From Want" by Norman Rockwell via wikipedia
Even before October arrives, we begin to see Christmas decorations in stores. We are bombarded with radio, t.v., and print advertisements promoting sales and ideas for your Christmas decor. Stores are motivated to sell and, therefore, promote their items as soon as they can but, we don't have to buy into all their fluff. Why are we allowing ourselves to be rushed through our lives and events, constantly being pushed towards the next big holiday?

In my family, Halloween has always been a big deal. I grew up with a mom who helped us imagine our ideal costume and, aided our efforts to create the illusion of being something else for one day. We would spend days planning and making costumes by hand with random materials. The time we enjoyed together to brainstorm and craft is what I think of when I remember my childhood Halloweens. I have already started these traditions within my family and, my daughter is excitedly planning next years costumes. I know many people don't celebrate or, enjoy Halloween for various reasons including religion so, skipping it in favor of the next holiday is understandable. Why then does it seem like the next holiday is Christmas? When we went trick-or-treating there was already a house in our neighborhood that was fully lit with Christmas lights! It's as though people view Thanksgiving as a stepping stone to Christmas. One more hurdle to jump before we bring in the fat man, eggnog and presents. 
Picture
photo credit: Jo Naylor via Flickr
Picture
My husband and Son on Halloween
Let's analyze the holiday that is Thanksgiving. Historically you can tear it down and say that the pilgrims were horrible and treated the Native Americans poorly and inhumanely. While this is true, holidays do evolve and change over time. That is what happens as people grow and society evolves. We learn, we grow, we change. Even though Thanksgiving is rooted in some pretty depressing realities the general reason for gathering together is to celebrate the fact that we are here. It also serves as a reminder for how we as a society should treat people by remembering and learning from our past mistakes.

Thanksgiving is a time for gratitude and being with each other without the sparkly distractions of fancy decorations, presents and make believe. It's a time for us as a nation to give thanks for what we have, reflect on who we were and to appreciate what we have become. The fact that Thanksgiving doesn't come wrapped in presents with caroling and bright lights might make some people feel as though it is less important. However, I think it is one of the most important holidays BECAUSE it doesn't come with all of the distractions. 

On a scientific note, Thanksgiving can also be great for your health. There have been numerous studies showing that practicing gratefulness can improve one's happiness, overall health and well-being. According to a Wall Street Journal article, practicing gratitude can change your perspective on life and reduce your tendency towards negativity thereby warding off depression and improving your resilience when dealing with stressful or difficult times. There are even apps for practicing gratitude and reflecting on the good parts of each day.

I do want to make it clear that I am not condemning those who just can't wait to put up their tree. I'm only making a suggestion in regards to how we should live in the moment and take things as they come. You need not suffer the months of October and November without decorations. At my home, we enjoy making fall and Halloween decorations. They can be just as beautiful and fun to use as Christmas baubles. For the month of October you can fill your home with all manner of spooky and beautiful decor. When November rolls around use brightly colored fall leaves, glittery pumpkins and sparkly lights instead of garland, snow globes and tinsel. Pinterest is full of great ideas!

So, let's keep Thanksgiving alive and let it have its day. Christmas will still come, your lights will be just as sparkly and bright the day after Thanksgiving. Your tree with look just as beautiful and the presents will still arrive via sleigh. In fact, it will seem even more magical because it will only last a short time. Christmas will have its day. Let's enjoy the opportunity to just be with one another. At the end of the day your children will remember the fun times spent together more than the flashy parts of any holiday. So let's savor every moment we can have in the present including that nearly forgotten holiday called Thanksgiving.
0 Comments

DIY Hans Solo Costume - SUPER Easy!

11/3/2015

0 Comments

 
Picture
My husband decided he and Arthur would go as Chewbacca and Hans Solo for Halloween this year. I quickly came up with a very easy way of creating a tiny Hans Solo costume for very little money! 

Supplies:
- 1 white long-sleeved shirt (the size your child wears) (I got mine at Wal-Mart for $4)
- 1 black short-sleeved shirt (the size your child wears) (I got mine at Wal-Mart for $4)
- 1 pair blue cotton pants (I got mine on amazon in a pack of two for $8)
- 1 piece of red felt
- red thread and needle (or fabric glue if you want)
- black sharpie
- black boots (I used a pair of rain boots we already had and they were perfect. I got them from Wal-Mart.)
- pretend gun and holster set (also from Wal-Mart for $4.98)

Directions:
- cut a slit at the neck of the white shirt going down the center about 1 inch
- cut the sleeves off of the black shirt and cut a line all the way down the center to create a vest
- cut two thin strips of red felt that is the length of the pant
- add black lines down the lengths of the red felt
- sew (or glue if you don't care to make it permanent) the red felt strip down the side of each pant leg)
- top off the outfit with the gun and holster and a the rain boots
Picture
Picture
Picture
Honestly, he barely wore the gun and holster and the outfit was totally recognizable without it so, you don't really have to have it. :) If you like my Ursula outfit above be sure to check out that tutorial here. Also, Derek's Chewy costume was actually a onesie male pajama set from Target for only $24.99!
0 Comments

Mommy Camp: Halloween Edition

11/3/2015

0 Comments

 
Picture
Lilly requested that we do more Mommy Camp so I made a special Halloween edition! I was a little late on getting it ready so we didn't finish all of the activities before Halloween was over but, I'll share what we did get done. I think we'll probably just squeeze the other activities into random days for fun later on and I'll post when we do.
Skeletons and Bones
We started off with a theme focusing on bones and skeletons. To begin we did a little bone math using this worksheet from education.com. We also pulled out her helping hands from our summer mommy camp to help her count.
Picture
Then we worked on a halloween rebus activity sheet where she filled in the story with the correct images by reading key words. That worksheet is also from education.com and can be found here.
Picture
After the math and reading we discussed the importance and function of bones. We then conducted an experiment with rubber gloves and straws. Take one glove and fill each finger with a bendy straw. Leave the other glove alone and compare them. This demonstrates how bones work to give us the ability to move.
Picture
Then it was time for lunch and I made Lilly a sandwich skeleton!
Picture
Then we made Q-tip skeletons! She drew a skeleton head and cut it out. Then glued it to black paper and glued Q-tips for the bones.
Picture
We finished up our focus on skeletons and bones by making skeleton marshmallows and contact paper + tissue paper sun catchers. For the sun catcher, I drew a skull/calavera on the non-sticky side of the contact paper. Then, I pulled off the back and taped it to the table for them to stick pieces of torn tissue paper onto. I also made a decorate your own calavera felt board activity by cutting out a white skull shape and various shapes for decorating from felt. It took very little time and they enjoyed it!
Picture
Picture
Picture
Picture
Picture
Coincidentally, Derek and I went to a fancy costume party and dressed as calaveras! Here's our fun photo!
Picture
Spiders!
The other theme we managed to get done was spiders! We started off with some spider counting math. I purchased a bag of plastic spiders and printed off a handy worksheet from this site. We also discussed the life cycle of a spider and put together a puzzle using this worksheet and read a spider mini book using this free printable.
Picture
Then we made some fun spider hats with construction paper, glue and staples.
Picture
Picture
After the math and crafting it was time for some action! I created a spider web from painters tape for a fun game of tossing paper wads at the spider web. While I was creating the web I had Lilly creating the paper wads from tissue paper.
Picture
Then we did some spider web watercolors by creating a spider web using painters tape for the children to paint over. They enjoyed it and they turned out really nicely.
Picture
Picture
Picture
We finished up our spider theme by participating in a spider web obstacle course! Even though it only lasted about 10 minutes they really enjoyed it!
Picture
We didn't even get to all of the fun stuff I planned about spiders so you may see another post with the stuff we missed! We also have a monsters theme and a pumpkins theme that we didn't even touch! So, keep an eye out for all of the fun they contain. 

I'm currently finishing up work on my Thanksgiving Mommy Camp and we will begin doing those fun activities soon. The themes will be Thanksgiving History, Giving Thanks, Thanksgiving Food and Fall! I can't wait!
0 Comments

DIY Ursula Sea Witch Costume

11/3/2015

7 Comments

 
Picture
After making the Ariel costume for my daughter I attacked the Ursula costume for myself. It didn't take nearly as long as I expected and I'm pretty happy with the results!

DIY Ursula Costume Supplies:
- 2 black yard trash bags (They need to be quality trash bags that are nice and thick.)
- one roll bubble wrap (I got it at the dollar store.)
- one package of black elastic waist band (I used a thick elastic.)
- one black fitted dress
- one white wig or white hair paint and ALOT of gel
- one piece yellow craft foam
- one strand black ribbon
​- purple spray paint
​- a bunch of plastic disposable shopping bags (like walmart or target)
​- silver and black sharpie markers
- hole punch
​- stapler
- two rolls black tulle (I purchased the 1 ft. rolls at hobby lobby.)

For my costume I decided that purchasing a fitted black dress and adding tentacles to the base. I bought my dress direct from China but, it turned out to be exactly what I expected. You can find it here. Just make sure you get it in the right size based on measurements. Once the dress came in I measured how long to make the tulle on the waist band as well the length of the tentacles. I chose to sew the tentacle/tulle waist band in at the knee slit on the dress since Ursula is very fitted and then her tentacles blossom out of the bottom. 

Picture
Picture
Making the Tentacle/Tulle Elastic Band
Measure how much elastic you need for the location of your band. I chose to start mine at the slit in the dress I'm using so mine will be attached to the dress right about the knee. Cut the elastic to the size you need and hot glue or sew the two ends together.

Step One:
Take the bubble wrap outside and spray paint the bubble side with the purple spray paint. I found a shimmery purple and it looked awesome.
​Step Two:
While the bubble wrap dries begin your tentacles. Get the black trash bag and draw the shape of your tentacle on the black using a silver sharpie marker. Make sure that you draw it with a curve upwards at the end so that it will curve up from the floor when attached to the elastic. You will also need about 2 inches of extra space at the top of each tentacle to attach it to the waist band.

When you cut it you will have two identical sides (you know, 'cause it's a trash bag:), Turn the two sides around so the sharpie you used is not visible on the outside. (if you don't do this it actually looks ok and is not very noticeable, especially if you cut it out perfectly. Then glue the two pieces together along the entire outer edge leaving the top of the tentacle open for stuffing. Repeat 7 more times.

​Once all of your tentacles are cut and glued you can stuff! Begin stuffing your tentacles with the trash bags. Don't over stuff because the tentacles will get heavy. Just fill them enough to make it obvious what they are. You also do not need to stuff all the way to the top. In fact, don't. It'll be easier to attach to the waist band.

When stuffing you may find sections that did not get glued. You can fix them easily before or after stuffing.
Picture
Picture
Picture
​Step Three:
Apply the bubble wrap A.K.A. the suction cups! Cut out pieces of bubble wrap and lay them on the side of each tentacle. (I didn't want to spray another roll of bubble wrap so I only put bubble wrap on one side of each tentacle. If you wanted you could put more but I think it looks good without the extra work.) Hot glue the section of painted bubble wrap on each tentacle.
Picture
​Step Four:
Attach the tentacles to the elastic waistband you made at the beginning. Before attaching, stretch the waistband around the back of a chair like you would for making a tutu. Fold the 2 inches you left at the top of each tentacle over the top of the waist band and then staple. Attach them at even intervals around the entire waist band. 
Picture
​Step Five:
Add the tulle. Cut the tulle in the lengths that you decided were appropriate earlier. Then tie them to the waist band like you do when making a tutu. You can see how that is done here. Fill in between each tentacle evenly making the skirt full. 

You should now have a tentacle waist band! Now you just need to attach it to the bottom of your dress or, if you decided to wear it around your waist simply slide it on! I hand sewed mine to the bottom of my dress.
Picture
Making the Ursula Necklace:
Grab your yellow craft foam, black sharpie, hole punch and black ribbon. Cut out a shell shape. I free-handed it based on the picture of Ursula. Add detail with the sharpie. Punch a hole at the top of the "shell" and thread the ribbon through! Voila!
Finishing the Look:
I did my Ursula makeup following this tutorial. I also purchased purple body paint from here and it is perfect. It is actually made for clowns and does not rub off or flake! I applied it all over before applying the Ursula make-up. 

For my hair I purchased this wig and then hung it vertically while applying liquid spray starch, super strong hold hairspray and gel. Once it dried it worked out pretty well.
Picture
I hope you enjoyed my tutorial! Happy Halloween!
7 Comments

DIY Ariel Costume

10/28/2015

0 Comments

 
Picture
This year Lilly and I will have costumes with a matching theme and Derek and Arthur will too but we won't match as a family. I am going to be Ursula (check out that tutorial here) and Lilly will be Ariel. Derek will be Chewbacca and Arthur will be Hans Solo (check out that tutorial here). I am making everyone's costume but my husbands. He purchased a Chewbacca pajama onesie at Target and is planning on wearing that.

To make the Ariel costume (child sized) you will need:
- 1 yard stiff green broadcloth
- 1 yard iridescent blue-green chiffon
- one package of wide white elastic
- one tan bodysuit
- one piece of purple felt
- one small piece of iridescent  purple chiffon
- hot glue gun and glue
- purple thread and needle

I measured the length that I needed for the tail to touch the floor and then free-handed a mermaid tail on the green broadcloth. I cut out two of these tail shapes. Leave enough room at the top to fold over and place the elastic waist band inside.

After cutting out the tail shape, I cut out about a million fish scale shaped chiffon pieces. Then I hot glued the top portion of the scale to the tail shape. I glued them in horizontal rows until, slightly overlapping each other, I filled the tail. You may also have to trim them when they reach the edge and hang off.

Once I had covered both tails in scales, I folded over the top bit and hot glued it to make a pocket. Then I threaded the elastic through the hole and sewed the ends of the velcro together. This created a tail "skirt".

I ordered green fish scale leggings from Easy. If you're into sewing I'm sure you could find some fish scale fabric and make them yourself. I am not into sewing.

For the top, I purchased a tan bodysuit from Spirit of Halloween. Then I cut out a piece of purple felt in a bra shape, drew accent lines for the "shell" with a sharpie and used fabric glue to glue a piece of purple chiffon to the top. Then, using purple thread, I hand stitched the "bra" to the bodysuit.

To finish off the outfit I purchased a red Ariel wig. As a note, this wig is absolutely horrible! In the photo you can tell it is just terrible quality. Thanks Disney!  So, I'm going to give it the liquid fabric softener treatment to make it look better.

​
Picture
Picture
0 Comments

diy back massage shirt for dad

6/20/2015

0 Comments

 
Father's Day is tomorrow! Are you in need of a thoughtful and quick gift that the kids can help with? This DIY back massage t-shirt is a fun project for you to try that only needs a few times to be completed!
​

Materials:
- t-shirt
- fabric markers
- city template (we just free-handed it but this blog has a great, free printable for the less artistically inclined.) 
You can find the template here: http://thebluebasket.blogspot.com/2011/09/tutorial-car-shirt.html?m=1
Picture
Directions:
1. Print out the template or take your chances with freehand.
2. Use your fabric markers to begin drawing your town. 
3. Depending on the age of your kids hey might draw it entirely by themselves. I let my 4 year old color in the picture once the base was drawn.
Picture
Picture
Picture
Add a couple toy cars to the mix and now you have a fun gift that will allow Dad to both relax and play with the kids at the same time!
0 Comments

fizzing fireworks art & science project

6/17/2015

1 Comment

 
We want to share one more fun 4th of July themed craft! Today we made fizzing fireworks art which is both a fun craft and a mini science lesson! ​
Picture
Materials:
- coffee filters (we used about 8 but you can do as many/few as you like)
- kitchen sized trash bag
- food coloring/kool aid in varying colors
- baking soda
- vinegar
- squirt bottle
Picture
Directions:
1. Lay the trash bag on a table and place the coffee filters on top.
Picture
2. Pour vinegar into the squirt bottle and pour baking soda over the top of all of the coffee filters.
Picture
Picture
3. Put a few drops of food coloring in various places on each coffee filter. (On a separate note, I didn't have any red food coloring so I opened up a  package of fruit punch kool aid and sprinkled it instead. If I do this again I will only use different colors of kool aid because the smell of the kool aid masked the smell of vinegar and worked just as well or better than food coloring.)
Picture
4. Now for the fun! Using your squirt bottle (set on mist/spray) begin spraying the baking soda and food coloring covered coffee filters and watch the colorful, fizzing reaction!
Picture
5. When you're done making fizzy reactions let the filters dry. (We took ours outside so the sun could accelerate the drying time.) Once they're dry you have fun, colorful coffee filters that you can display as art or even use to create coffee filter flowers by following this tutorial!

We hope you had fun! Check out the science explained below to teach your child about the reasoning behind why this experiment/art works!
The Science Explained
In this experiment, the fizz is produced by a chemical reaction between baking soda and vinegar. Baking soda and vinegar react, and one of the products of the reaction is carbon dioxide gas. This gas forms bubbles that are surrounded by the liquid. The laundry detergent makes the bubbles last longer, and a foam is produced. The volume of the gas produced and trapped in the foam is much greater than the glass can hold, so some of it spills over the top of the glass.

Baking soda is sodium bicarbonate. Vinegar contains acetic acid dissolved in water. Sodium barcarbonate reacts with most acids. The products of the reaction with vinegar are carbon dioxide gas, sodium acetate, and water. 

The reaction of sodium bicarbonate to form carbon dioxide gas is the basis of its use as a levening agent in baking. Cakes are solid foams. The foam is produced when bubbles of carbon dioxide from the reaction of sodium bicarbonate are trapped in the batter. As the cake bakes, the batter dries, and the trapped bubbles of carbon dioxide form the holes in the cake.
1 Comment

two fantastic fireworks crafts

6/15/2015

0 Comments

 
The 4th of July isn't very far away and we're sharing two fun and easy crafts you can do with your kids!
Picture
Picture
Splatter Paint Fireworks
Materials:
- straw
- paint (we used liquid tempera)
- white paper/construction paper
- water
Picture
Directions:
1. Mix a little water with a little paint. Your goal is to have a consistency that can be used to create droplets on your paper.
Picture
2. Once your paint and water combo is done, put a few drops onto your paper. Then get your straw and blow air onto the drops to create a starburst effect with the paint.
It can take a little practice but we found that if you rotate the paper every so often you can direct the paint where you want.
Picture
Picture
​Straw Paint Prints
Materials:
- 5 bendy straws
- paint (we used liquid tempera)
- tape
- white paper/construction paper
Picture
Directions:
1. Tape the straws together and bend the straws outward with the bend in the center.
Picture
2. Dip the straws into the paint and place the paint dipped straws onto the paper to create a print.
Picture
Picture
3. When you've finished and your art is dry you can add a little sparkle with glitter and glue or a combo glitter glue.
Picture
Picture
Our kids had a ton of fun making these! We hope you enjoy them too! Check back later for more cool art projects and fun activities!
0 Comments

diy valentine's day poppers

2/13/2013

0 Comments

 
Picture
These cheap and easy to create party poppers will be a big hit with my daughter’s classmates. All you need to do is gather your materials and get started!
You will need:
– toilet paper rolls
– candy and small toys/trinkets
– tape
– scissors
– wrapping paper (as thin as you can get; don’t get the expensive stuff)
– ribbon
​First, you cut each toilet paper roll in half.
Picture
Second, you stuff it with your candy and toys.
Picture
Third, tape the roll together (very little tape; you want it to be easy to pop open) and wrap it with your paper.​
Picture
Fourth, twist the ends of the paper together and tie it with a ribbon and your done!
Picture
Picture
0 Comments

a big hit

12/7/2012

0 Comments

 
My husbands work party was last night and I finally got to wear the ugly sweater dress that I made a few weeks ago.
​
Picture
Picture
Let's just say that I was very popular. We arrived at the party and everyone thought it was awesome but the best part of the night was going to the parade. First of all, it was Lillian's first time at a parade and she thought it was awesome. (I'm sure the two little girls that were 8 and 4 holding her hands didn't hurt. Lilly loves attention from older girls!) But the other awesome part was that I was a bit of a celebrity.
Picture
Almost every float that went by had women shouting that they loved my dress. Even the local news lady made a point to scream at me! Needless to say, I had a great time and the dress was totally worth the hour or so I spent making it. If you decide to get crafty and try to make a dress like mine post a pic so I can see how awesome you are!
0 Comments

a felt christmas tree toy

11/27/2012

0 Comments

 
I'm sure you have seen the felt Christmas tree project on Pinterest. However, I am kind of lazy sometimes and I made mine even easier. It didn't take a very long time and she really enjoyed it. All you need is a piece of poster board, a hot glue gun, some green felt and some sparkly ornament looking gift tags. I found mine at the dollar store.
Picture
Picture
Picture
First you roll up the poster board to make a cone. I had to cut off a portion of the poster board to make the size and shape I wanted. Then you wrap the poster board cone with the green felt and hot glue it. Finally, you take your blingy, ornament gift tags and hot glue little strips of the same green felt (in my case the scraps) to the back of each tag. I also hot glued two star gift tags together to make the star tree topper. Voila! Done! It took me maybe 15 minutes and was well worth the time.
Picture
Picture
0 Comments

diy ugly sweater dress

11/16/2012

0 Comments

 
I will be attending an ugly Christmas sweater party in a few weeks and I decided that I was going to take it to a whole. 'nutha. level. So, I decided to make an ugly Christmas dress. It only took about an hour and I think it is definitely fun. ​
Picture
​I found the dress at Savers for $10. I was specifically looking for a green or red dress. This one is green which allowed me to leave parts of it exposed and cut down on the amount of ugly stuff I had to buy and apply. I bought the green and red ribbon tinsel at the dollar store as well as the silver tinsel and I bought the bows for %50 off at Hobby Lobby. It took almost two bags of bows and two things of the red and green ribbon. 

To apply them I used hot glue on the tinsel and ribbon and hot glue combined with staples for the bows. I left the ribbon in one long piece and just wound it down the bodice. Hot glueing as I went. I did the same for the silver tinsel. For the bows I first hot-glued them one row at a time. Then I went back over each bow with a few staples just to make sure that they were extra secure. I don't want to be shedding ribbon at the party. I continued this until I reached the bottom. I can't wait to wear it to the party. My husband and I will really class up that party. He will be sporting some extra hideous garb in the form of Christmas plaid suit jacket, outrageously ugly sweater vest, snowman turtleneck and Christmas bow-tie. We're going to be extra, super, awesomely ugly and I am so excited!
For an update to see how I modified my look for the party and to see the awesome outfit I put together for my husband you can check out my post about the party.
Picture
0 Comments

orange & clove pomanders

11/13/2012

0 Comments

 
I love the smell of oranges and cloves so when I came across the idea of making pomanders with them I jumped at the chance. This is a very easy but somewhat time consuming project but the result is fantastic. All you need are oranges, cloves and a toothpick.
Picture
Once you have your materials you simply poke holes with your toothpick and push the cloves into the holes. You can actually do this without the toothpick but I found it much faster and easier to poke a preliminary hole first.
Picture
You can create patterns with your cloves or you can cover the whole thing. I chose to cover the whole orange because I read somewhere that by doing that your oranges would be more likely to dry out instead of spoiling with the goal being that I don't have to make them again and can reuse them every year. However, if they don't make it more than a few weeks I will be happy. They smell so amazing! My husband actually asked if he could take some to work and put them on his desk because they smelled so nice.
0 Comments

peacock costume - the final product

10/31/2012

0 Comments

 
Today is Halloween and I have perfected the costumes! I made some adjustments to my eye-makeup. I searched the web for pictures of other people's peacock makeup but when I looked at a real peacock I realized that although pretty, they weren't very accurate. So I did my own take on peacock eyes. I colored in my eyebrows with purple eyeliner and extended the line down my nose and around my bottom eyelid. Then I filled it in with a mix of purple, teal and dark blue eyeshadow. I concentrated the dark blue at the corner and crease of my eyes. I also put black and purple eyeliner on my lash lines and added a few "feather" like lines under my bottom lid. Then I slapped on some mascara and some fake eyelashes that have feathers and I was done! I've already gotten many compliments from my co-workers and students so I guess I did a good job.
Picture
Picture
Picture
So, here are our costumes! If you would like to see how I did them you can check out my previous posts:  DIY Peacock Costume.
Picture
Picture
Picture
Picture
Picture
0 Comments
Forward>>
    Picture

    RSS Feed

    meet rachel

    Rachel is a mother of three, elementary Spanish teacher and part-time blogger who loves crafting, creating fun and engaging activities for her children and students and hanging with her friends and family. She blogs about what she's doing and her interests at any given time which vary. She's a little OCD and always looking for her next project. Her husband calls it, "focusing her crazy", but she just calls it fun. 

    Archives

    December 2022
    November 2022
    September 2022
    July 2022
    February 2022
    December 2021
    November 2021
    October 2021
    September 2021
    August 2021
    July 2021
    May 2021
    April 2021
    March 2021
    February 2021
    January 2021
    November 2020
    October 2020
    August 2020
    July 2020
    June 2020
    March 2020
    February 2020
    December 2019
    November 2019
    October 2019
    August 2019
    July 2019
    May 2019
    March 2019
    February 2019
    January 2019
    December 2018
    November 2018
    October 2018
    September 2018
    July 2018
    June 2018
    April 2018
    March 2018
    February 2018
    December 2017
    October 2017
    September 2017
    July 2017
    June 2017
    May 2017
    April 2017
    March 2017
    February 2017
    January 2017
    December 2016
    November 2016
    October 2016
    September 2016
    August 2016
    July 2016
    June 2016
    May 2016
    April 2016
    March 2016
    February 2016
    January 2016
    December 2015
    November 2015
    October 2015
    September 2015
    August 2015
    July 2015
    June 2015
    May 2015
    April 2015
    February 2015
    September 2014
    August 2014
    February 2013
    January 2013
    December 2012
    November 2012
    October 2012
    September 2012

    Categories

    All
    Baby
    Beauty
    Clothing
    Crafts
    Decor
    DIY
    DIY Gifts
    Dramatic Play
    Freebies
    Free Wallpapers
    Fun With Paint
    Holiday
    Inspire
    Kids
    Kid Snacks
    Mommy Camp
    My Thoughts
    Organize
    Parenting
    Party Time
    Photography
    Science Stuff
    Sensory Play
    Silhouette
    Toddlers
    Whole 30

    Picture
    Picture
    Mom Buzz Media
Proudly powered by Weebly